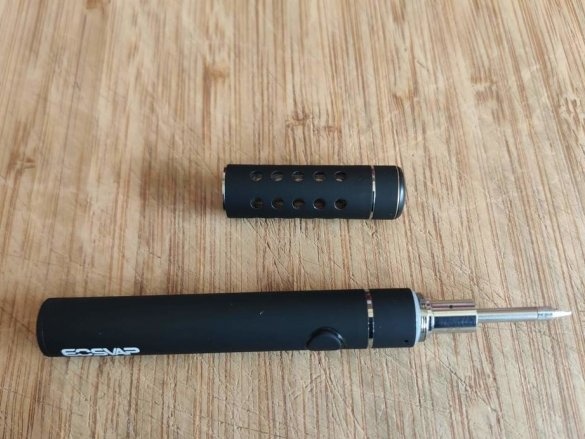
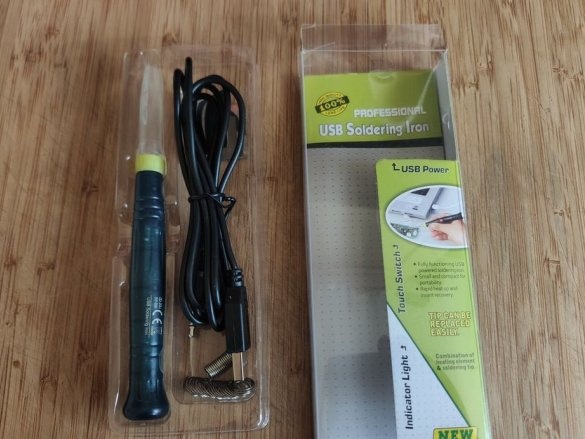
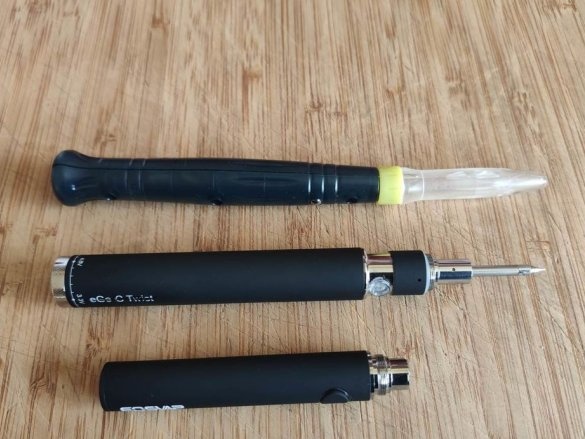
Some time ago, the master purchased a USB soldering iron.
The soldering iron is working and in demand by the master, but there is one problem, an external battery is required for its operation, and this, again, wires. The master was not in demand electronic a cigarette and he thought that you can try to make a soldering iron out of it.
Tools and materials:
-USB-soldering iron or tip of a USB-soldering iron;
- Electronic cigarette EOSVAP Vape Starter Kit with battery Ego Vapor Town 1300 mAh;
-Dremel;
- Round file;
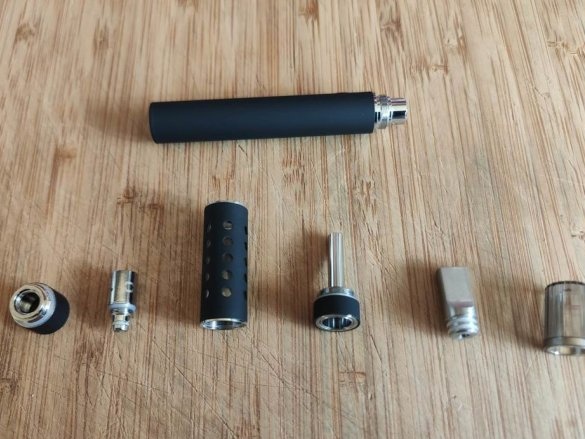
Step One: Disassembly
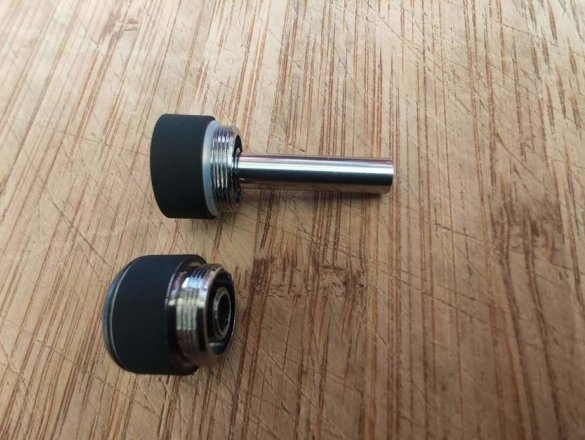
First, the master parses the electronic cigarette. The battery compartment does not need to be disassembled.
Step Two: Cropping
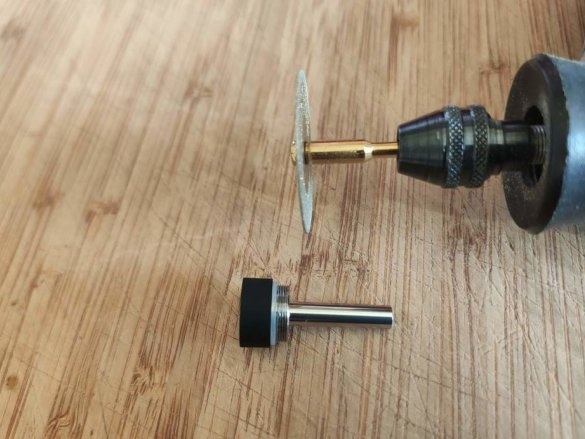
Cuts a drip tube.
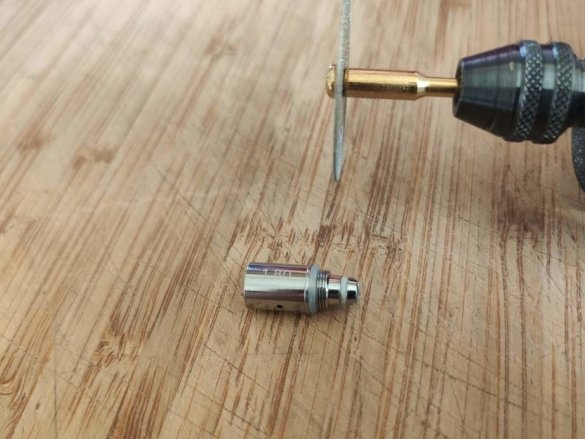
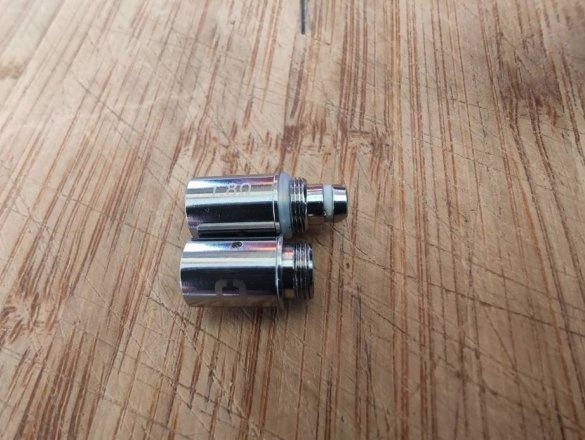
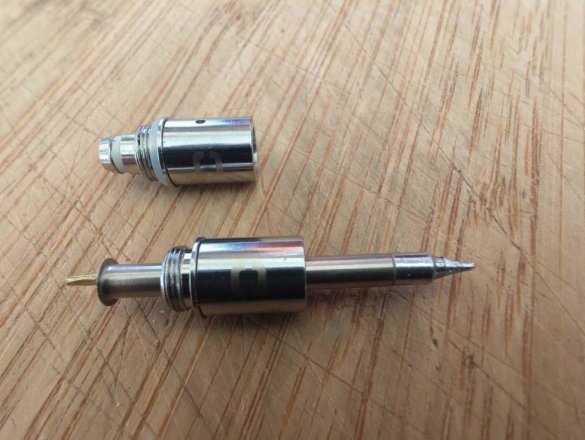
Cuts part of the heating element (to the thread).
Step Three: Install Tip
Now you need to try to insert the tip of the soldering iron into the hole of the heating element. If necessary, you can slightly expand the hole with a file.
Step Four: Trimming the Central Electrode
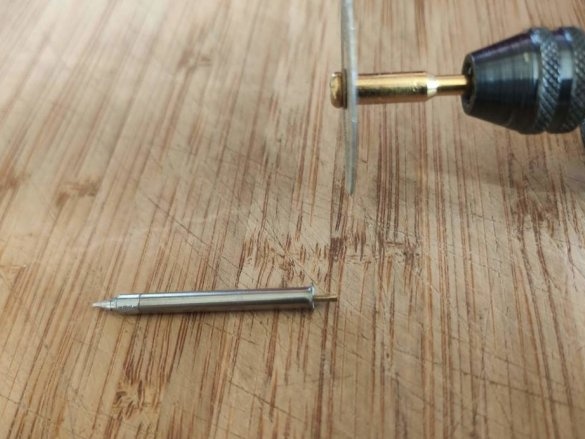
Now it will be necessary to carefully cut the central contact of the tip. Install the tip on the coil holder, battery adapter and battery.
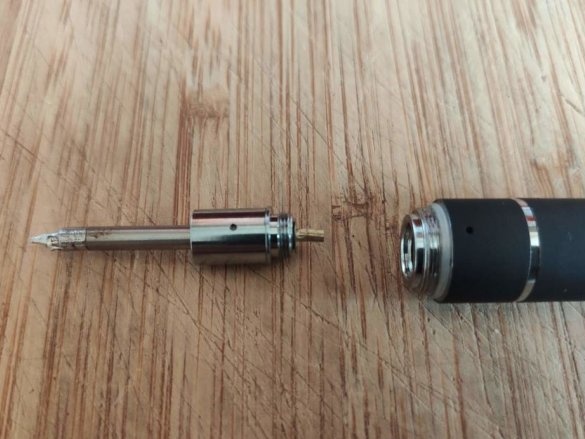
Install the tip holder (coil) into the spacer and carefully screw it into the battery. You will feel resistance when the central contact touches the battery. If the thread is not fully twisted, you need to cut the central electrode a little more.
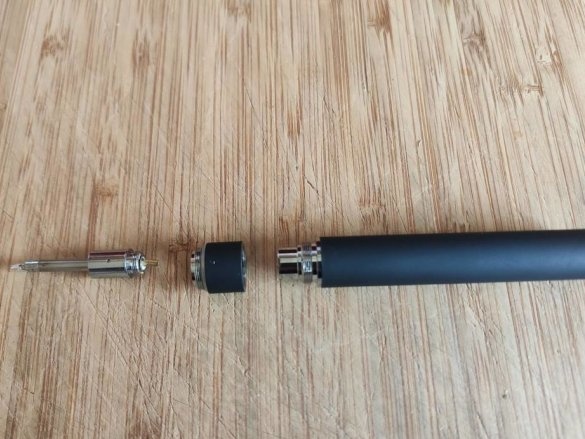
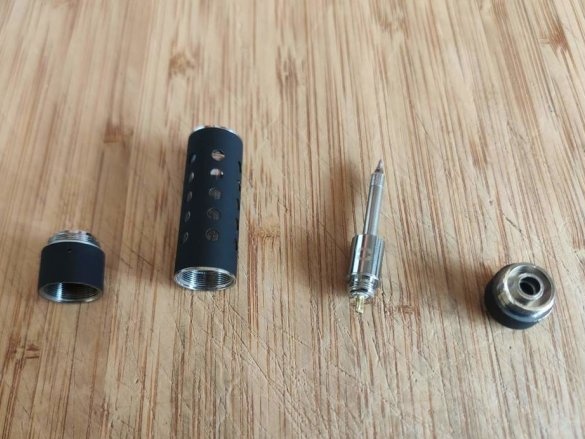
These parts should be before assembly.
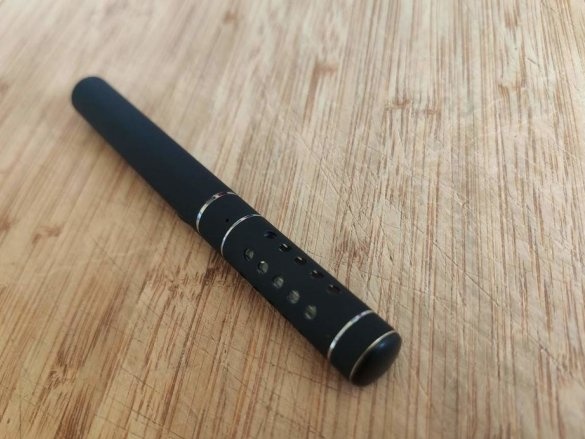
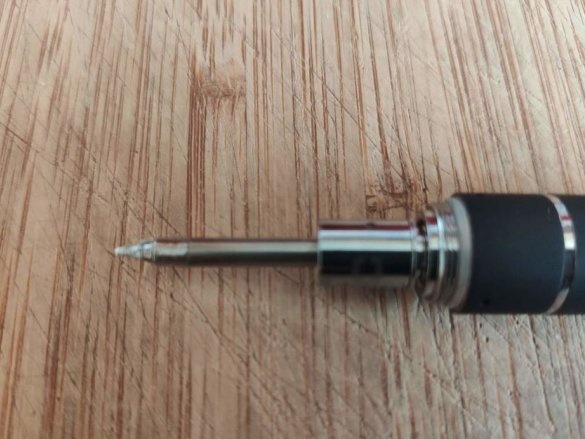
After assembly.
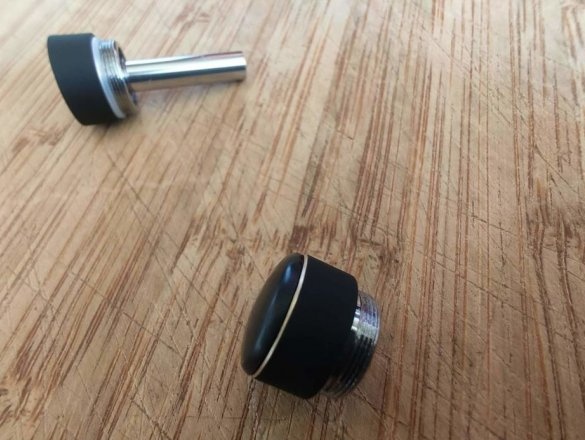
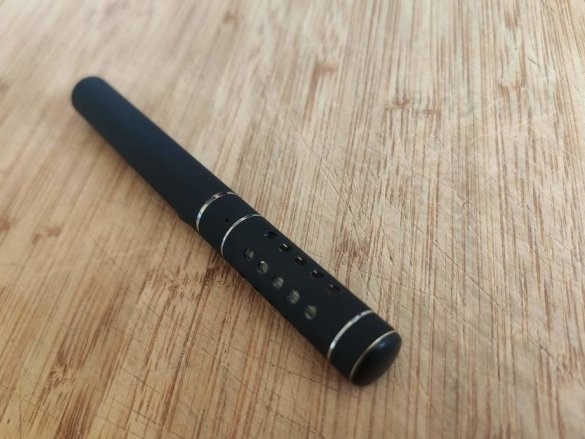
The only additional detail was a plug for the mouthpiece hole printed on a 3D printer.
SolderButton.stl
The master is pleased with the work of the soldering iron. Batteries can be easily changed, put more powerful.
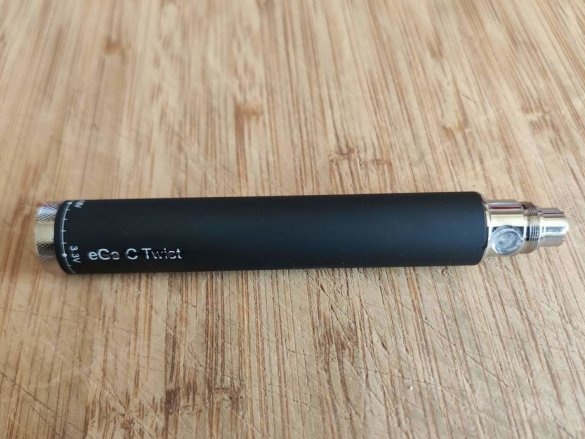
The photo shows a 1300 mAh battery with variable voltage control, which affects the heating temperature. The greater the voltage, the faster the sting heats up.
The author tested several batteries and managed to get 250 ° C with a 650 mAh battery and more than 400 ° C with a 1300 mAh battery at 4.8 V.
The master did not check how much battery power was enough, but after drinking a couple of LEDs, 5 or 6 surface-mounted parts and several wires from the printed circuit board, using a 650 mAh battery, the master noticed that there was still a lot of battery power.
A nice feature of small batteries is that they have a micro USB charging socket on the base, so unlike a 1300 mAh battery, you do not need a separate charger.
Small batteries also have three settings that are activated by pressing the button 3 times, and the LED around the button will flash: white - high charge, green - medium and red low. The batteries can be turned off by pressing the button 5 times, and the same can be turned on to ensure safety when carrying them in your pocket. There is also a 10 second timeout when the button blinks 3 times, here you just need to wait and then press the button again.

