I welcome all fans to craft, today we will work with epoxy. As an experiment, we will pour a rare clover with four leaves into an epoxy resin. Looks homemade excellent, it can be a great souvenir "at random." In the manufacture of the project is quite simple, by this principle, you can preserve any other leaf, flower and so on in the resin. If the project interests you, I propose to study it in more detail!
Materials and tools used by the author:
Material List:
- clover with four leaves;
- a piece of dry wood;
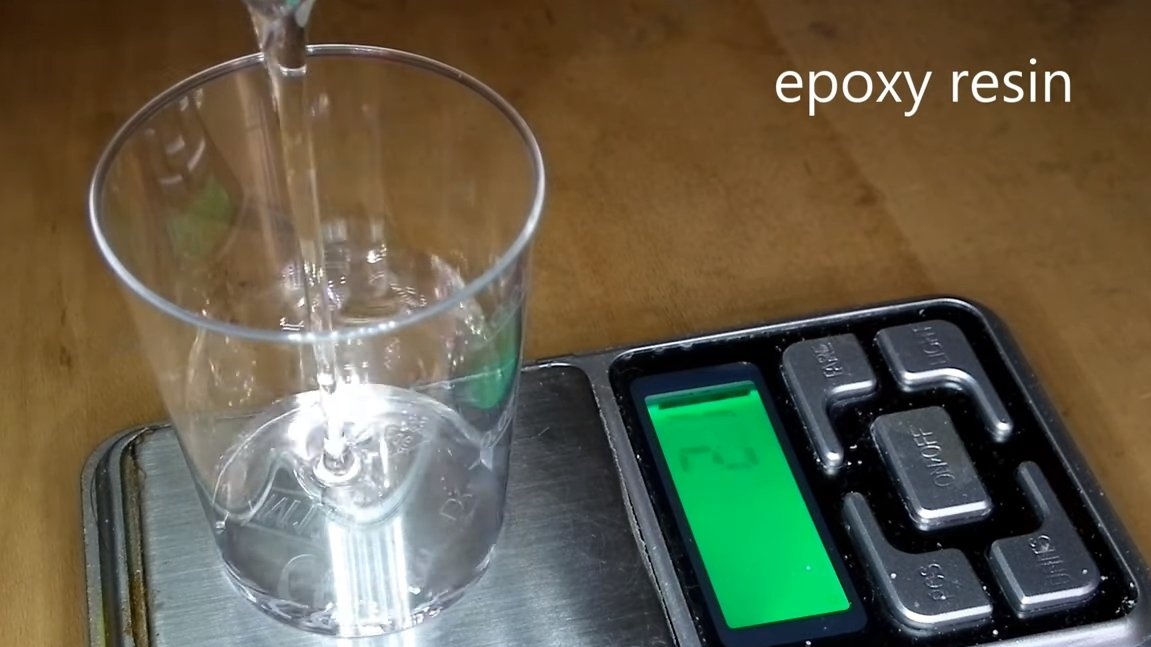
- epoxy resin for pouring.
Tool List:
- Super glue;
- acrylic for formwork;
- adhesive tape;
- glue gun;
- belt sander;
- sandpaper;
- .
Homemade manufacturing process:
Step one. Raw Material Search
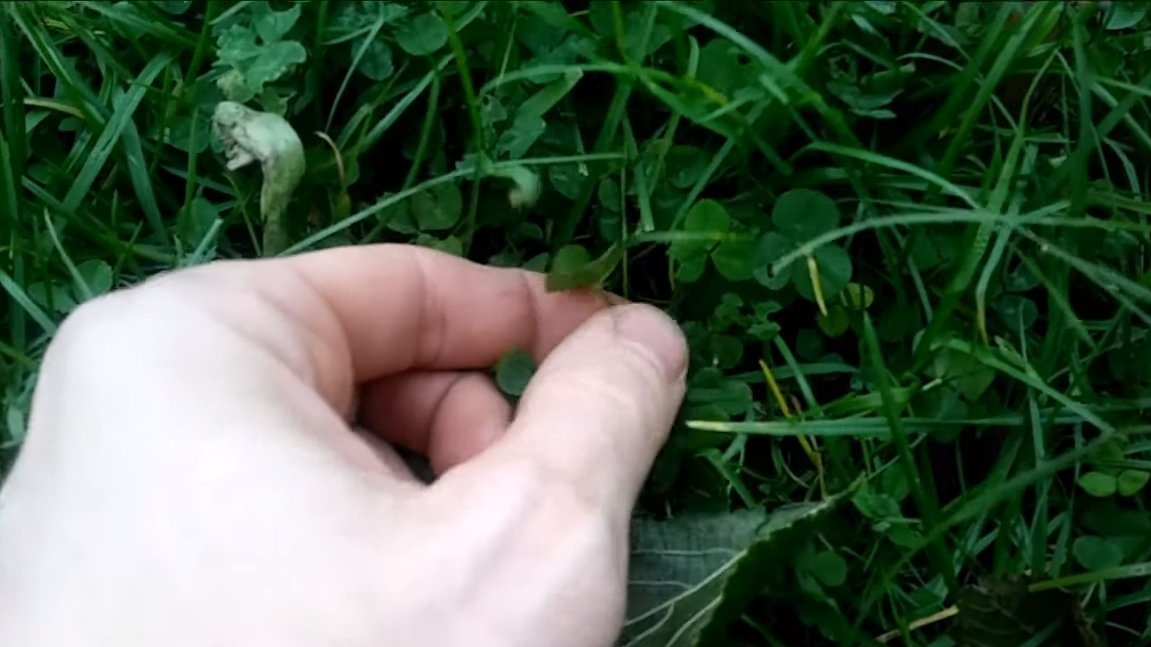
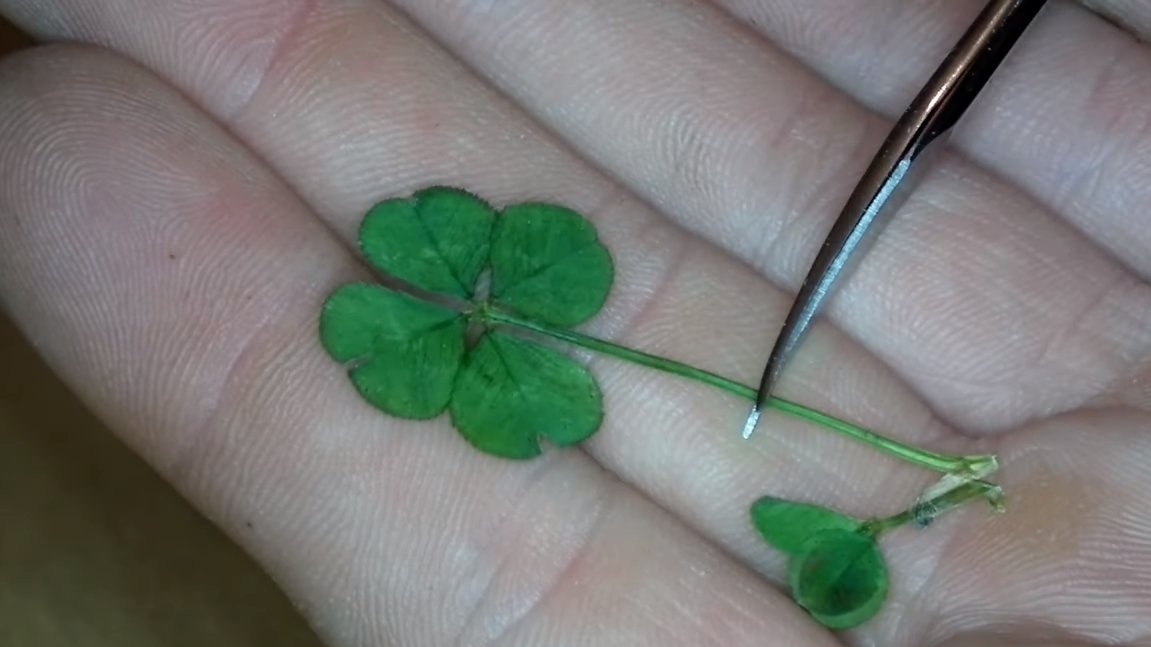
To begin with, we go in search of a rare clover with four leaves, it is such a clover that brings luck. Having found the necessary copies, we level them and put them in a book to dry. Clover needs to be dried well enough, but at the same time it should remain green.

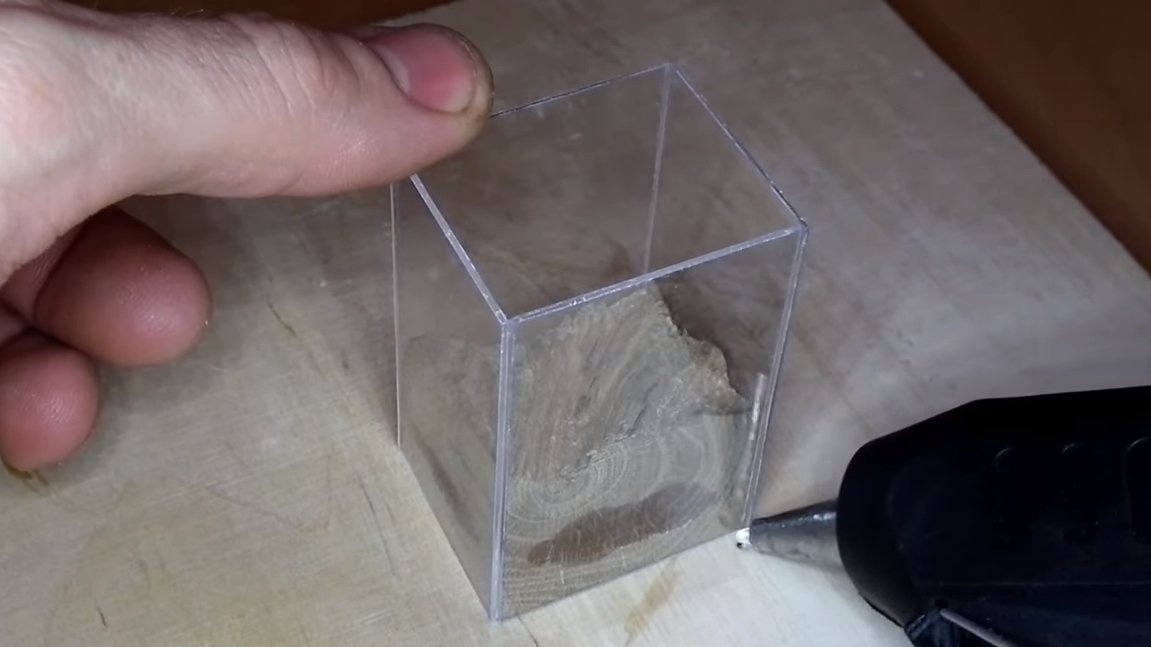
Step Two Formwork assembly
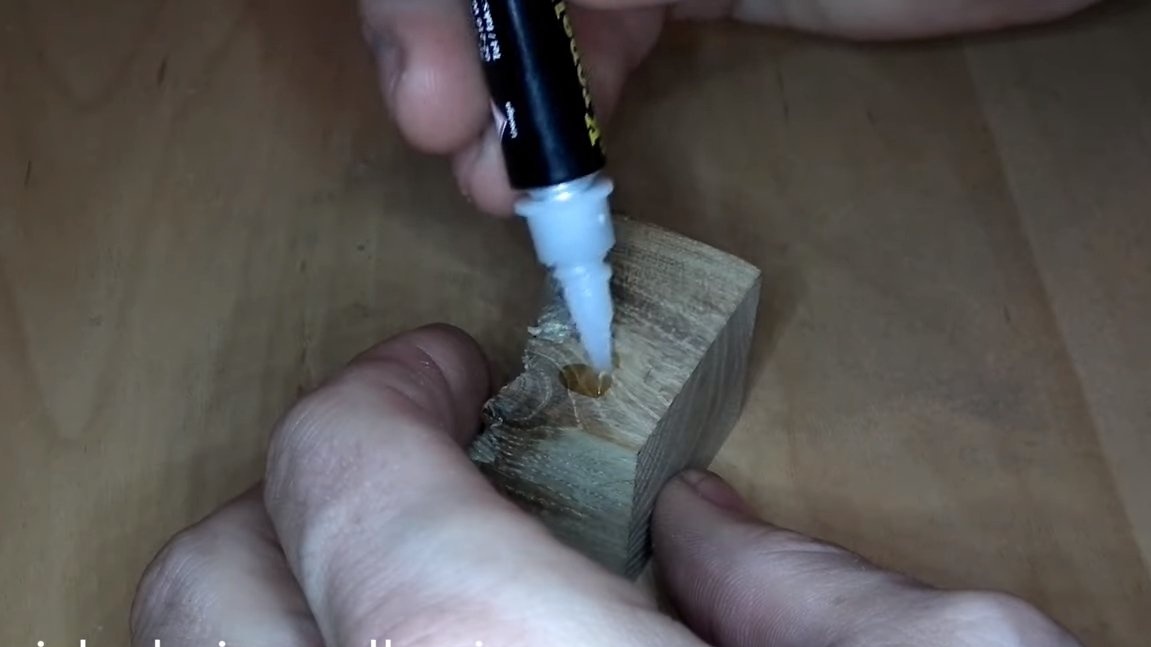
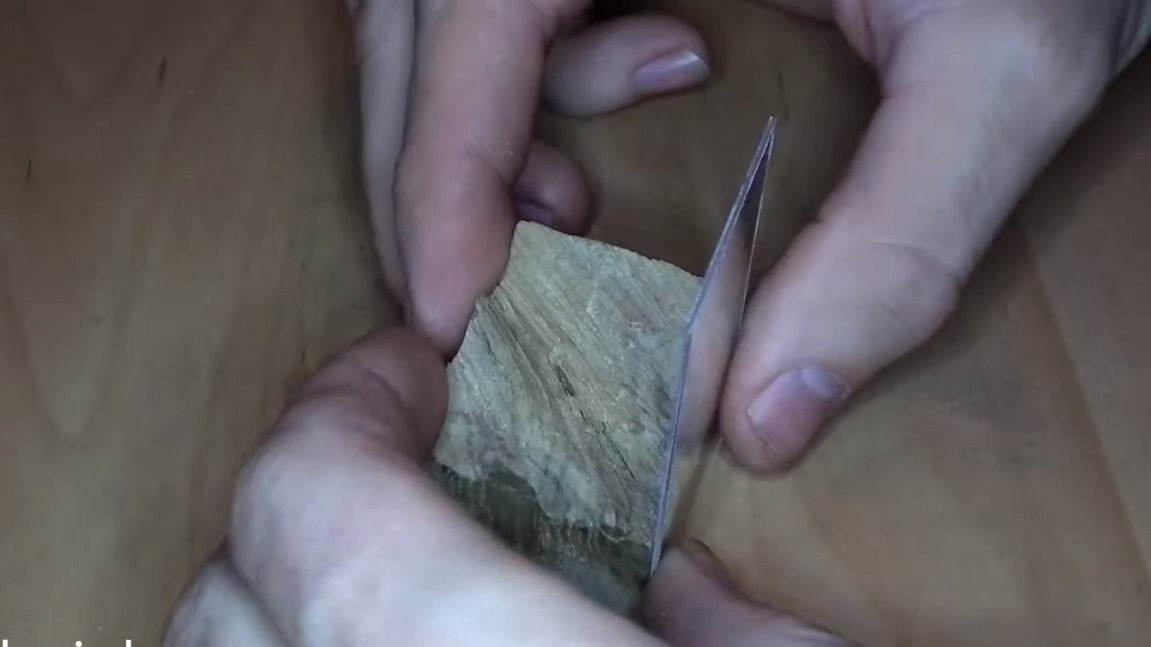
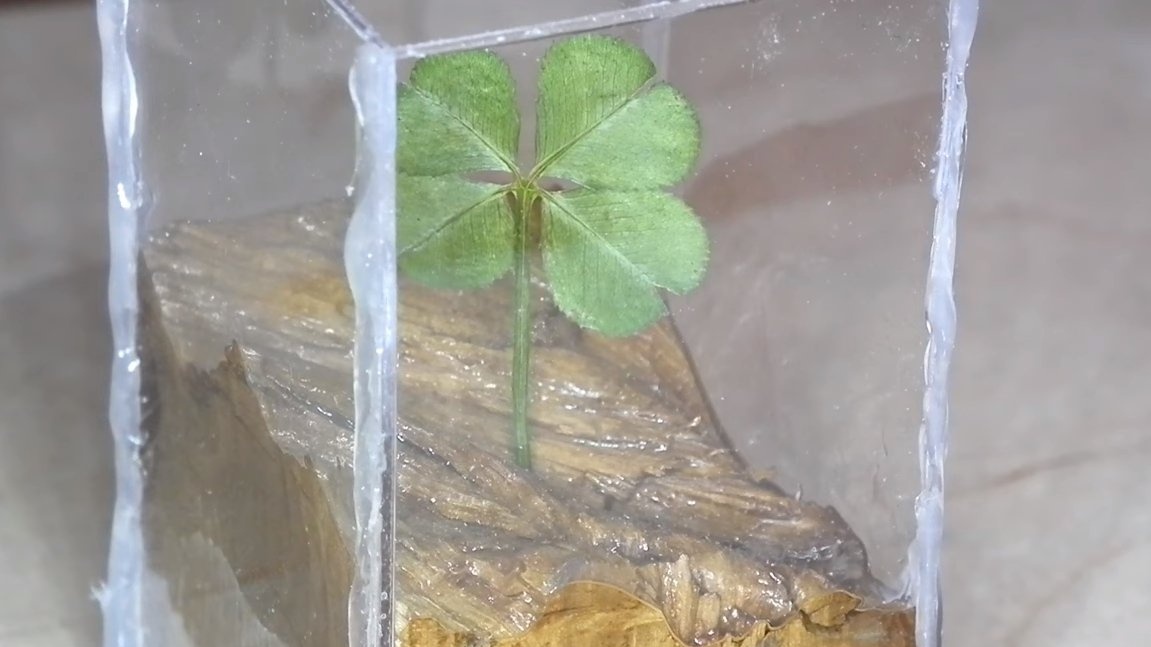
At the heart of the souvenir is a piece of wood, we need to polish the wood well to make the part rectangular. Next, we cut acrylic to get 4 parts for assembling the formwork and glue the parts to the tree using superglue.
Next, glue a piece of tape to the table and install the formwork on top. Now we proceed to sealing, for such purposes we need a glue gun. We glue all the joints well so that the resin does not leak anywhere.
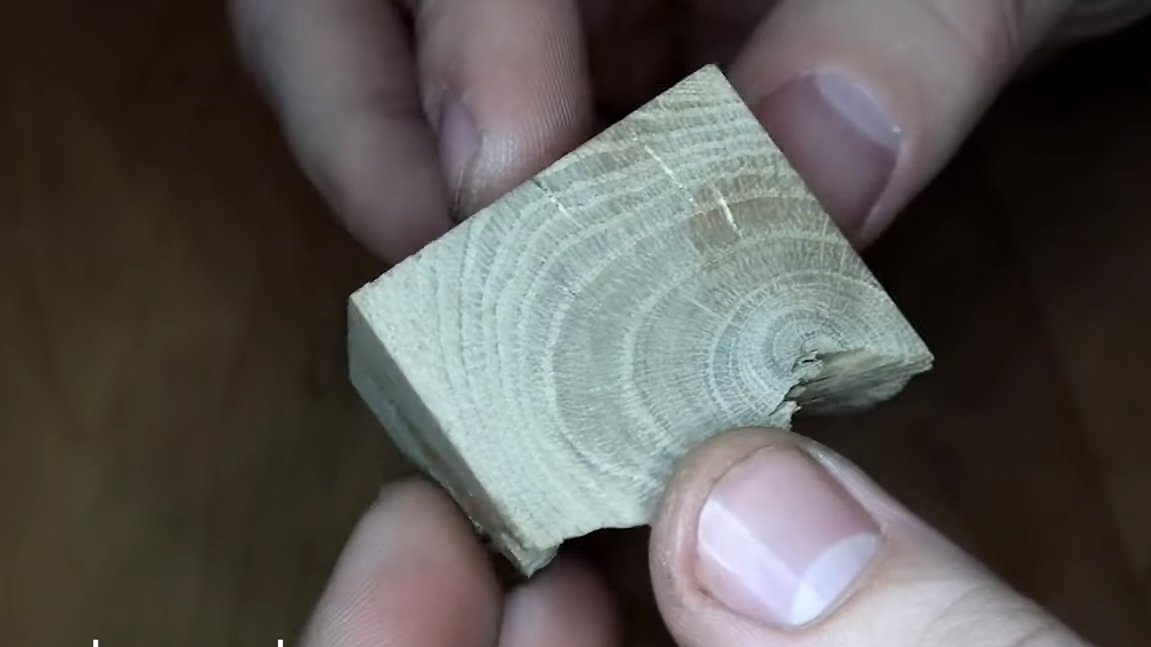

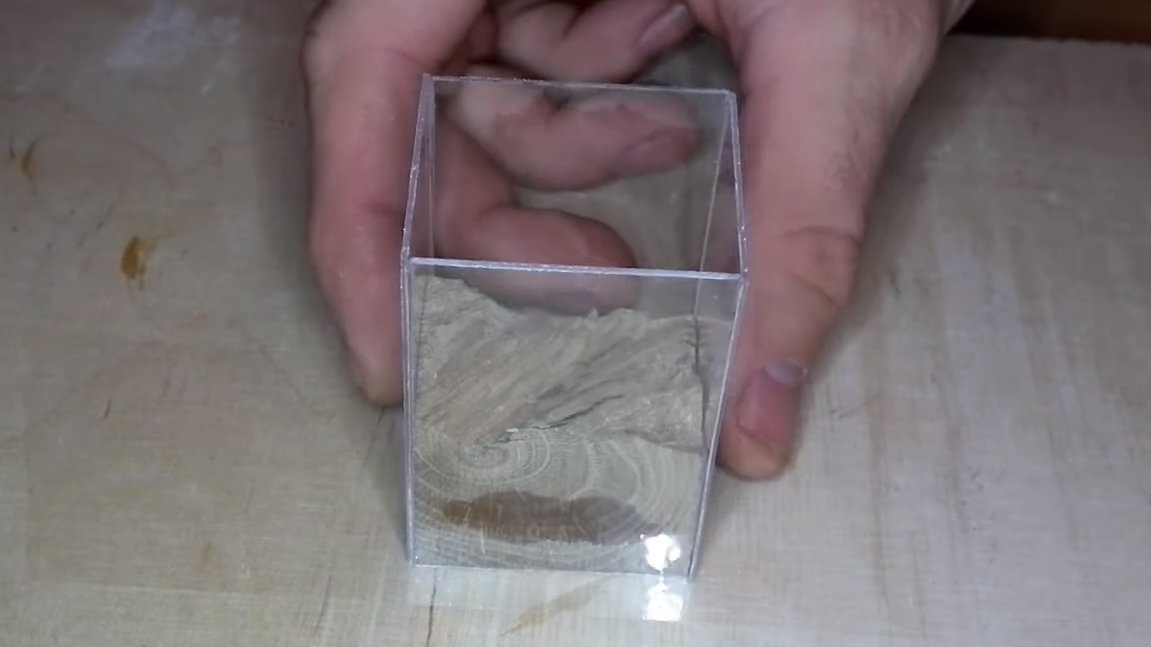
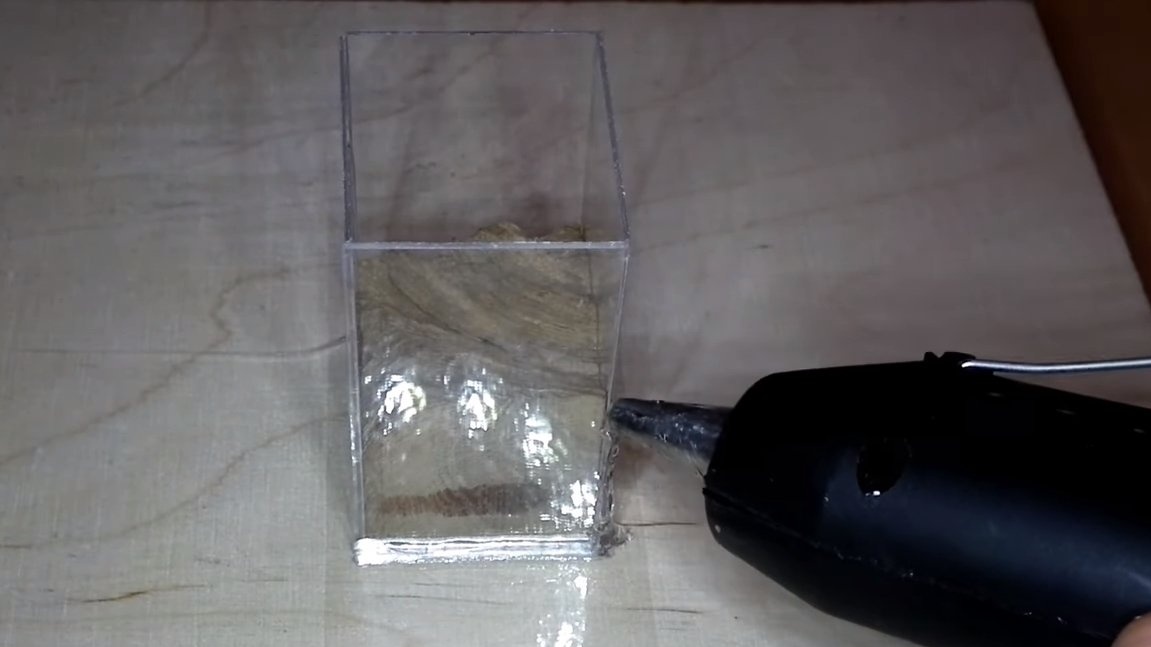
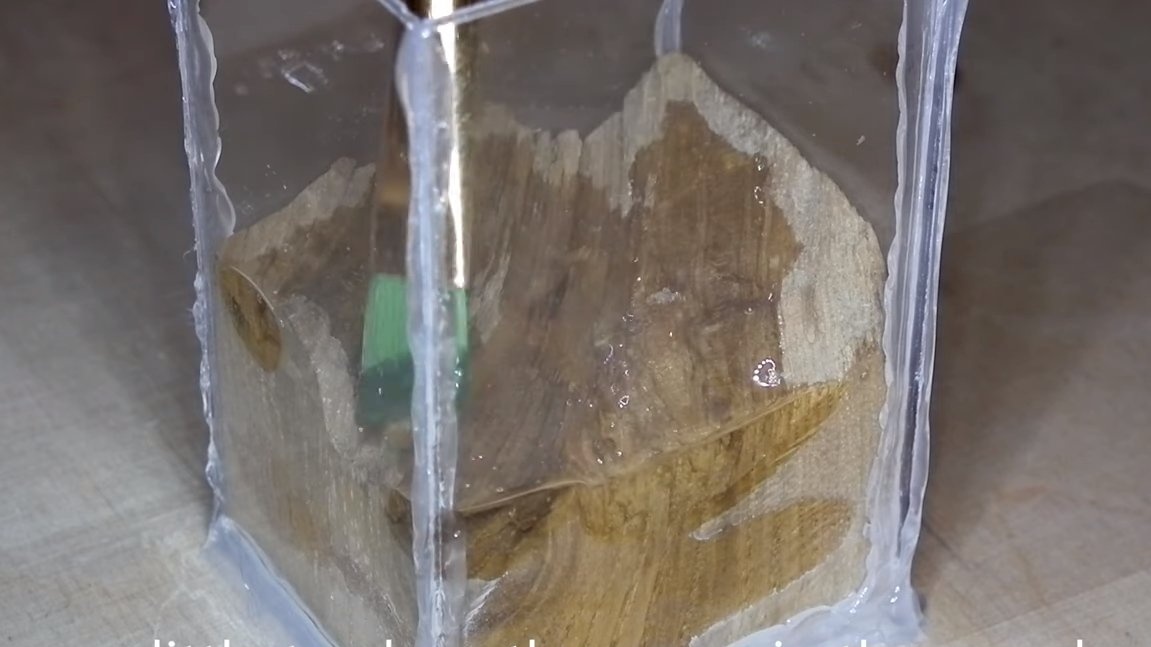
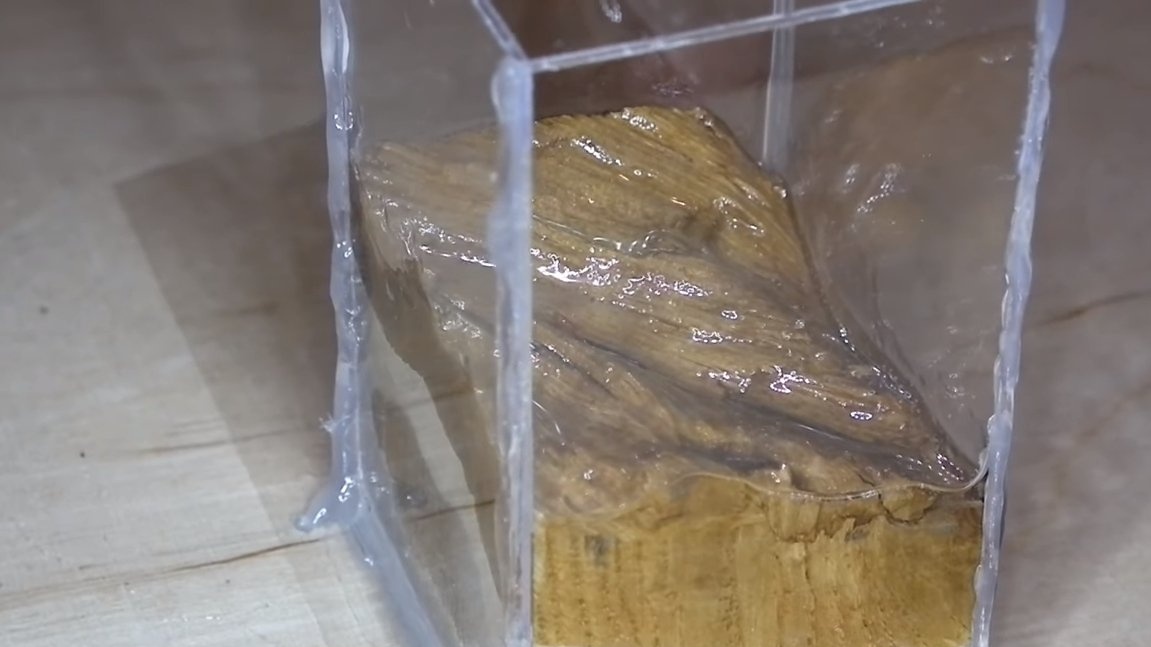
The formwork is ready, now we need to process the wood with epoxy. We raise the resin and well with a brush we coat the wooden part. When the resin dries, you get an excellent coating that will not form as many bubbles as a tree.
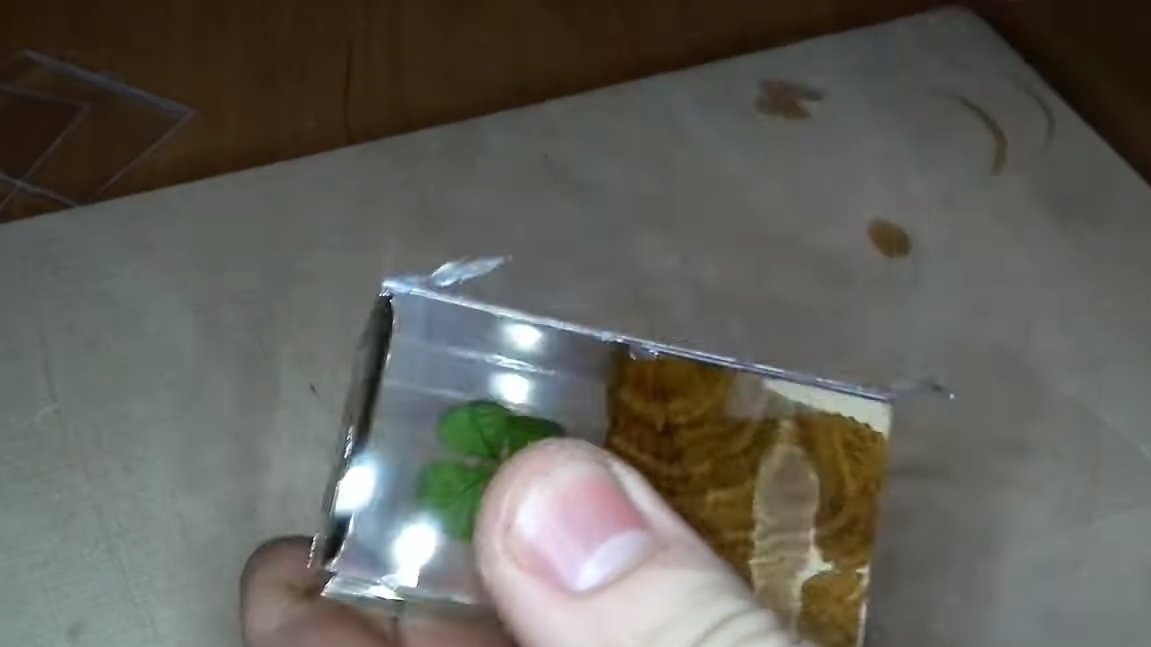
Step Three Pouring
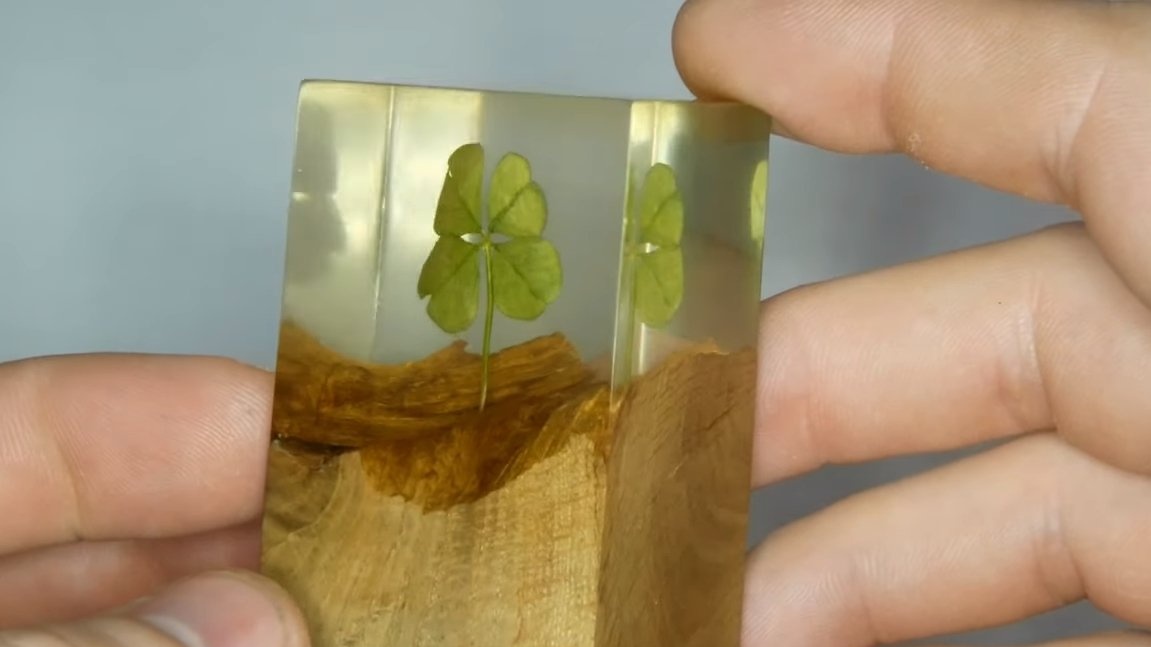
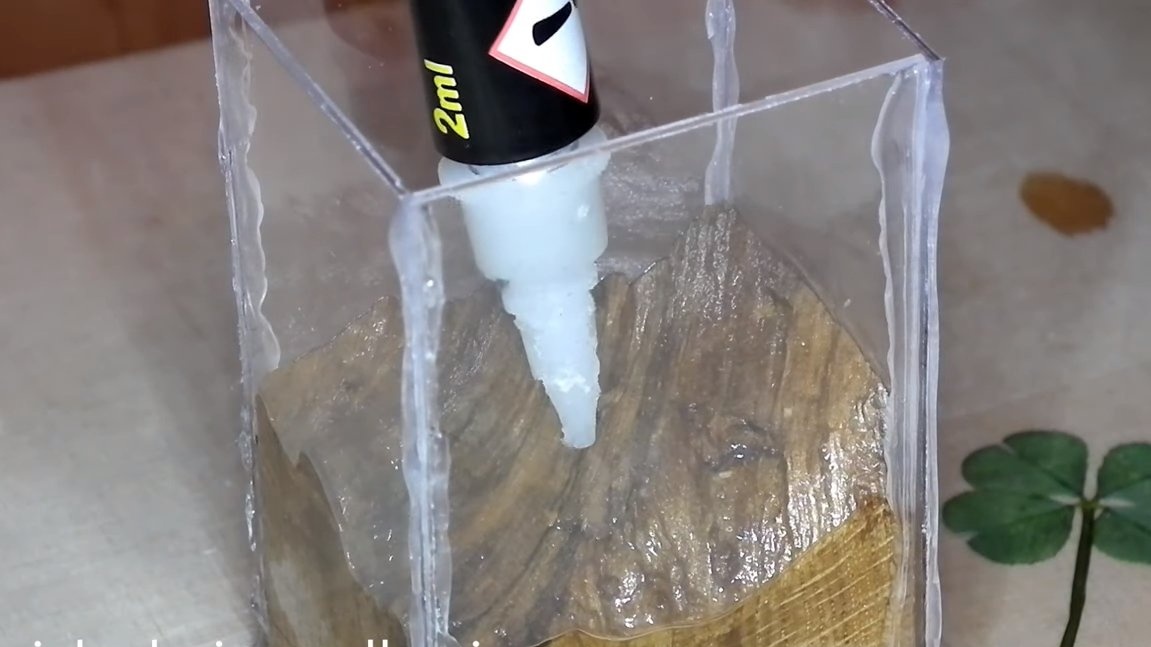
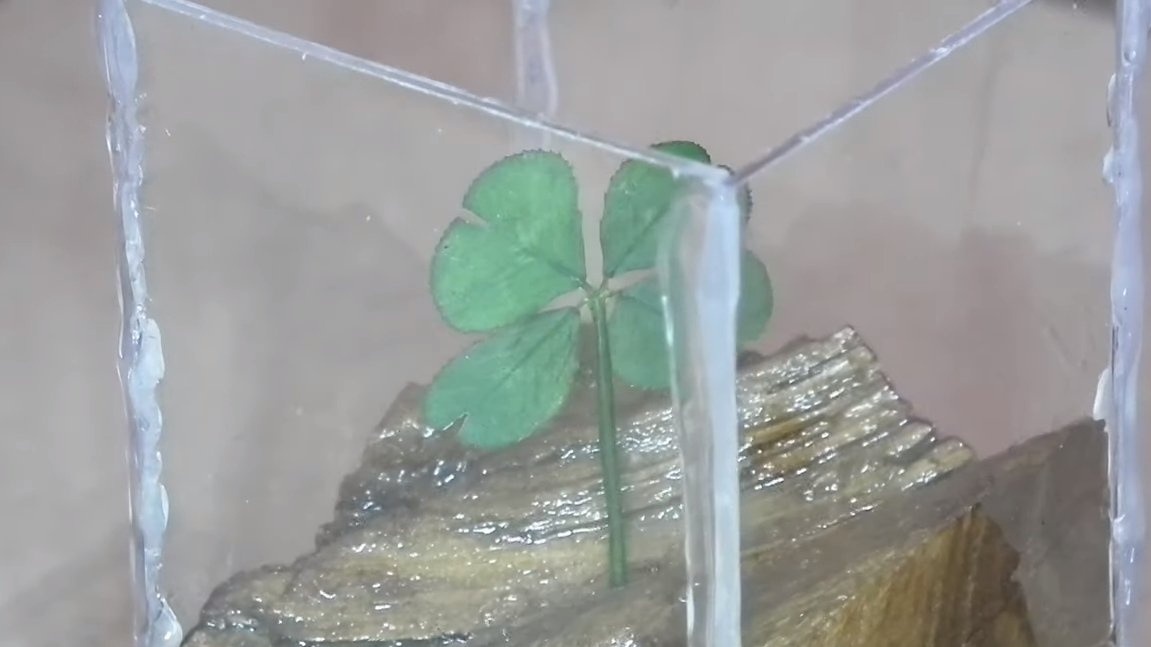
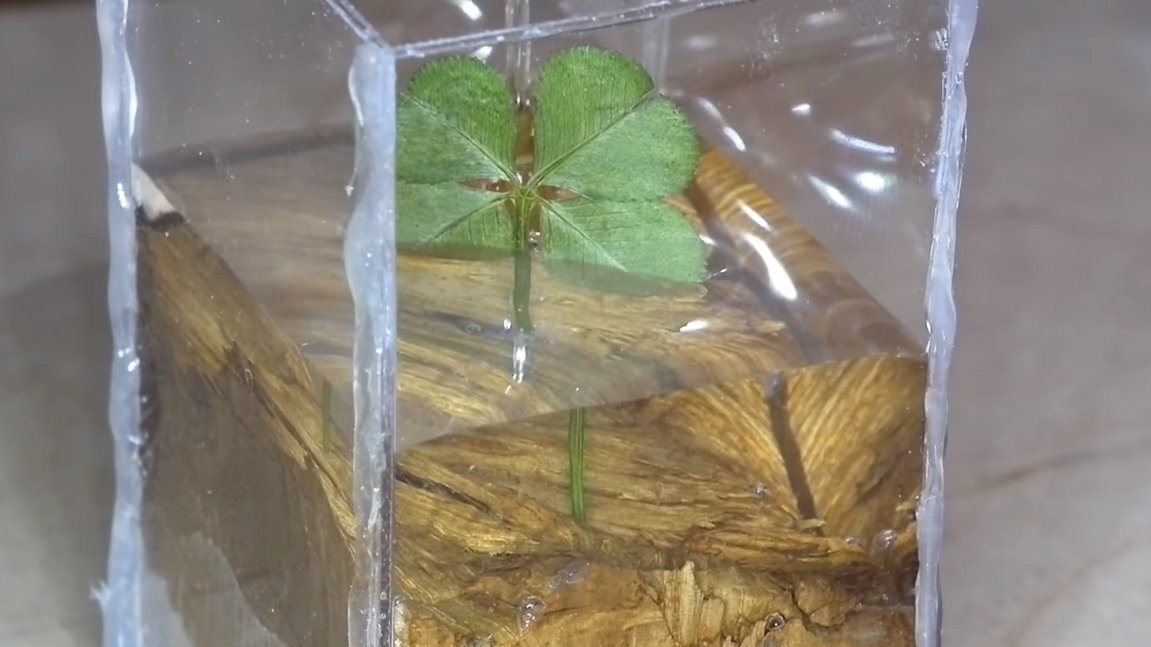
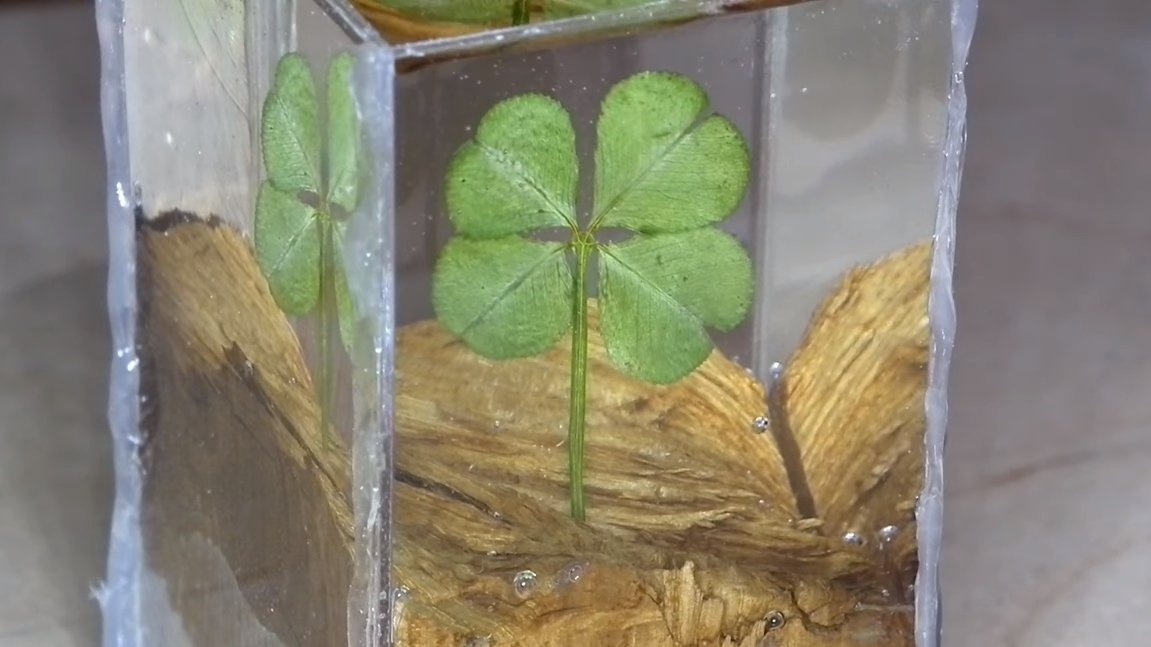
Inside the formwork, we need to install a clover, we get it from the book. To fix the clover, you need superglue, gently glue the claire with a leg to the tree. That's all, now you can pour the resin.We pour the resin slowly, on the side of the clover, so that it does not fall. If desired, we expel air from the resin using a vacuum chamber or a hairdryer. We leave the whole thing to dry.

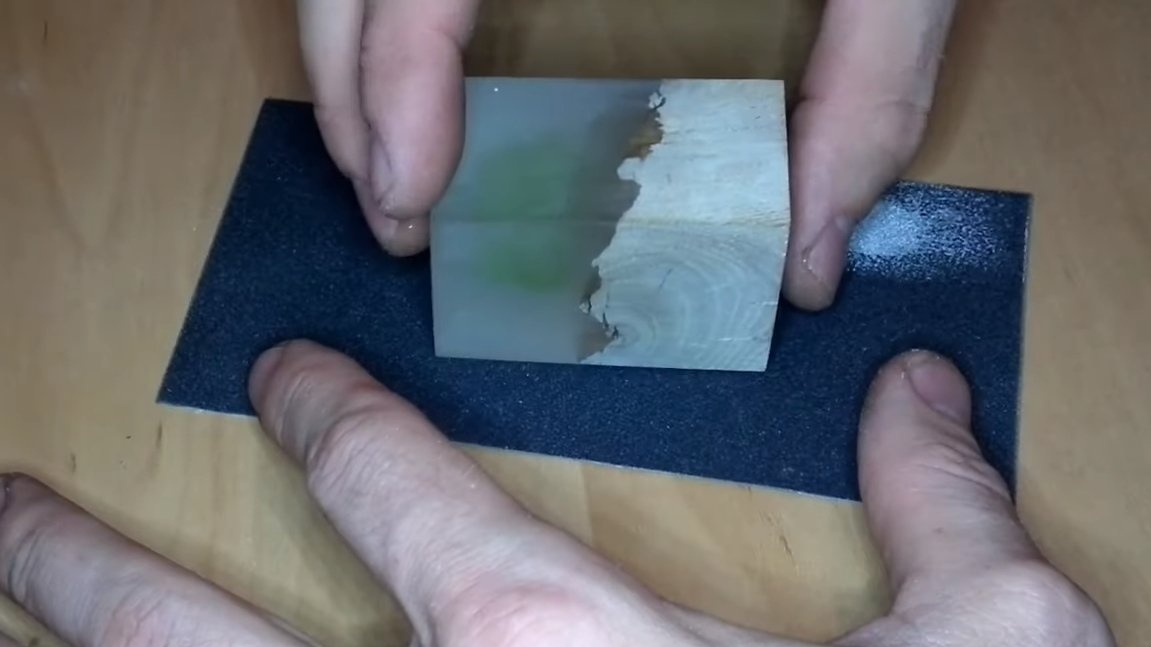
Step Four Grinding and polishing
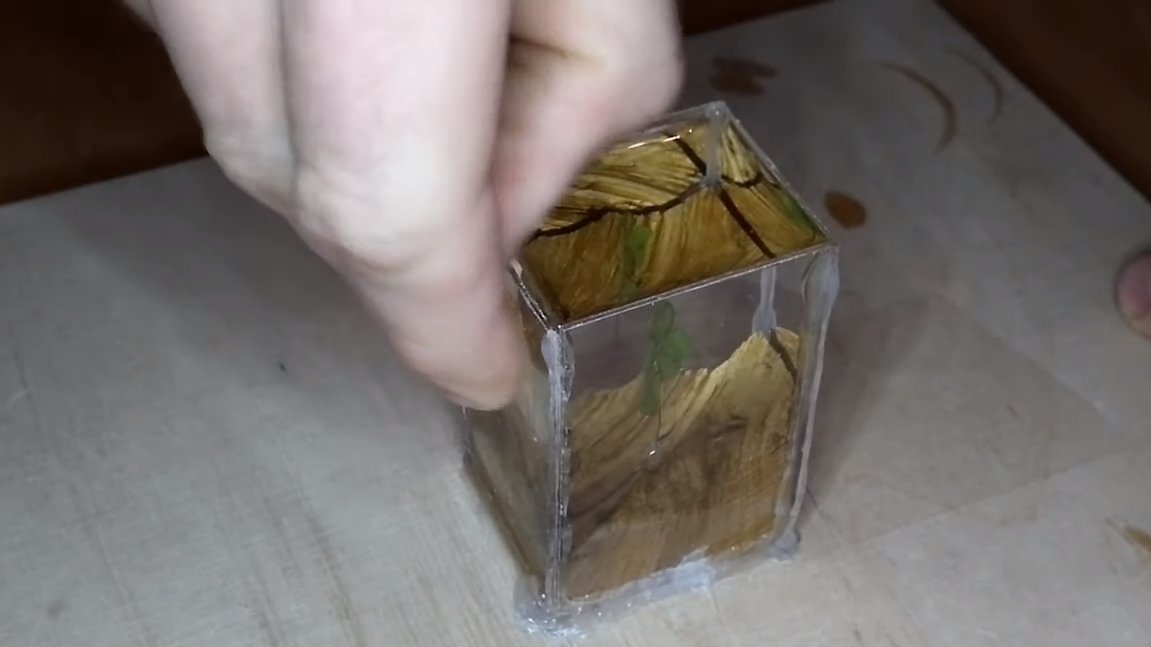
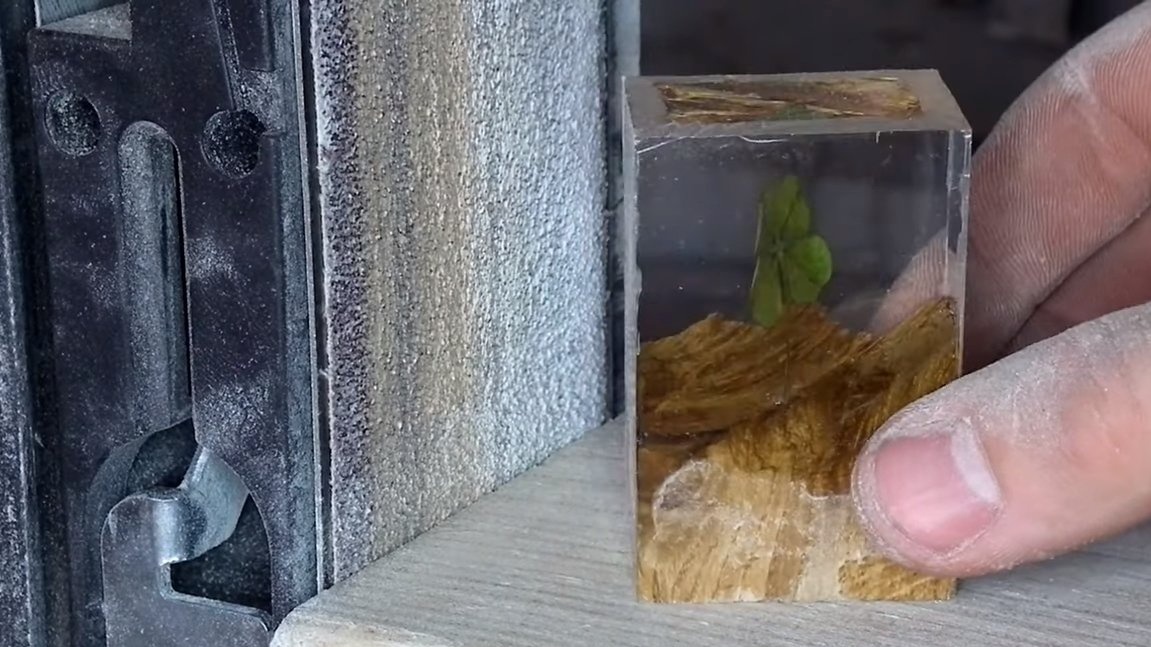
When the resin dries, the formwork can be disassembled, if acrylic is poorly removed, it can be heated with a hairdryer.
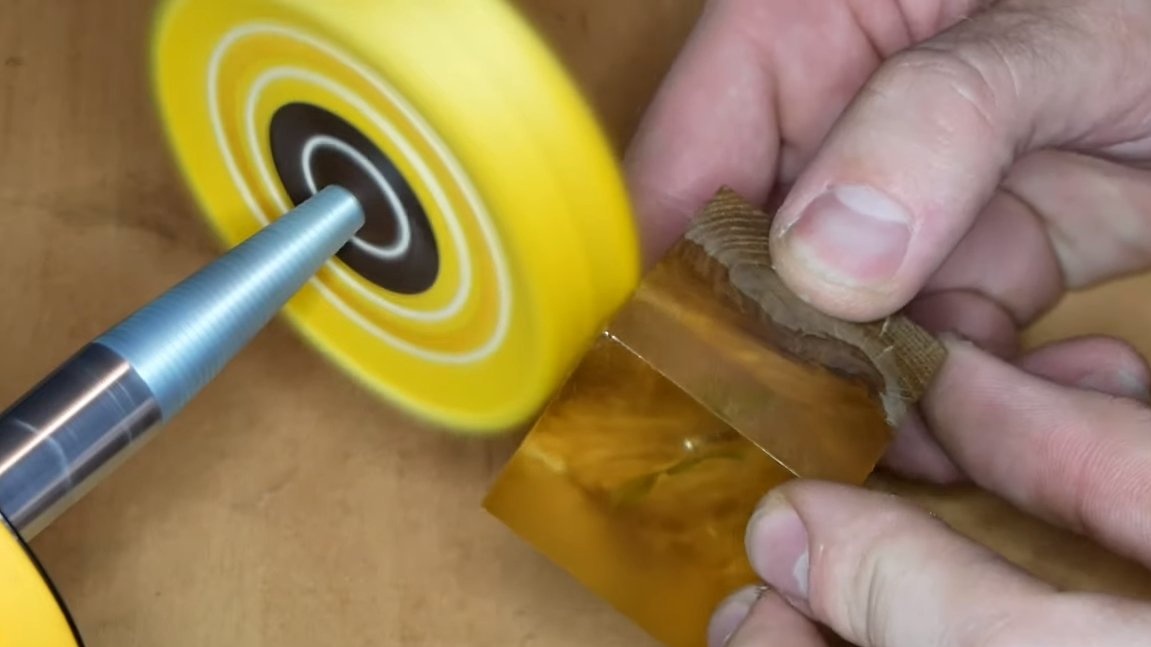
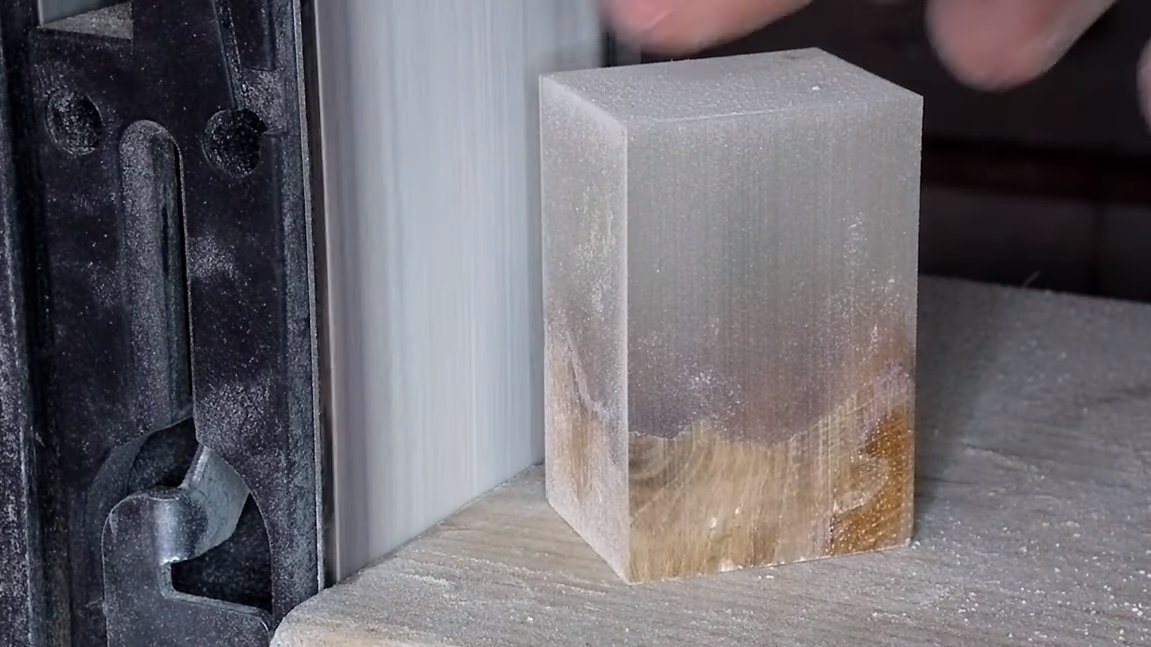
Next, it is necessary to grind the product in order to eliminate casting defects. The author uses a manual grinder, and in the end works with sandpaper. The grit of sandpaper should be reduced gradually, in the end you need to try to almost polish the resin with fine sandpaper. Only after this can you proceed to polish the product.
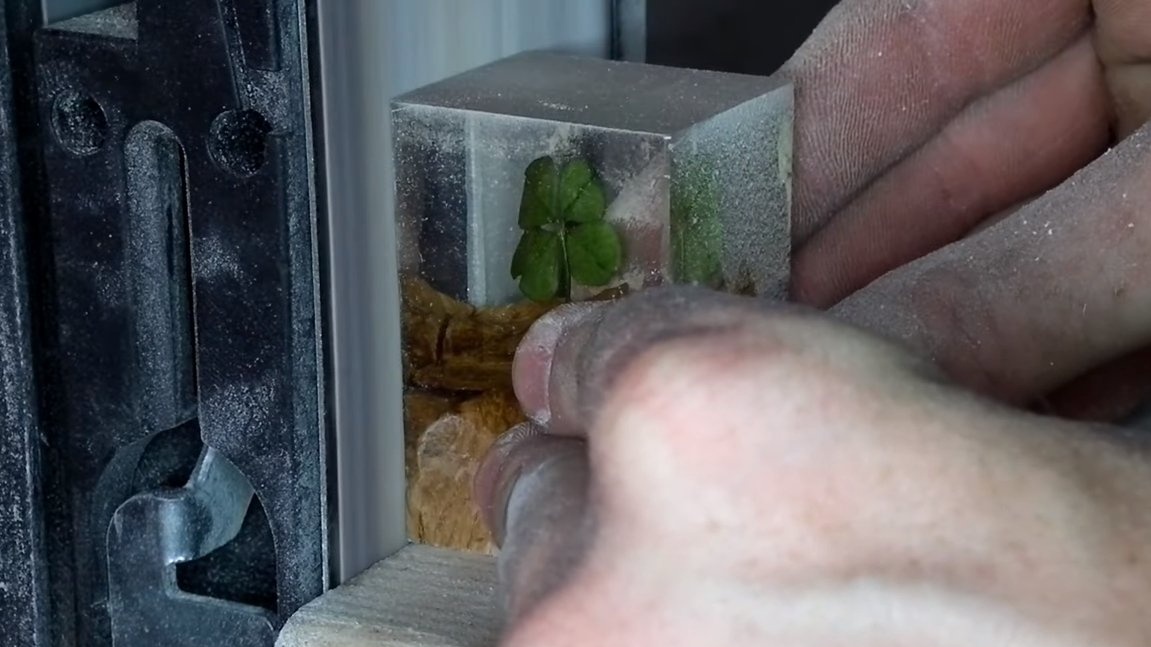
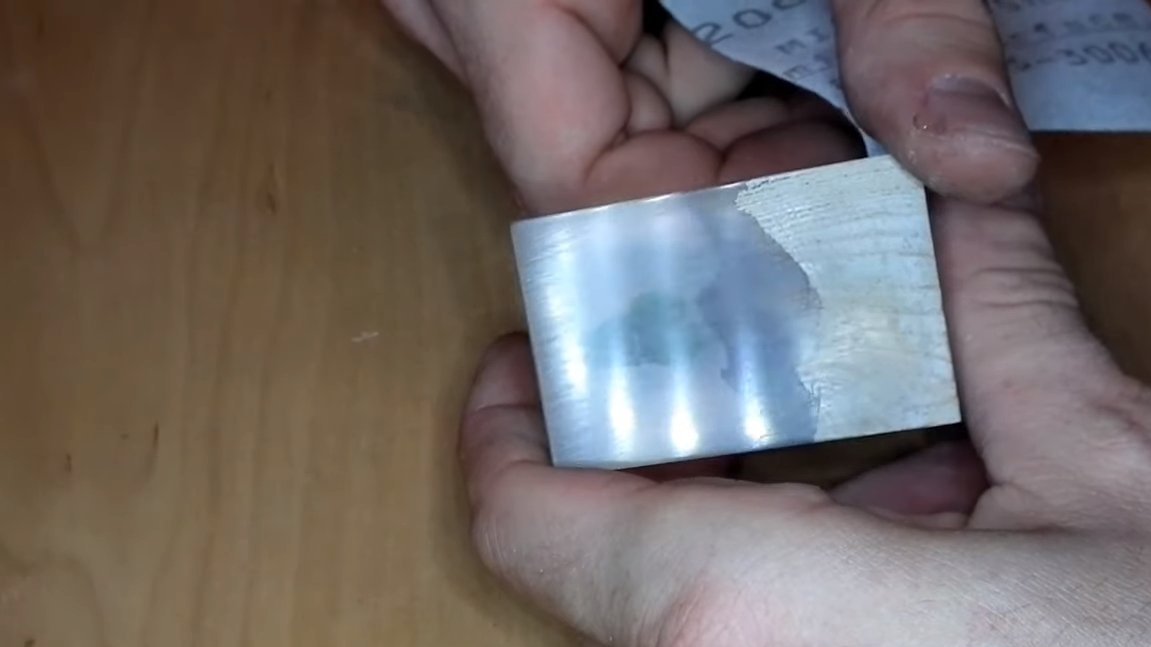
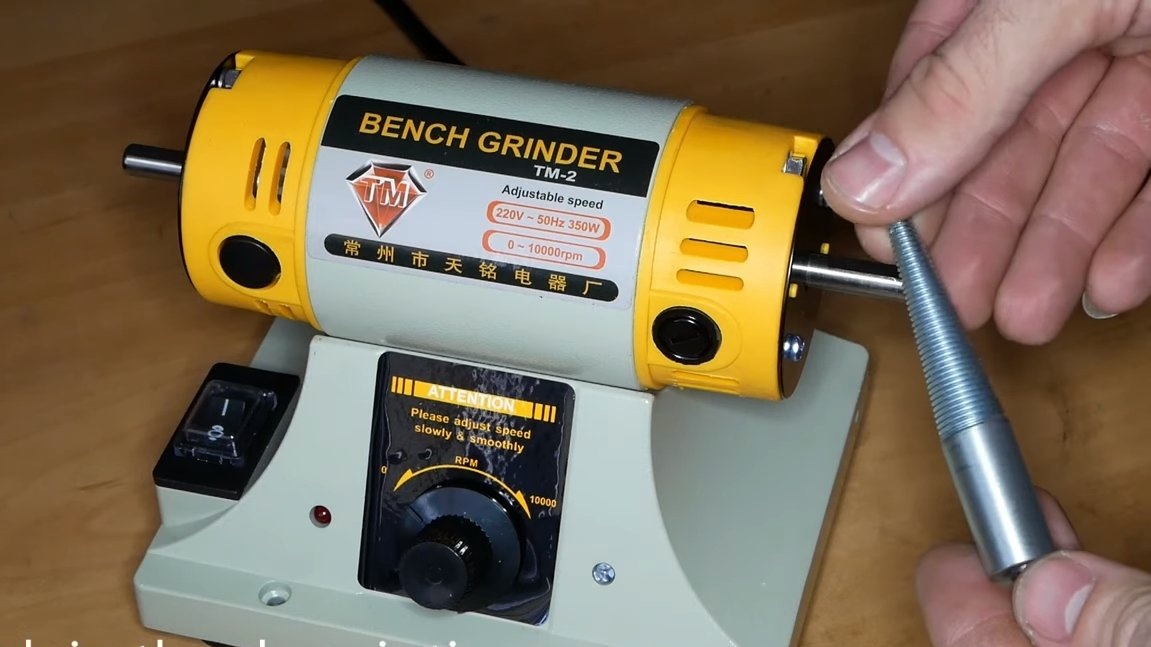
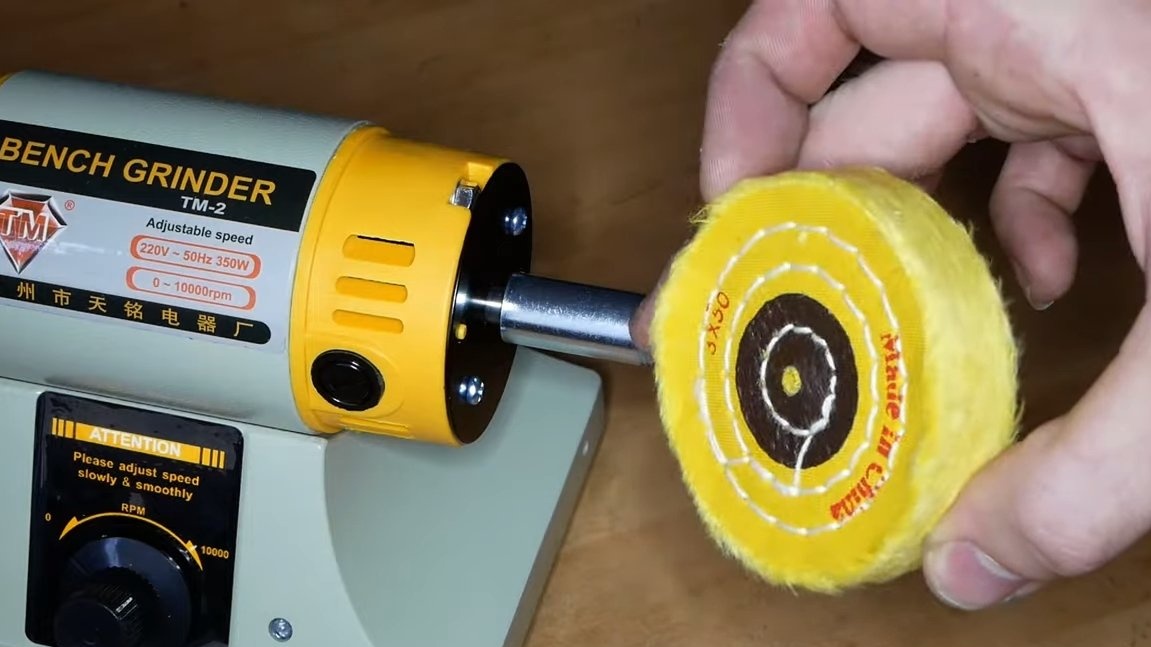
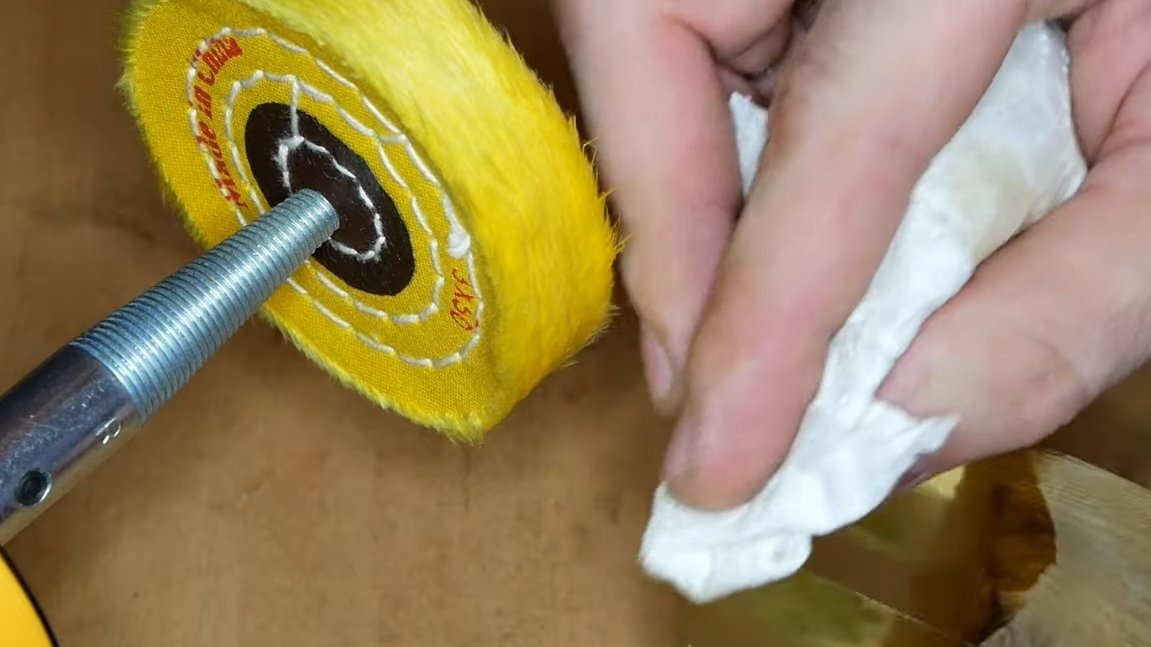
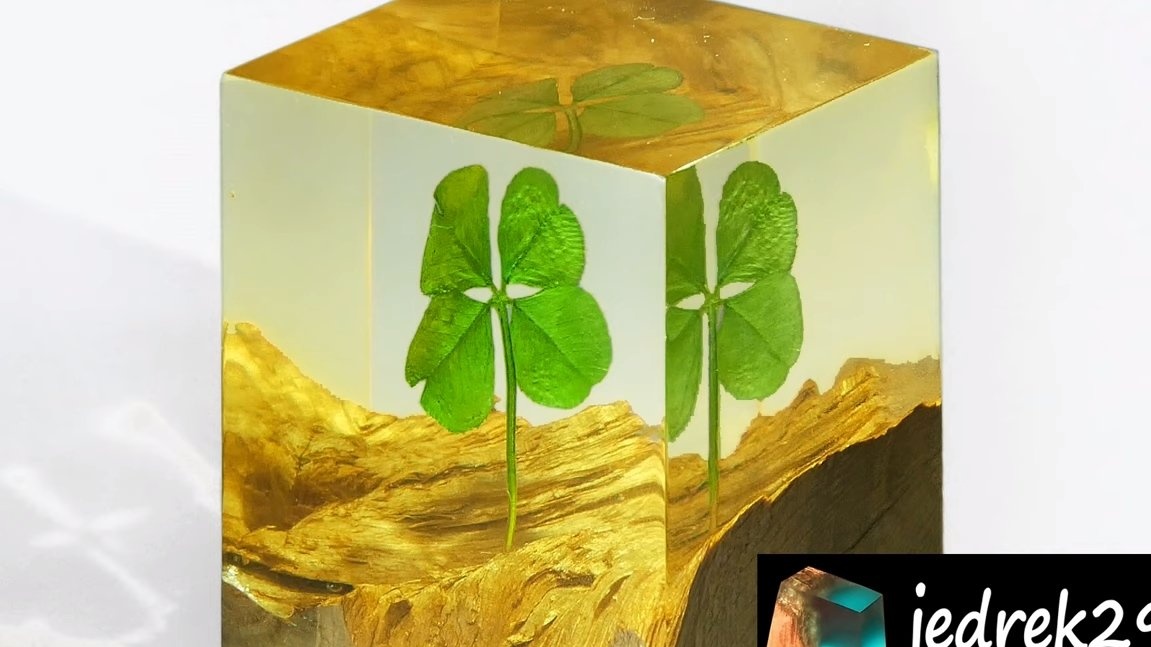
For polishing, the author bought a small polishing machine in China, the machine works fine. As a result, after polishing the resin, experienced crystal transparency returns. At the end, it is desirable to coat the resin with a protective varnish, otherwise it will turn yellow over time.
That's all, the project is over, everything looks great, we made a chic souvenir. Good luck and creative inspiration, if you decide to repeat this. Do not forget to share your ideas and homemade things with us!