
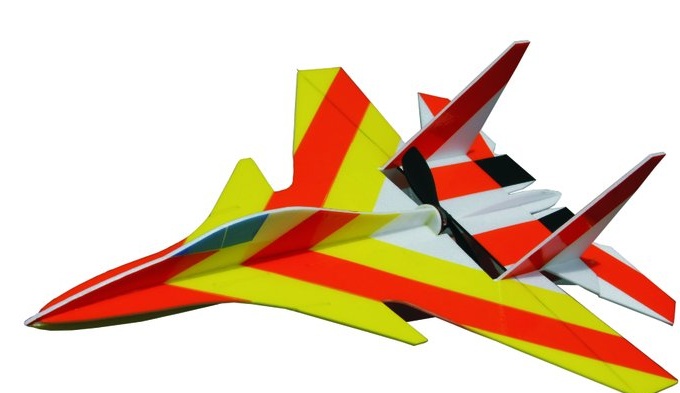
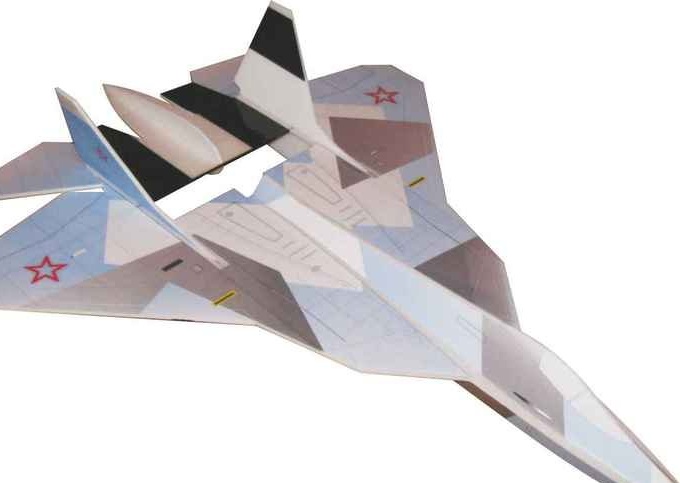
This is a model of the famous Russian Su-24 fighter and it only takes a few hours to make it.
The model has excellent flying qualities, as I saw on my own experience! That is why I recommend it as a model for training.
Do not be afraid to break this model - it is very easy to restore and can be raised to the sky again.
The author showed how to build this model in his video and brings great gratitude for the camera work to his friend.
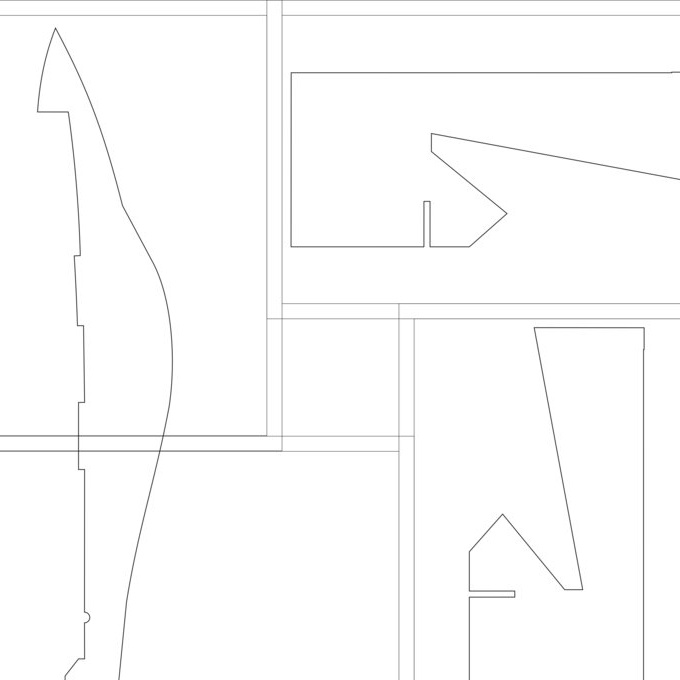
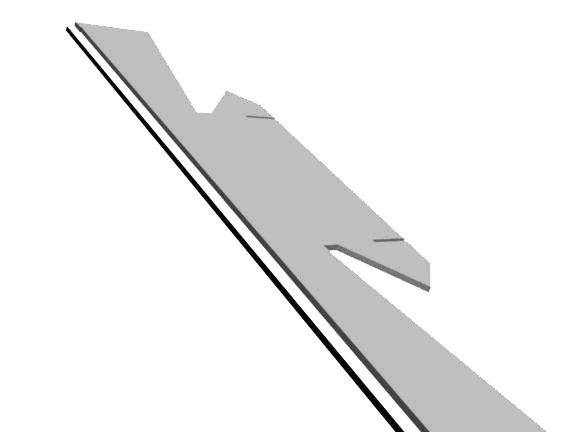
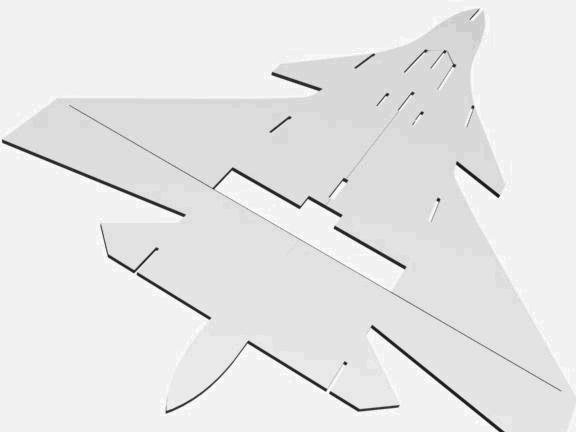
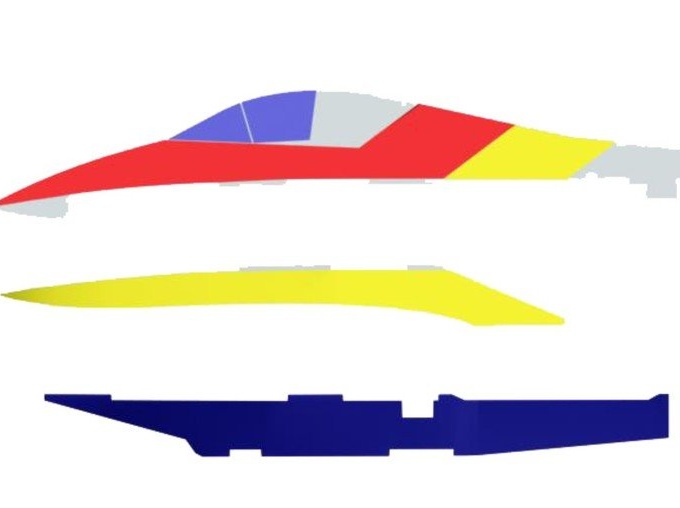
The author provided a file with drawings.
(Su-34V5.0.cdr)
As well as drawings, according to which you can make the drawing you need, of any scale and build this aircraft model on it.


Applicable materials.
Ceiling tile - ceiling (any thickness).
Any universal, moisture resistant adhesive for ceiling tiles.
Colored tape.
Preferably a carbon rod or tube, which can be replaced with a wooden lath made from the student's line.
Double-sided tape.
Masking tape.
Still need your patience and accuracy.
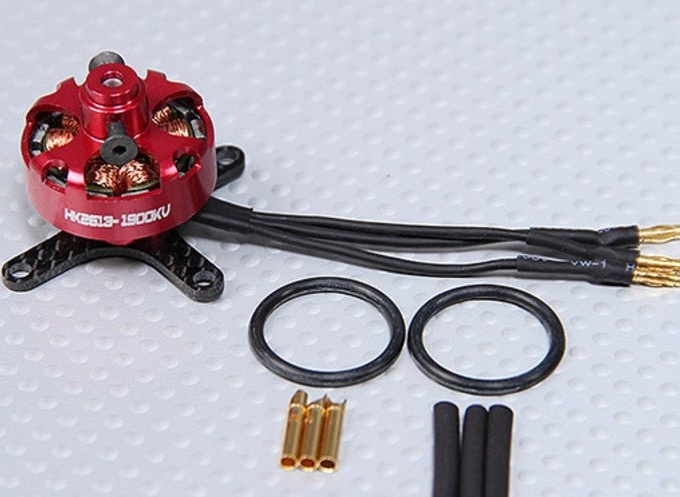
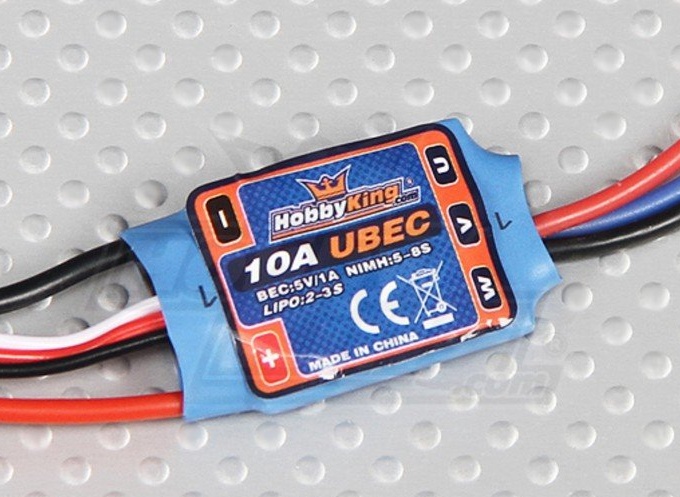
A few words about electronics.
Motor - 2615 1500kv.
The regulator is 15-20 A.
Servos preferably low weight - 5-8 g.
Battery - 2S 350-500 mah
Screw (propeller) - 6X5
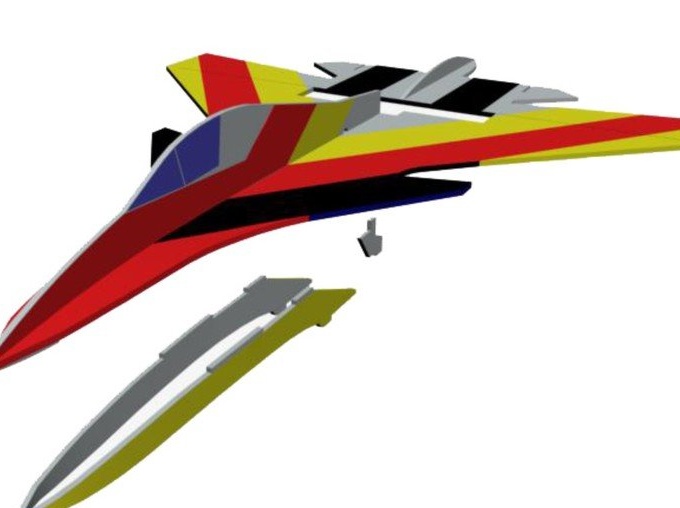
When assembling an aircraft model, you can adhere to the recommended technology.
Without waiting for the various parts of the aircraft model to be glued in place, fit them with colored tape. So it will be more convenient and faster for you.
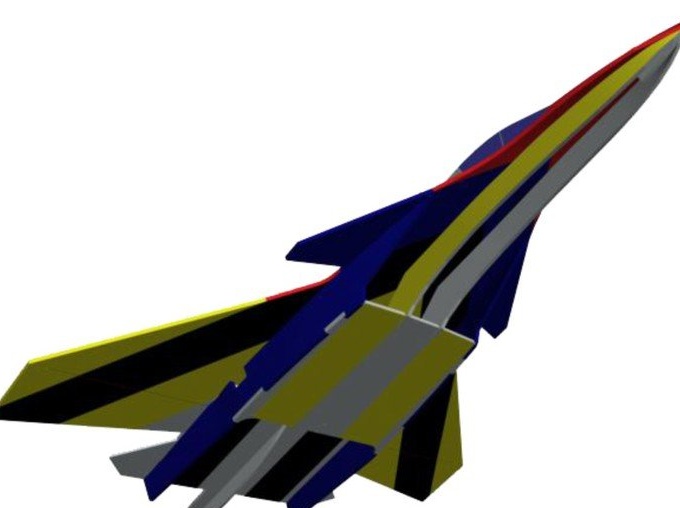
Assembly sequence: glue the rear of the wing, glue the rail to it, glue the front and rear of the wing together. Then paste the keel and hang the ailerons. Use technological stickers from masking tape.
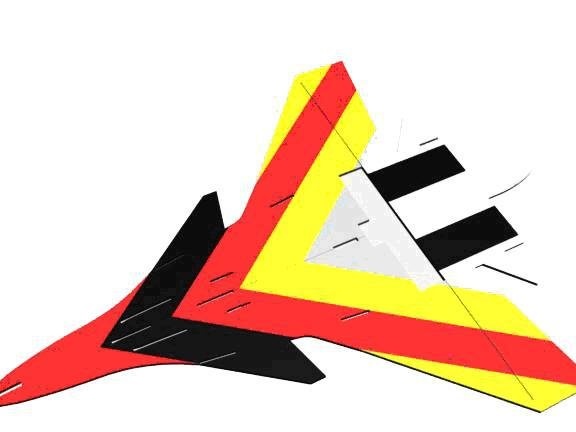
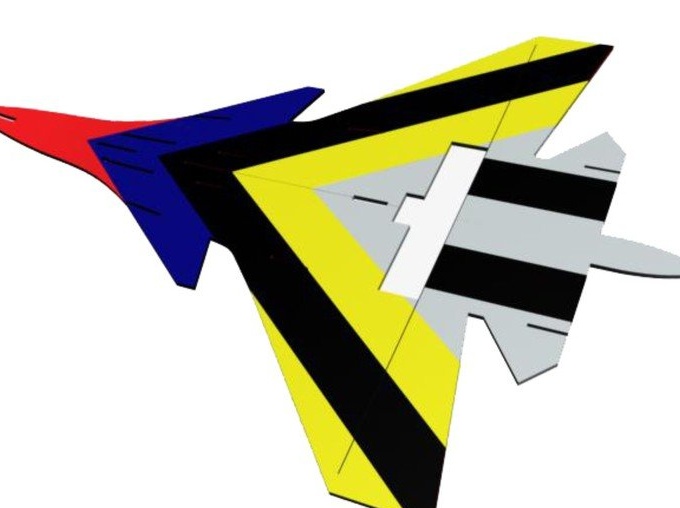

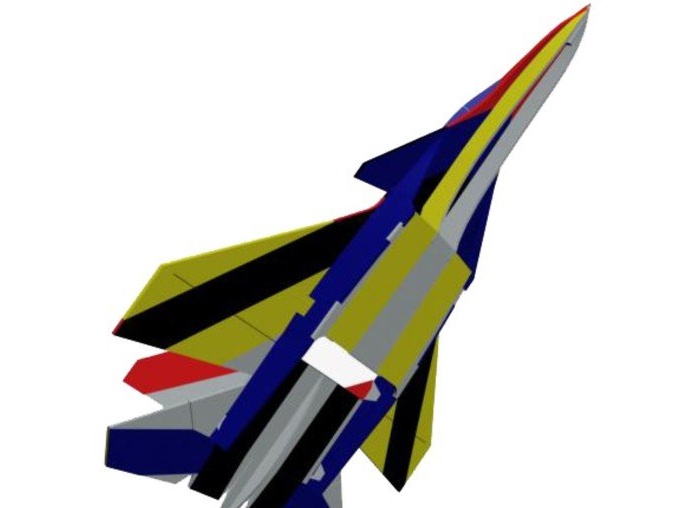
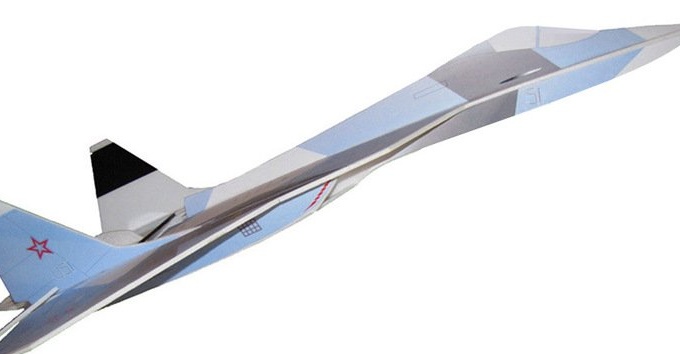
The coloring of your aircraft model can be done according to your taste and imagination.
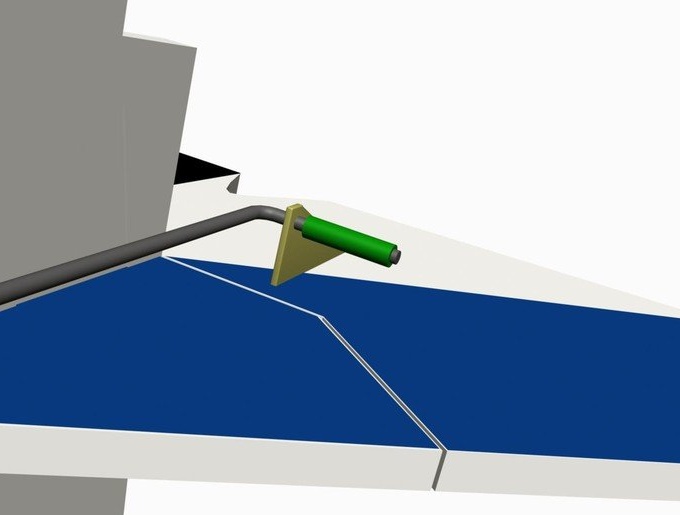
Do not forget to make cuts on the steering surfaces, before mounting them in their places.
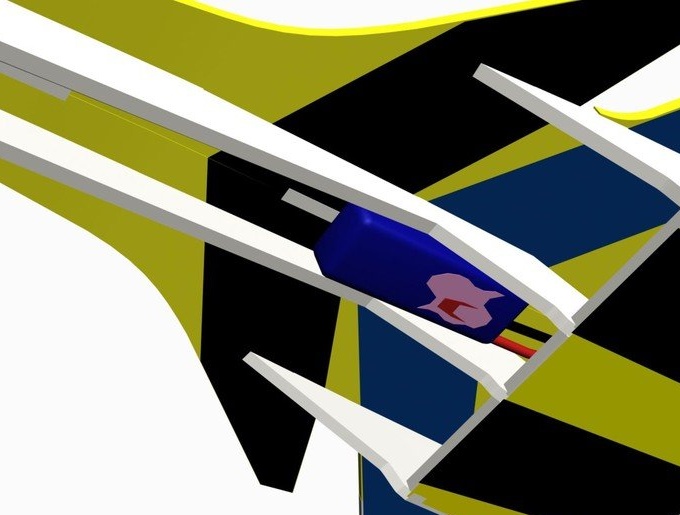
To mount the motor, glue a piece of thin, aviation plywood or fiberboard (hardboard).
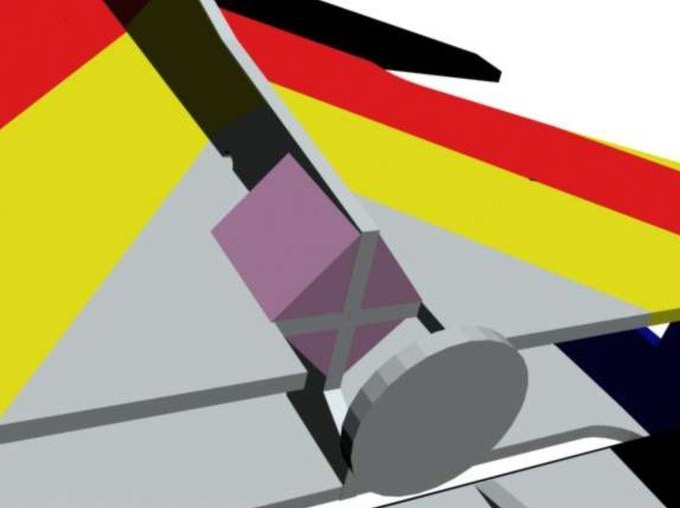
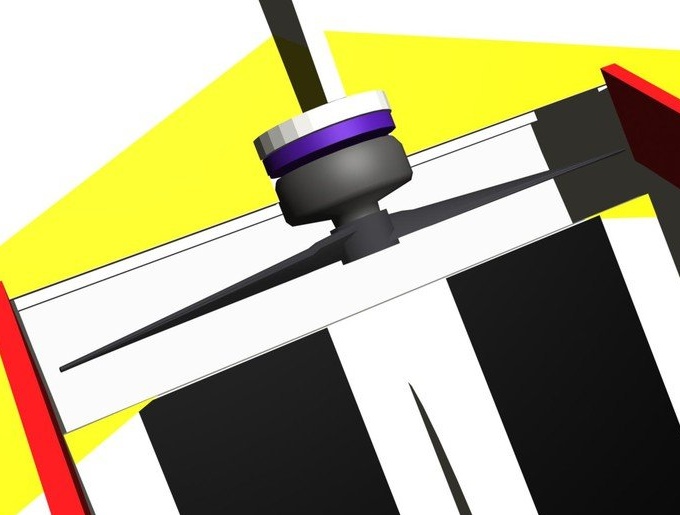
It is very important to determine the CT, which is ≈ 380-390 mm from the nose of the model. We mount boars and servos, connect rods. The whole technological process of assembling an aircraft model is well shown in the video and should not cause any difficulties.
In conclusion, I want to say that if you want to fly at high speeds, you can put a 3S battery. By the way, find a place for him in the center. The fastening of individual elements of electronics, such as the regulator, the battery and the receiver, is done on double-sided tape, you can also use Velcro.
In the same way, you can build a model of the T-50 fighter.
I really hope that this publication will be useful to you and you will delight your friends with the flight of a new aircraft model, and you yourself will be delighted.
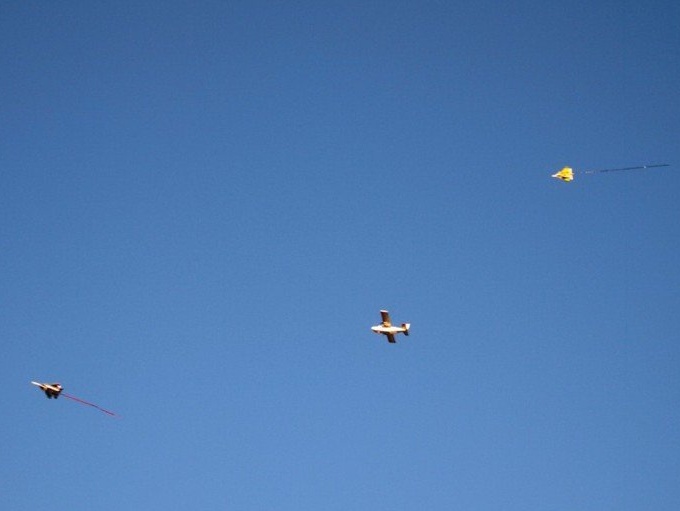
This is how this model looks in flight.
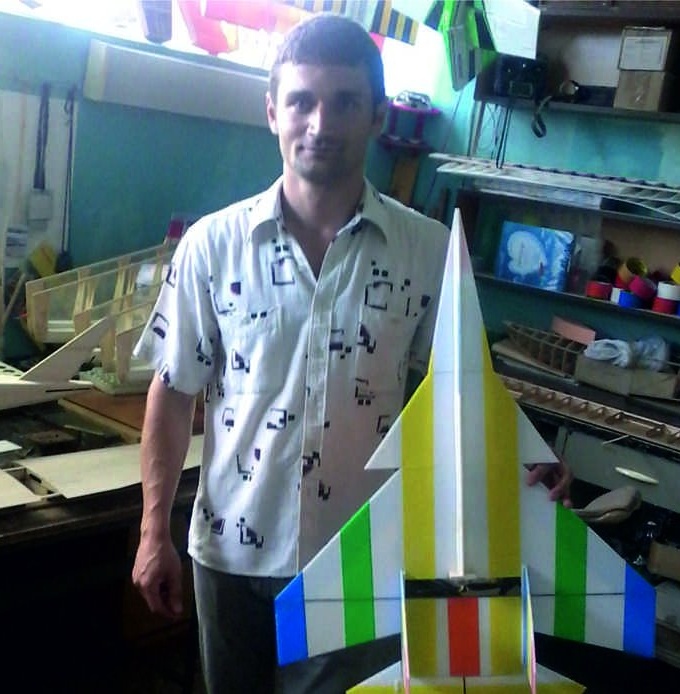
And this is a model with its creator.
All the best to you, successful flights and soft landings.
Goodbye, Valerian.