
Good day to all. Today, the author of the channel “Men's Craft” will show how he assembled a simple carpentry vise, without any machines. The master used the usual tools and materials that almost everyone has, namely.
INSTRUMENTS:
Electric drill or screwdriver;
Drills, including feather;
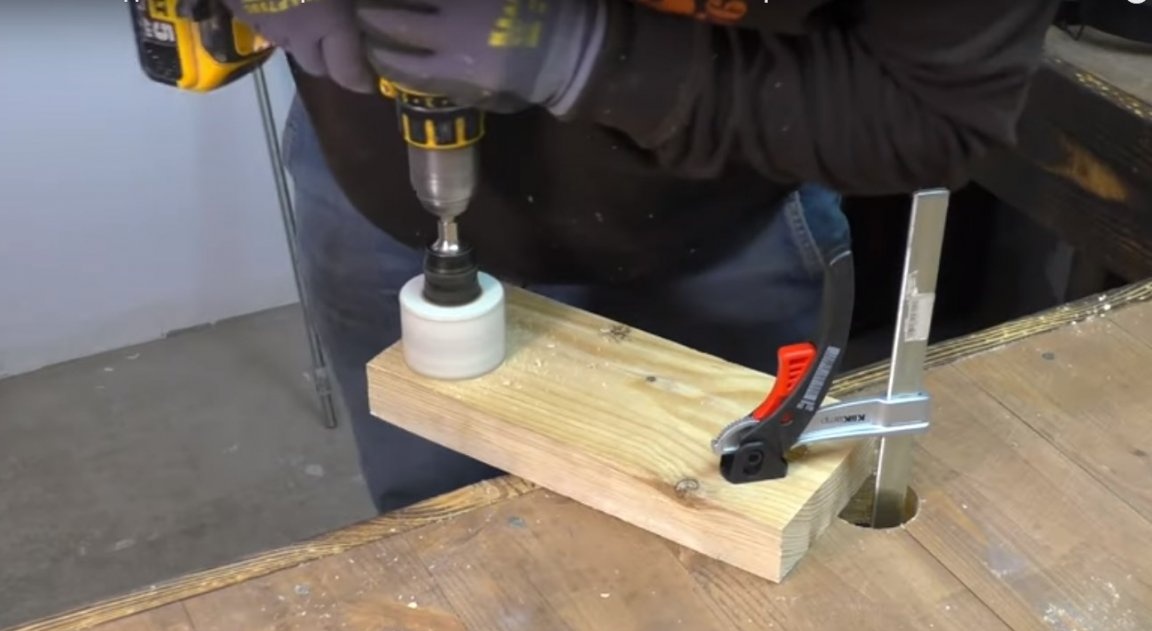
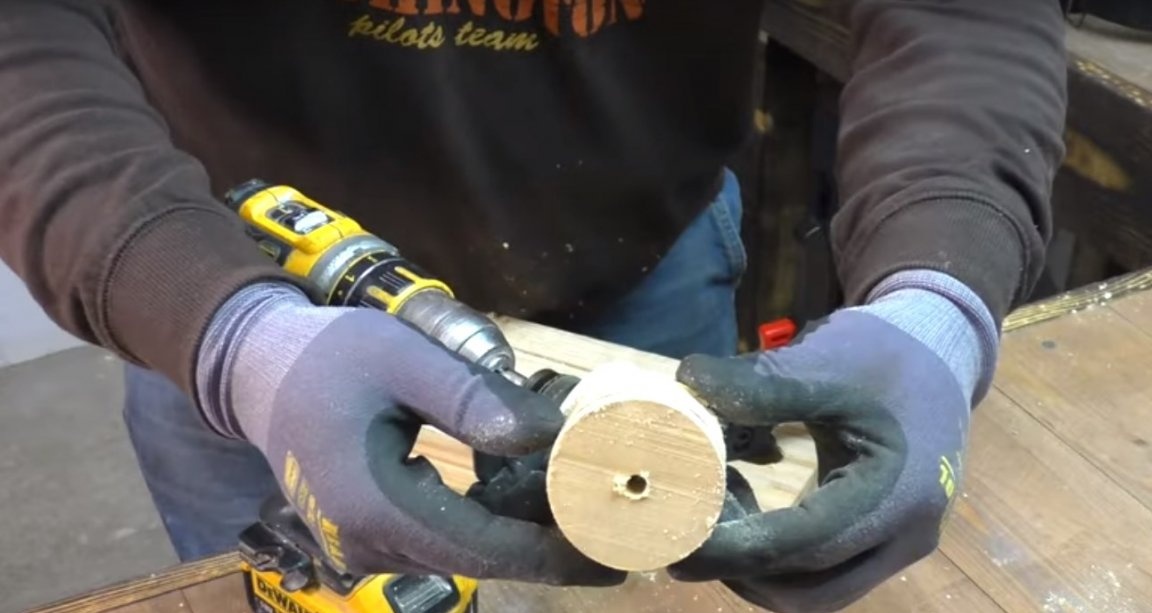
Crowns for wood;
Electric jigsaw;
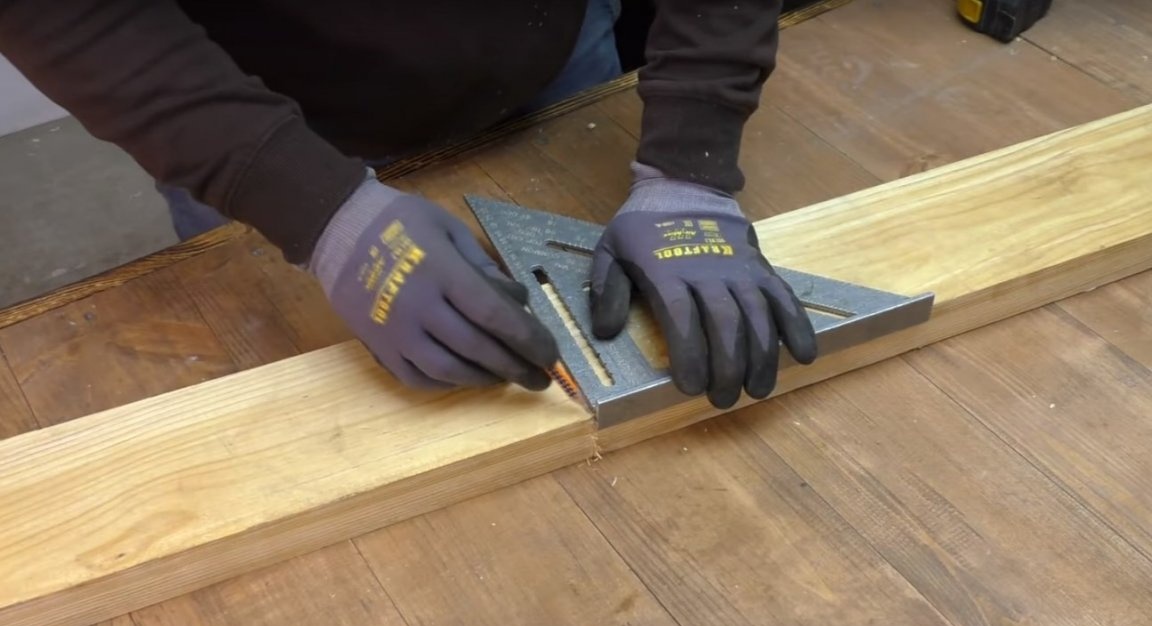
Square;
Plane;
Roulette;
Marker or simple pencil;
Clamps;
Gas stove;
Metal brush;
Chisel;
Hammer;
MATERIALS:
Board;
Plywood;
Two studs and four nuts;
Furniture bolts;
Two furniture mortise nuts (crab);
Glue: carpentry and epoxy;
Sandpaper;
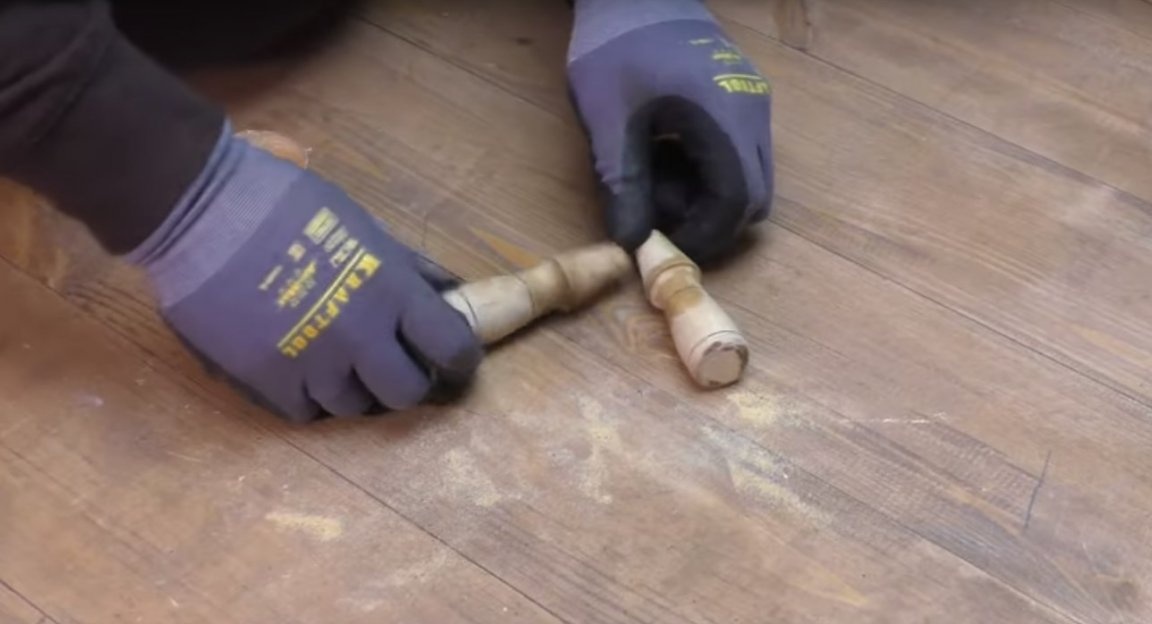
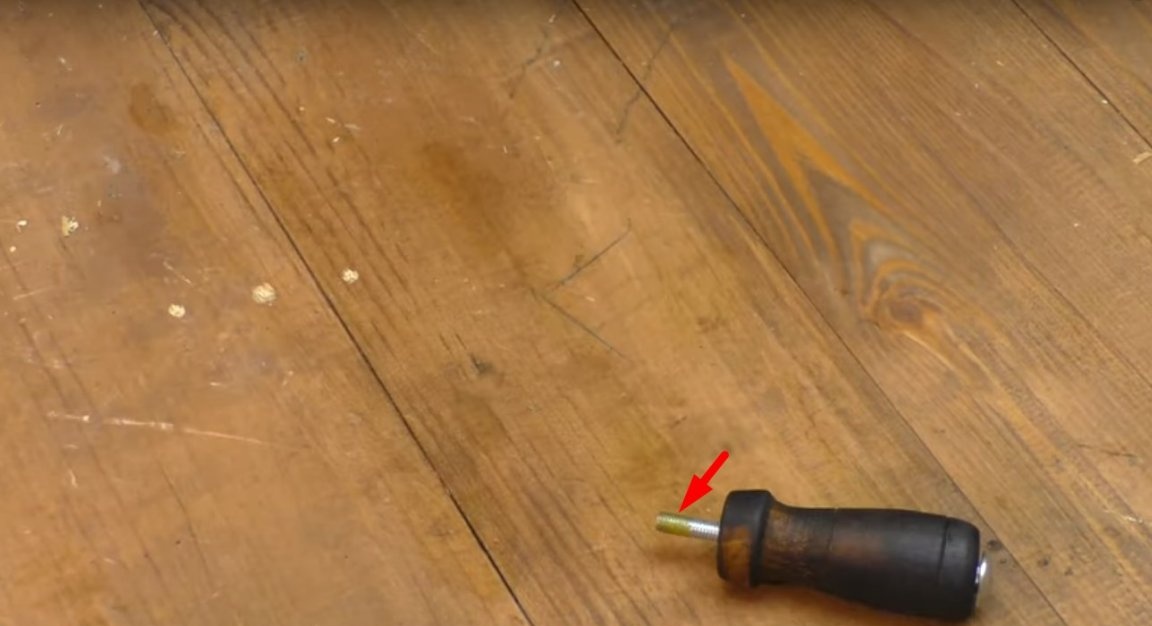
And a pair of wooden handles, as in the photo;
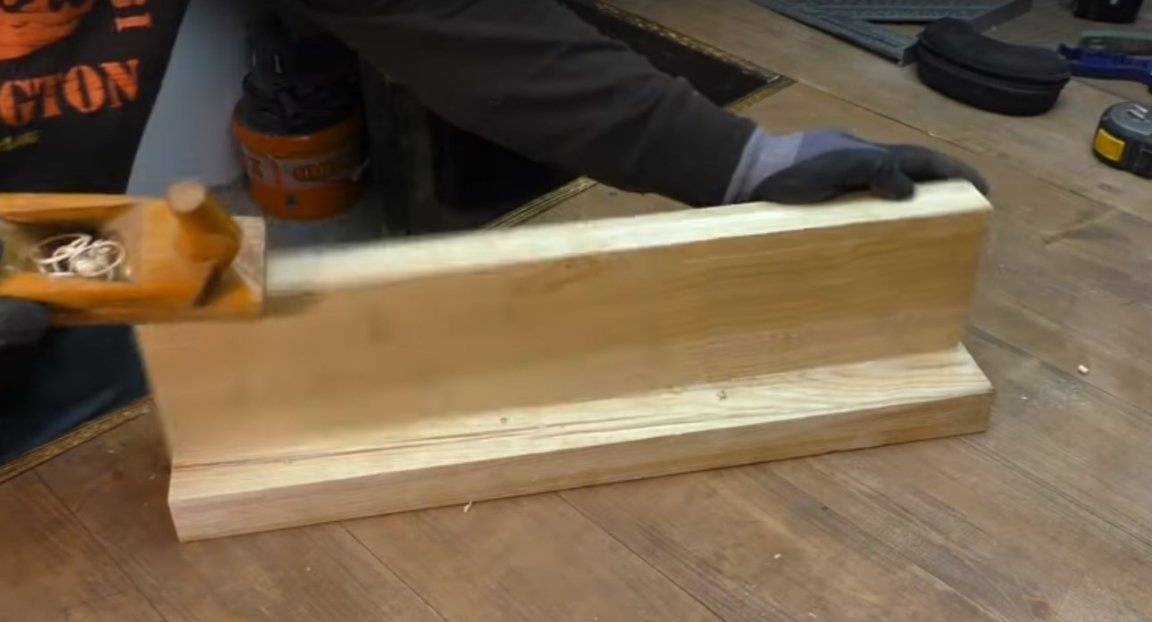
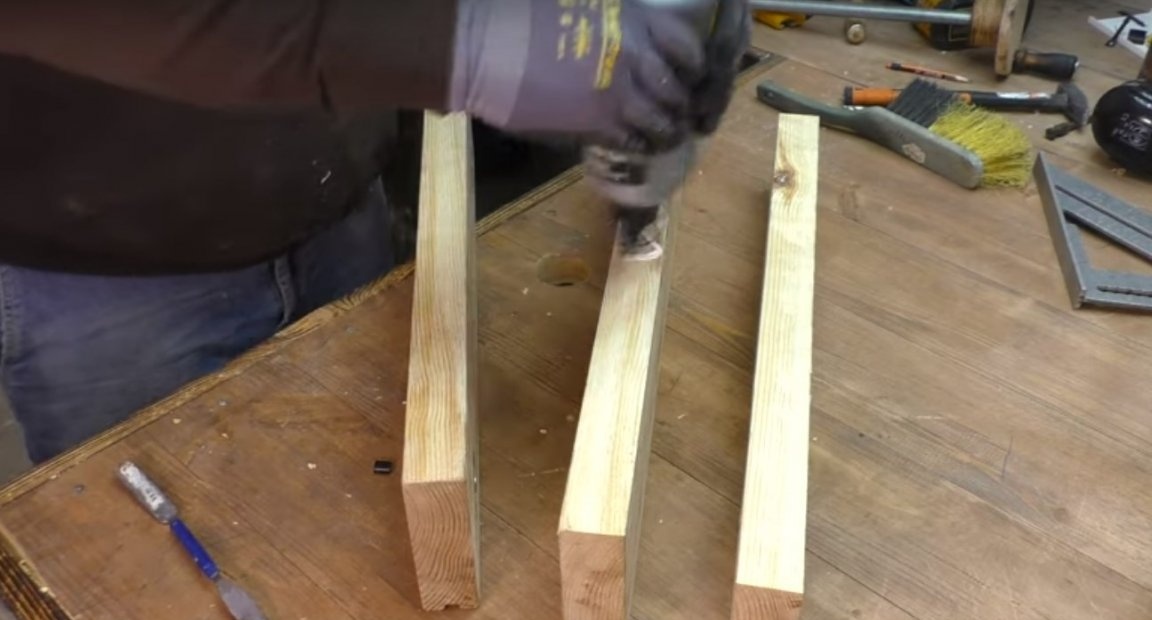
And so, the author began to manufacture. From the board, he cut two pieces of approximately 600 mm long.

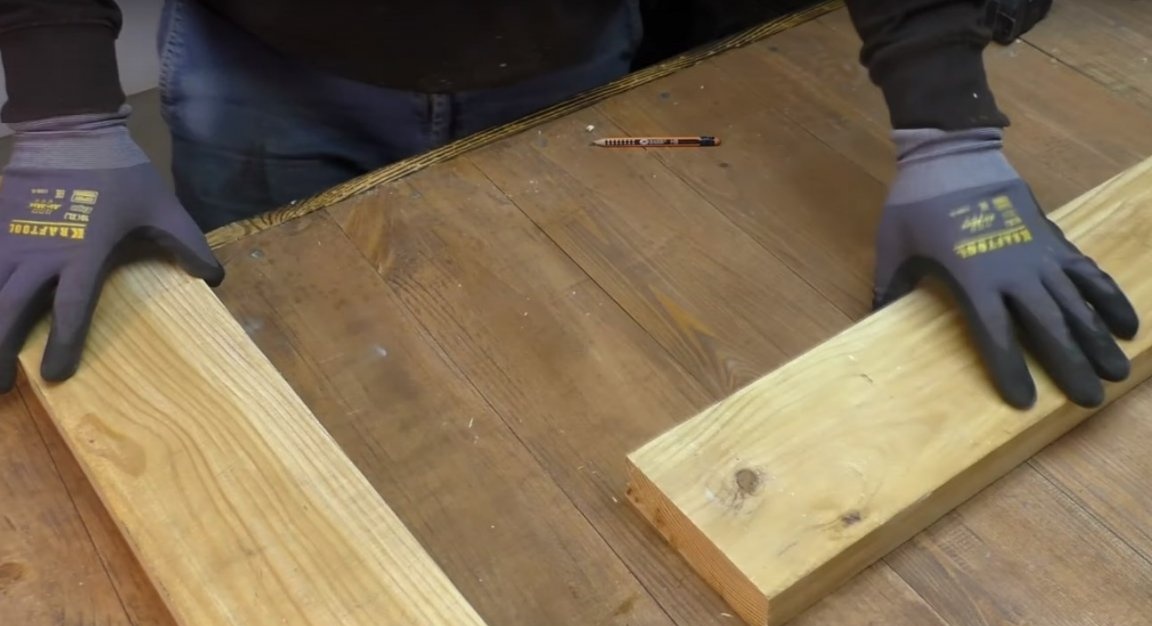
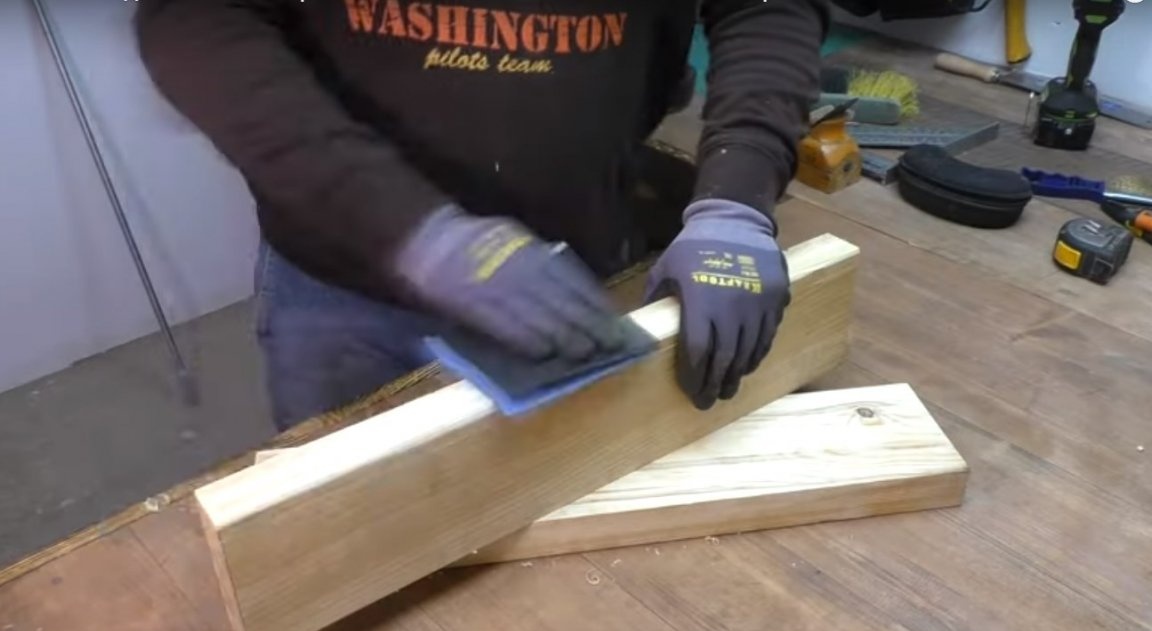
After he processed the edges of the blanks with a planer and sandpaper.
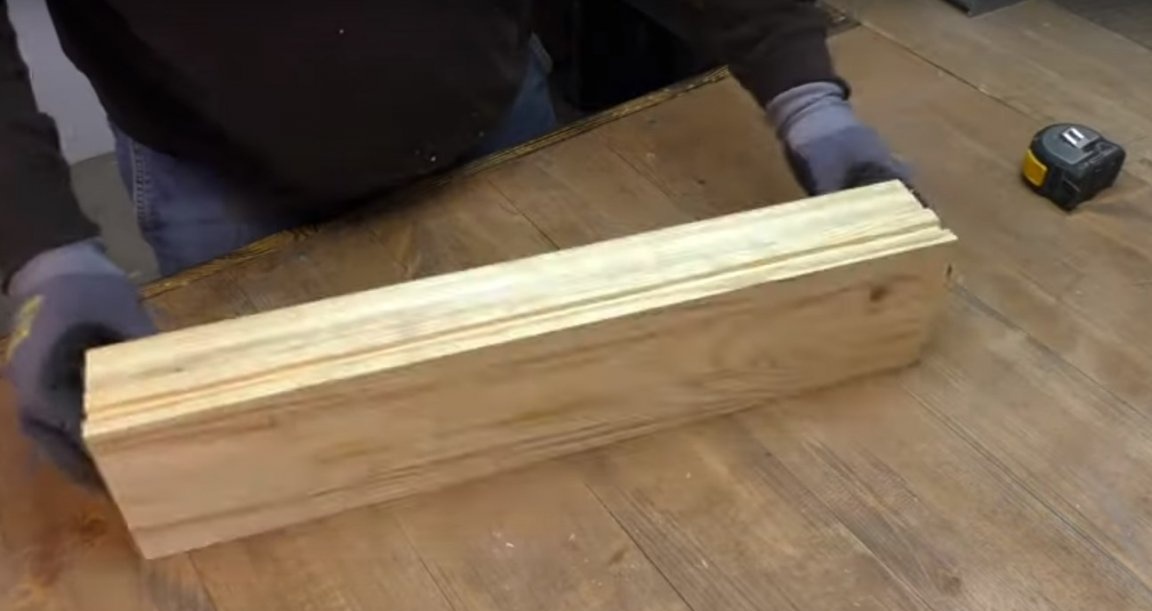
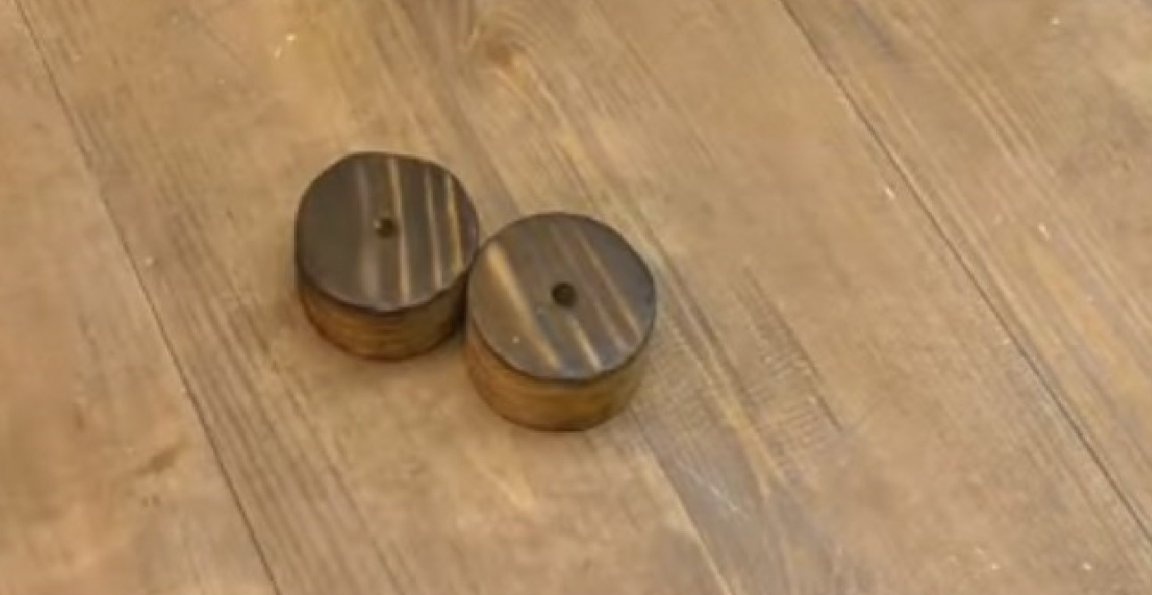
Then, from the remaining piece of the board, the author cut out a couple of such details.
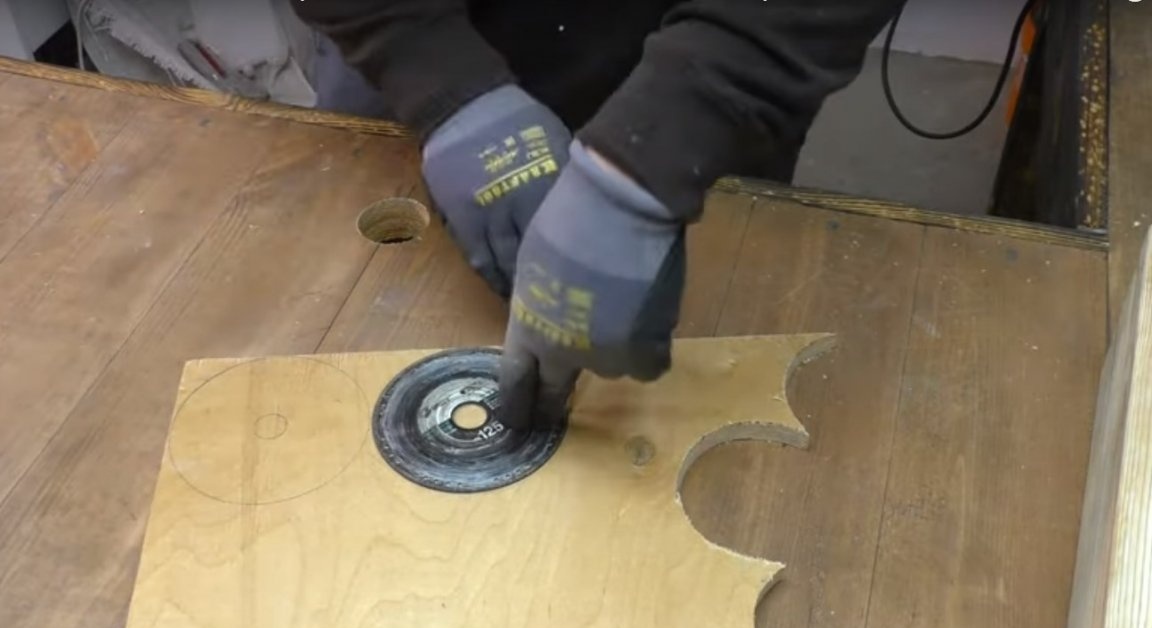
Then, from plywood, he made two such blanks.
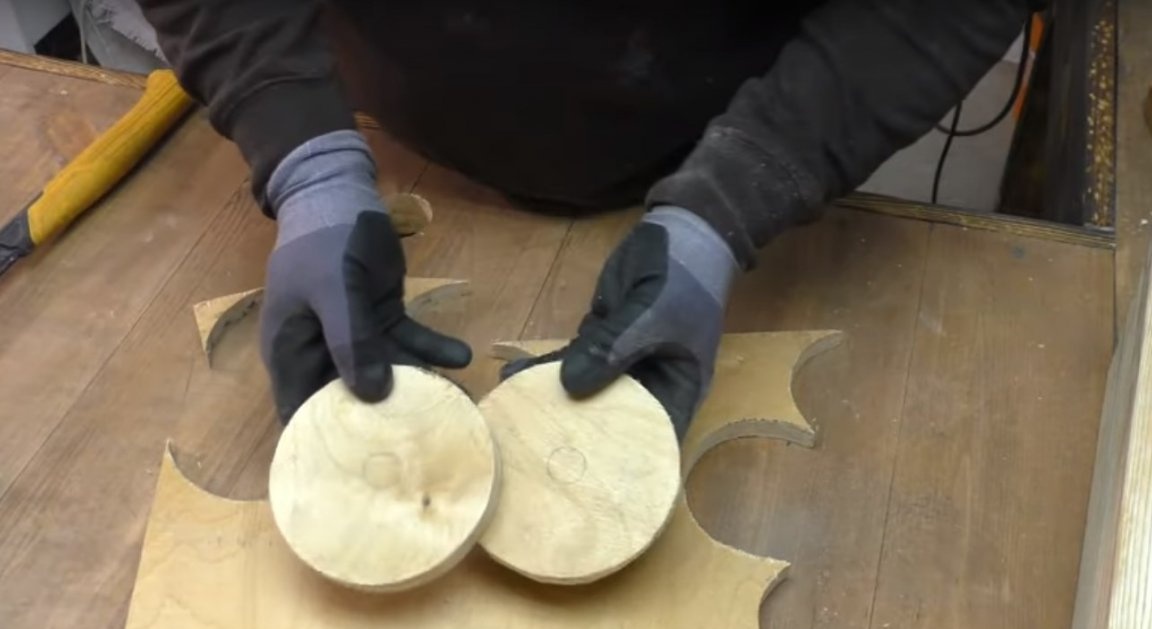
And cleaned them with sandpaper.

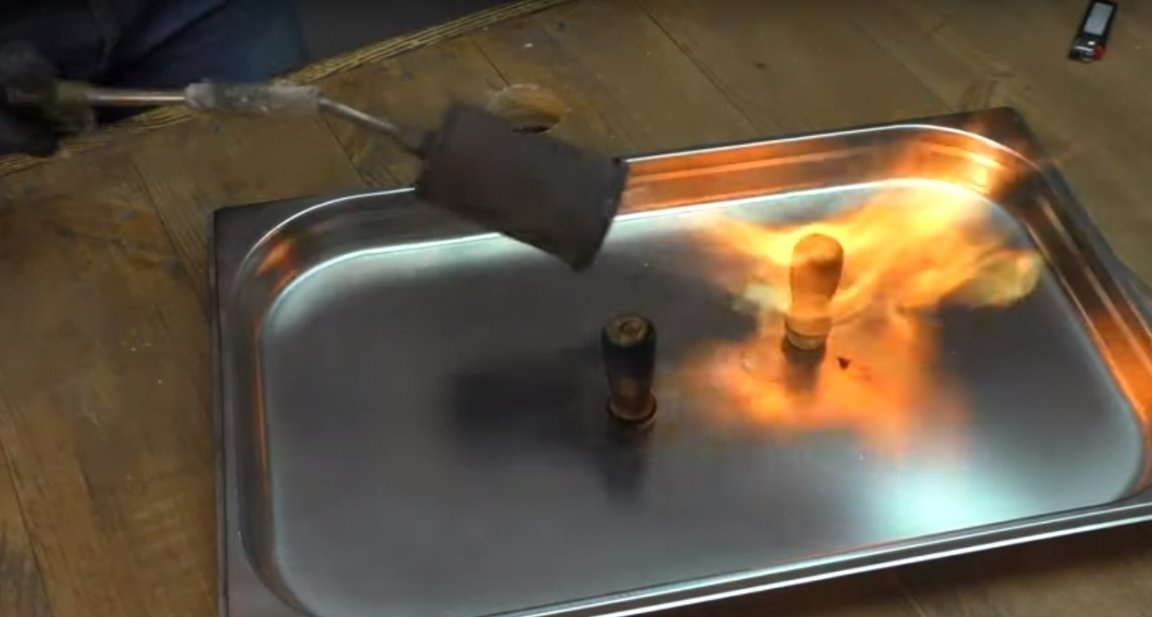
Then he burned a little parts previously cut from the board.
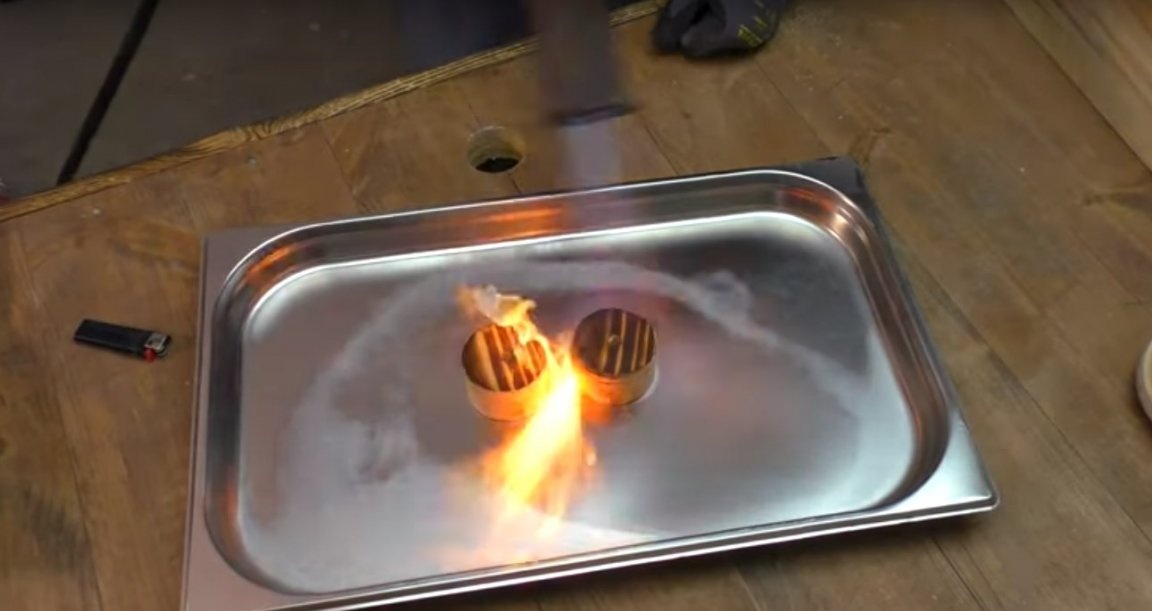
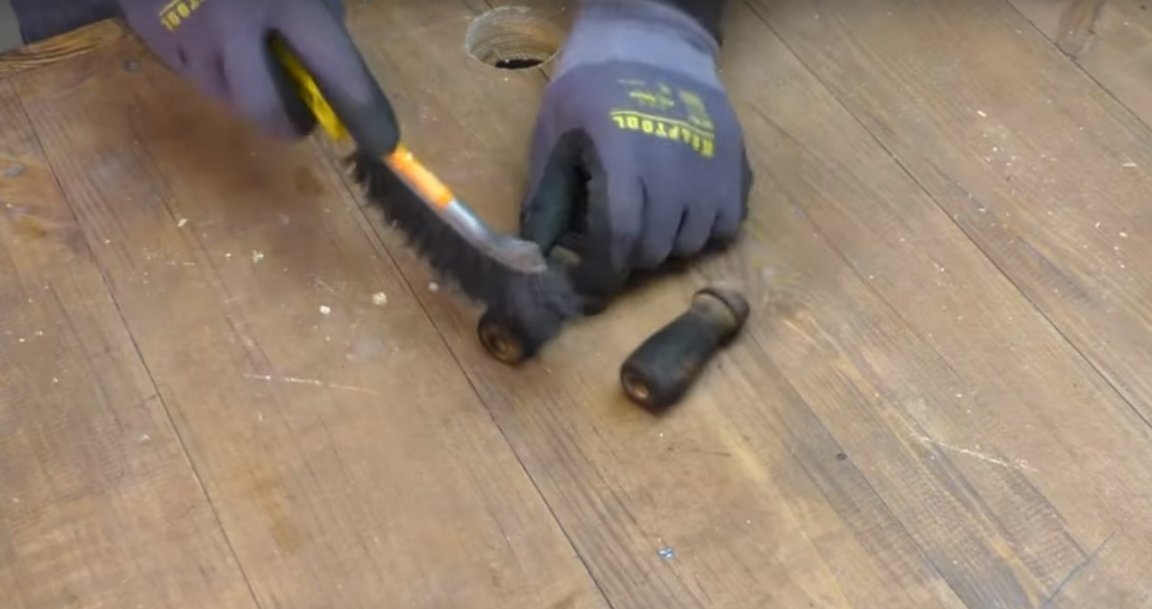
After firing, the author processed them with a metal brush.
And then, he put glue on the plywood blanks and glued the burned parts to them.
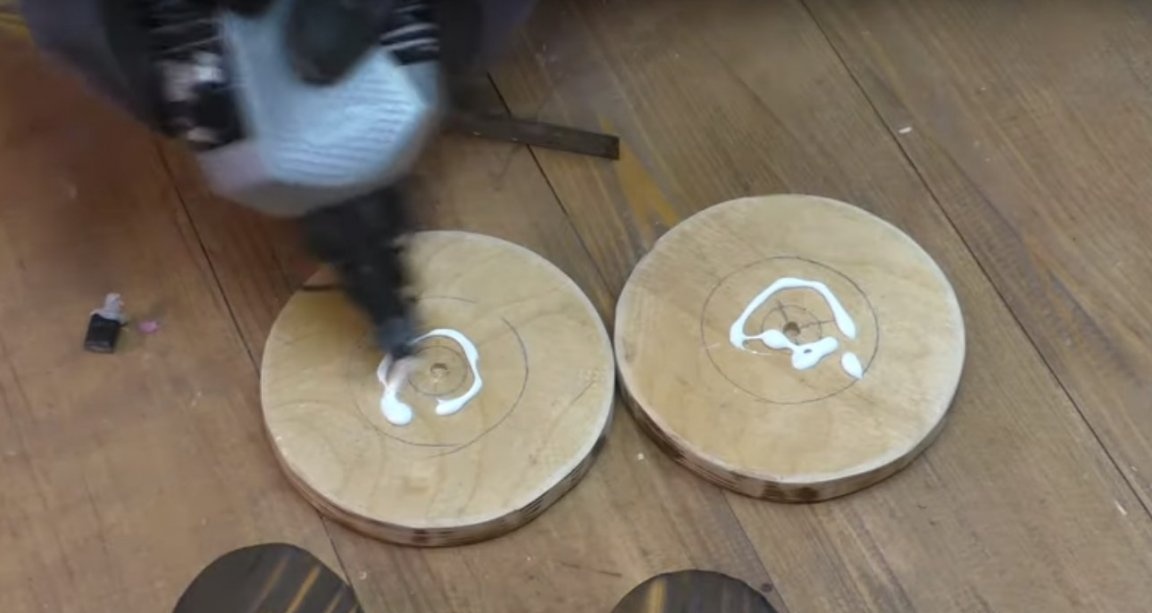
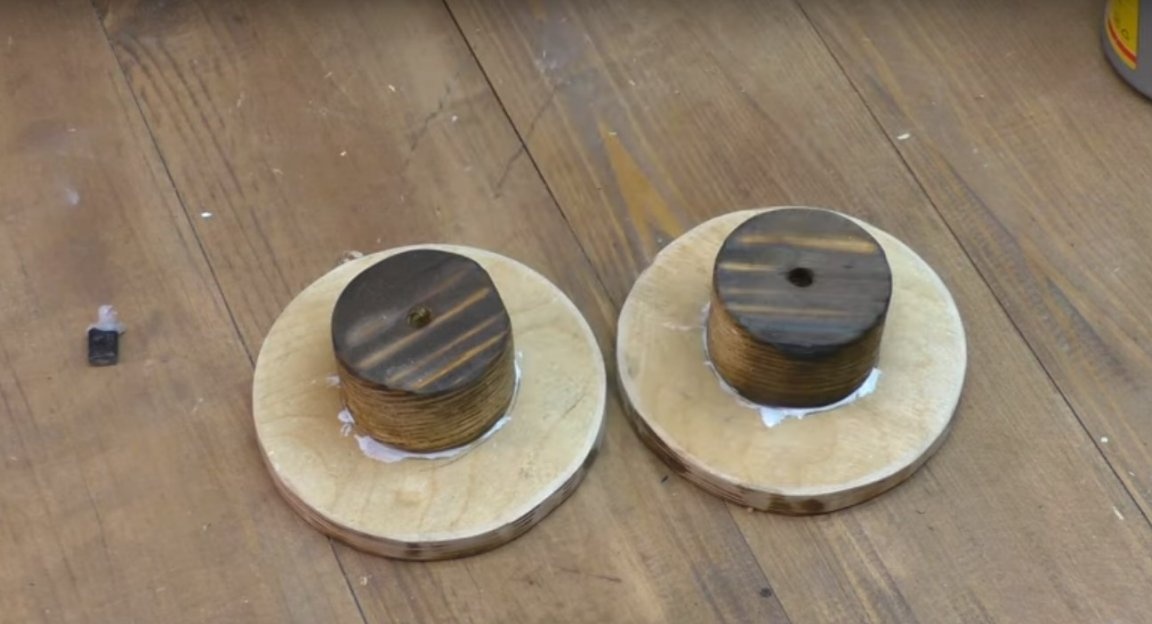
Squeezed with clamps until the glue completely dries.
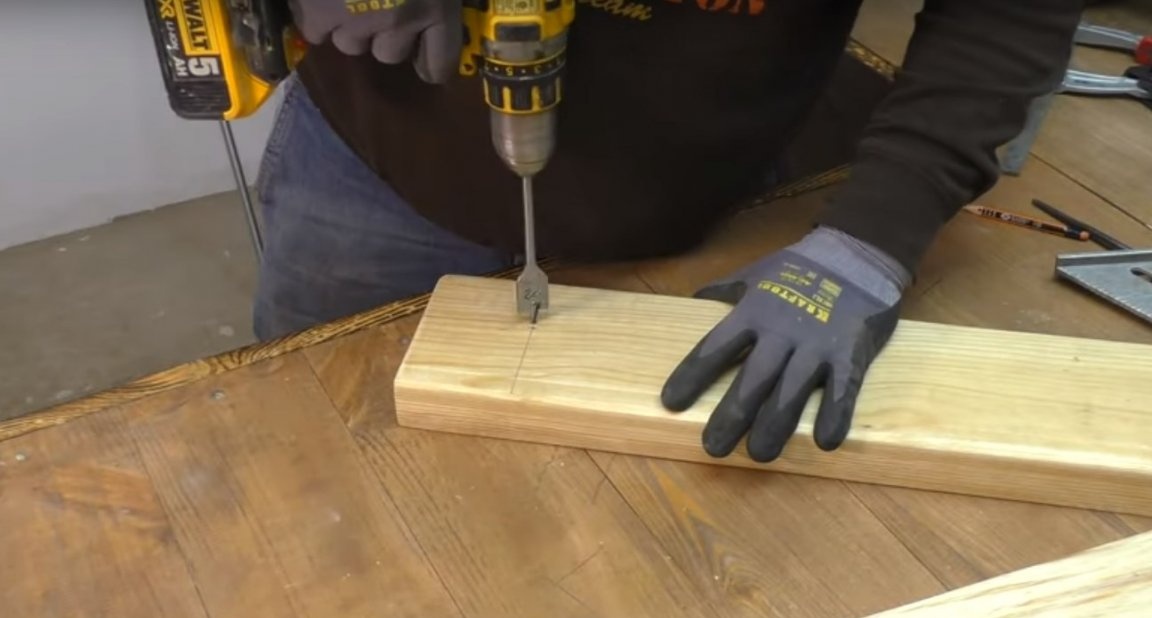
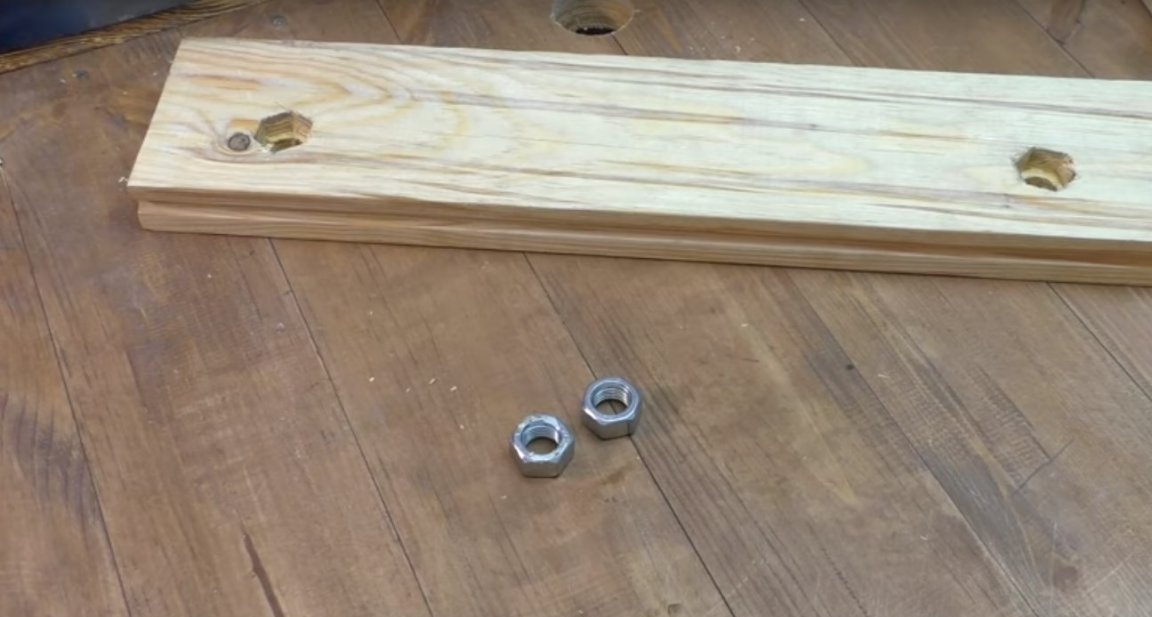
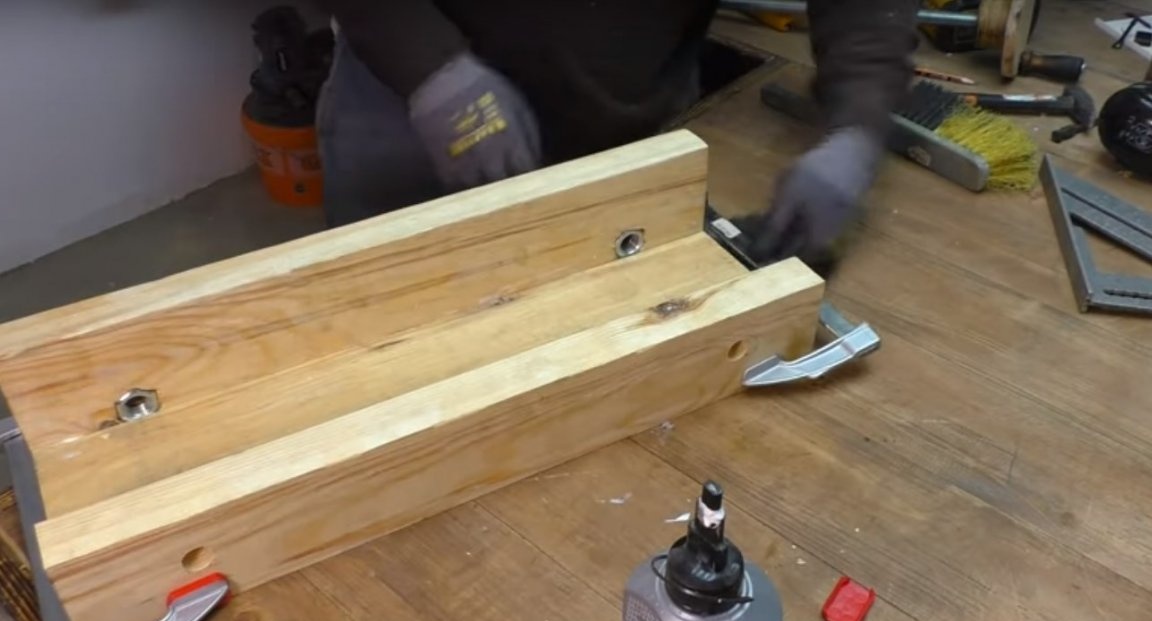
While the glue was drying, the master with a pen drill, made a pair of holes in the boards.
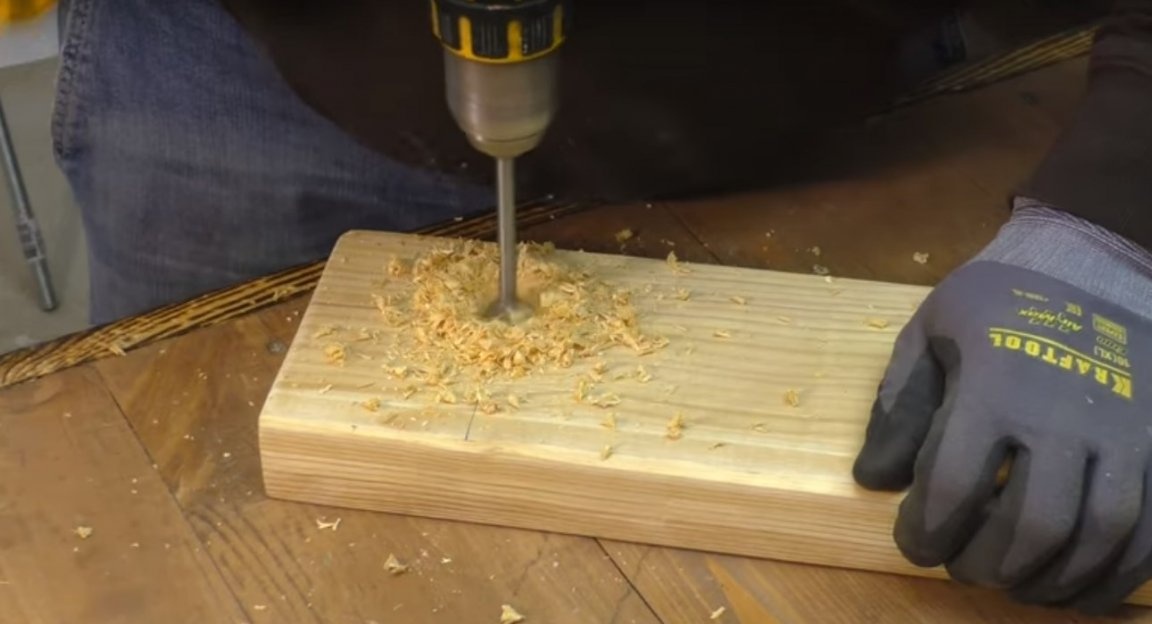
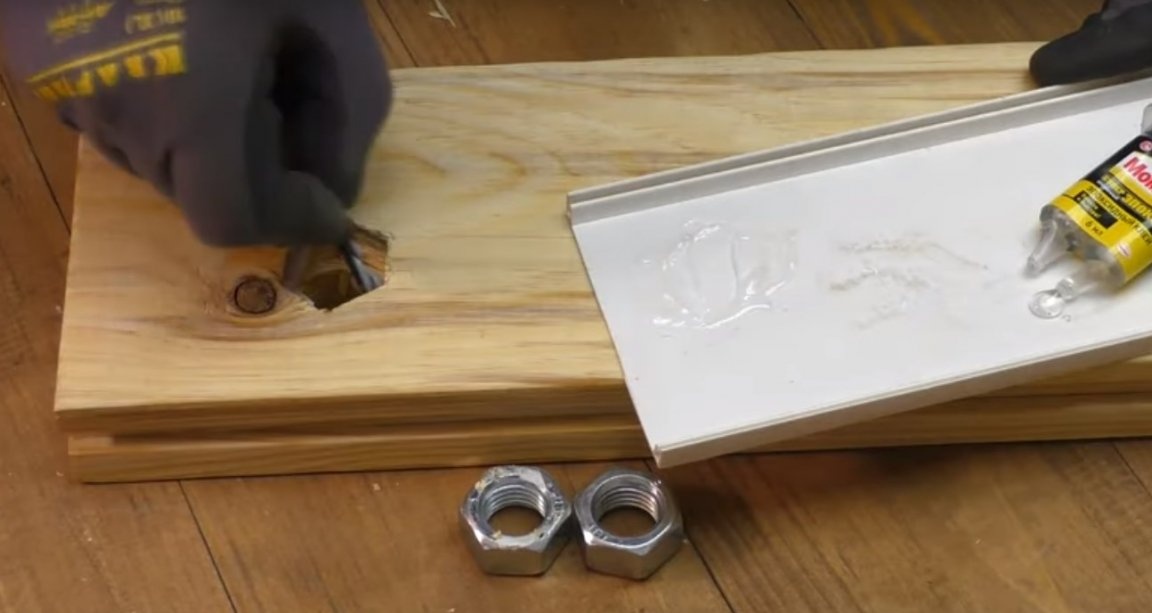
Then he will make, not large recesses under the nuts in one of the boards.

Next, the author put glue into the recess and installed the nuts.
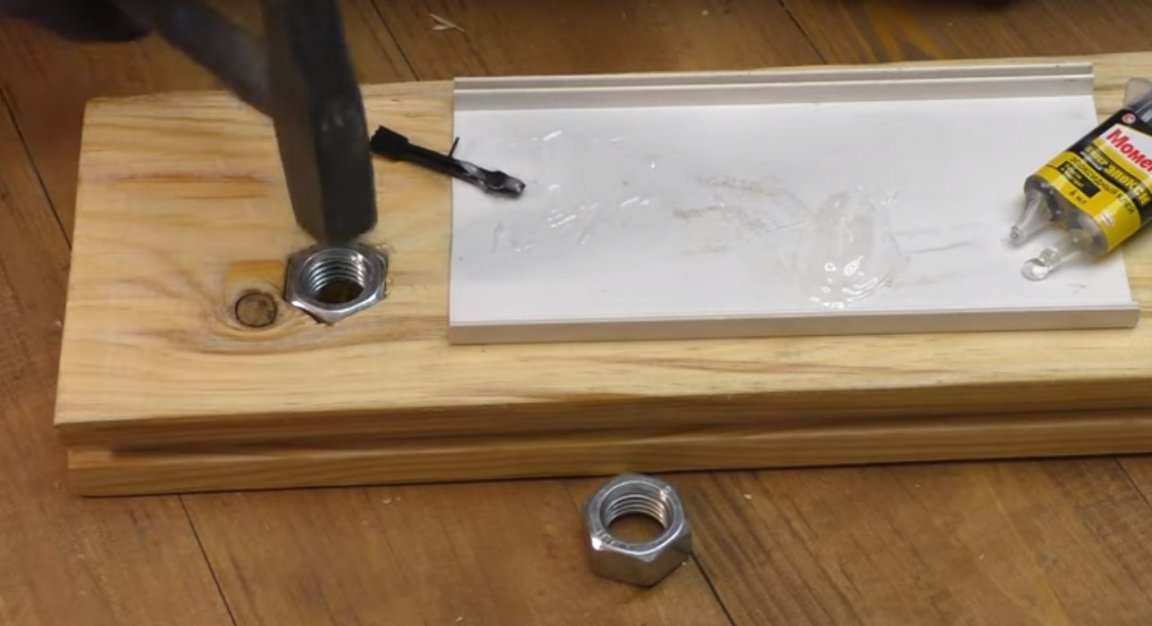
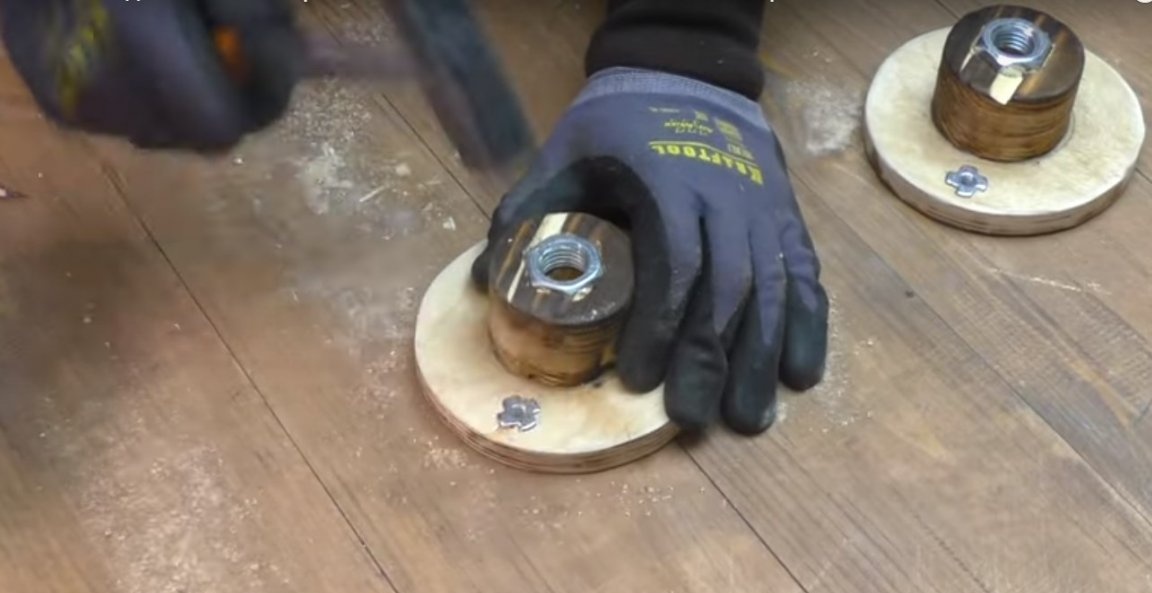
He made the same recess under the nuts in the previously glued parts, and also installed the nuts in them, having previously applied glue.
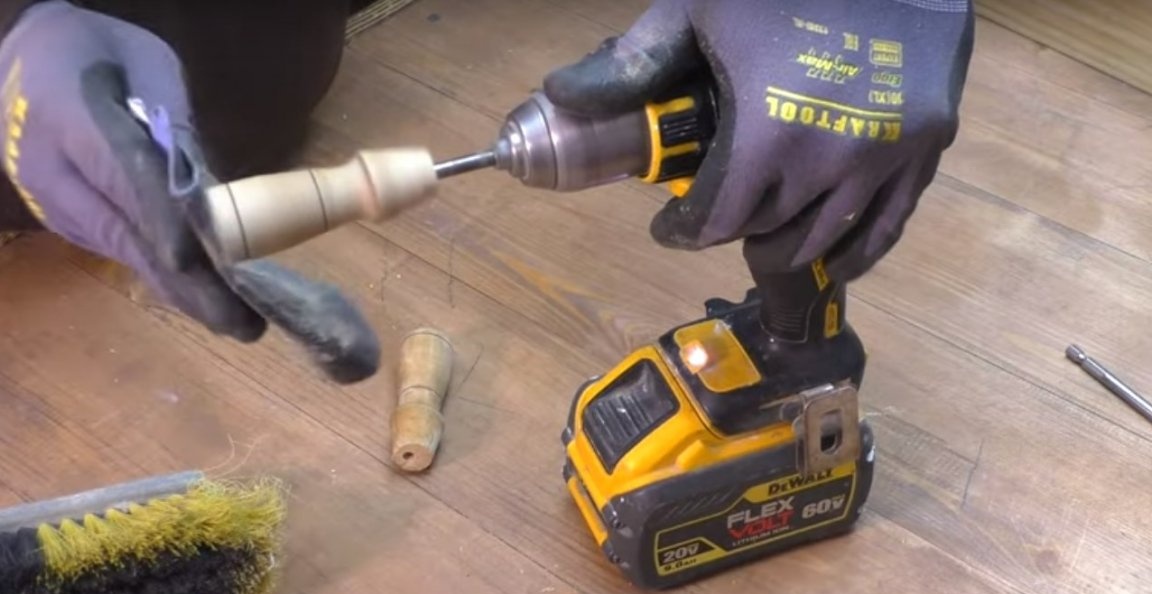
Further, the author made through holes in the pens.
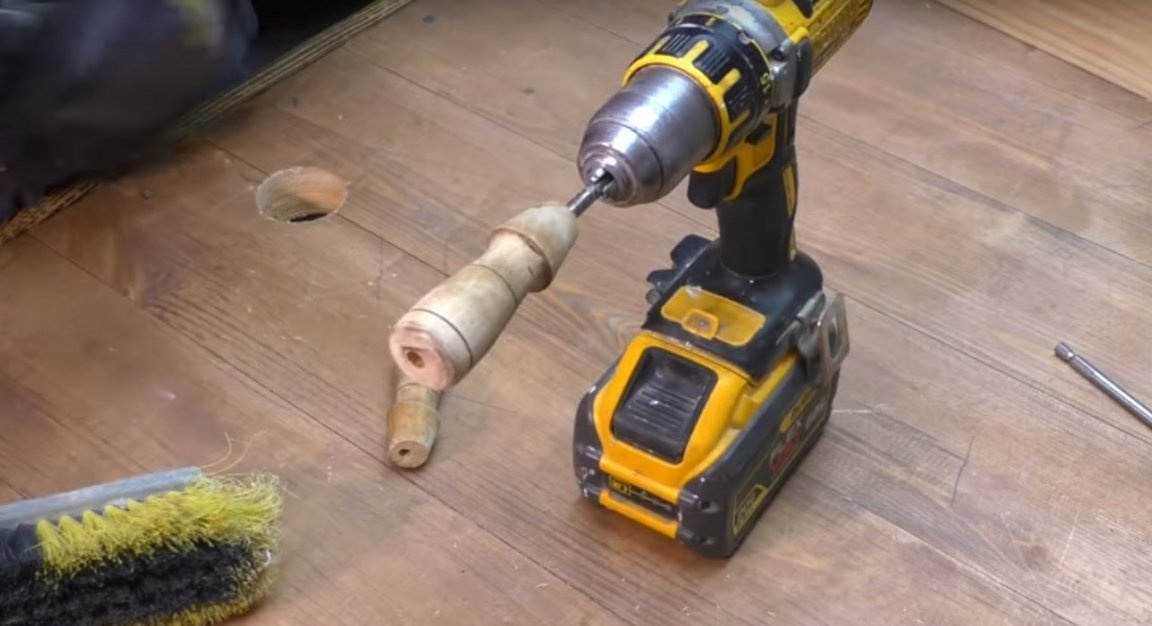
And also a little ennobled them with sandpaper.
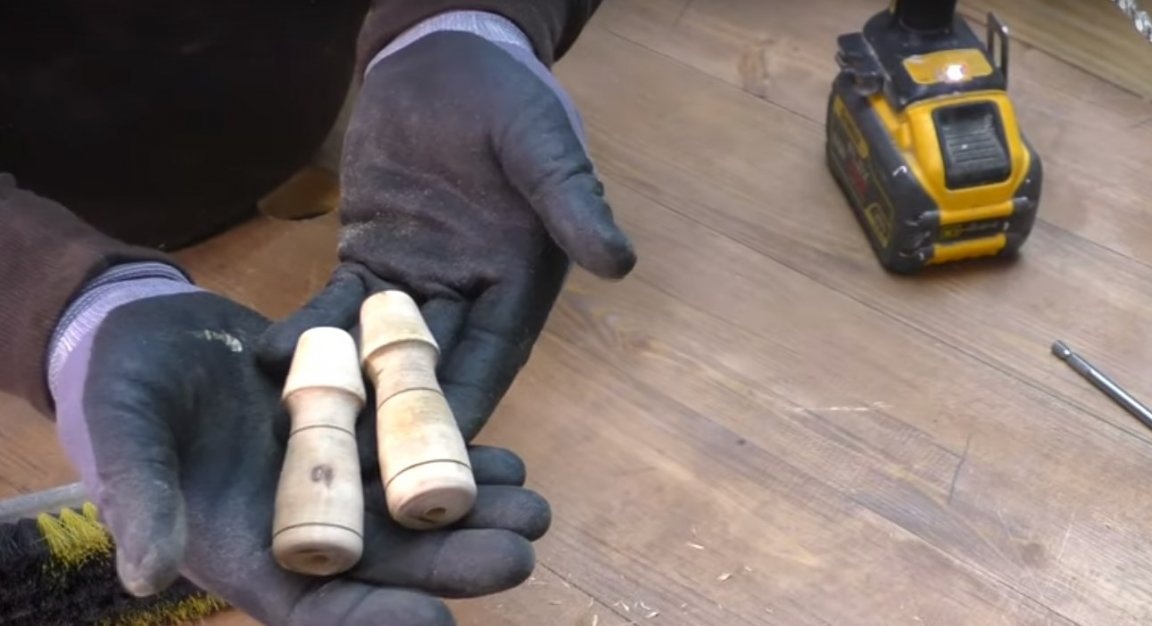
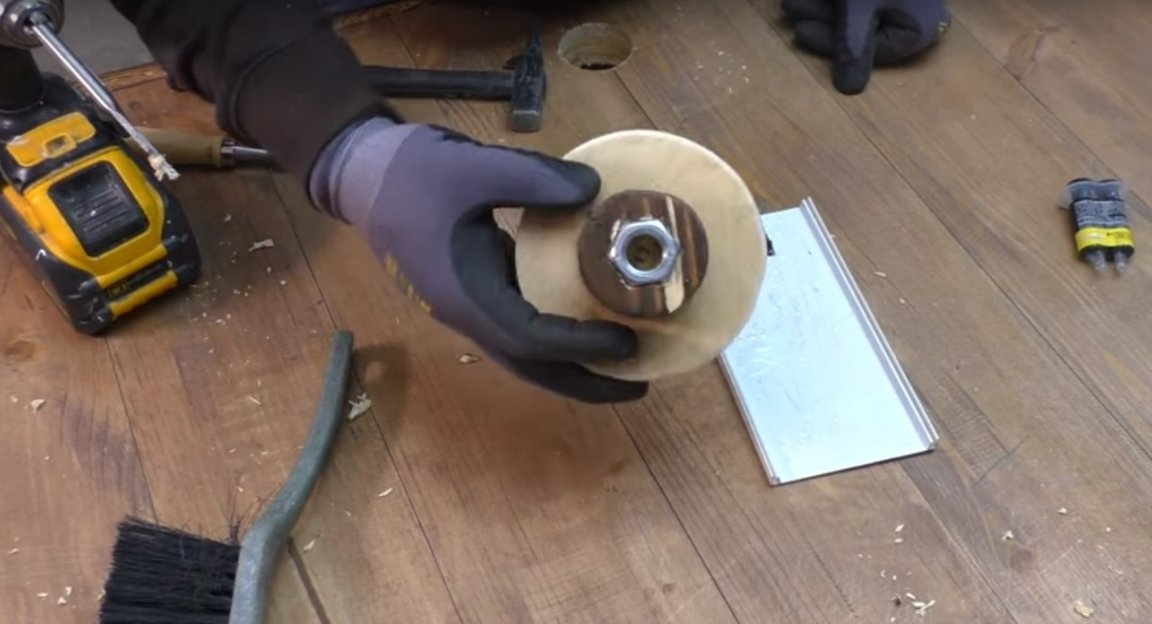
After, holes were made in these details by the author.
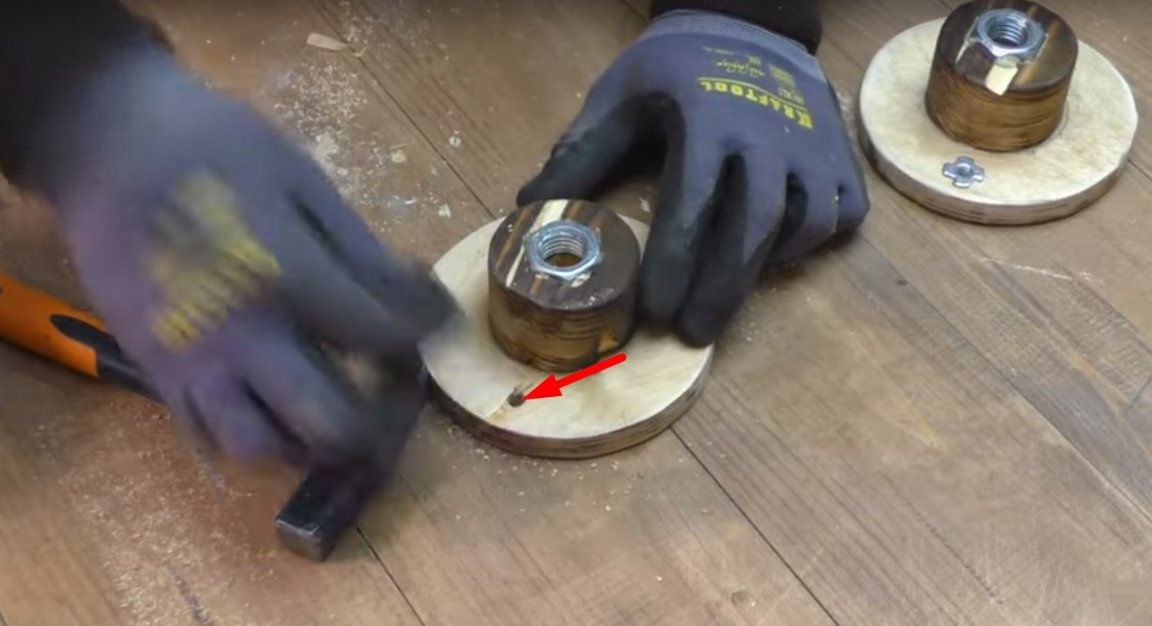
And mounted mortise nuts.
Like this.
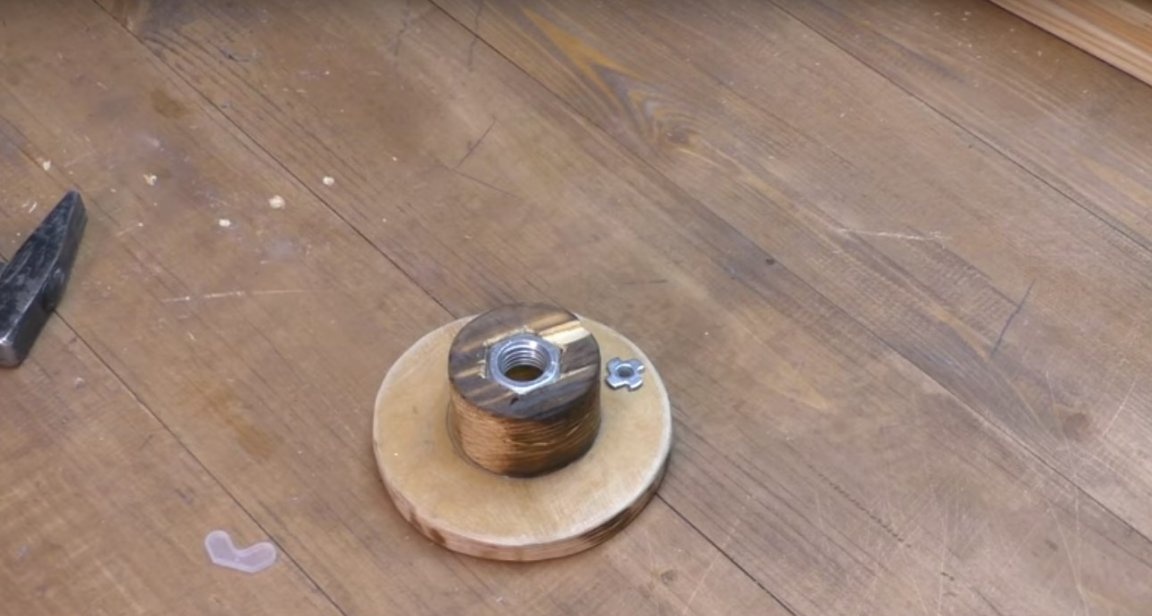
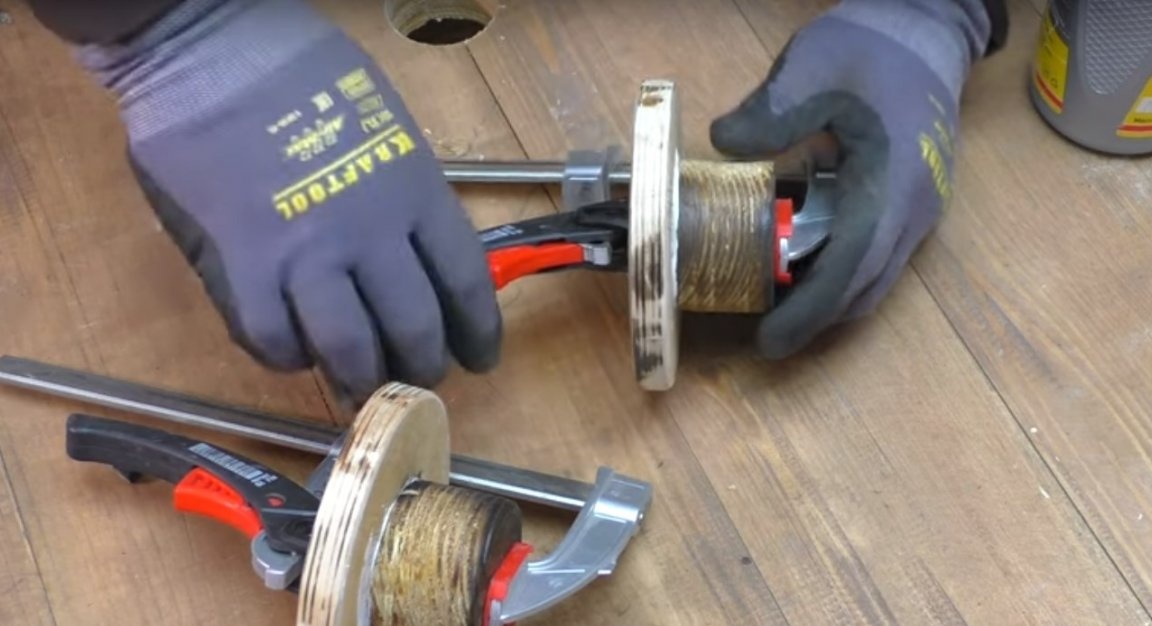
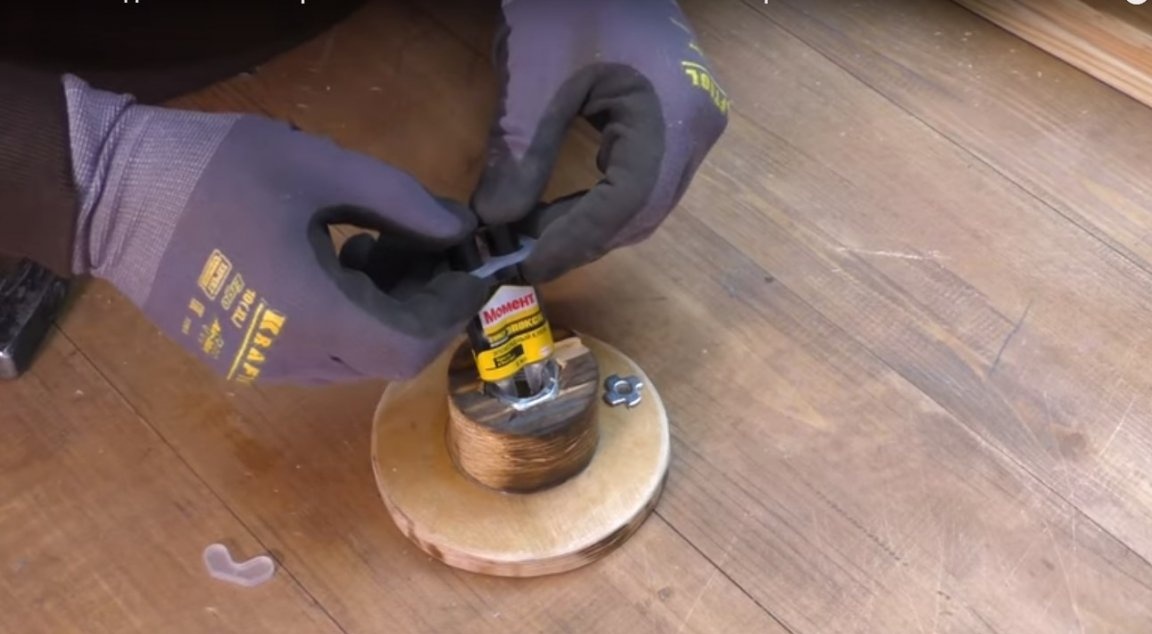
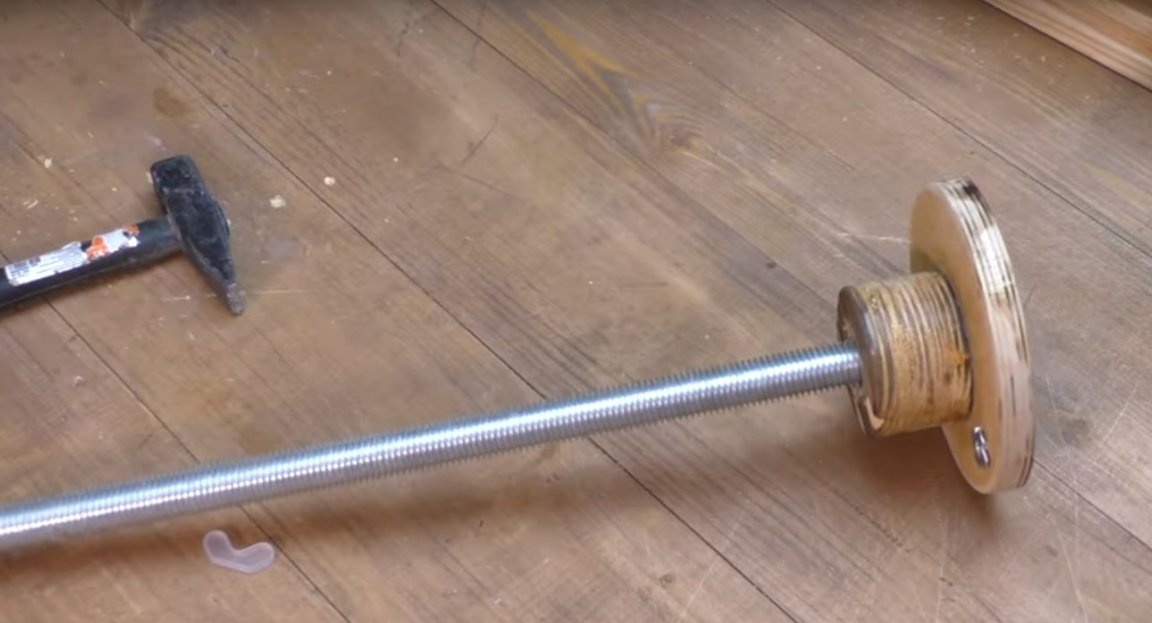
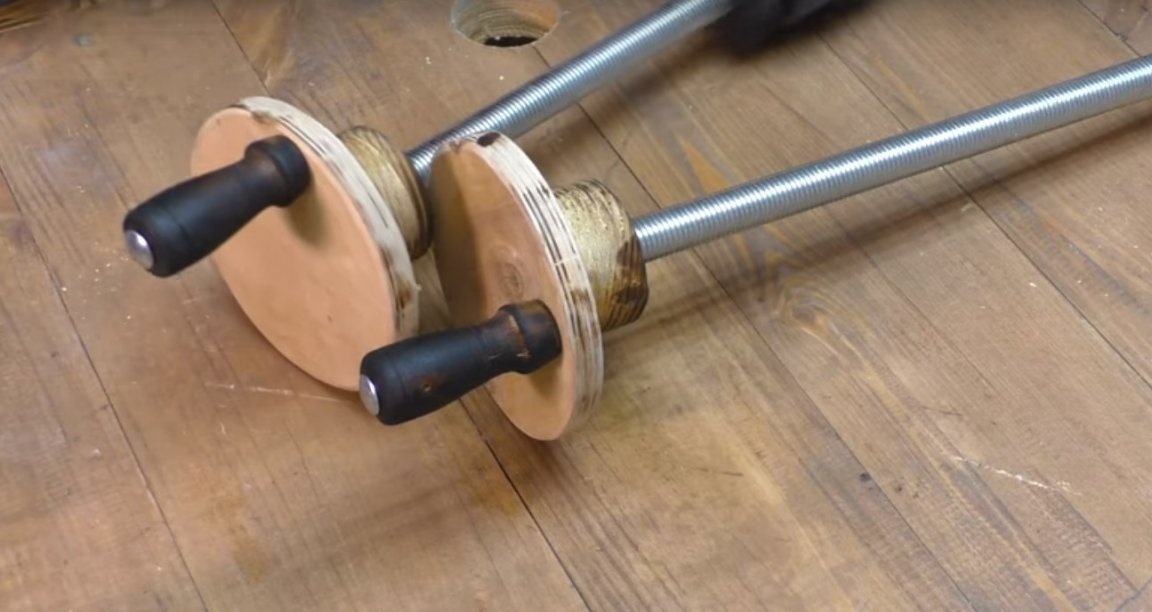
After the author, put glue inside the big nuts and screwed the studs.
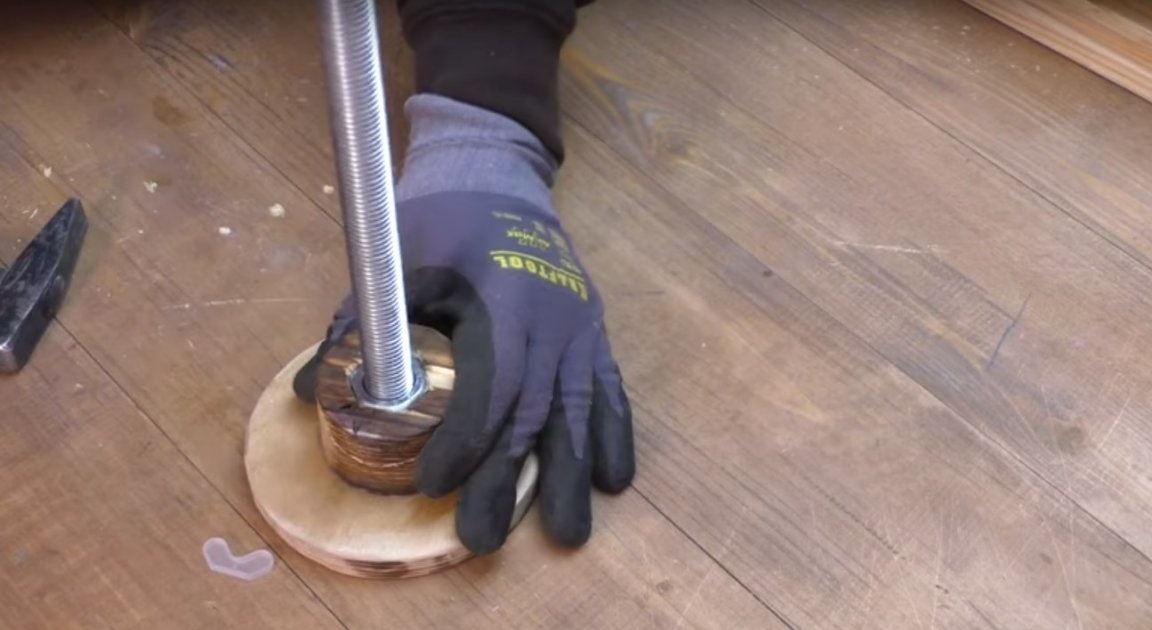
Like this.
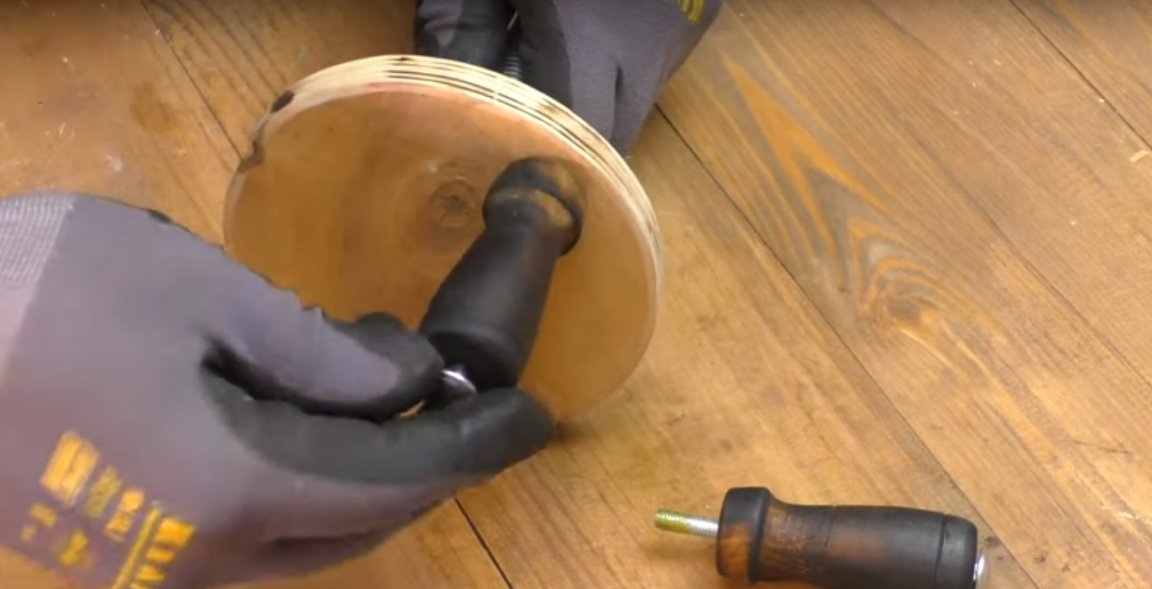
He then burned the pens.
After processed them with a metal brush.
And I installed bolts in them.
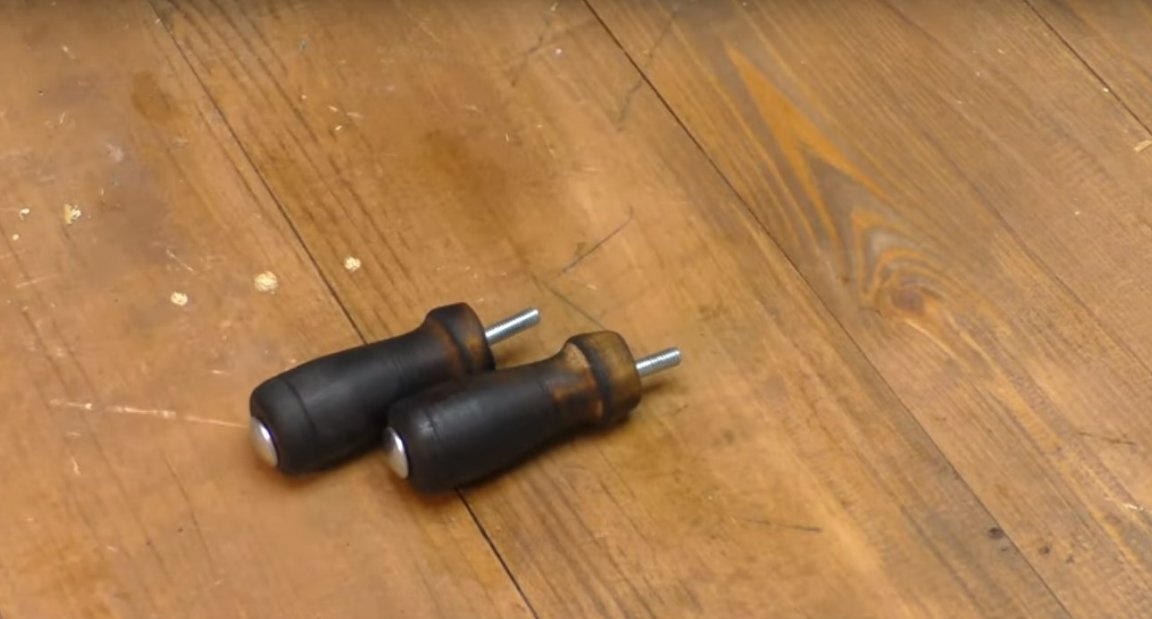
The author applied some glue to the threaded edge of the bolt.
And then screwed the bolts into the nuts, so that the handles were able to rotate on the bolts.
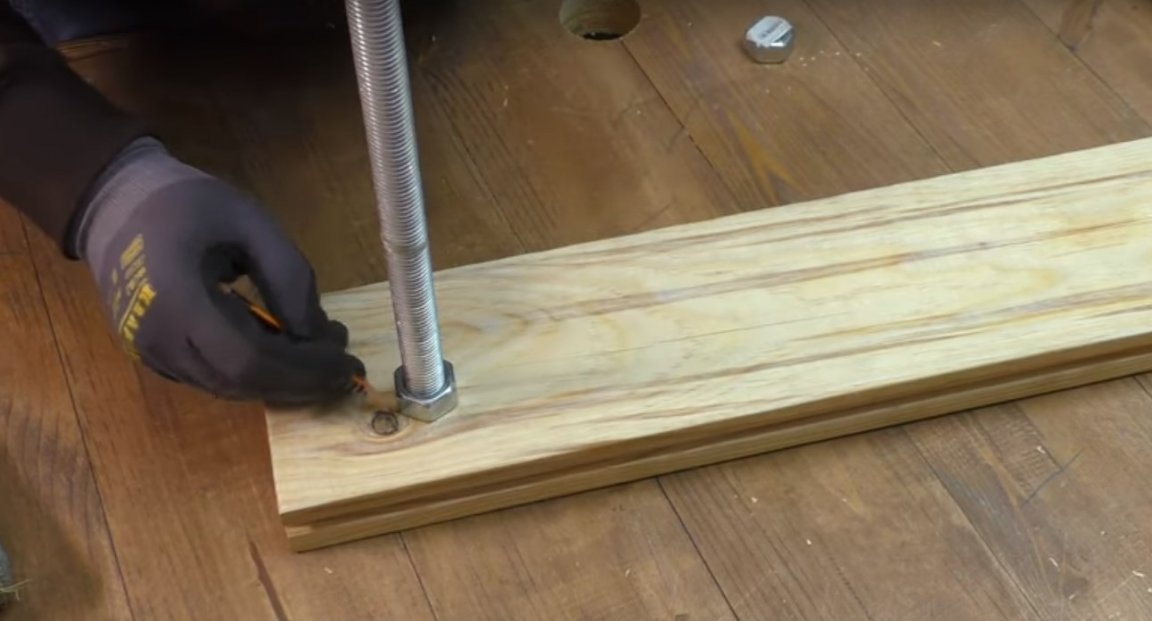
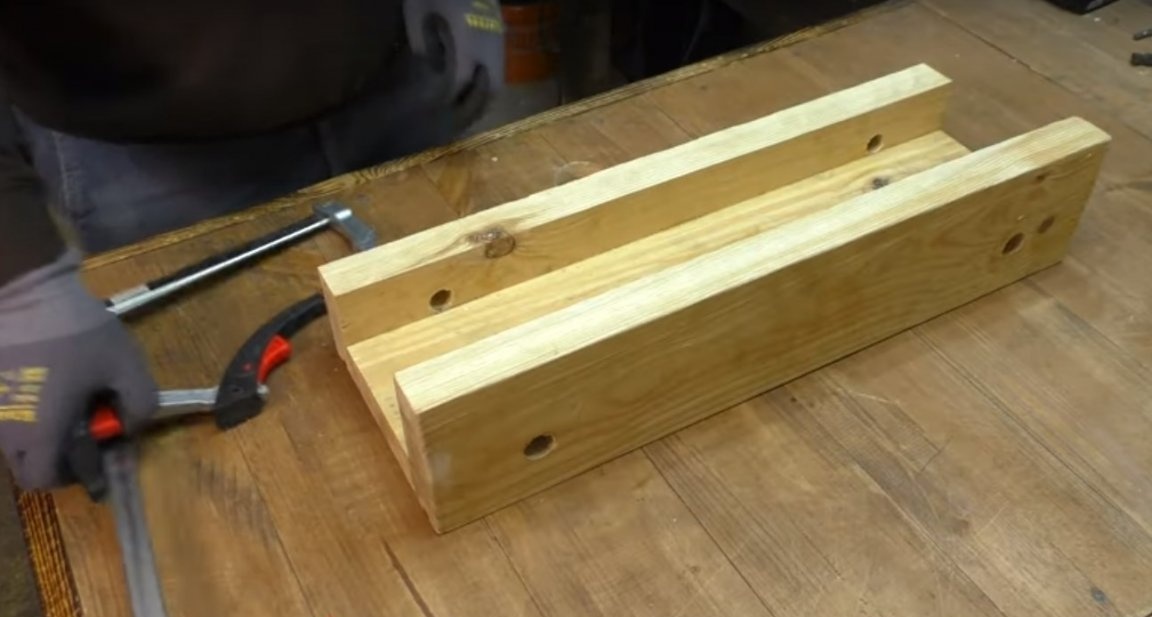
After the author made two more parts from the boards. And glued them to the nut board.
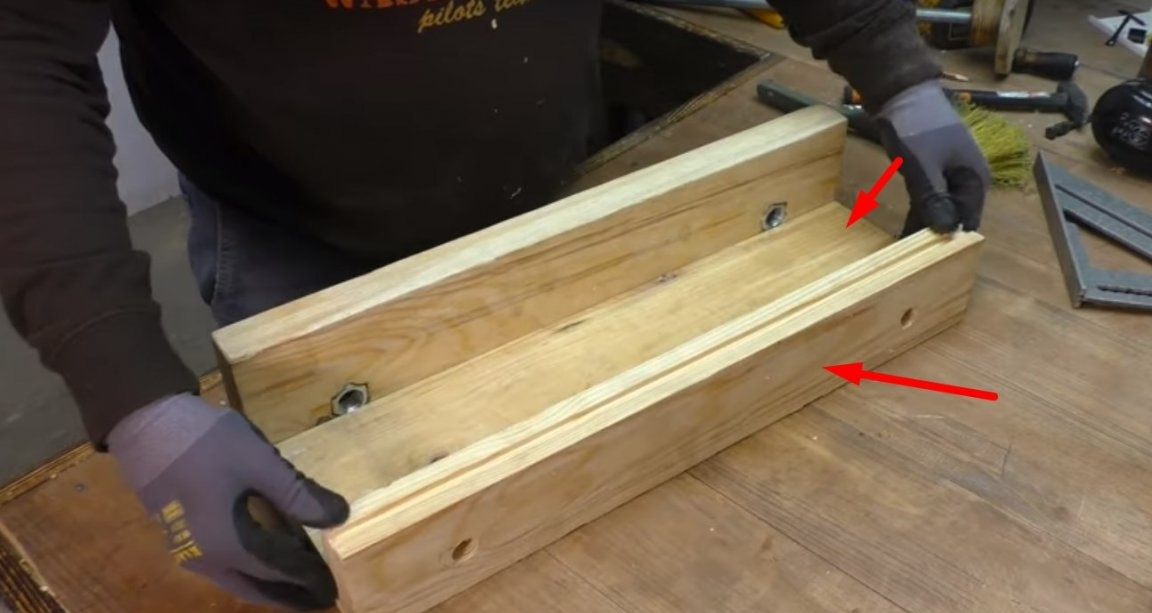
These details will serve simultaneously as guides for the studs and fastening the finished yews.
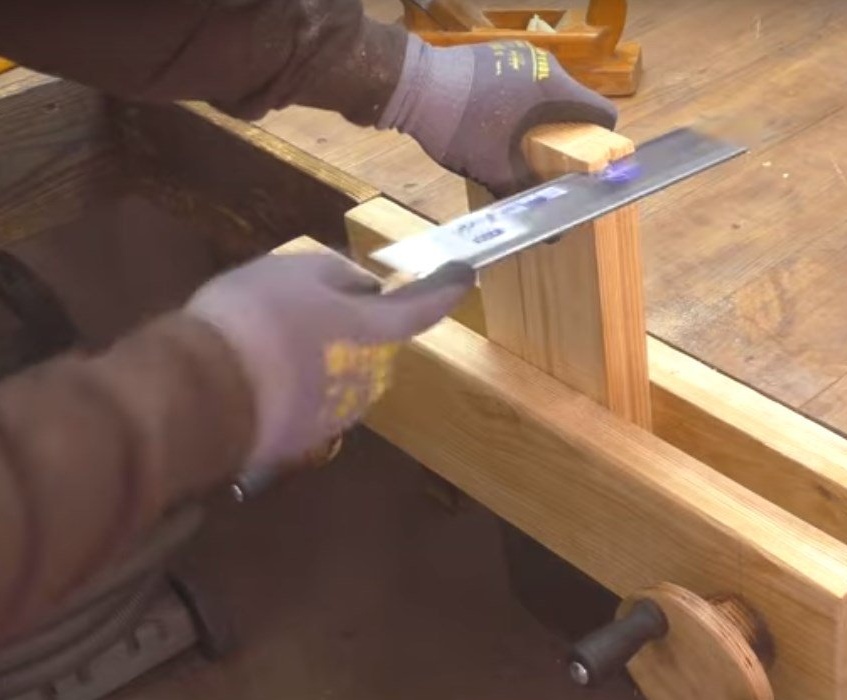
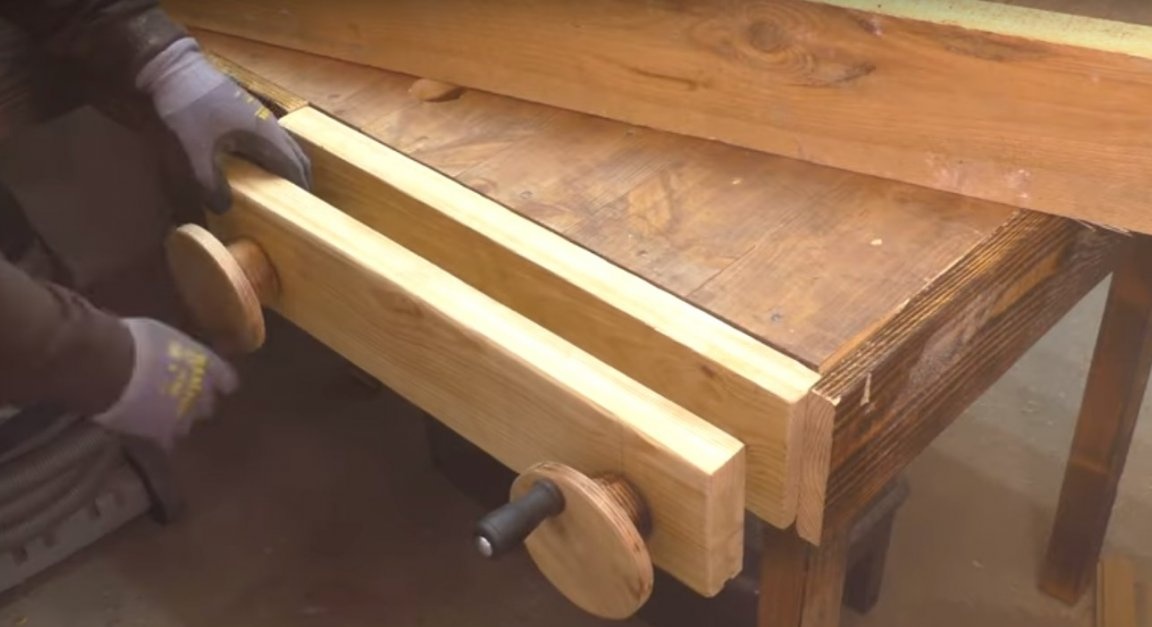
The author installed and fixed the finished vise on the table.
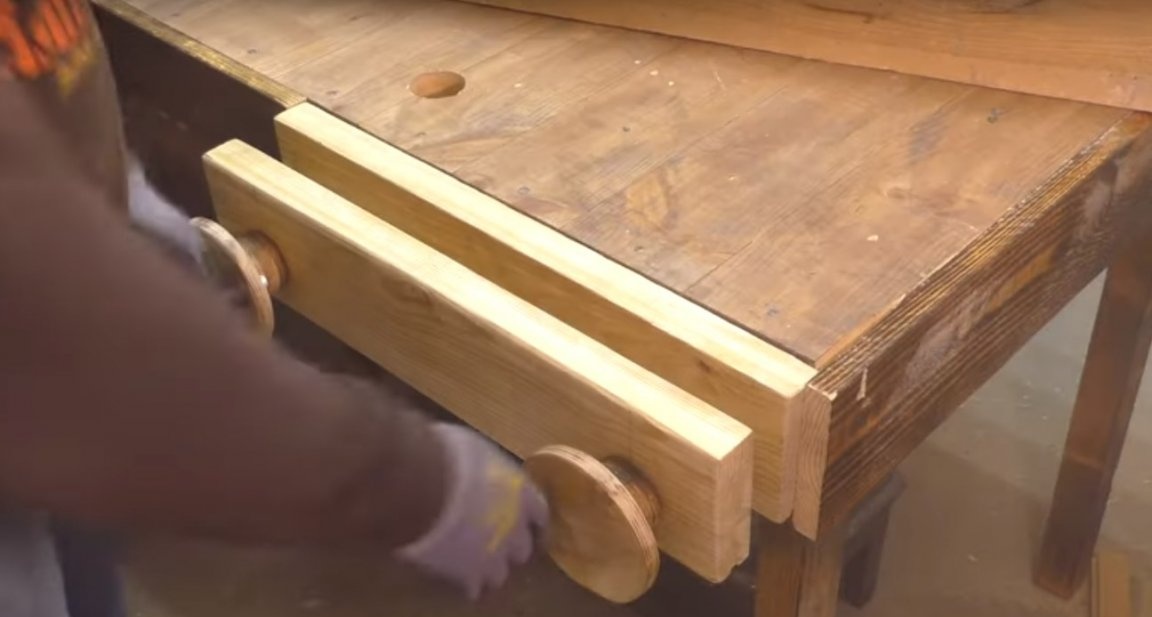
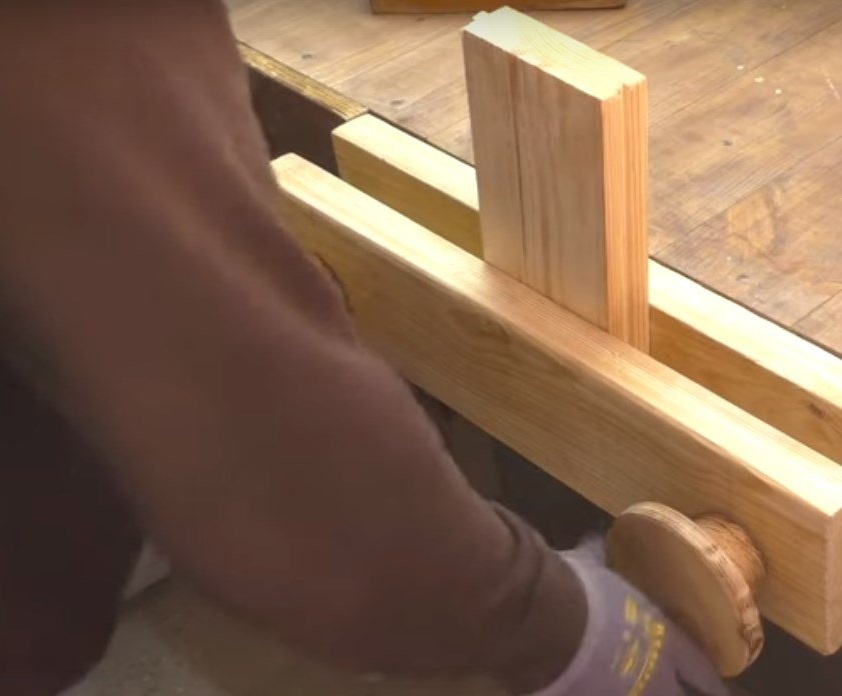
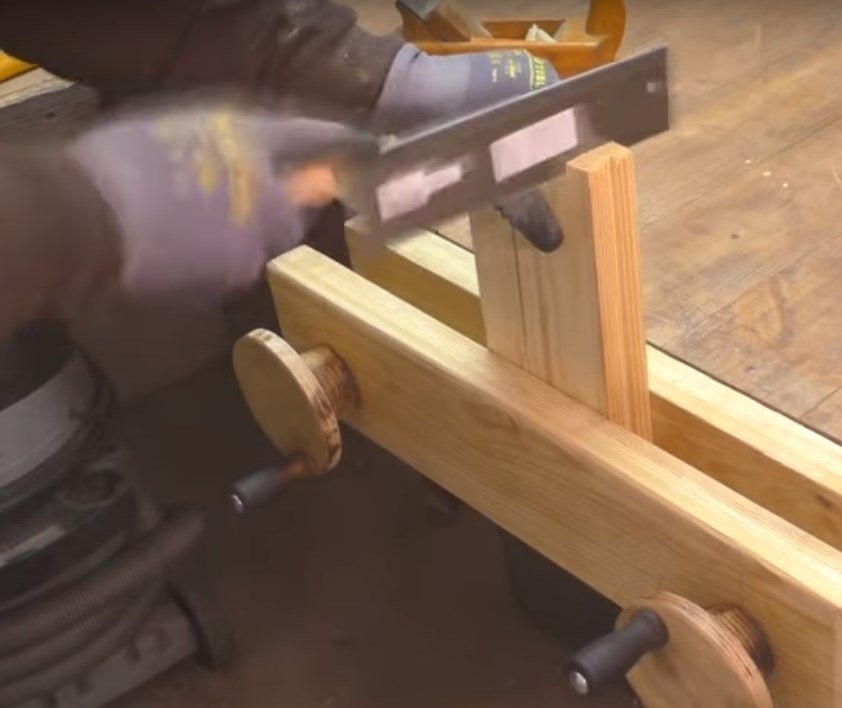
And now the test.
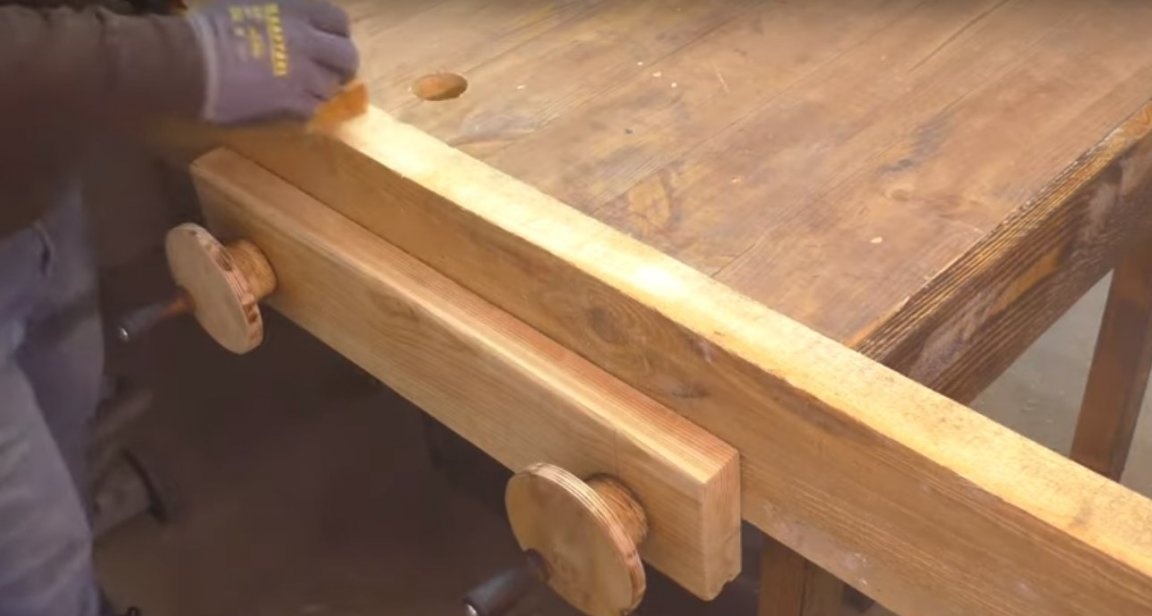
Homemade I got a very working one, it clamps the workpiece very well.
Of course, the master knows that this kind of tool needs to be made from hardwood and use a specialized screw. But in this article, the author showed how you can make working solar vise in home conditions.
And that’s all for me. Thank you all and see you soon!