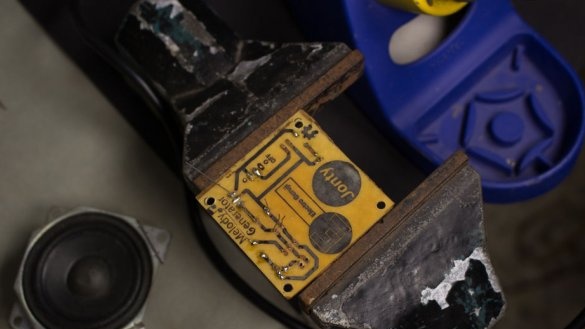
Many of the visitors to the site in the nineties experimented with microchips of the UMS series. Depending on the variant, such a microcircuit works with a quartz or RC generator and contains one or another set of melodies. Chips were produced in the DIP package, as well as in the case-free design on the adapter board.
The modern musical microchip of the UM66T series contains only one melody, but is made in a three-pin TO-92 package, that is, it looks like a KT3102 transistor, 2N2222, etc. The clock generator is built-in, there is no connection for buttons, you only need to apply power and remove the signal from the output. The author of Instructables under the nickname ElectroGuruji applied this chip in the doorbell.
The melody flashed in the ROM of the microcircuit is indicated by the numbers and letter following the hyphen. Numbers - melody number, letter L or S, respectively, continuous playback while the power is on, or single play and go to sleep before turning it off and then turning it back on. So, for example, UM66T-19L continuously plays Beethoven's “To Eliza”. Instead of the letters UM, there can be BT or ZL - these are full analogs.
The order of counting the output of the chip:
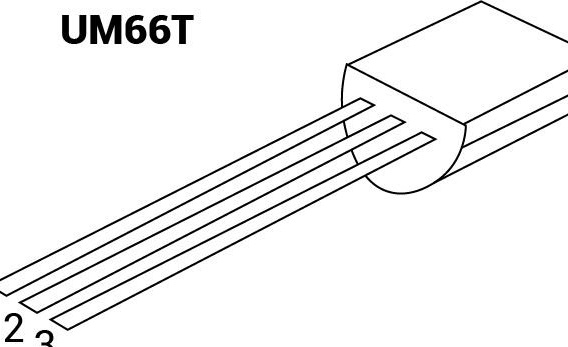
Correspondence of functions of conclusions to their numbers:
The master makes a block diagram of the call. The nodes located inside the music chip are circled in a rectangle:
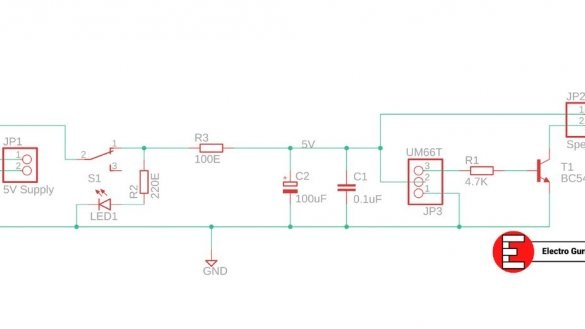
Following the block diagram, ElectroGuruji makes up the electrical. It can be distinguished: a terminal block for power supply (from a standard PSU with a USB output), a switch, current-limiting resistors, an LED, smoothing and blocking capacitors, a terminal block for connecting a microcircuit (allows you to quickly change microcircuits, and with them melodies), a resistor to limit the base current of the transistor, the transistor itself, a terminal block for connecting a dynamic head.
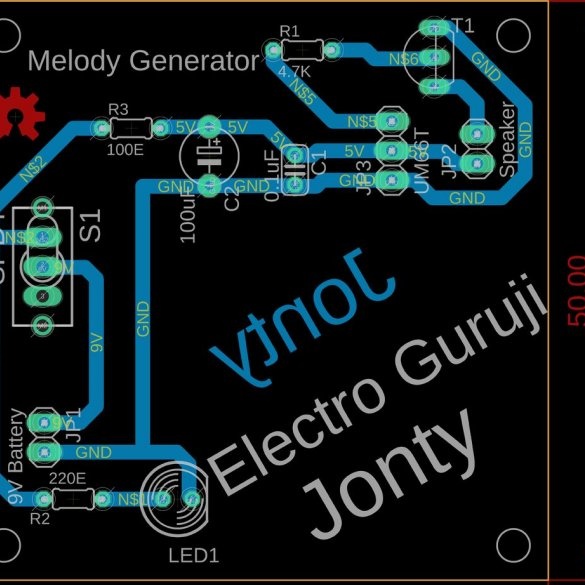
The master takes on the manufacture of a printed circuit board LUTom. Board sources are here licensed under the GPL v3. Those who do not want to bother with specific programs can download and print finished PDF.
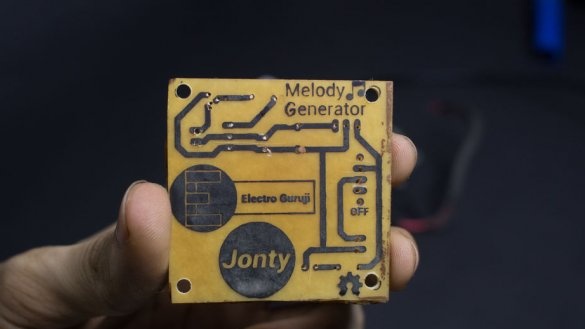
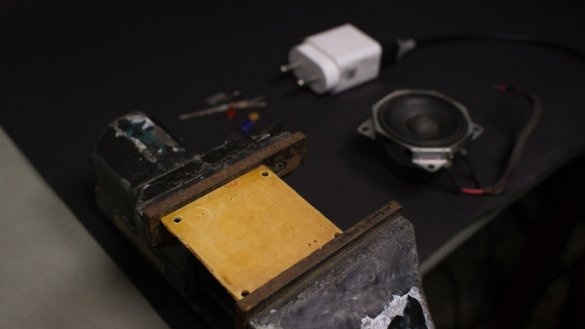
Board (50x50 mm) in theory and practice:
Before assembly, the author slightly clamps the board in a vice, trying not to squeeze:
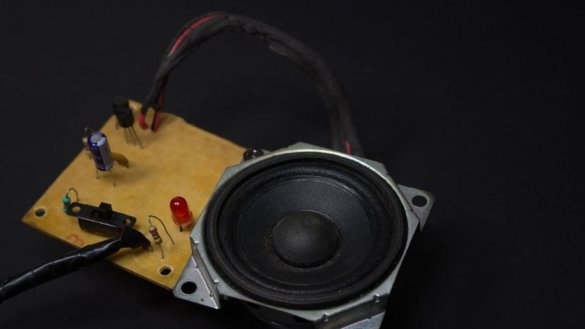
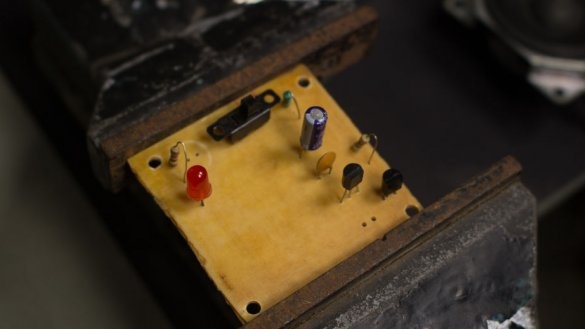
Collects, for some reason, without terminal blocks:
Observe the polarity when connecting the power supply, electrolytic capacitor, LED, microcircuit, transistor. The remaining components are non-polar.Instead of the old bell, with the machine turned off, install a socket, the voltage for which will come through the bell button. And connect the power supply to this outlet. In this mode, it will not consume power and heat up when the button is pressed.
The wizard checks the board in work with the connected dynamic head:
Be sure to add to homemade body. In it, the board will be protected from mechanical influences, and the sound will turn out better.

