
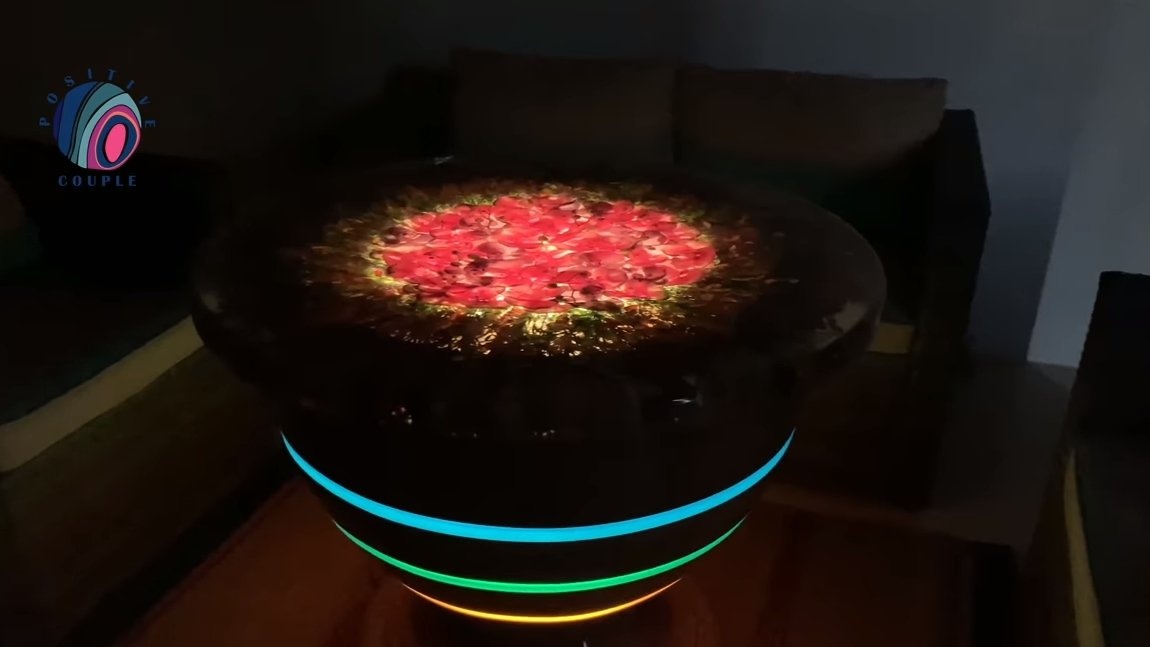
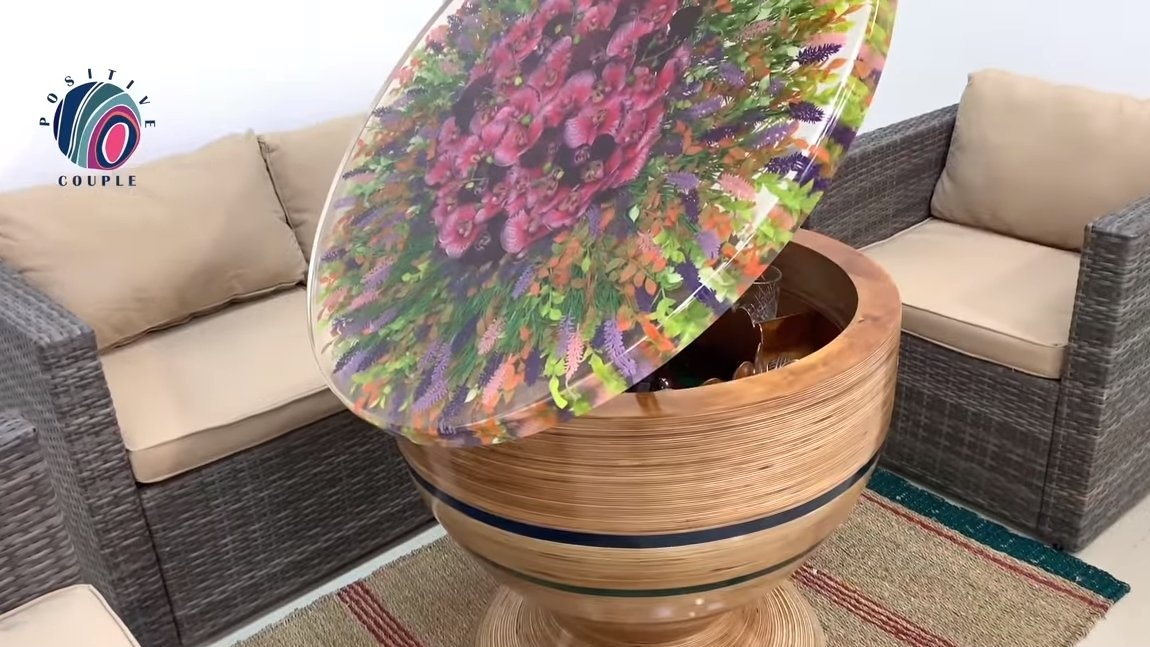
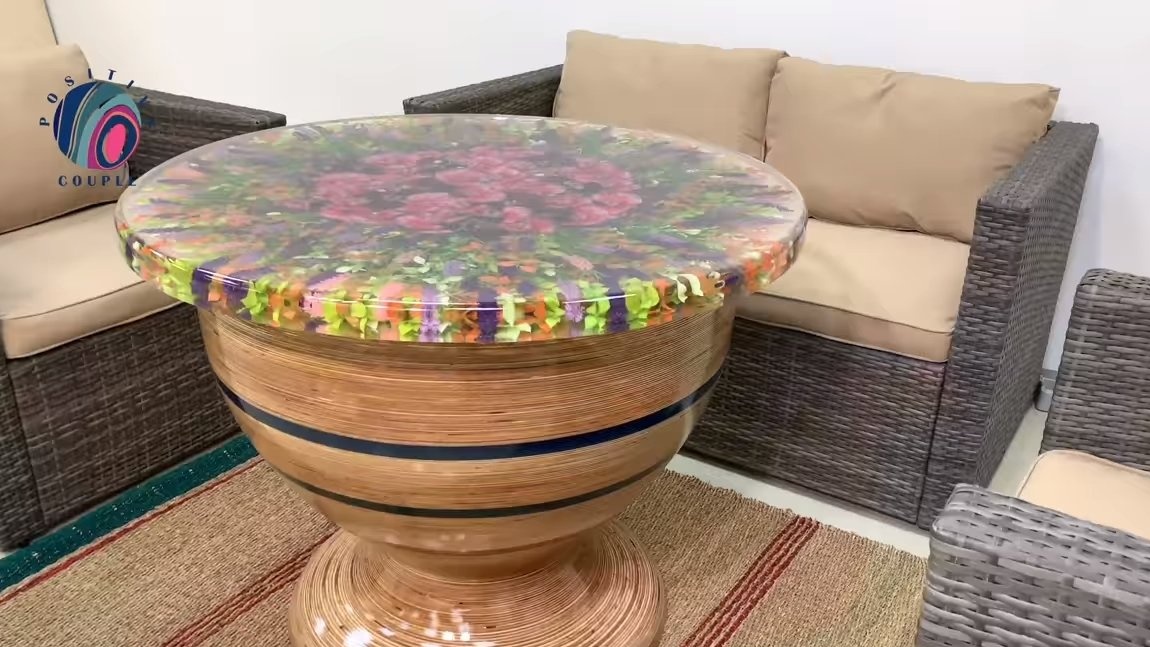
This time we will look at how to make a chic round table made of plywood and epoxy. Looks homemade very interesting, the countertop is cast from epoxy and decorated with flowers, and the countertop is lifted using gas springs from auto. Under the countertop is a light source, and there are also shelves for champagne, forks, spoons and other cutlery. The base is made of plywood and epoxy. To make a table you will need a good lathe. If you are interested in the project, I propose to study it in more detail!
Materials and tools used by the author:
Material List:
- plywood;
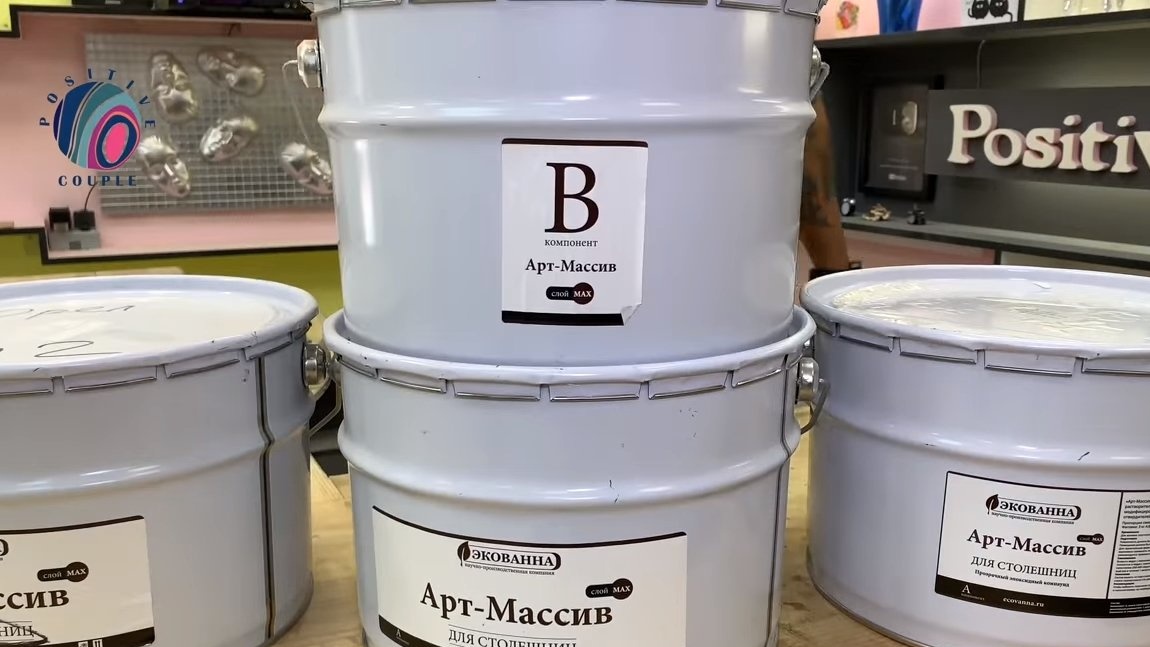
- epoxy resin for pouring countertops;
- dyes for epoxy;
- artificial flowers to your taste;
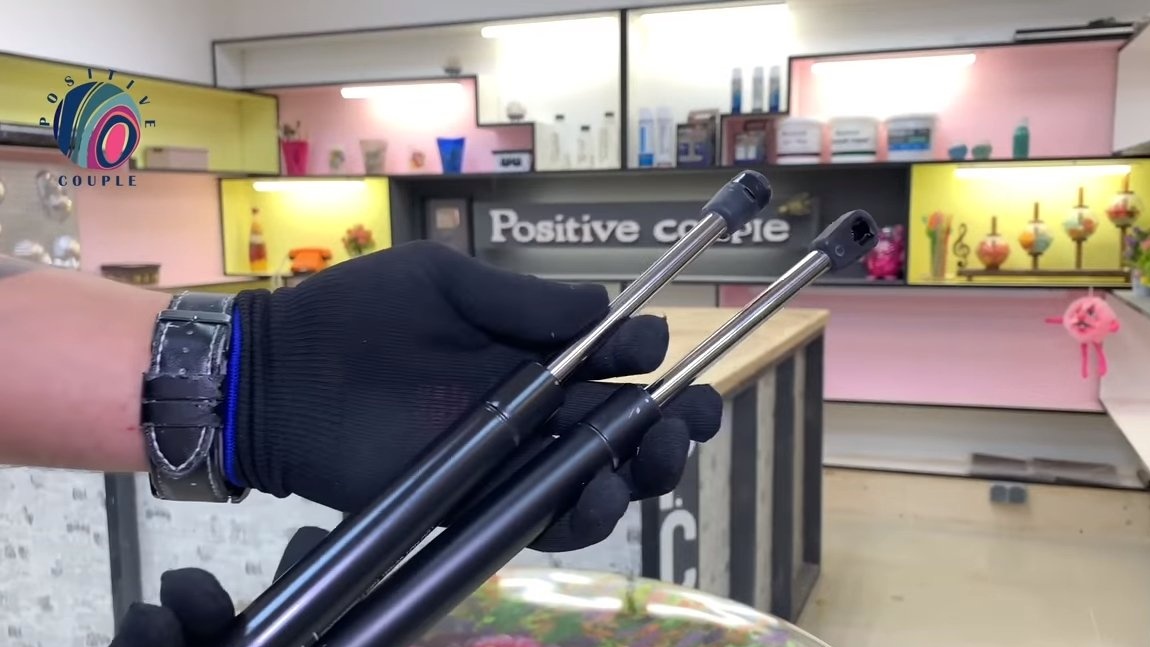
- two gas springs from the car;
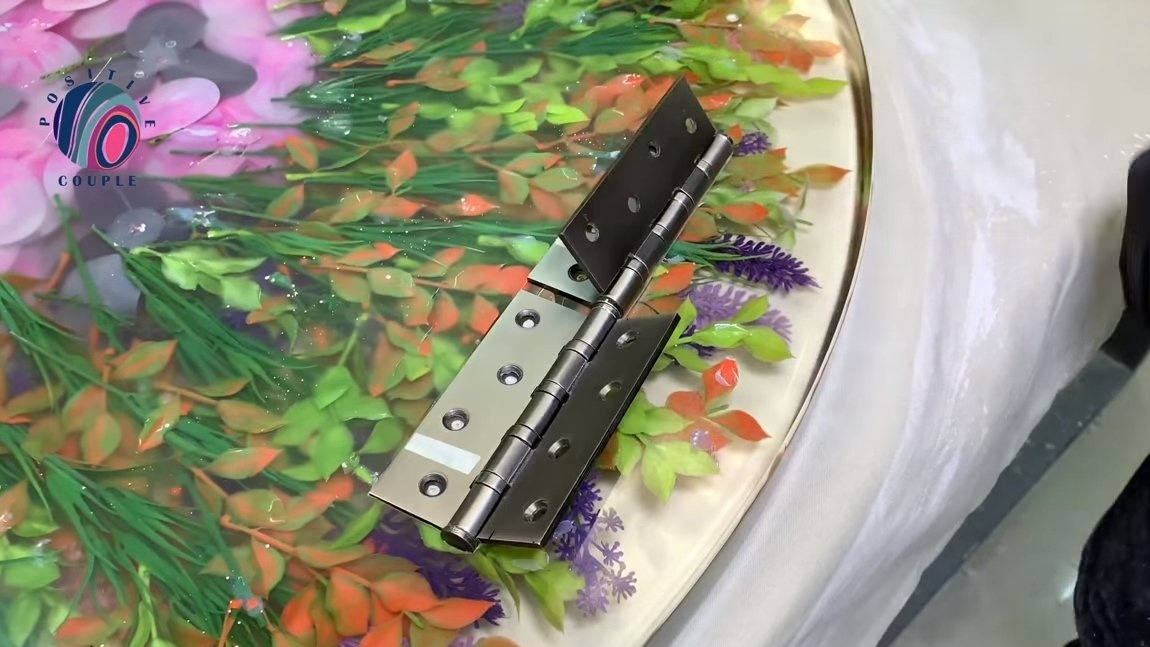
- strong door hinges;
- silicone sealant;
- acrylic or other sheet formwork;
- glass;
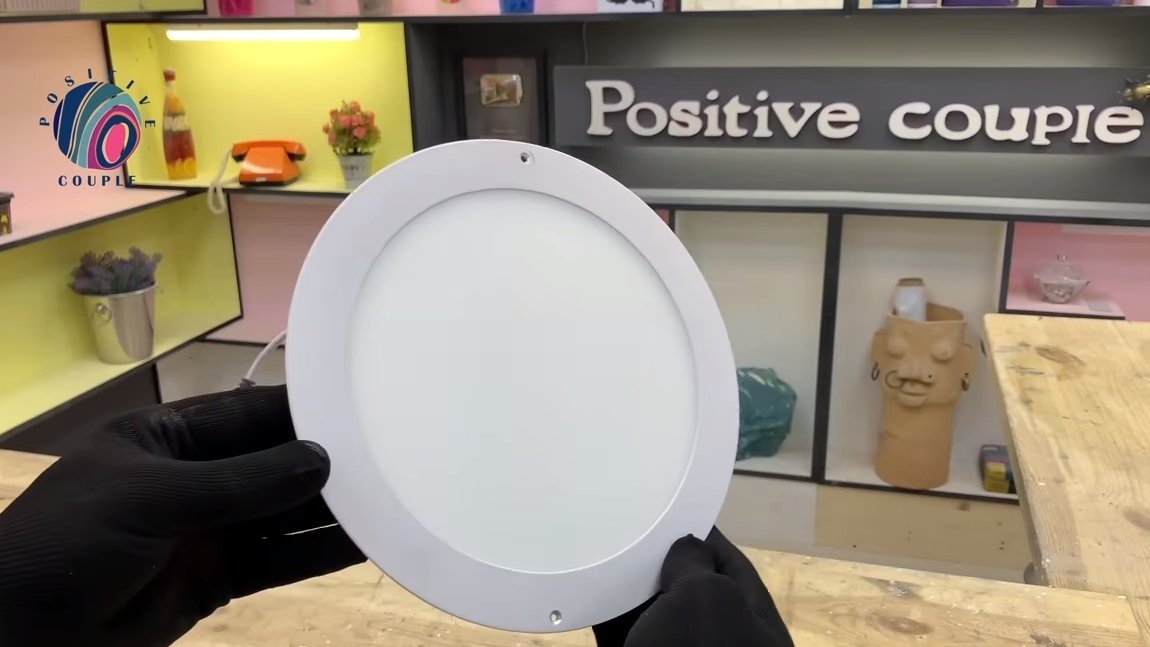
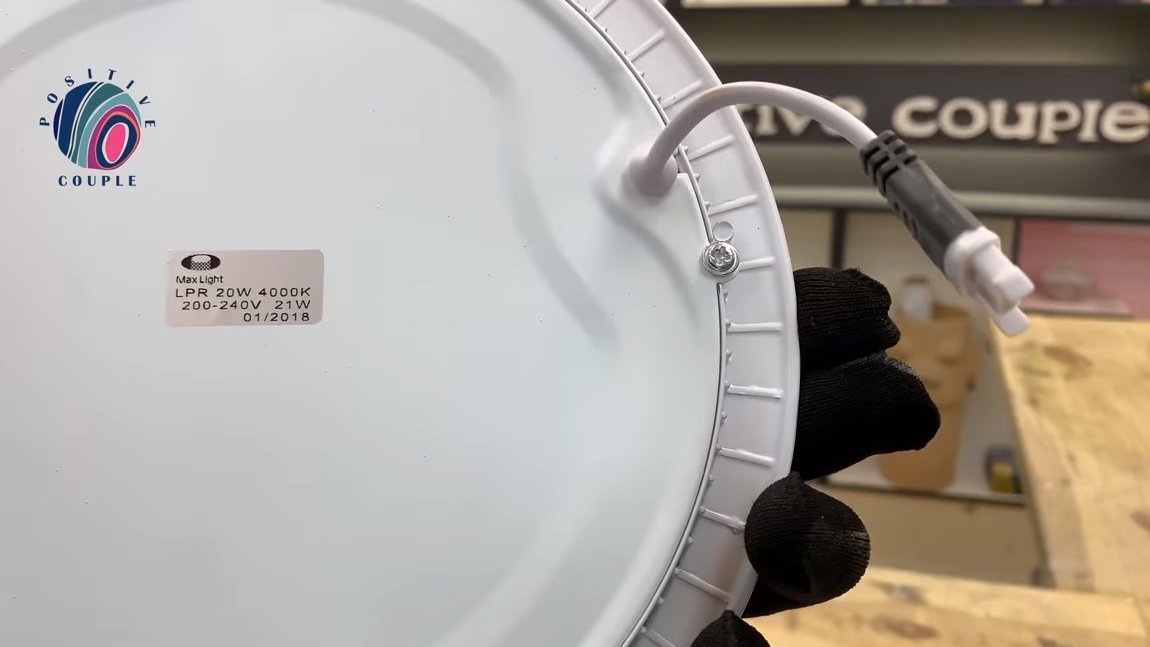
- round lamp at 20 watts / 4000K.
Tool List:
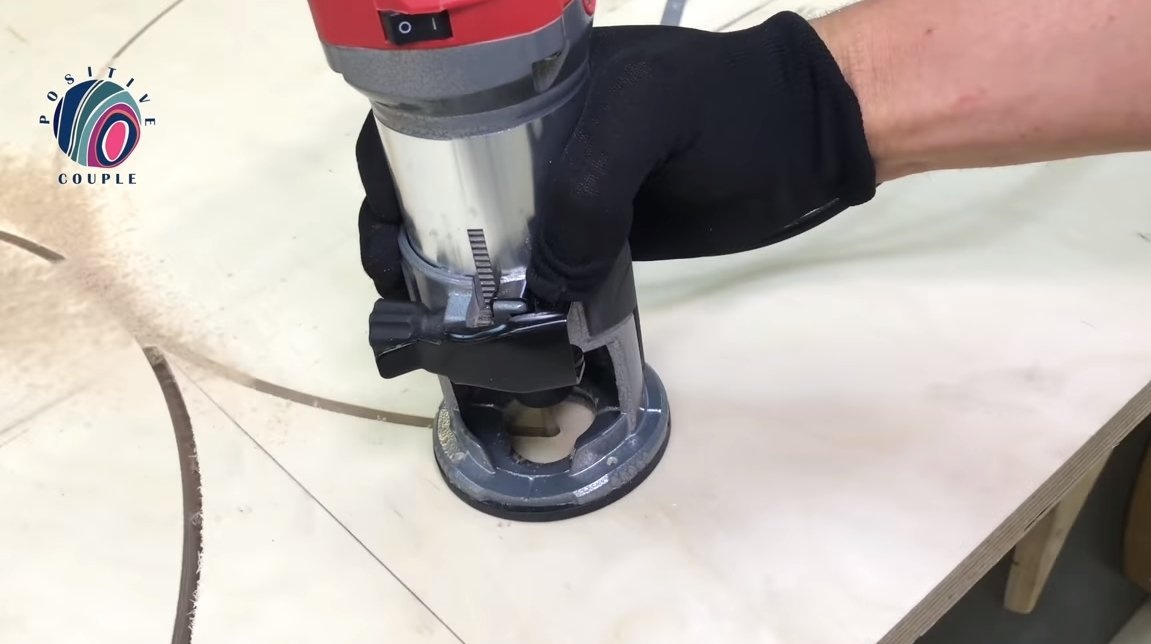
- manual frezer;
- clamps;
- screwdriver;
- lathe;
- a grinder with grinding and polishing tips on wood;
- glue gun.
The process of making a table:
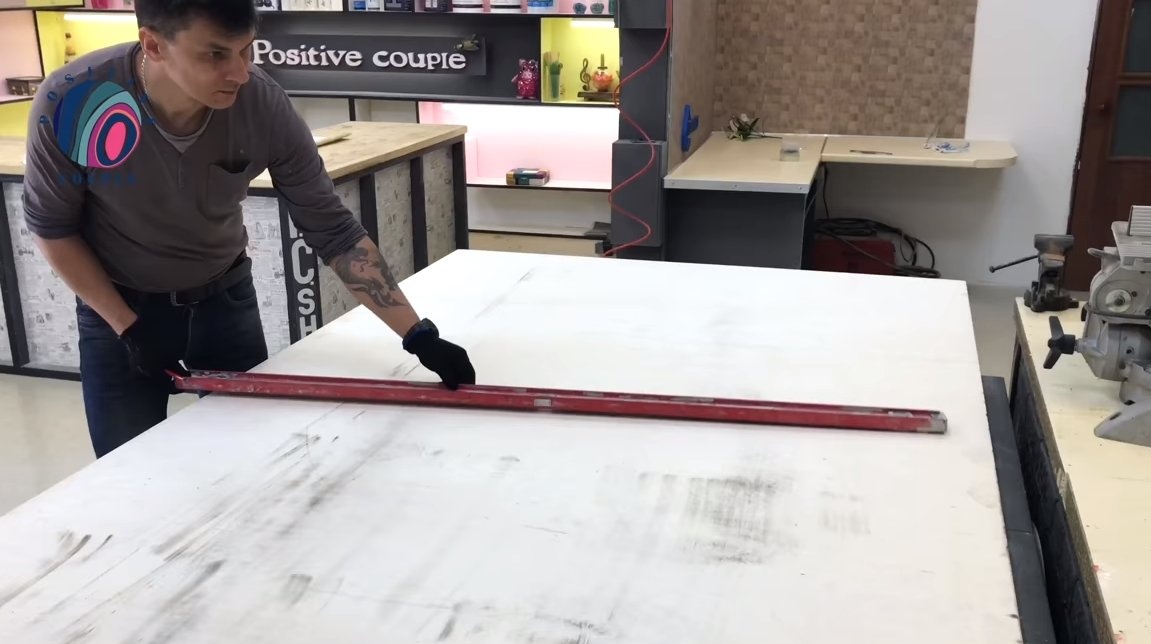
Step one. Plywood blanks and base assembly
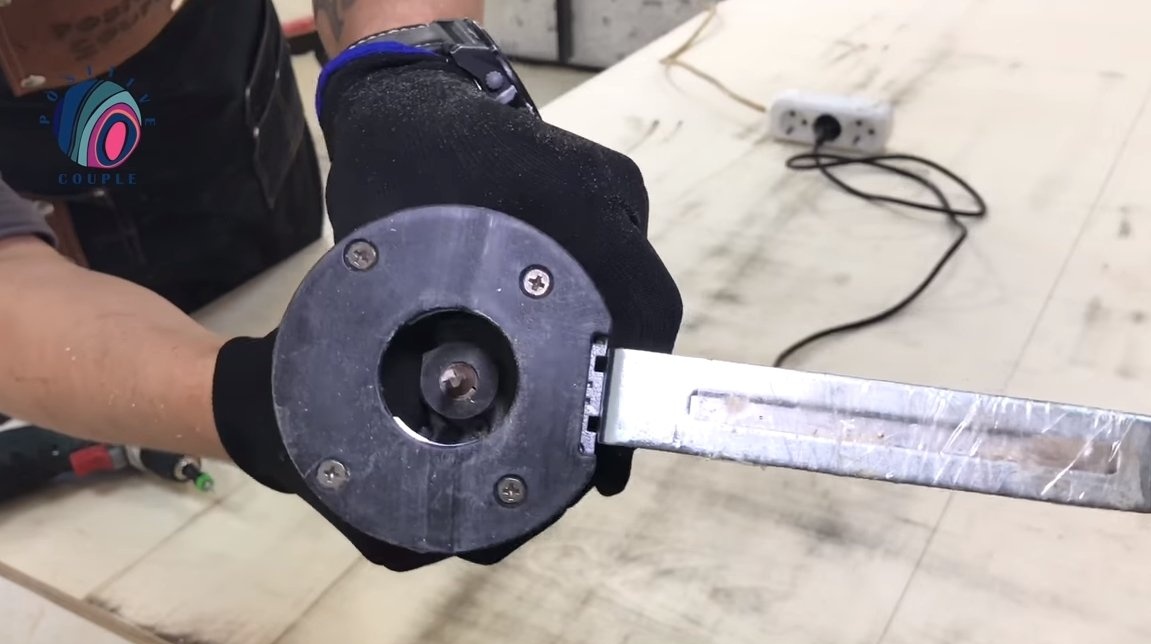
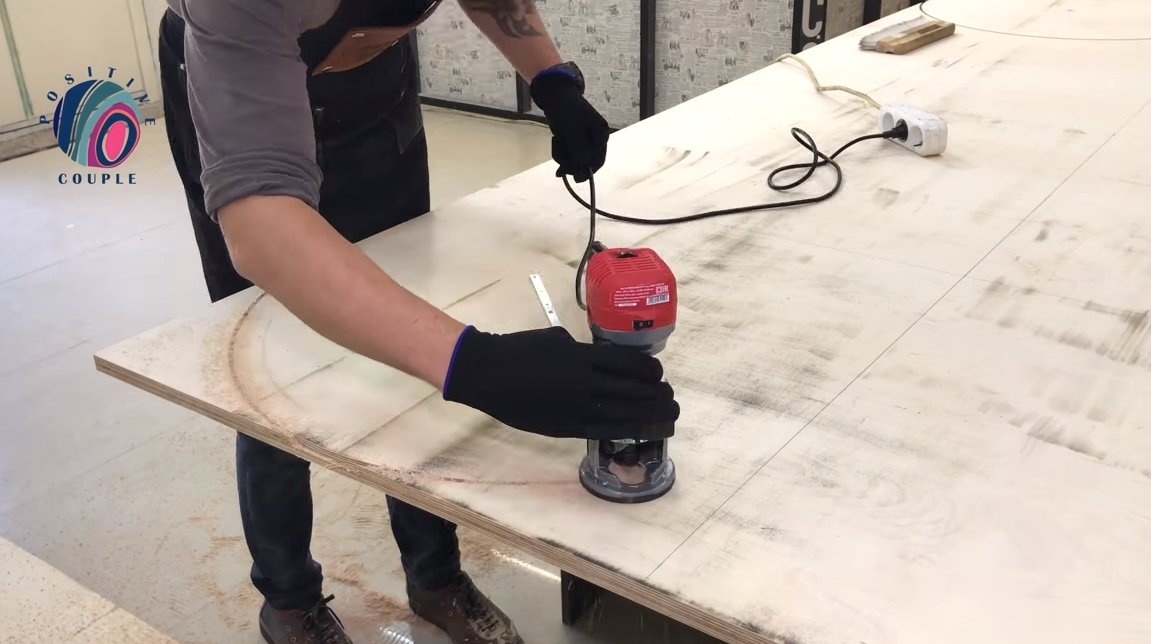
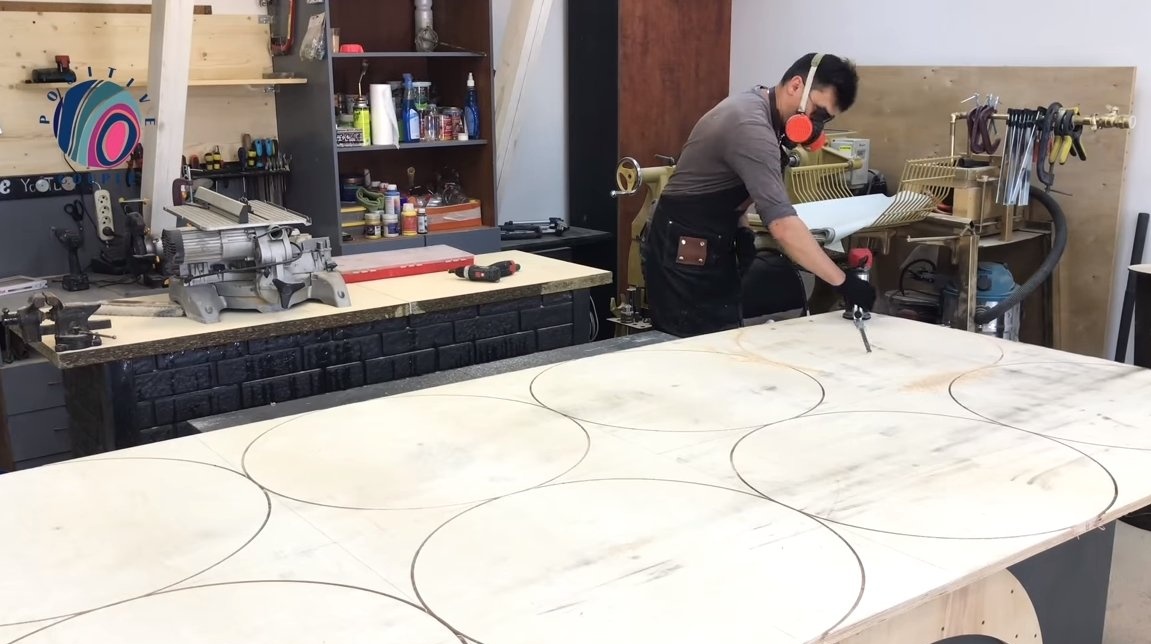
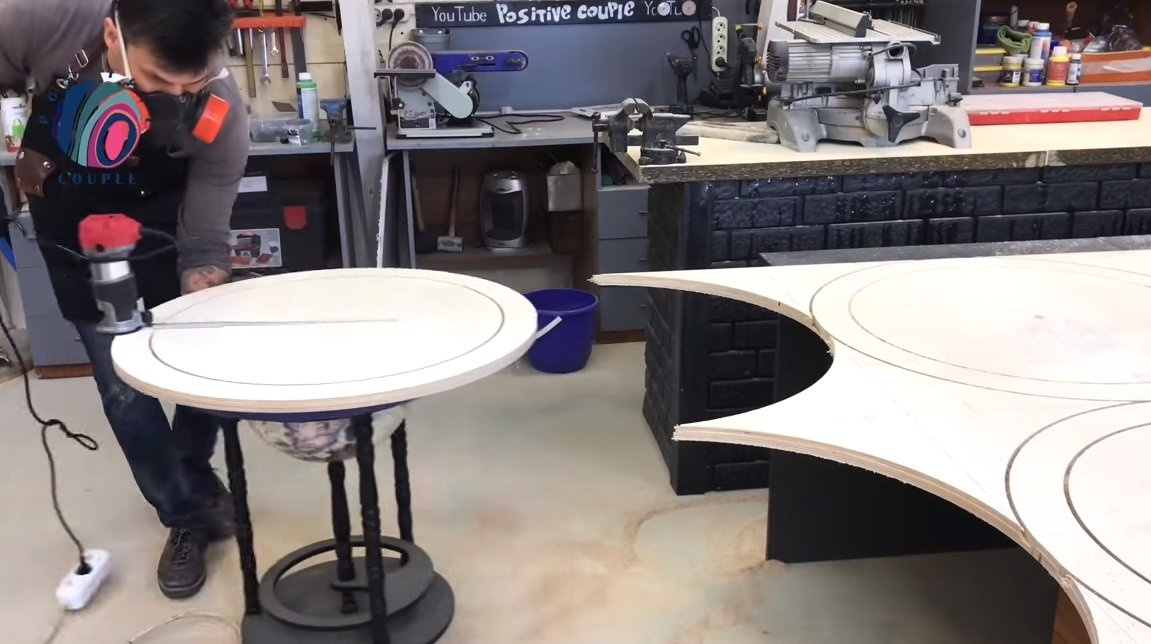
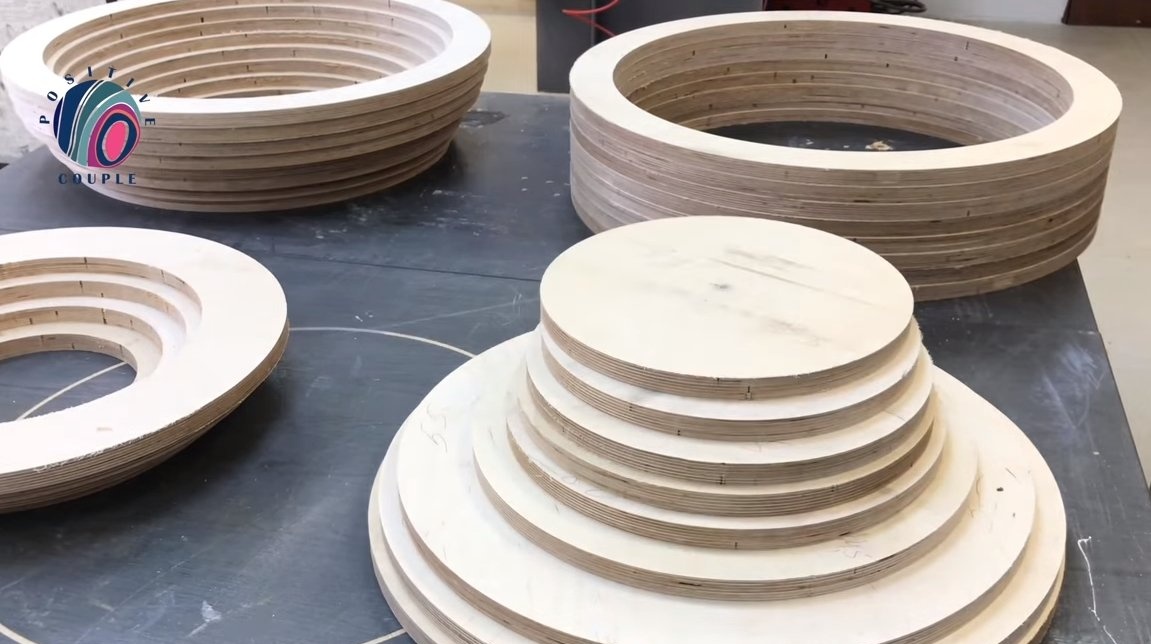
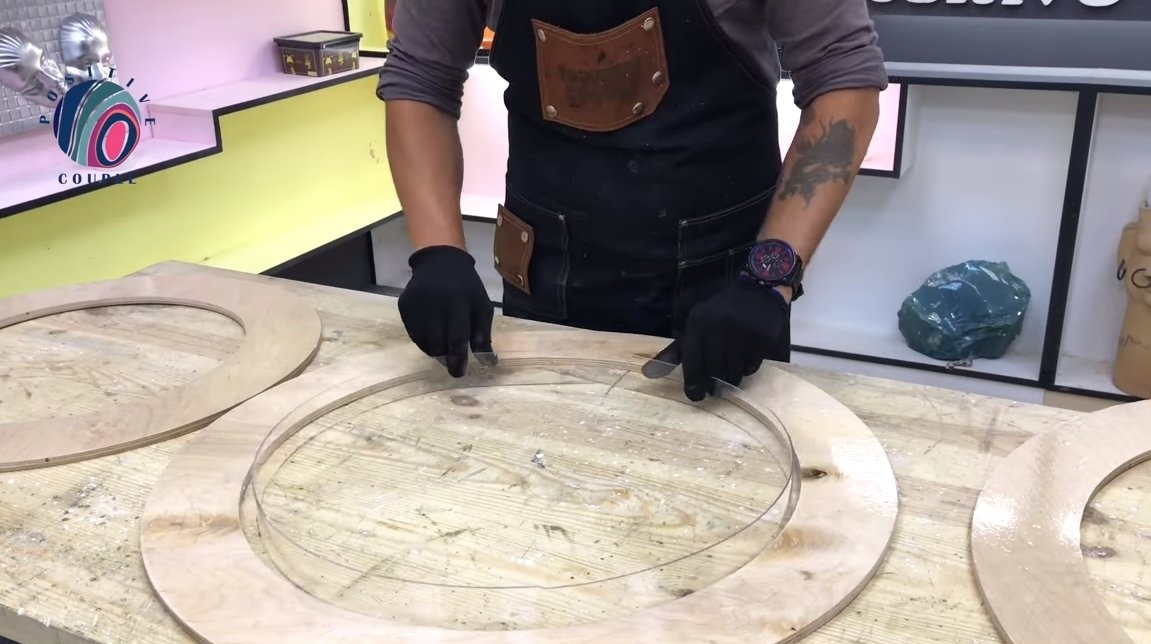
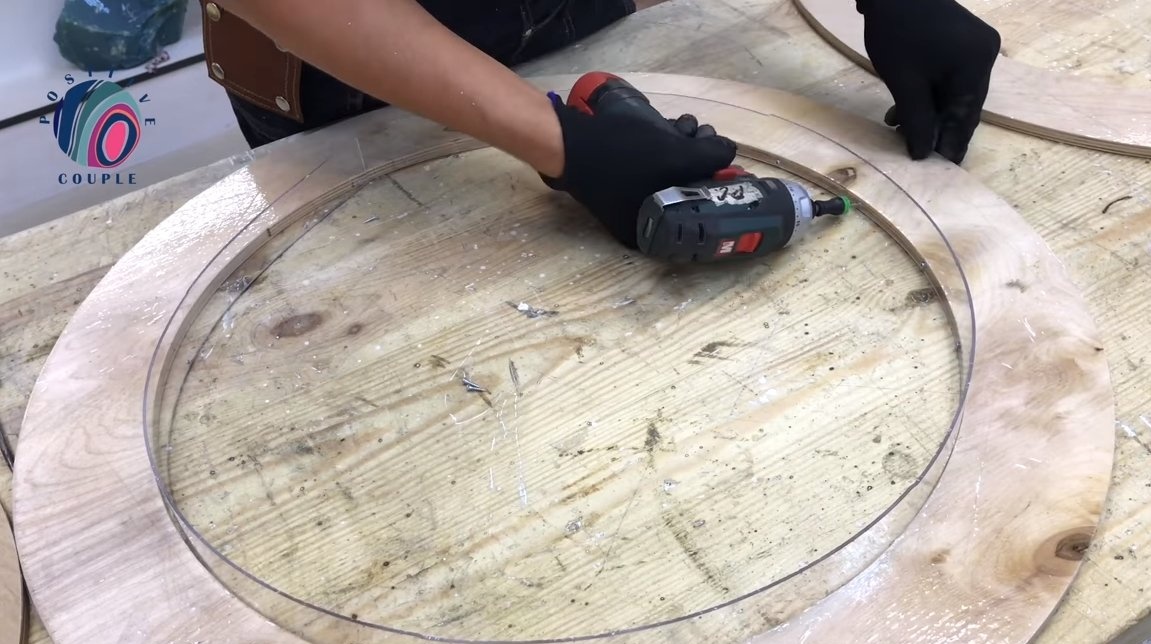
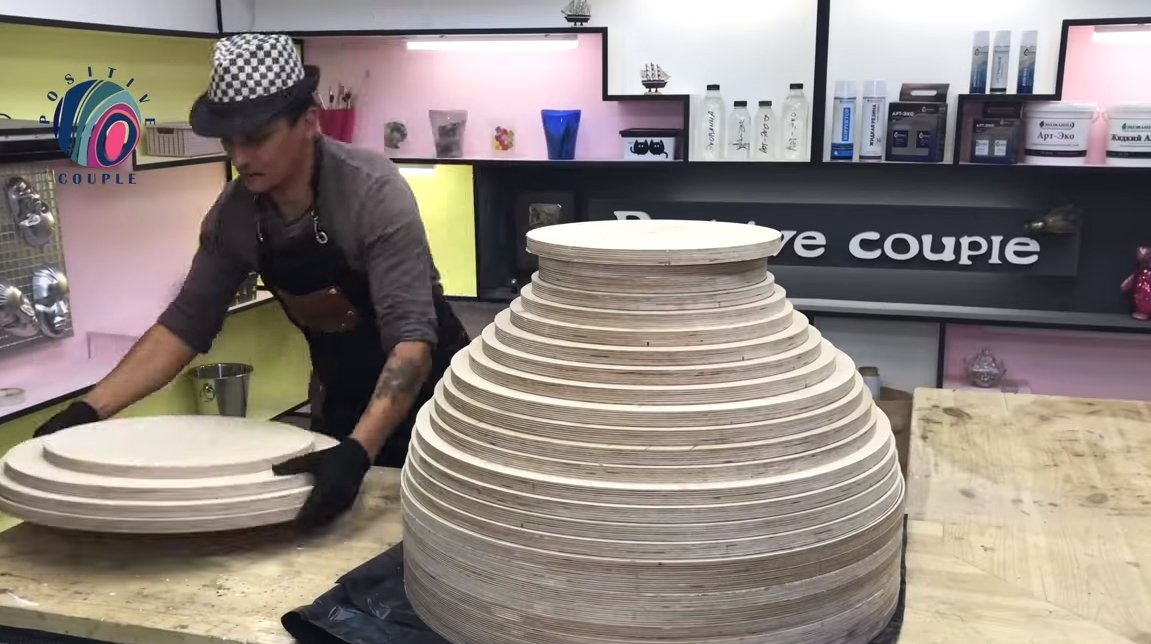
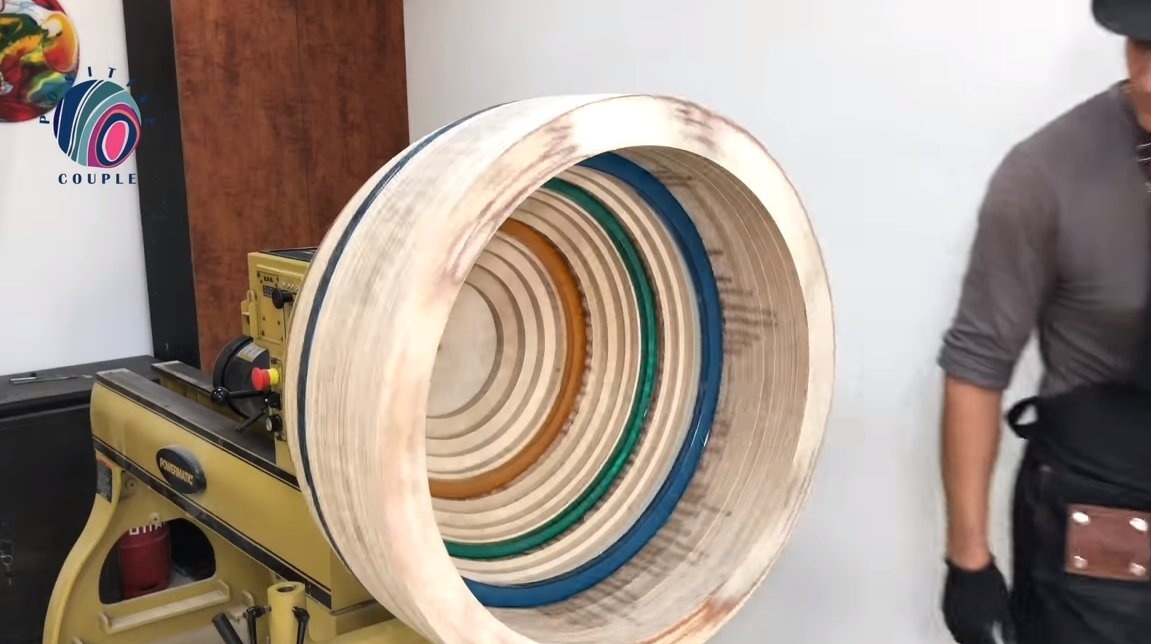
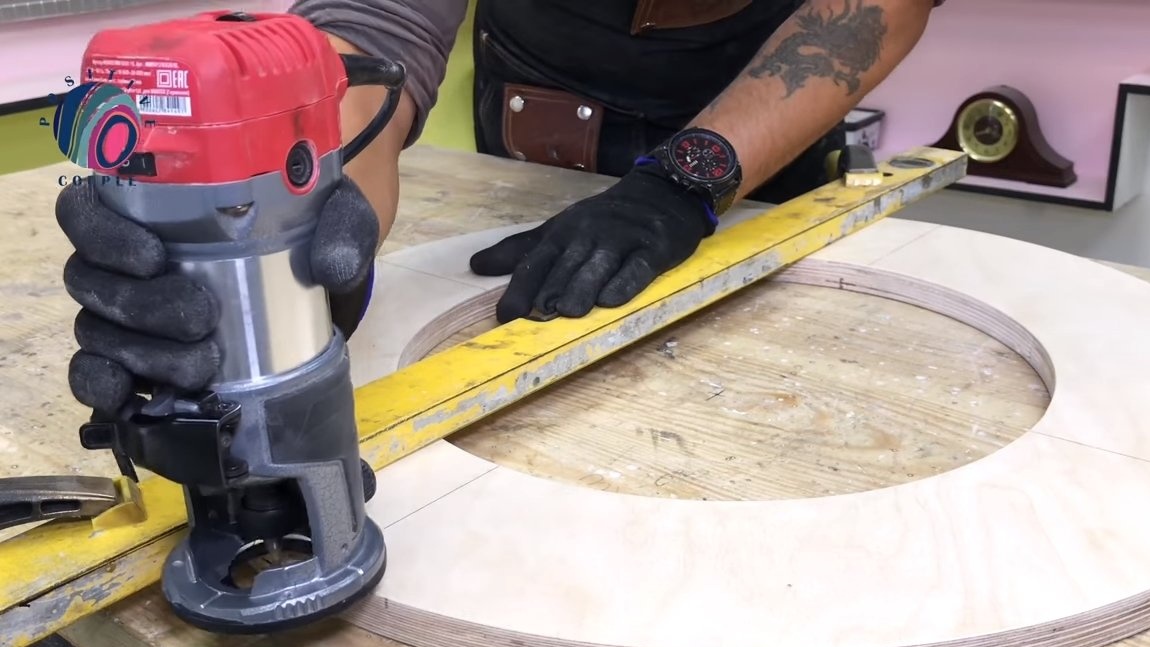
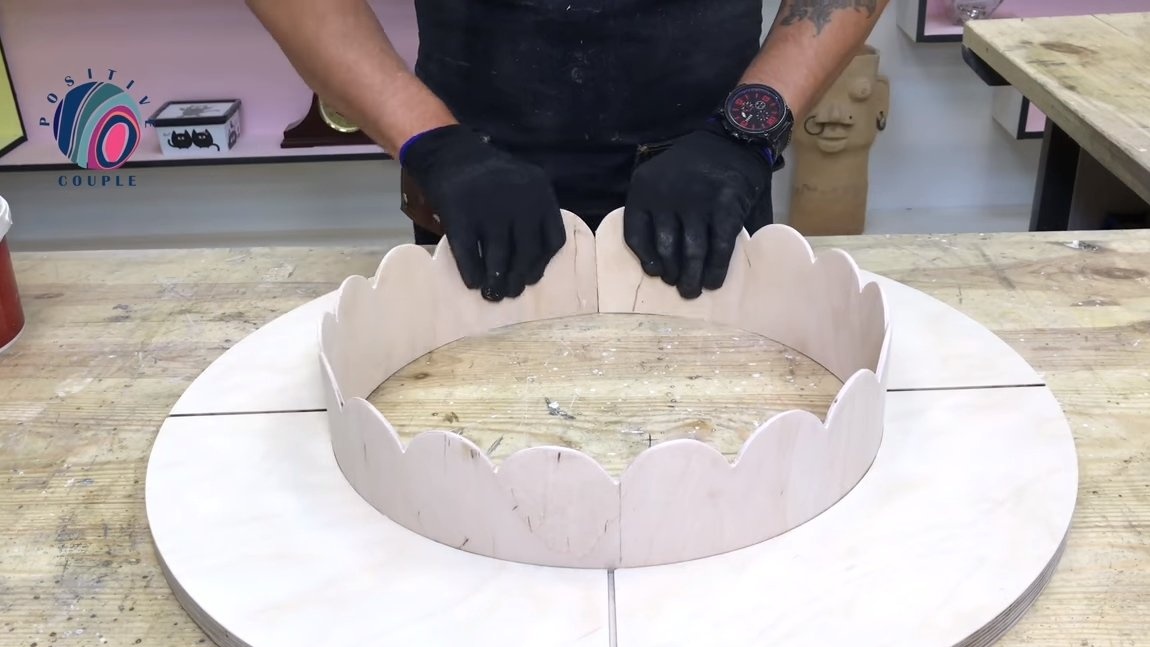
We need a lot of plywood to make a table. Its main part is used to make the base. From plywood, you need to cut many rings of different diameters so that you can then lay down the base of the desired shape. The author cuts these rings with a manual milling cutter, working as a compass.

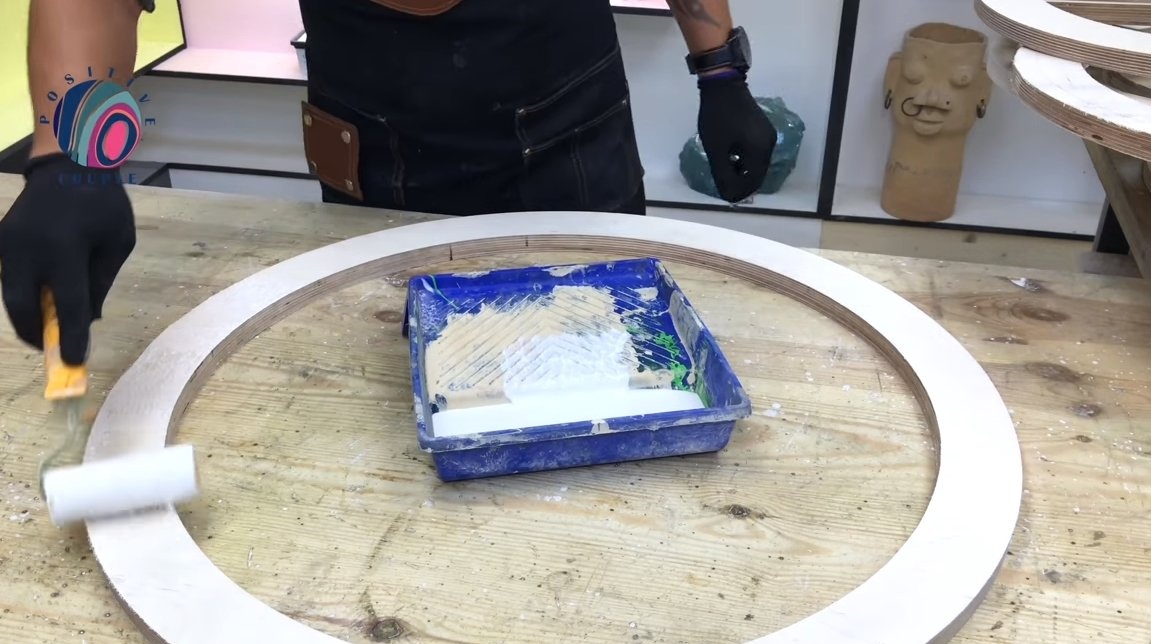
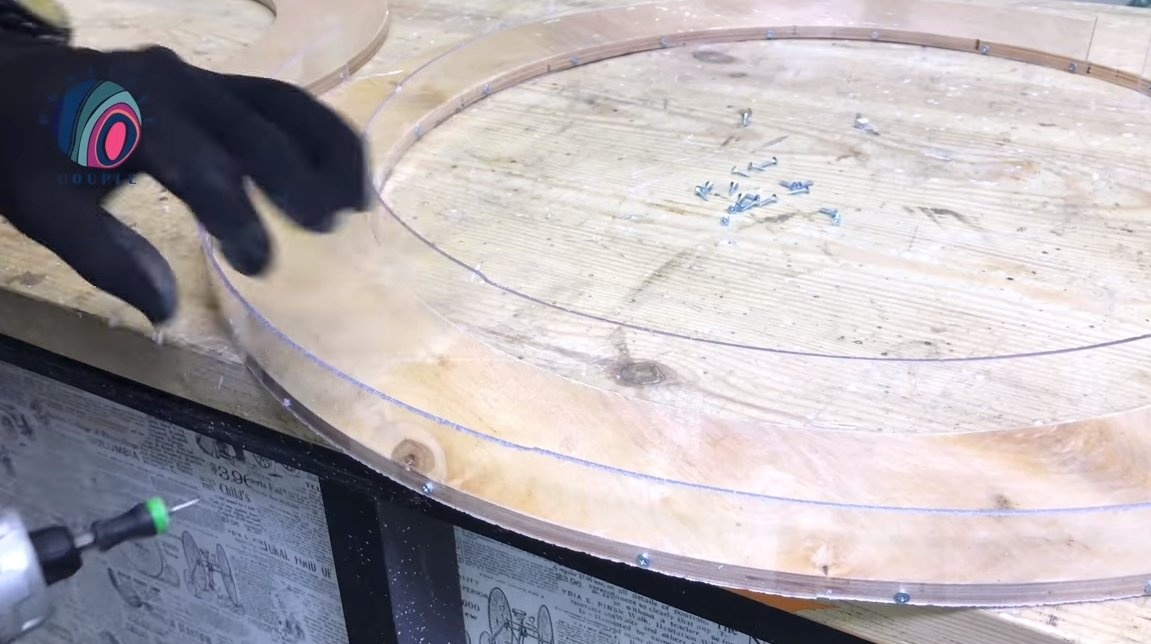
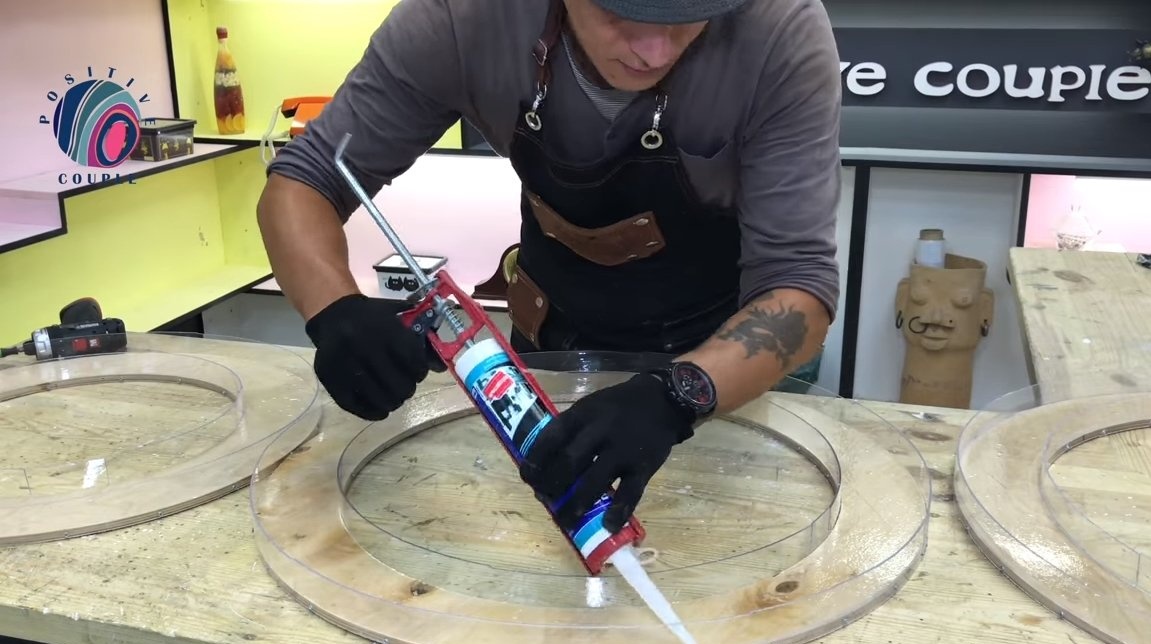
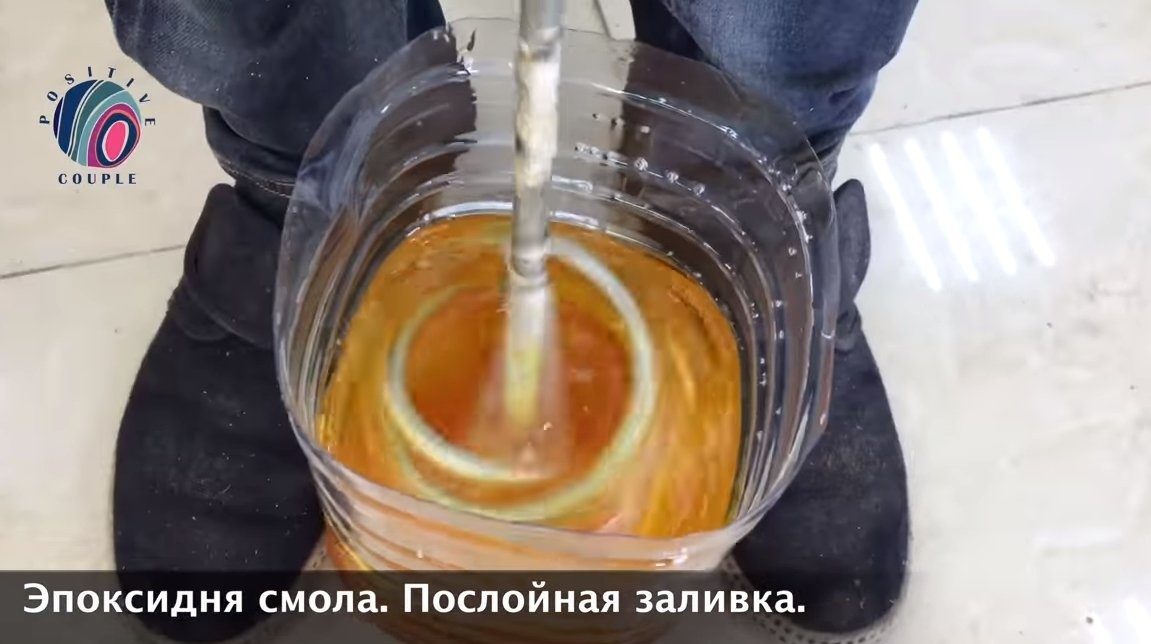
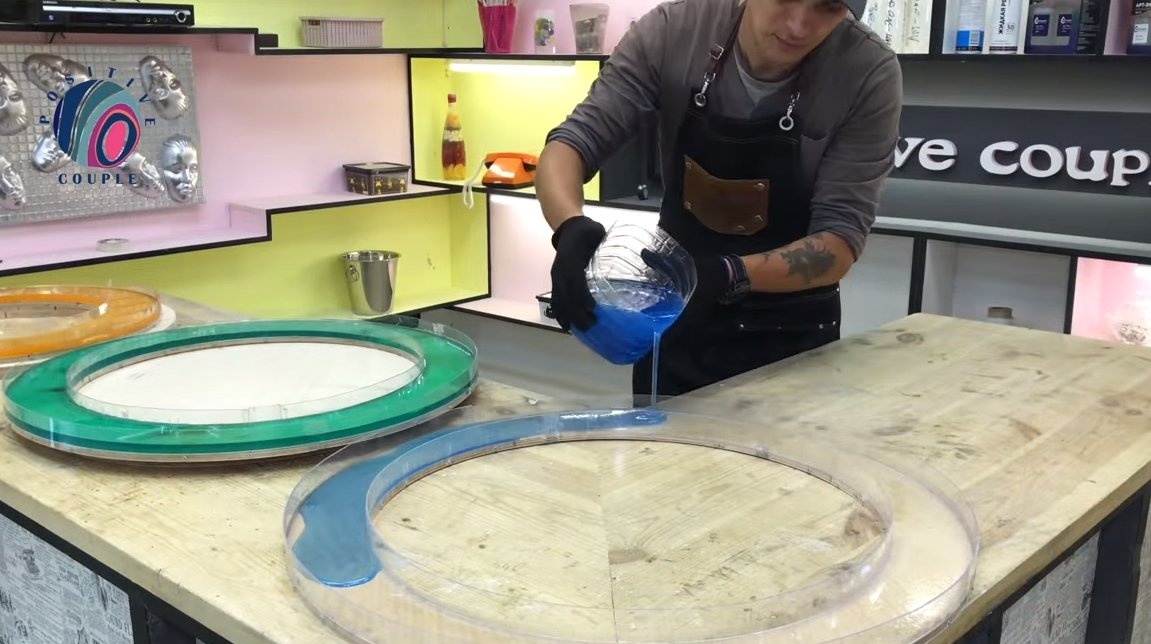
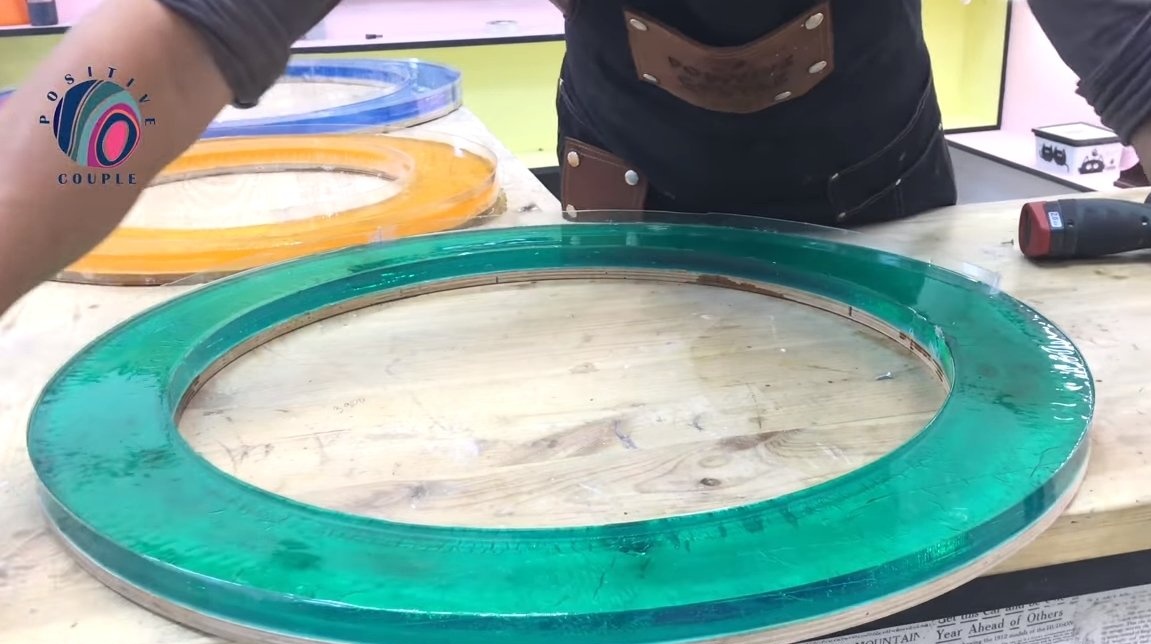
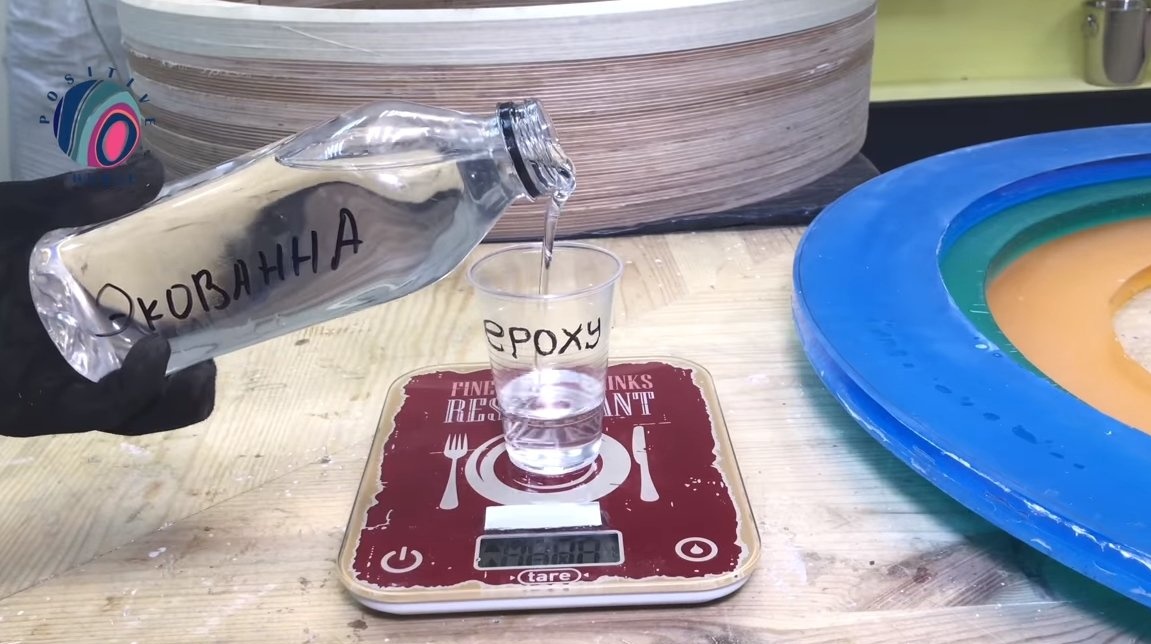
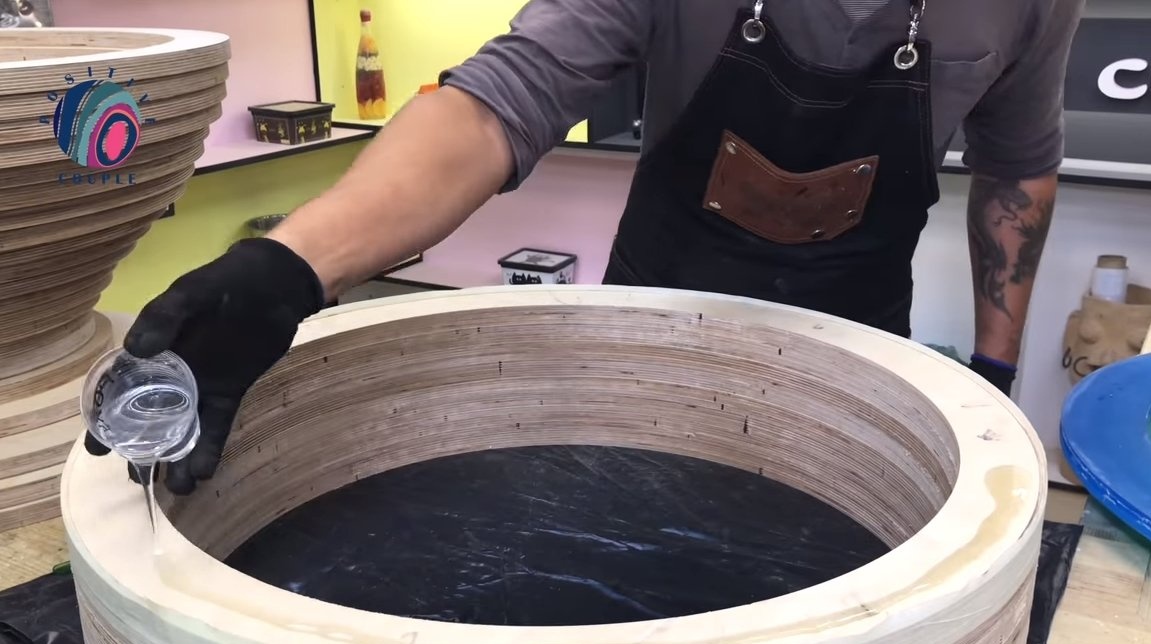
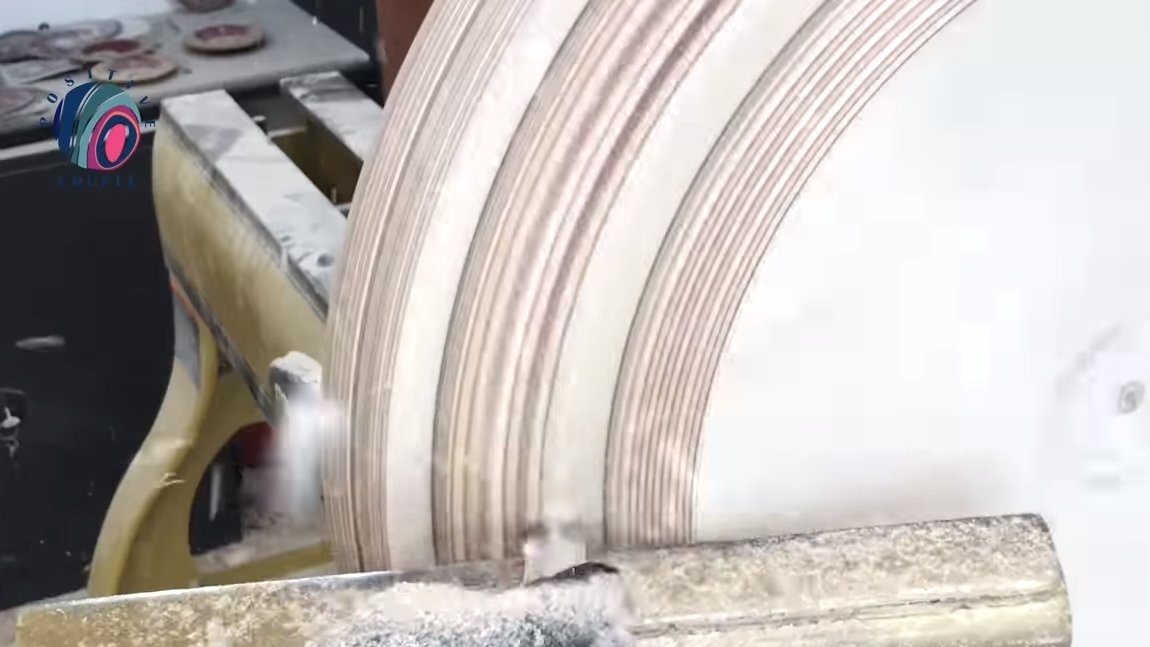
Further, when all the details are cut, we have to make “luminous rings” of epoxy resin, which are located between the sheets of plywood. Just select the rings you need and mount the formwork around them from acrylic or other sheet material. We use plumbing silicone as a sealant. We fill in the epoxy formwork, adding the right amount of dye to your taste.
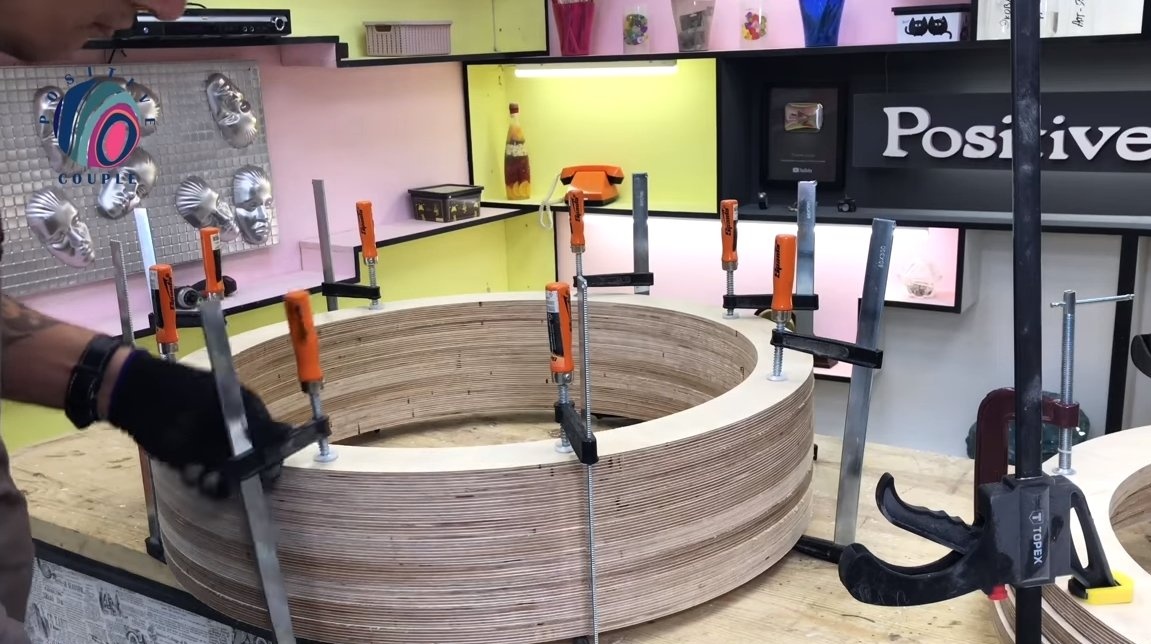
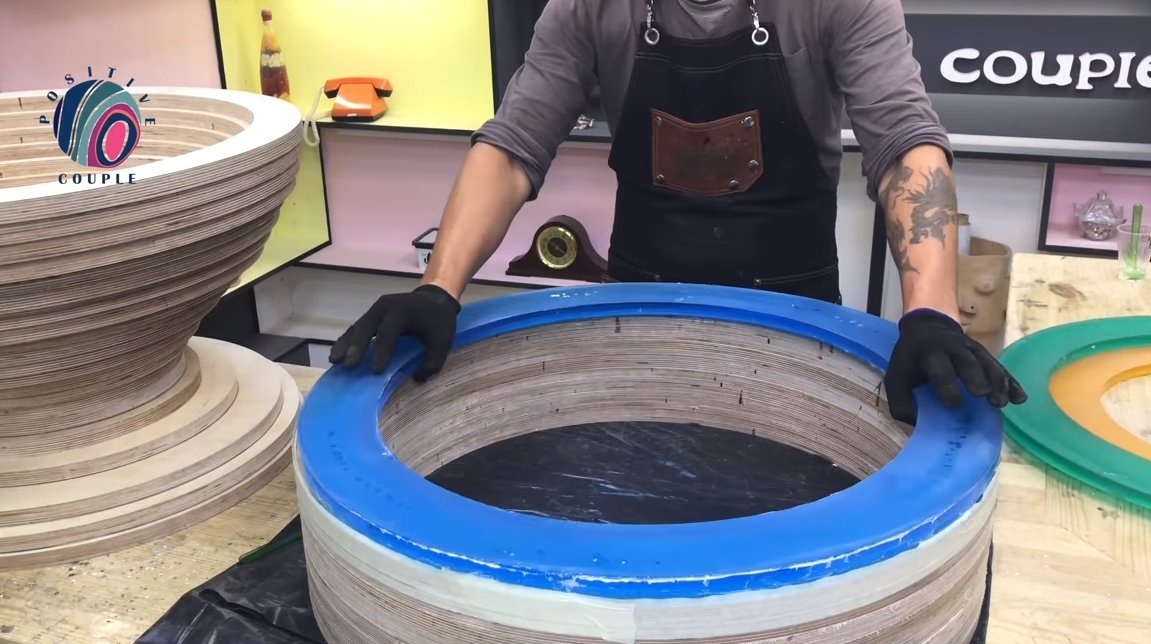
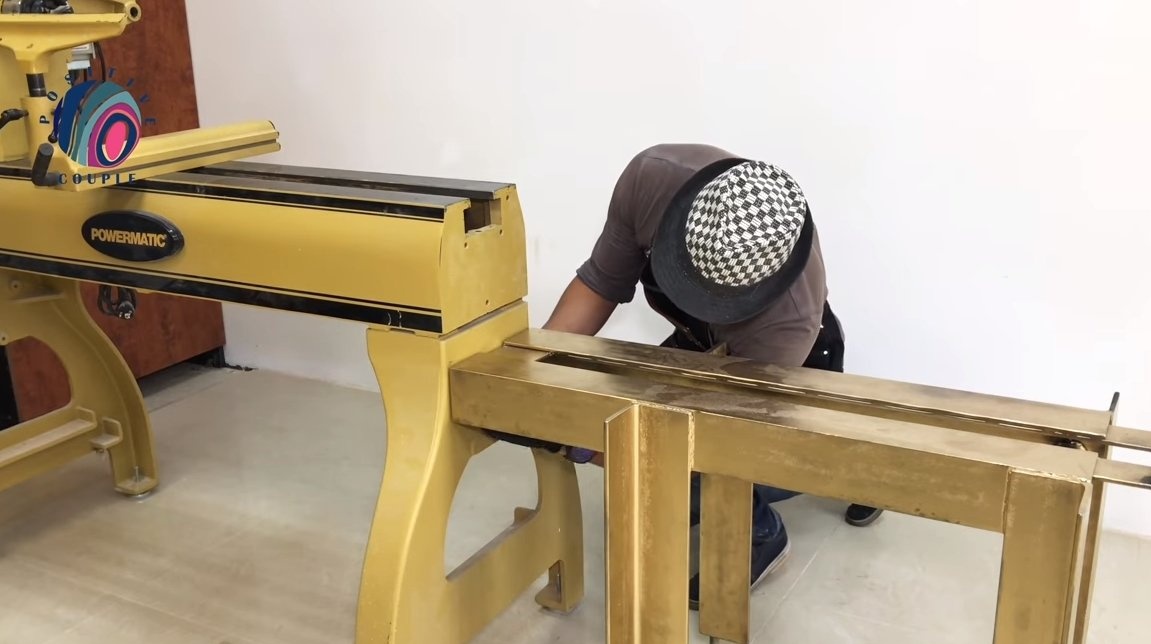
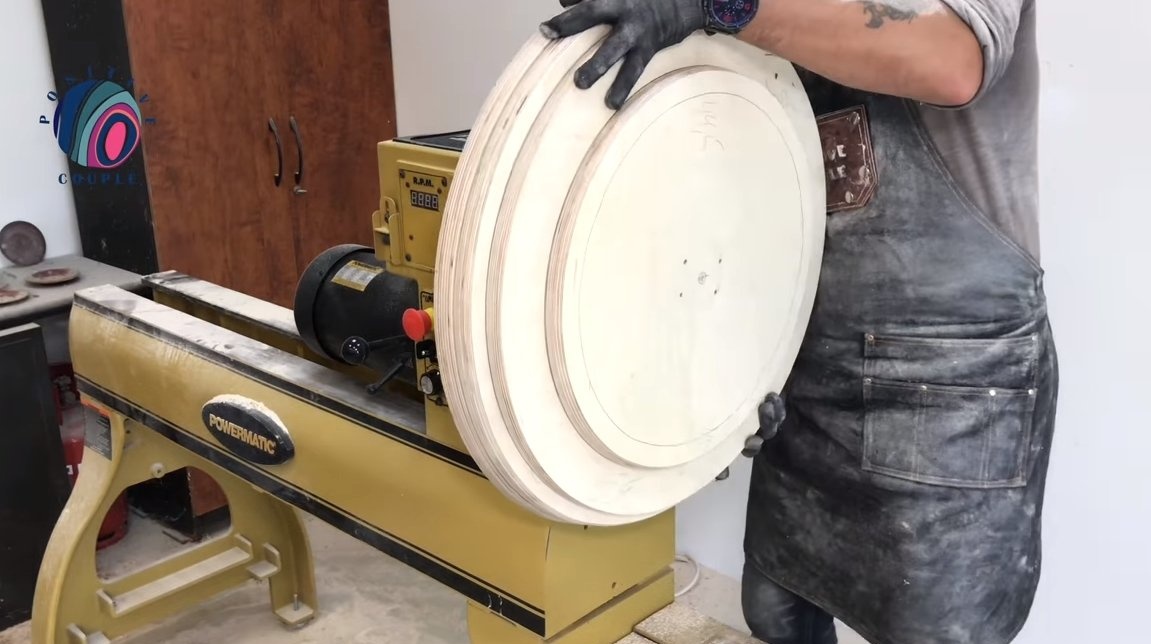
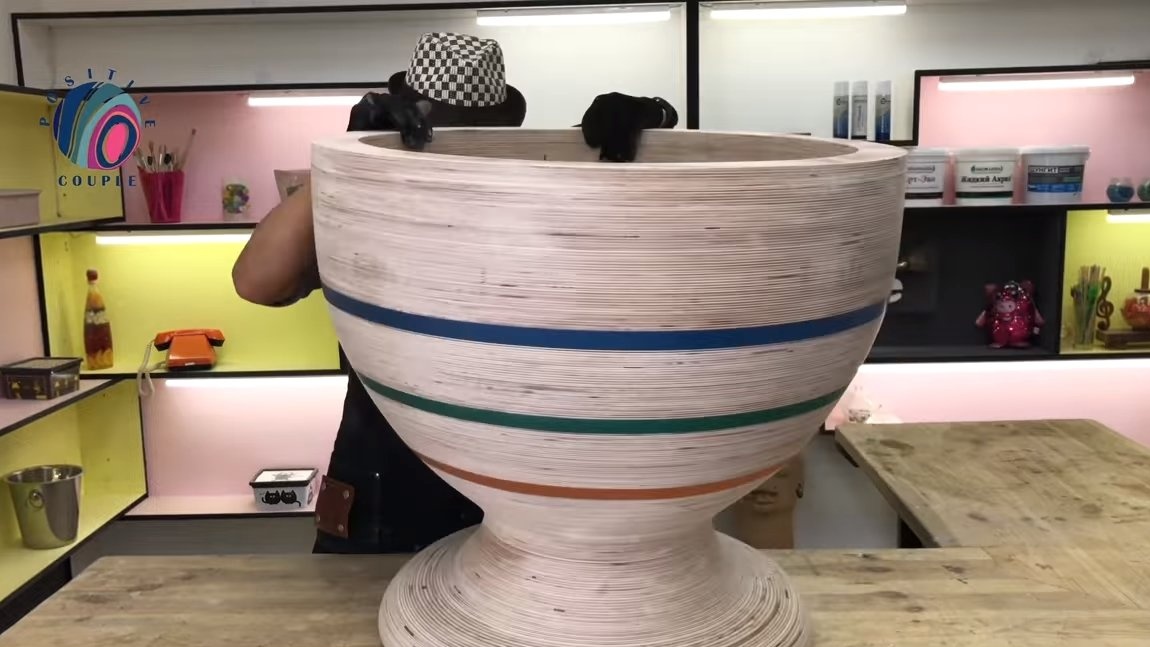
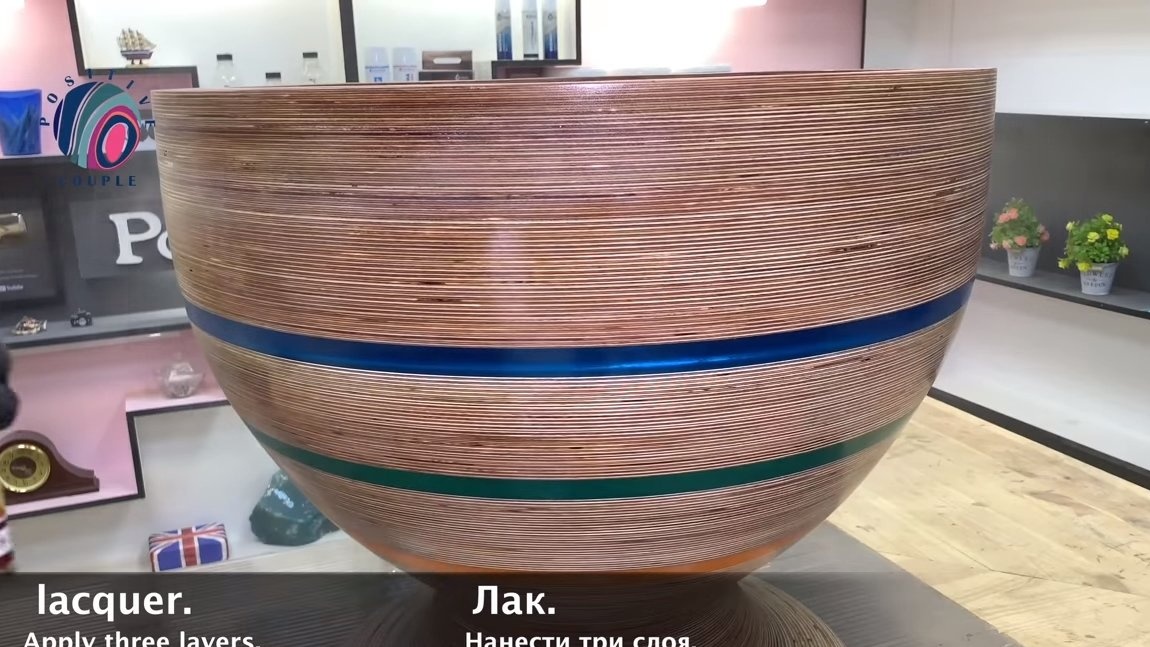
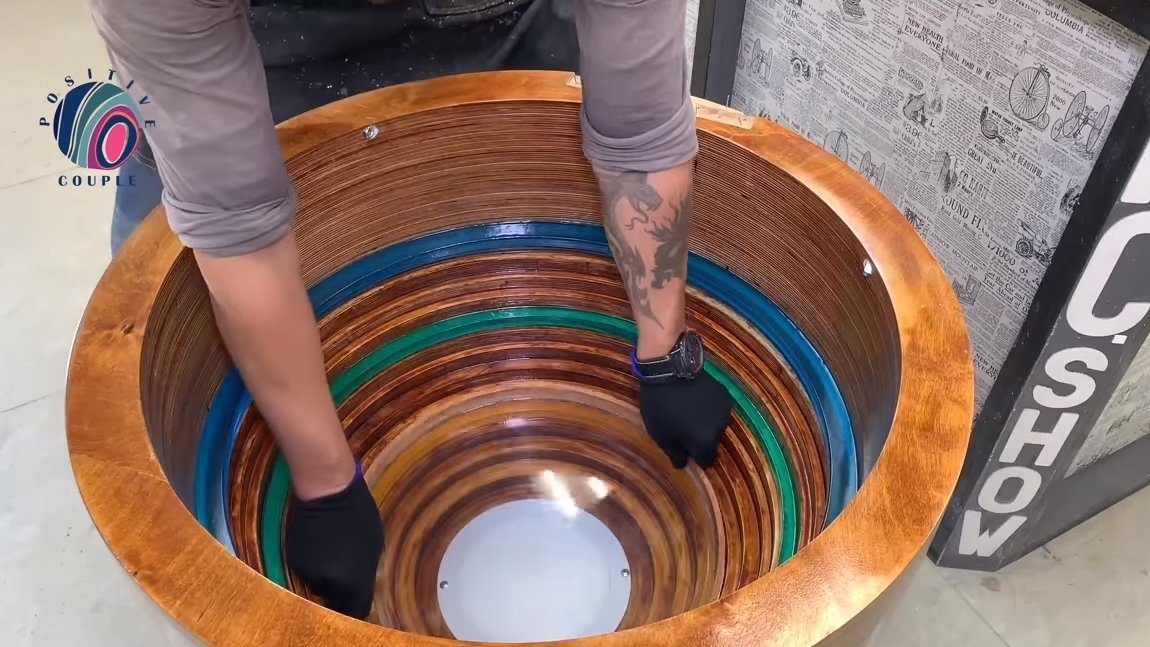
When the resin dries, we glue all the rings together to make the base, in our case it resembles the shape of a vase. The author makes the base of the “vase” separately so that the structure is not so heavy and bulky.


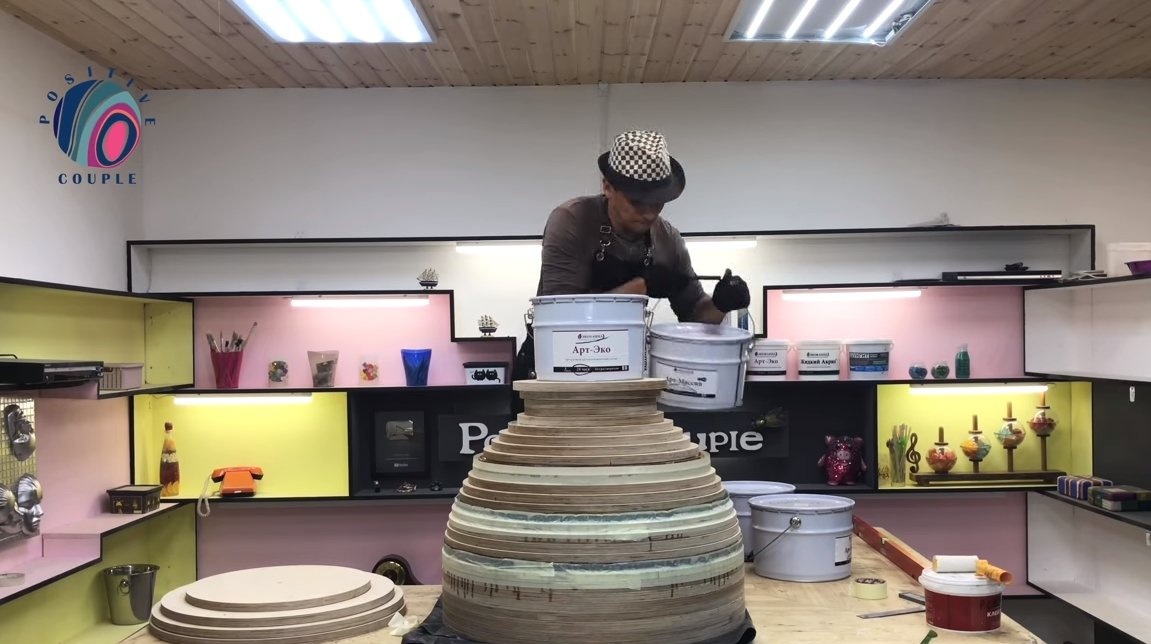
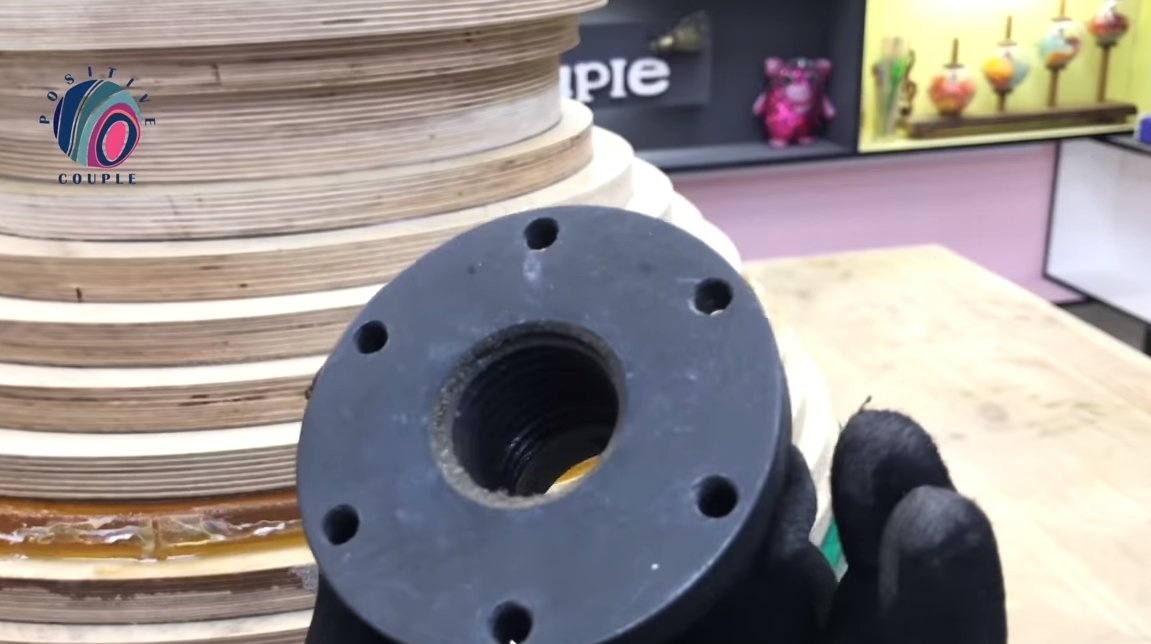
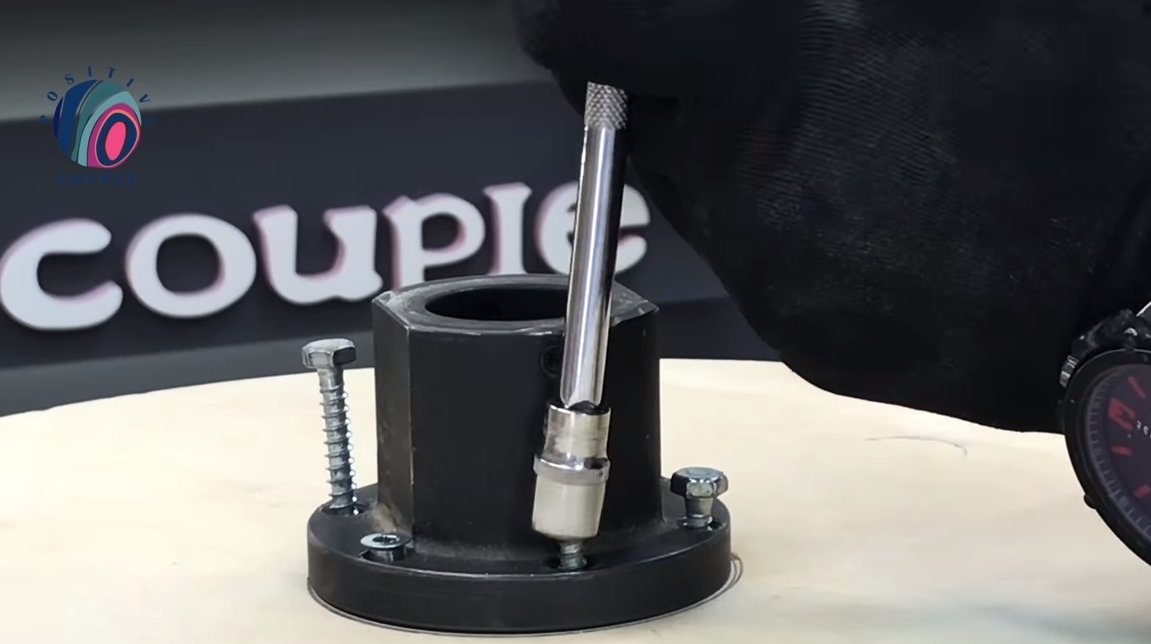
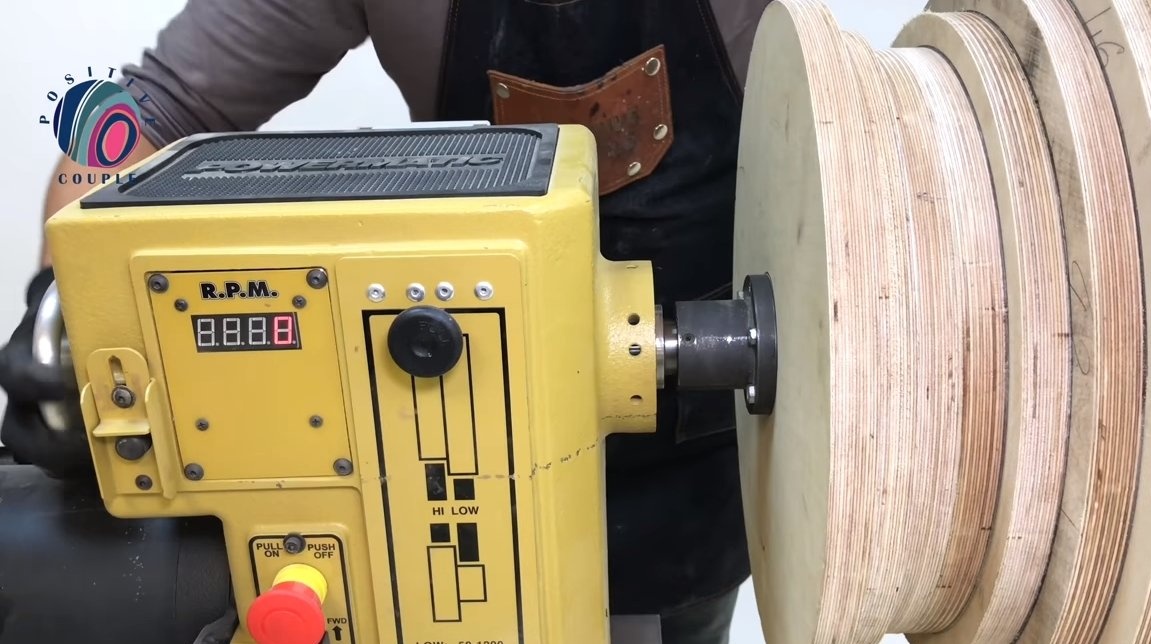
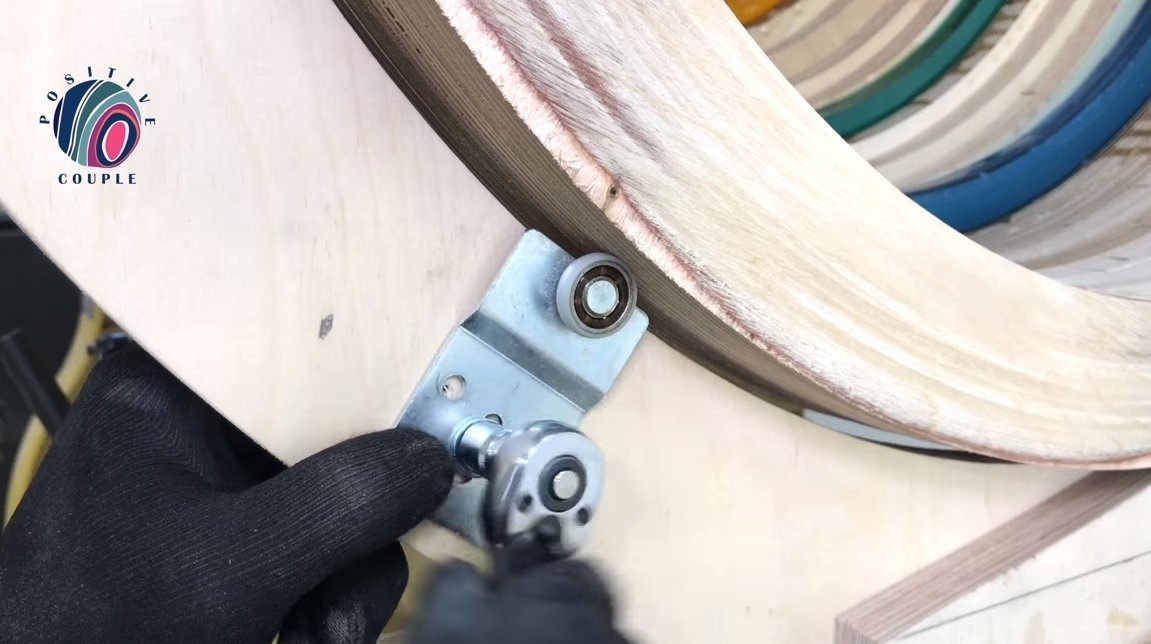
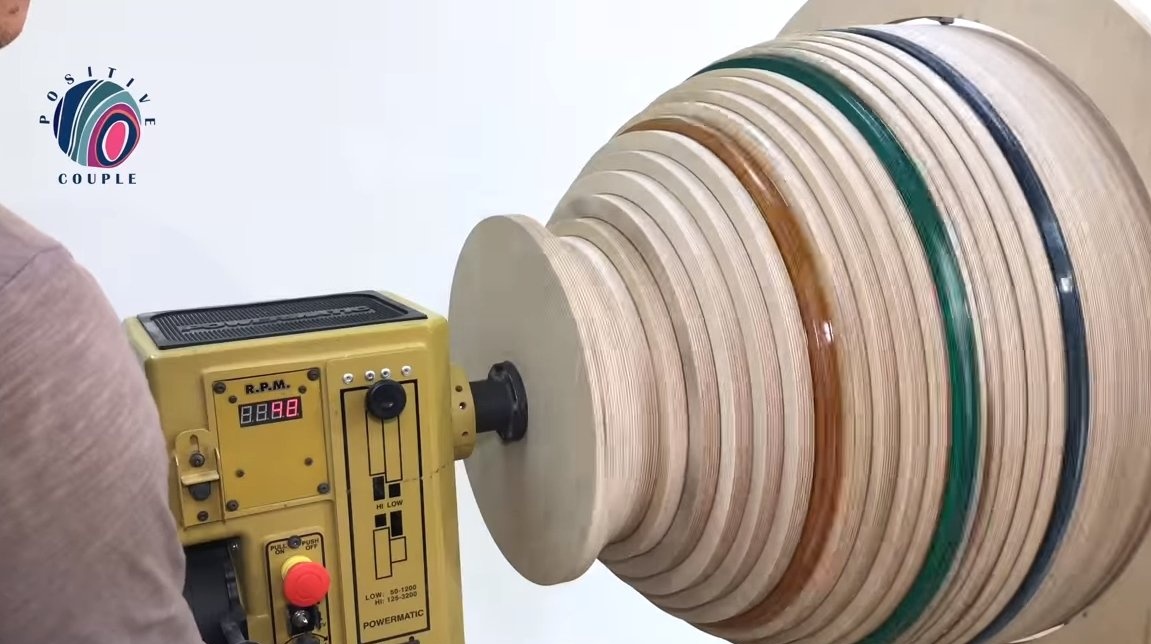
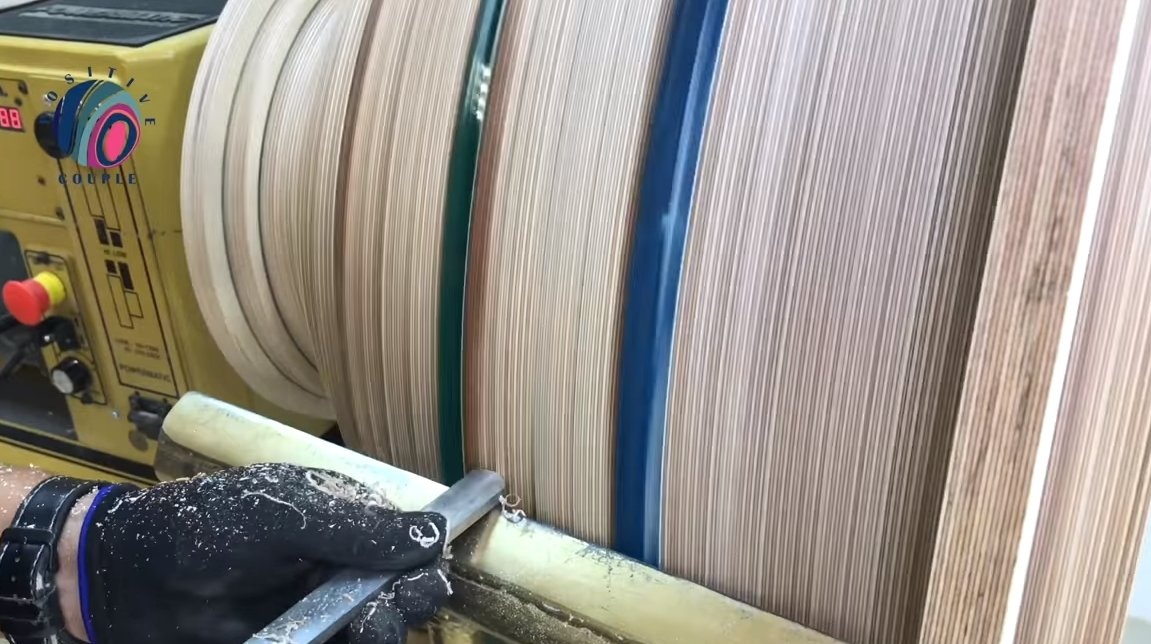
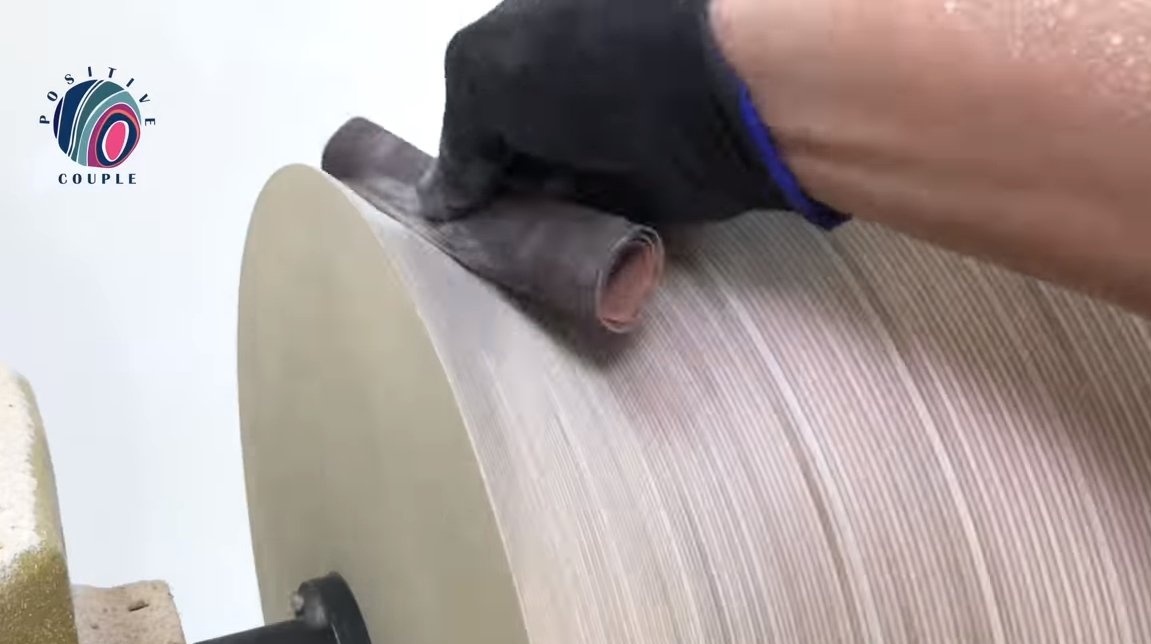
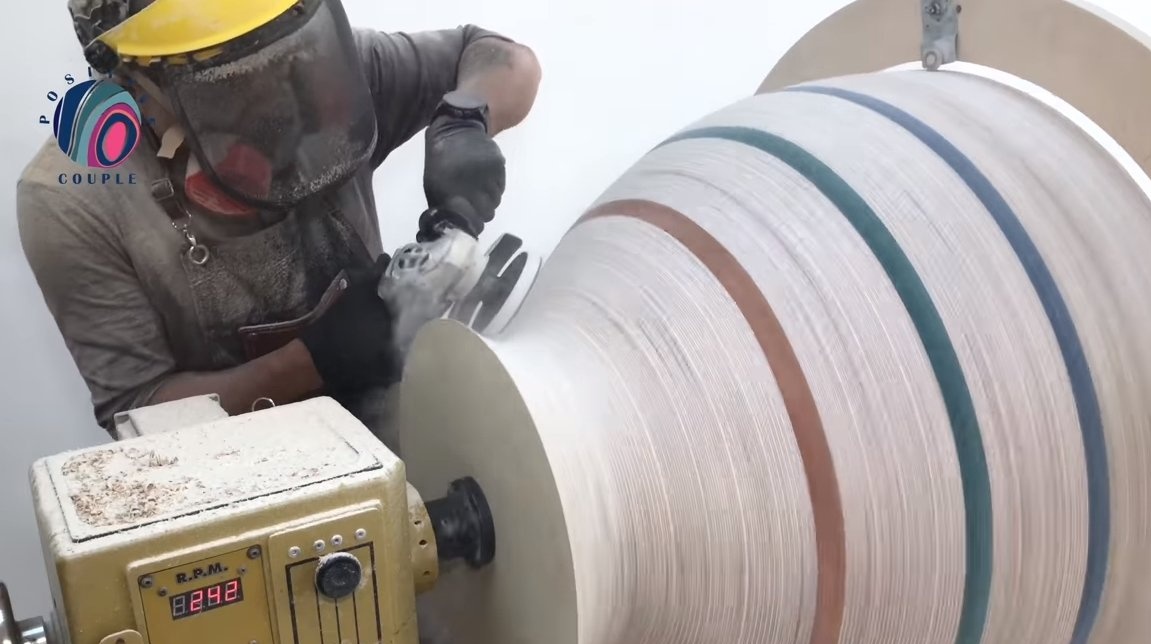
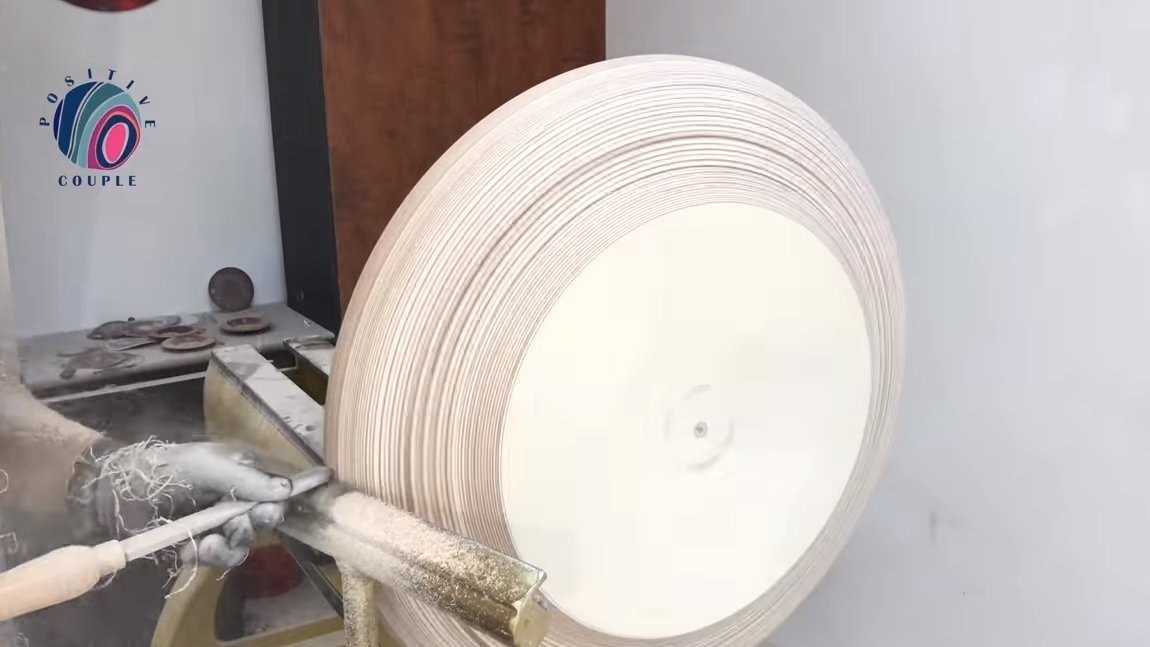
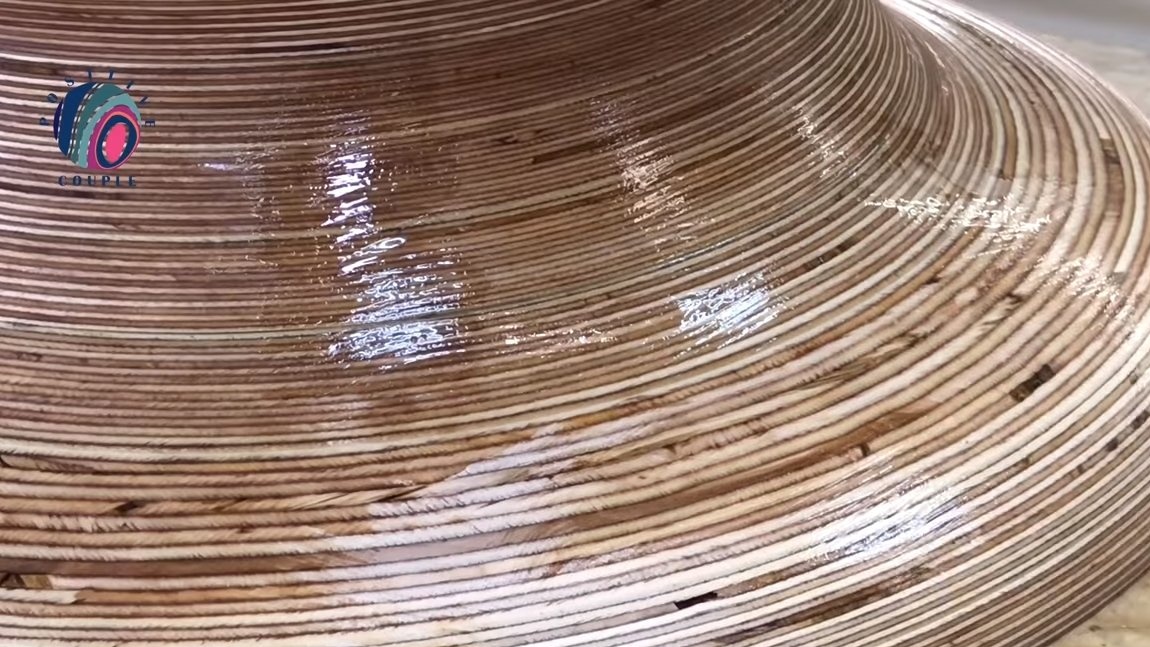
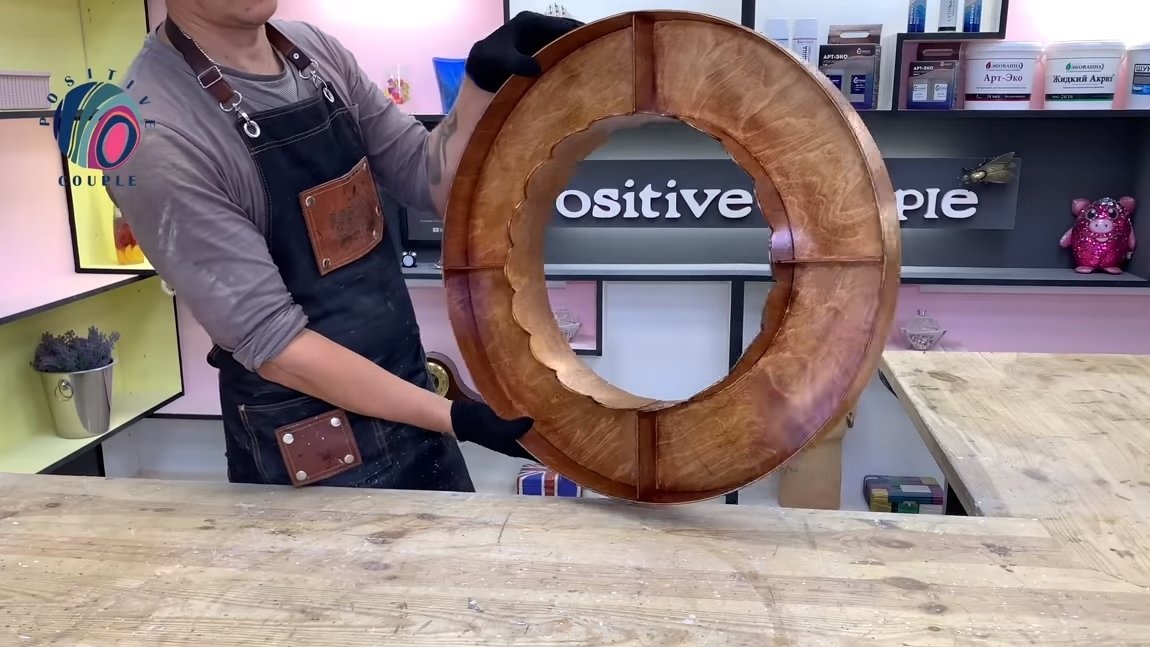
Then the product is installed on a lathe, and since the part is quite large and weighty, the author installs a plywood ring on which supporting rollers are installed.Well, then we process the part, attach it to the desired shape and carefully grind it with available tools. Having completed the turning work, we fasten the base to the “vase” and the work is completed on this.

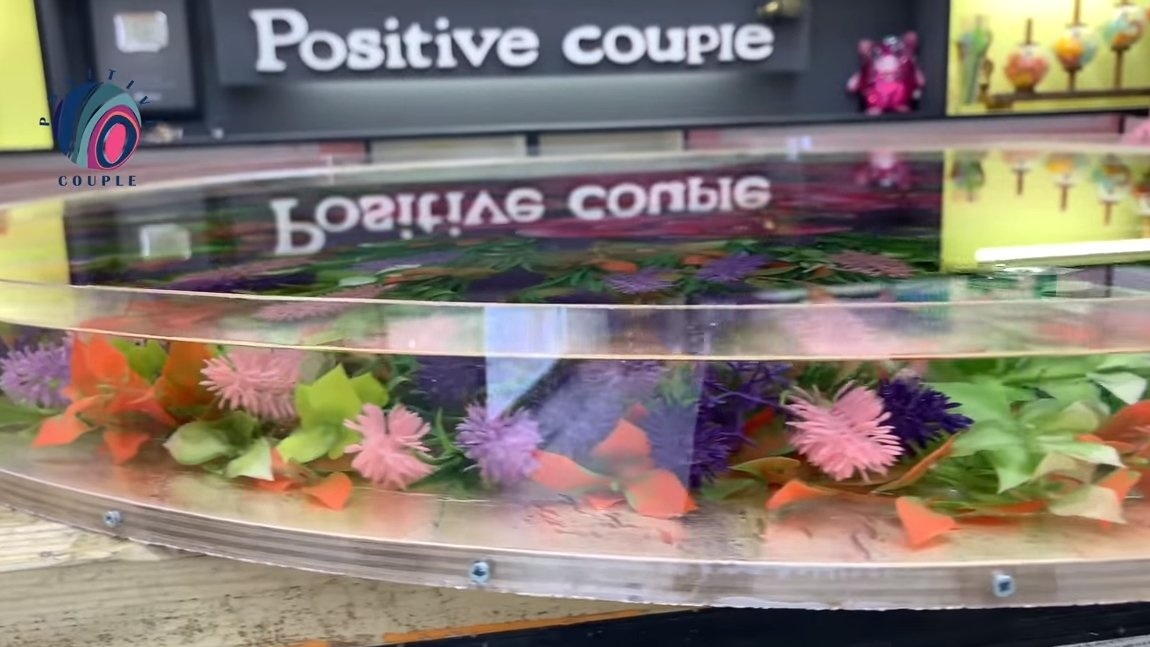
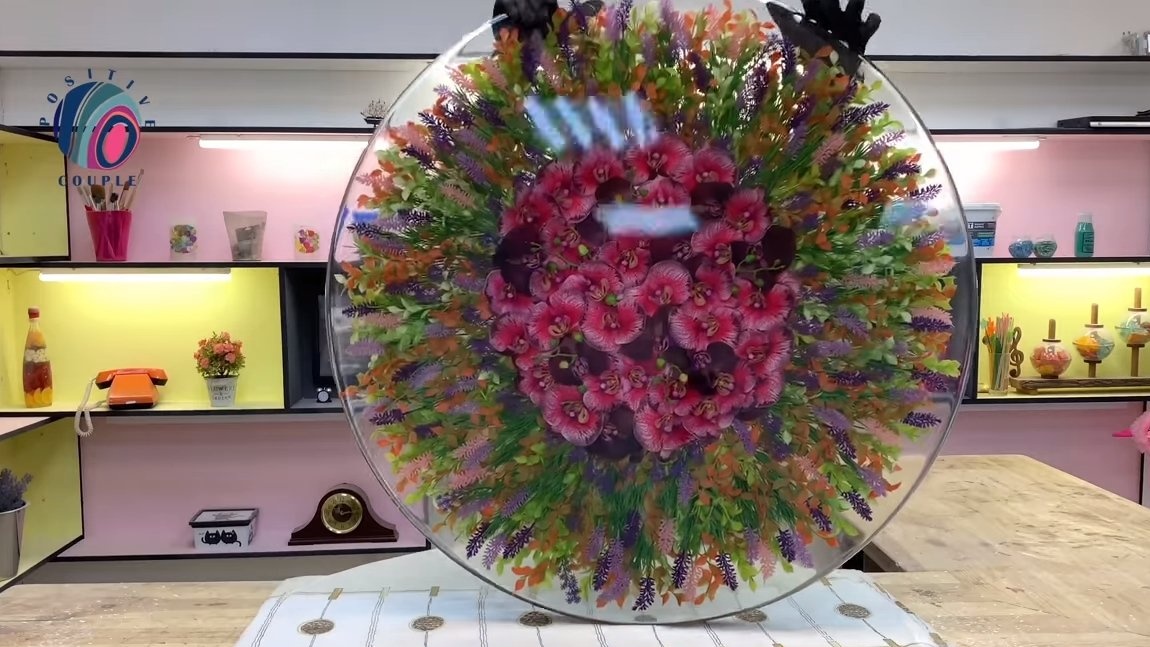
Step Two We cast the countertop
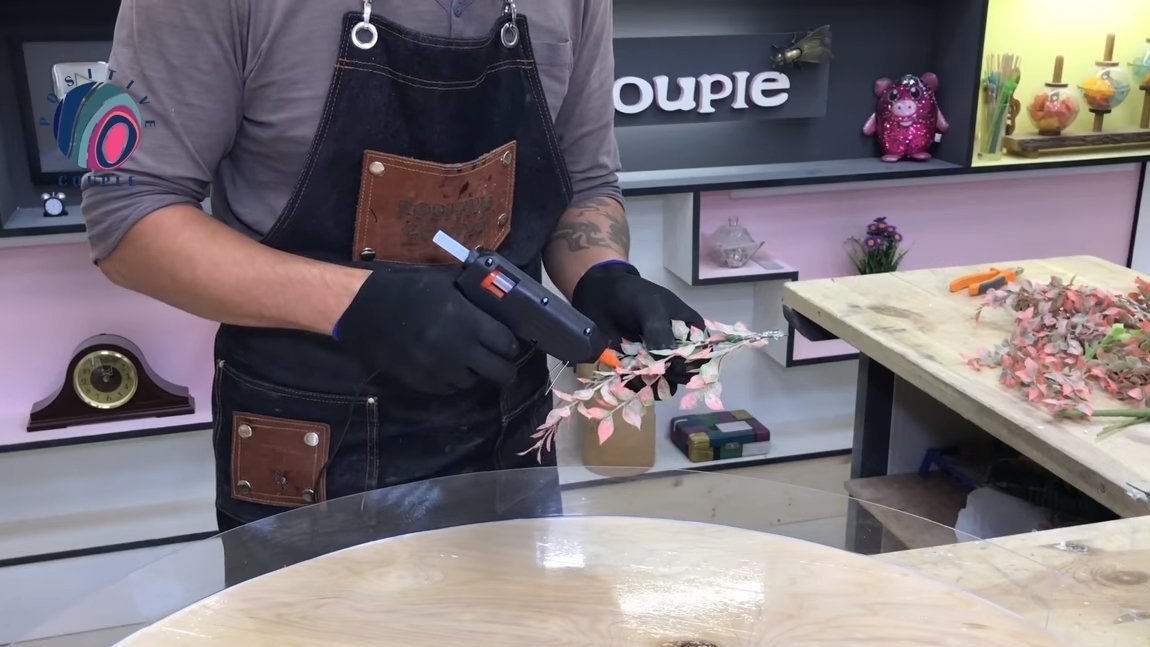
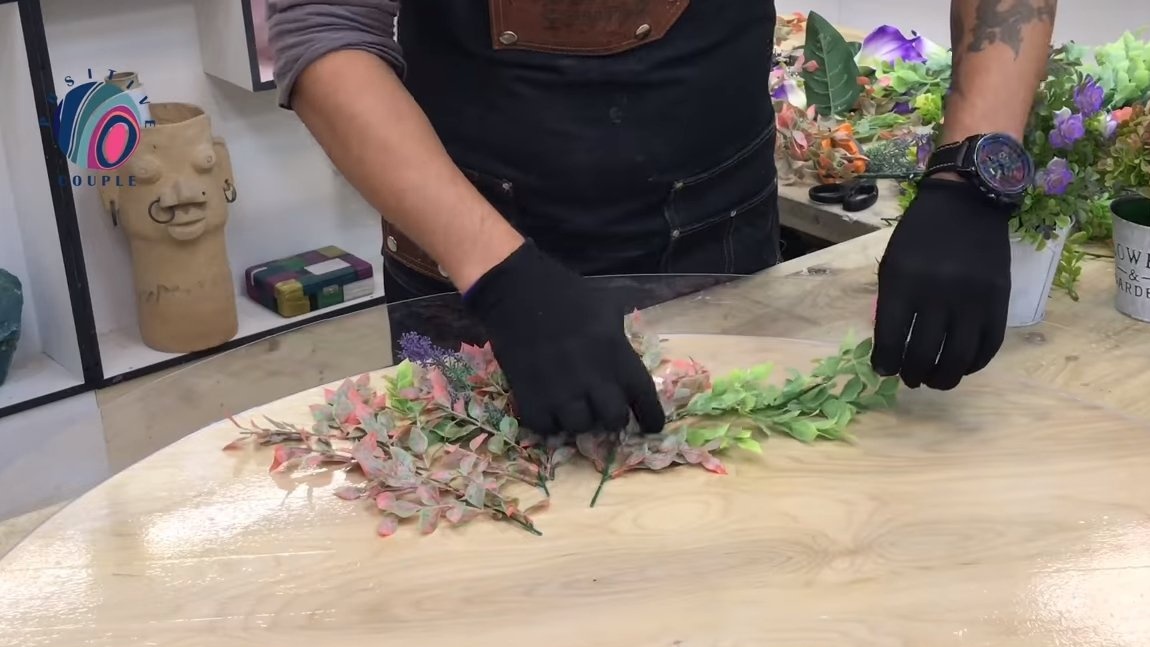
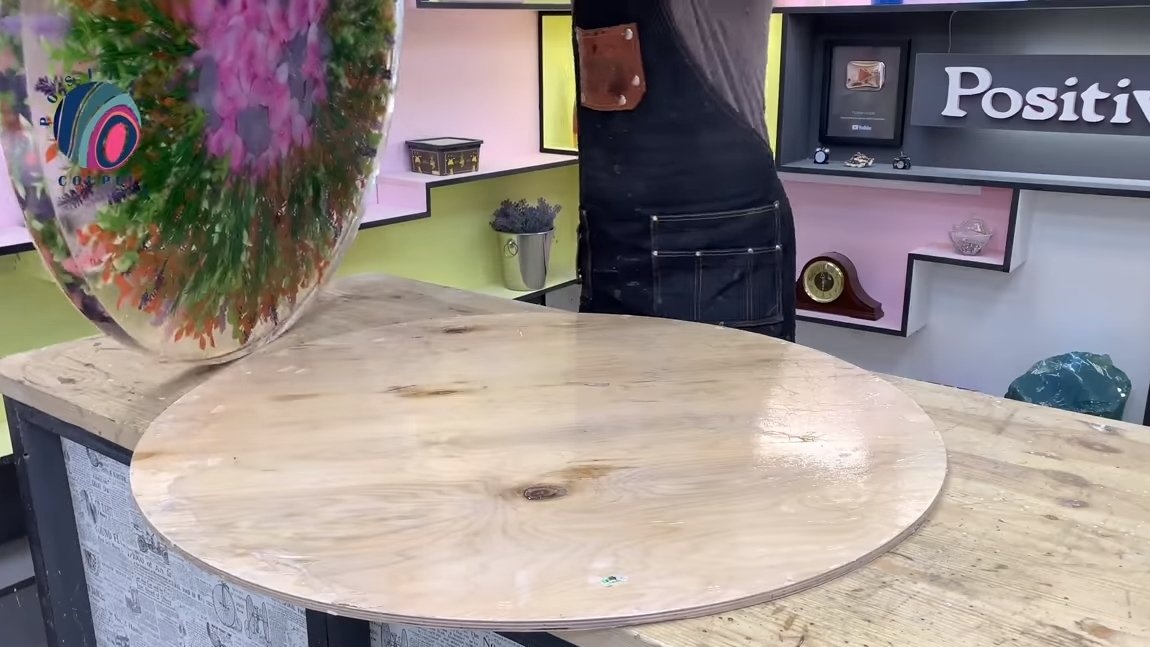
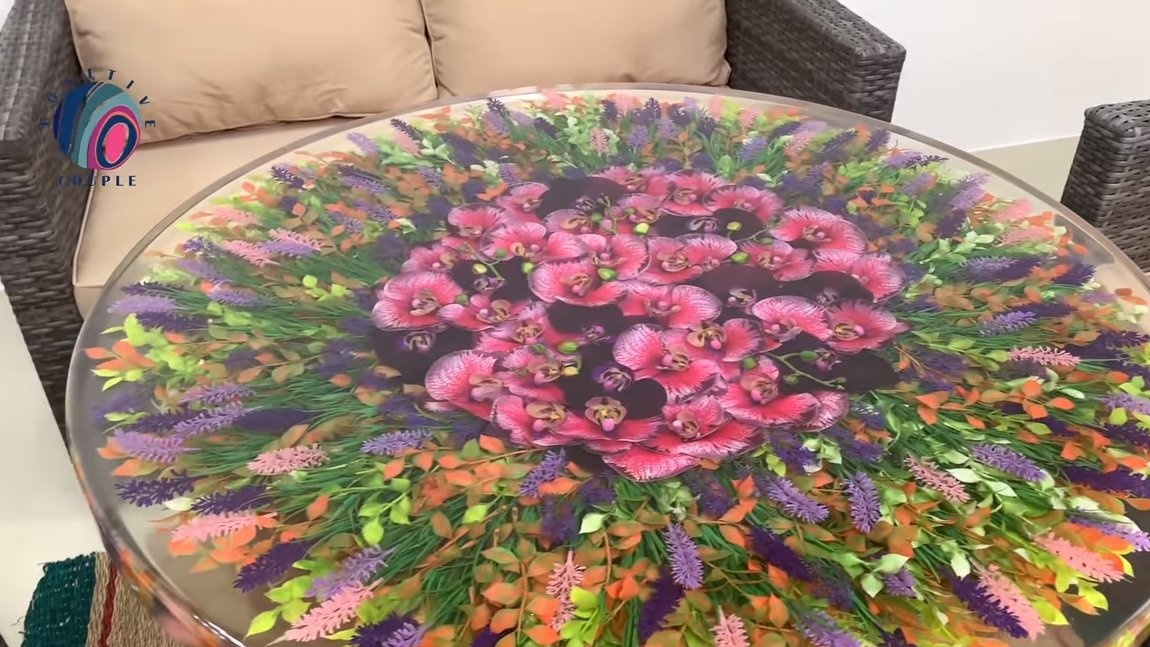
You can start making countertops, to begin with, the author goes to a flower shop, we need artificial flowers, we choose products to our taste. We are looking for a flat table and laying an acrylic sheet on it, if the acrylic is of such sizes, you can glue the table with tape, but this is already a risky task.
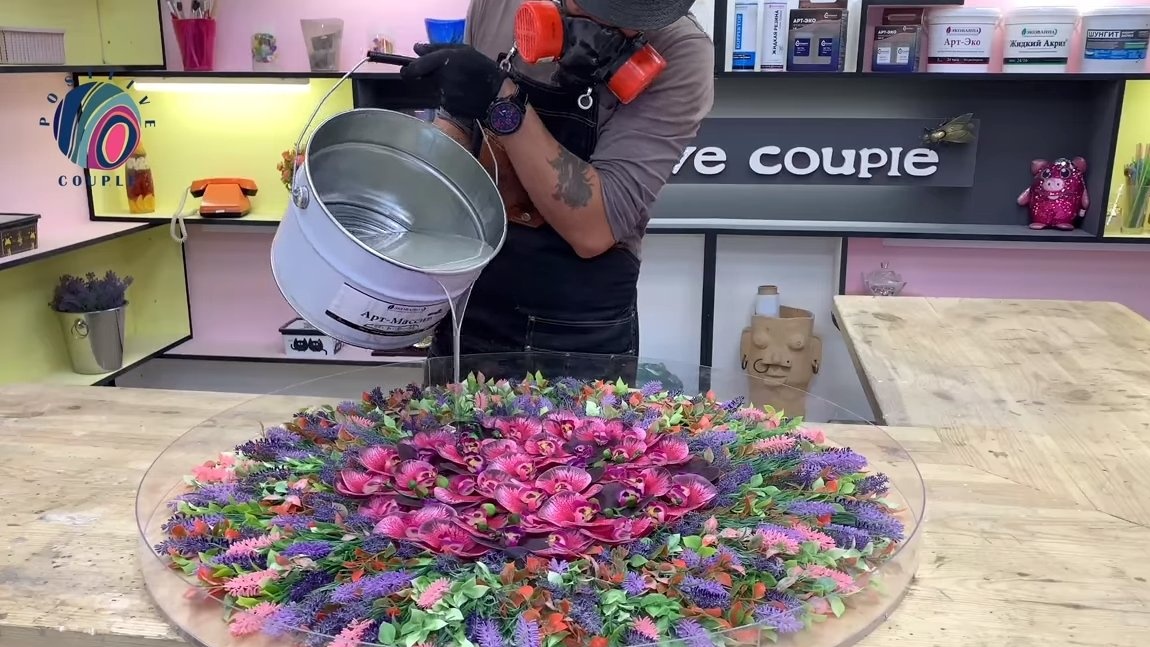
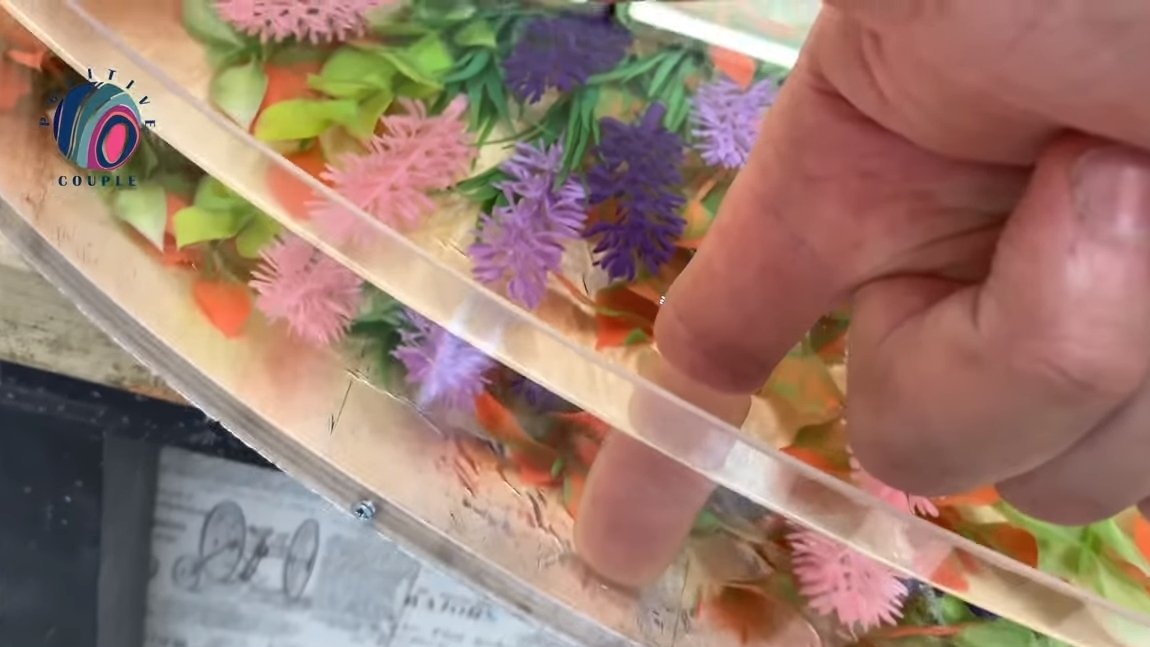
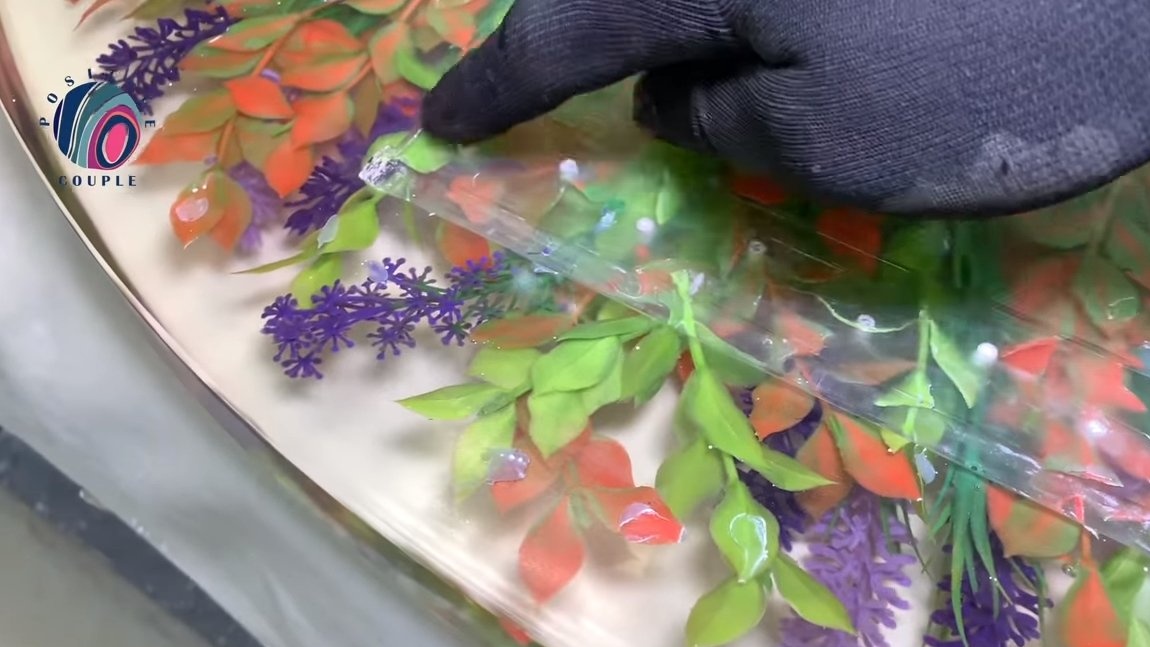
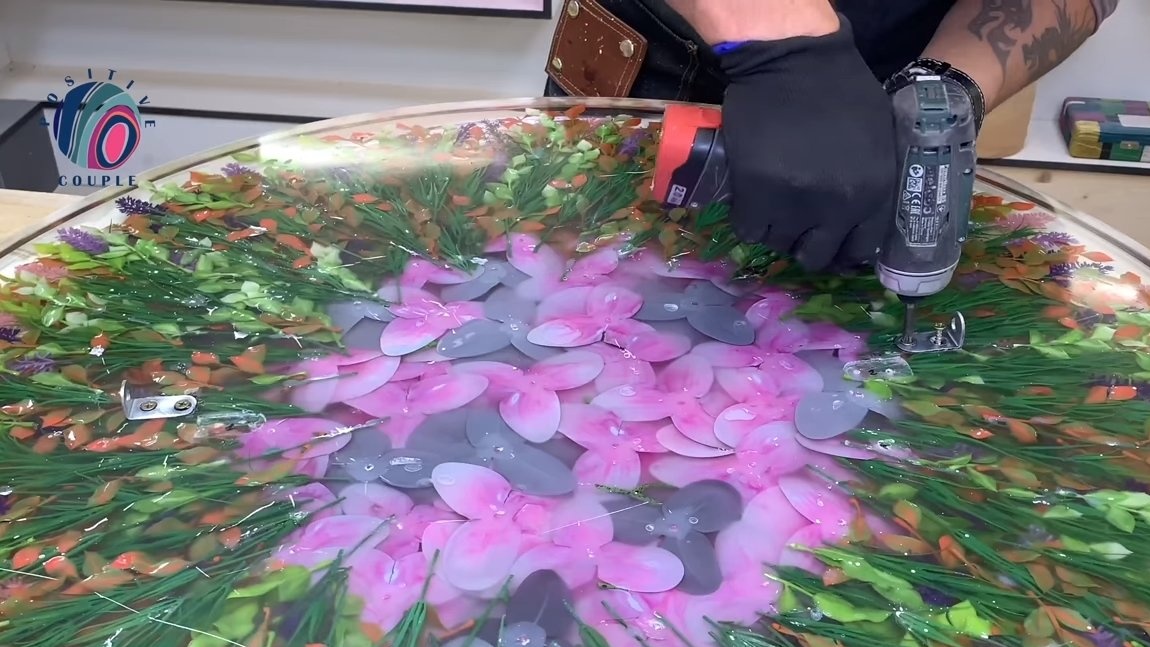
We form the acrylic formwork, seal it with silicone sealant. Well, then flowers can be laid into the formwork. Each flower must be securely fixed with hot glue so that nothing comes up after pouring.


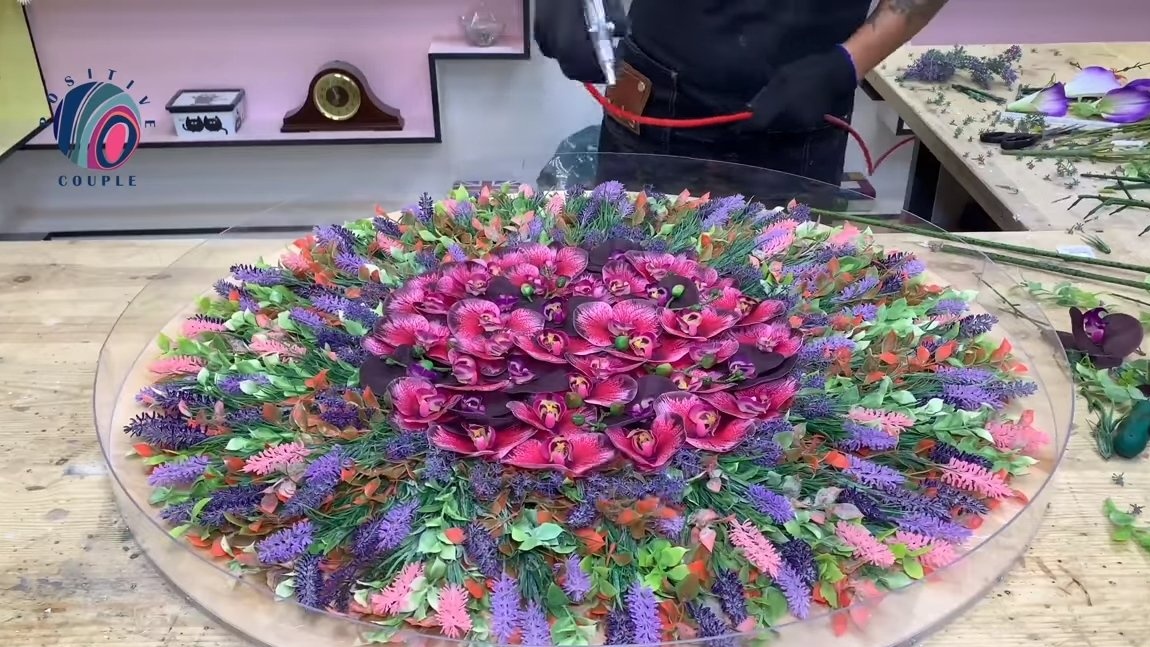
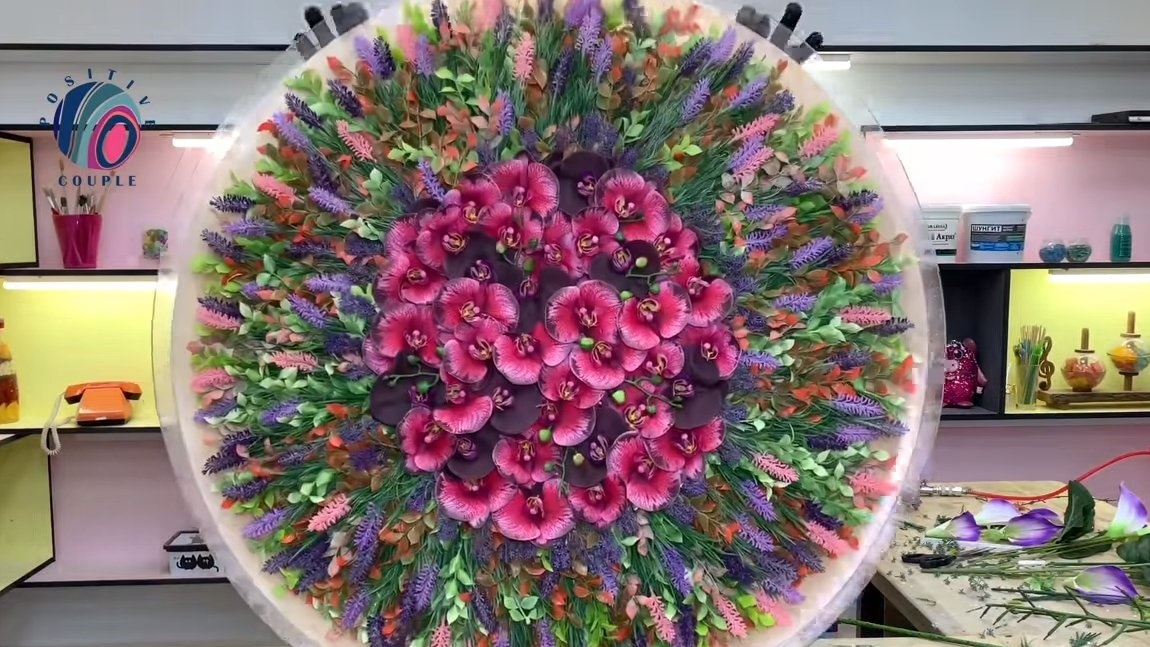
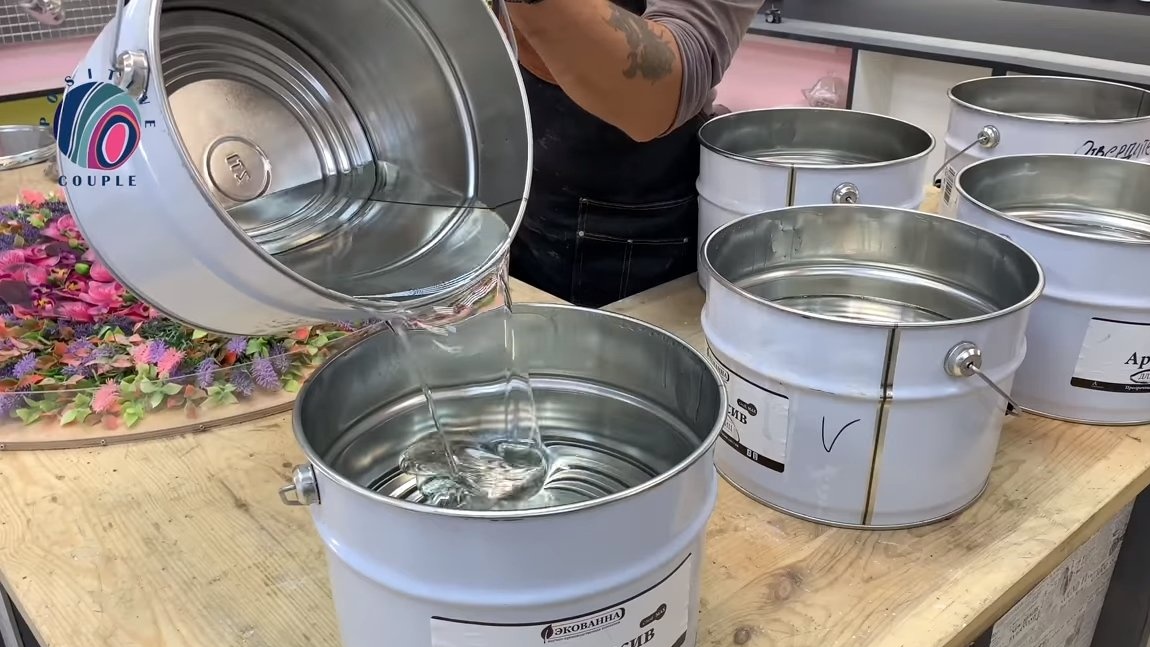
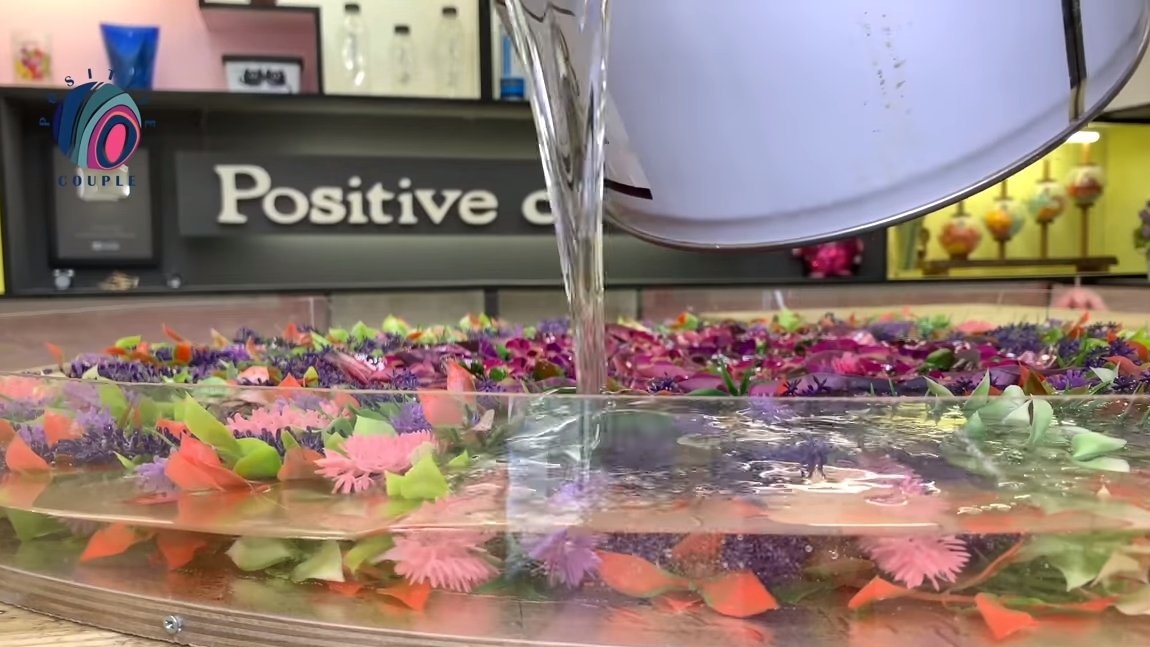
You can start pouring resin, a special epoxy is used to make worktops. The maximum thickness of the resin layer should not exceed 8 cm, the selected resin has excellent transparency and air bubbles come out well from it. Note that to work with such volumes with such a resin, you will need a room with an air temperature of at least 23 degrees.
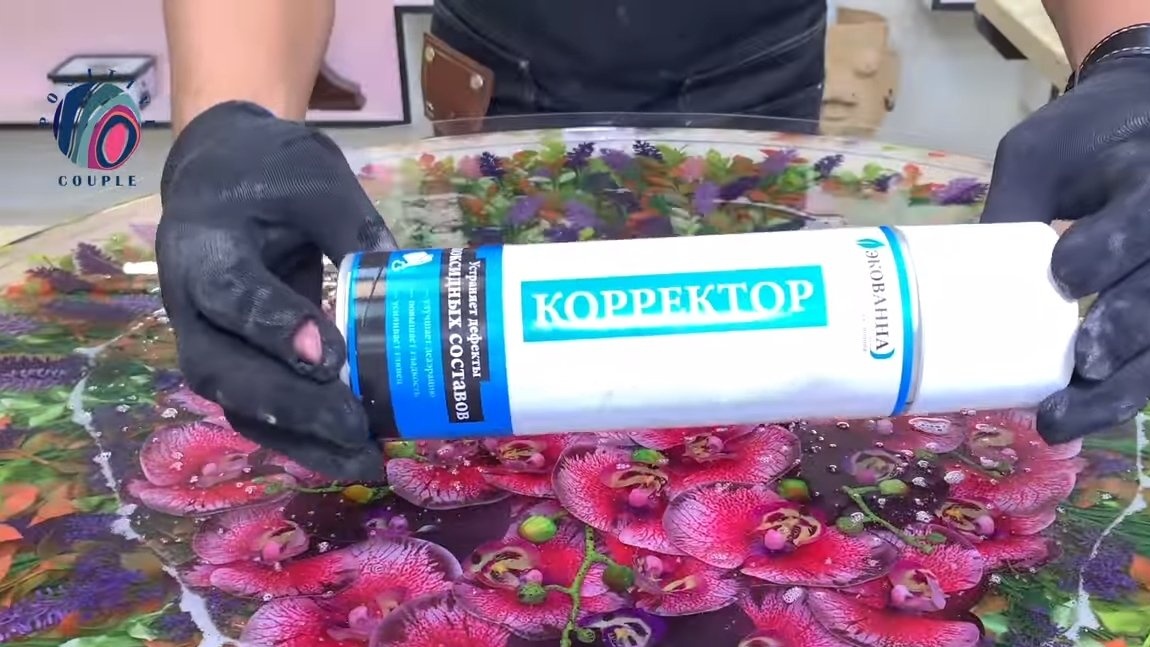
We knead the resin with a construction mixer and eliminate the sins of casting from above using the corrector.


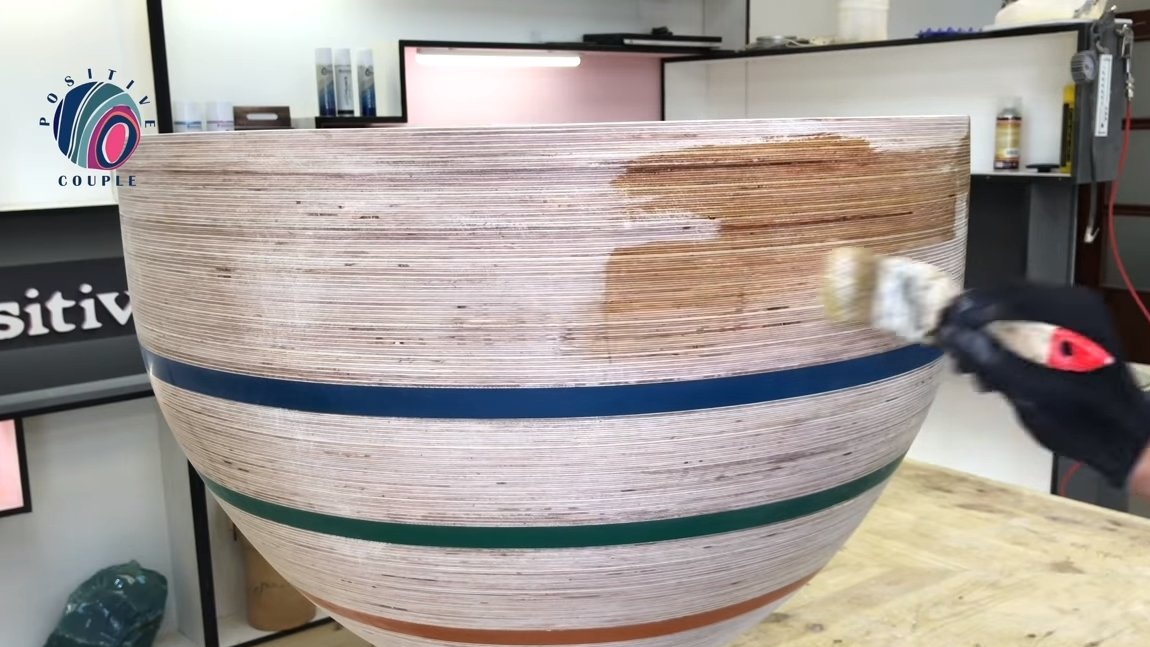
Step Three Finalization of the foundation
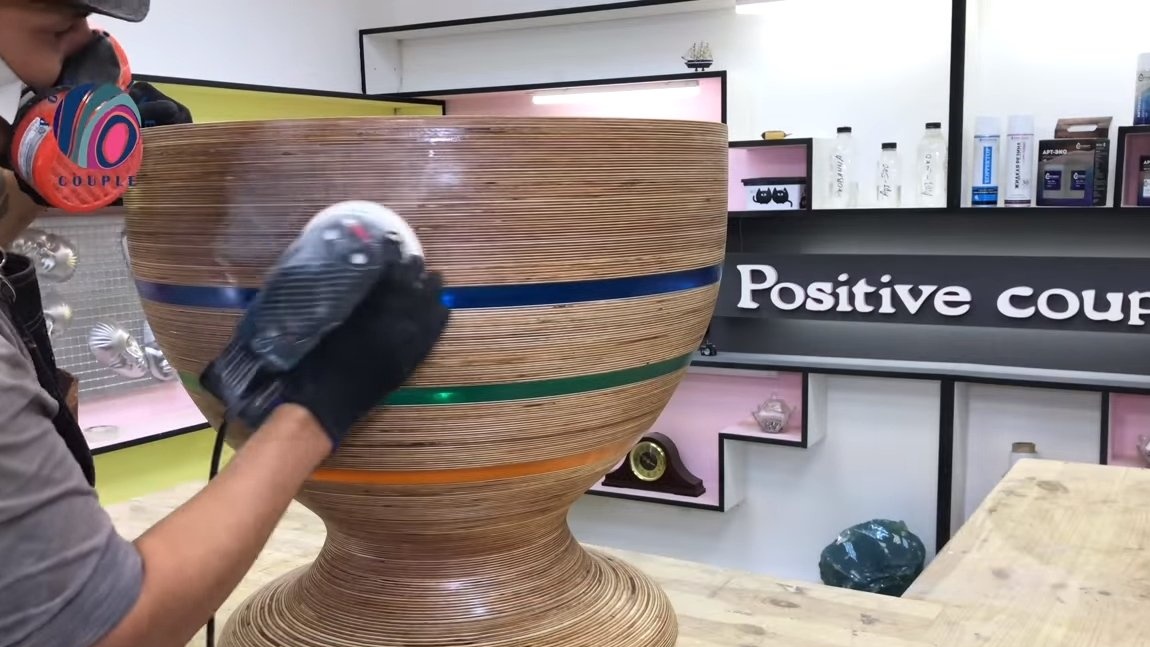
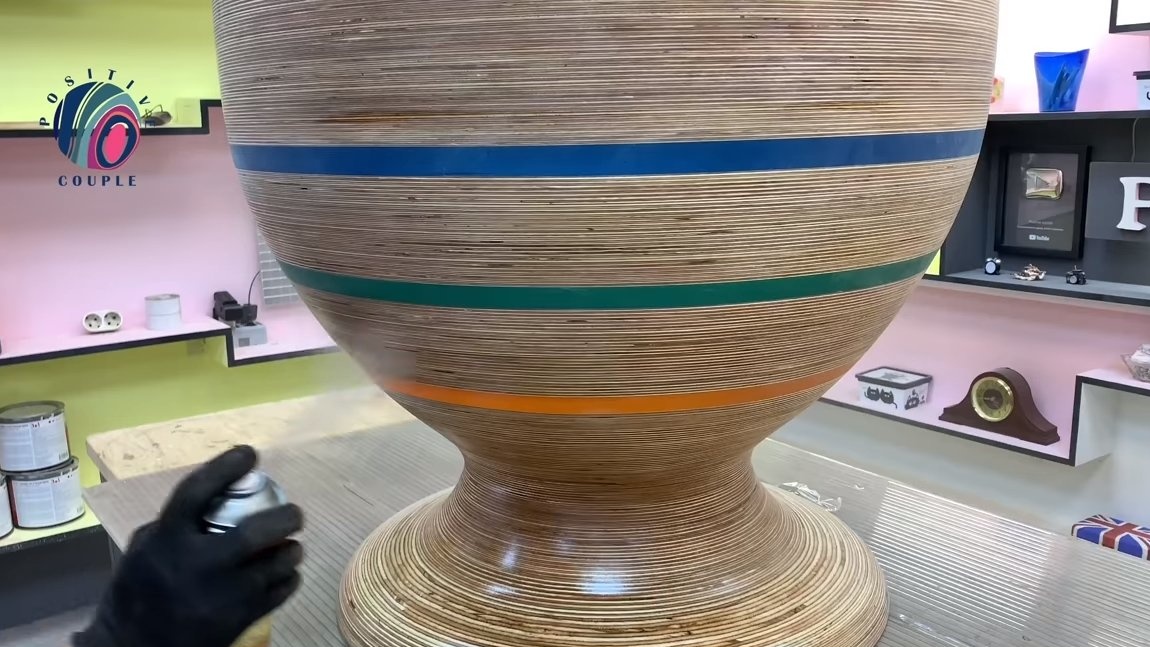
We impregnate the base with epoxy resin in order to patch the pores. Then the resin layer is ground, and spray varnish from the spray can on top. The author recommends applying three layers of varnish.

Step Four Shelves
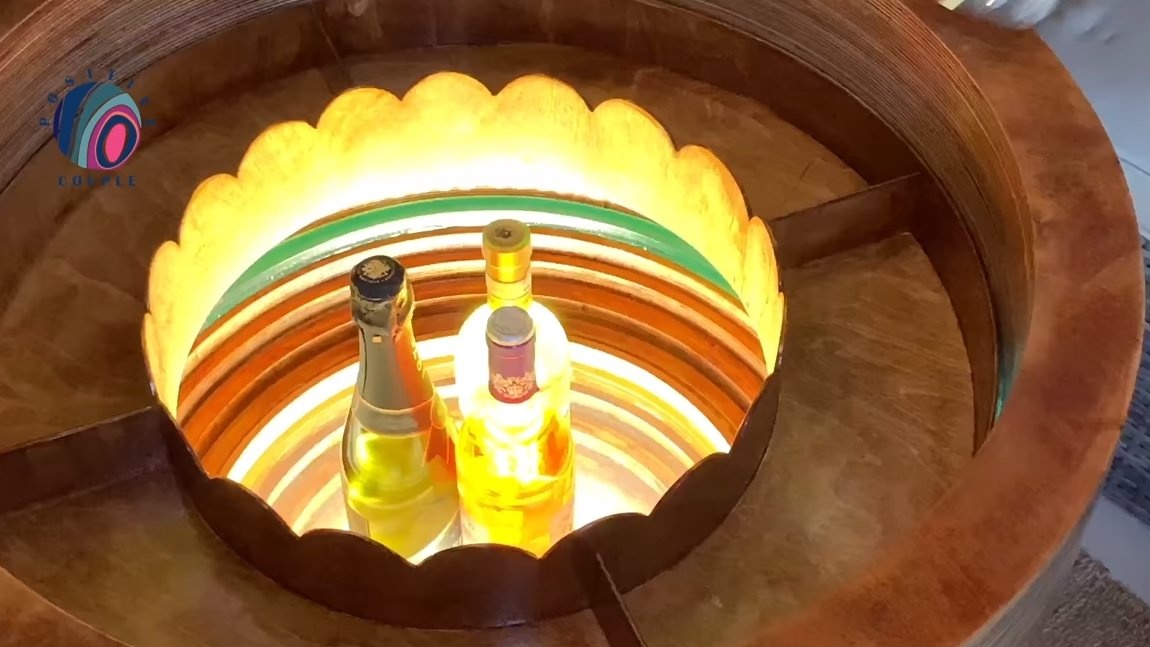
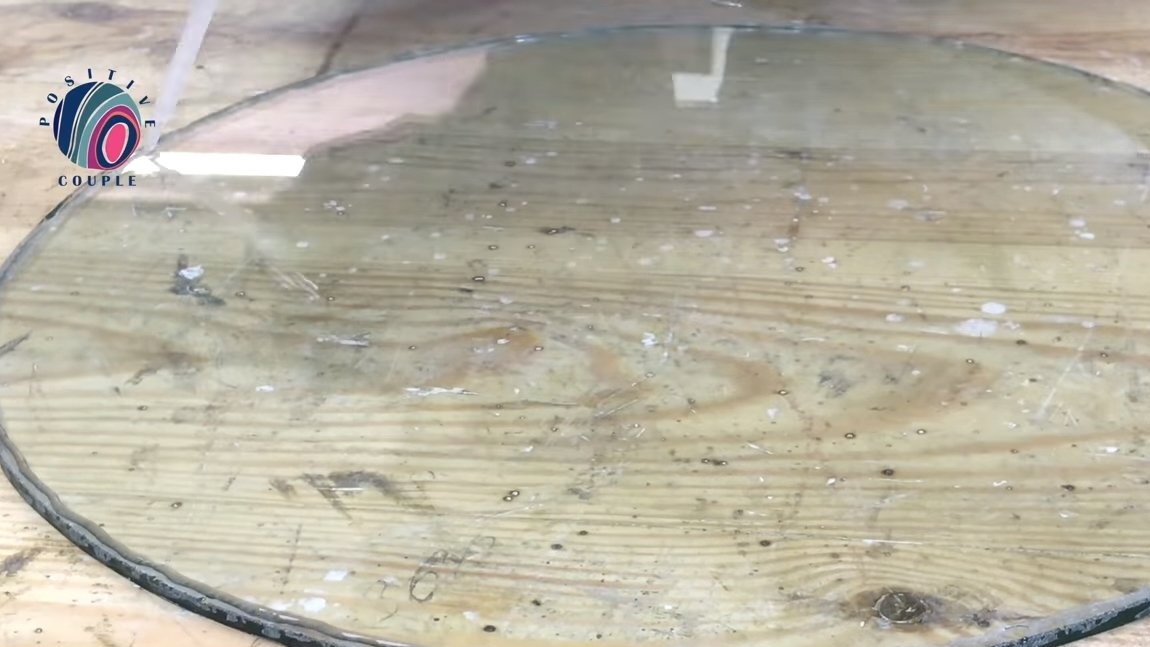
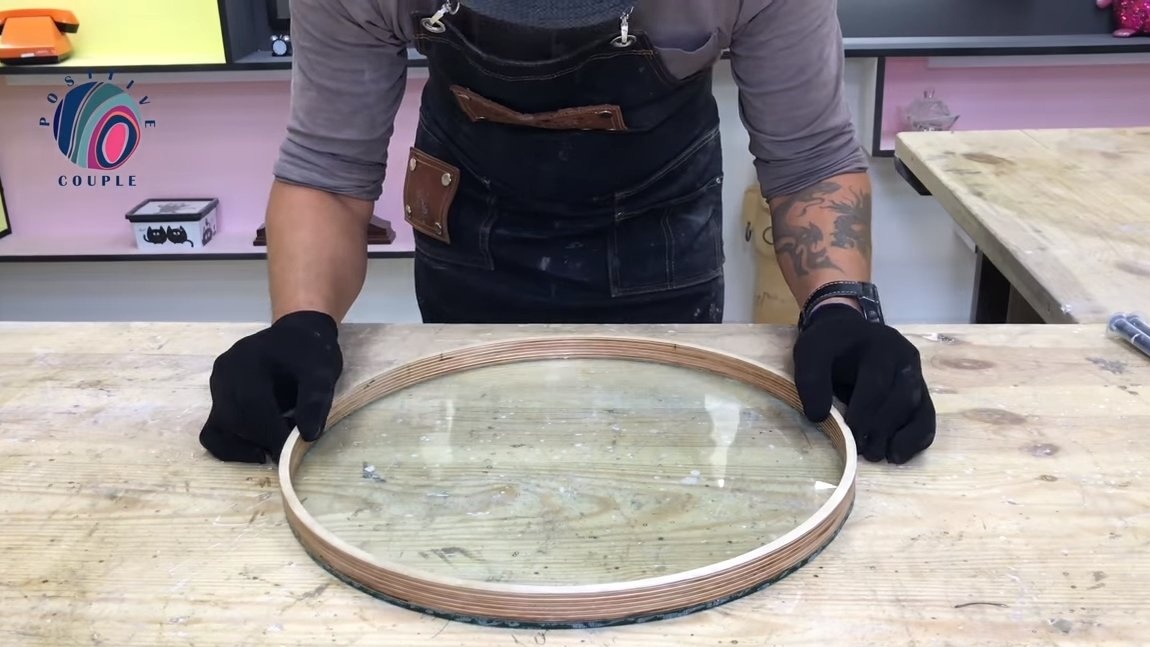
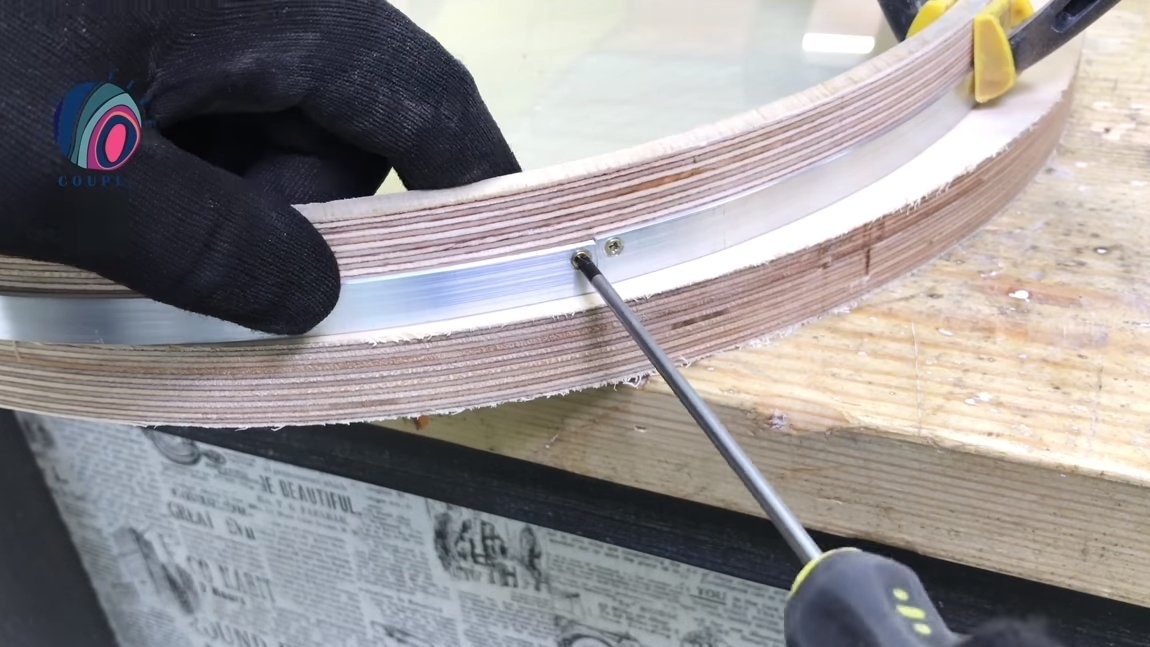
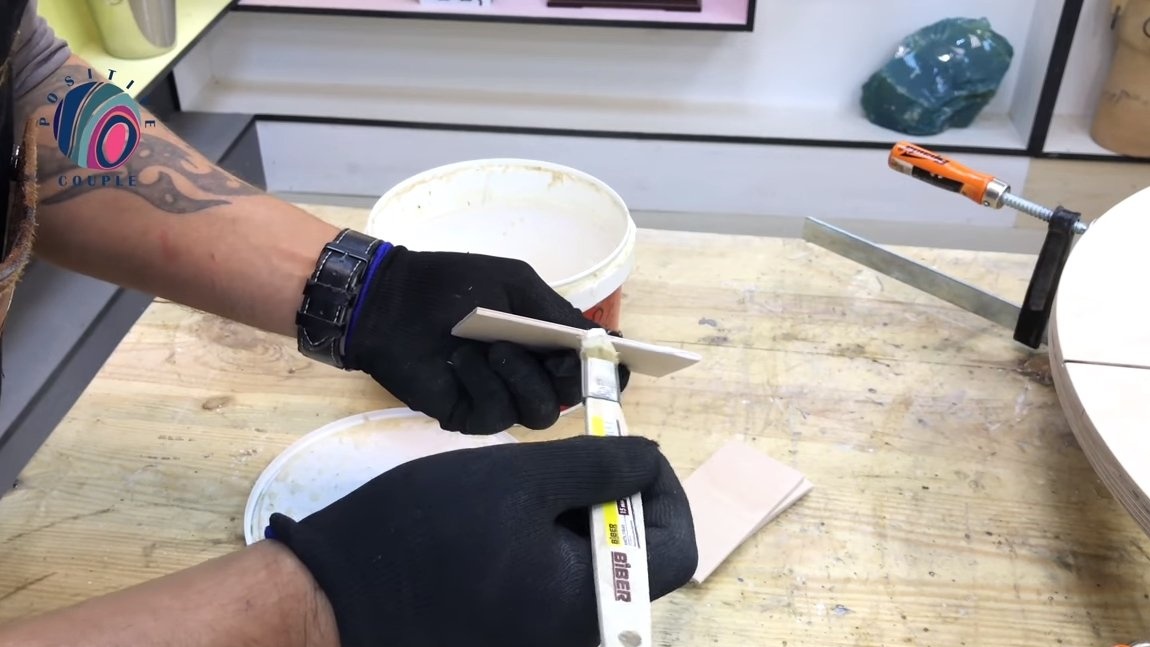
Inside the case there are shelves, the lowest shelf is made of glass, everything is done so that light from the lamp can pass. We cut out the round glass, make a frame for it from plywood and glue the parts.
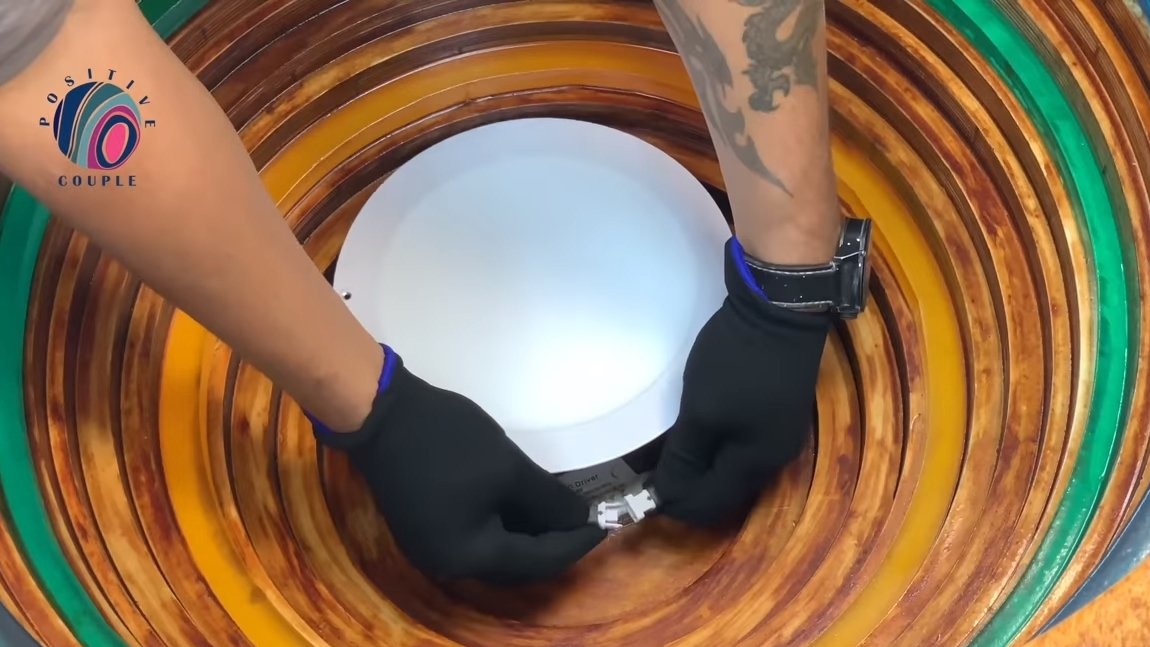
As for the upper shelves, they can be assembled from plywood, you need upper shelves for storing spoons, forks and other cutlery. We assemble a shelf of veneer and plywood, saturate with stain or oil as desired. When all the parts are ready, they can be installed in the housing; first of all, we install the lamp.


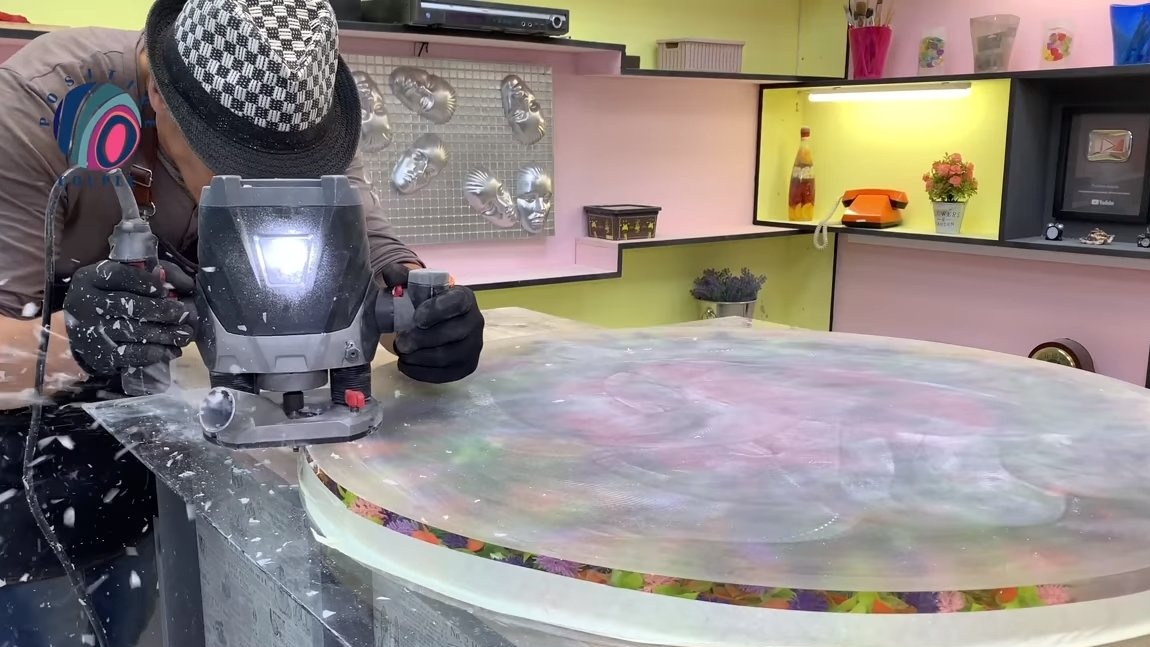
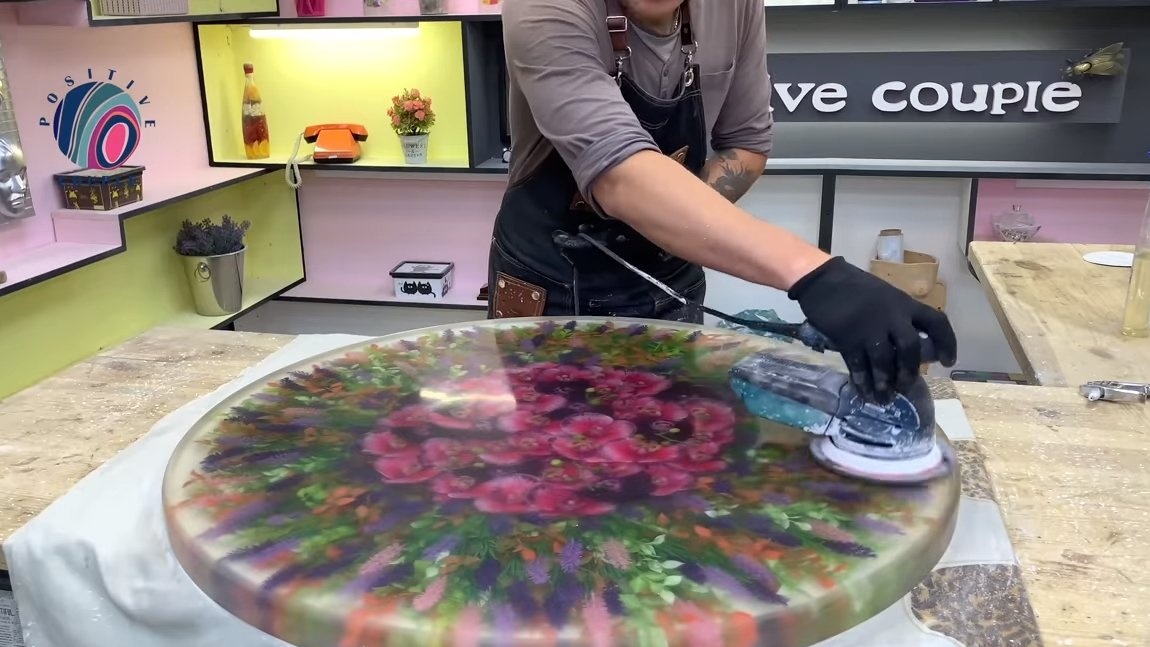
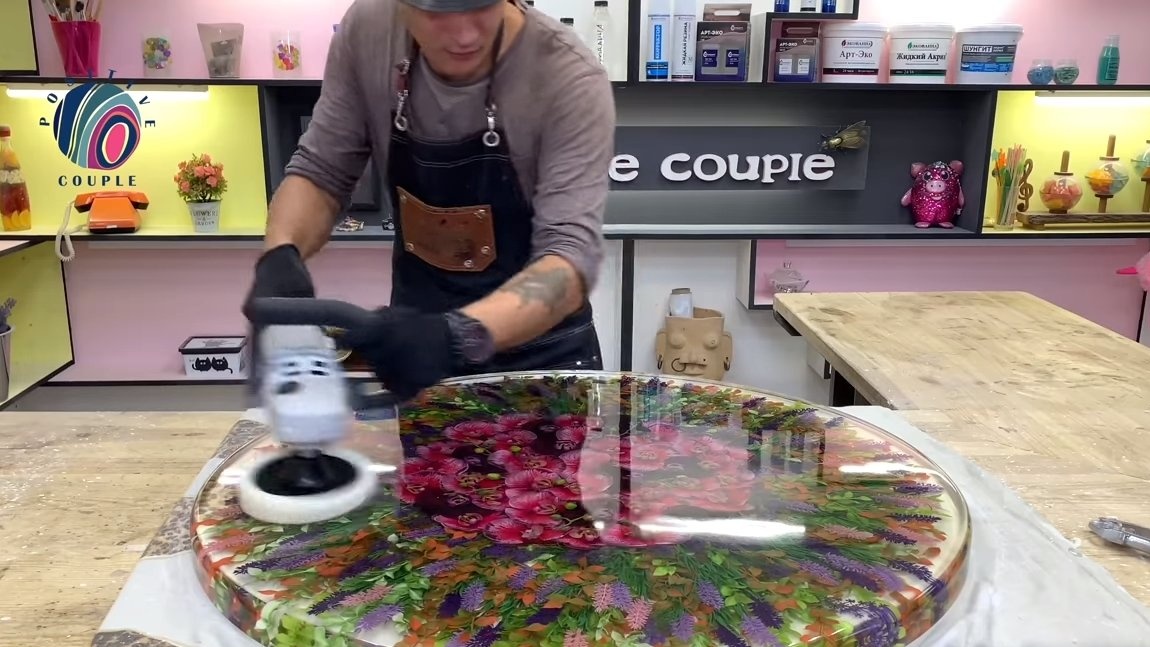
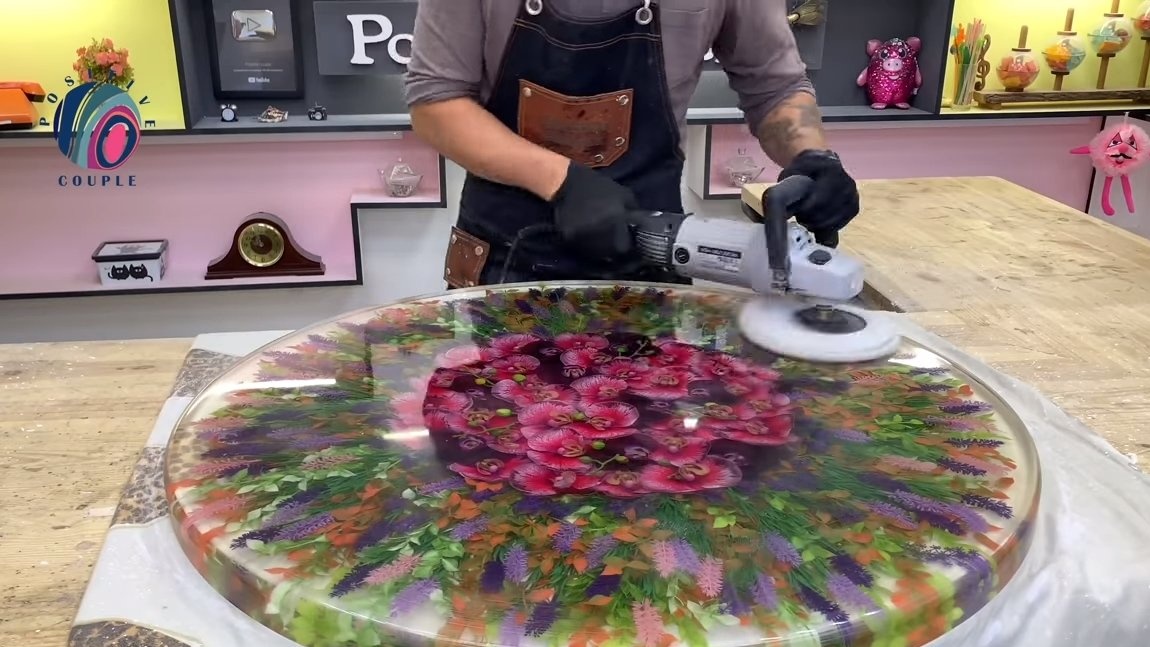
Step Five Worktop refinement
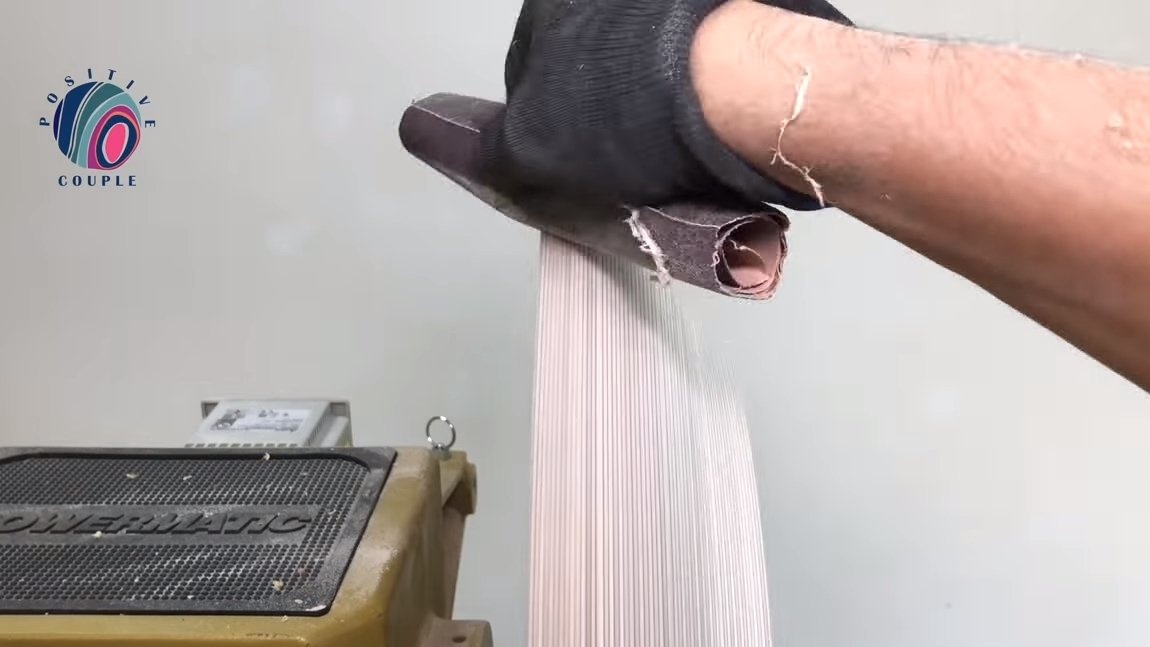
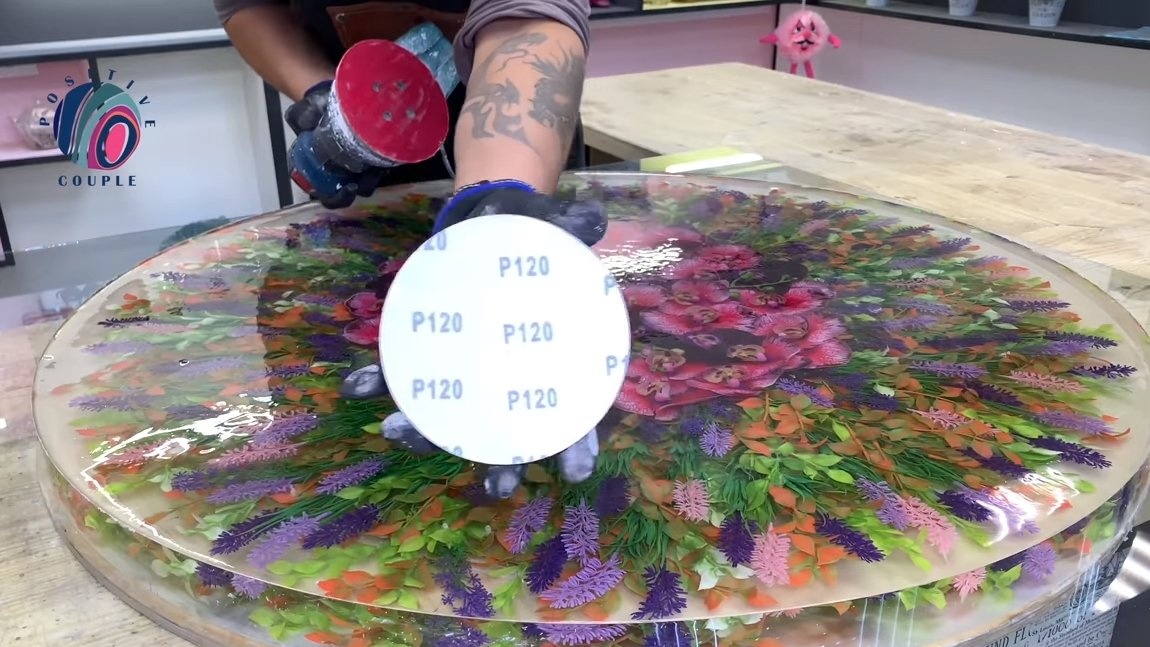
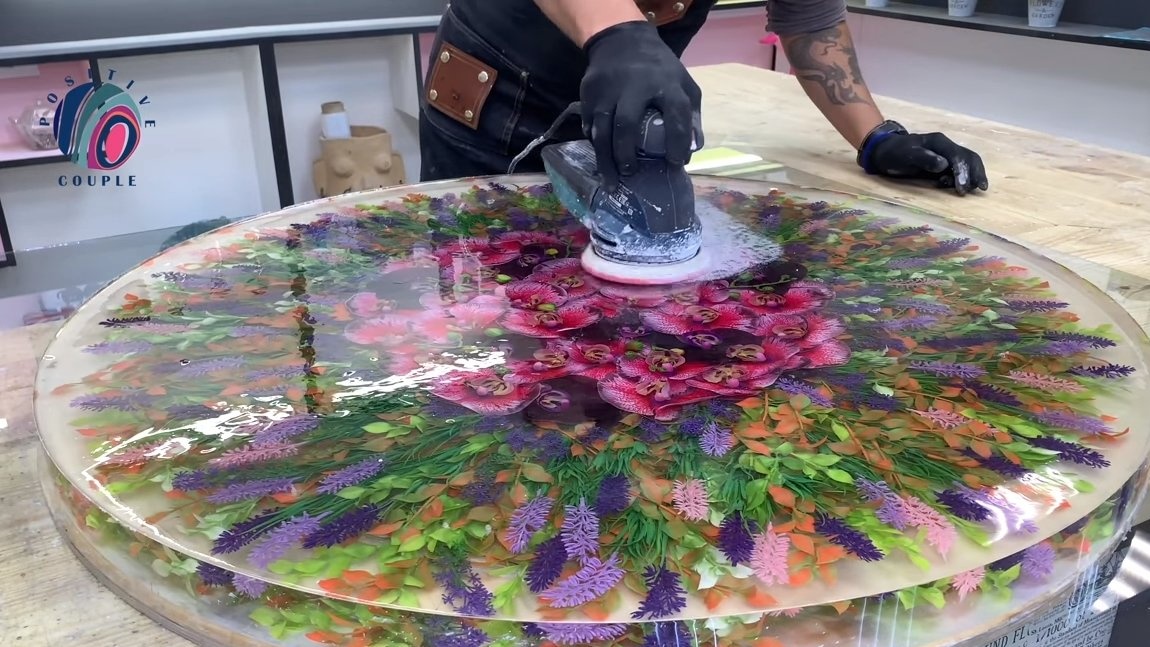
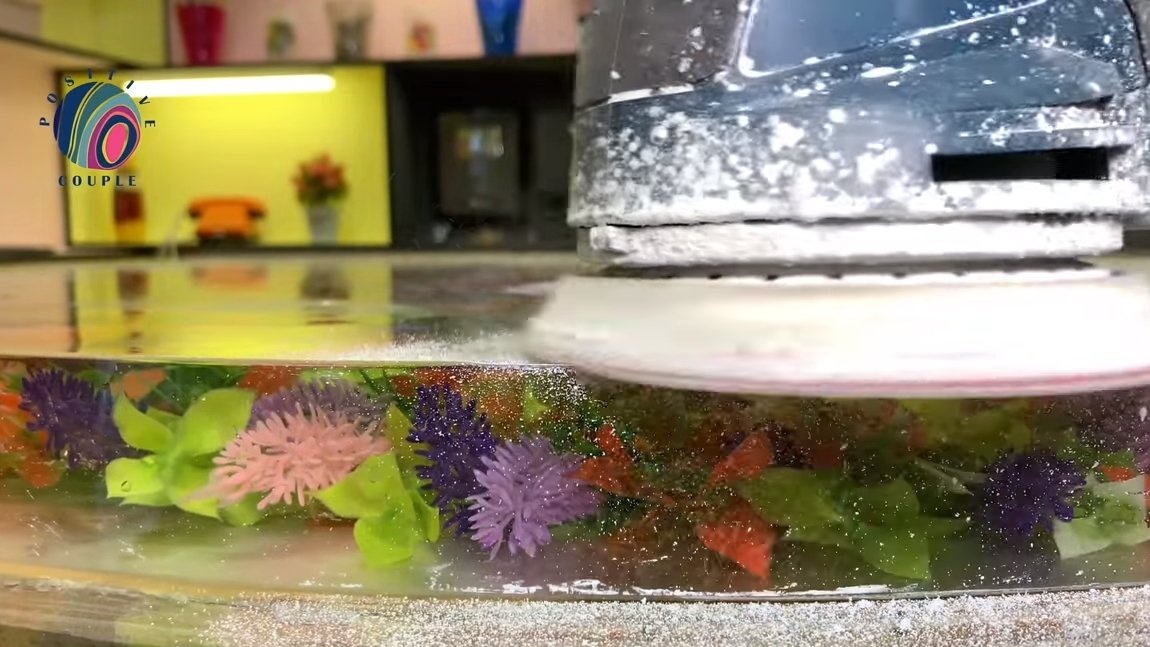
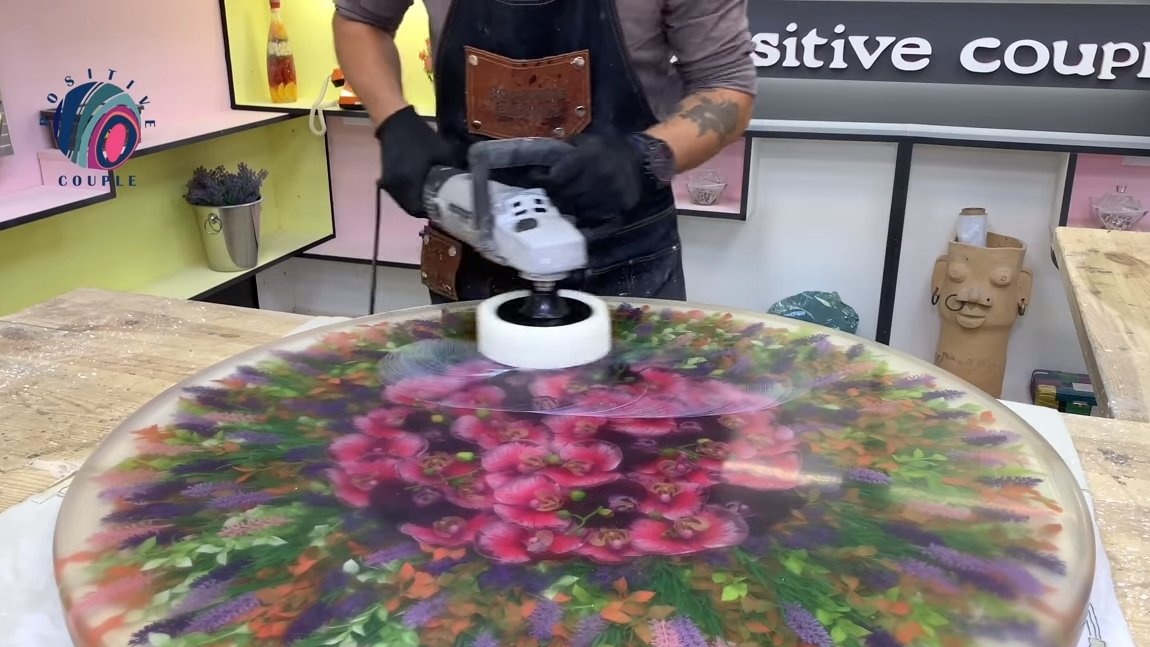
We are finalizing the countertop, we need to align the upper plane, here we will need a lot of grinding work, an orbital or tape machine will do. We use sandpaper from large to small, up to the 3000th.
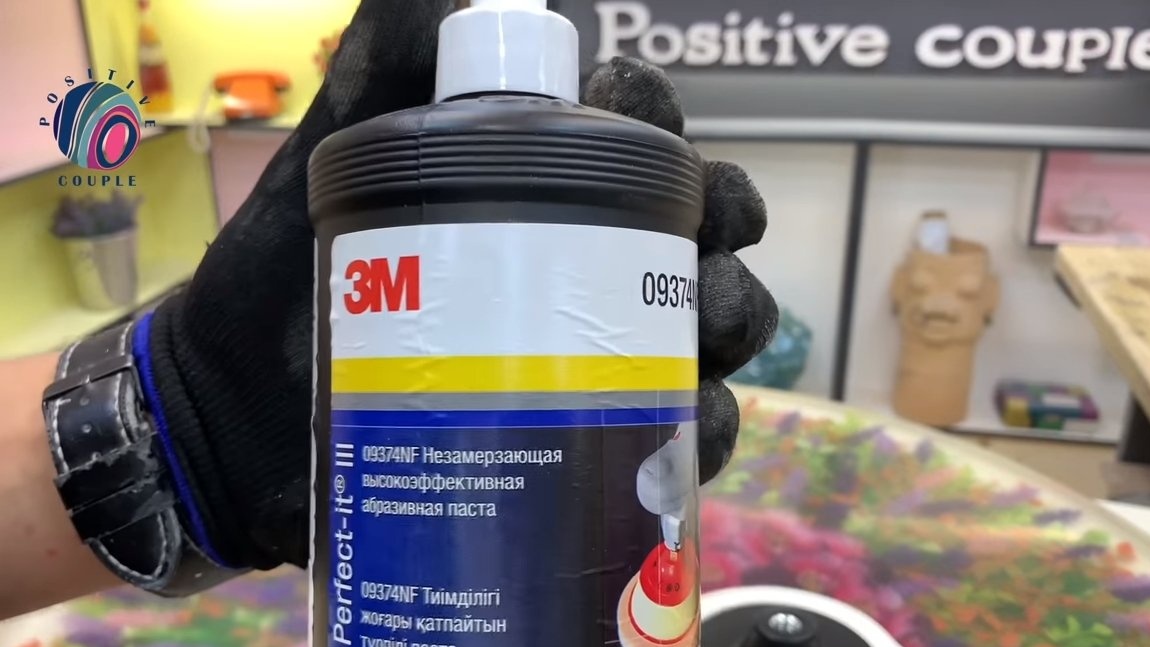
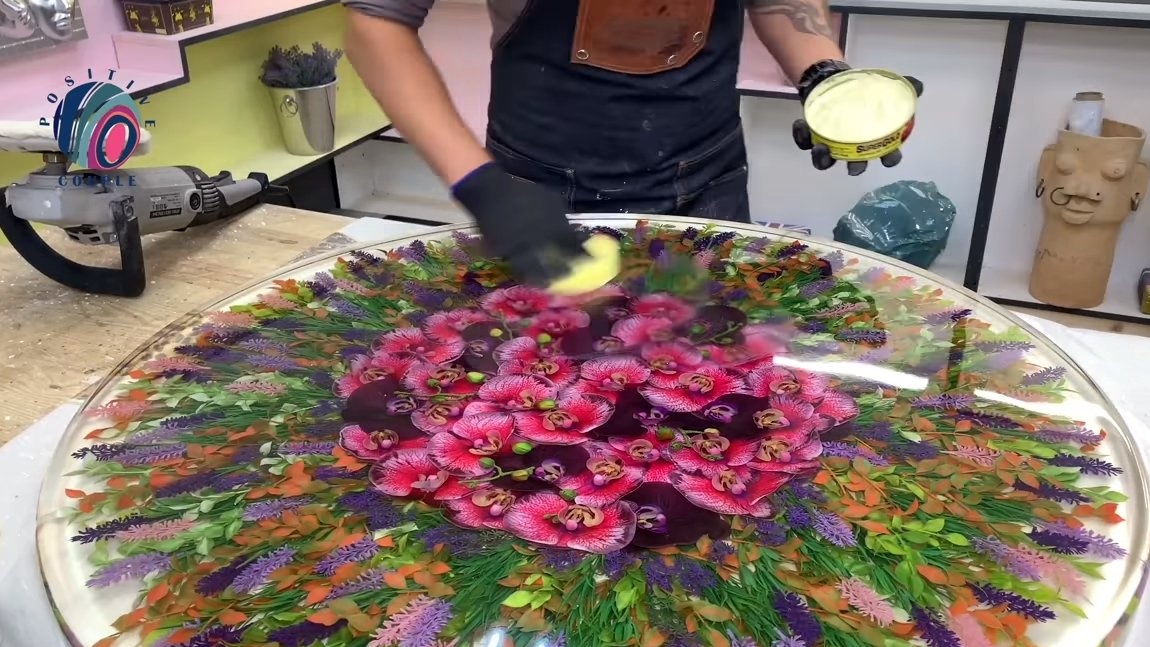
After polishing, the author polishes the epoxy with paste with a special nozzle for the grinder. Now the countertop has become perfectly transparent, but for even greater effect, the author polishes it with car wax.


Step Six Assembly
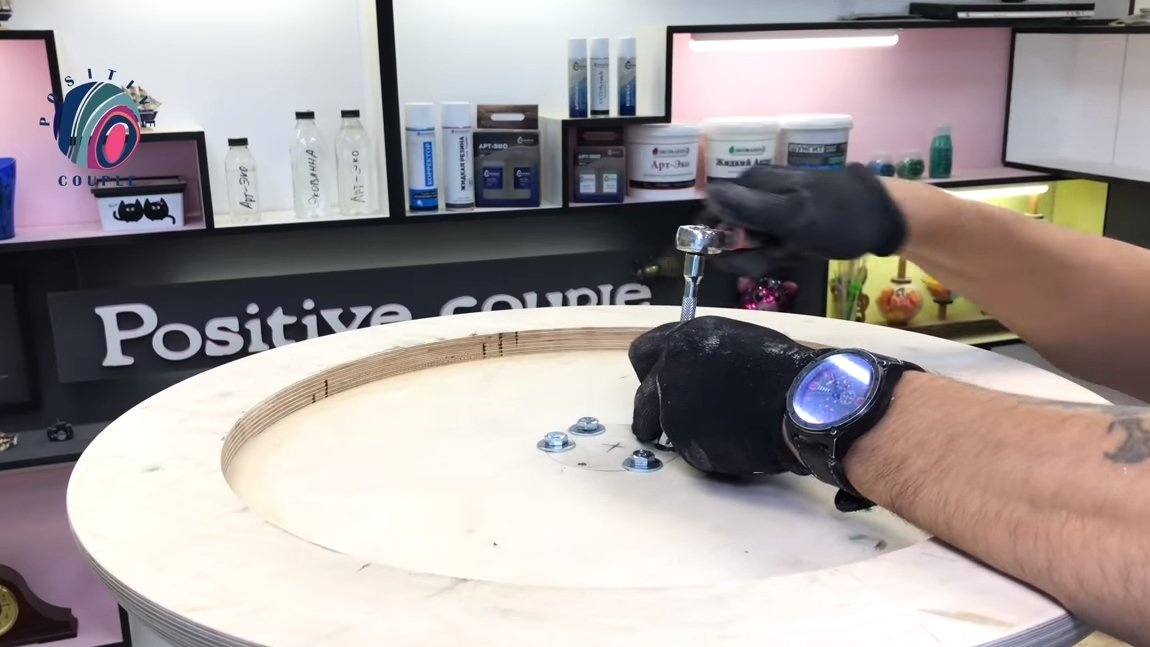
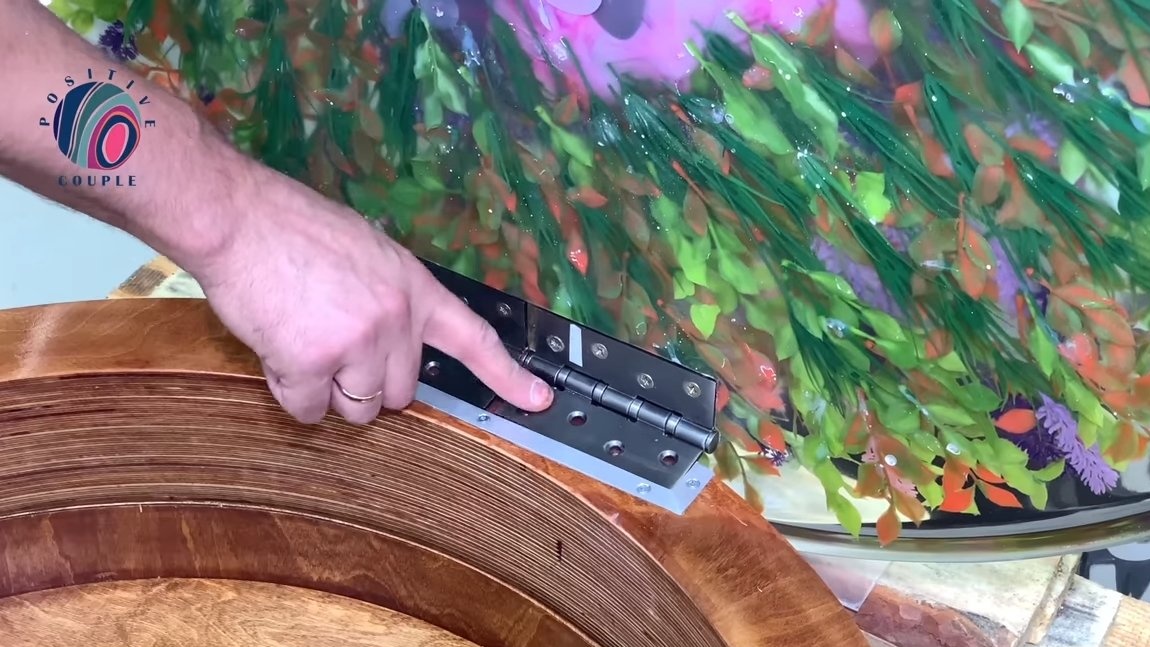
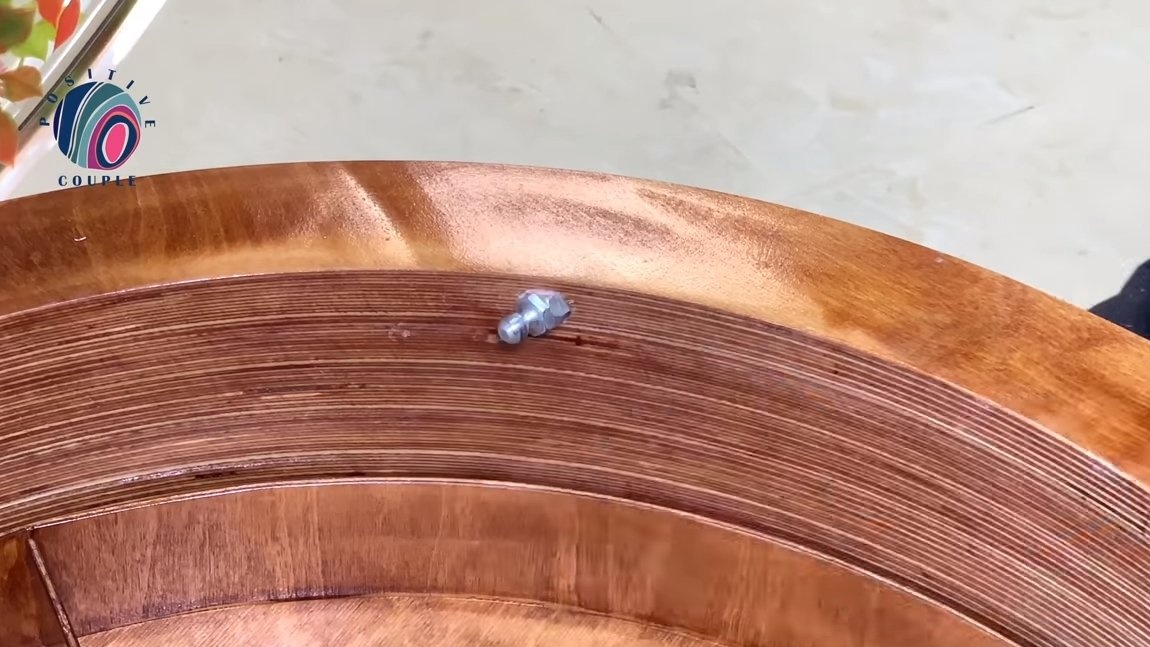
Everything is ready for assembling homemade work, we fix the countertop to the base with the help of strong door hinges.
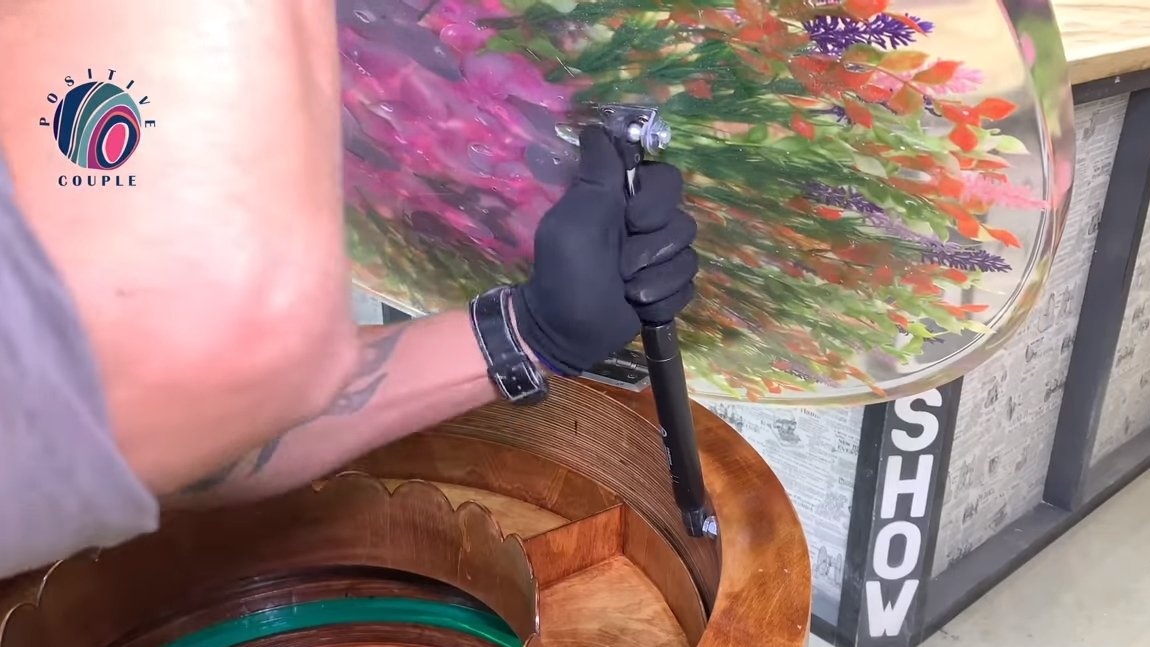
Our countertop is quite heavy, so you need a mechanism to open it. For such purposes, the author successfully adapted the gas springs from the car. You also need to install special latches for the cover, which will not allow it to open independently.
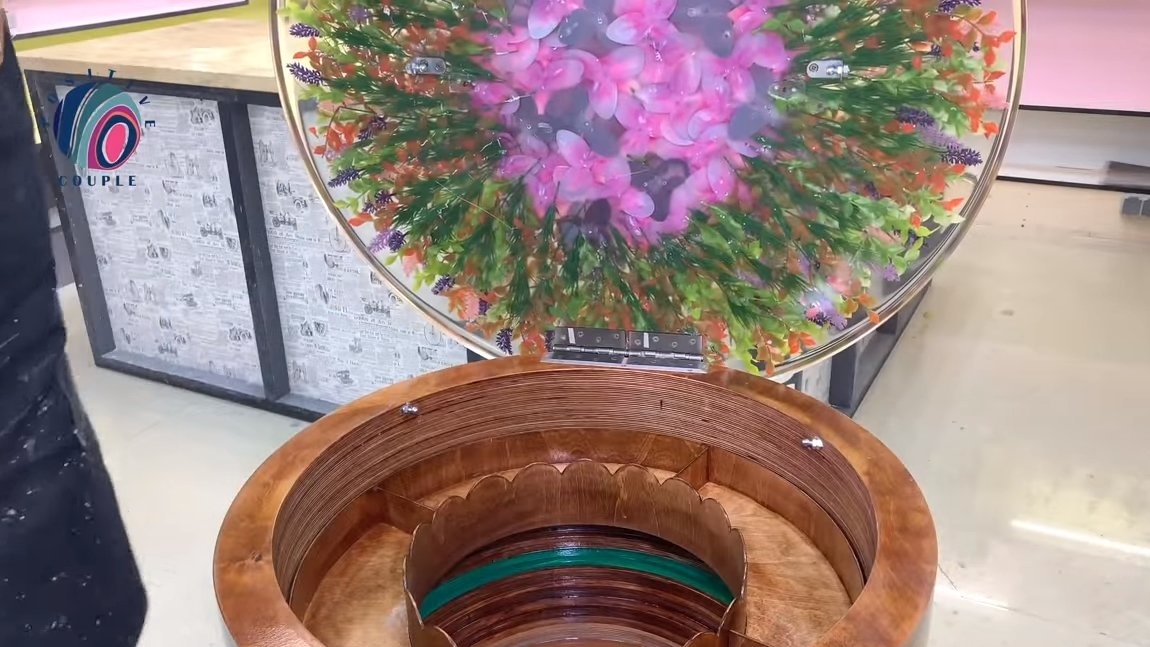

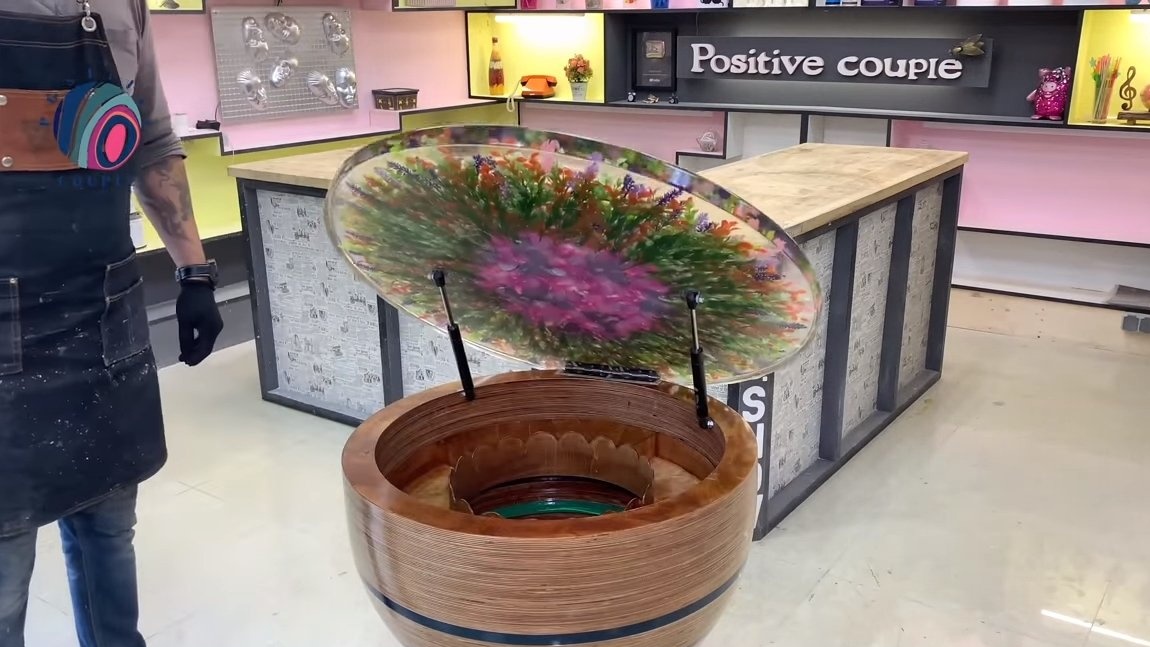
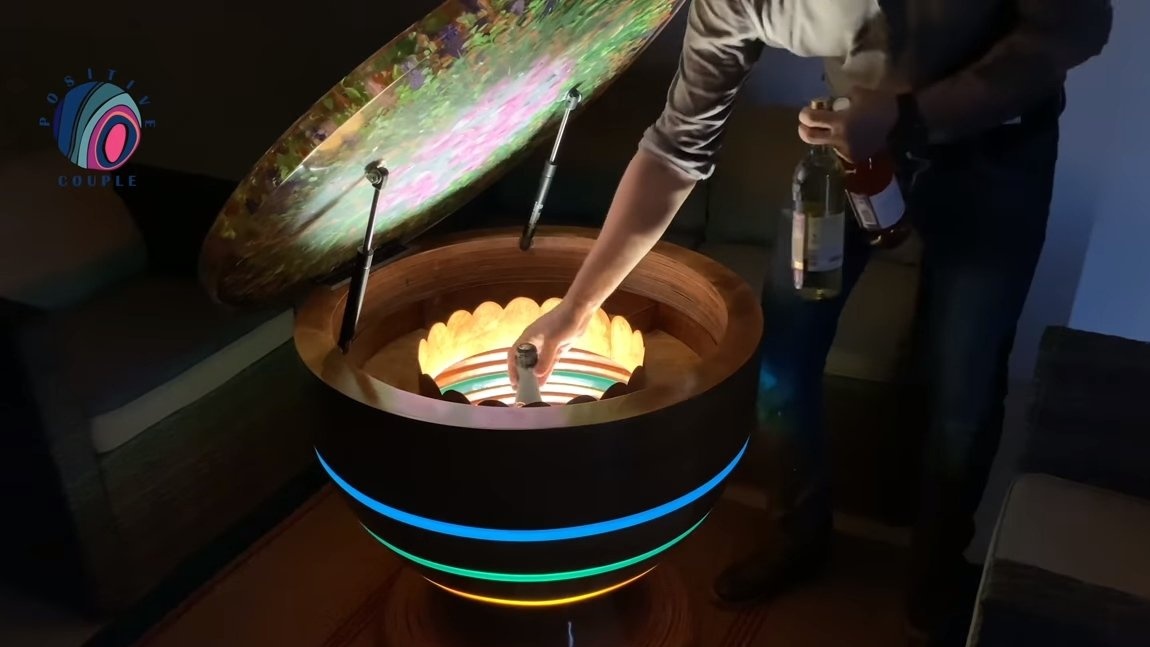
That's all, now the table is ready. Inside perfectly placed bottles of wine or champagne, as well as cutlery. The tabletop lid is easy to open and with a backlight, the table looks very nice.
This is the end of the project, I hope you like homework, good luck and inspiration!