
Hello dear readers!
From the article below you will learn how to do it yourself to assemble a workbench in a hurry. The following description and instructions are taken from the Matthias Wandel YouTube channel.
Necessary tools and materials:
- roulette;
- a pencil;
- square;
- table saw;
- jointer;
- board 50 x 100 mm;
- board 50 x 150 mm;
- milling cutter (home-made pantorooter);
- PVA carpentry glue;
- screwdriver;
- self-tapping screws;
- furniture block with drawers (purchased) - 2 pcs .;
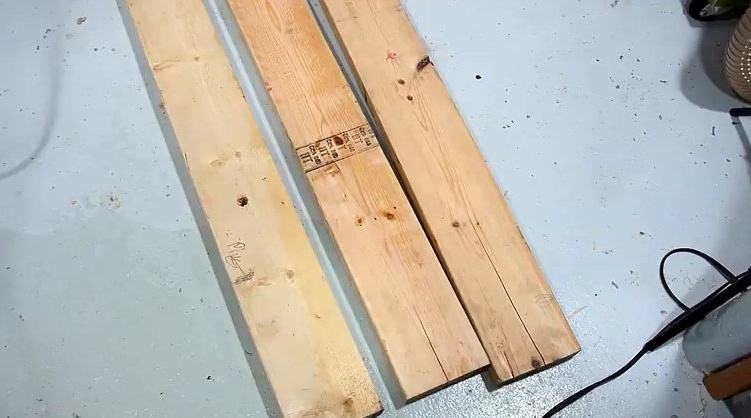
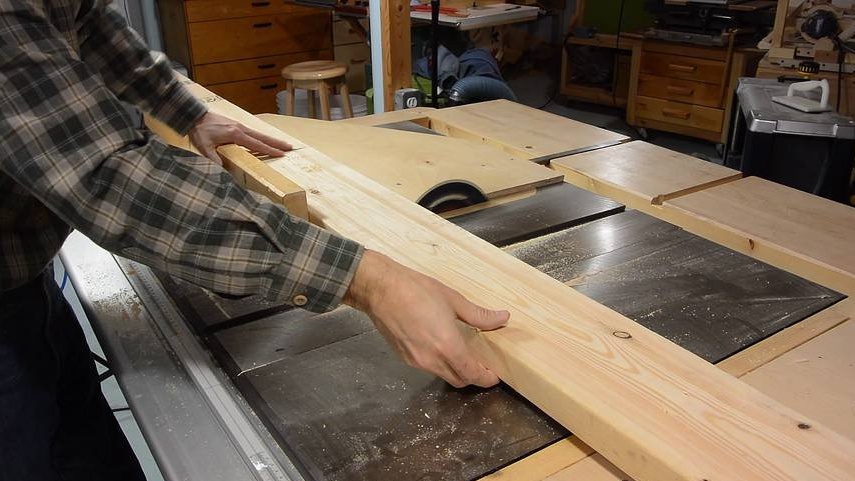
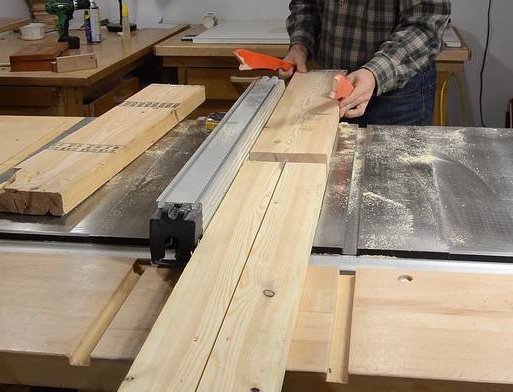
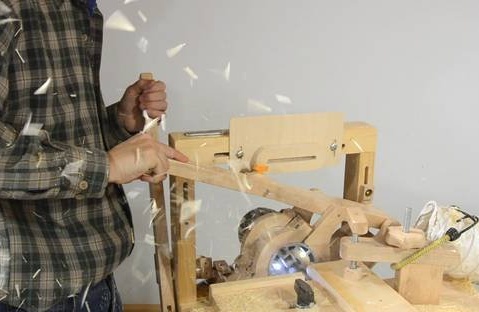
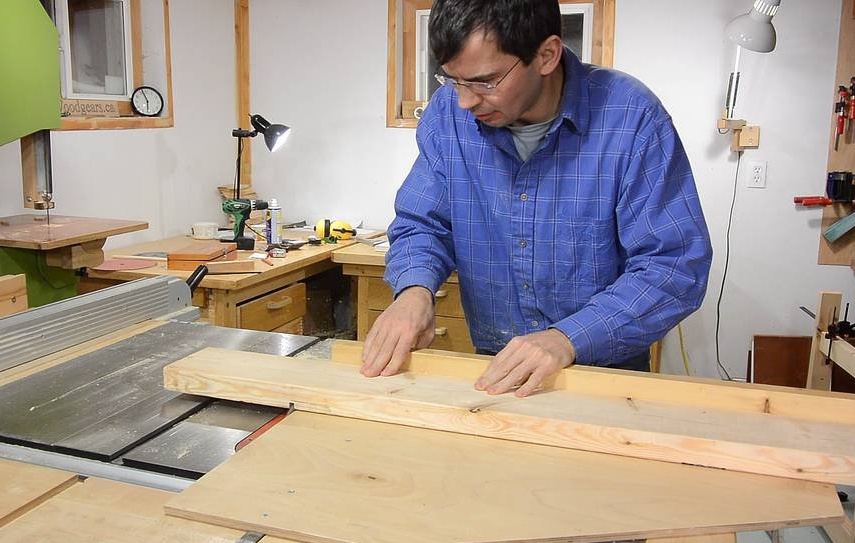
The master wanted to build a workbench in haste, using the remnants of boards with dimensions of 50 x100 mm and 50 x150 mm. He began his work by cross-cutting a 50 x 150 mm board with a table saw sled, which he then sawed along. From these bars legs for a workbench will be made.
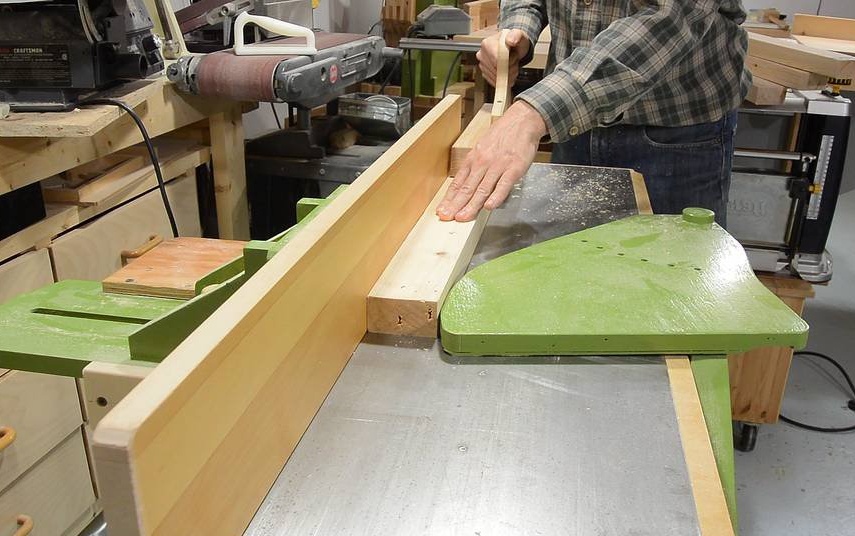

The master planed about 1 mm on all sides of all the bars.
Recycled wood is always questionable in terms of the possible presence of dirt and sand in it. But the knives on the jointer of the master are pressed to the right side, so everything that causes doubt, he directs to the right side.
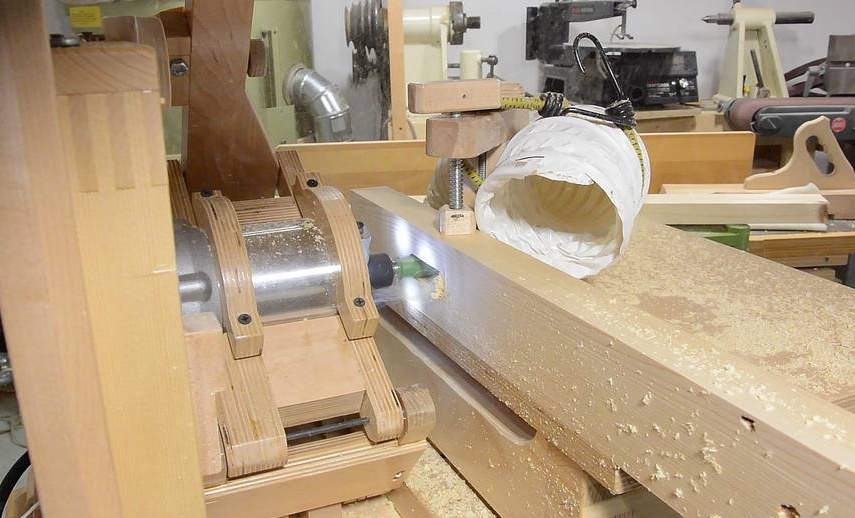
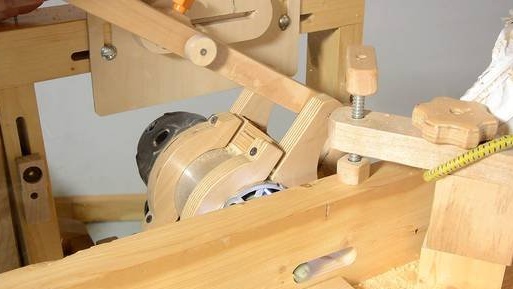
Next, the master cuts out 19 mm grooves using a homemade pantorouter. The spiral bit, of course, cuts out the groove much better, but the 19 mm bit also works fine and is much cheaper.
To complete this operation, the wizard uses a makeshift template.
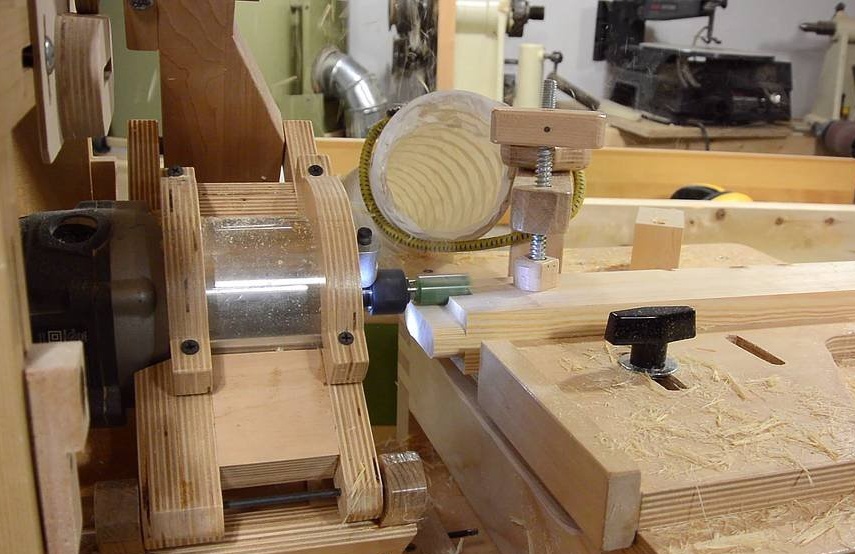

To cut the spikes, the master used the same 19 mm bit. With this bit, you can cut 10 mm of conifer in one pass. However, the master had to cut the entire depth in two stages, since the depth of cut is only 30 mm, and the length of the spikes should be 38 mm.
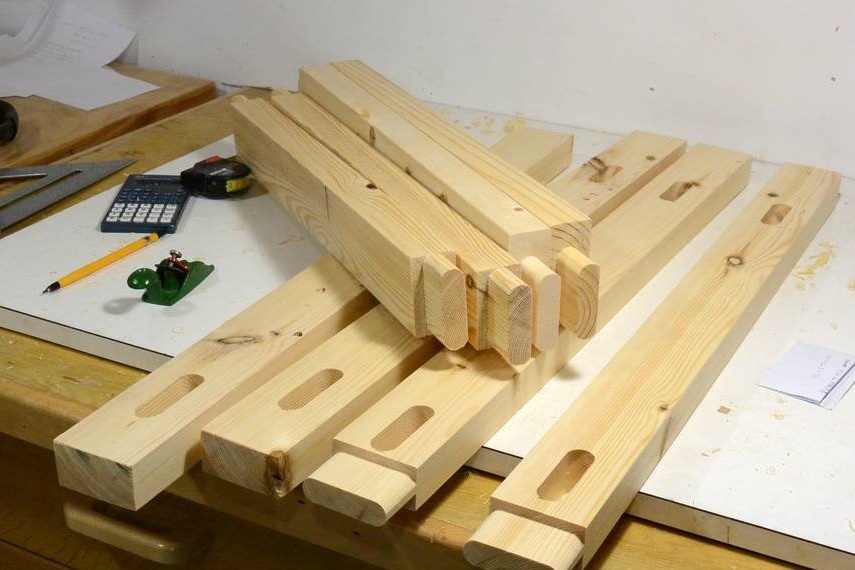
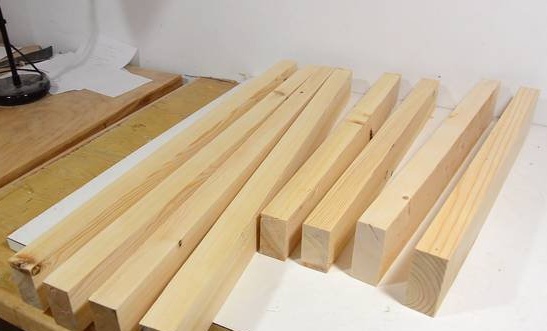
The necessary parts for assembling the workbench are ready. Two legs have a spike on top for connecting to the cross member.

The master applies a lot of PVA carpentry glue to the spikes and grooves. A good coating of both surfaces before assembling parts provides a better adhesive bond.
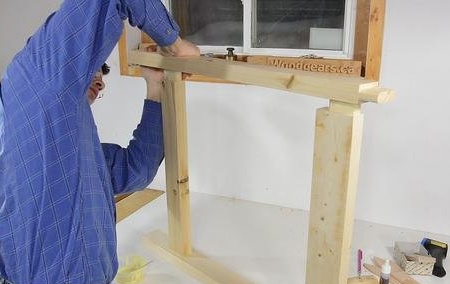
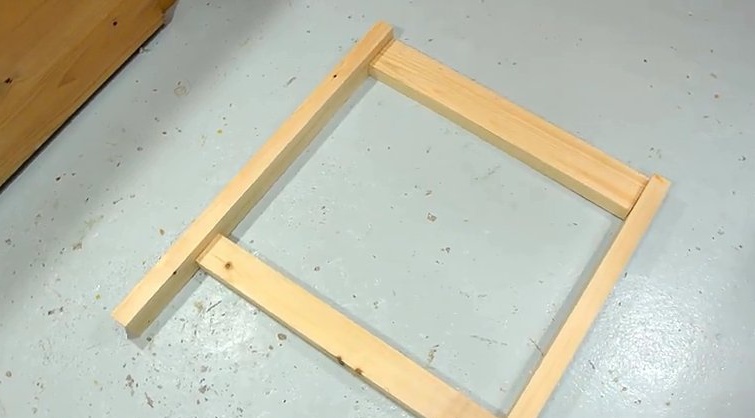
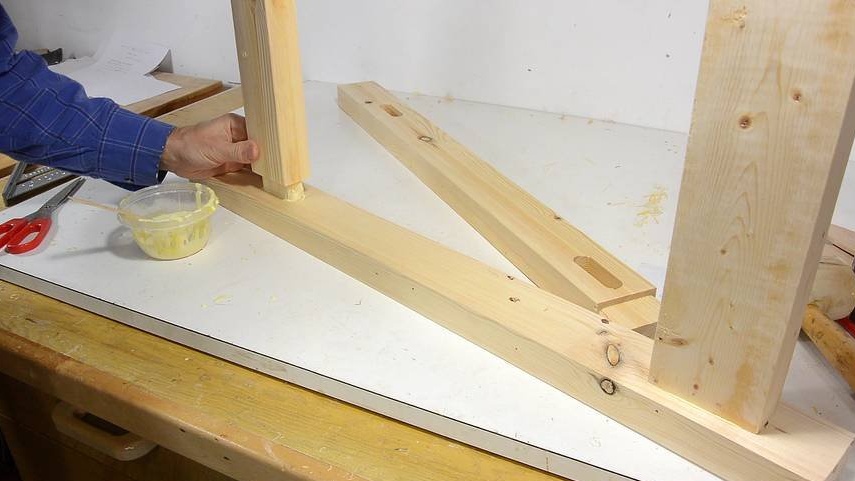
Final assembly of one of the side frames.
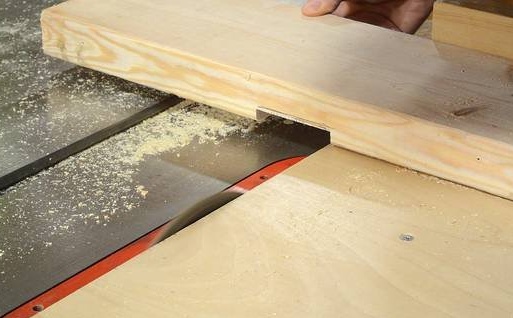
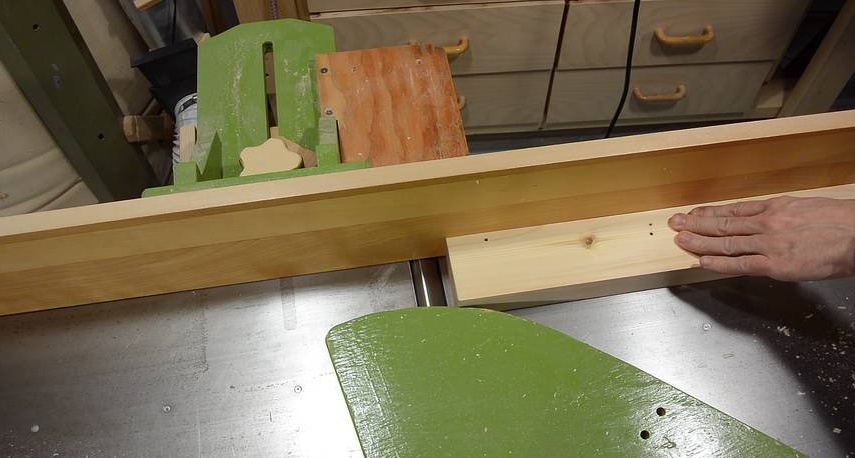
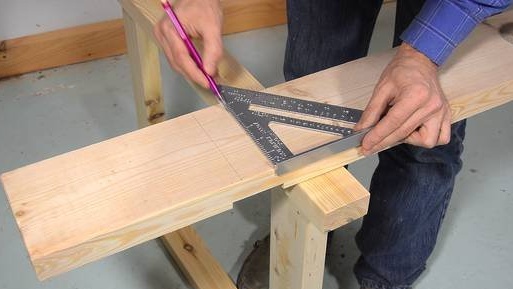
The following is the cutting back of the horizontal reinforcing panel. This panel removes the load from the legs and gives lateral stability. The master cuts out grooves for attaching to the legs, making a series of cuts. At the same time, he puts two discs on a table saw at once to get a wider cut at a time.
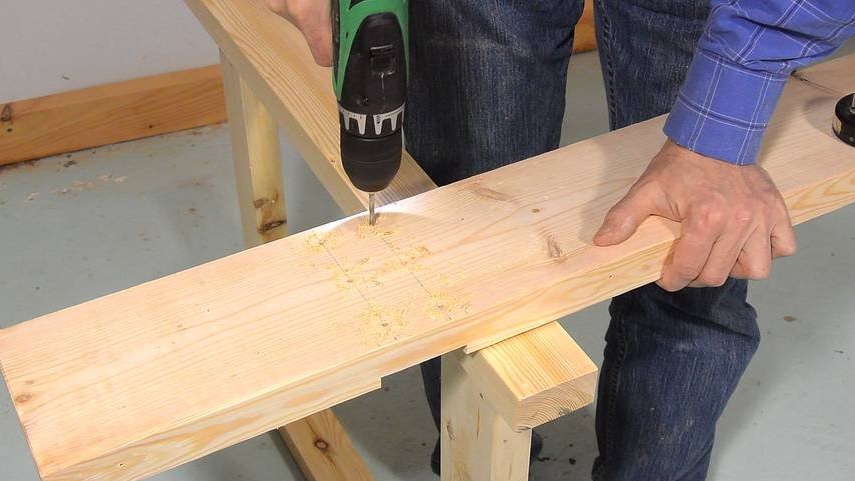
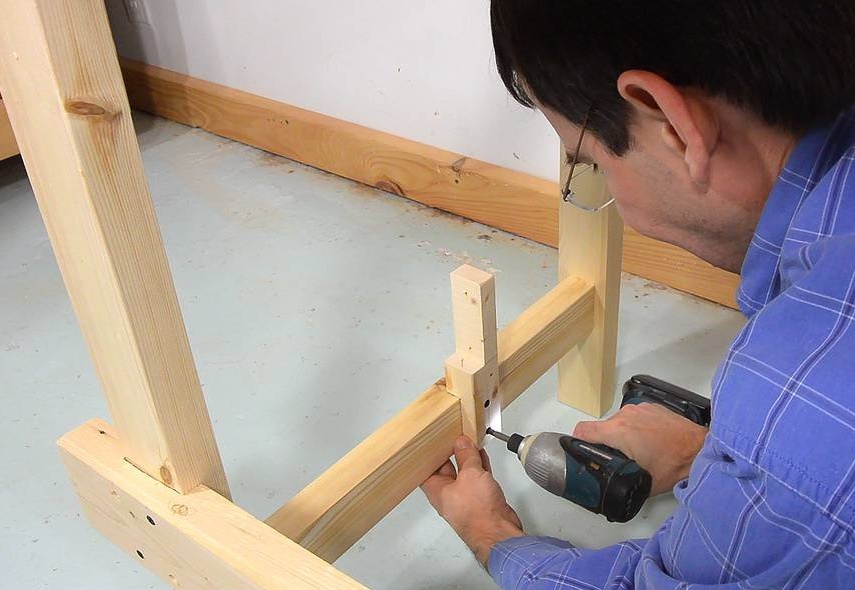
Pre-drilled holes and countersink in the guide panel for further screwing. It is important to pre-drill holes so that the thread of the self-tapping screw does not cling to the board, which is screwed on.
Despite the fact that the exact location of the screws does not matter, they always look better when they are located exactly.
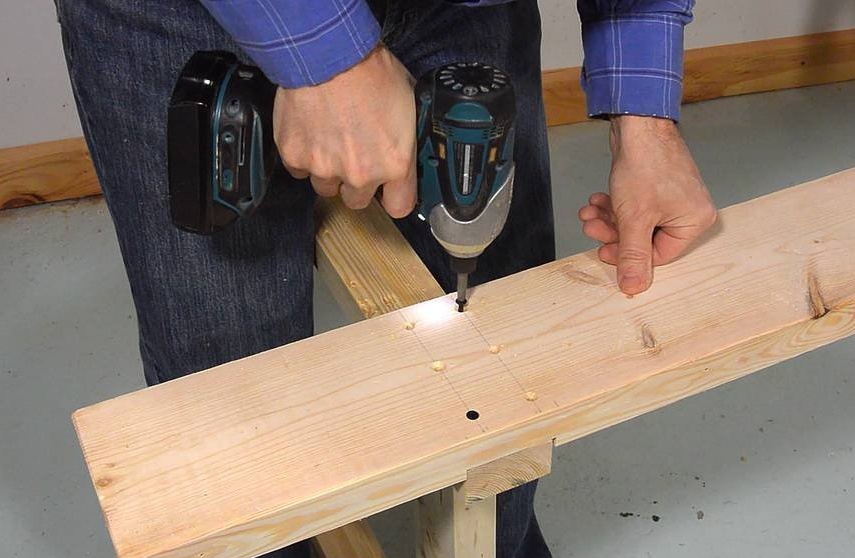
While the master attached the back panel with two self-tapping screws for the test.
Then the upper guide is screwed. It is 50 x 100 mm across with two through grooves for installation over studs in frames.
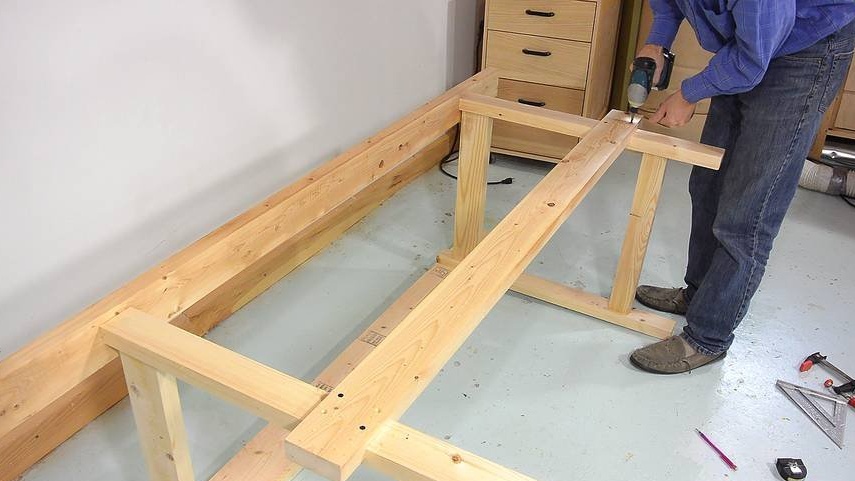
The front rail with two cutouts for the uprights is similar to the rear rail, but attached about 40 cm lower.
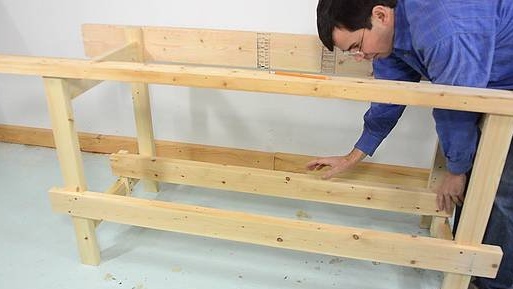
On the side rails, the master placed elements to support the drawers. These elements are designed for fastening the supporting transverse panel, which is located 3 cm above the side bar.
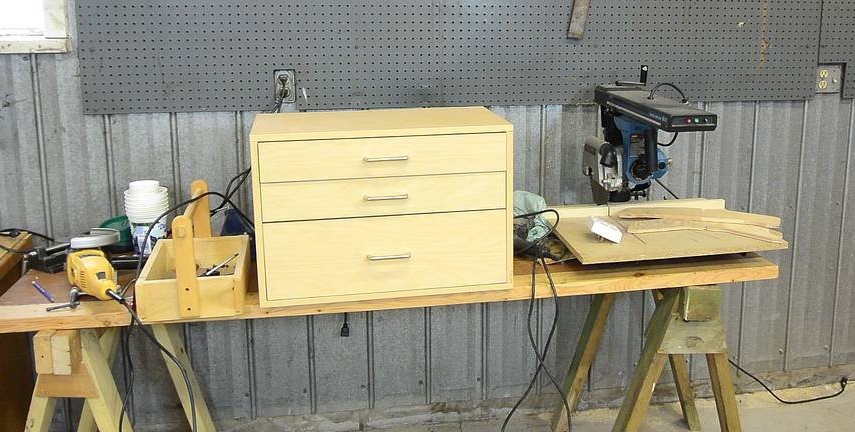
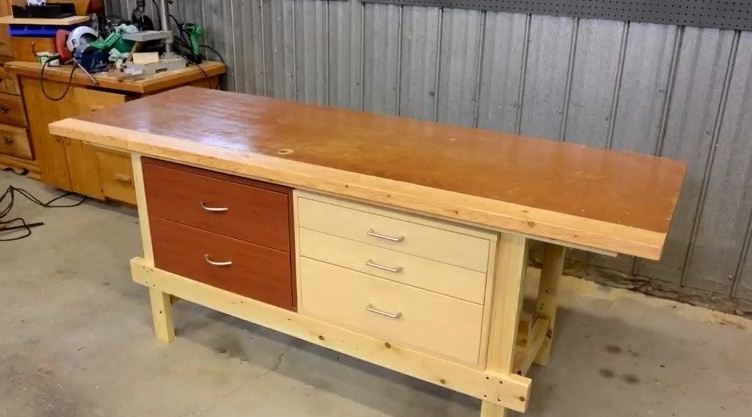
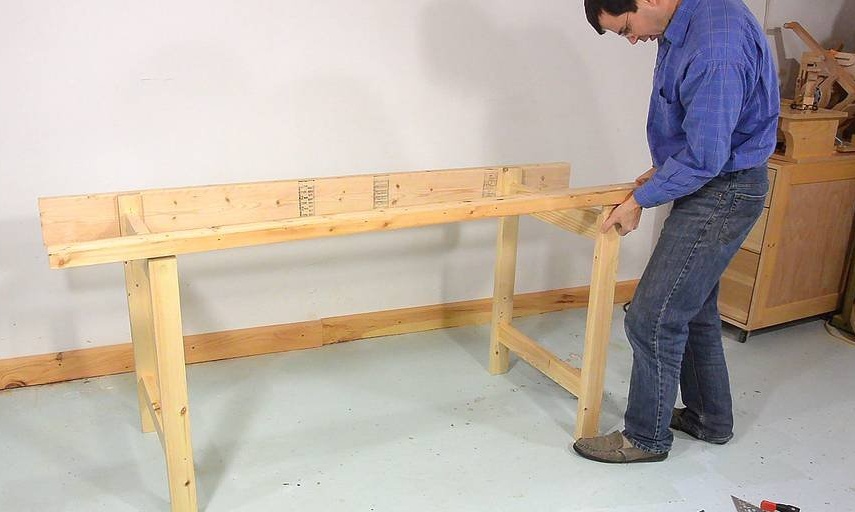
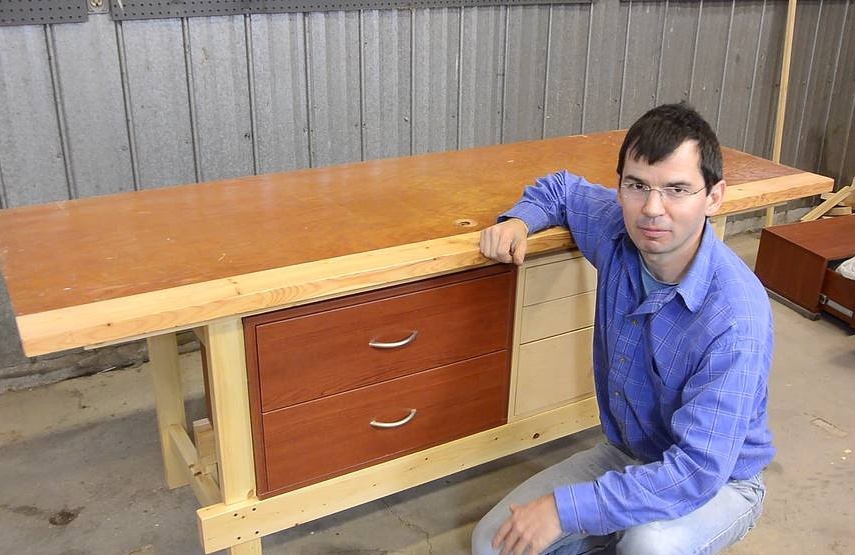
This workbench is designed to replace a temporary workbench made of two goats and a worktop. Using the manufactured workbench, the master will be able to place two blocks of boxes in it, one of which can be seen in the photo. He bought them at a sale.


Continued assembly workbench ....
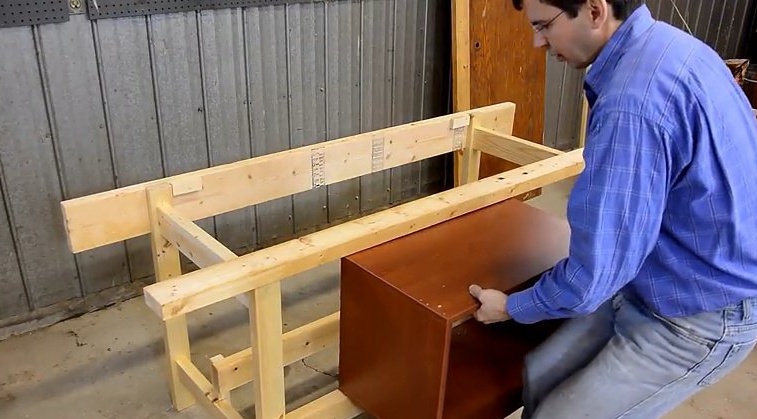


... and the installation of two blocks with drawers. They are screwed into the back of the unit so that they do not slip and do not tip forward when all the drawers are open at the same time.
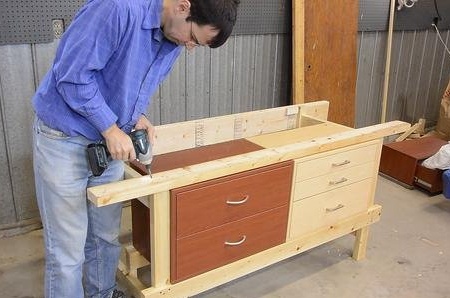
The upper cross member is held only by self-tapping screws, so that the work bench can be disassembled if necessary. That is why the master on began to further glue this connection, the workbench is quite rigid and without glue.
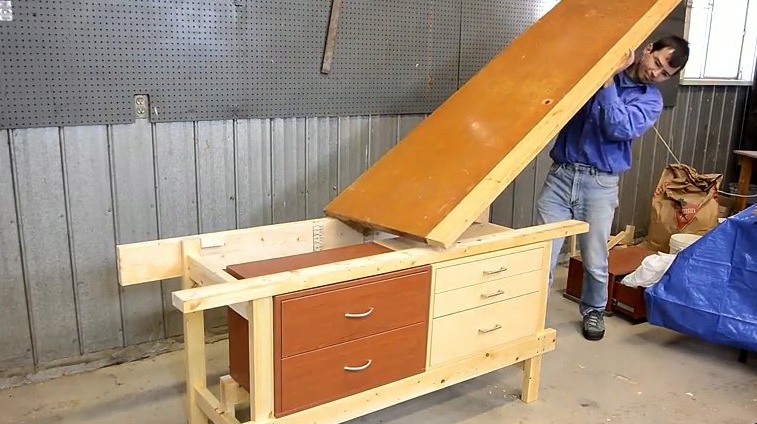

Screwing on countertops from below.
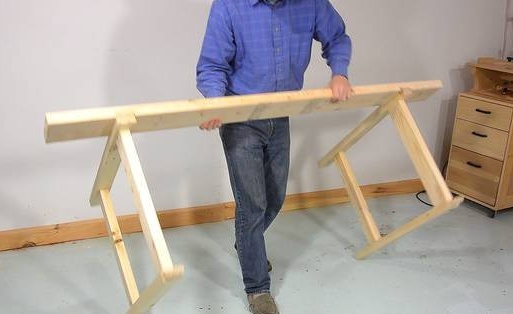
The workbench looks a bit Japanese. The master likes this style, although it was not intentional. He did not specifically measure the door, which he used as a countertop, since he assumed that it was not so long. Also the size of blocks with drawers dictated other sizes. Unfortunately, drawers occupy only 60% of the space under the countertop.

The idea of building this workbench was to make it quick and easy.
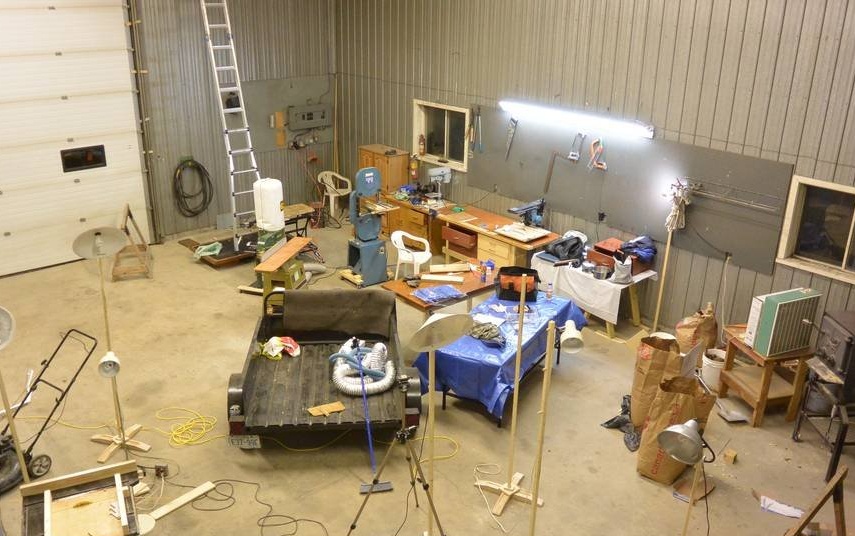
The workshop, where the workbench is located, is located in a large building measuring 9 x 12 m.
If you like homemade author, then try to repeat and make. Thank you for attention.
See you soon!