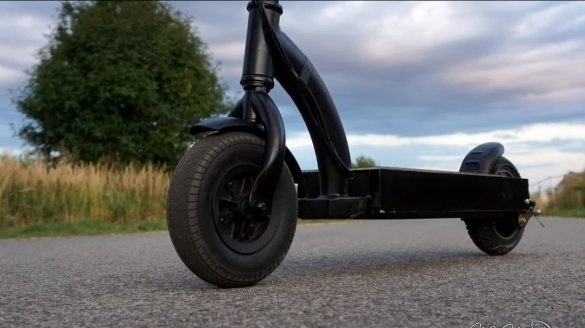
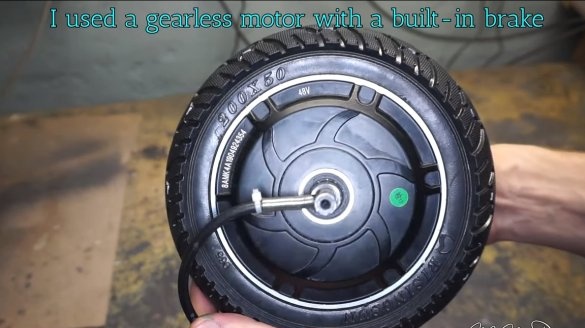
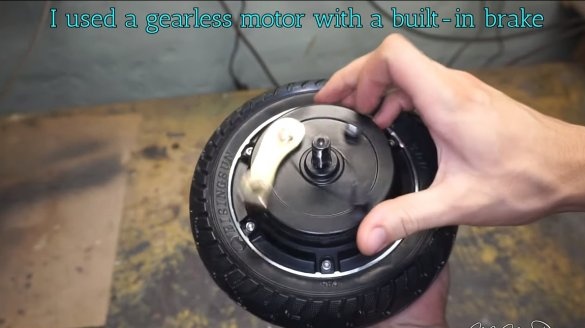
I welcome all fans to craft, today we will consider how to assemble an electric scooter. The author used the purchased parts, the most important is the 48V motor wheel. The battery was made of 18650 battery cells, a conventional scooter was used as the basis. The scooter rides quite fast, but with a good battery homemade must overcome quite impressive distances due to low weight. On such a scooter you can ride to work, if you live in a city, the scooter is not heavy, it can be easily put in an elevator and dragged into an apartment. If you are interested in such a project, I propose to study it in more detail!
Materials and tools used by the author:
Material List:
- experimental scooter;
- profile pipes;
- sheet metal;
- material for the rug (you can use sandpaper);
- ;
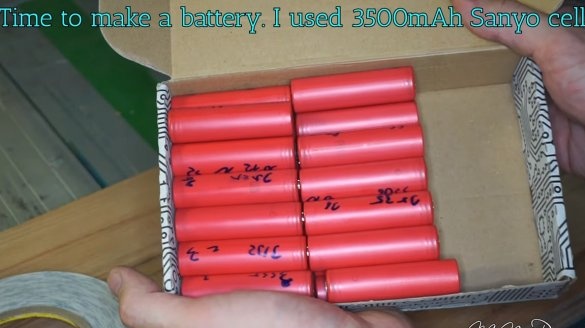
- cells 18650 (26 pieces);
- ;
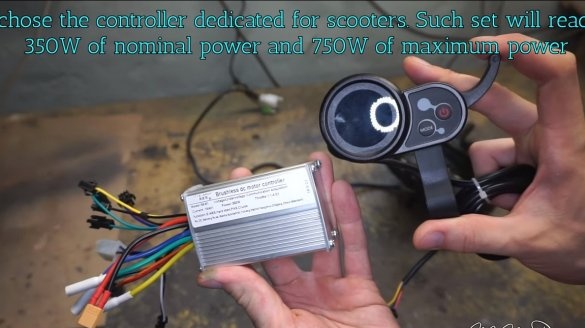
- engine controller;
- electronic throttle handle;
- A socket for connecting charging;
- paint for metal;
- voltmeter, speedometer (optional).
Tool List:
- grinder;
- welding machine;
- drill;
- spot welding;
- voltmeter.
Scooter manufacturing process:
Step one. Alteration of the scooter frame
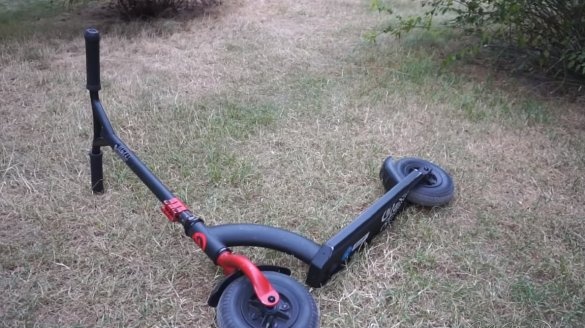
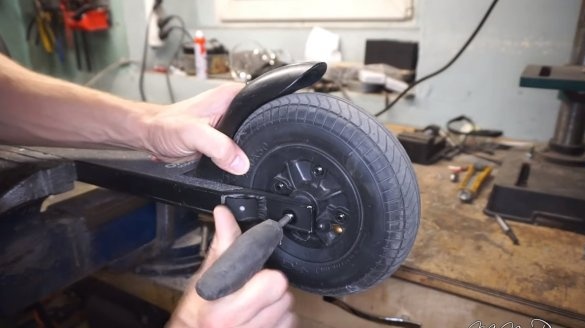
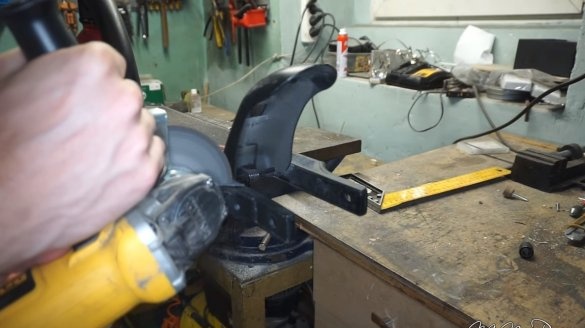
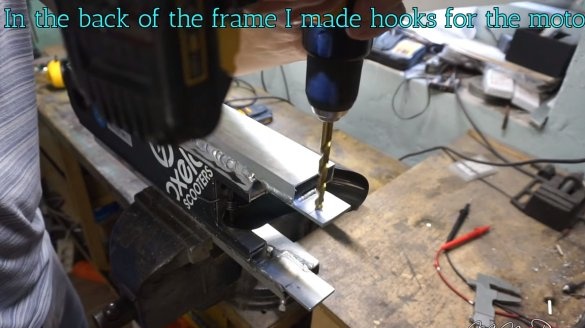
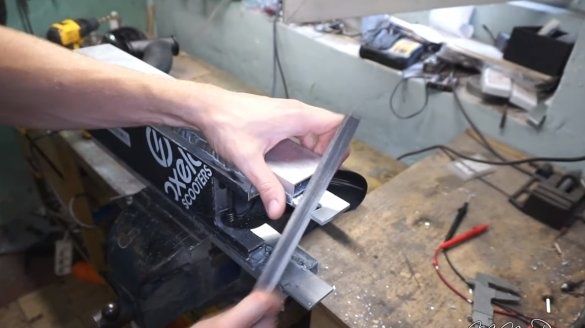
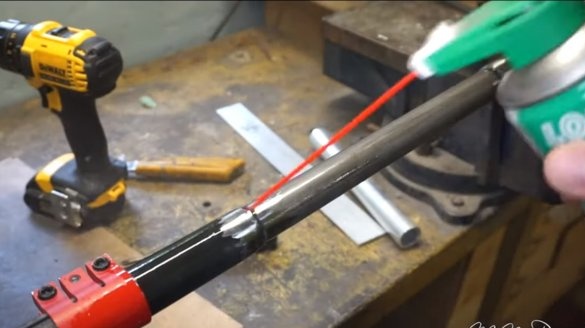
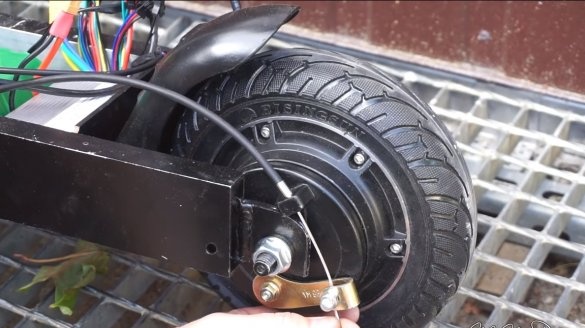
We take an experimental scooter and remake the frame for equipment. We need to extend the rear fork under the larger diameter wheel. We cut the native fork and extend it with iron plates. As a result, it remains to do the ears and you can install the motor-wheel.
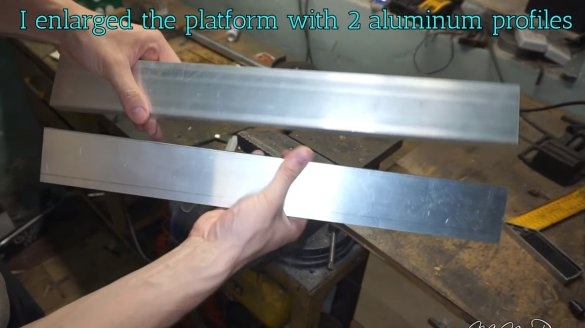
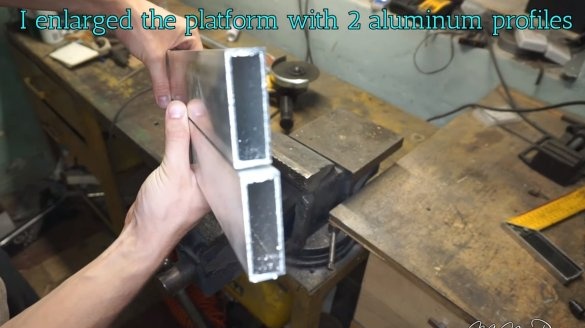
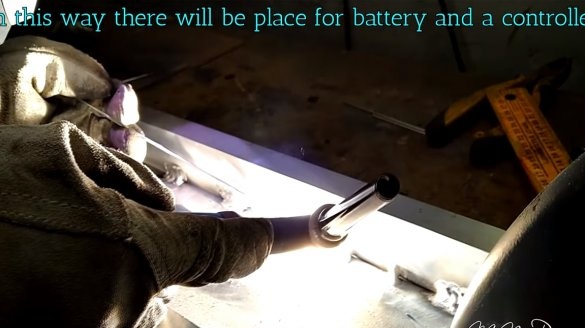
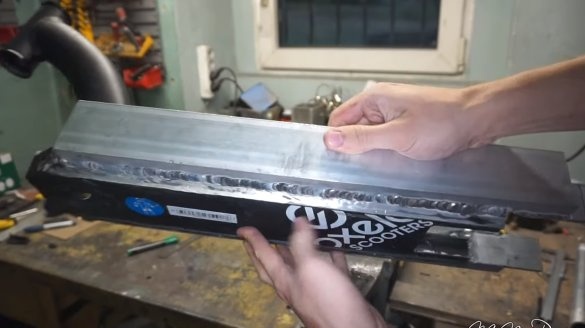
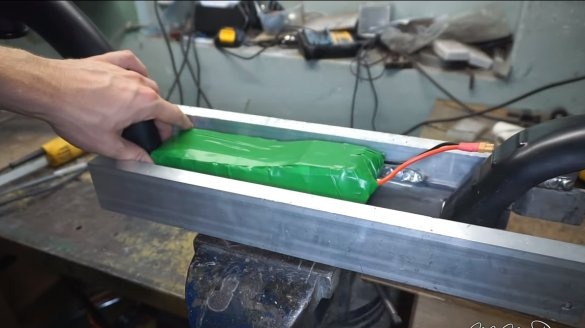
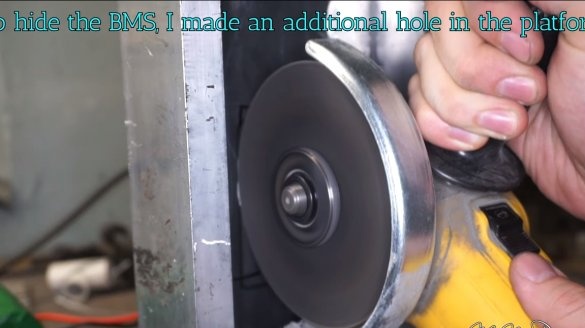
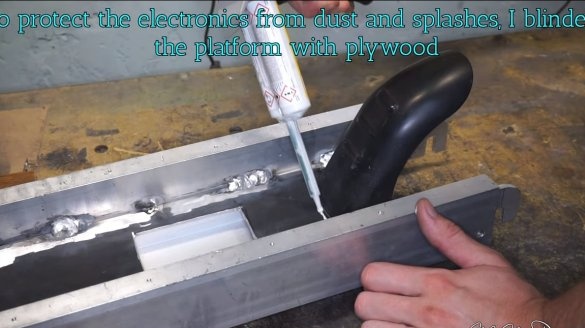
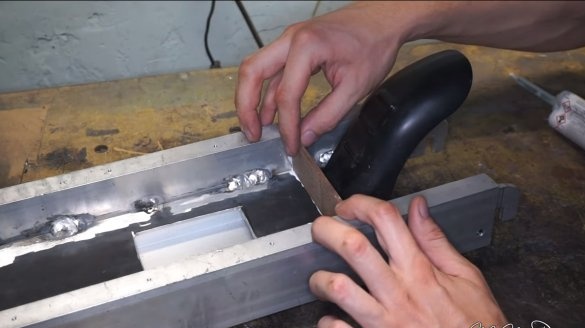
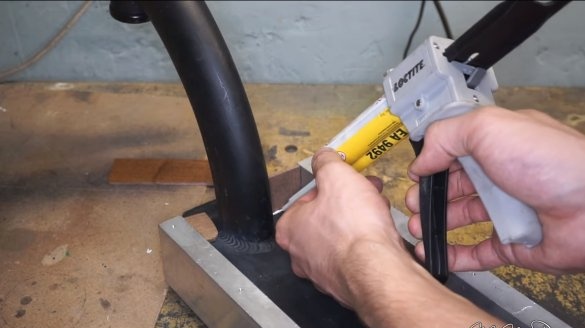
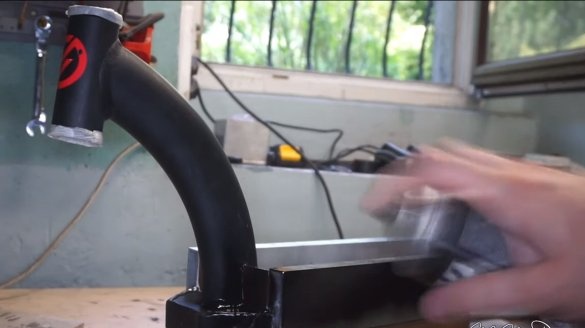
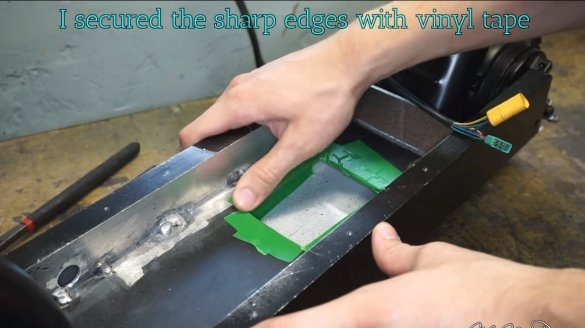
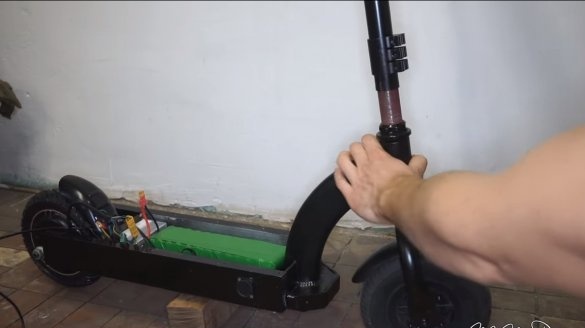
Also in the bottom we need to arrange a place for the controller and battery. The author builds up the sides of the scooter with the help of rectangular shaped pipes. We cut and weld the material.
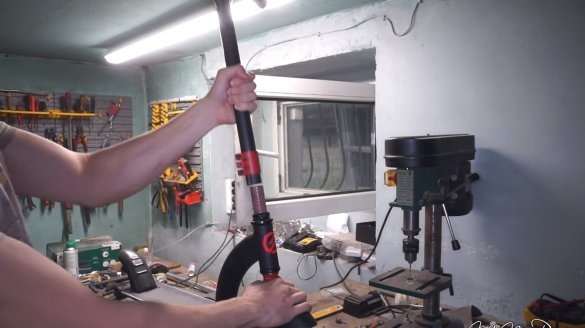
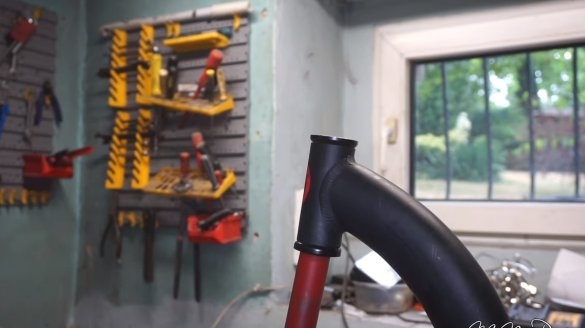
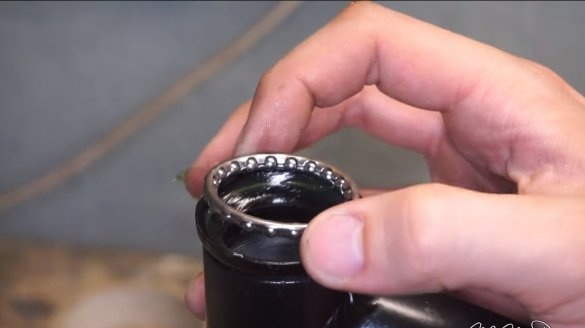
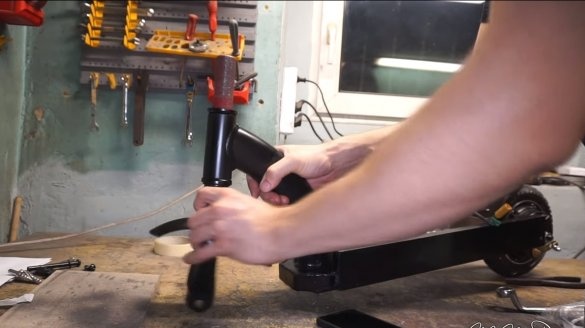
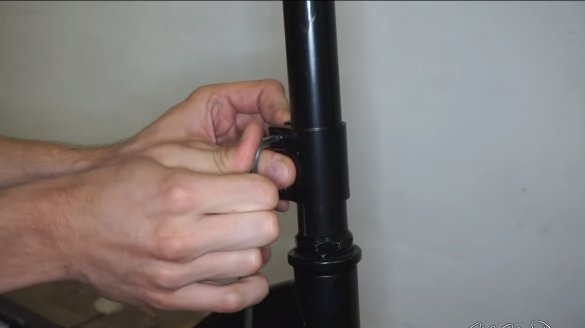
The author also took off the steering to paint and replace bearings.
Step Two Battery
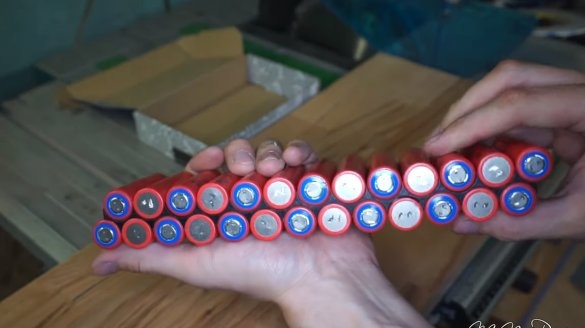
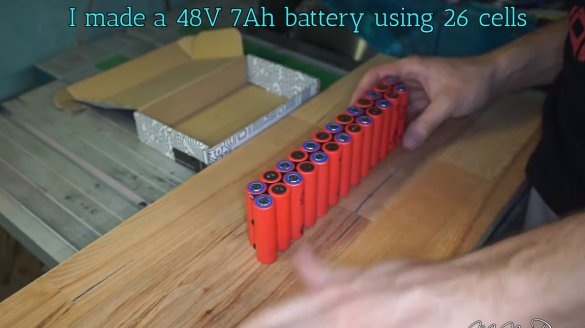
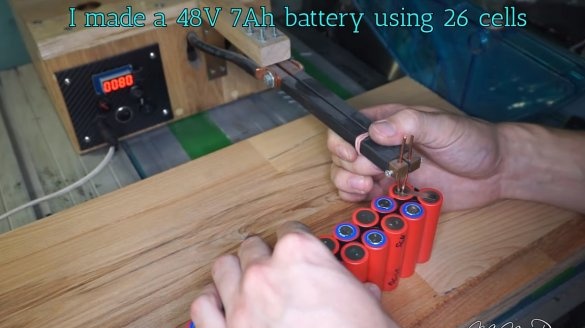
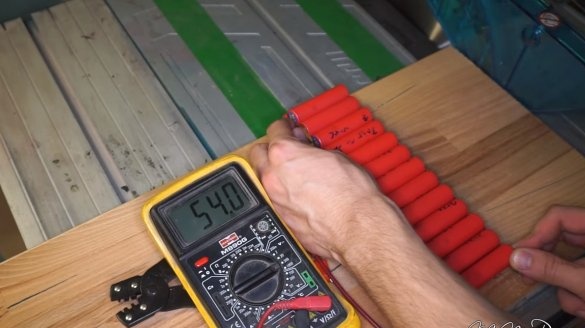
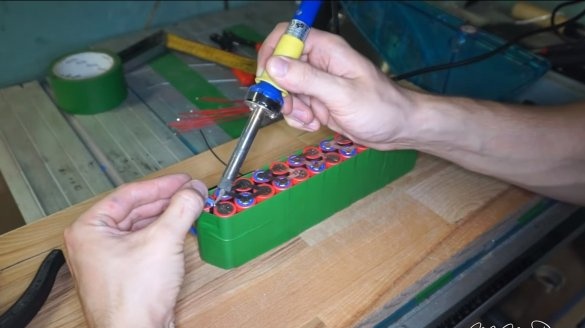
We will assemble a power supply for the scooter, we will need 18650 cells in the amount of 26 pieces, as a result, we should get a voltage close to 48V and a capacity of about 7 Ah. You can find such cells in old laptop batteries, but each cell will have to be tested. Jumpers to the batteries are welded using a spot welding machine, it is fast, reliable and simple.
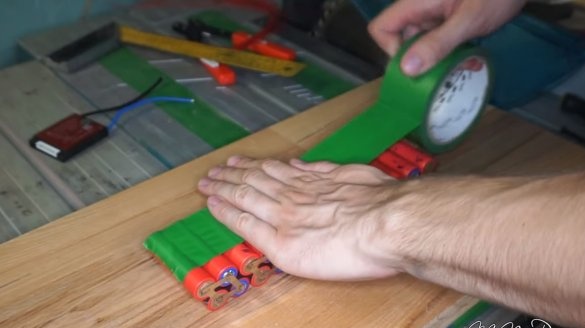
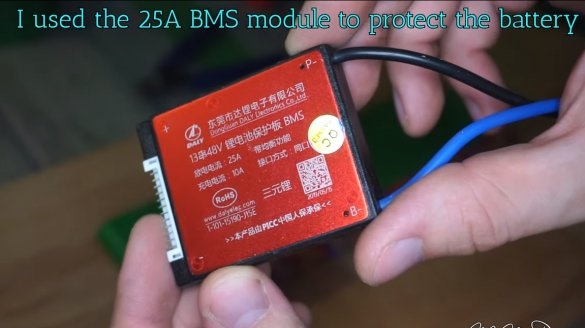
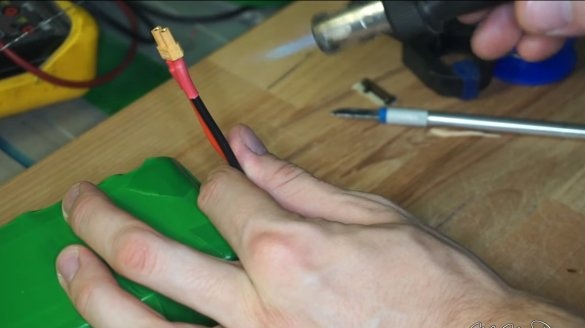
Be sure to install a BMS controller for the battery, which will protect the battery from overcharging and deep discharge. The author used a 25A controller. At the end, we wrap the battery with electrical tape or stretch the heat shrink so that everything stays securely. The shape of the battery is made so that it succinctly fits in the bottom.
Step Three Assembly
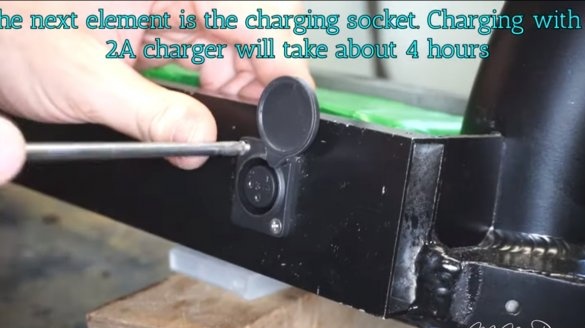
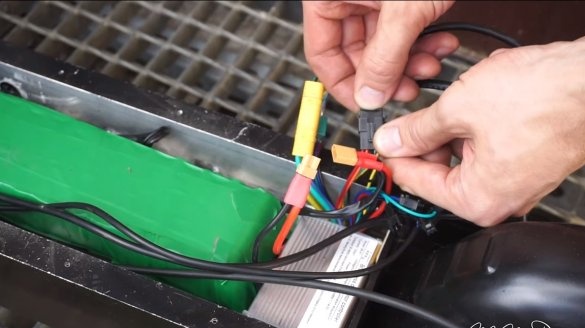
We assemble the scooter, install a new steering bearing and lubricate it well with heavy grease. We also install the rear drive wheel and install the engine controller in the bottom. On the side of the scooter, the author installed a socket in the case for connecting a charger. It would be nice to install a voltmeter here to control the charge level.
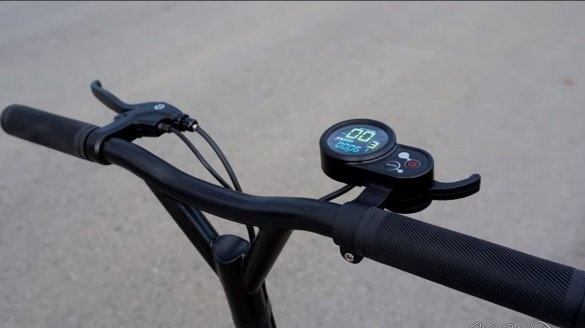
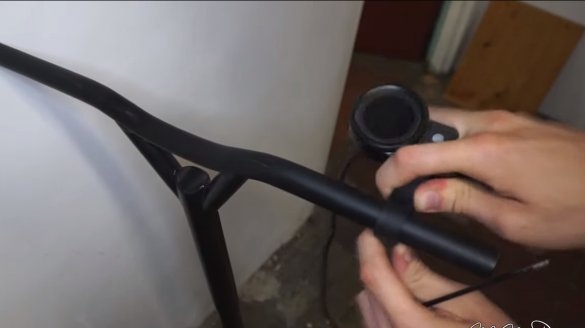
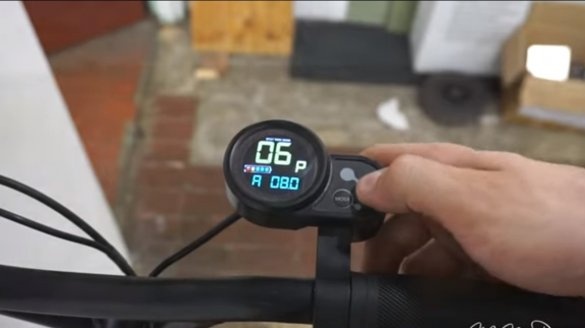
We install an electronic throttle handle on the steering wheel, as well as a digital speedometer and voltmeter if desired. Thanks to the voltmeter, you can figure out how much more battery power is enough.
Step Four Sex and Tests
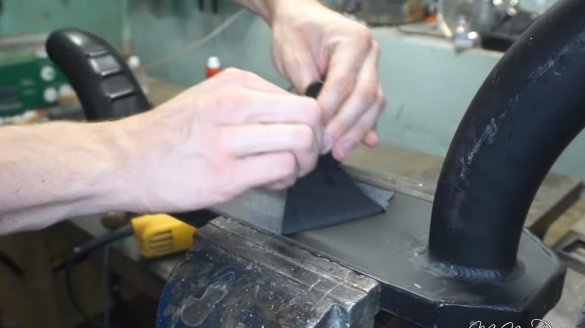
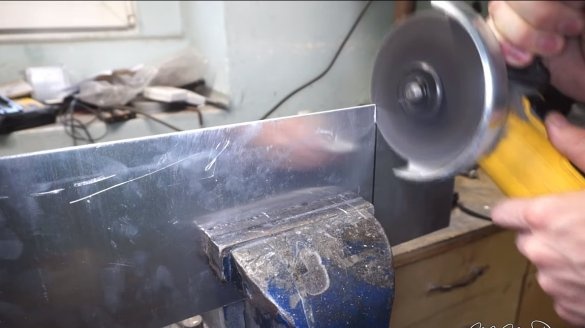
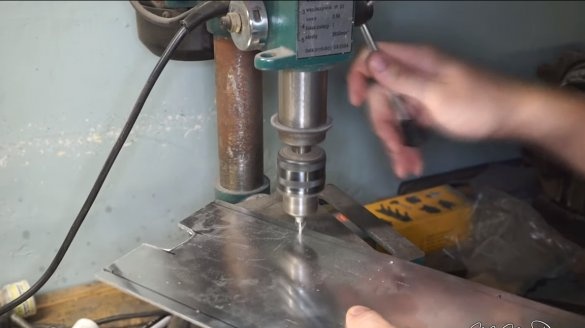
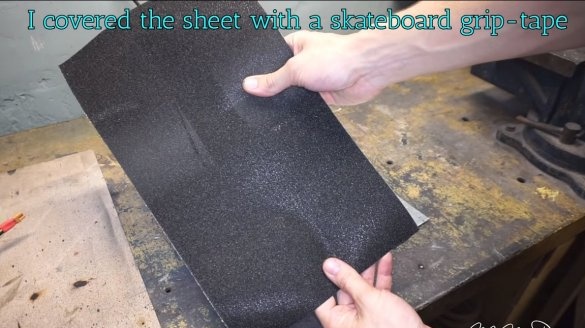
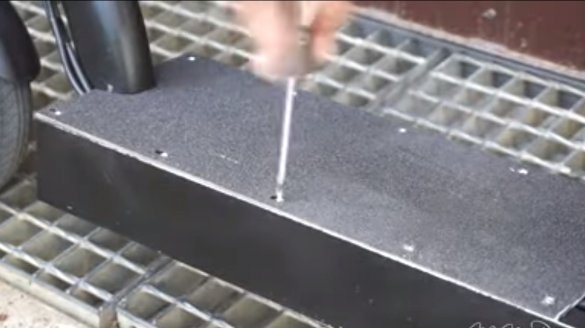
The floor for the scooter is cut out of sheet iron or thick sheet aluminum. The floor should have a rough surface so that the driver can confidently stand on his feet. The author did not bother and stuck a piece of sandpaper with large grain. It is best to use tissue-based paper for such purposes, it is more durable and not afraid of water.
That's all, the homemade product is ready, the author pulls away easily, and the scooter rushes pretty quickly. Homemade turned out neat, beautiful and more than efficient. On this project can be considered successfully completed. I hope you enjoyed your homemade work and found useful thoughts for yourself. Good luck and creative inspiration, if you decide to repeat this. Do not forget to share your ideas and homemade things with us!

