Hello to all fans of craftsmen, today we will consider how to make a small drilling machine. Feature homemade in that the machine is controlled by buttons, that is, the engine with the drill chuck lowers and rises itself. In total, 3 are used in the machine, this is the main engine, as well as two more for lowering and raising the drill chuck. Homemade in the assembly is not complicated, everything is made of plywood and other available materials. If you are interested in the project, I propose to study it in more detail!
Materials and tools used by the author:
Material List:
- (as the main one);
- two small gear motors for 6-12V;
- two small furniture sliders;
- a small drill chuck and adapter under the motor shaft;
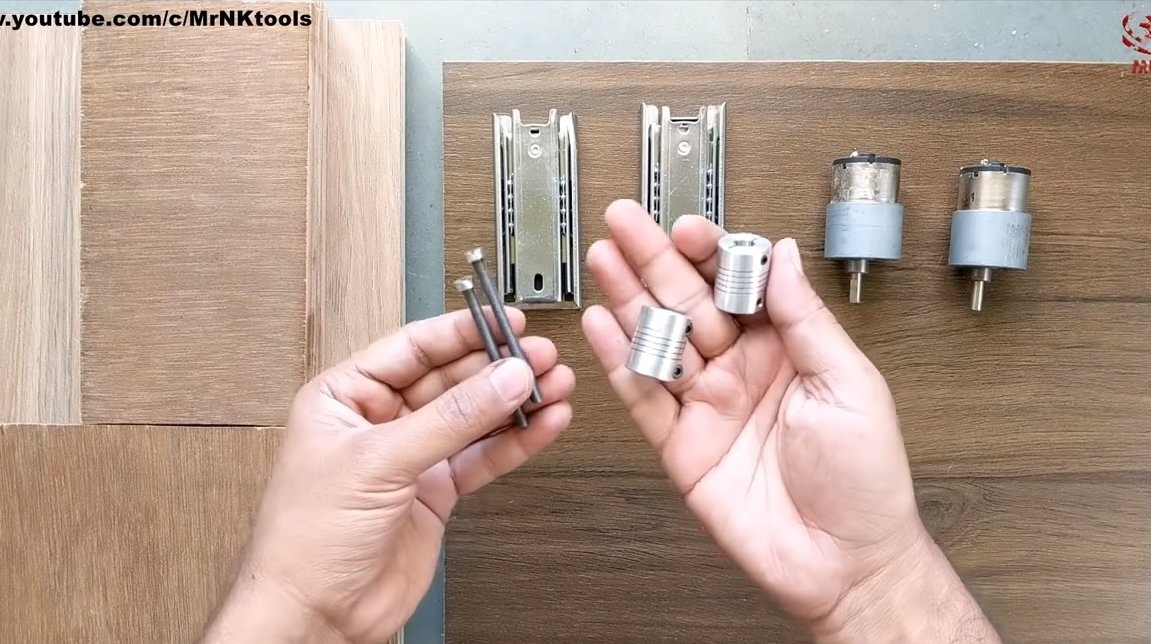
- two couplings for small motors;
- two screws, bolts or threaded rods;
- plywood;
- carpentry glue;
- veneer;
- reversible switch;
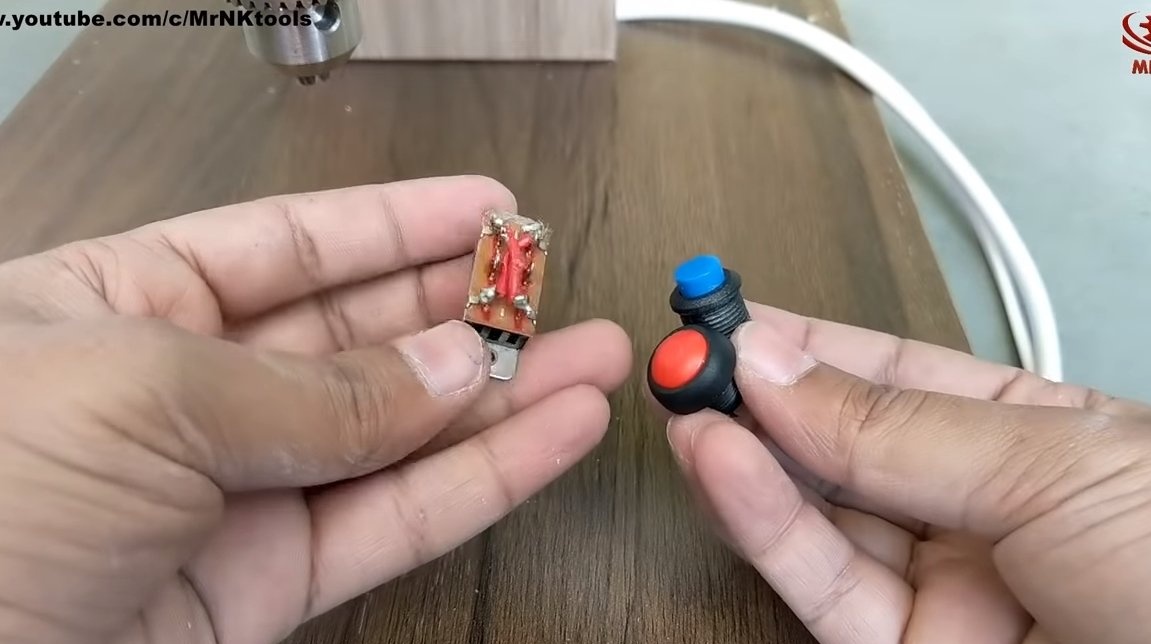
- two buttons;
- wires;
- paint;
- Super glue.
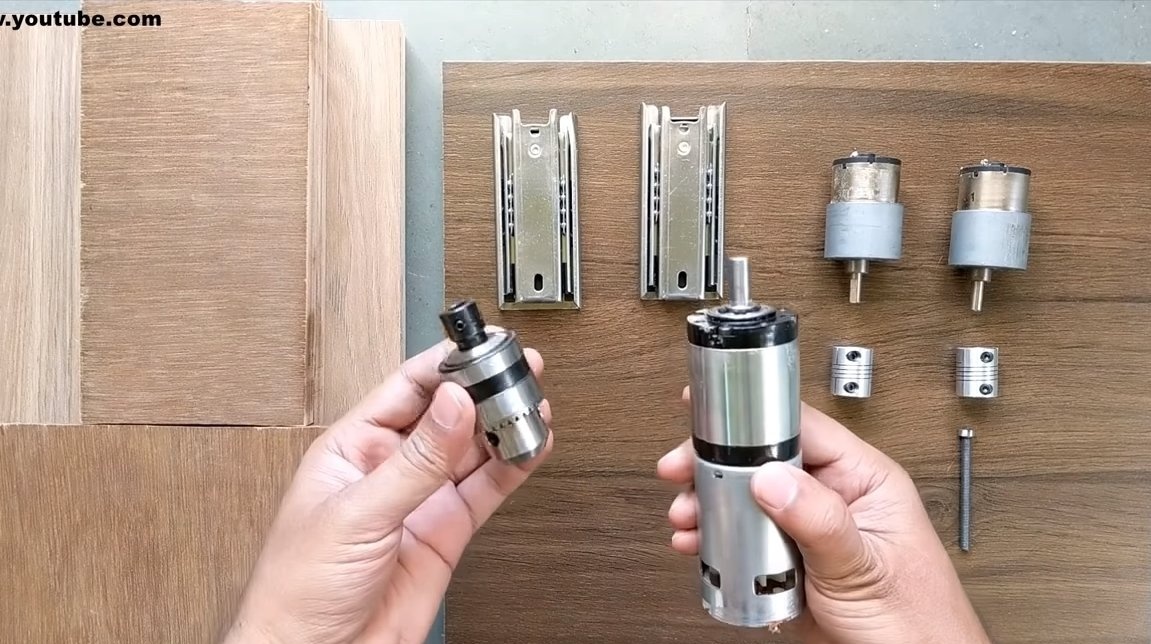
Tool List:
- jigsaw;
- screwdriver and drill;
- pencil, tape measure, rulers.
The manufacturing process of the drilling machine:
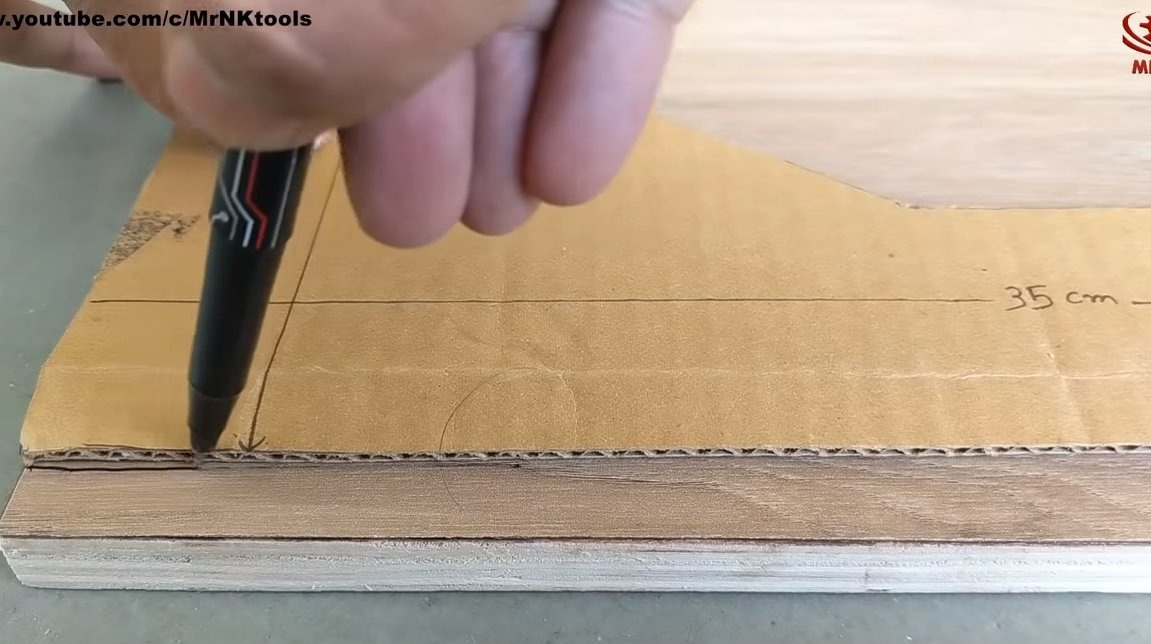
Step one. Cut out the details and assemble the frame
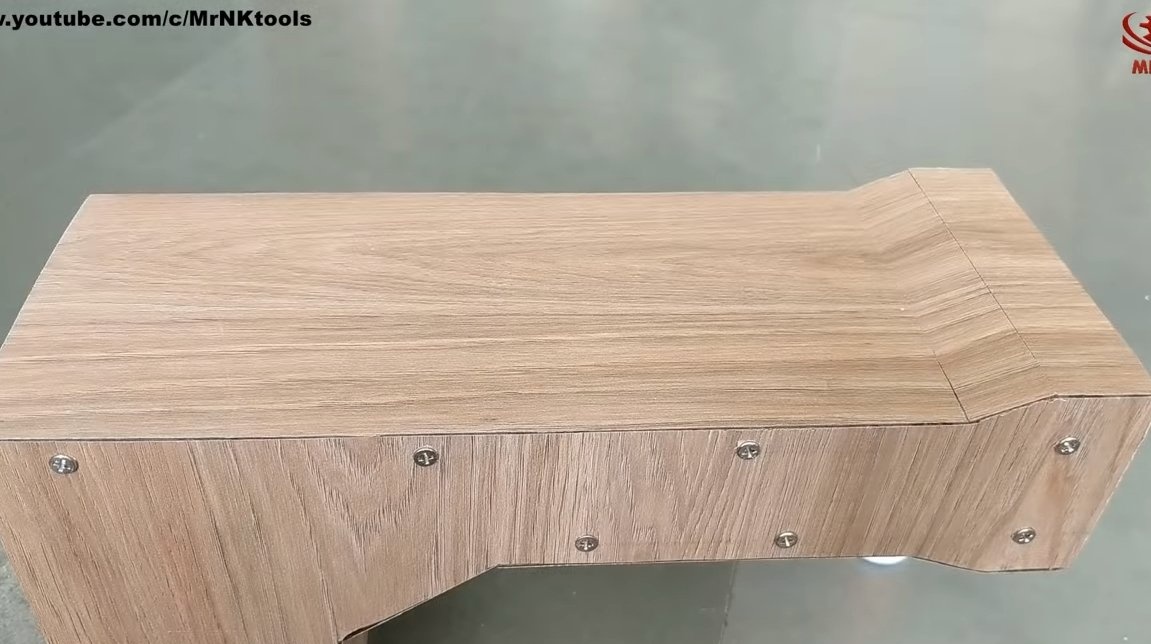
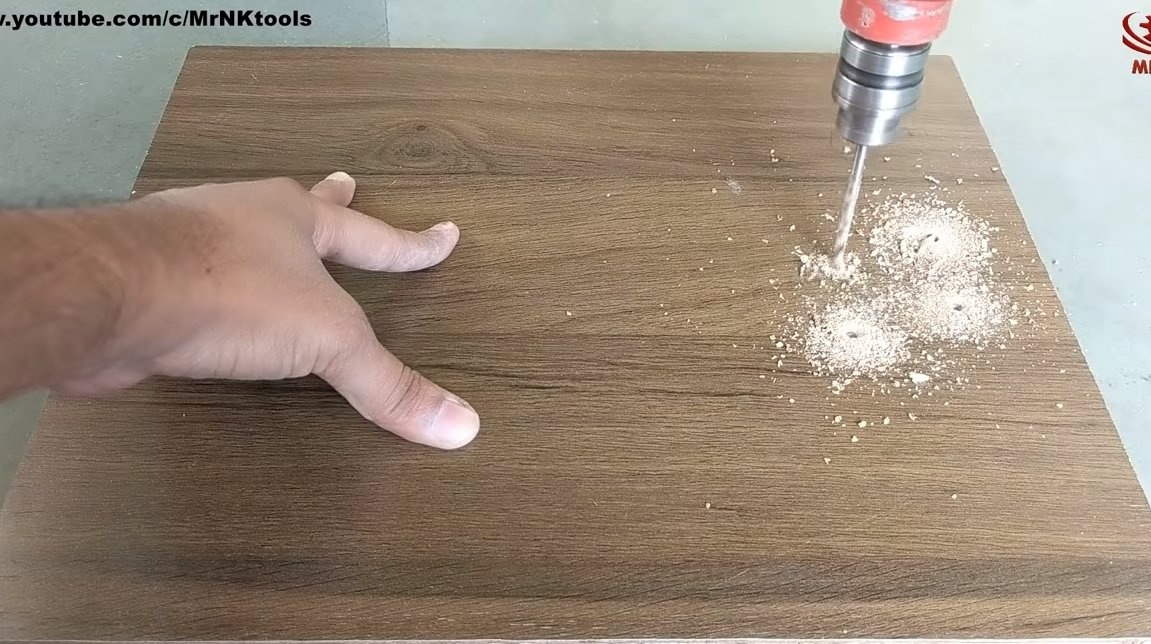
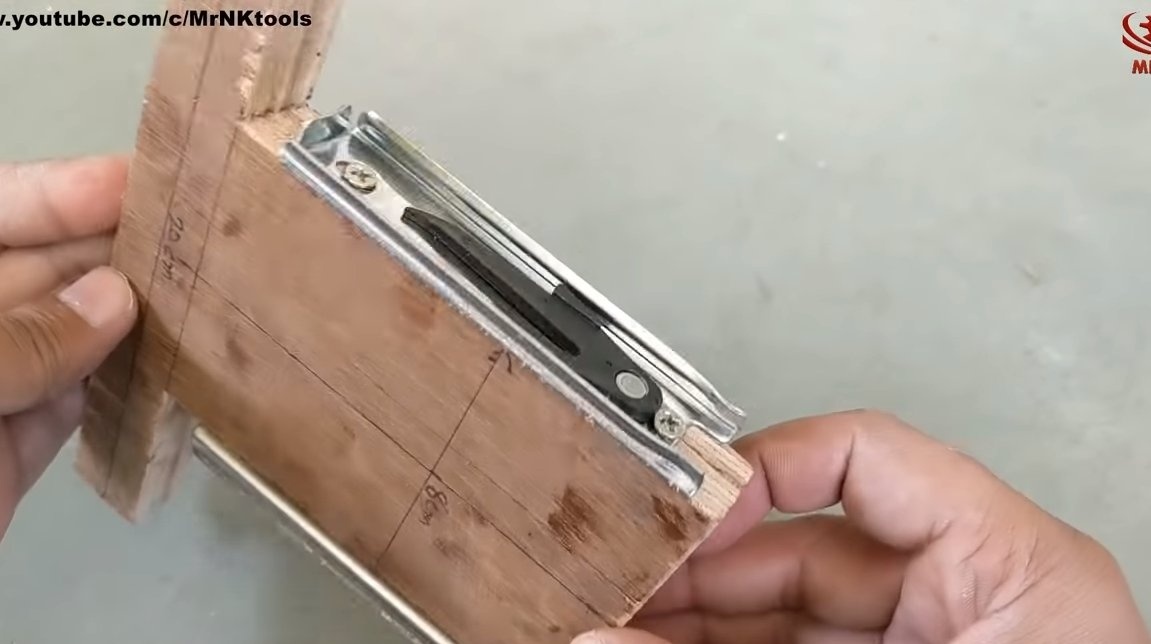
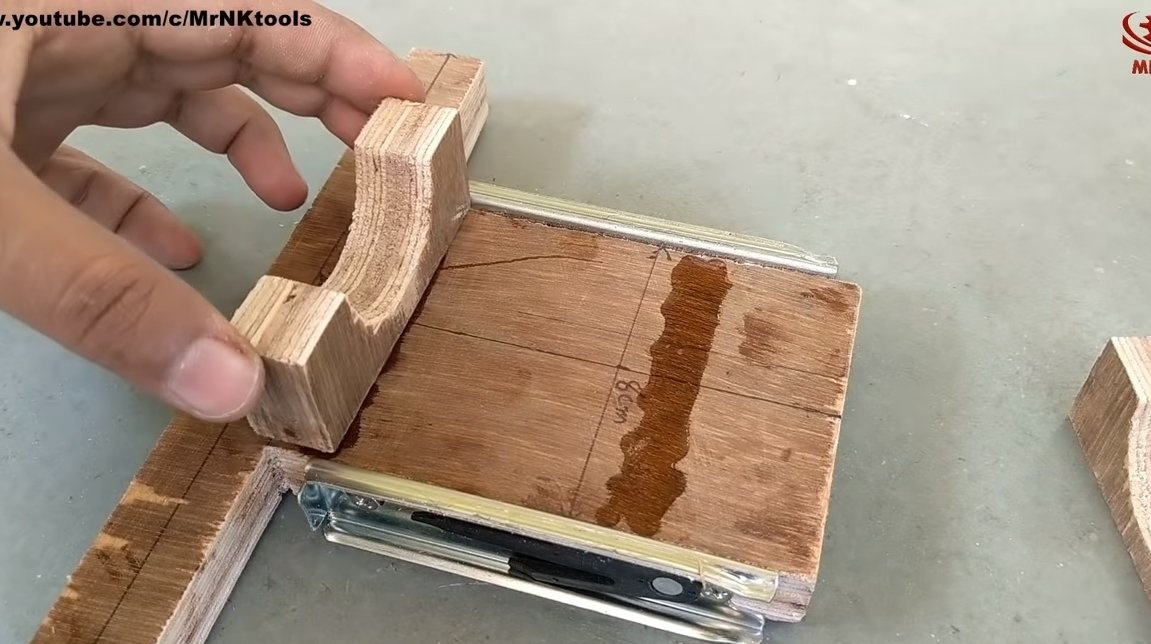
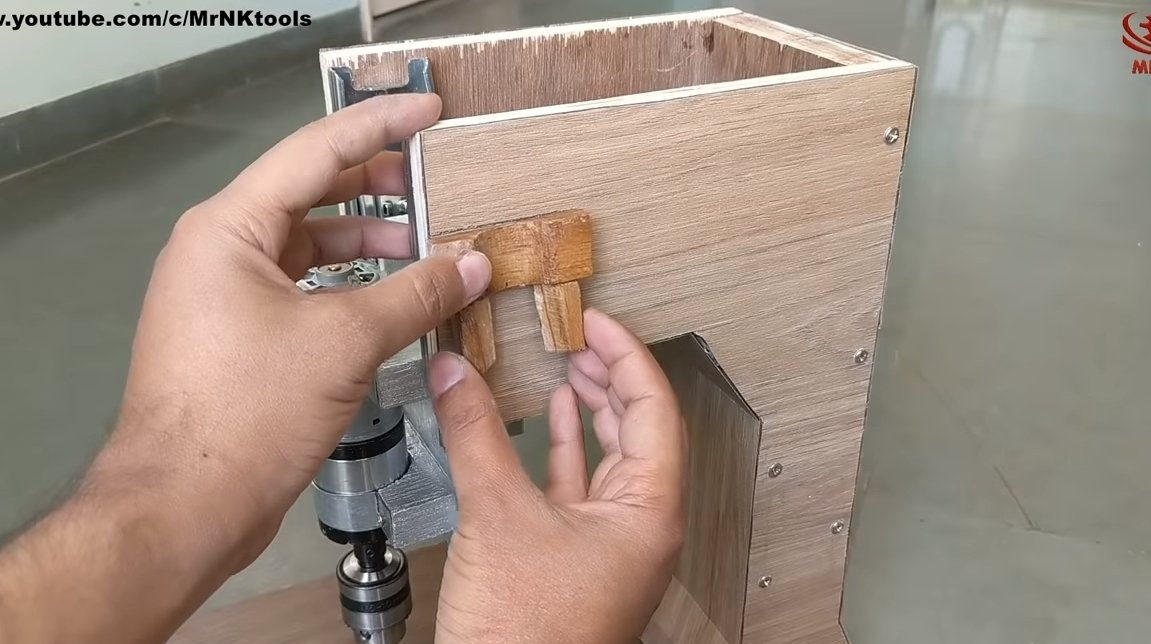
The author already has cardboard templates for cutting parts for the machine. Everything is made from plywood, the author works with a jigsaw. The result should be two main parts for the rack, they should be the same. You will also need to cut the back wall, which will unite the racks, and also cut the base out of plywood.
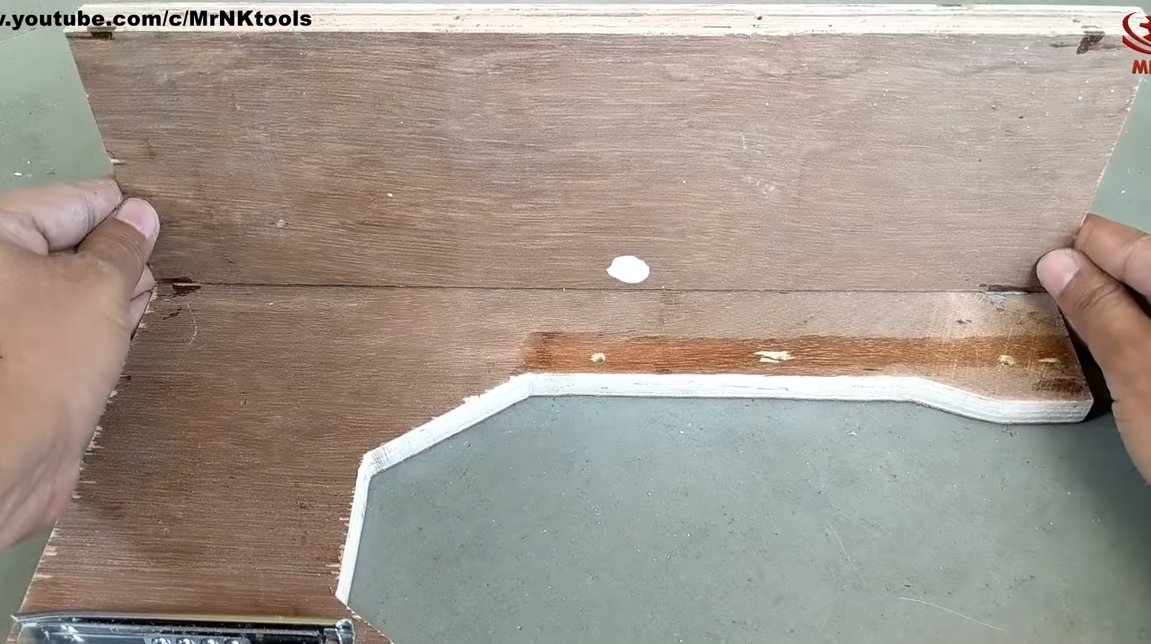
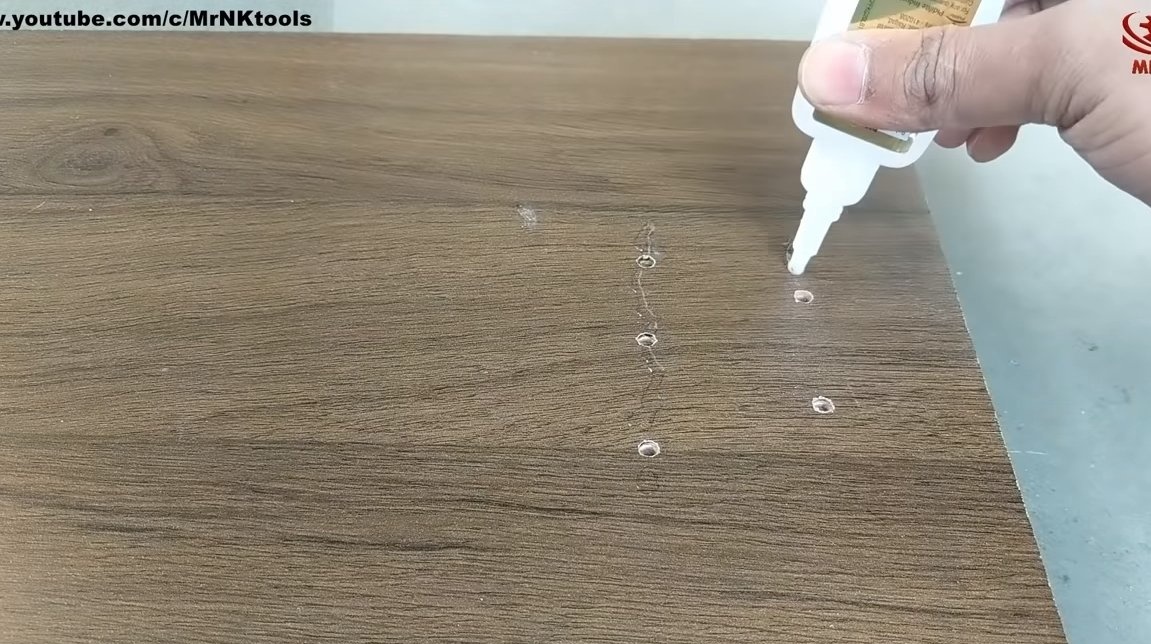
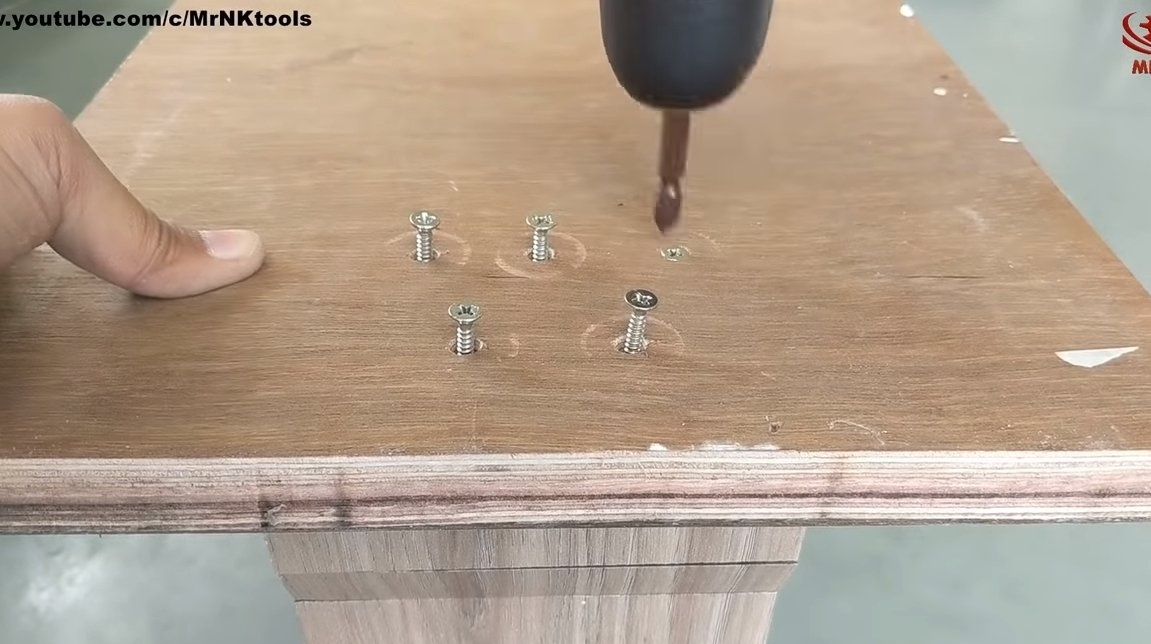
We twist all the parts with screws, and for a more reliable connection we use carpentry glue.

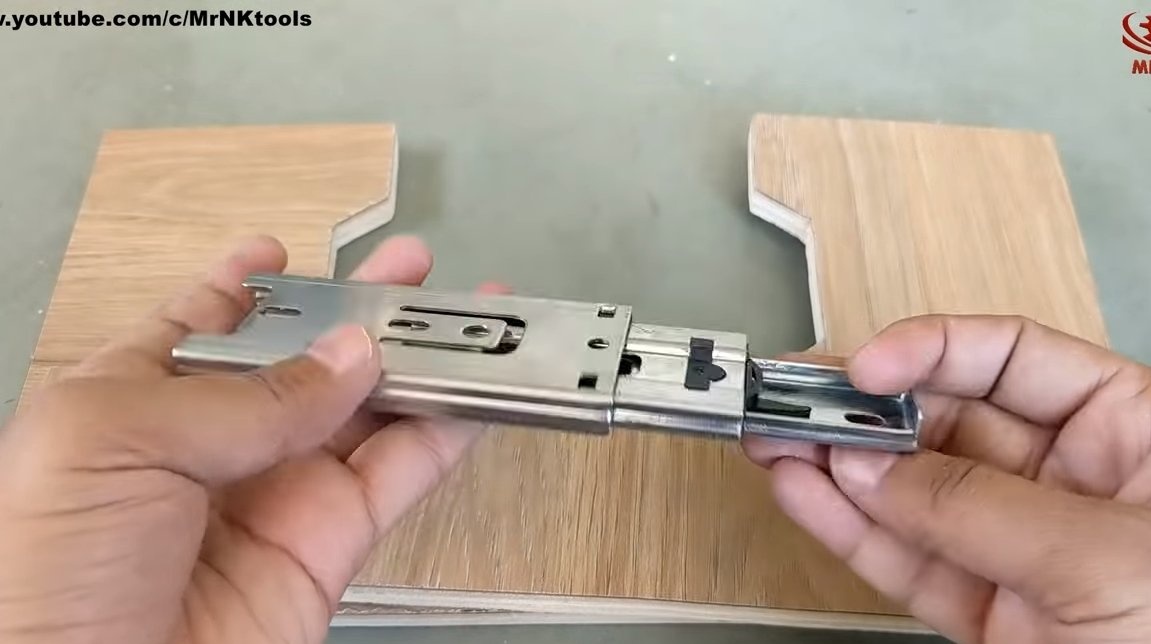

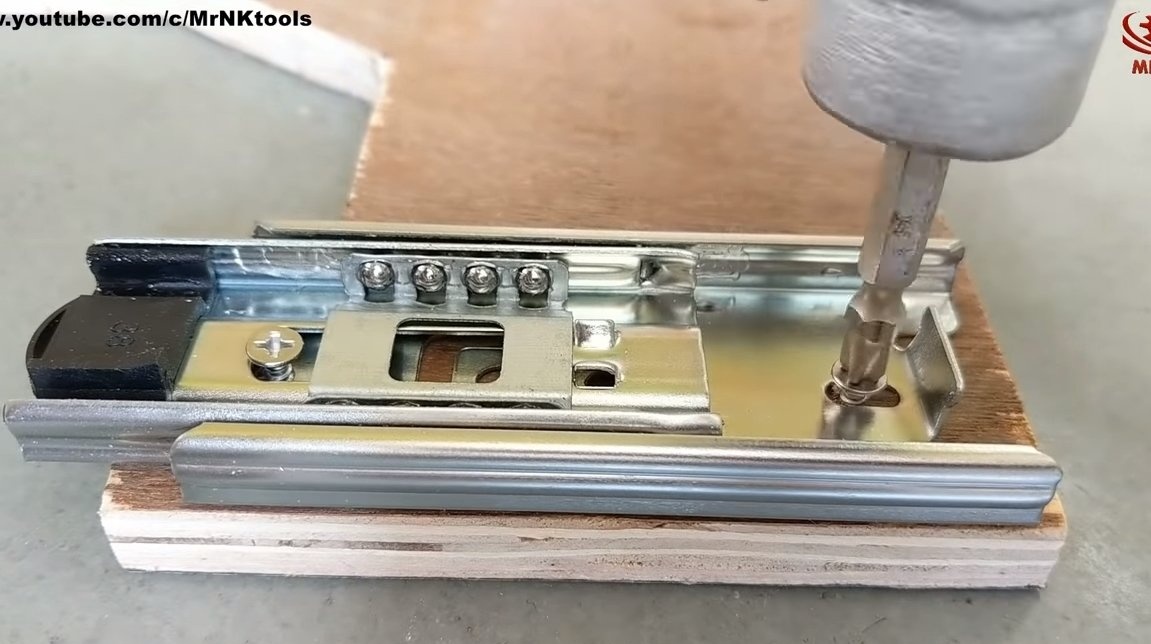


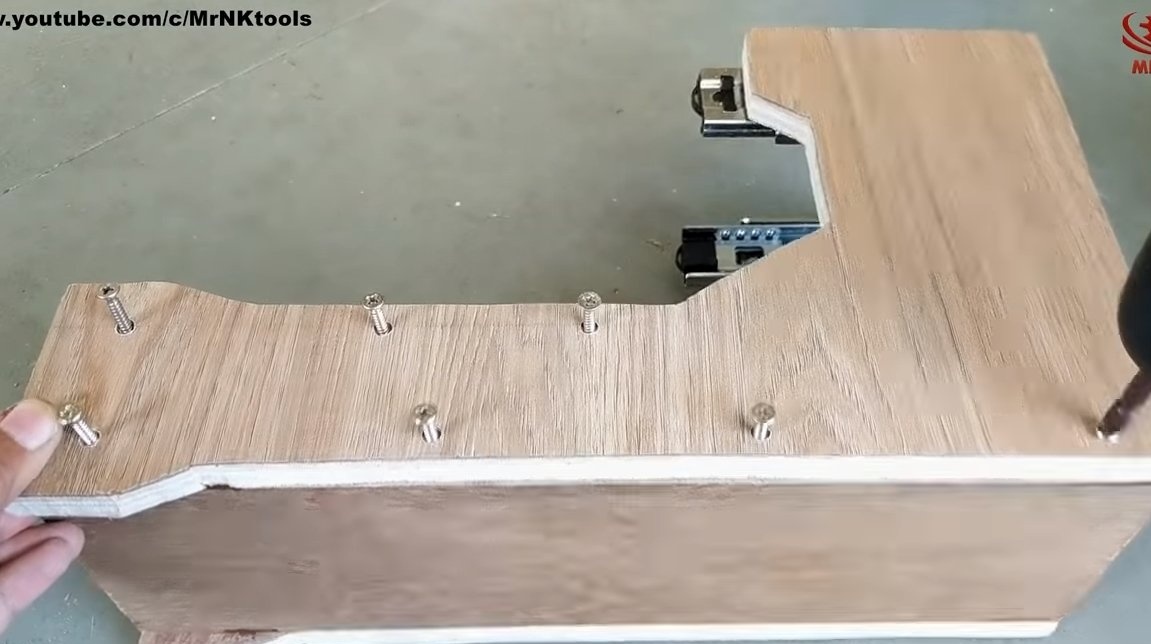
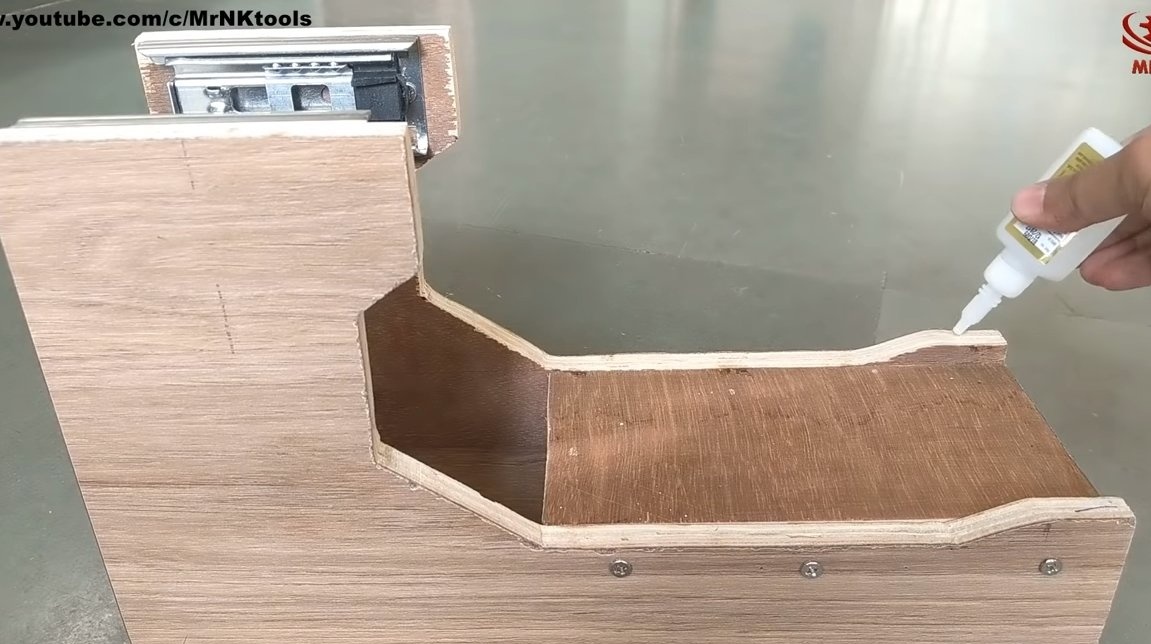
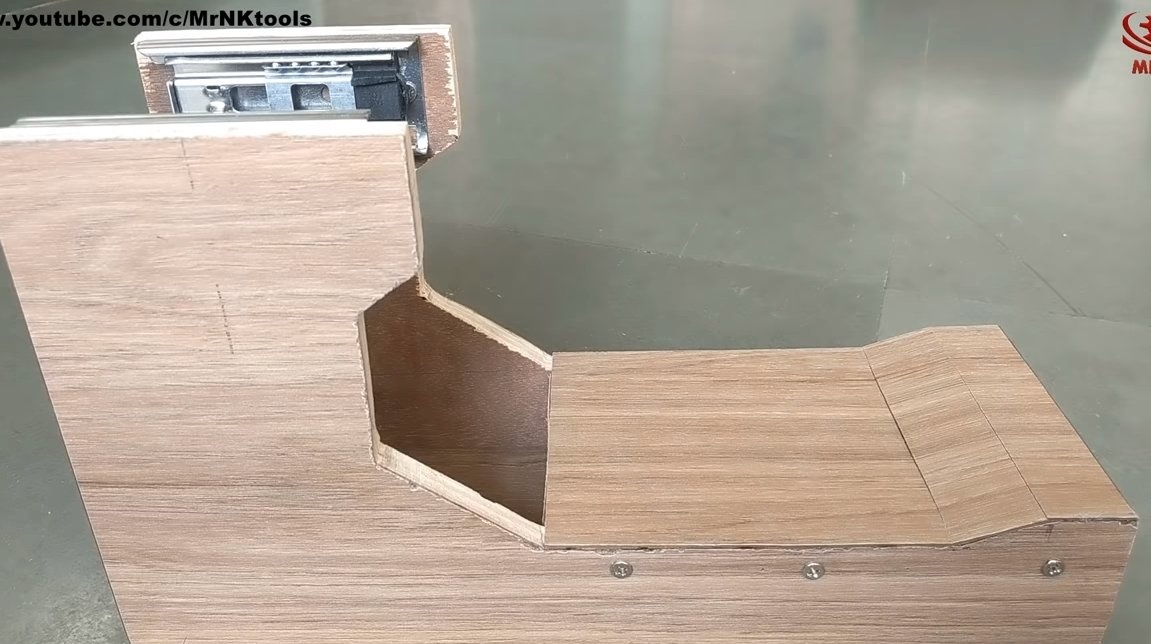
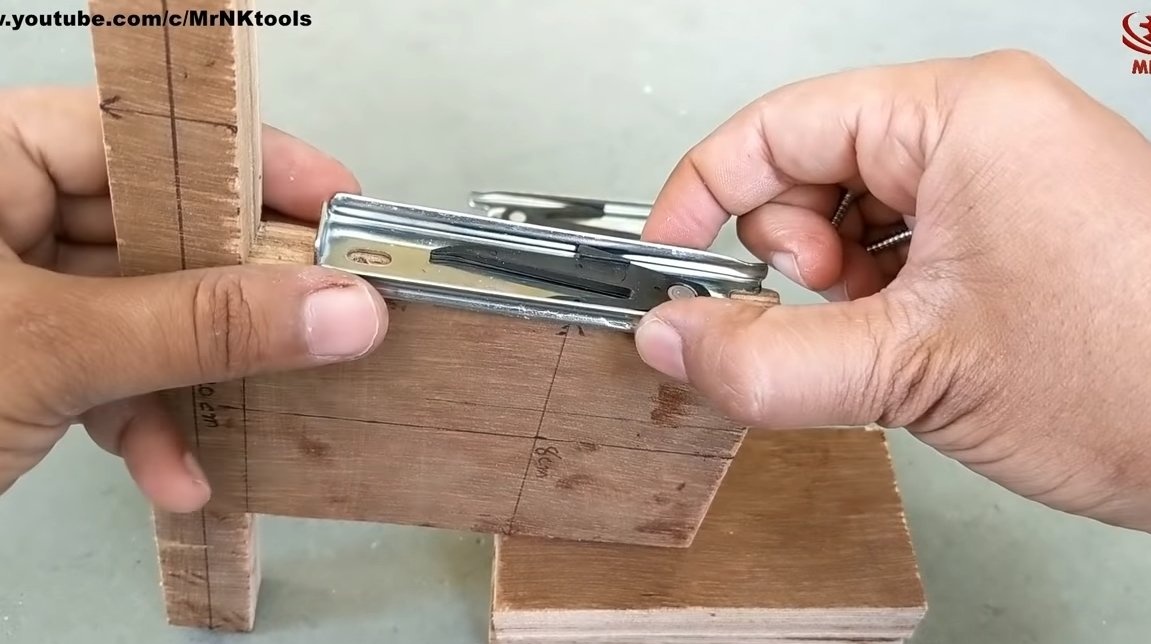
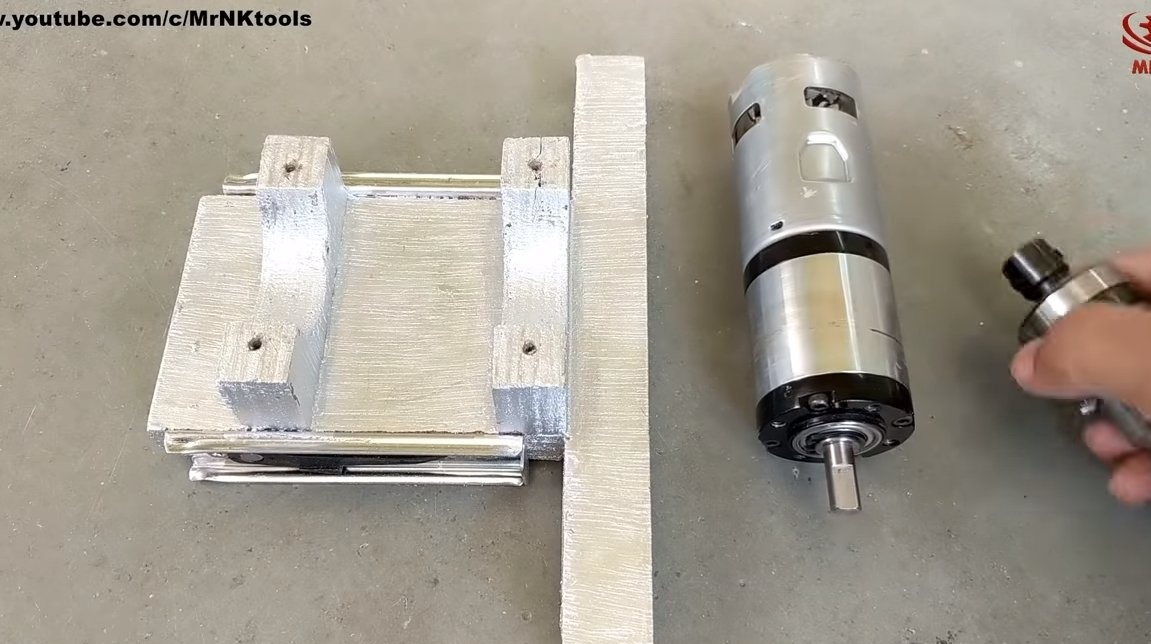
Sliders are installed between the two parts of the rack, they will serve to lower and raise the drill chuck with the engine. We fix the parts of the sliders to the plywood with self-tapping screws.
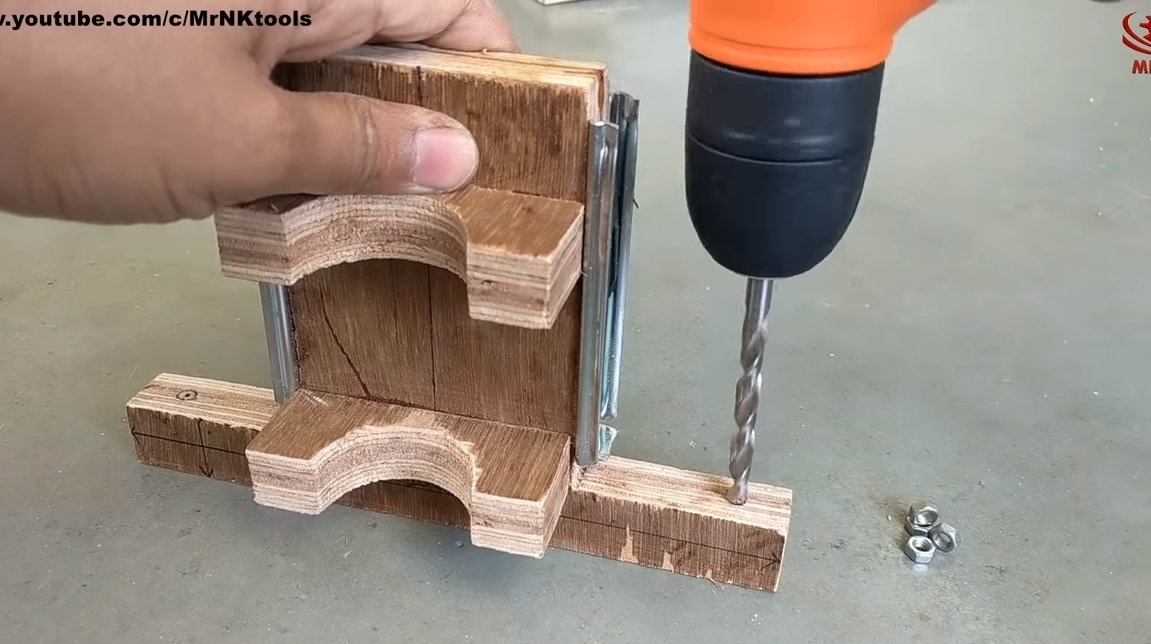
Step Two Mobile platform
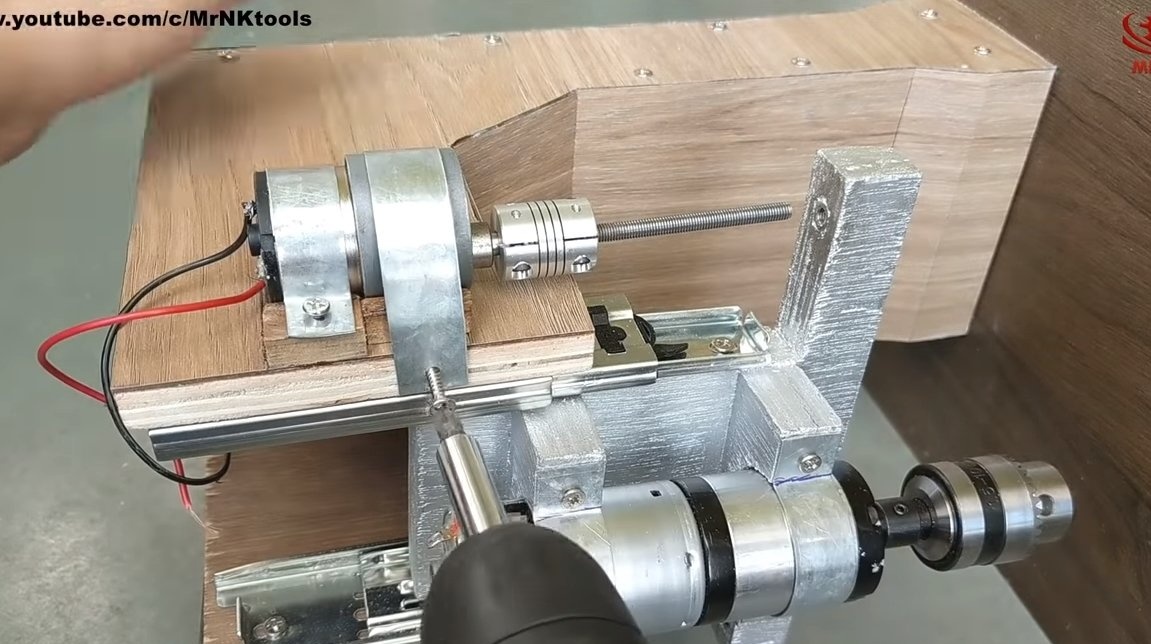
Next, we have to make a movable platform on which the engine will be installed. All parts are also made of plywood, everything is securely glued and twisted with screws.The second halves from the sliders are screwed to the movable platform.
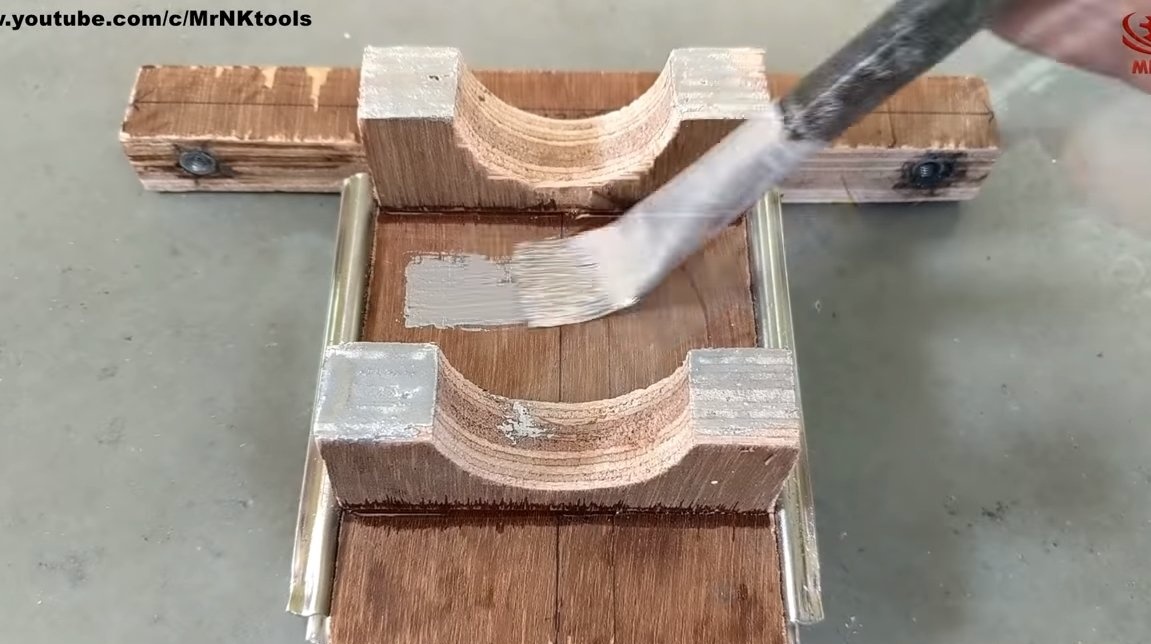
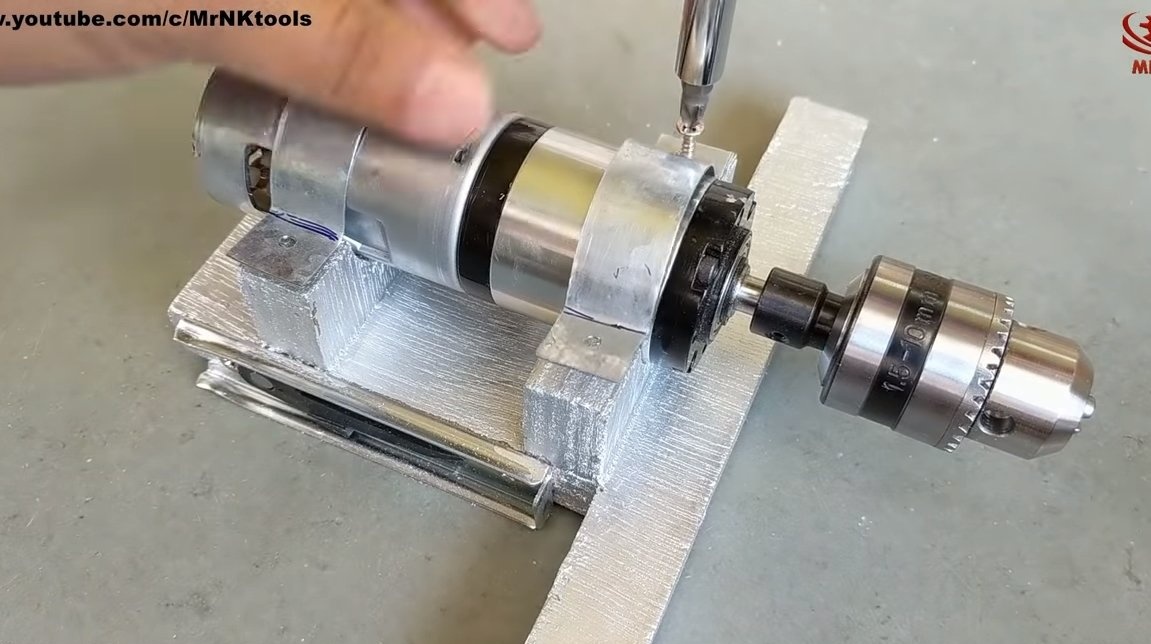
To ensure the movement of the platform, drill along the edges of the hole and glue the nuts. Threaded rods will enter the nuts, which will rotate from the gear motors. In the end, the author painted wooden parts with silver paint for aluminum. When the paint dries, you can fasten the motor, for mounting clamps made of tin were used.
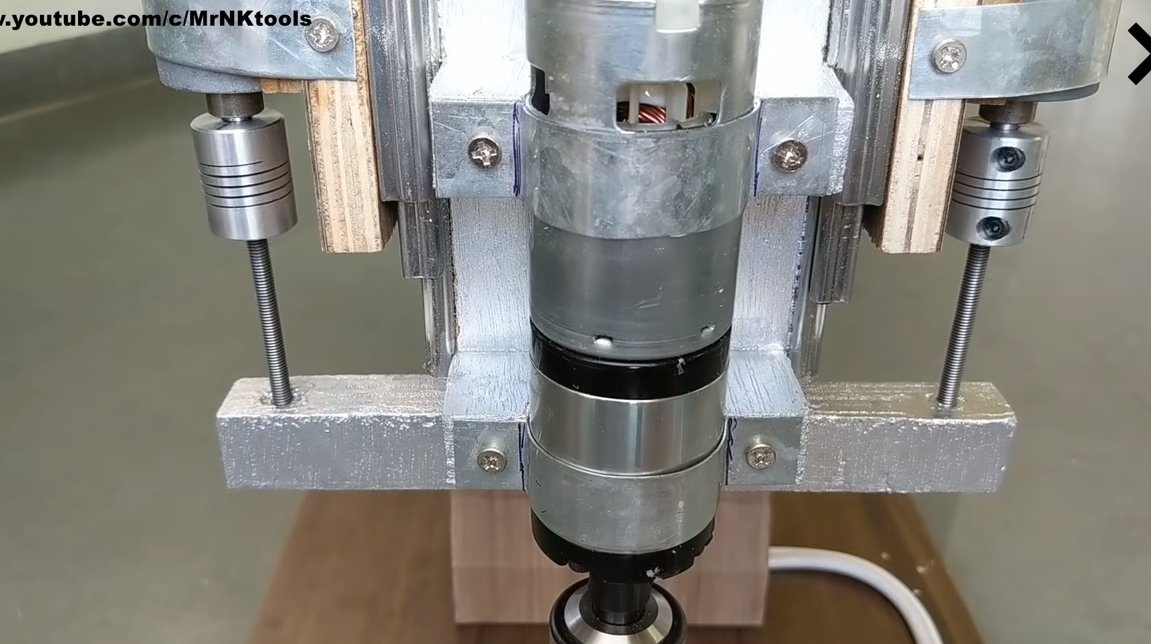
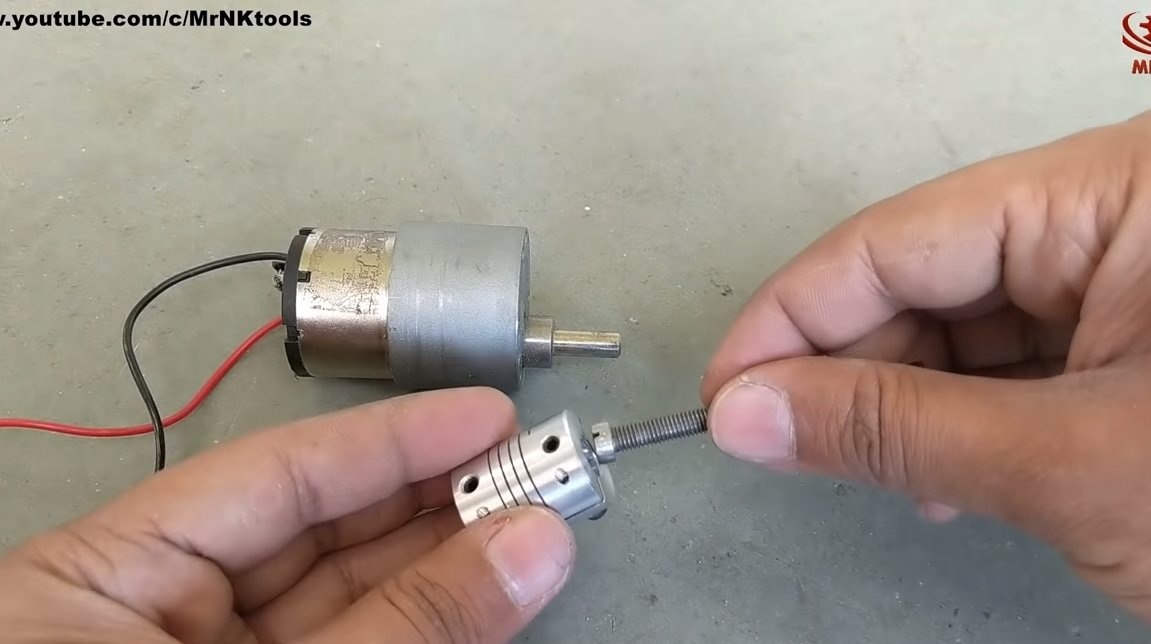
Step Three Installation of lifting motors
We fasten small gear motors on the sides of the machine, install long screws or threaded rods on their shafts using couplings. These threaded shafts will be screwed in or out of the nuts in the movable platform, causing the platform to move.
Under the motors we make holders from plywood, as well as fasteners in the form of clamps from tin. For productive work, threaded shafts must be lubricated with solid oil or other grease.
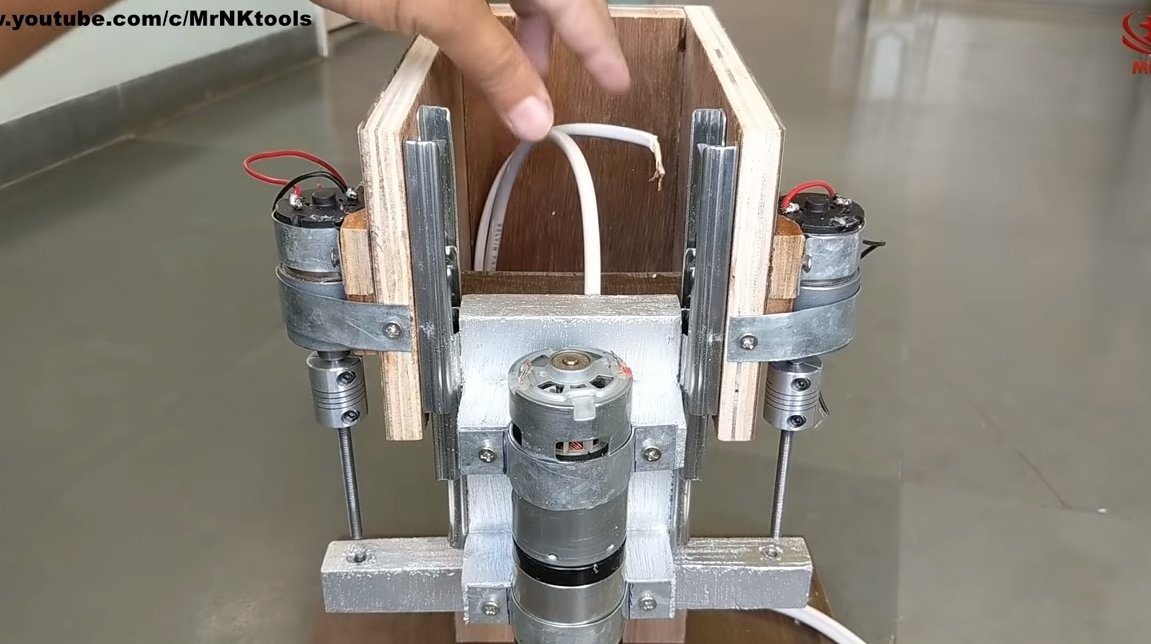
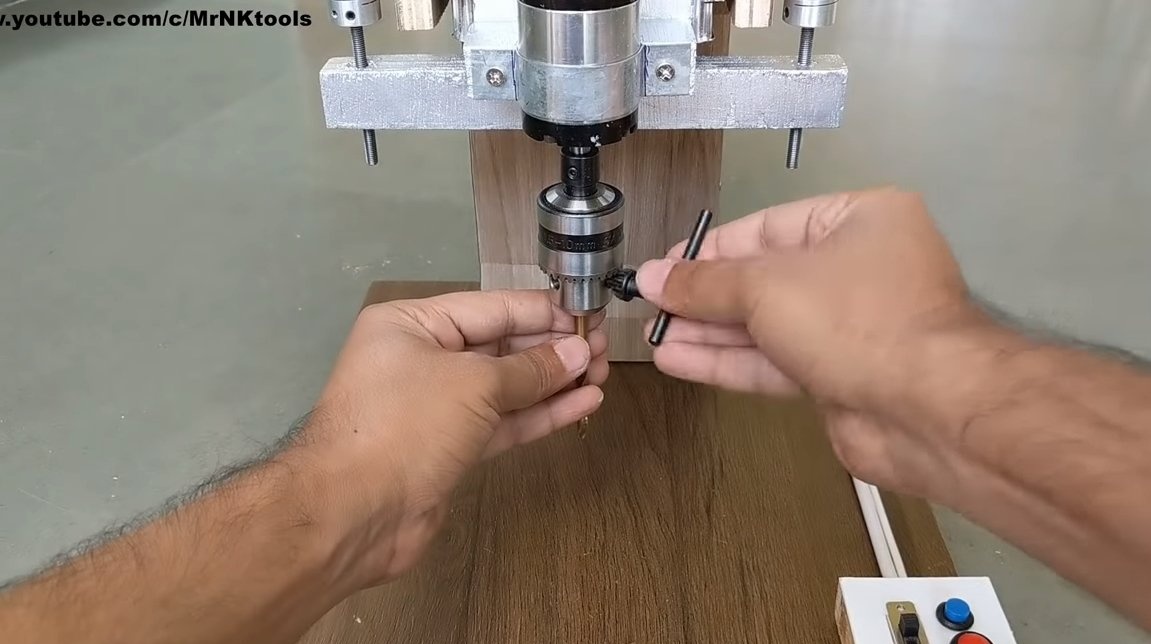
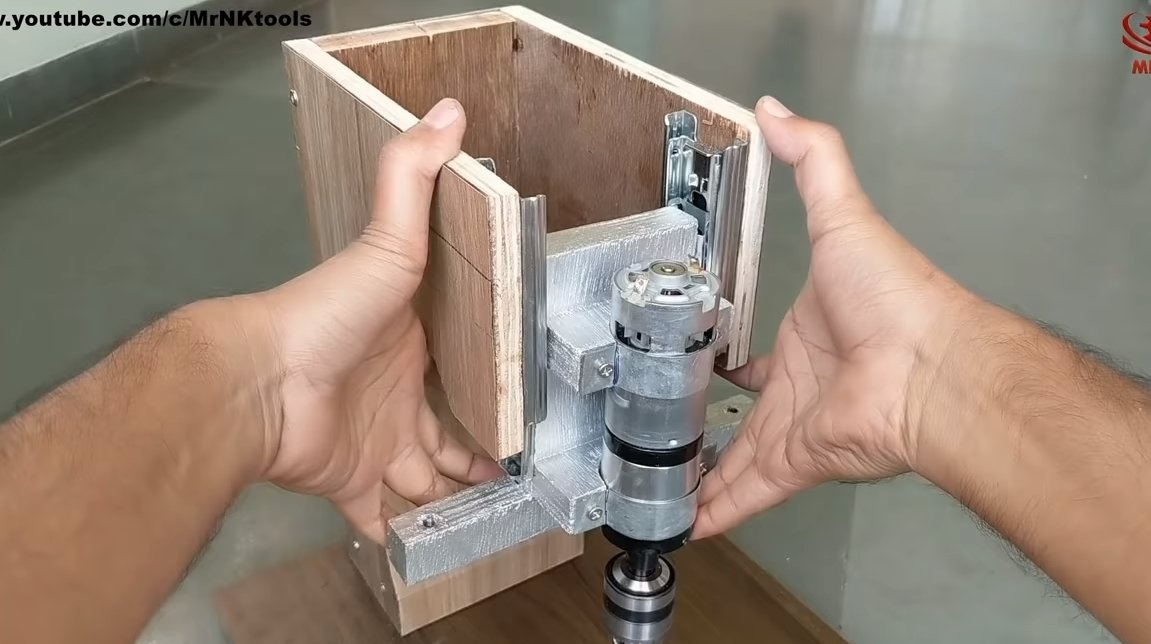
Step Four Assembly and testing
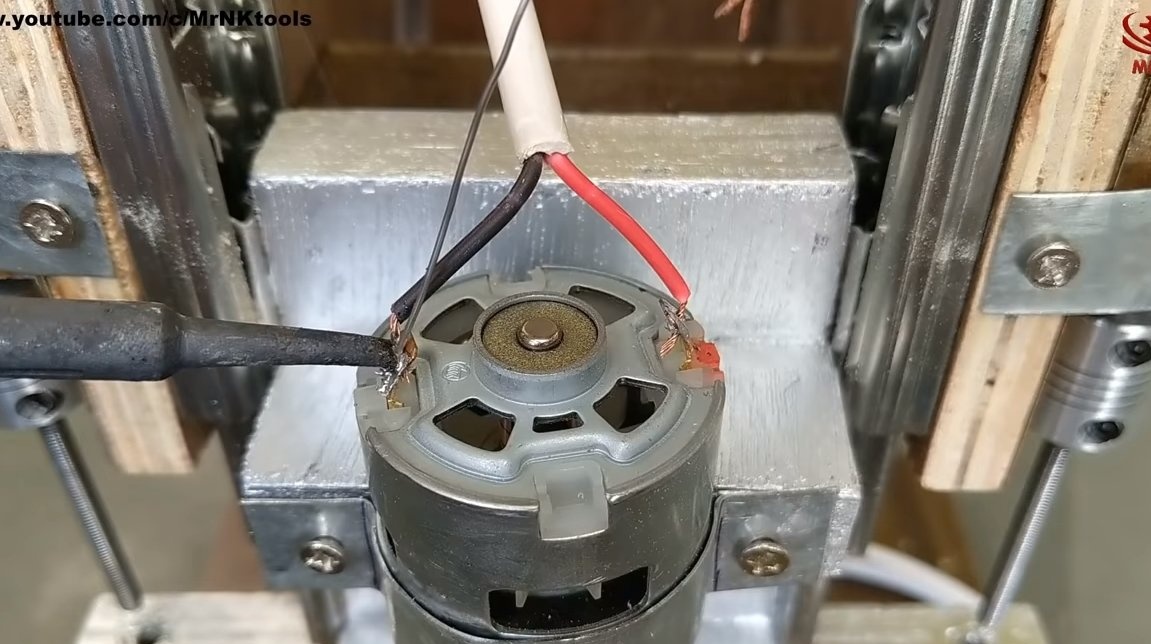
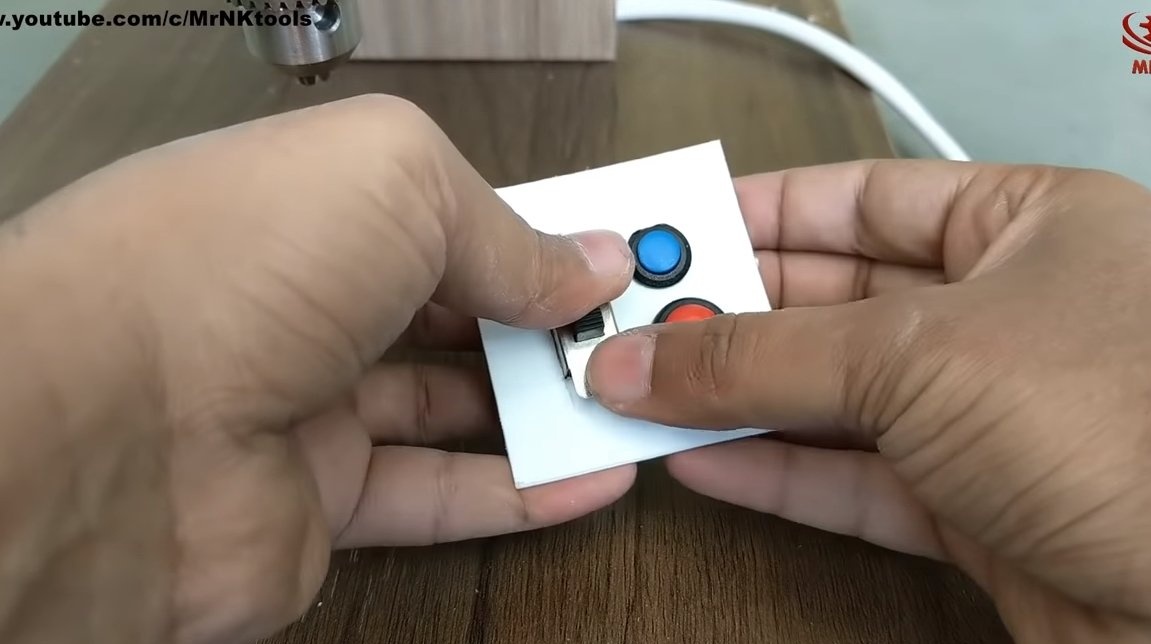
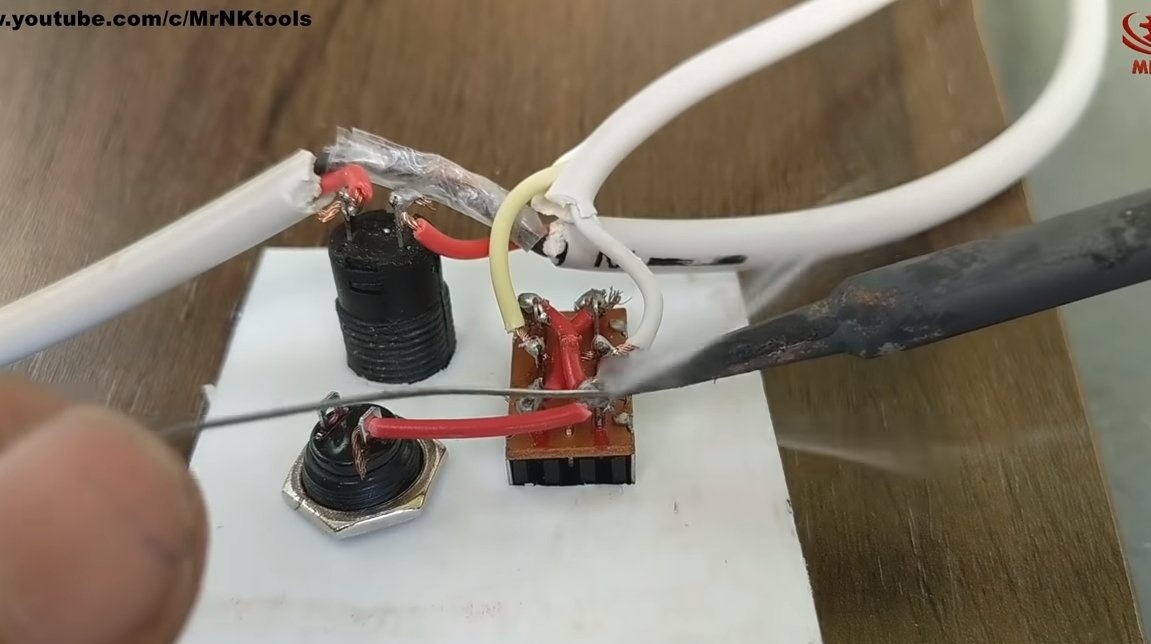
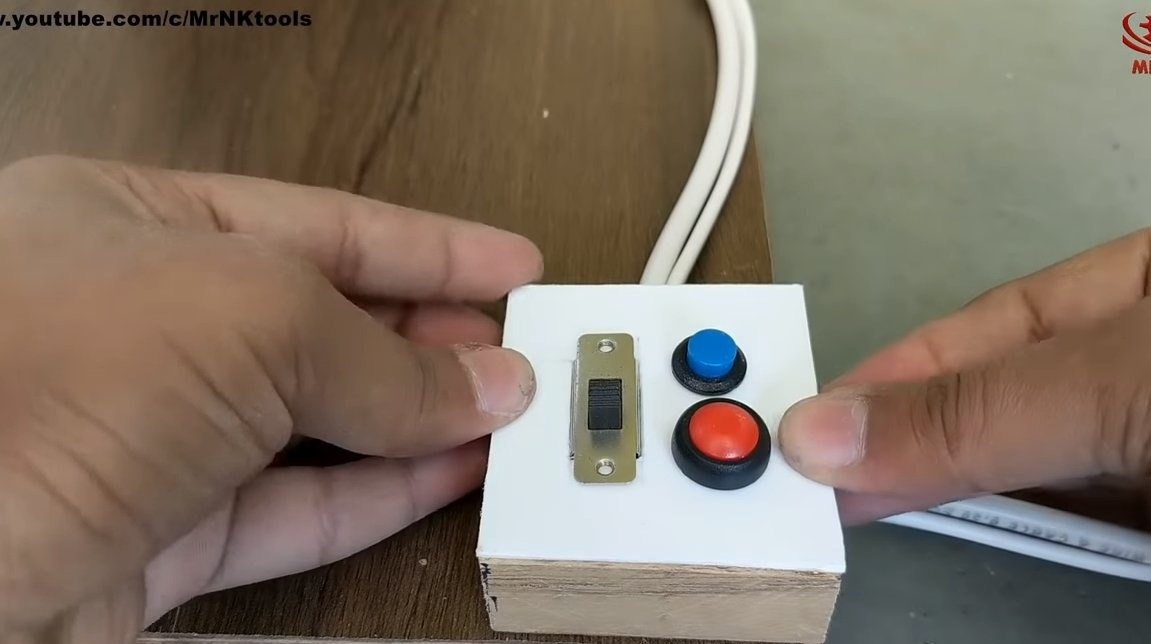
We assemble the machine, solder wires to the motor outputs, and also design a control panel. In total, the control panel has two buttons and one switch. One button is used to turn on the main engine with a drill chuck. Another button controls the motors that raise or lower the drill chuck.
Well, the switch is needed to switch the machine to the mode of raising the cartridge or lowering.
We make the case for the control panel from plywood and a piece of acrylic.

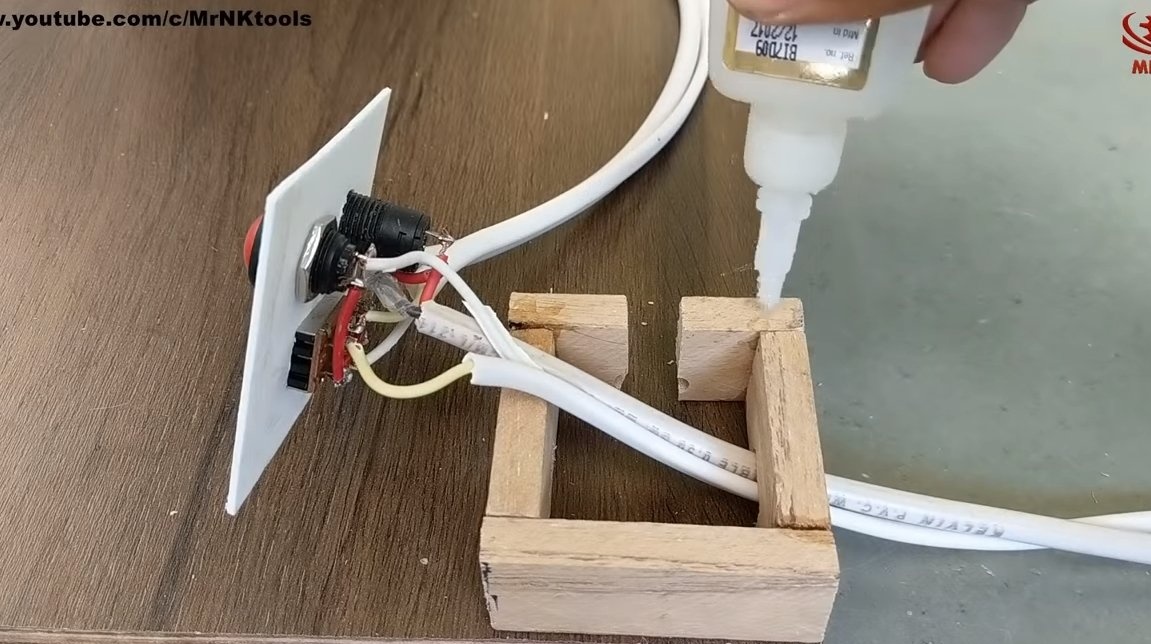
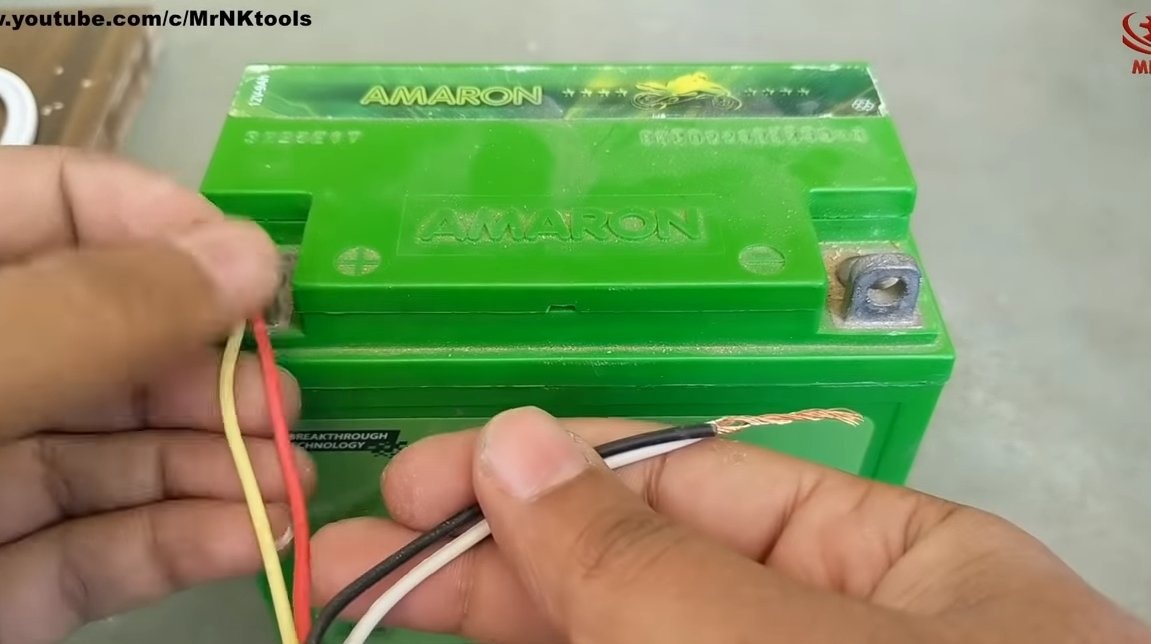
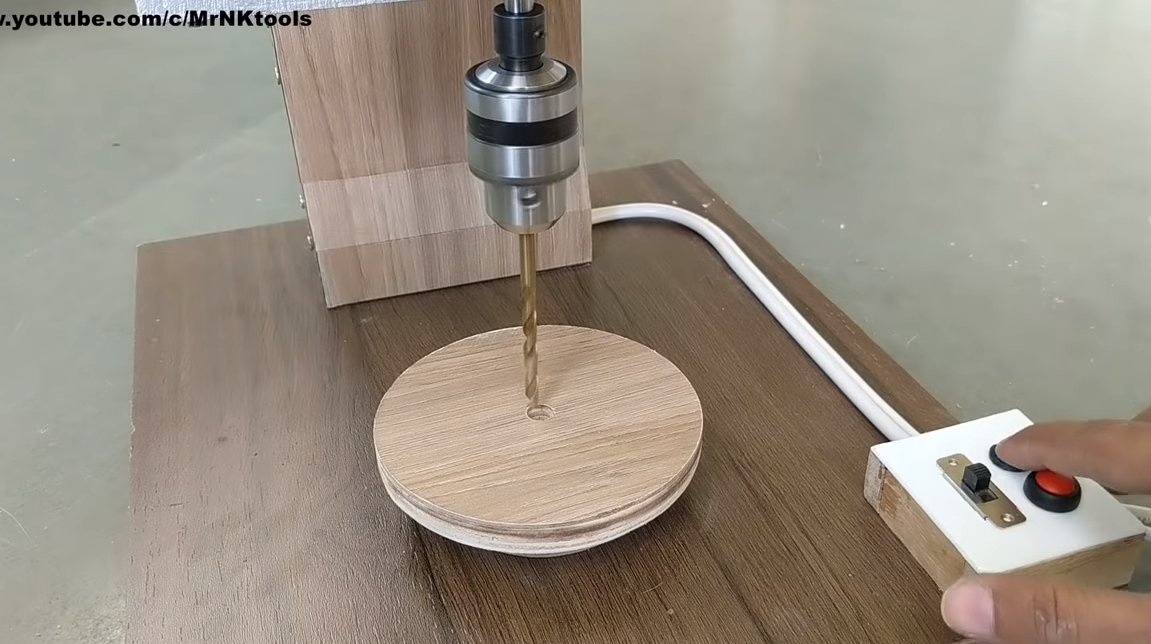
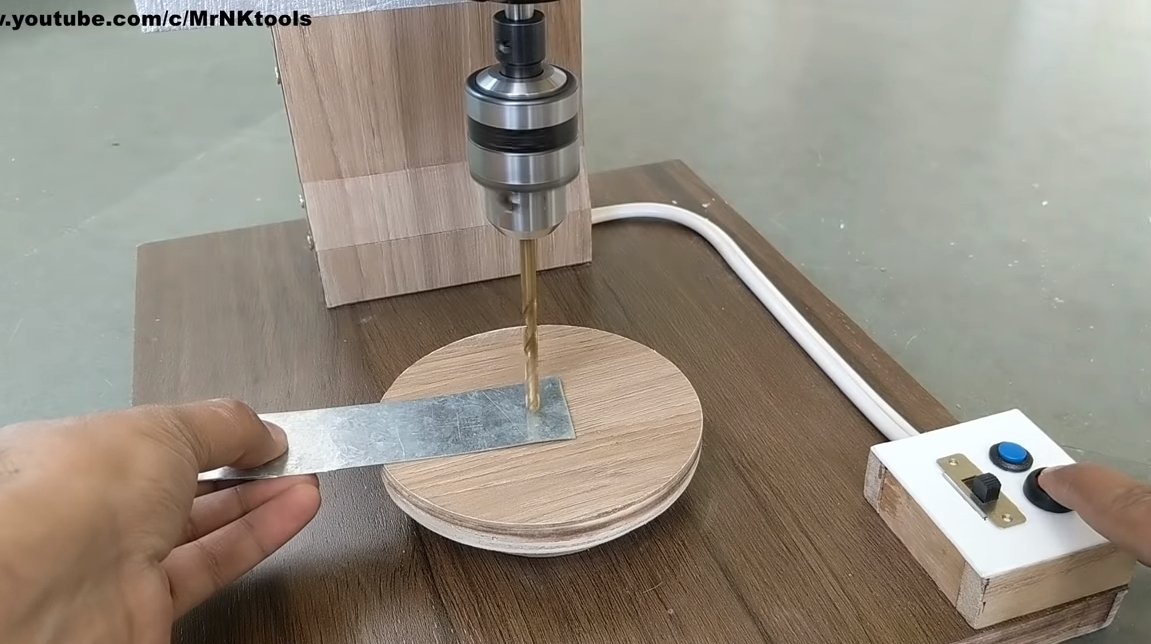
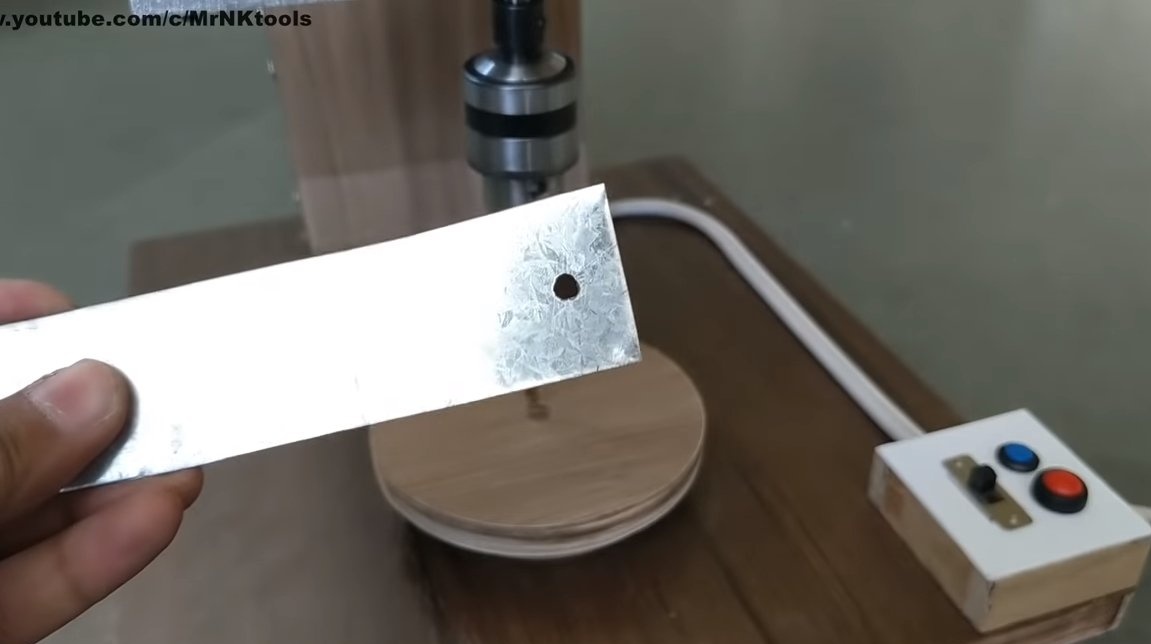
After setting the stop under the drill, the machine is ready, you can test. You can feed this whole thing from a 12V battery, that is, we have a mobile machine, we use the appropriate power supply if desired. The machine works perfectly, as an experiment, the author drilled a thin iron plate. Such a machine can be used even in an apartment; it makes little noise.
That's all, the project is over. I hope you enjoyed the homemade work and found useful ideas and thoughts for yourself. Good luck and creative inspiration, if you decide to repeat this. Do not forget to share your ideas and homemade things with us!