
Hello to all lovers of craftsmen, today we will consider how to make a small, powerful and reliable lathe. On such homemade you can easily grind handles for tools, and you can easily work with metal when arranging the appropriate holder. In addition, the author clamps the nozzles for the drill in the machine chuck and perfectly sharpens the tool and so on.
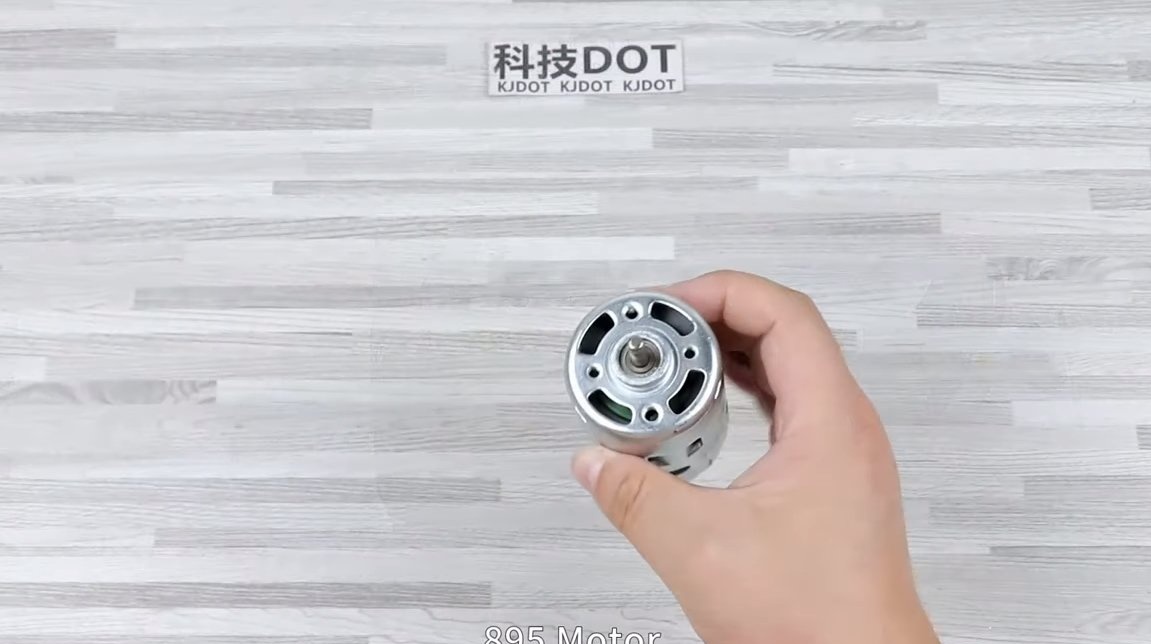
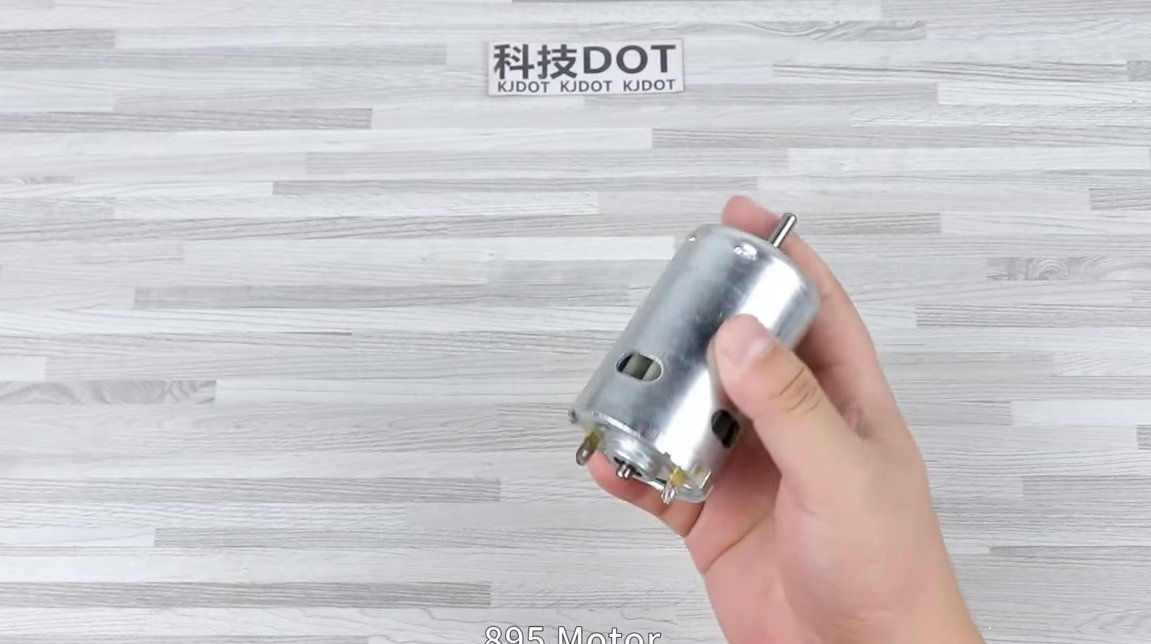
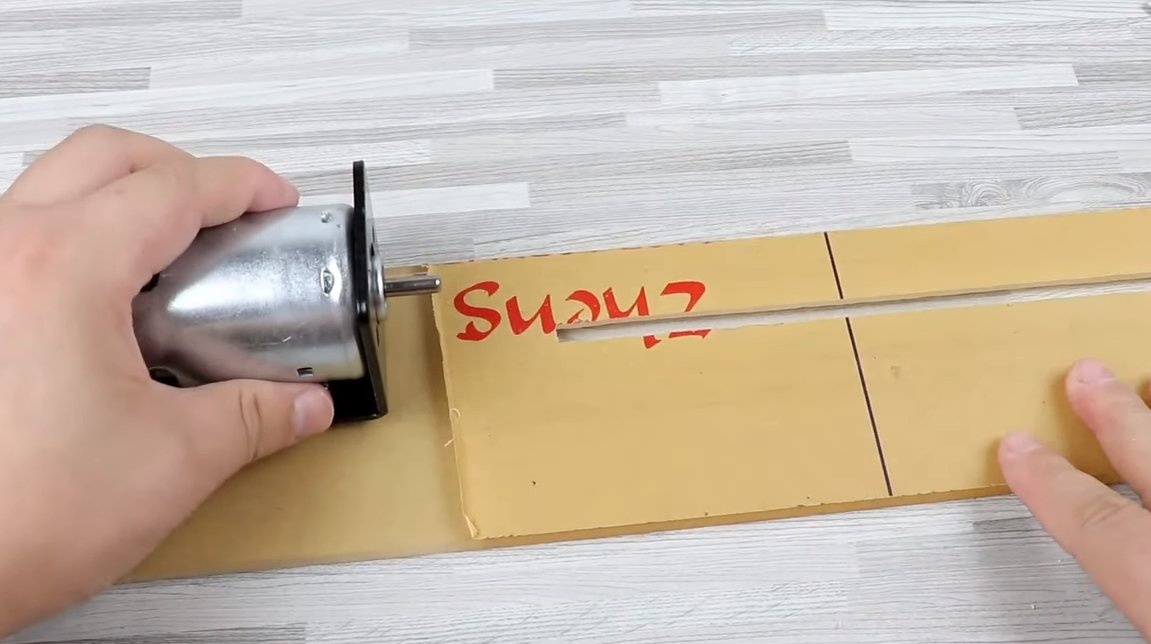
The machine runs on the new 895 engine, it is more modern modelthan 775. The peculiarity of the new 895 engine is that it operates at lower speeds, but at the same time produces a higher torque. So, at 3,000 rpm and a 12V power supply it generates a torque of as much as 5.2 kg.
And when the 895 engine is powered by 24V, the motor gives out a moment of 10 kg at a speed of 6000 rpm.
There is also a revolving option, which when powered by 24V produces 12,000 revolutions and a torque of 8 kg. So if you are interested in a project with such a motor, I propose to study it in more detail!
Materials and tools used by the author:
Material List:
- ;
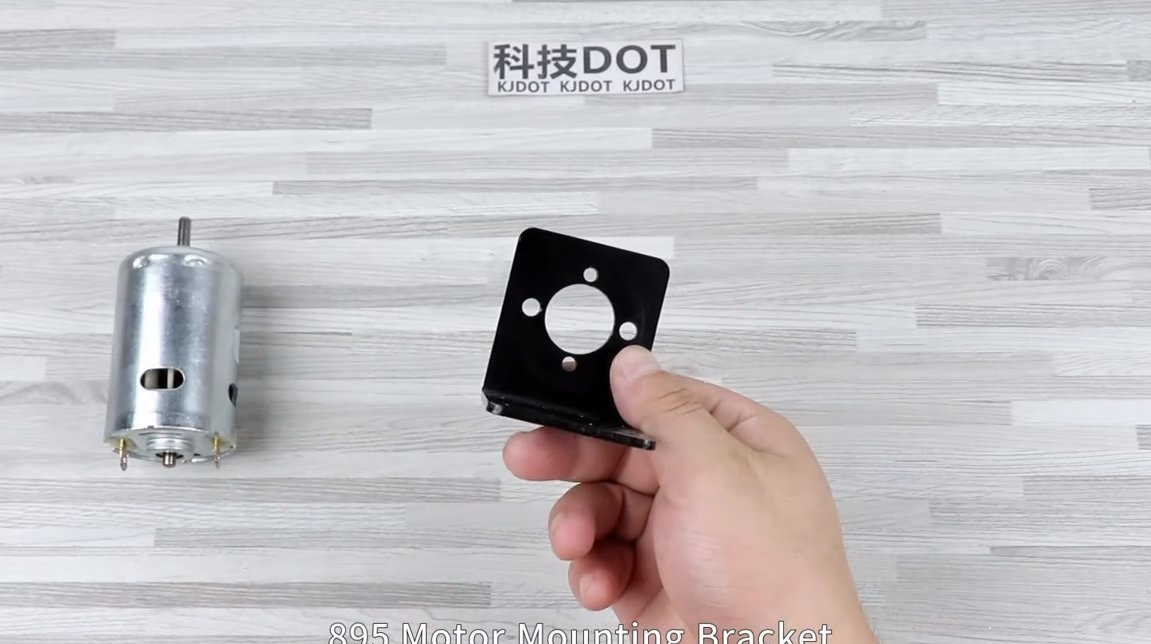
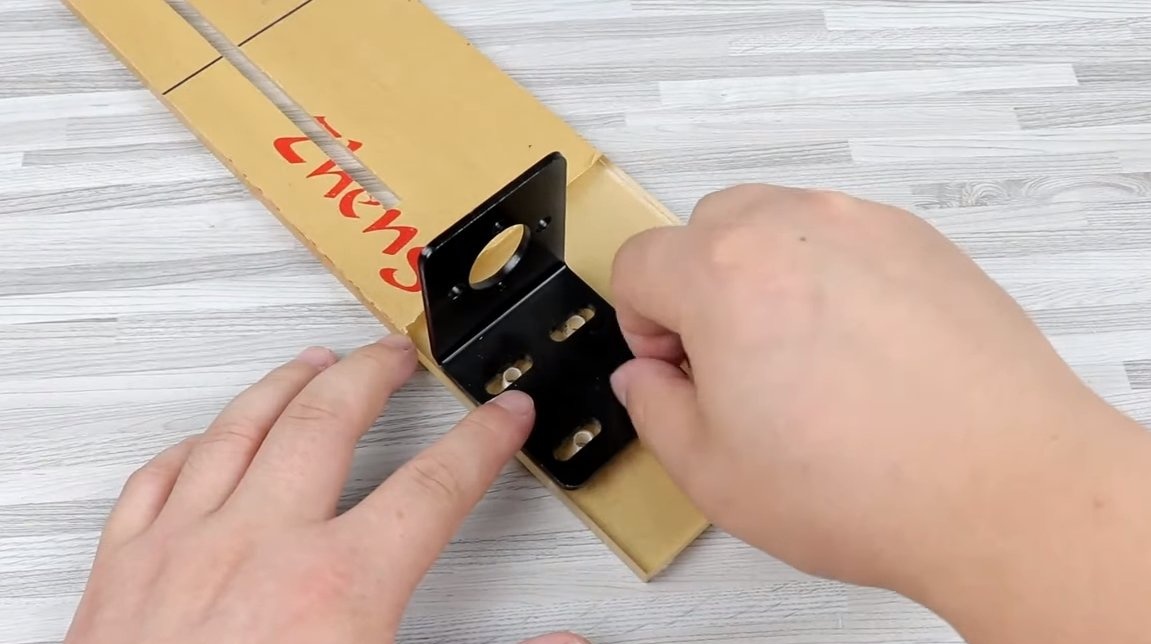
- a bracket from metal for the engine 895;
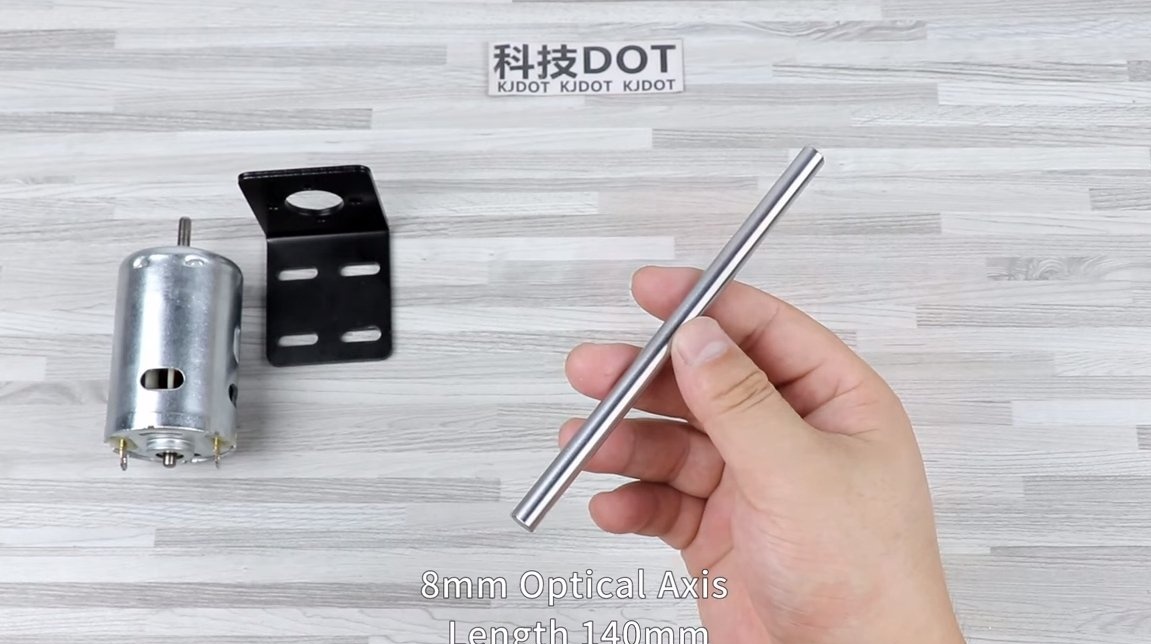
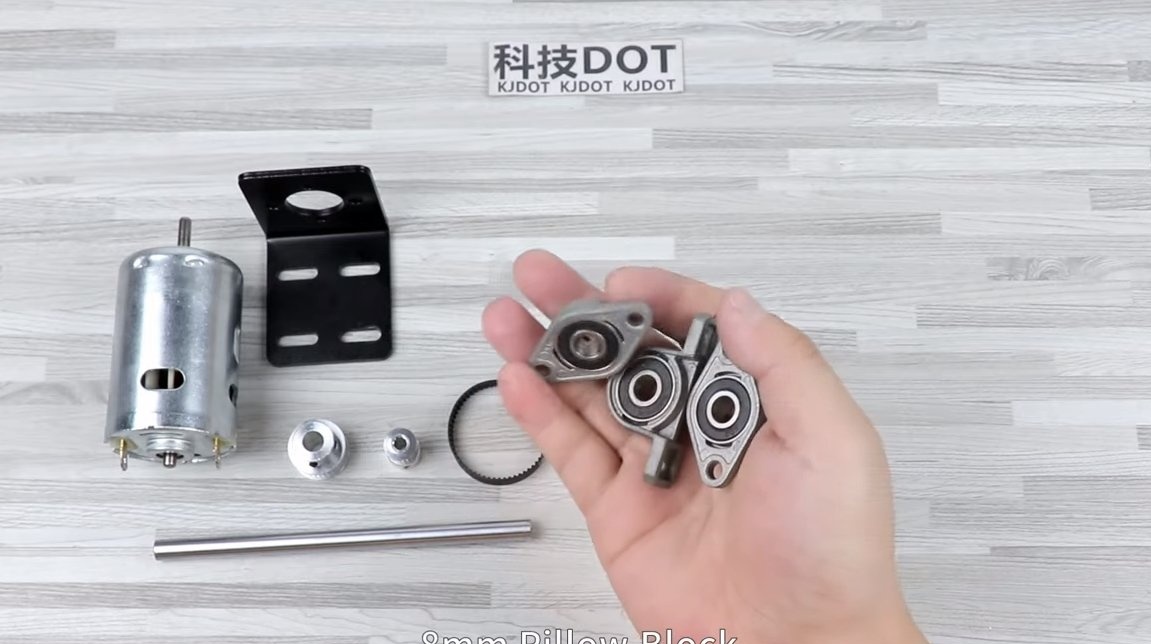
- steel rod with a diameter of 8 mm and a length of 140 mm;
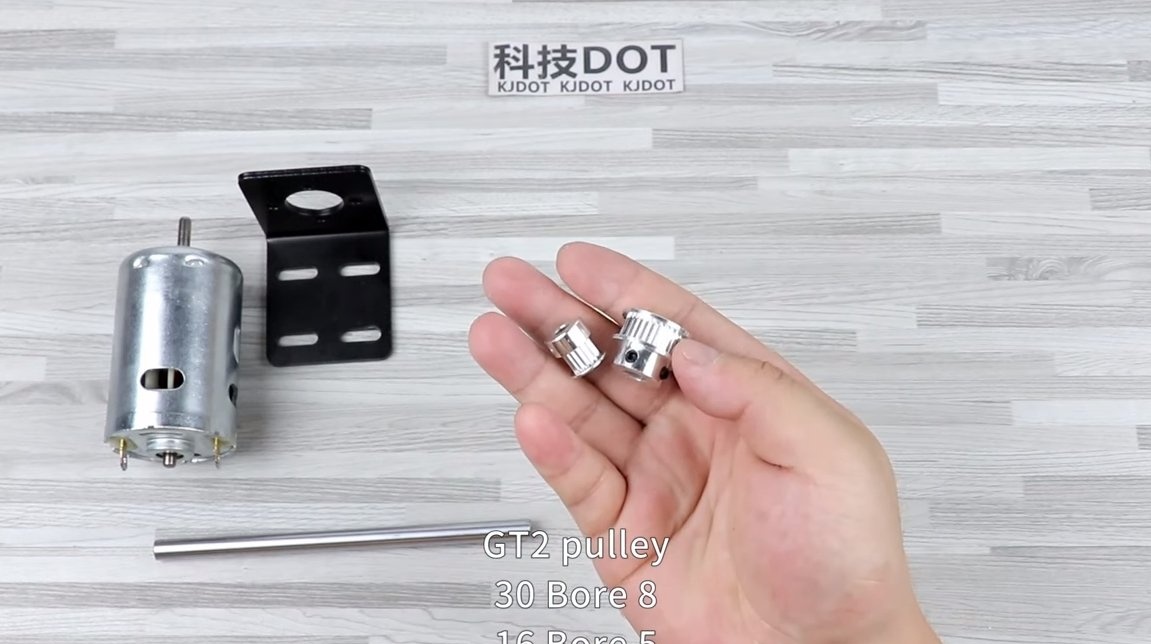
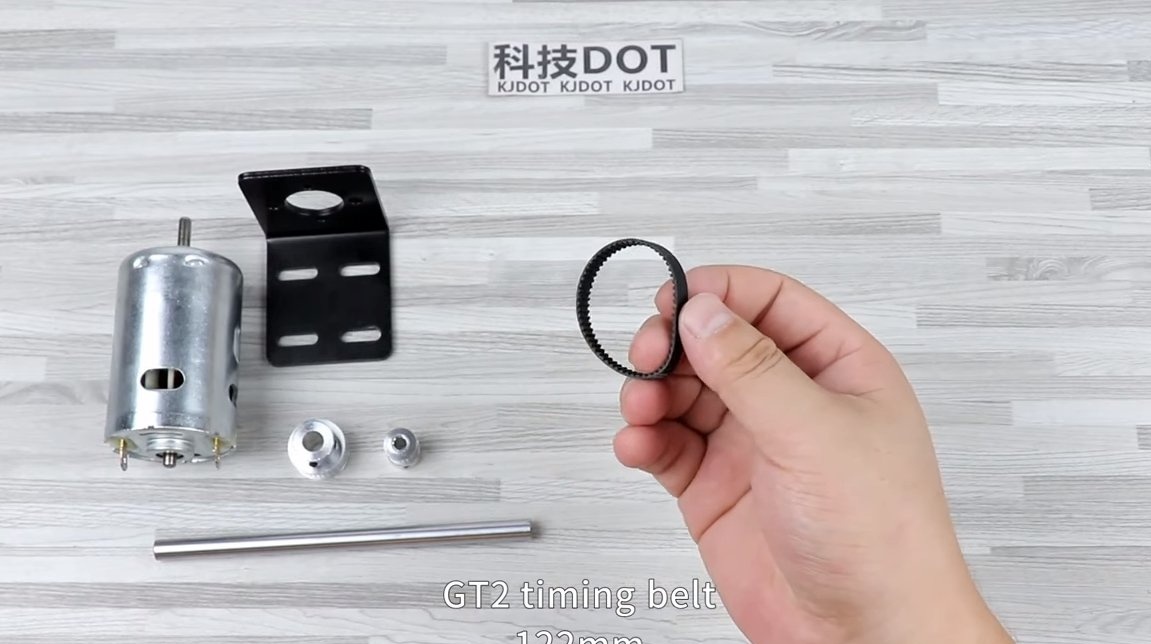
- belt drive (to increase torque);
- ;
- ;
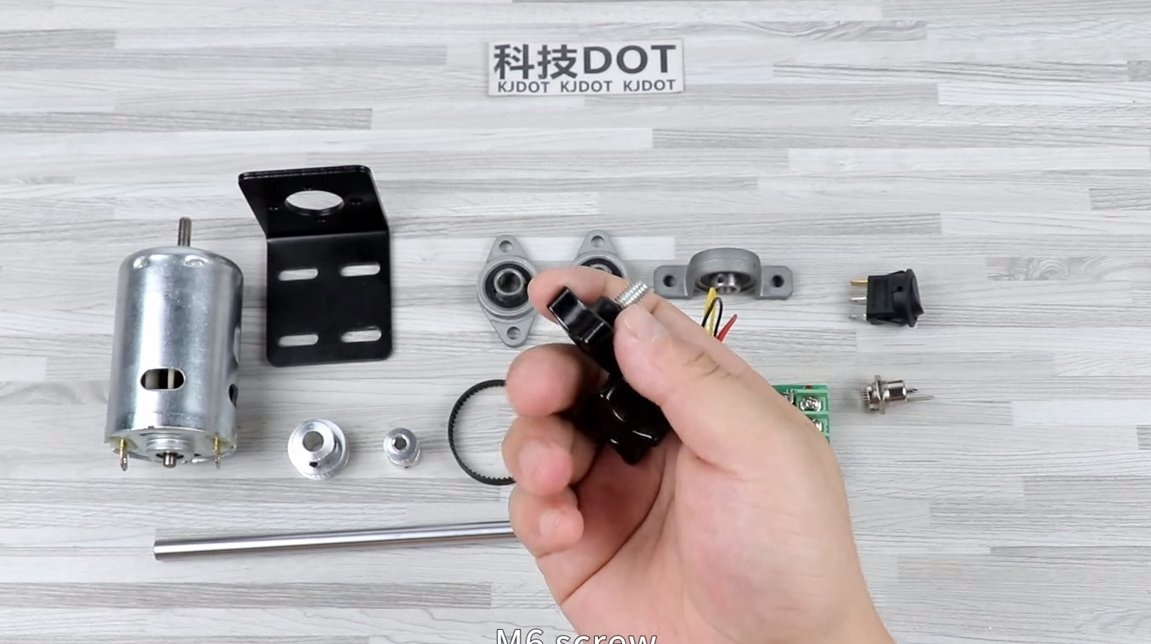
- screws with "wing" M6;
- socket for connecting the power supply;
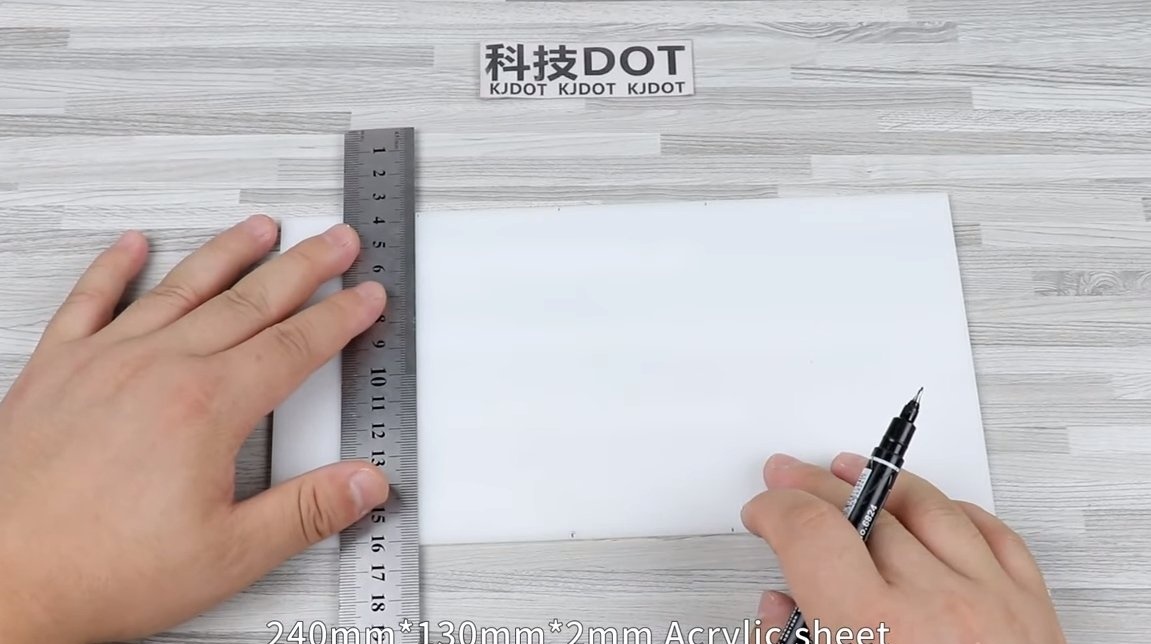
- acrylic sheet with dimensions of 400X90X8 mm;
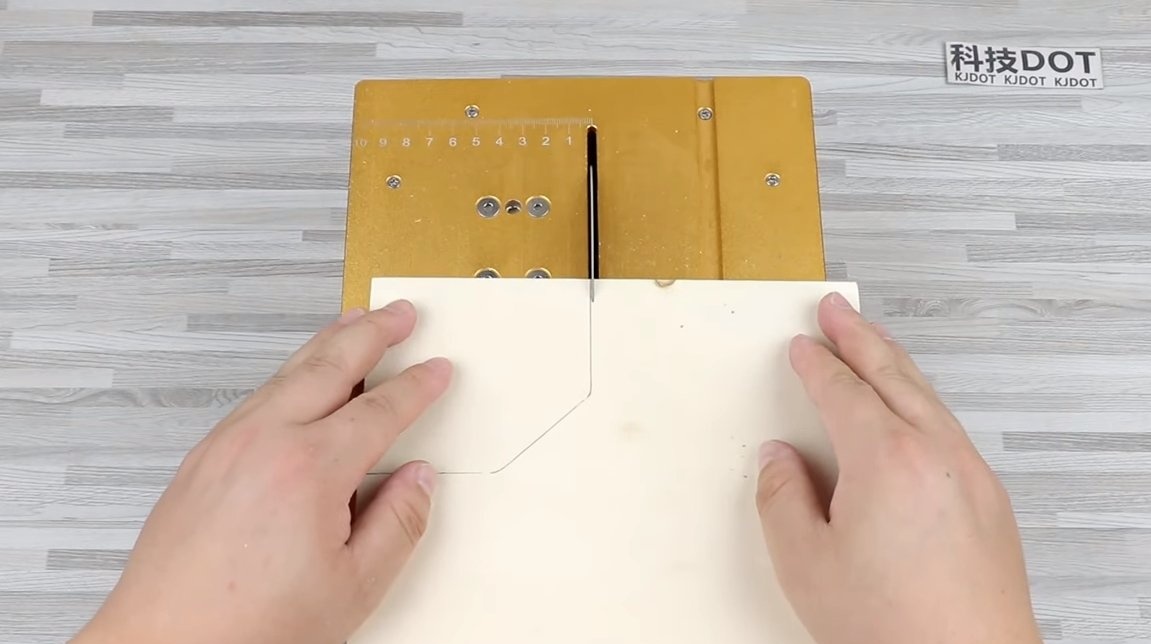
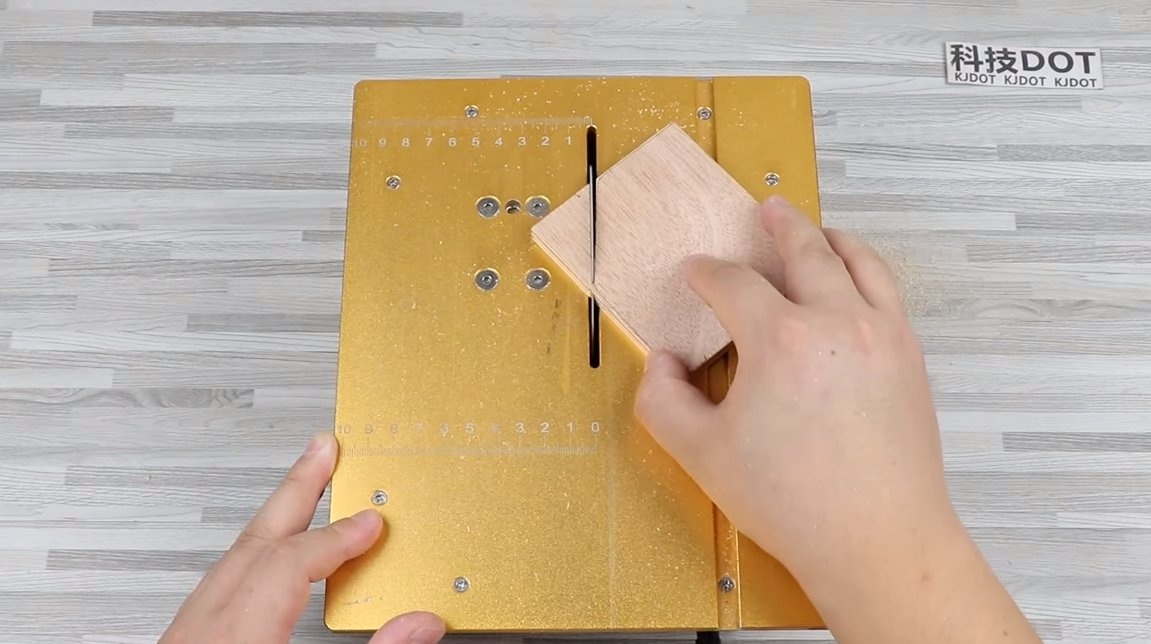
- plywood;
- cogs;
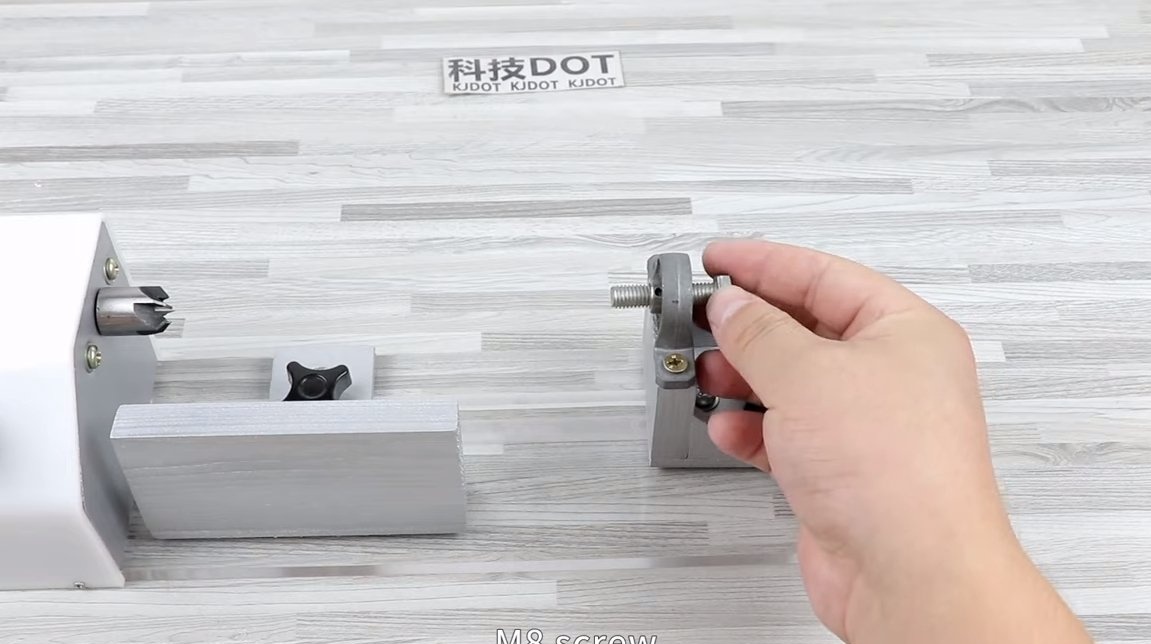
- a bolt for the axis of the tailstock;
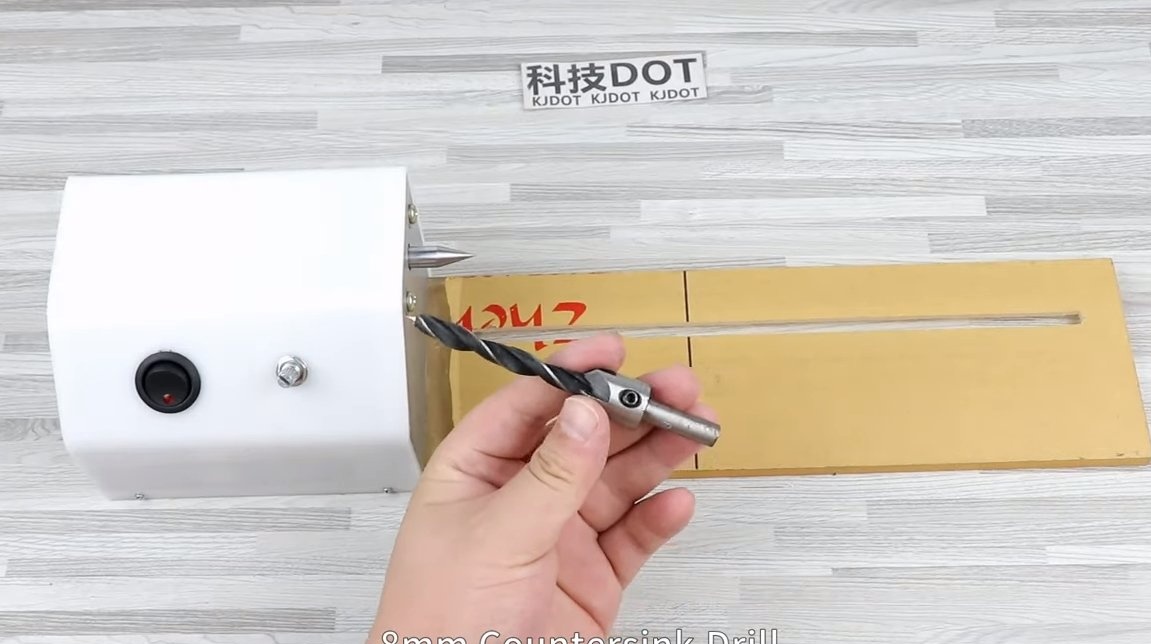
- Countersink for drill.


Tool List:
- manual frezer;
- drill;
- grinder;
- jigsaw;
- ruler;
- marker.
Machine manufacturing process:
Step one. Base engine mounting
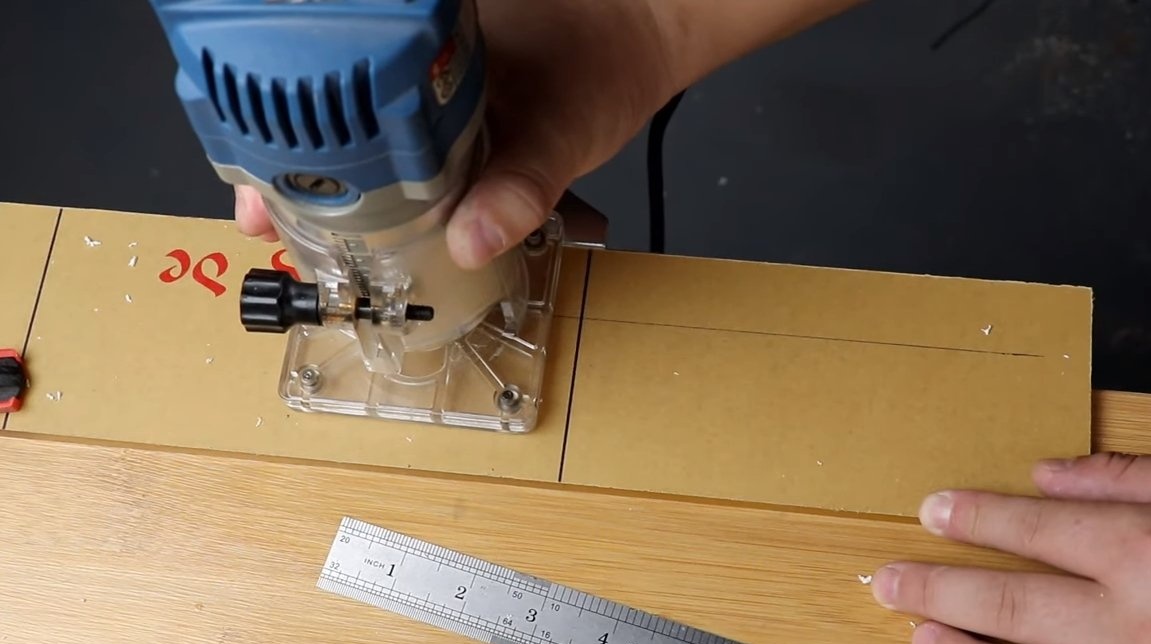
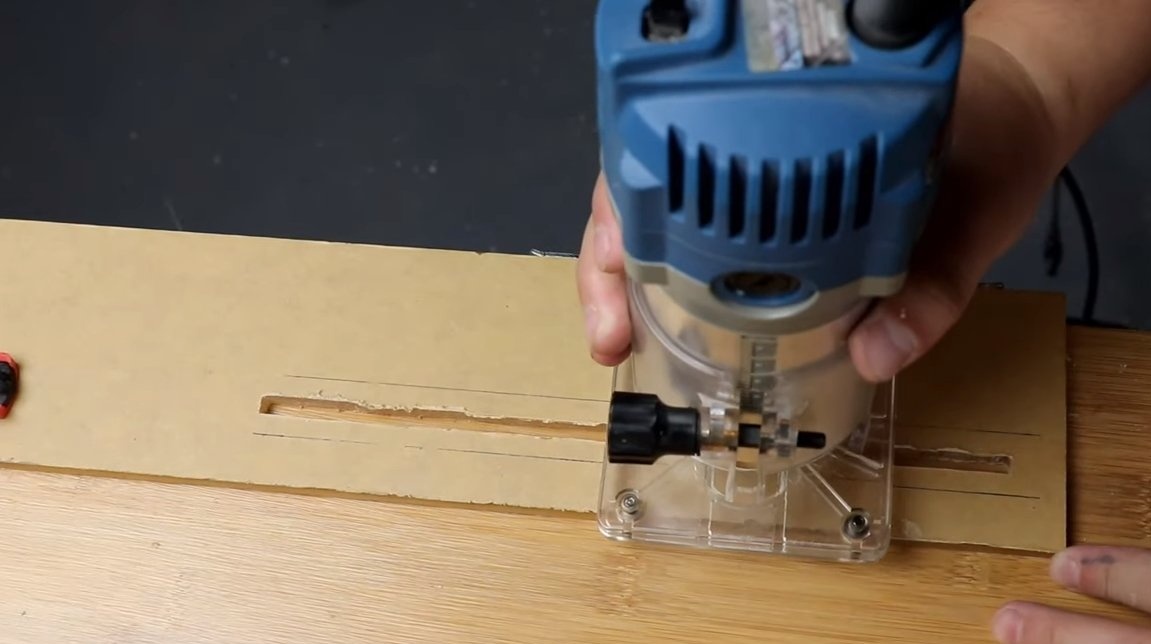
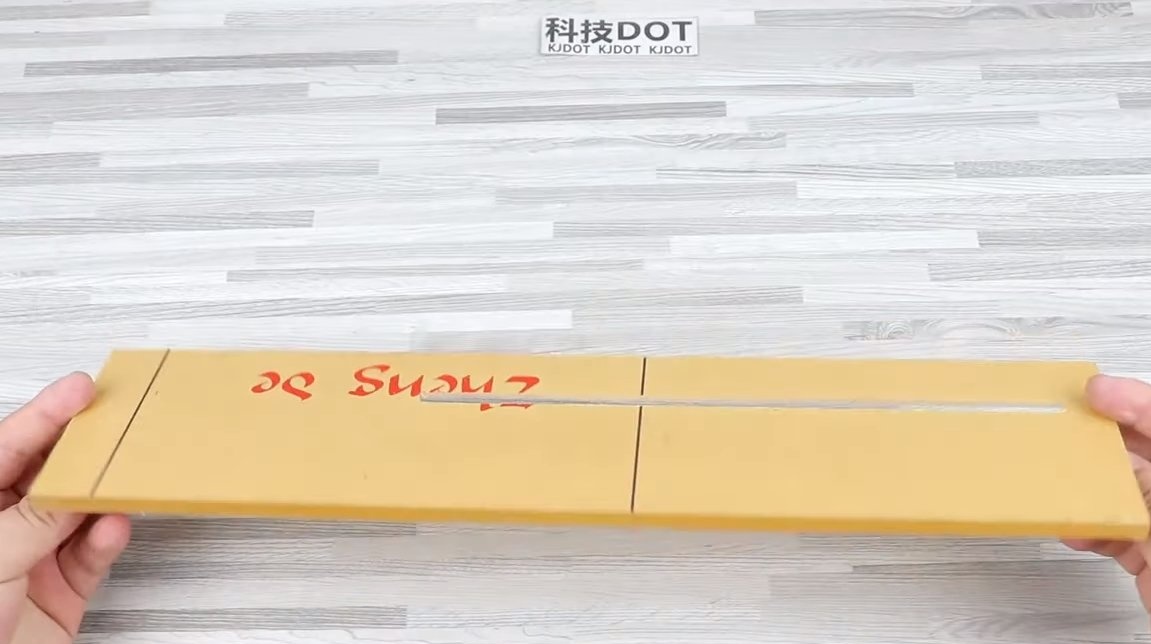
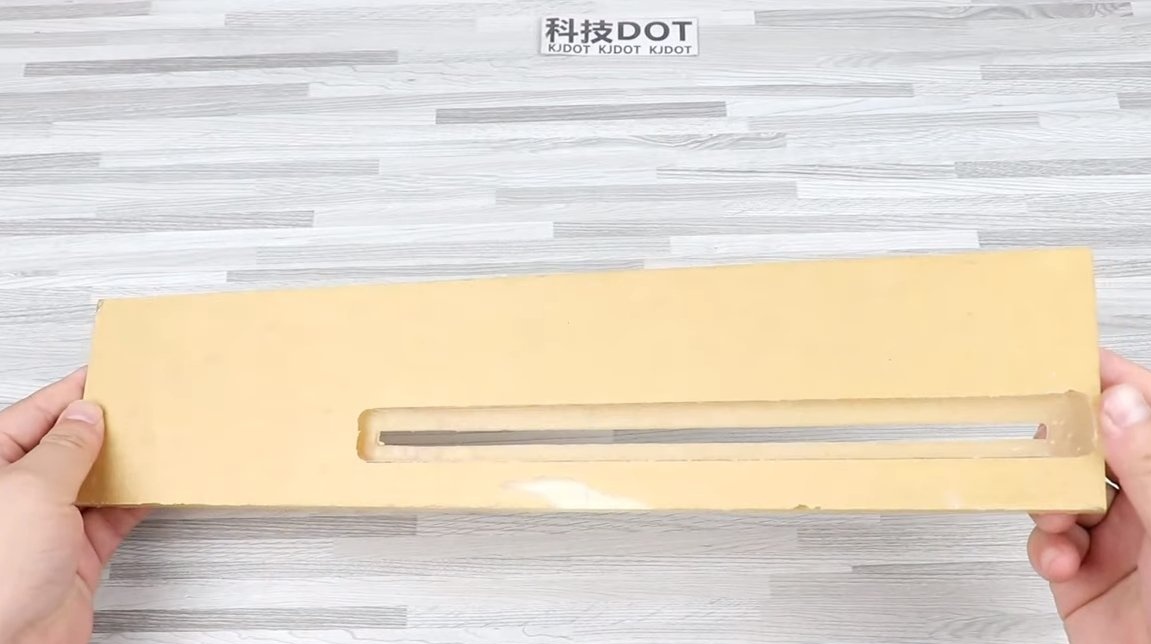
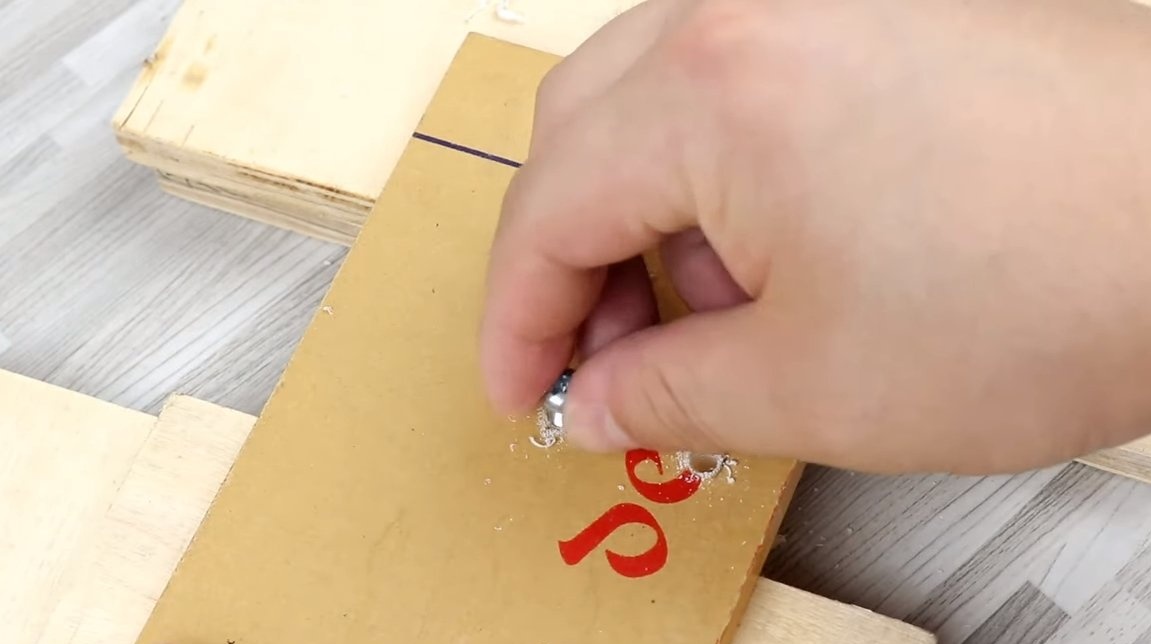
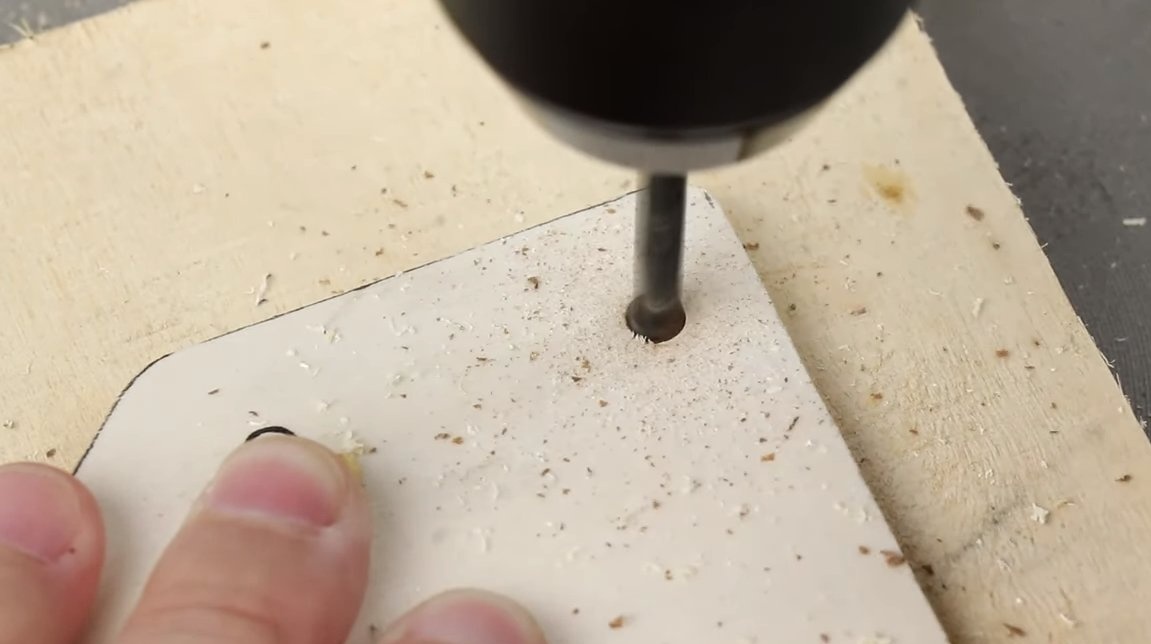
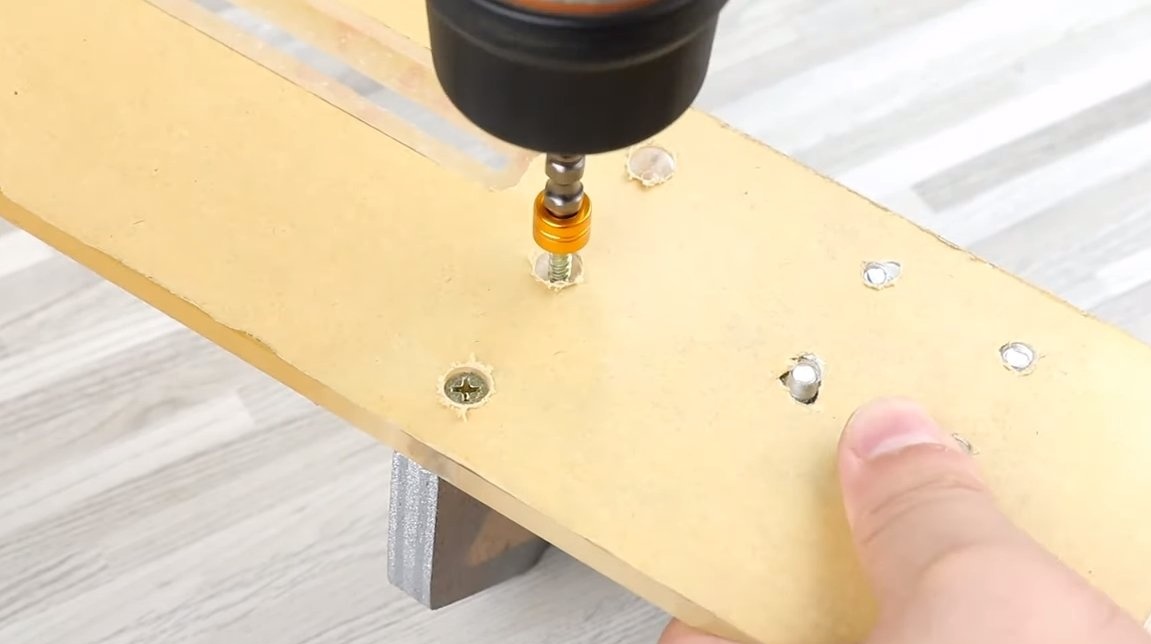
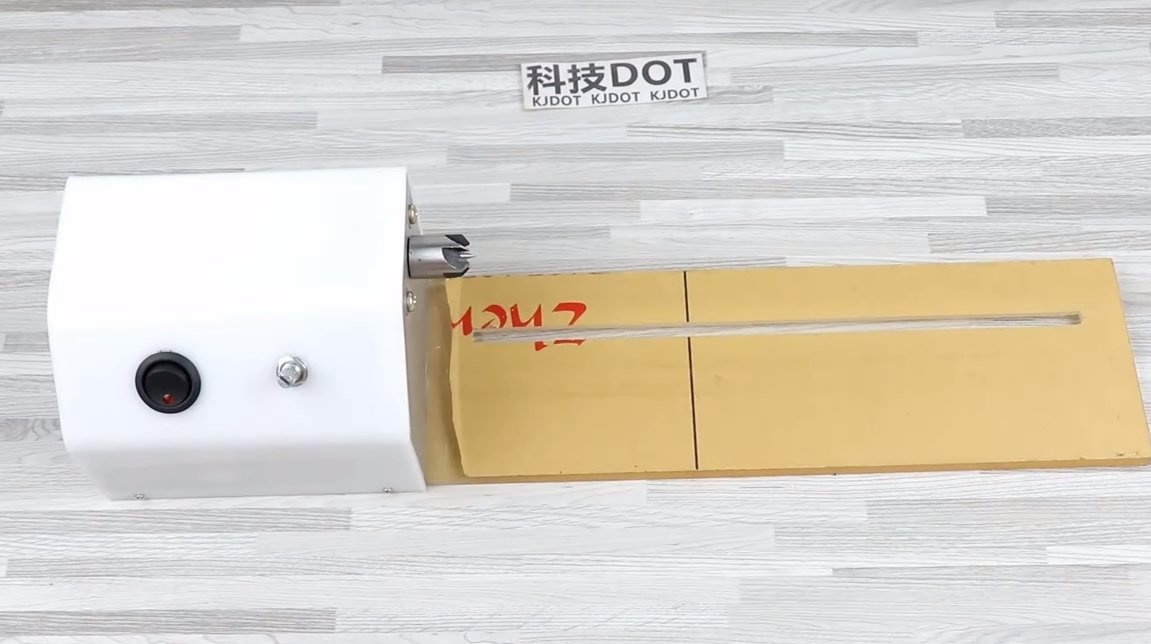
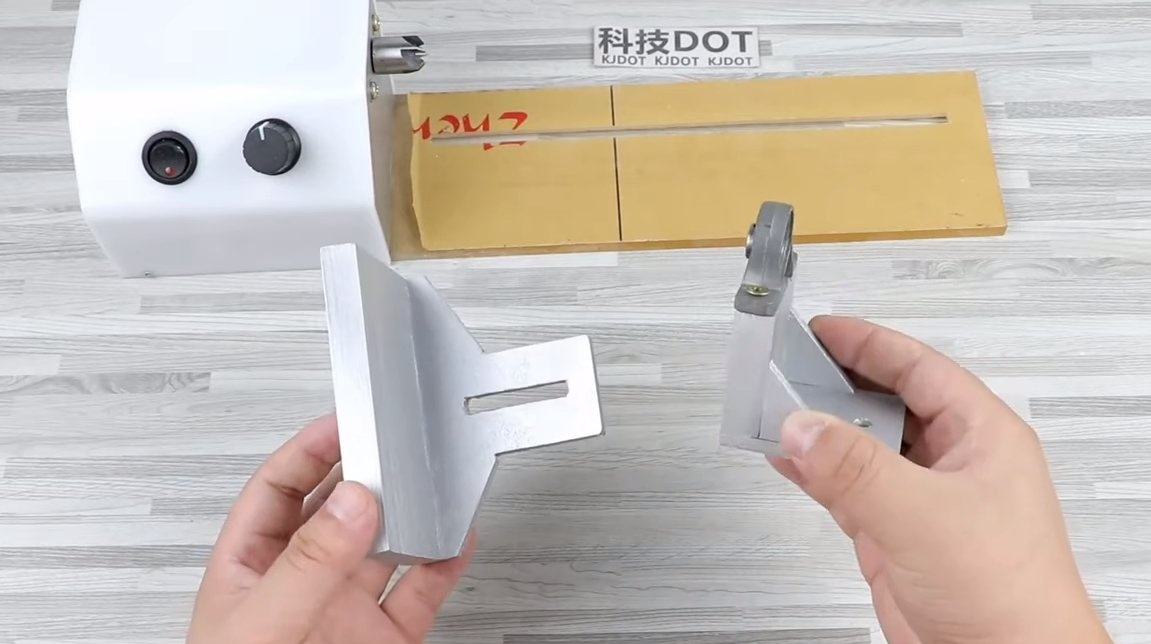
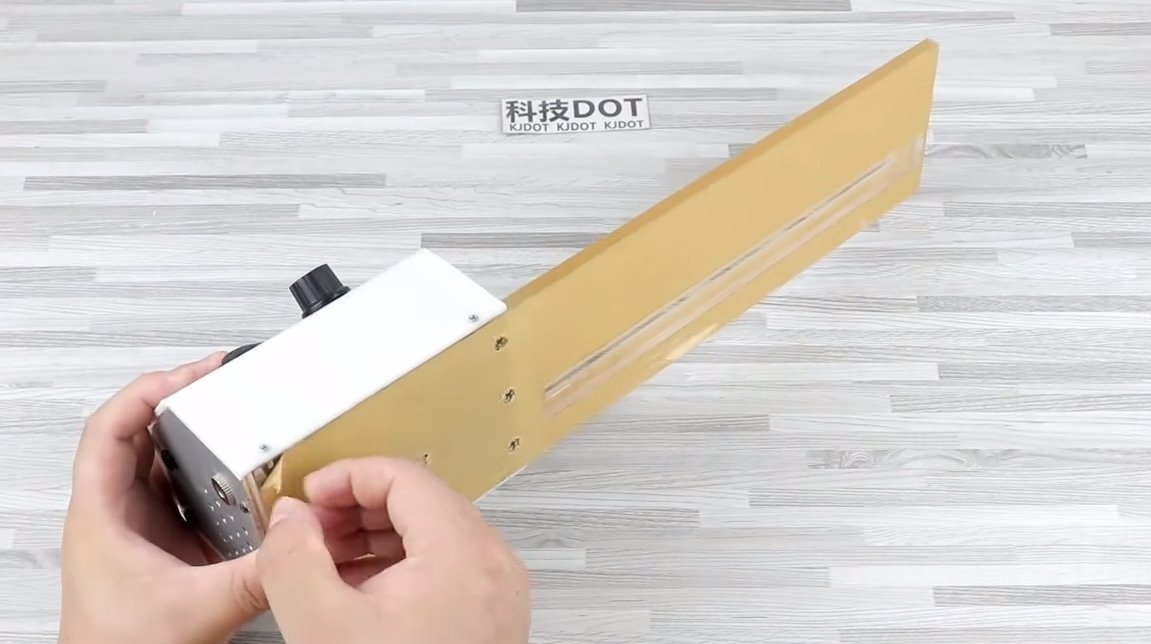
As the basis for the machine, an acrylic sheet is used, along the sheet we need to cut a slit hole through which we will move the tailstock and emphasis. The author cut out such a gap quite easily using a hand milling cutter, but you can also handle a drill with files.
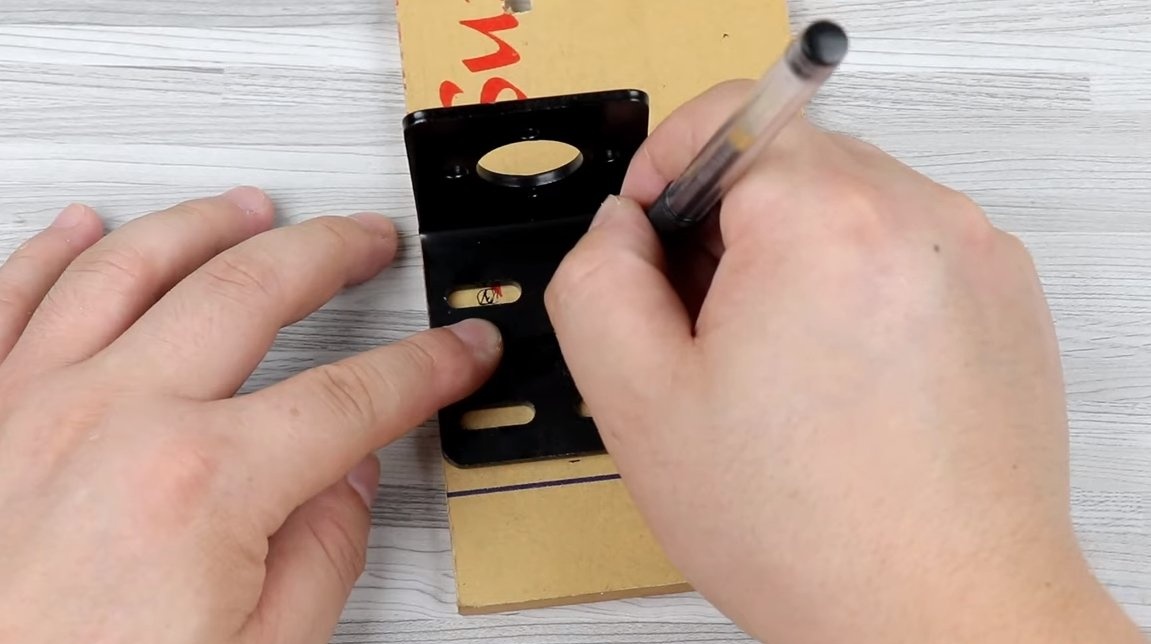
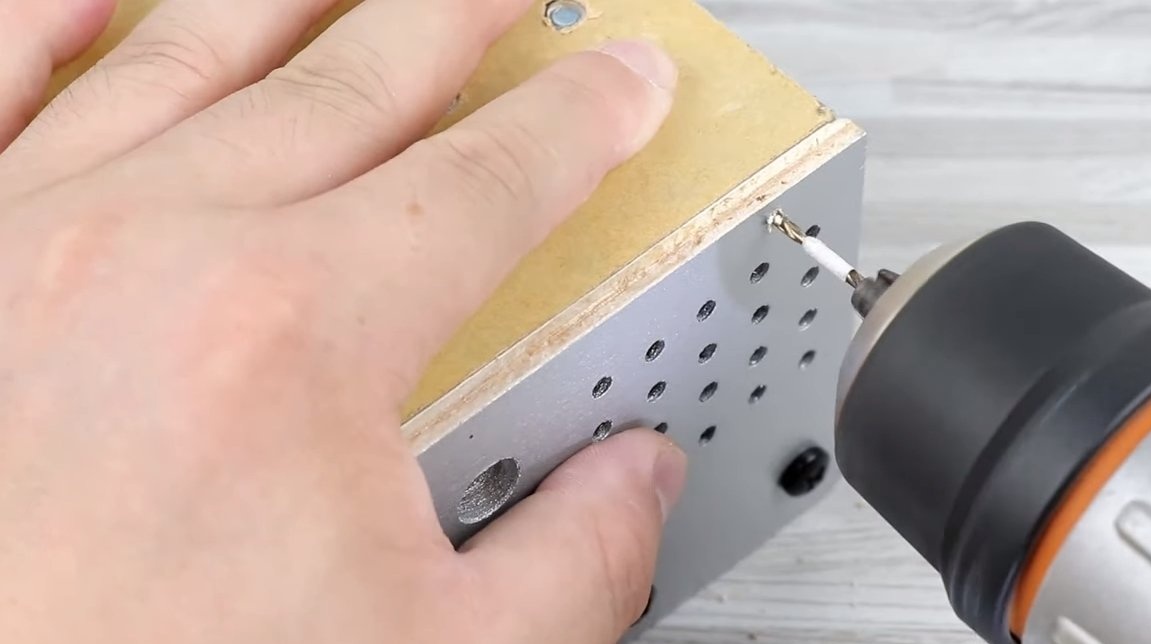
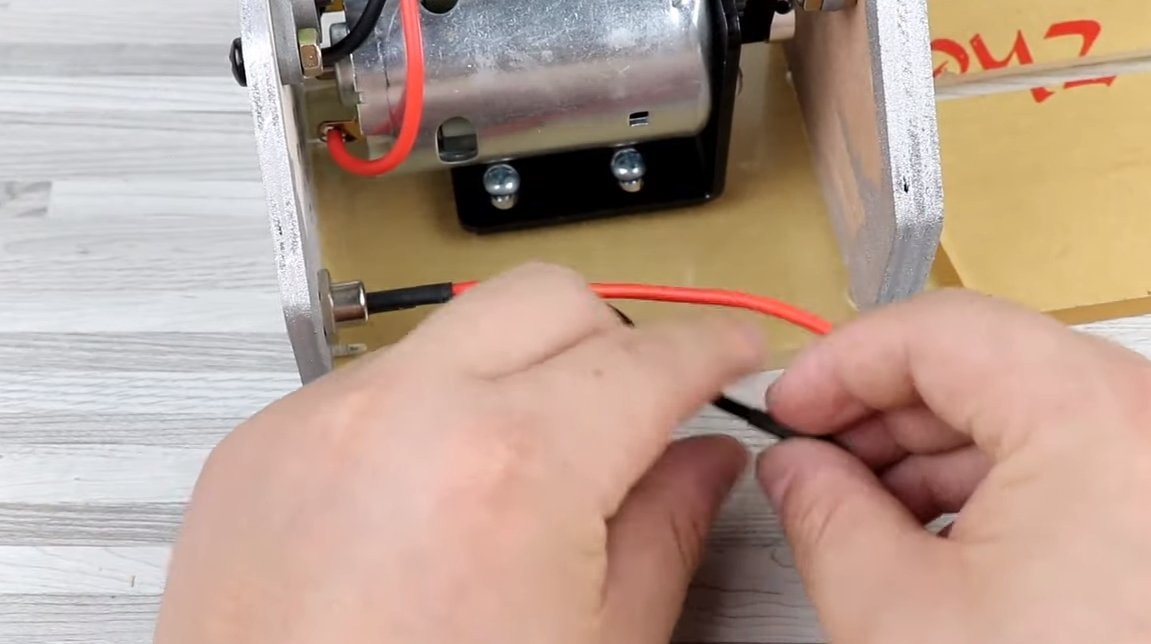
We also install a motor on the base, fasten the bracket to the base with screws, and preferably with screws and nuts. Well, then we attach the motor to the bracket and everything is ready.

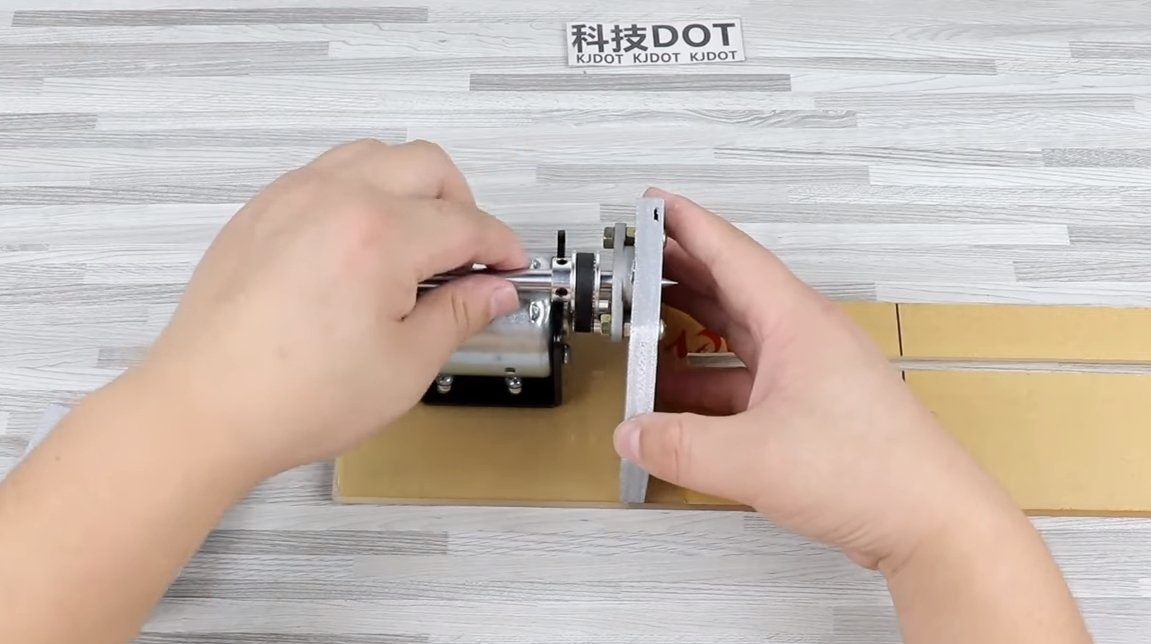
Step Two Racks and Enclosure
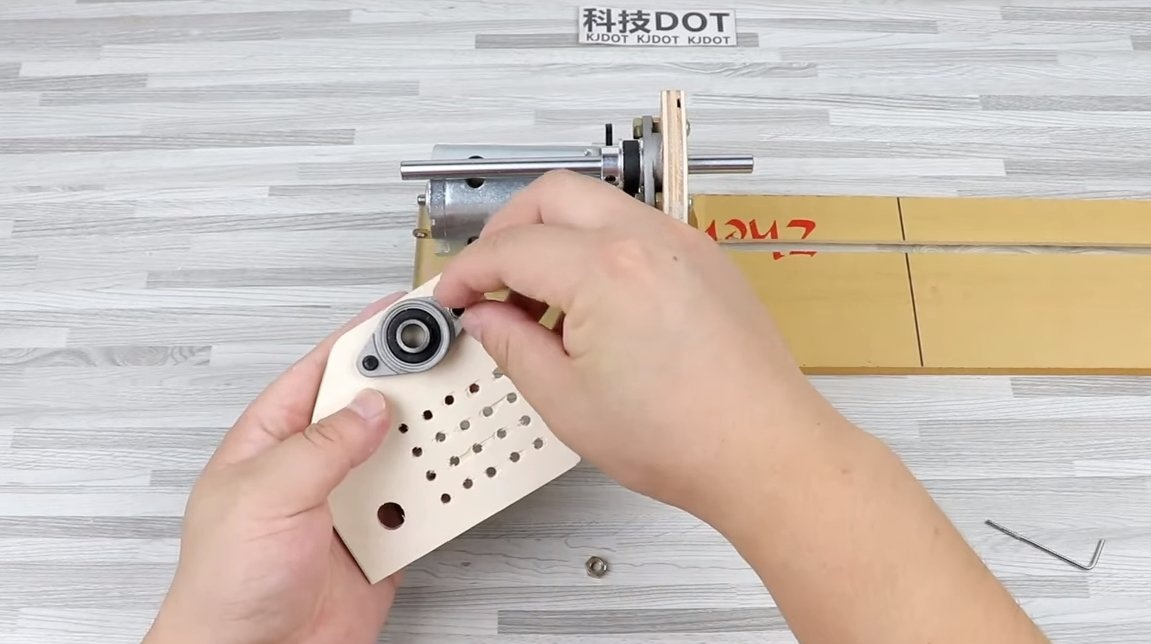
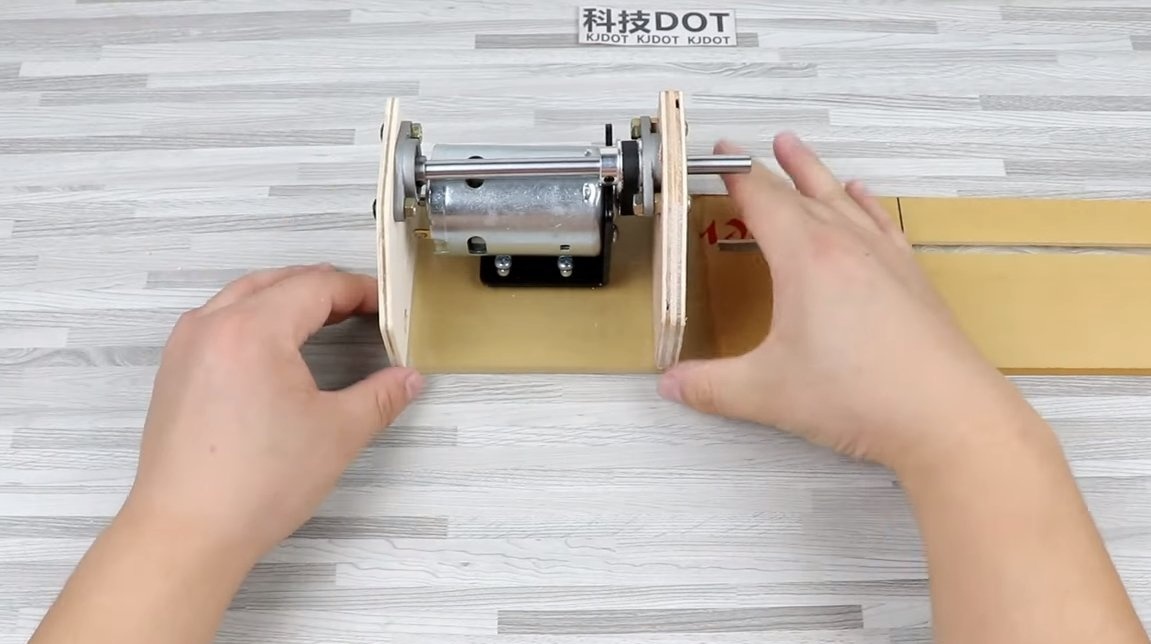
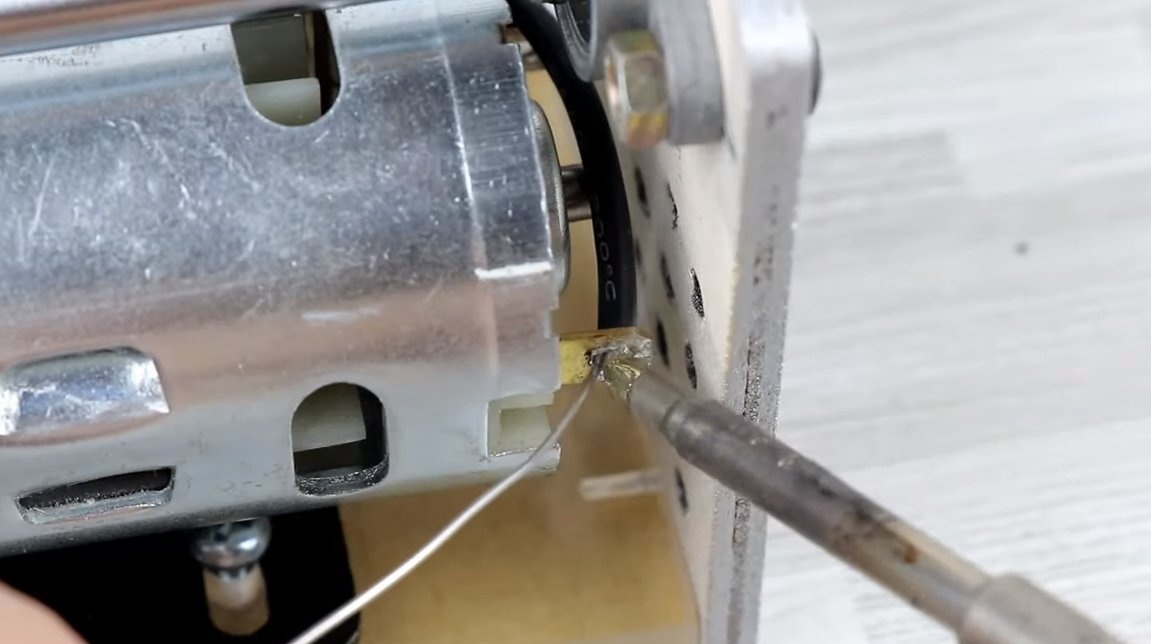
Front and rear of the engine need to install racks, their author made of plywood and painted silver with the color of metal. Particularly important is the front pillar, it must be strong. Bearings are mounted on the front and rear pillars under an 8 mm axis, and we also install a steel axis. The author sharpened the end of the axis with a drill and a grinder.

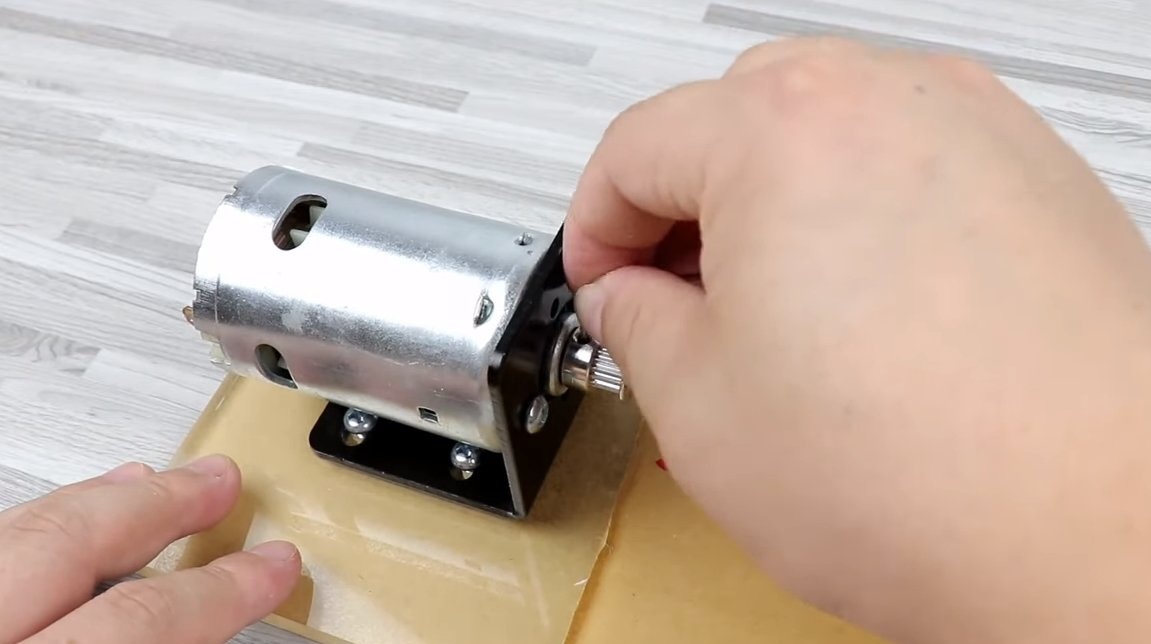
In the end, it remains to install the pulleys and belt on the axis, as a result we get a decrease in speed on the working shaft and a higher torque.
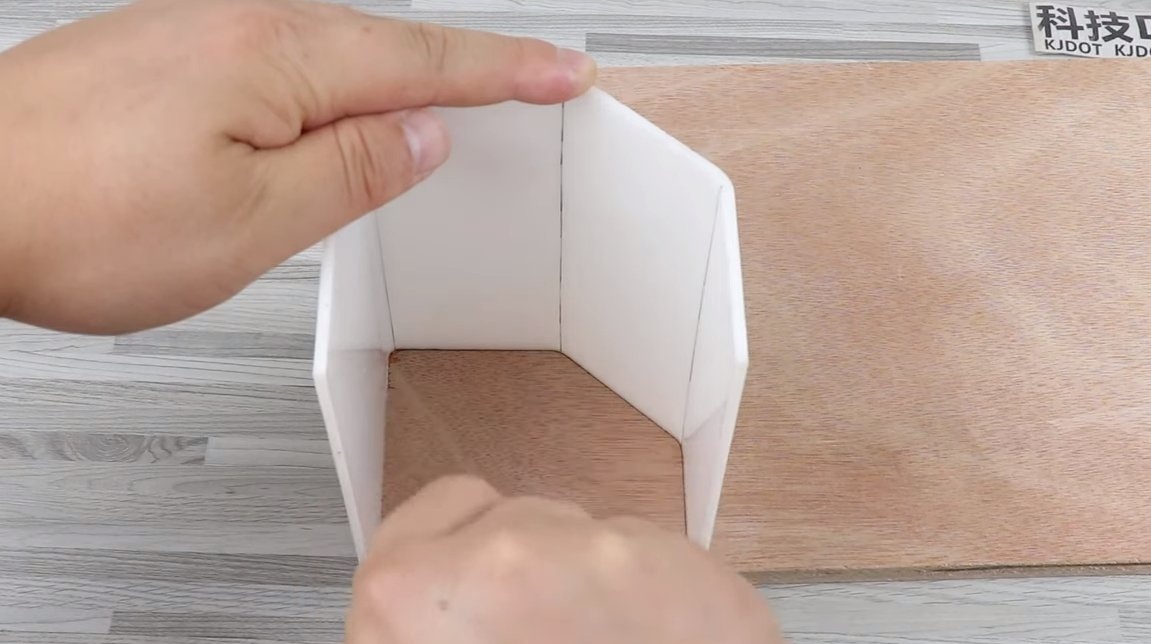
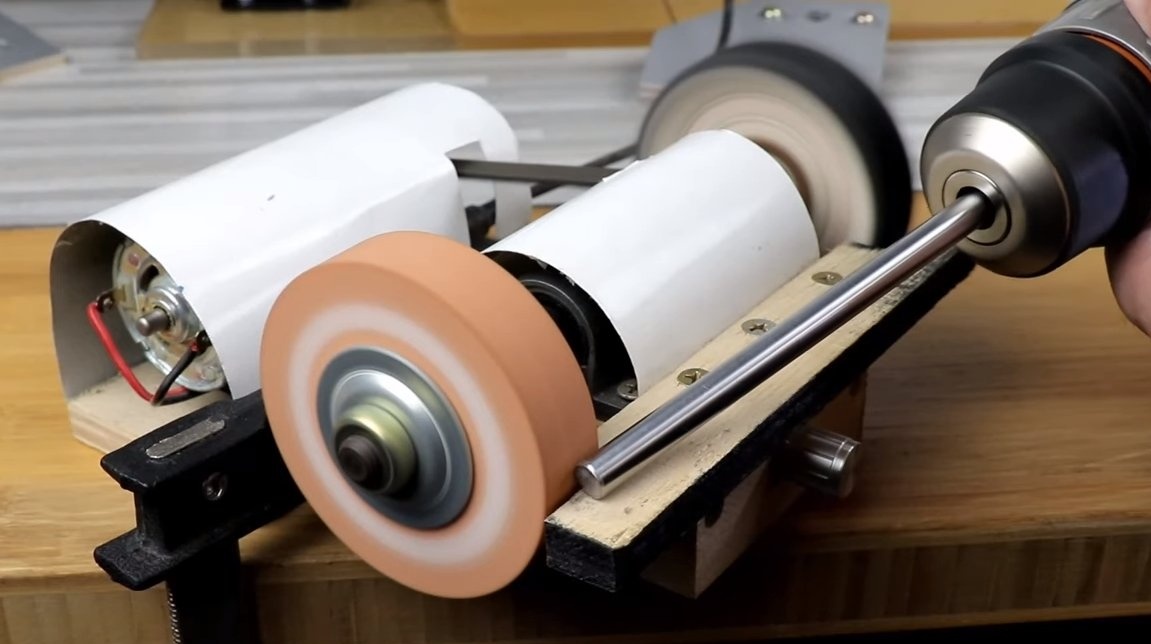
Of course, for important nodes you need to make a protective cover, here we need sheet acrylic. We cut it to the desired size, and then we rot the frame by heating it with a building hairdryer.


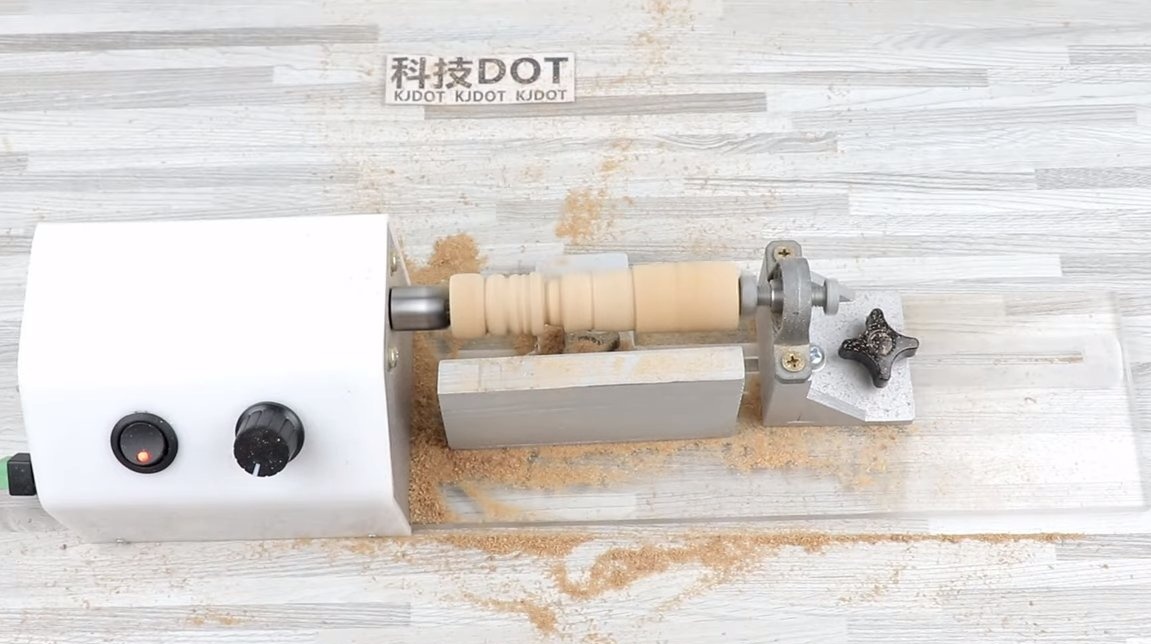
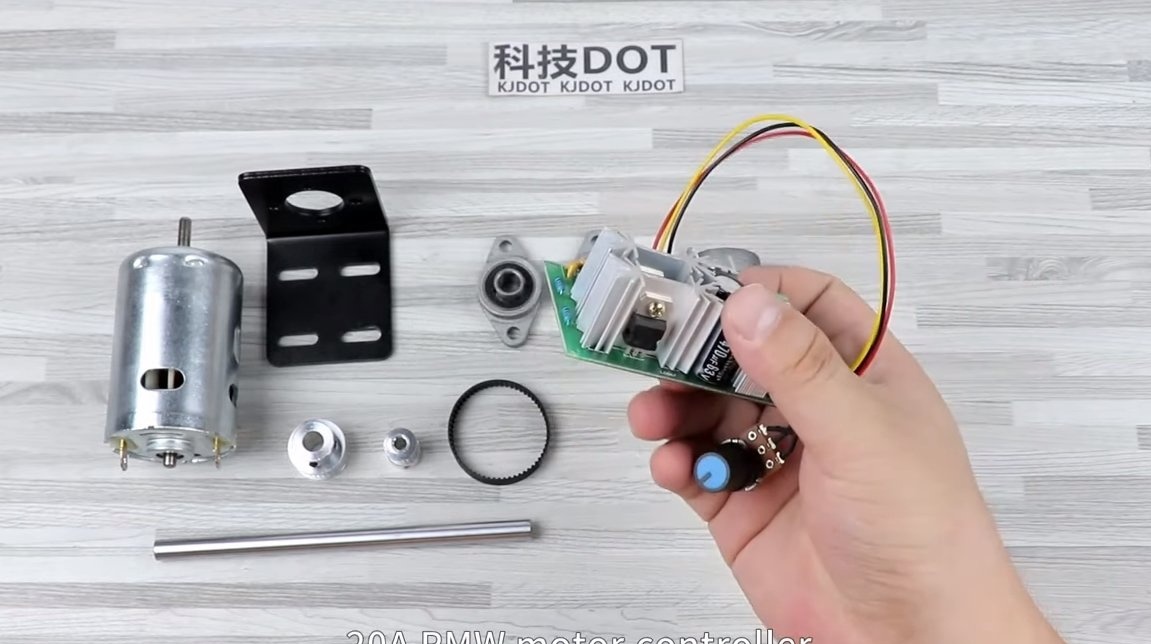
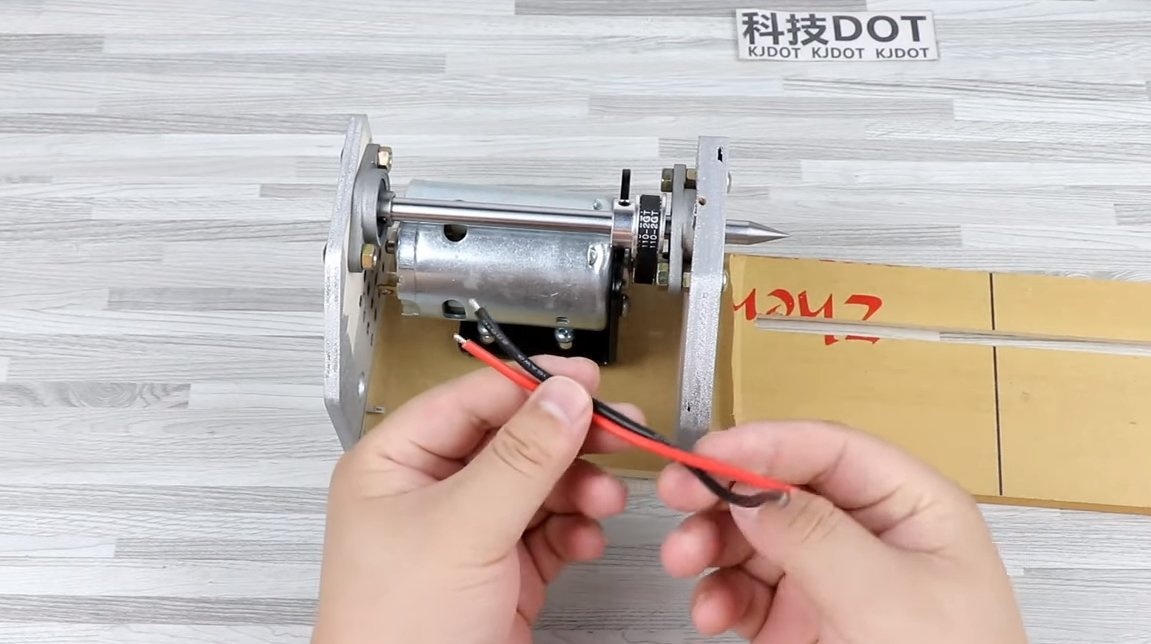
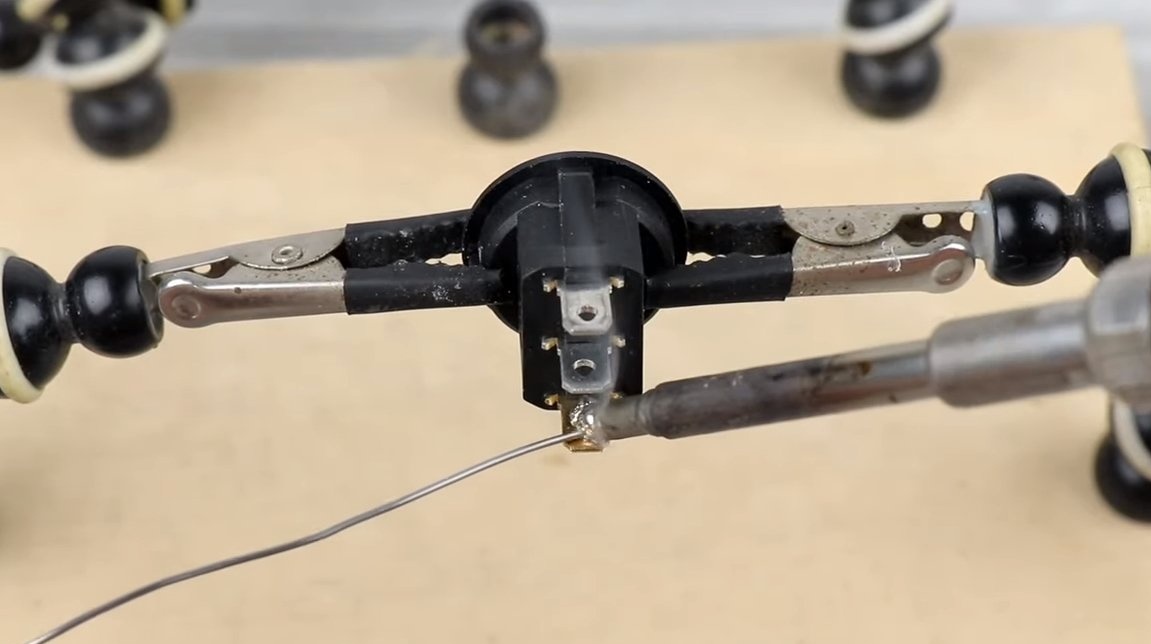
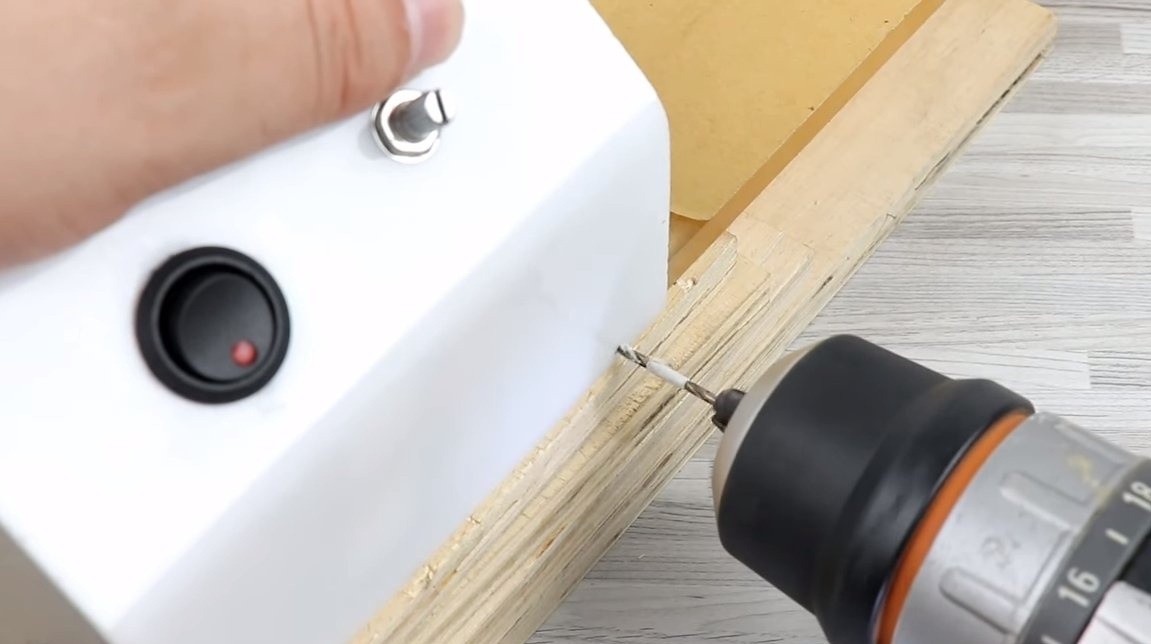
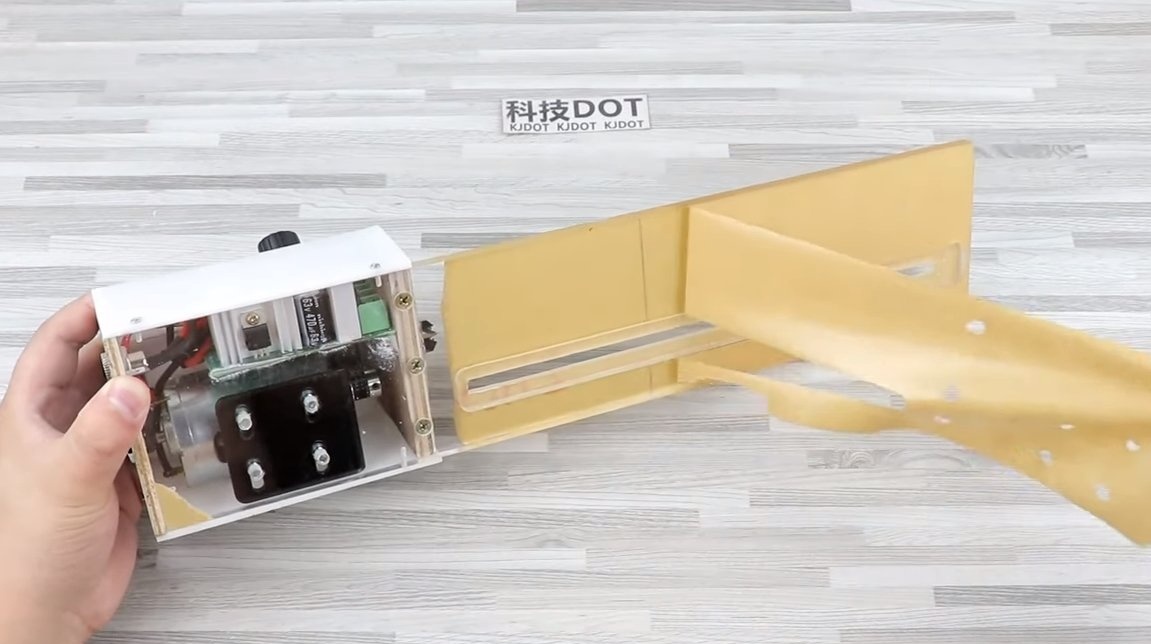
Step Three Electronics
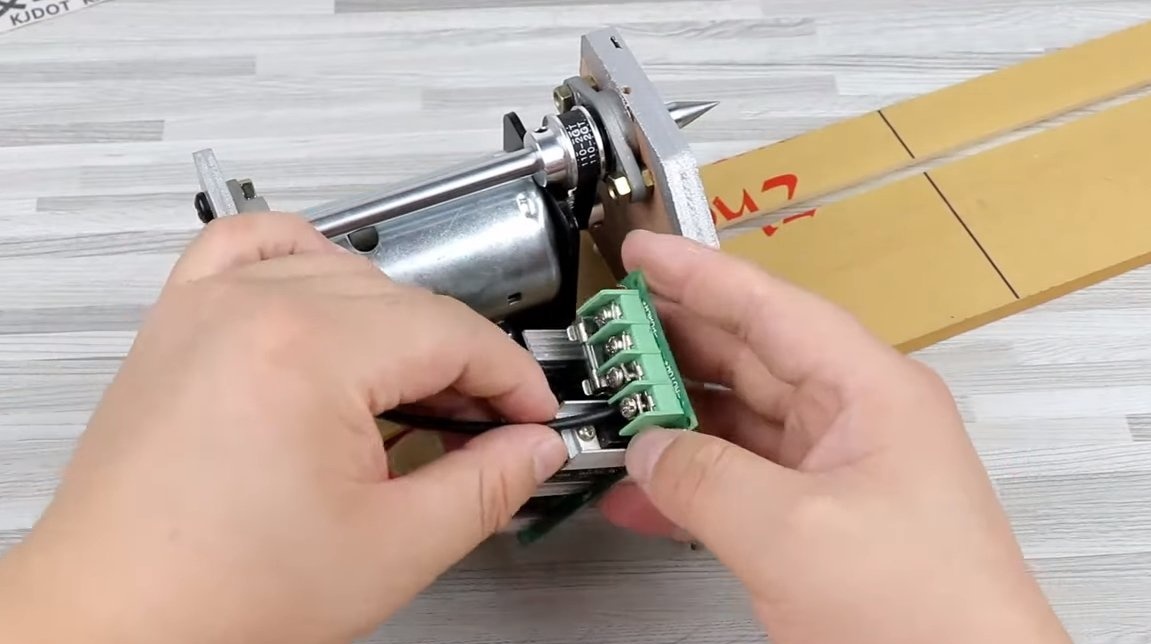
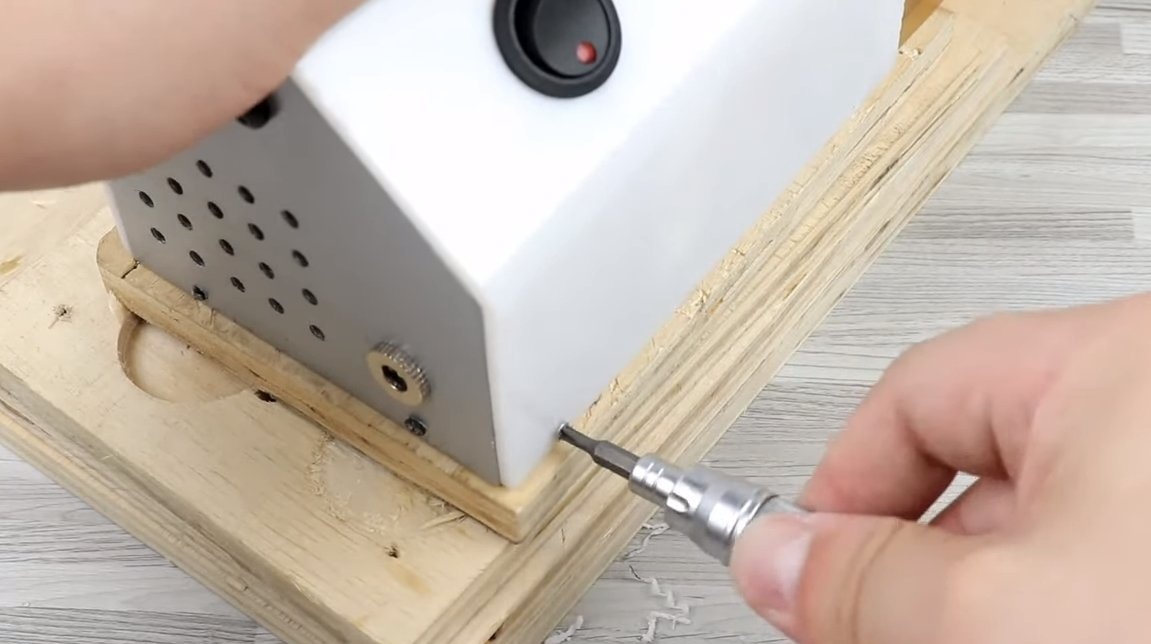
The lathe must have the function of adjusting the speed, for this we need a regulator for a current of 20A. We fasten the wires to the contacts and securely fasten the controller inside the case. As a result, the adjustment knob will remain out through the casing. Also, a machine power button is installed on the casing, and do not forget to install a socket for connecting the power supply in a convenient place. We fasten the casing to the posts with screws.


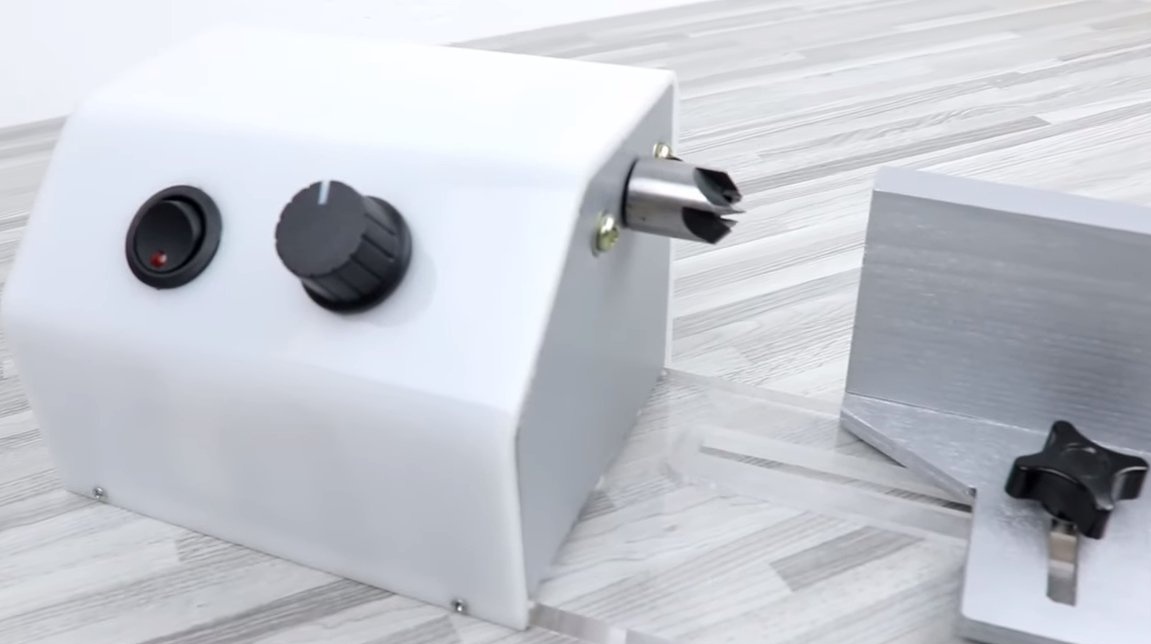
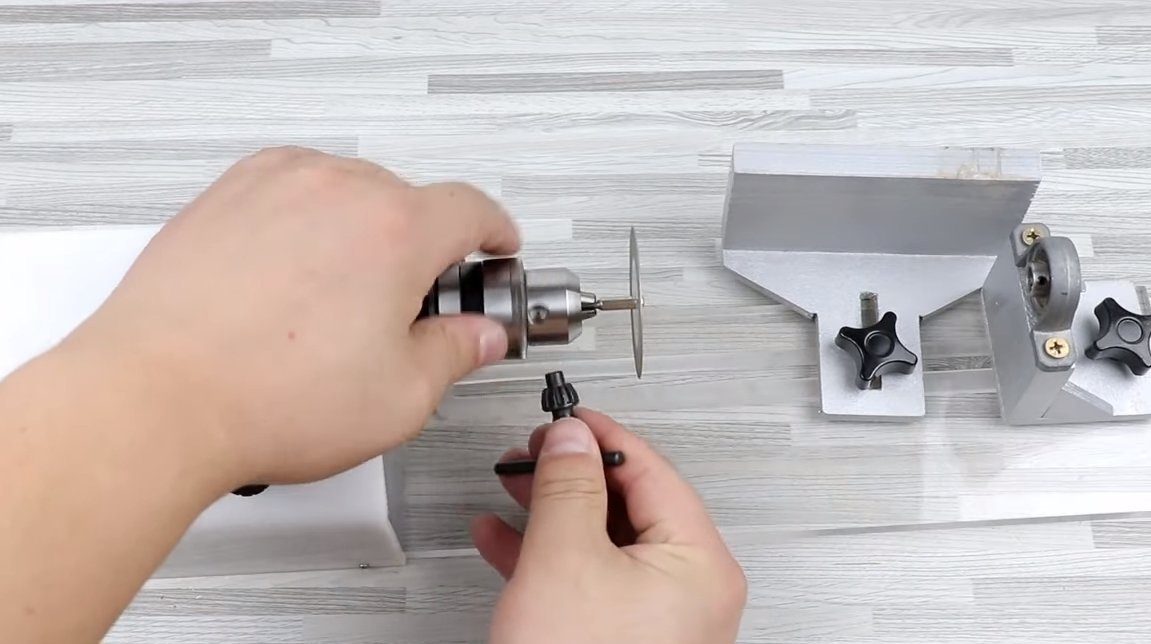
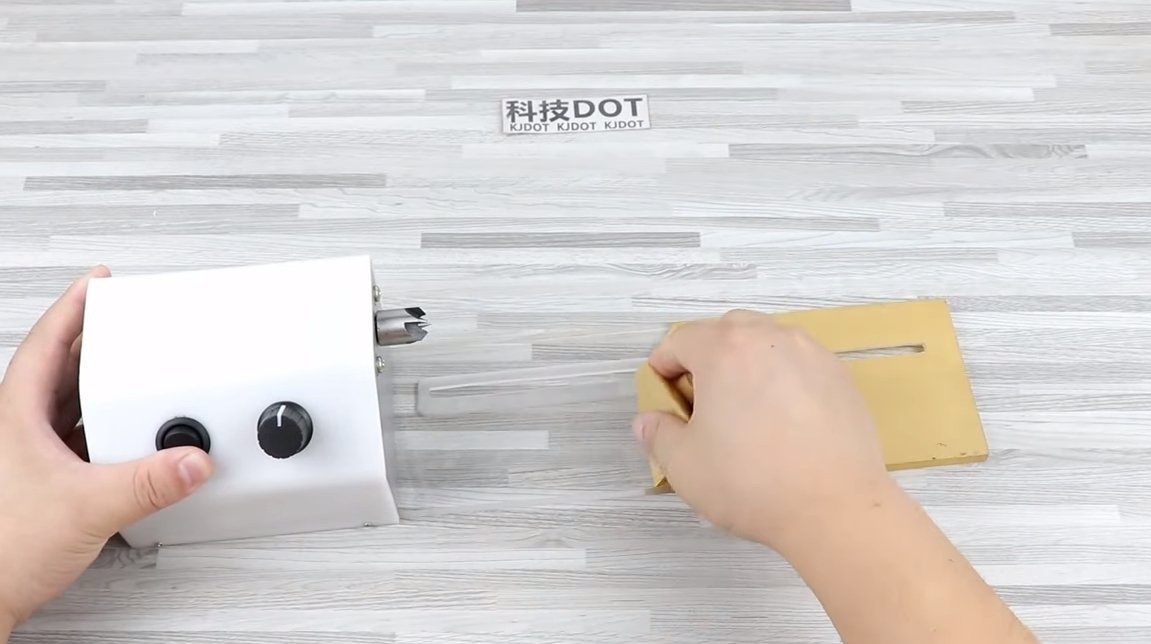
Step Four Holder
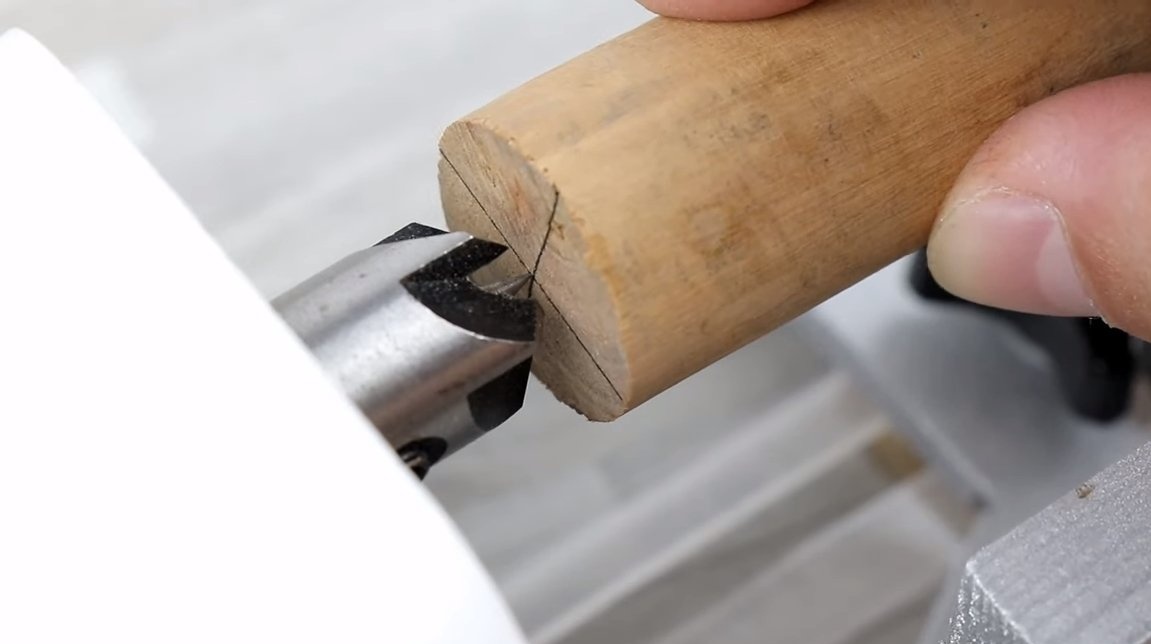
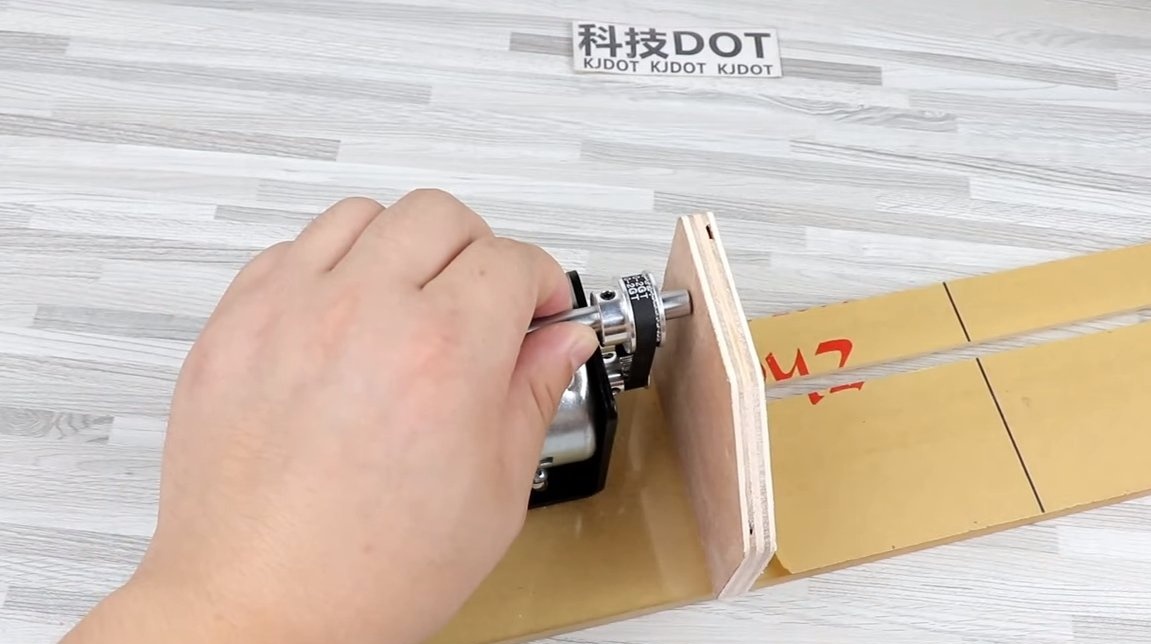
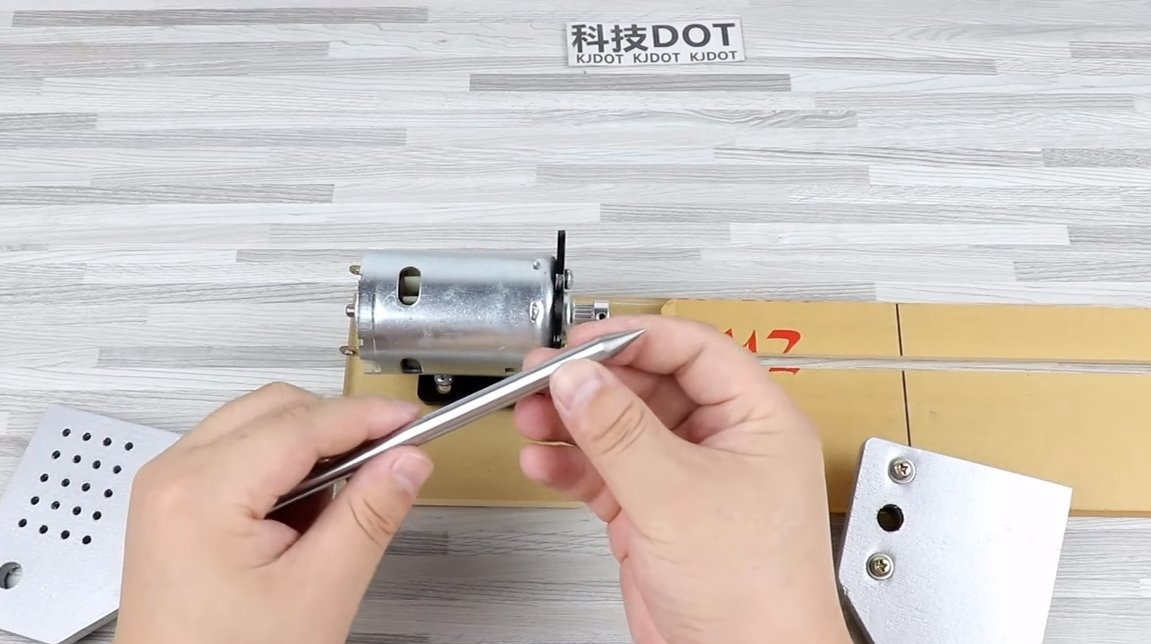
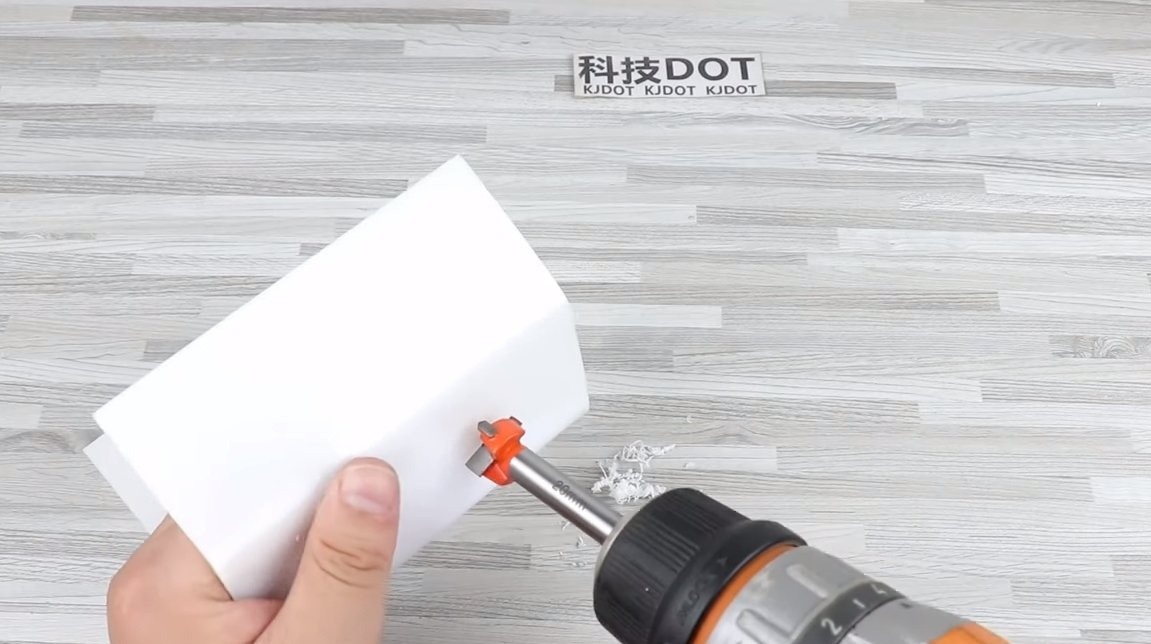
On the shaft of the lathe, you need to install a holder that will dig into the workpiece. In our case, a countersink is used as a holder, which is put on a drill. You can also install a small drill chuck for a drill on the machine shaft.
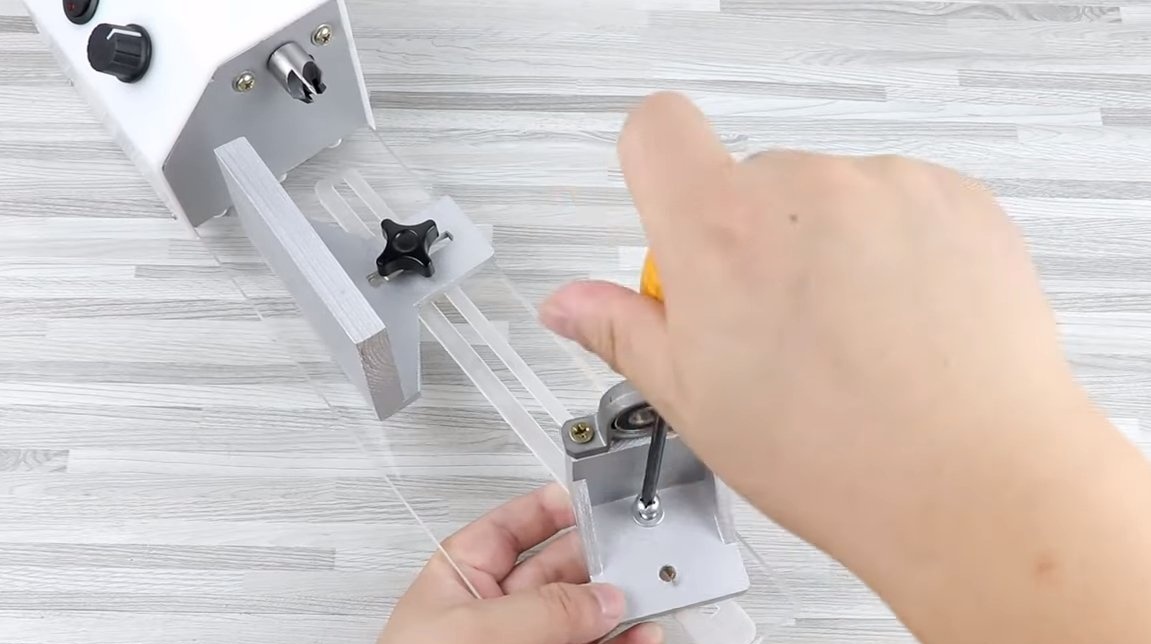
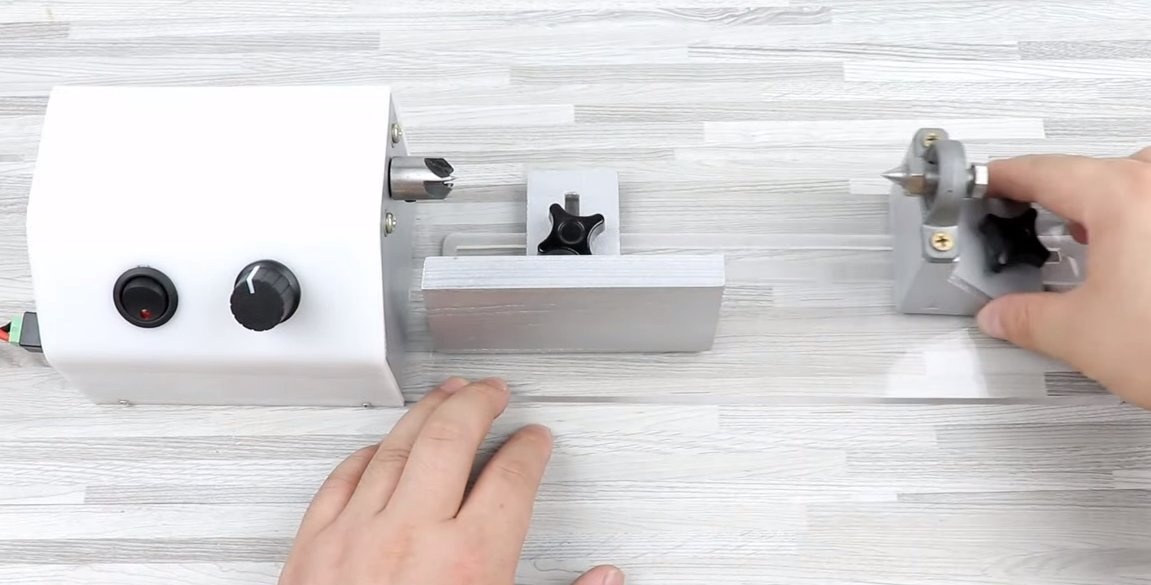
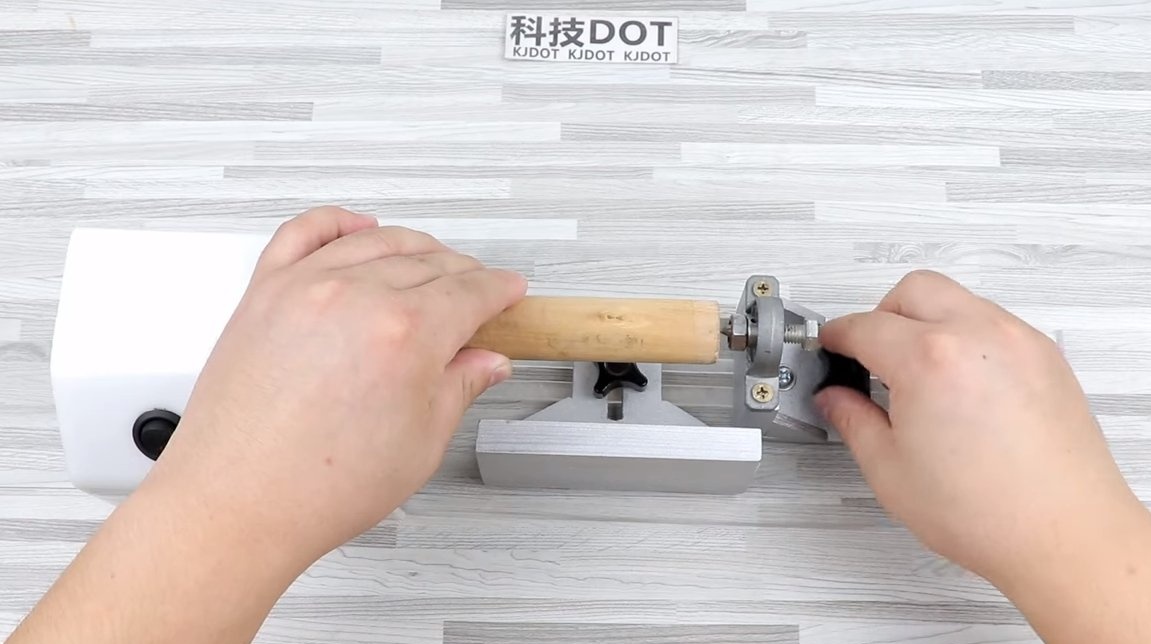
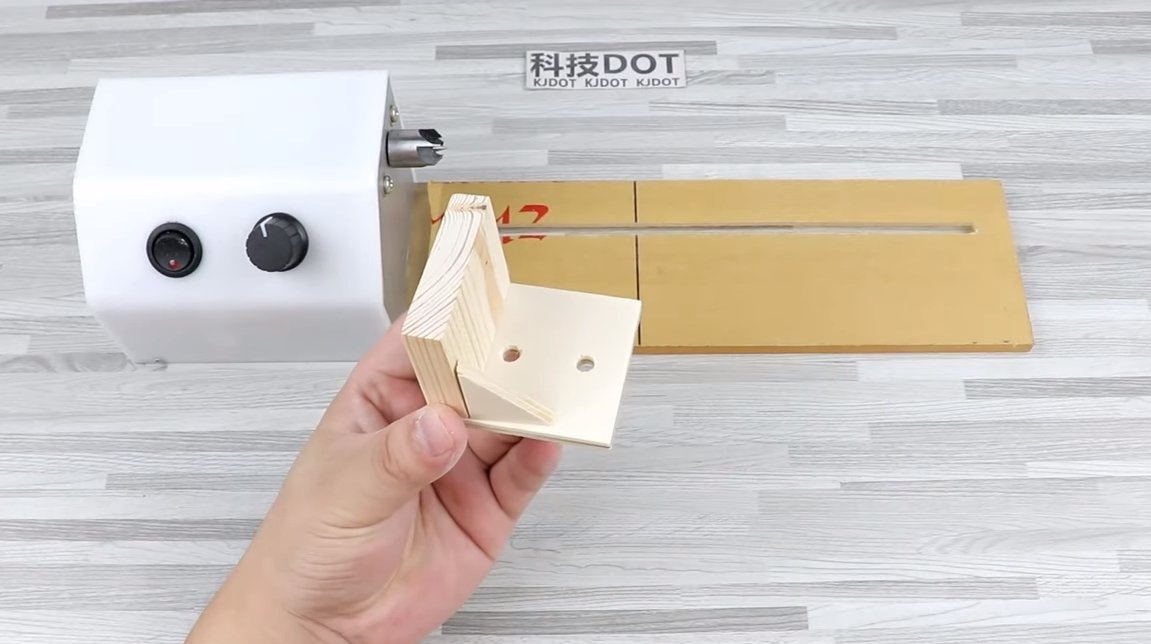
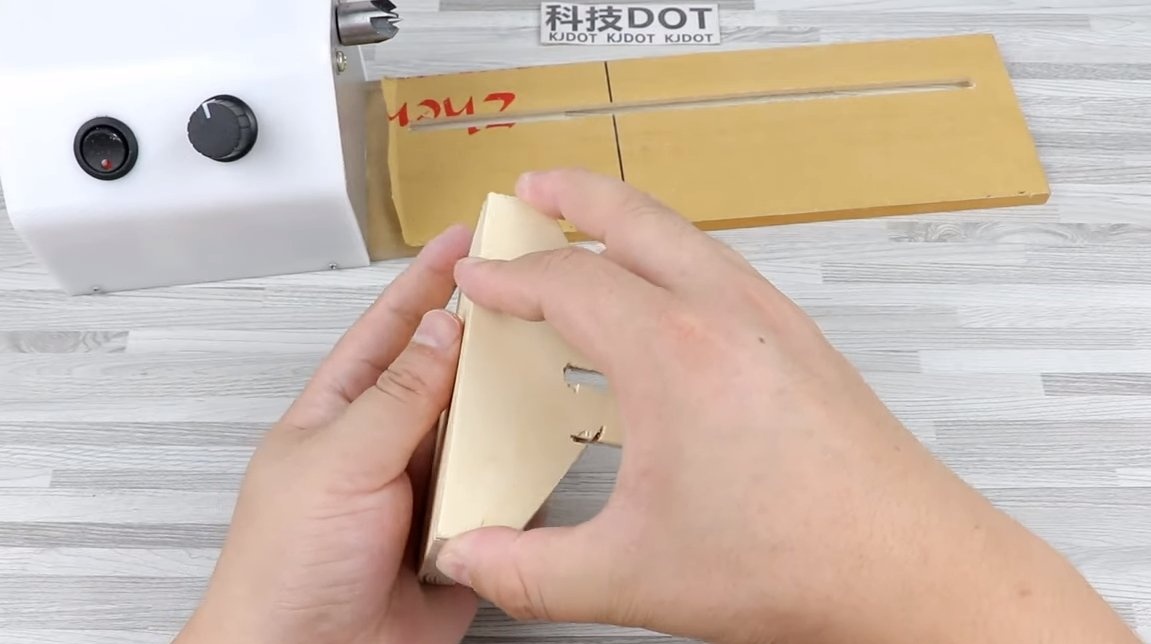
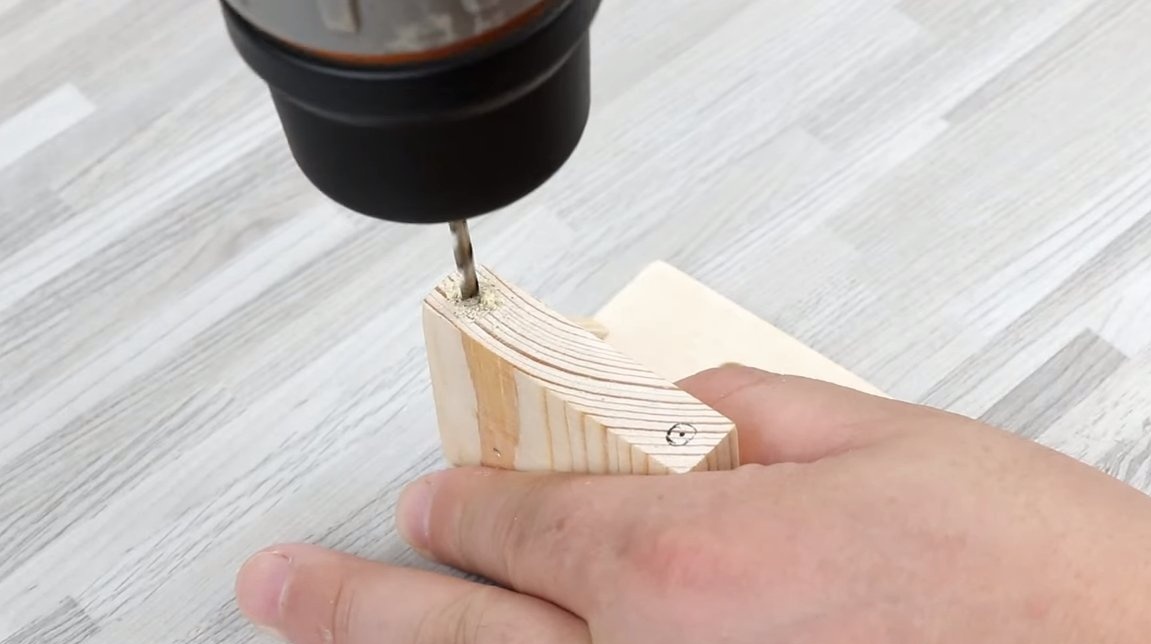
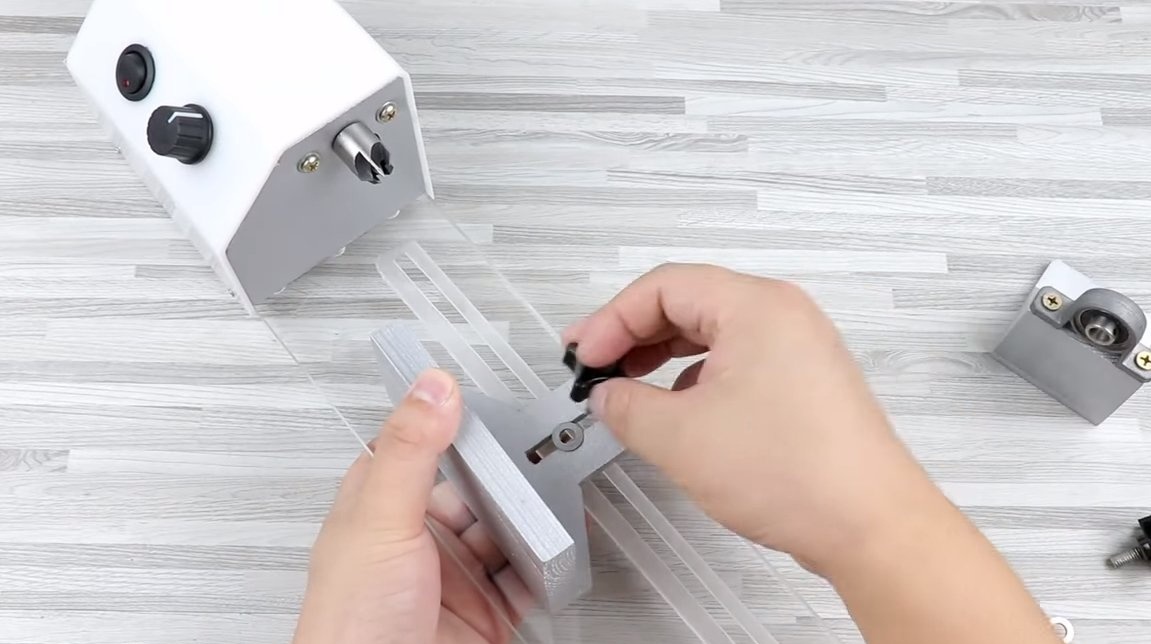
Step Five Emphasis and tailstock
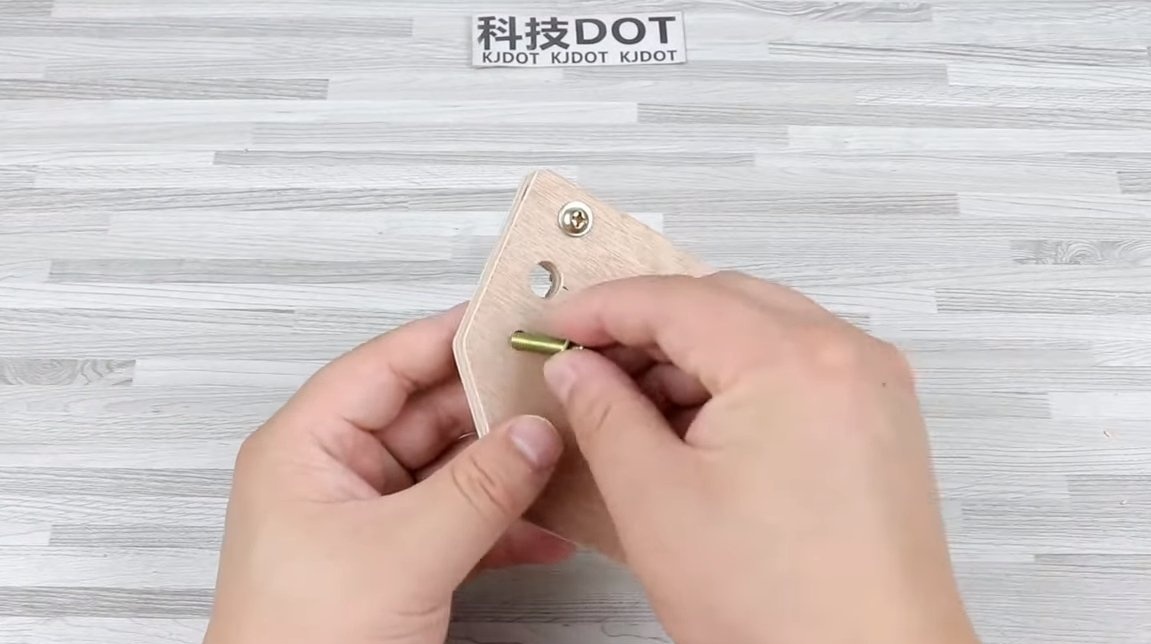
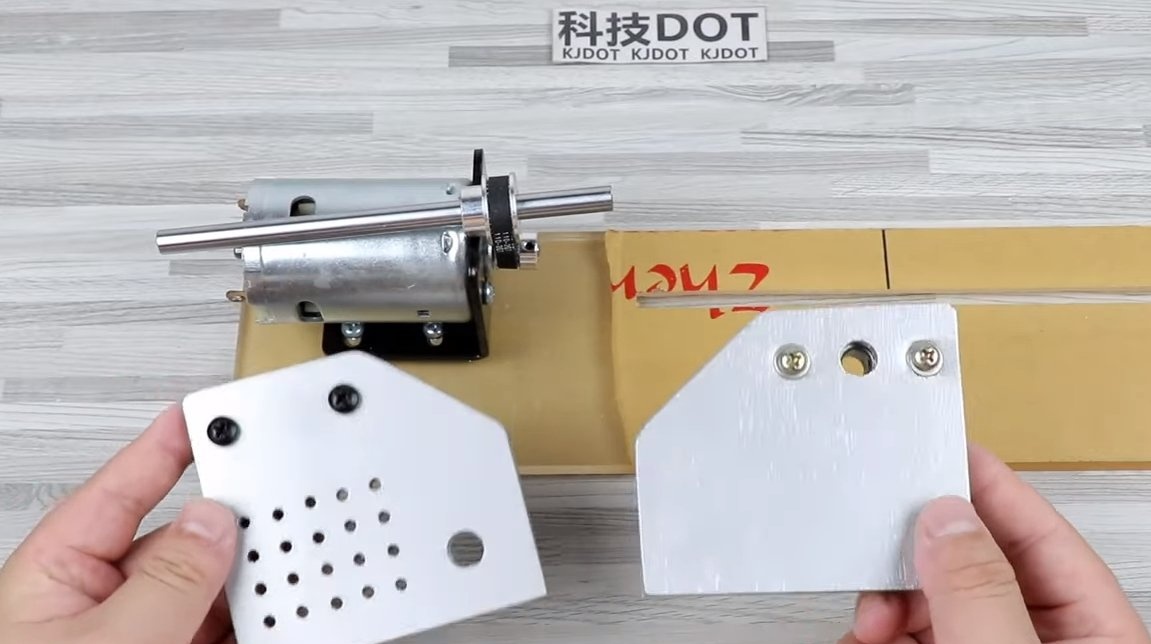
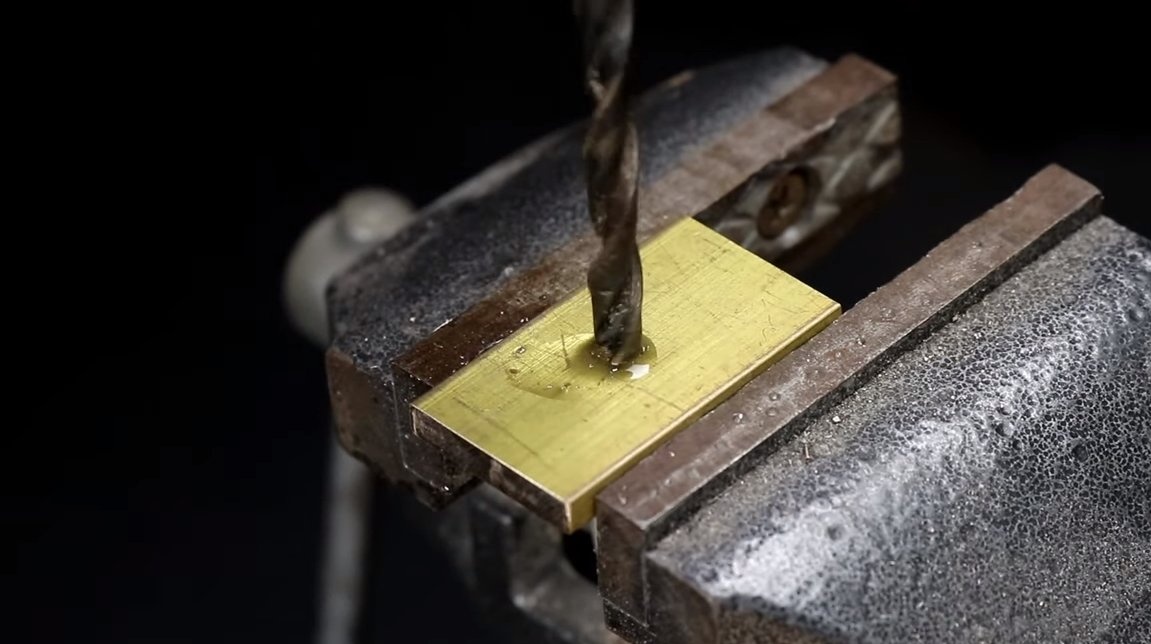
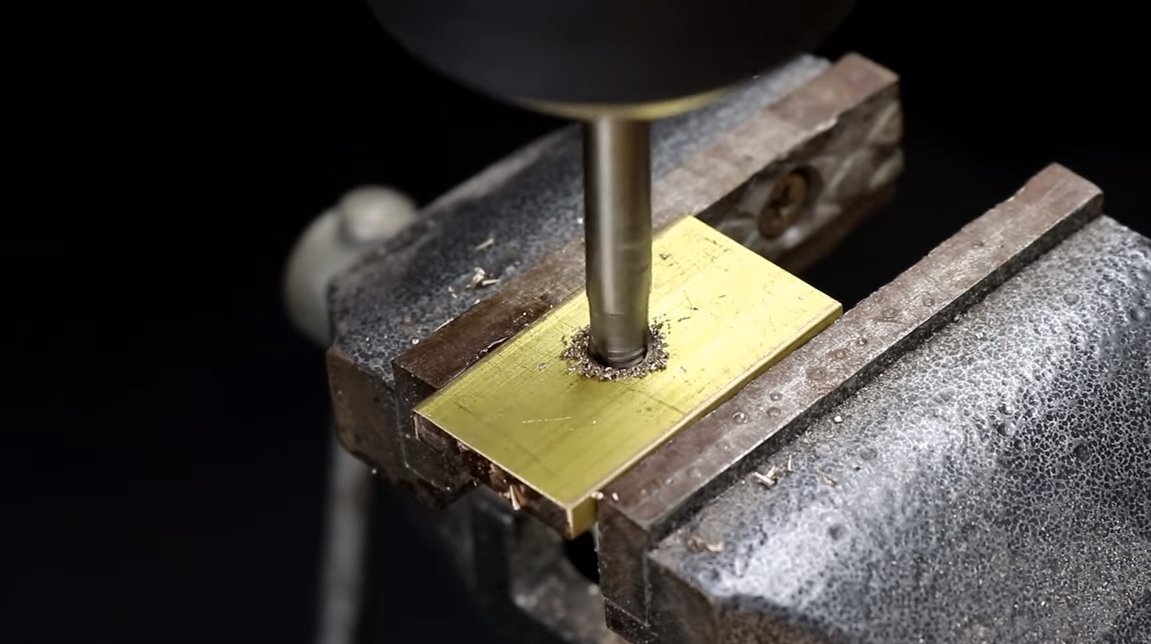
The author also made the emphasis and tailstock of wood, it is plywood and a piece of board. A bearing is mounted on the tailstock, and a sharpened bolt is used as an axis. To fix the headstock and the stop, it will be necessary to make plates with drilled holes from brass and thread there under the thumb screws.
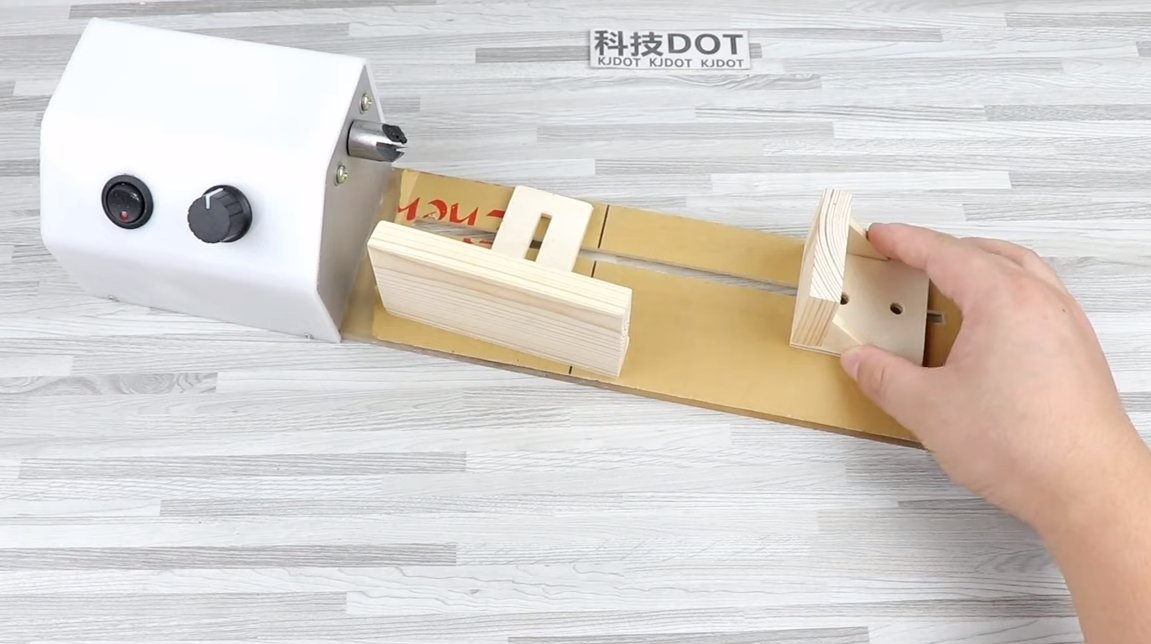


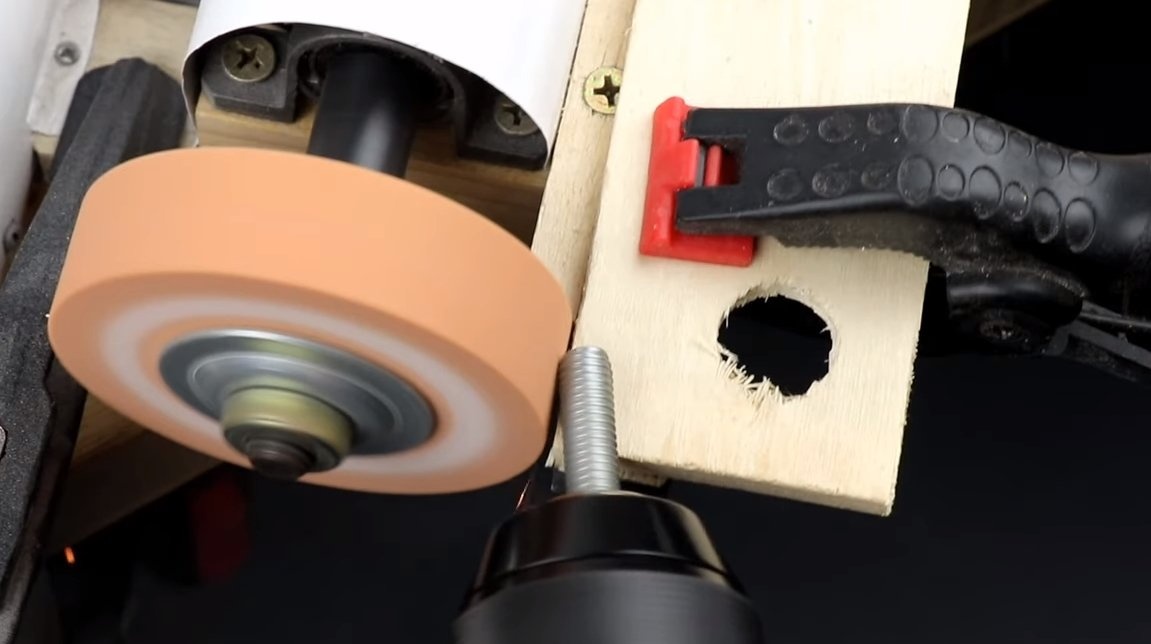
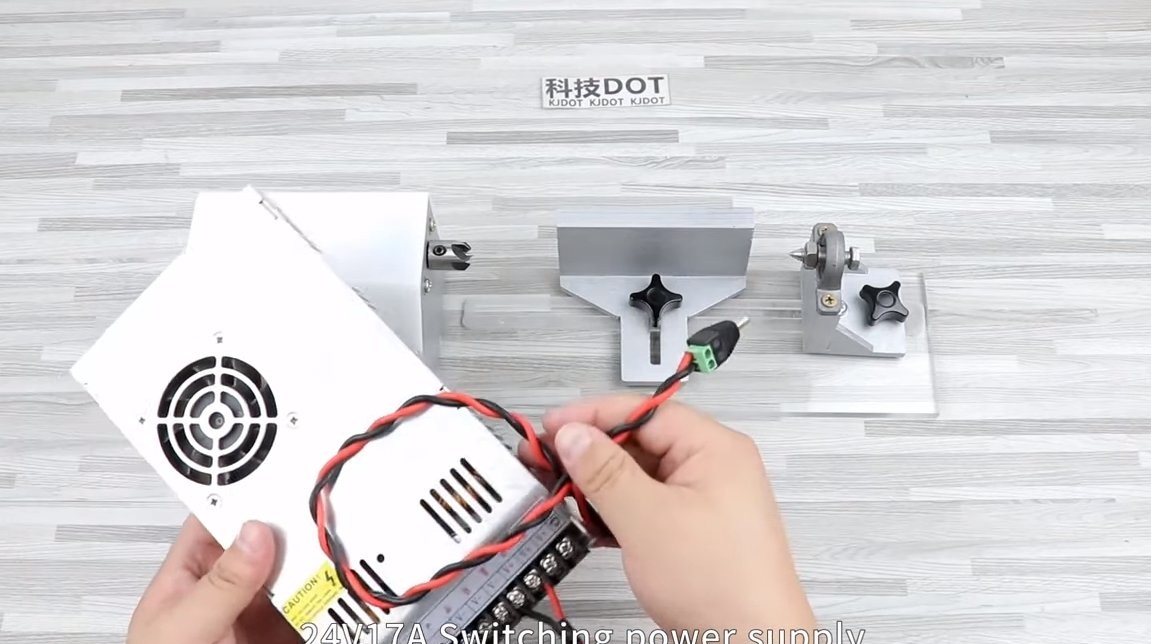
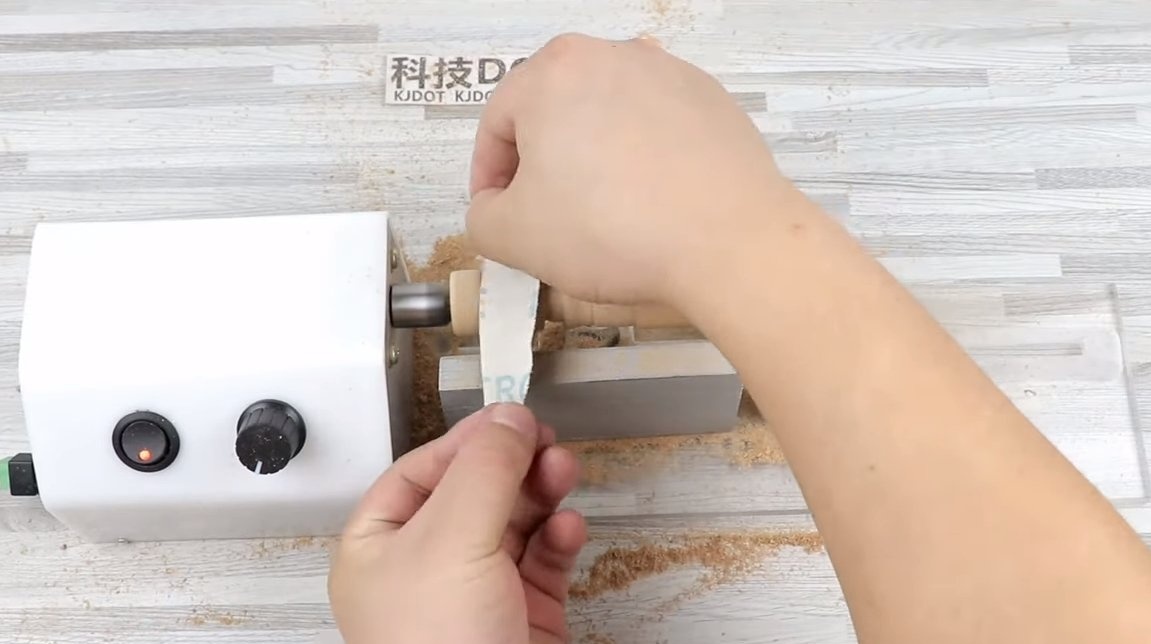
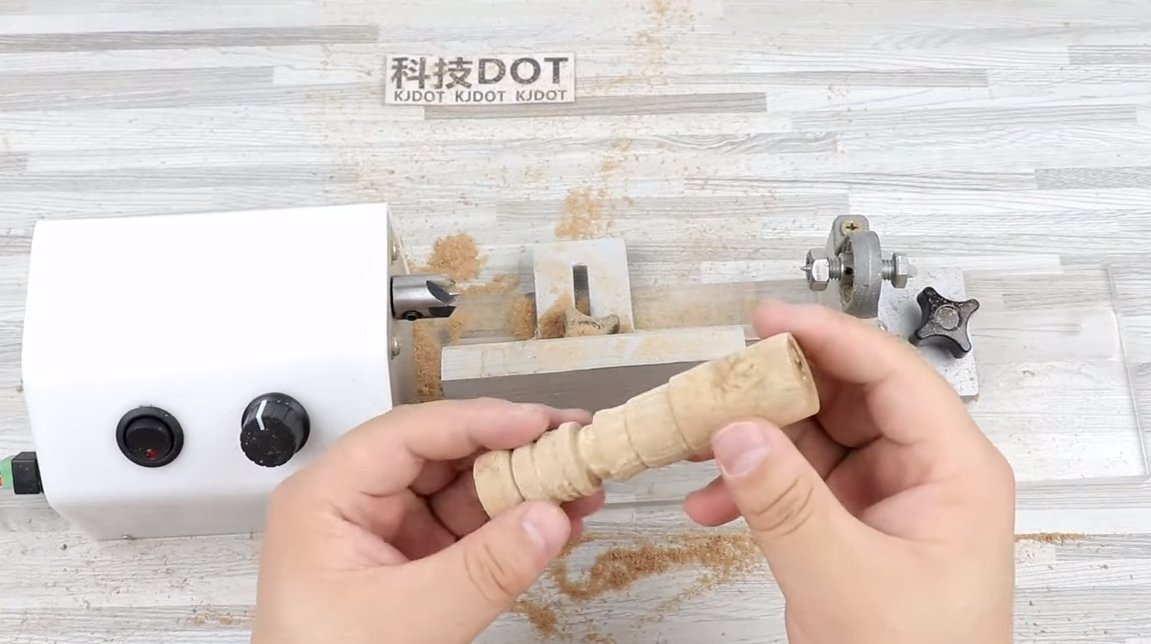
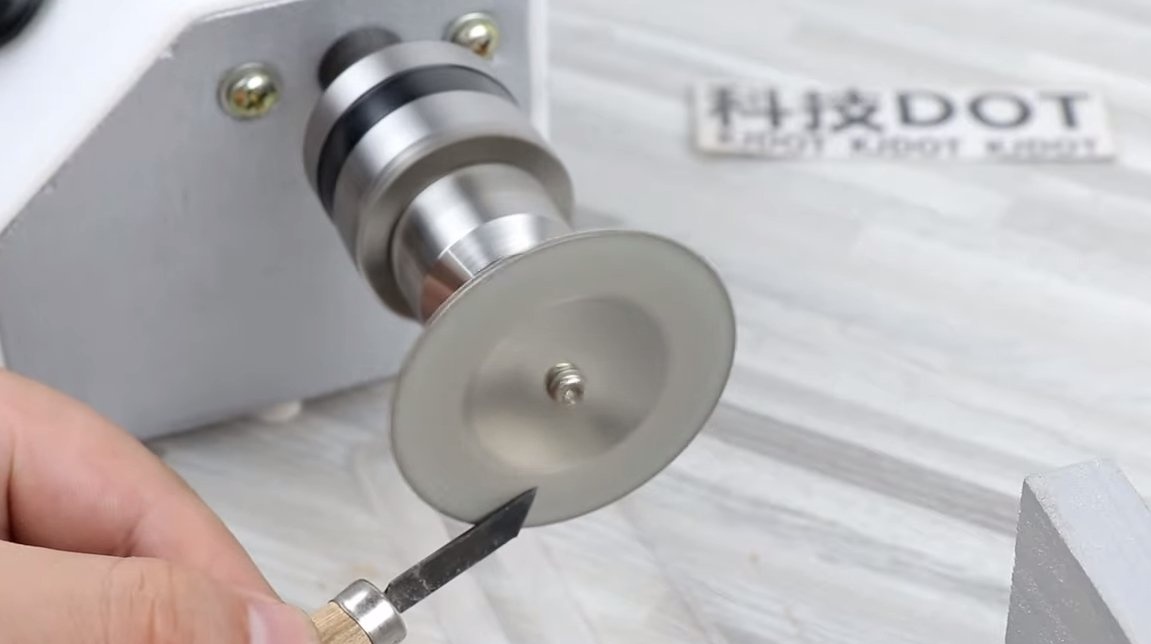
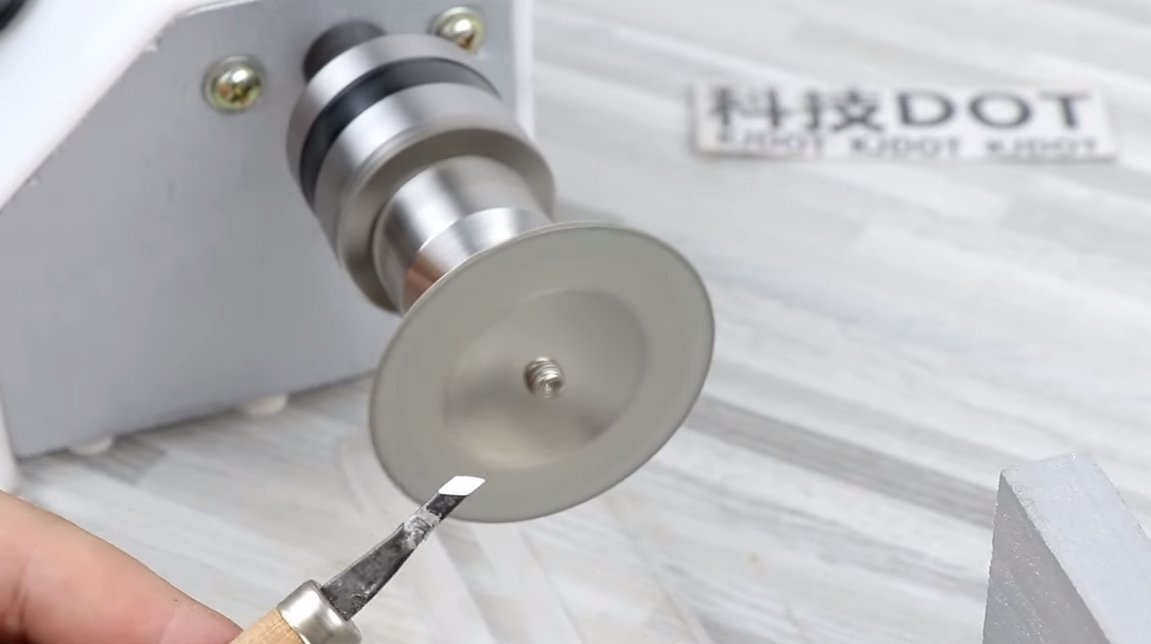
That's all, after that the machine can be tinted and assembled. The author uses a 24V / 17A power supply as a power source. The machine works perfectly, a wooden block turns into a handle for a tool quite quickly. If necessary, the machine can easily be turned into a grinding machine, just put a drill chuck on the shaft and clamp the nozzles for the drill. The author easily sharpens knives for woodcarving with a small diamond blade.
That's all, now the machine is completely ready and it proved to be excellent in practice. On this project can be considered successfully completed, I hope you liked the homemade work, and you found useful thoughts for yourself. Good luck and creative inspiration, if you decide to repeat this. Do not forget to share your ideas and homemade things with us!