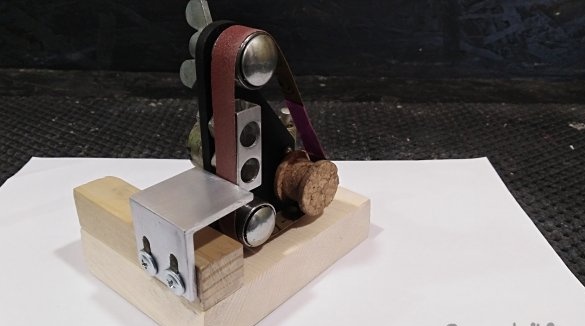
Hello everybody! Today I wanted to show how I did a mini grinder back in February. It was cold in the workshop; therefore, everything was done from what was at hand, but was done for a week, an hour or a day.
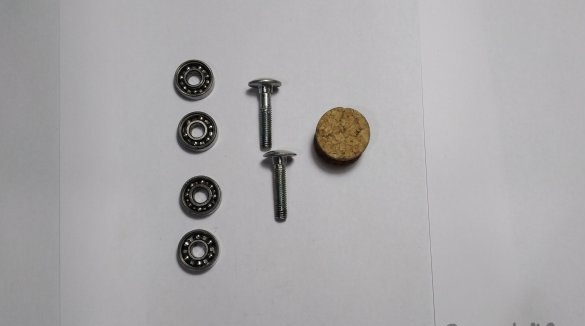
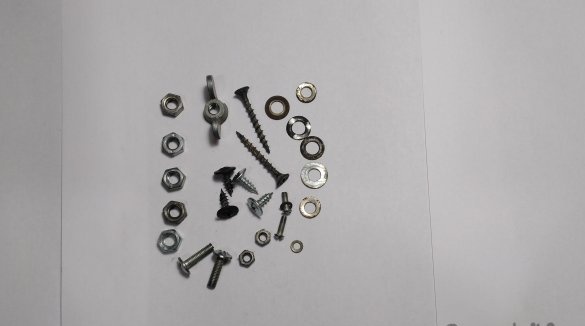
In the arsenal was: bearings, bolts, nuts, aluminum corner, plexiglass, wooden pieces.
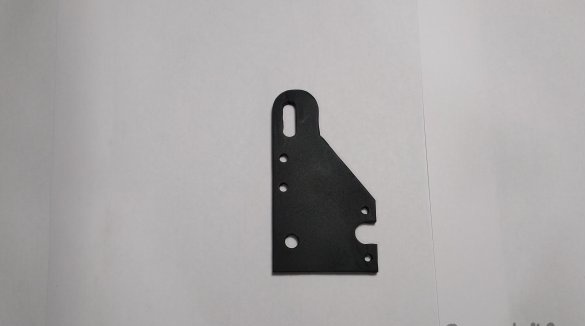
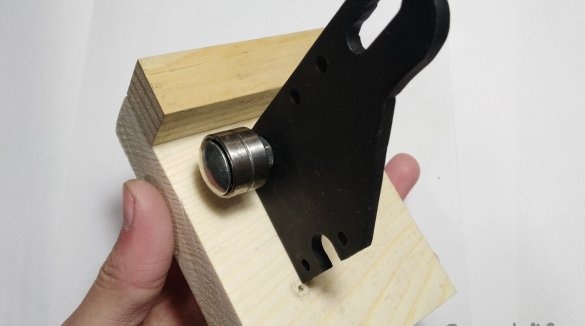
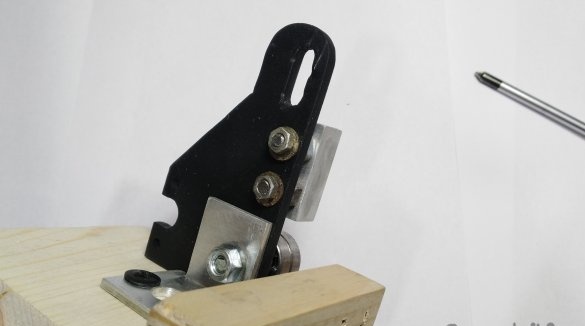
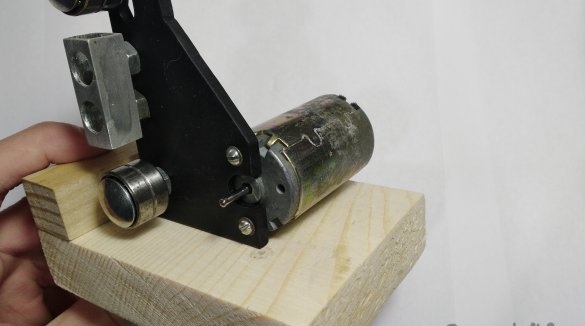
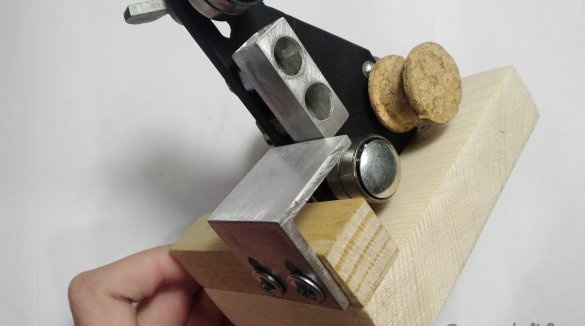
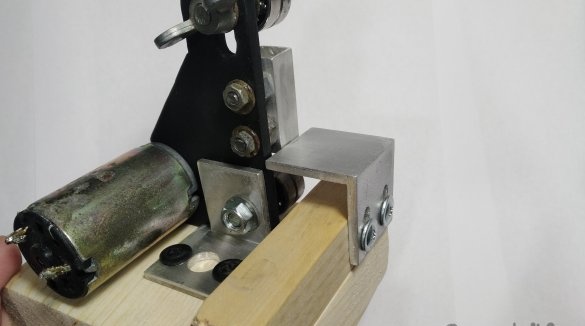
The base was made of Plexiglas 4 mm thick, above and below the holes for mounting the rollers and also the structure itself to the countertop. In the middle are two holes on the m3 bolt to secure the stop. To the bottom right of the hole for mounting the motor.
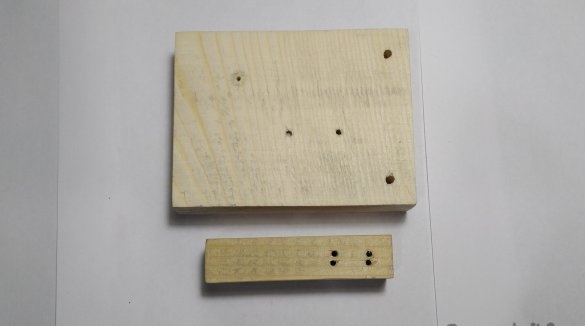
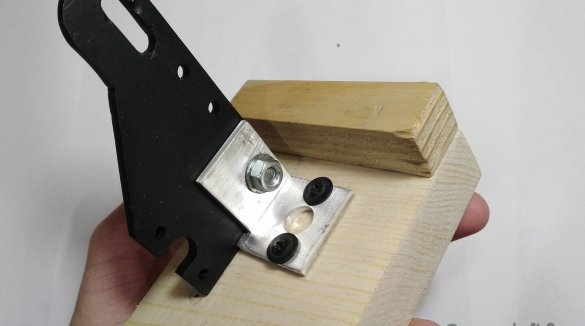
Trees for fixing plexiglass blanks as well as for further emphasis at 90 degrees.
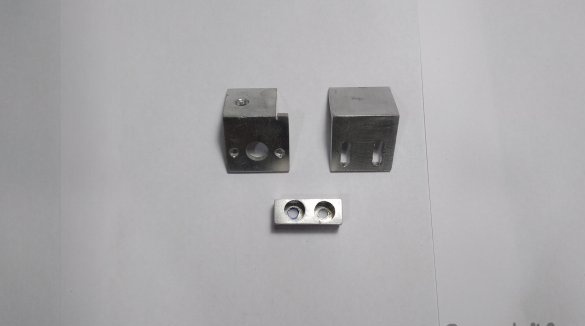
Aluminum billets for fixing the billets together, parallel emphasis for the billet, as well as for the abrasion of the emery tape. For emphasis for a tape I took a square, but the best corner.
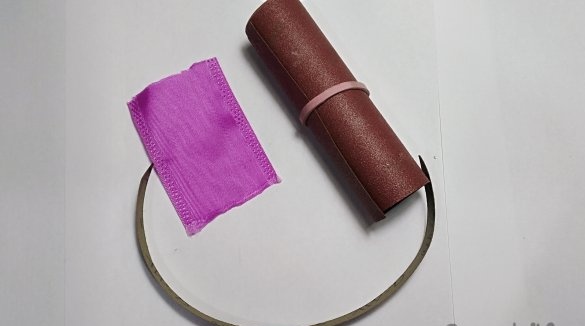
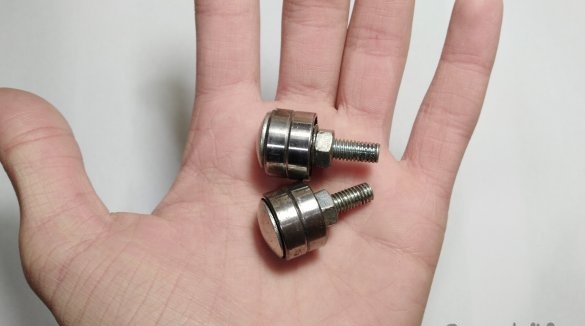
Bearings as well as the drive roller are also needed for this machine; I have it from a wine cork. You also need a handful of bolts, nuts, as well as all kinds of fasteners. Sandpaper and fabric for gluing. Well, I also twisted the rollers already.
When all the parts are ready, then you can collect everything in a heap. This whole thing is about to take place in about half an hour. When everything is spinning and working, then you can prepare the tape.
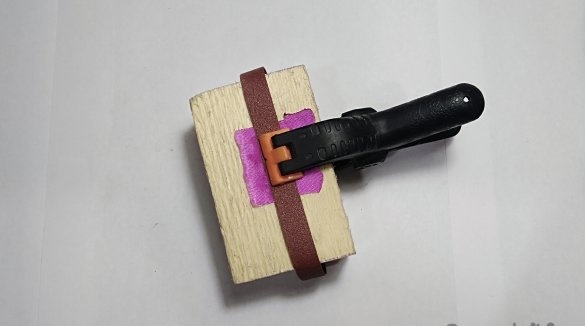
I have a tape 10 mm wide and 21 cm long, in order to glue correctly I need to add 2 cm and put a centimeter in the lap and cut it at an angle. I glue everything with glue "Moment 88", well, I press it with a clothespin and then cut off all the excess. The test and sizes are in the video which is fixed in this article. Thanks for attention!

