

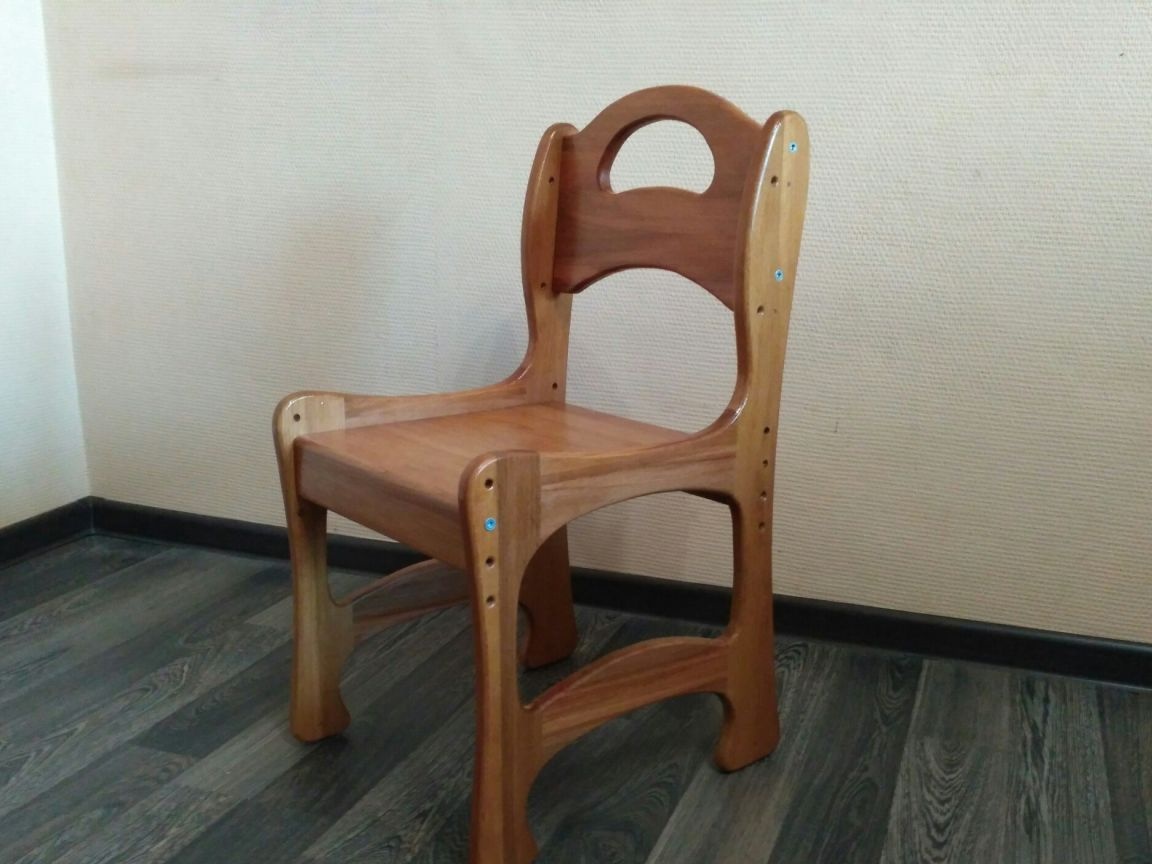
Hello to all lovers homemade. Probably each of us was faced with the fact that things done do it yourself often an order of magnitude better than what the manufacturer offers us. In this article I will tell you how to make a high chair for a child, which is adjustable in height. Also, this homemade product will help you save money on the purchase of a chair.
Before reading the article, I suggest watching a video about this homemade product.
In order to make such a homemade stool you will need:
* Beech boards
* Reysmus
* Plywood
* Milling table
* Sander
* Sawing machine
* Electric fret saw
* Wood glue
* Hammer
* Clamps
* Oil for of furniture
* Patchwork wax
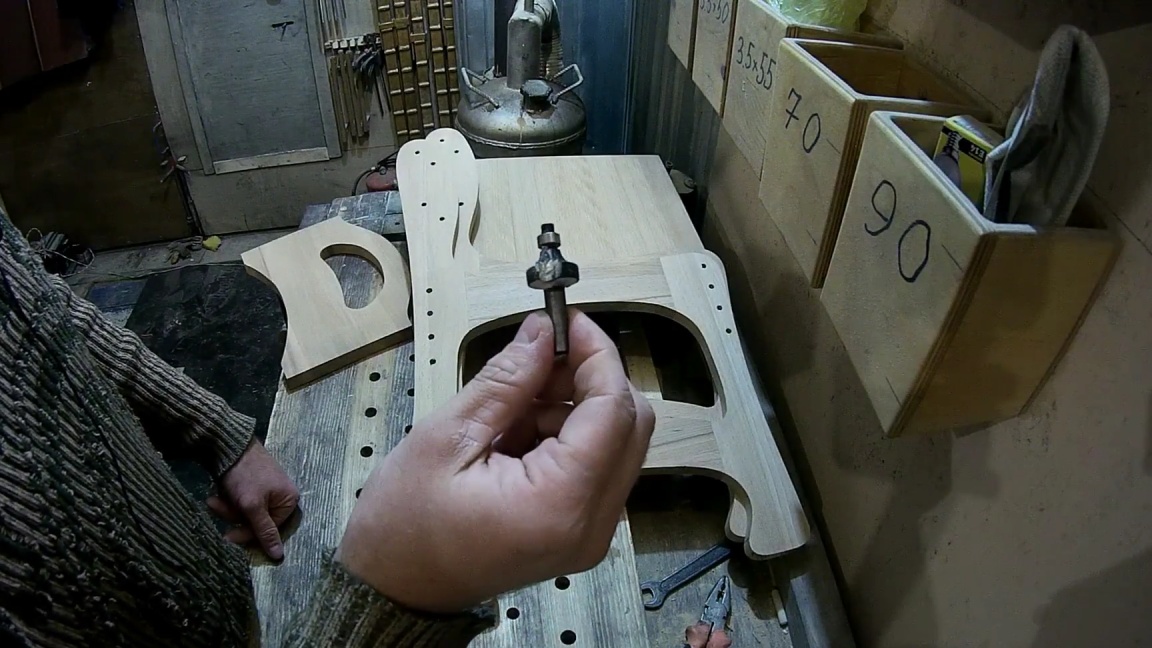
* Milling cutter for dowels
* Drilling machine
That's all you need to build a highchair.
Now you can start manufacturing.
Step one.
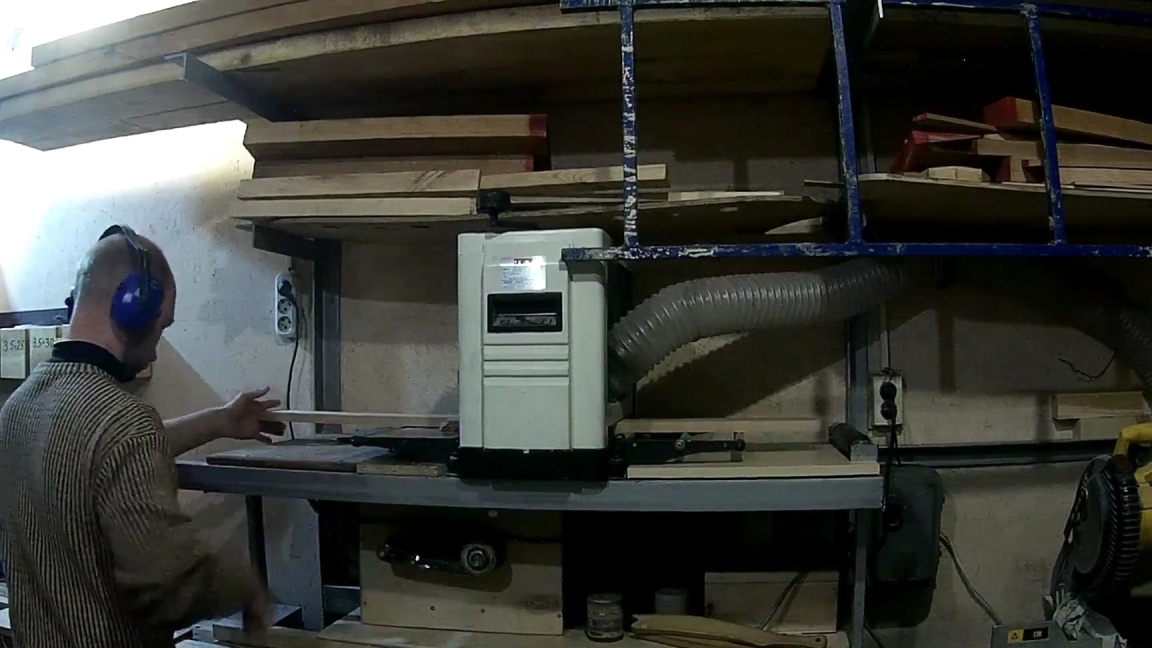
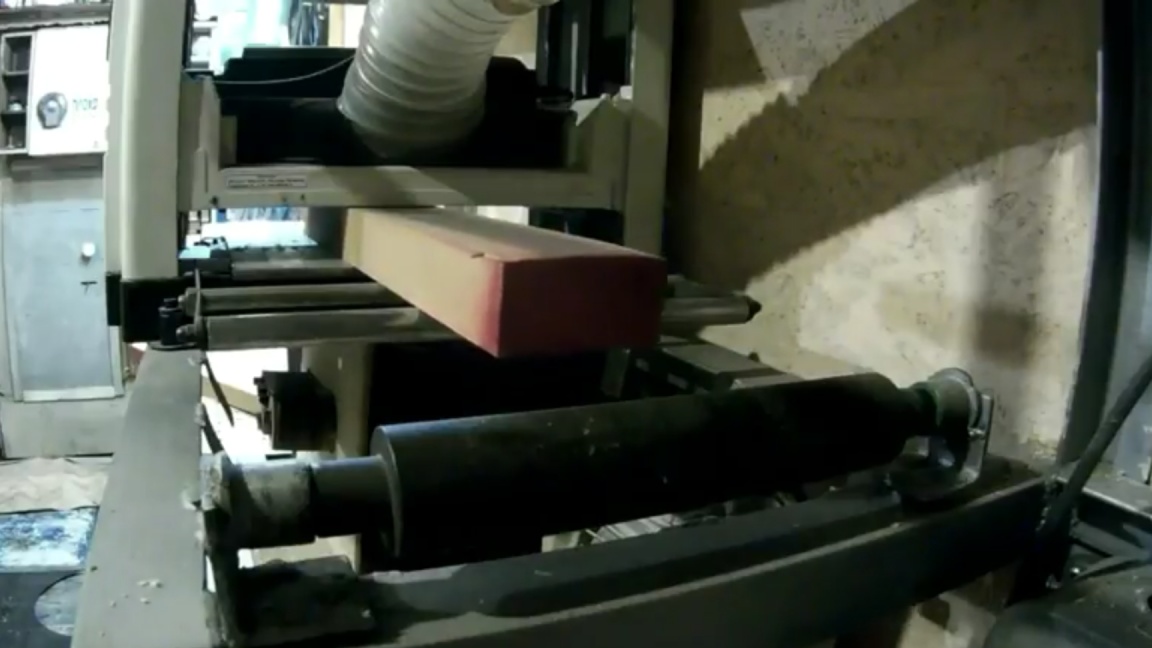
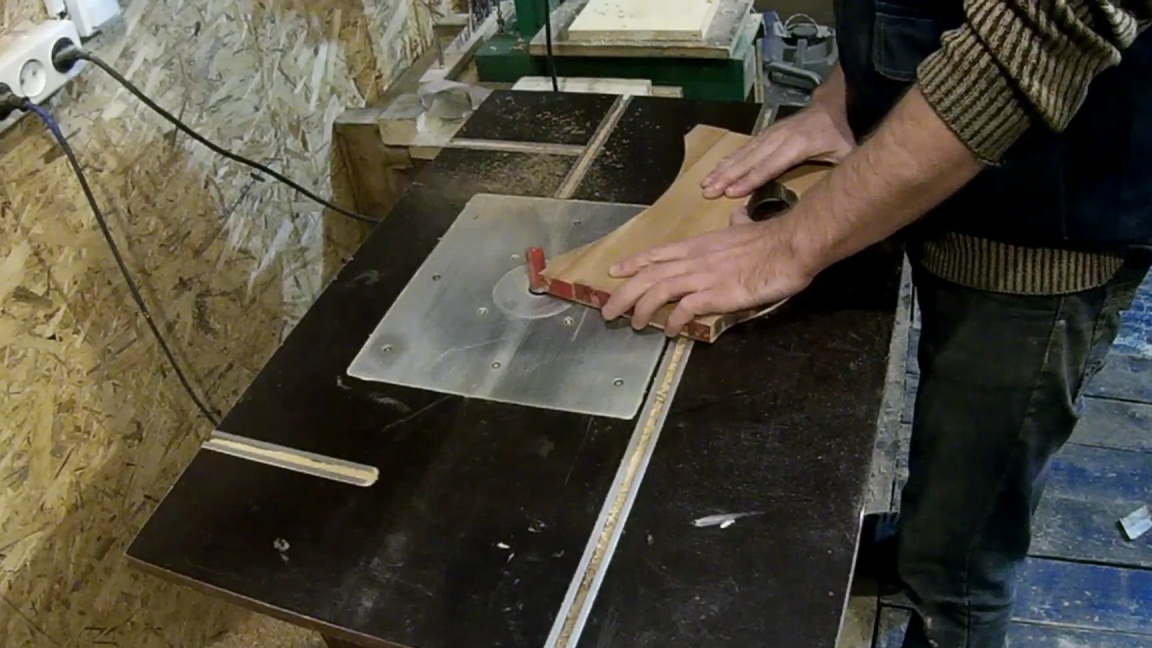
First of all, we drive beech boards on the thicknesser, from which our product will be made, this is done so that the thickness of all parts is the same.
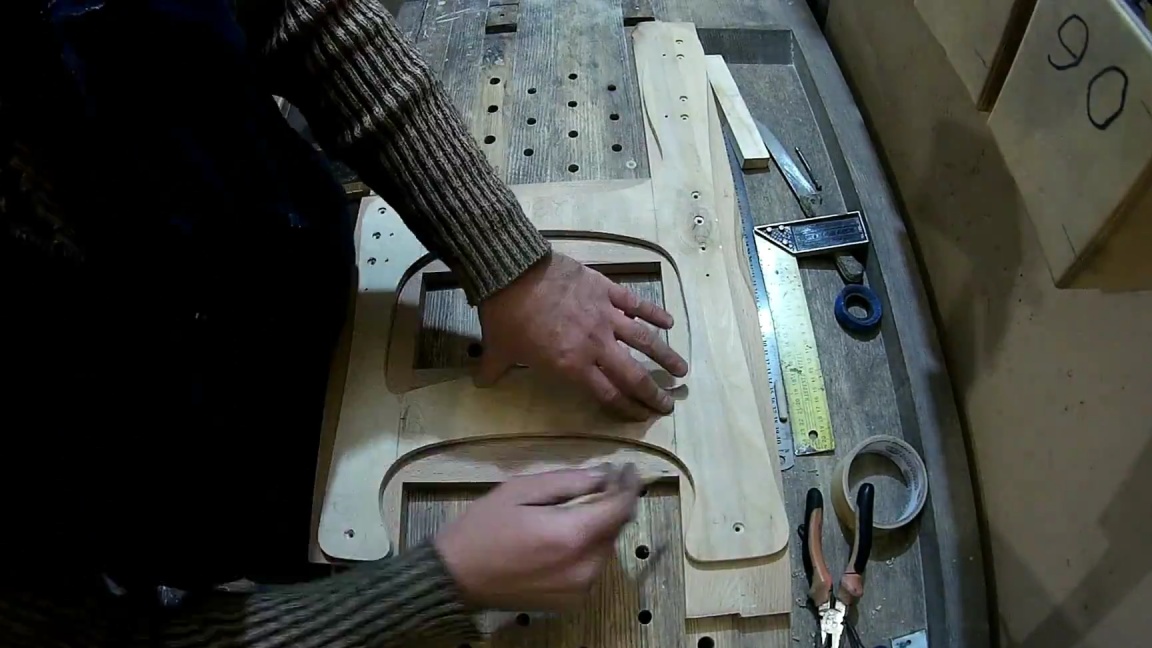
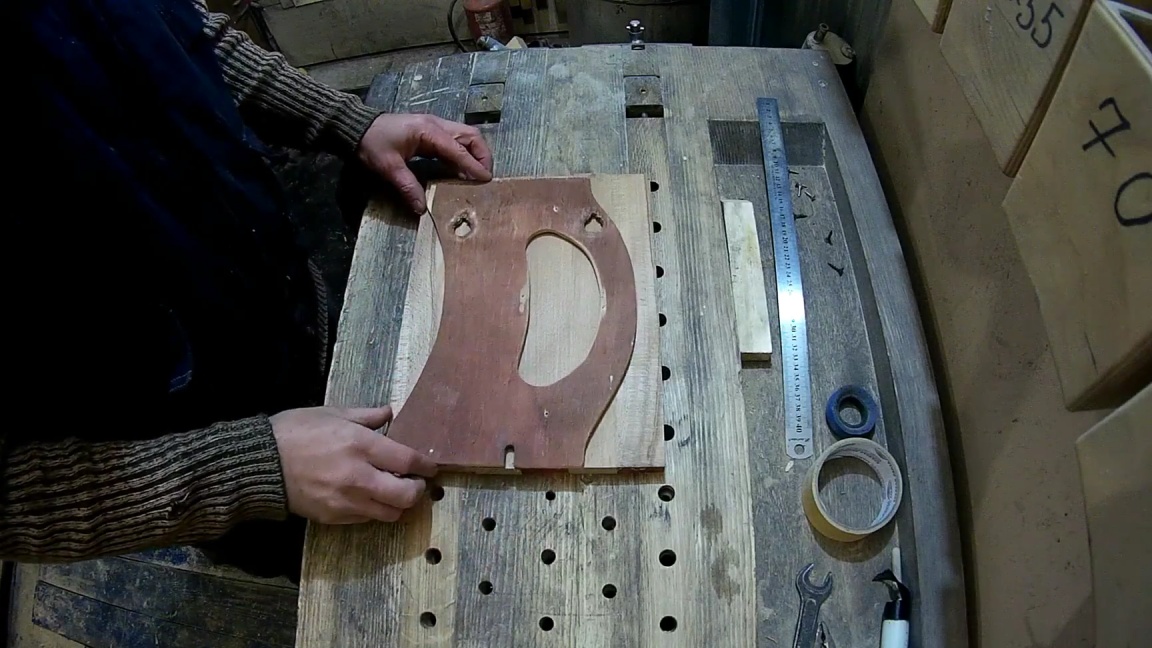
Then you need a template that is easily made from a sheet of plywood, on it we draw an approximately final view of the side of the chair, for aesthetics and safety, we round the edges of the details of the future chair and cut it with a jigsaw for marking.
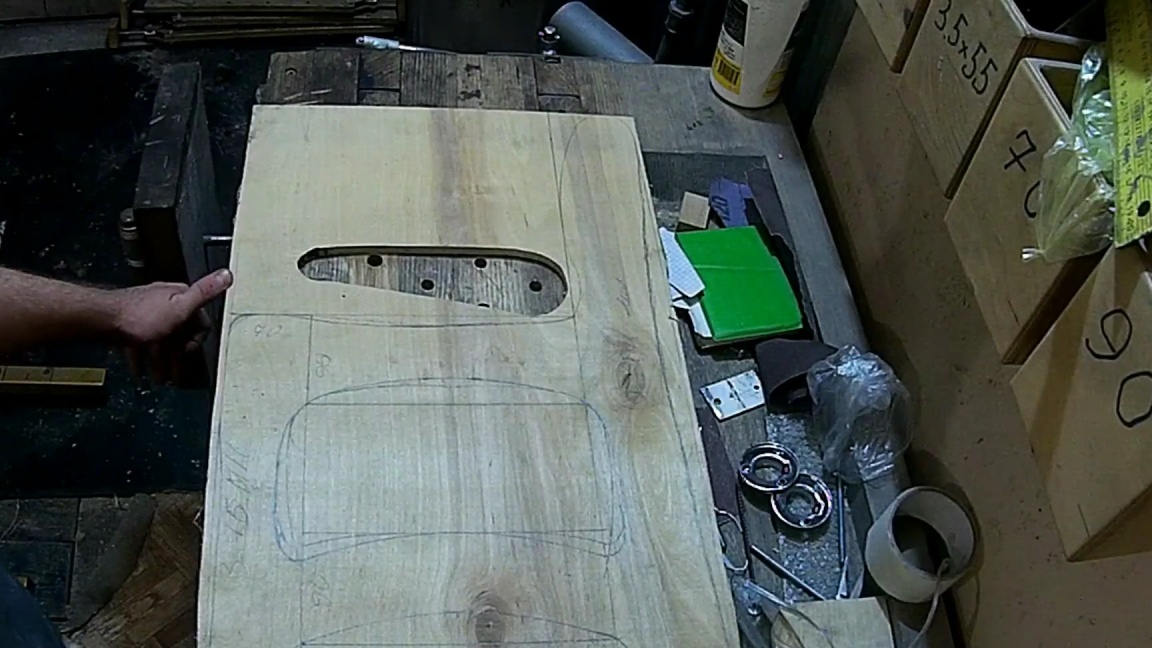
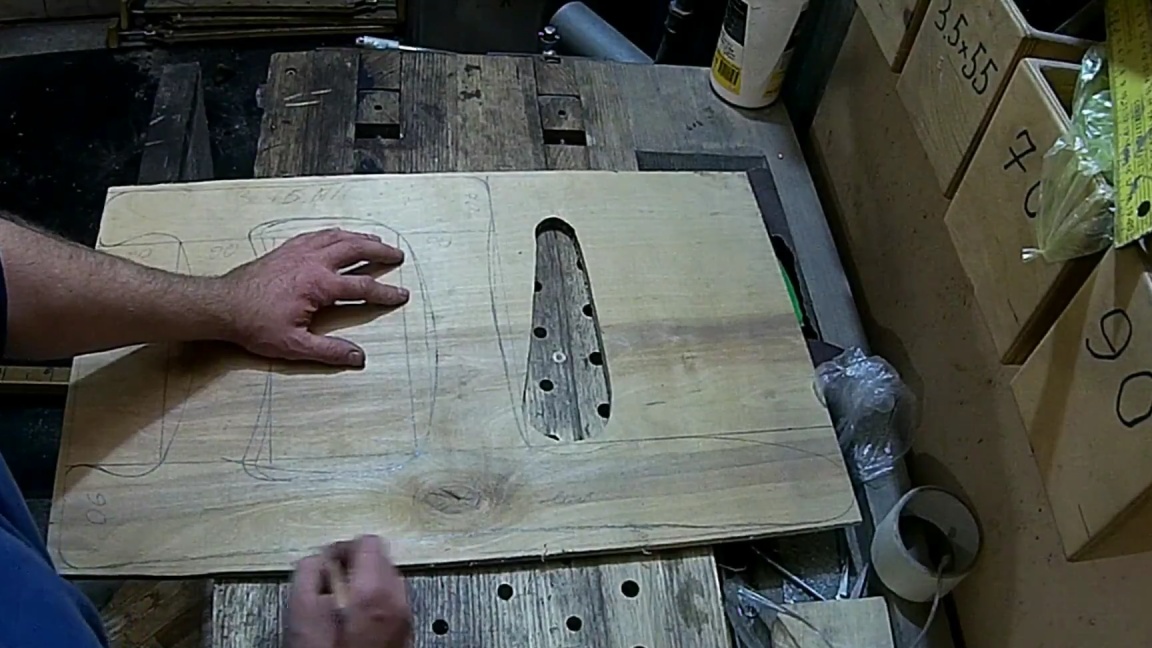
Also do not forget to grind sharp corners and irregularities on the grinding machine. The template is ready, we will continue to work on it in the future, and the dimensions and risks previously applied on the template will help in quickly fitting parts and installing a milling cutter for dowels strictly in the middle of the part.
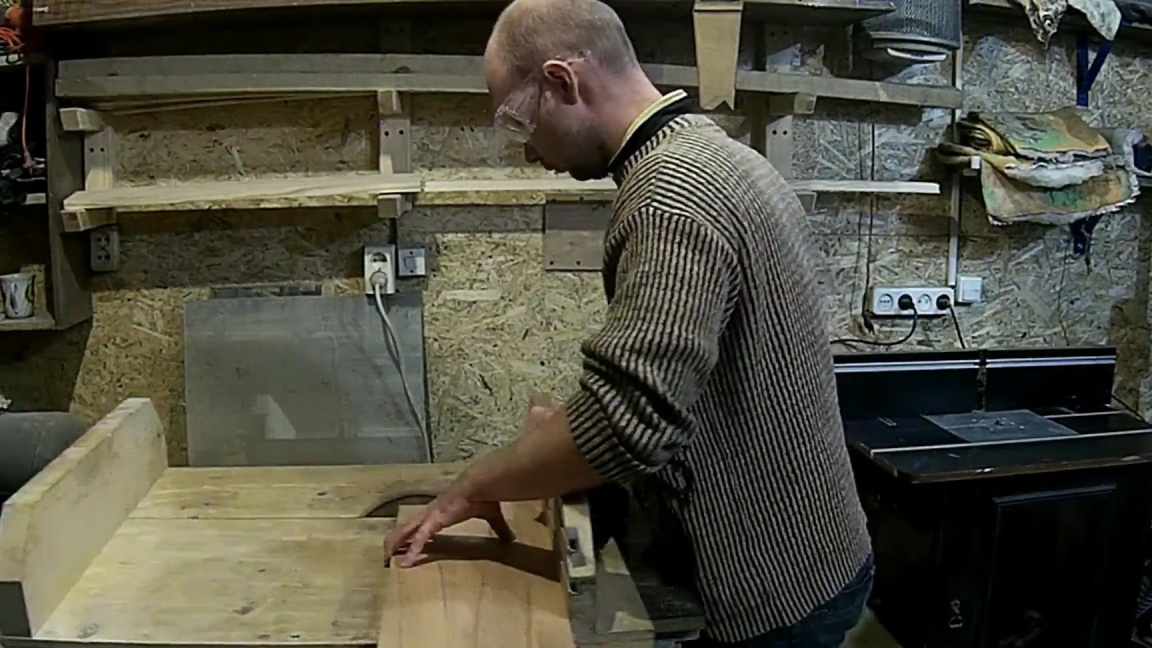
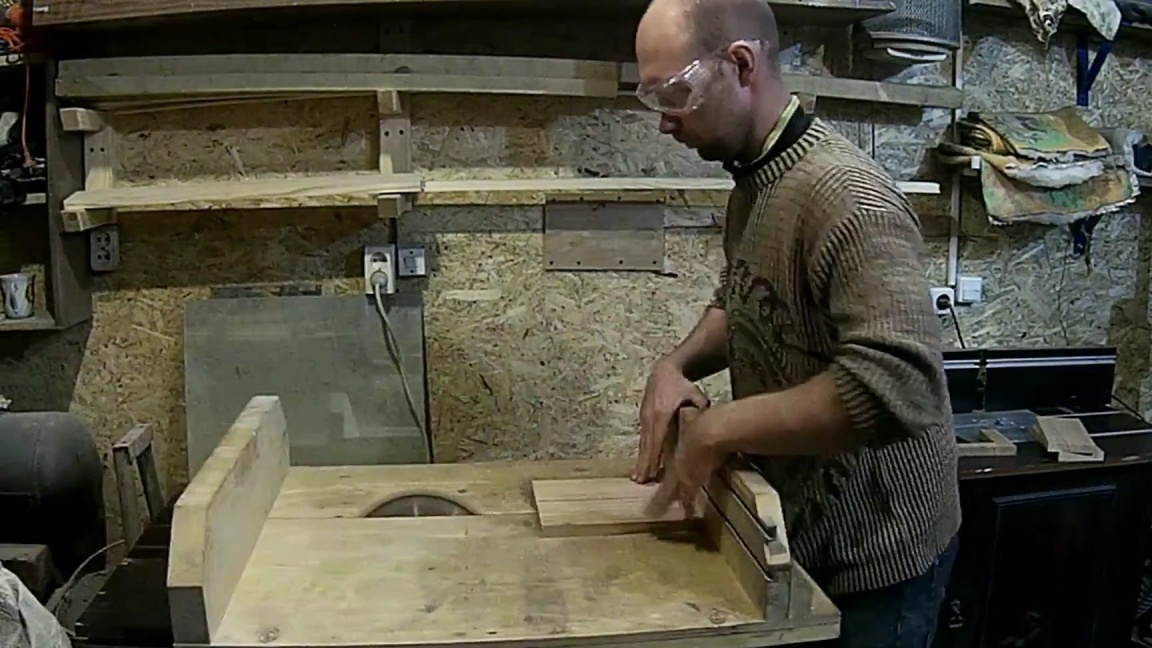
Next, on a sawing machine, we cut the boards to the sizes we need, which were previously indicated on the template. You need to make four small planks that will connect two legs on each side. We try to make them as accurate as possible and without size differences.
Step Two
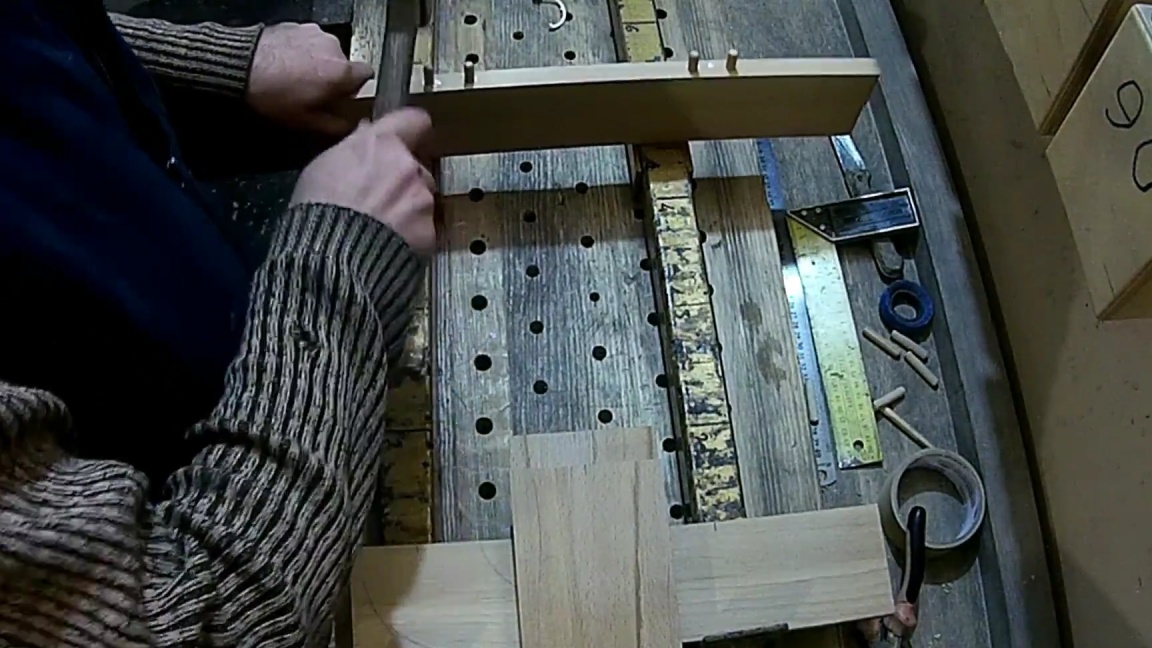
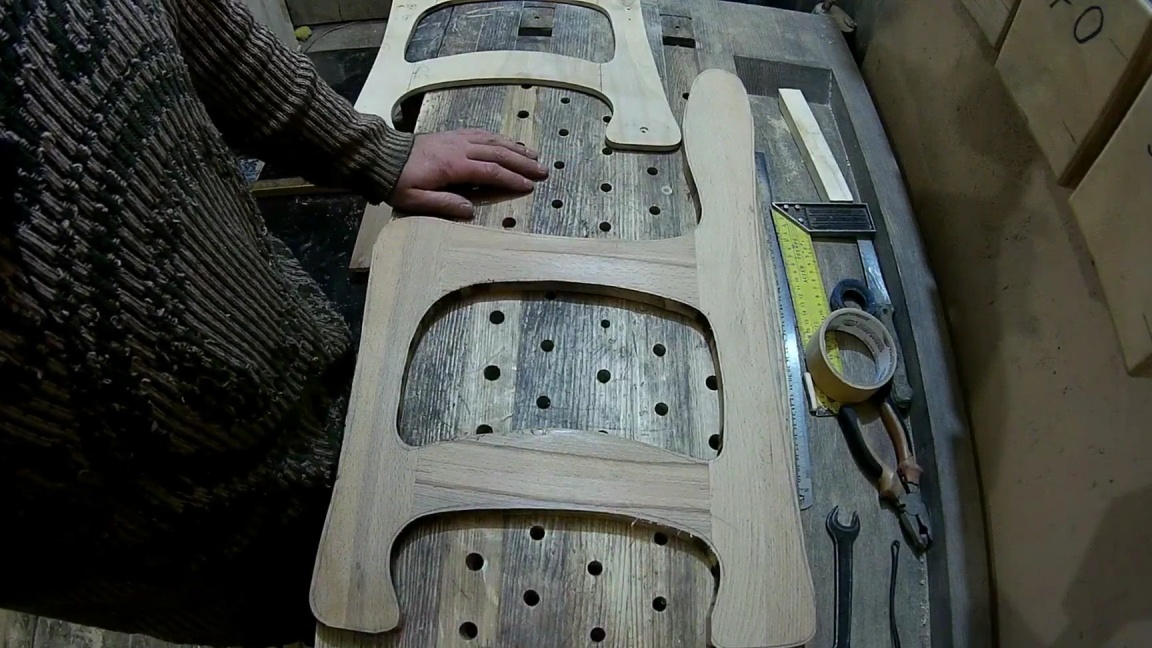
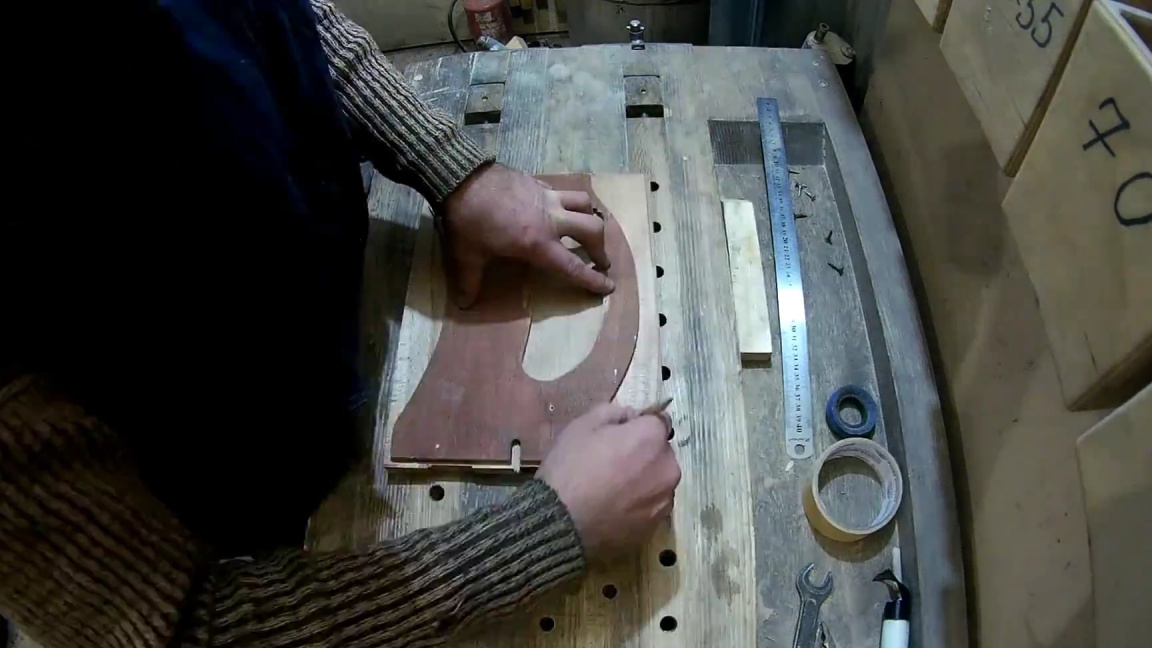
When all the parts for the side parts are ready, you can take up the template. We take the longest board in our homemade product, on which the back will be fixed and we take risks on it strictly according to the template, we do the same with the second board.
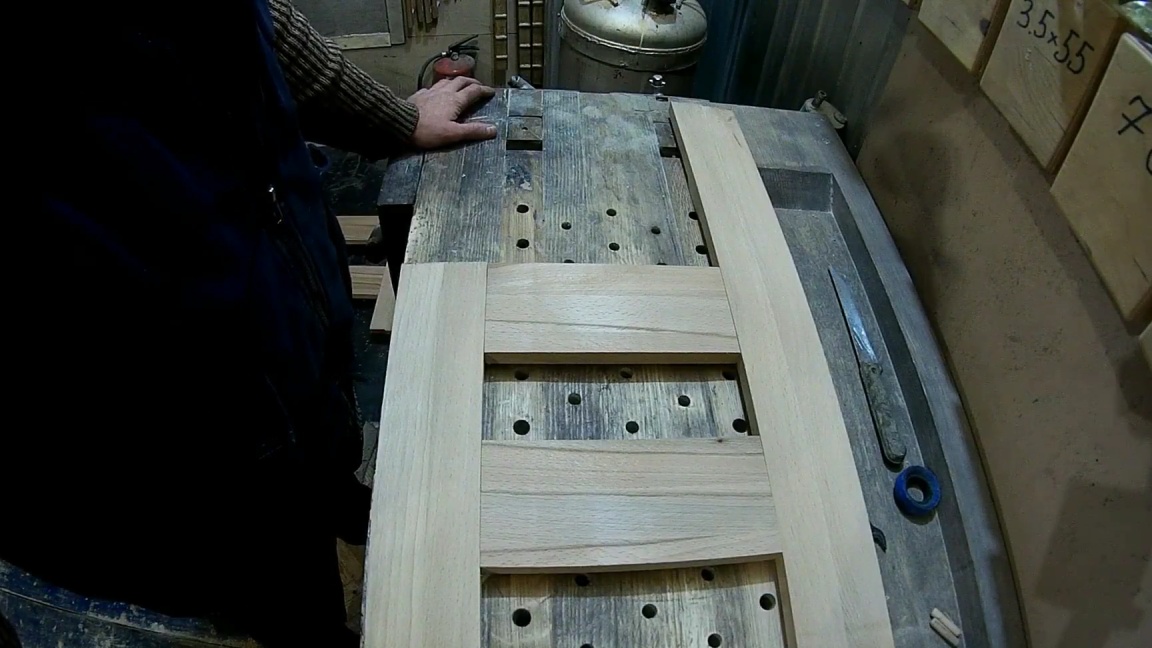


We apply two more details and note the risks similarly to the previous ones.
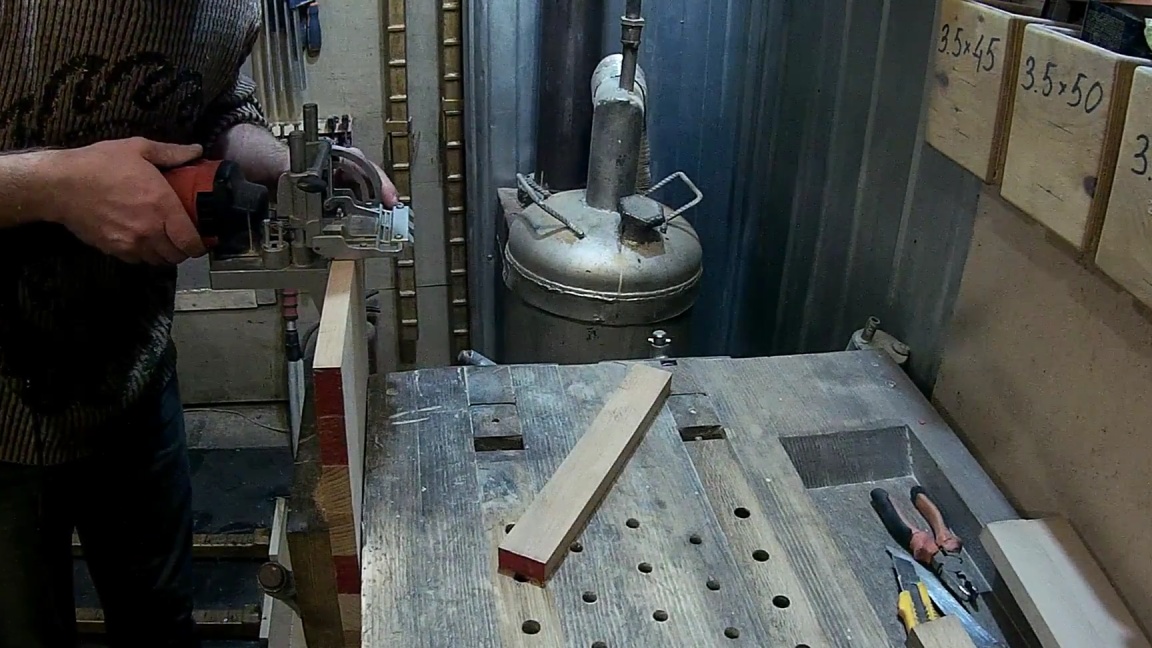
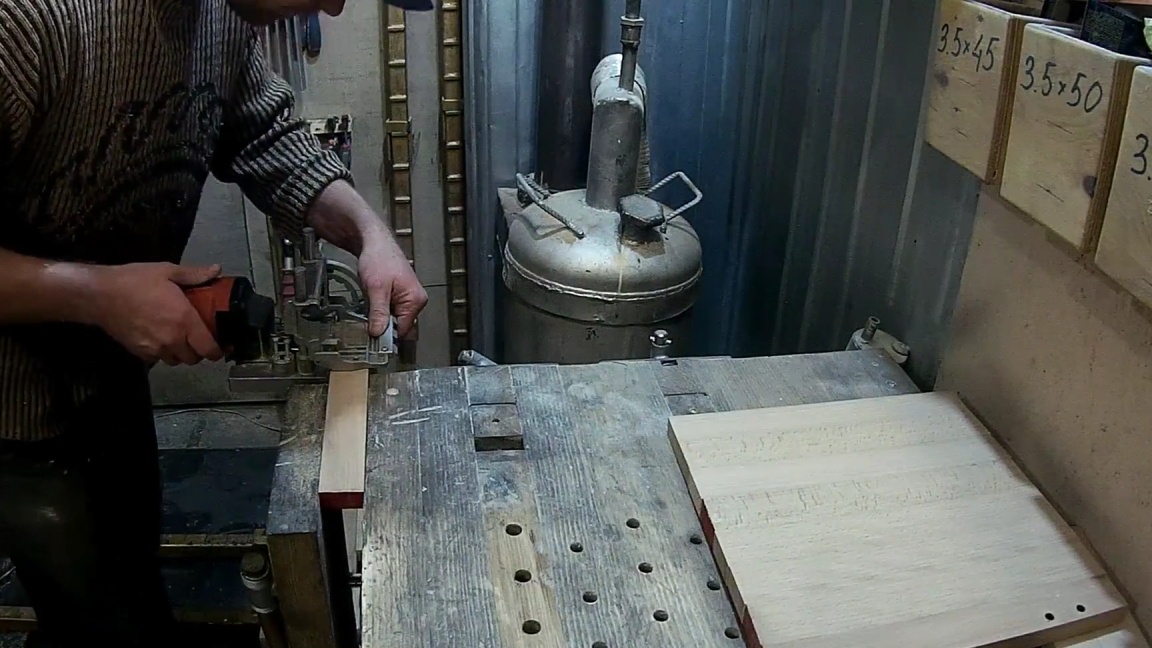
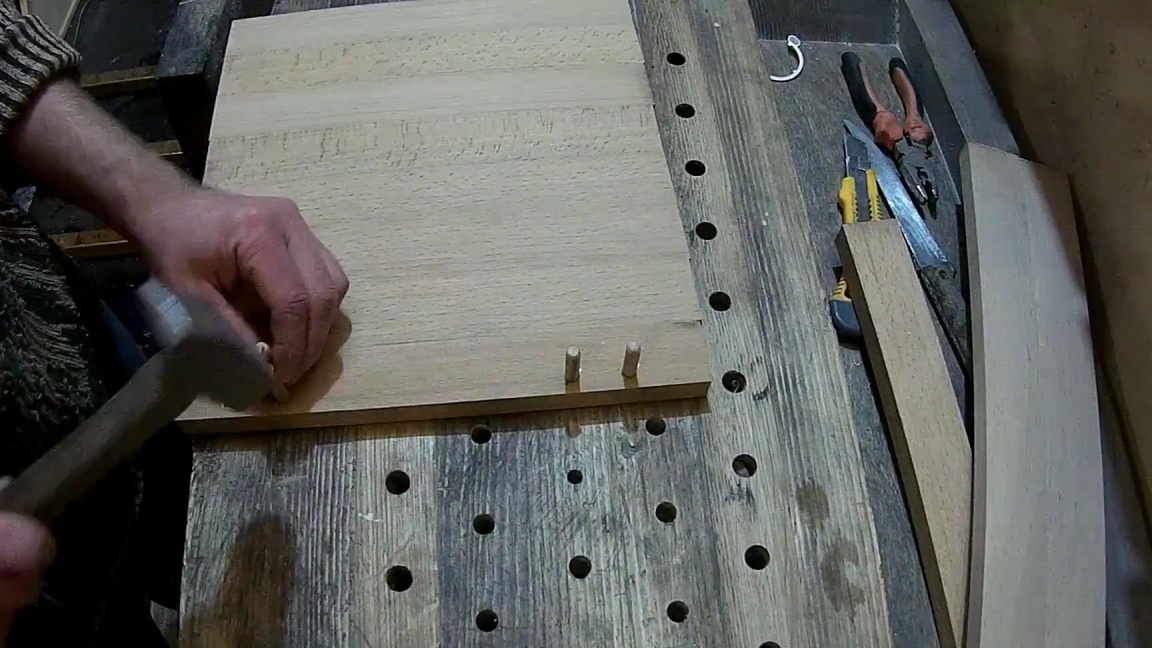
Now we measure the thickness of the board and set the milling cutter for dowels exactly in the middle and make grooves for future choppers, repeat this procedure with the rest of the details.

Step Three
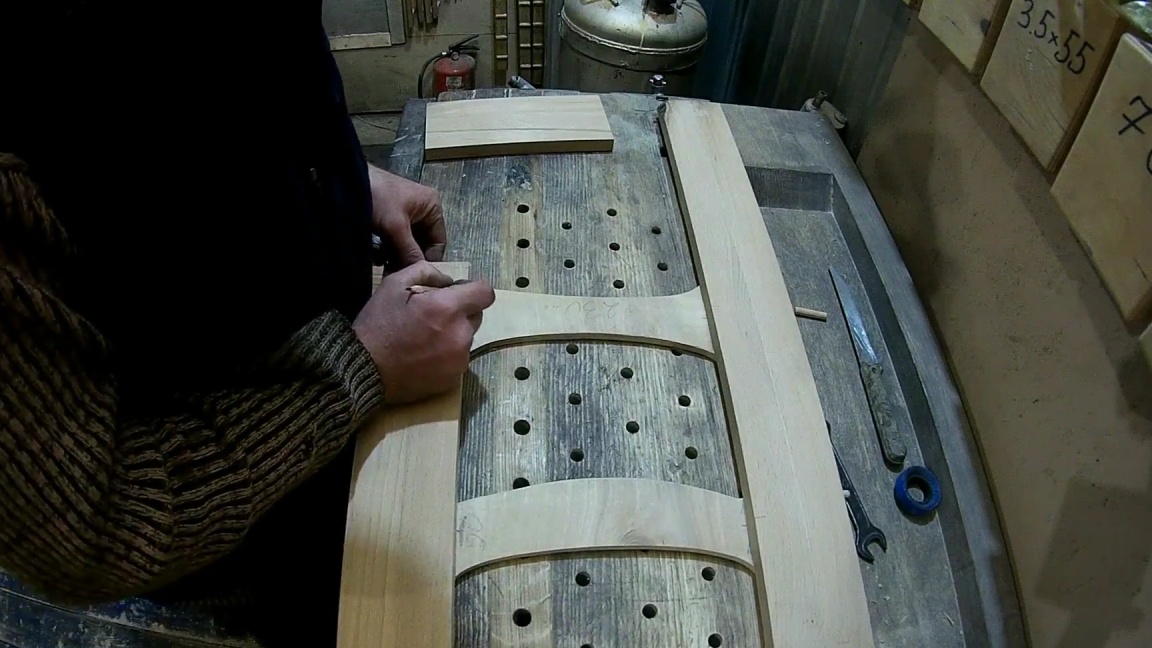
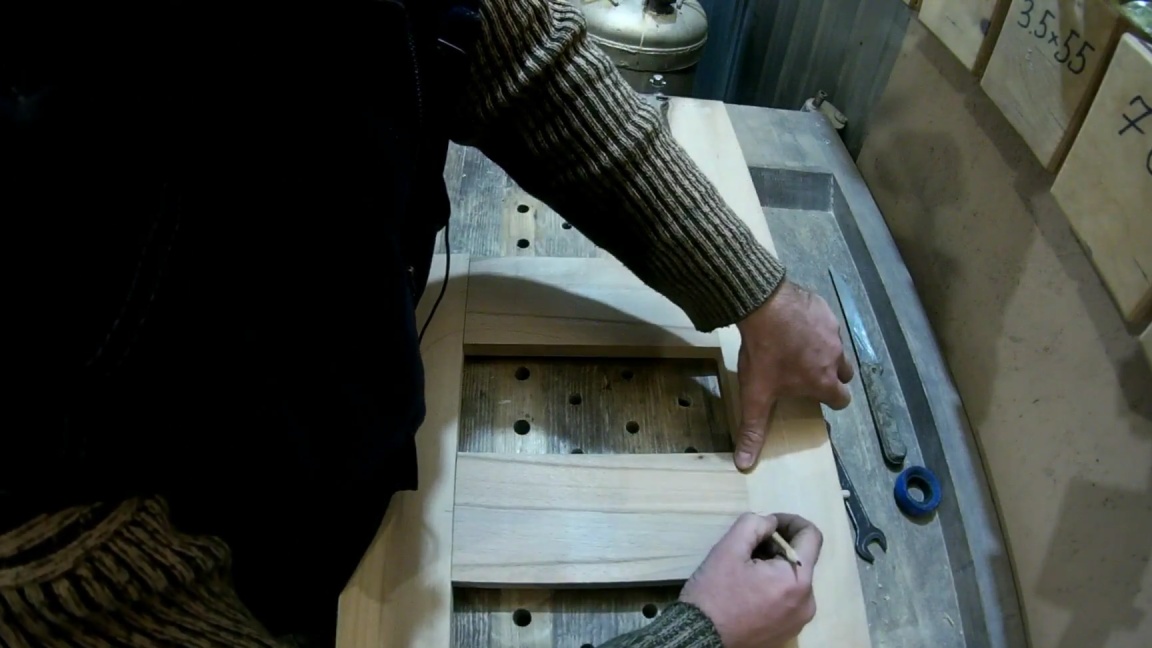
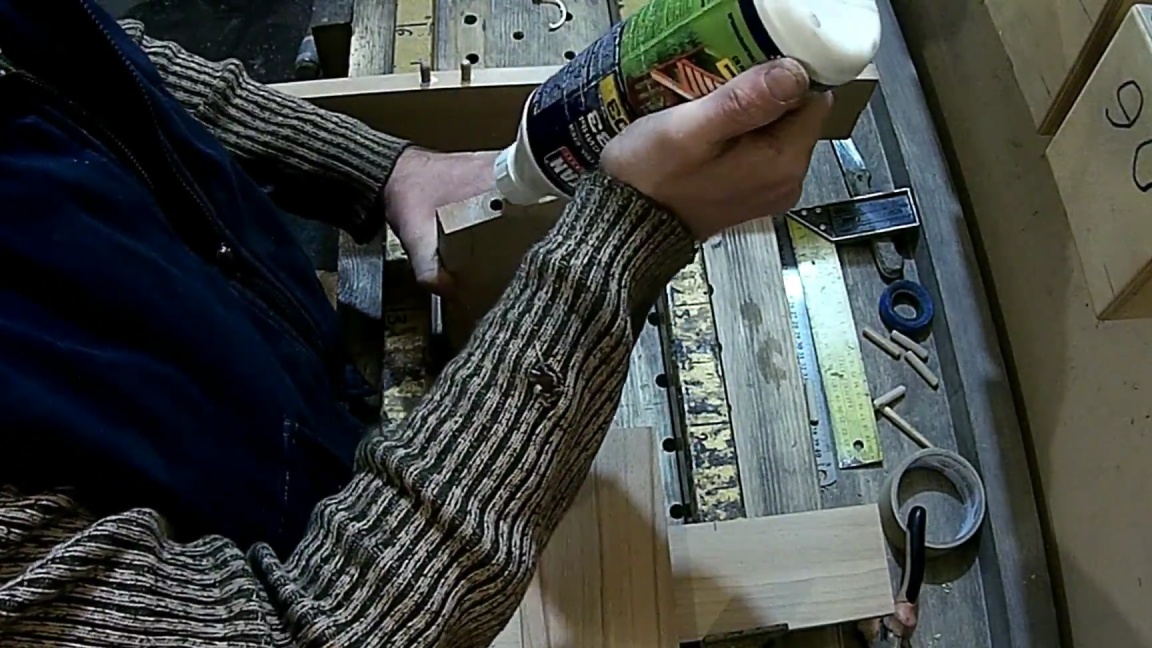
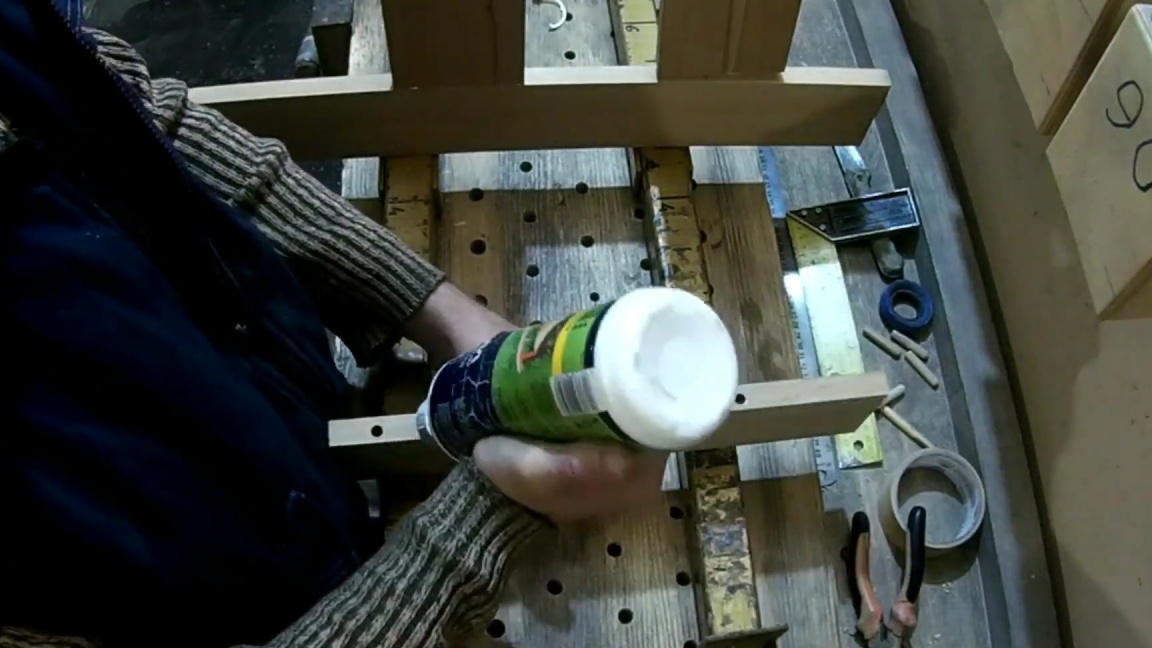
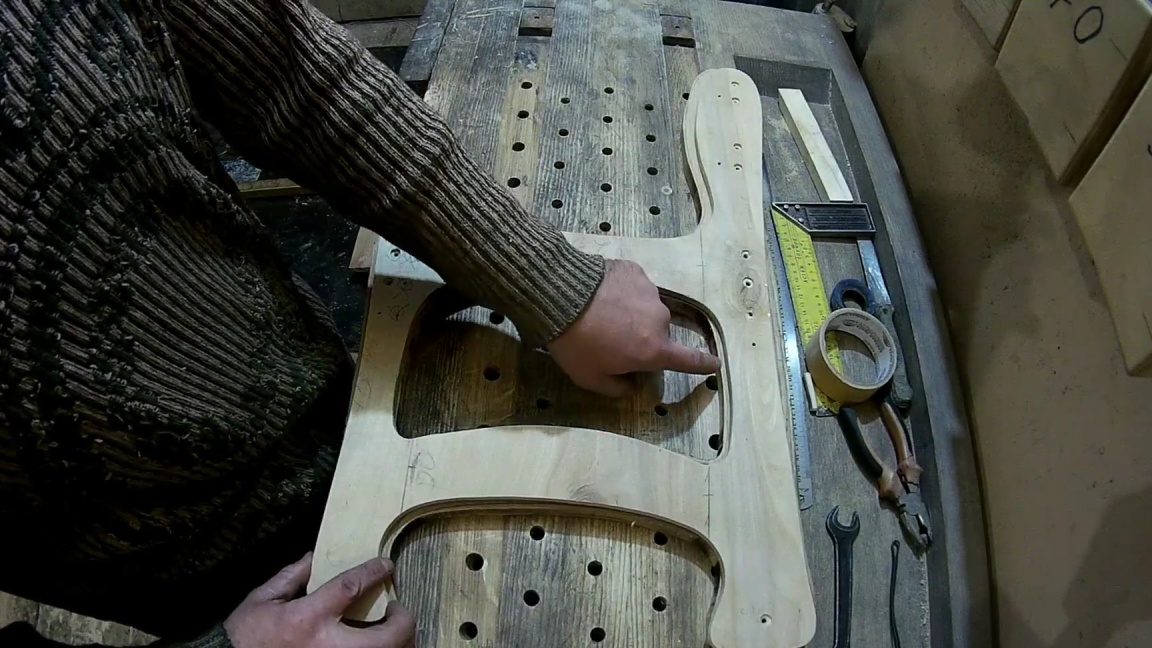
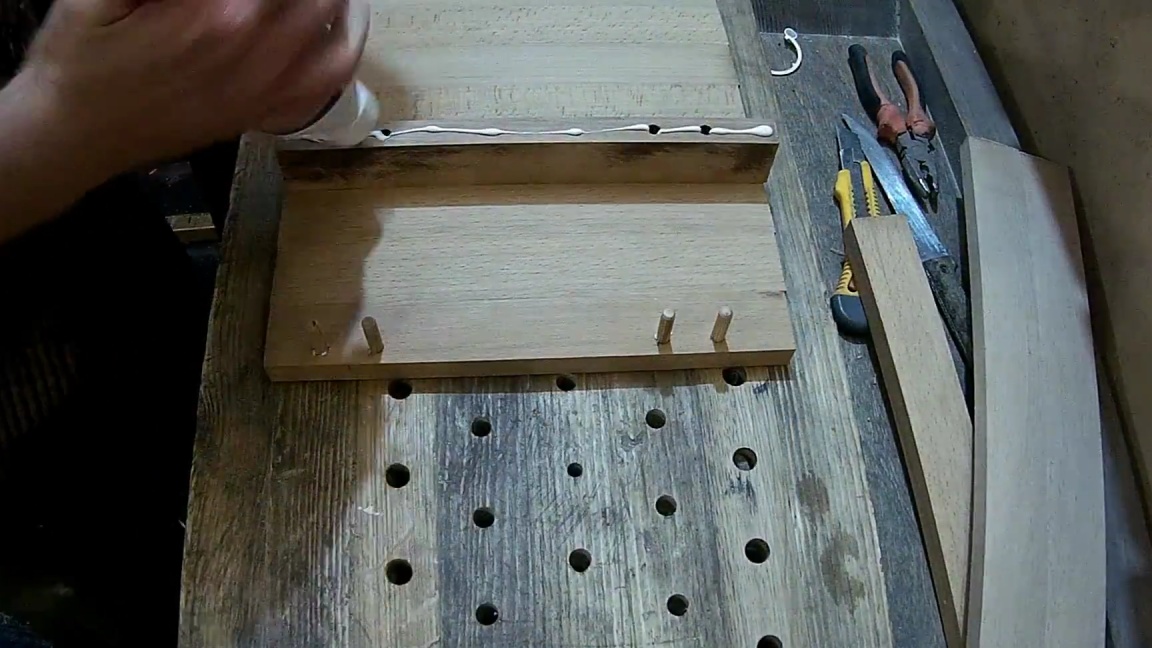
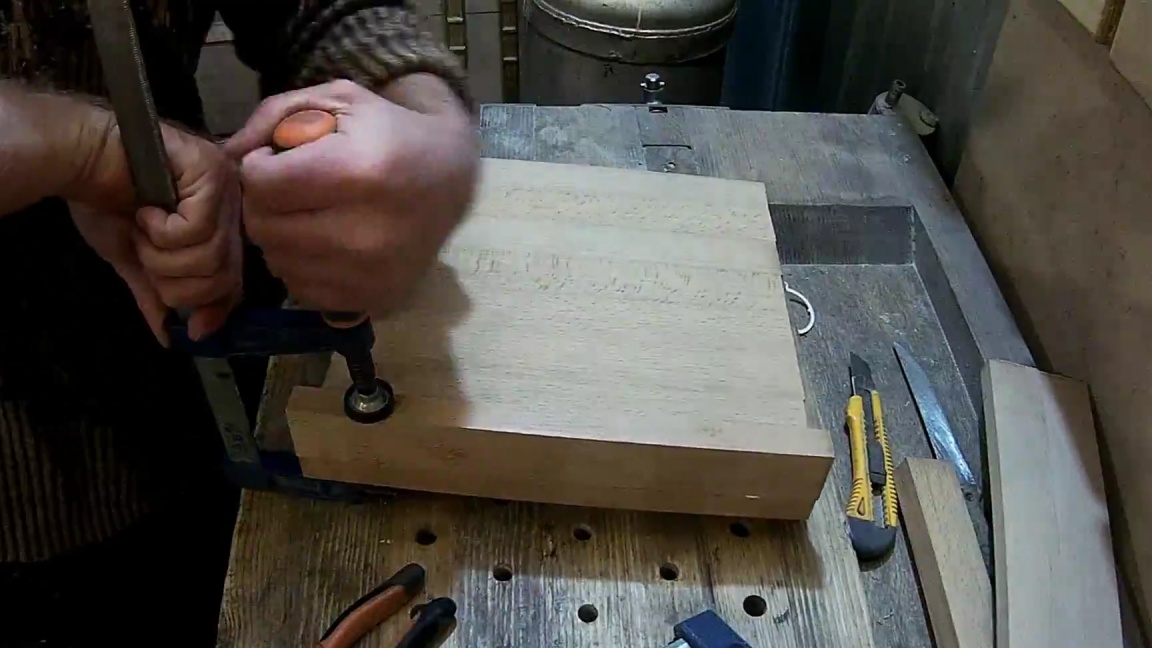
We coat the glued surfaces and chopiki with glue, if necessary, knock them out with a hammer and assemble the parts as a whole, then clamp with clamps, pre-laying planks, so as not to leave ugly marks and dents.

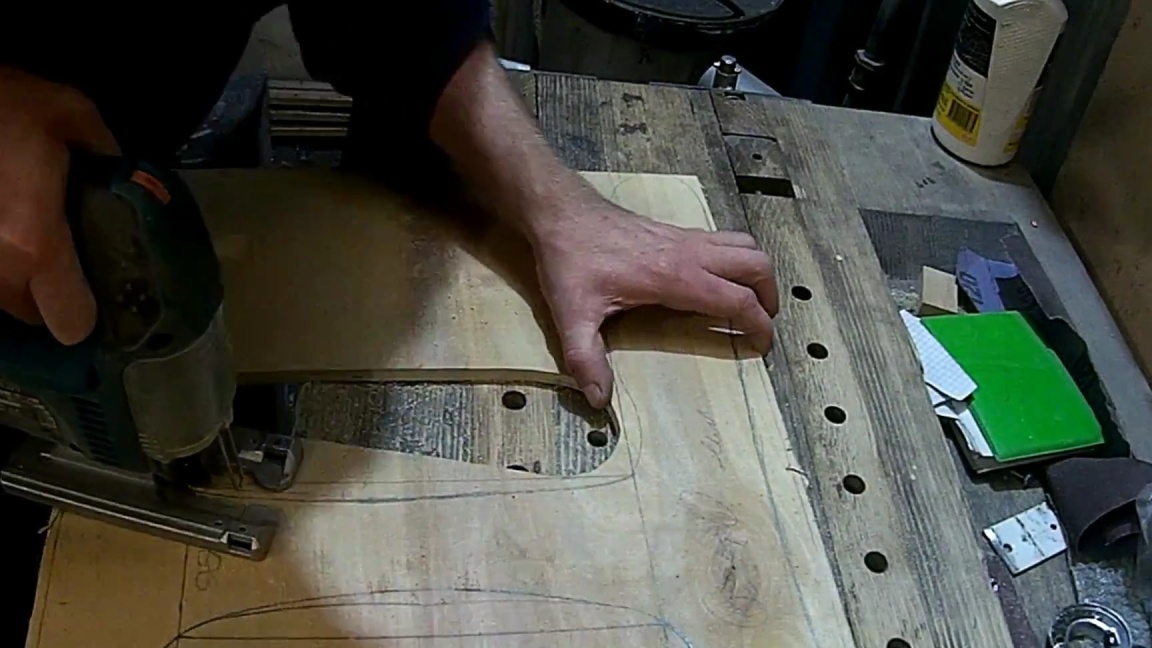
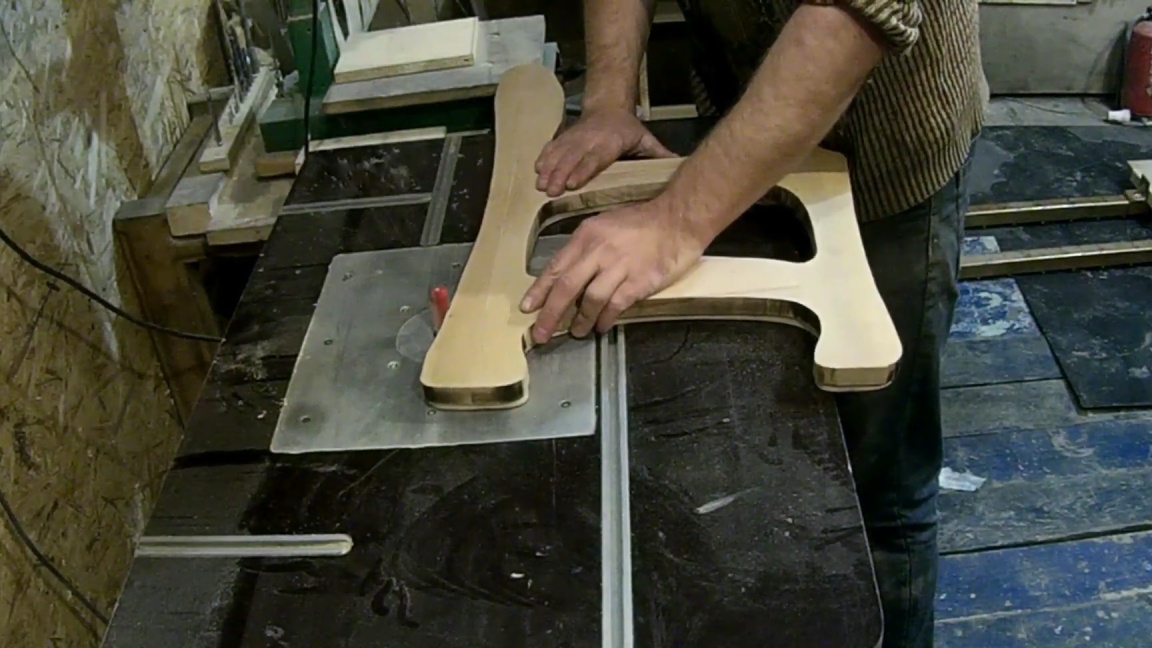
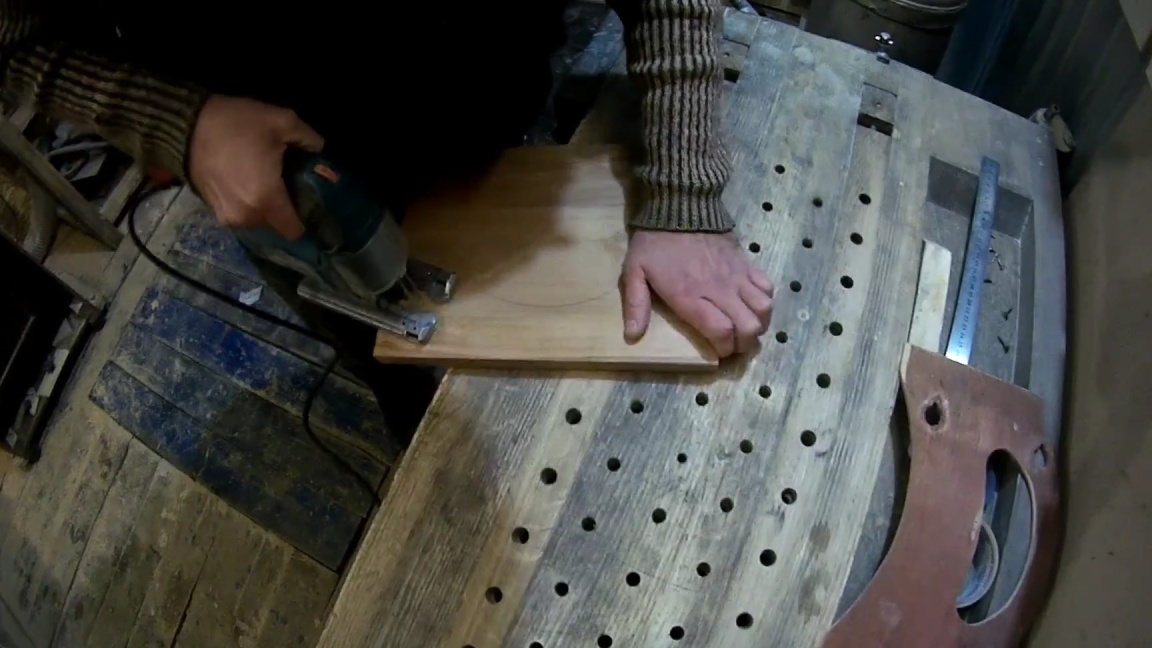
After the glue dries, weaken the clamps and take out the almost finished side part of the chair, apply a sketch to it according to the template, and then, armed with an electric jigsaw, cut out the final version of the part.
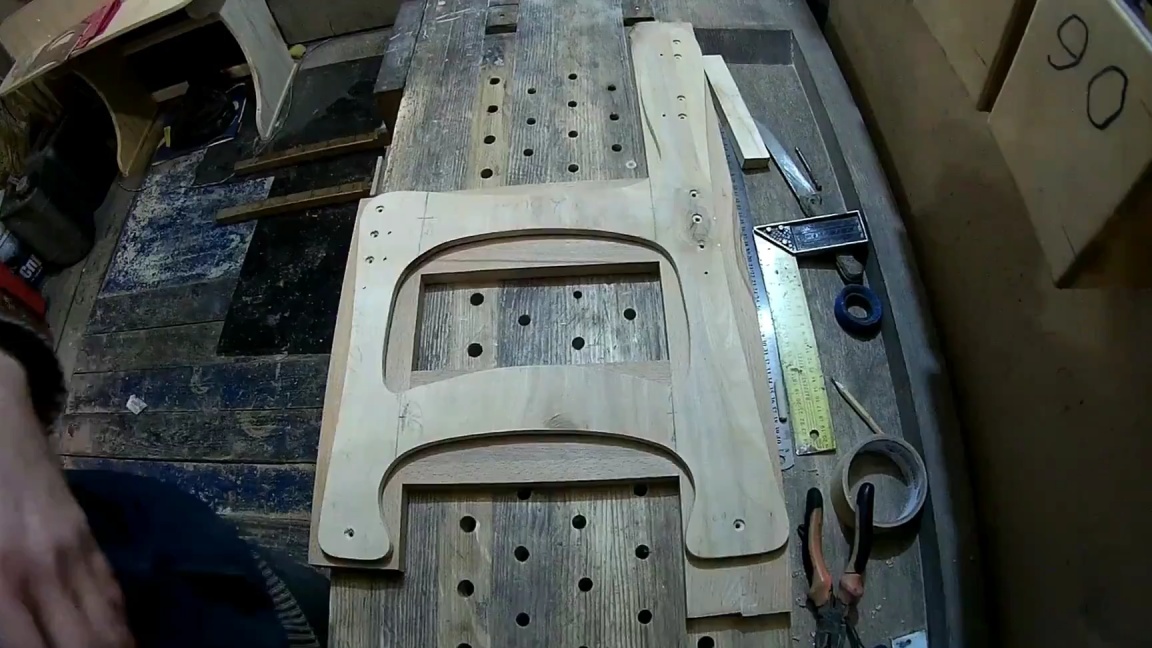

When sawing with a jigsaw, we leave a stock of material of about 2 mm, this is necessary for working with a milling cutter.
Step Four
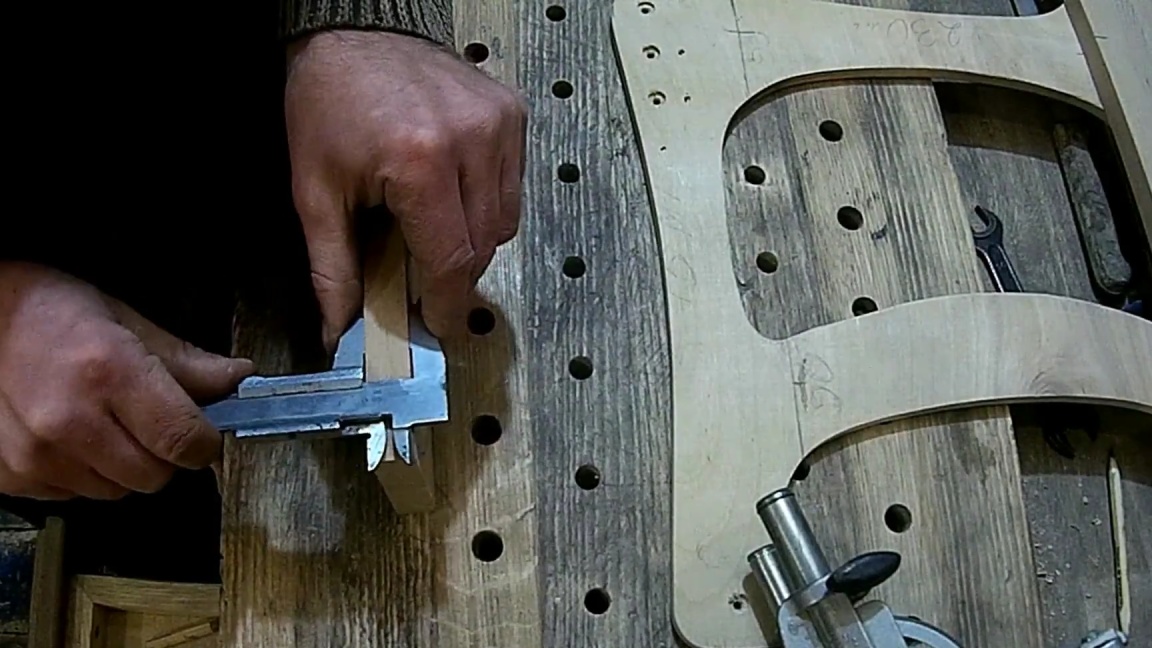
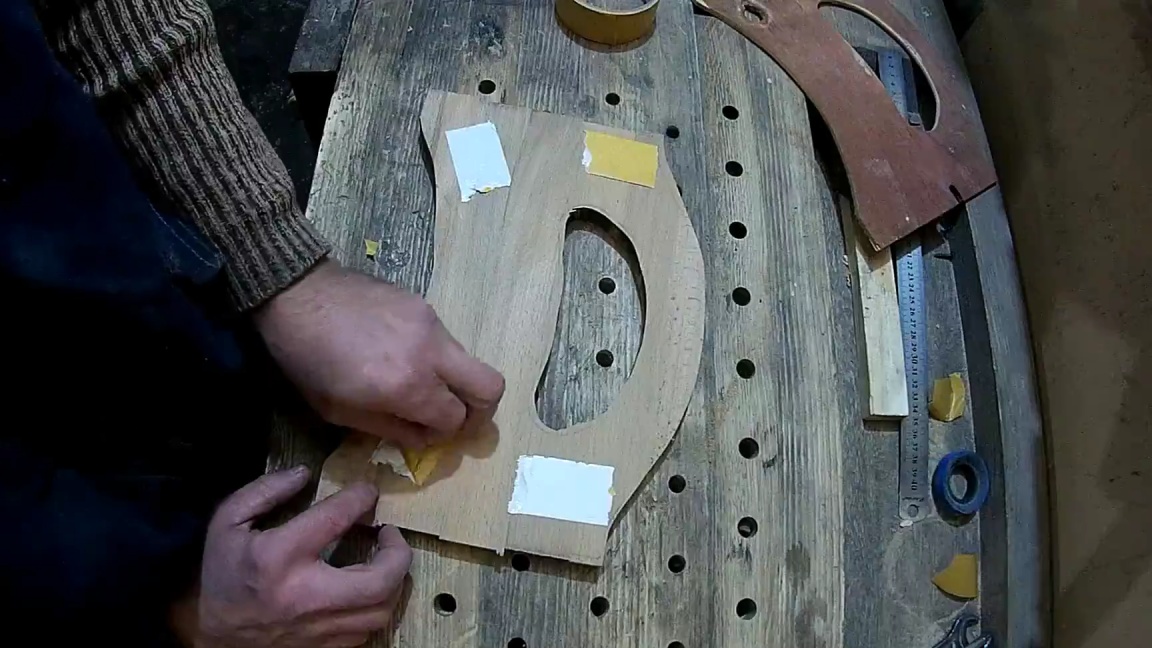
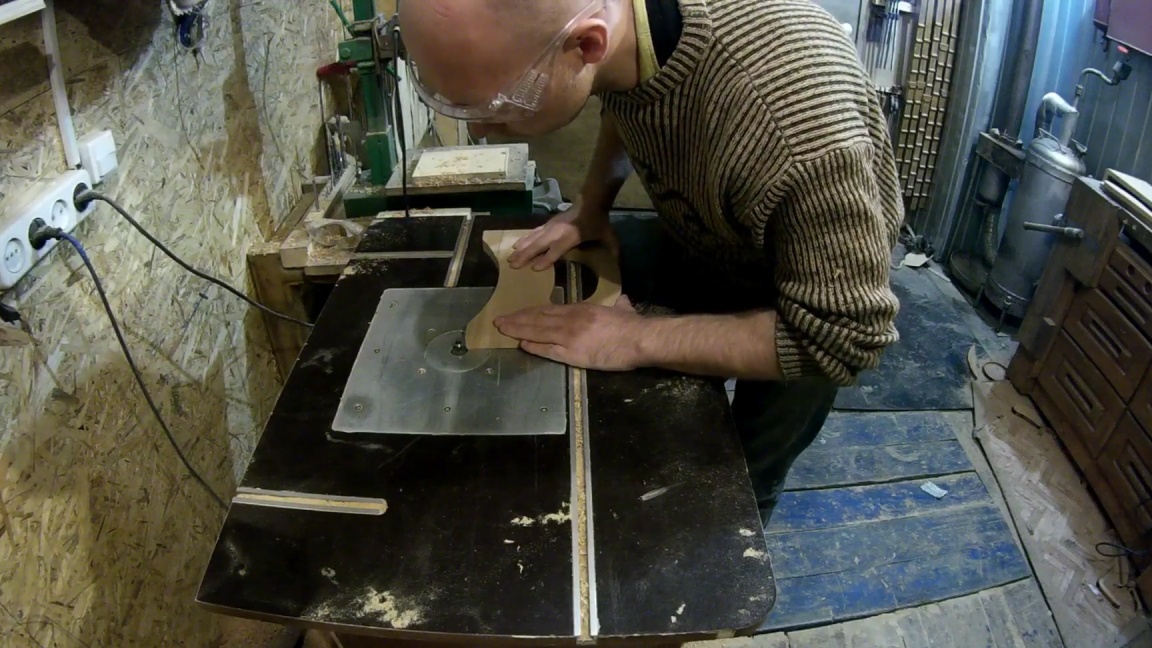
We install a mill with a bearing on the milling table.
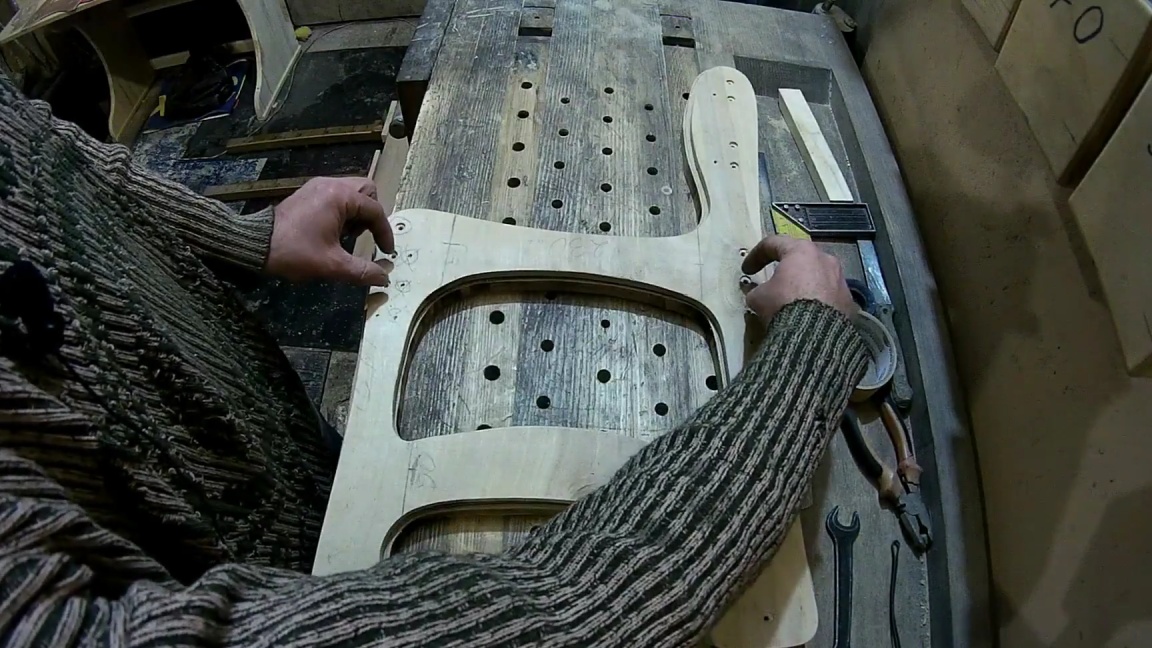
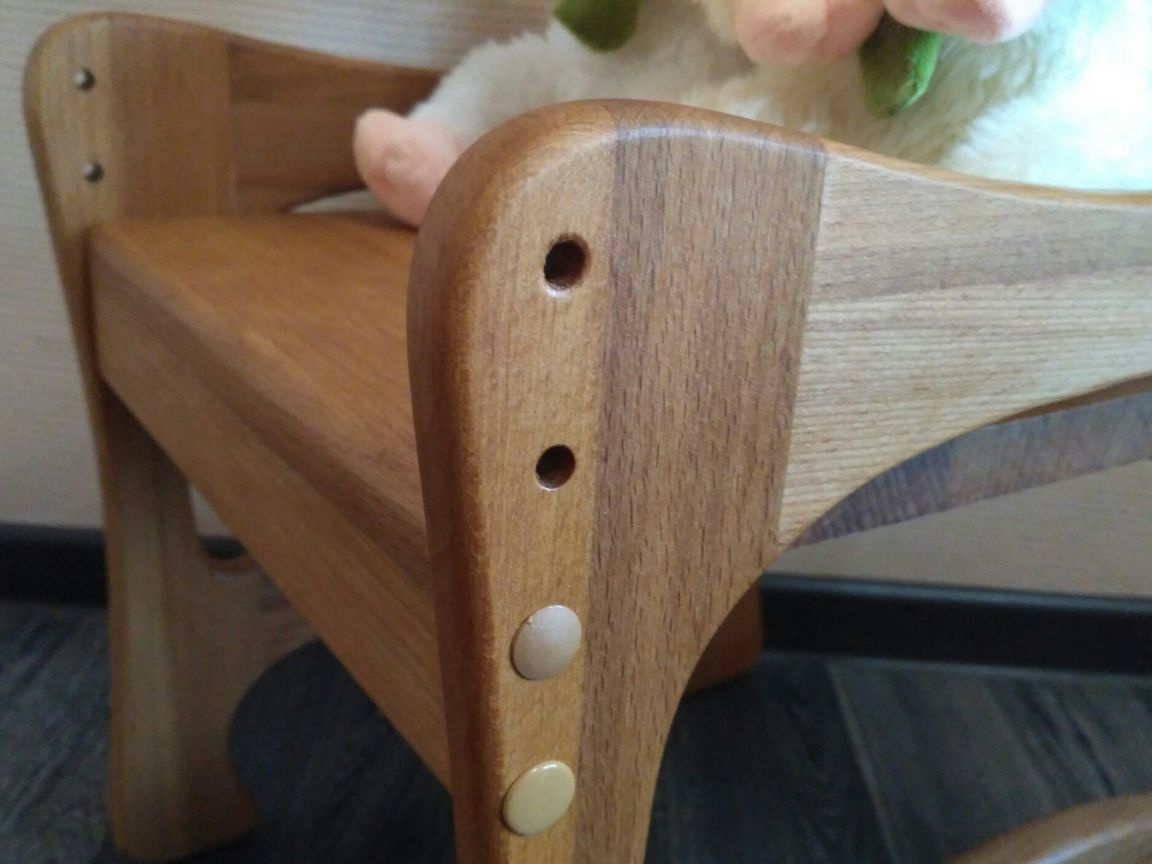
We attach the template to the part using the holes that are designed to adjust the height of the seat, as well as through specially made holes at the bottom of the legs.
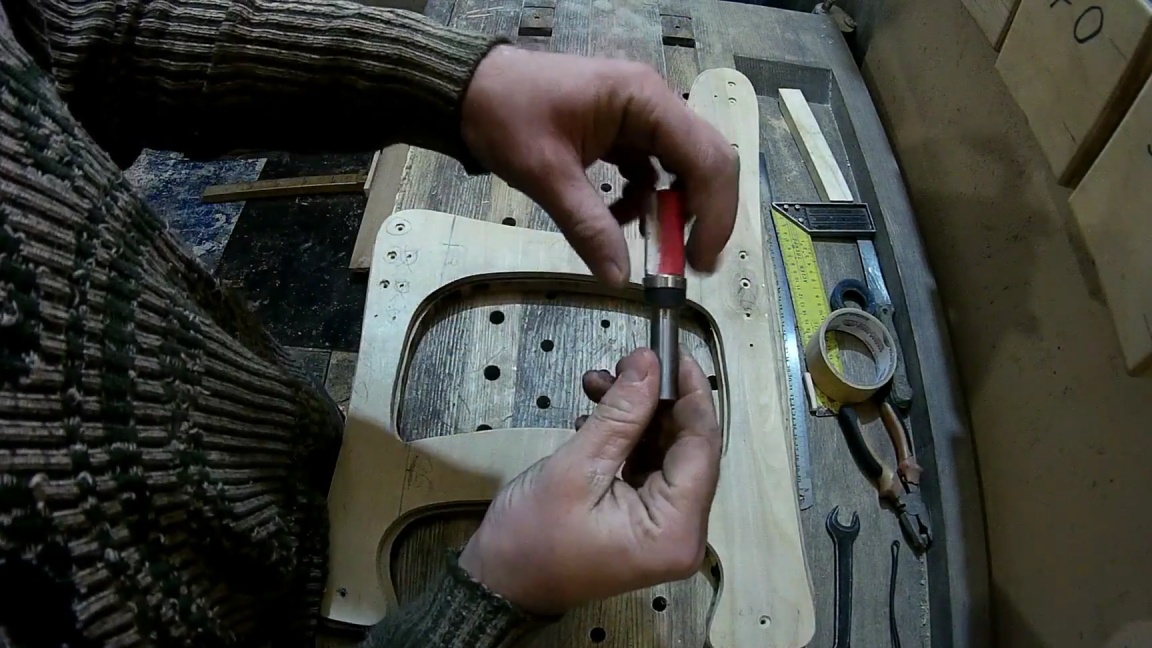
Next, we place the part with the template down on the milling table and slowly remove the excess part, resting the template against the cutter bearing.
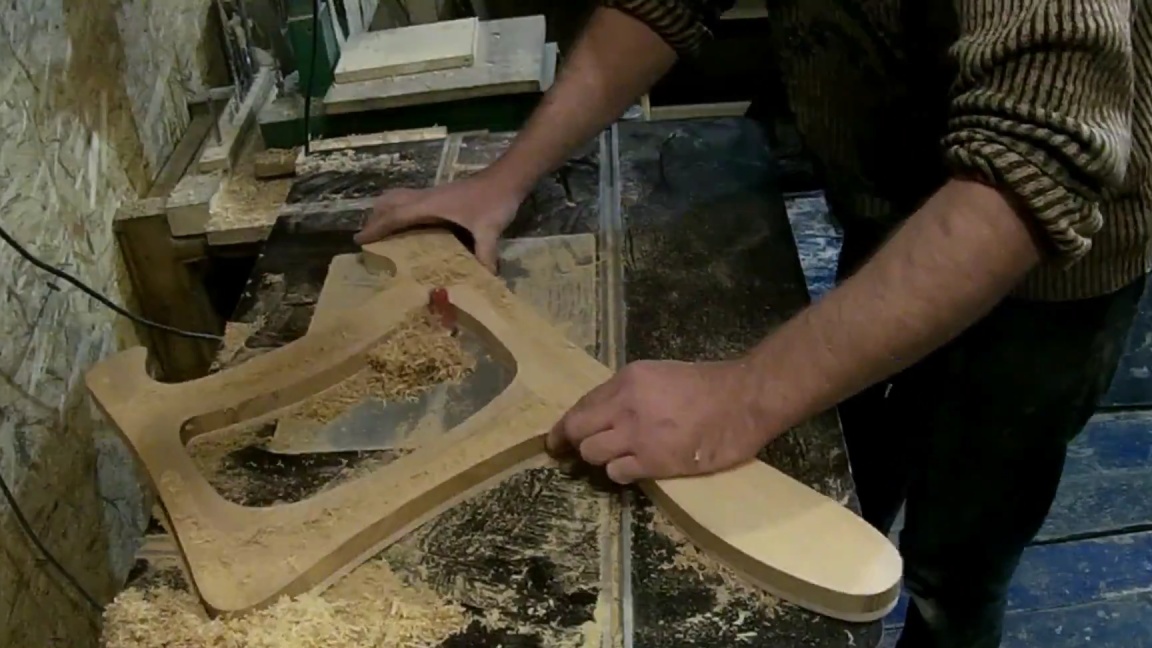
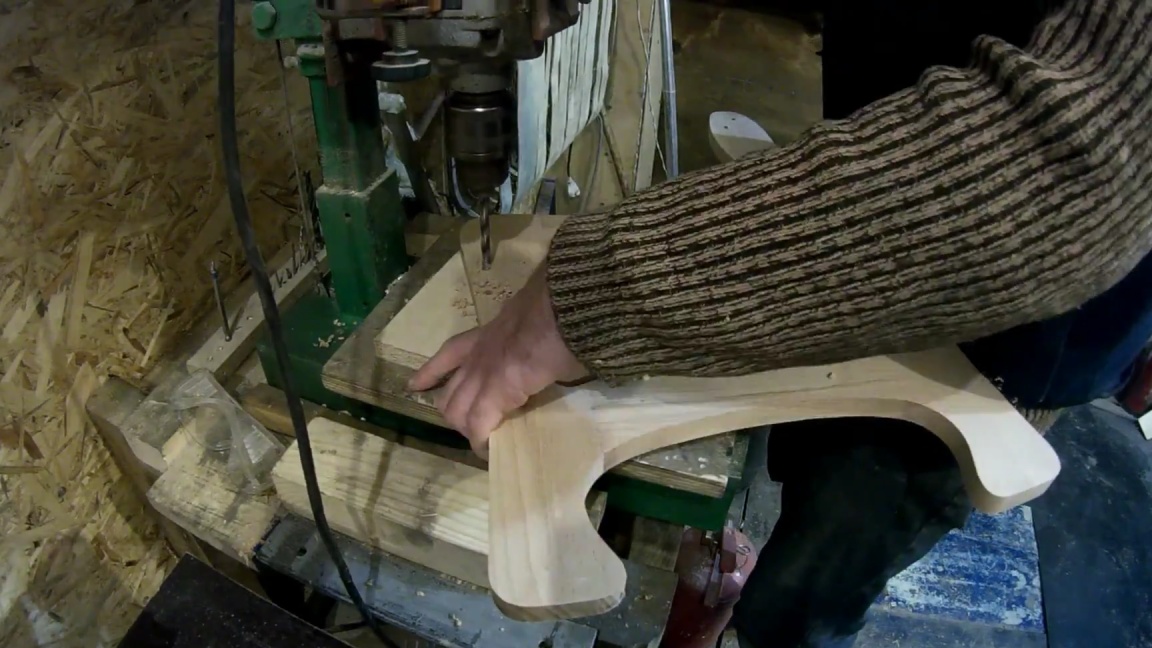
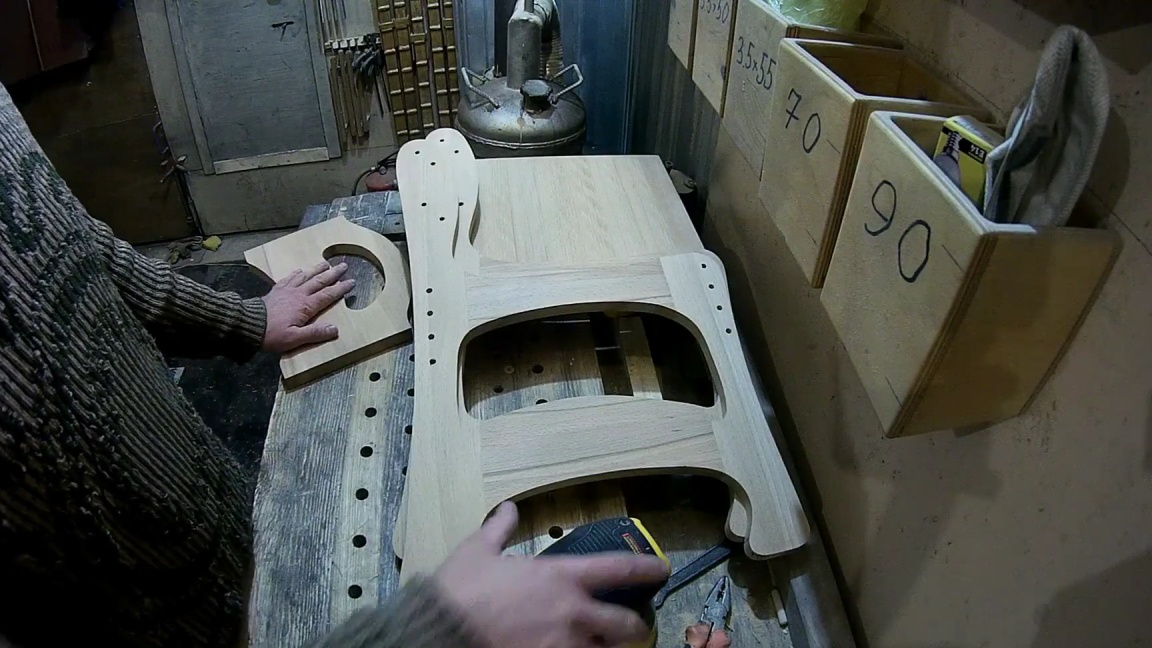
The advantages of this method are that if you have one template, you can make as many details as you like, which in the end will have the same dimensions with high accuracy. We will need two such details. After all the manipulations with the milling cutter, we proceed to drilling holes to adjust the height of the chair seat, this operation is easily and accurately done using a drilling machine.
Step Five
It's time to make a back for a chair. We also make it according to the template, which must be transferred to the future part and sawed with a jigsaw with a supply of material of about 2 mm for the same purpose as in the case of the side parts.
On a double-sided tape we attach the template to the part and in the same way we remove the excess using a milling table.

Step Six
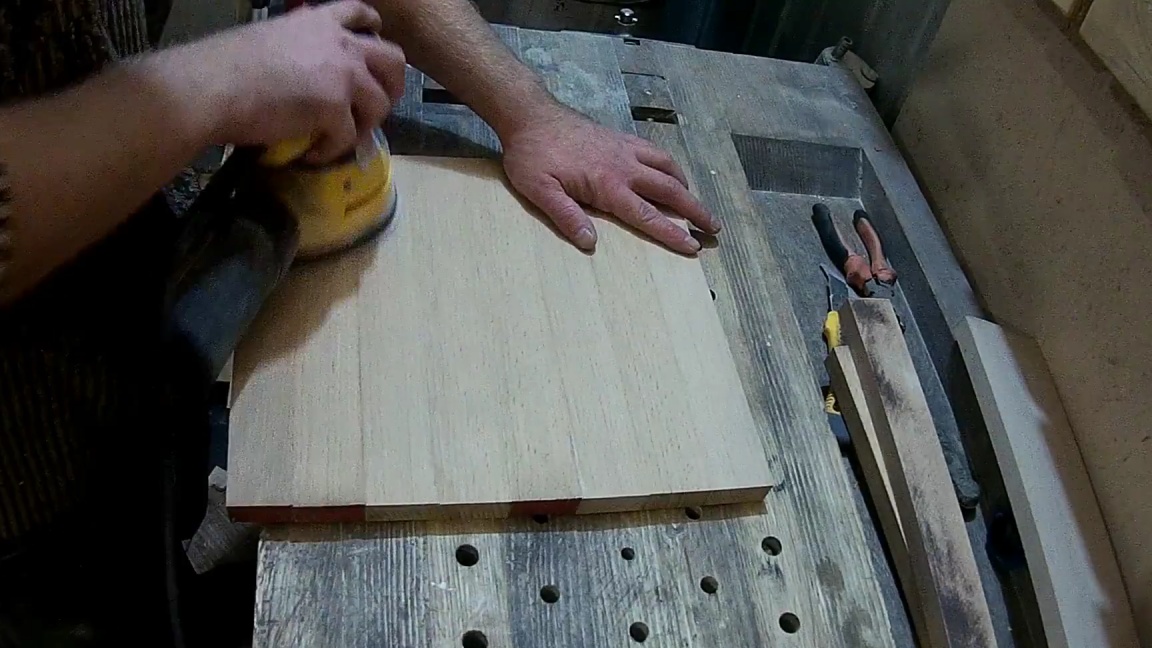
What is this chair if it does not have a seat? Let's do it. We grind the board, which was pre-cut to the required dimensions, then we make four grooves on both sides, and also on the board, which will be mounted perpendicular to the seat on both sides.
Coat joints and chopsticks with glue, after which they are slightly knocked out with a hammer and connect the seat to two planks.

For effective bonding, we tighten the parts with clamps and allow to dry.
We adjust the size of the back and seat, their width should be the same. Then we grind all the details with a grinding machine.

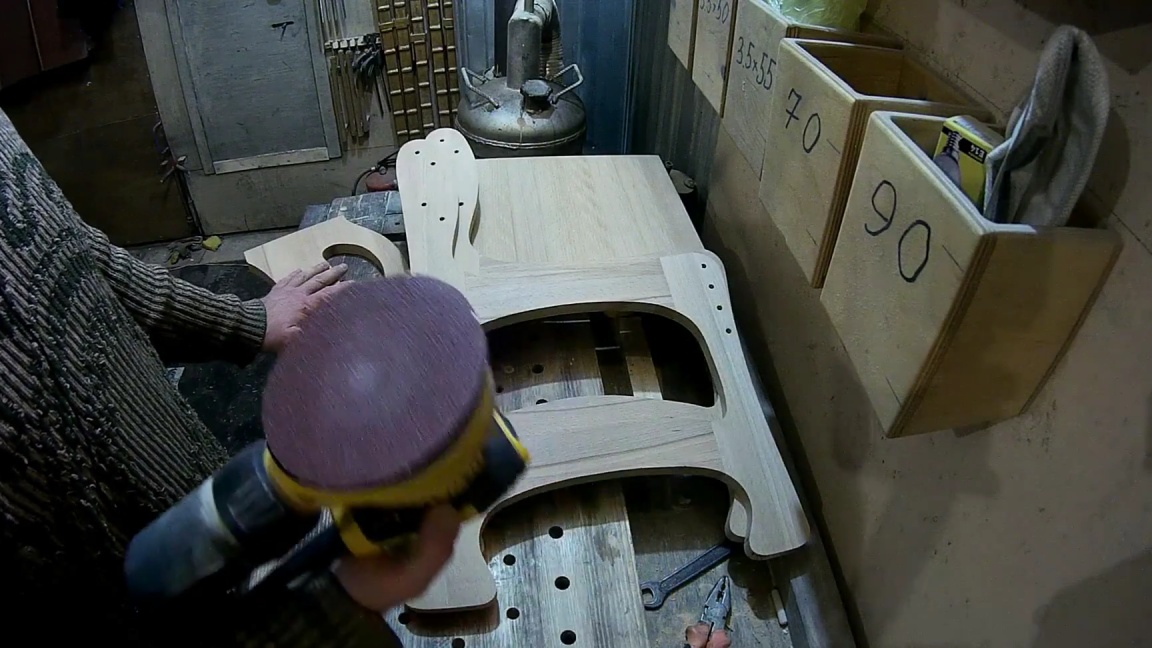
Seventh step.
In order for the stool to be less dangerous, you need to round the edges, a radius cutter will help in this.
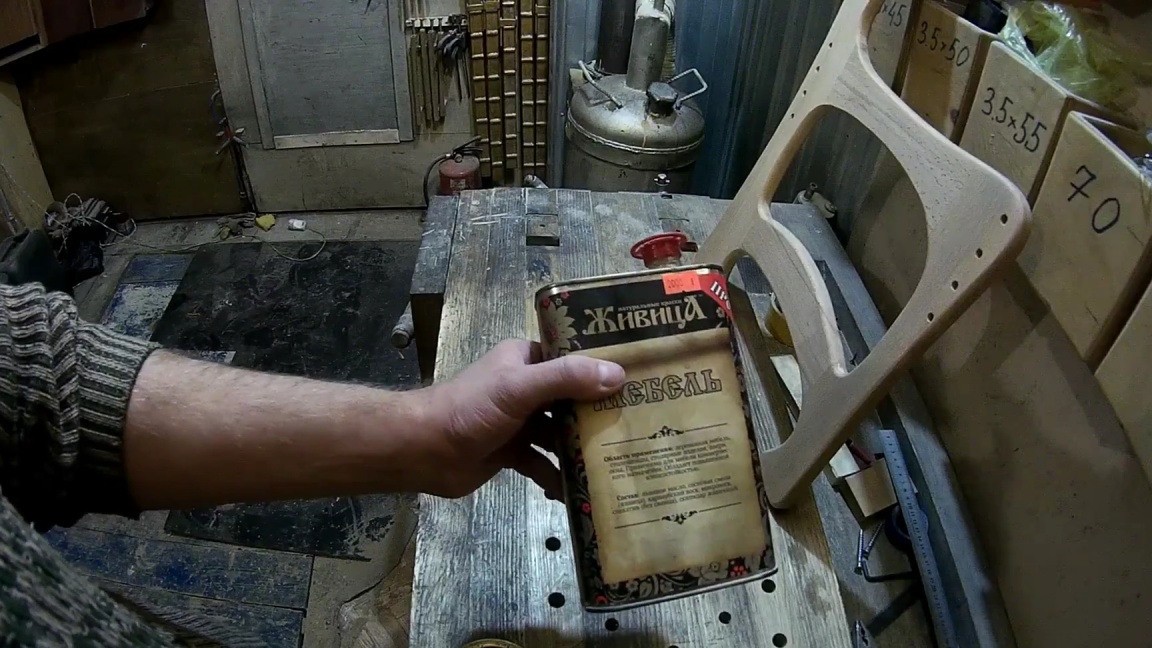
Also in the back you need to make holes with a diameter of 5 mm for confirmations. Now we cover all the details with oil intended for furniture, we do this in two layers, and after that we finish using patchwork wax.

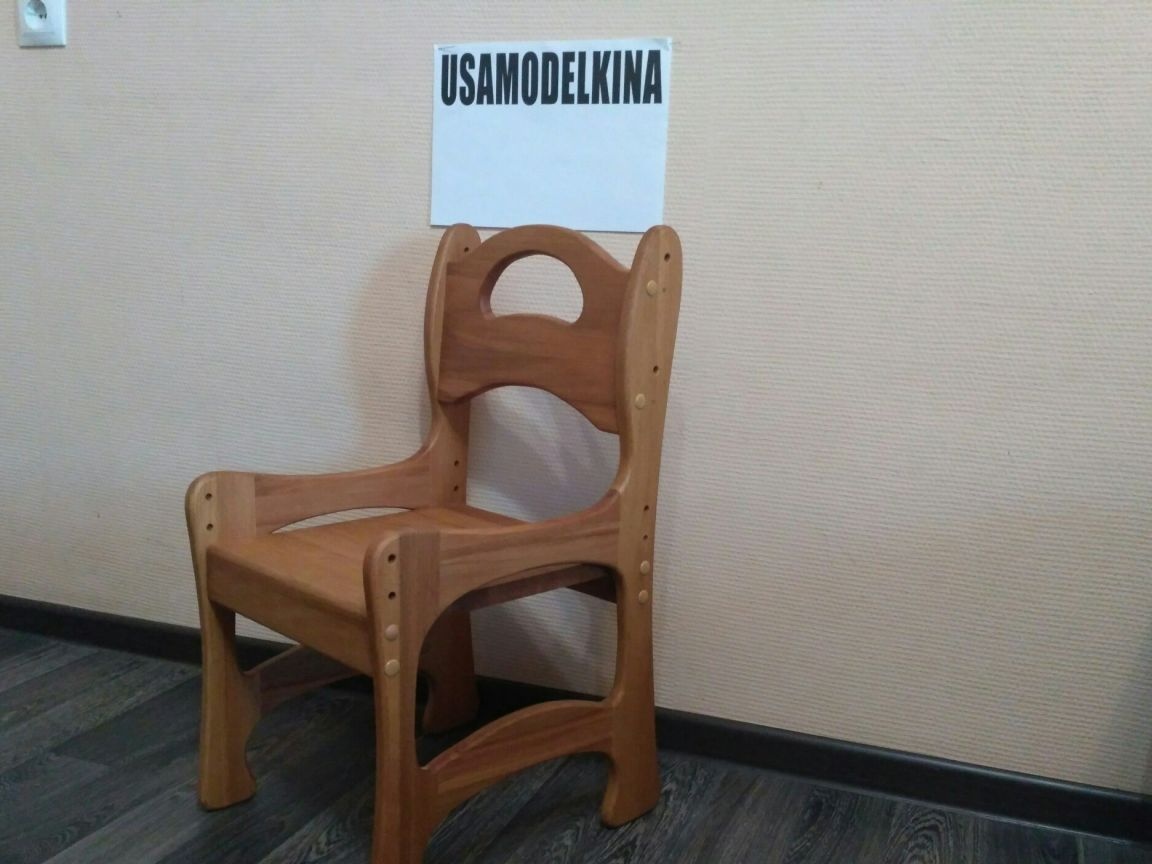
The homemade adjustable high chair is ready for this, for its adjustment it is enough to unscrew the confirmations and rearrange them to another position, and the furniture plug, which can be found in any furniture store, will help hide them from prying eyes.

Thank you all for your attention and creative success.