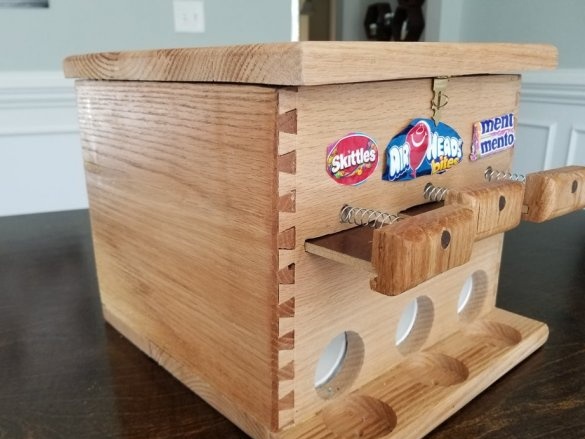
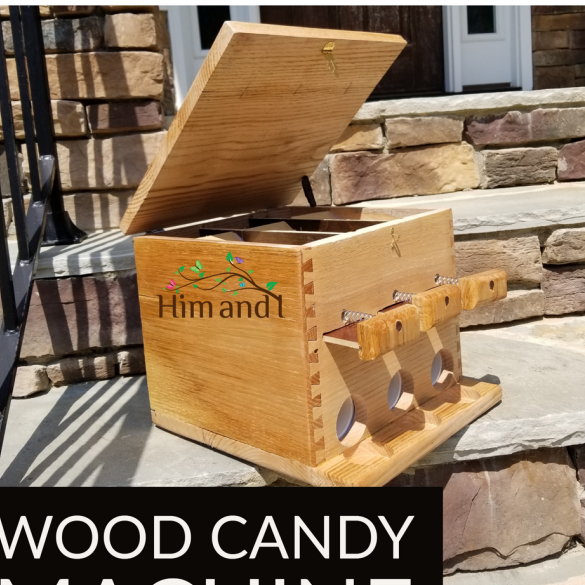
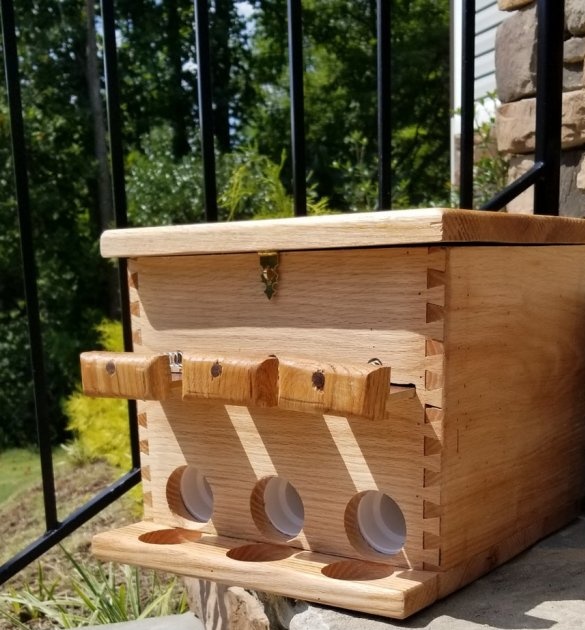
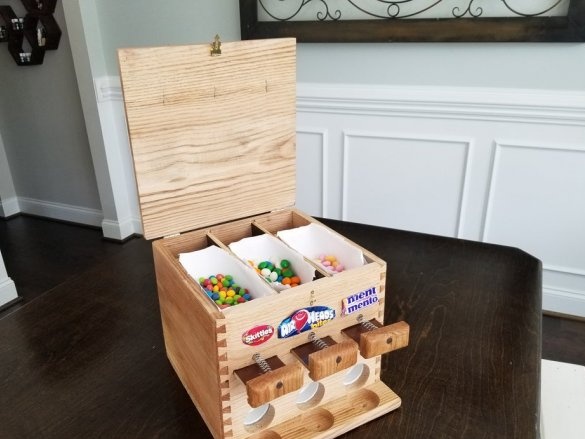
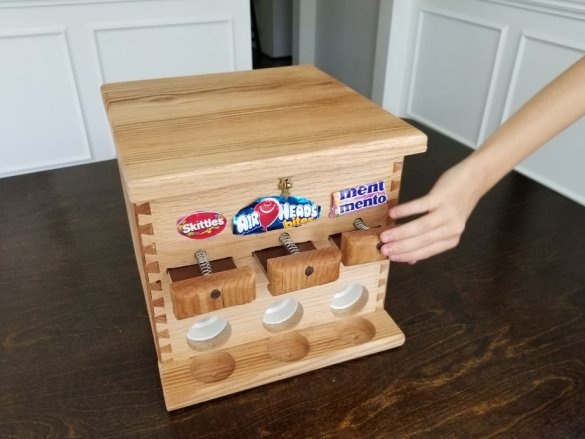
All children love sweets. Children of the master are no exception. Here for them the master decided to make a dispenser for sweets.
Tools and materials:
-Glue gun;
- Joiner's glue;
-Spray varnish;
- PVC knee;
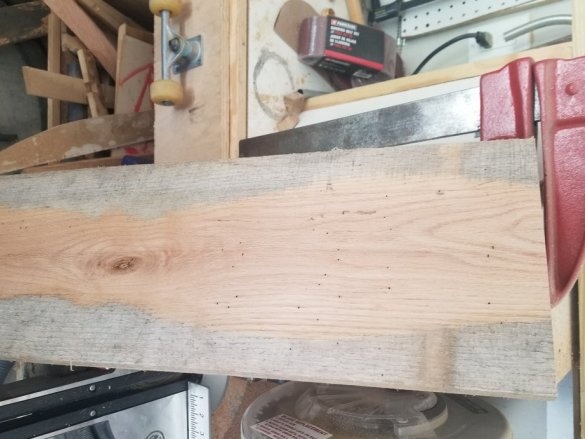
-Oak planks;
-Plywood;
- dowels;
- clamps;
-Springs;
- Forstner drill;
Milling cutter;
-A circular saw;
Step One: Drawing
First, the master makes a drawing of the dispenser. You can download by this link.
Step Two: Material Procurement
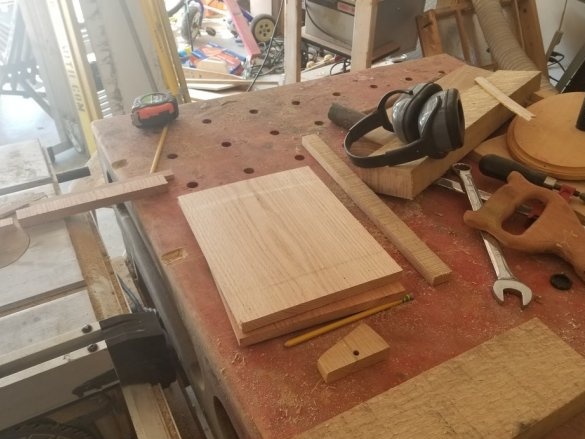
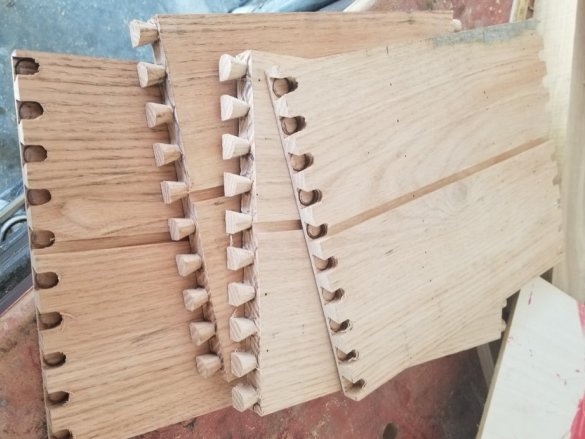
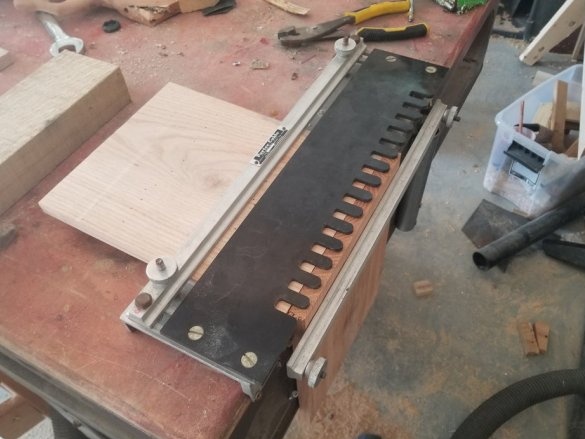
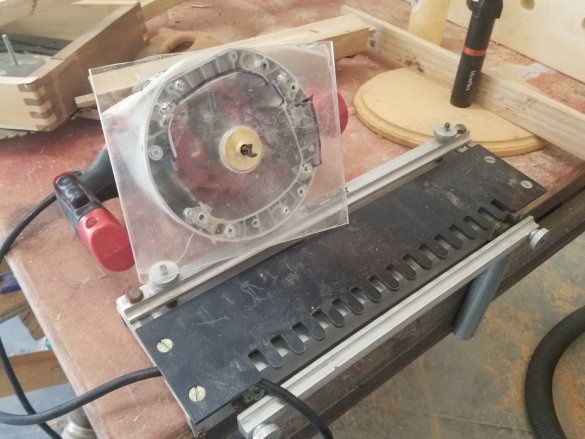
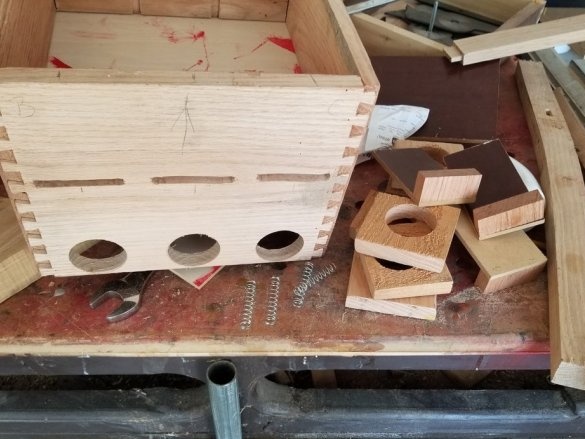
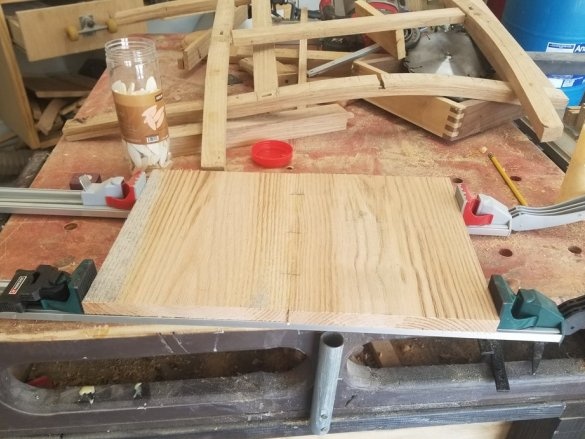
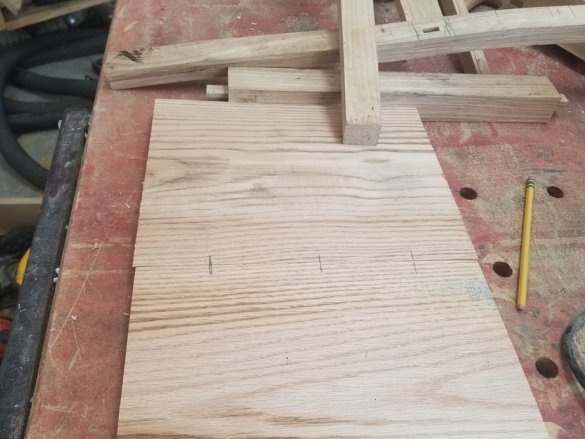
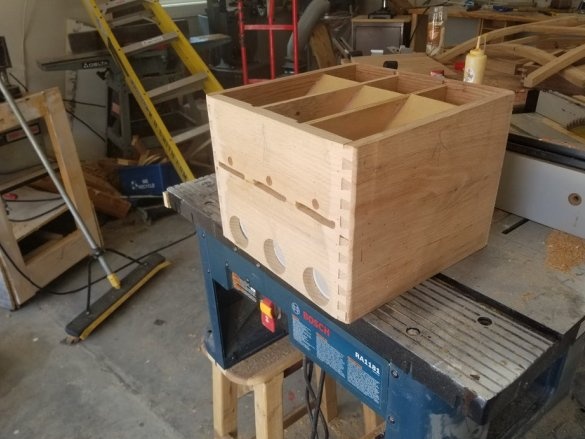
The master performs the sawing of the material according to the drawings. Cuts dovetail joints.
Step Three: Build
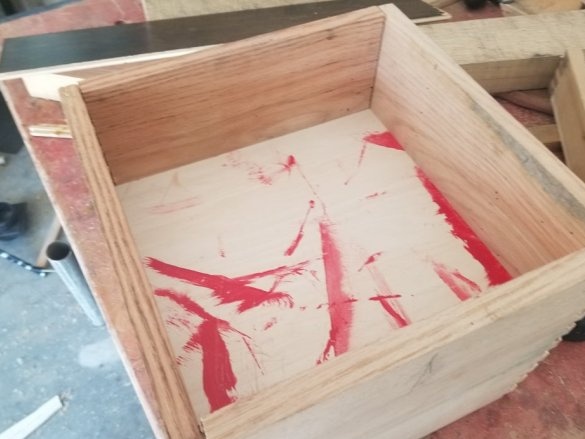
Pre-assemble the box, check the fit of the connection.
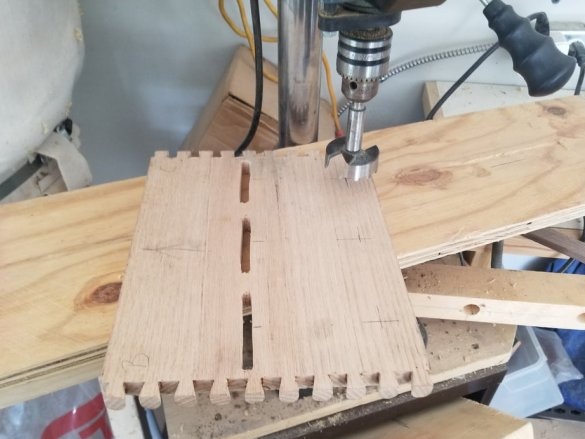
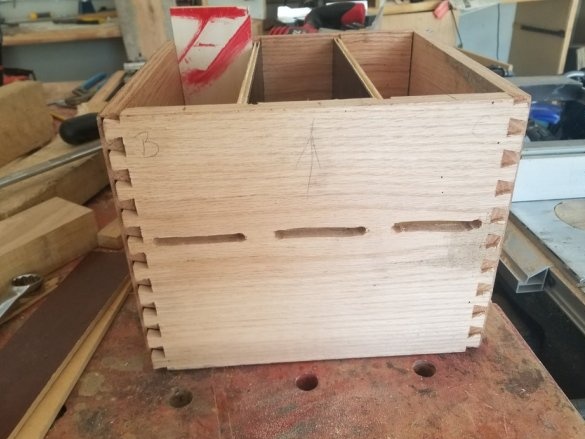
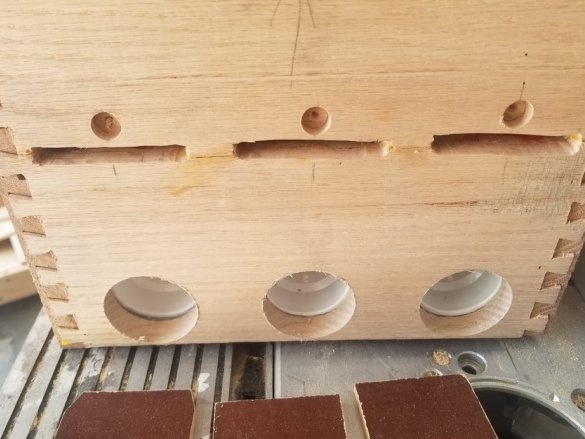
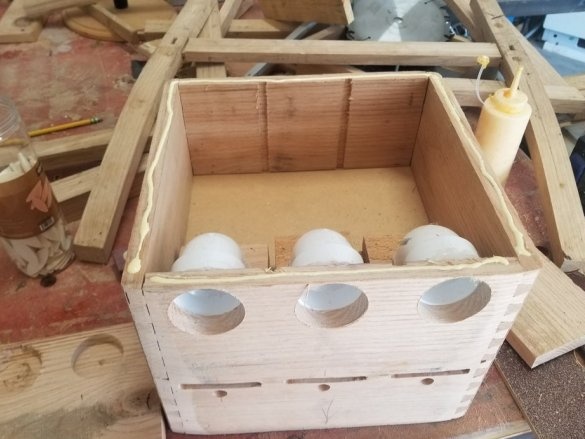
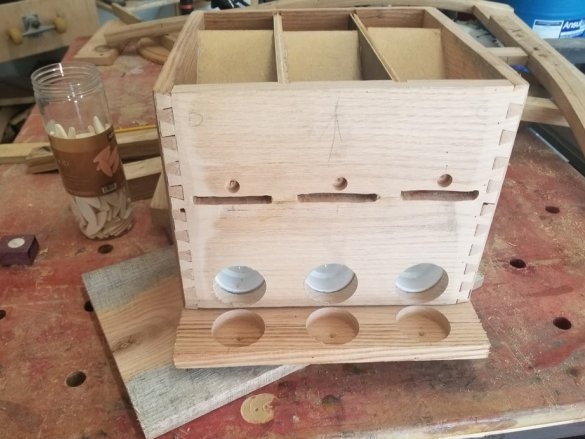
Makes holes in the front wall.
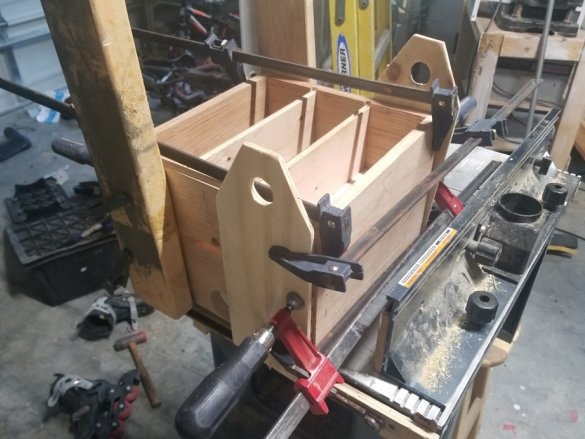
Glues the box.
Step Four: Internal Device
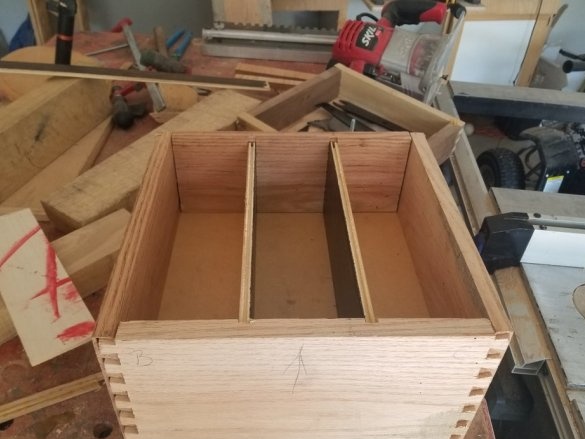
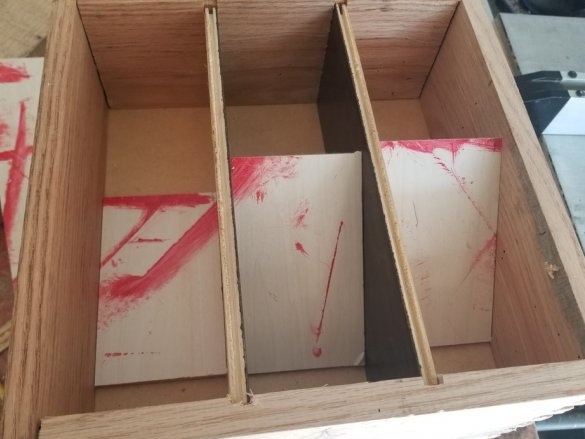
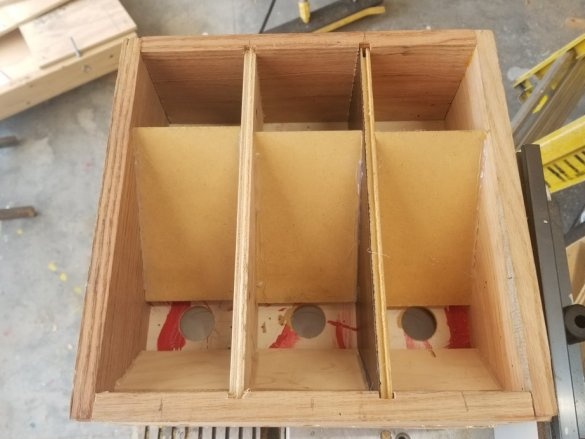
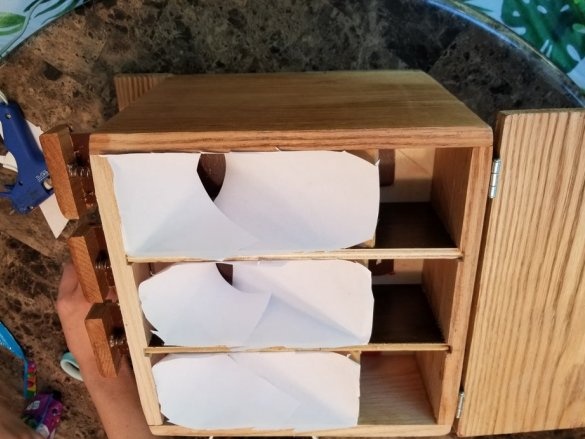
Installs plywood jumpers. Jumpers are set at an angle.
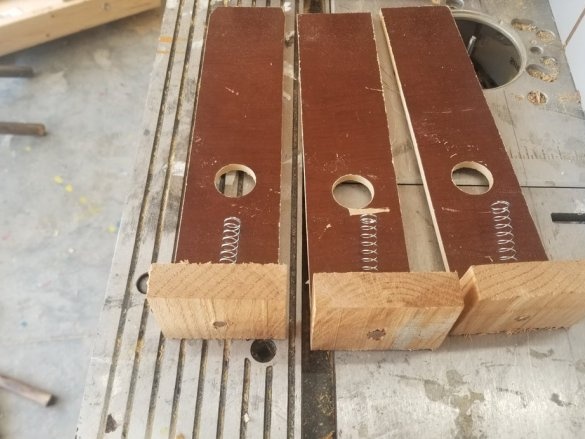
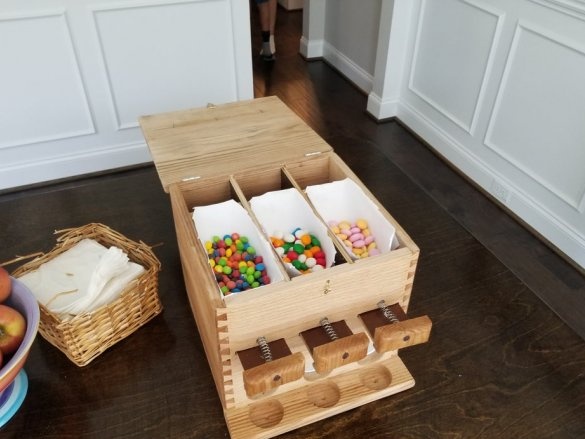
Makes movable trays. These trays are a strip of laminated plywood with a hole. A square wooden button is attached to the strip. There is a spring on the button.
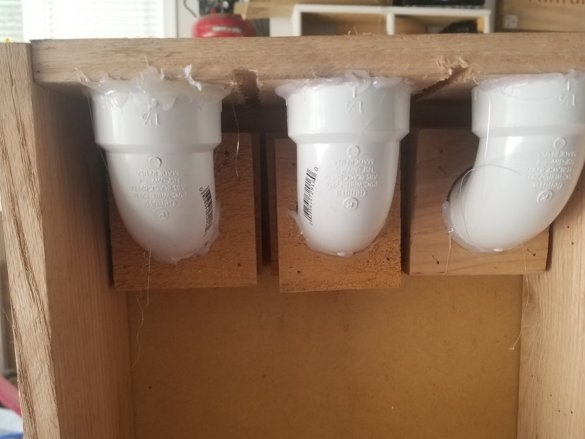
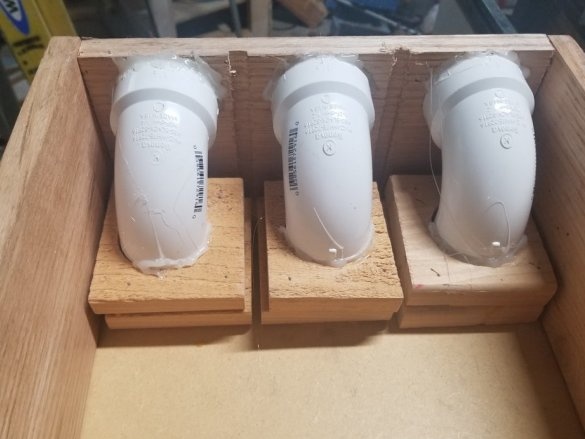
Fastens the knee.
Cuts the lid and the bar with the tray for dropped candy.
Step Five: Grinding
Grinds the dispenser.
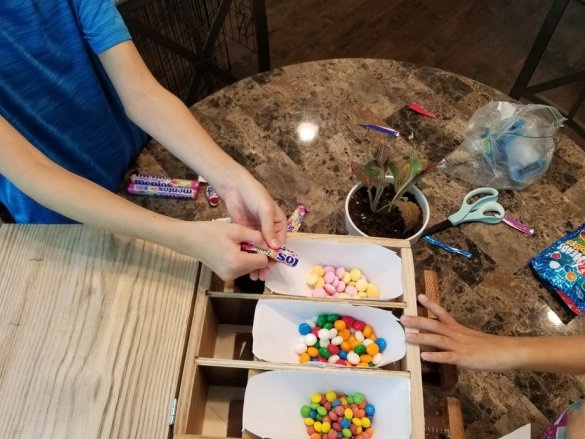
Now everything is ready. You only need to load the candy into the compartments.
And indicate in which compartment which candies are.
An example of the dispenser and its manufacturing process can be seen in the video.

