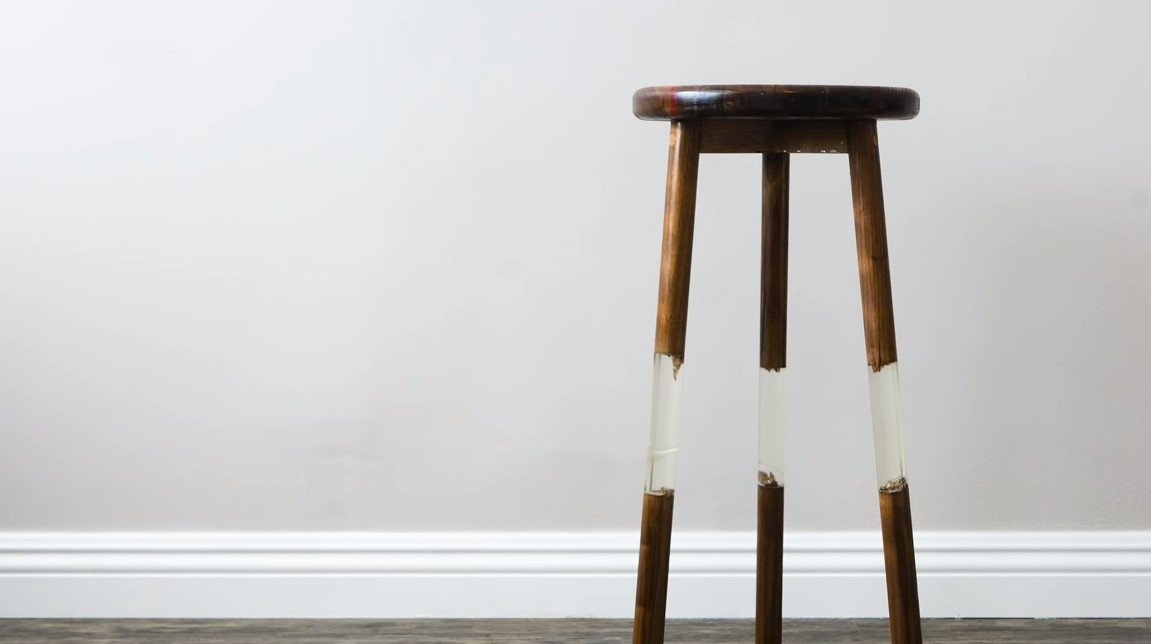
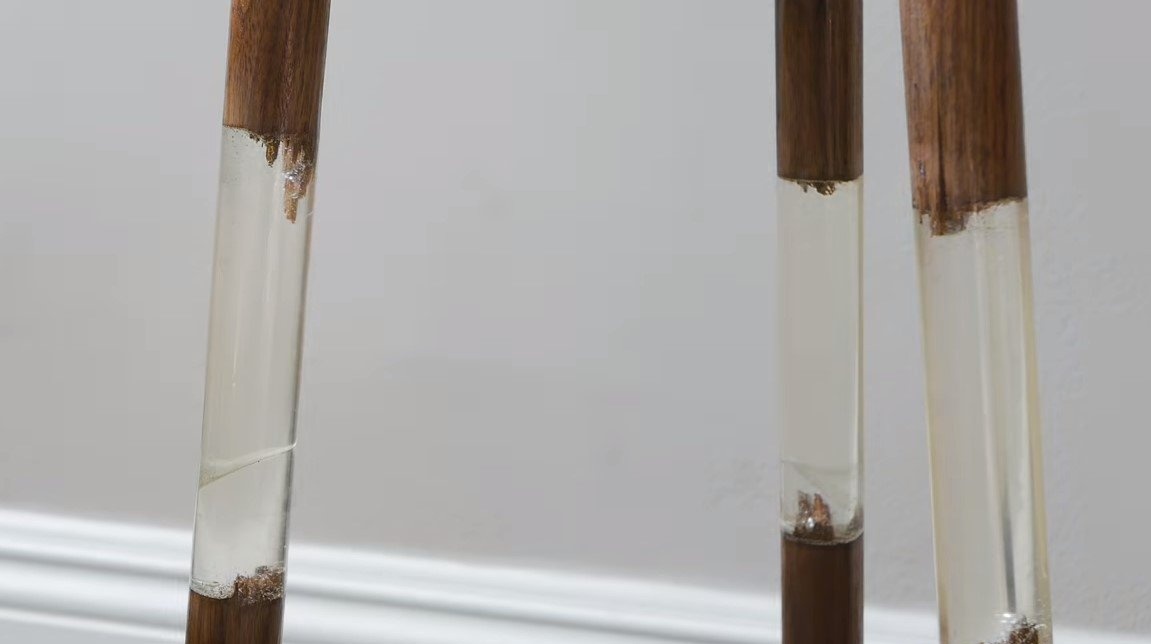
Hello to all lovers to work with wood, today we will consider how to make an interesting stool. If you do not look closely, from afar it seems as if the stool soars in space and it does not have pieces of legs. The author managed to do such a trick with the help of epoxy. Homemade It looks interesting, but there are some doubts about the strength of the structure. Of course, the strength of the legs will largely depend on the strength of the epoxy resin, it should be as strong as possible. In general, the project is not complicated, but you will need a lathe, a circular saw and other machines. If the project interests you, I propose to study it in more detail!
Materials and tools used by the author:
Material List:
- thick boards made of solid wood (or beams);
- boards for sitting;
- chipboard;
- silicone sealant;
- epoxy resin (crystal clear);
- oil for wood;
- carpentry glue.
Tool List:
- a circular saw;
- tape cutting machine;
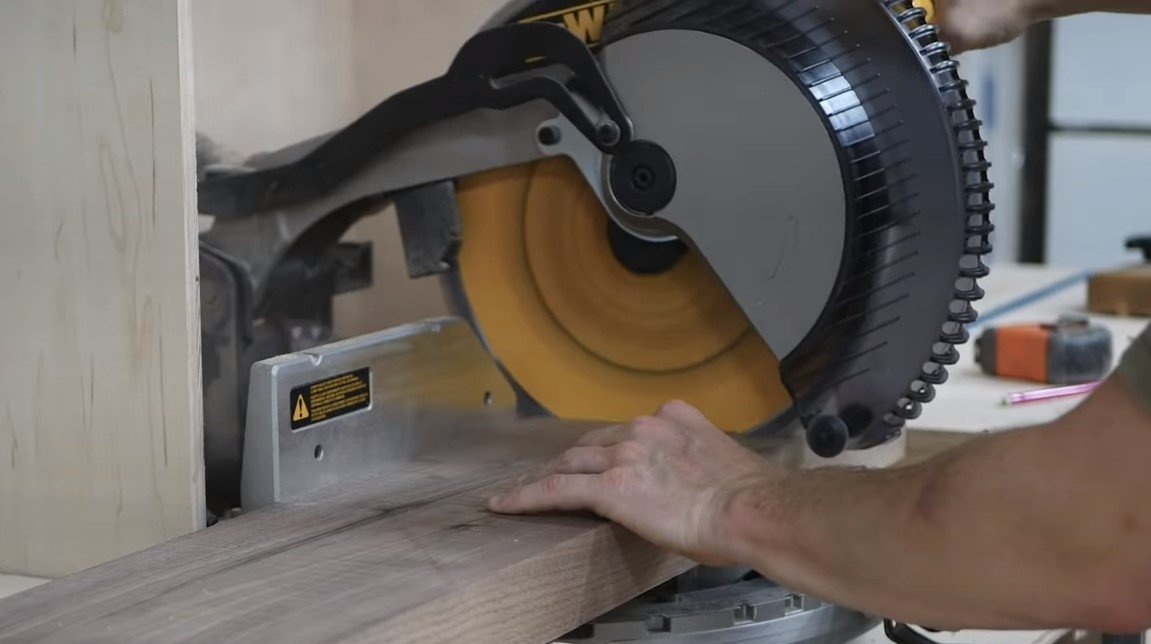
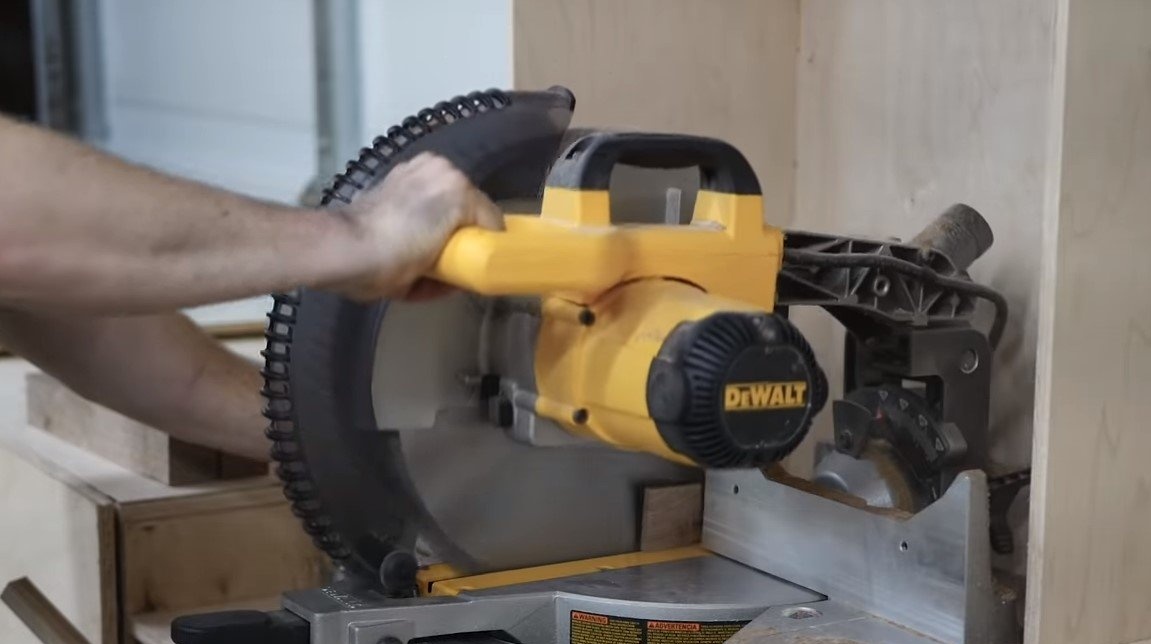
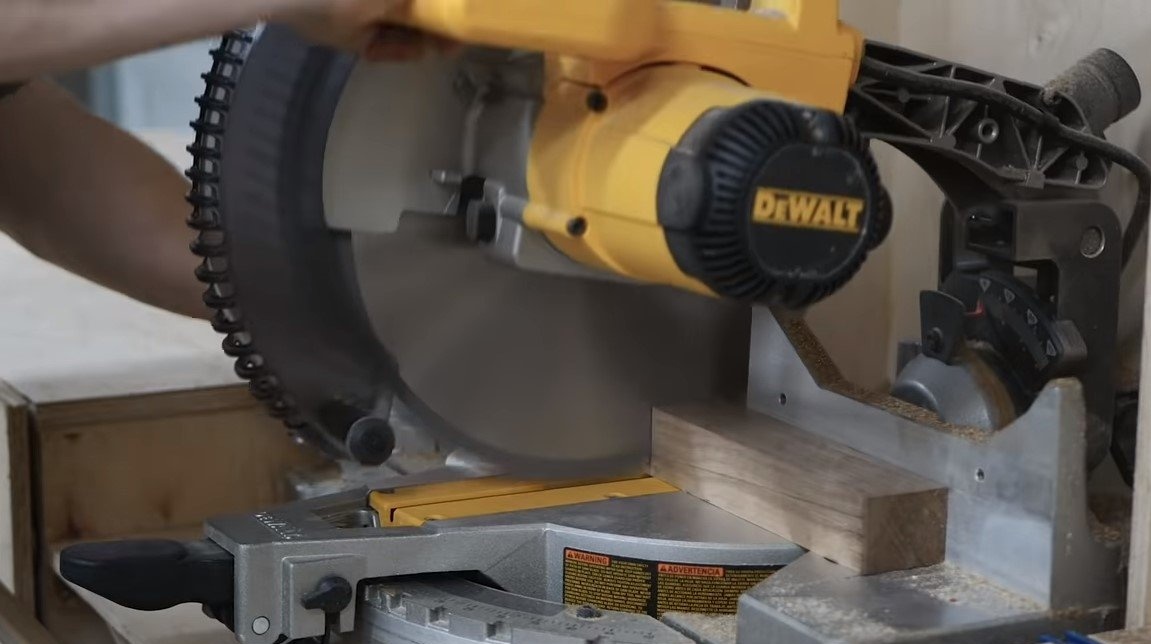
- Miter saw;
- drill, screwdriver;
- milling machine;
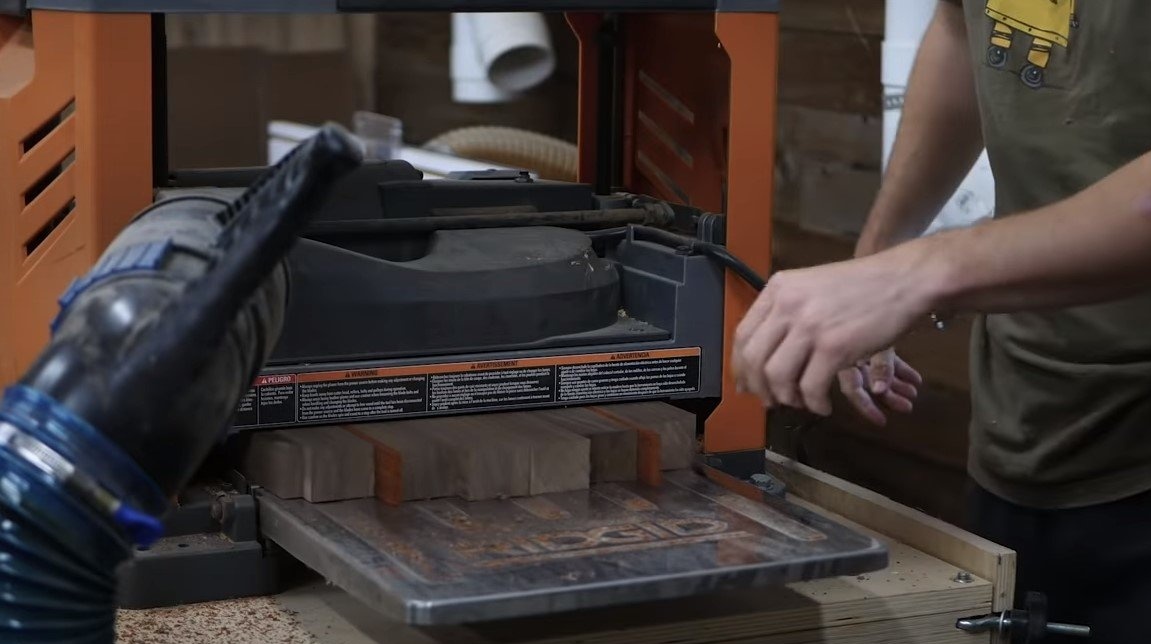
- Thicknessing machine;
- orbital sander and polisher.
The stool manufacturing process:
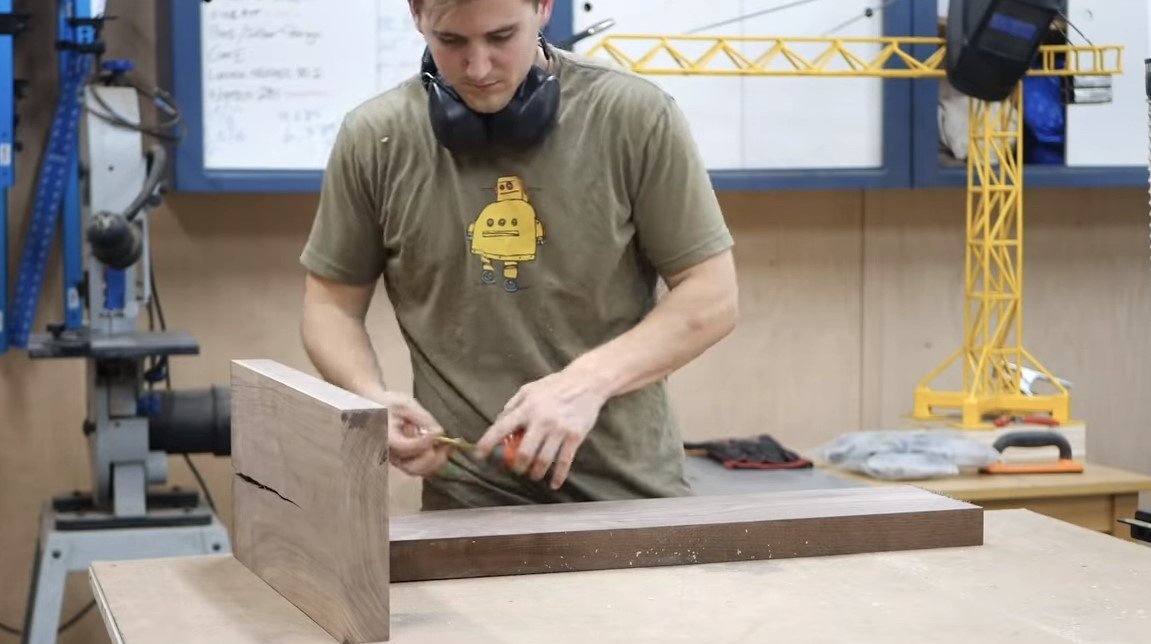
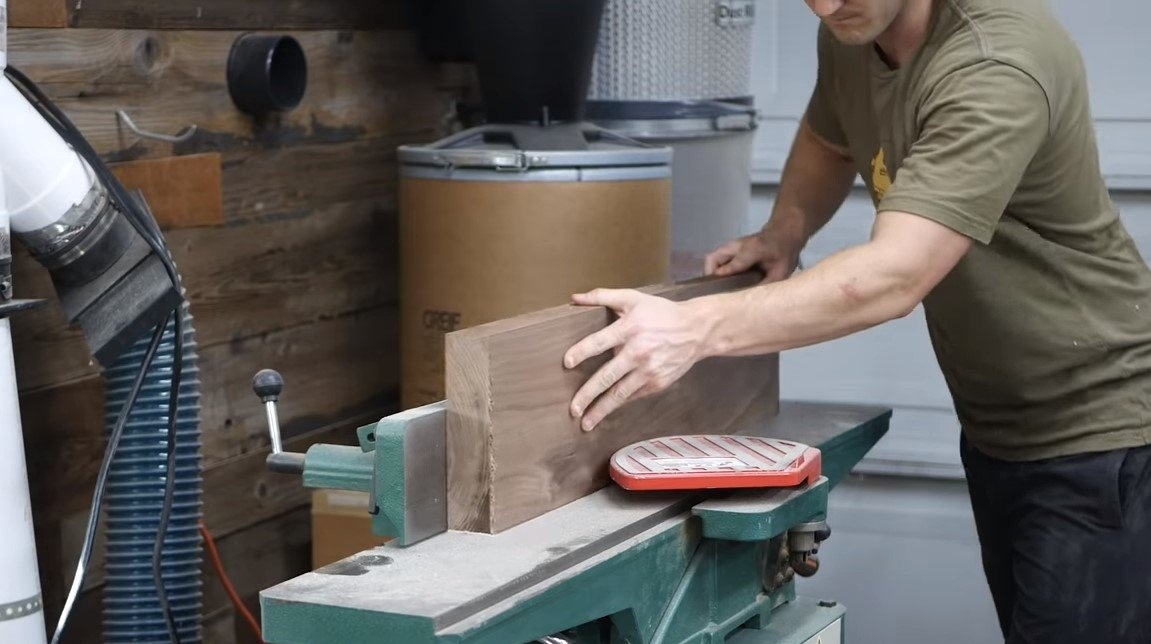
Step one. Leg blanks
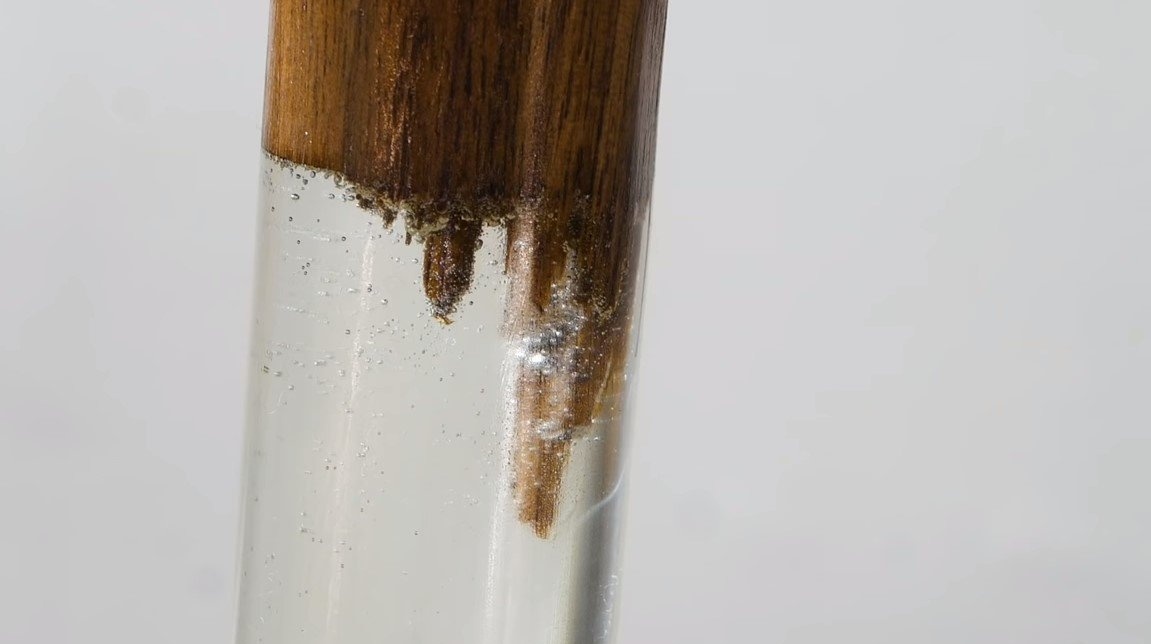
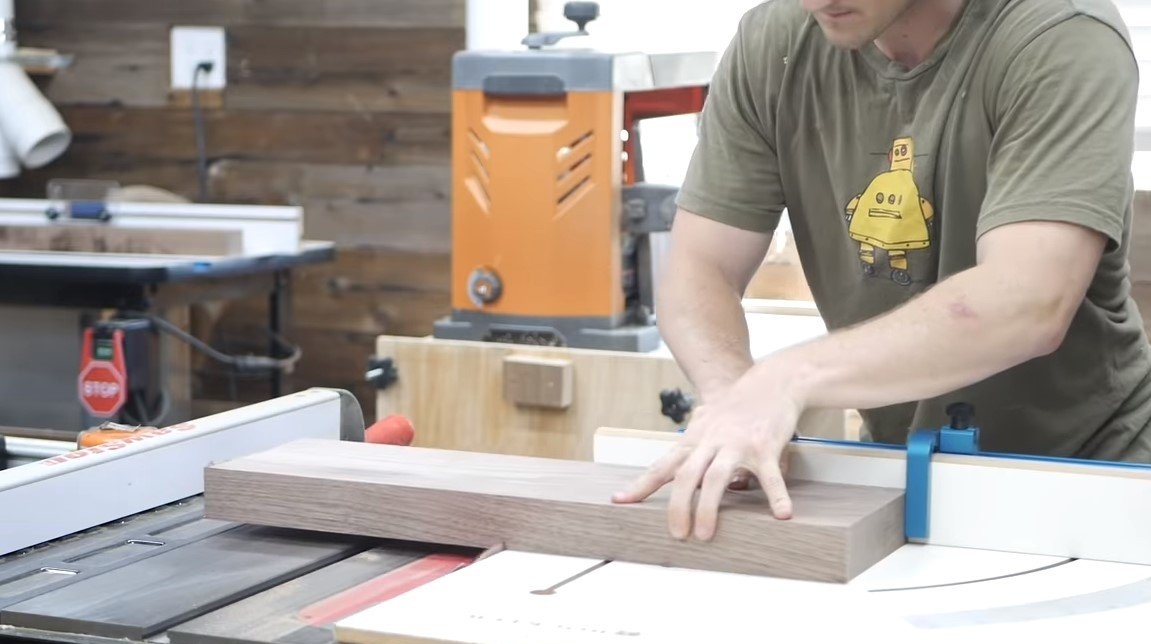
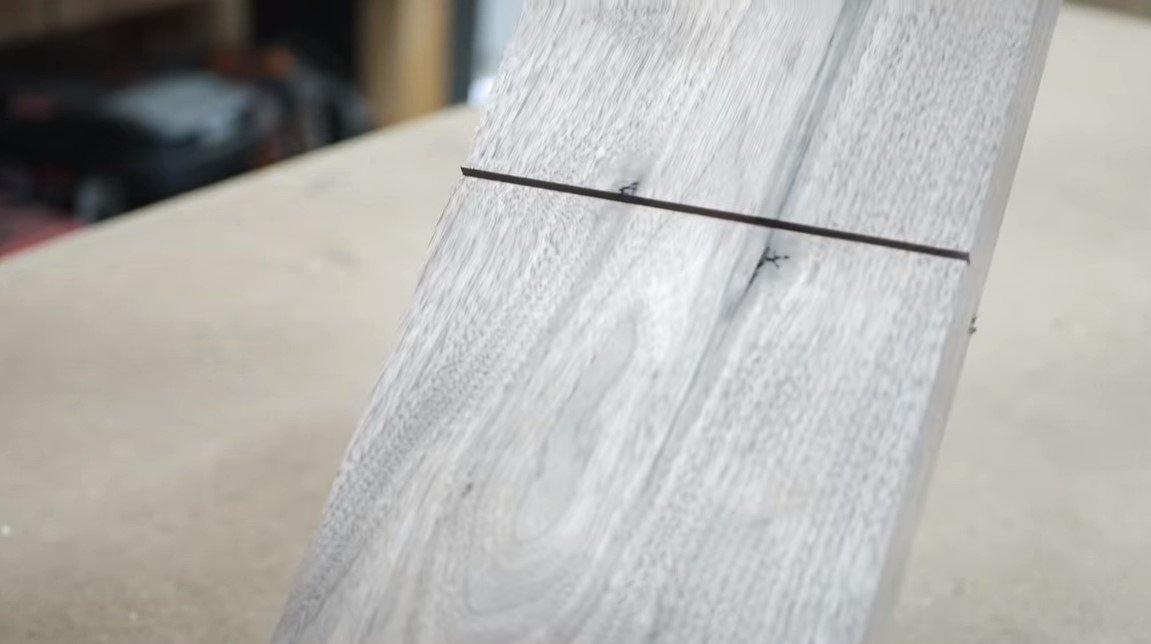
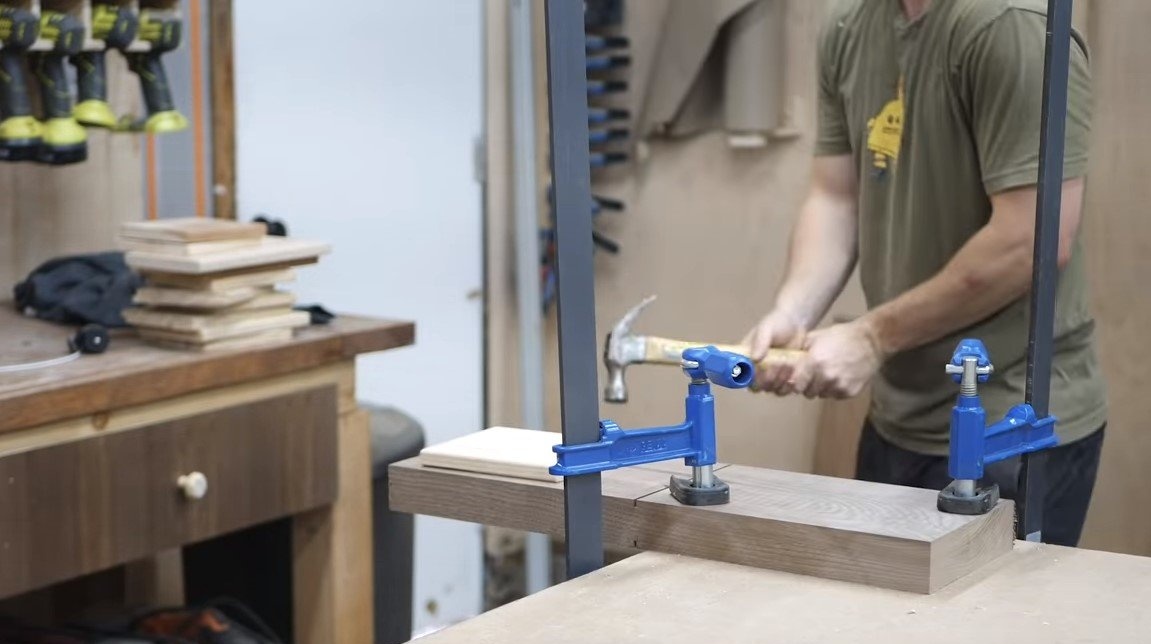
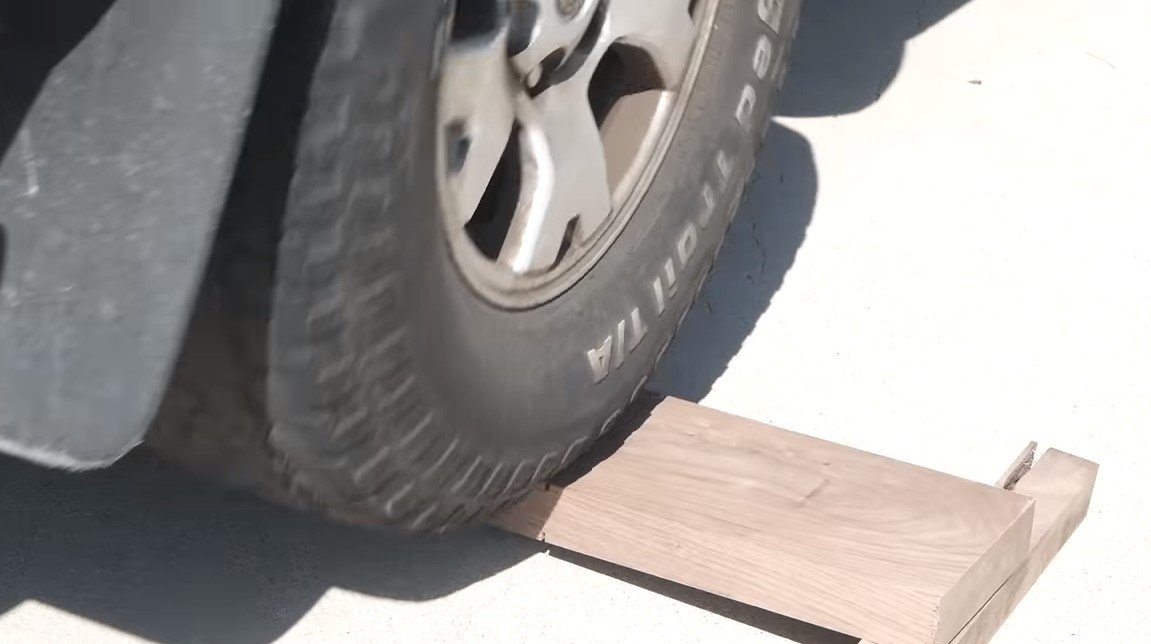
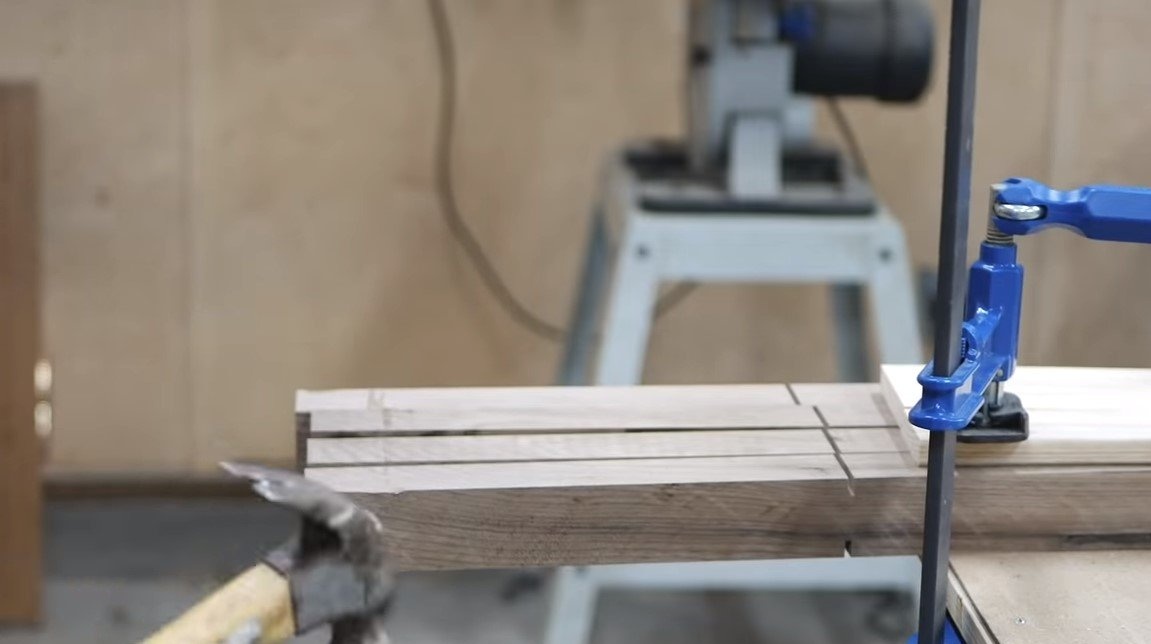
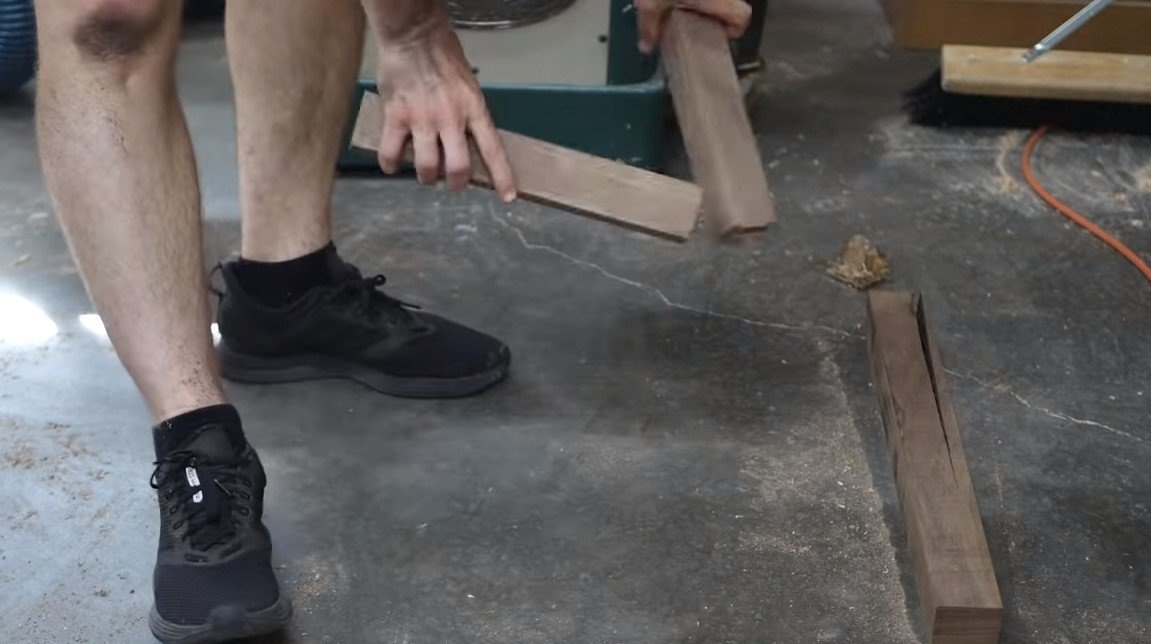
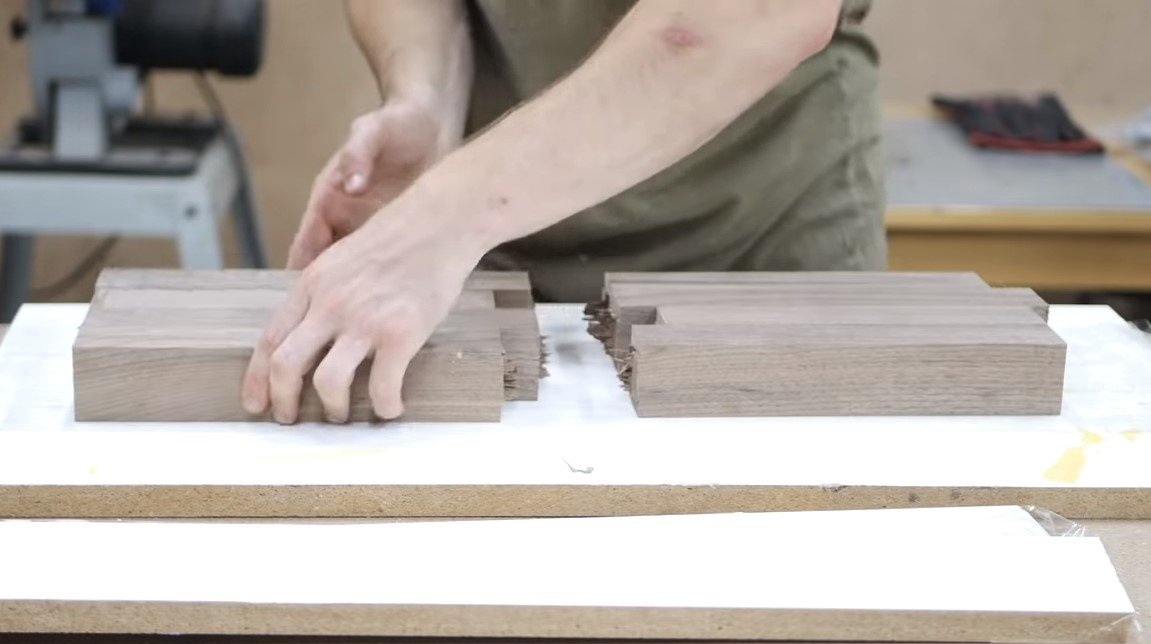
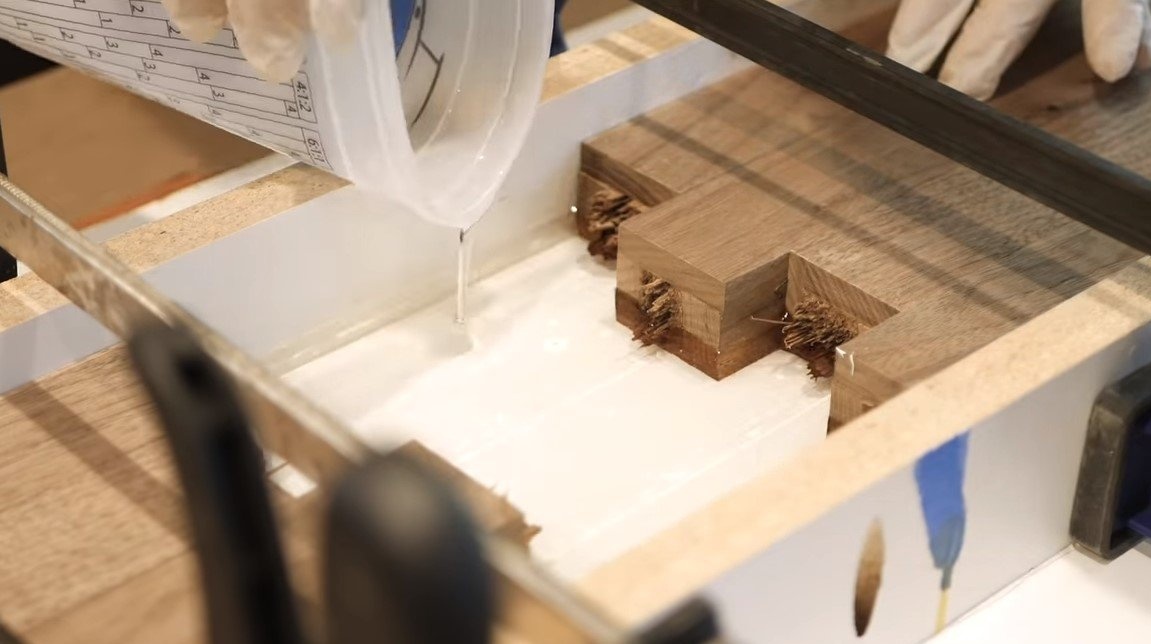
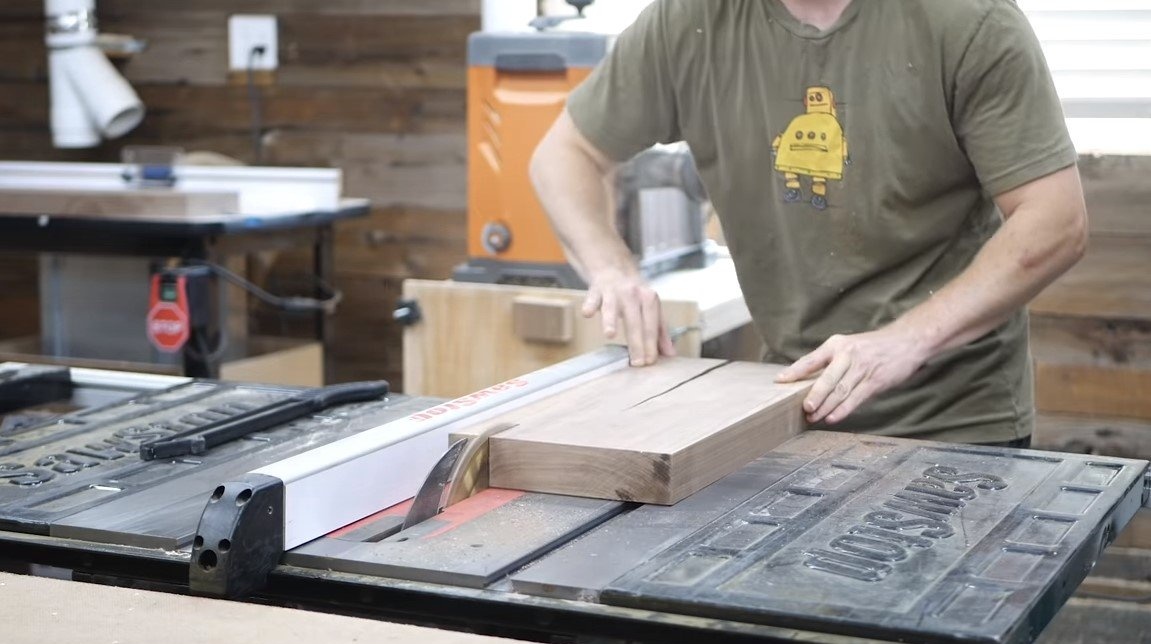
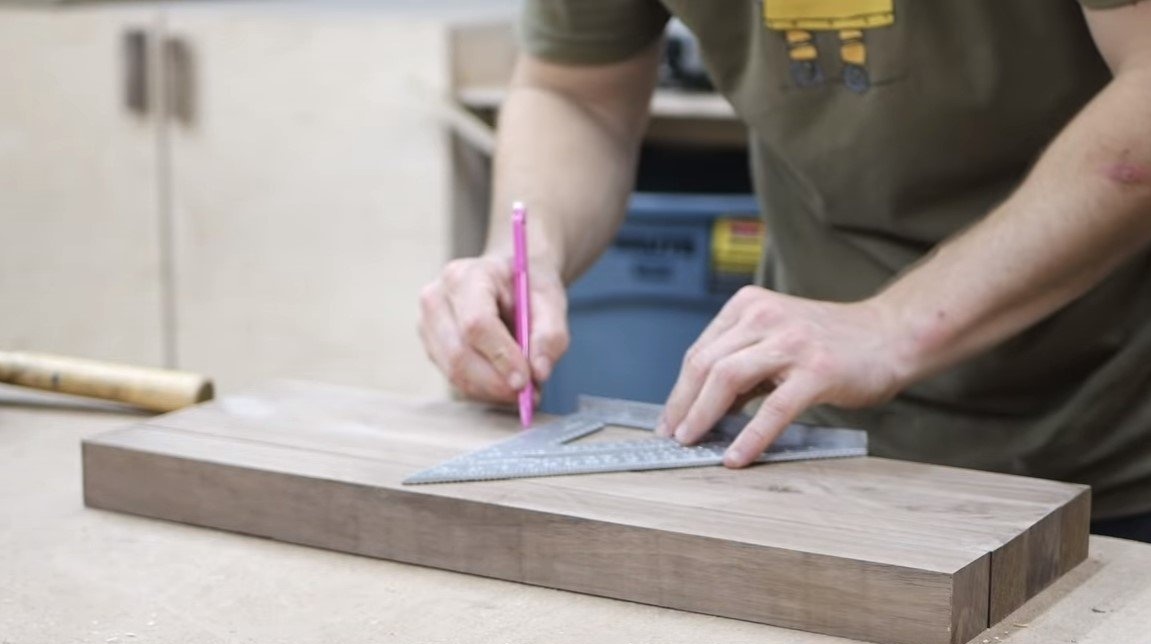
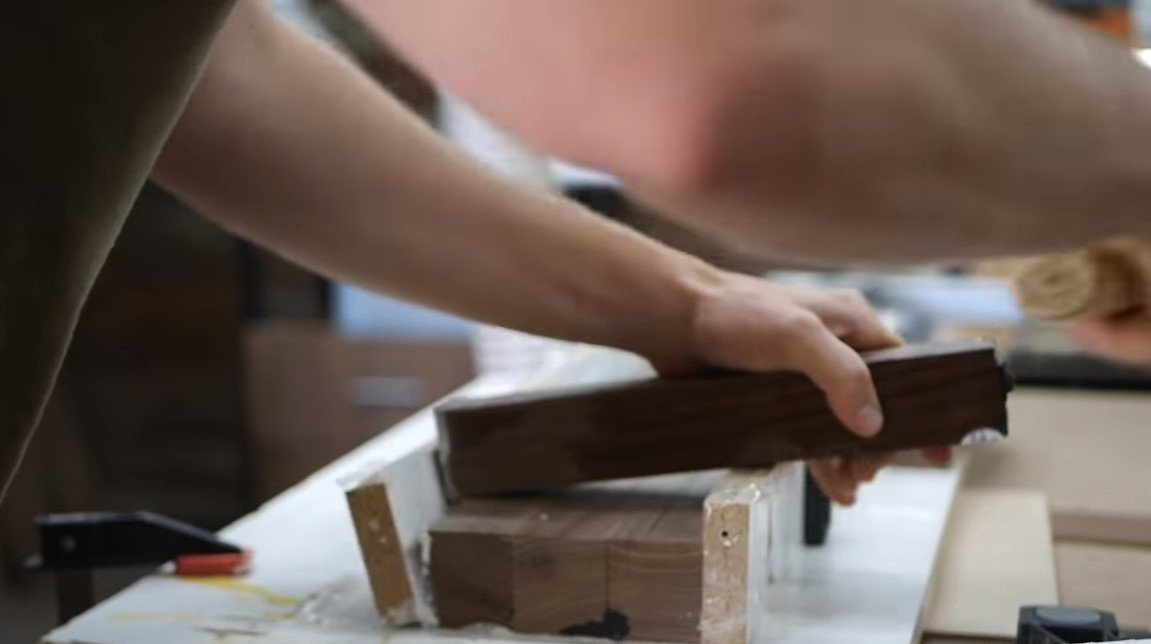
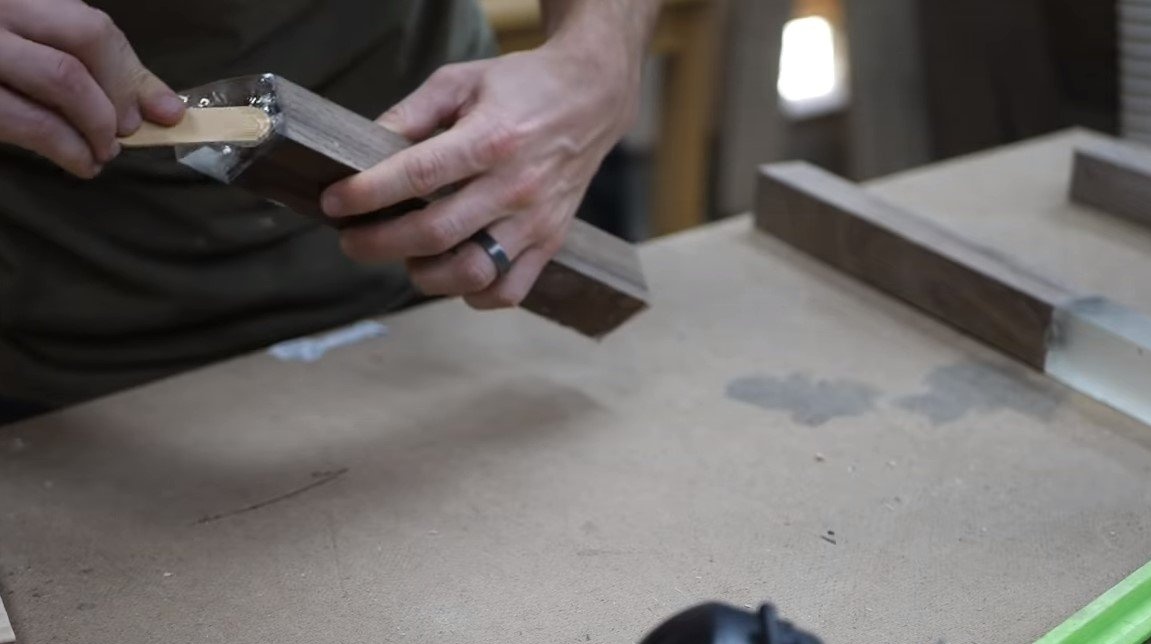
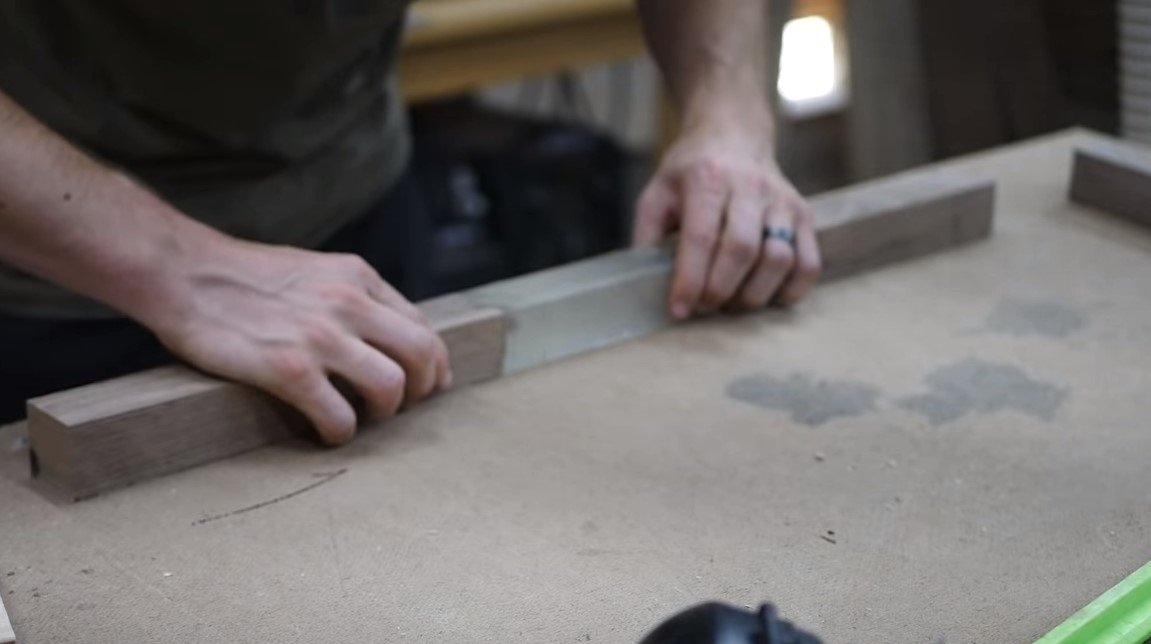
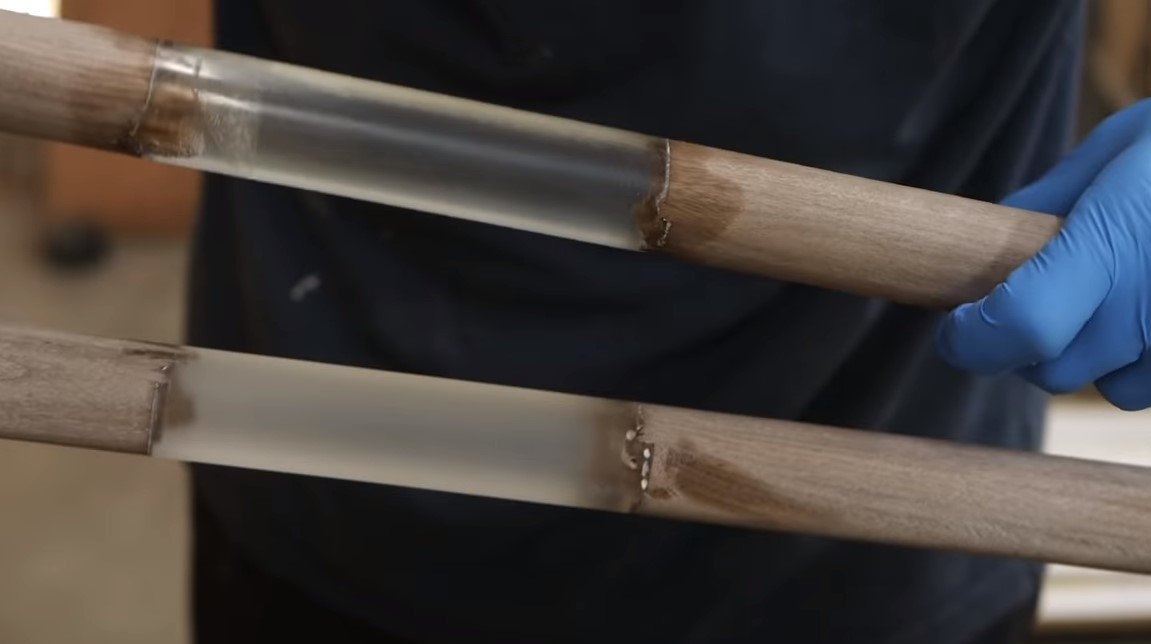
Strong legs will be needed for the legs, the author did not have them, and he decided to cut them himself. The source material was a thick board, which the author tried to break into two parts. The board turned out to be very strong, the author even tried to move it with a car. As a result, the board was cut into bars and only then the author was able to barely break individual bars. The point is to get natural torn edges, as if the legs were broken.

Step Two Resin filling
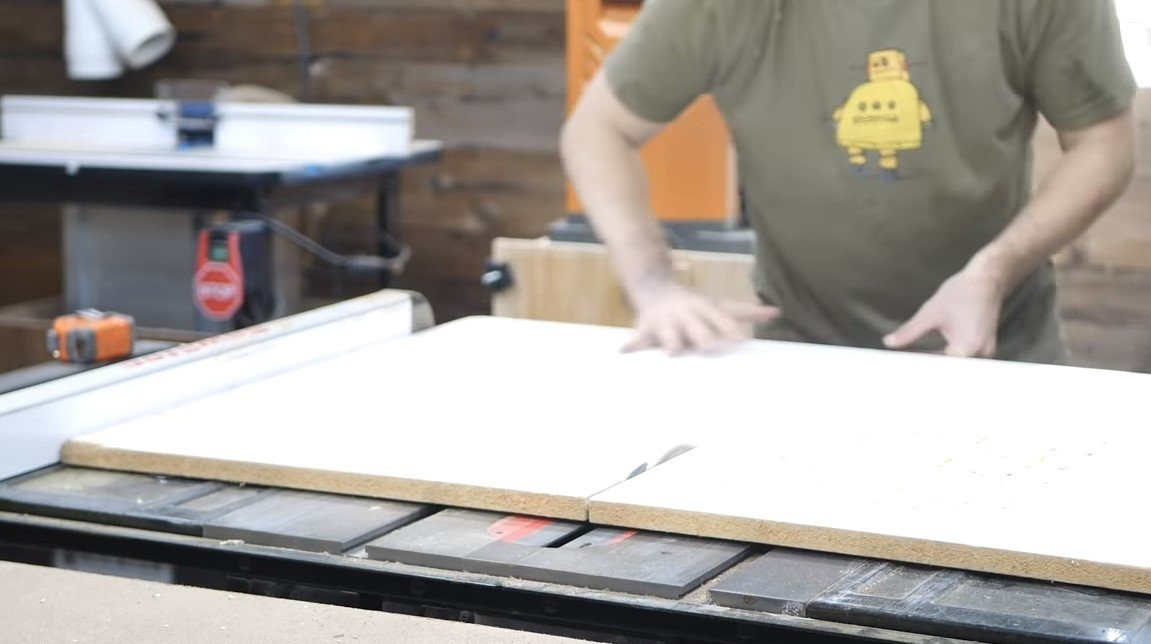
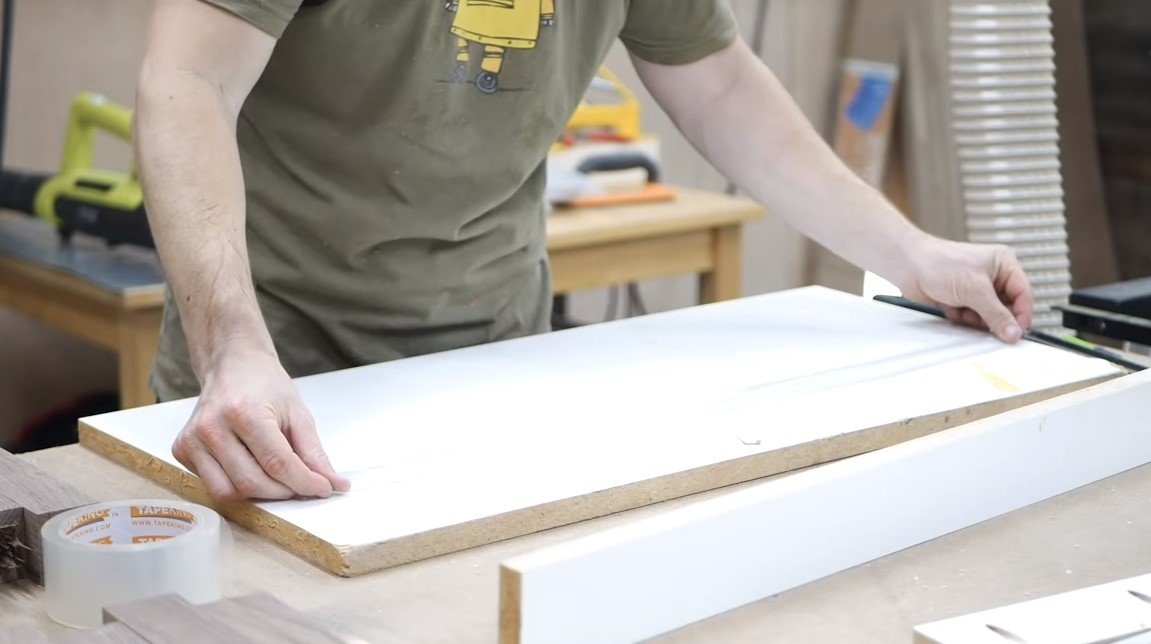
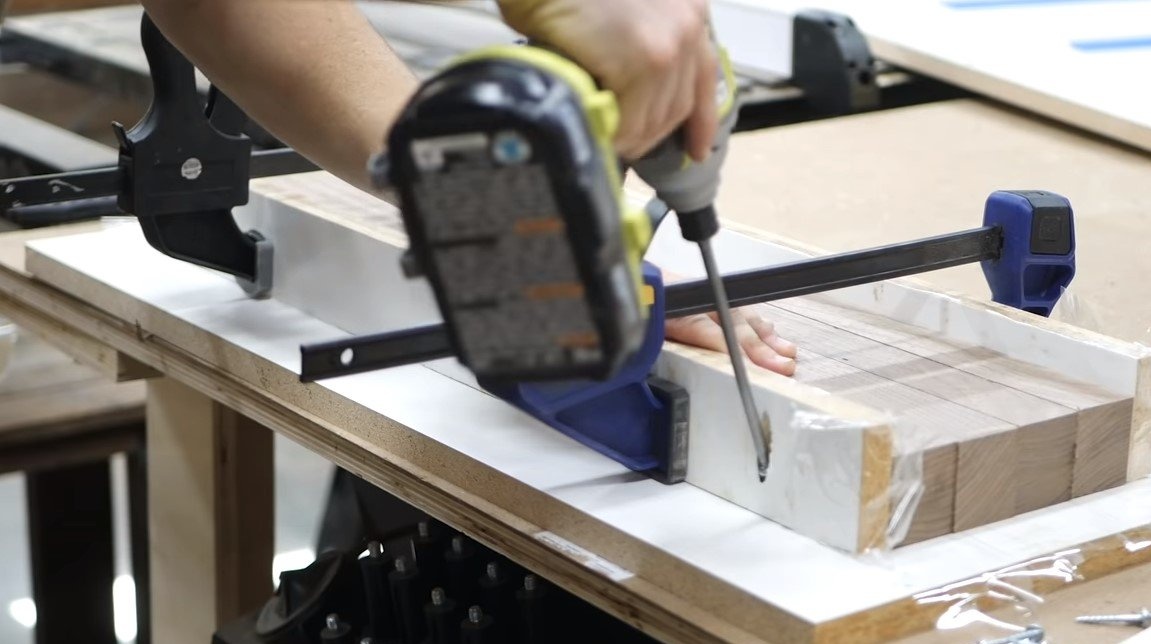
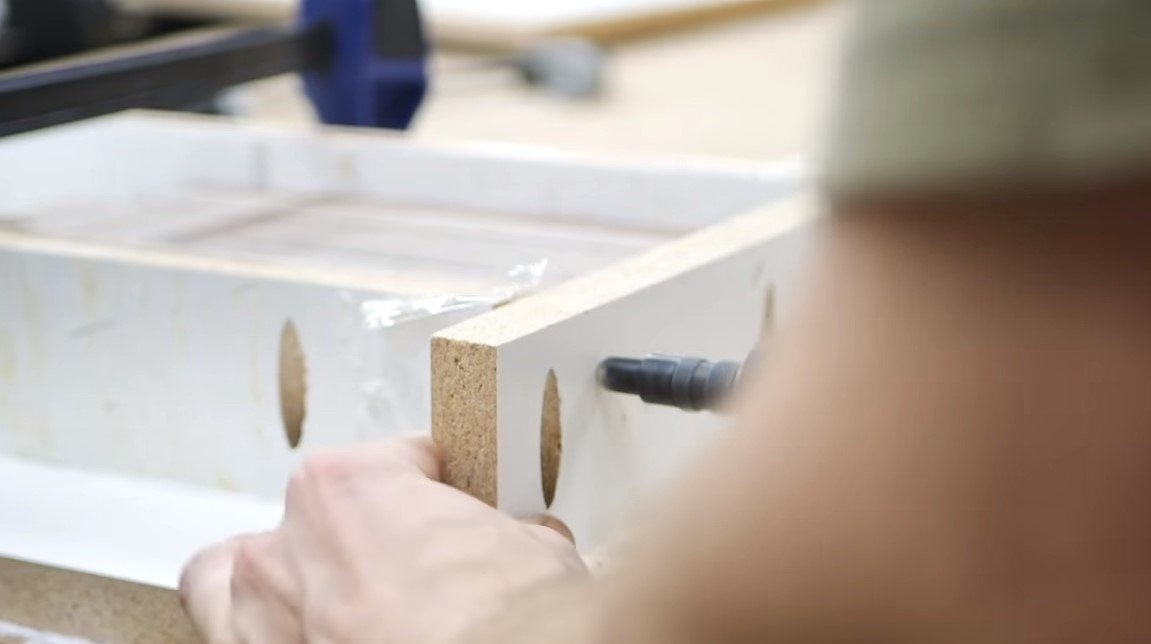
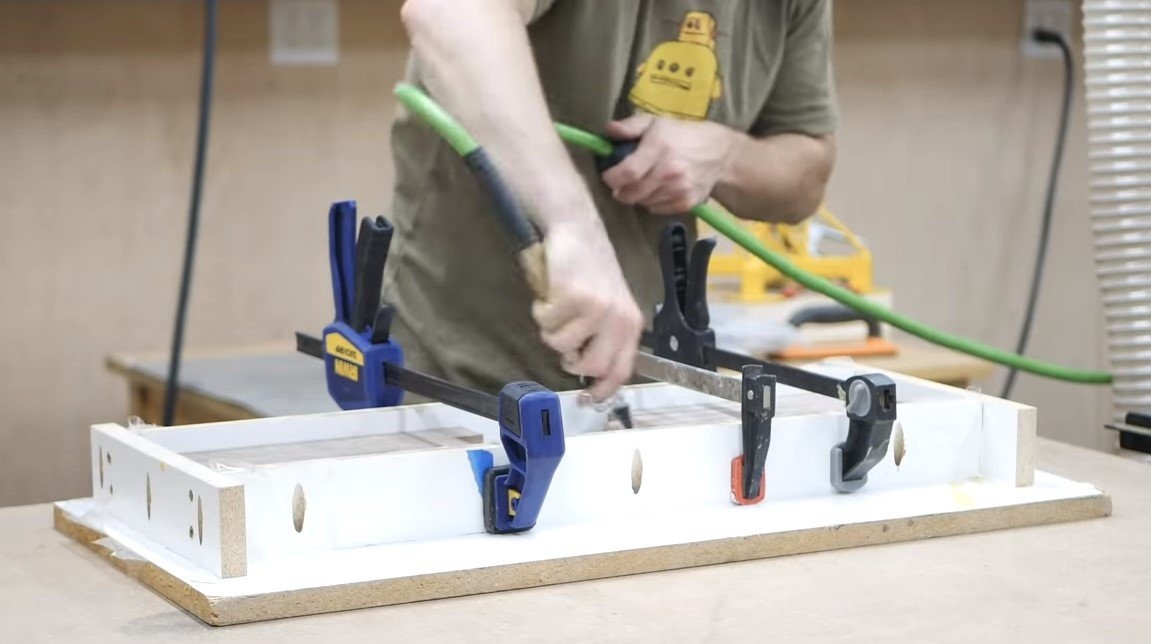
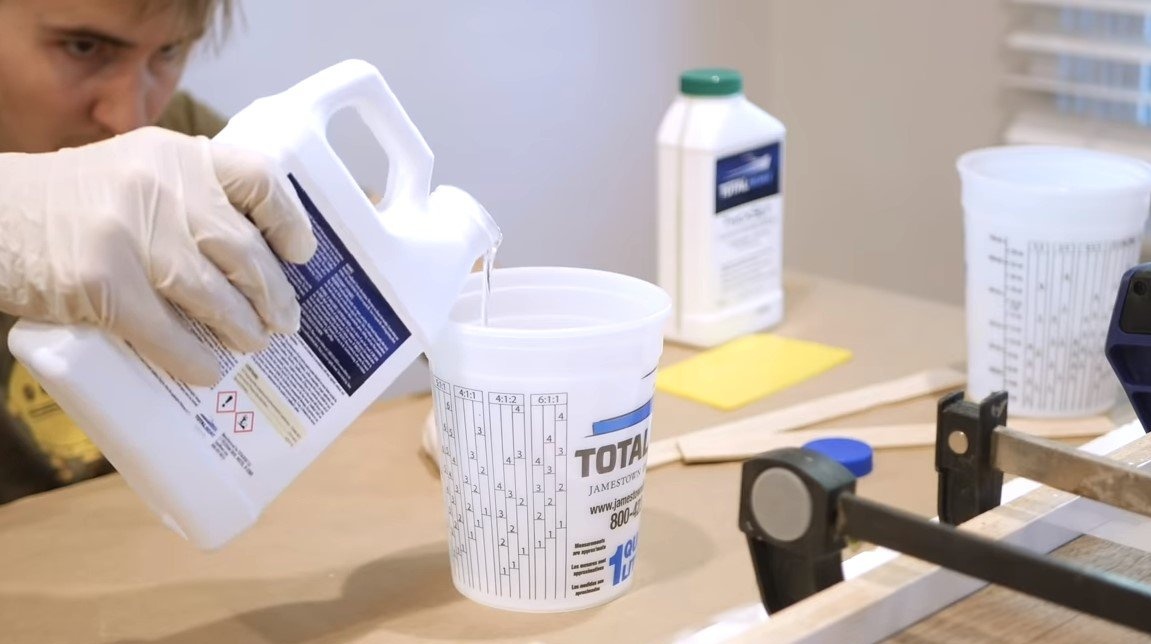
In order to be able to fill the resin, we make formwork for it; the author used chipboard as a material. We twist the formwork with screws and seal the joints with silicone sealant. In addition, the film can be laid in the formwork. We put the blanks for the legs into the formwork and fill the epoxy resin. As for the resin, it must be durable and crystal clear, then everything will look more interesting. The transparency of the resin will be affected by air bubbles that are best driven out with a hairdryer or by heating the resin.


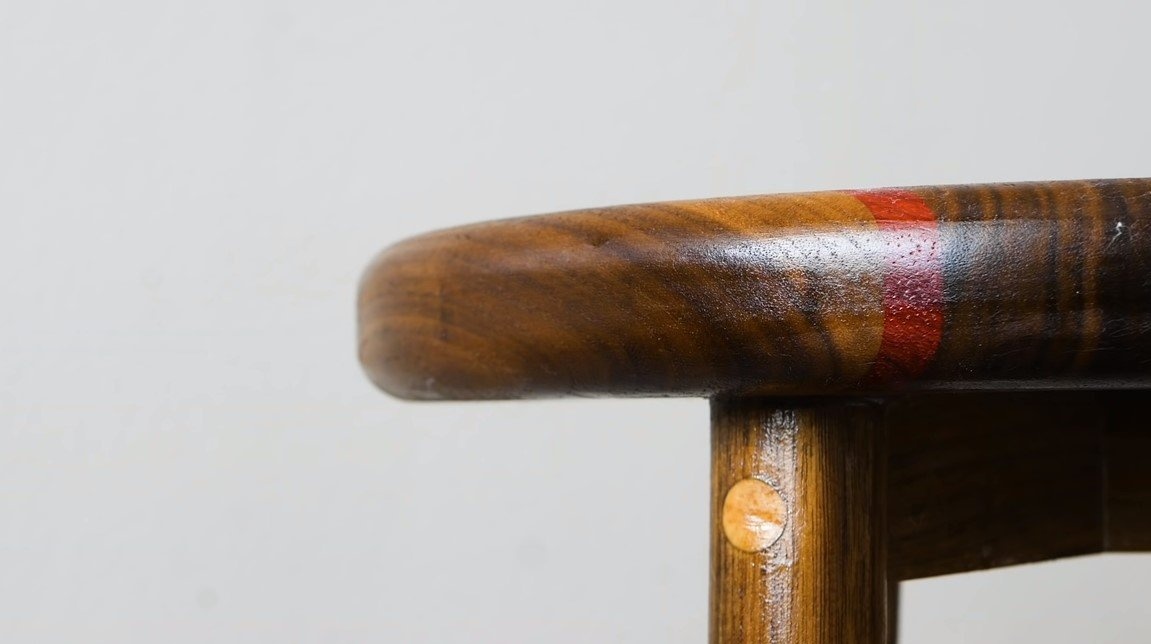
Step Three Seat
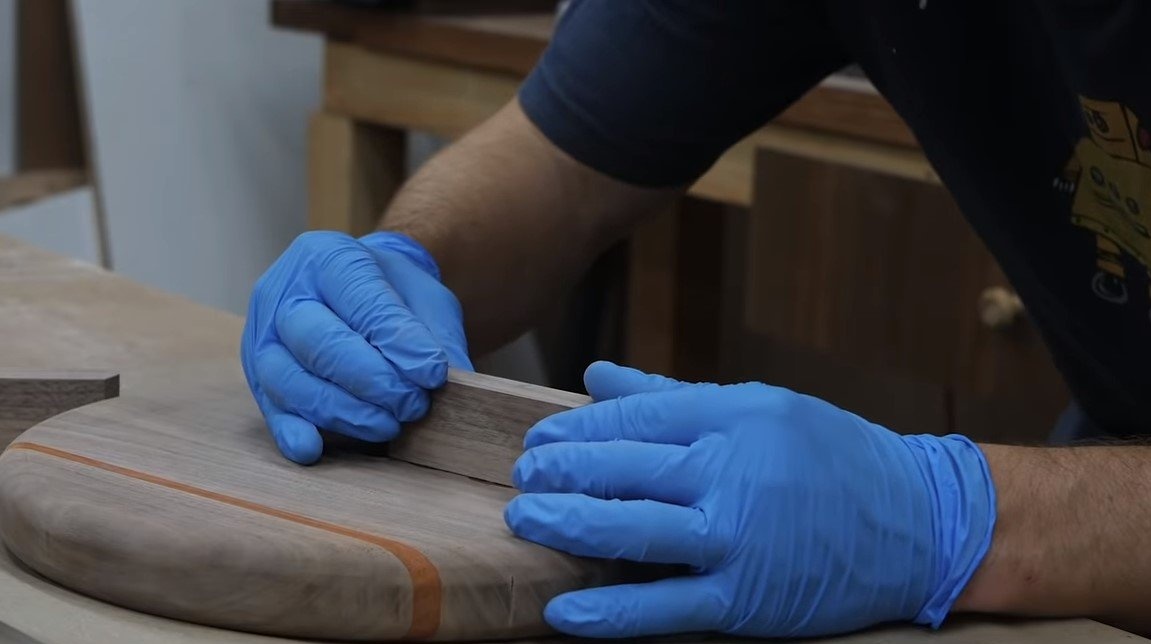
While the resin hardens, we will make a seat for a stool, we also make it from bars or pieces of boards. We glue the boards together with carpentry glue, dowels can be used for reliability. To make everything look more interesting, you can glue different species and colors of wood.

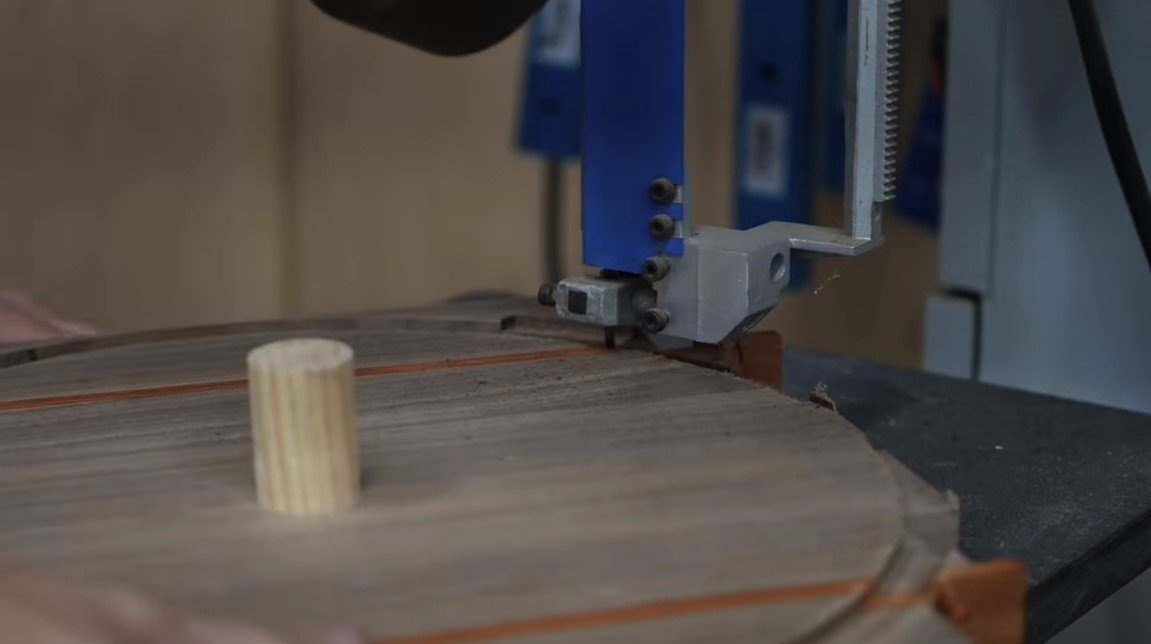
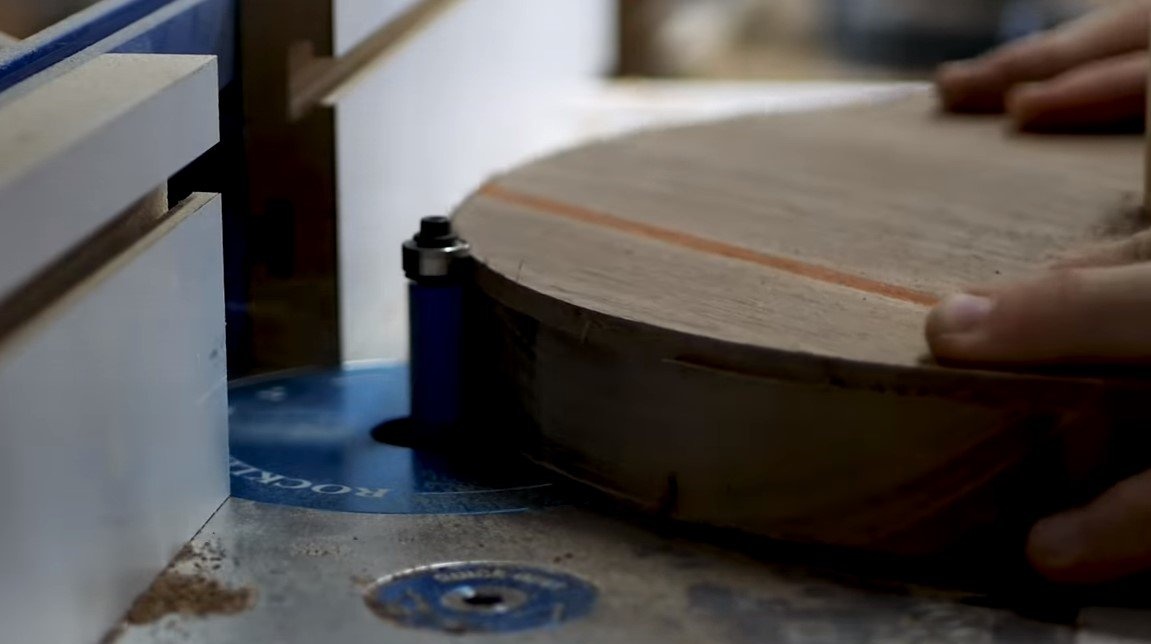
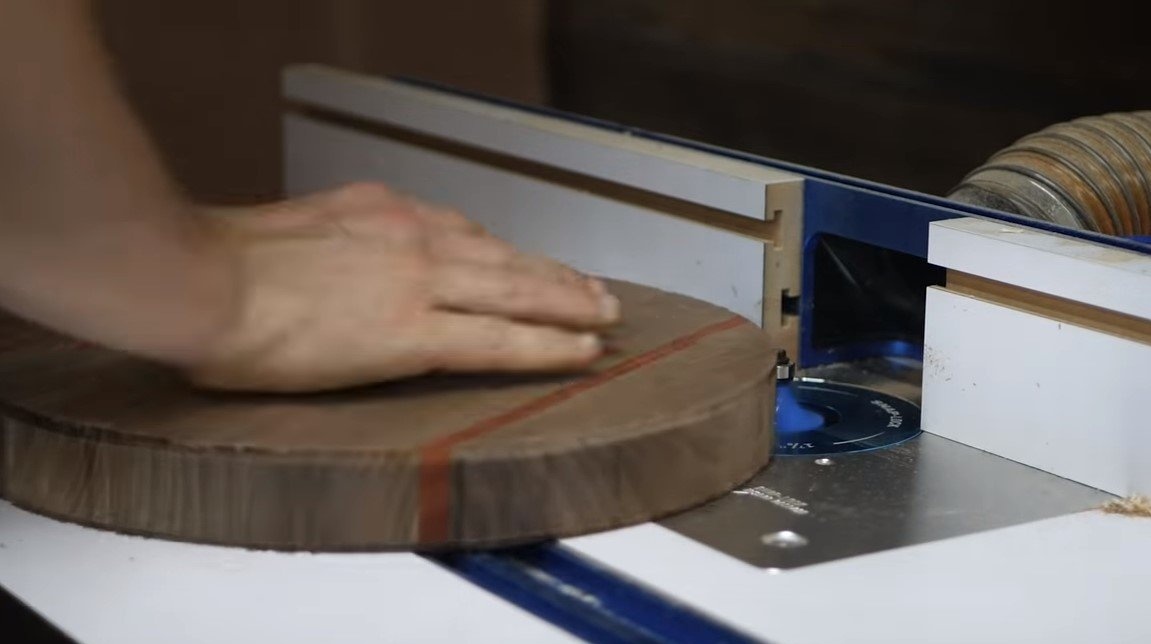
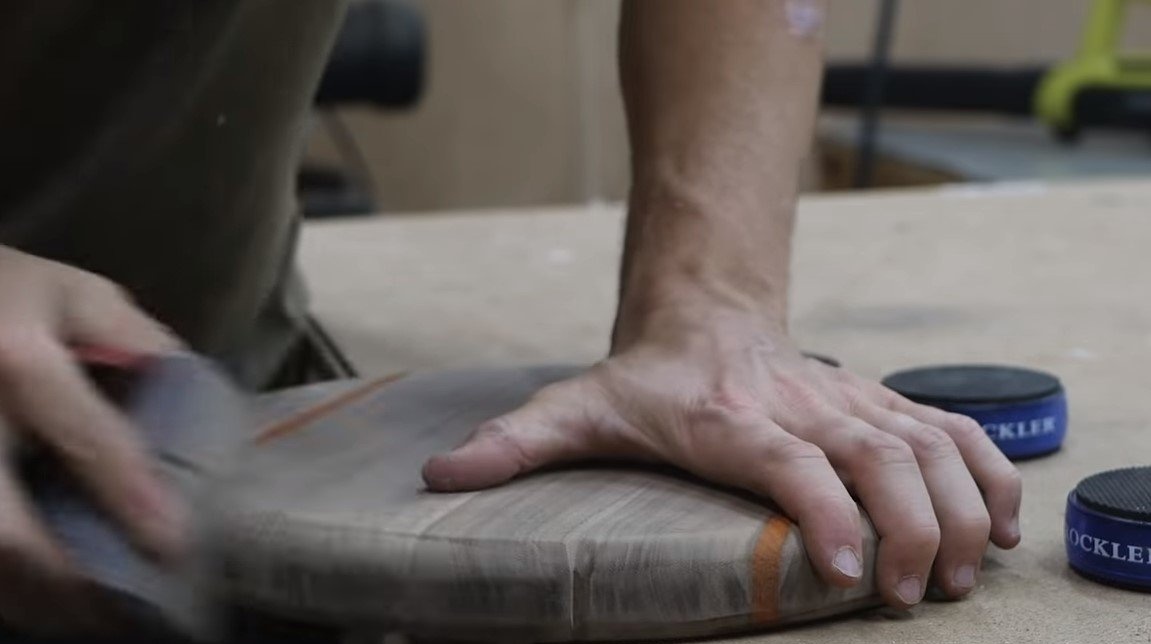
When the glue dries, we cut off the excess with a tape cutting machine to make a circle. We process the edges on a milling machine and carefully grind the workpiece to a perfectly smooth state.
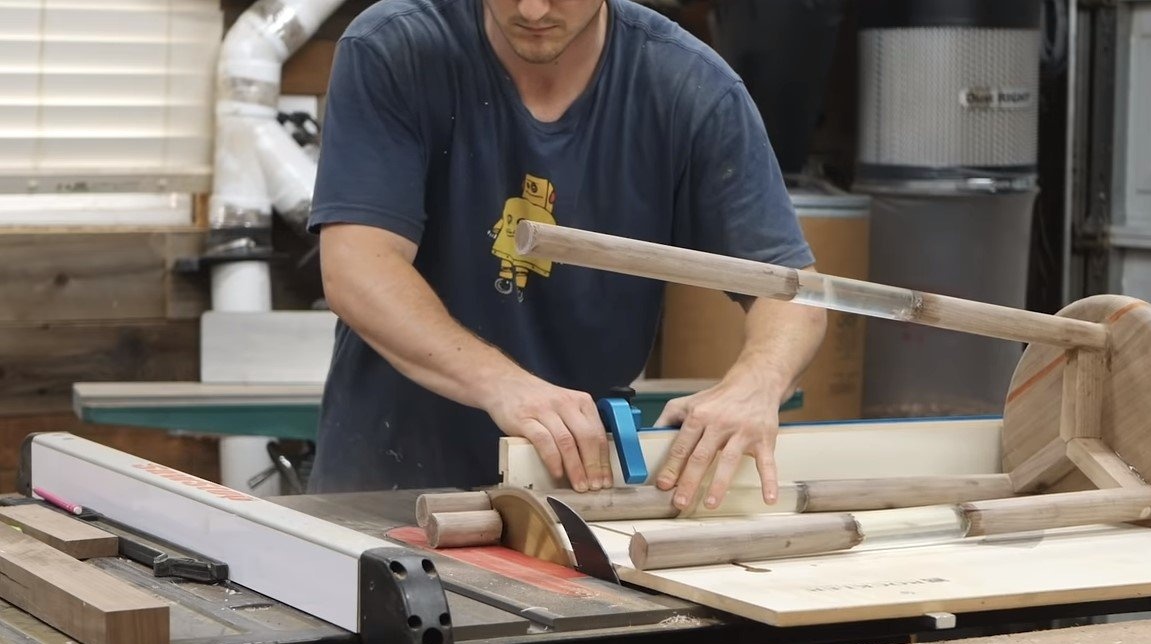
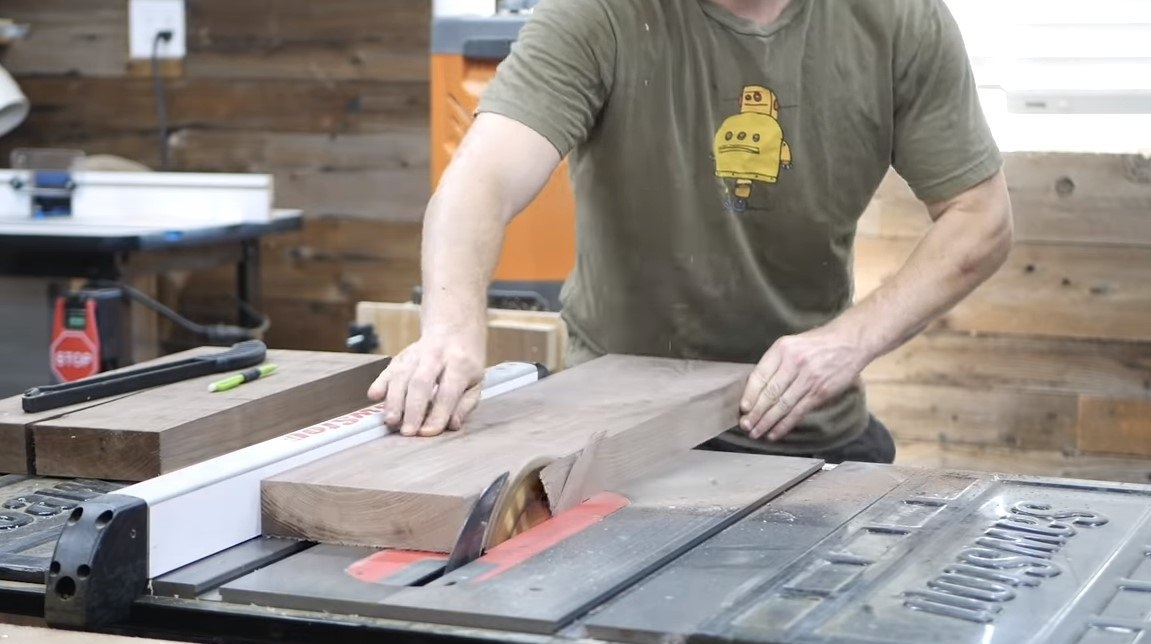
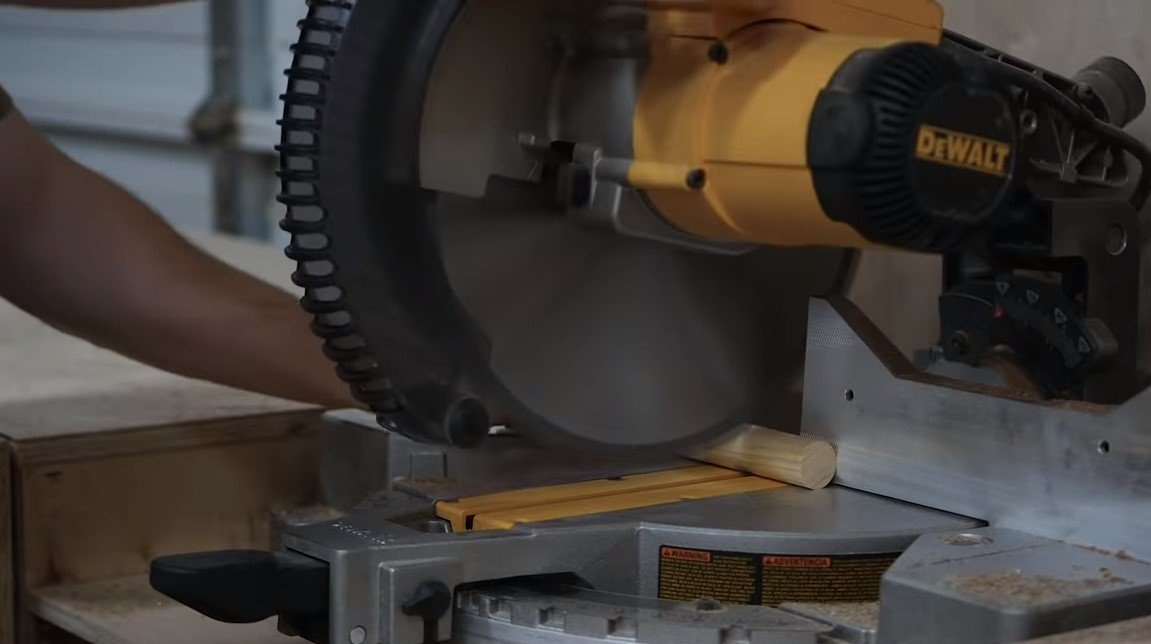
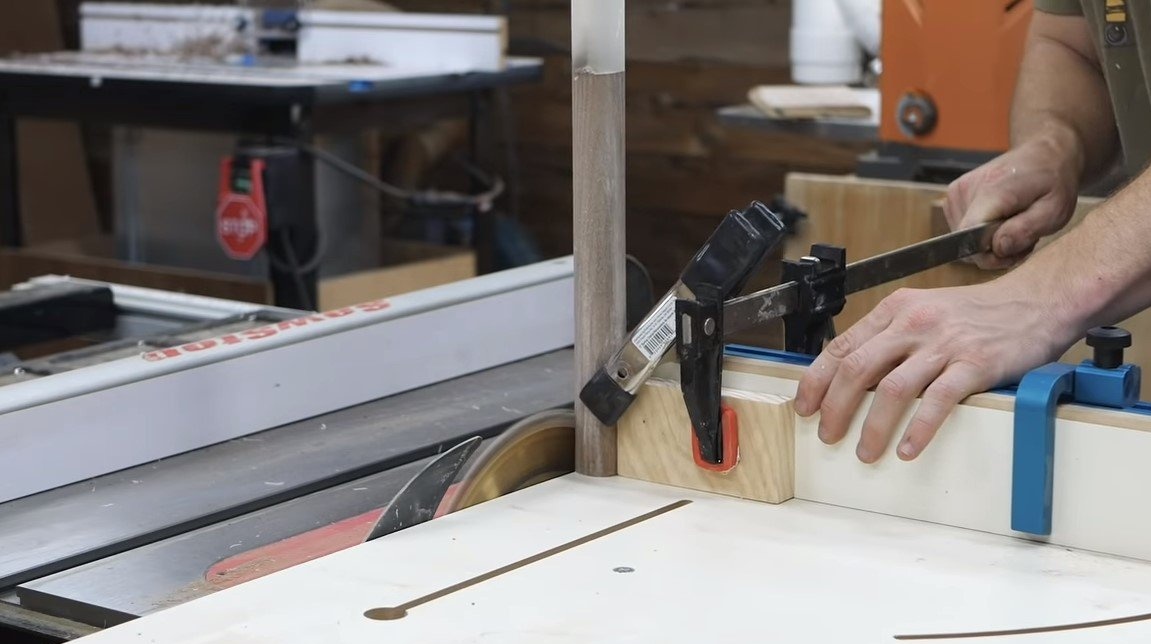
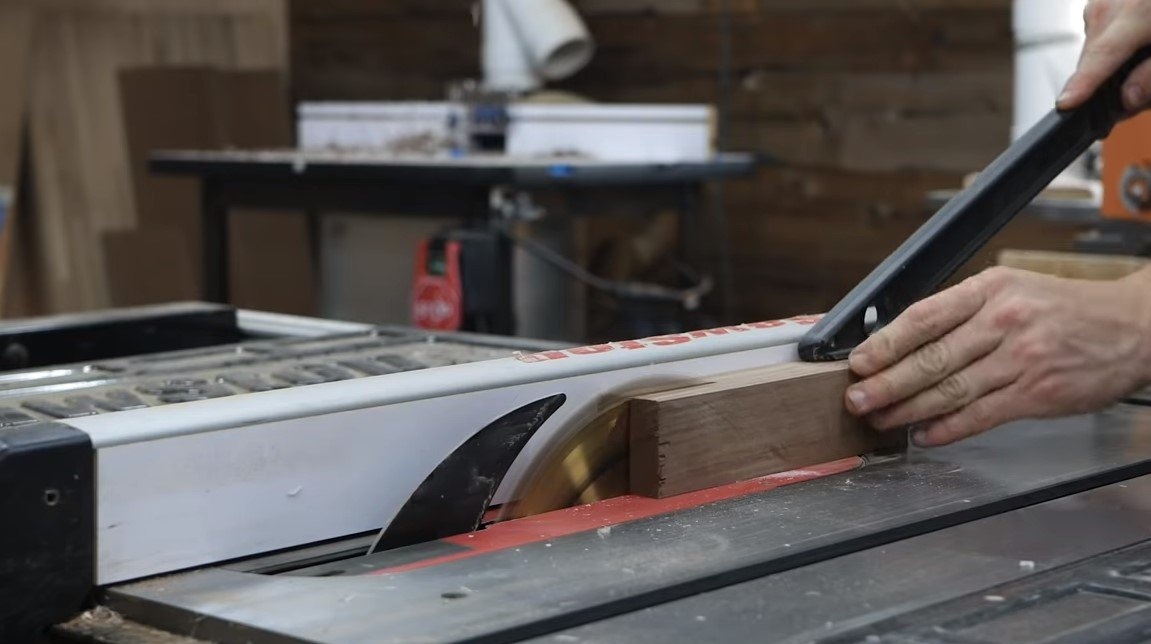
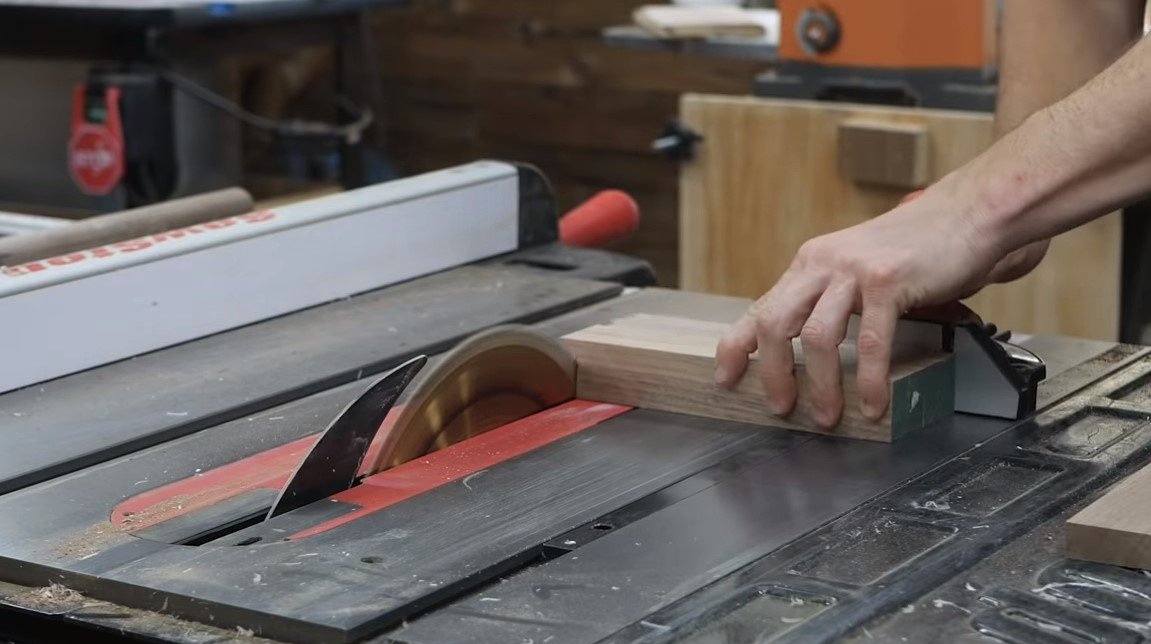
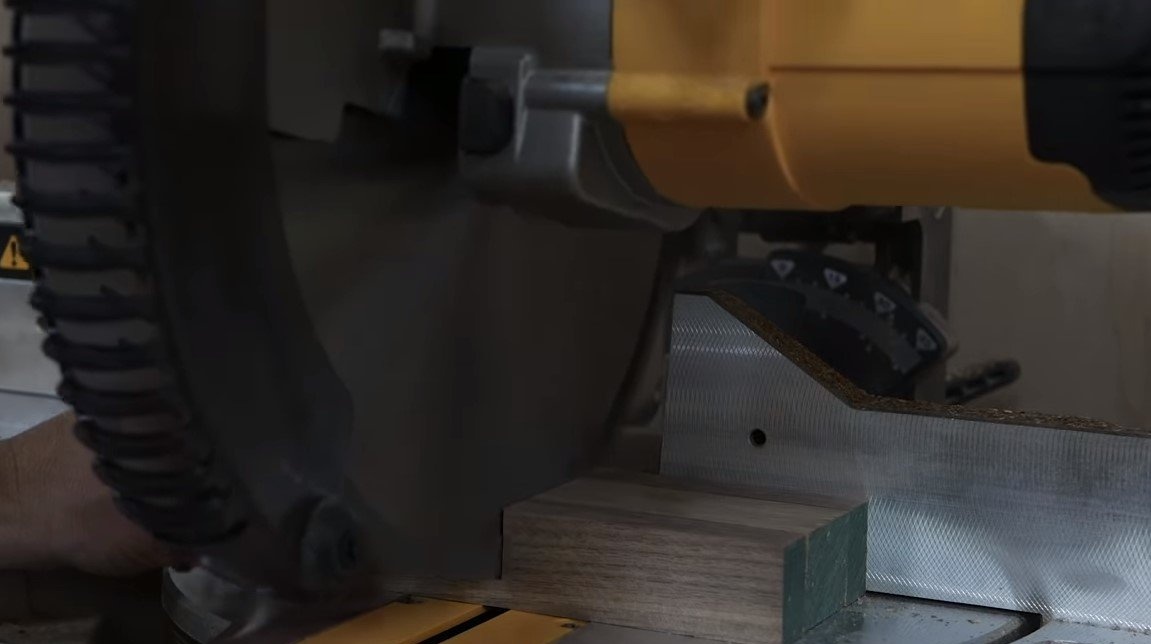
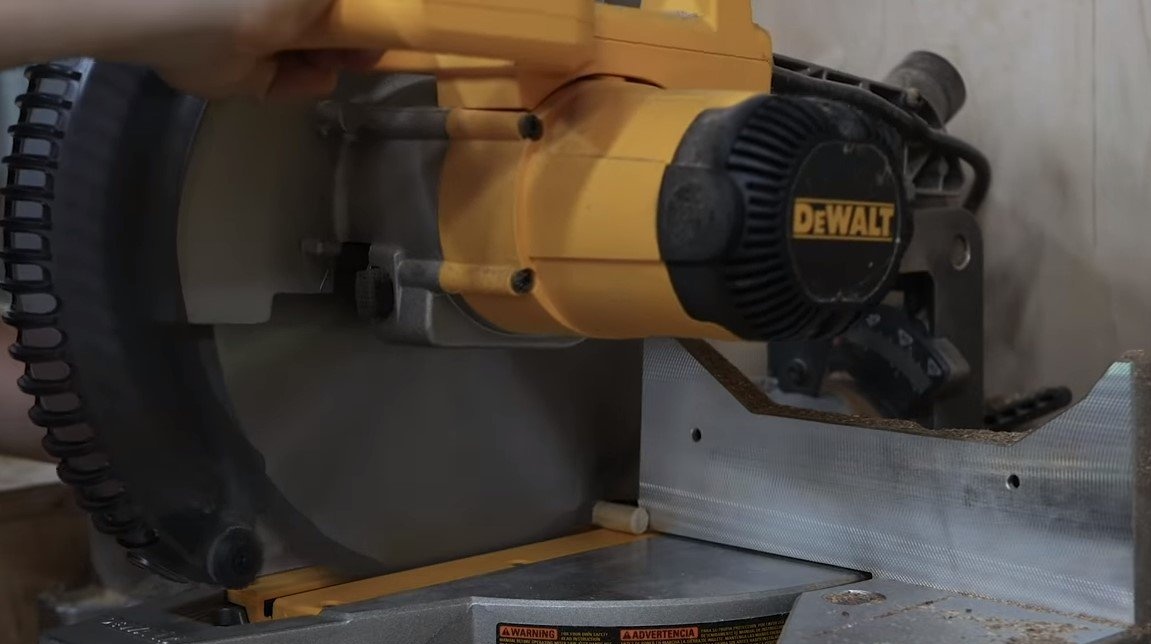
Step Four We finalize the legs
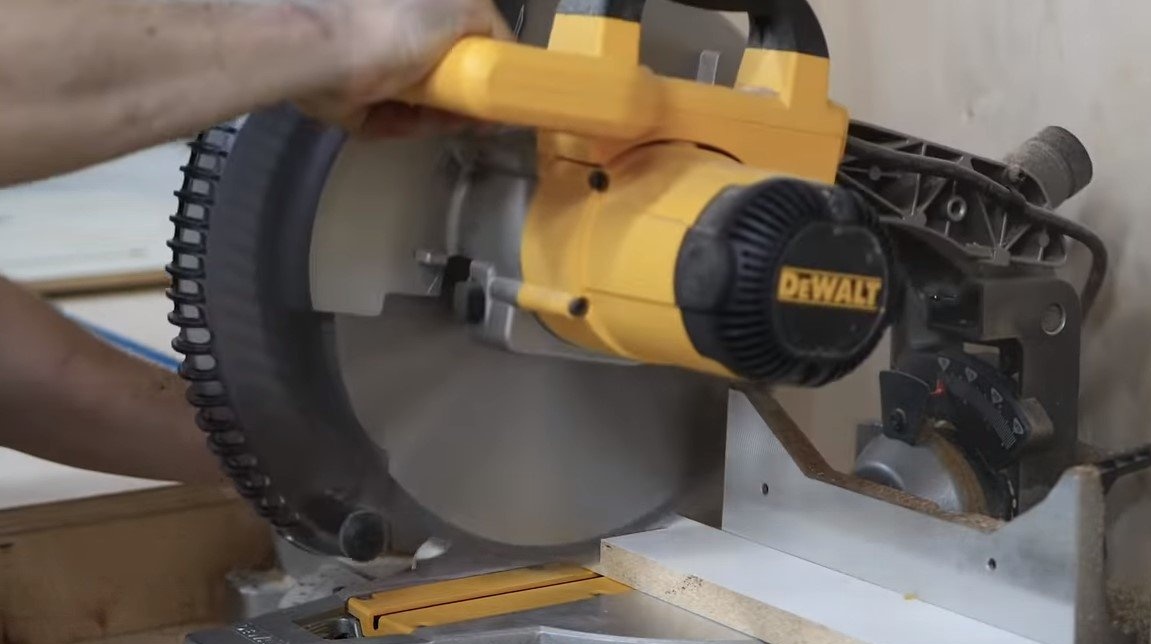
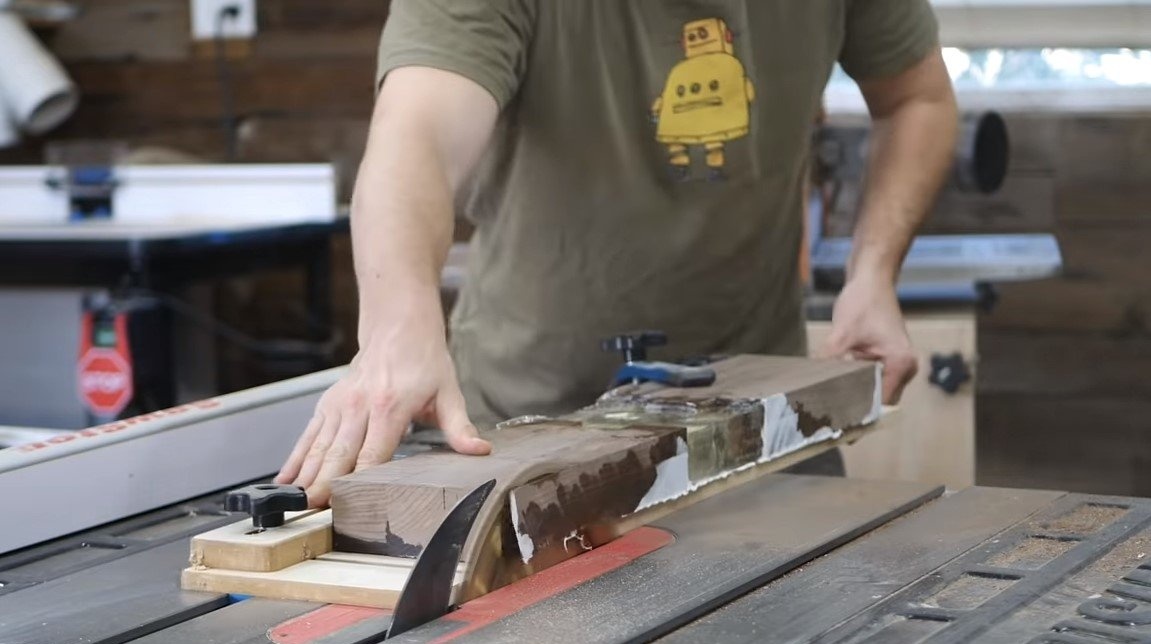
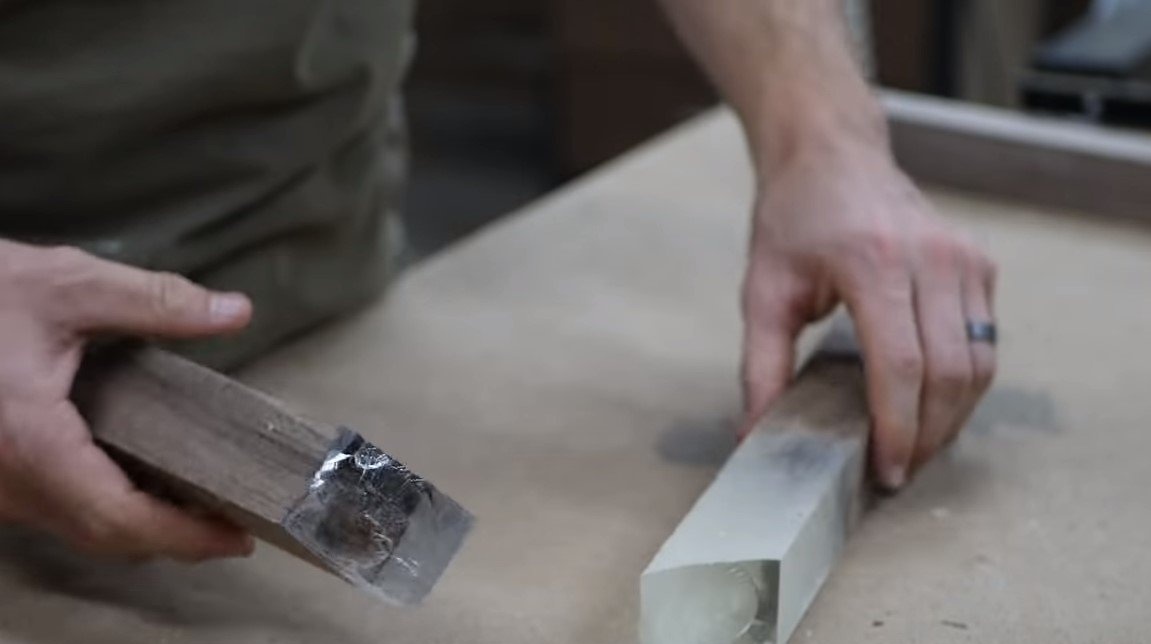
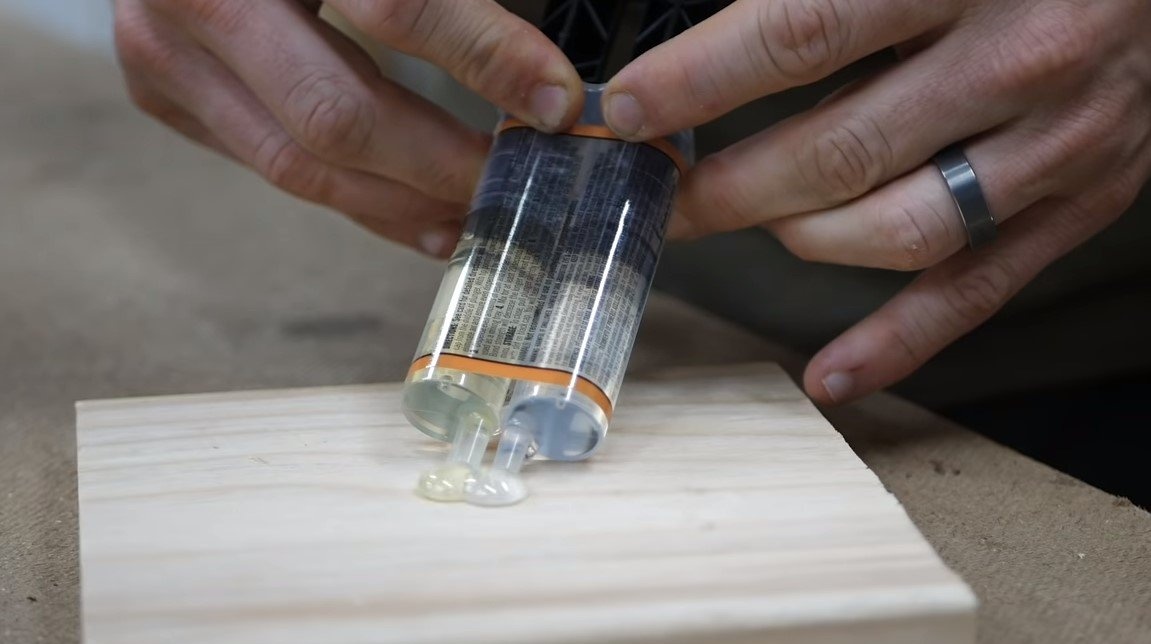
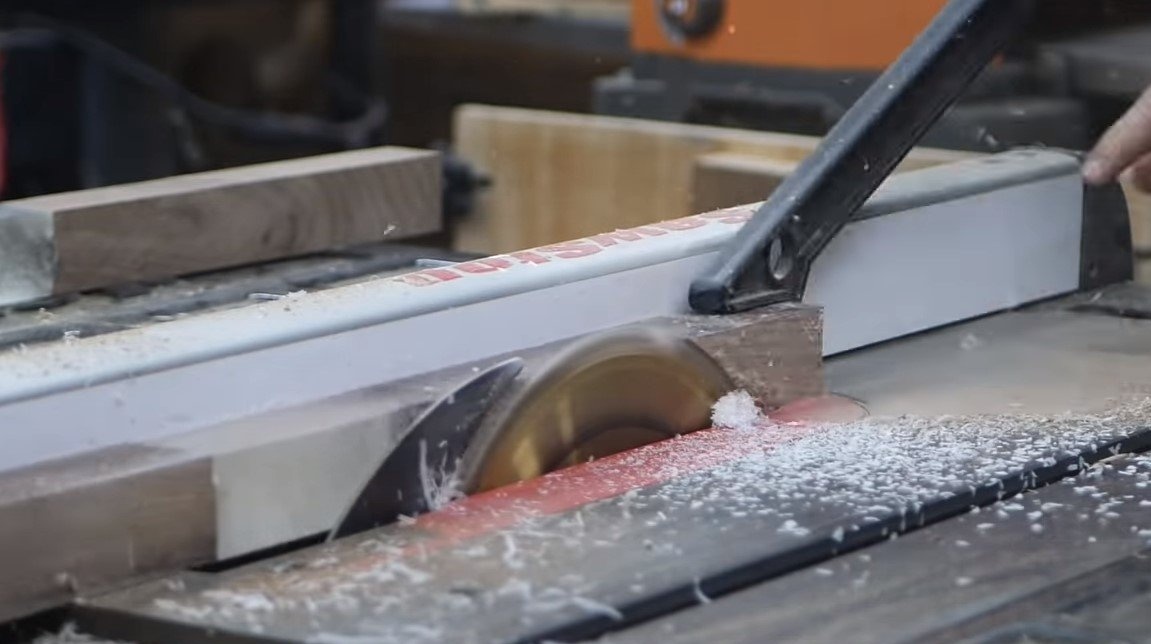
We disassemble the formwork with resin-embedded legs and cut them again on a circular saw. When inaccurate handling, the author broke one leg, as a result, it was glued using quick-drying epoxy glue.
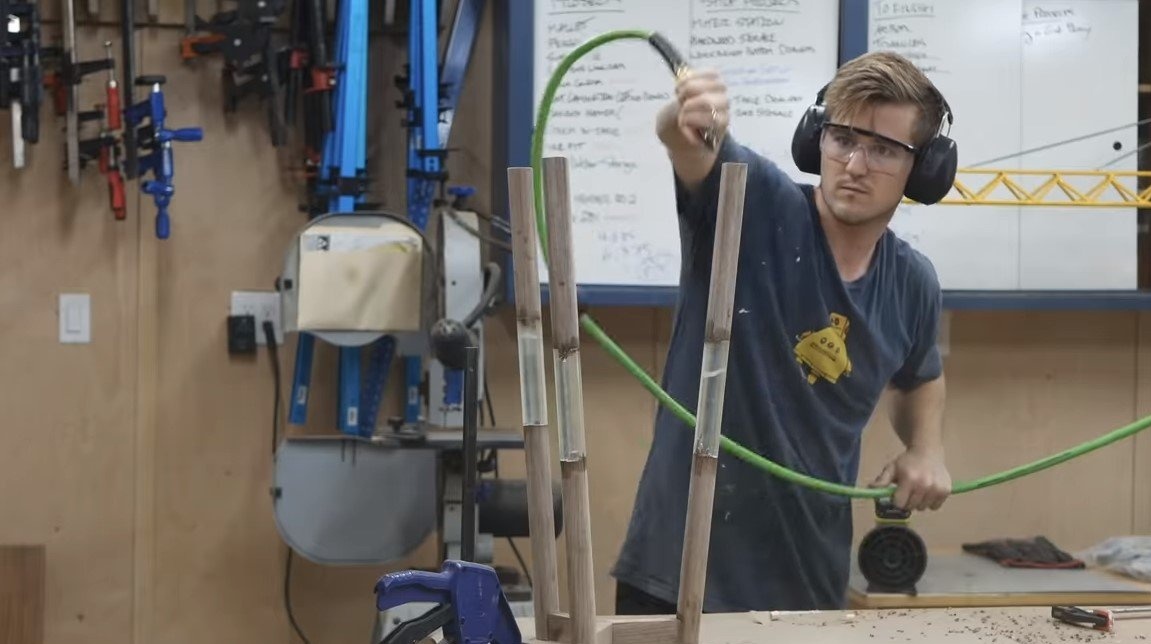
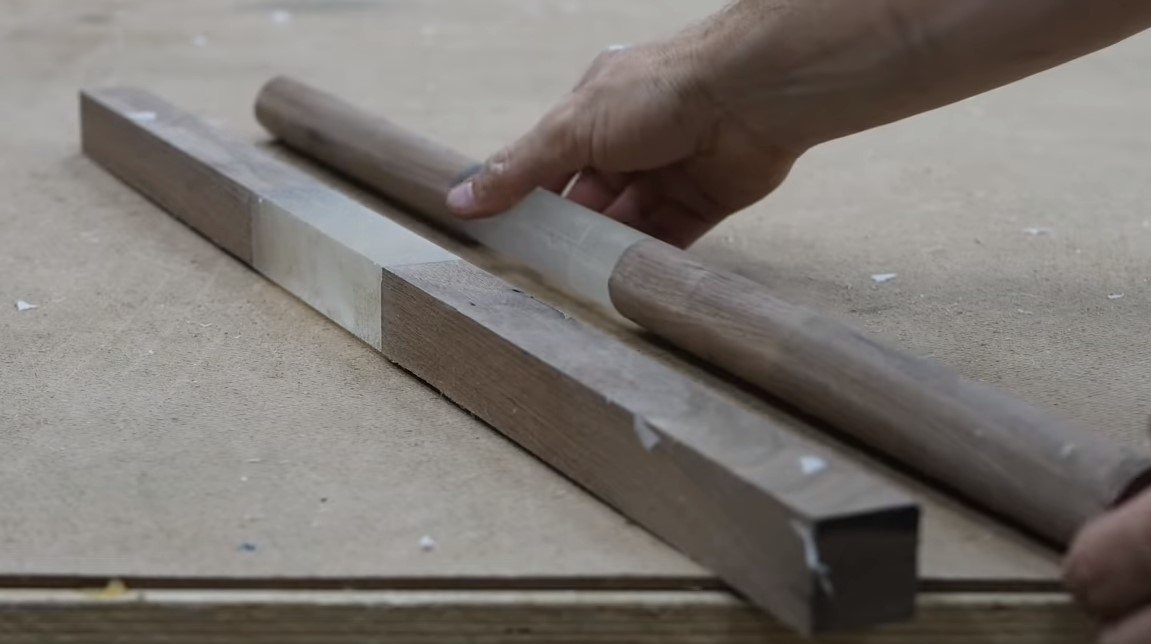
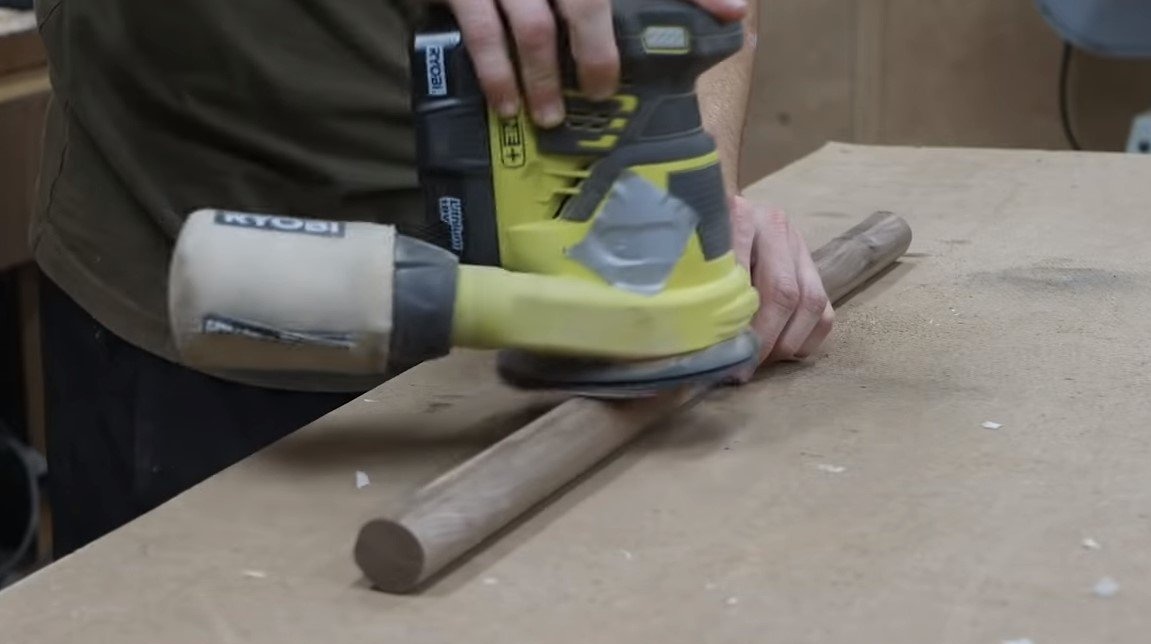
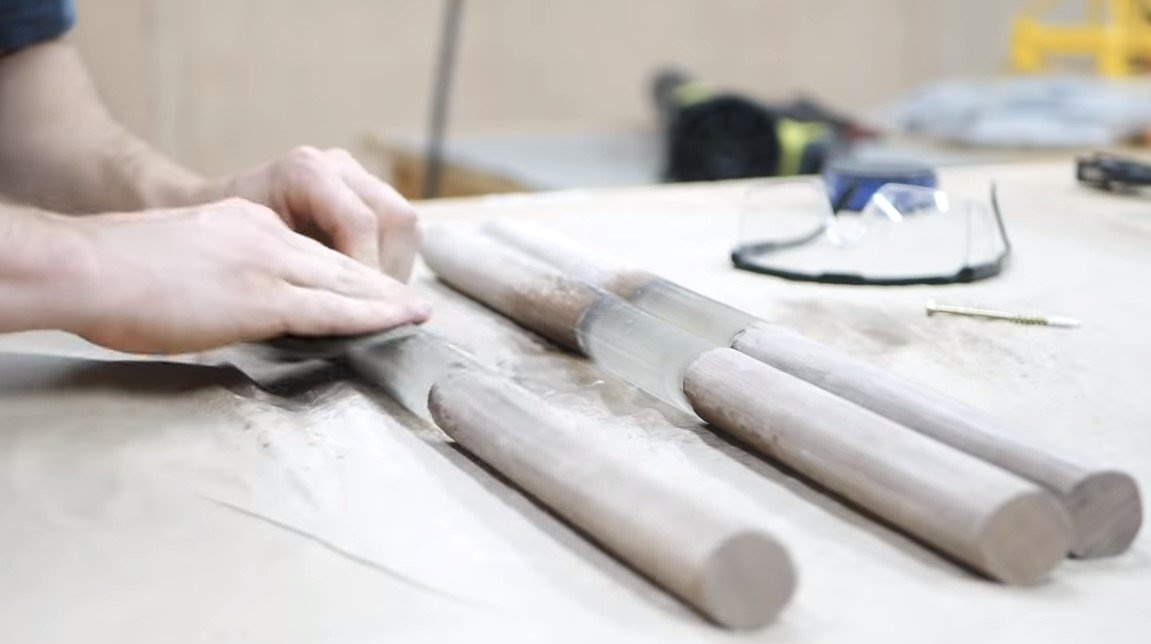
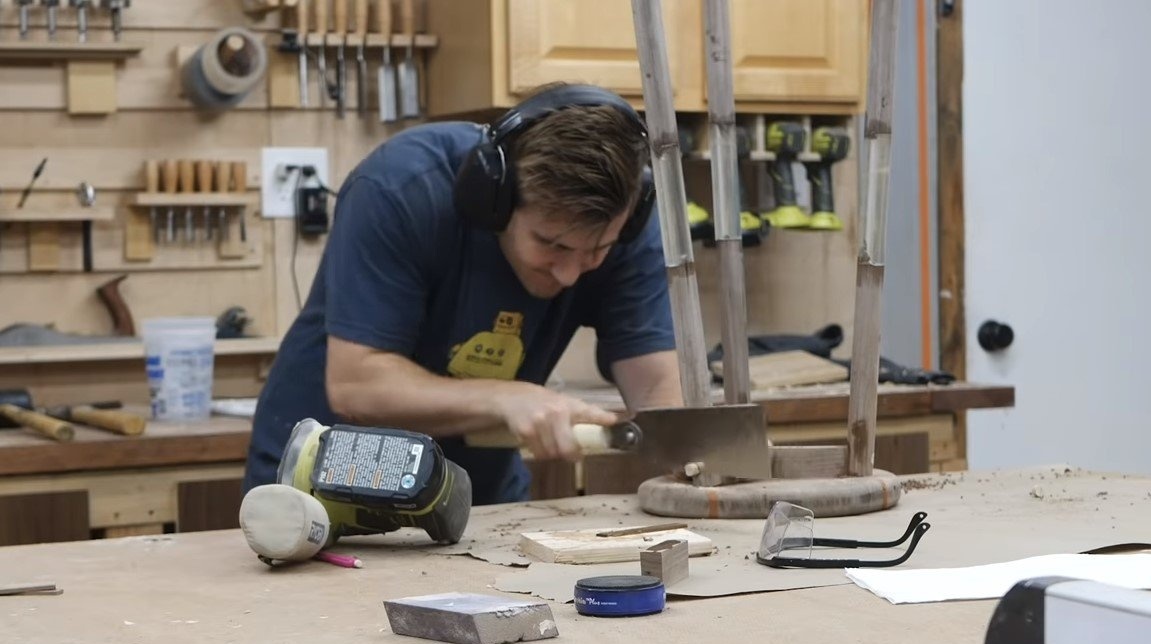
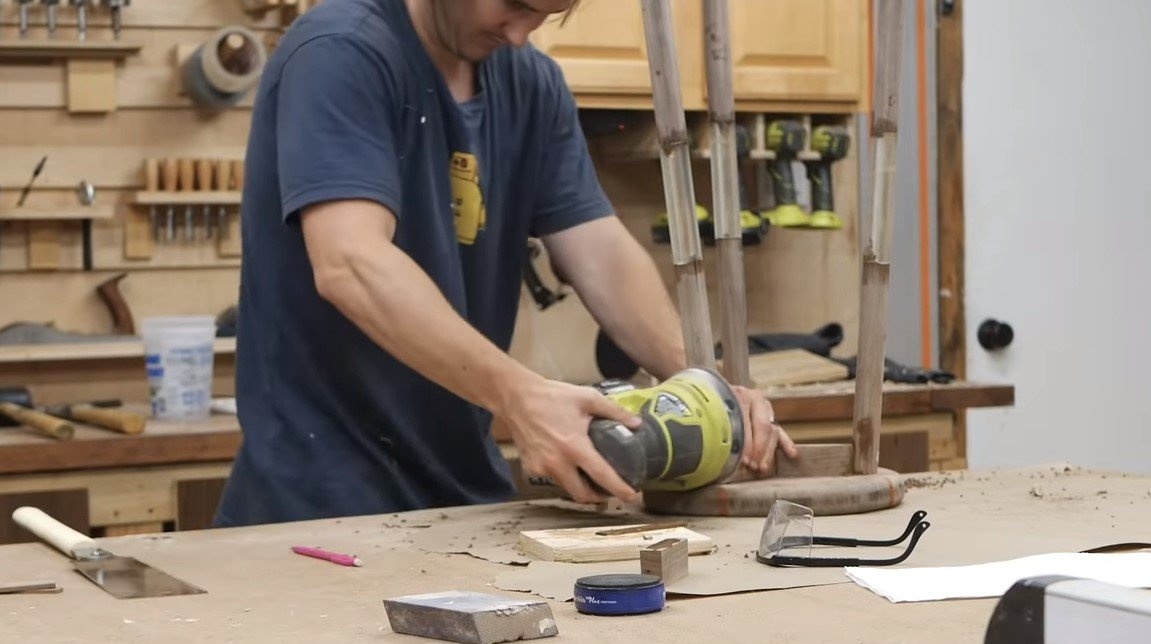
Next, each leg is carefully processed on a lathe and carefully sanded to a perfectly smooth state. For the epoxy to become transparent again, it must be polished, but even after polishing the resin will not be 100% transparent. To return the crystal transparency to the resin, it must be varnished, oil and so on, but this will be done at the end.

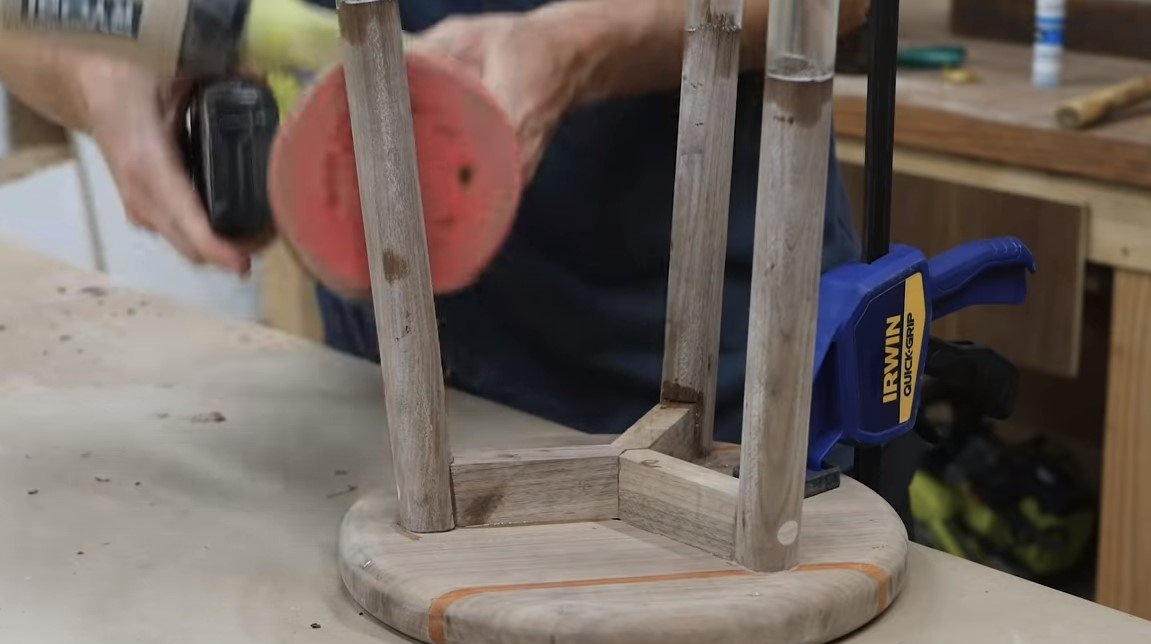
Step Five Mounting Assembly and Assembly
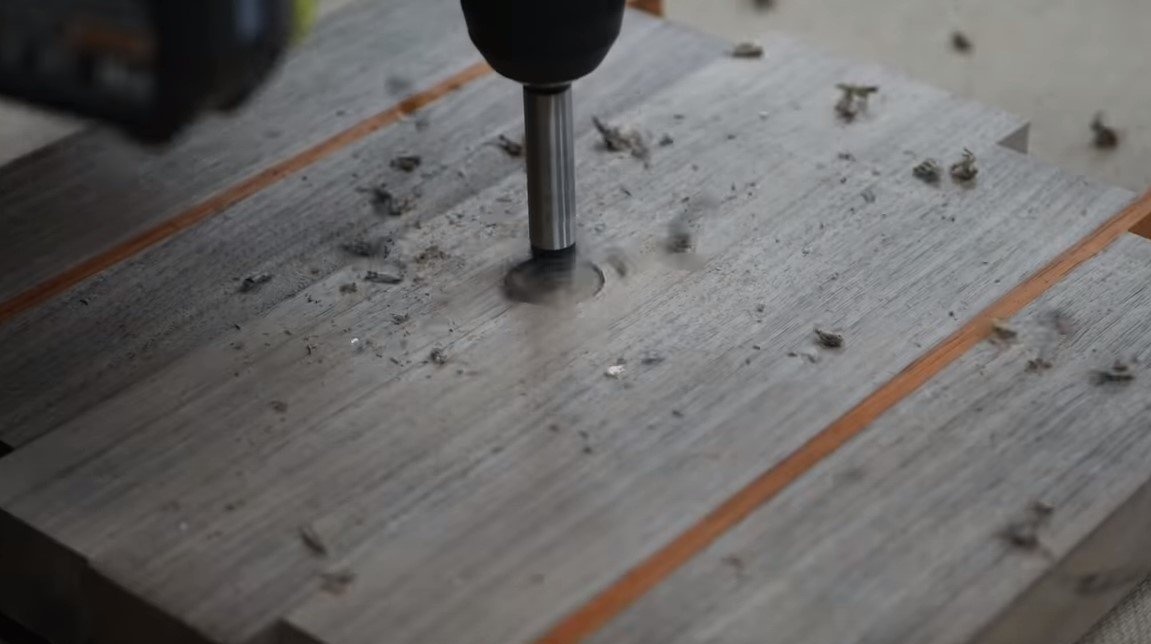
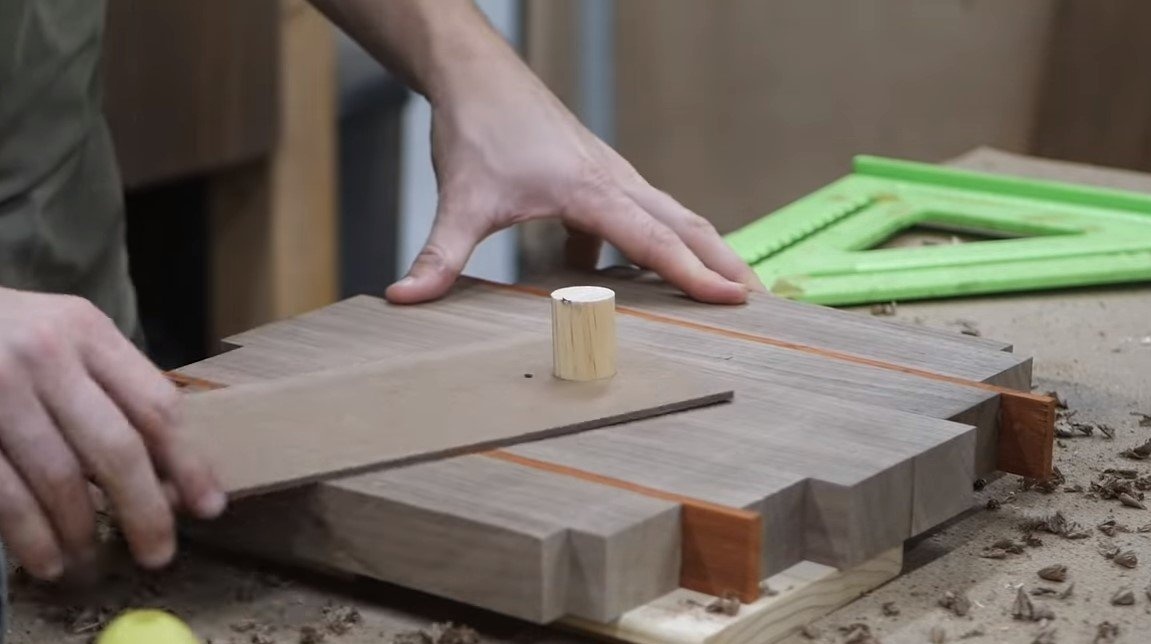
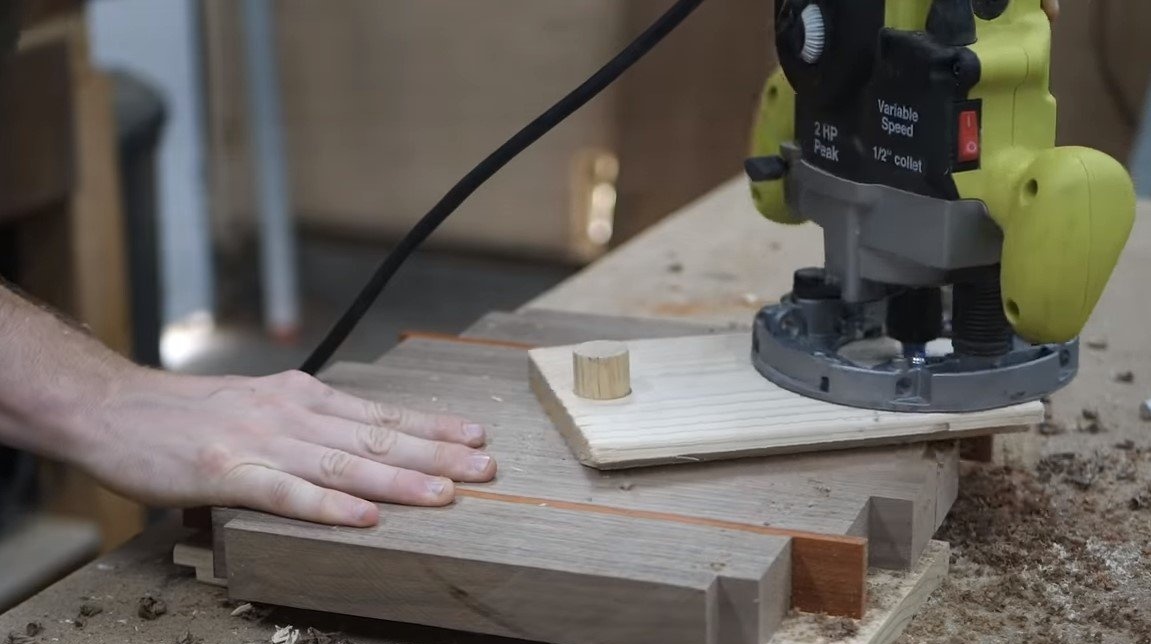
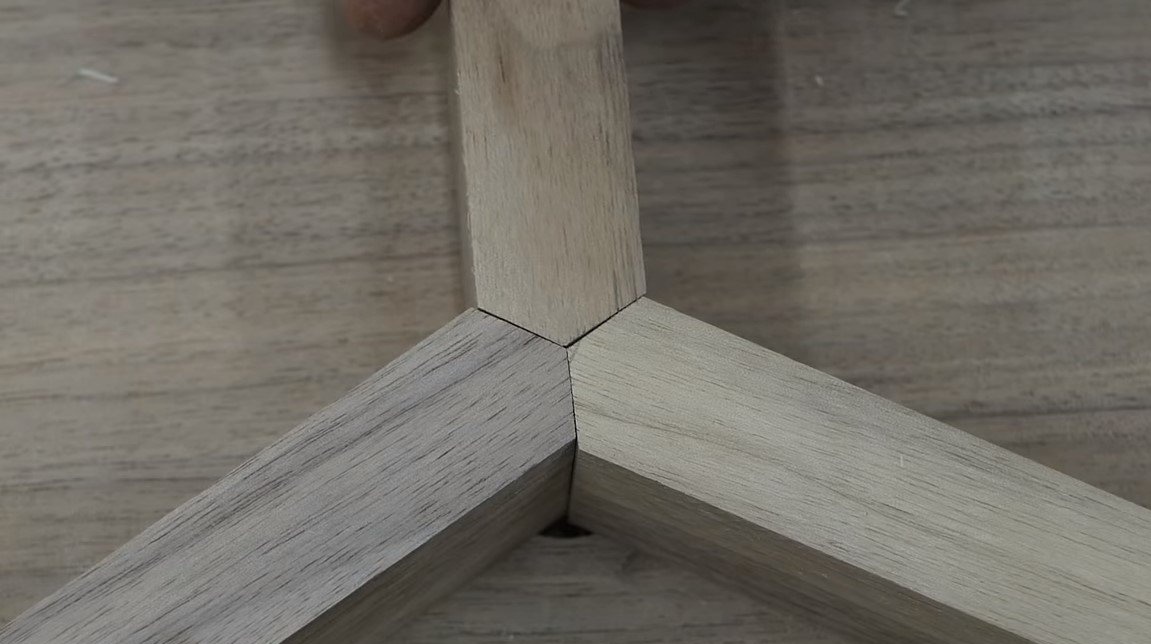
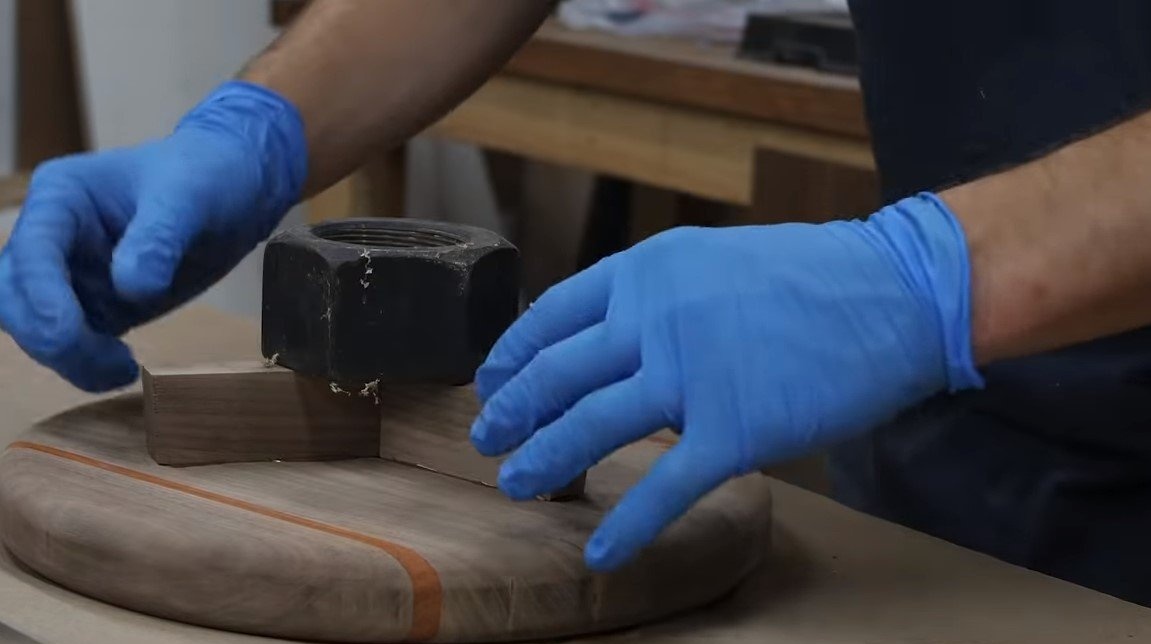
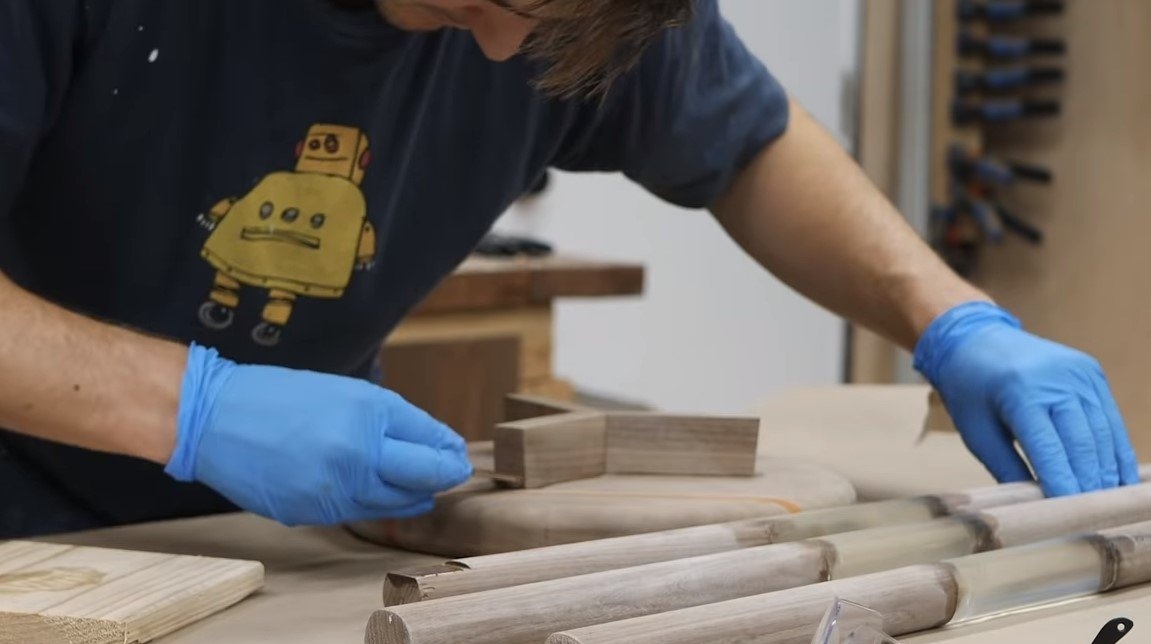
We make a fixing unit so that the legs can be securely screwed to the seat, for this you need bars or thick durable boards. Finished parts can be glued to the seat, but it is better to use glue with screws.
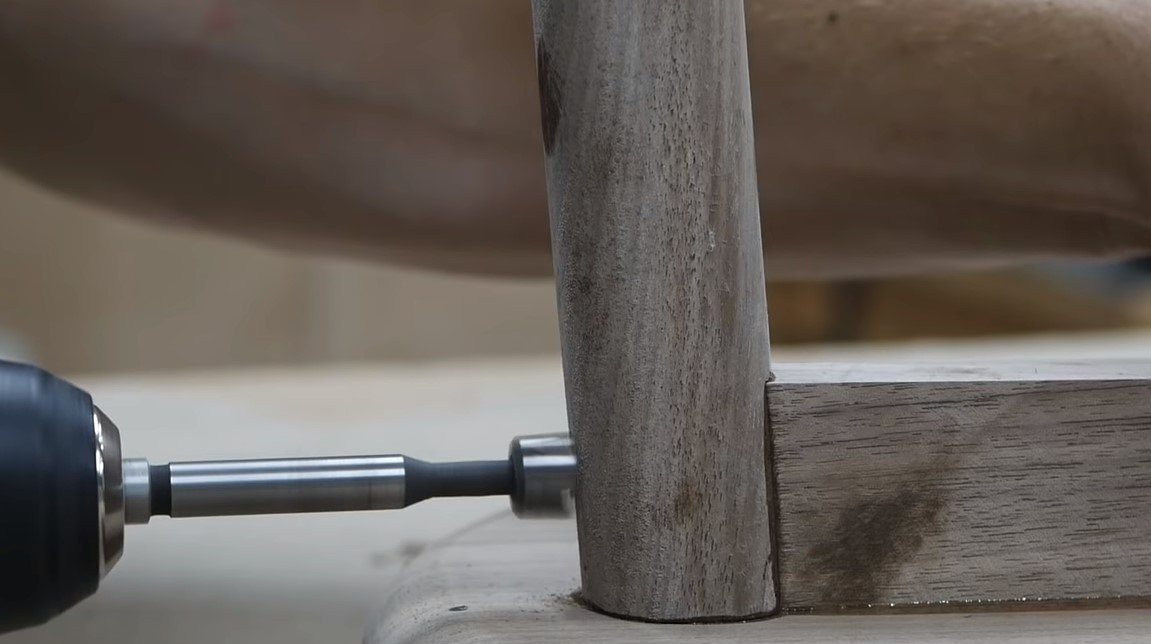
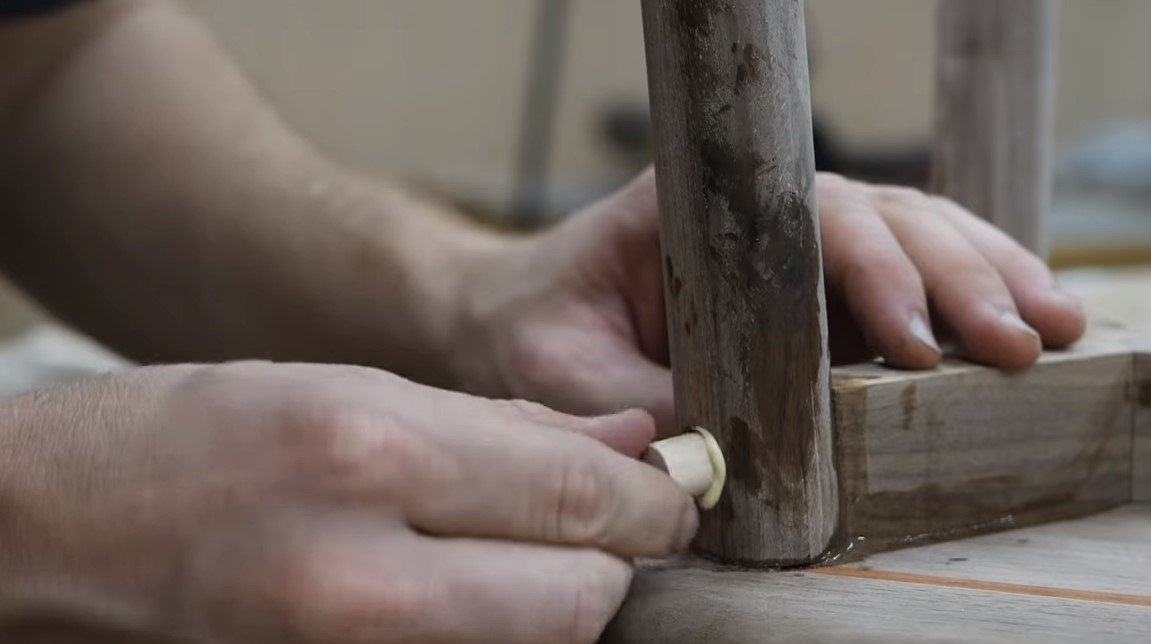
Well, then we modify the legs and fasten them with screws with glue to the seat. To prevent screws and holes from being visible, the author puts stubs made of wood.
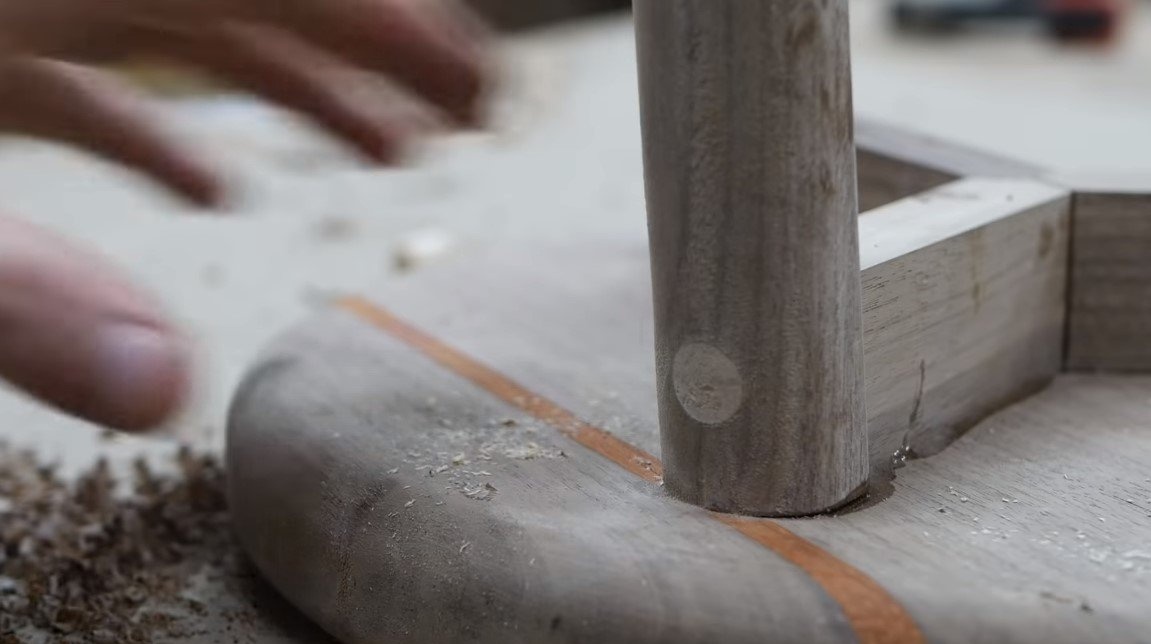
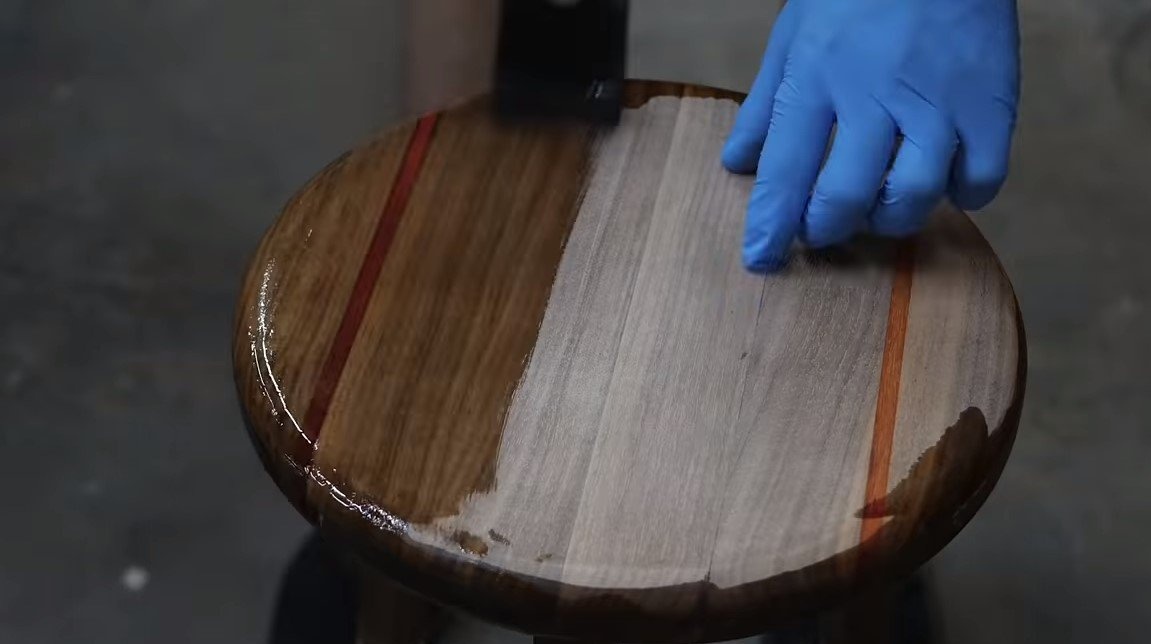
Step Six Final touches
At the end, align the legs in length if the stool is crooked or staggering. That's all, now we cover the stool with oil, so we highlight the real beauty of wood. Also, the oil will help make the resin even more transparent.
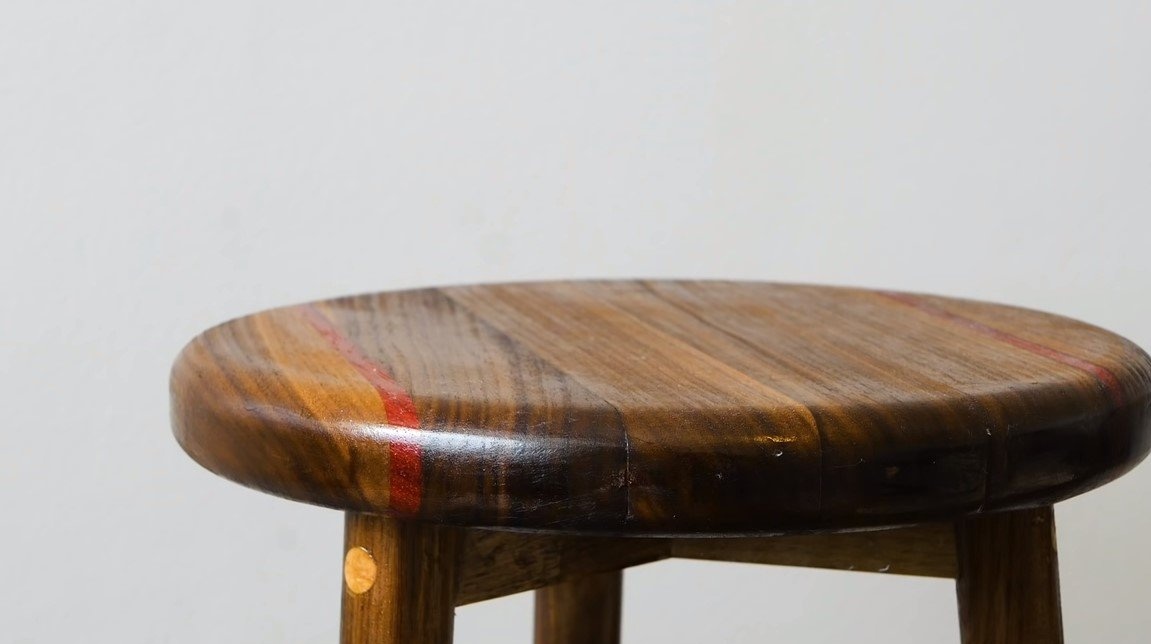
That's all, now the homemade product is ready, the stool looks great. By a similar technique, you can make an interesting levitation table. This is the end of the project, I hope you liked the homemade work, and you found useful thoughts for yourself. Good luck and creative inspiration, if you decide to repeat this. Do not forget to share your ideas and homemade things with us!