
I welcome all fans to craft, today we will consider how to make a drum grinding machine. Using such homemade You can not only sand boards and beams, but you can also level the wood to the desired thickness, if you need to remove a little. The machine is built of plywood, the working drum is made of MDF. The homemade product works fine, there are practically no beats and backlashes. As a power unit, the author used a motor from. The author also made sure that the workshop had less dust, it is sucked off with a vacuum cleaner through a special sleeve. If you are interested in the project, I propose to study it in more detail!
Materials and tools used by the author:
Material List:
- plywood;
- MDF;
- threaded rod, nuts, washers;
- bearings;
- ;
- belt;
- polycarbonate or other sheet material;
- self-tapping screws;
- carpentry glue;
- furniture hinges.
Tool List:
- tape cutting machine (or drill bits);
- drilling machine;
- a circular saw or other tool for cutting plywood;
- drill screwdriver;
- a chisel;
- clamps;
- grinder;
- compass, square, ruler, pencil.
Machine manufacturing process:
Step one. Blank for drum
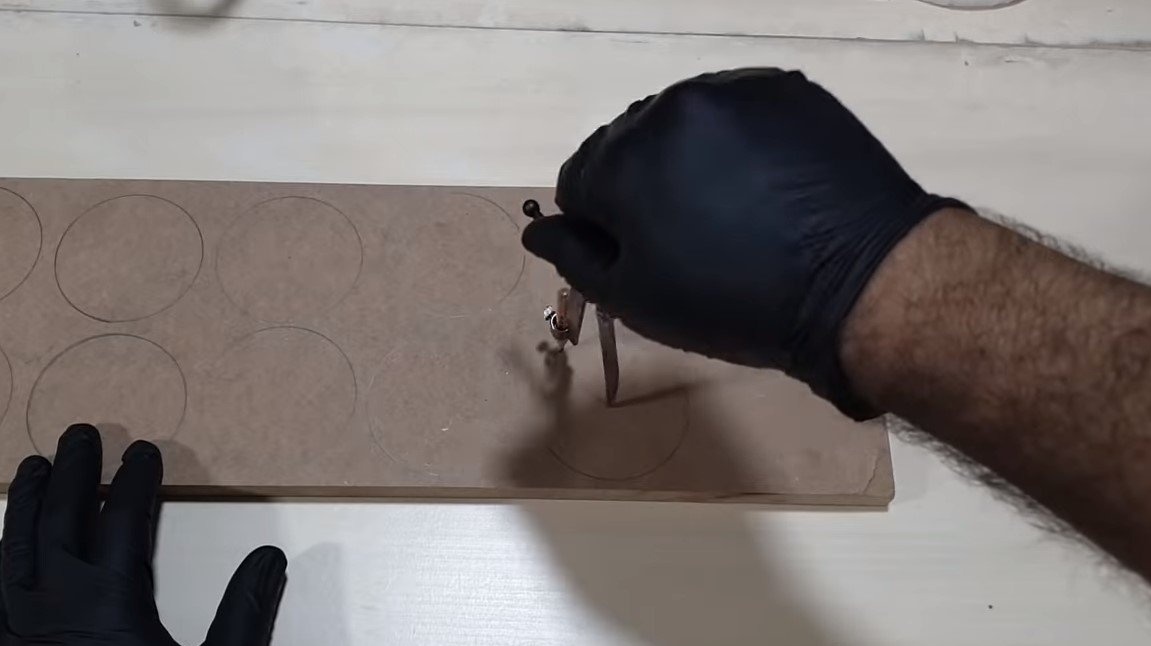
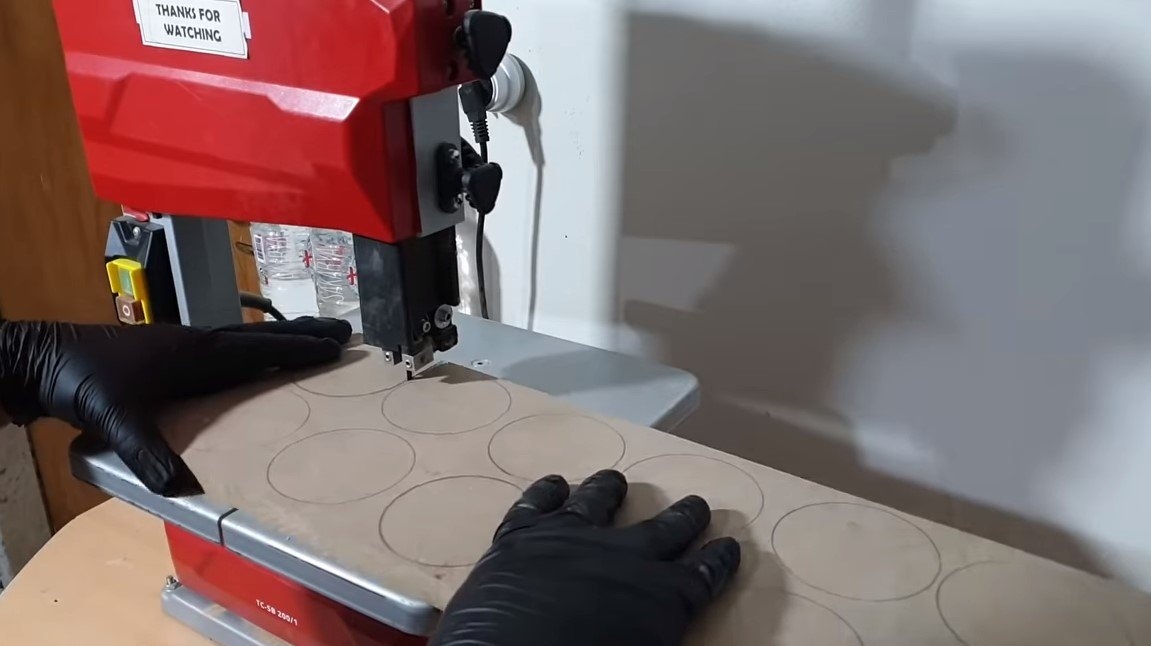
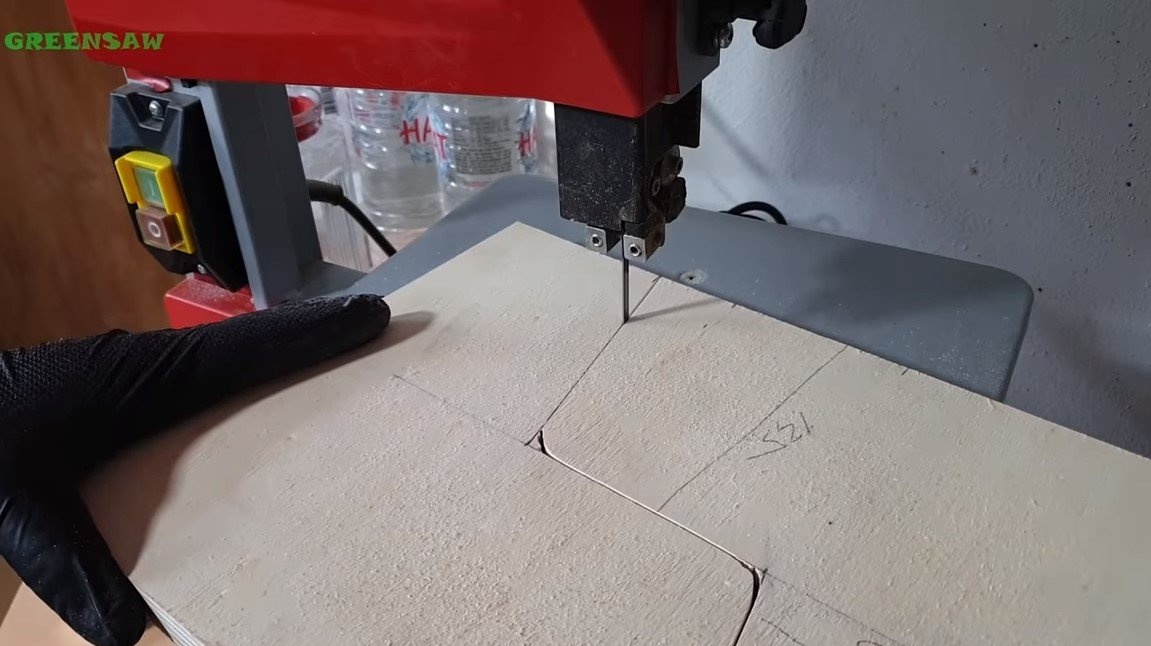
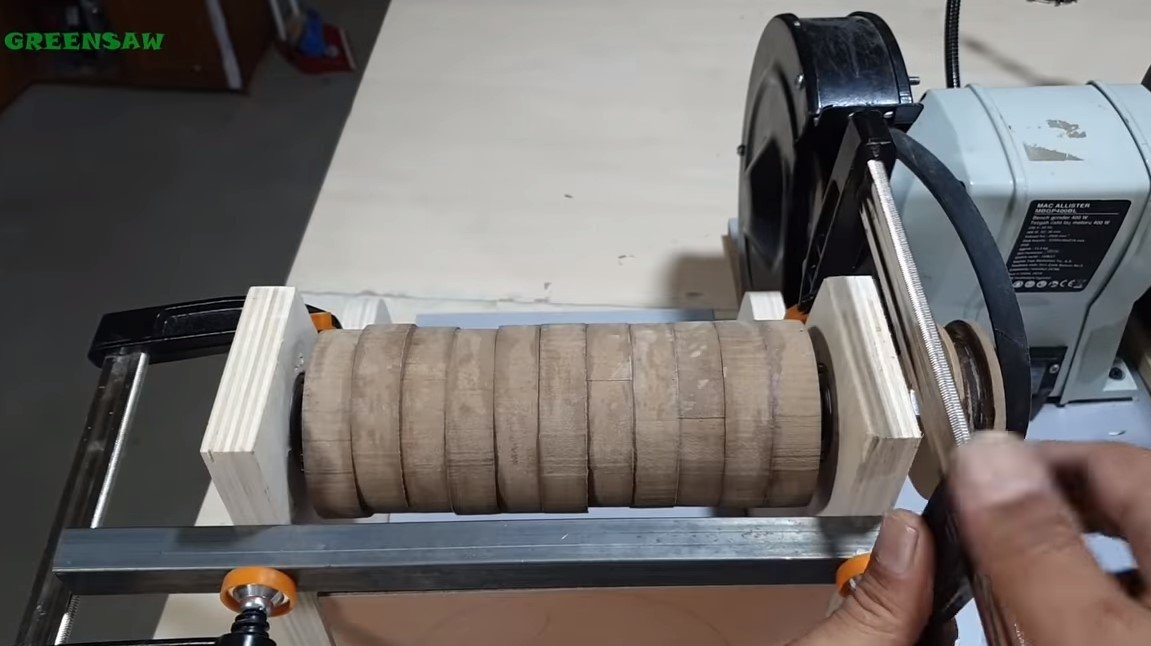
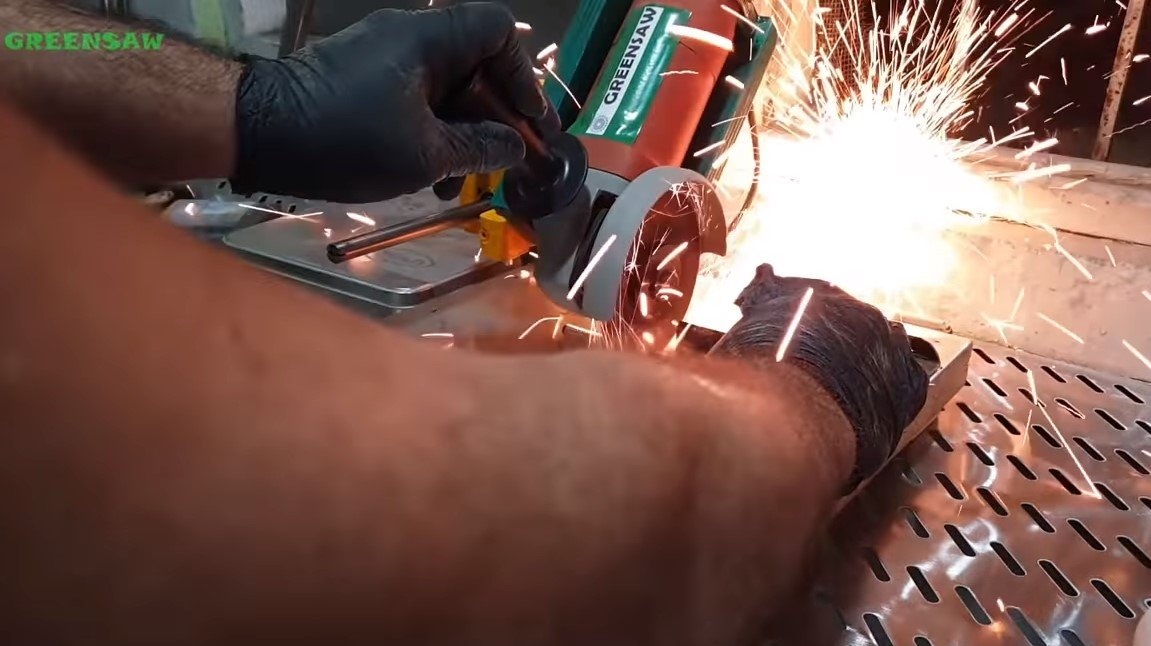
First of all, we will make a blank for the snare drum. The author used MDF as a material, such material is easily processed, and its durability is quite enough. We need to cut a large number of circles, the author cut them on a tape cutting machine. Alternatively, you can cut such circles with large diameter crowns.
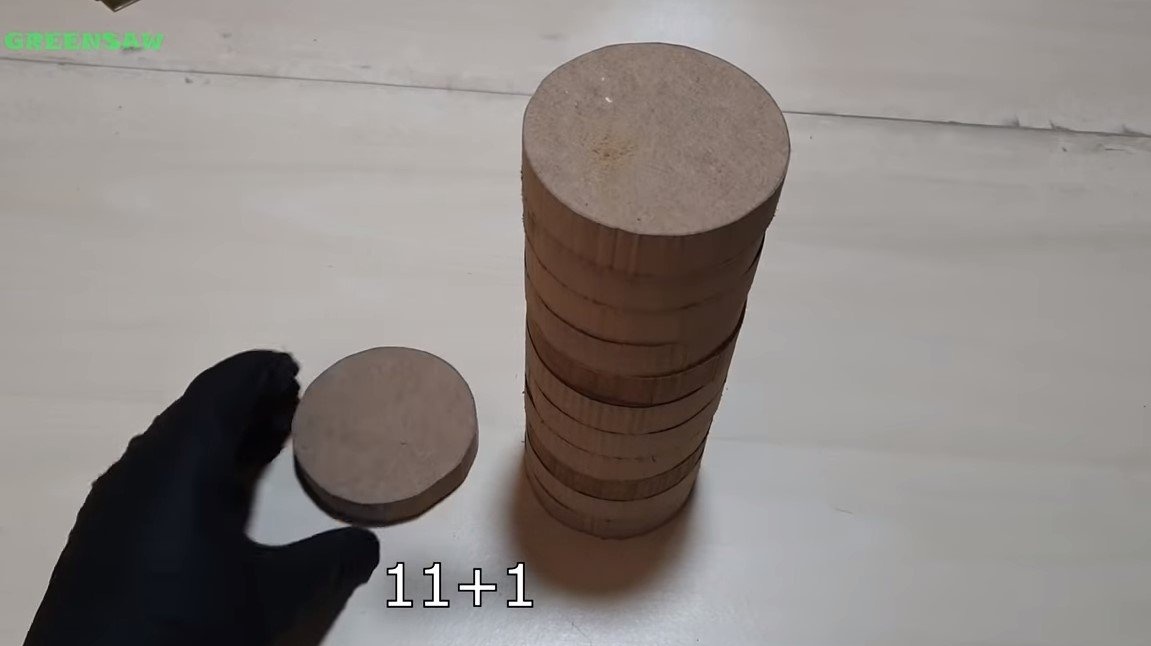
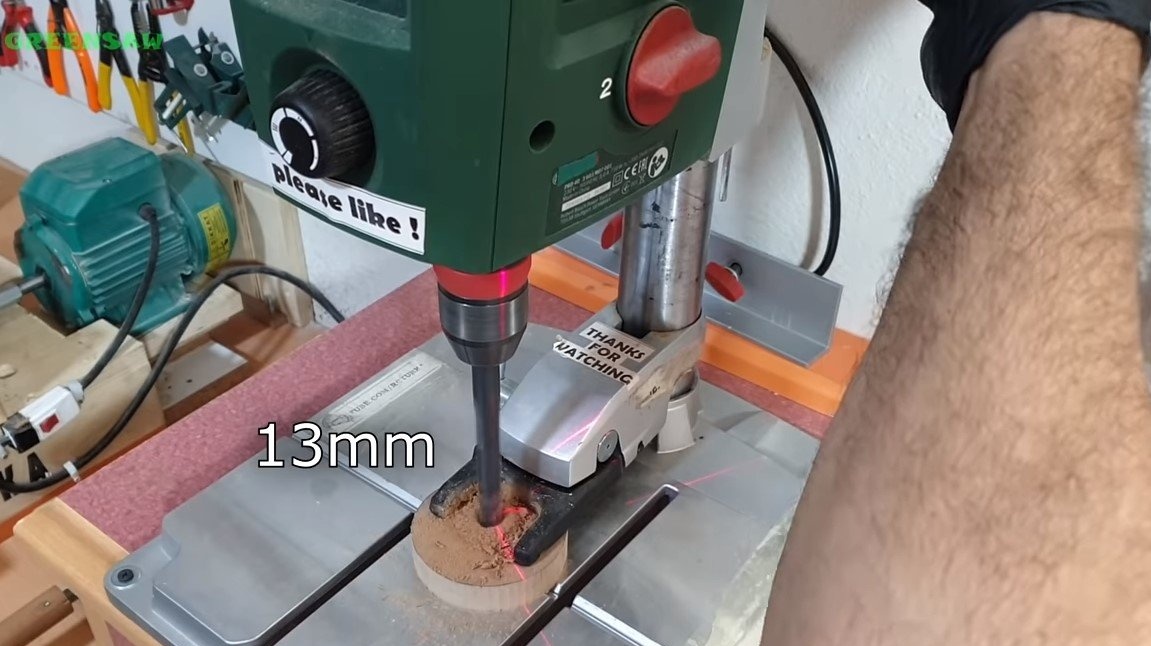
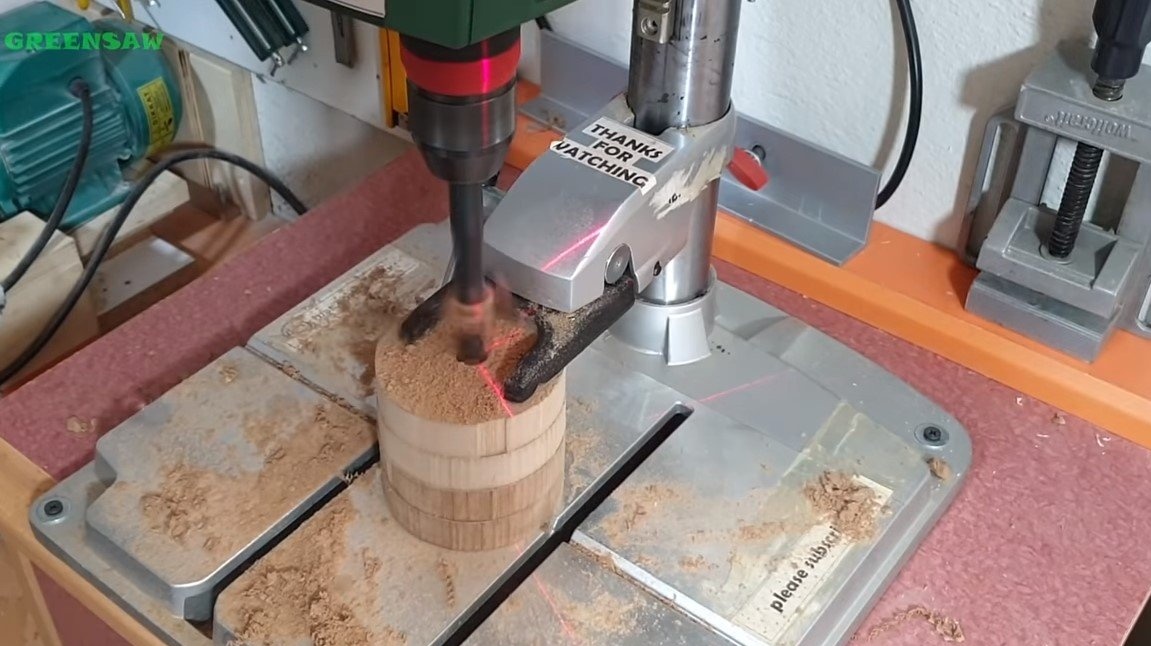
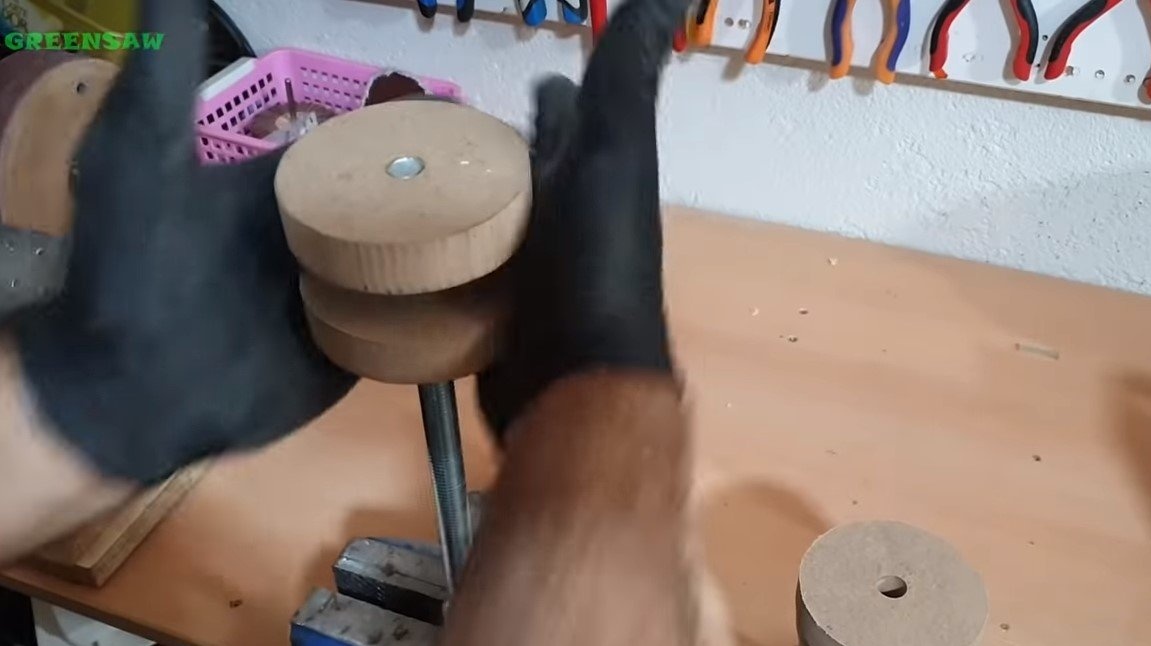
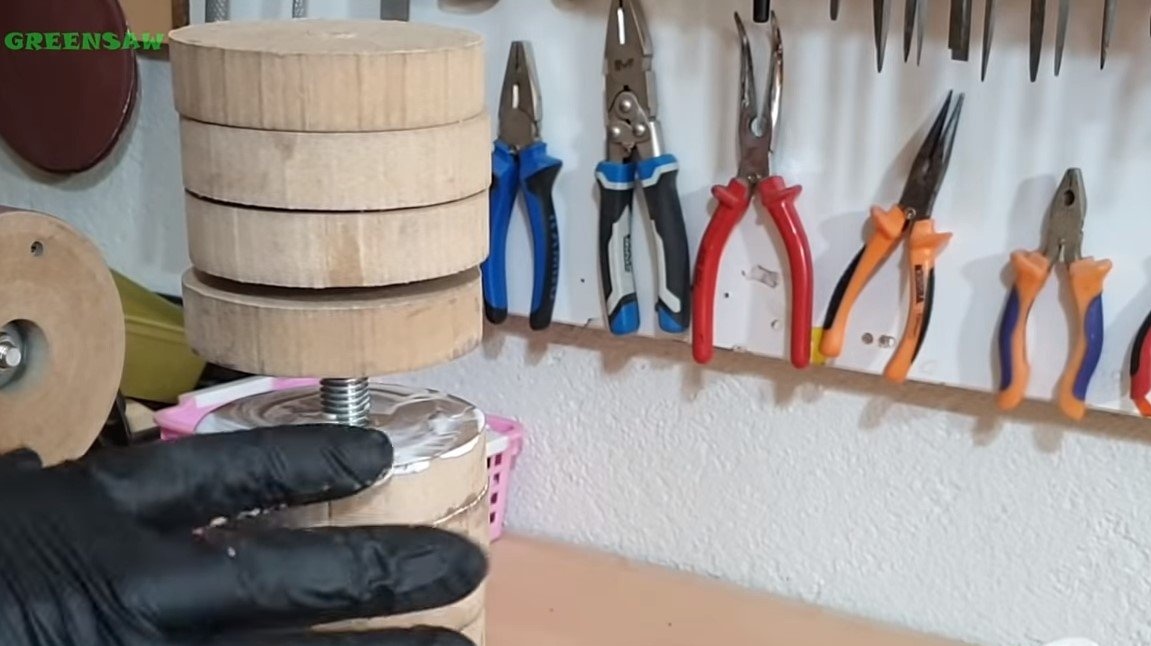
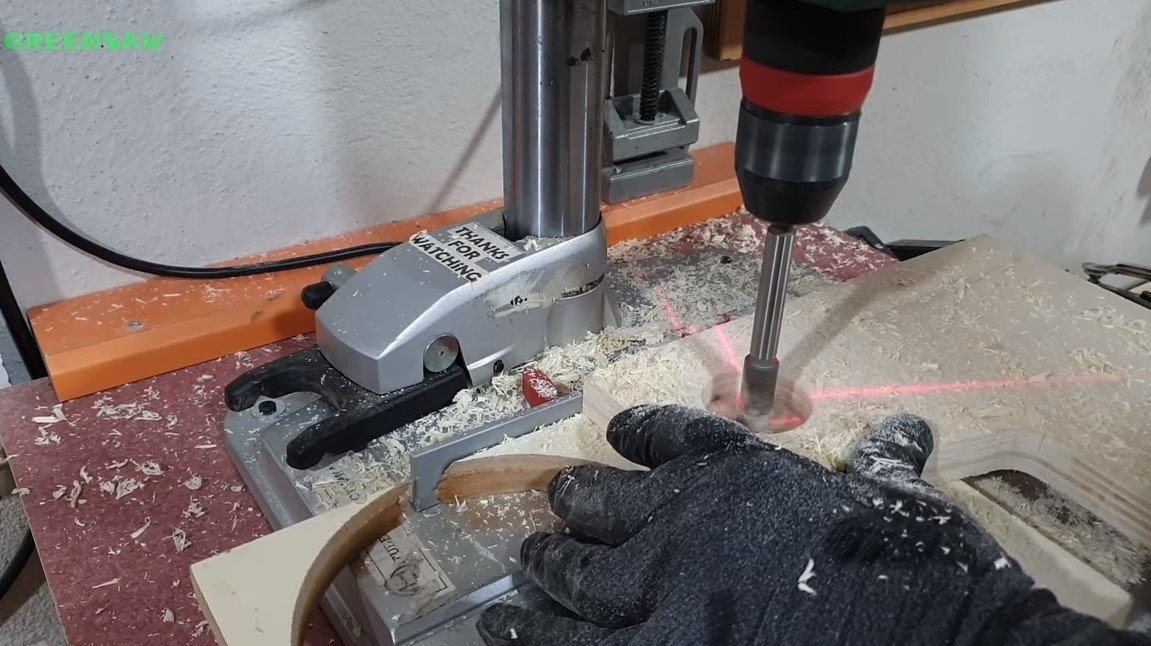
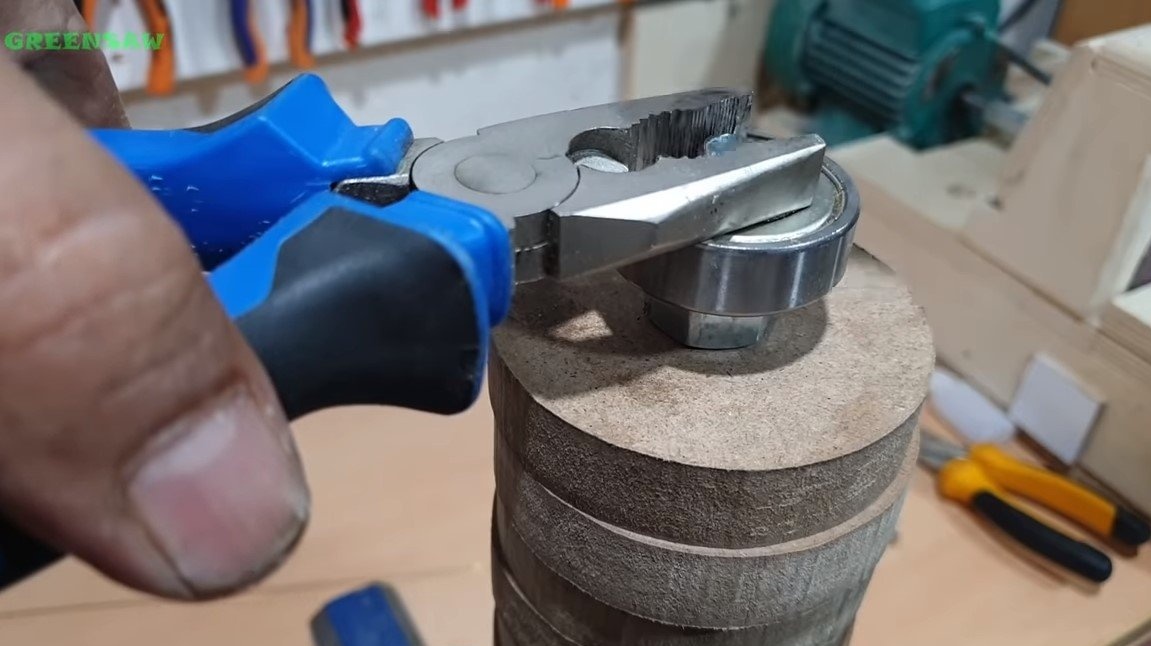
Next, through the center of all circles, you need to drill a hole under the threaded rod. When everything is ready, we wind the circles on the rod and glue them together with wood glue. So that the circles stick together well, tighten the parts on both sides with nuts.
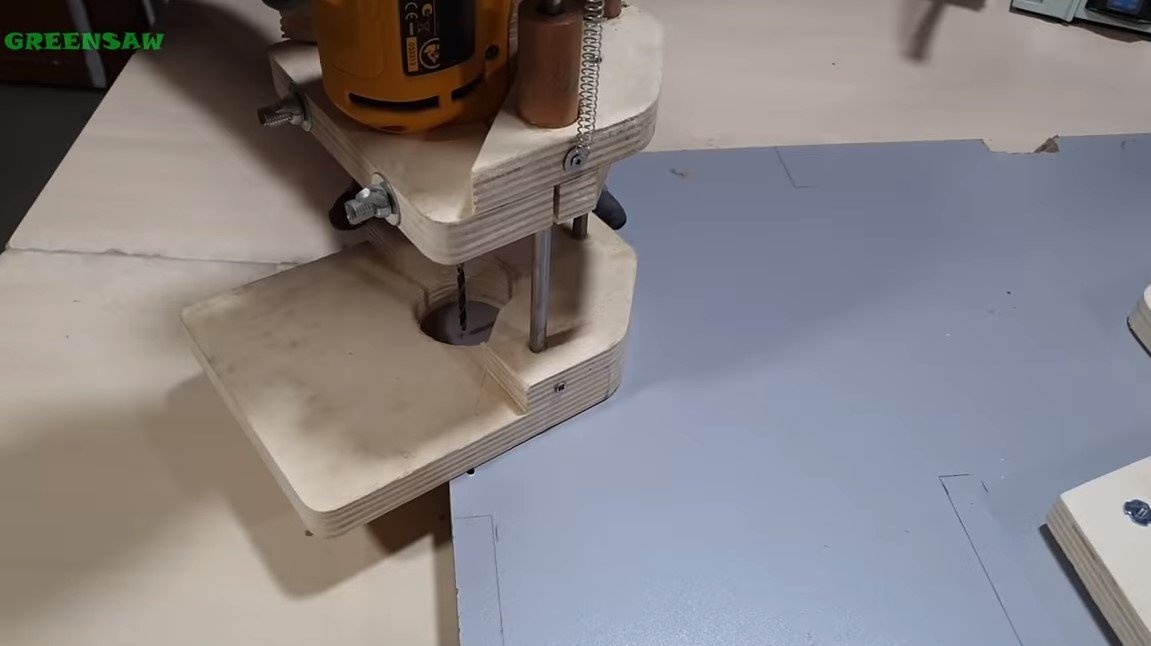
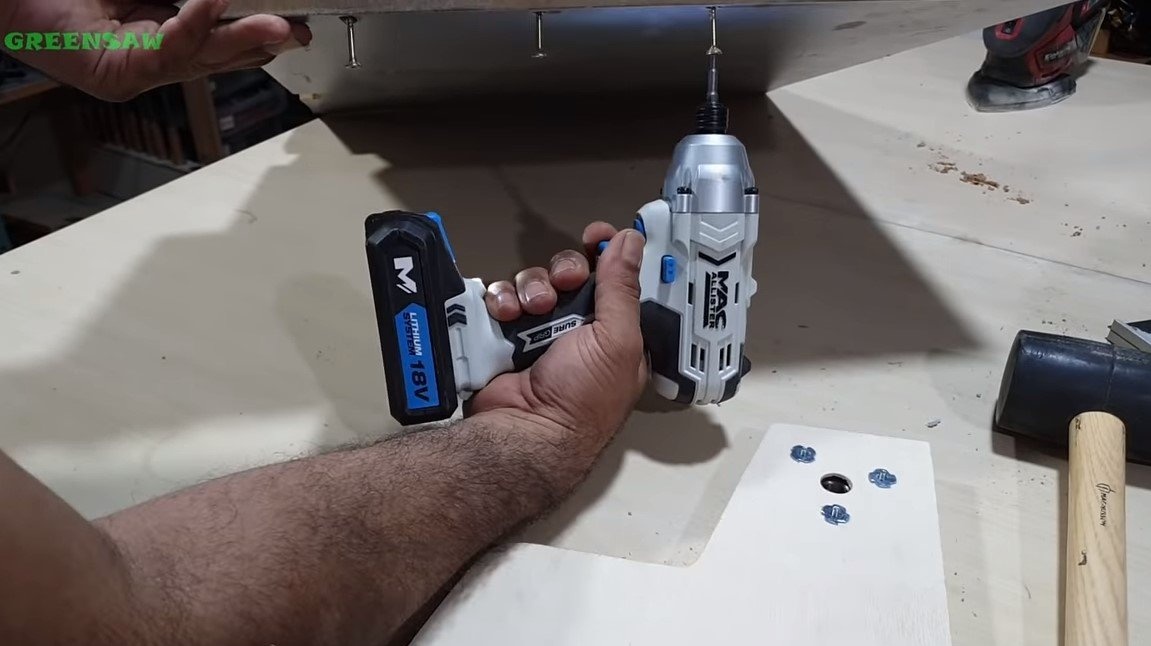
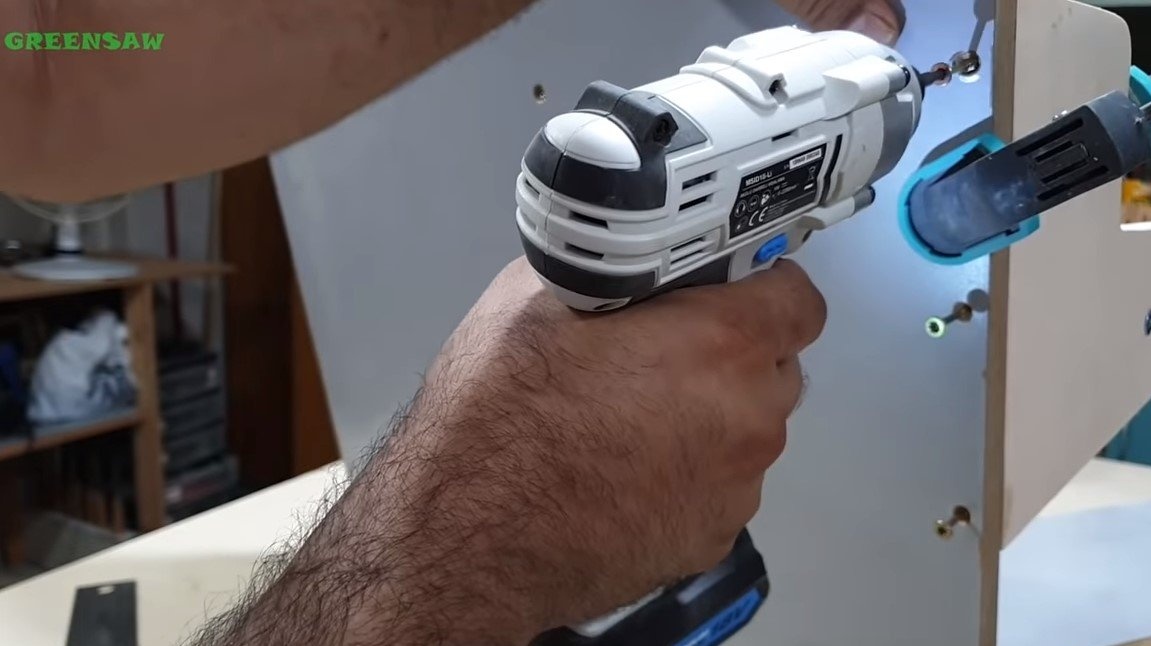
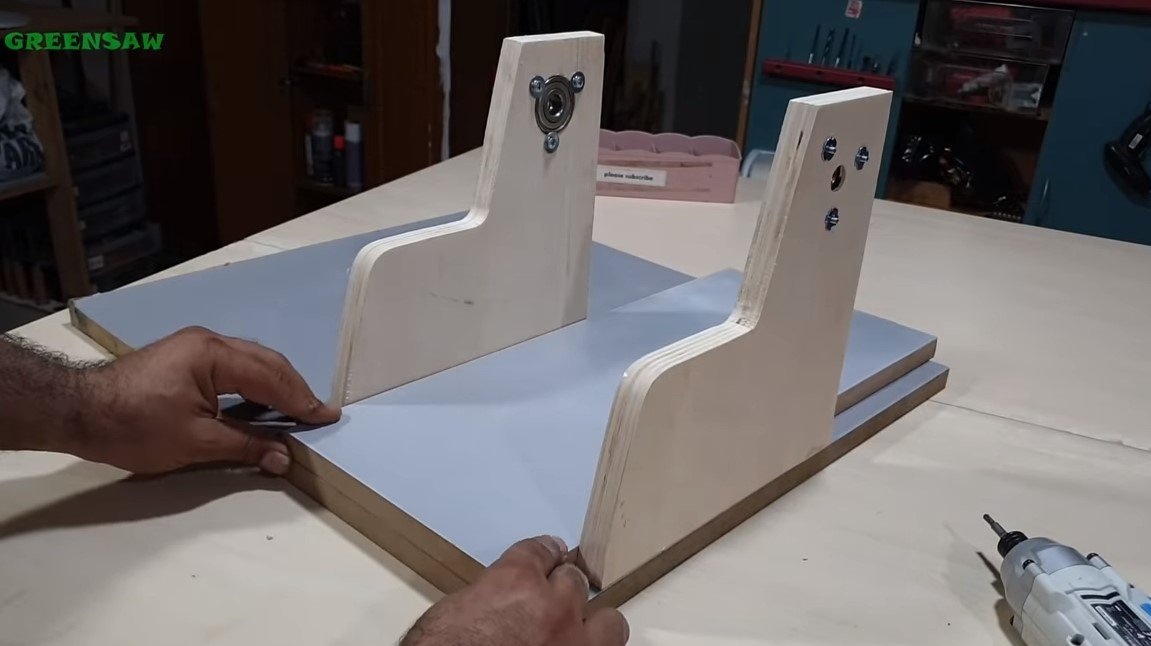
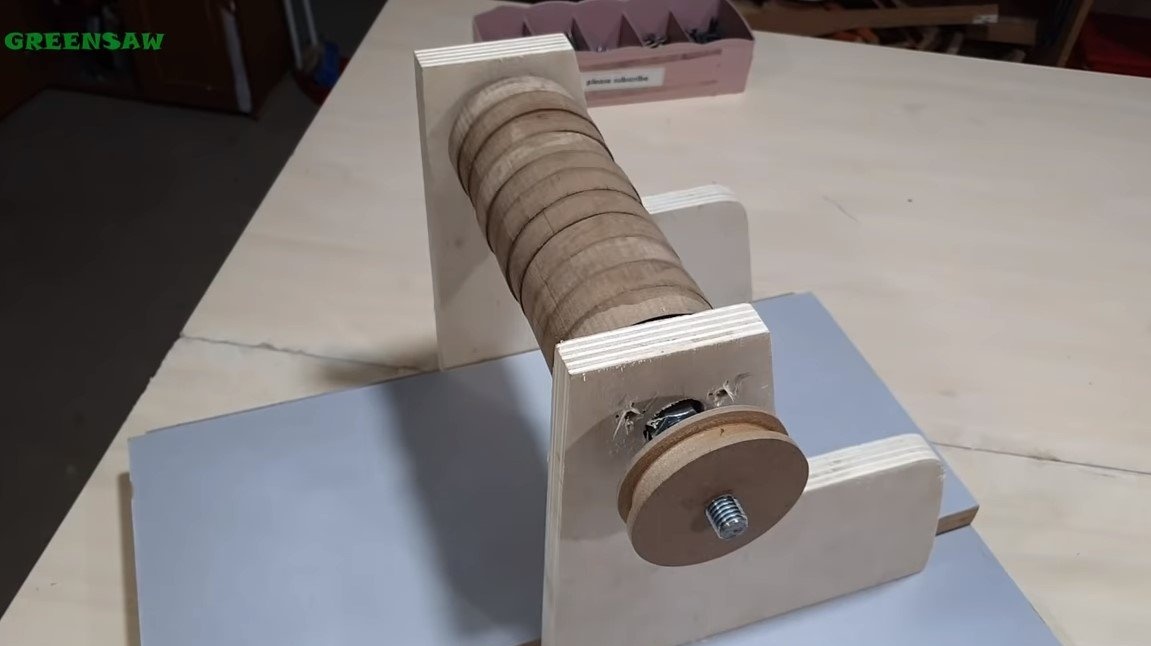
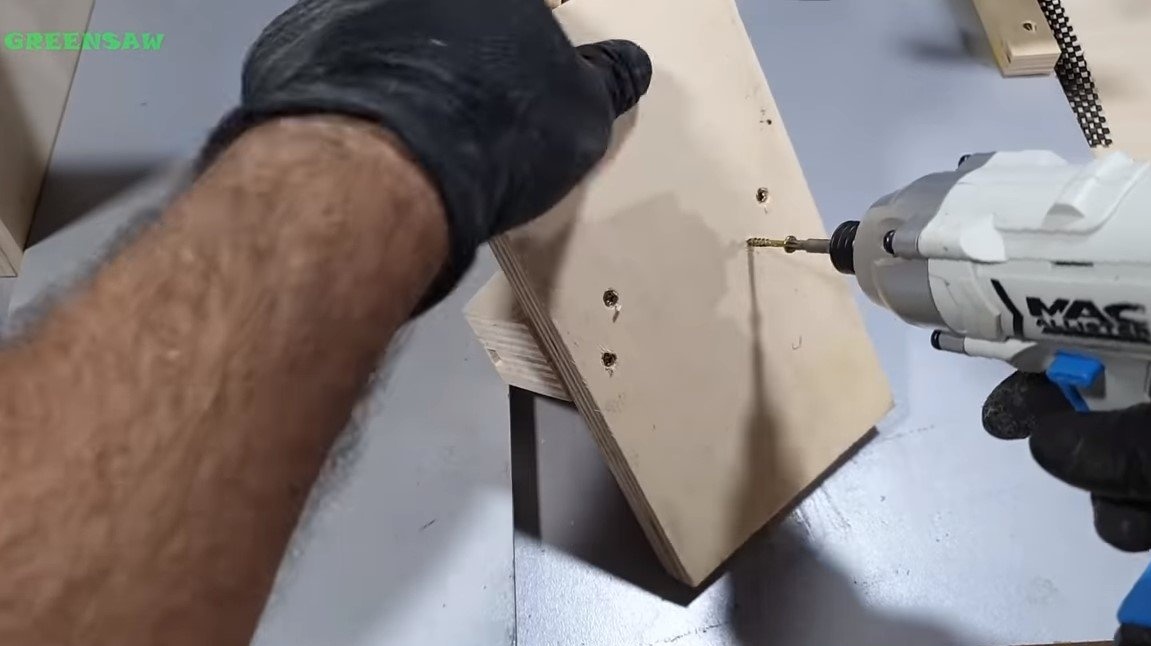
Step Two Base and Racks
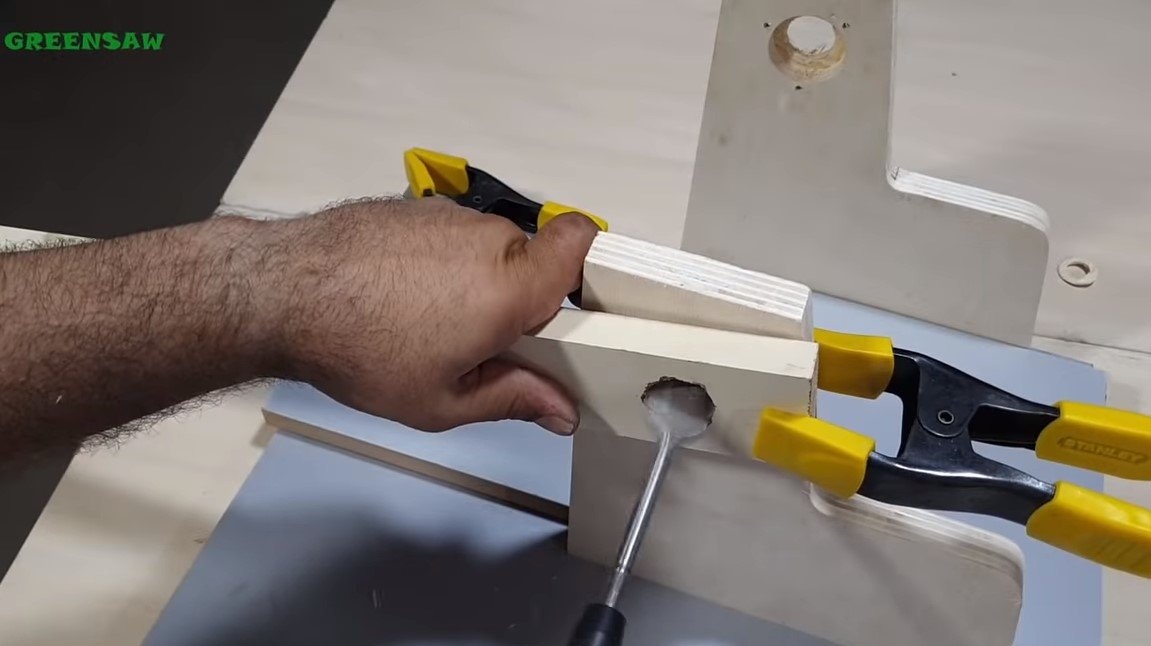
We cut parts from plywood for the base and racks to which the working drum will be attached.In racks, drill holes for bearings. The racks are screwed to the base with screws, in addition it will not be superfluous to use carpentry glue. We fix the bearings in place with screws, nuts and washers.

Step Three Pulleys
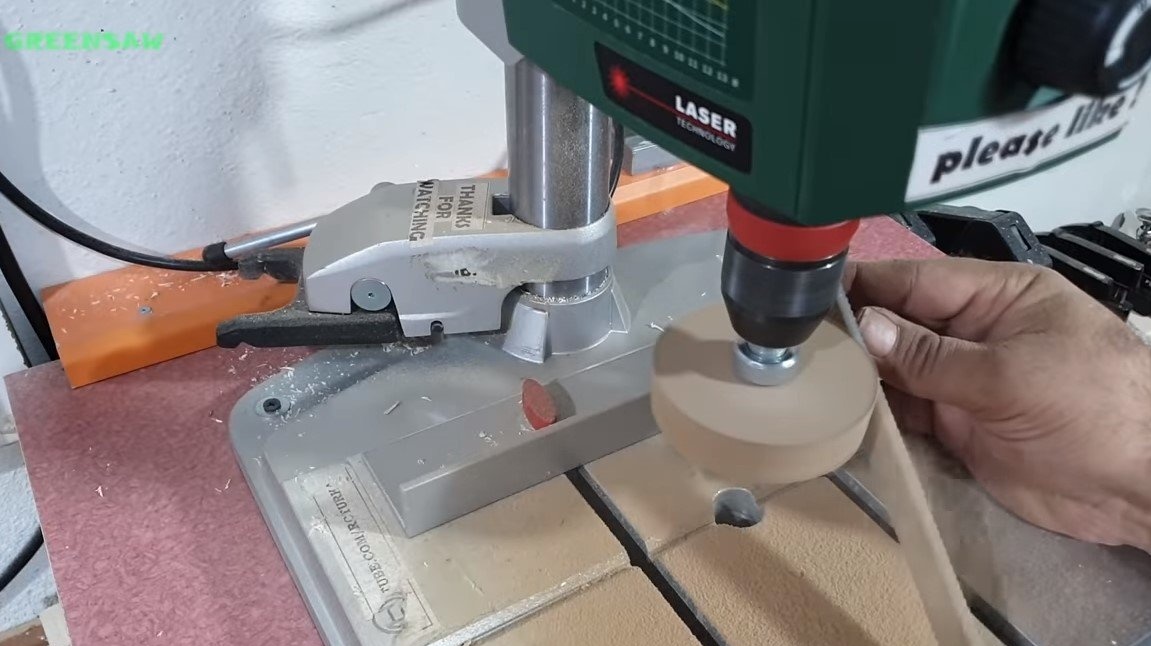
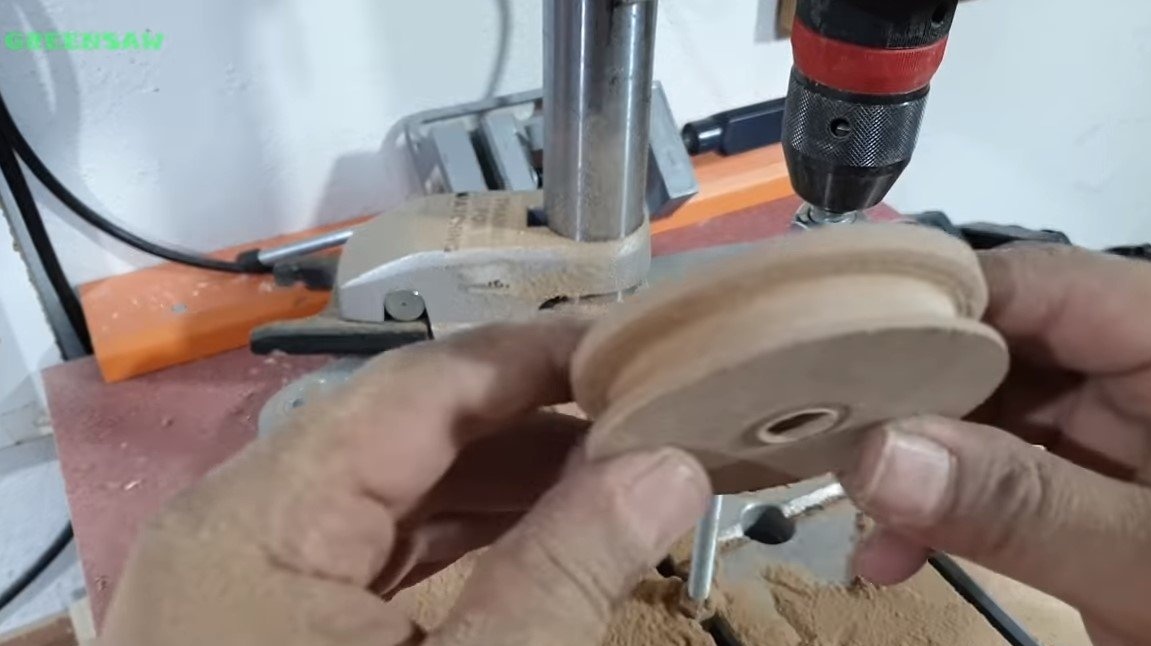
The drive from the grinder is through a belt drive. If desired, you can increase the torque or speed, but the author has a direct transmission. Since the size of the working drum is small, the forces of the grinding machine should be quite enough for such tasks. The author machined the pulleys himself from MDF, grooves in circles can be easily machined on a drilling machine with a file.

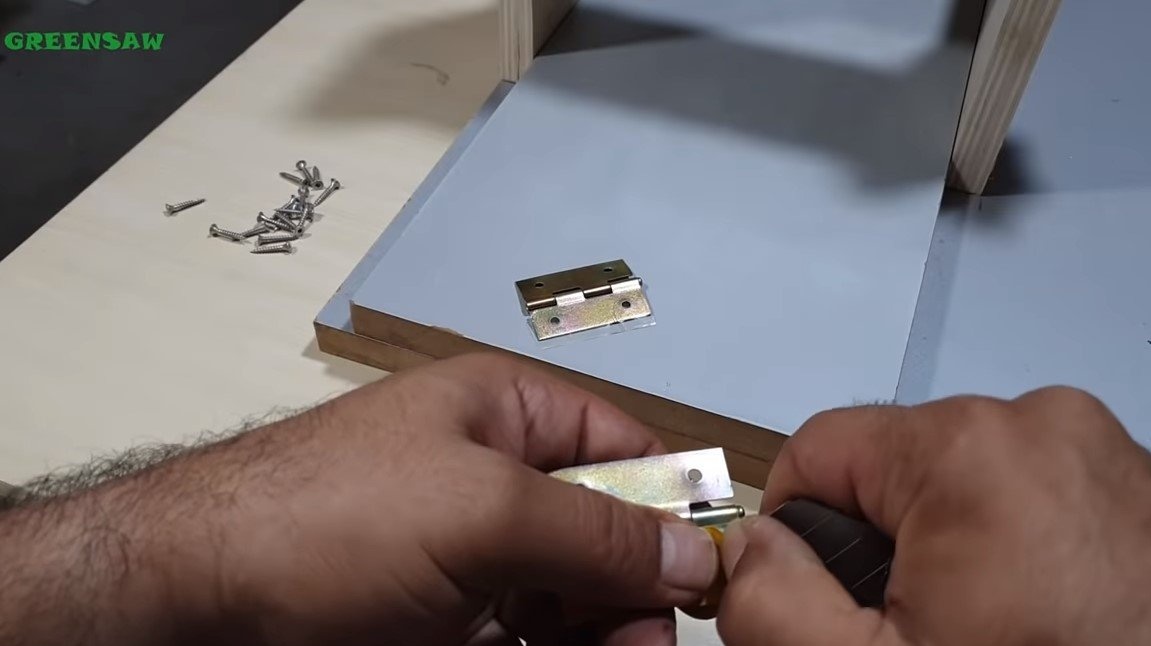
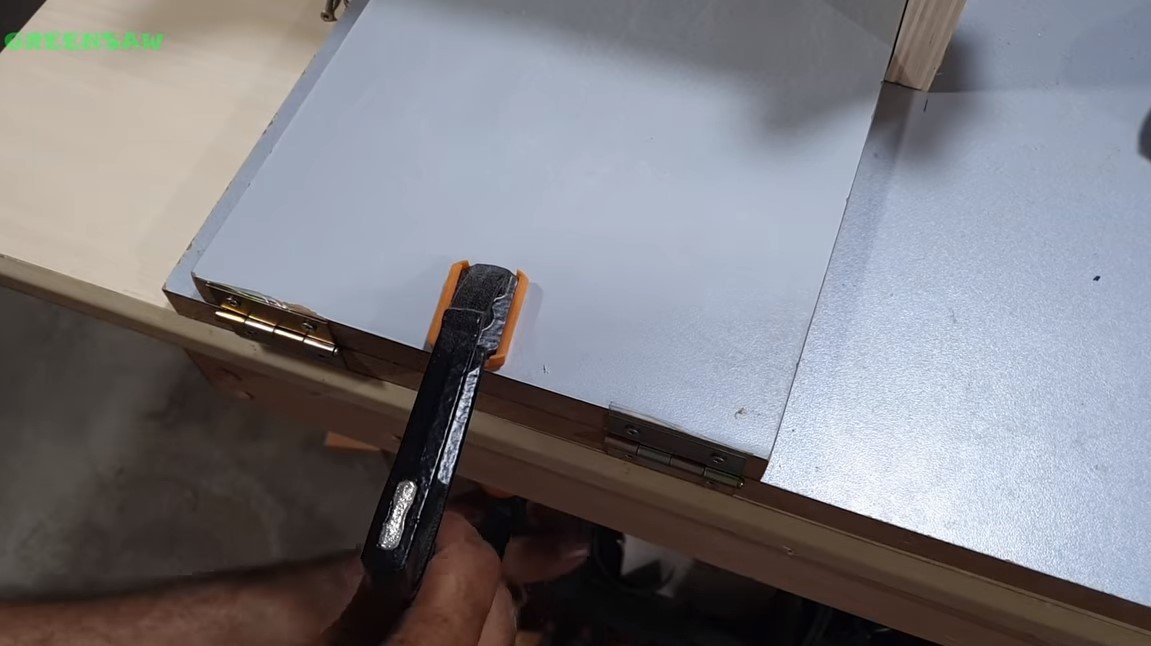
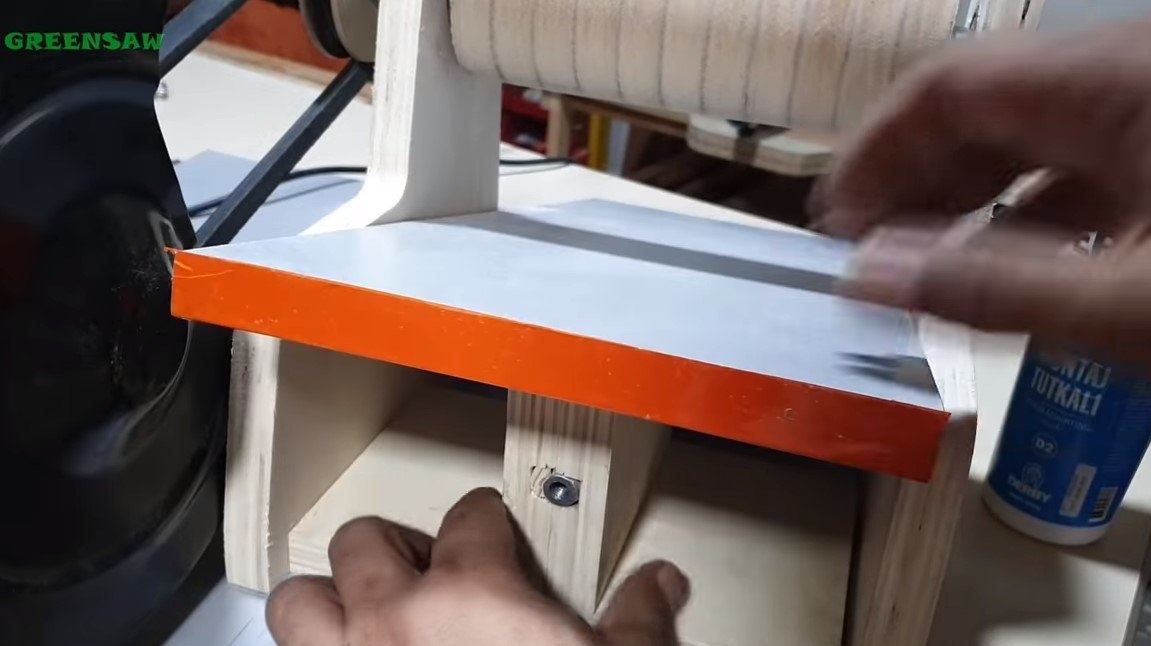
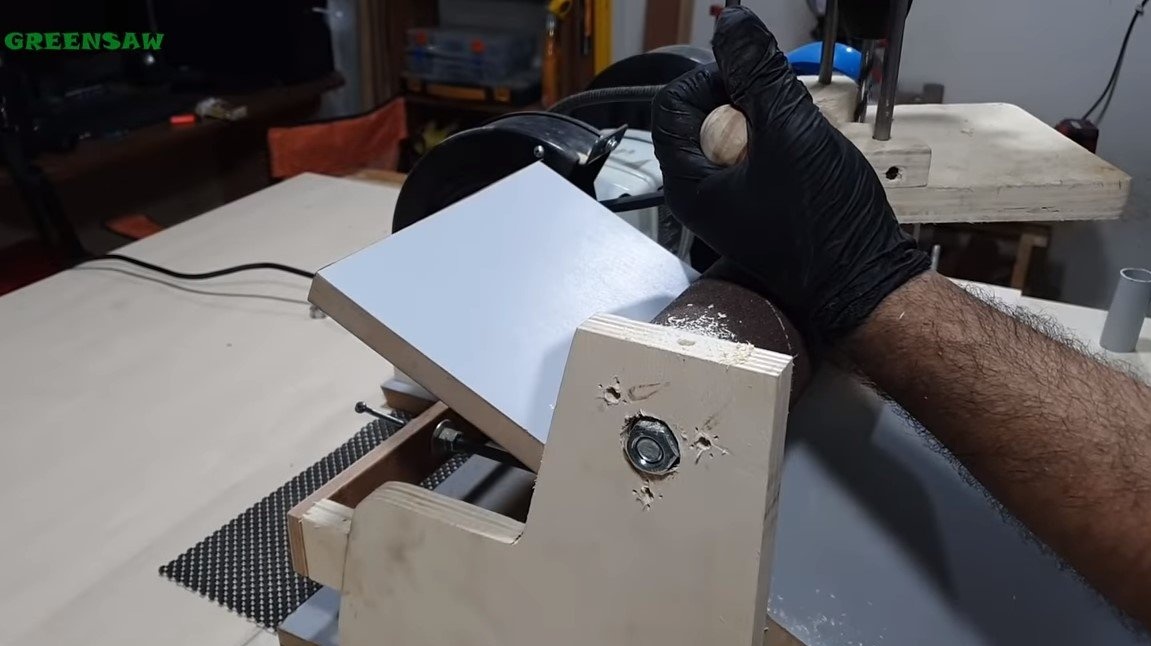
Step Four Platform mount
At the base is a platform that must rise and fall. As a hinge for the platform, the author used furniture hinges. As a result, thanks to this platform we will be able to adjust the gap between the drum.
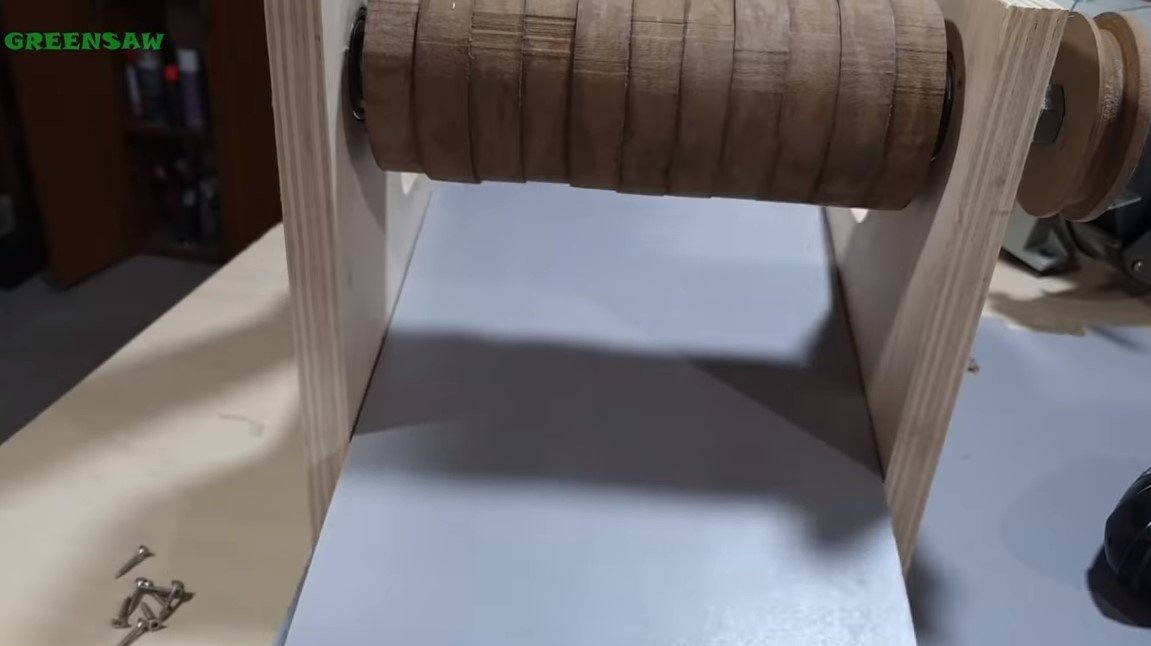
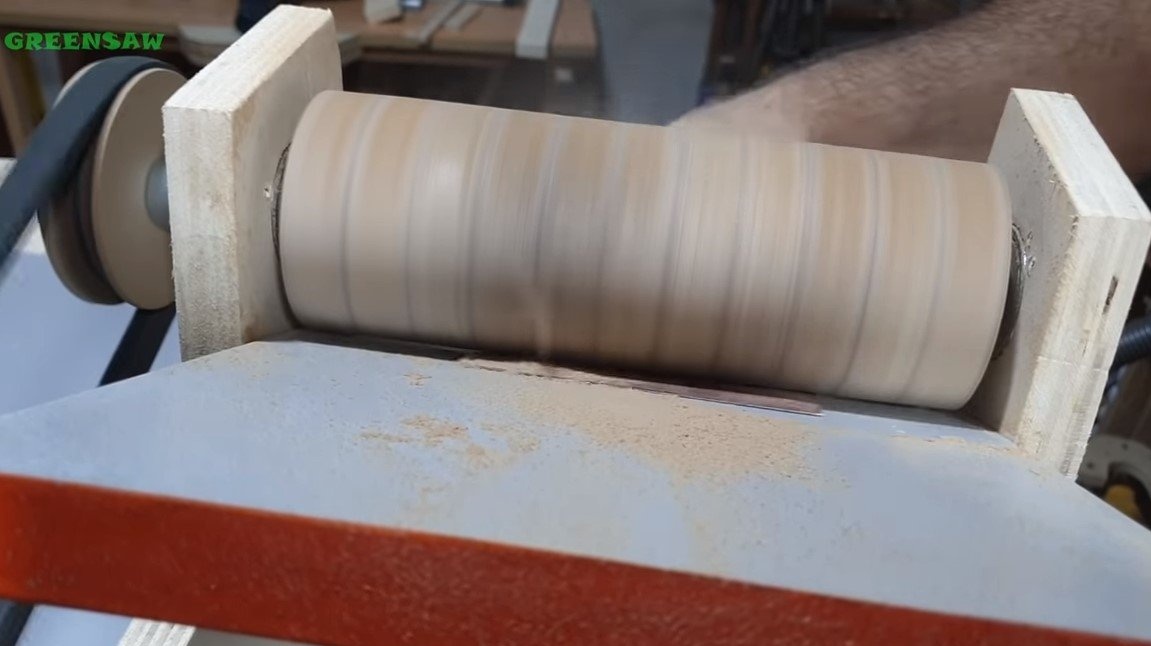
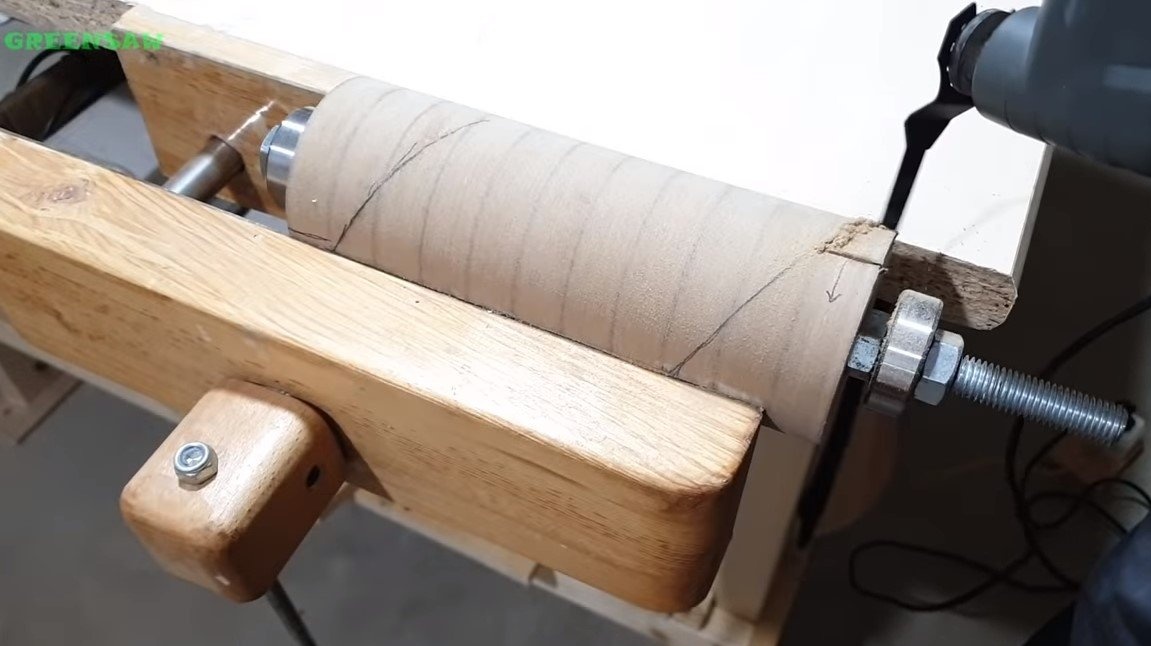
Step Five Refining the drum
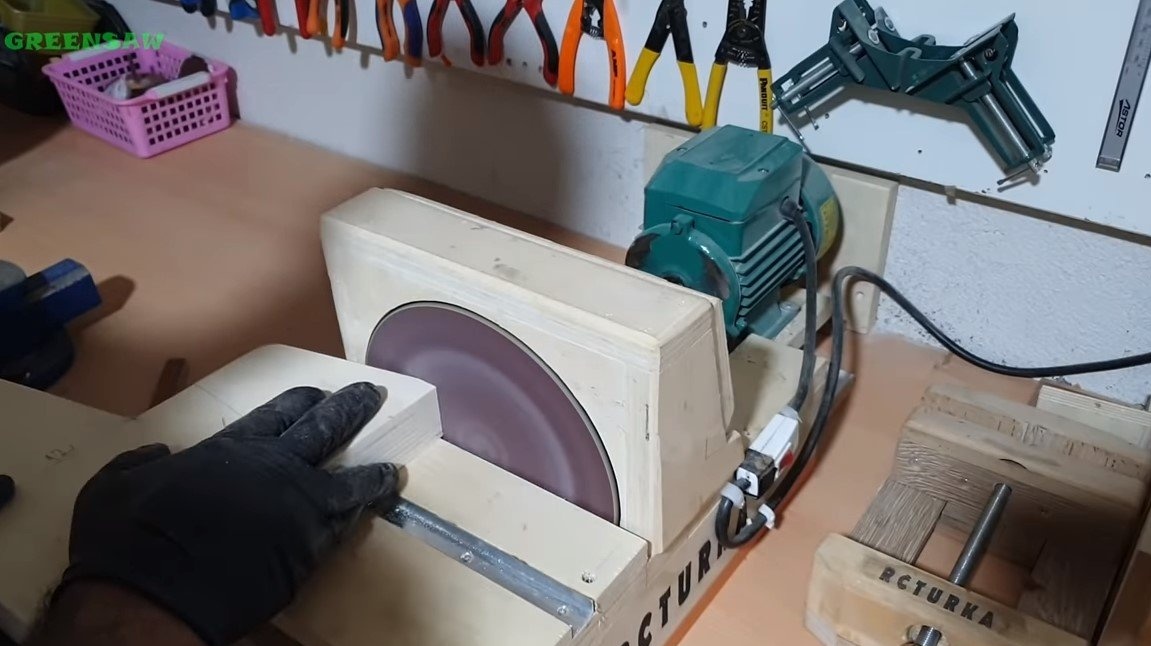
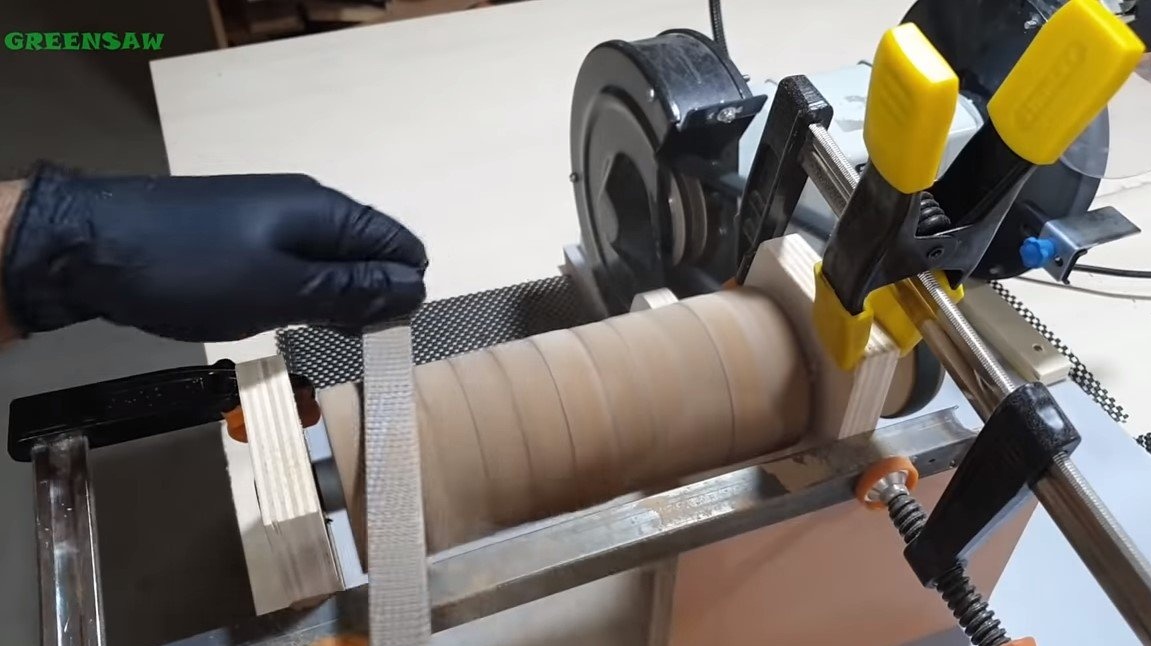
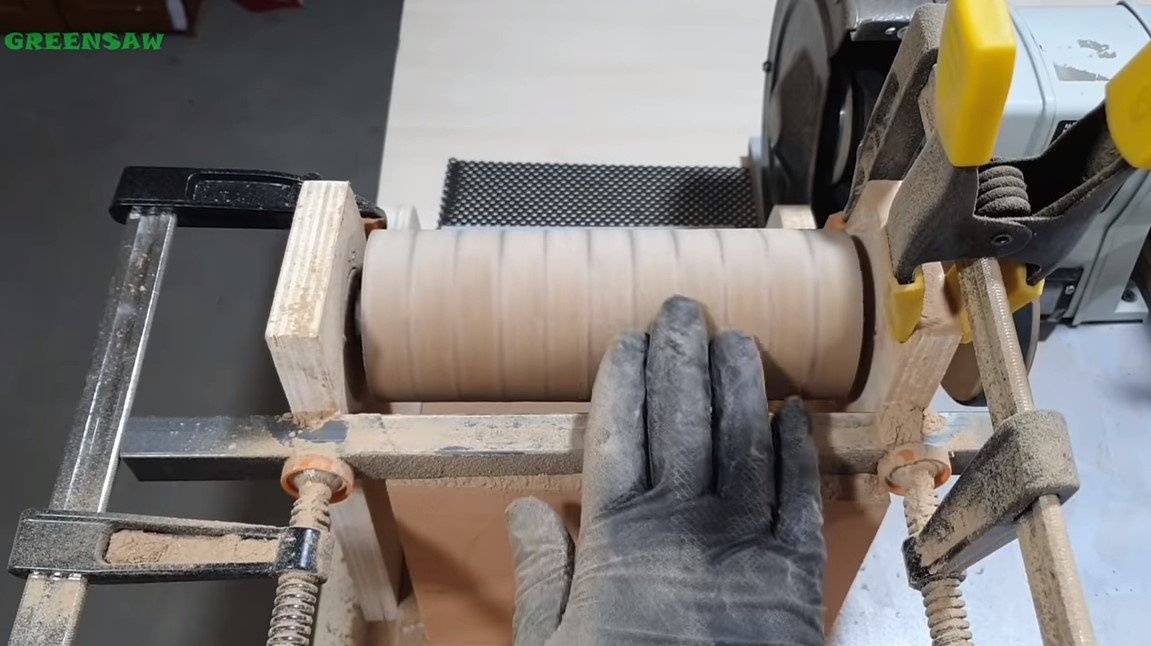
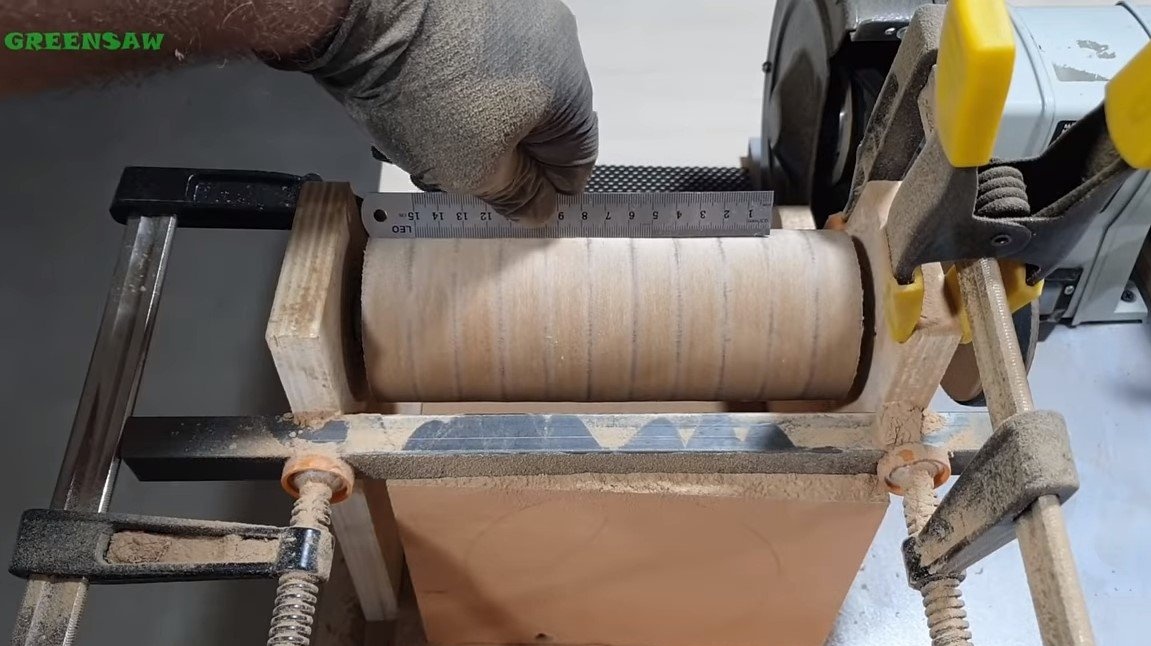
After assembly, the drum will be all crooked, there is nothing wrong with it, we have to bring it to the ideal. Now, on an almost assembled machine, we work as a lathe, as an emphasis, the author attached a piece of a profile pipe to the racks. We work with a rasp, a chisel, and in the end we go through with sandpaper. Using a straight metal ruler, we check to see if the drum is smooth. In the end, the author will polish it to a perfectly even state.

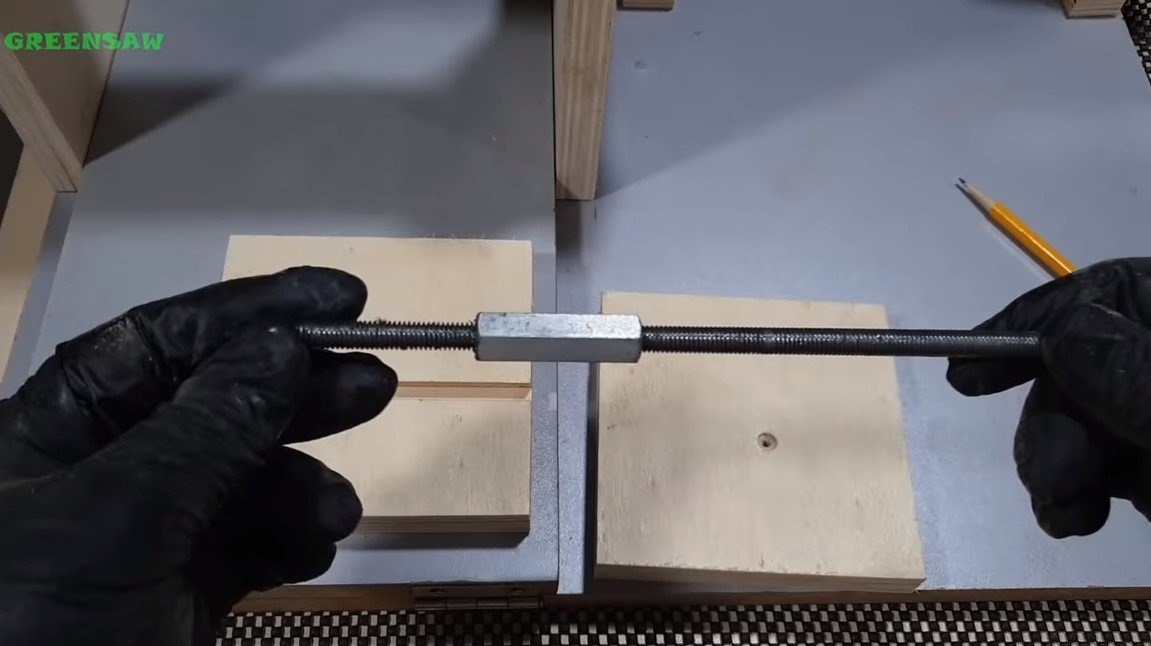
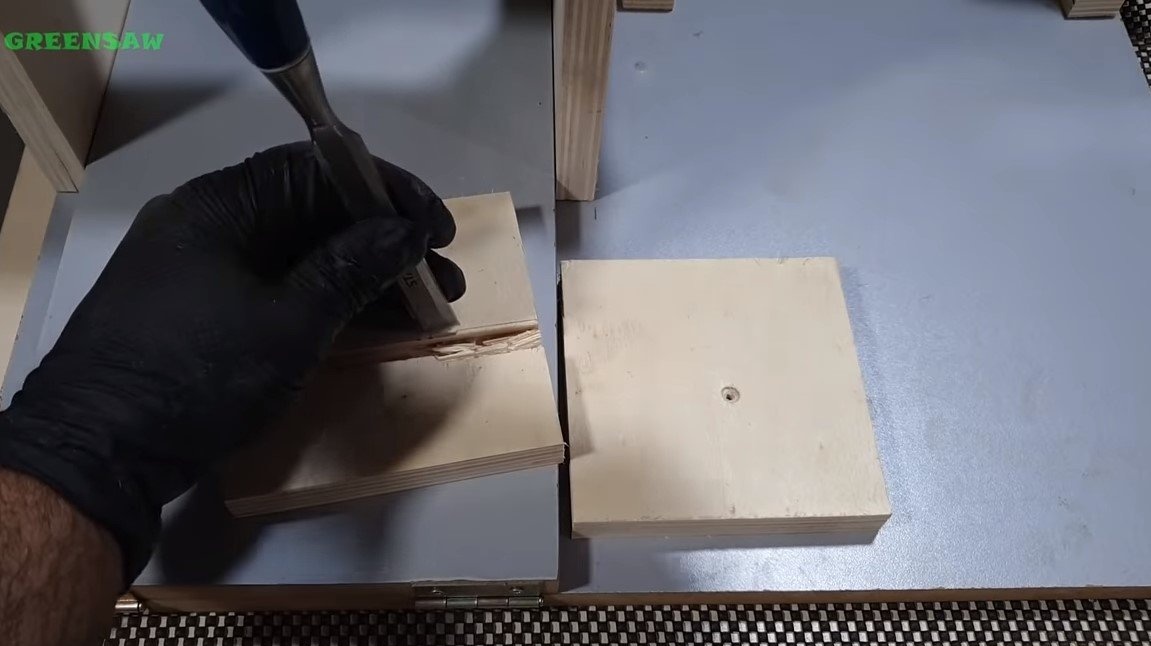
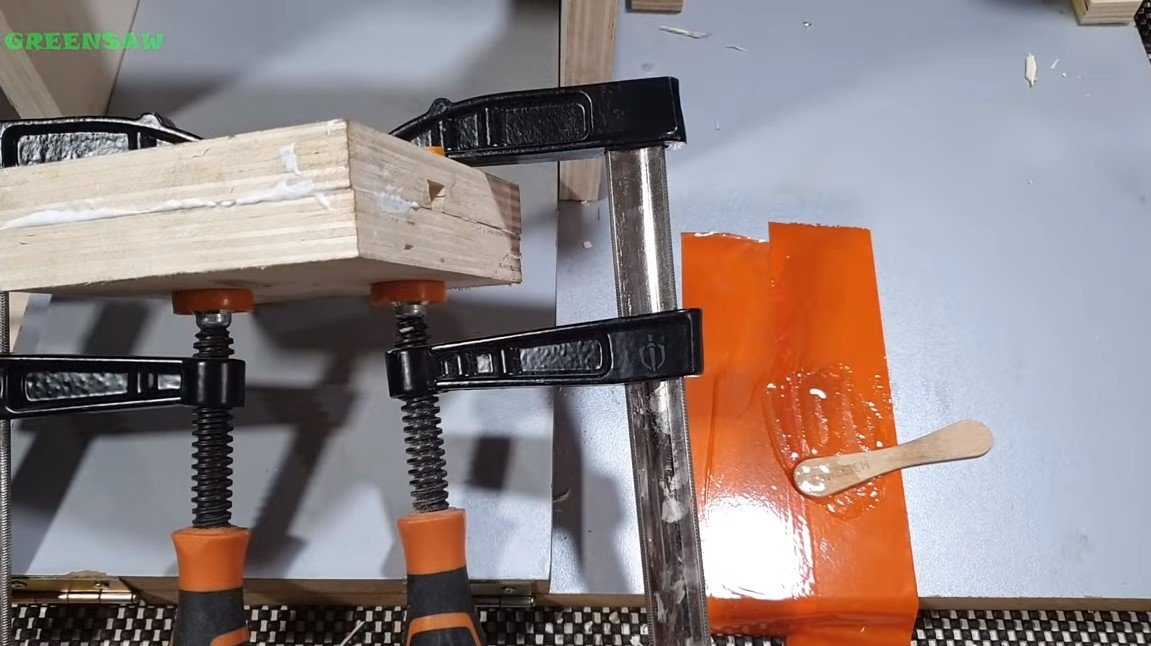
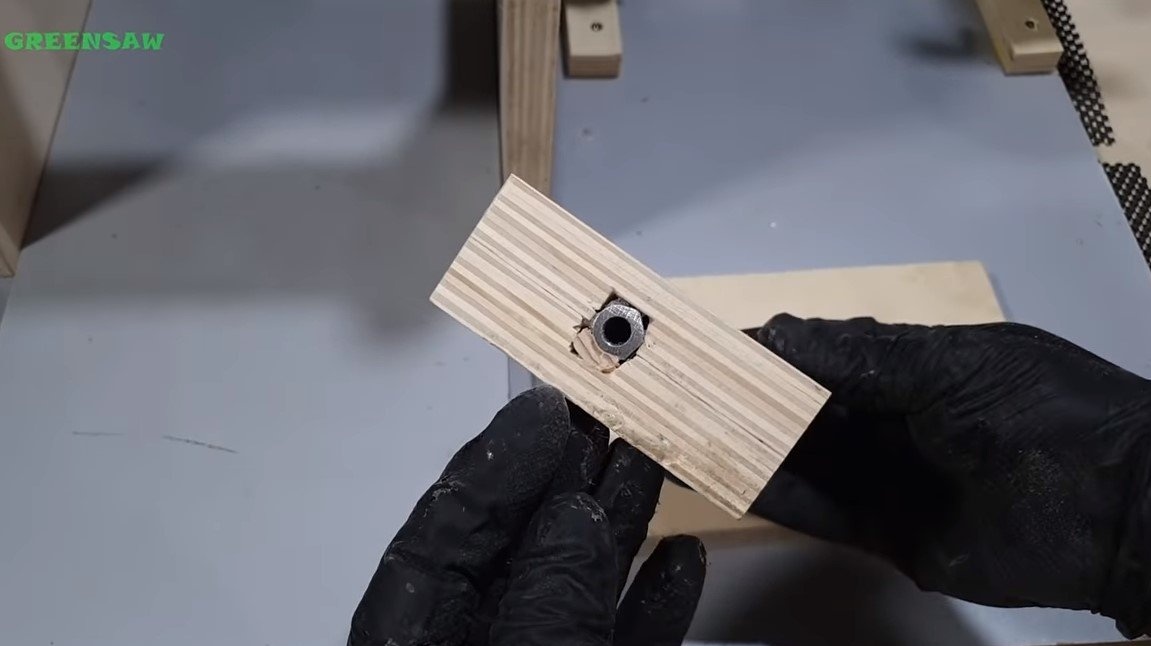
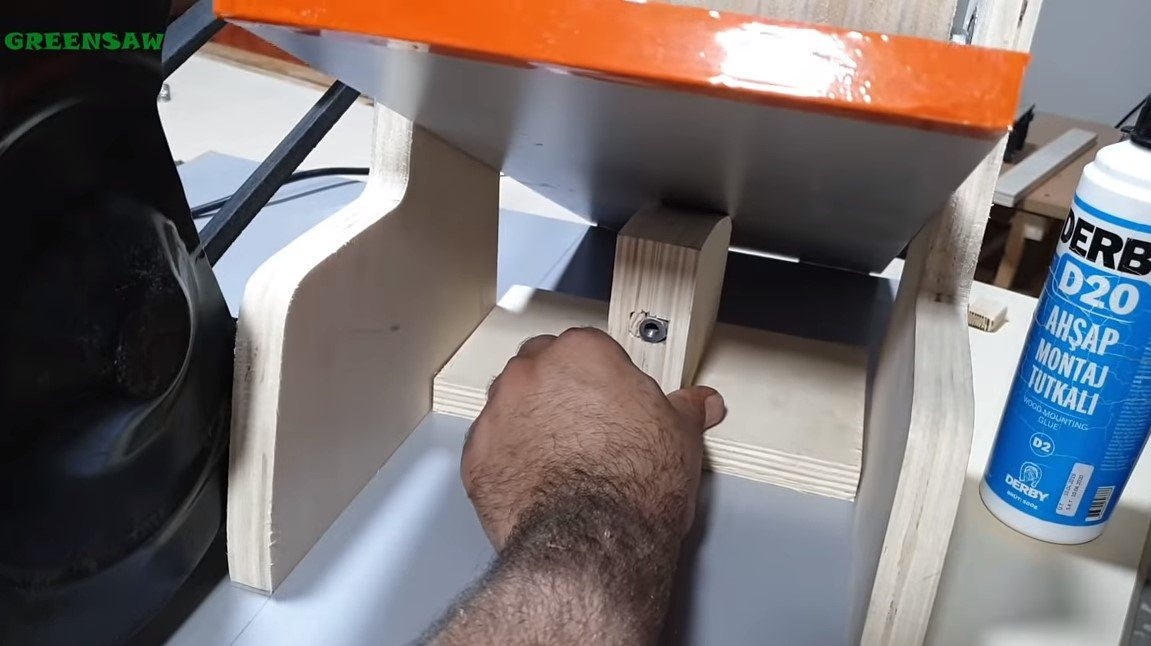
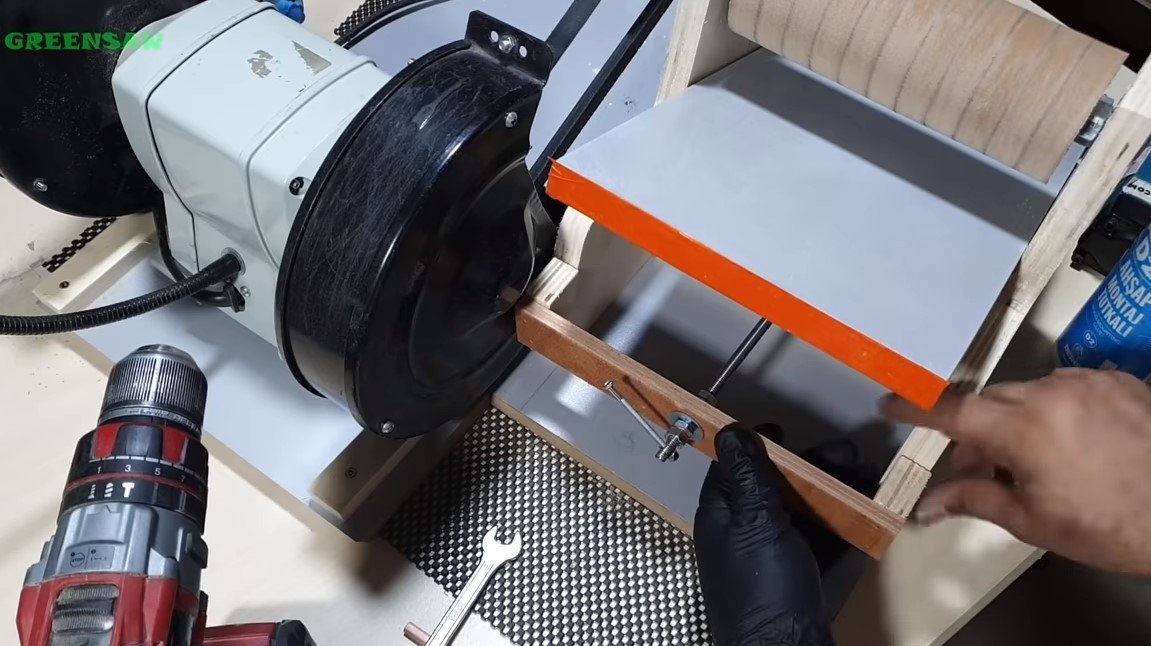
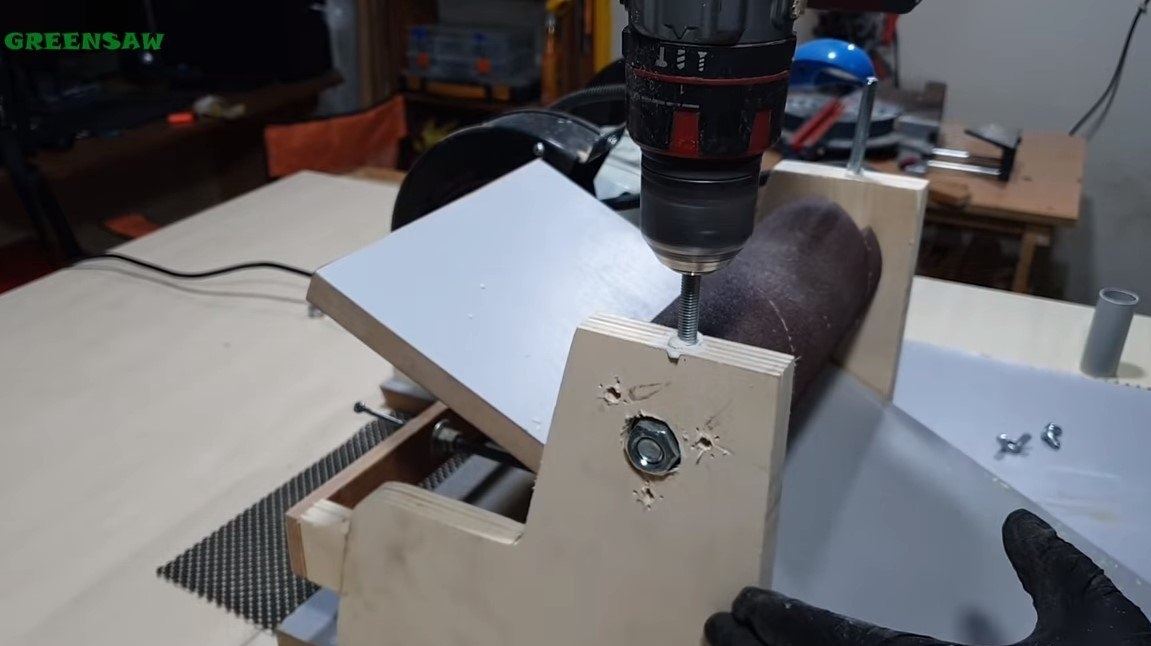
Step Six Lifting gear
In order for the platform to rise from the rotation of the threaded rod, we make a block of plywood with an emphasis, the author installed an extended nut in the platform. We also emphasize the threaded rod made of plywood and attach it to the frame. That's all, wrap the threaded rod, make a comfortable handle.
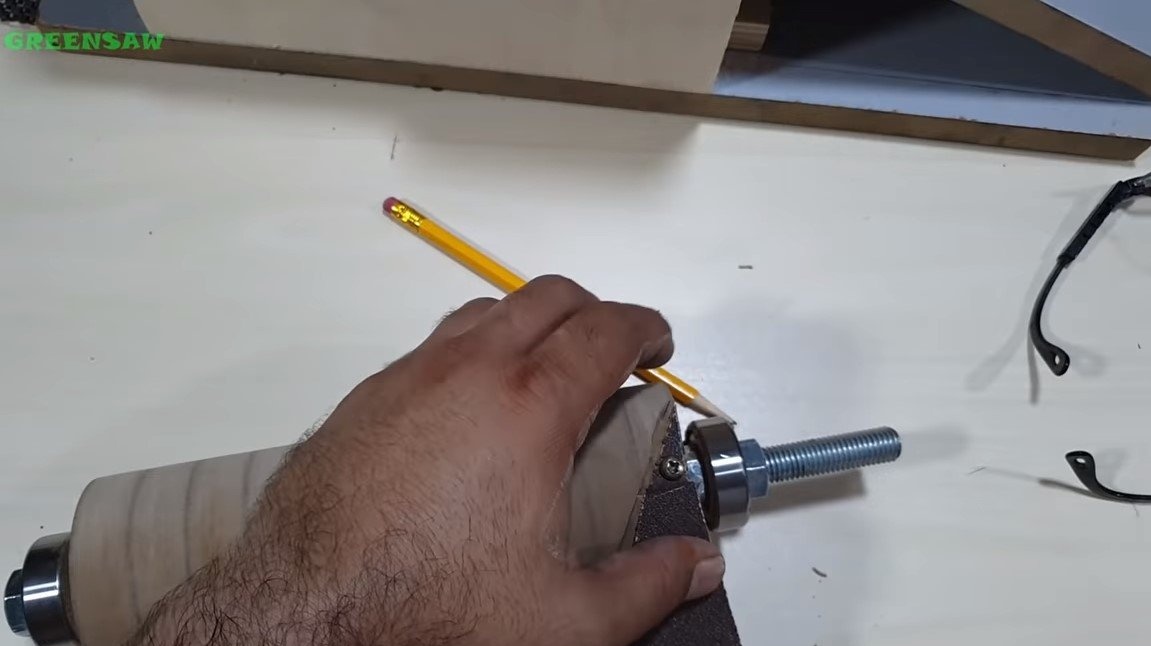
Now the platform can be fixed at a clearly defined angle, the author decided to use this and finalized the working drum to a perfectly even state. We make the gap between the drum and the platform to a minimum, well, then we work with a piece of sandpaper.

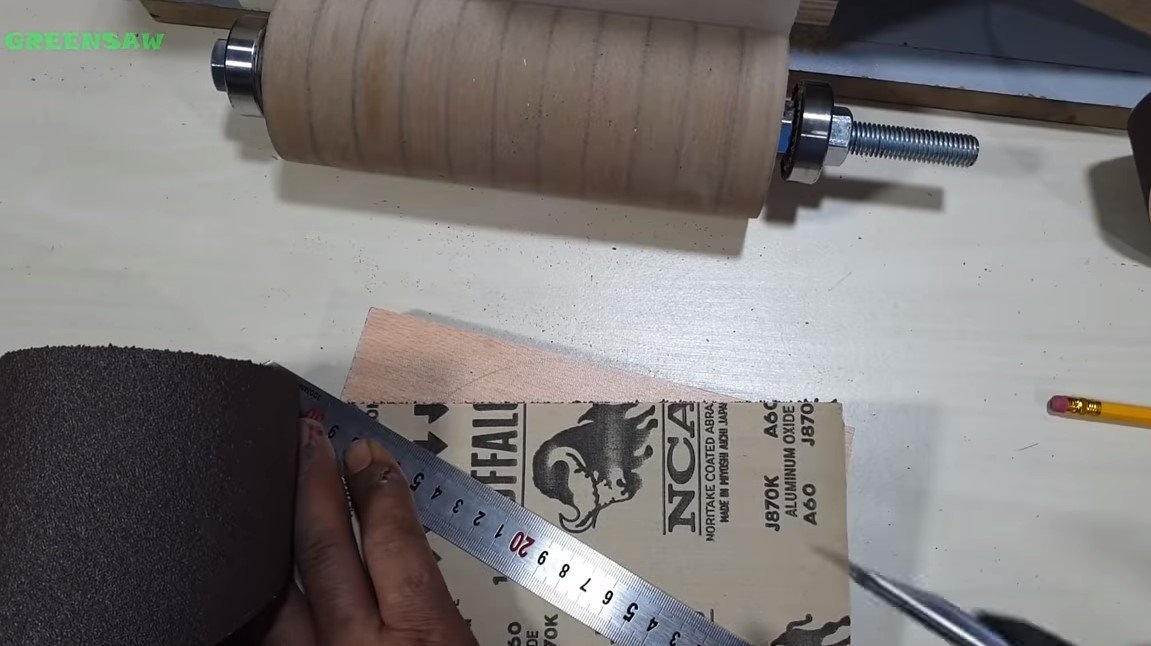
Seventh step. Sandpaper installation and first tests
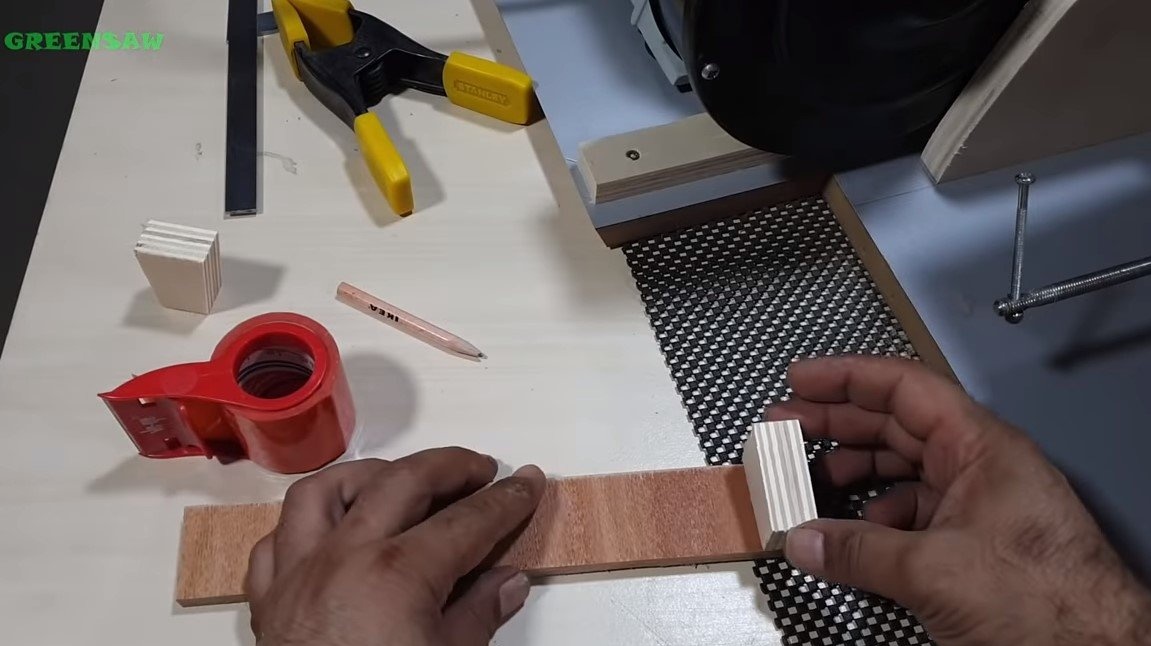
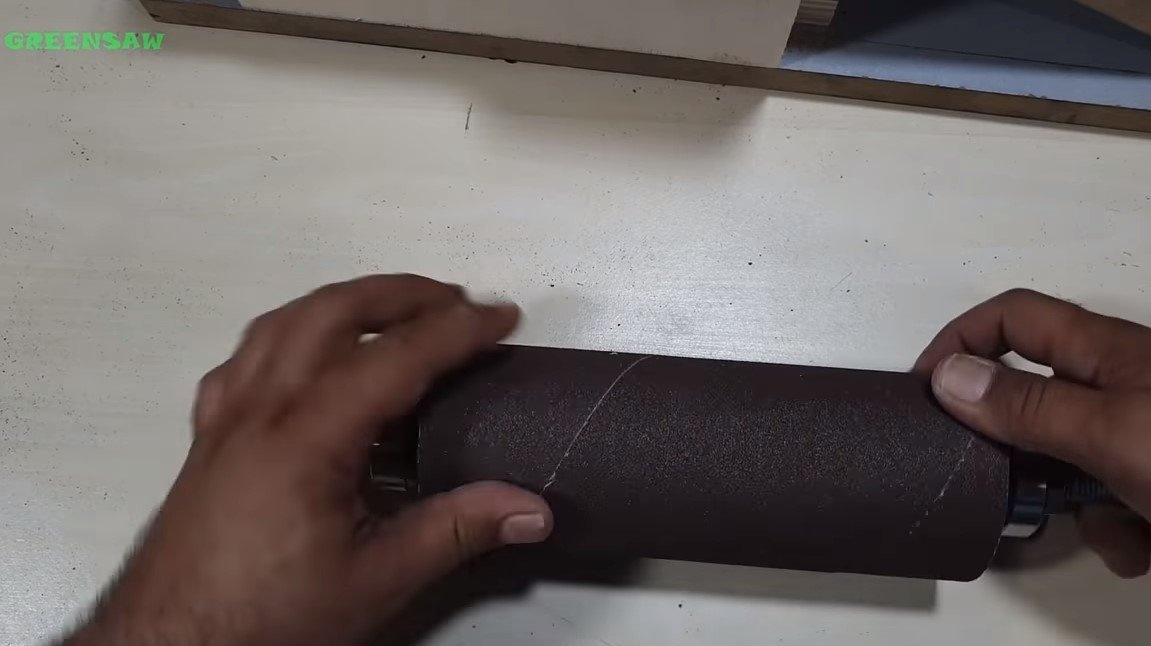
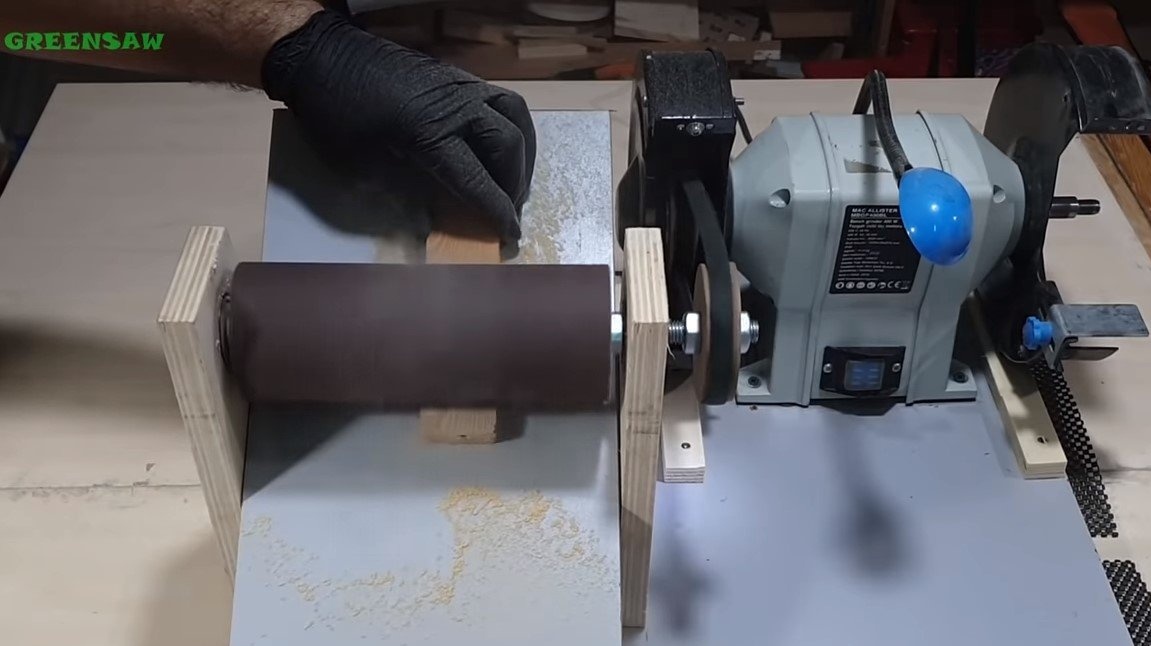
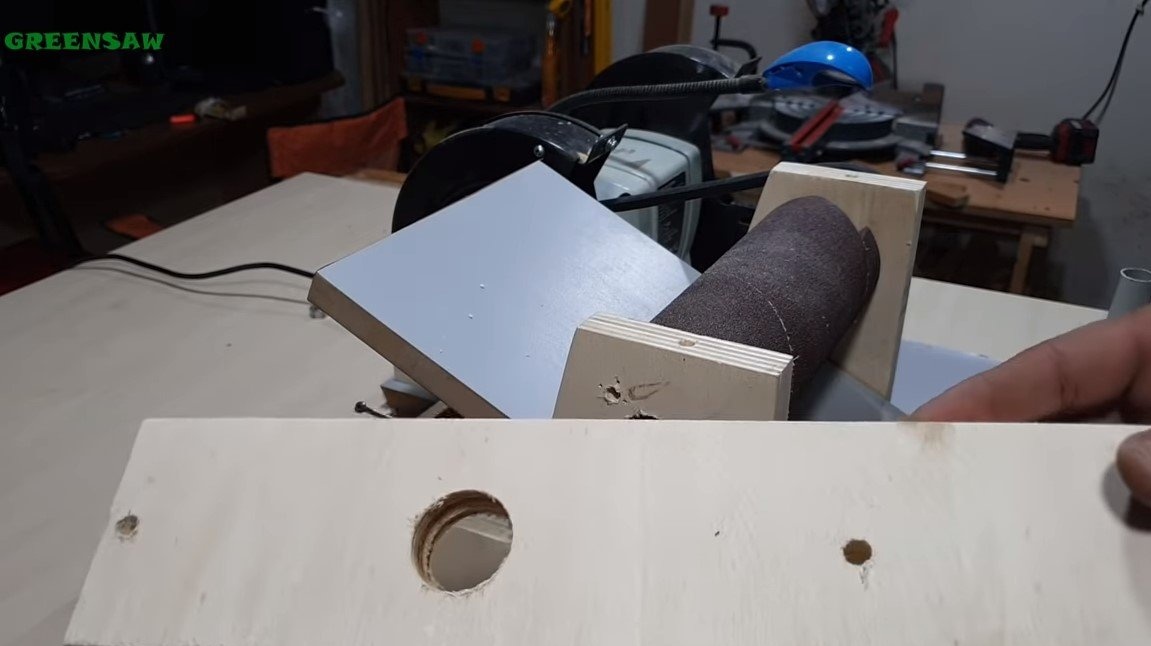
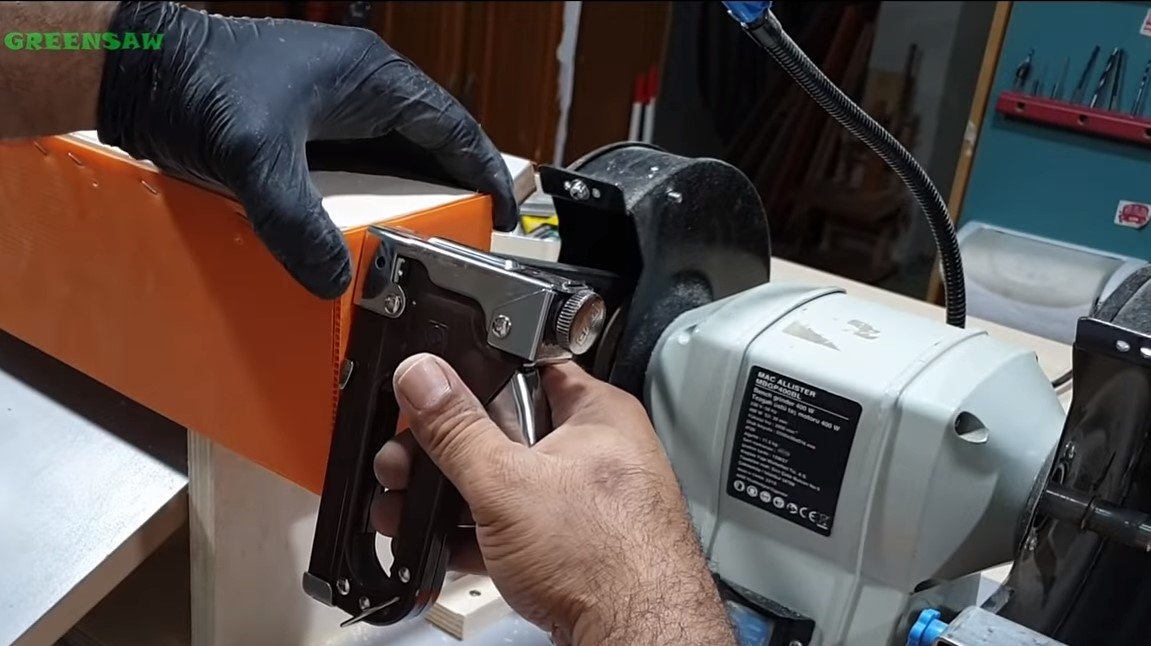
Cut from a piece of sandpaper a strip with sharp edges for the drum. Emery paper is mounted on only two screws, under which the author cut out grooves in the drum. Thanks to this design, there is no need to glue anything and sandpaper is easy to change.
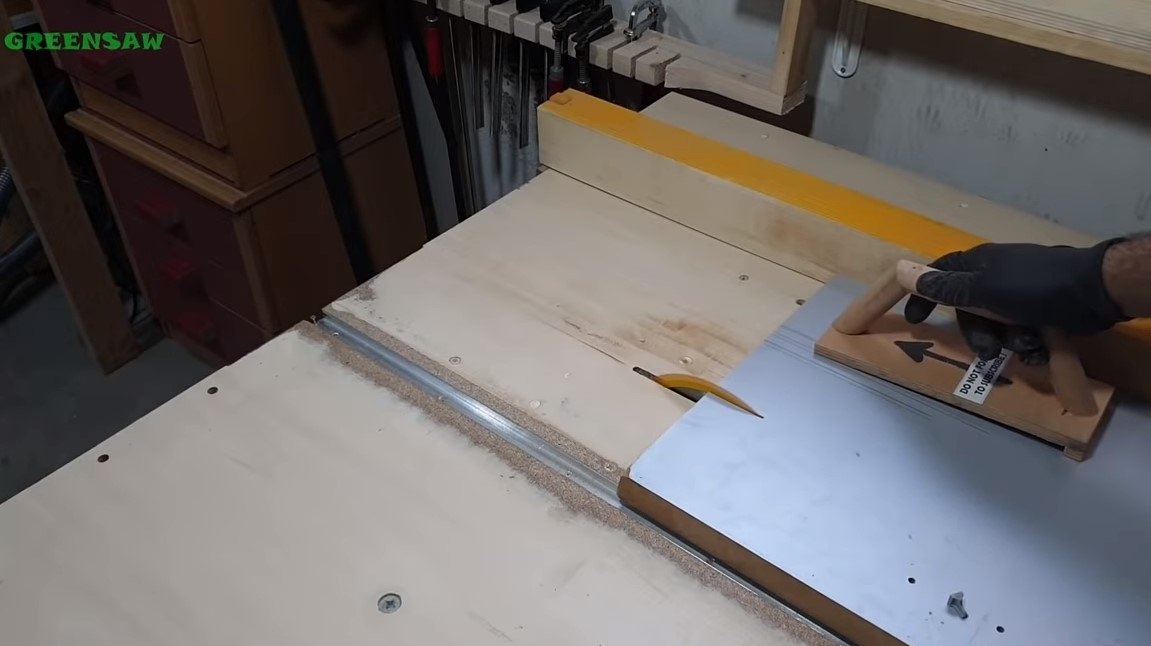
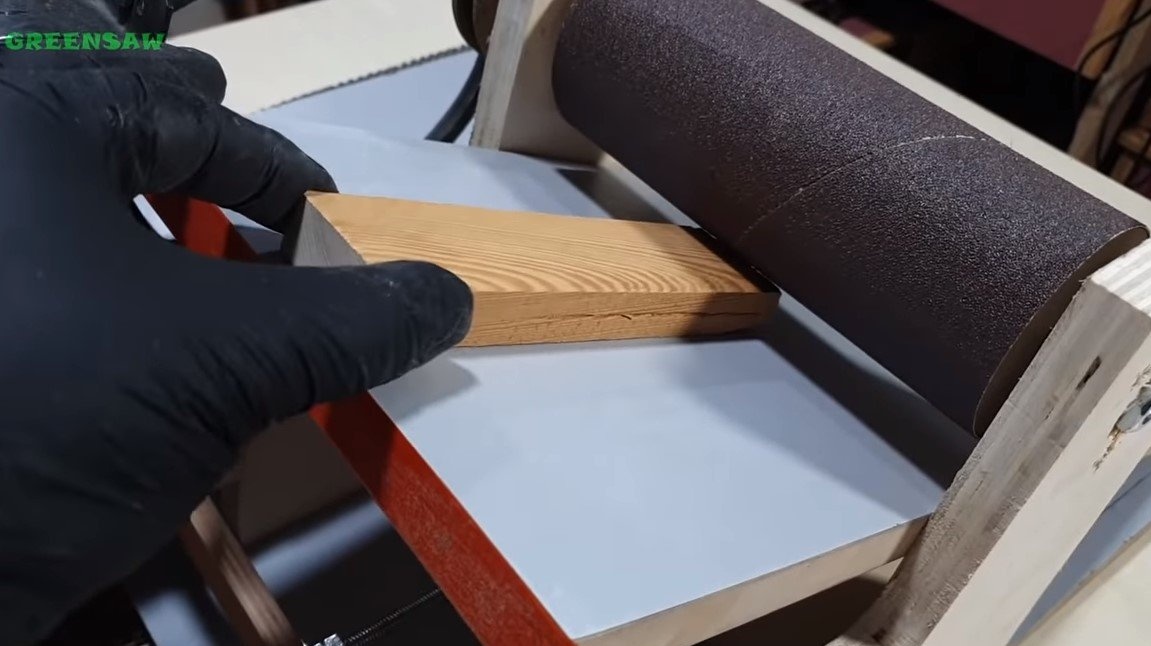
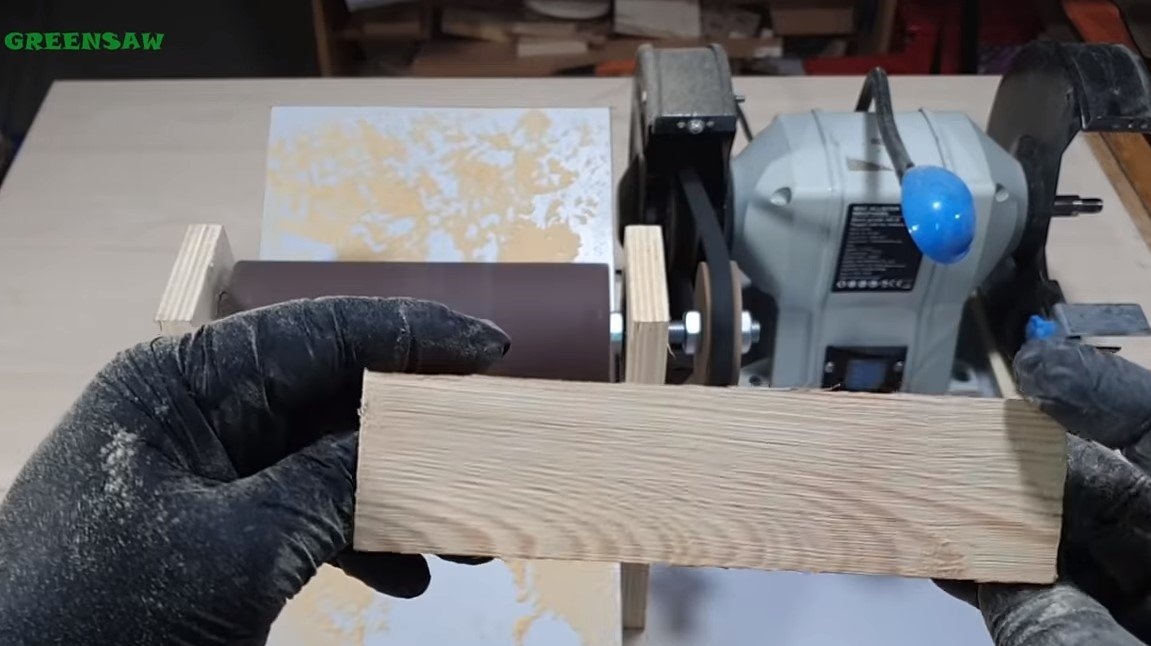
After installing the paper, the machine can be tested, take a piece of the board, set the desired clearance and pass the board through the machine. At the output, we get a piece of board with a perfectly machined plane.
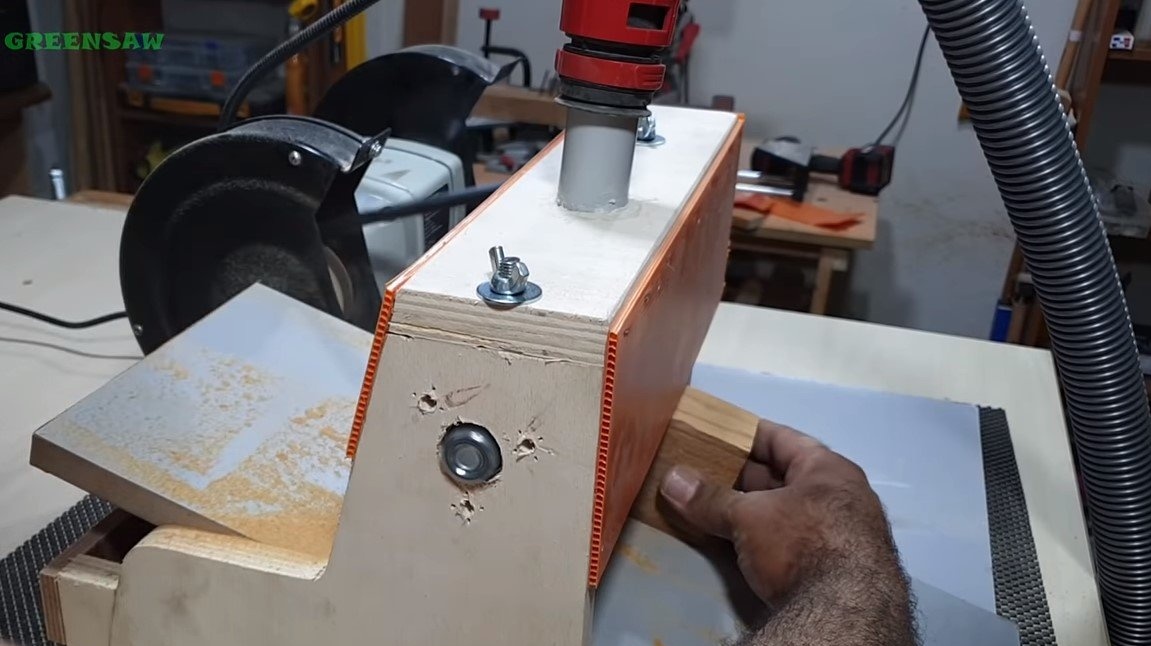
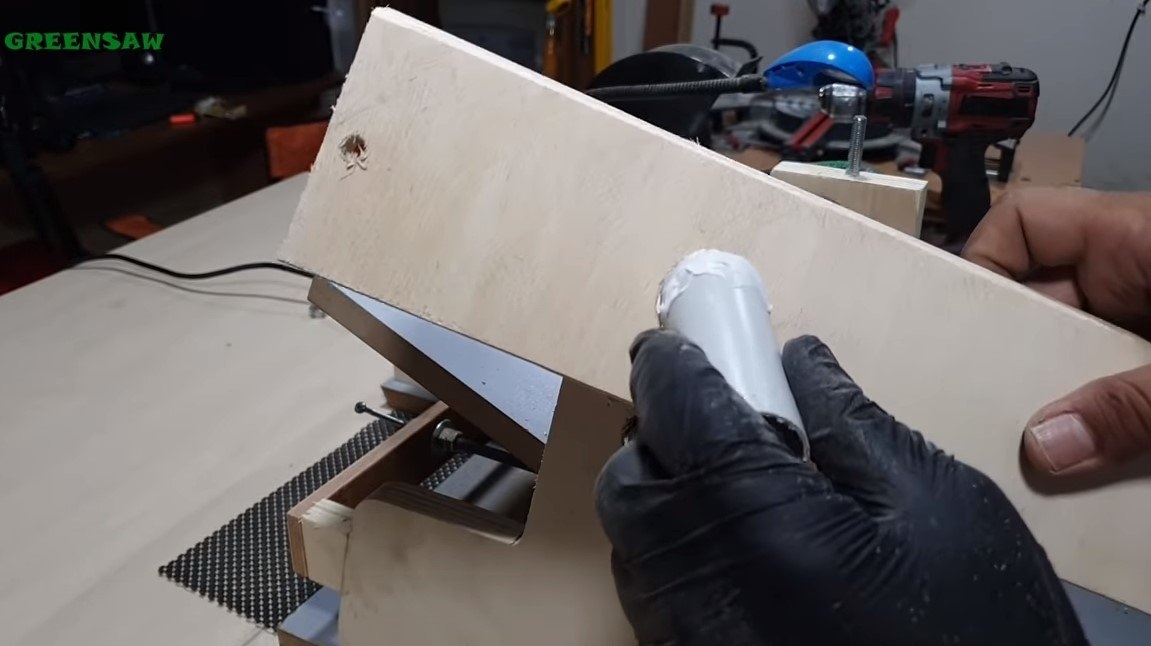
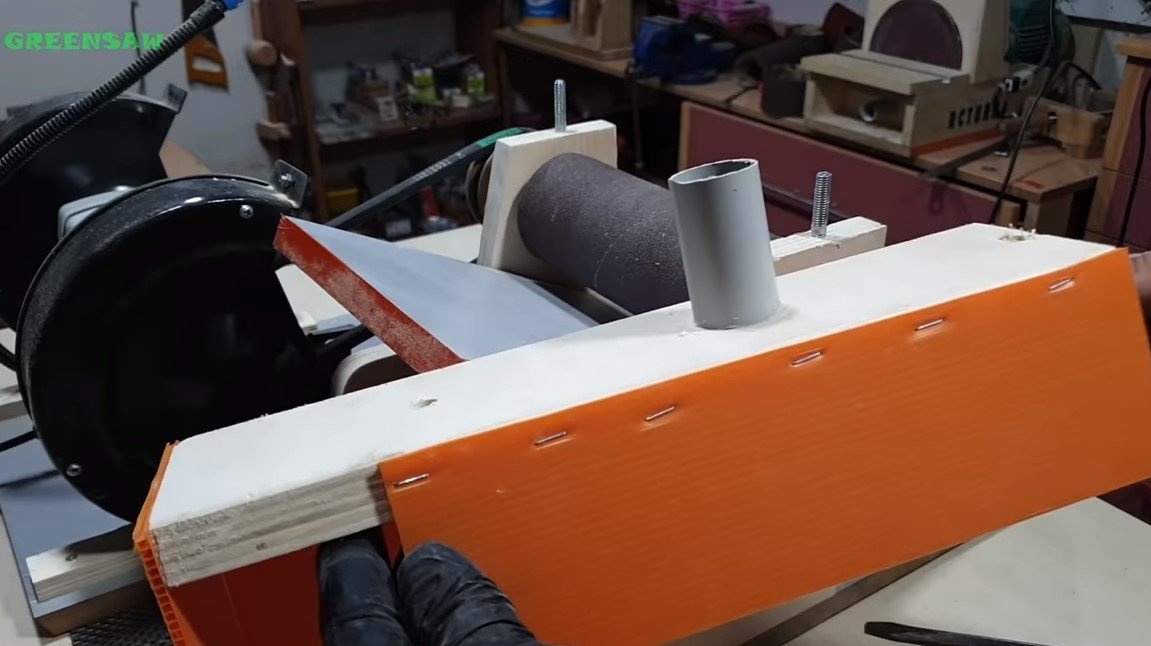
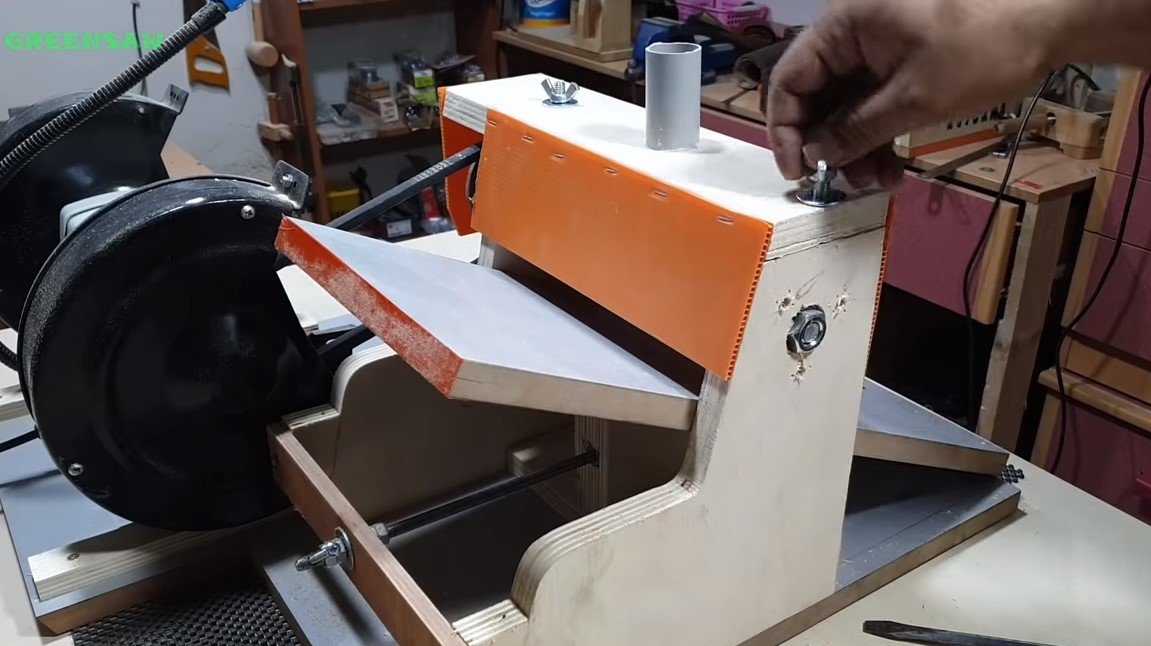
Step Eight. Shield
To prevent dust and shavings from the machine from flying in the face and through the workshop, we will make a protective shield for the machine. The author assembled it from a piece of plywood and polycarbonate. A piece of sewer pipe was installed in the sealant on the sealant, as a result of which a vacuum cleaner can be connected to the machine.
The upper flap is fastened with nuts “lamb”, the author wrapped the threaded rods in the racks on the glue.
That's all, now the machine is completely ready, it works quite accurately, and thanks to a vacuum cleaner in the workshop there will be much less dust. If desired, you can install a socket with a switch for more convenient control of the machine. This is the end of the project, I hope you liked the homemade work, and you found useful thoughts for yourself. Good luck and creative inspiration, if you decide to repeat this, do not forget to share your ideas and homemade things with us!
