
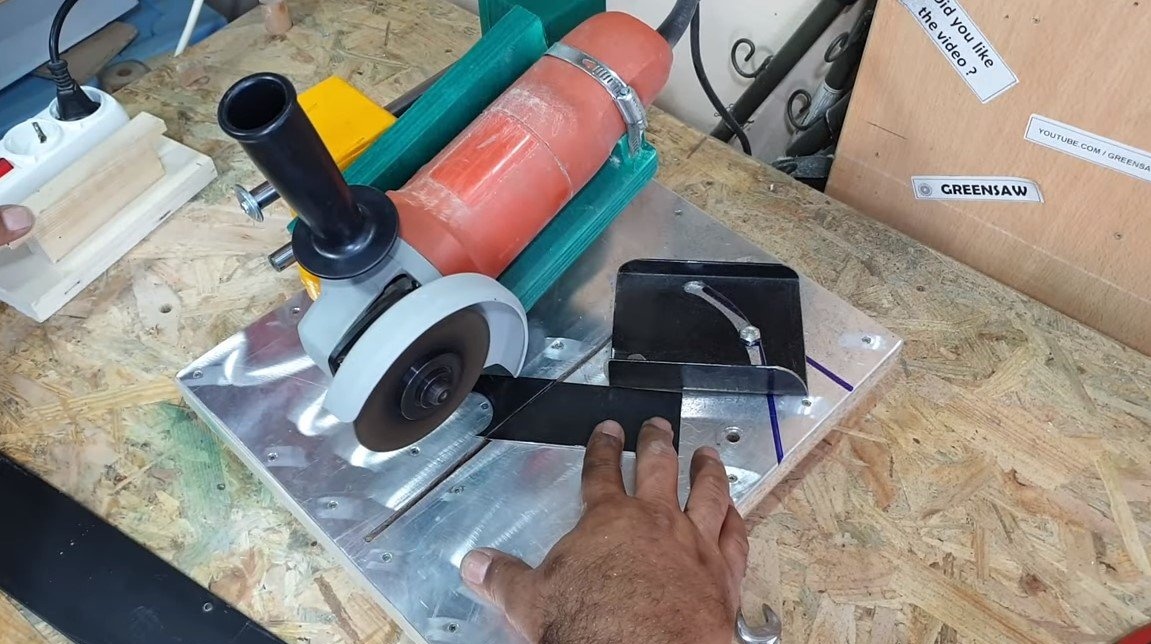
Hello to all fans of craftsmen, today we will consider how to make a reliable small bed for a grinder. Thanks to the bed, it will be possible to cut the material exactly at a right angle and at a right angle, like a miter saw. The author installs disks on a grinder both for wood and metal, so that you can cut various materials. Homemade made on the basis of which are responsible for broaching the grinder. Parts of the machine frame are for the most part made of plywood and chipboard. If you are interested in the project, I propose to study it in more detail!
Materials and tools used by the author:
Material List:
- plywood;
- ;
- epoxy adhesive;
- carpentry glue;
- self-tapping screws;
- bolts and washers;
- metal clamp;
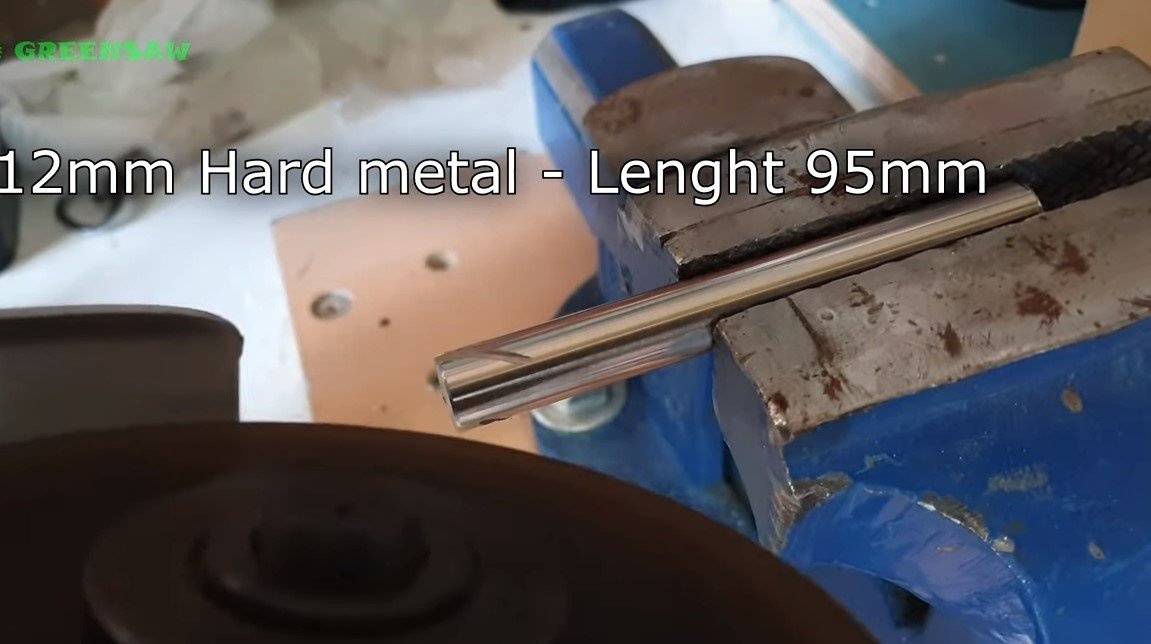
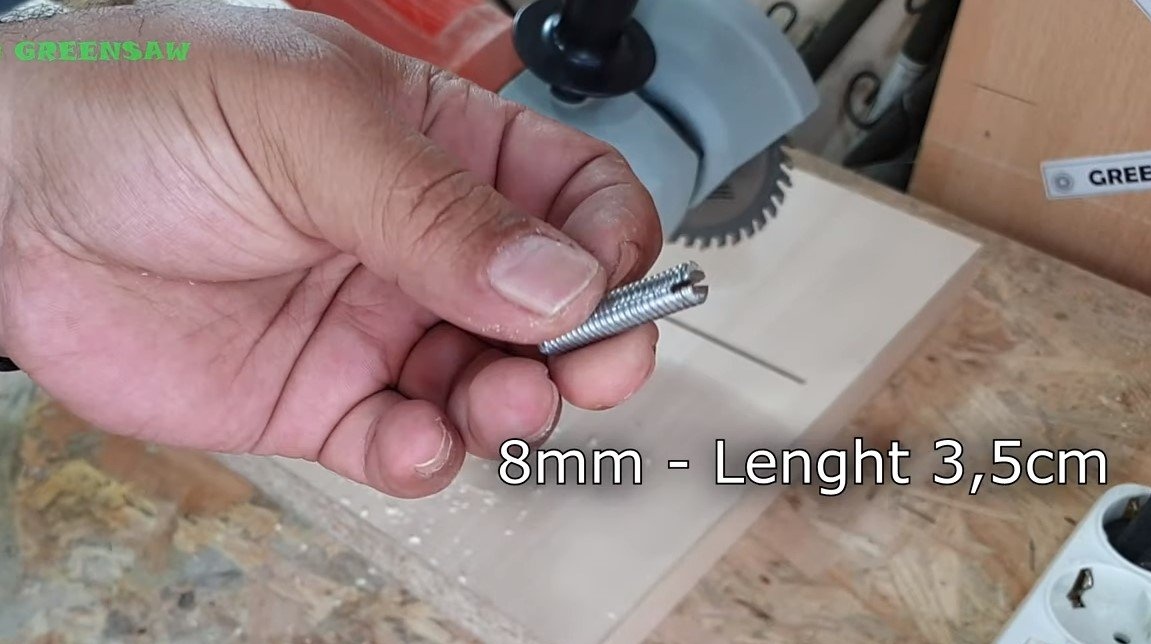
- steel rod 95 mm;
- spring;
- chipboard;
- sheet aluminum or steel;
- a piece of channel for emphasis.
Tool List:
- a circular saw;
- drill;
- clamps;
- disk grinder;
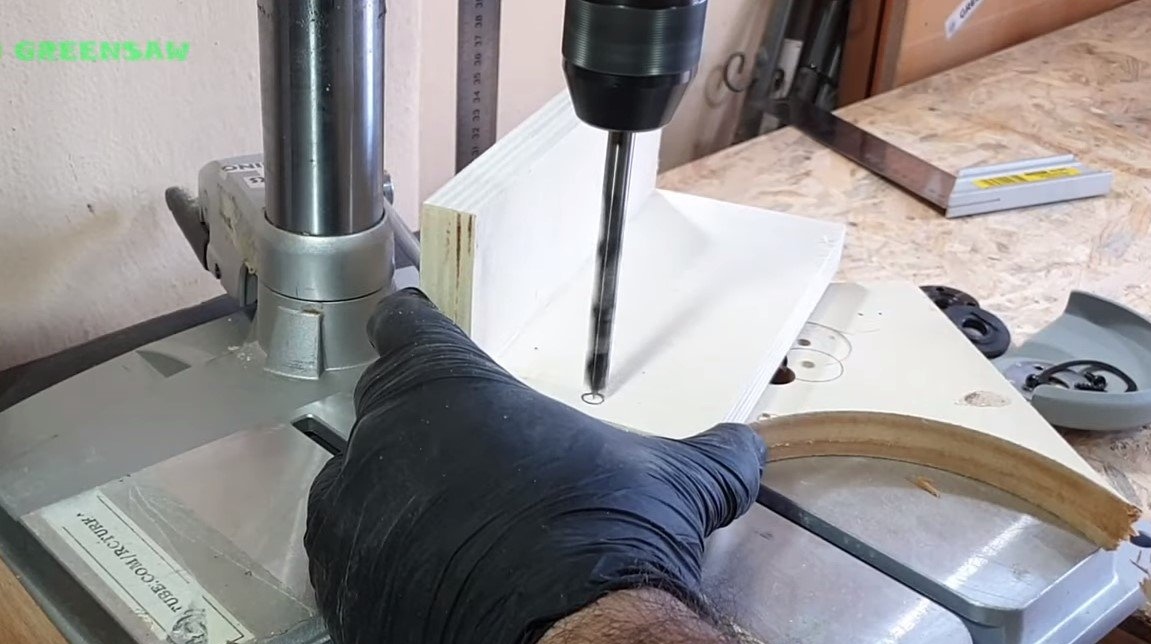
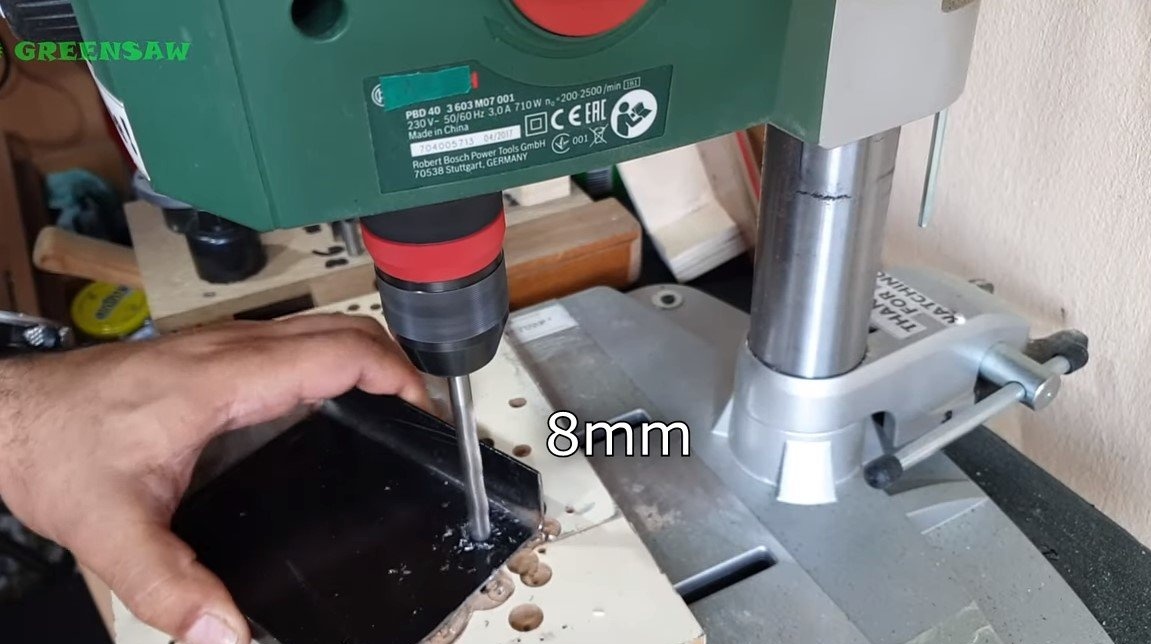
- drilling machine;
- grinder;
- tools for threading;
- screwdriver;
- square, ruler, pencil, etc.
Homemade manufacturing process:
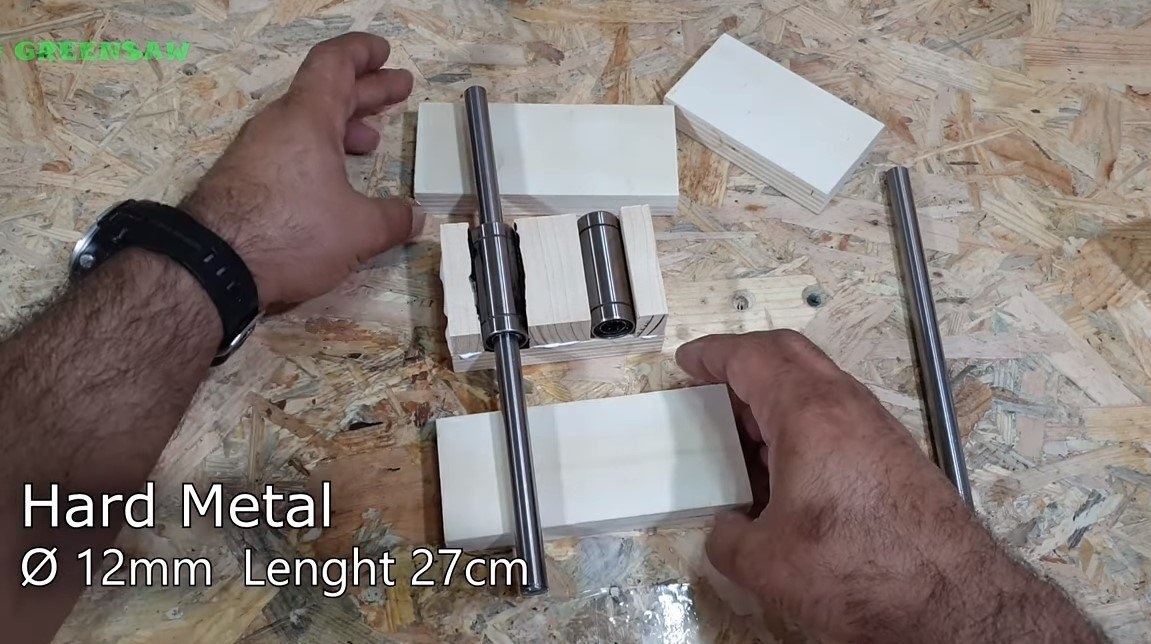
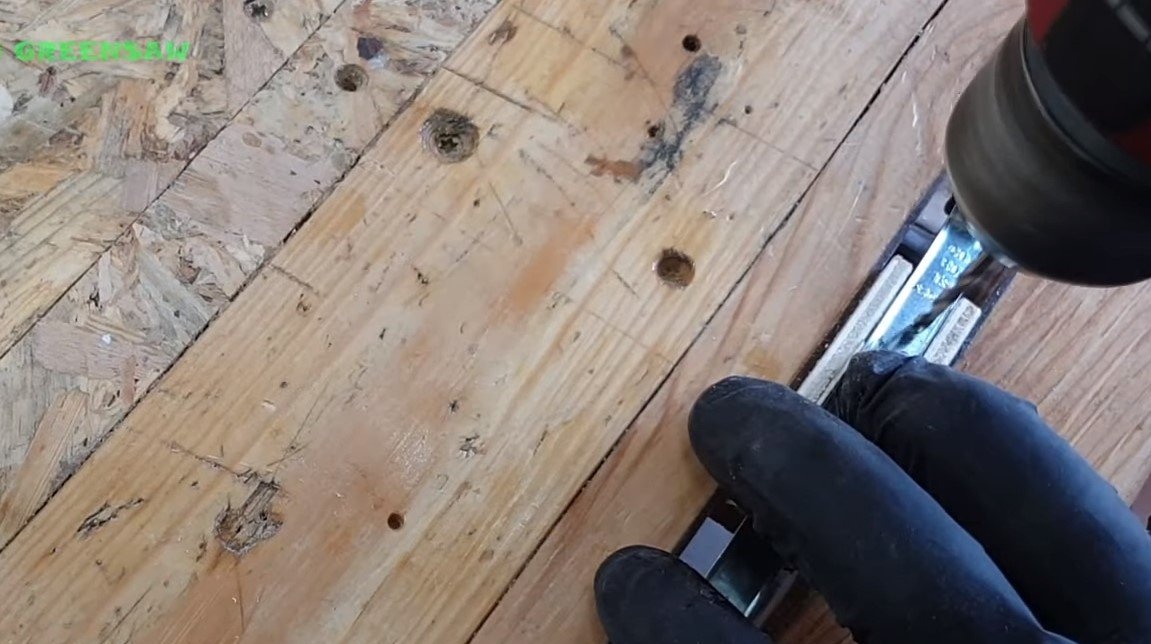
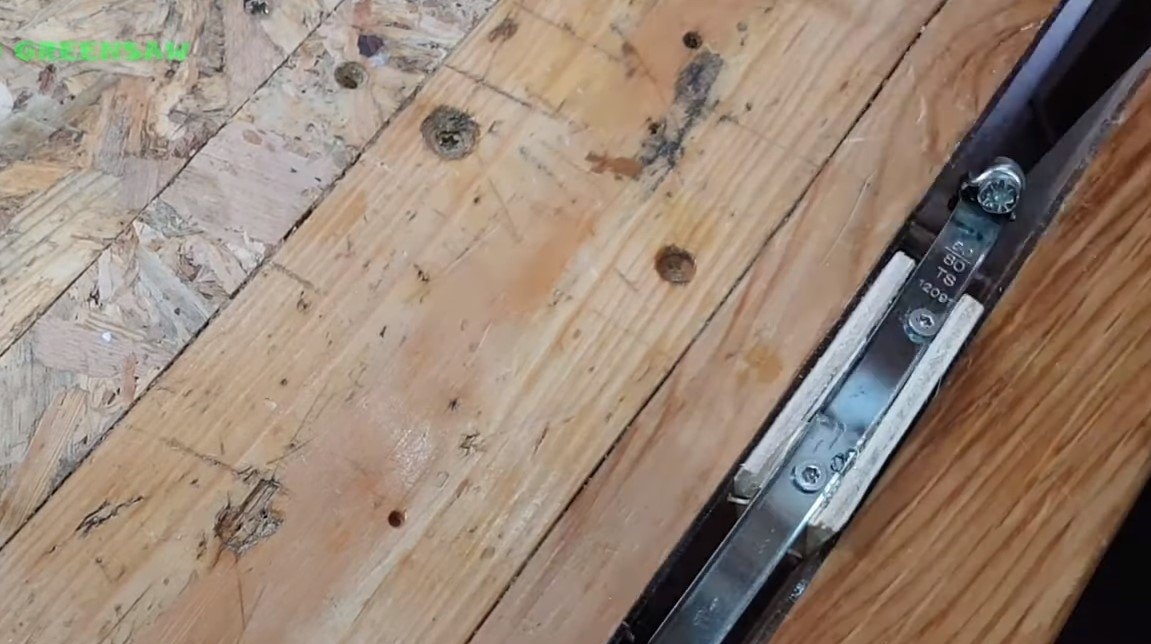
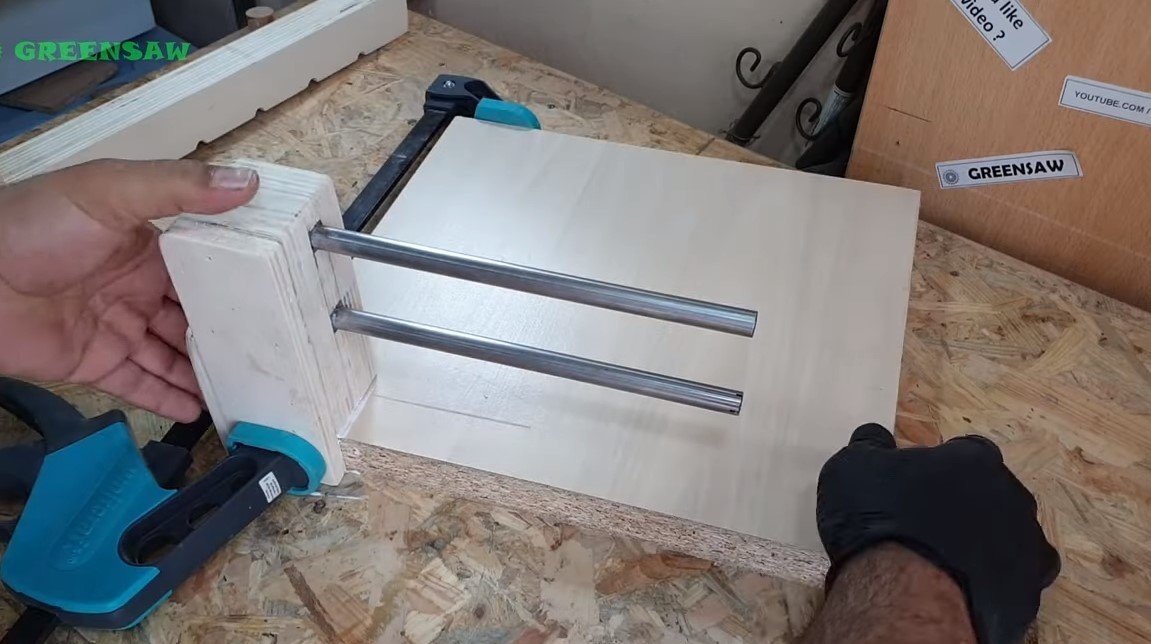
Step one. Manufacture knot broaches
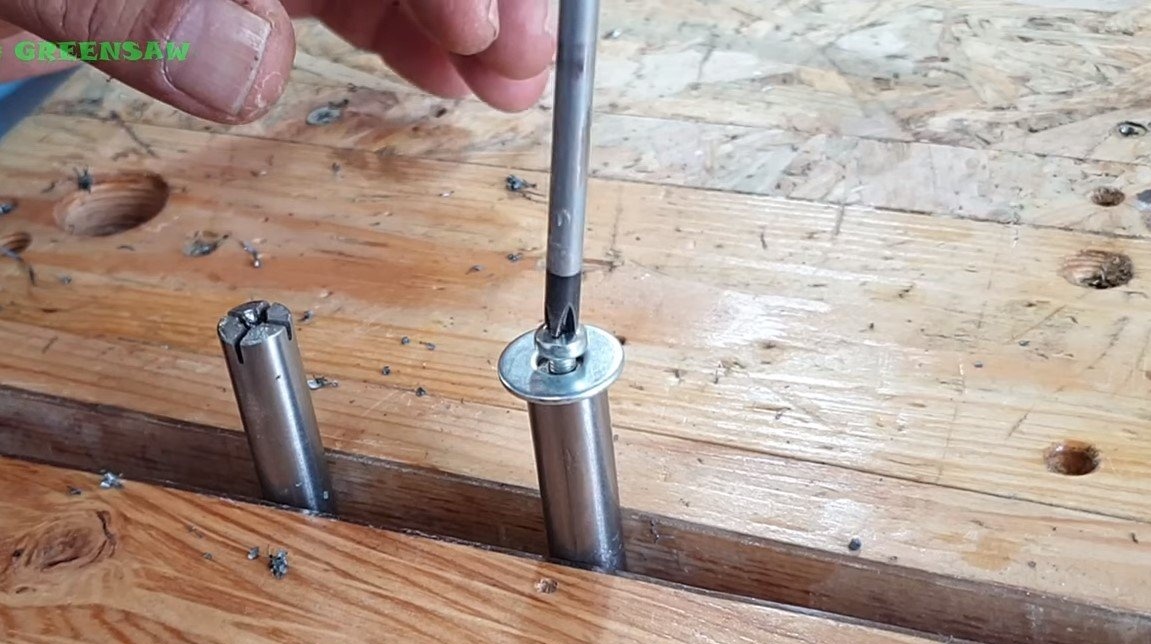
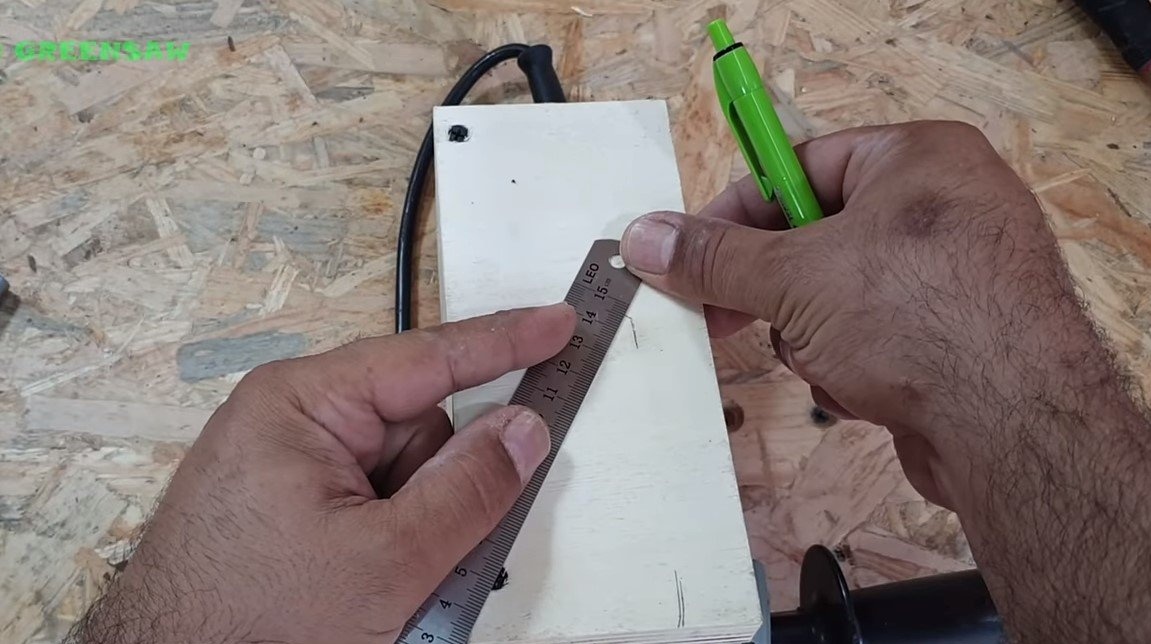
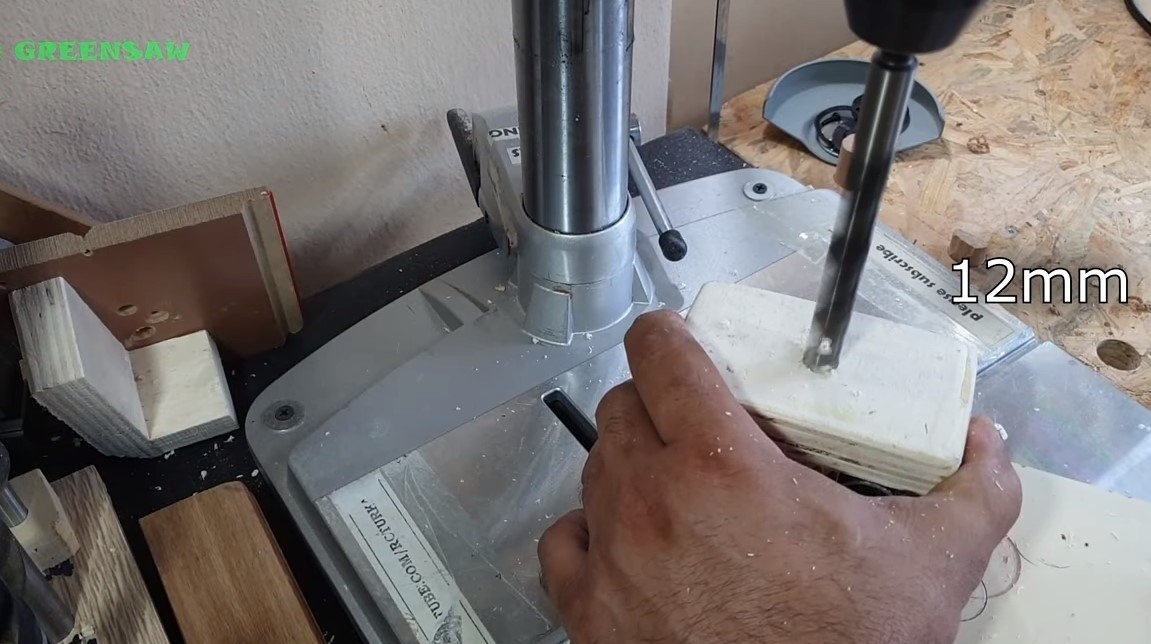
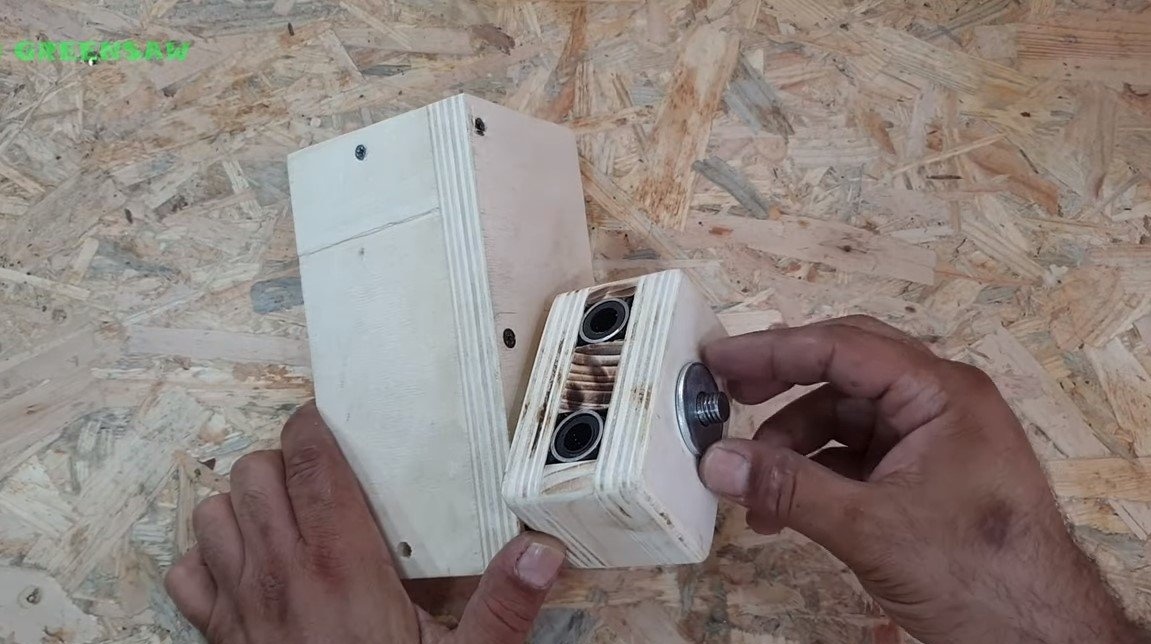
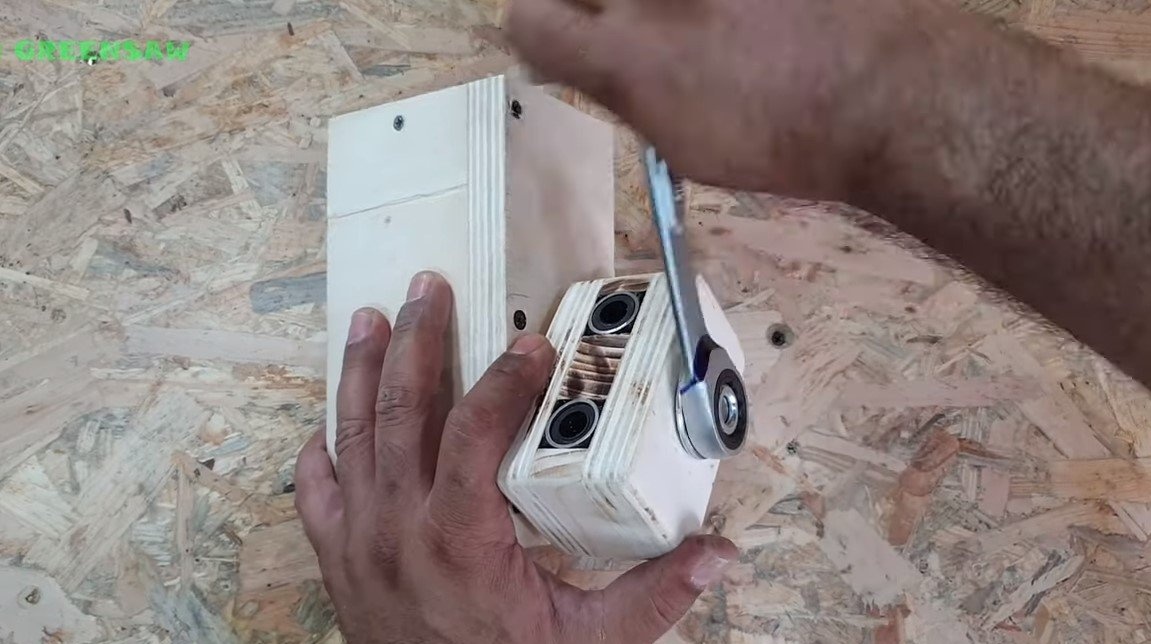
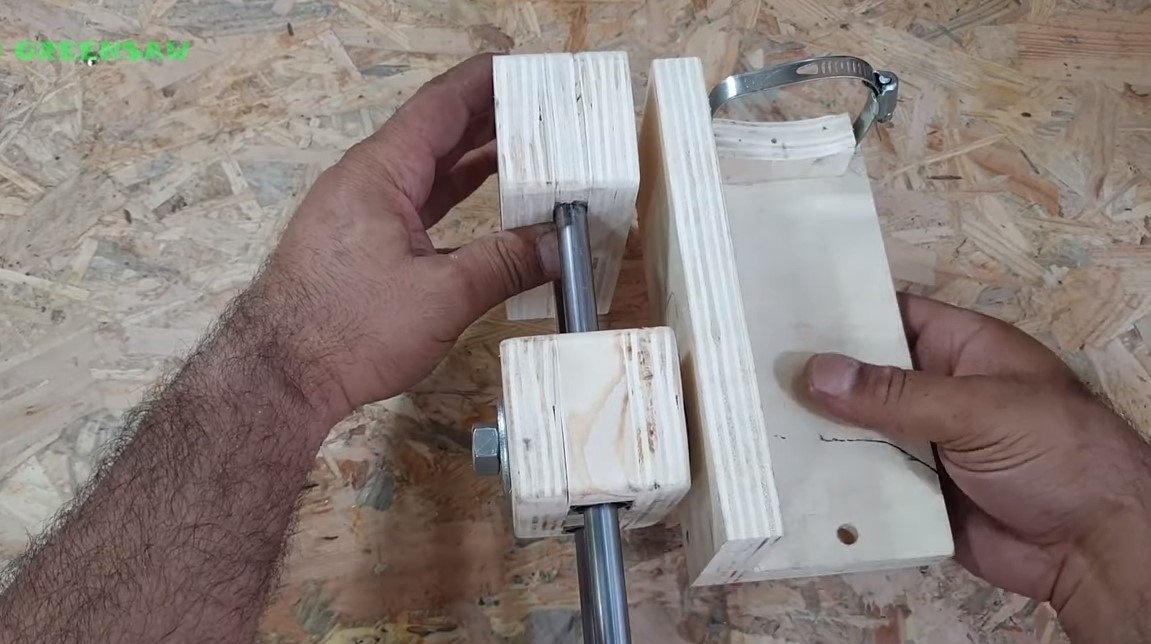
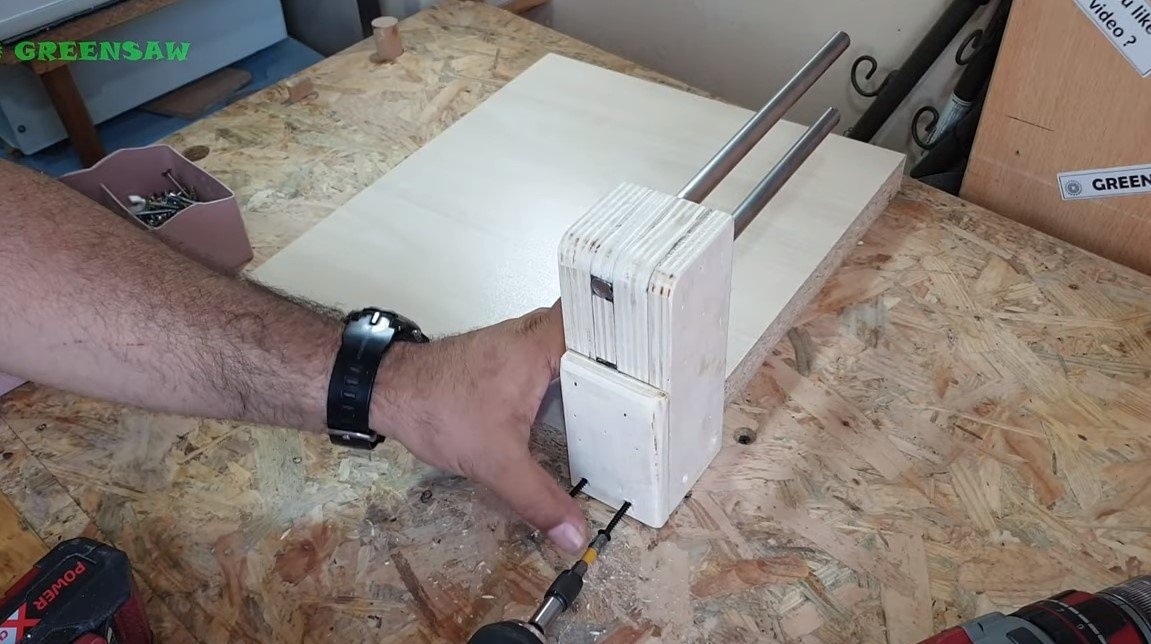
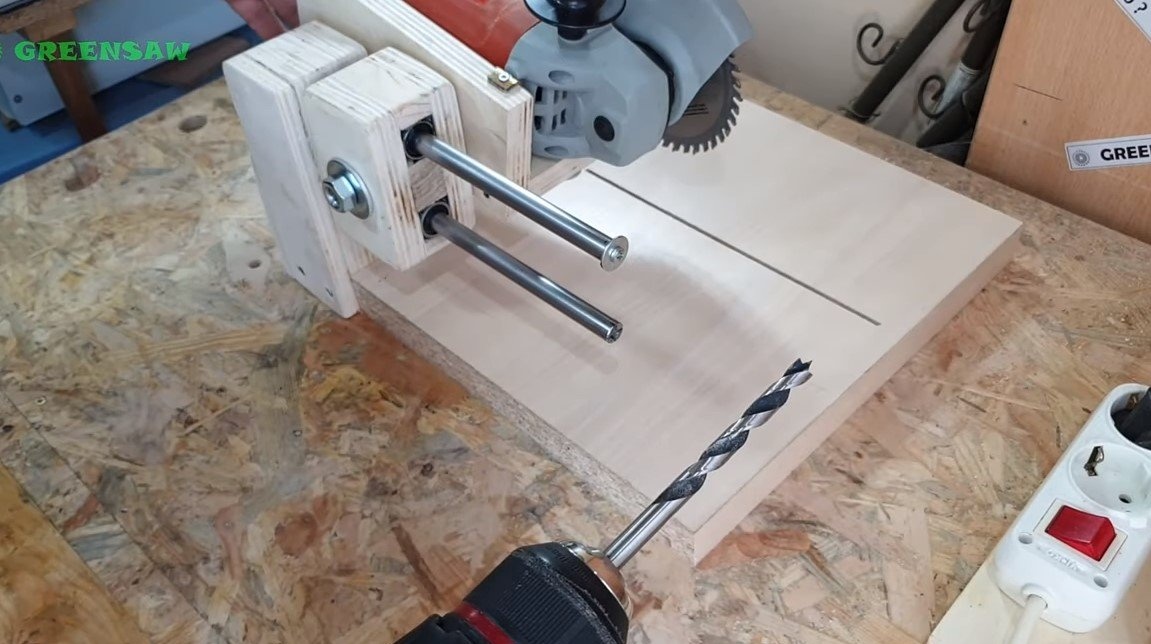
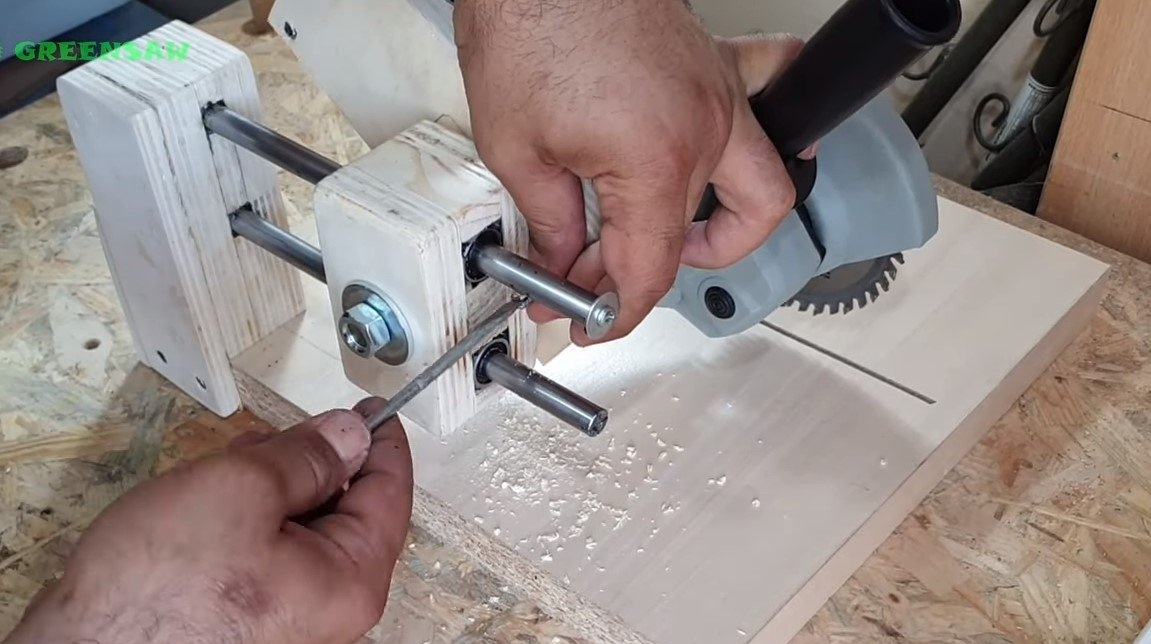
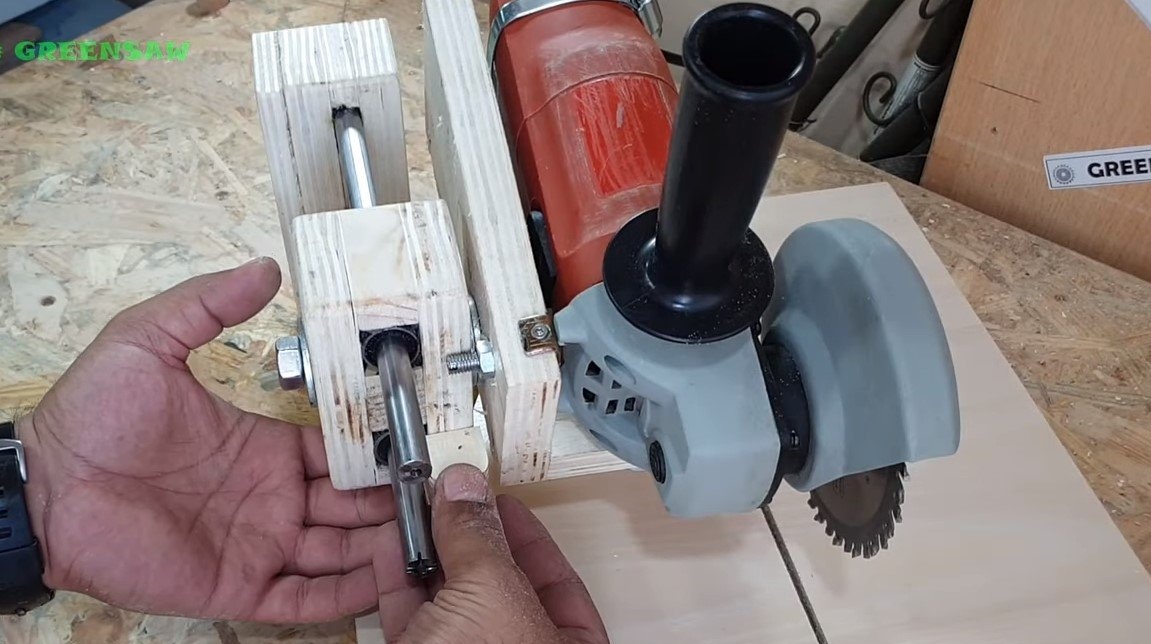
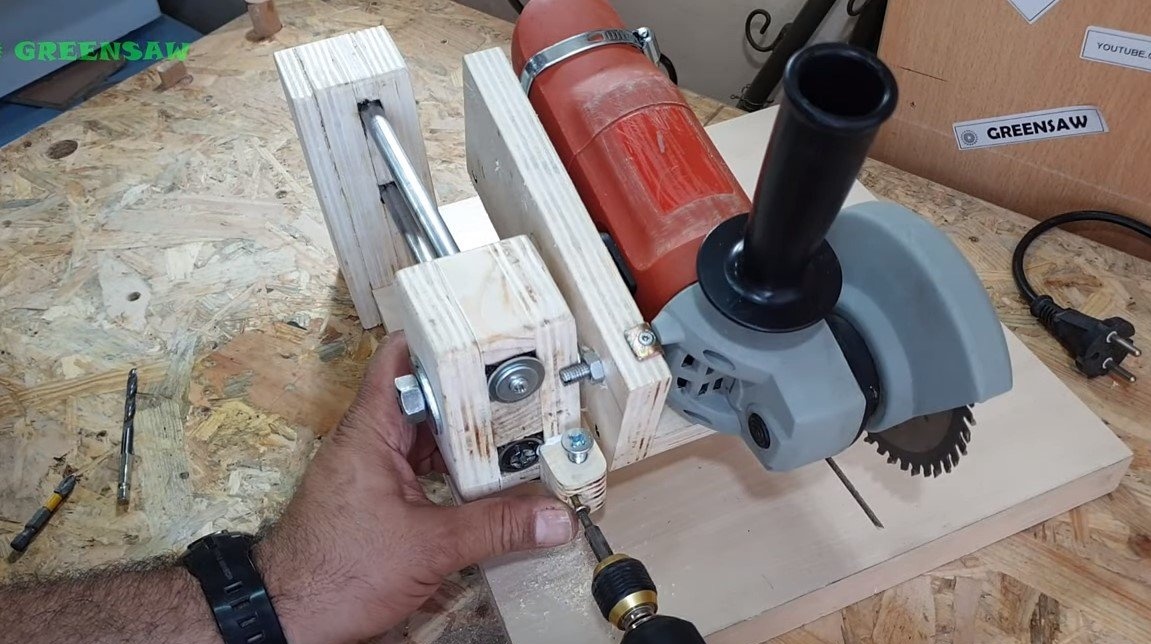
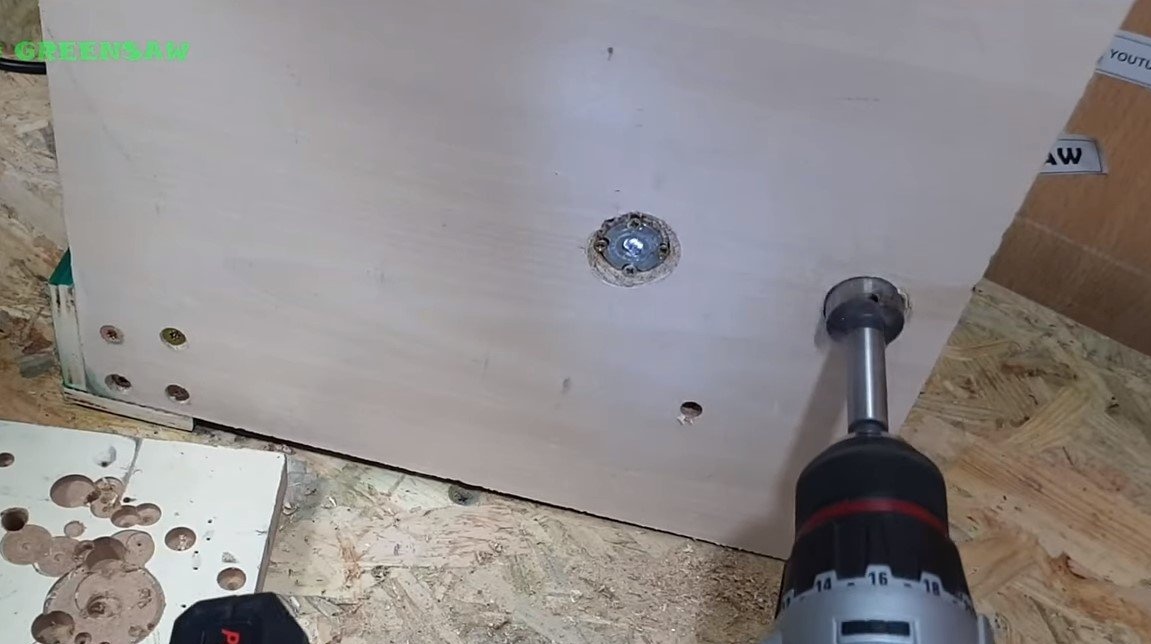
The broach unit is made of and strong steel rods. Such a unit will serve without backlash for a rather long time. We need to make two blocks of plywood, in one block we will tightly fix the rods, this will ultimately be a stand that will be attached to the base. Well, the second block will be movable, they will be installed in it.
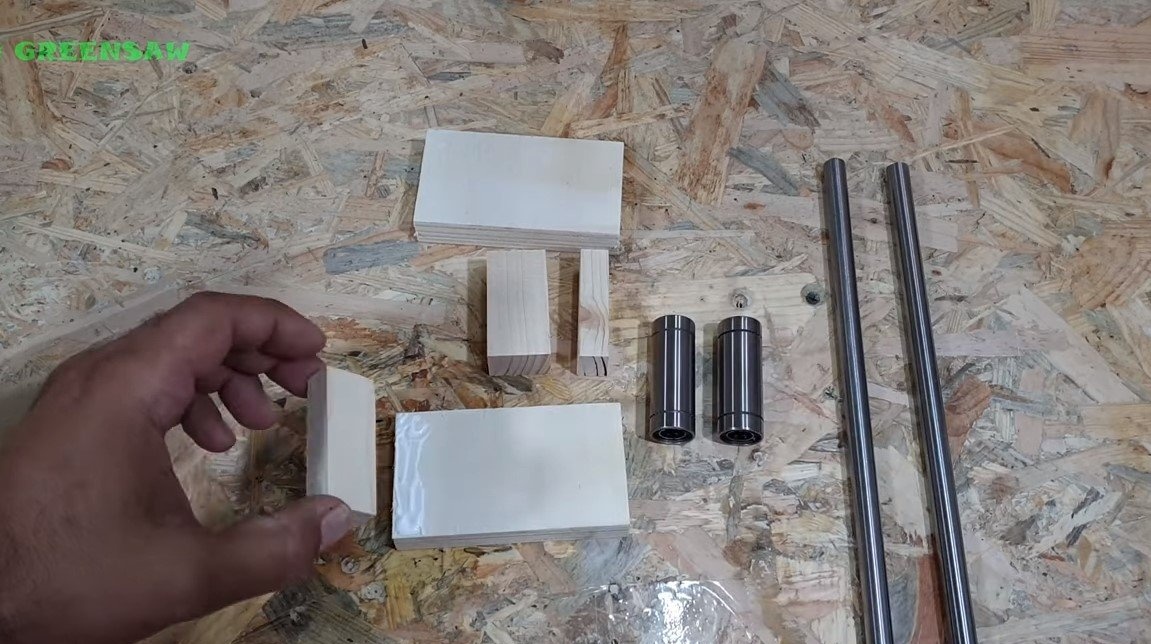
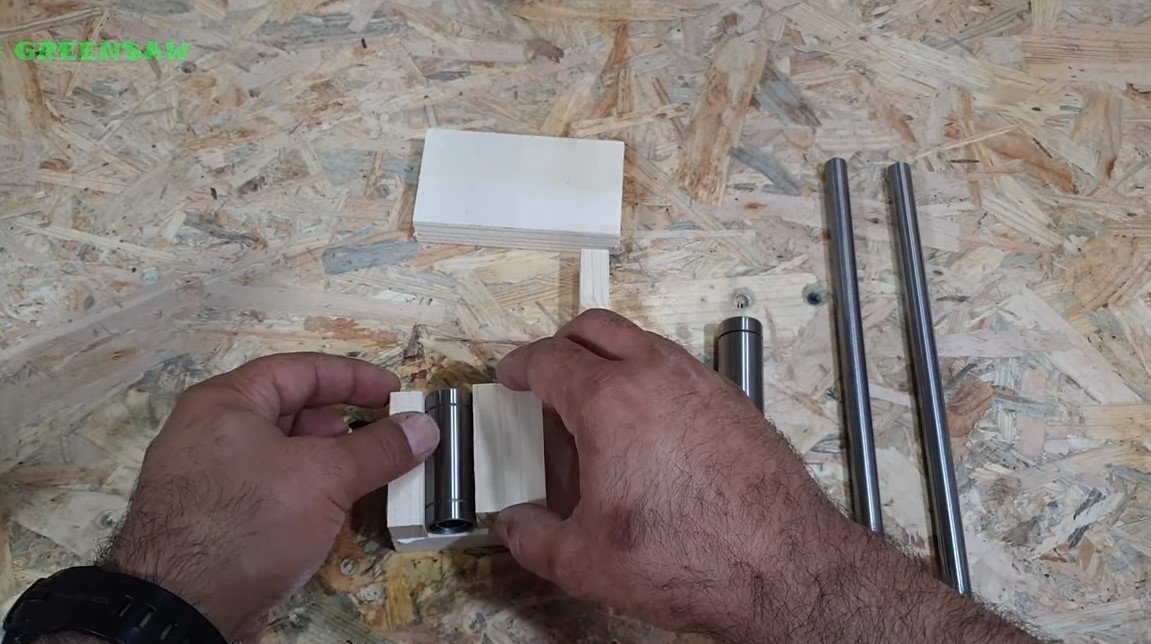
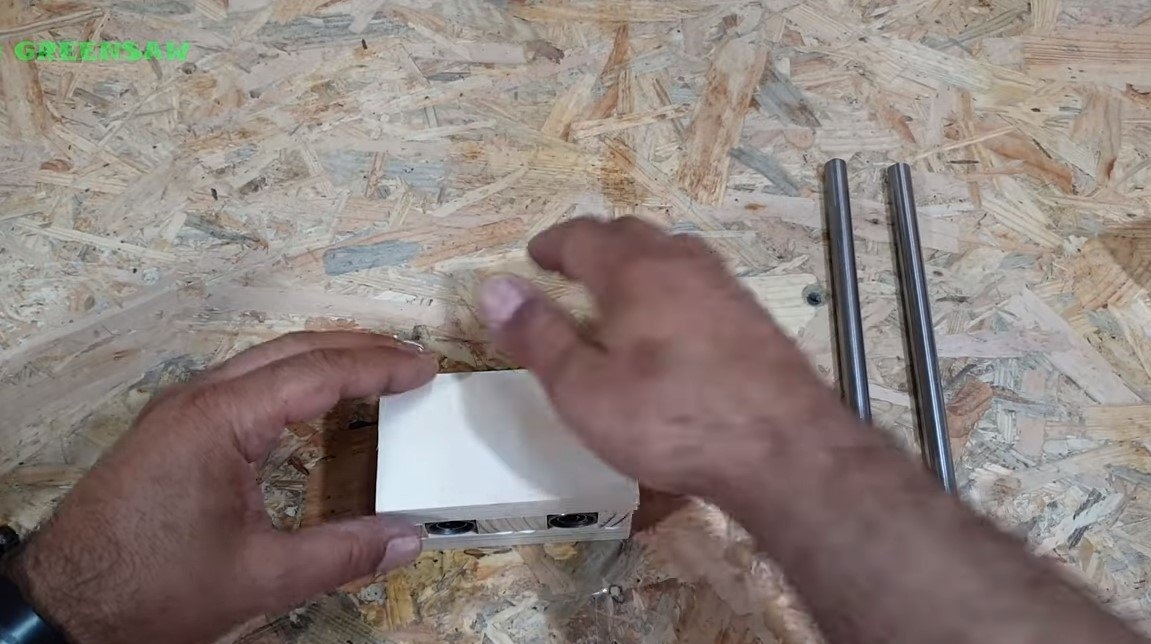
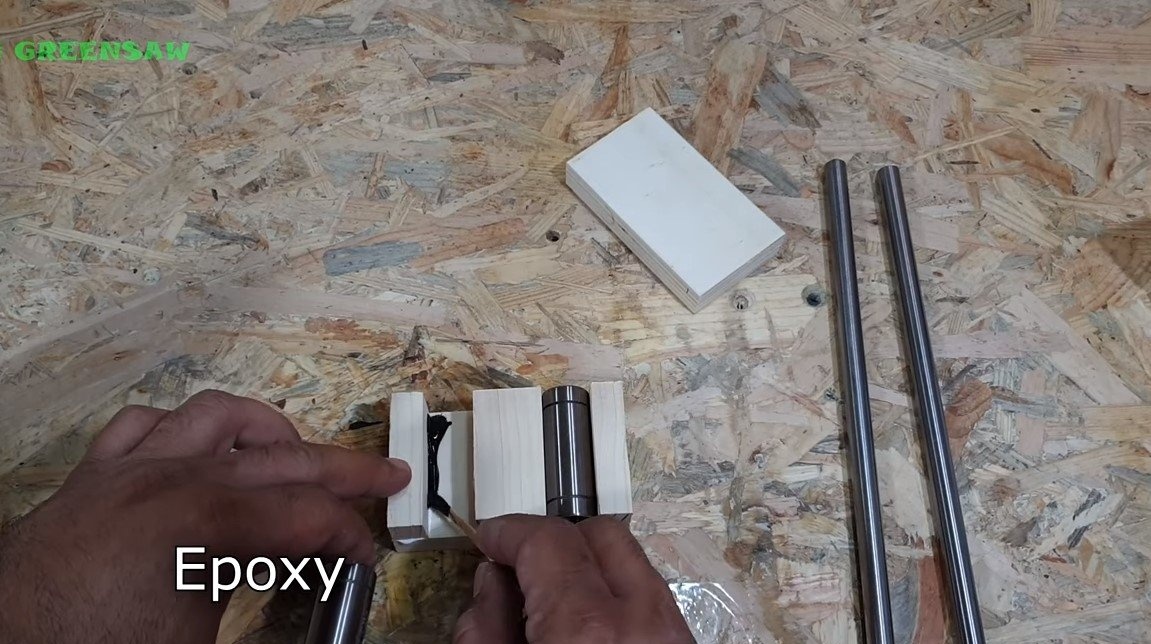
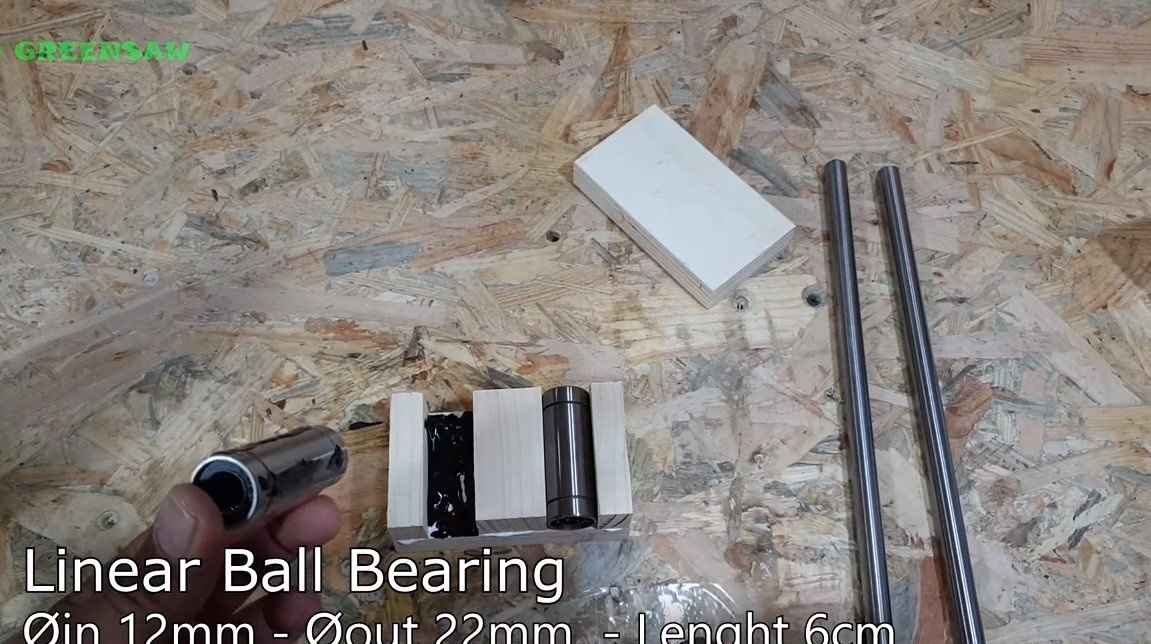
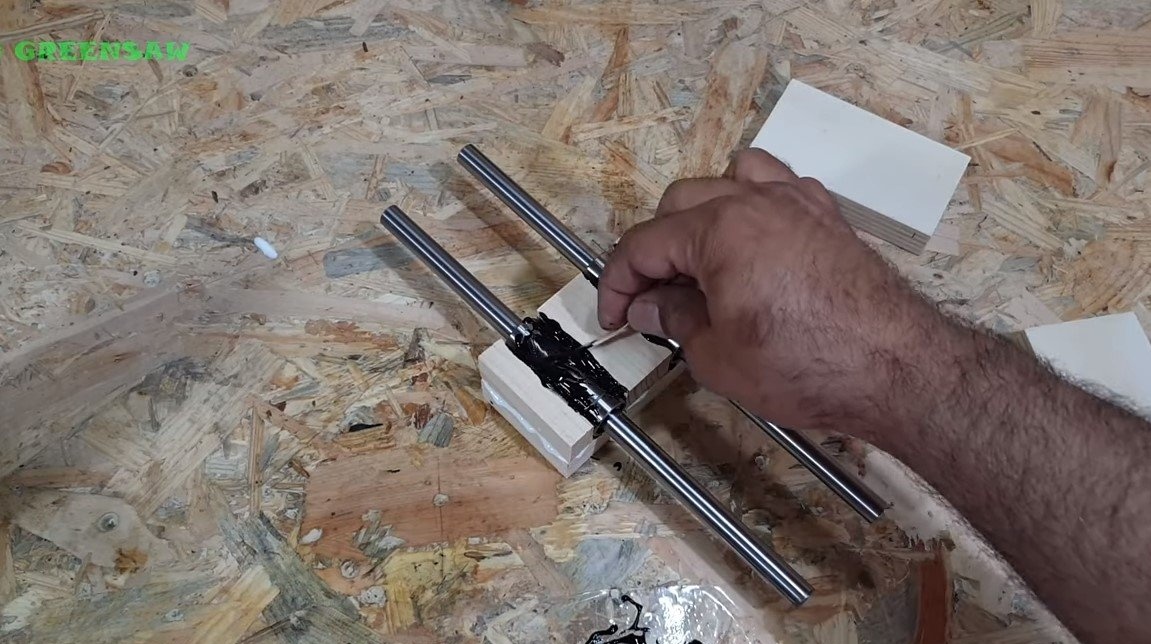
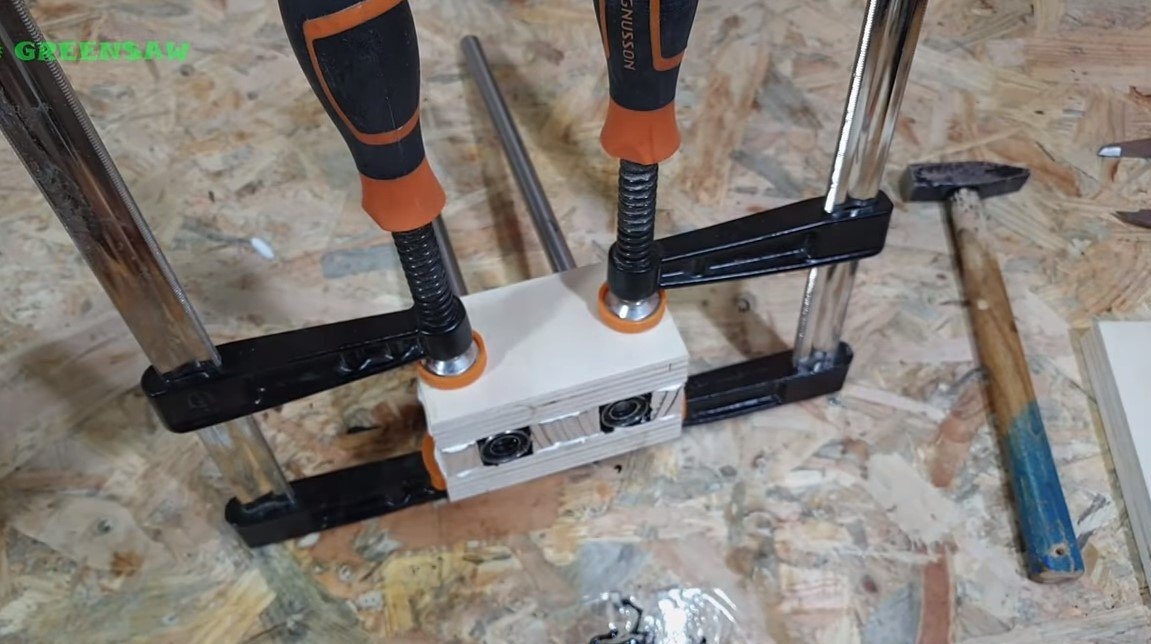
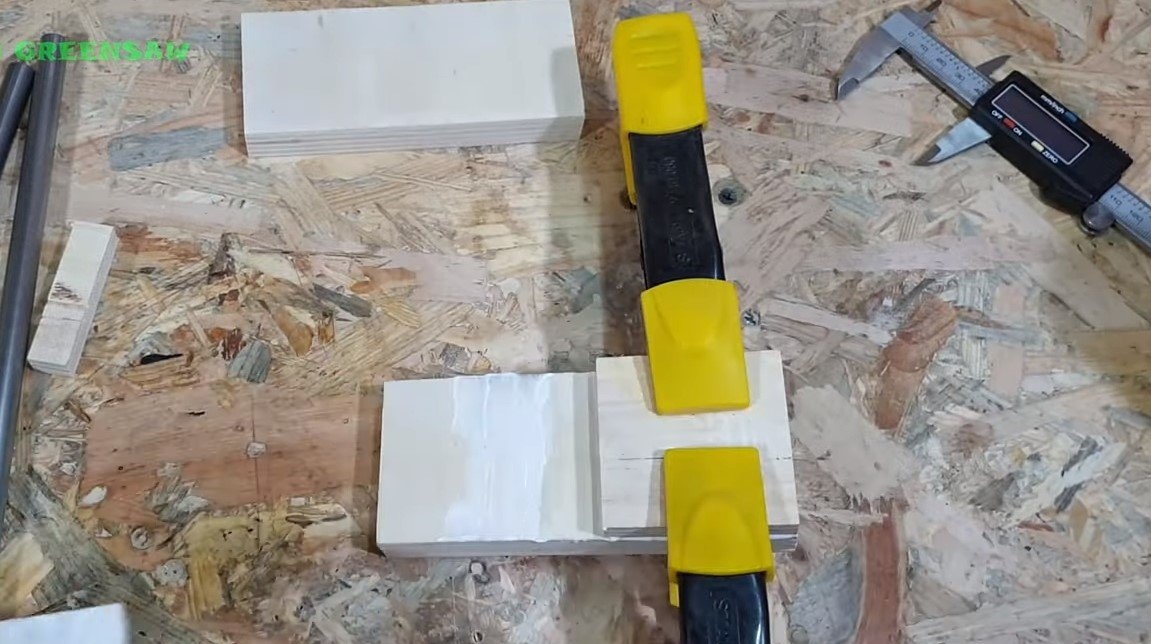
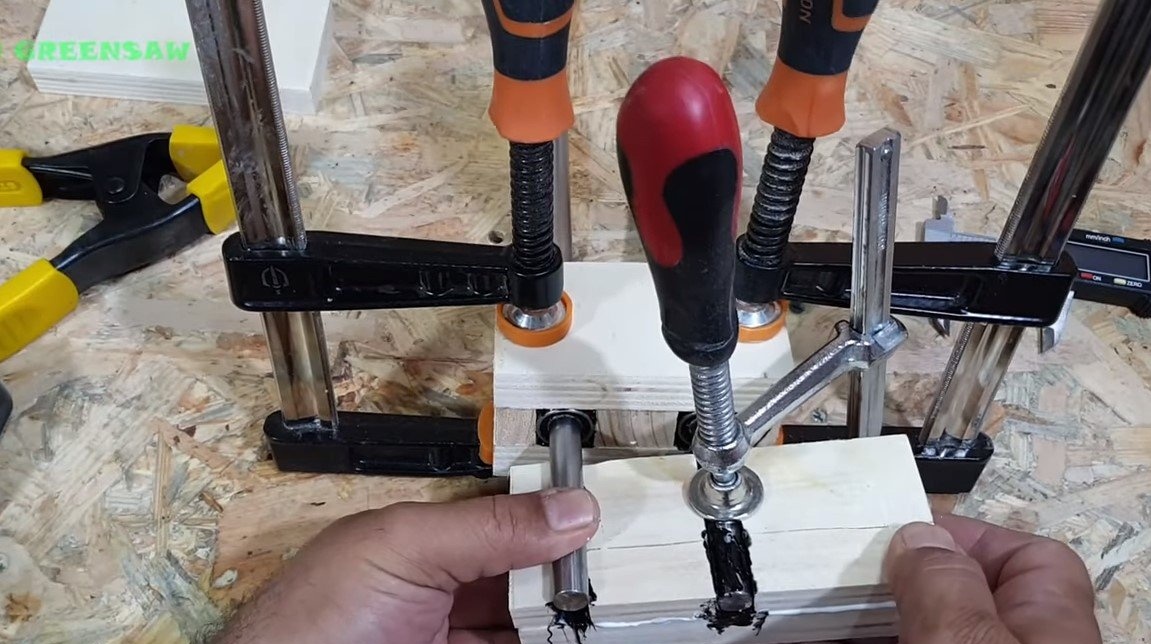
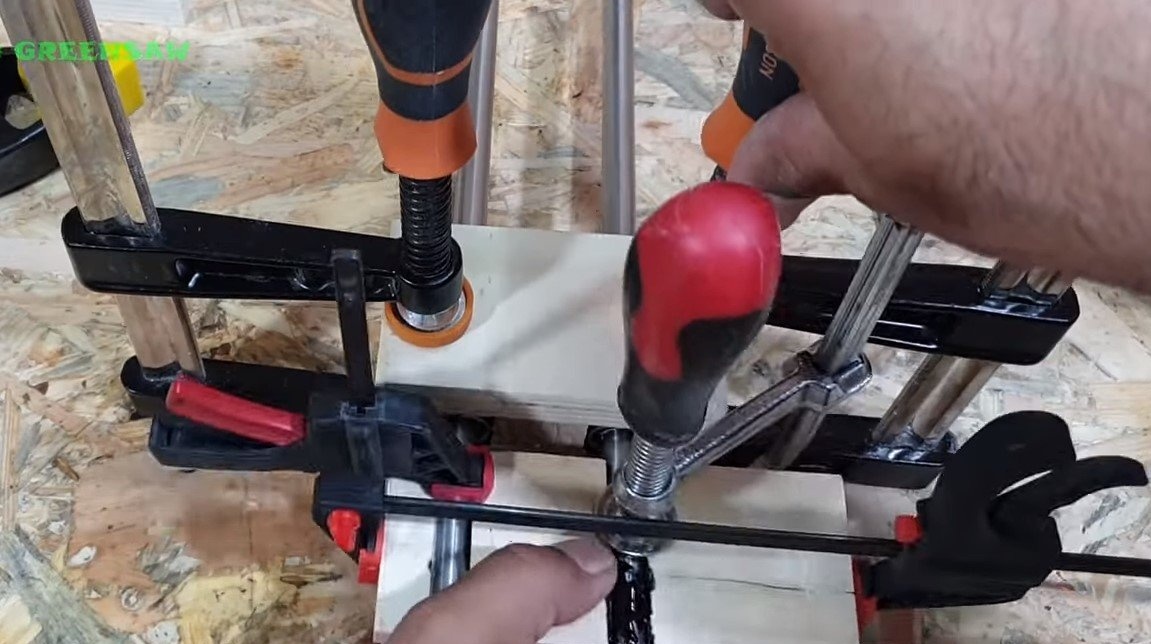
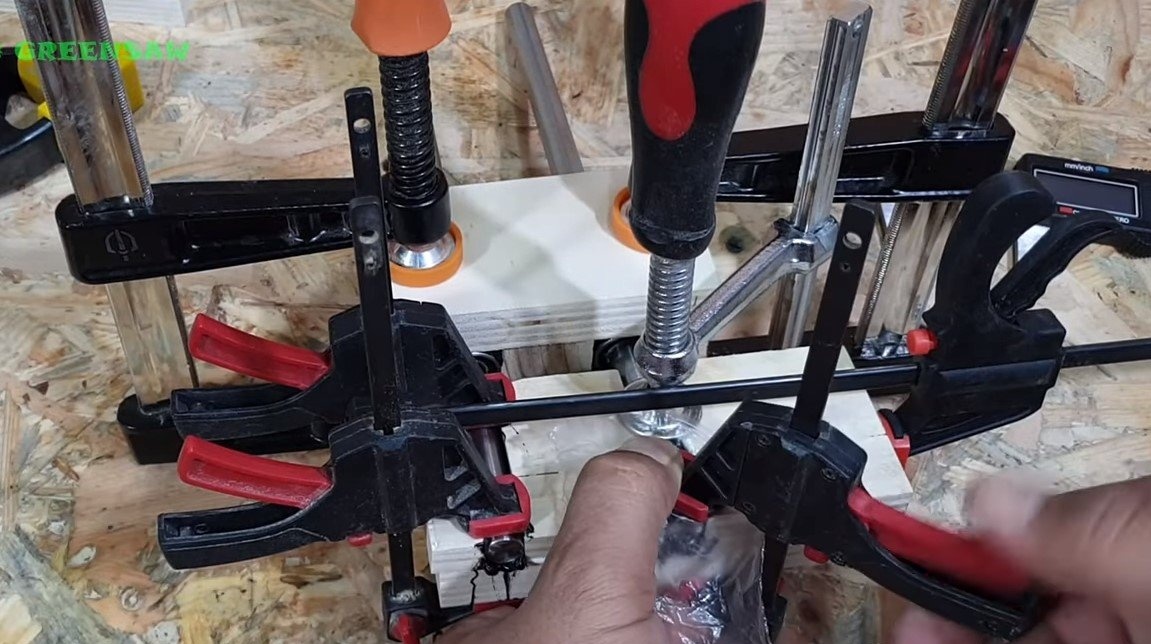
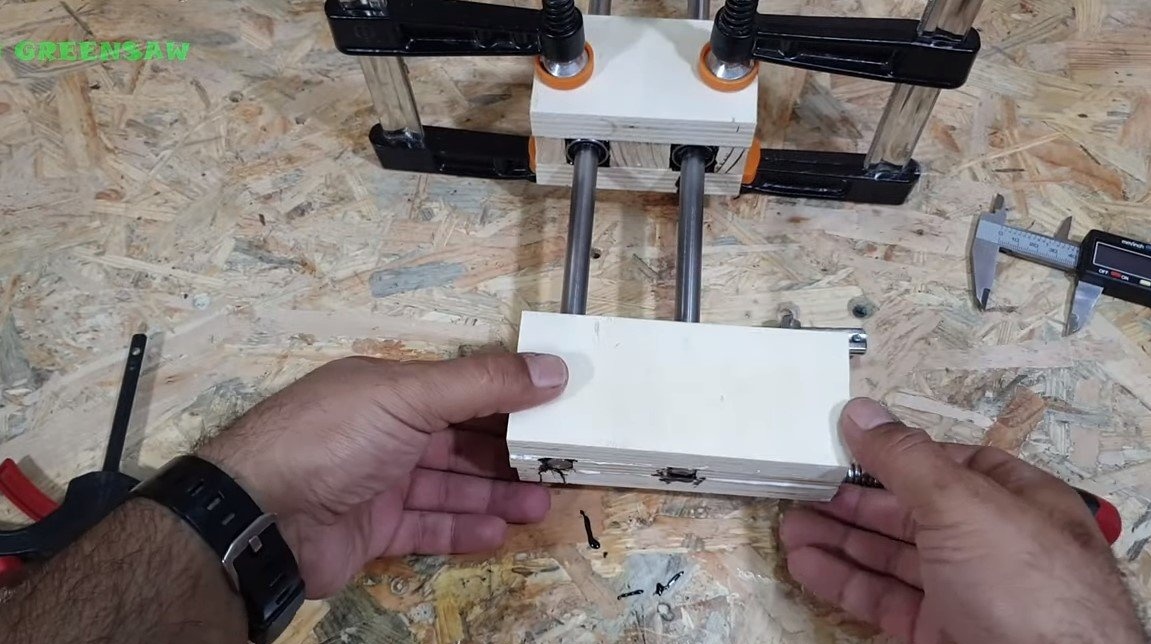

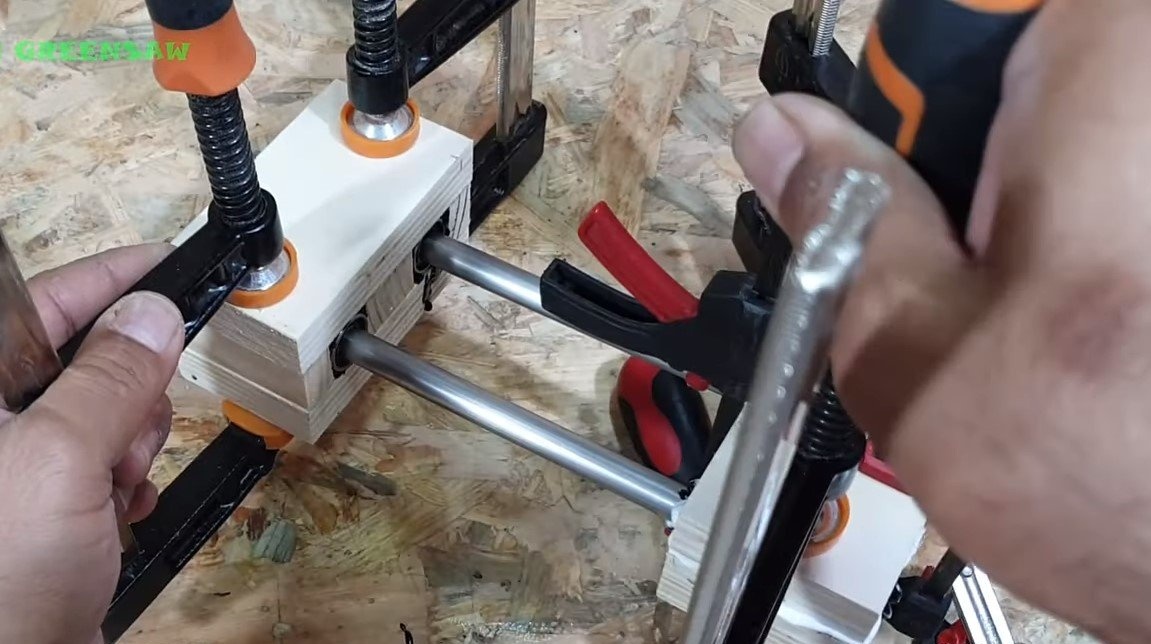
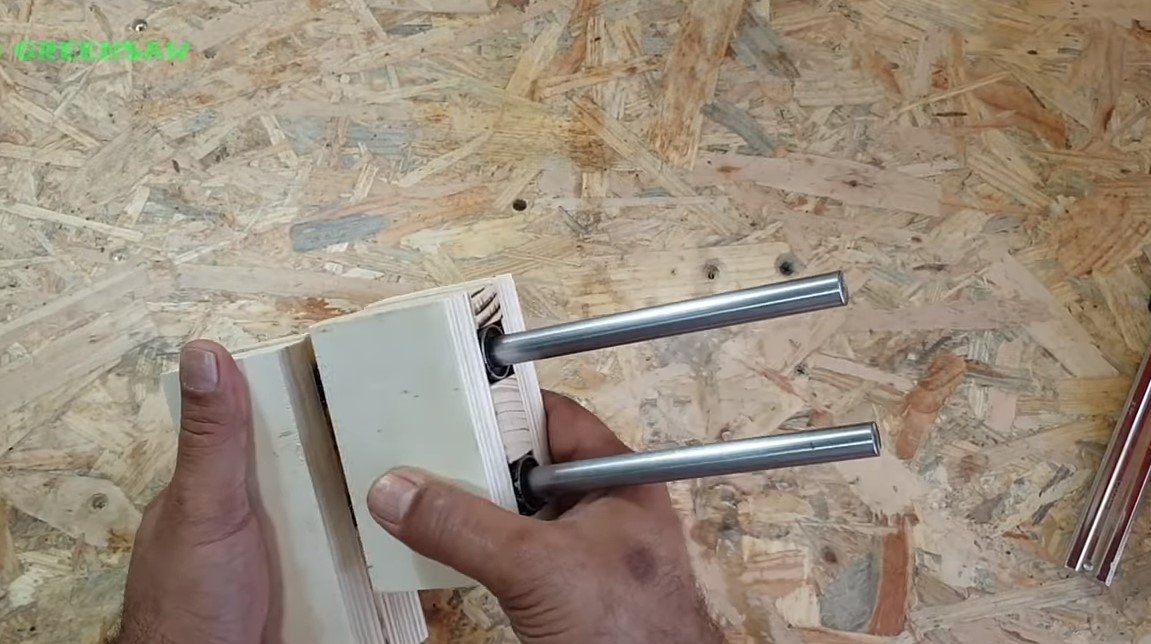

The author precisely cut out all the details for the blocks with a circular saw, and then we glue the plywood with the help of wood glue, and for certainty everything can be pulled together with self-tapping screws. Glued bearings in the block using epoxy glue, steel rods are similarly fixed. Note that for good bonding, steel must be thoroughly degreased and treated with sandpaper.
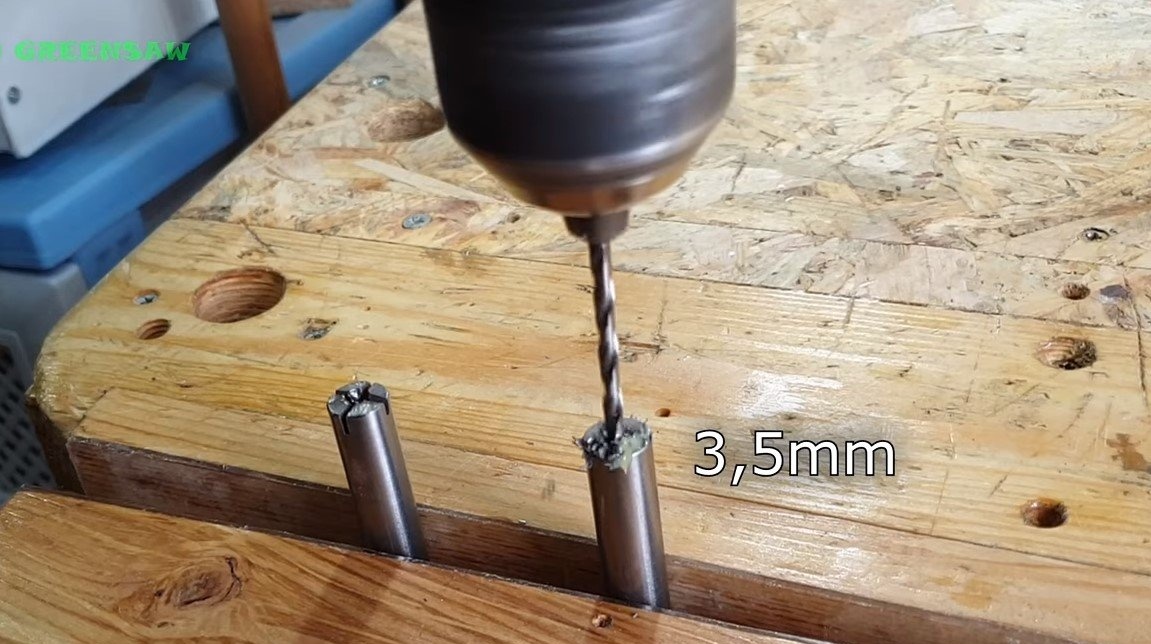
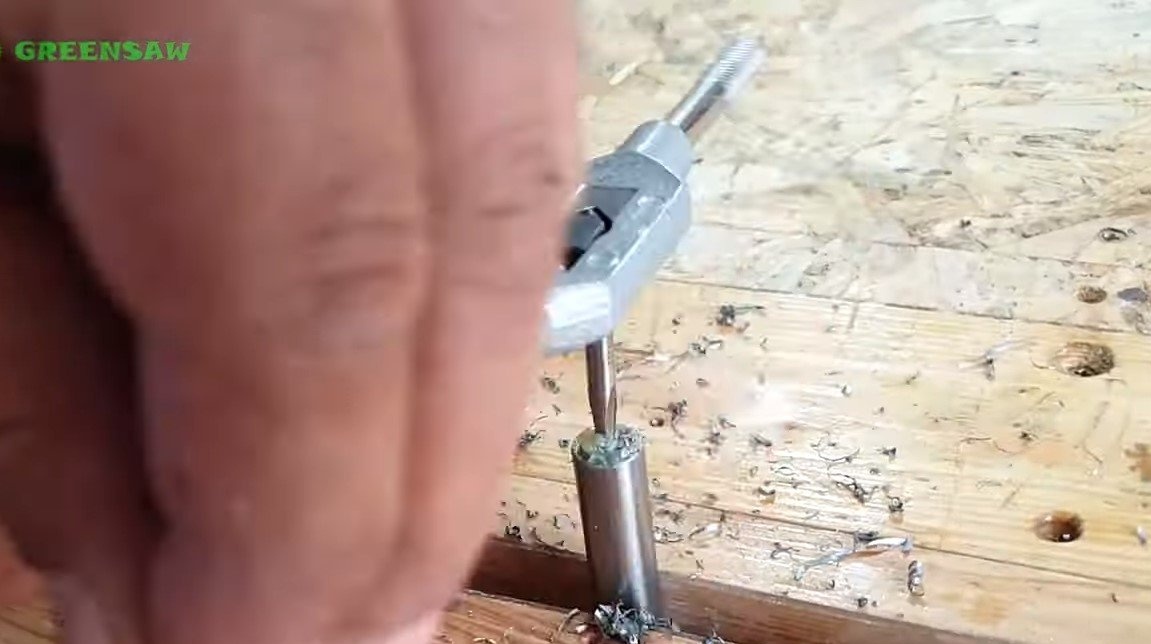
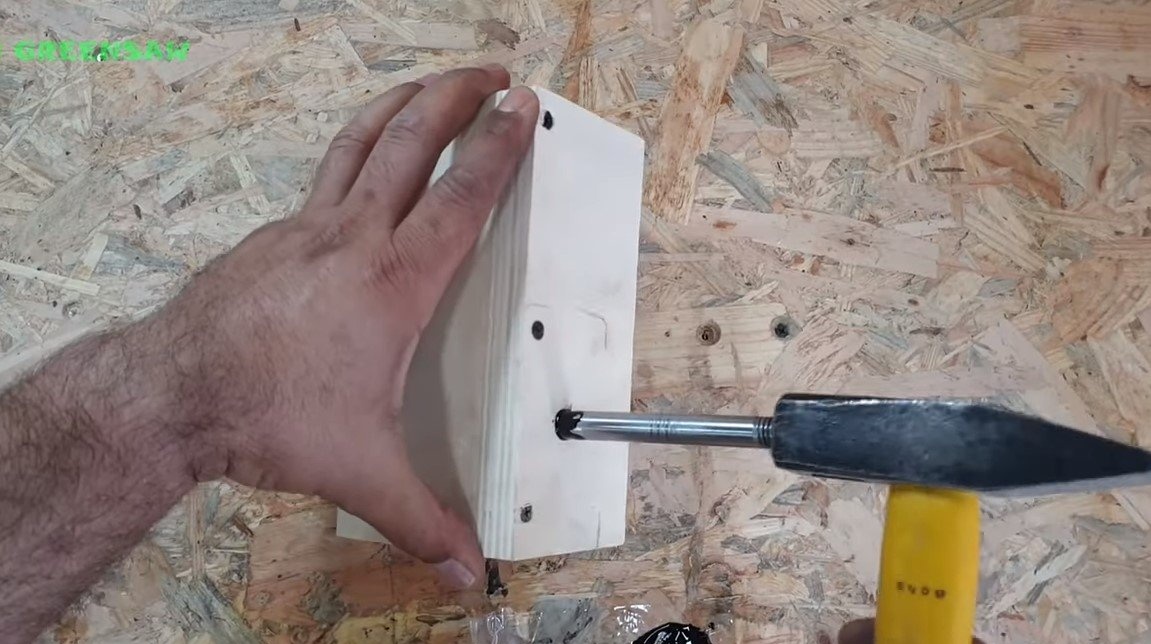
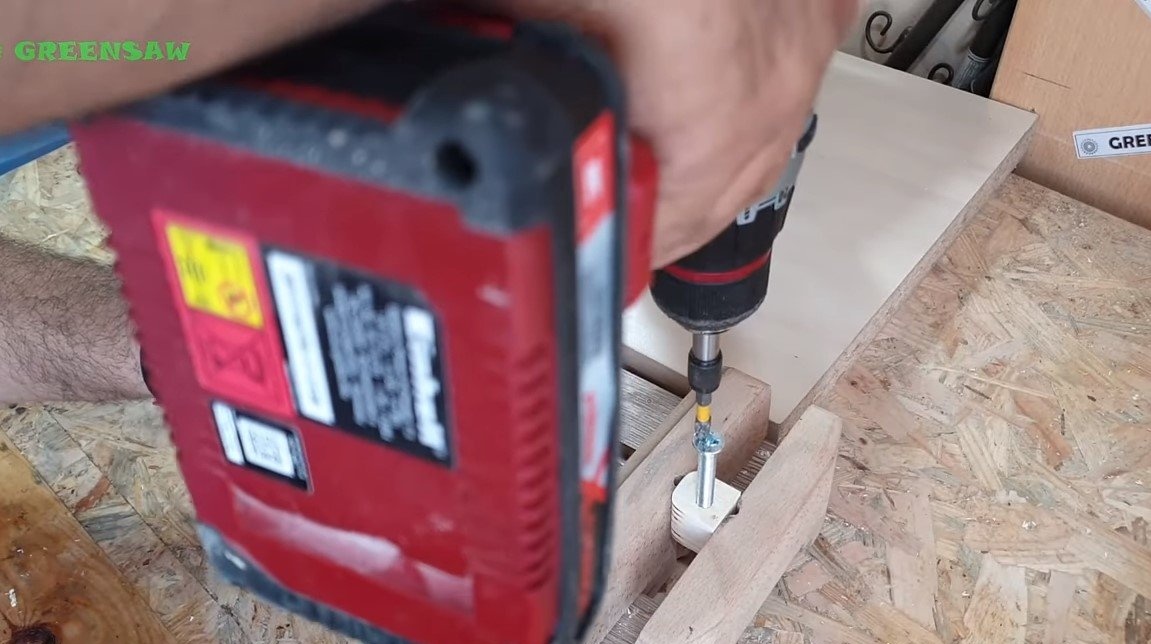
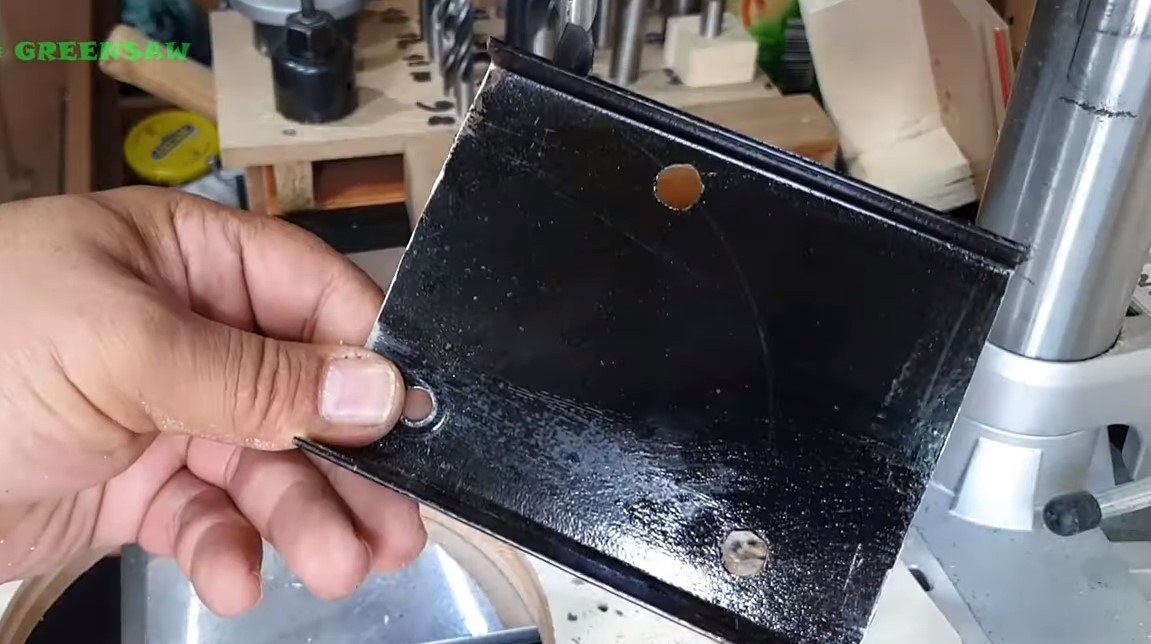
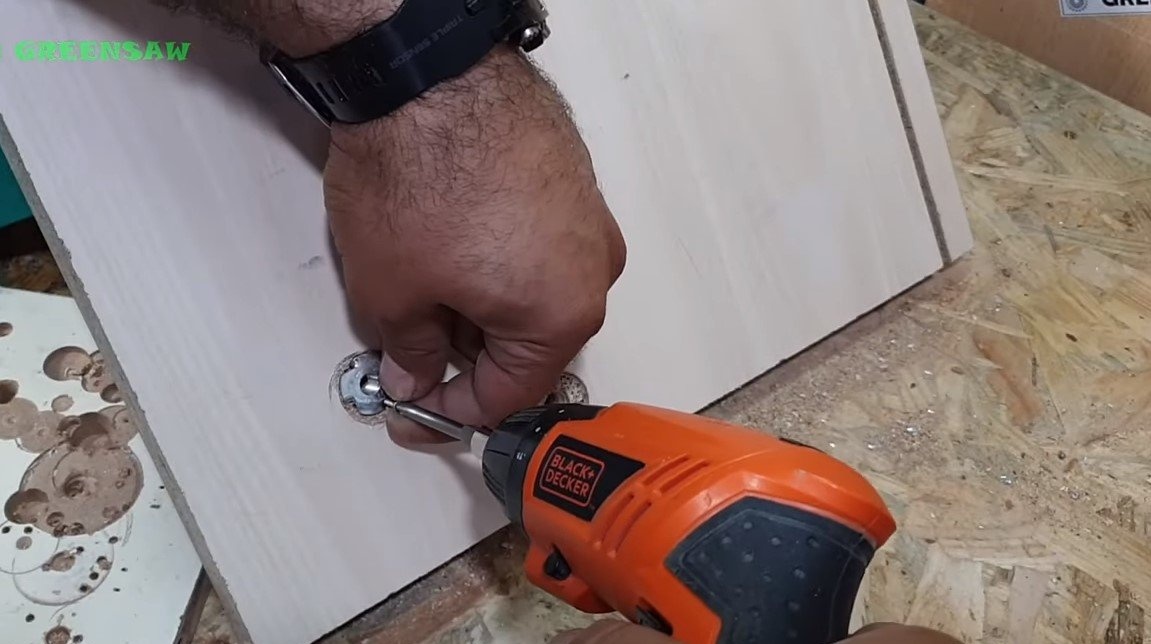
To prevent the movable block from flying off the rods, the author drilled a hole in one rod, cut the threads and wrapped a screw with washers.
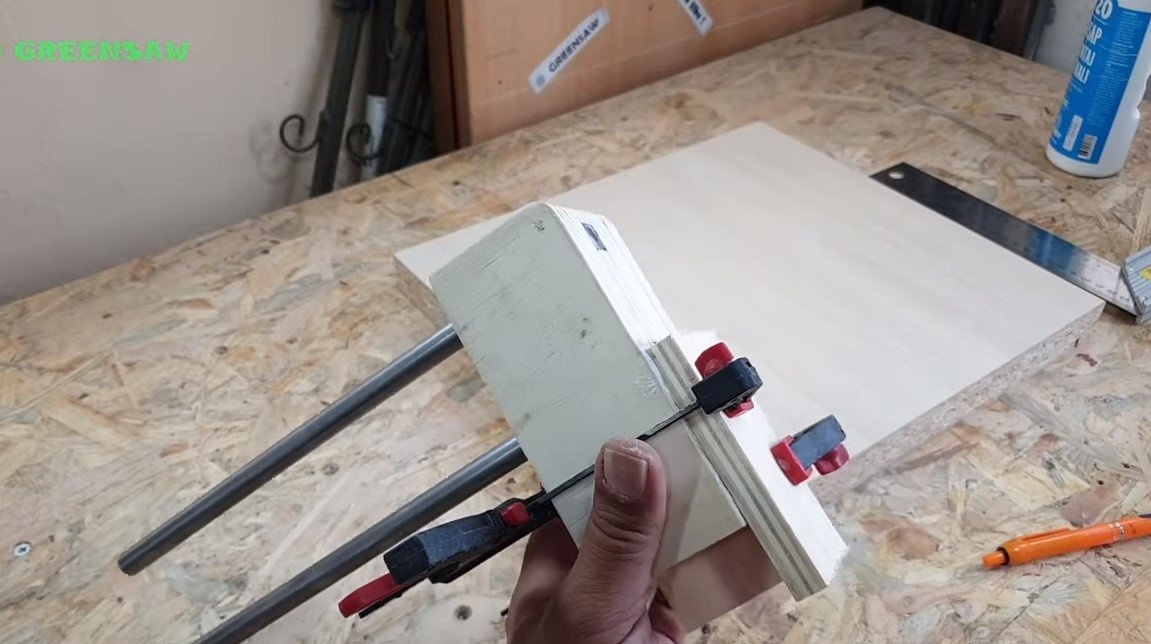
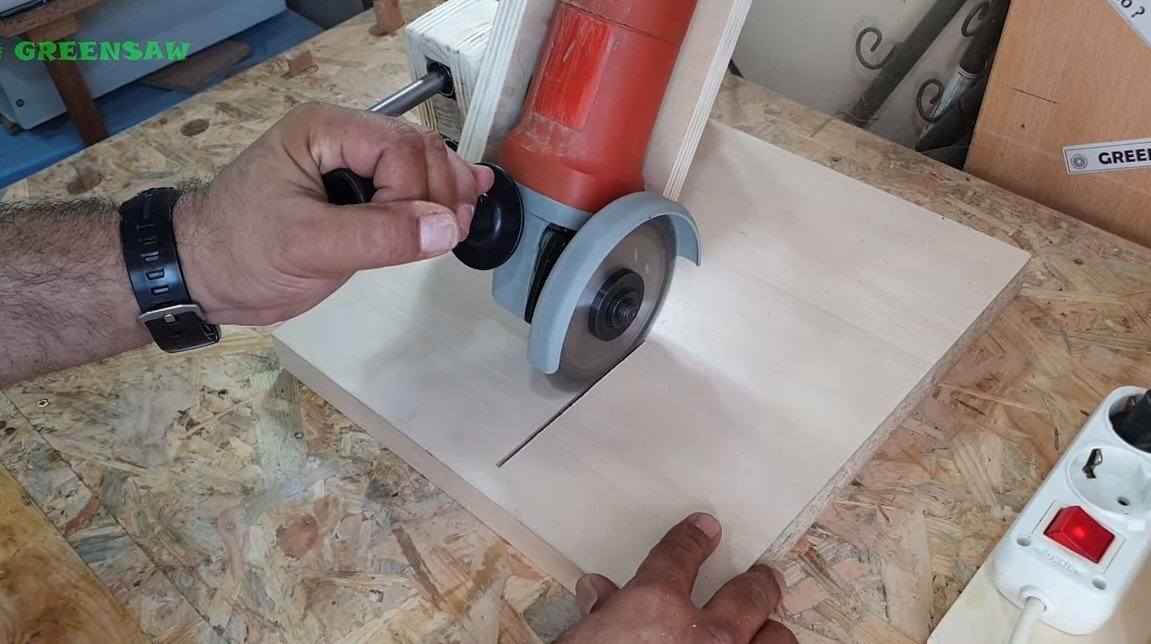
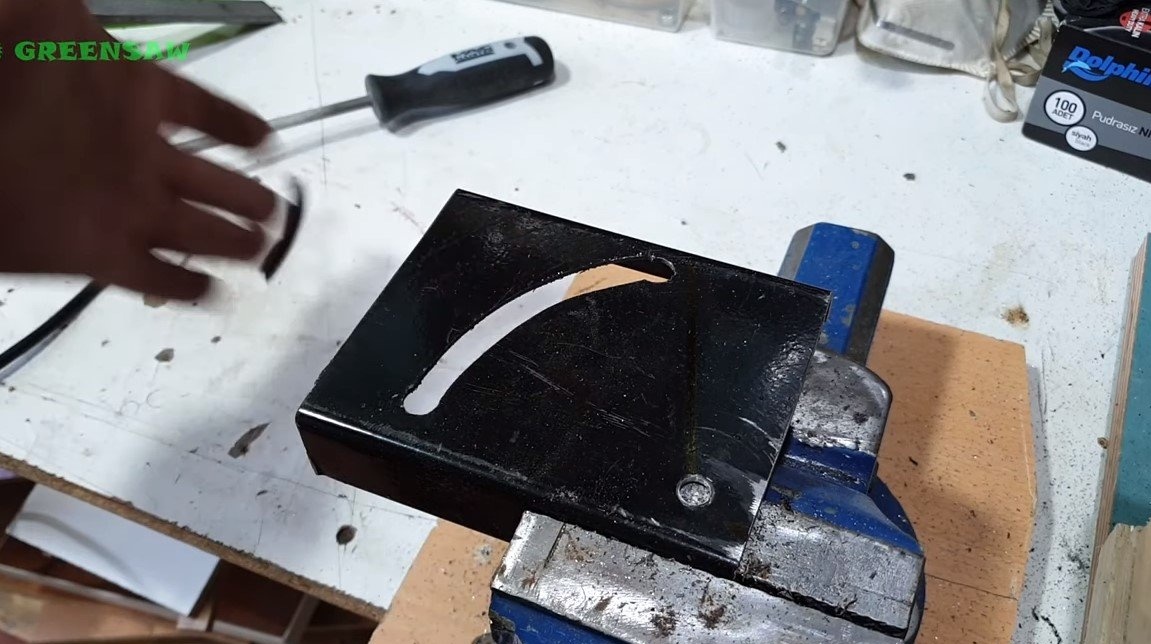
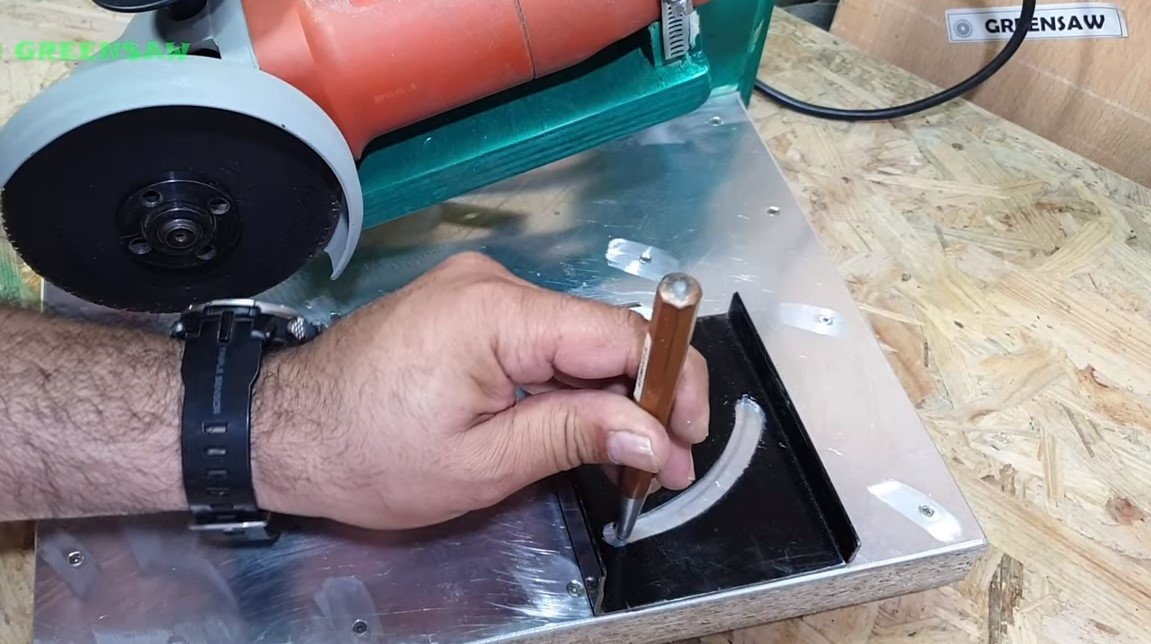
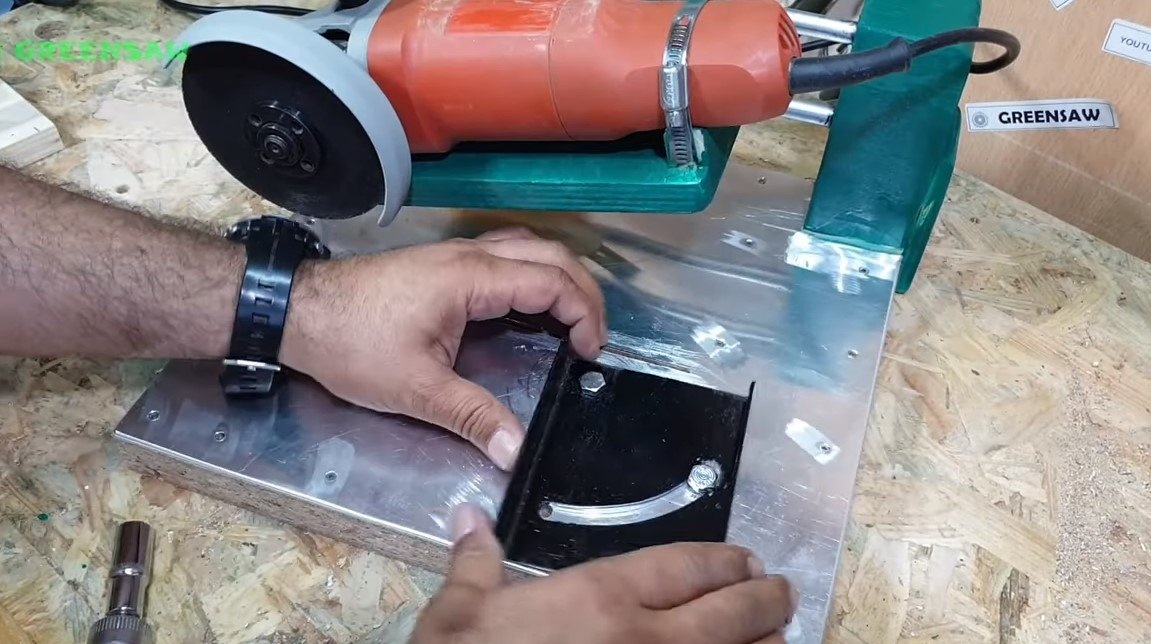
Step Two Bulgarian fasteners
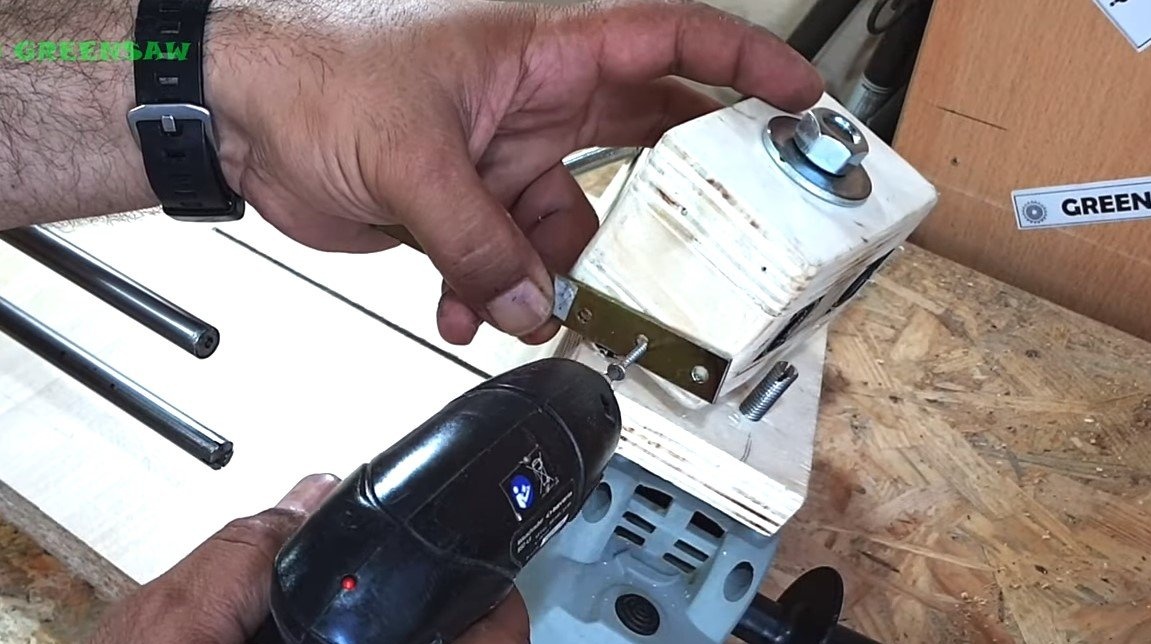
We also assemble fasteners for the grinder from plywood; it will be hinged to the broach. The grinder is attached to the fasteners in two places, with a bolt, as well as with a metal clamp in the rear.
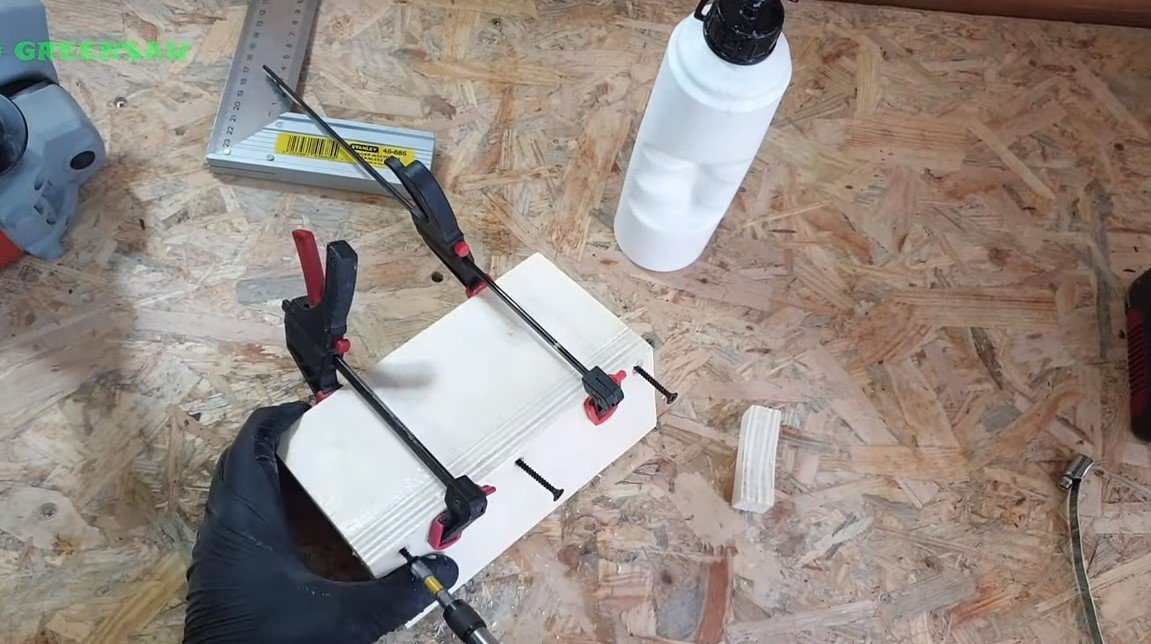
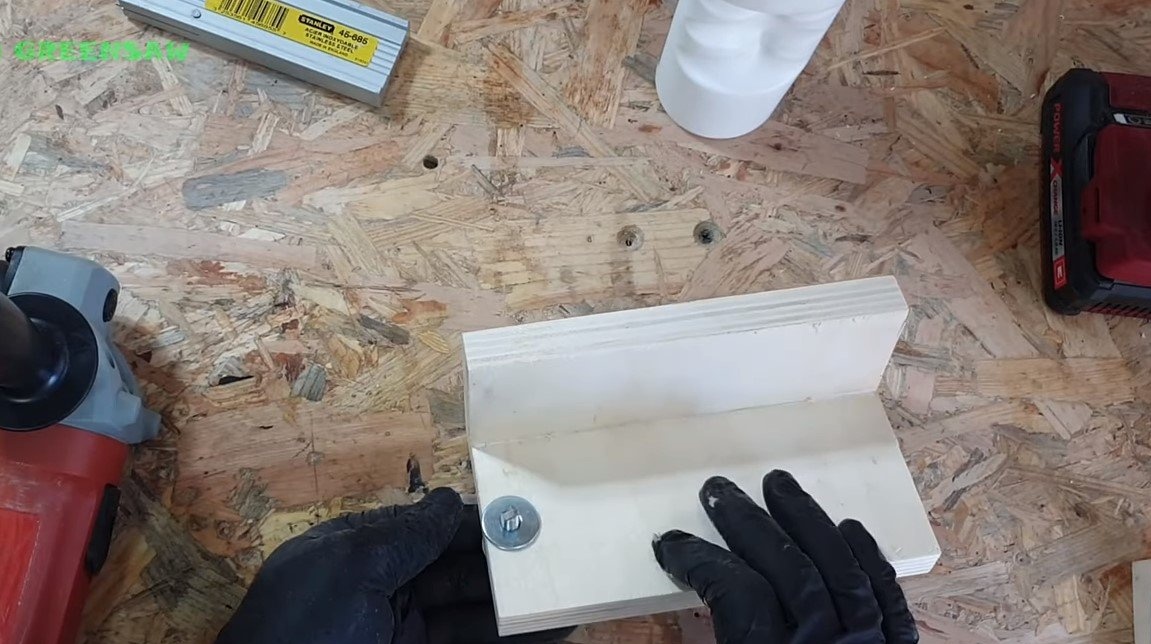
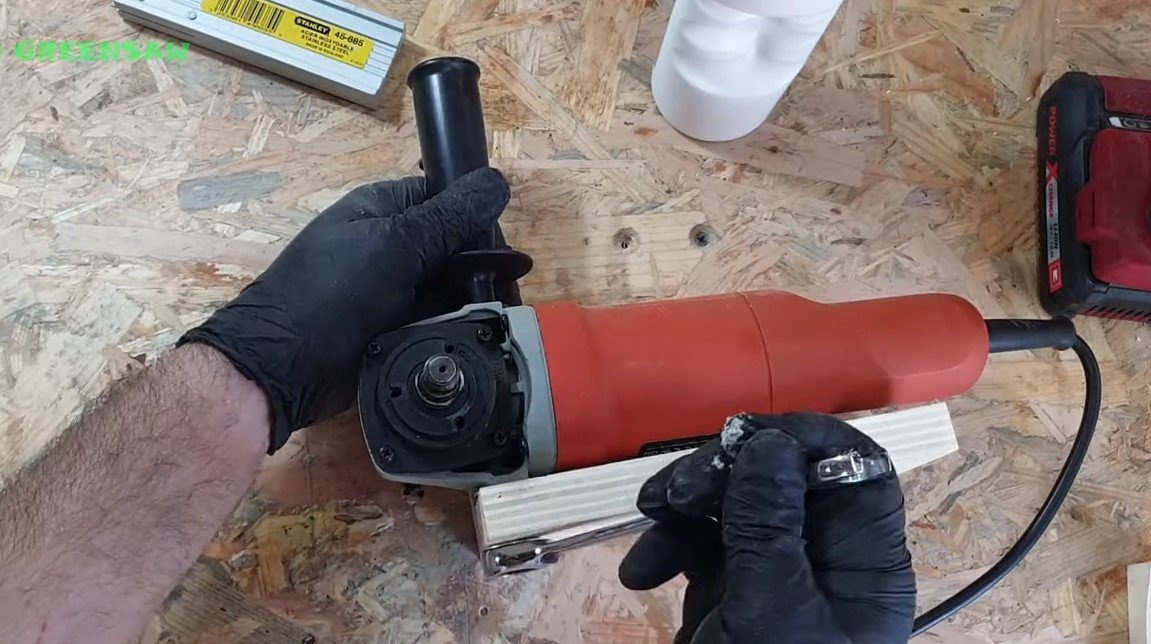
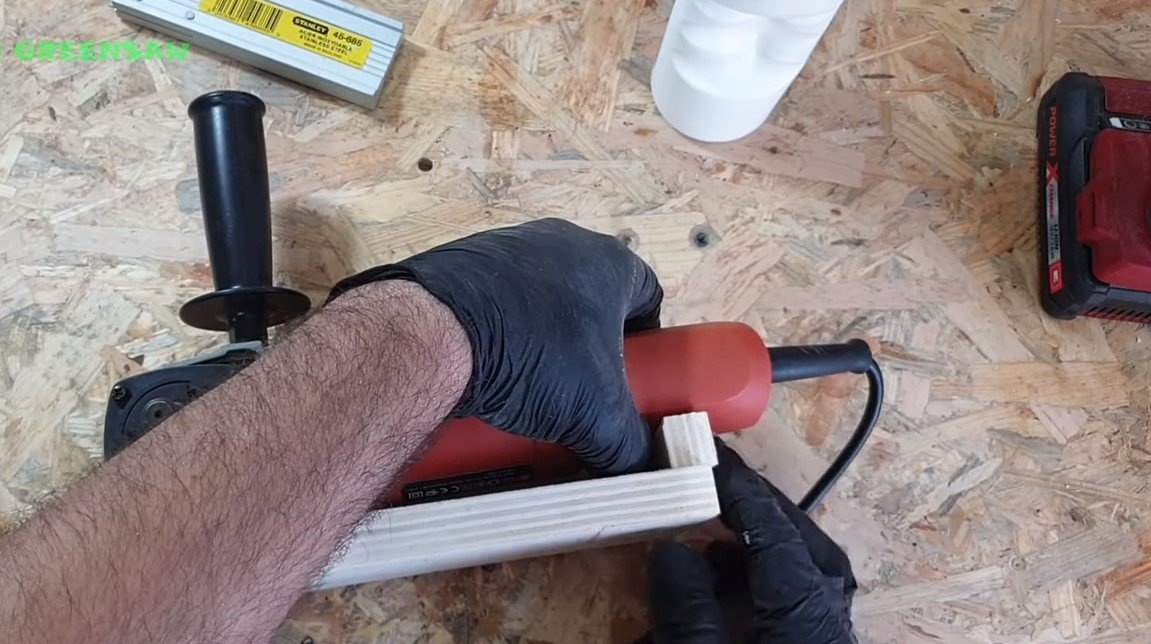
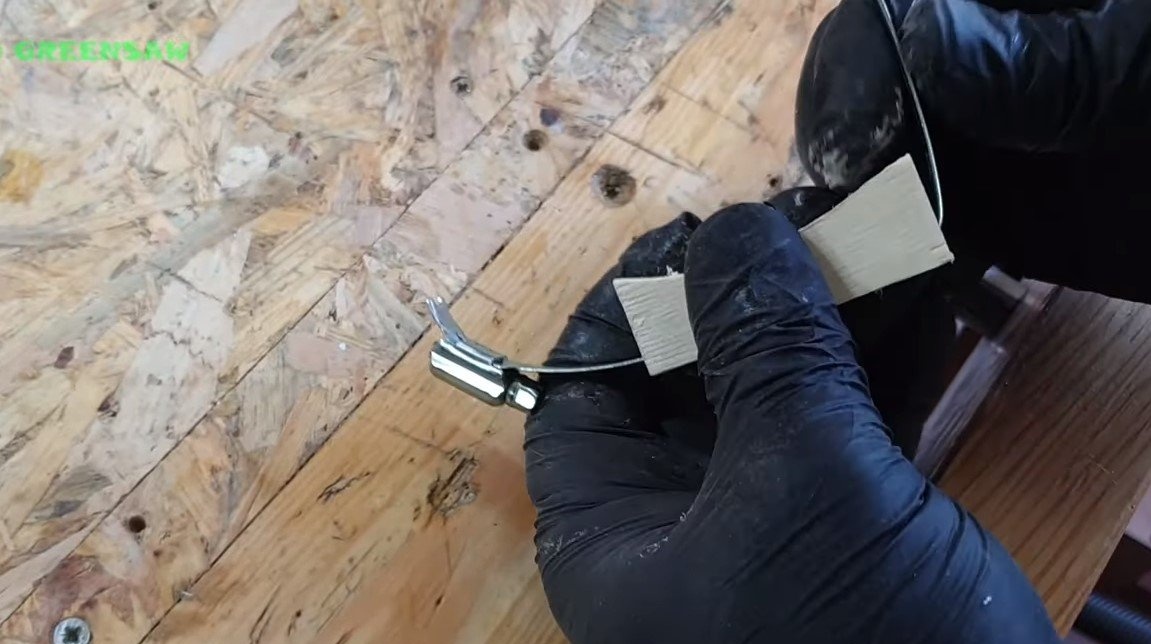

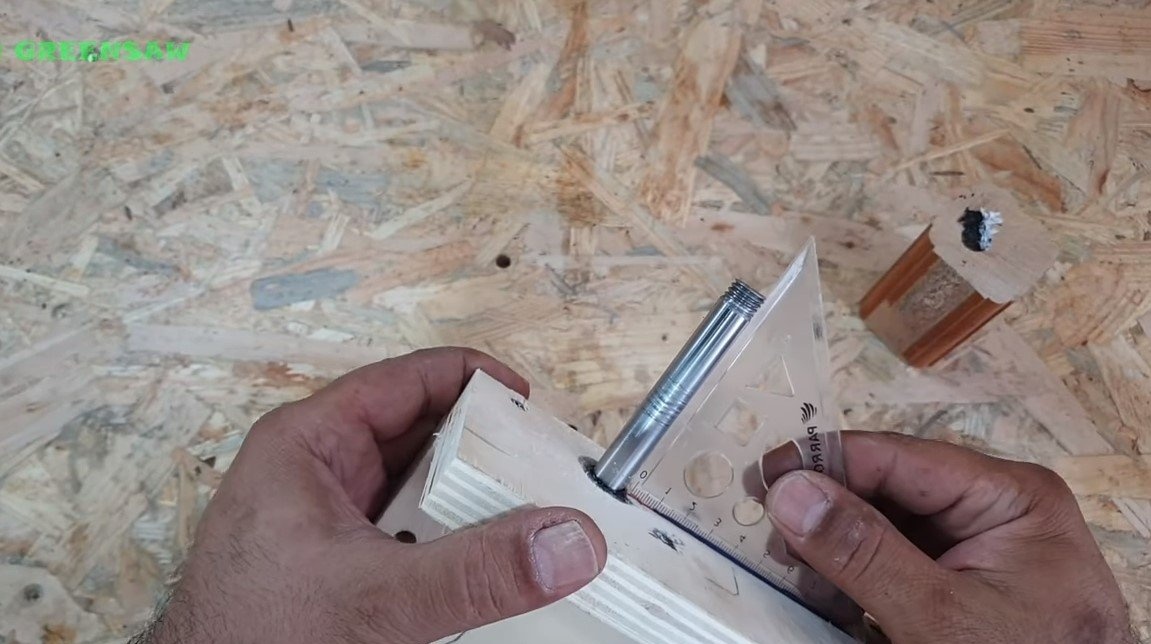
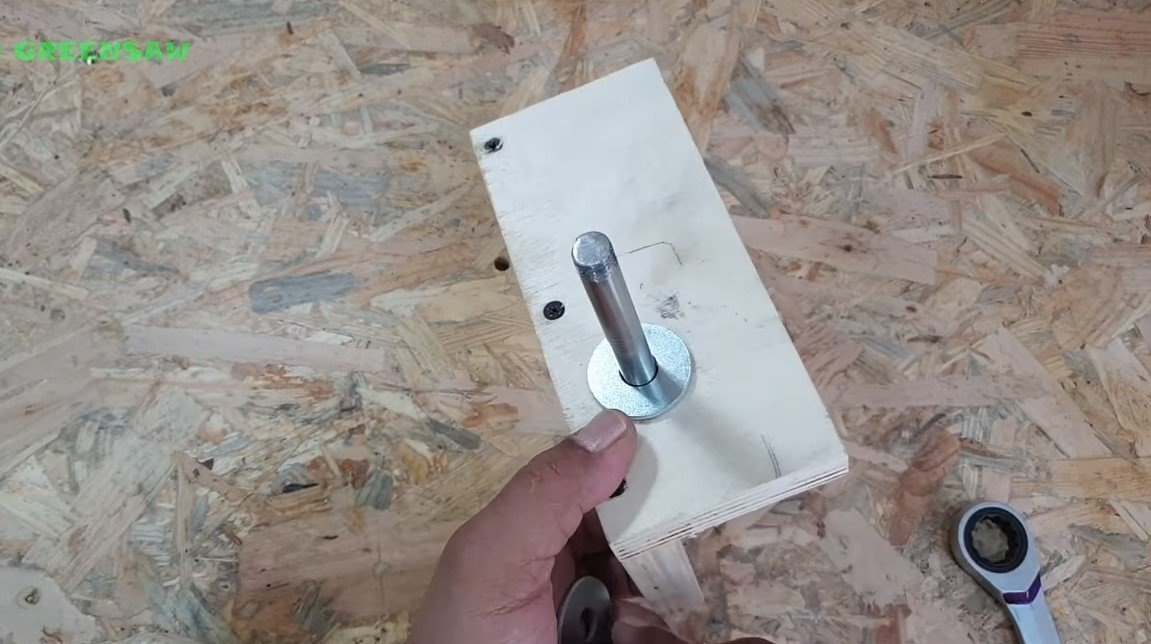
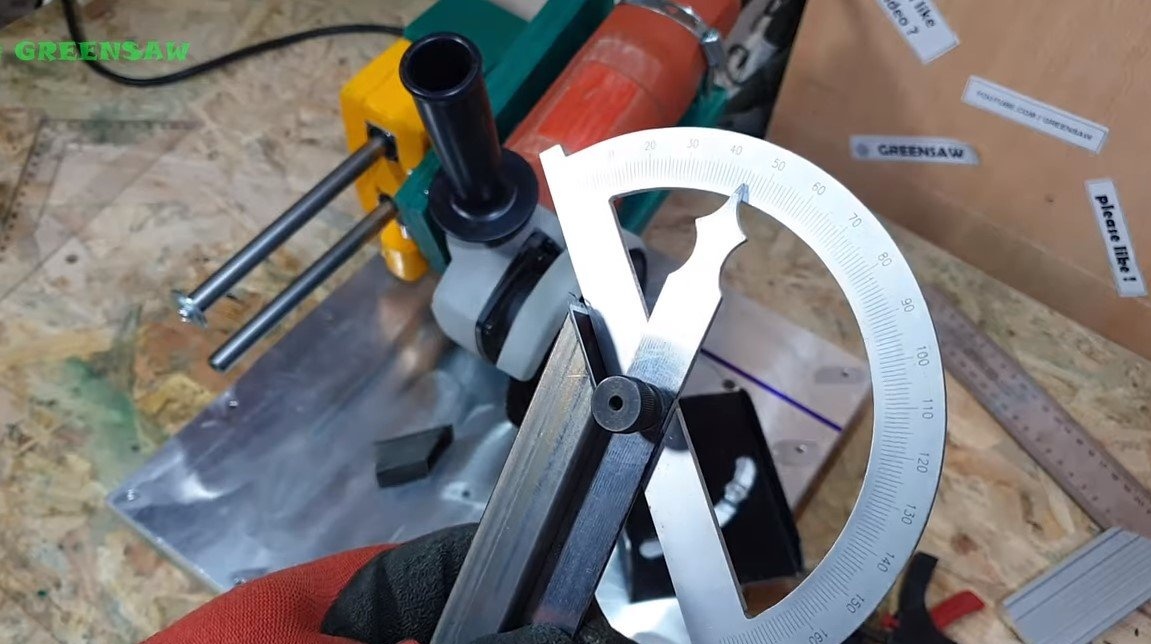
As a result, the manufactured fixture remains pivotally attached to the broach unit, as a hinge, the author used a strong steel rod 95 mm at the end of which a thread was cut under the nut.We use washers and tighten the nut so that there are no backlashes in the assembly. To prevent the nut from loosening, it is recommended to use a nut with a plastic retaining ring inside.
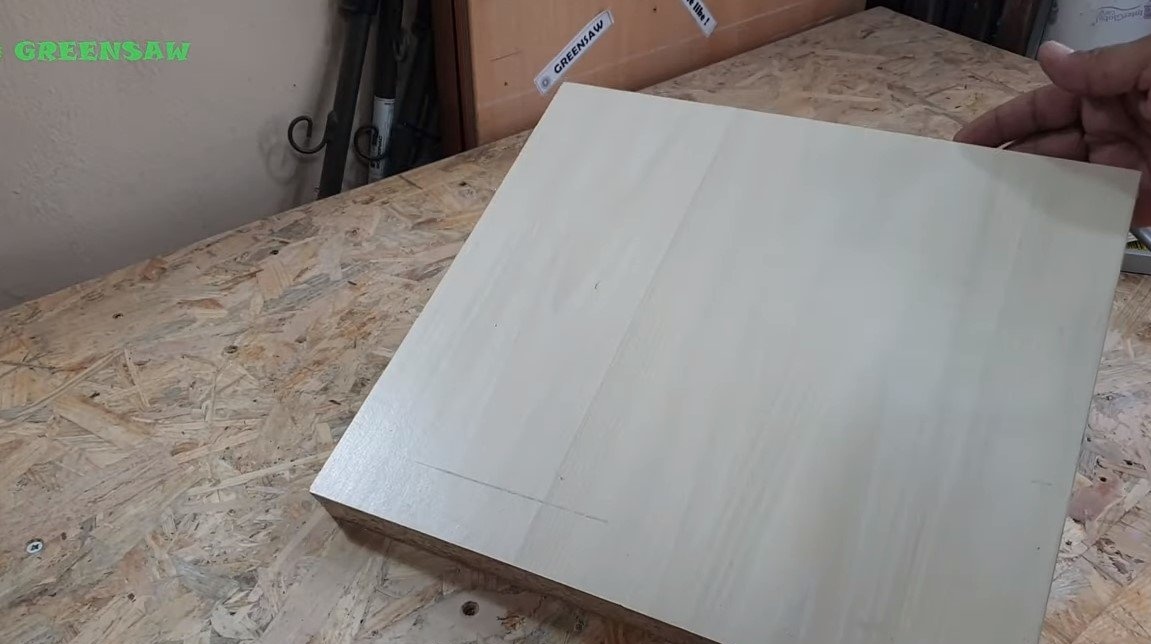
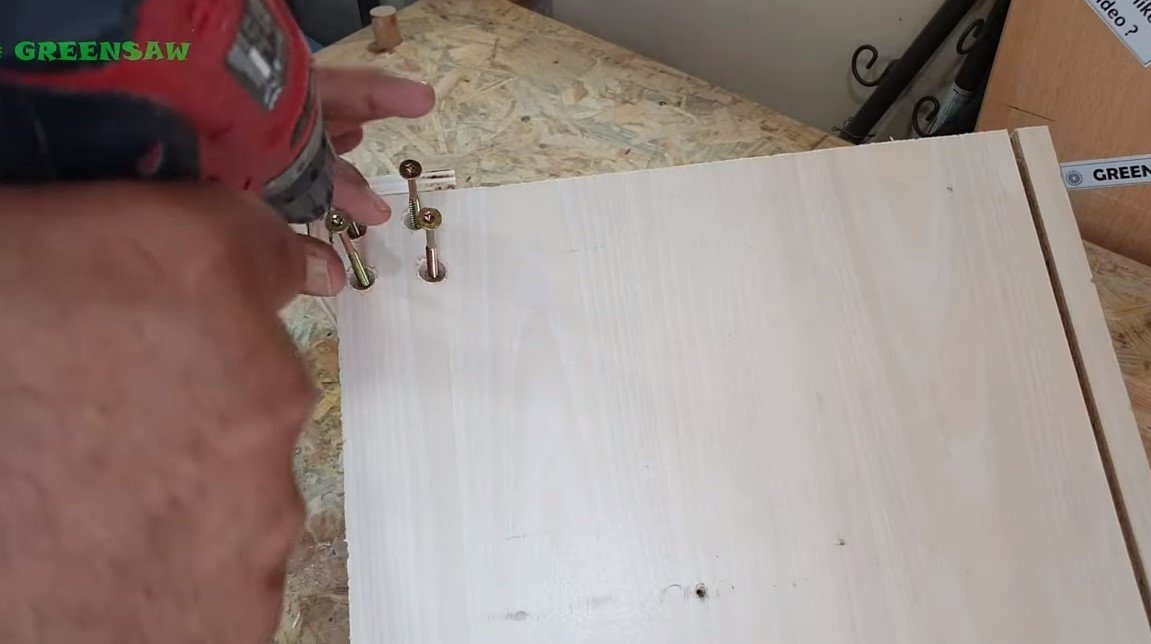
Step Three The foundation
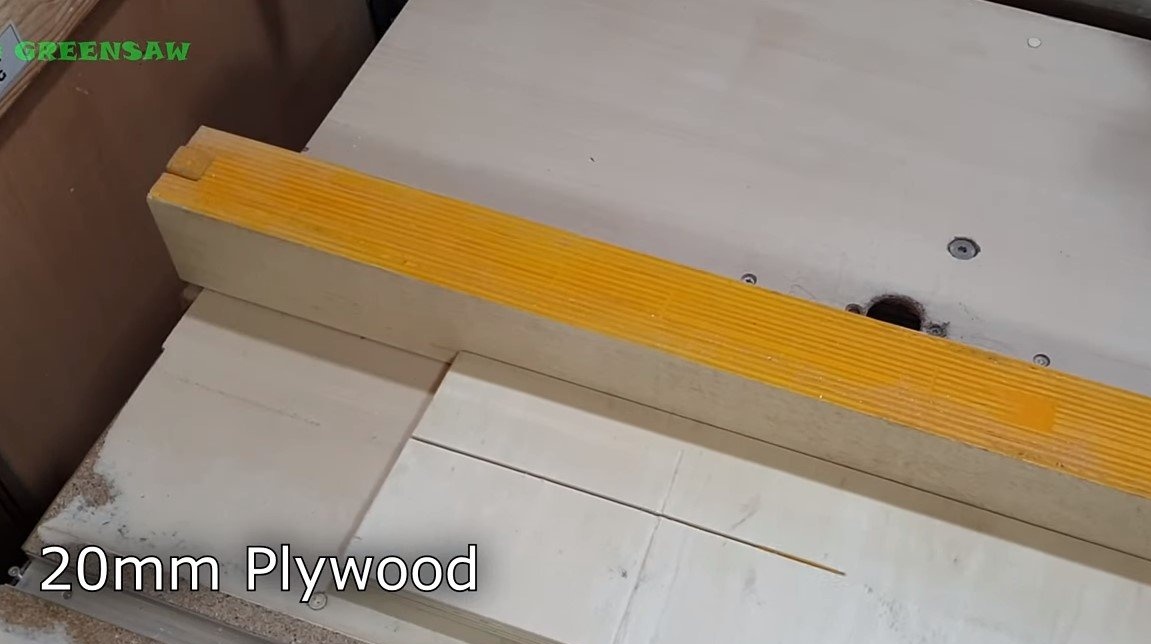
The author decided to cut out the base from chipboard, we fasten the stand with a broach to it at right angles. The rack needs to be fixed firmly and firmly, for fixing the author used carpentry glue and wood screws.

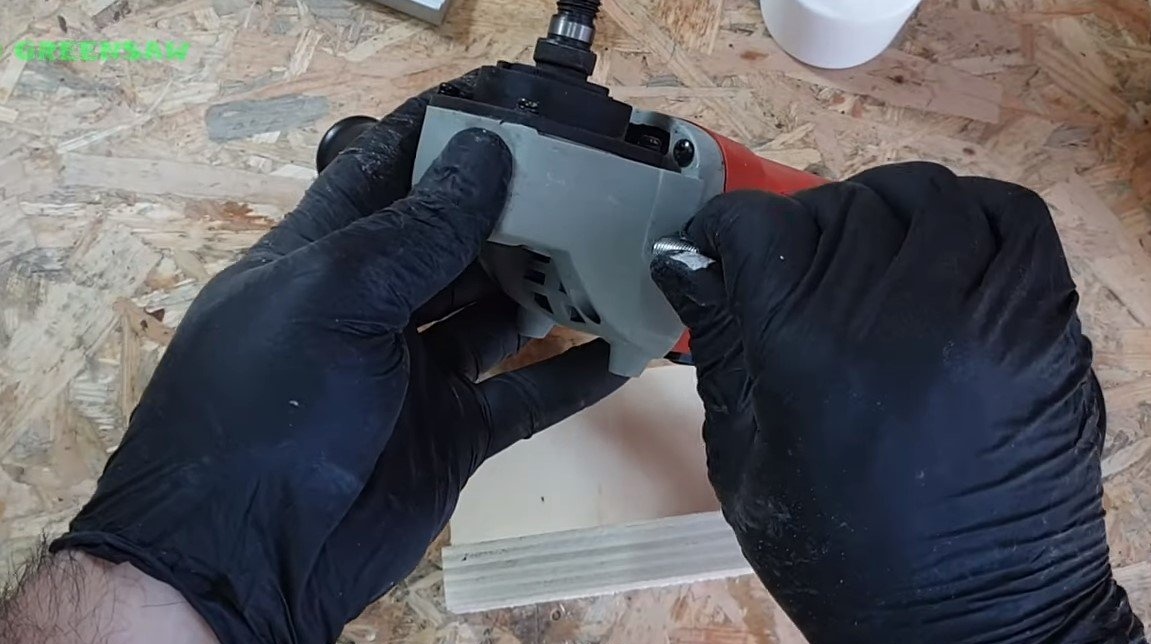
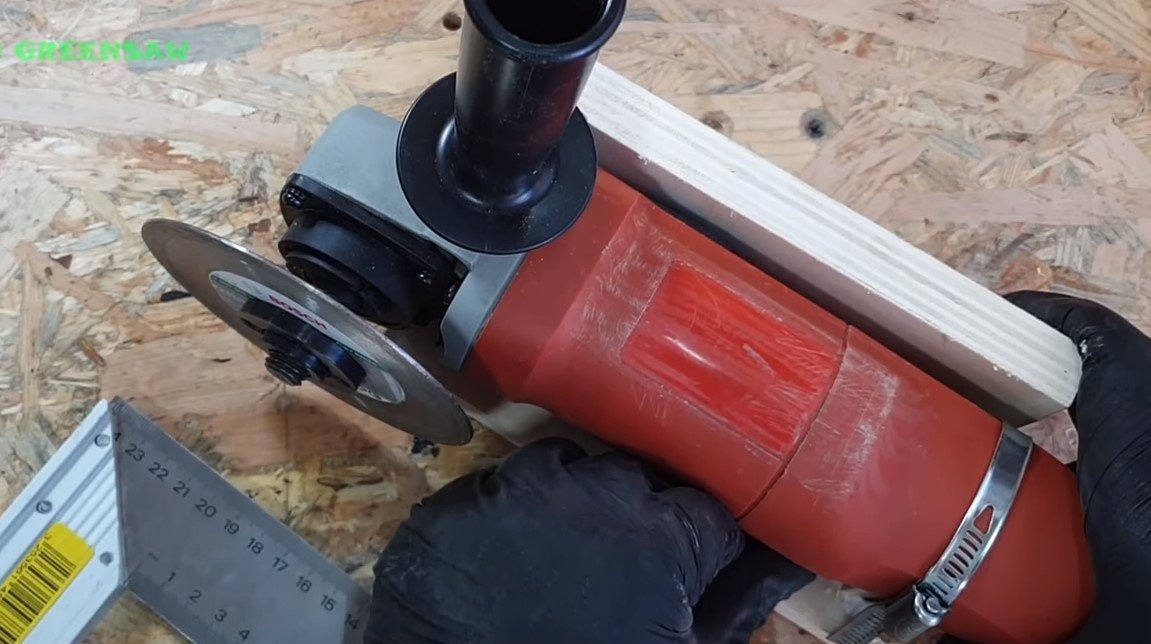
Step Four Emphasis and spring
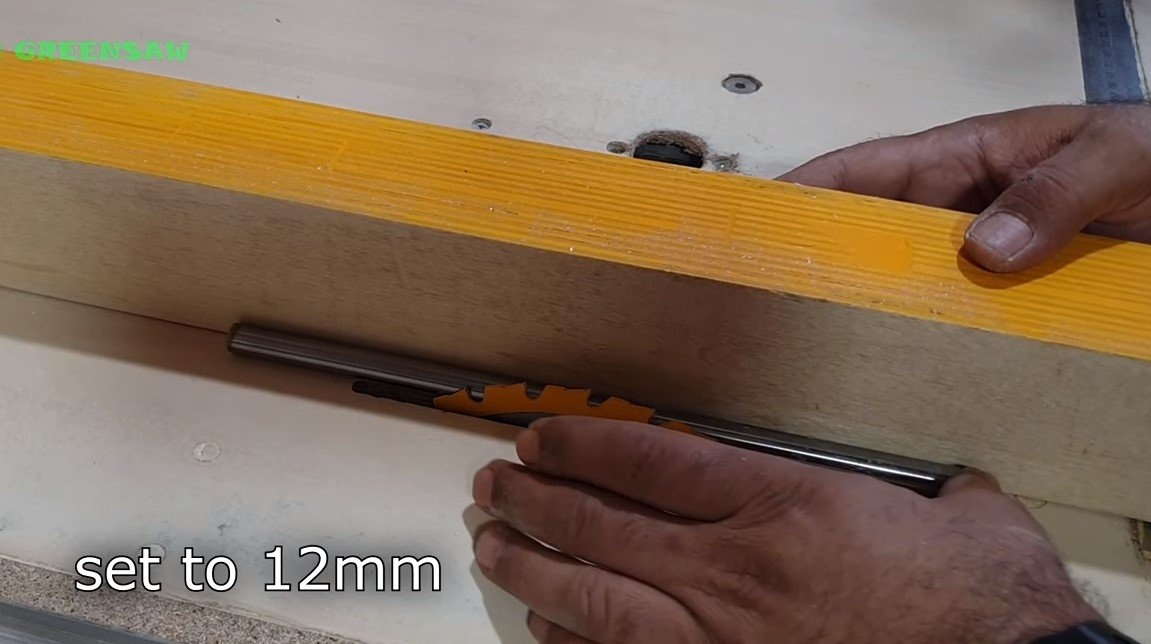
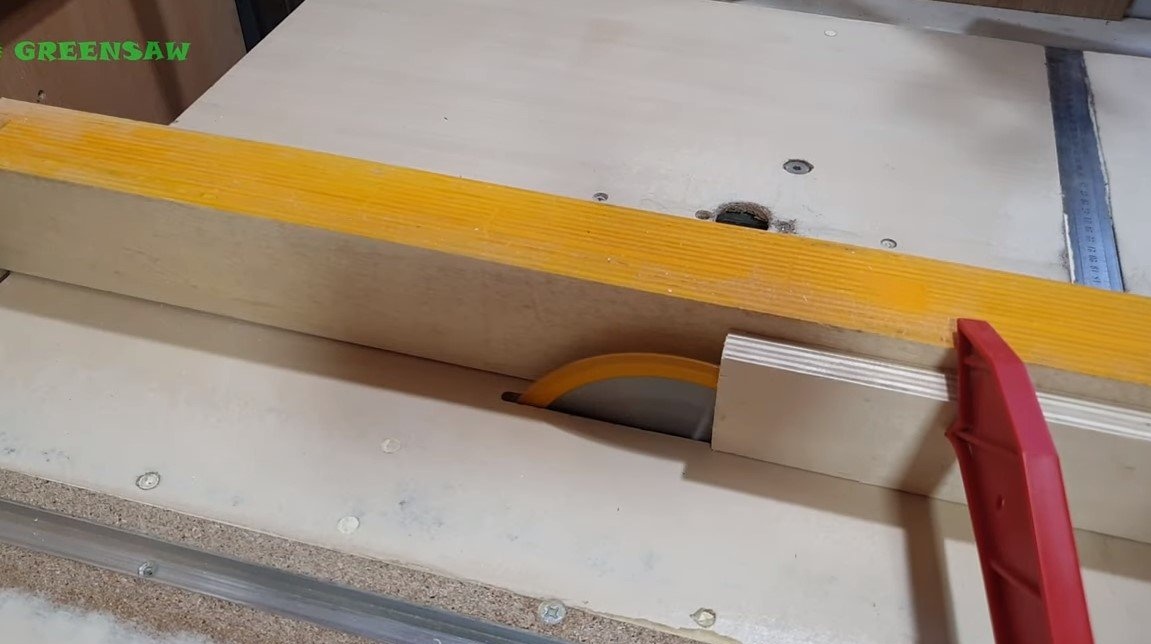
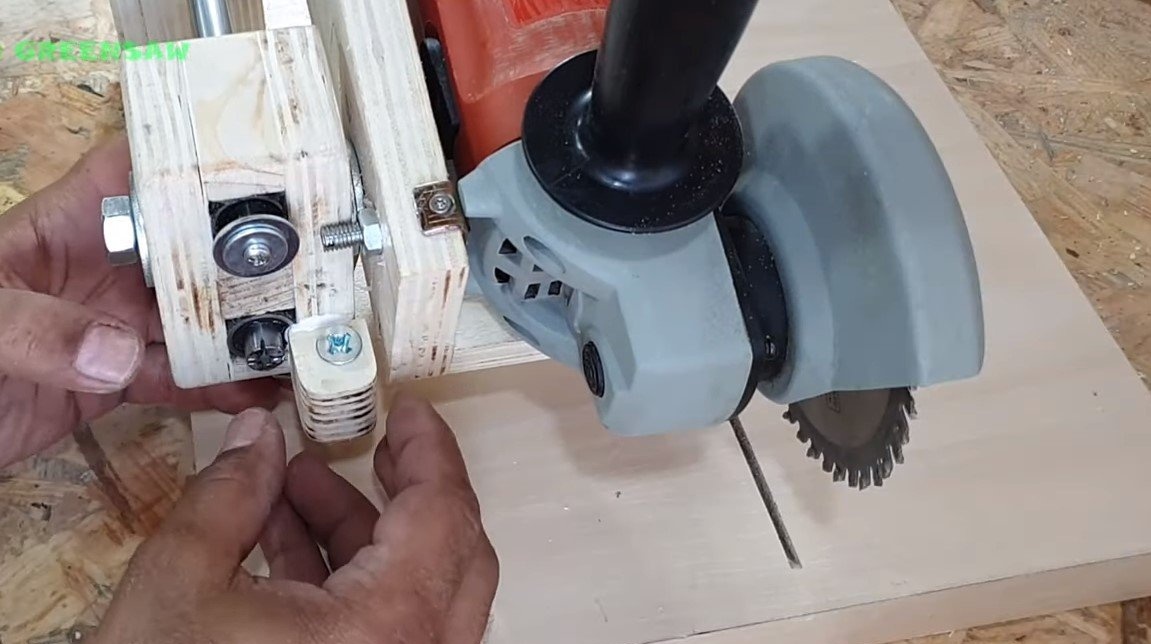
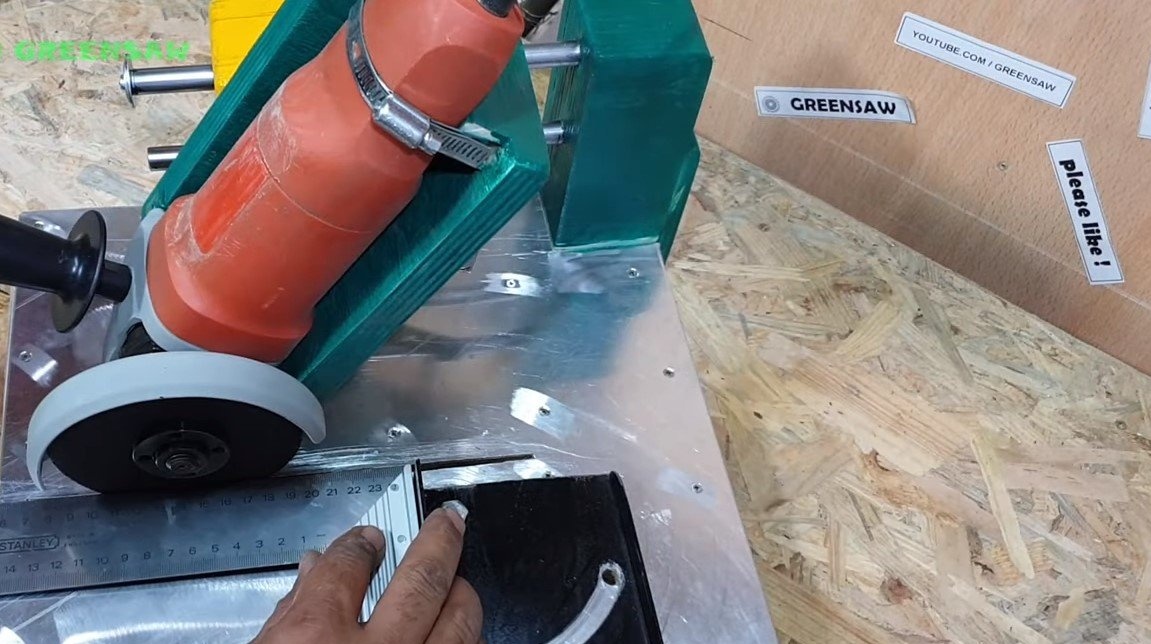
On the fasteners for the grinder, we emphasize so that the grinder does not fall with his nose on the table. As an emphasis, the author wrapped a piece of a threaded rod and screwed the nut.
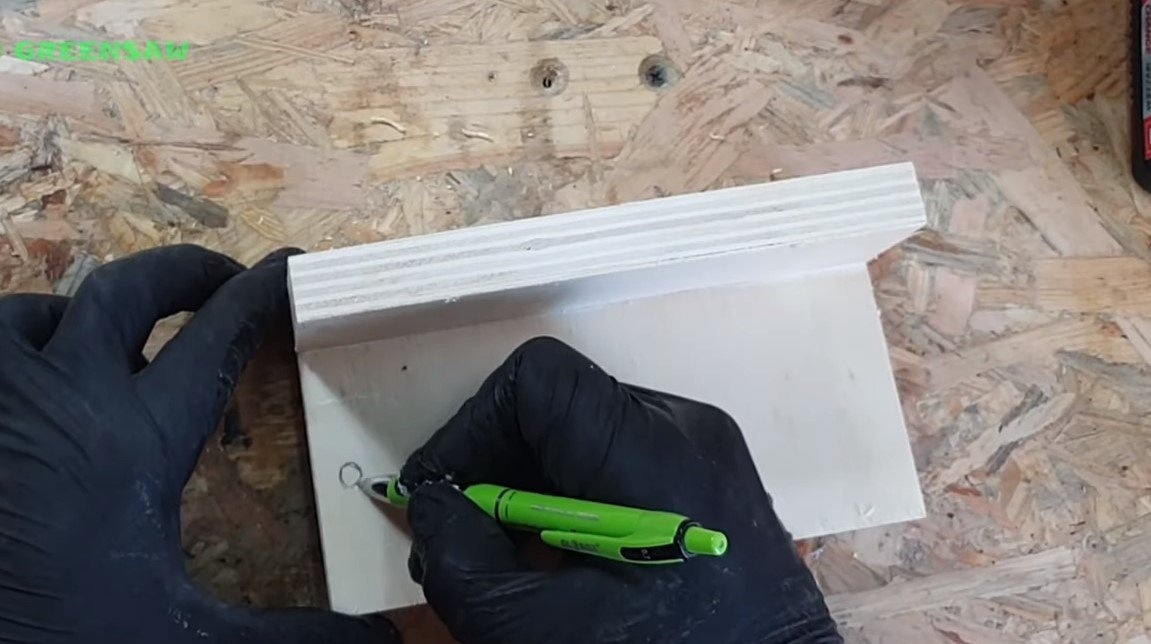
Under the stop is another small block of plywood into which a screw is screwed. Thanks to this screw, you can adjust the cutting depth of the grinder. Fixing block with screws and wood glue.
Also, be sure to install a spring that will raise the grinder up. The author had to connect a spring through a steel plate.


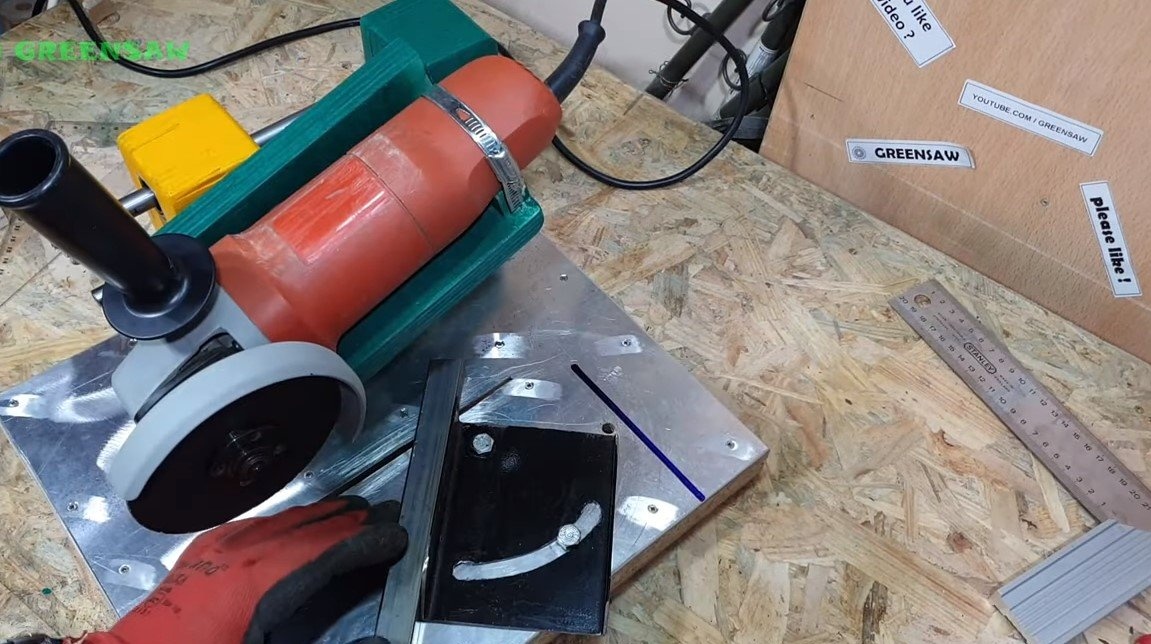
Step Five Table decoration
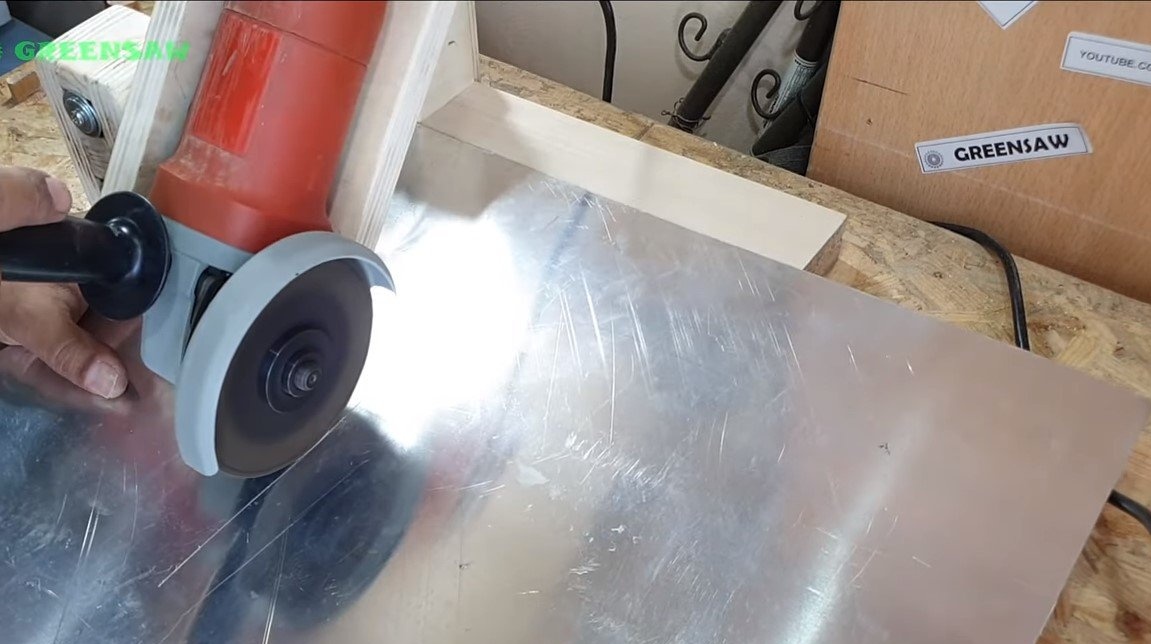
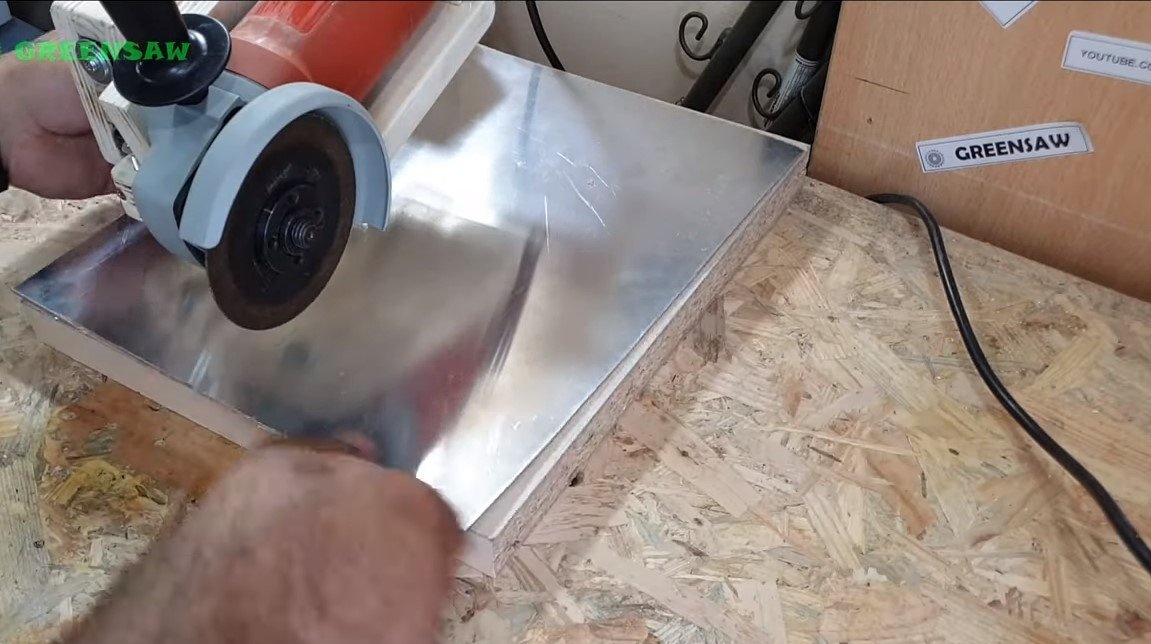
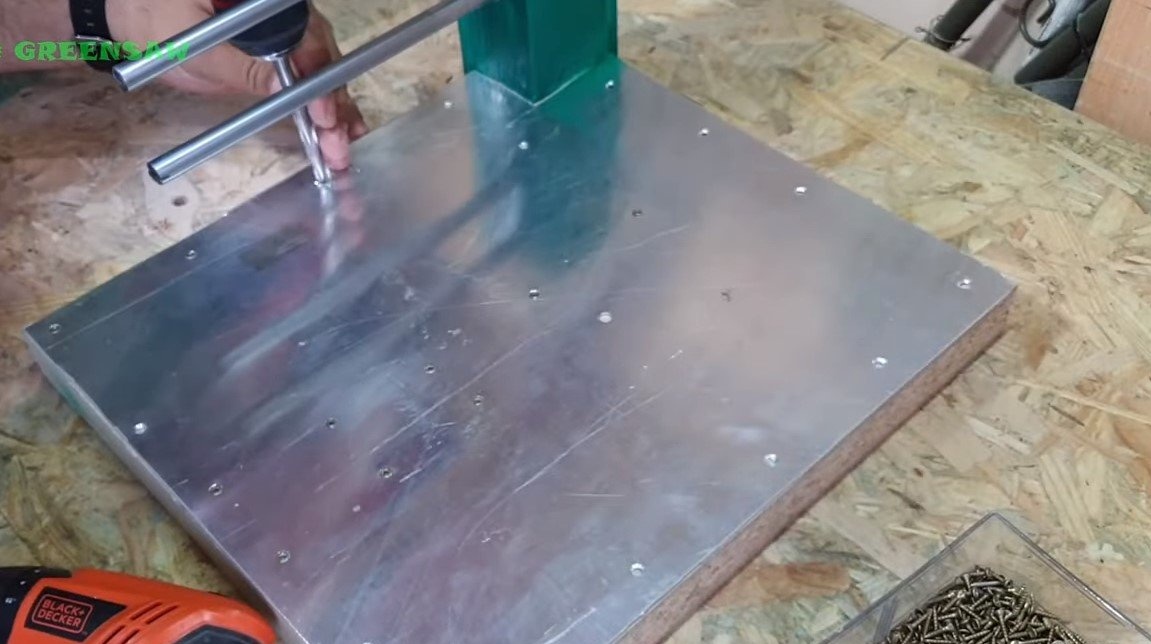
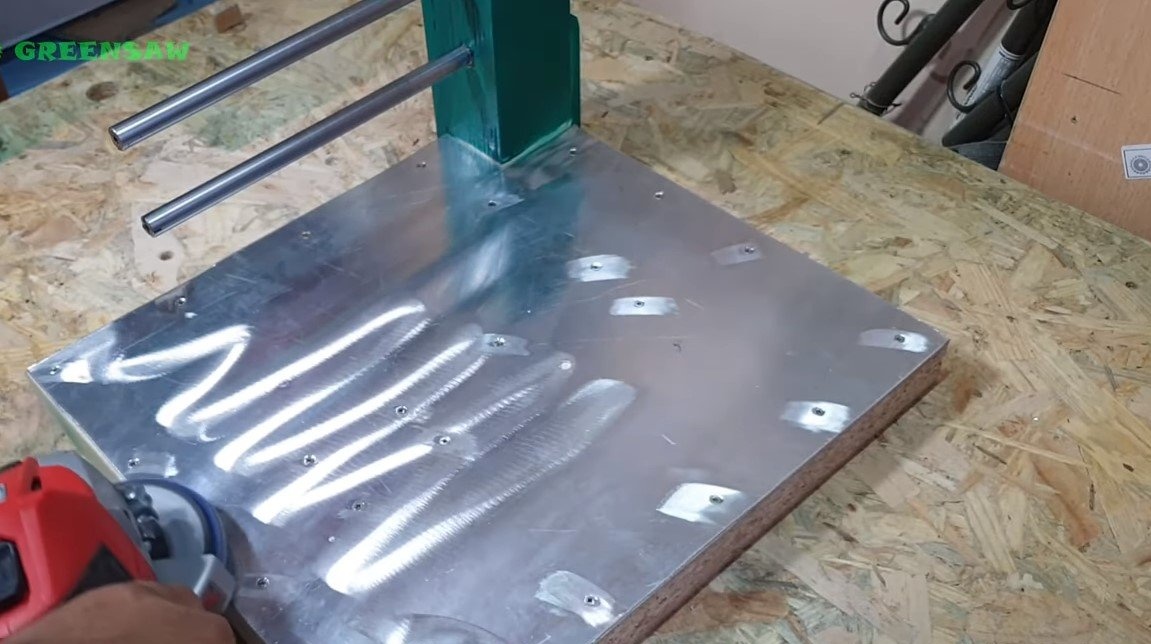
For table decoration we use aluminum sheet or galvanized steel. We cut out the desired piece and fasten it to the base with screws or screws. At the end, it remains to polish the metal with a grinder and smooth the screw caps.
Step Six Emphasis
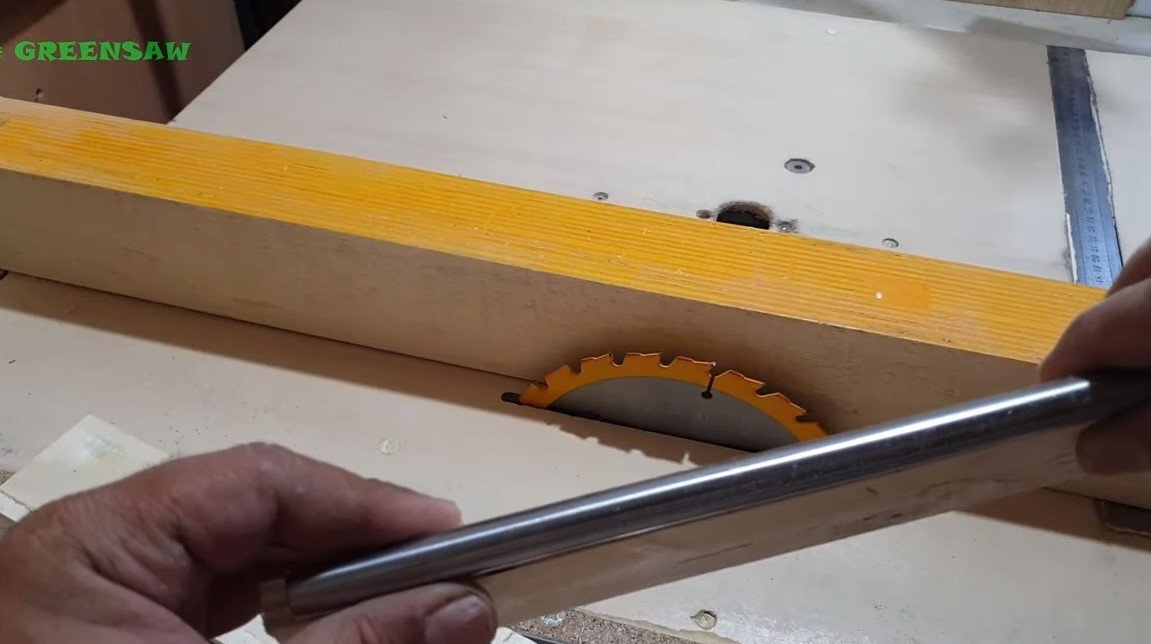
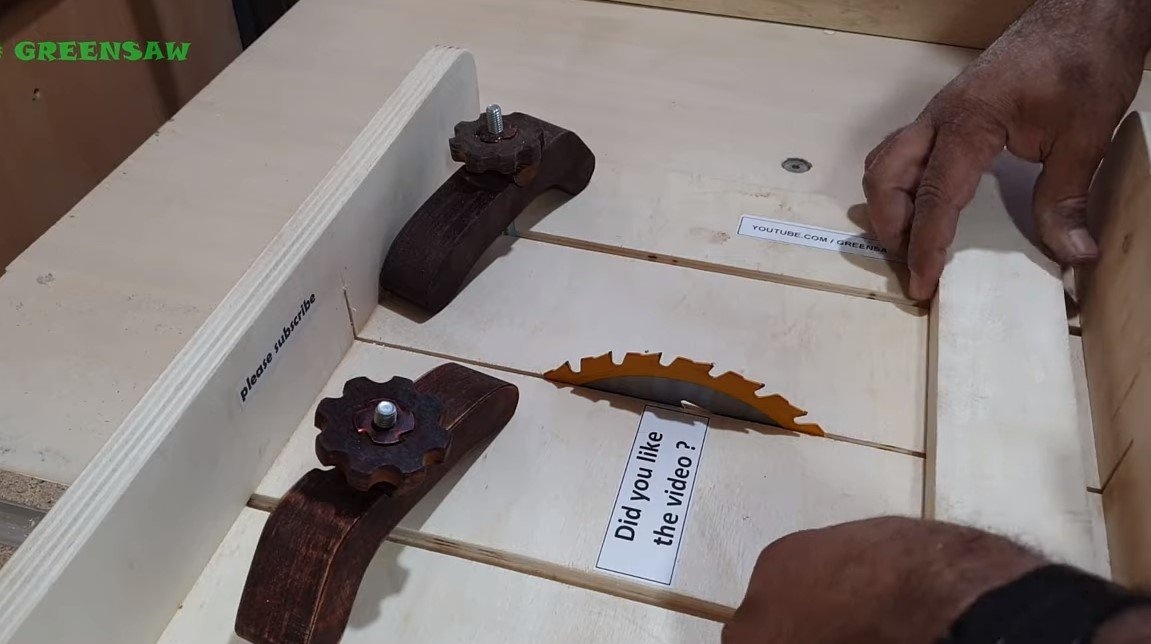
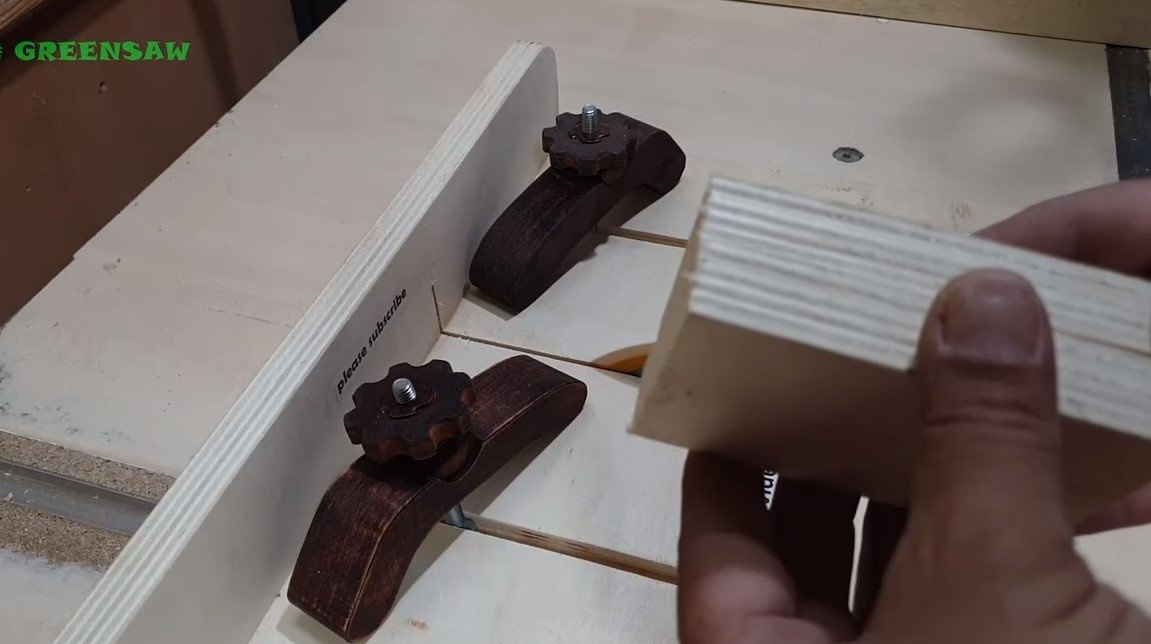
For such a machine, an emphasis is required, it can be made from a piece of a channel; as a result, such an emphasis can be abutted on both sides. If there is no channel, it can be welded from the corner. To fix the stop, drill holes and put furniture nuts on the back. That's all, fasten the stop bolts and find a right angle. If you wish, you can mark on the table the angles that you most often use.


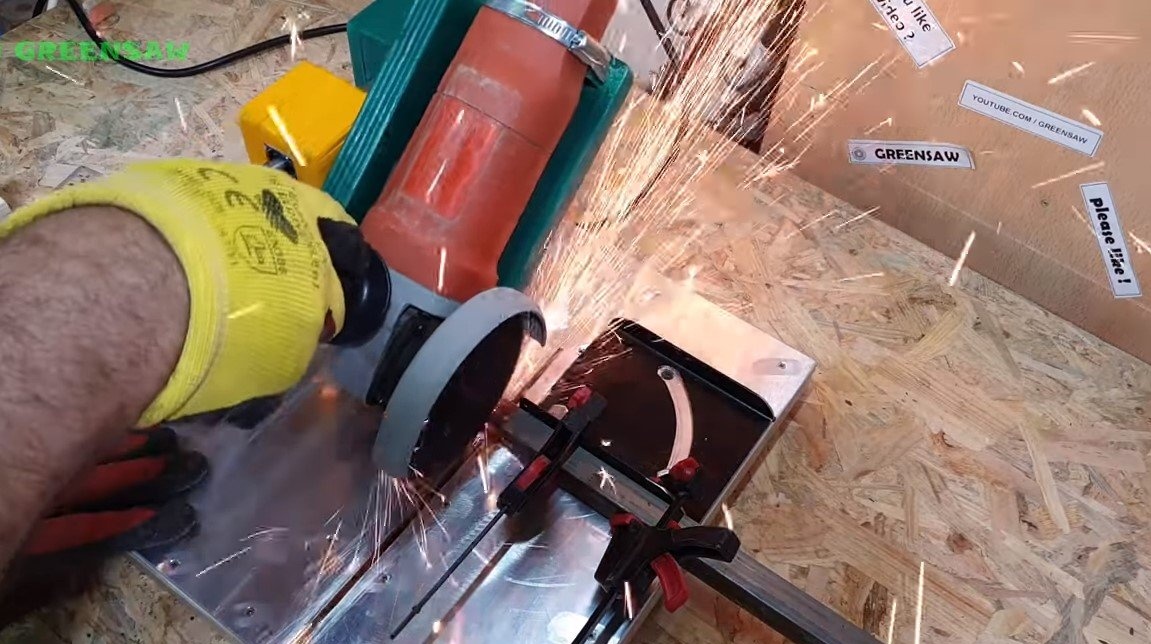

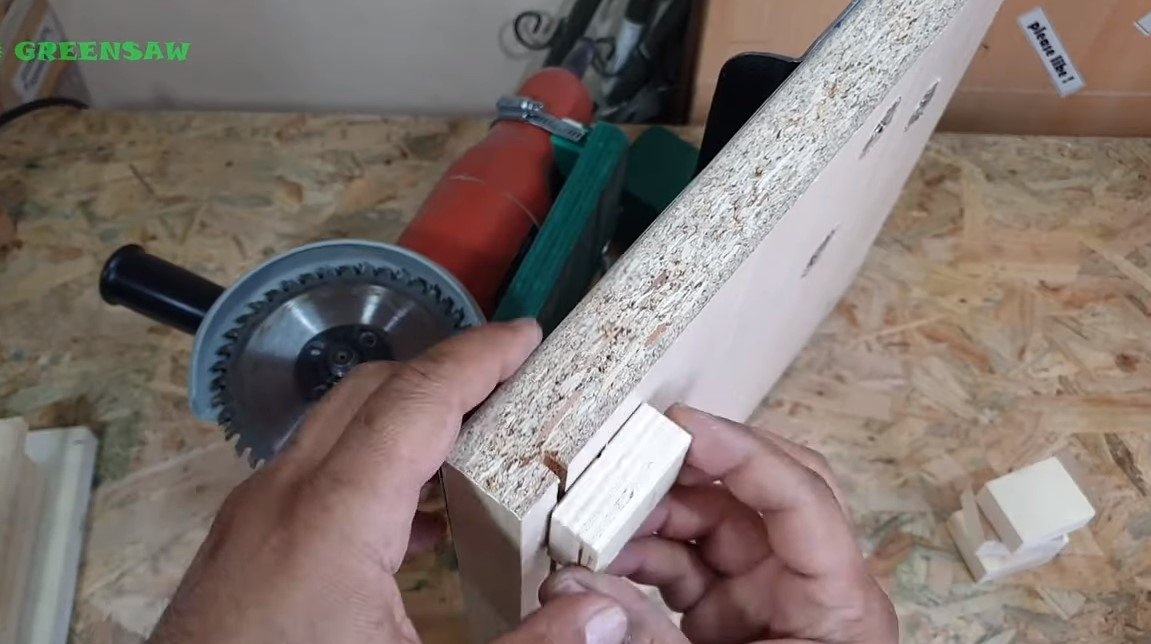
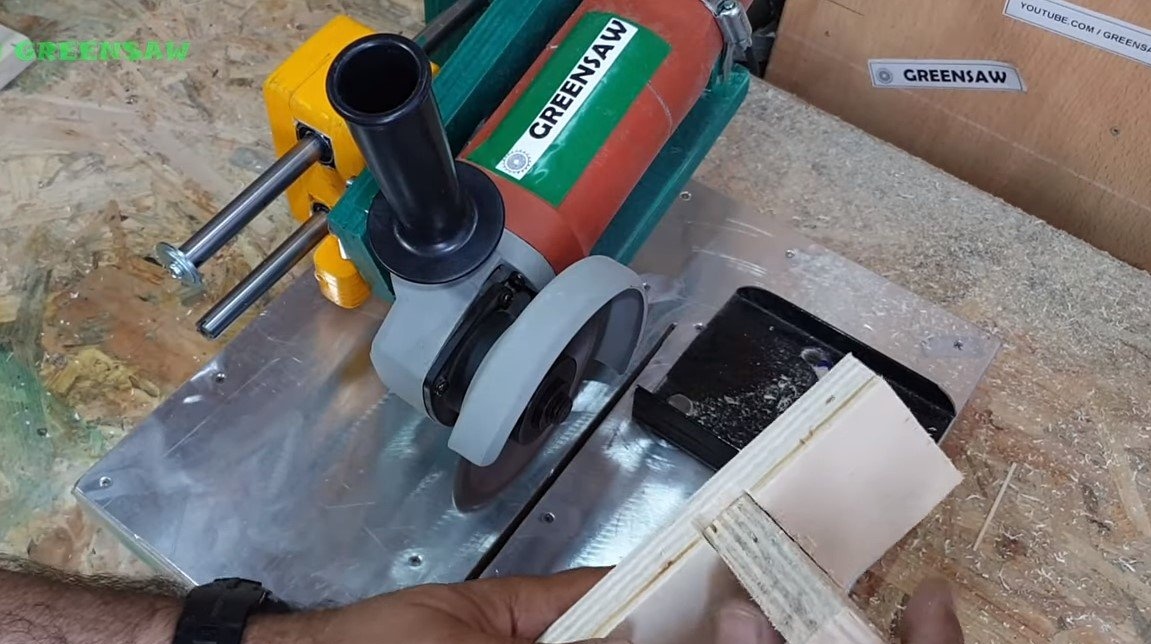
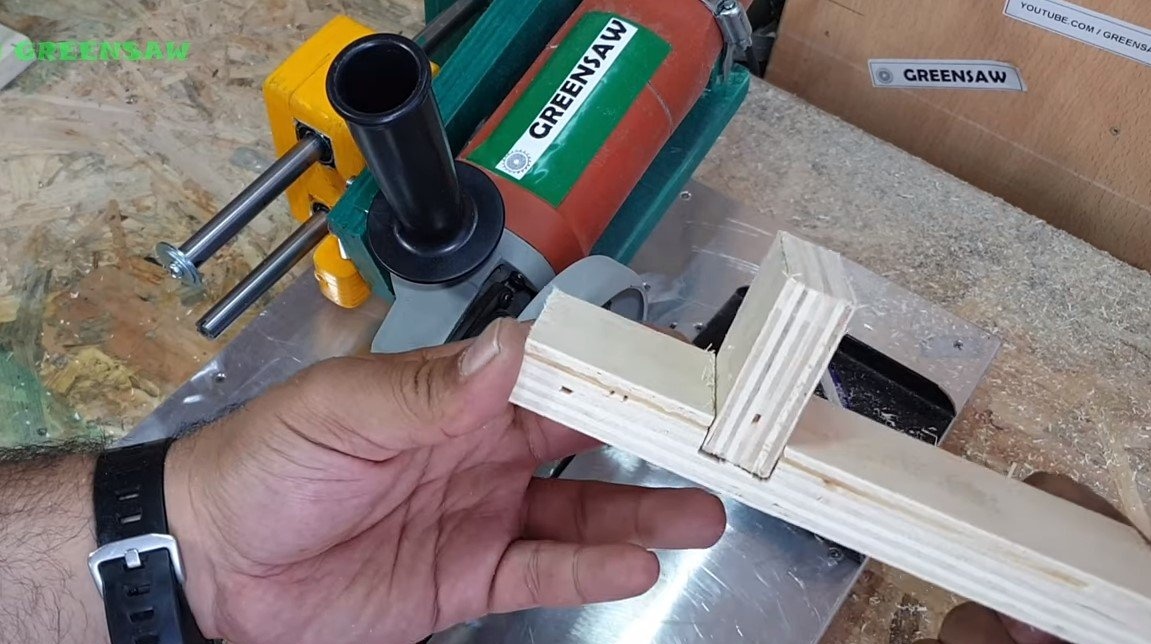
That's all, now the machine is ready, it cuts homemade perfectly, there are practically no backlashes. It became convenient and safe to work as a grinder, it is especially good to cut profile pipes for welding various designs.
This is the end of the project, I hope you liked the homemade work, and you found useful thoughts for yourself. Good luck and creative inspiration, if you decide to repeat this. Do not forget to share your ideas and homemade things with us!