
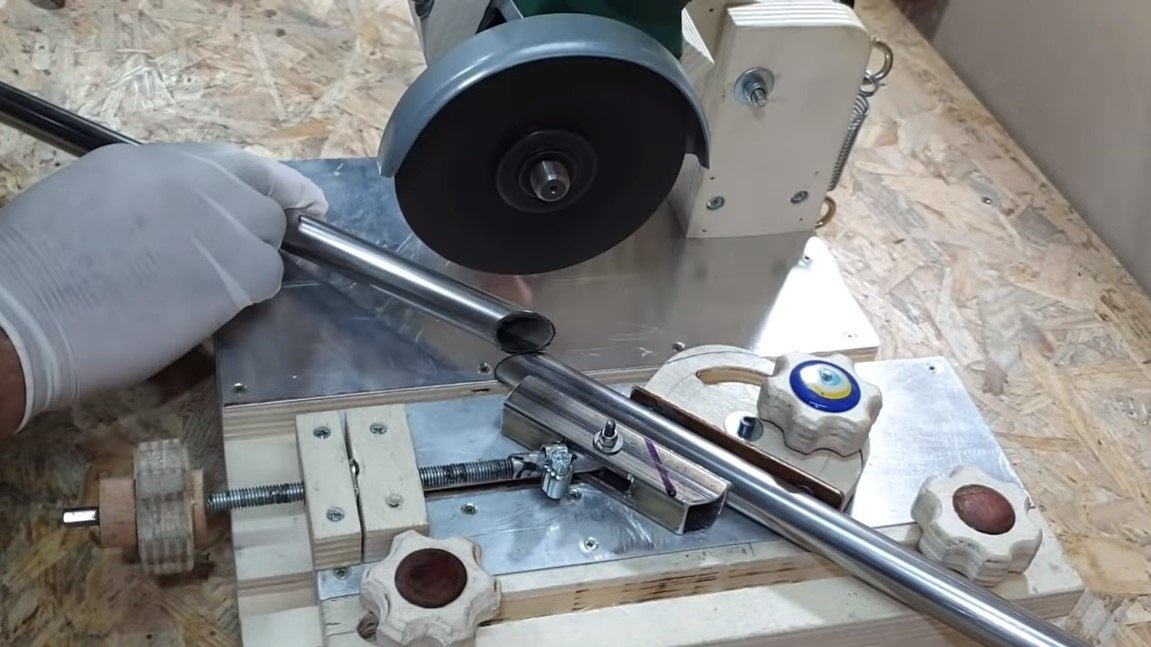
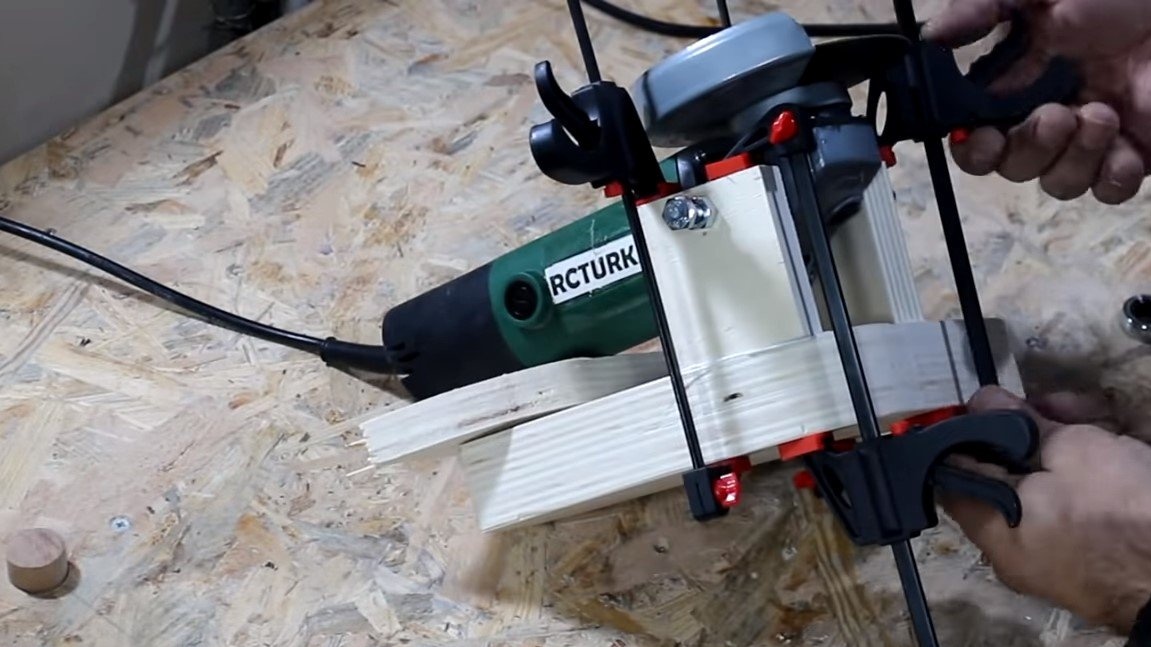
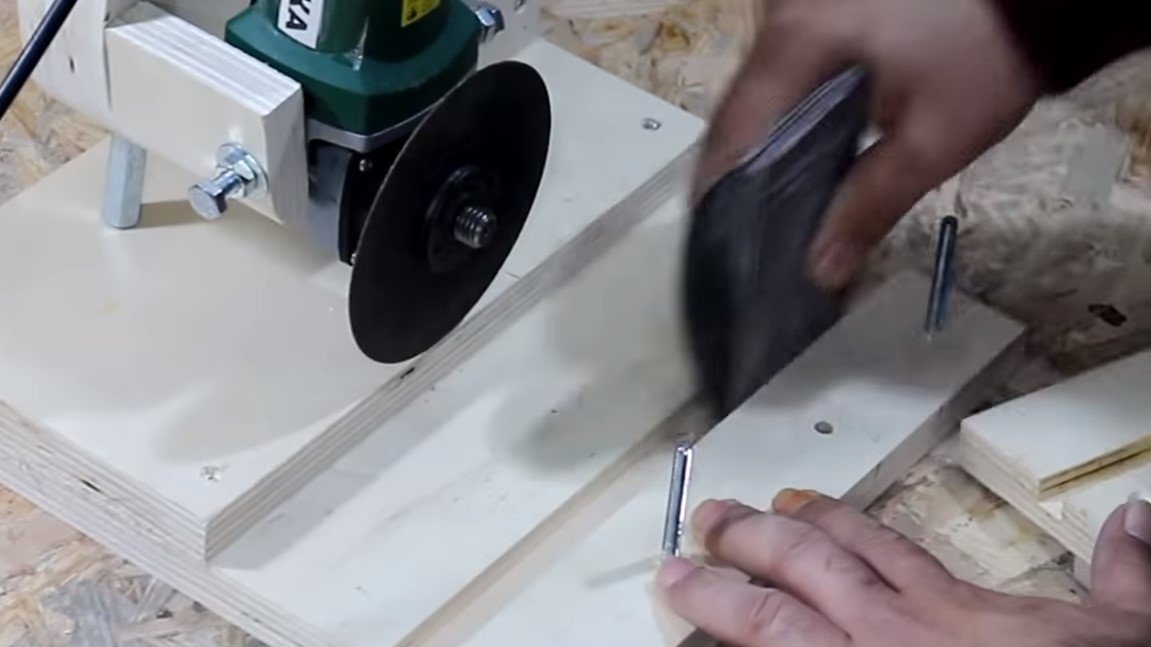
I welcome all fans to craft, today we will consider a convenient rack for the grinder. Homemade made of plywood and easily copes with the tasks. The design is convenient in that it has a small vice with which you can clamp pipes, beams, rods and so on. The base is also equipped with a mobile platform, which can be moved depending on the dimensions of the cut object and the degree of wear of the cutting disc. And to make it more pleasant to work on the machine, the author sheathed the work planes with sheet aluminum. If you are interested in the project, I propose to study it in more detail!
Materials and tools used by the author:
Material List:
- plywood;
- threaded rods, nut washers;
- corner
- a piece of a profile pipe;
- spring;
- sheet aluminum;
- carpentry glue;
- screws, screws.
Tool List:
- drill;
- screwdriver;
- a circular saw;
- scissors for metal;
- grinder;
- jigsaw machine;
- disk grinder;
- clamps;
- pencil, square, ruler.
Homemade manufacturing process:
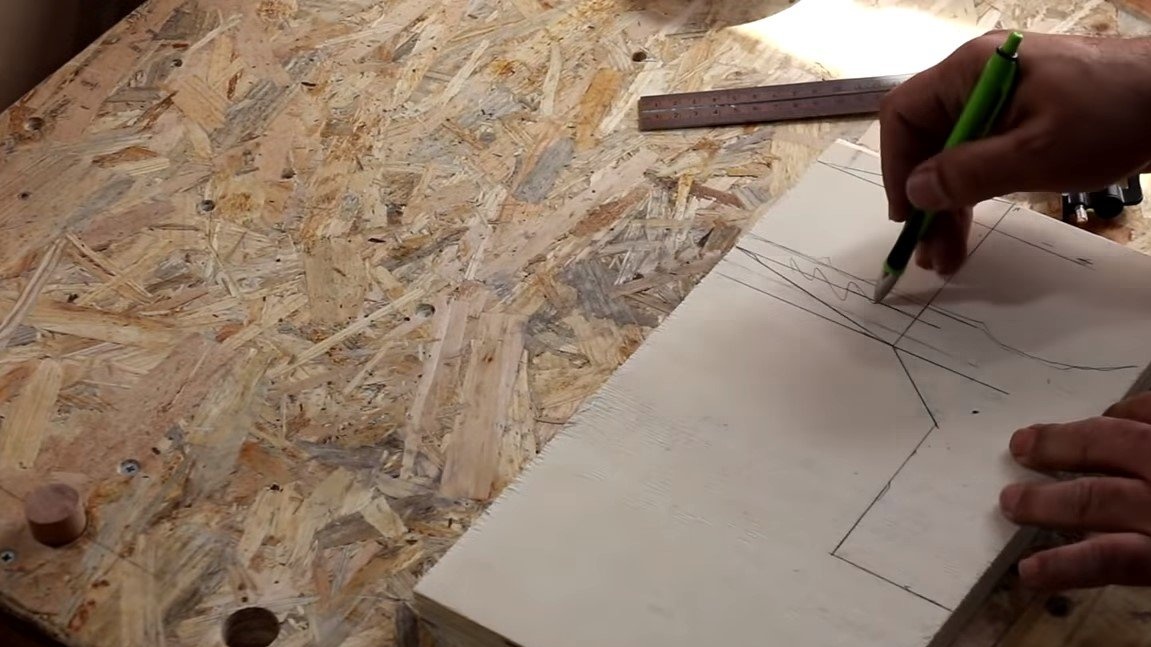
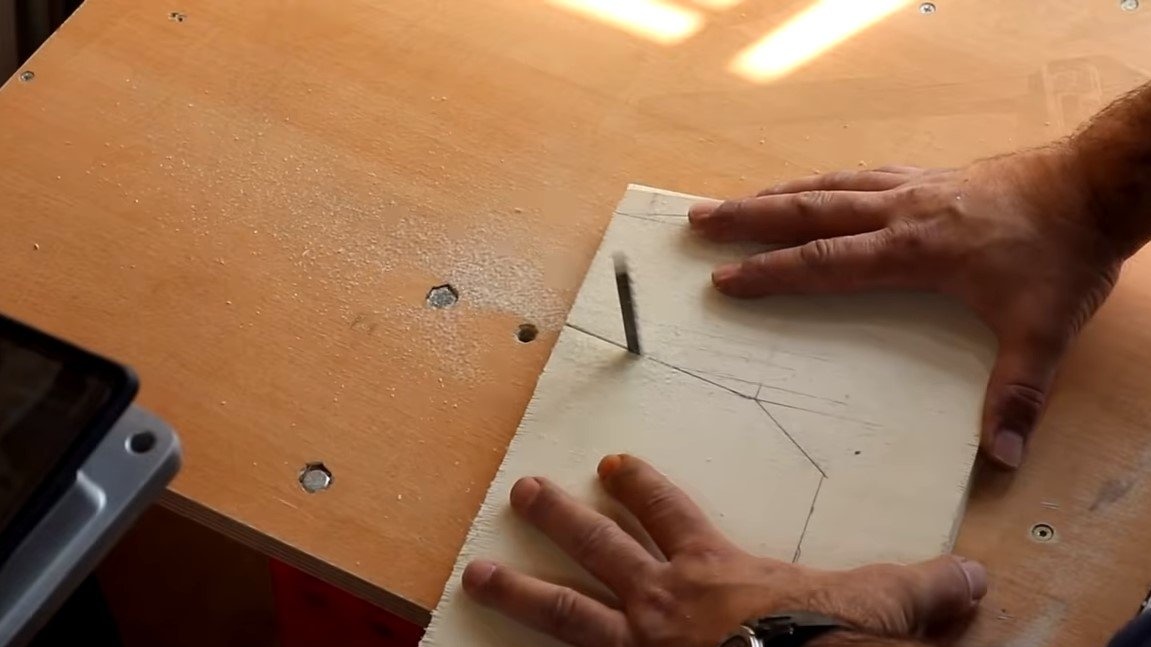
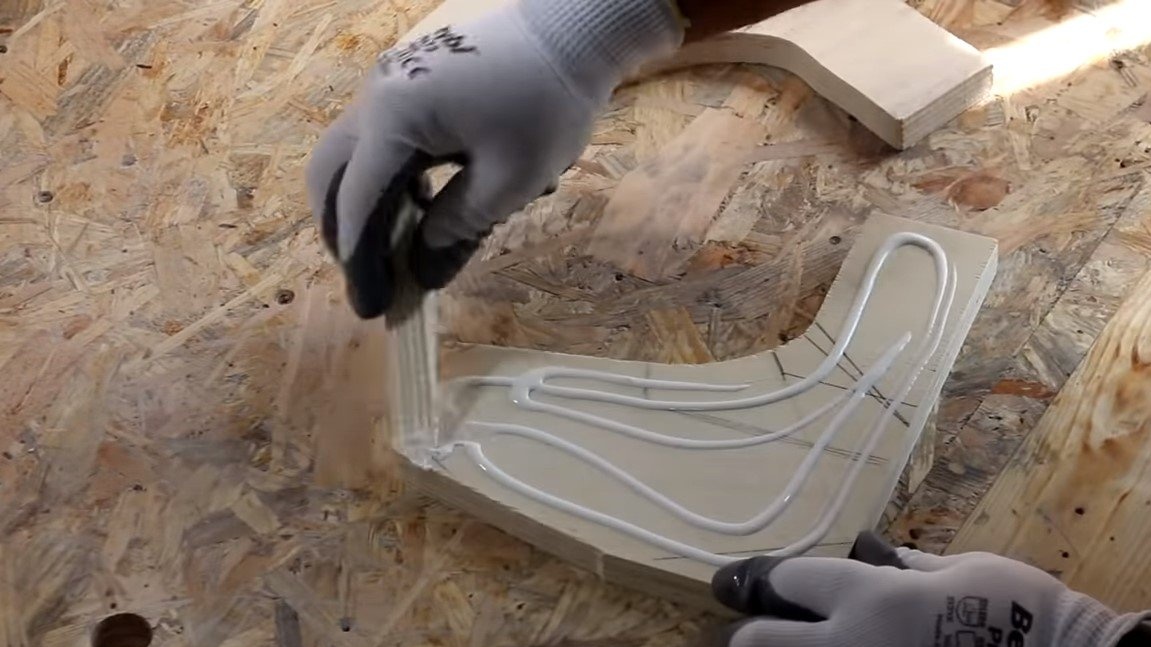
Step one. Lever arm
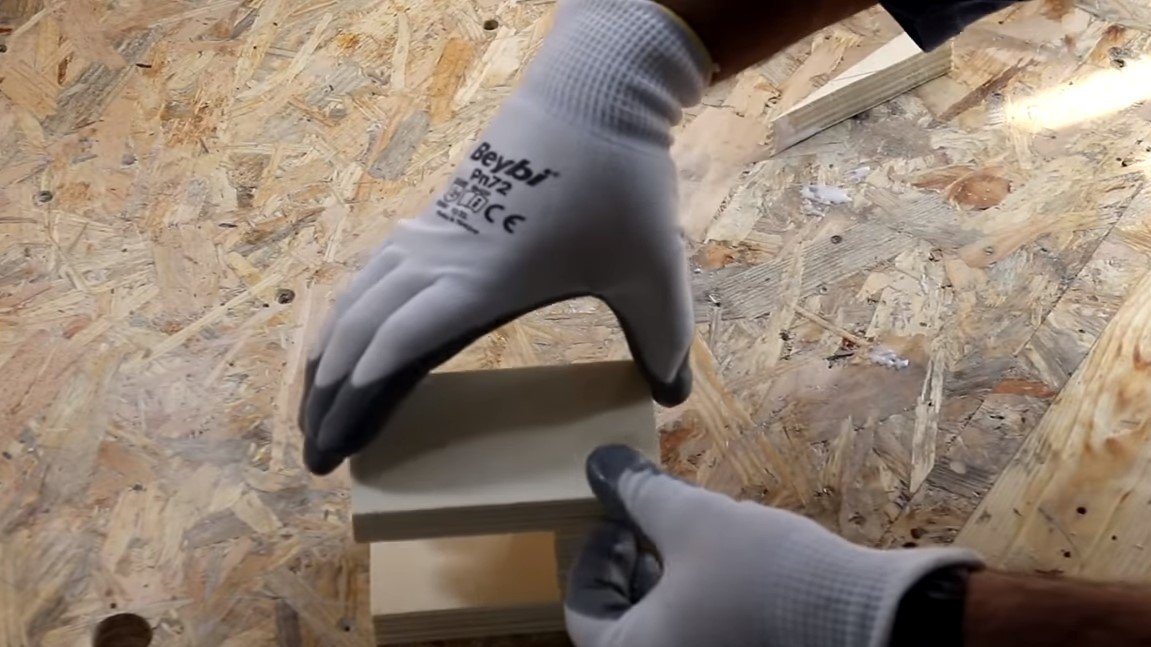
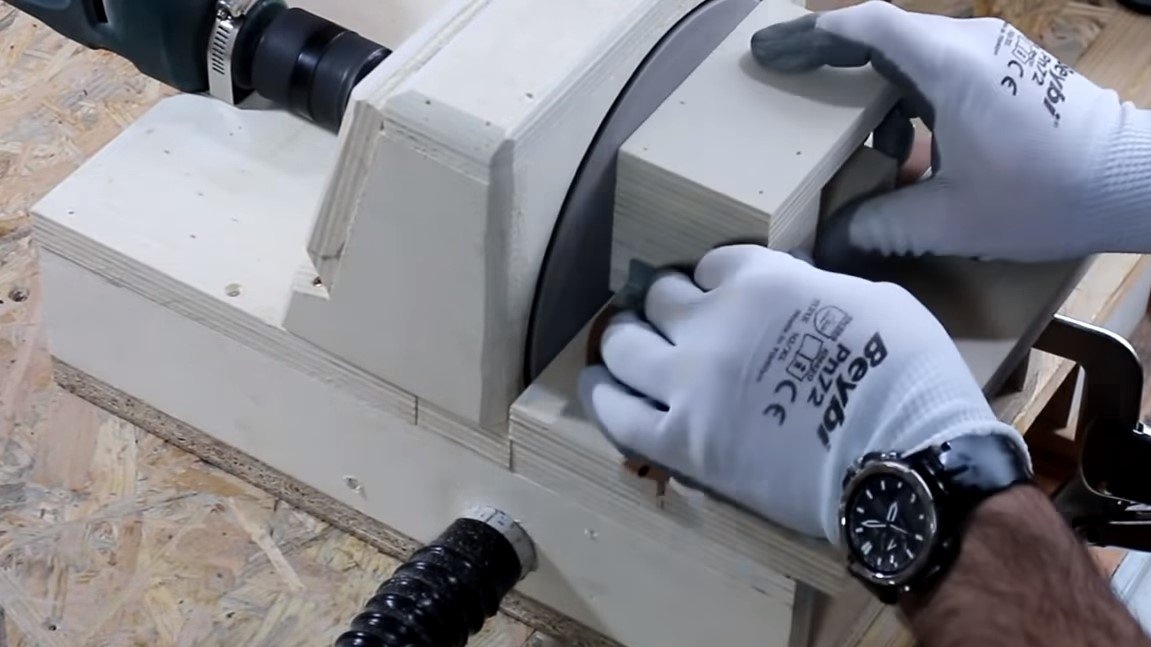
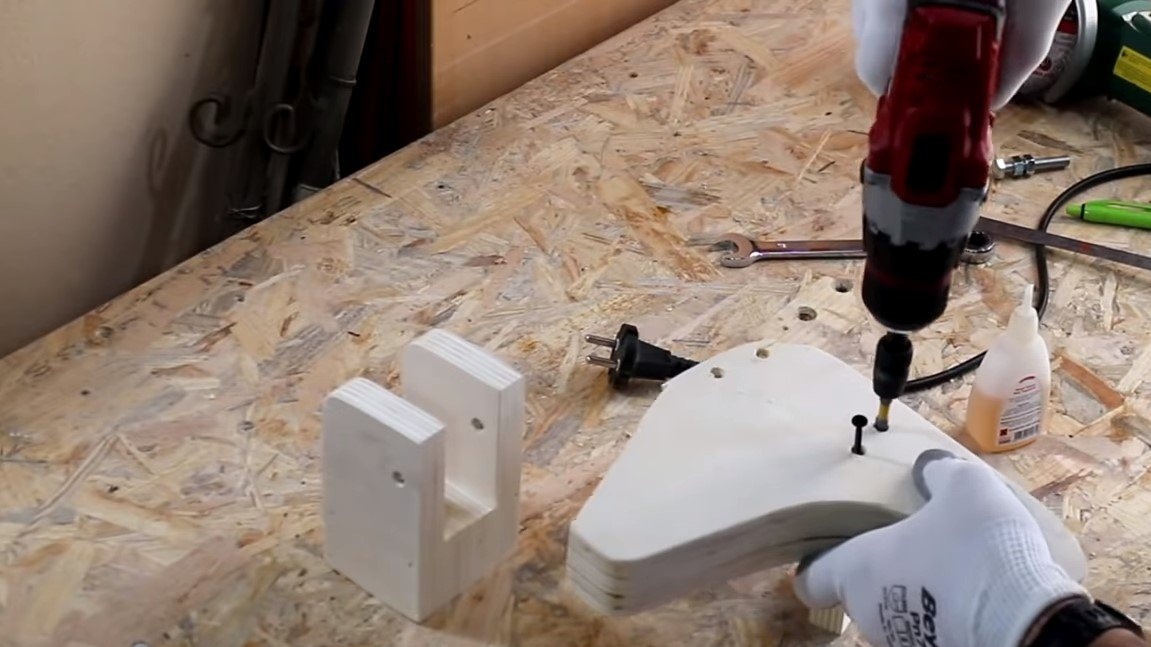
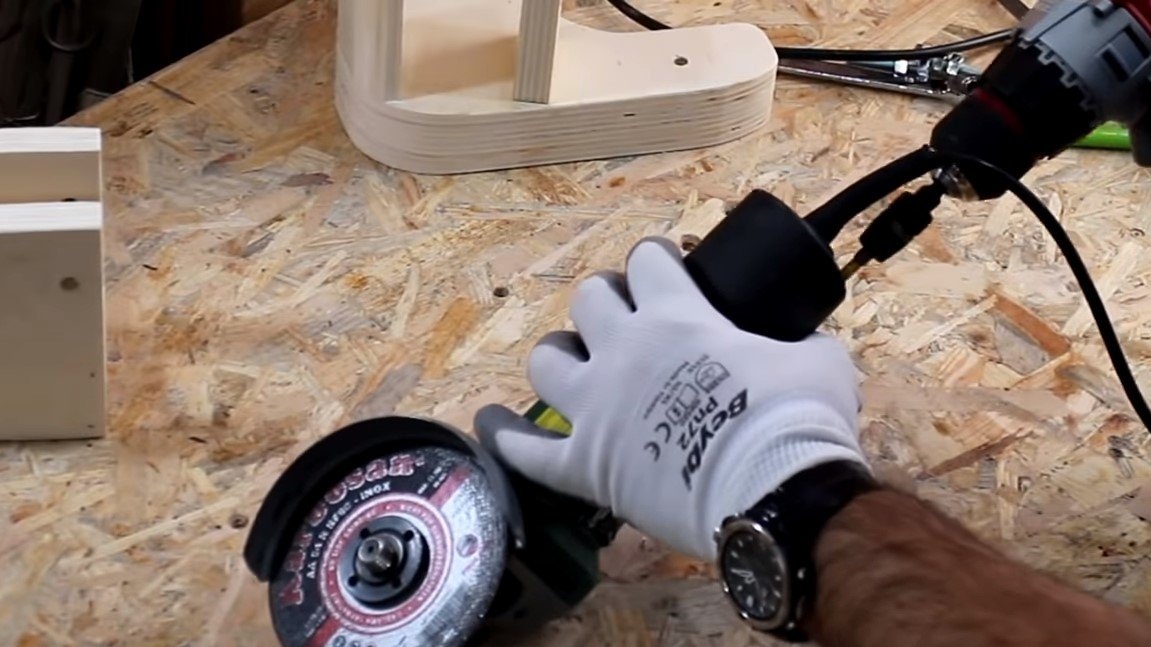
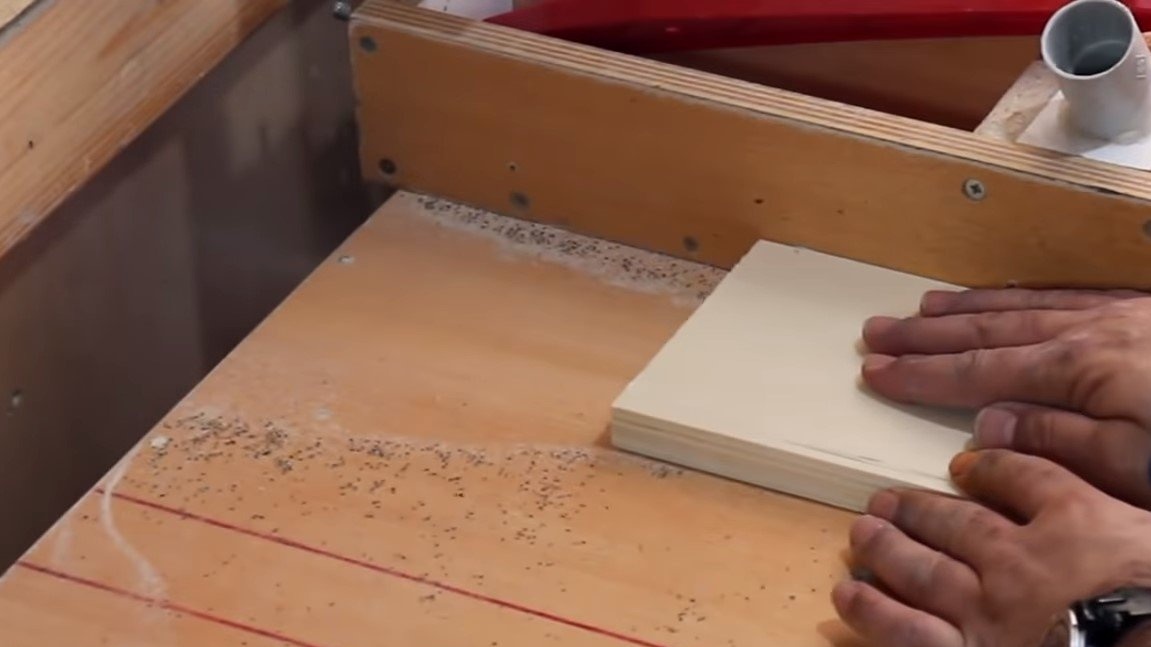
First of all, we cut out the details for the lever, which is pivotally attached to the base, and also on which the grinder will be fixed. This part must be strong, it must not bend, otherwise there will be strong deviations when cutting. To increase the rigidity, the author cut out two parts from plywood and glued them together. Well, then it remains to properly polish the part on the grinder.


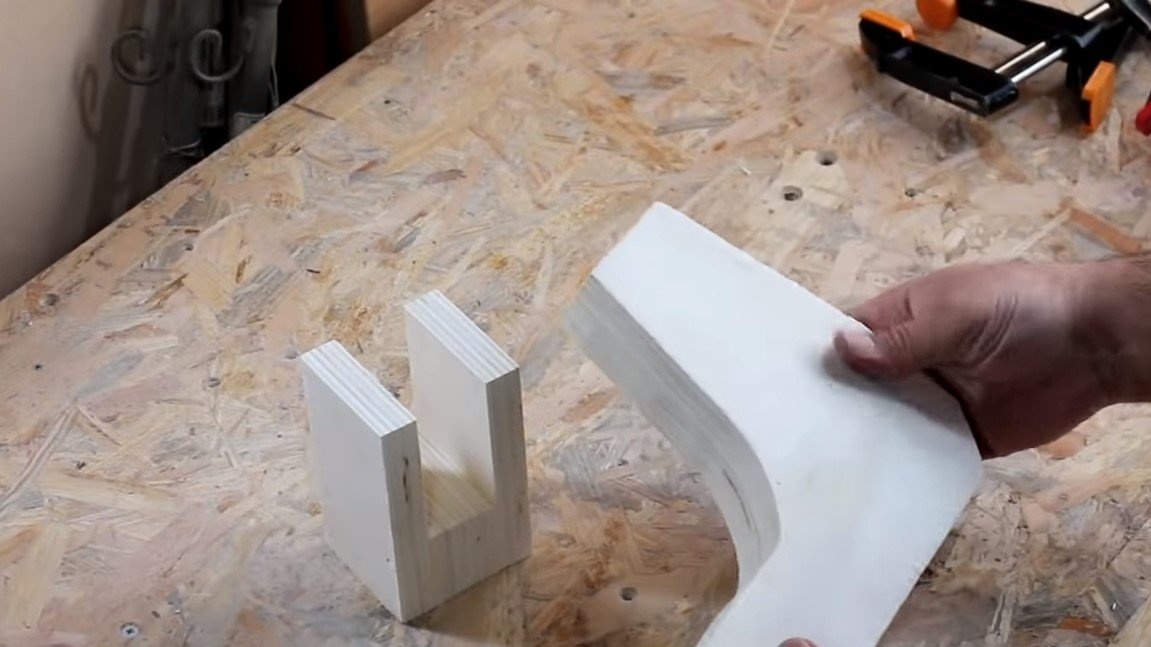
Step Two Fork
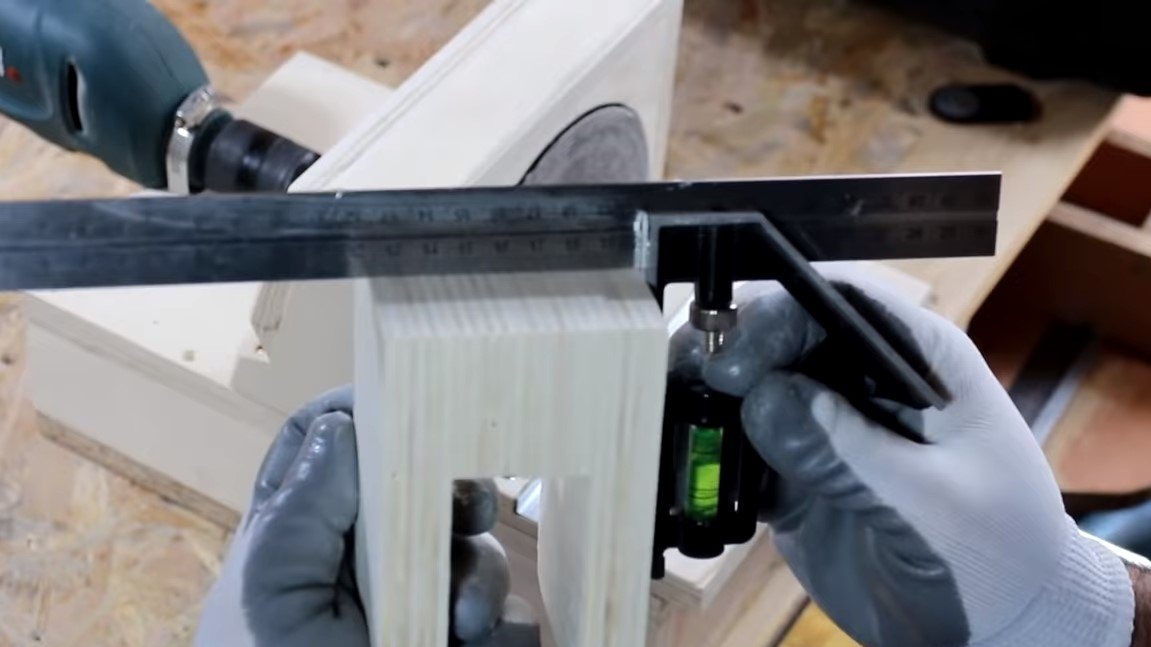
We make a fork to which the lever made earlier will be hinged. The plug is also made of plywood, take into account the width of the lever. To minimize backlash, the lever should fit into the fork tightly, the fork will be tightened with a screw and nut. It is important that the base of the plug is polished strictly at right angles, measurements are carried out with a square.
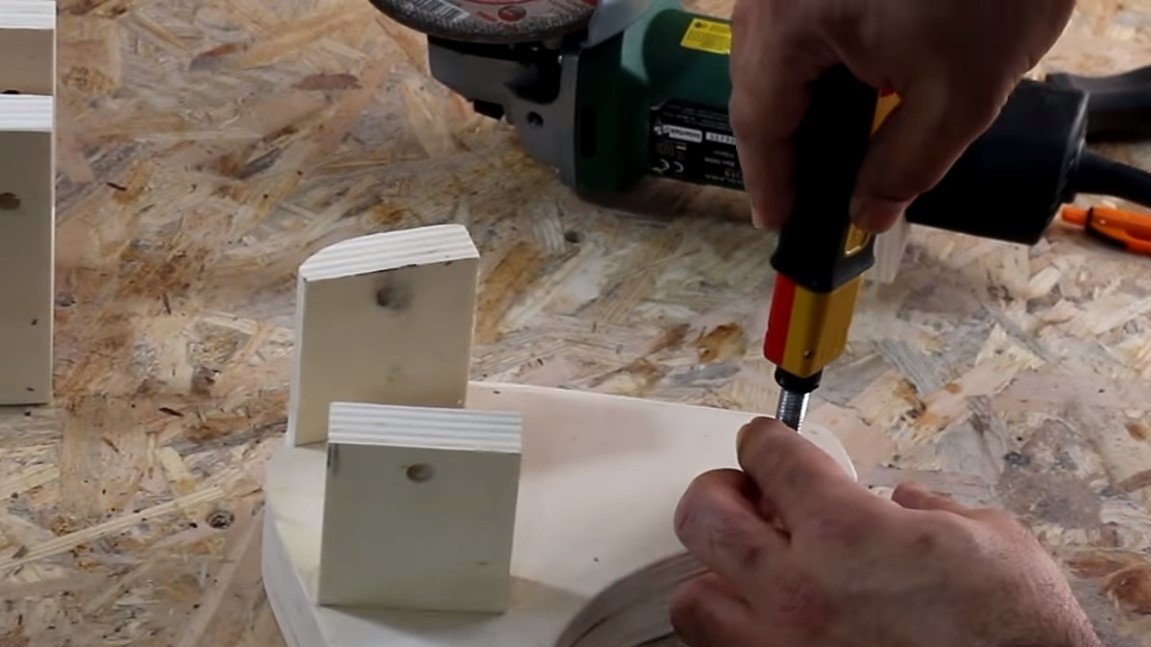
Step Three Mount grinder
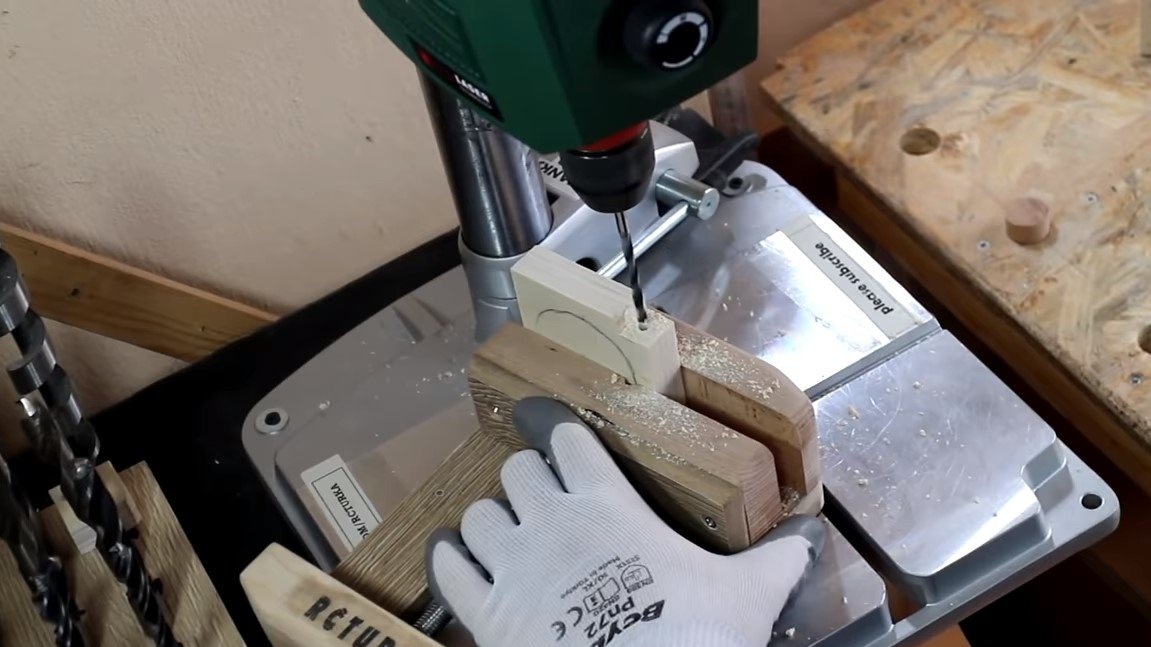
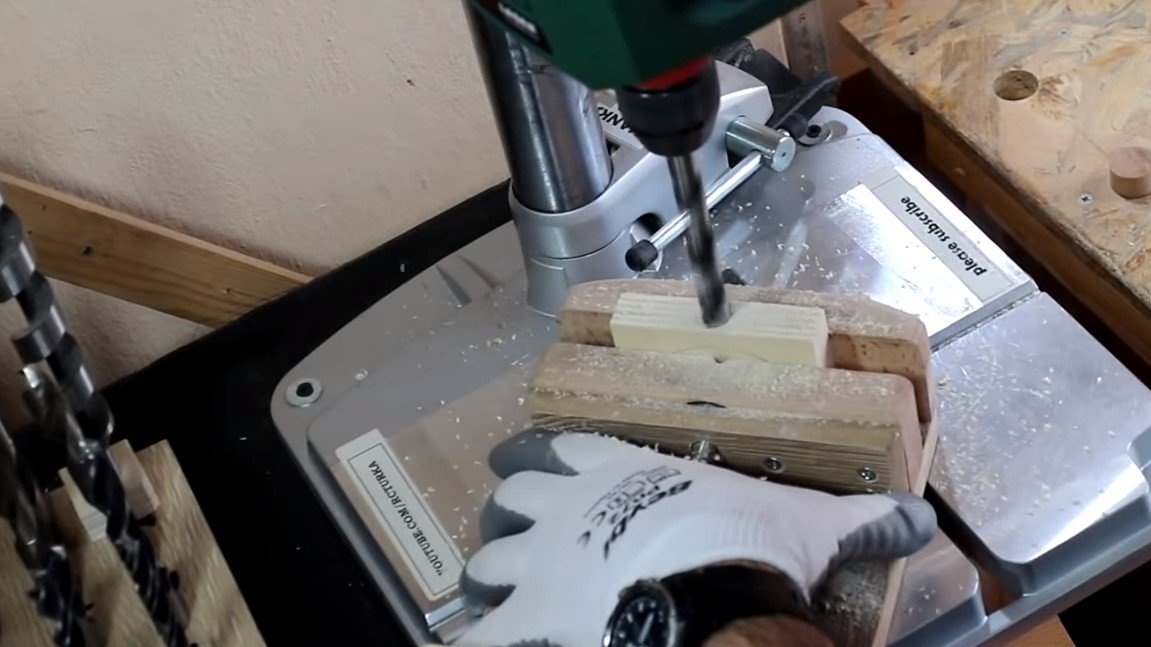
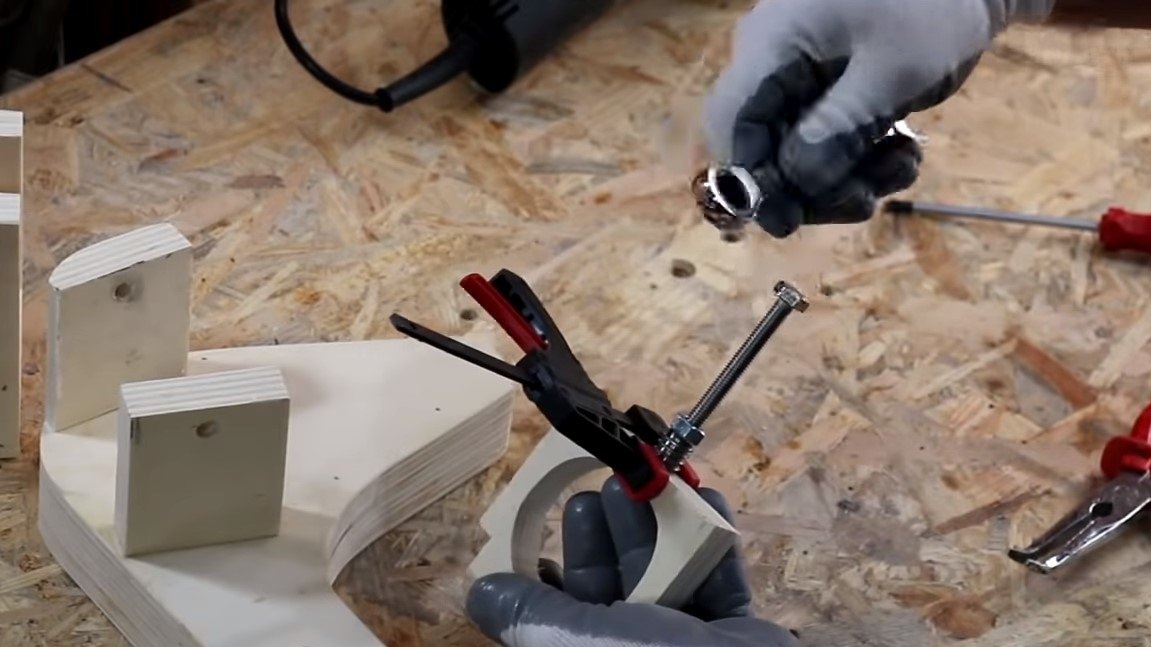
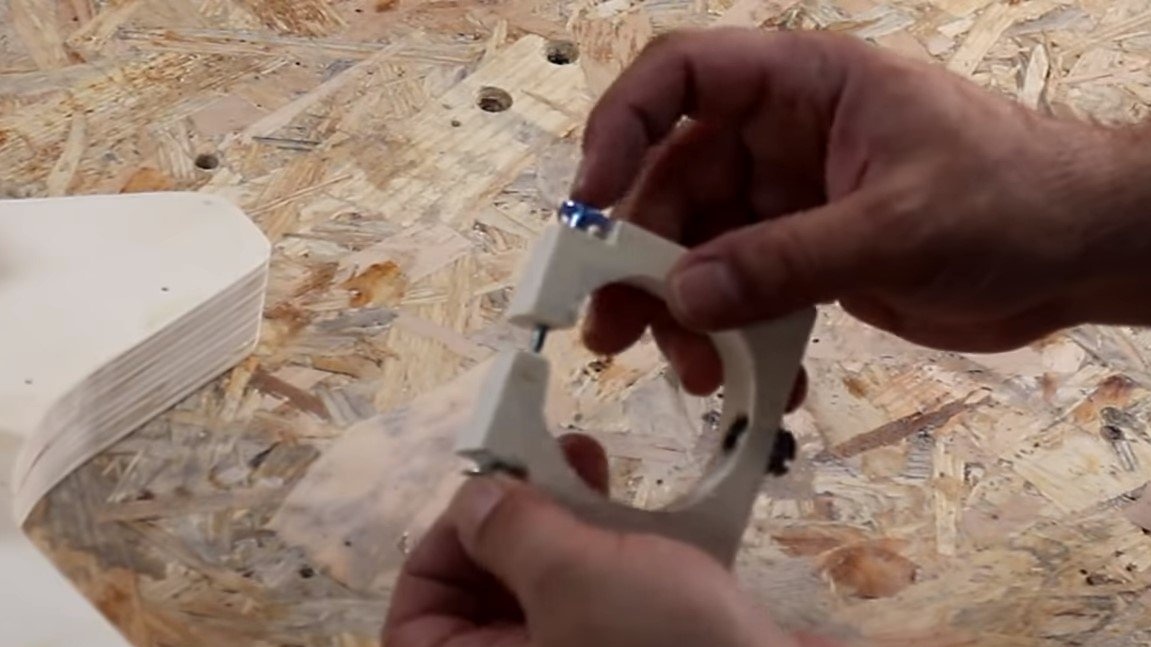
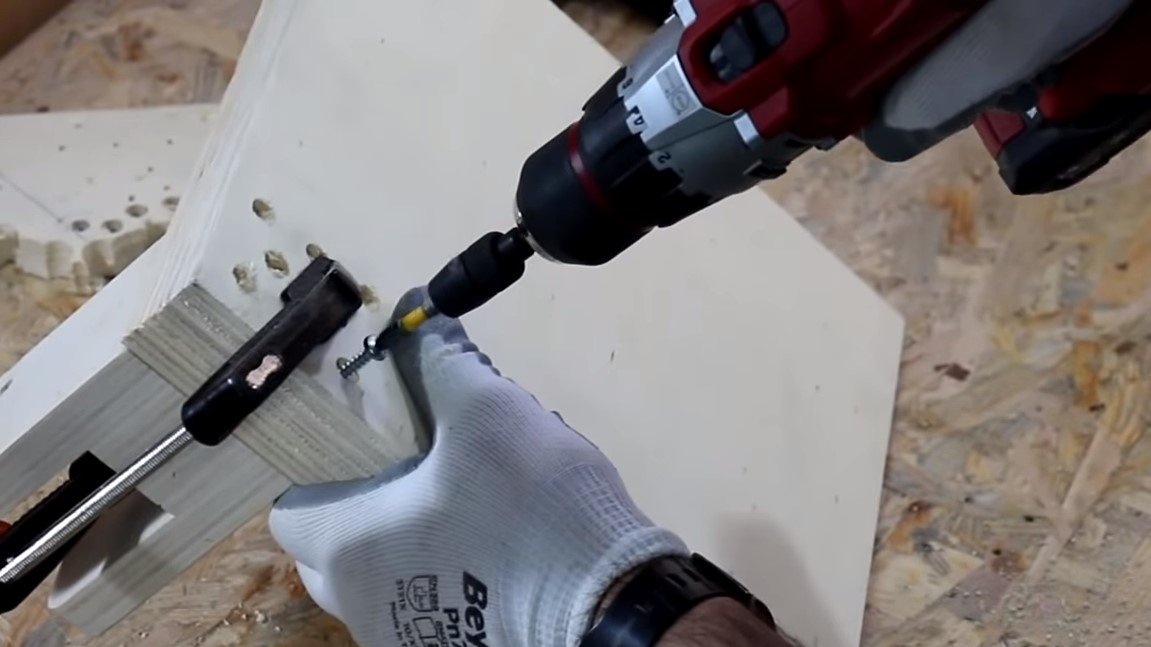
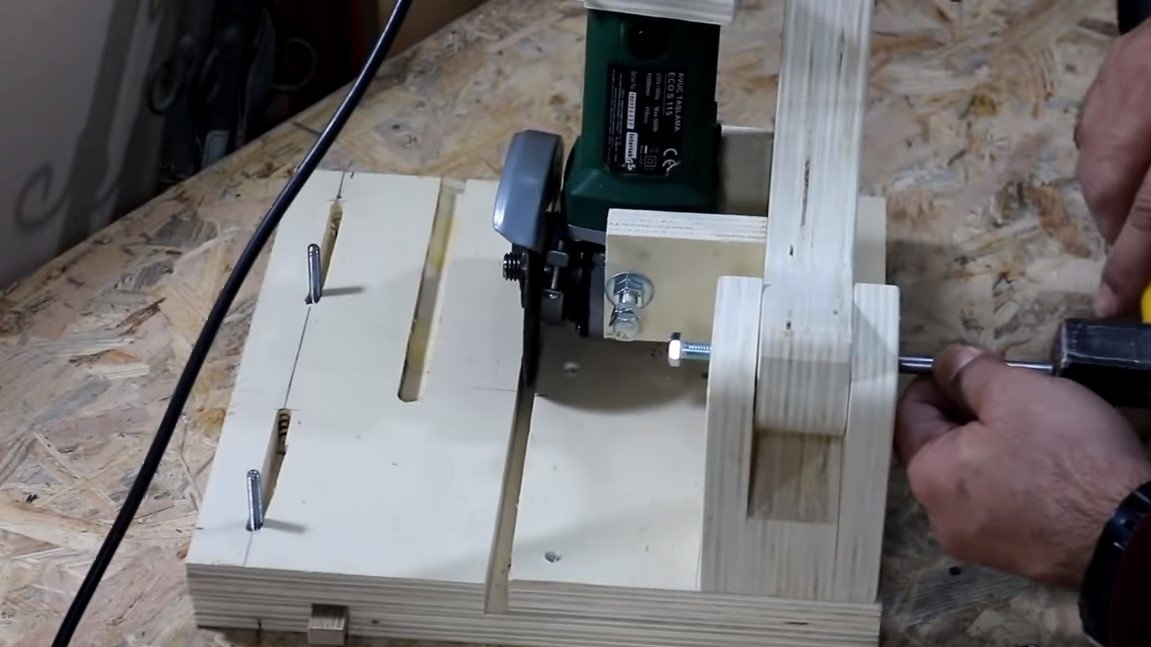
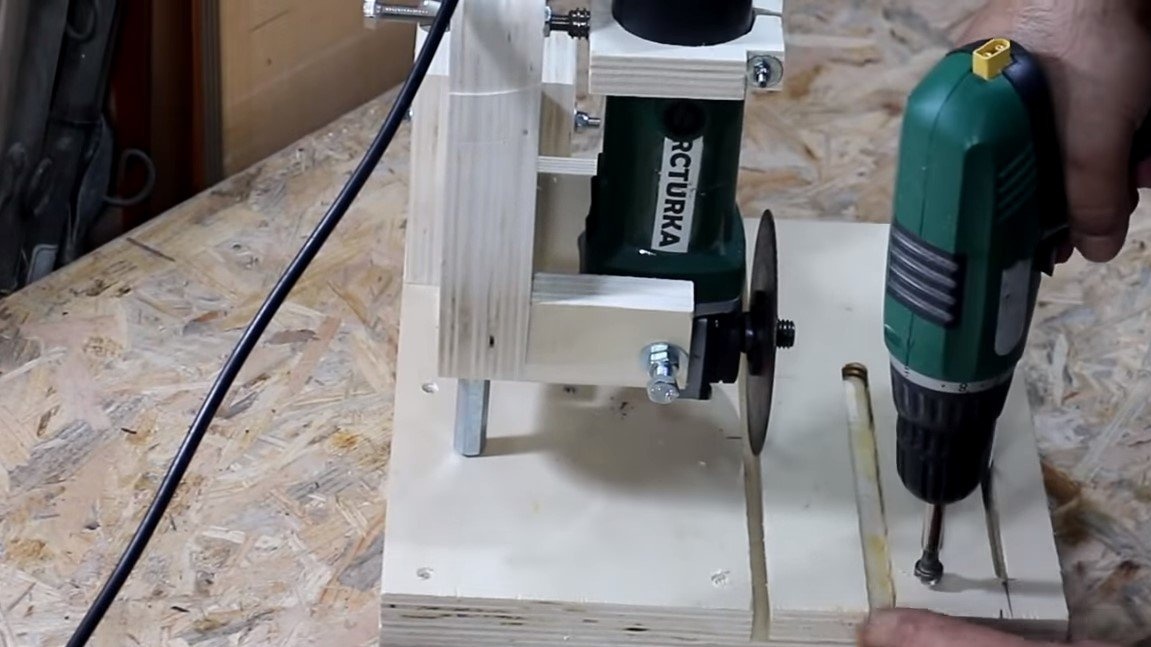
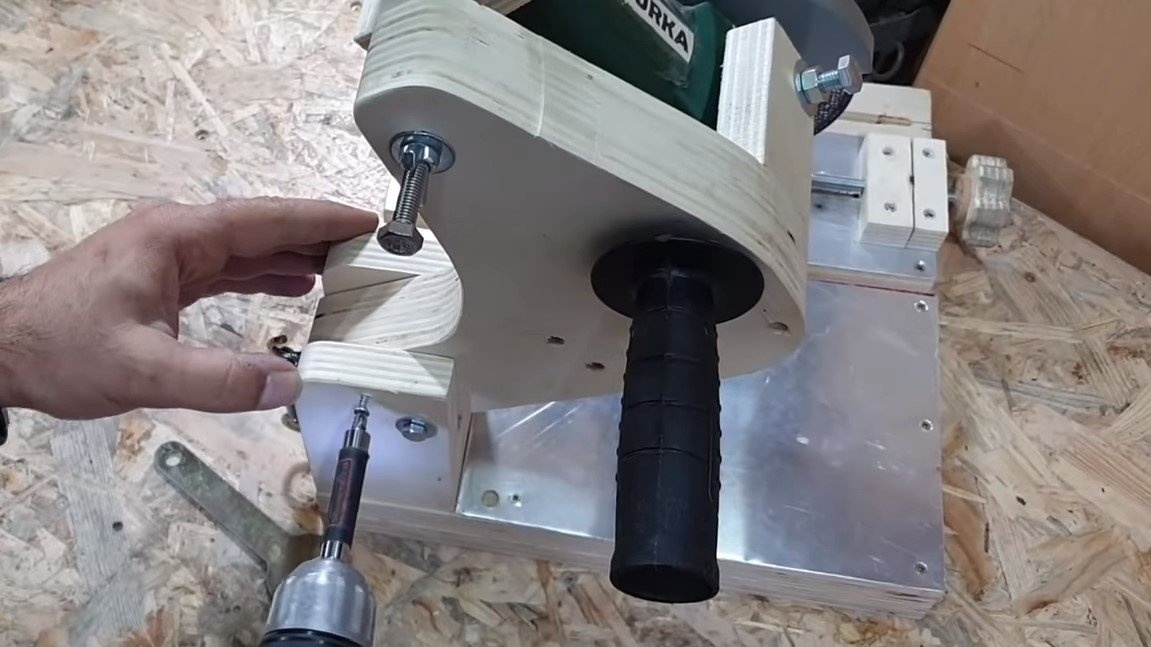
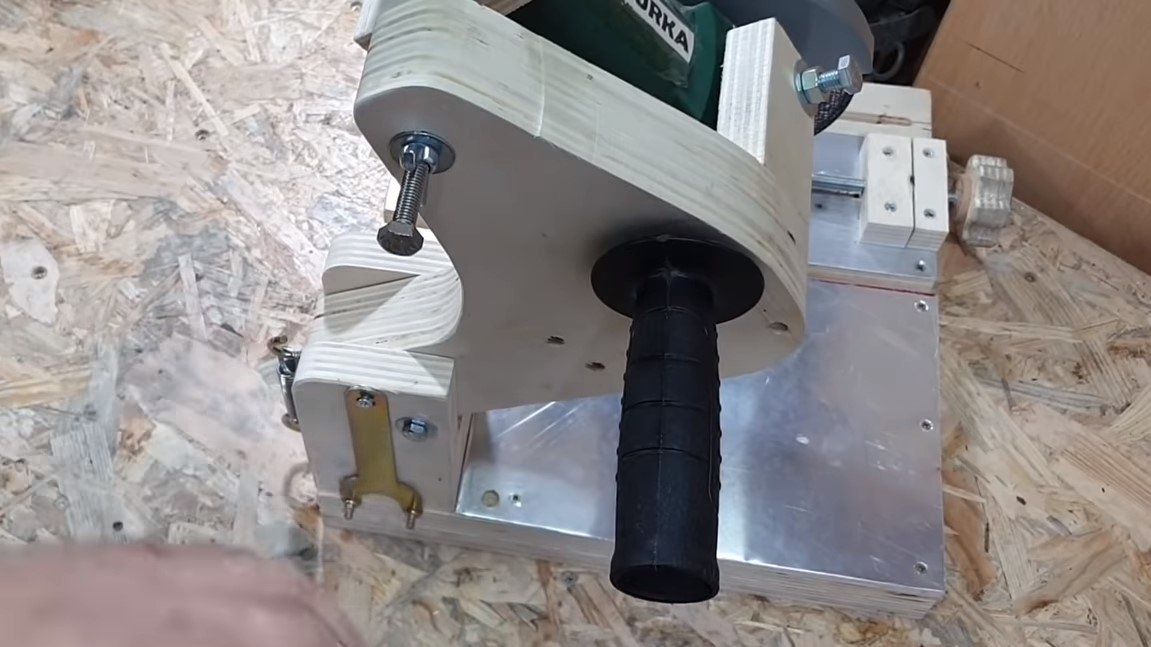
We make a mount for the grinder, it will be installed on the lever. To begin with, we cut two parts from plywood under the front part, where the grinder will be fastened with two bolts. We also make a plywood clamp for the back. The author made a clamp on a jigsaw machine, it is pulled together with screws and nuts.
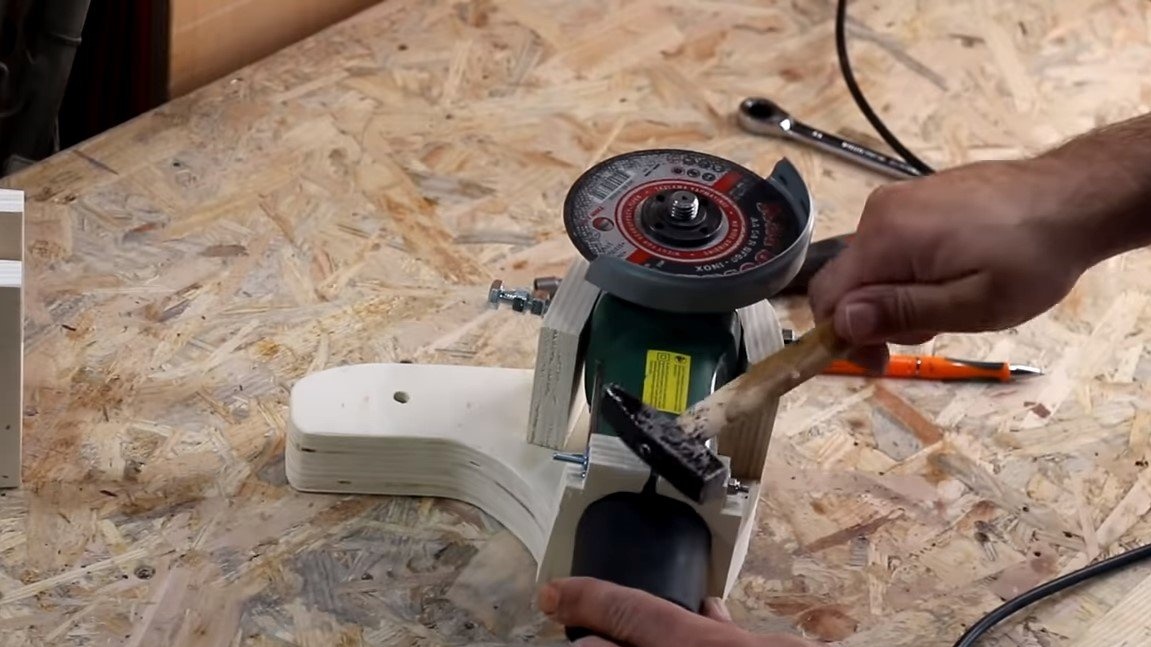
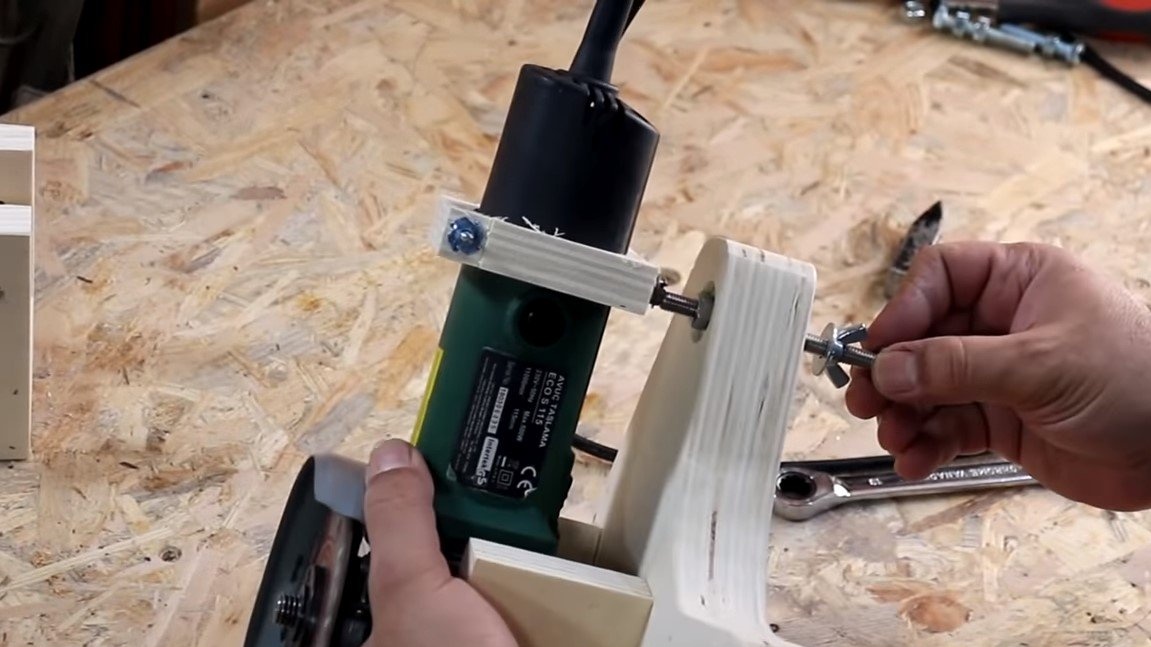
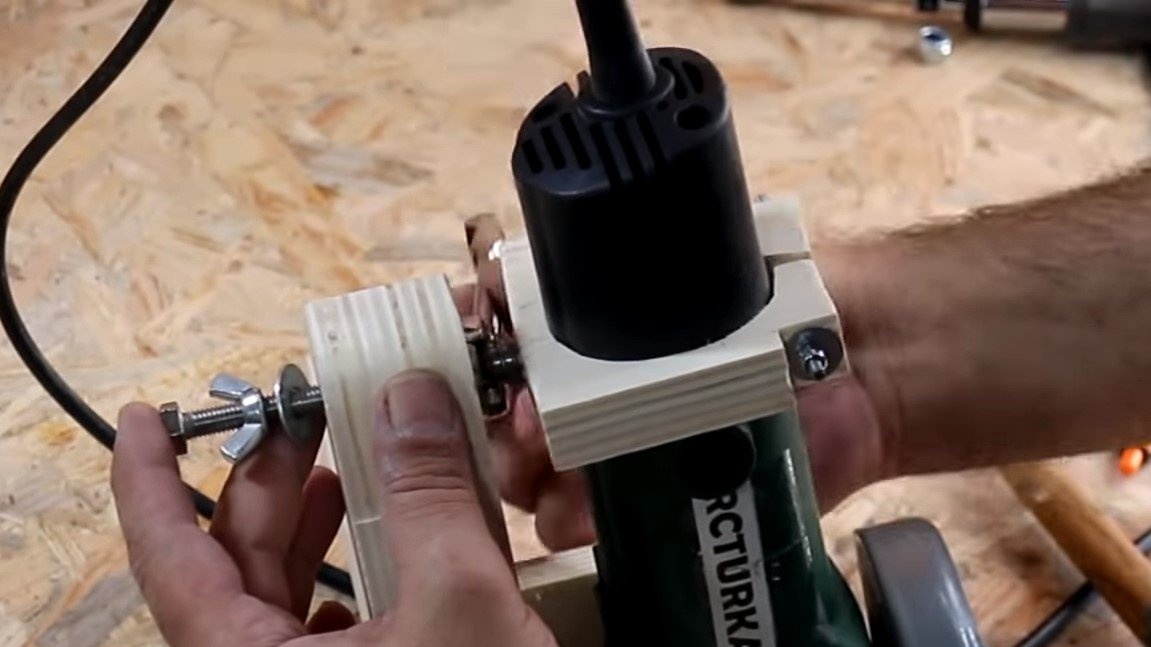
Thanks to these three fasteners, the grinder will be fixed securely, but we still need to take care of the possibility of adjustment.The rear clamp is attached to the lever through a threaded rod, and the threaded rod is fixed to the lever thanks to two nuts. As a result, by twisting or turning the threaded rod, you can adjust the angle of the cutting disc.


Step Four Base
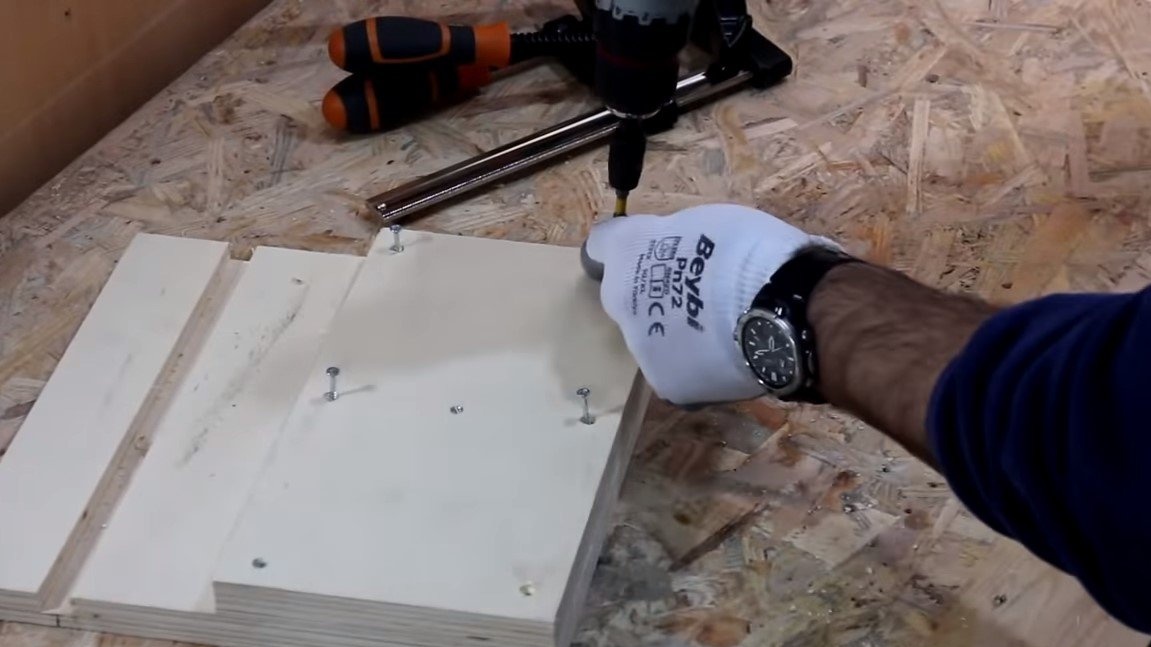
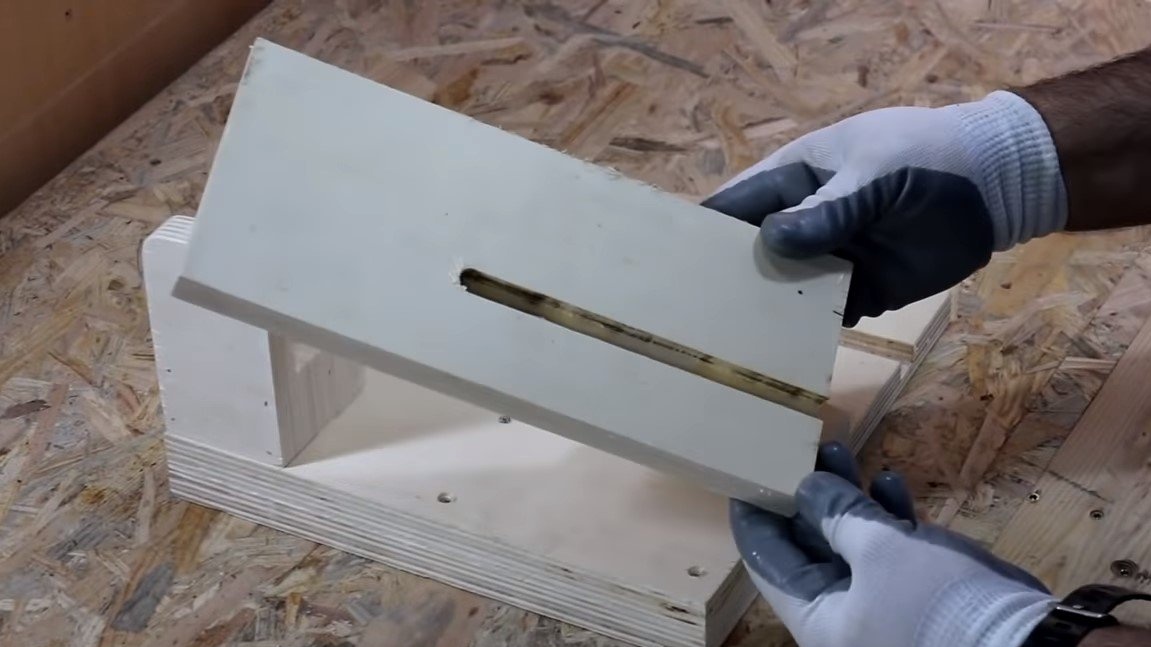
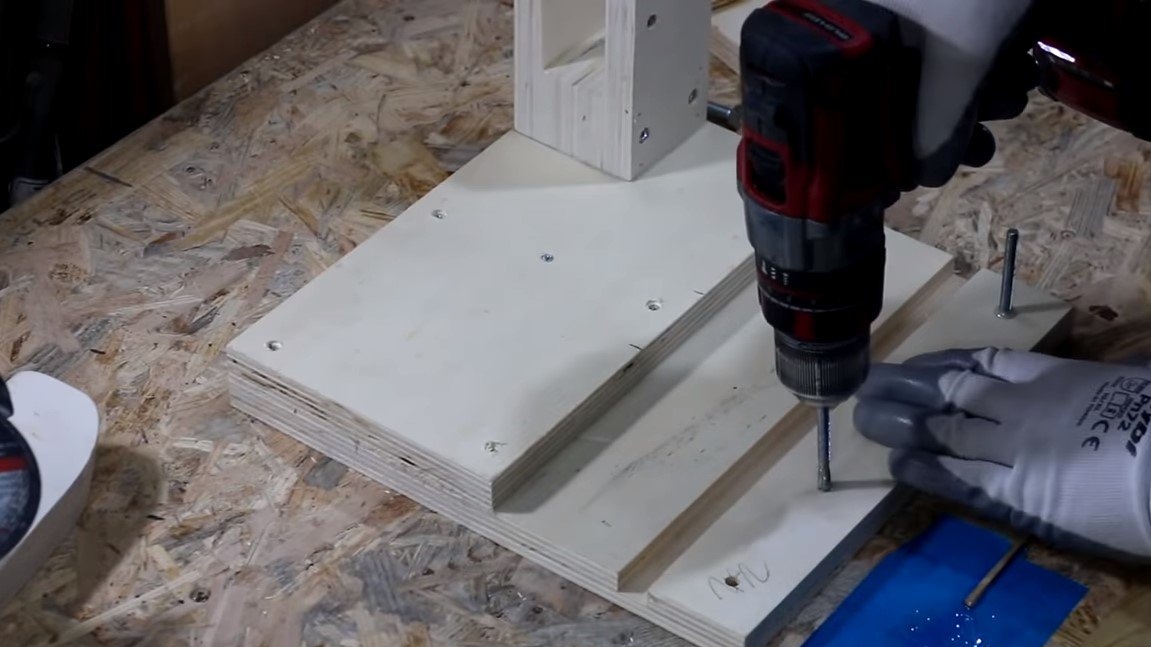
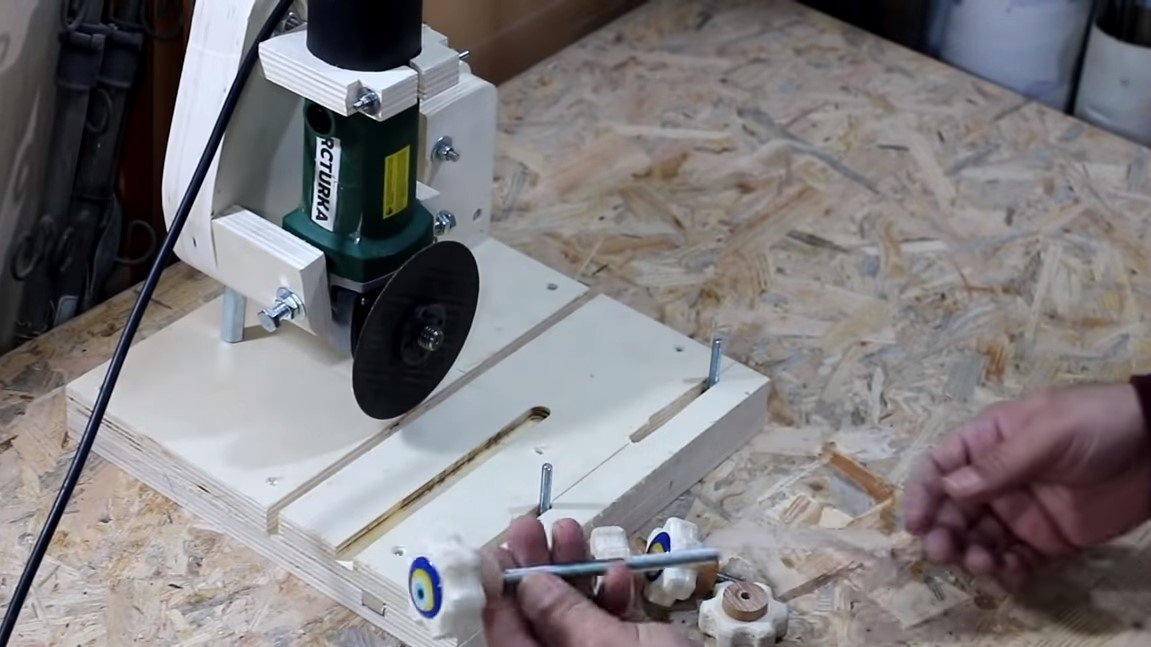
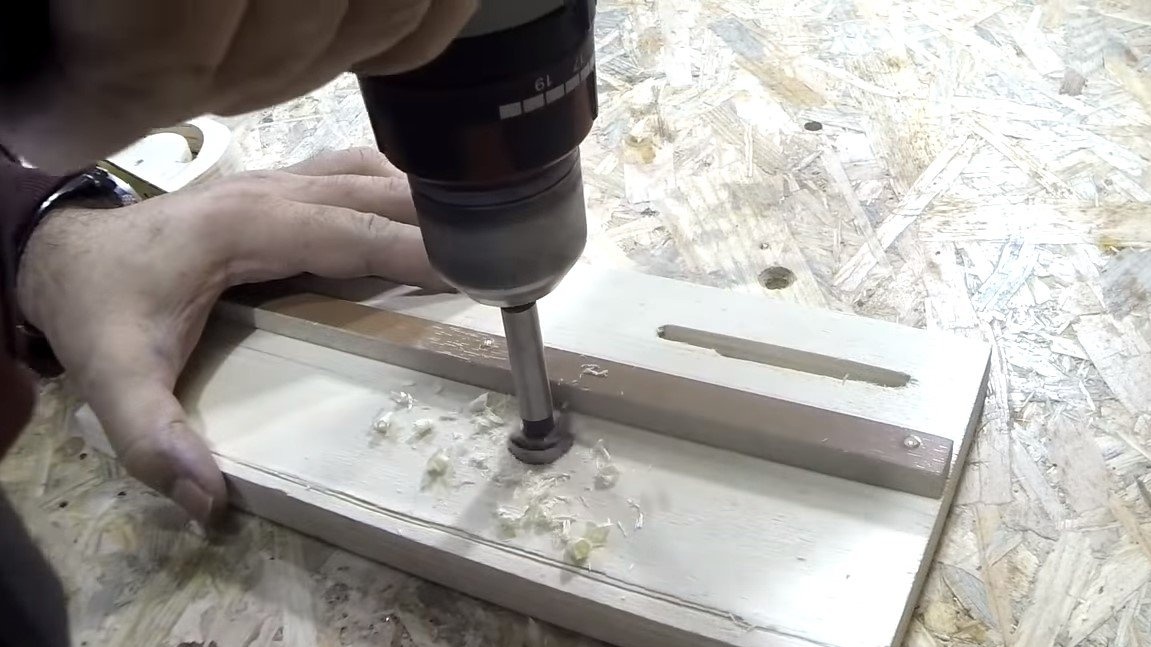
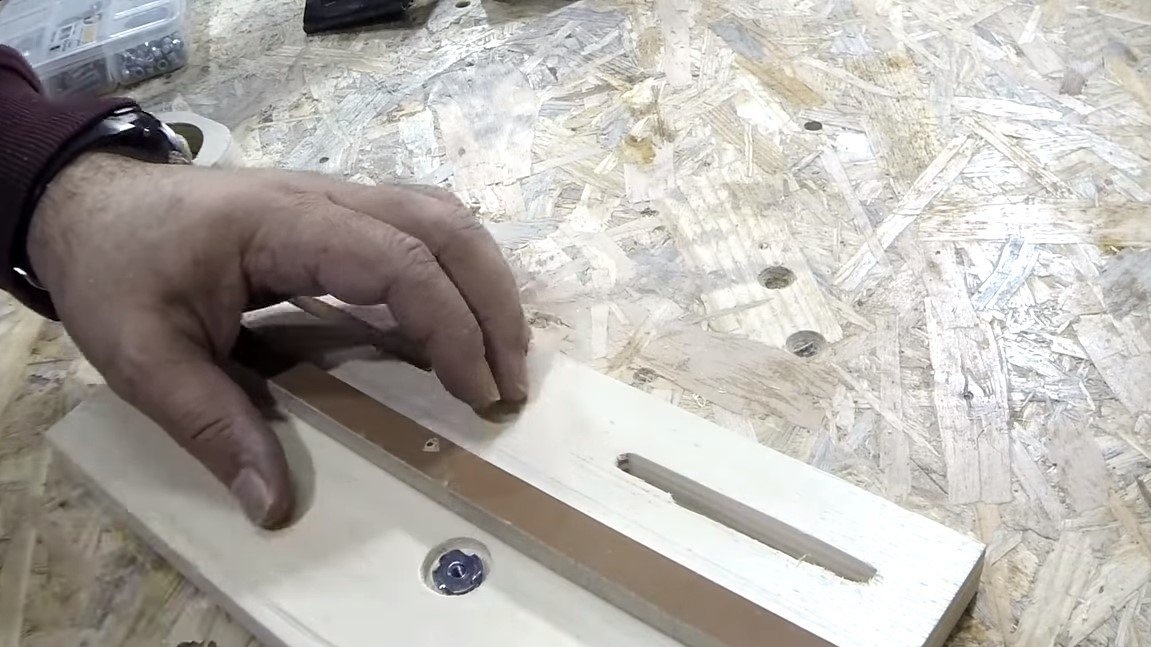
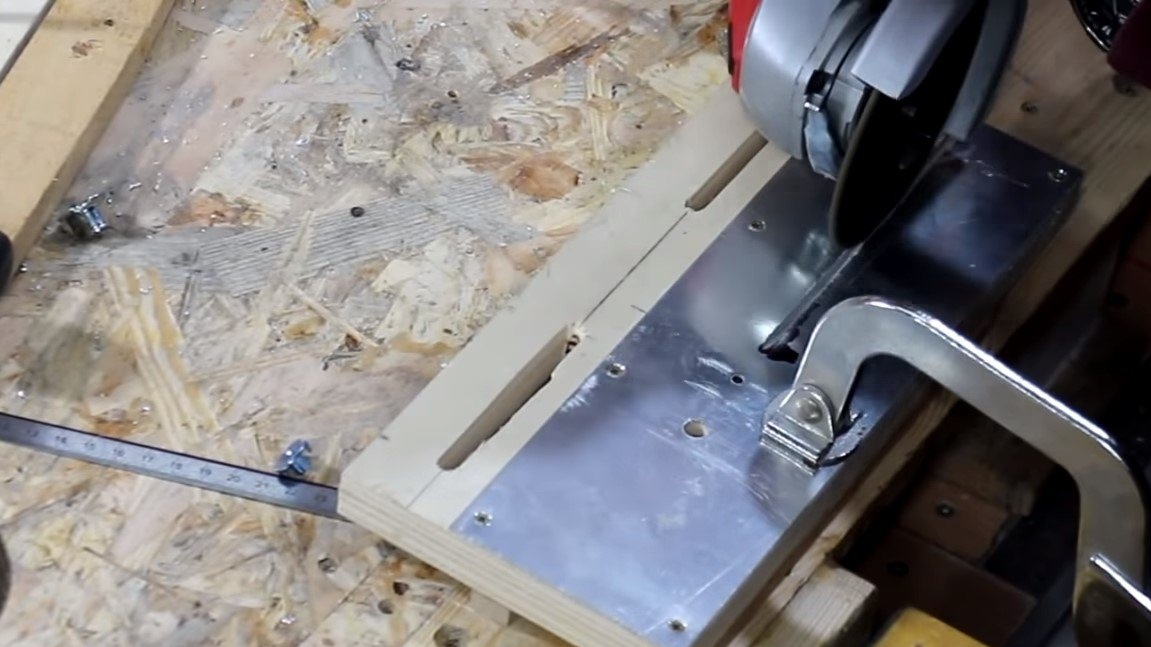
We cut all the necessary details for the foundation, and our foundation is layered and layered. The bottom line is to make a mobile platform that will allow you to fix the material in the right place under the cutting disc. We glue the plywood layers and twist them with screws, as a result, a groove for the mobile platform should be obtained. On the base we install the plug as firmly as possible, fasten it with screws and wood glue.
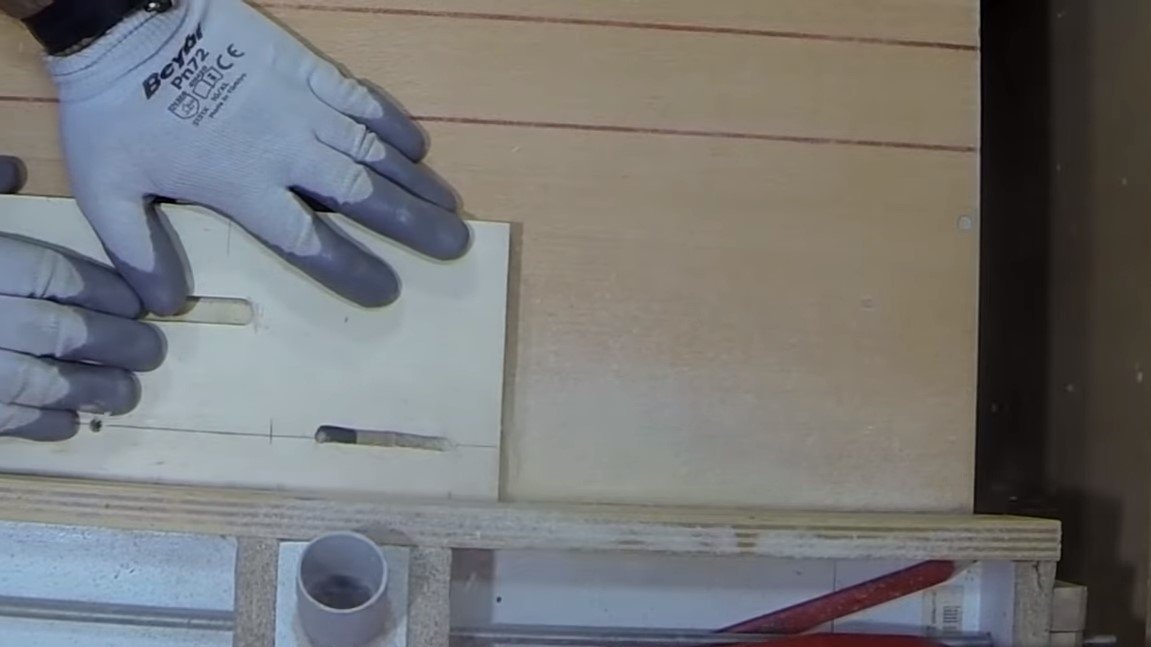
We cut out the mobile platform and fasten a small block to it, which will serve as a guide.
The platform is fixed using two threaded rods and nuts. For ease of use, the author made convenient twists of wood for nuts.


Step Five Emphasis, clamp and sheathing
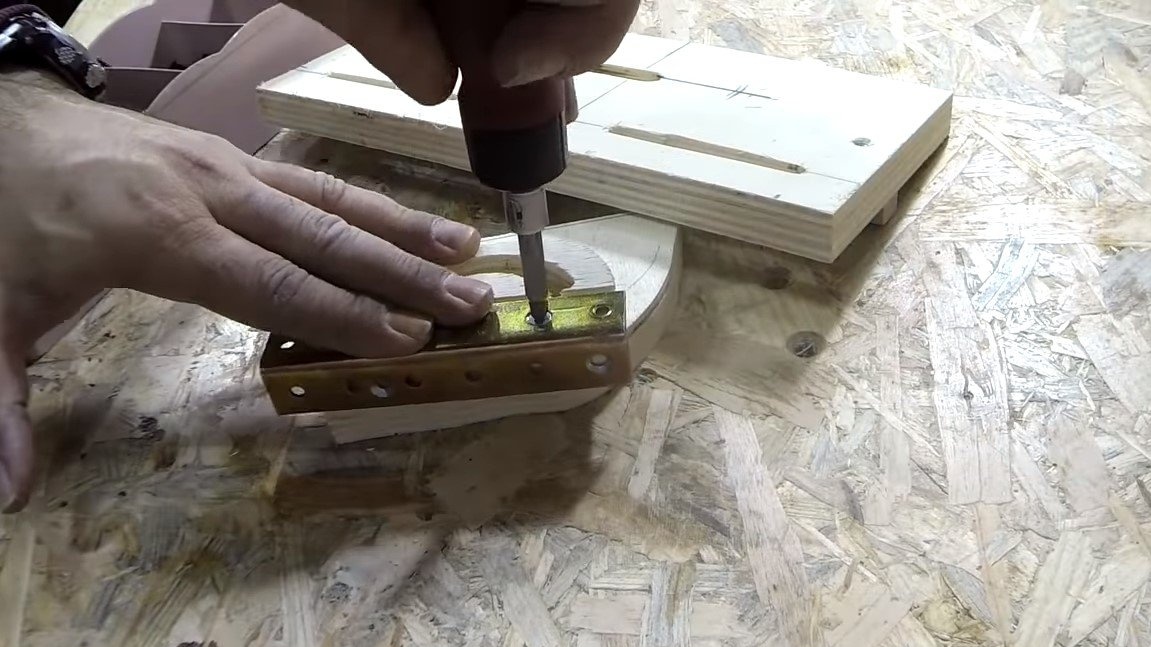
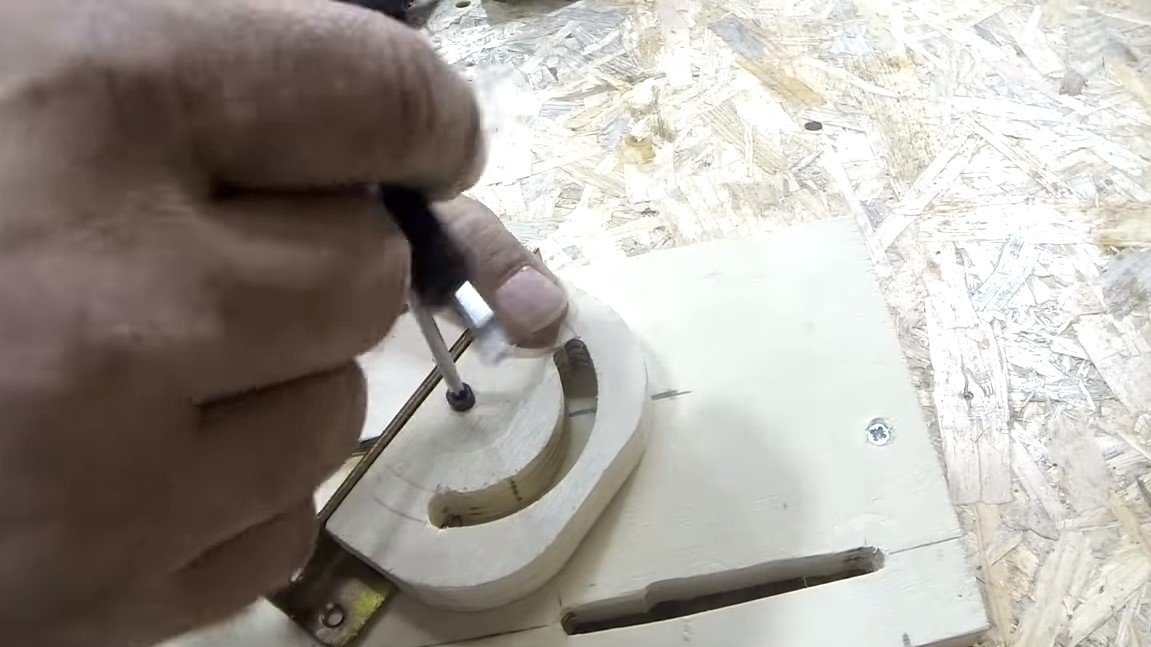
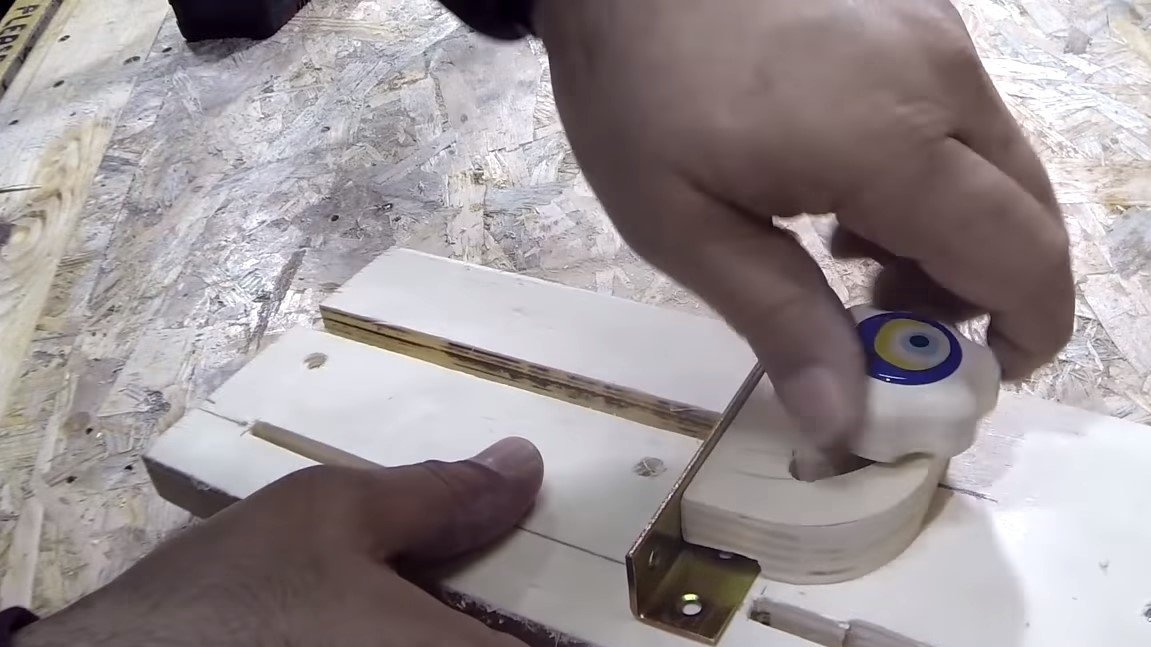
We focus, the author made it from plywood and a piece of corner. There is a groove in the stop, which allows you to set it at the desired angle, the stop is fixed using a nut with a wooden handle.


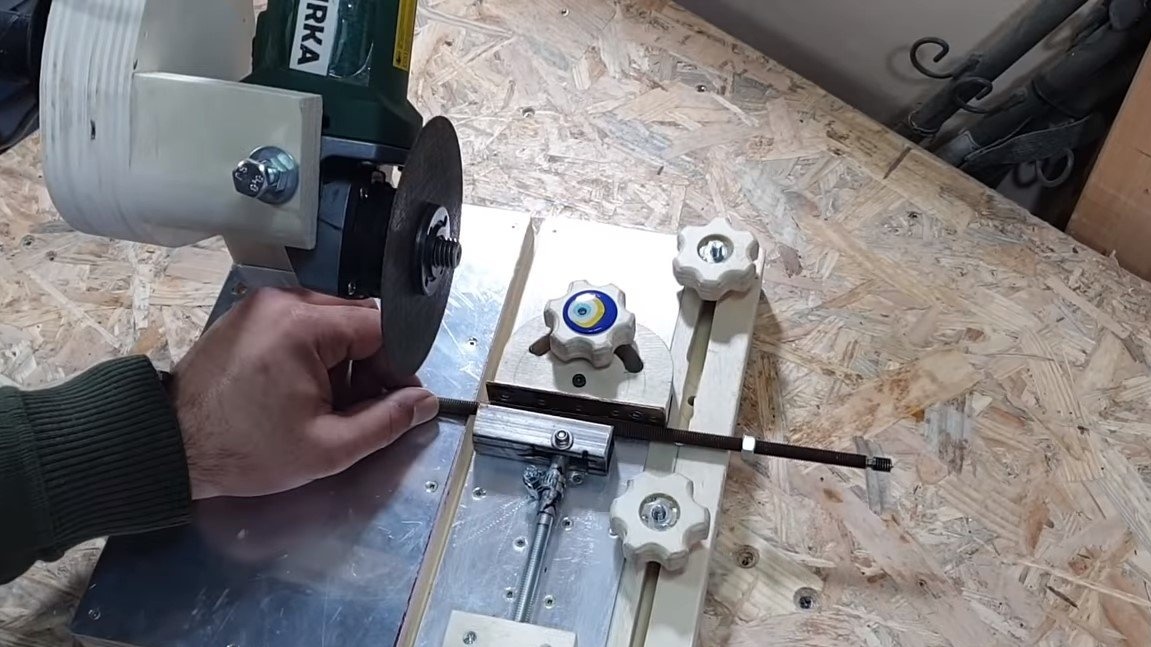
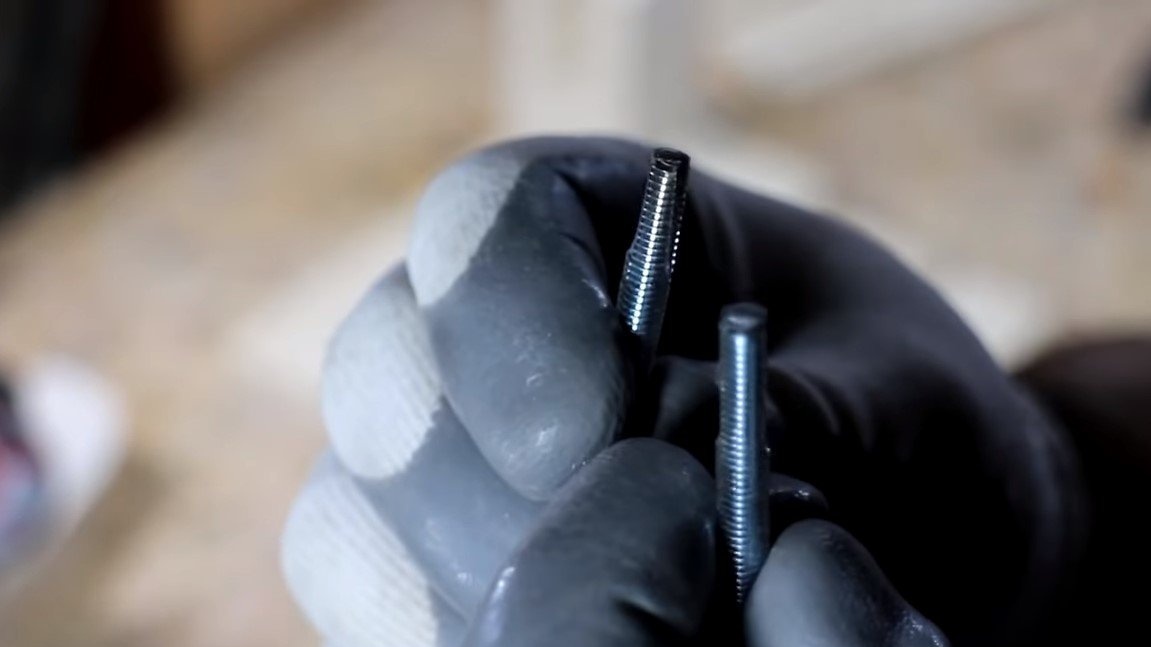
We also need to make the second part of the vise, the author made it from a piece of a profile pipe, a threaded rod and other little things. A piece of the profile pipe must be hinged to the threaded rod, so that the vice can clamp the product at a given angle. The threaded rod must also be fixed so that it can rotate around its axis. To solve the problem, the author drilled a groove in the threaded rod with a drill and file, and the vise lip is attached to it.
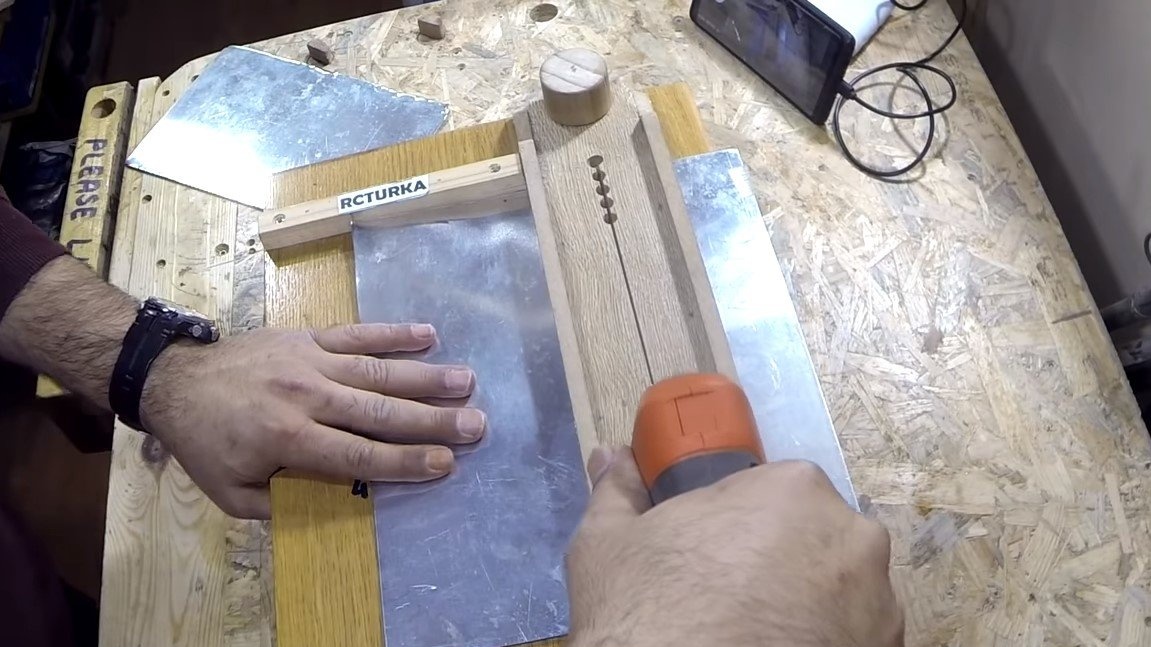
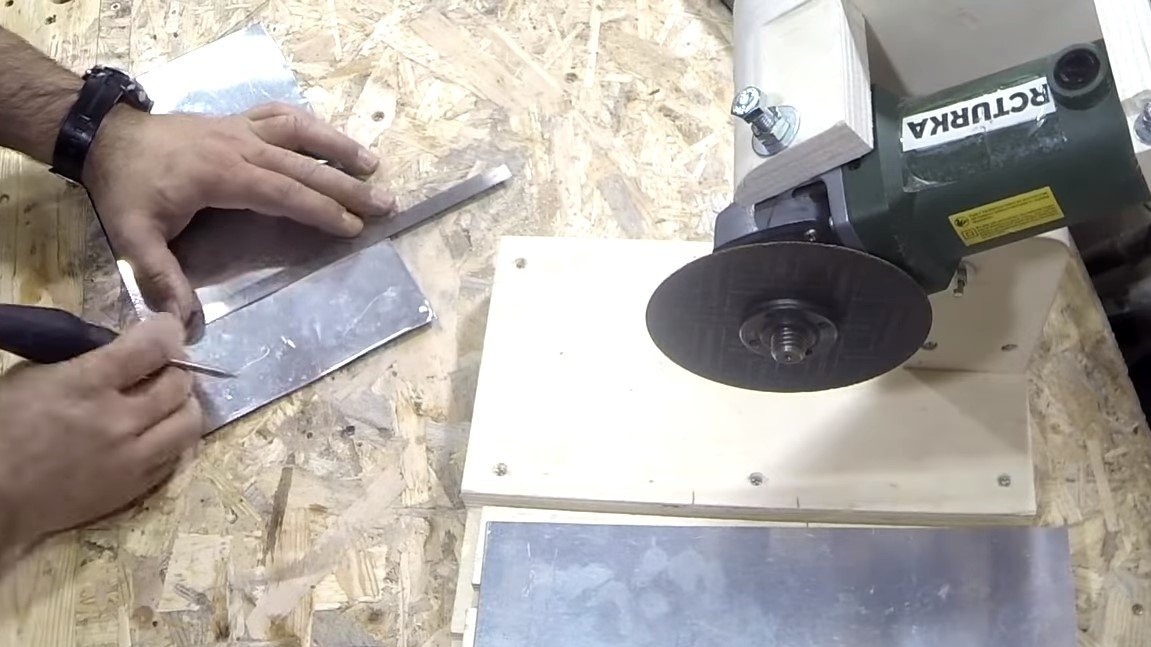
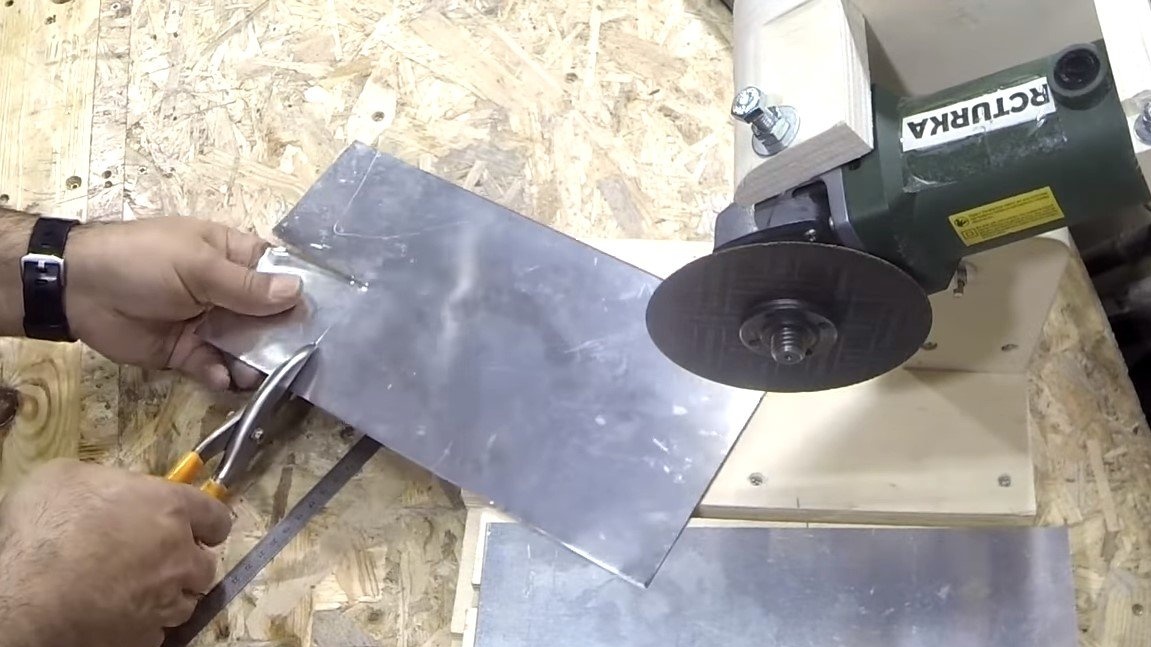
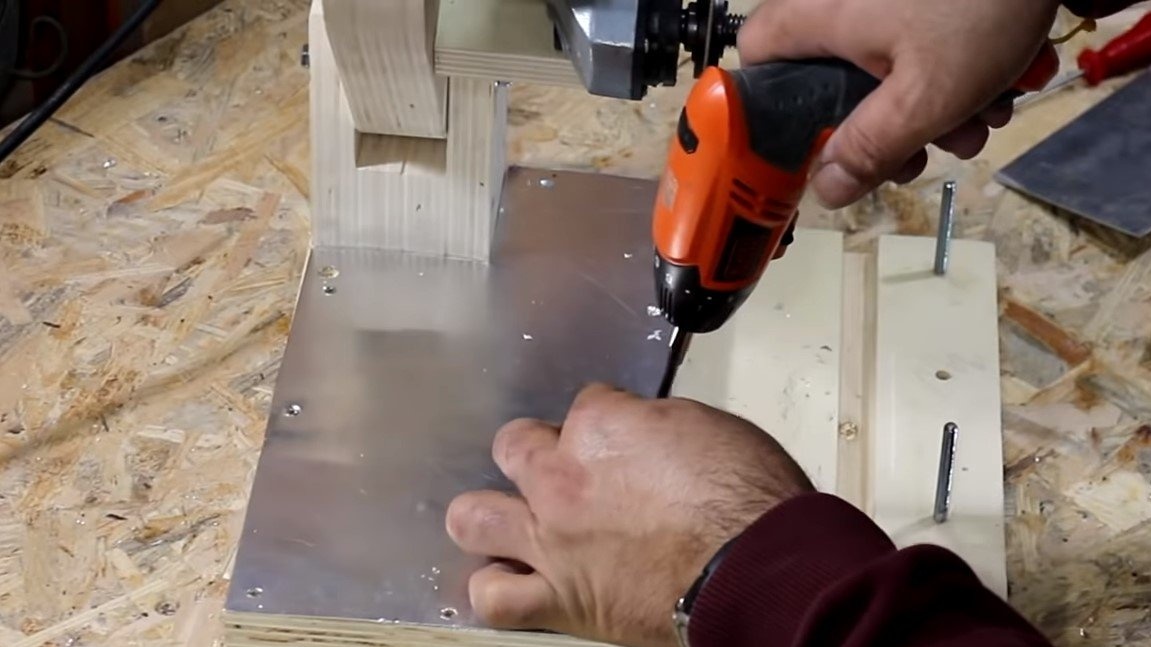
At the end of the step, we sheathe the work planes with aluminum sheet or galvanized steel. Now the machine looks beautiful and it will be more comfortable to work behind it.
Step Six Final touches and tests
At the end, install a spring that will raise the grinder to its original position. If the spring has little force, use several springs or make a lever.
In order not to lose the key from the grinder, the author arranged for him a place by wrapping two self-tapping screws.
Regarding the control of the machine, the author installed a small switch on the machine. If you feel sorry for cutting the cable, you can just put the socket with the switch. The cable is securely fixed to the machine body with cable brackets so that nothing hangs. The author’s grinder was fixed to the car already stationary.

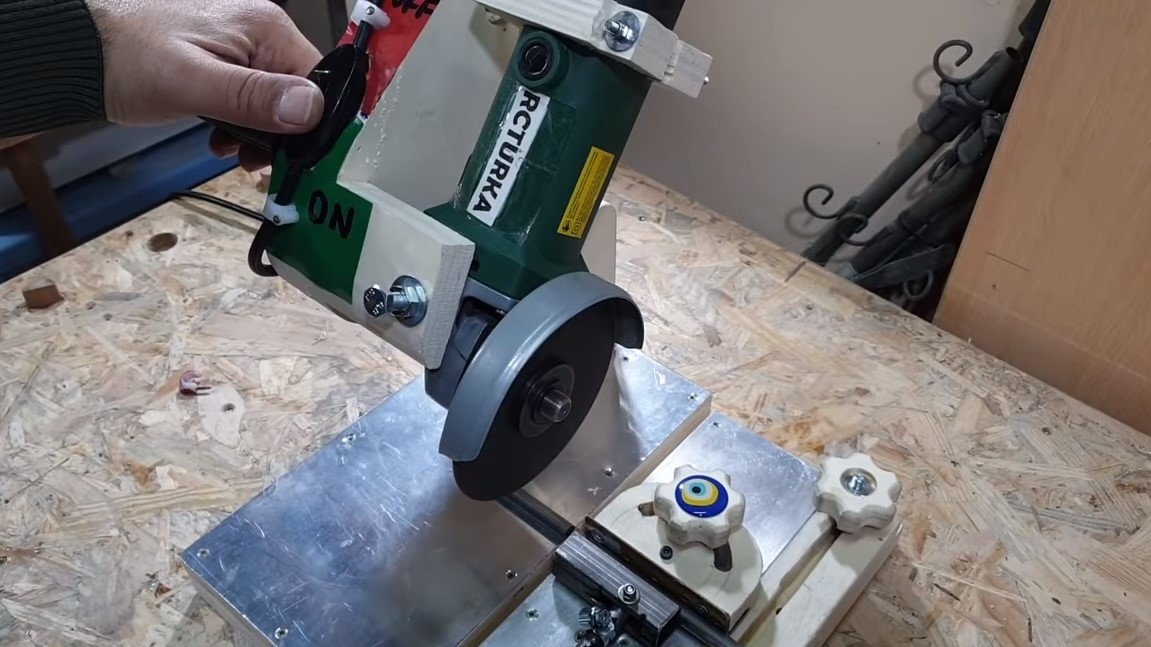
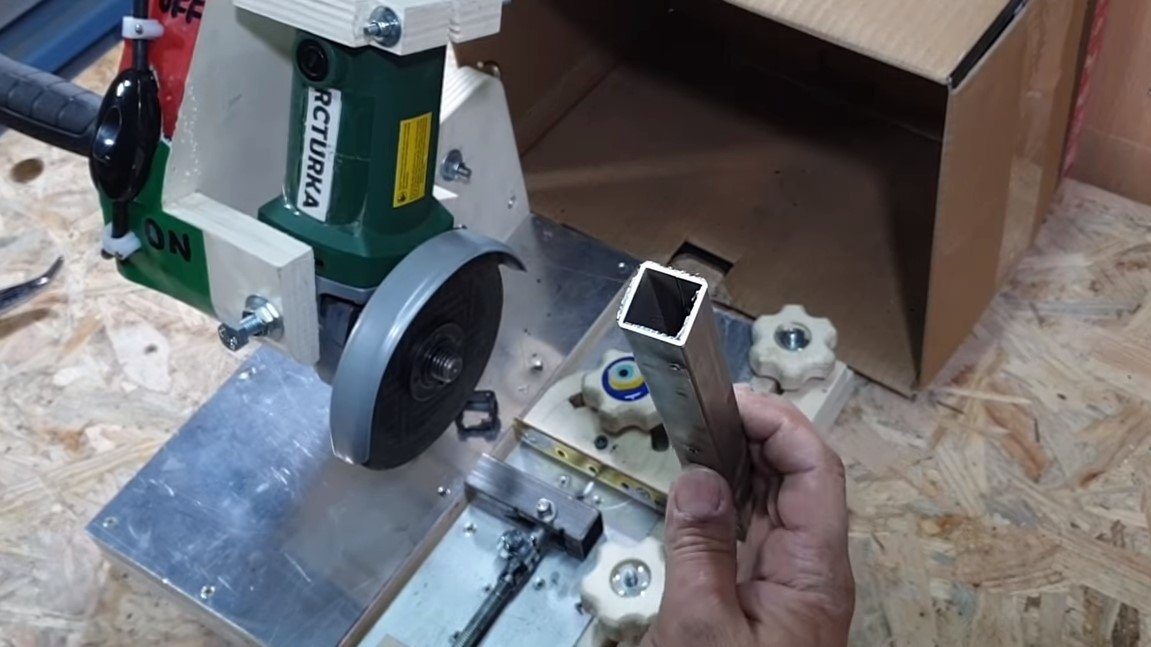
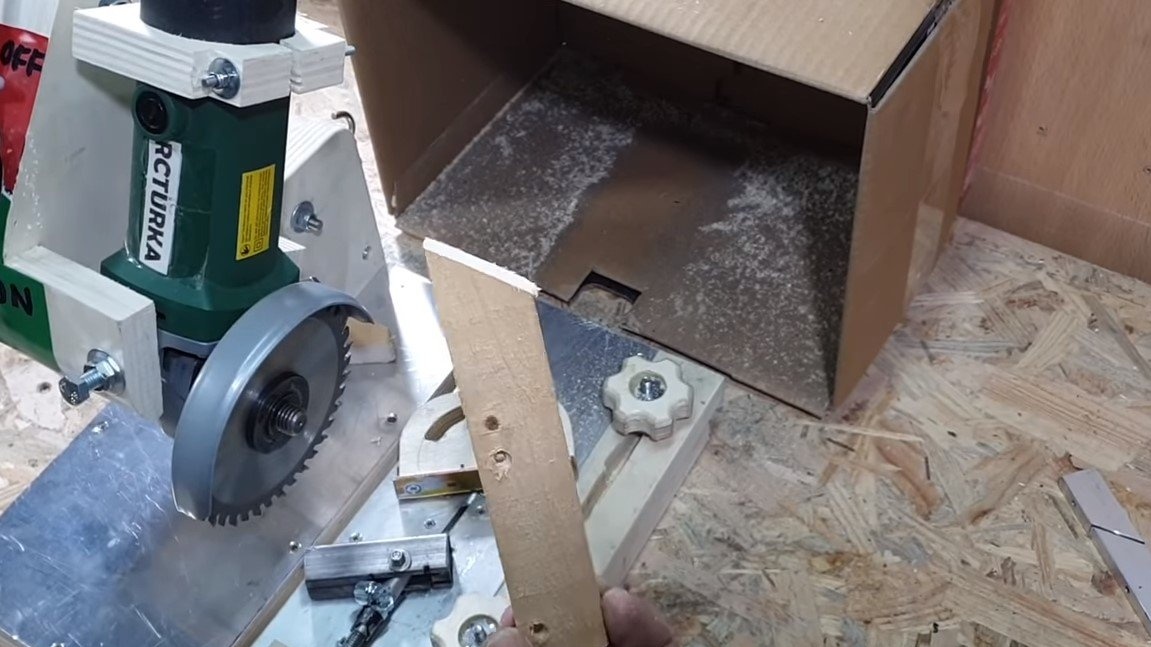
After making sure that the grinder is adjusted and that the fixing bolts are well tightened, you can test the machine. The author, as an experiment, cuts profile pipes and wooden blocks, the machine does an excellent job. For greater convenience, you can make the emphasis a scale with degrees, at least with the most commonly used.
The project is finished on this, I hope you liked the homemade work, and you found useful thoughts for yourself. Good luck and creative inspiration, if you decide to repeat this, do not forget to share your ideas and homemade things with us!