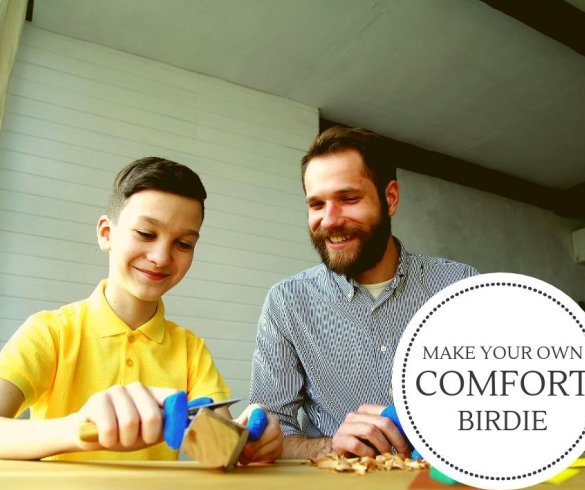
In this article, the master will show us the basic techniques in the manufacture of wooden birds. Once upon a time, such a father gave him his father. Now he decided to transfer the skill to his son.
Tools and materials:
- Harvesting from linden;
-Knife;
-Beeswax;
-Sandpaper;
-Glue;
-Template;
-Scissors;
-Glue;
Step One: Template
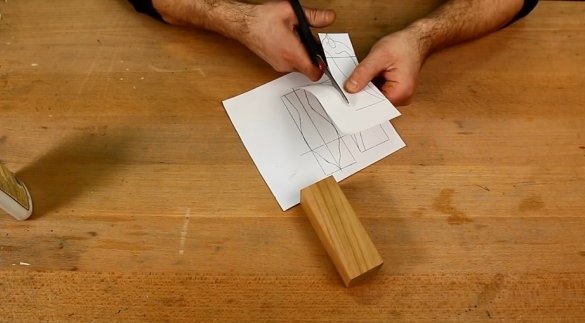
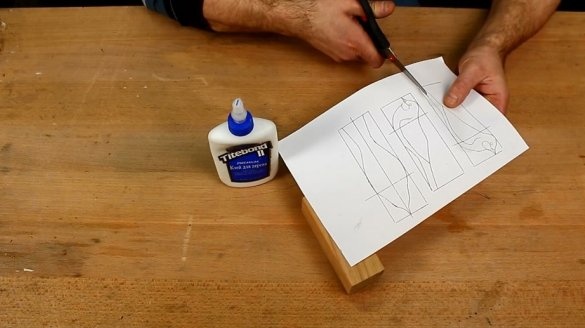
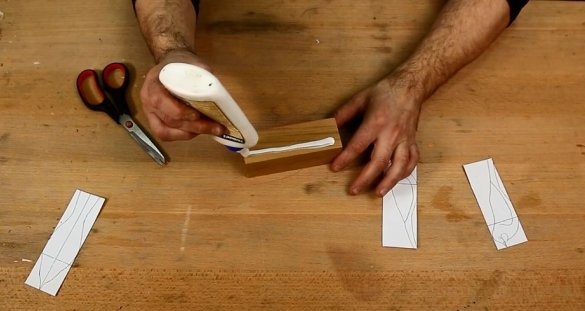
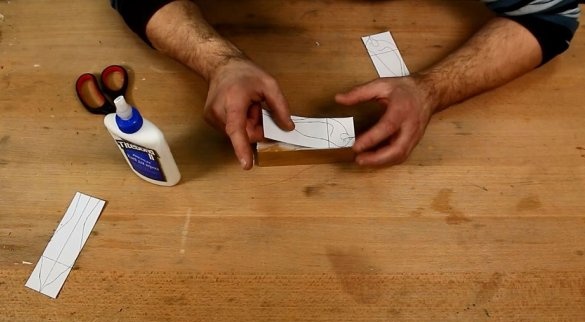
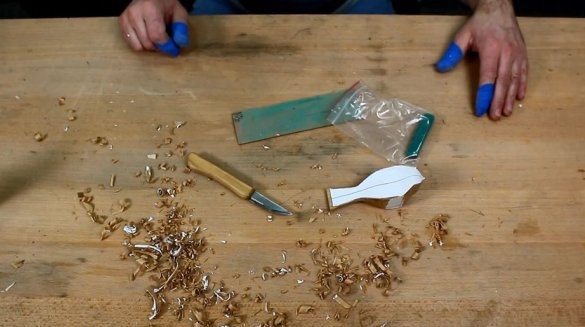
A template can be drawn or printed, the main thing is to observe symmetry. The template should be in four projections: top, bottom, left side, right side. The size depends on the size of the workpiece and your preference. After manufacturing, the template needs to be cut,
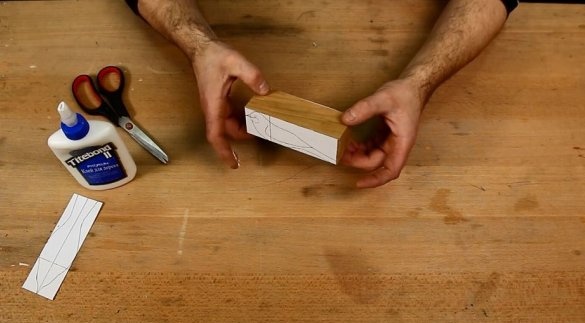
and then stick on the workpiece.
Step Two: Cutting
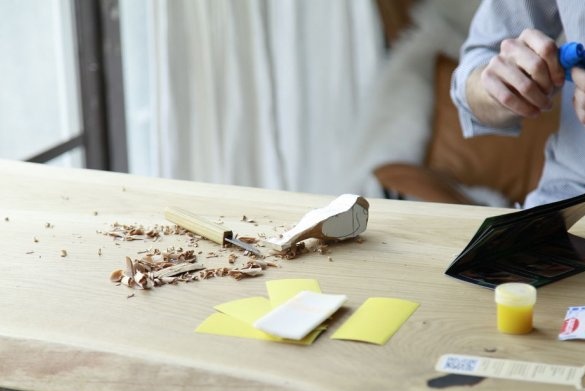
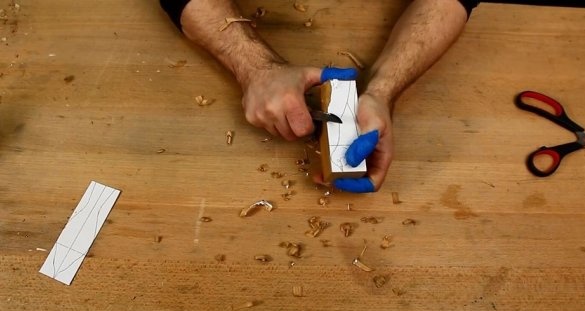
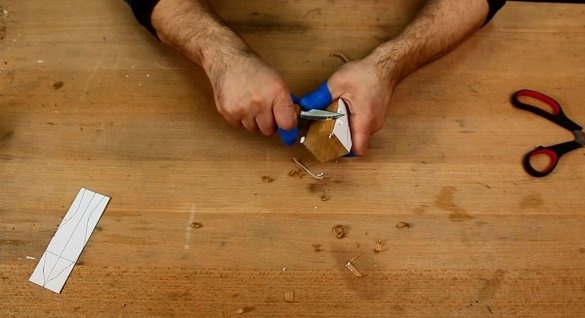
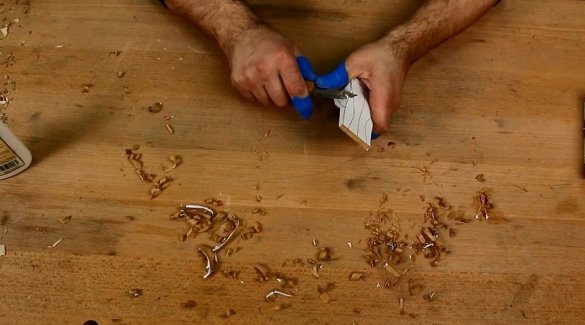
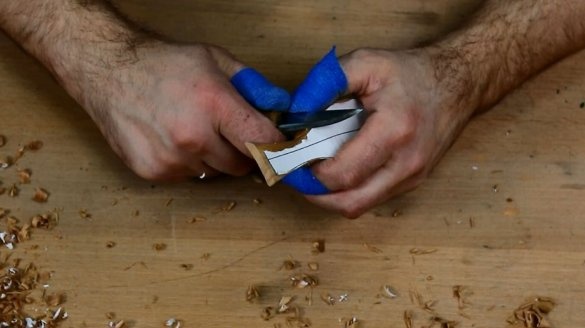
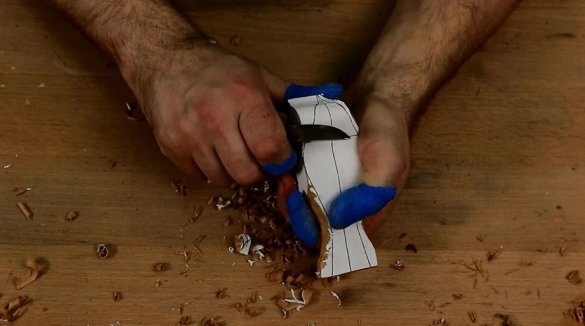
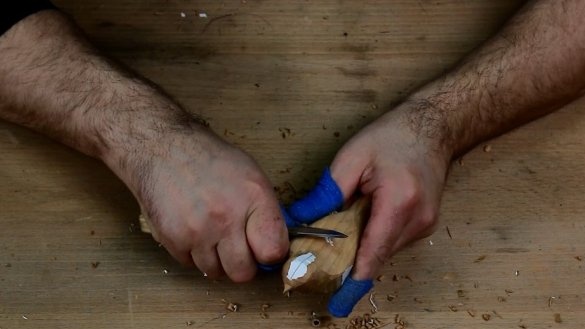
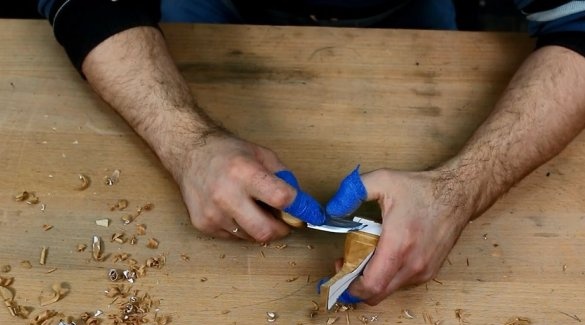
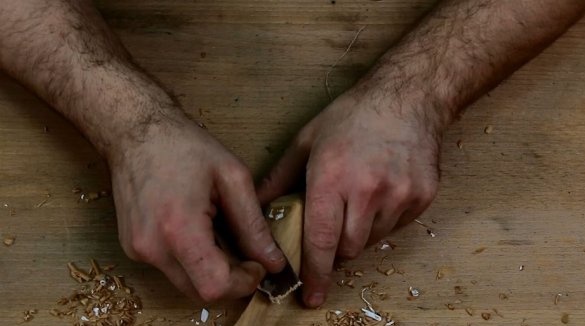
Now you need to cut off the excess wood. The master uses a knife for this. This is easy to do by sticking to the lines of the pattern.
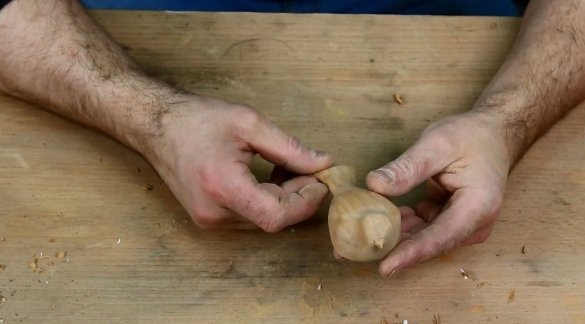
As a result, you should get something like this figure, as in the photo.
Step Three: Grinding
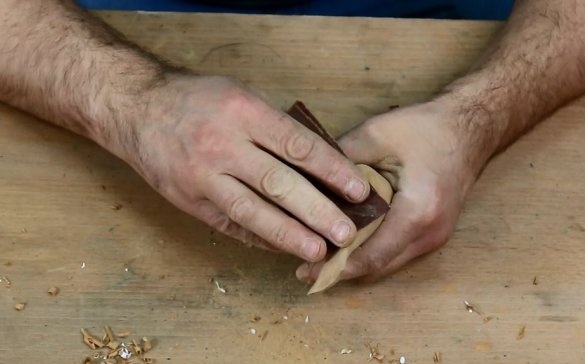
Next, the master proceeds with the processing of the bird with sandpaper. He starts with 150 sandpaper and ends with 230.
Step Four: Wax
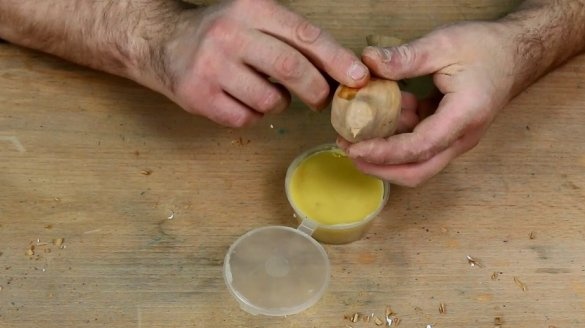
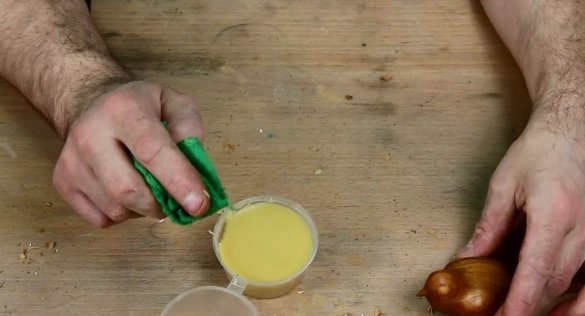
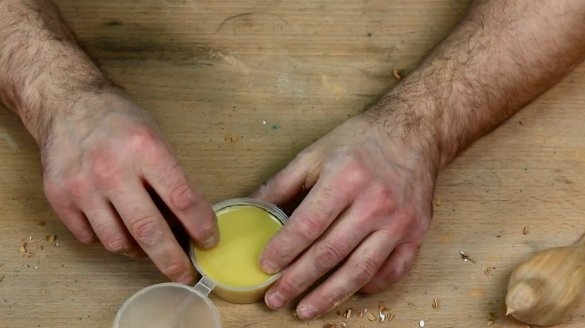
After grinding, wax is applied to the figure and it is polished.
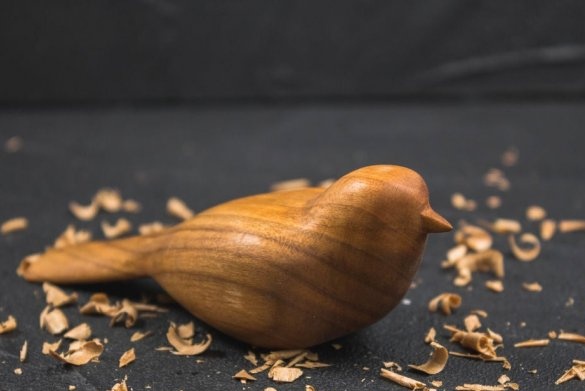
Here's a bird.
If you do not have experience, the master advises using a cherry blank instead of linden. Although linden is easy to process, cherry is even softer.

