

Hello dear readers of the site!
I have to work with plastic pipes for heating under the ceiling at a height of 3 meters. And because of the available material (i.e. the remains), which had to be folded along the walls (pipes, boards, metal, etc.), it’s not always possible to put a stepladder so that the upper platform is in a horizontal position, the stepladder was set as ordinary ladder. Acquaintances and friends who could help hold a soldering iron cannot come to the rescue because of their business affairs. But you need to work. So there was such an original idea ...
It took about 2 hours!
Material
- plastic corners, tees, plugs for 20 mm PP water pipes
- plastic pipe (trim) 20 mm PP
- strap 25 mm
- belt buckle
- plastic buttons with ticks
- sewer pipe scraps 50 mm and 110 mm (gray, because also PP)
- 4x10 rivets
- reinforced washers 4 mm
Instruments
- drill or screwdriver
- 4 mm drill
- building hair dryer or soldering station
- stationery knife
- awl
- soldering iron for PP pipes
- scissors for PP pipes
- soldering iron (normal)
- hammer and anvil (vise)
- 19.5 mm metal drill bit (if used parts are used)
- rivet riveter
- RESPIRATOR, PROTECTIVE GOGGLES, PROTECTIVE HEADPHONES and MANDATORY KNOWLEDGE OF SAFETY
Step 1: Material preparation and technical drawing.
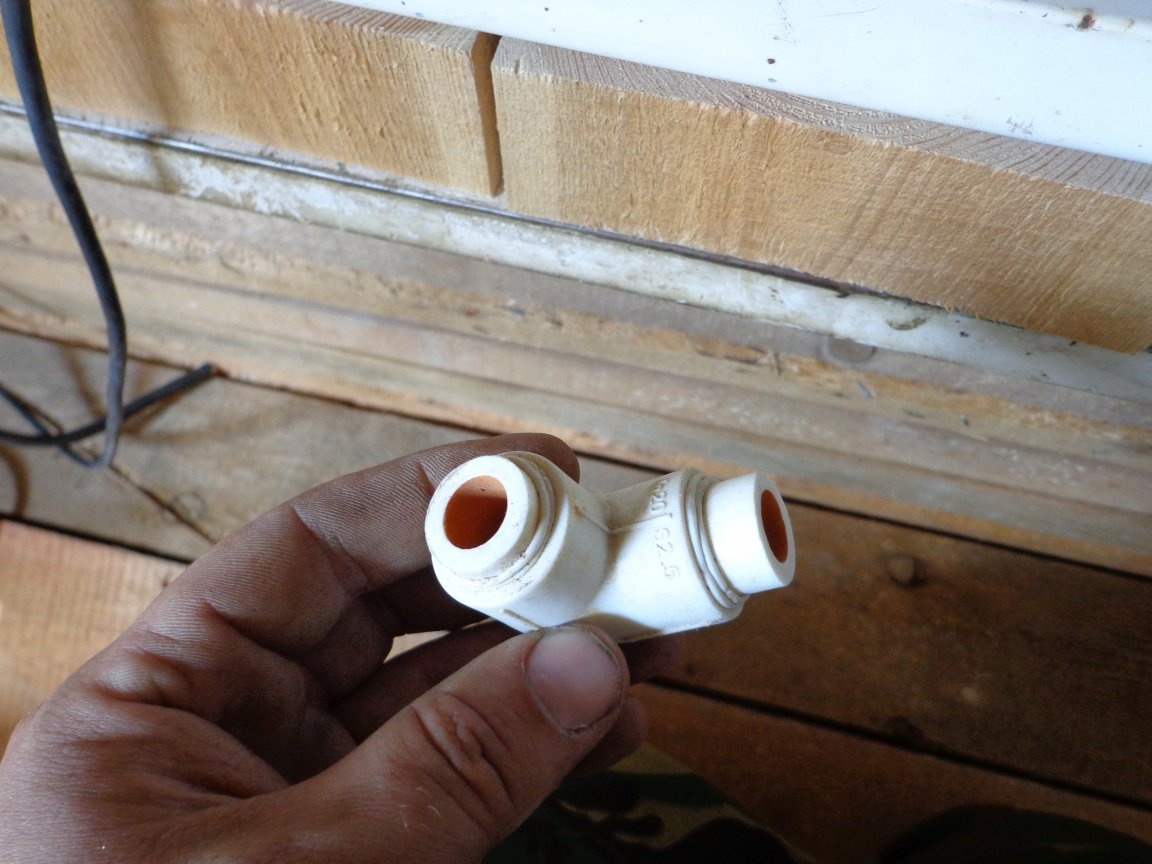
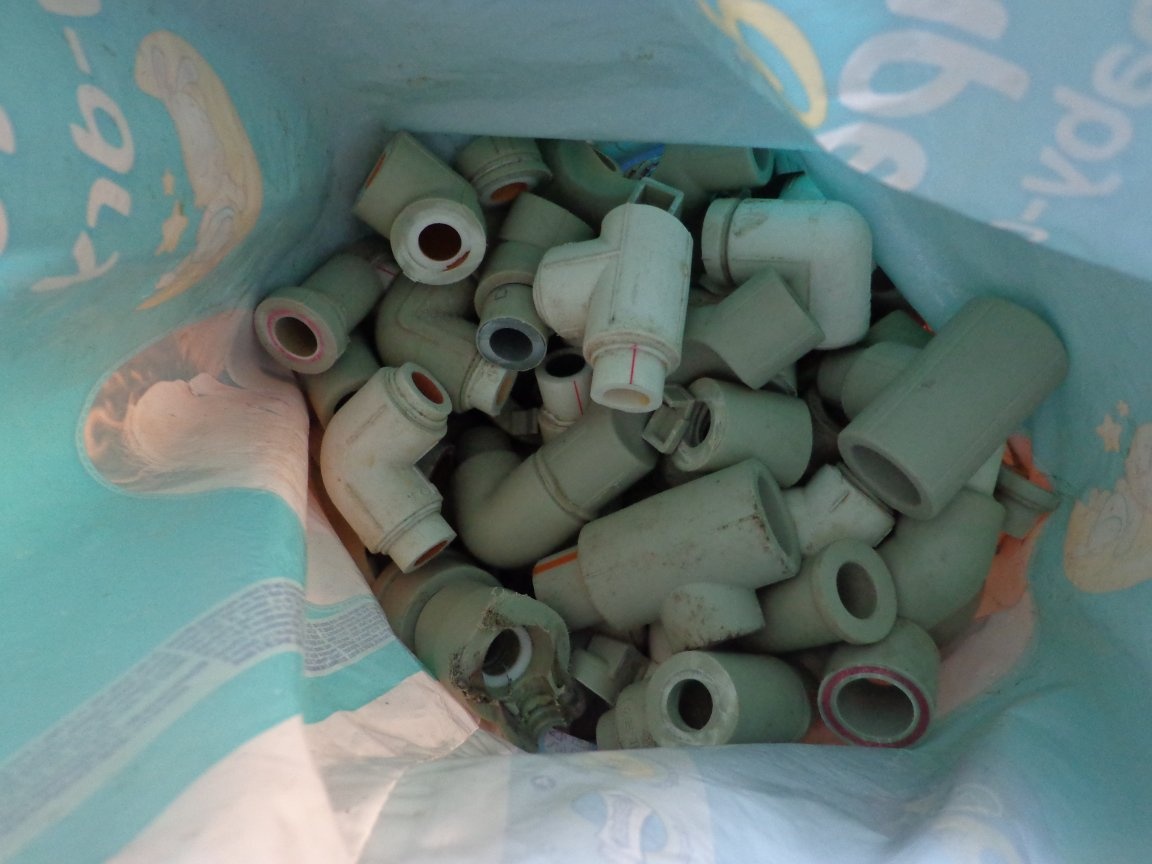
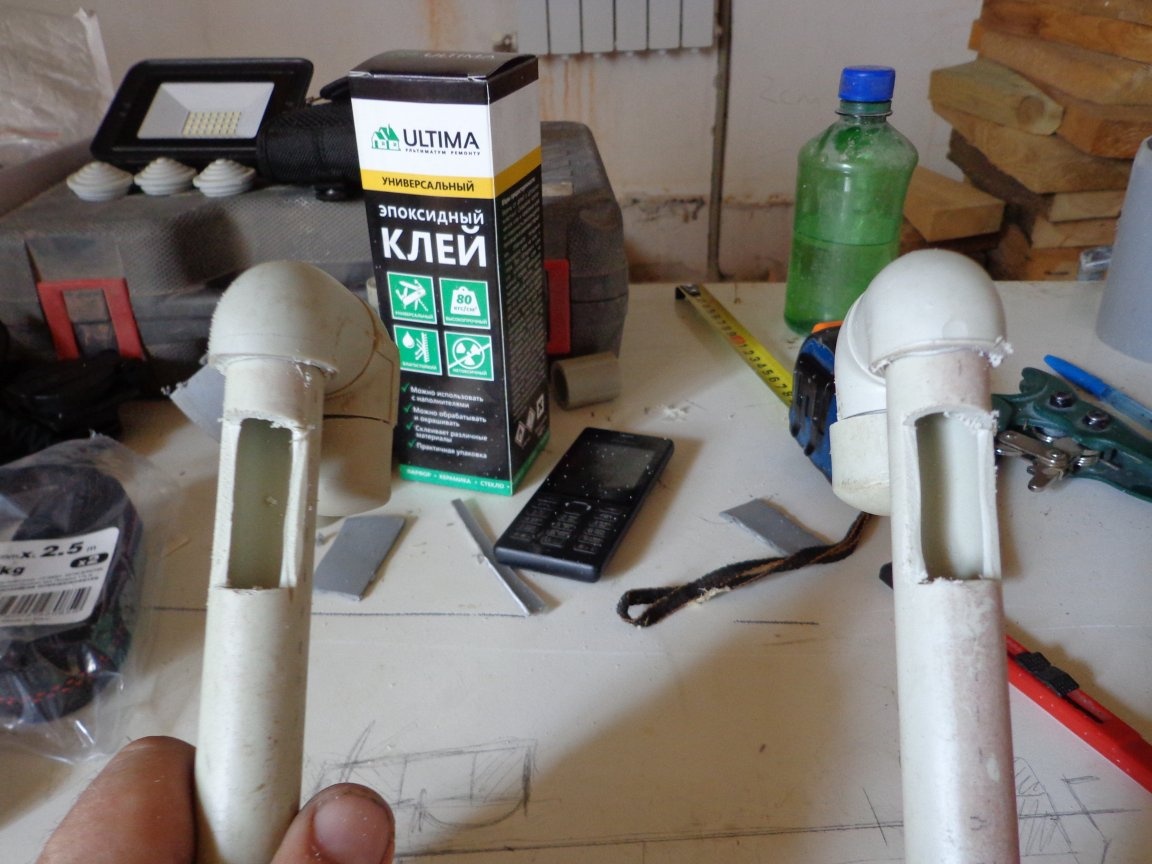
I did not see any reason to buy plastic corners, tees and plugs, because I had enough of both used and corrupted details of the part during work.

The purpose of collecting this trash was that I wanted to re-melt them later, but both the crusher and the melter for plastic are not ready yet, and they are in my plans, so they came in handy for this homemade product.
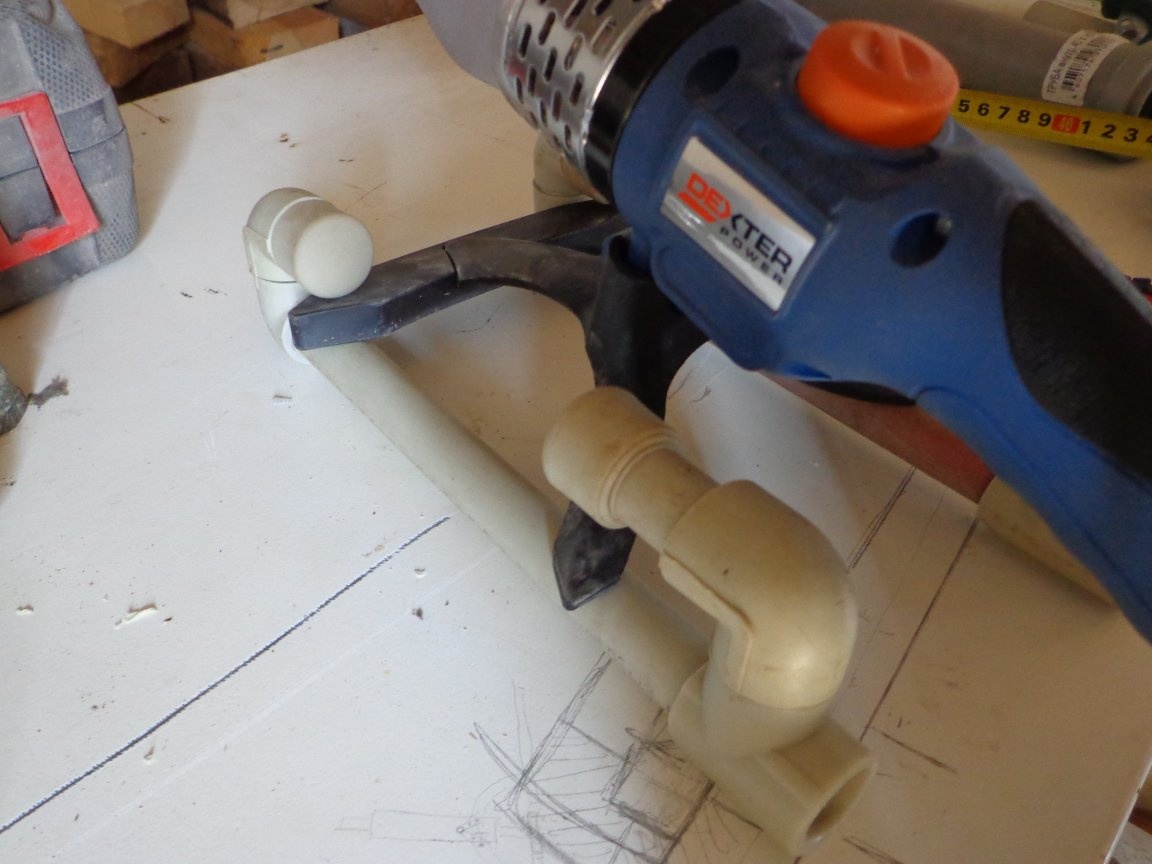
Putting the soldering iron on the tubes to determine how the final creation will look and think about how to draw it all to facilitate work. The most important thing in drawing up the picture is to take into account how the soldering iron will be held in the holster.

So the technical drawing
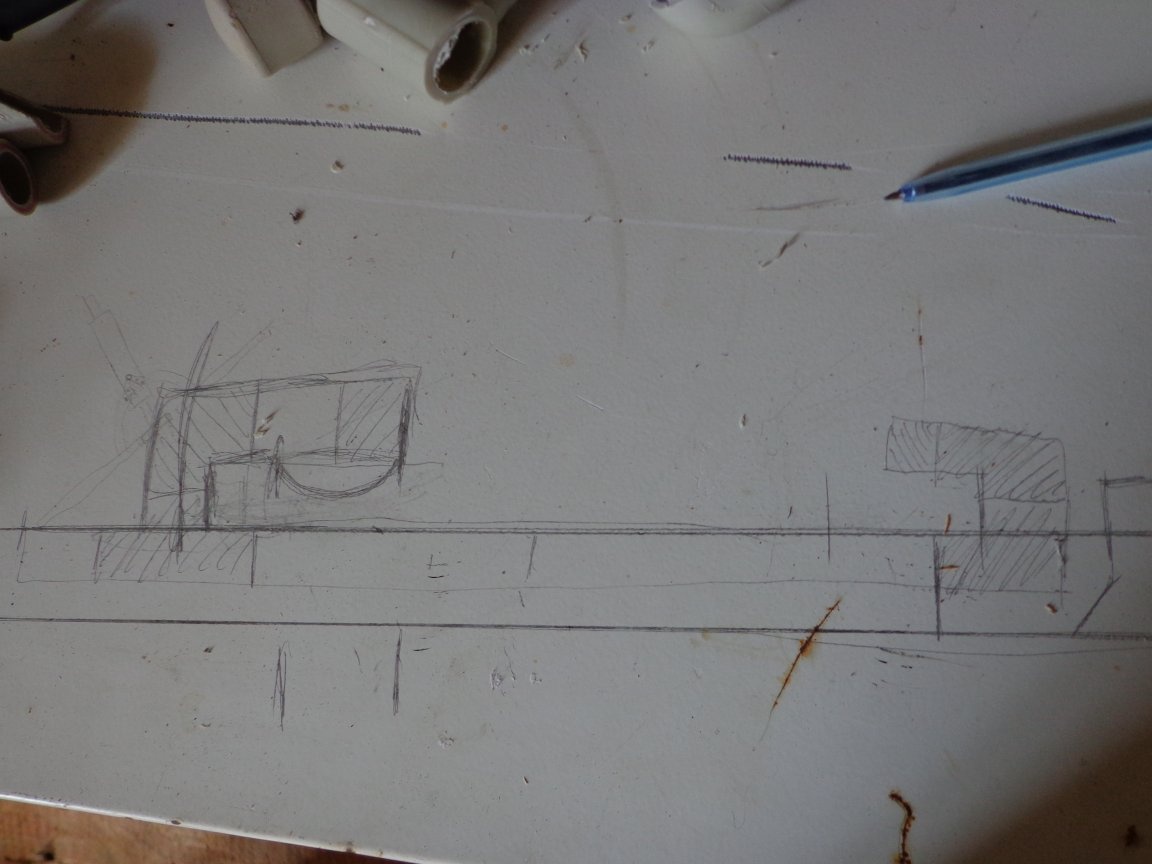
First you need to draw a technical drawing, it turned out "not really", but this is to understand the general features and future ideas.
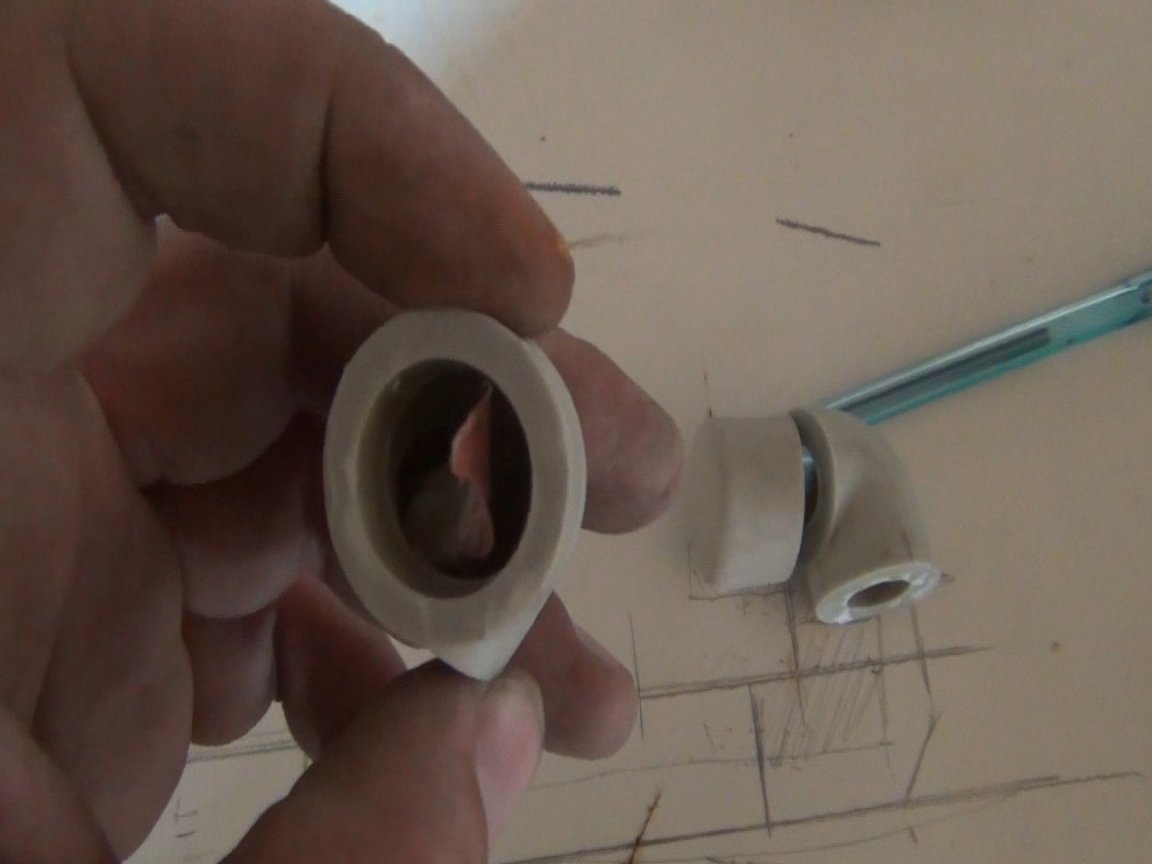
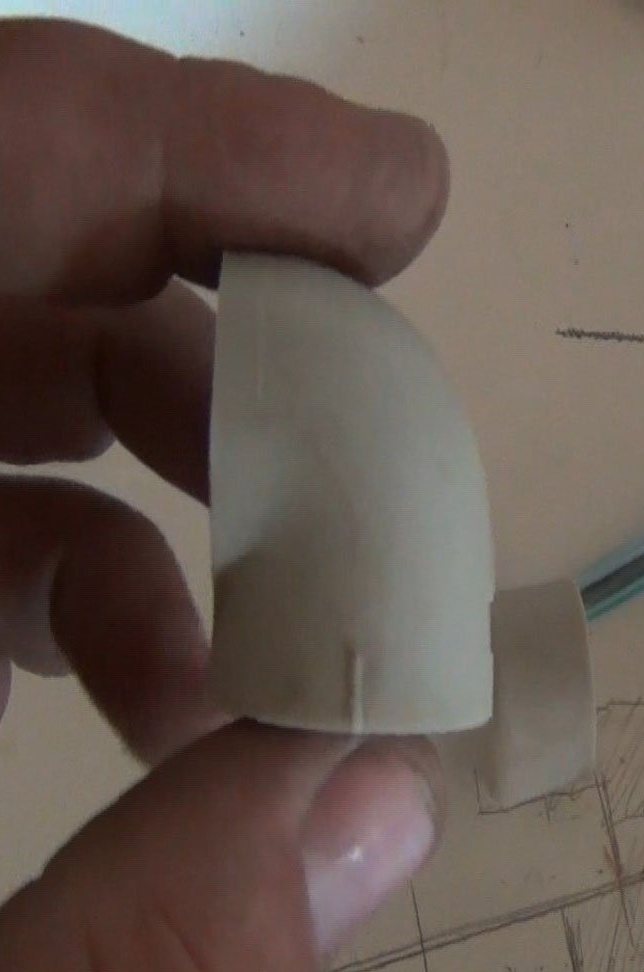
Then we take out the package where the very details are stored and select those that are needed. They are used and have to be drilled with a drill of 19.5 mm.
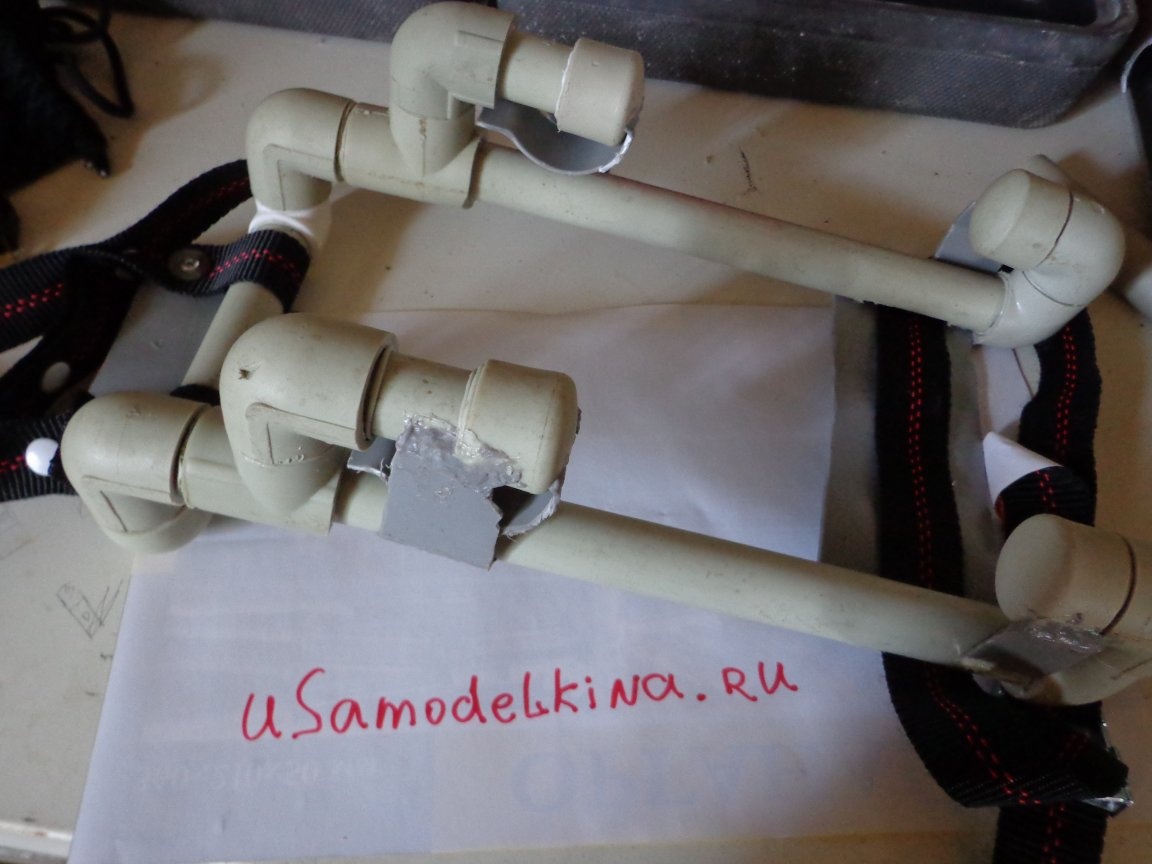
Step 2: Cutting the blanks.
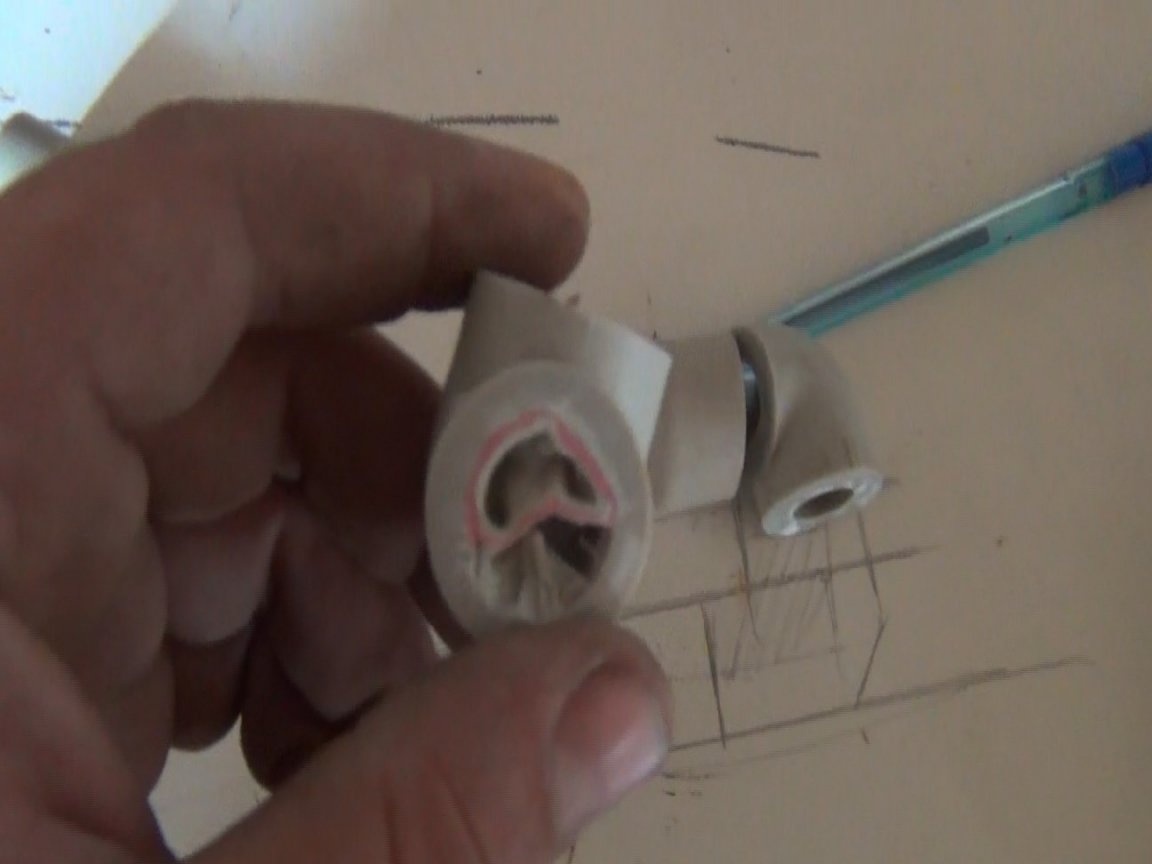
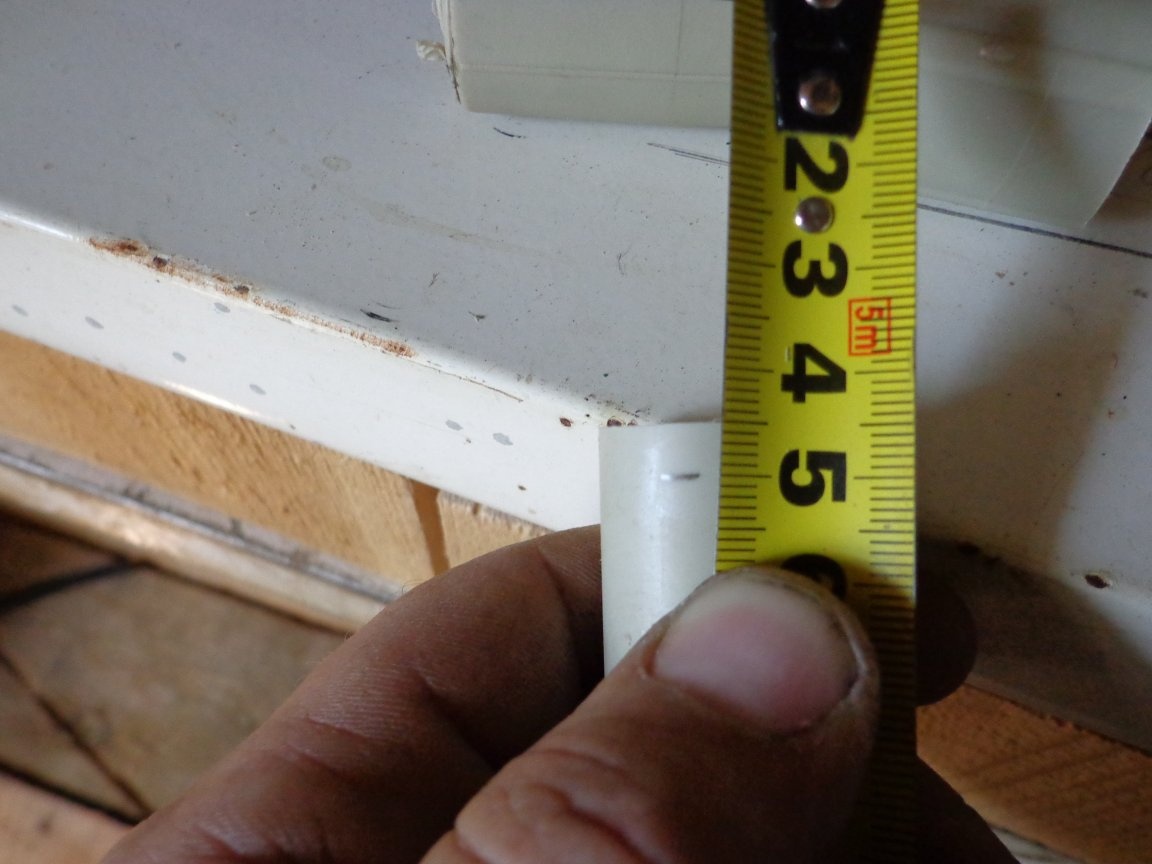
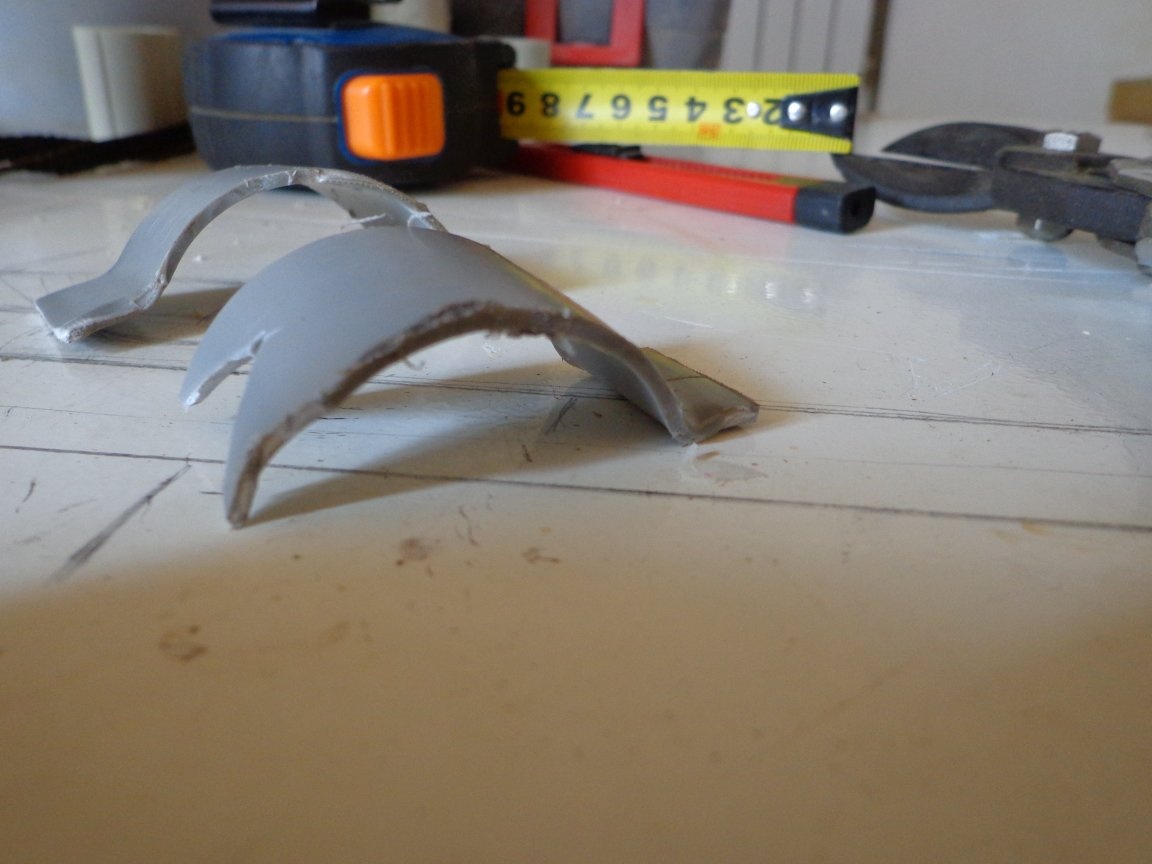
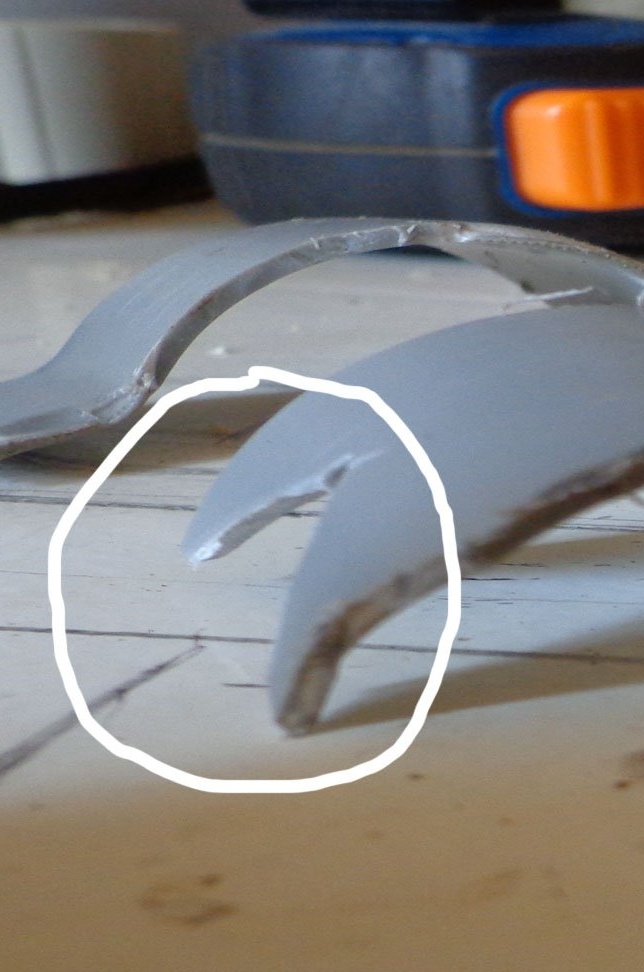
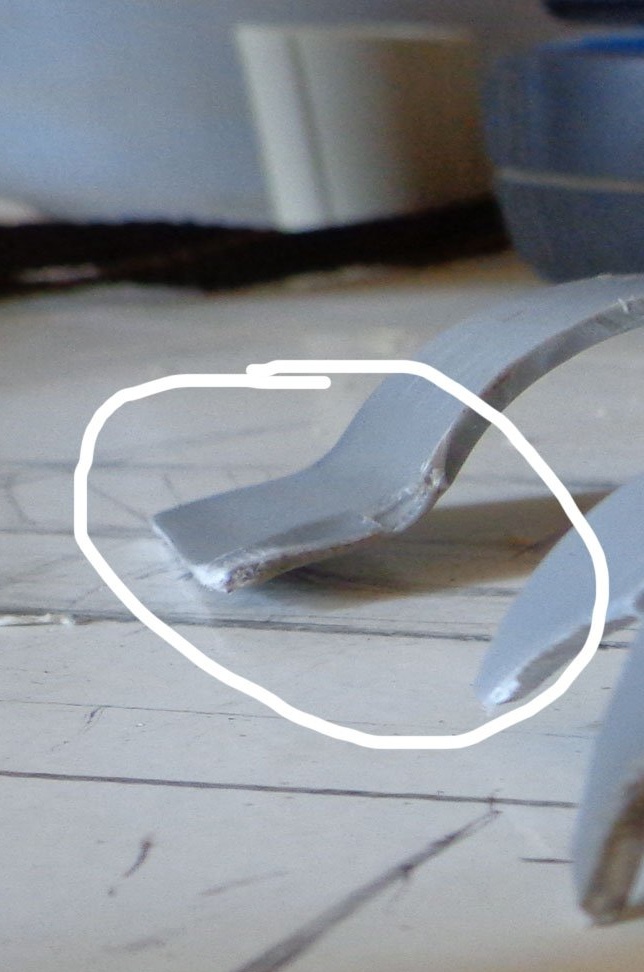
We cut the workpiece starting from the drawing and the dimensions of the legs of the support of the soldering iron for pipes.
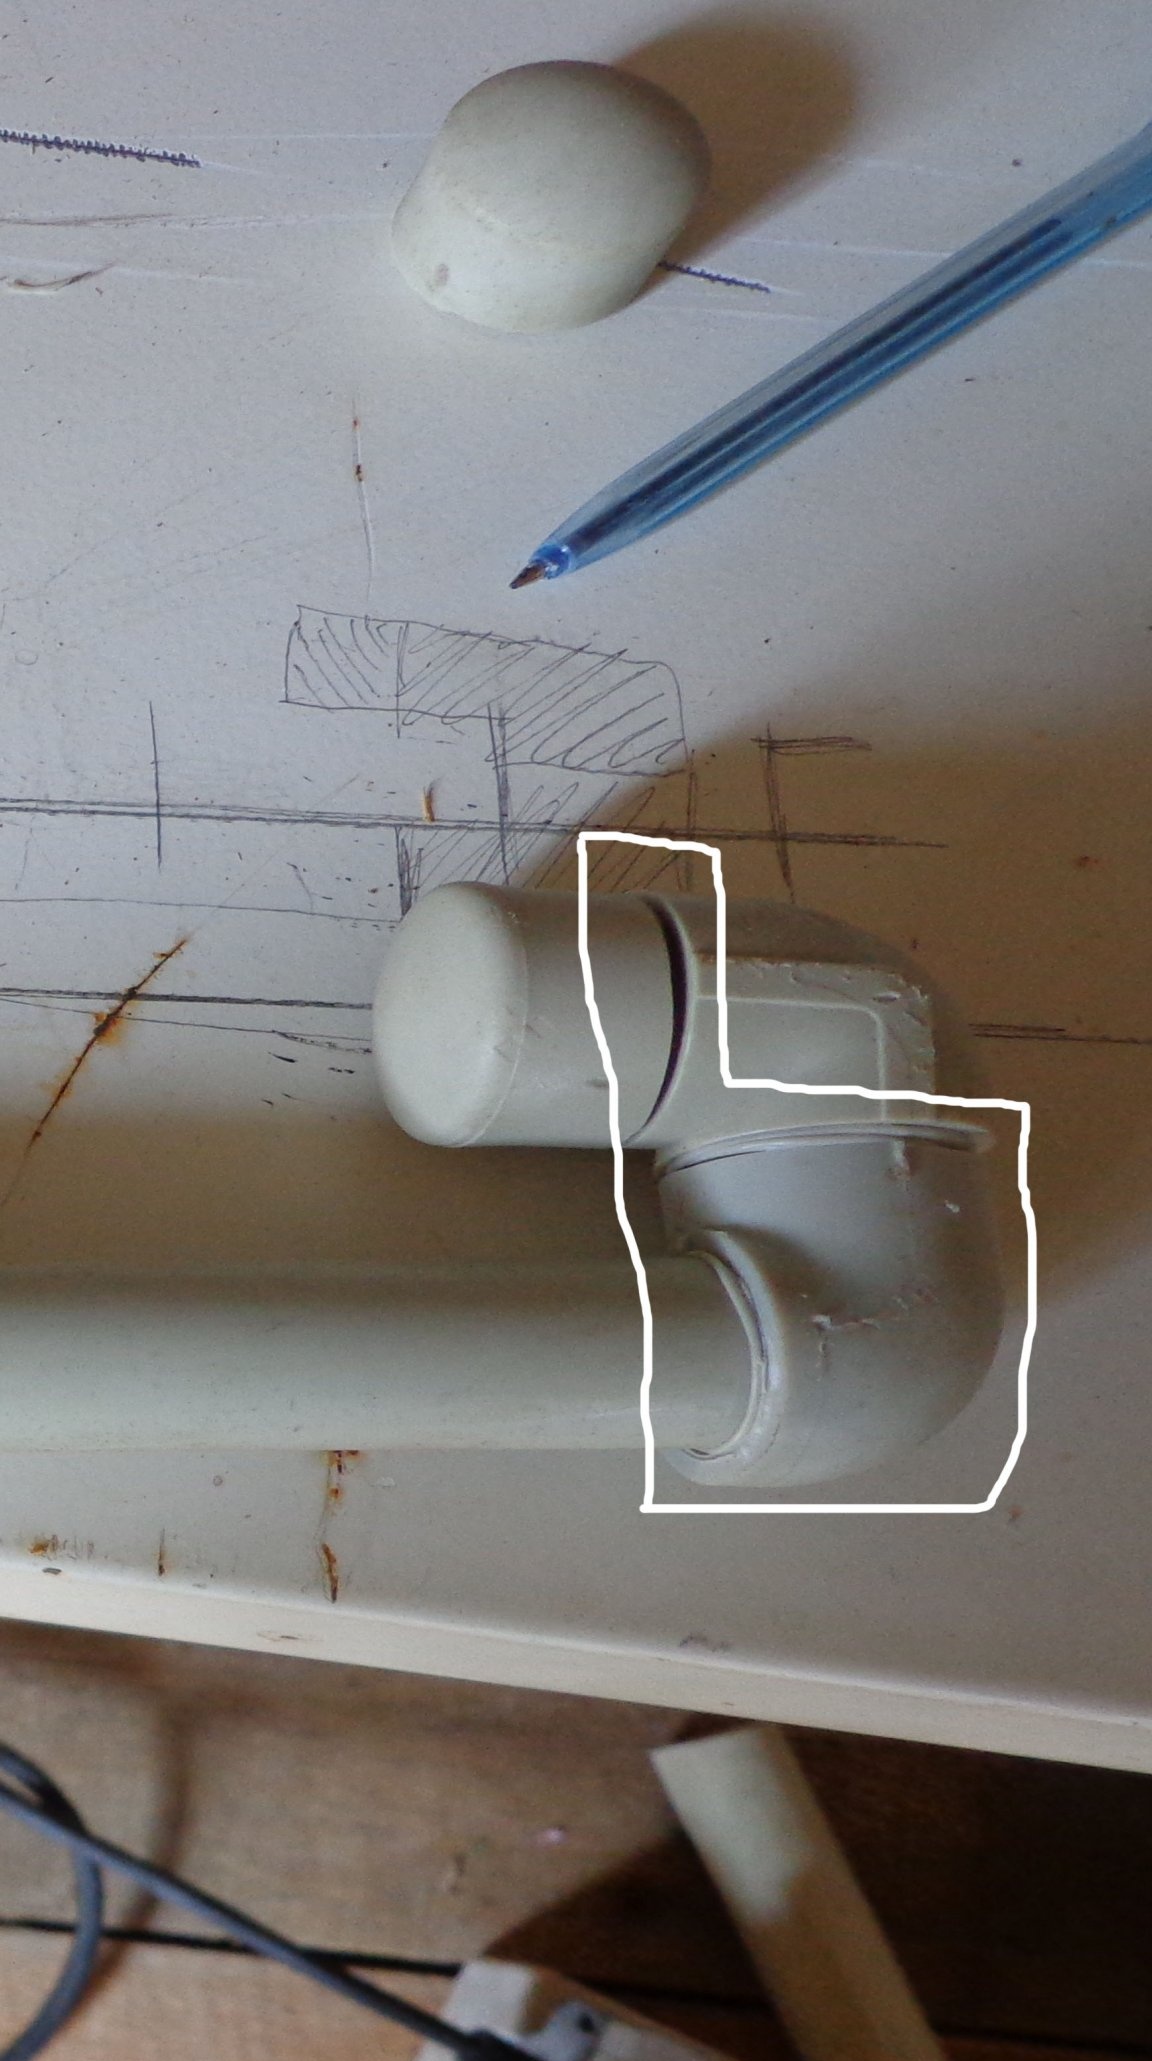
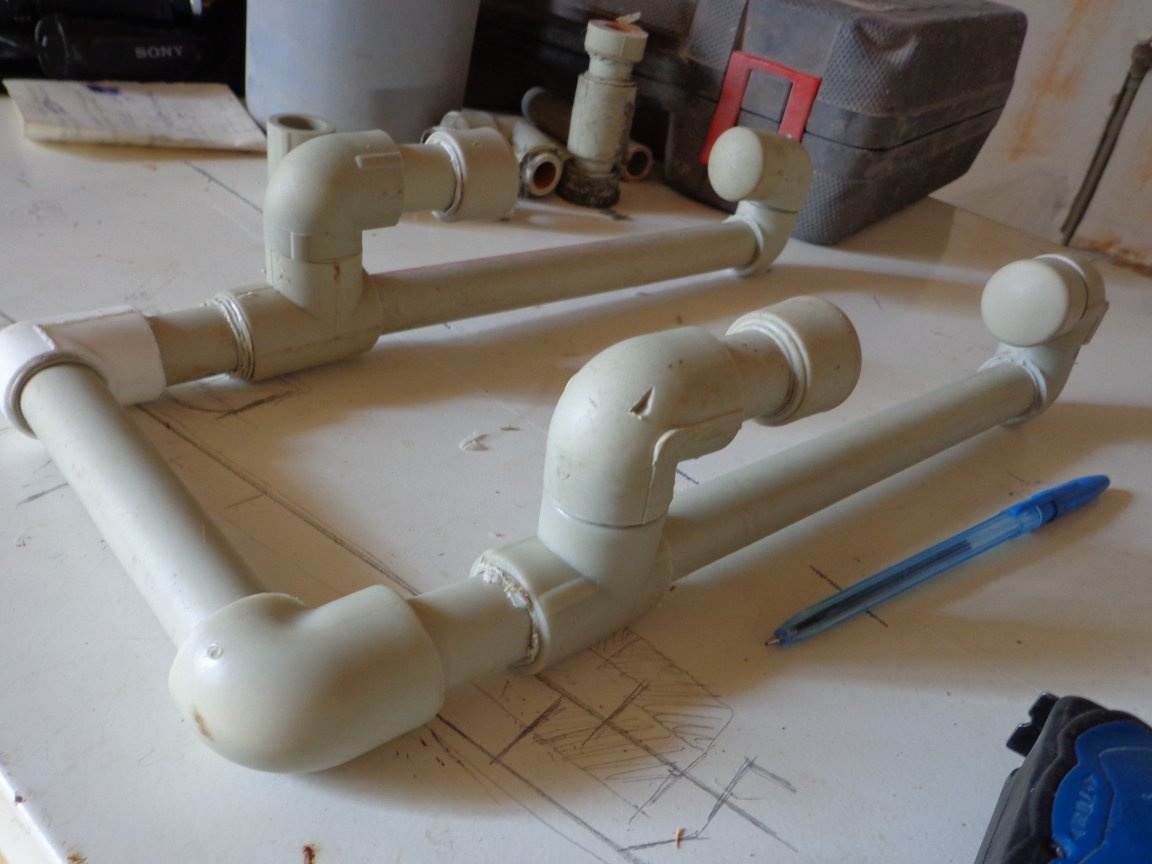
We cut some corners and tees as in the photo.This is done so that if they were soldered as if they were purchased, then there would be too much space between the parts and the soldering iron would not hold tight and would fall out at an enviable frequency. Some parts, namely tees and corners, are cut shorter, this is necessary so that when you install the legs in the holster, they do not cling to the sills (see photo).

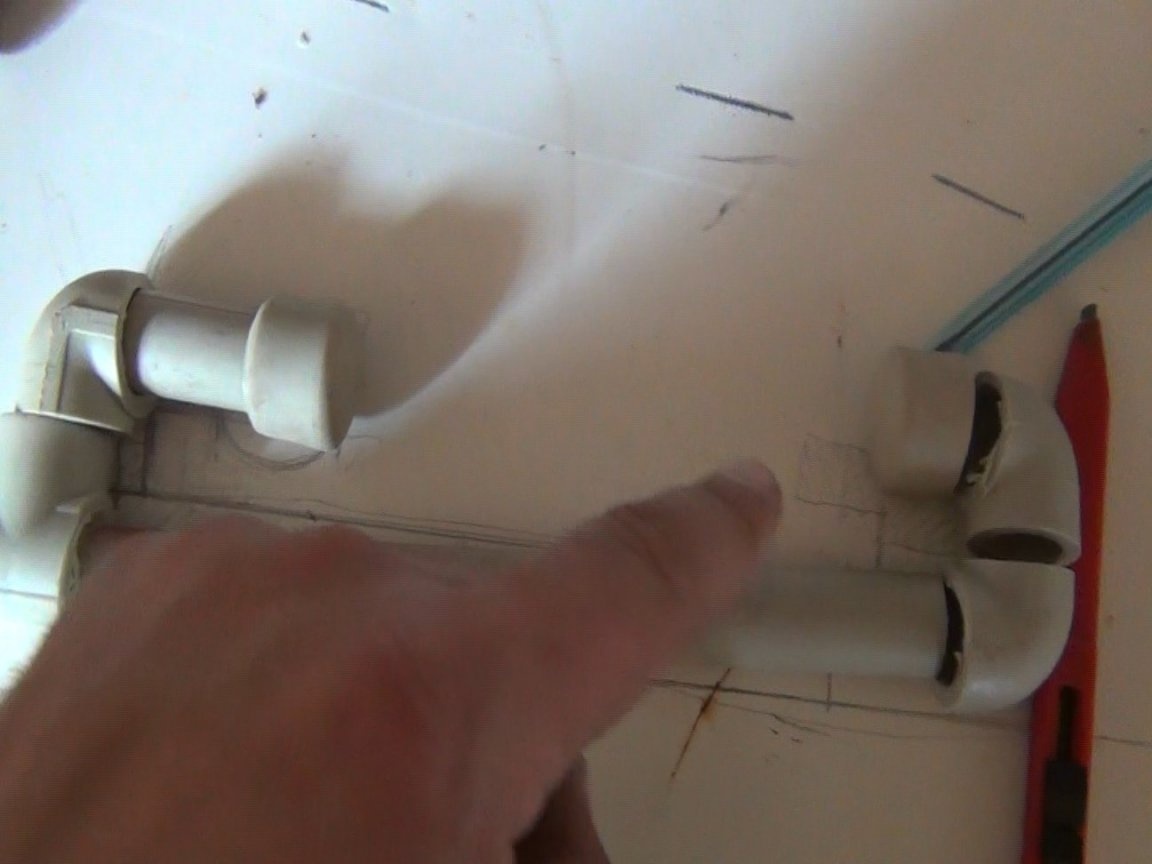

And lay them out in accordance with the figure ...

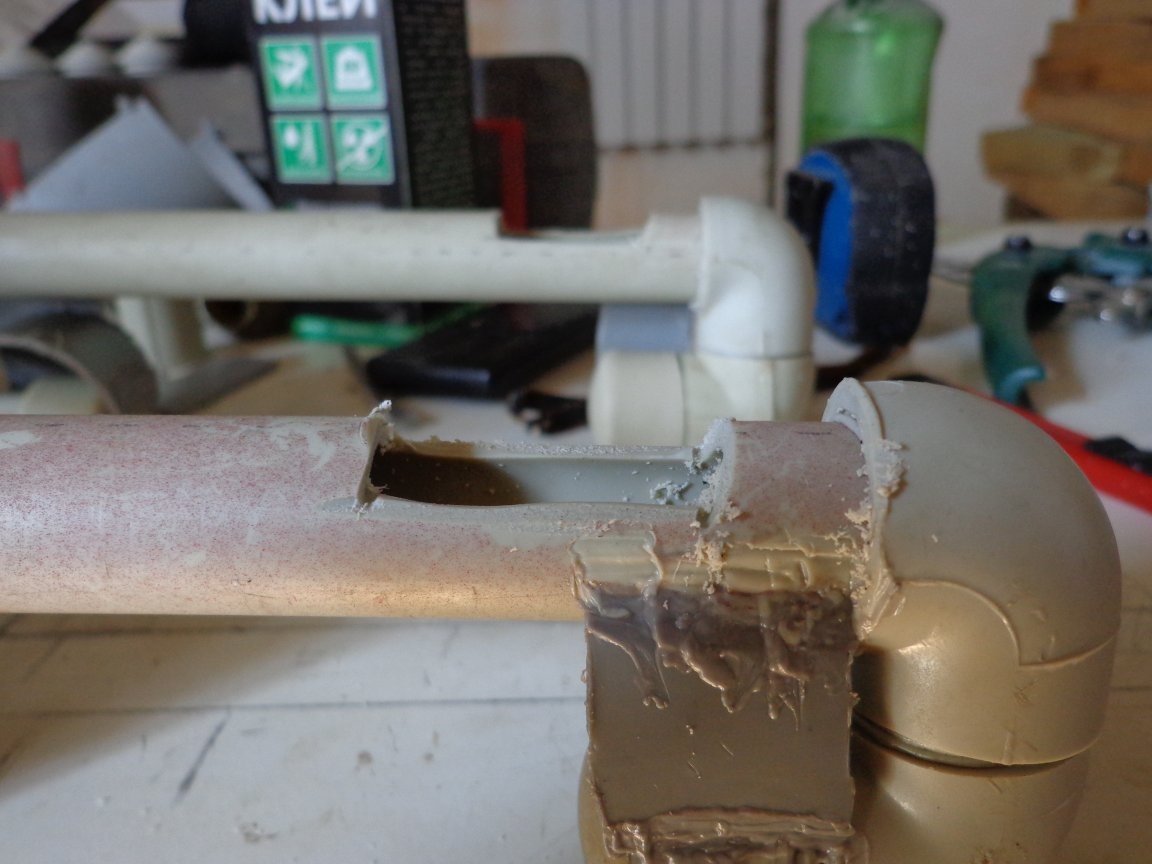
Step 3: Soldering blanks.
Because it’s not a water supply, then I’ll only warm up the details by 5 mm in depth. The end result was quite sufficient.
We get two details

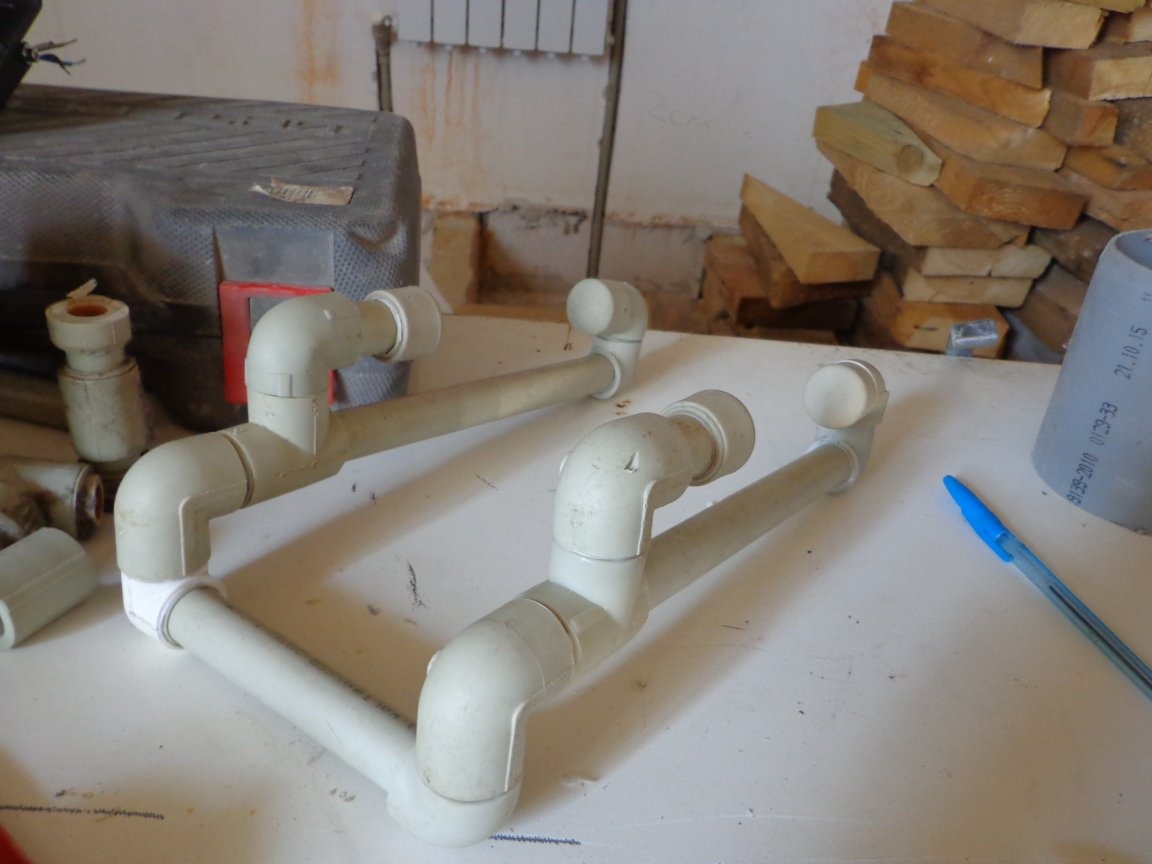
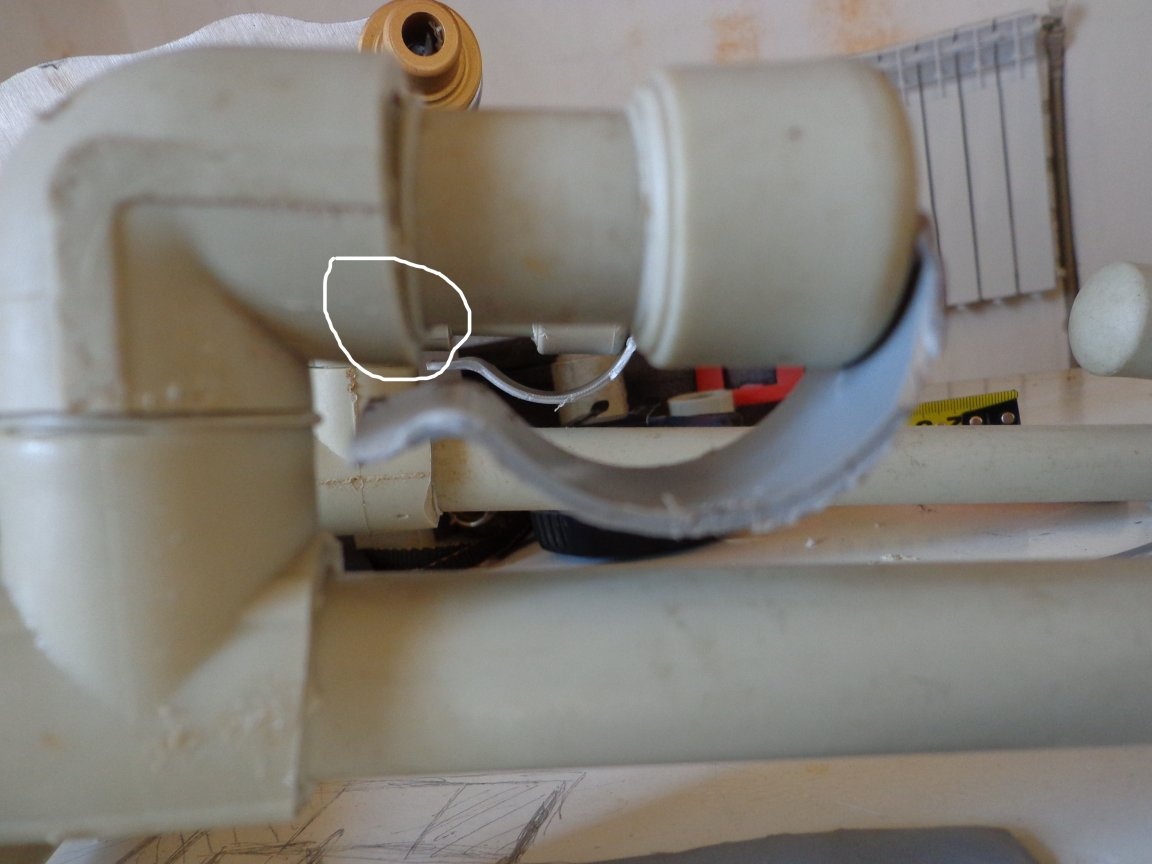
Well, now we need to make a jumper between the resulting parts from the same pipe.
But, when I made this jumper, I found that the soldering iron clung to it and had to be redone so that it did not cling (a great solution to the problem).
Here's another, working, jumper idea.
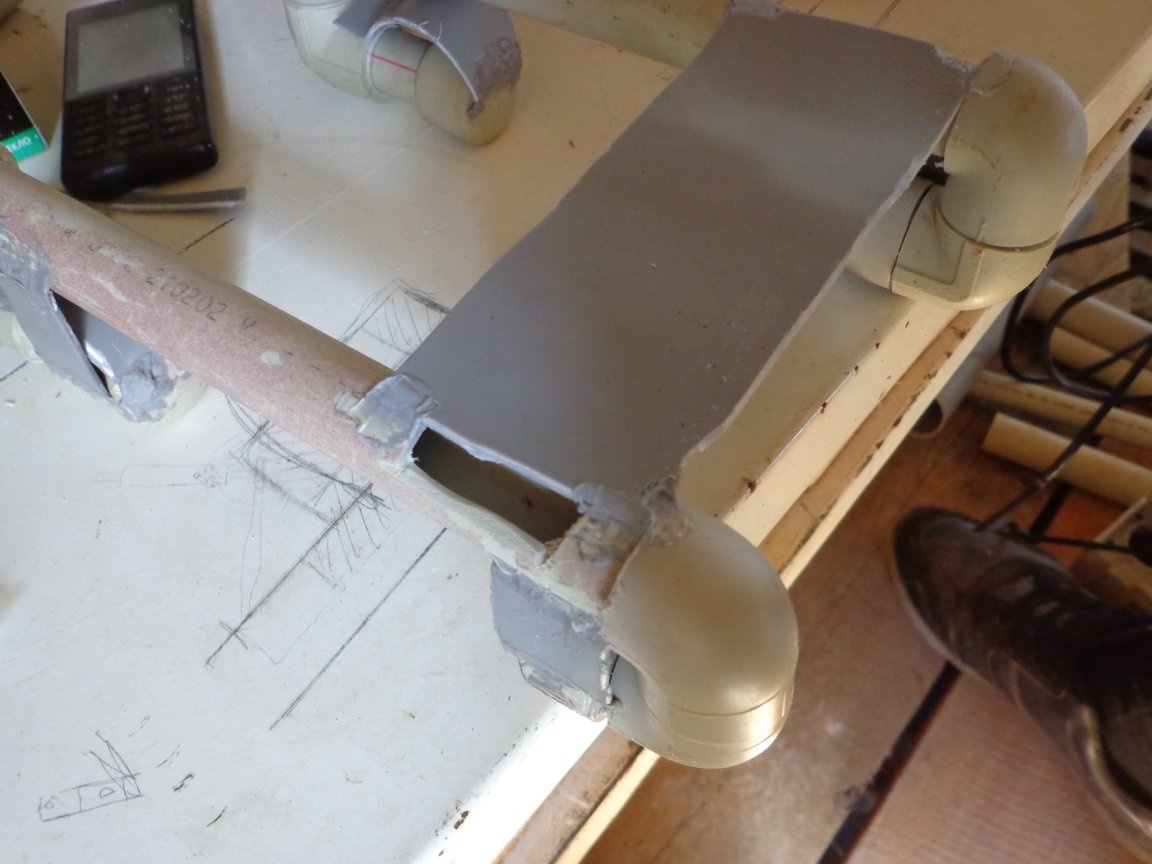
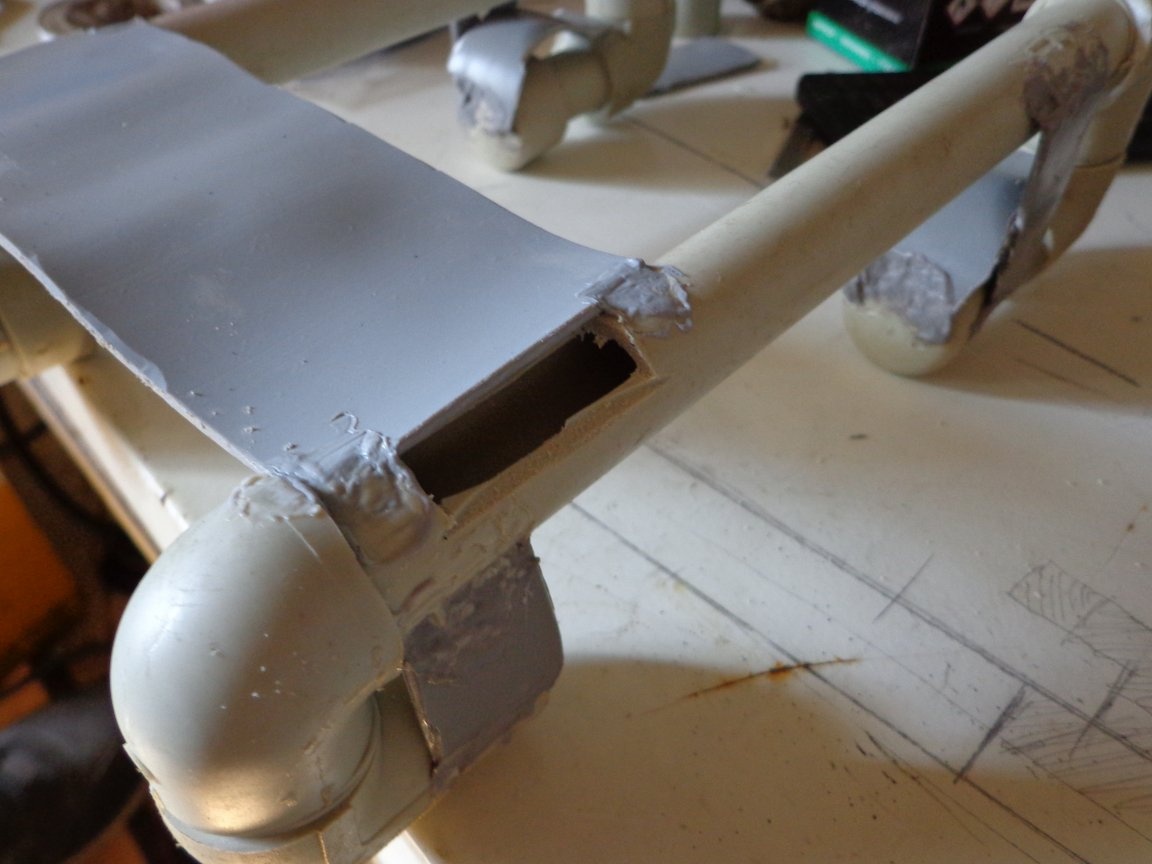
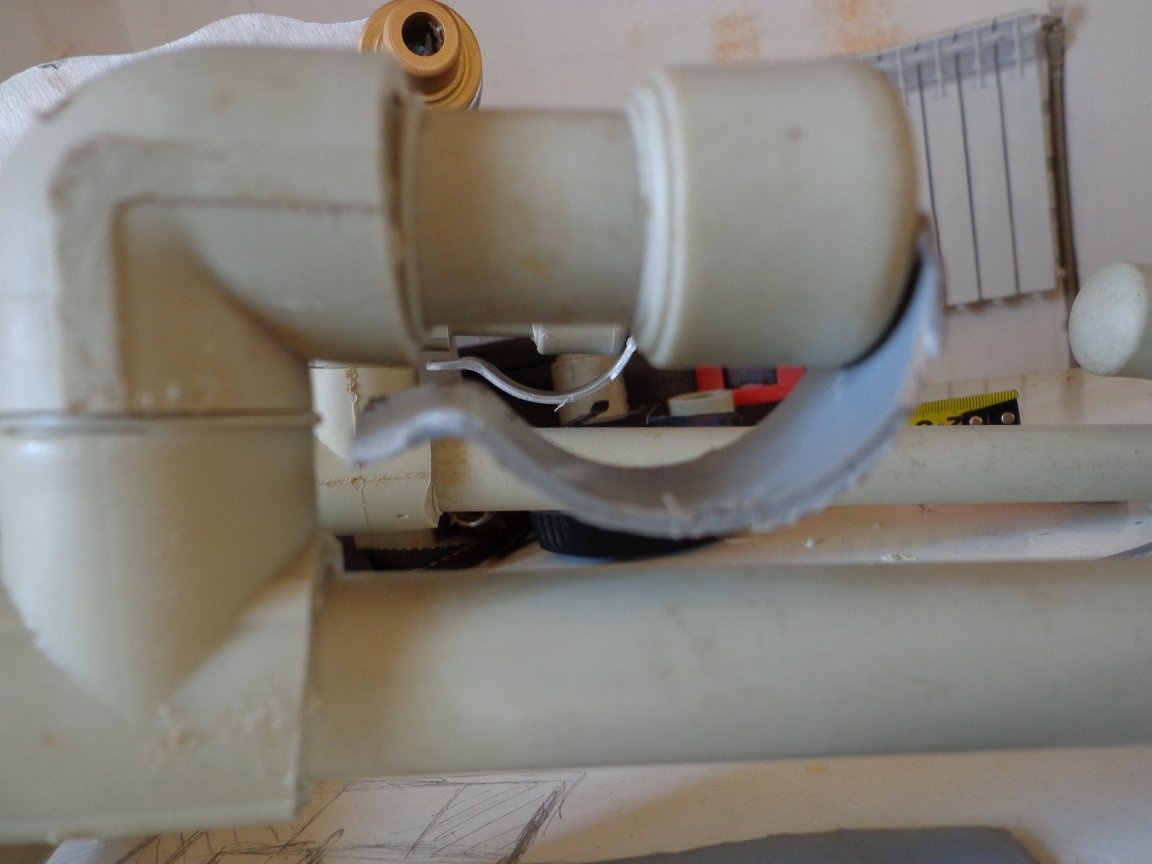
In the lower part, too, had to make a jumper from a gray pipe. When the working structure passed a test drive, it found that the lower ends periodically diverged, this does not give any reliability ...
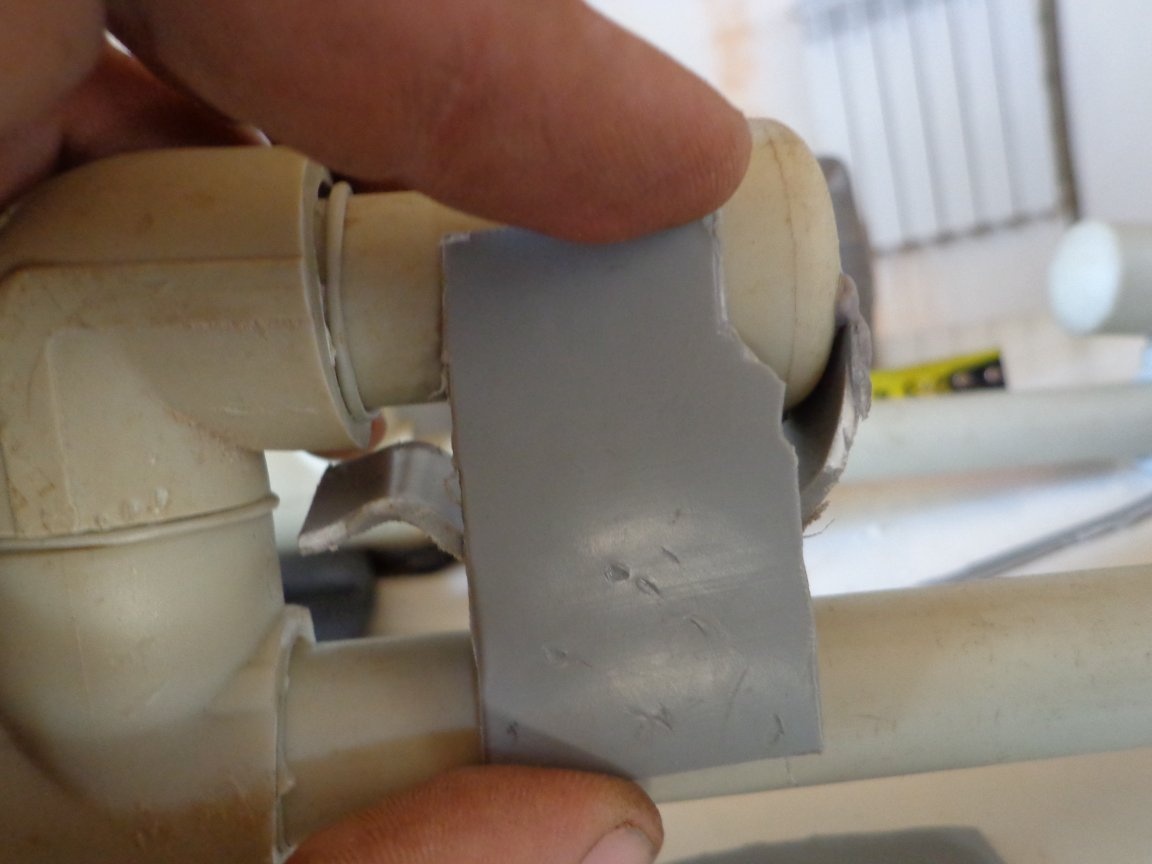
I cut a 14x6 cm plate and soldered it to the bottom of the structure on the sides. Pre-made 0.5x3cm slots on the holster on the back side, this will be needed further ...
Step 4: Side stops and clamps.
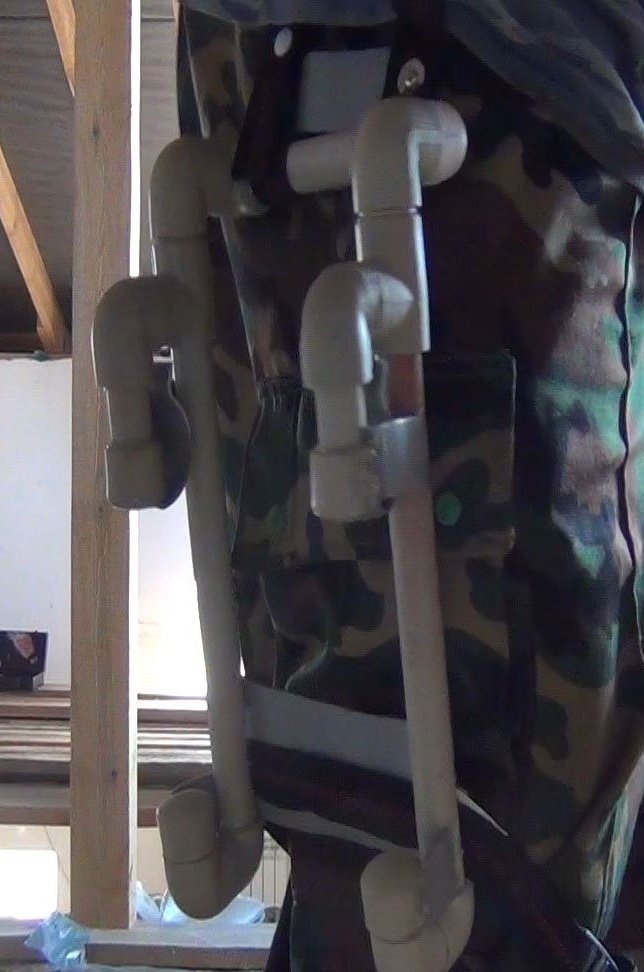
To prevent the soldering iron from jumping out of the holster, I made limiters on the sides (top and bottom) and "springs" in the upper part.
I cut out plates from a piece of 110 mm pipe and, since they were rounded, I heated it with a hairdryer (temperature about 210 degrees) and pressed it with a plank to make it flat.
The result was such records.

It turned out two plates of 2x3 cm and two 5x2 cm. I soldered them with an ordinary soldering iron.

Pressure plates, springs, cut from 50 mm pipes (also sewer).
The fact that she was a pipe only to help. Cutting off a ring 2.5 cm wide, cut along to get two arcs.
I cut V-shaped from one edge, so that later it would fit more tightly to the plug and there was more area for soldering.
On the other hand, having retreated about 5 mm, it was warmed up by a soldering station and bent in the opposite direction from rounding.
This must be done so that the spring does not cling to the sill on the soldered parts.
The result (of course you can’t depict it in the photo, but the video shows how it works).
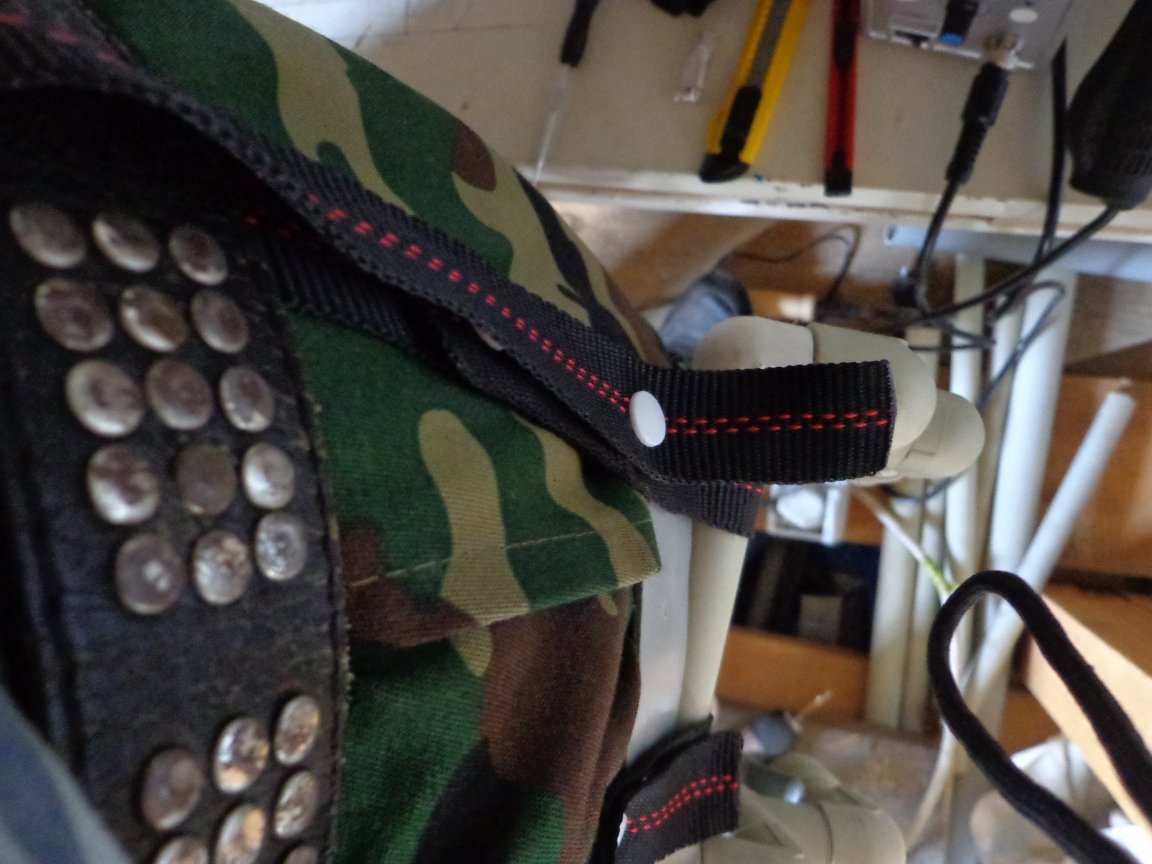
Step 5: Mounts from the straps.
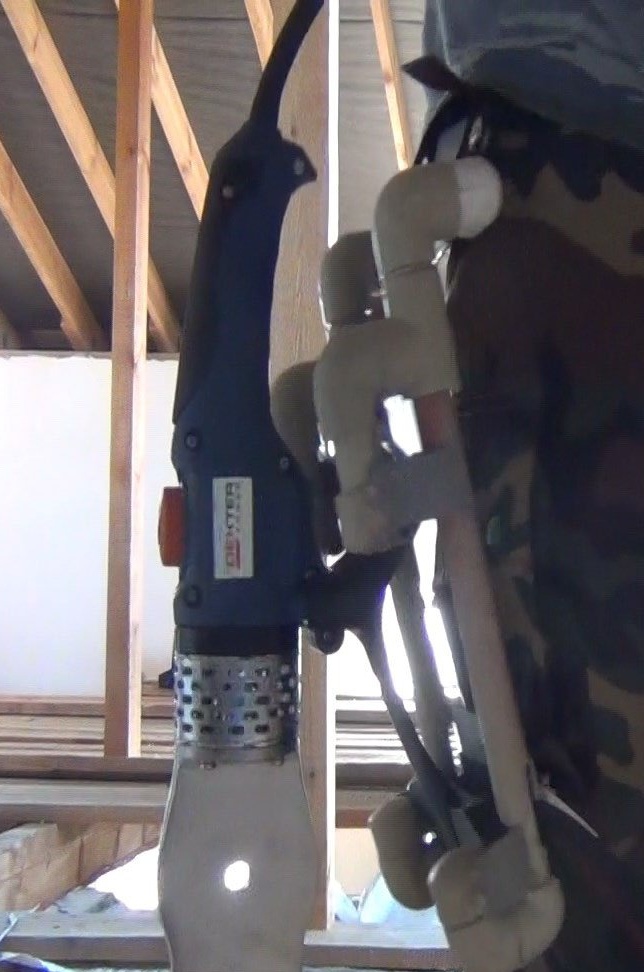
Before starting further work, it is necessary to take into account the length of the belts. In order not to burn your hand, the handle of the soldering iron in the holster should be at the level of the lowered hand down.
In order for our holster to become a holster, we need to make fastenings on the belt, and of the girth around the leg.
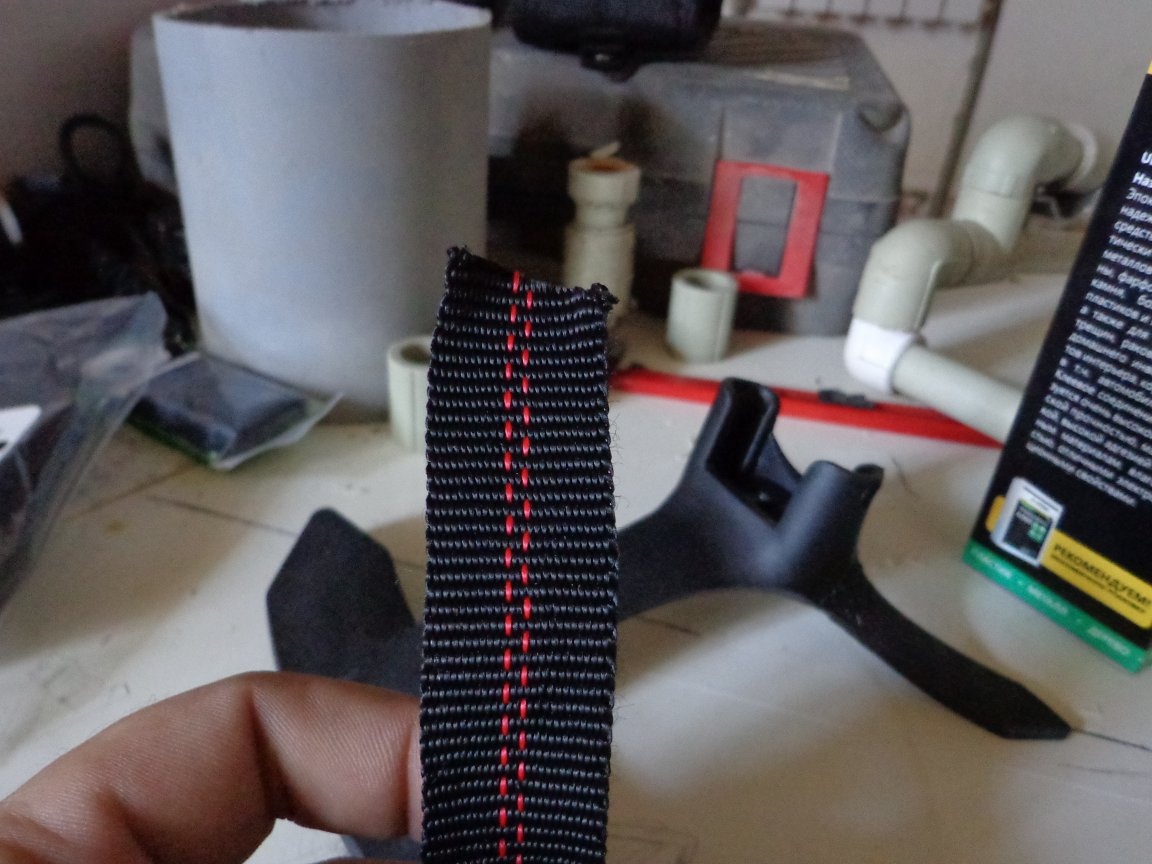
For this, a cargo screed was purchased, a width of 2.5 cm, and a fastener (lock) on one side. The clasp was in the subject, very convenient.

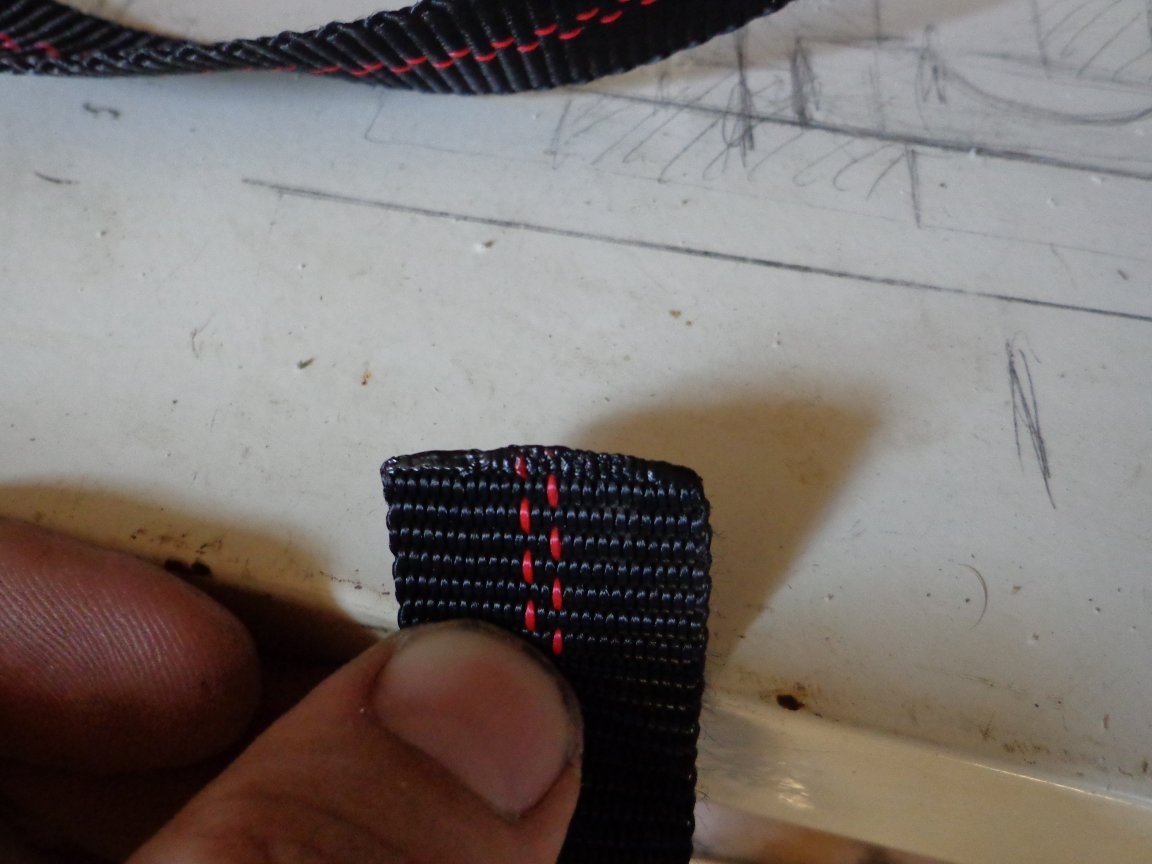
The strap itself is 2.5 meters. I used 60 cm of length for girth of the leg (cut off with a good margin). The trimmed end of the belt, so that it does not shag, with a soldering iron, gently moved along the cut edge. This soldered the fibers and they look like from a store.
Insert the strap with the clasp into the pre-cut grooves.
The girth around the leg is ready.
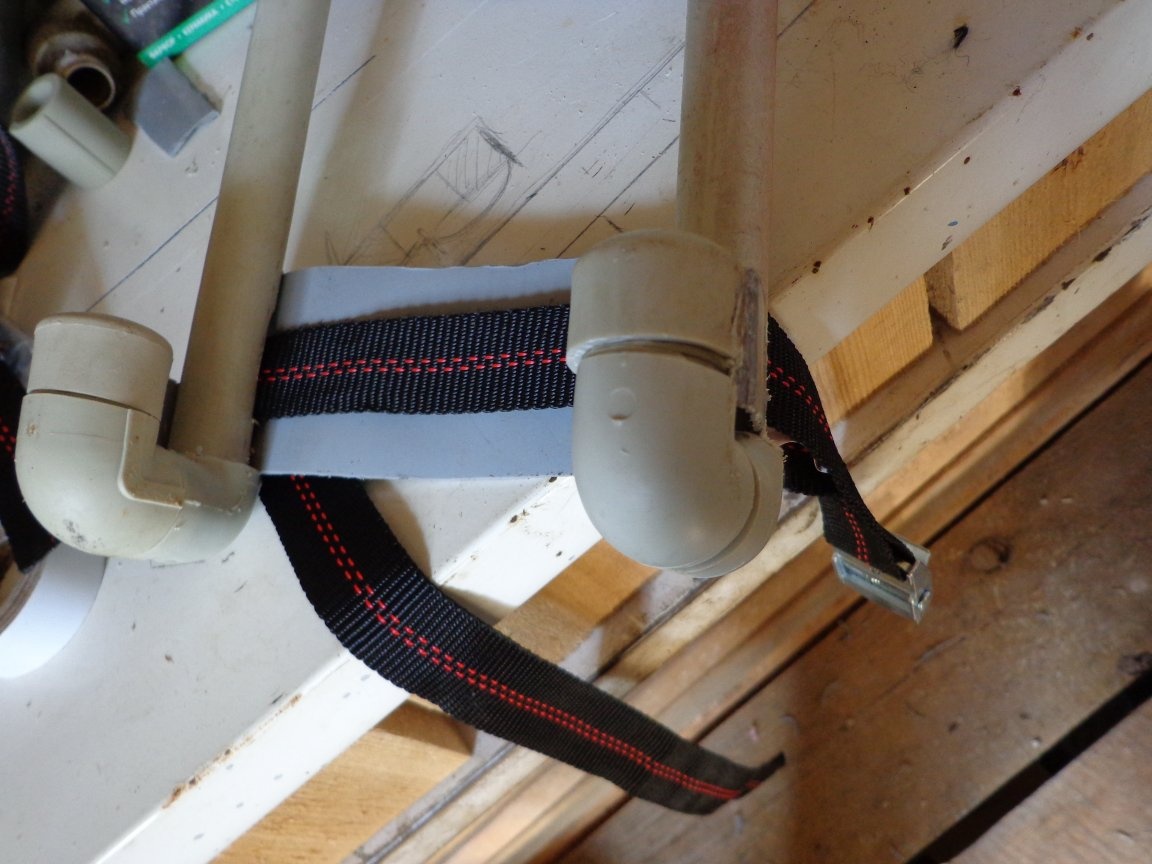
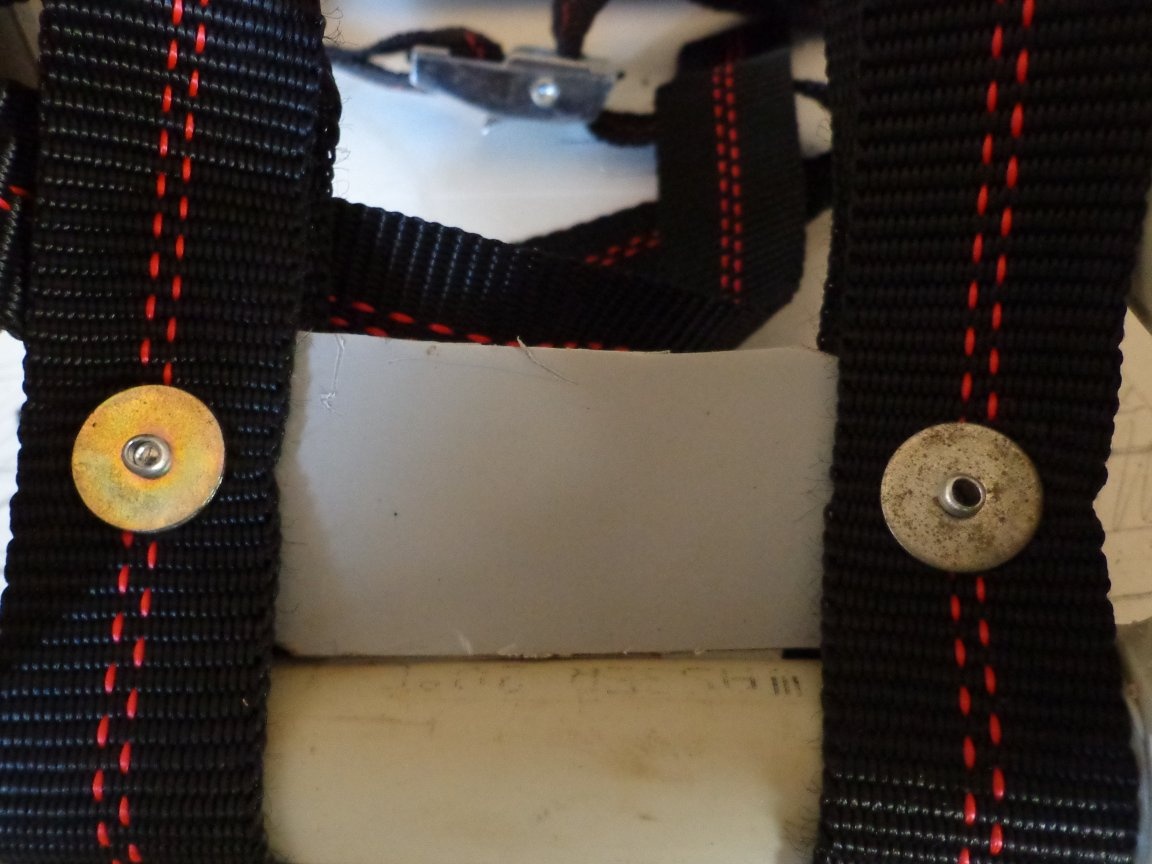
For fastening to a belt, two 50 cm tapes were used.
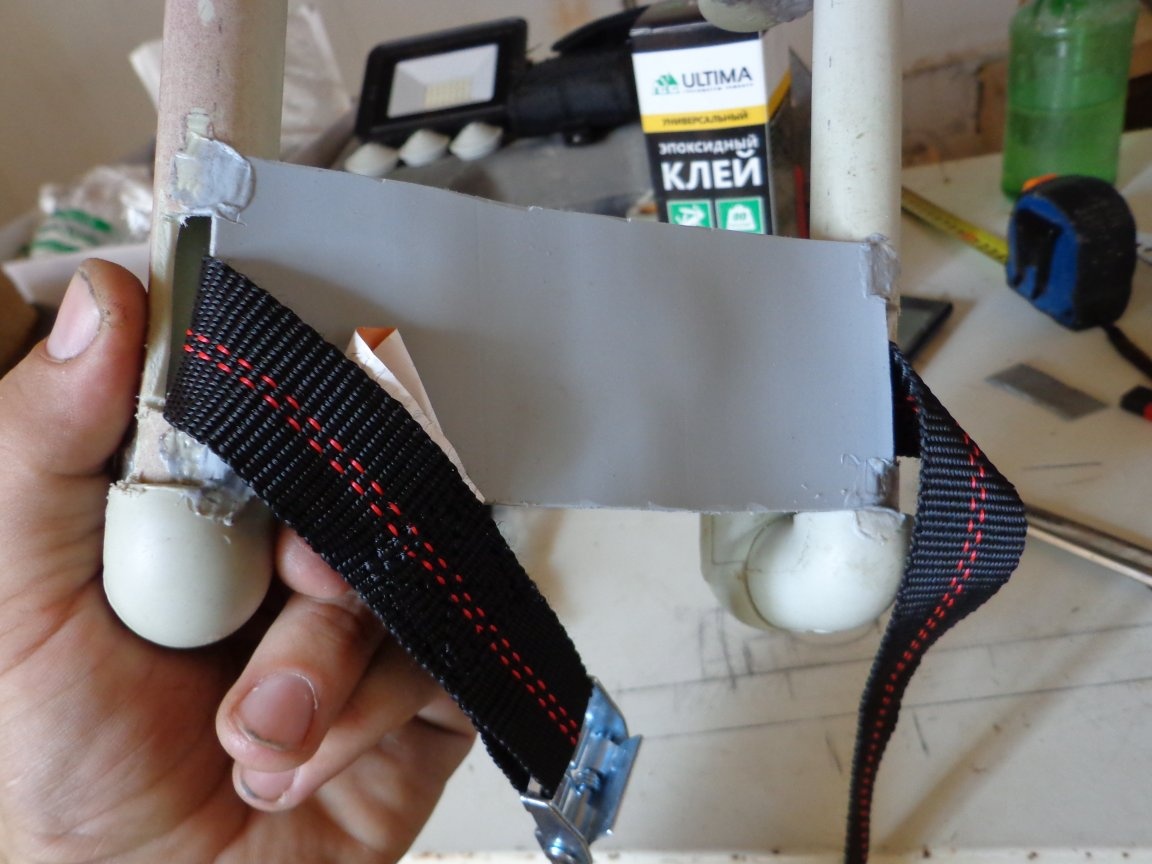
Since the jumper is 10 cm long, and the tape is 2.5 cm, I had to make a jumper here too.
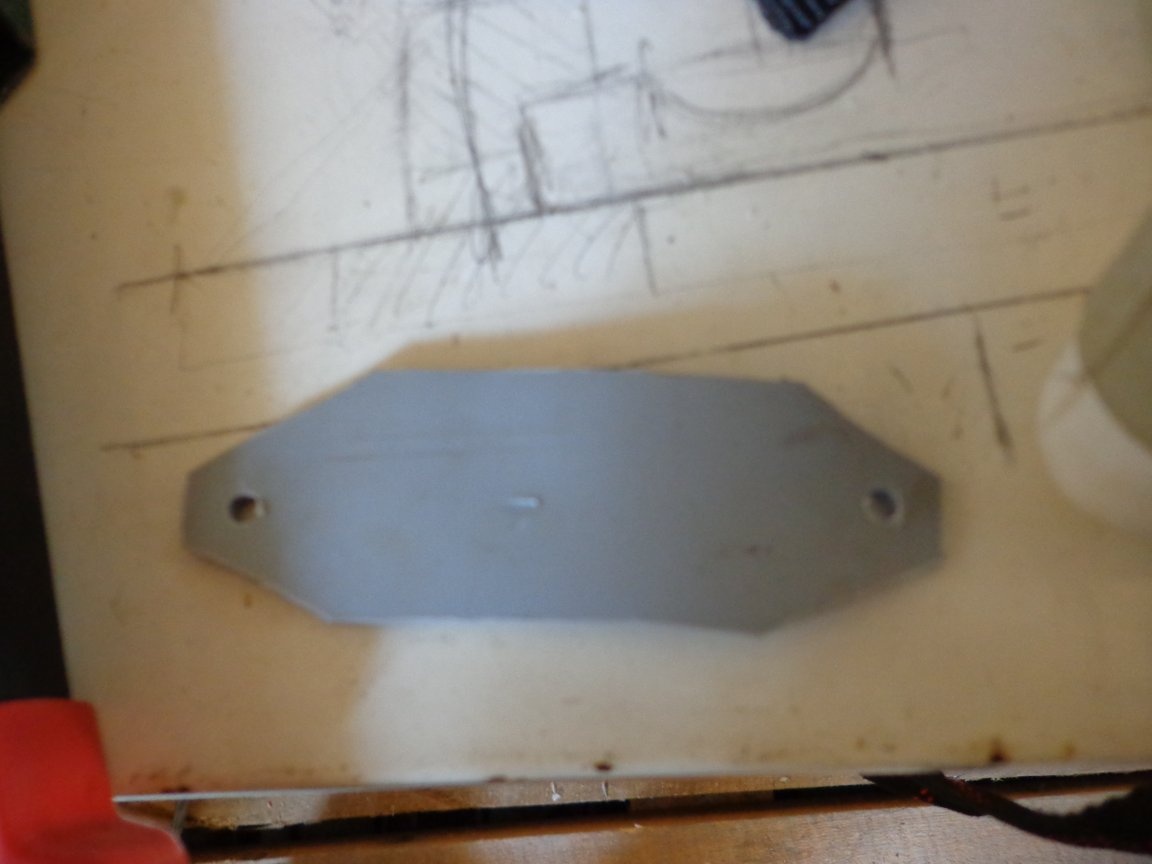
A plate of 10x3 cm. On the sides, I drilled two holes for rivets 4 mm in diameter. It is needed so that the straps do not converge to each other. Two straps are better than one, I was convinced from personal experience, because I work in pants with a belt (belt). On the side there is a strap for the belt, and so that the straps do not move from movements to the front or behind the back, we put the holster straps under the belt on the sides of the strap. Checked in!
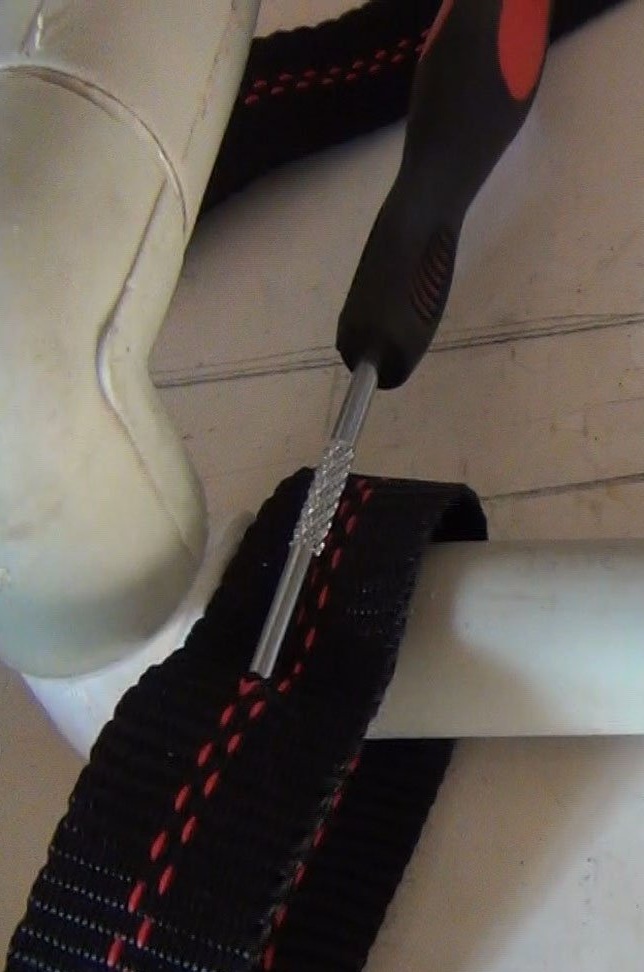
We install the straps around the edges by making holes with the awl in the strap at the level with the drilled holes in the strap and fix them using a manual rivet, rivets with reinforced washers on the plate.
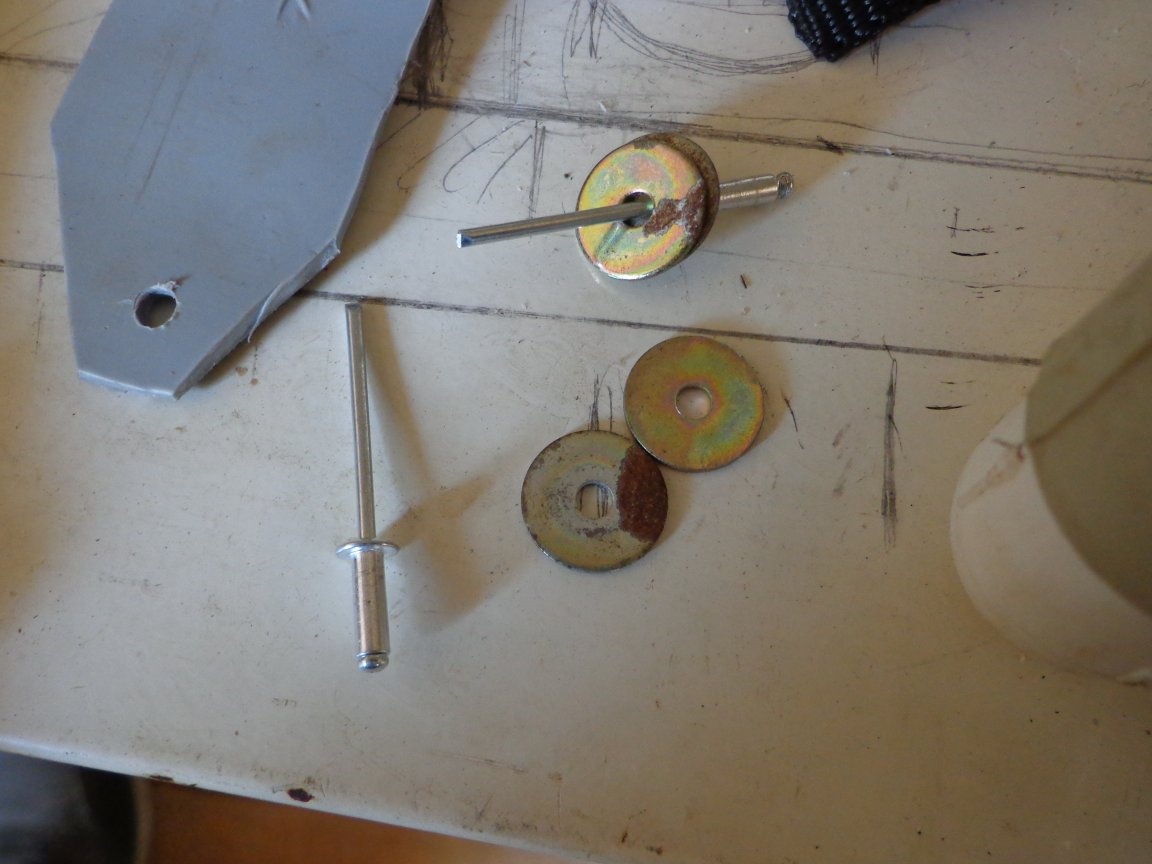
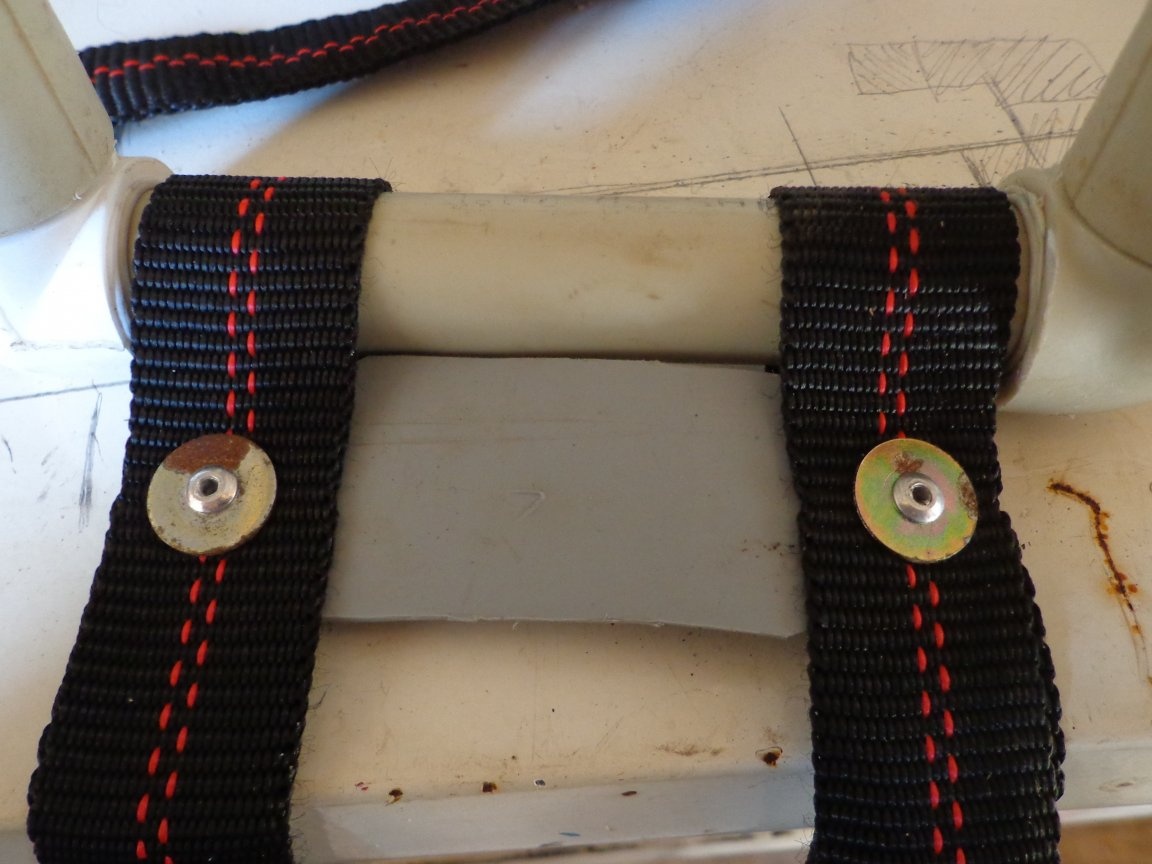
So that the ends of the rivets in the future do not cling to the clothes, they must be flattened with a hammer on a vice.

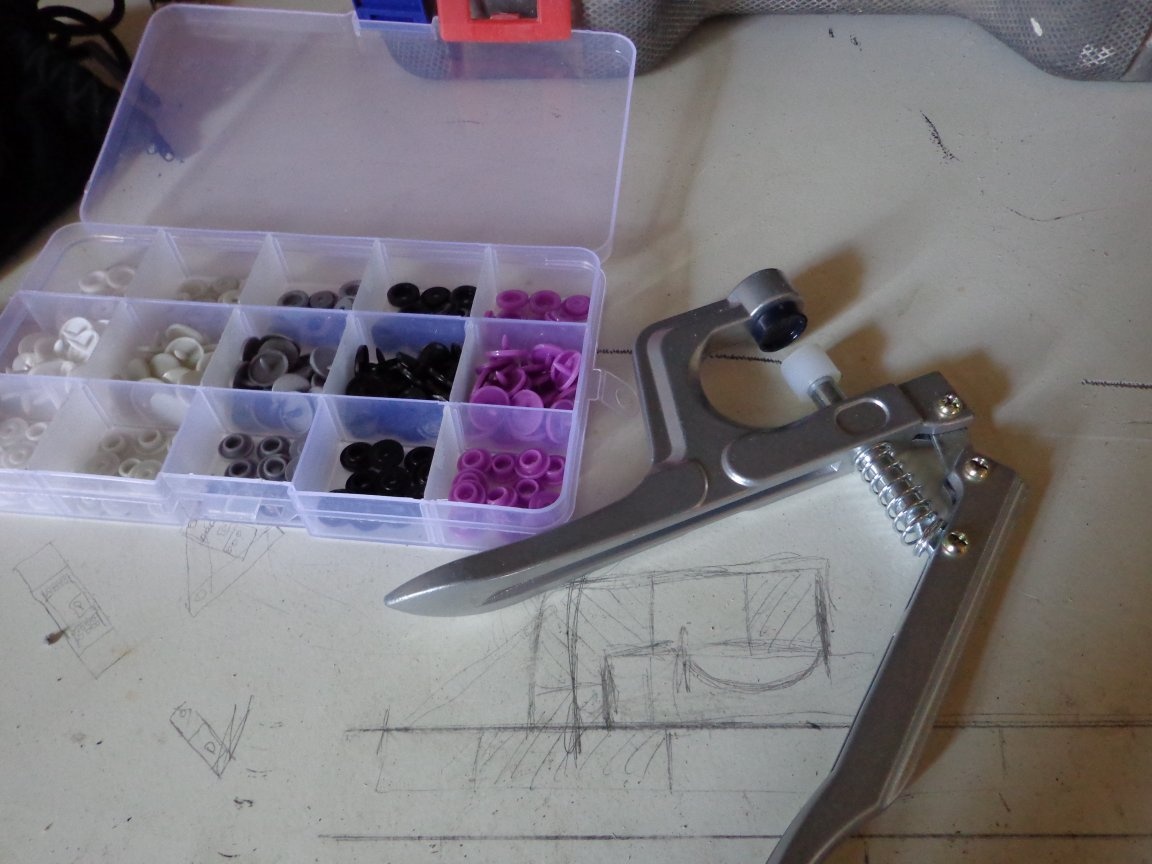
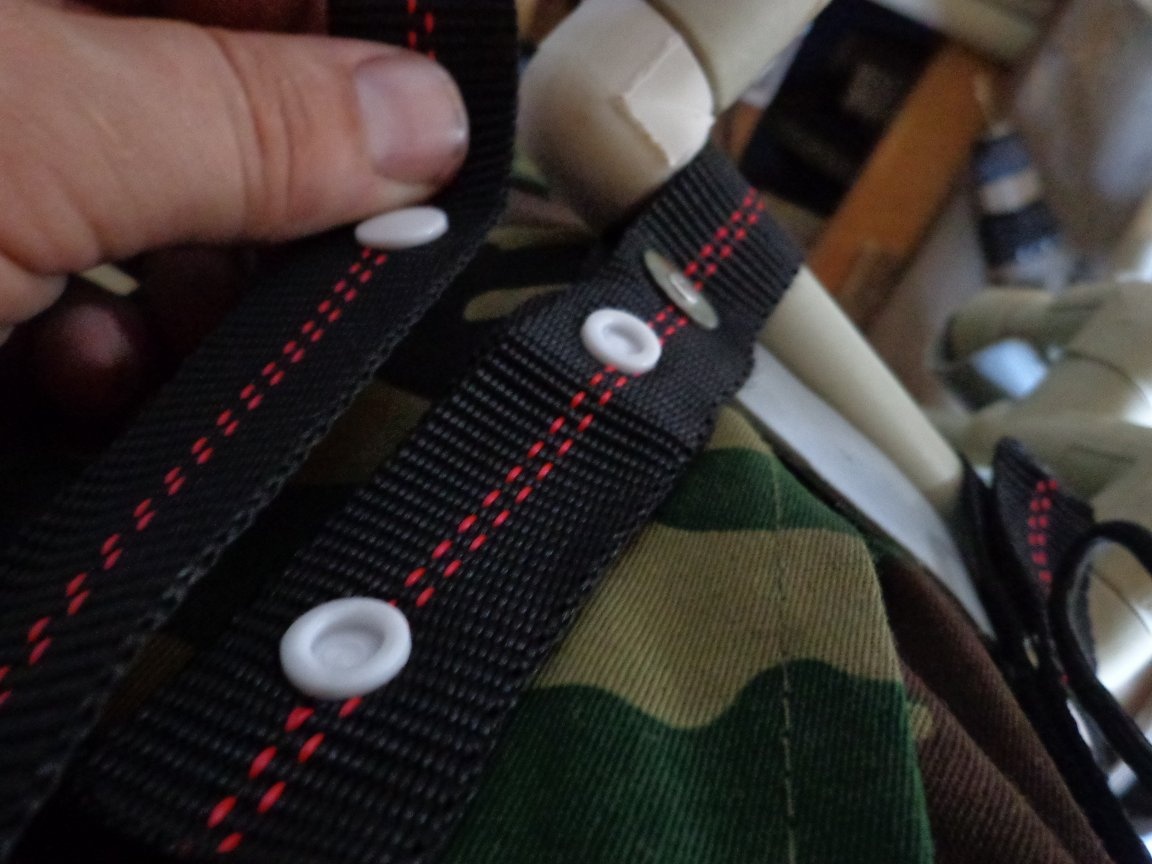
We install plastic buttons. They consist of 4 parts: mom, dad and two parts that are both facial and wrong.
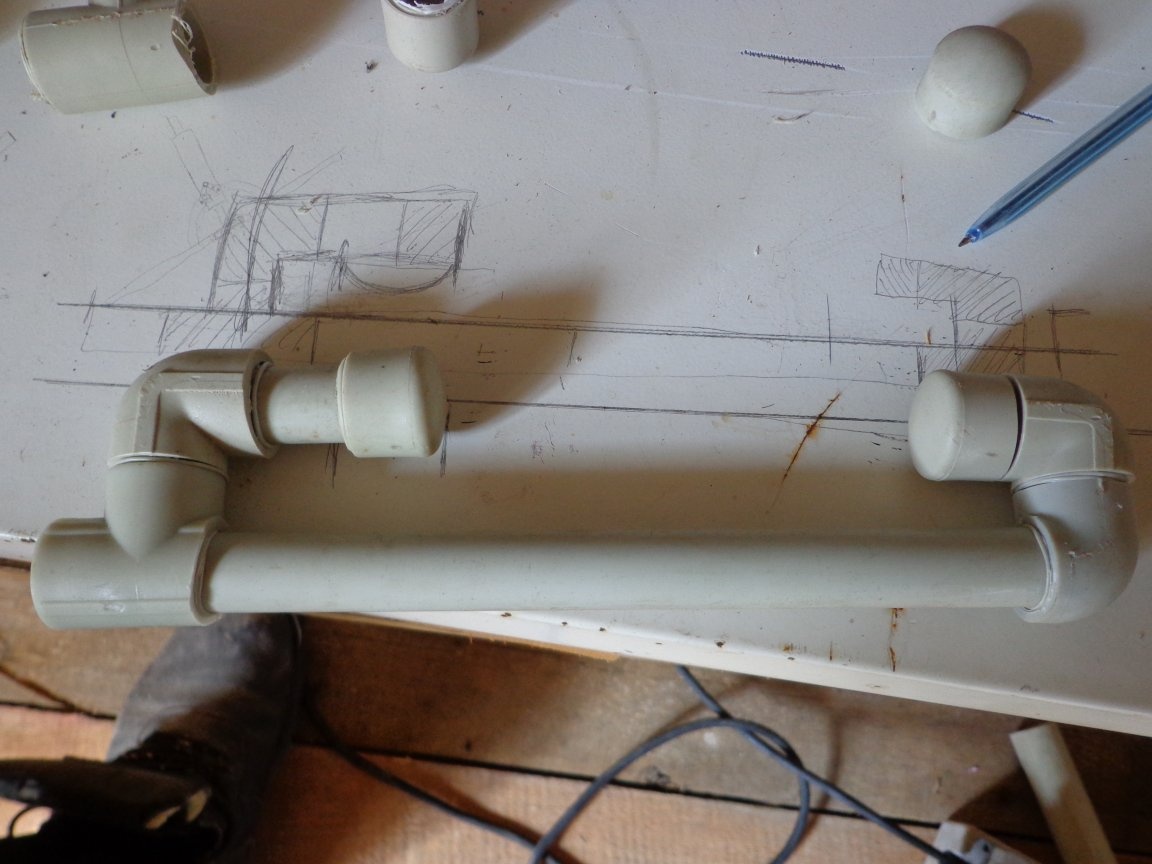
Everything, the holster is ready ...
P.S .: At the end of the video shows how it works. How to work with such a device during the process of work on the stairs there was no time to record video, do not blame me, but I had to urgently finish work with heating pipes.