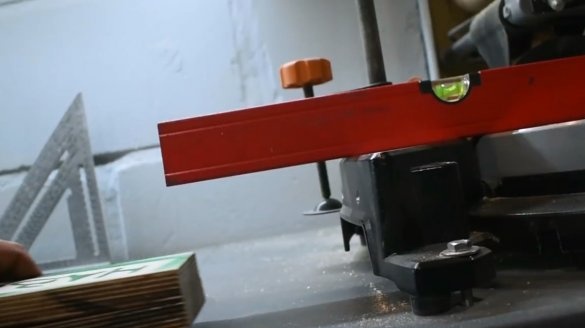
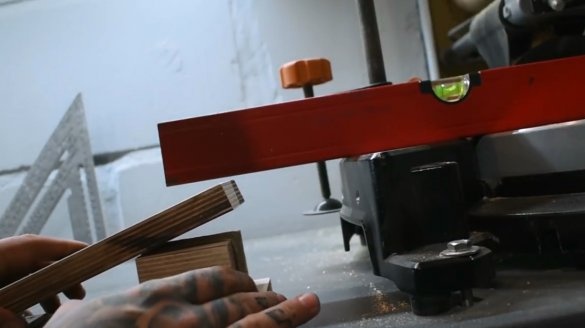
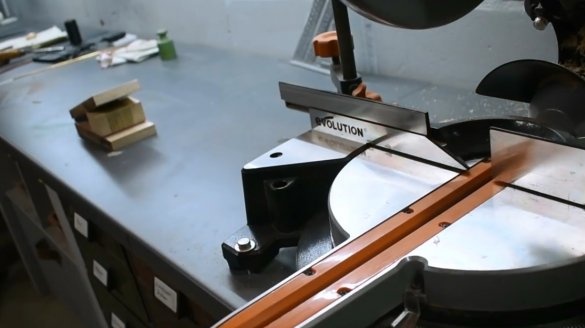
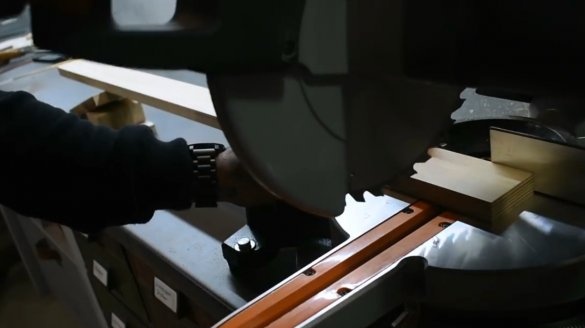
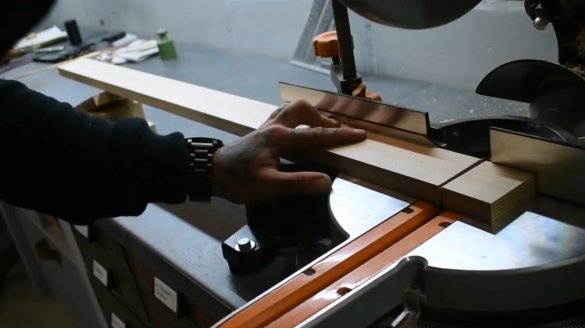
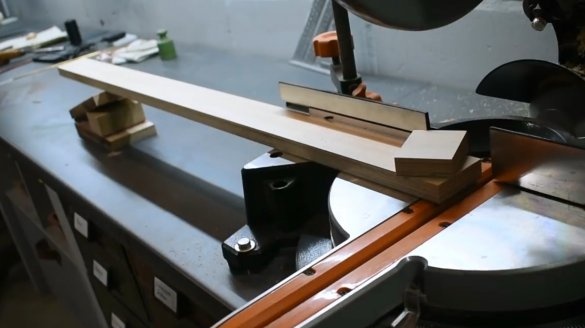
When working in the workshop, it is often necessary to align the workpiece horizontally, substituting an object under it. This is especially pronounced when working with a miter saw, when the edge of a long part sags in the air.
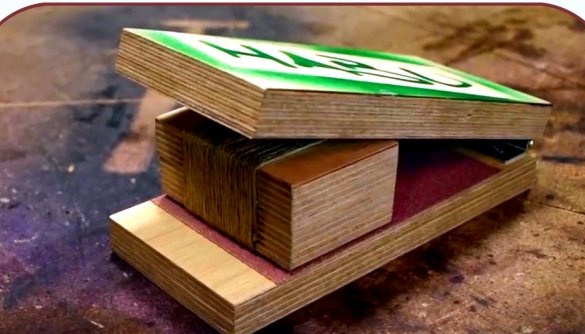
In this article, the author of the Hassan Abu-Izmero YouTube channel will tell you how he made the simplest stand with adjustable height.
This homemade product is as easy to manufacture as it is useful in the workshop.
Materials
- sheet plywood
- jute thread
- universal glue
- Furniture hinge
- Second glue
- Sandpaper
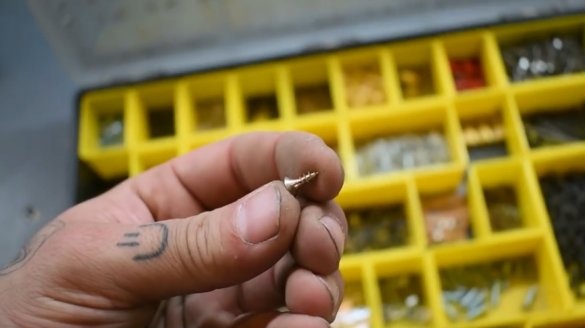
- Wood screws.
Instruments, used by the author.
- Miter saw
—
- A screwdriver, a square, scissors, a ruler, a knife, a pencil.
Manufacturing process.
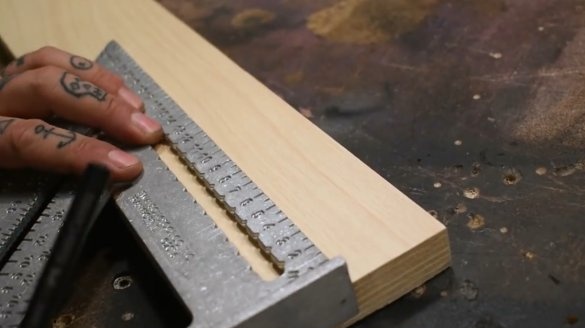
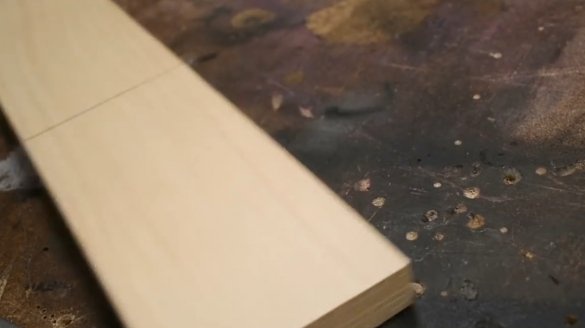
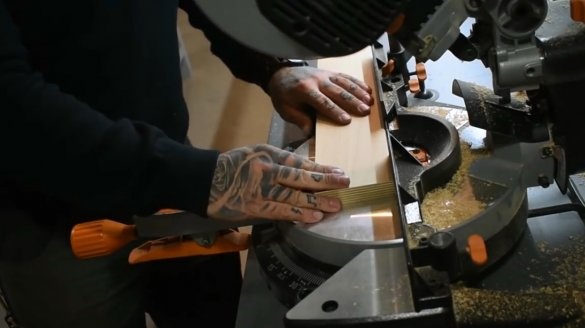
The author marks a strip of plywood.
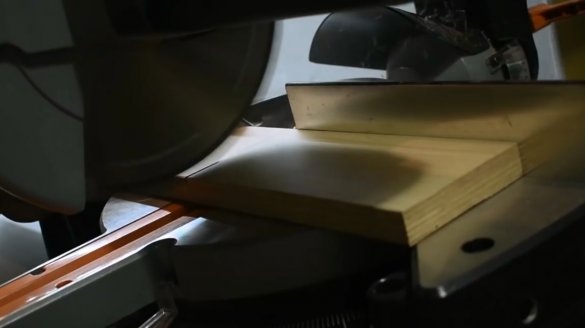
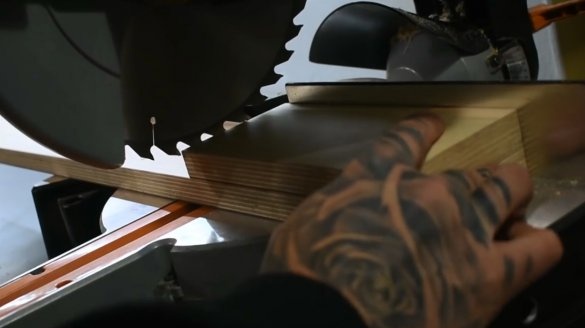
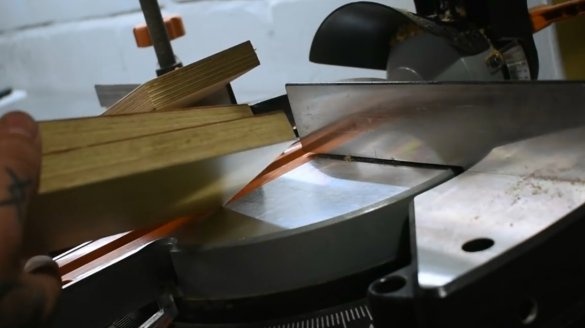
Then cuts two identical rectangular blanks.
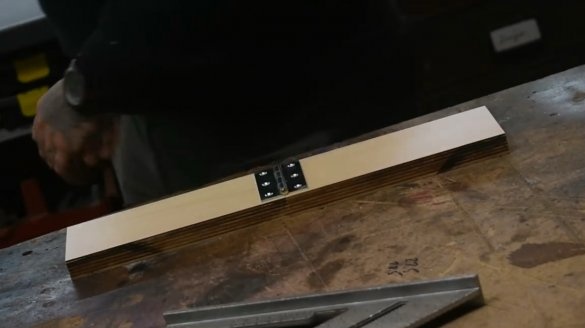
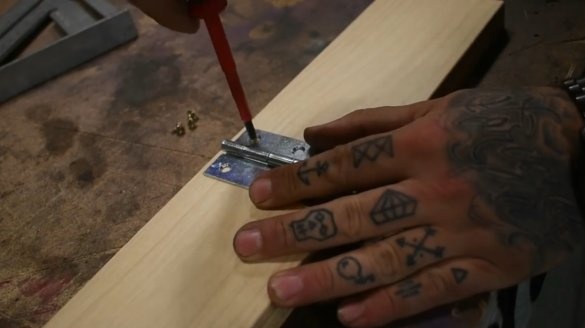
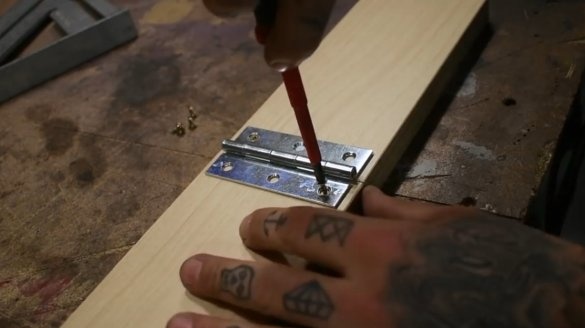
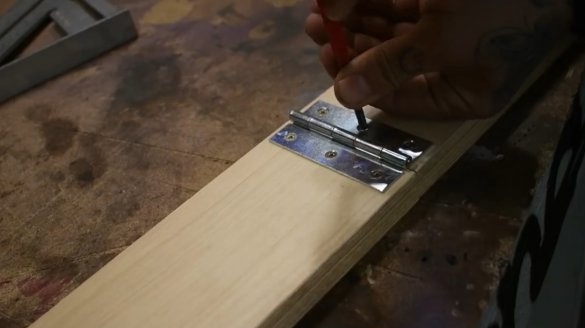
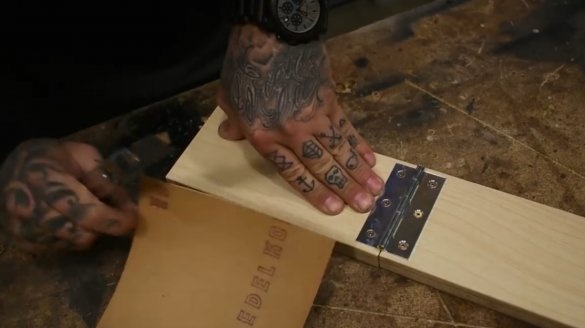
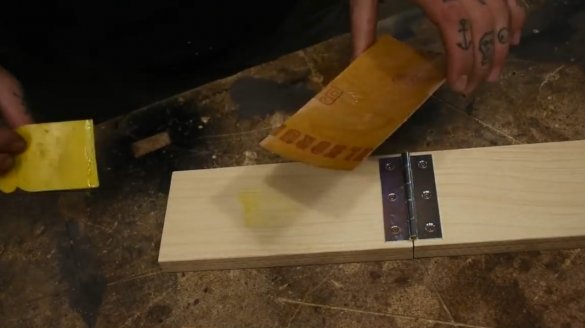
Then it connects both blanks with the ends, and fastens a furniture hinge to them. To begin with, he twists a pair of self-tapping screws diagonally and checks the operation of the loop.
After that, the remaining screws are twisted.
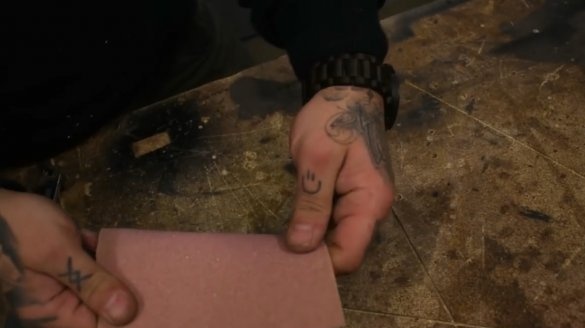
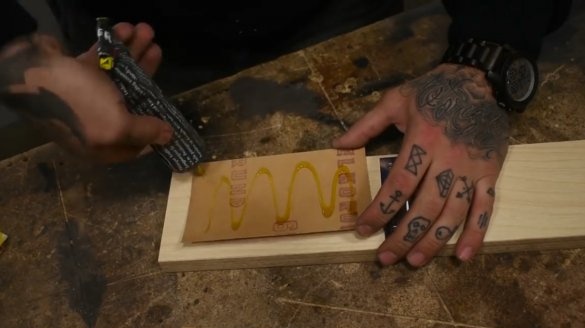
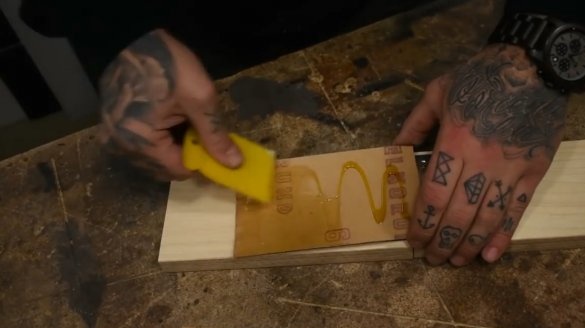
Next, the master cuts out a suitable piece of large sandpaper.
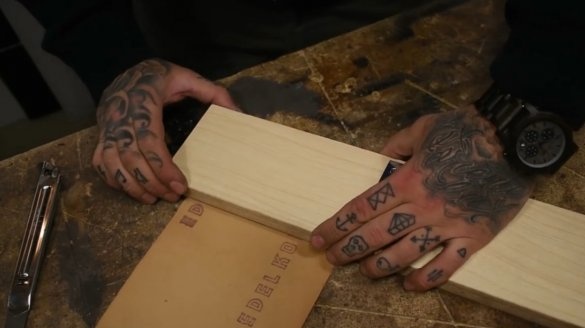
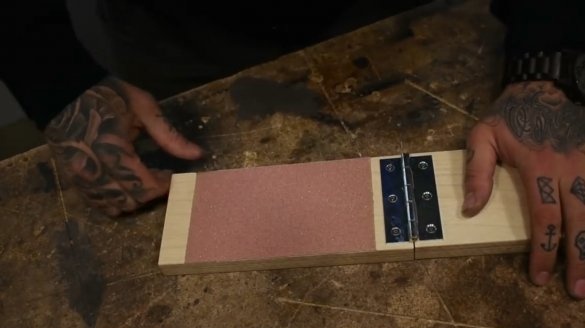
It lubricates with universal glue, distributes it on the surface, and glues it to the stand.
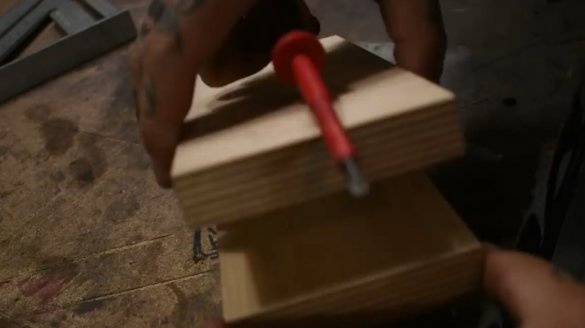
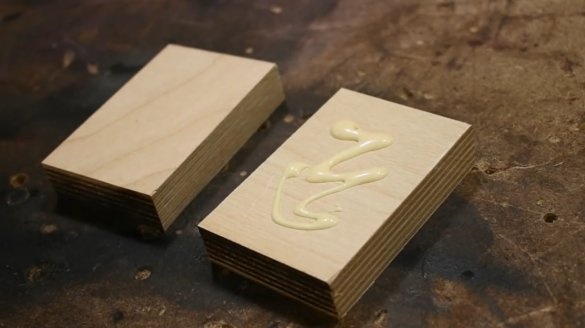
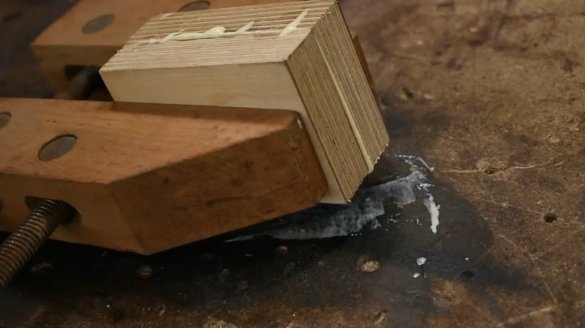
Slices a pair of rectangular blanks, and glues them together, fixes with a clamp.
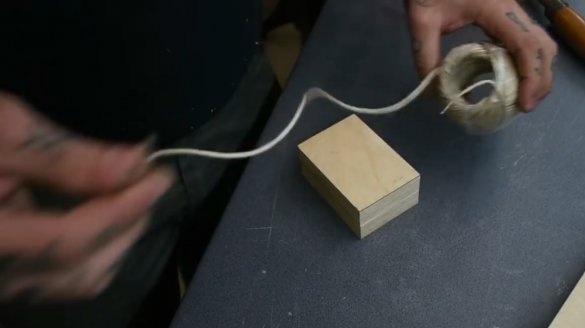
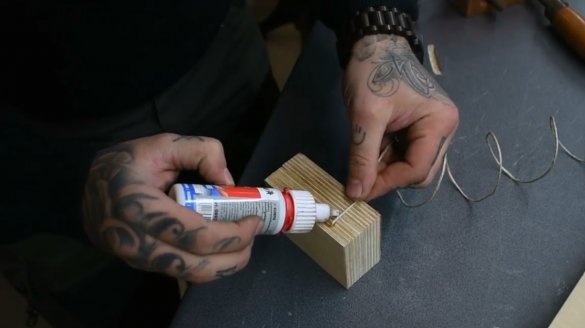
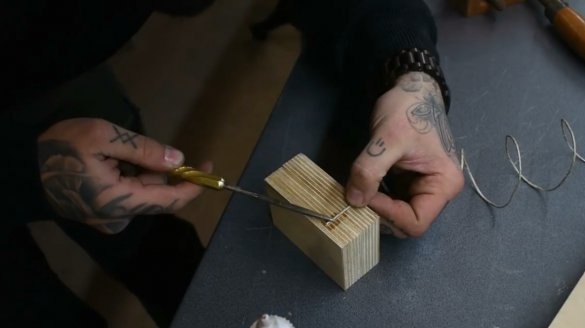
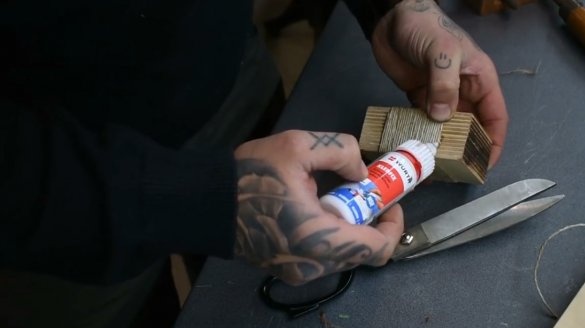
Glues the edge of the coarse thread to the block.
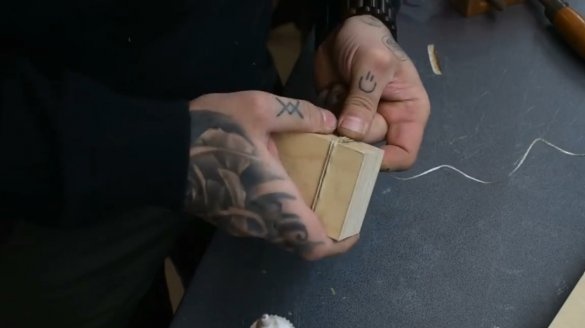
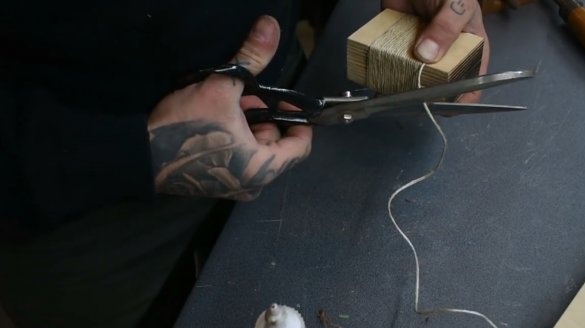
Then she wraps the whole bar around her, cuts the thread, and fixes its end with glue.
Excess pile is easily removed by the flame of a lighter.
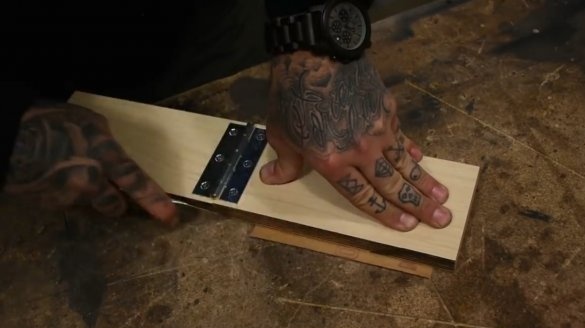
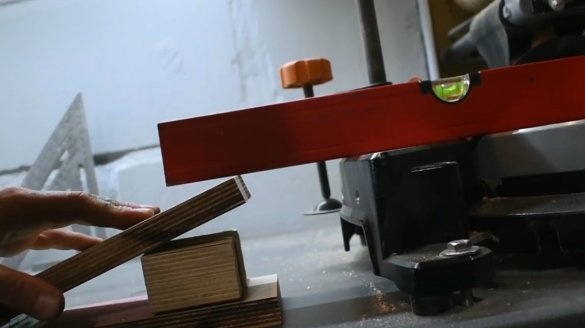
Now the test. By shifting the block in the stand, the master achieves the required height. The block will be held by sandpaper, it simply will not let it slip to the side. Then the stand is installed in the right place.
Now you can safely put a long board on the miter saw table. After cutting, the board will not fall.
This is one of many applications for such a stand.
I thank the author for the simple but useful device for the workshop!
All good mood, good luck, and interesting ideas!
Author video can be found here.

