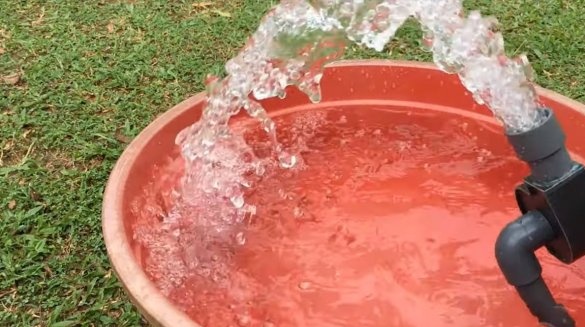
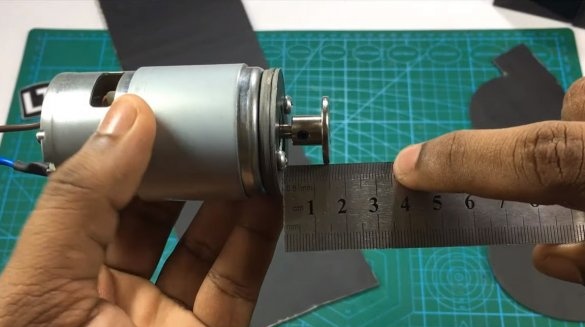
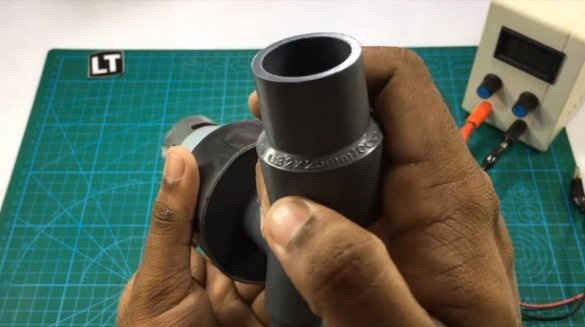
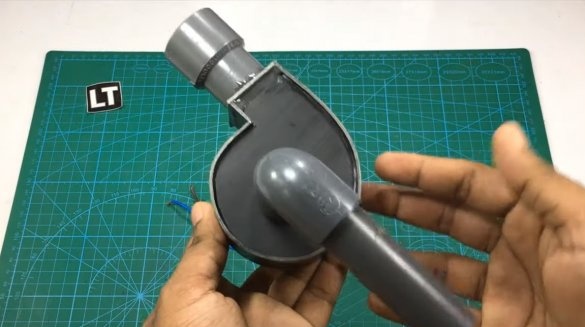
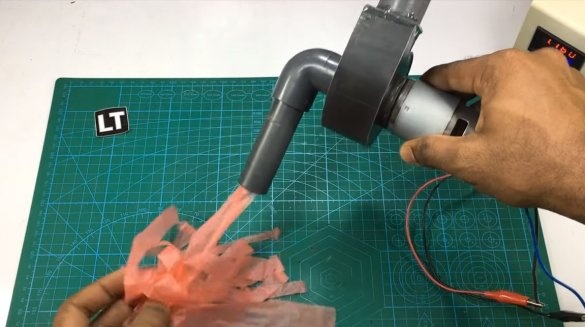
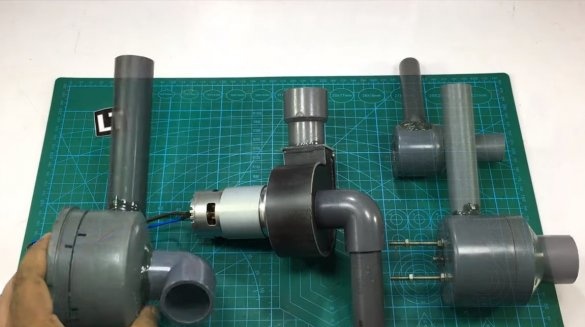
Greetings to fans to craft, today we will consider how to make a 12V pump. Of course, such a pump will not be able to pump a large height difference, but it will be able to cope with such tasks by collecting several buckets of water from the lake or pumping water from one tank to another. In addition, the pump can be installed on a bucket or barrel and wash the car from the on-board network of the car. The author used the motor 775, and the body parts are made of sheet PVC. The pressure of the pump forms a good one; you can feed the pump through the speed regulator to control the pressure. If you are interested homemade, I propose to study the project in more detail!
Materials and tools used by the author:
Material List:
- sheet PVC;
- ;
- ;
- flange on the motor shaft 5 mm;
- screws and nuts;
- Super glue;
- epoxy adhesive;
- grease.
Tool List:
- scissors for metal;
- drill;
- compass, pencil;
- coarse sandpaper.
Pump manufacturing process:
Step one. Cut out the main details
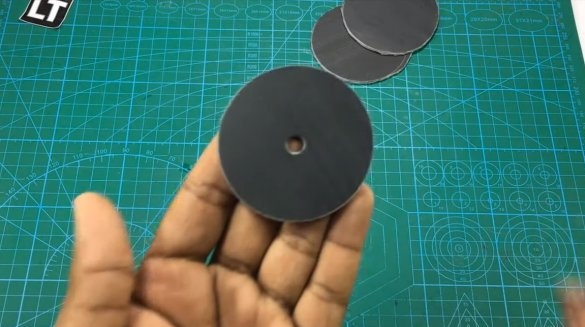
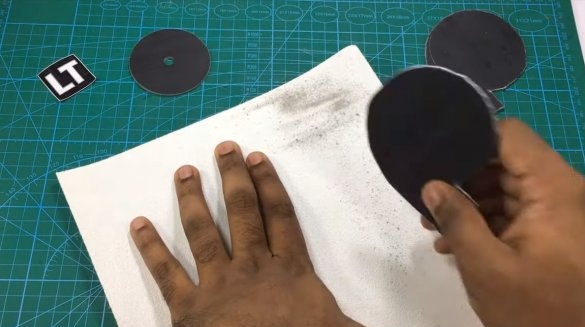
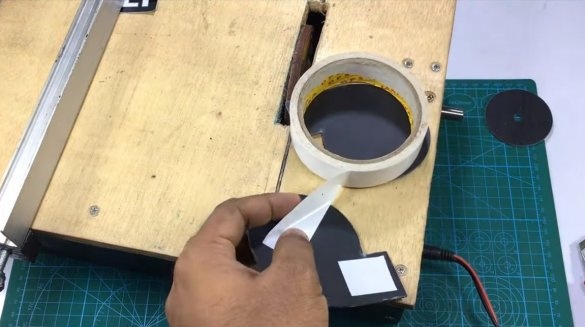
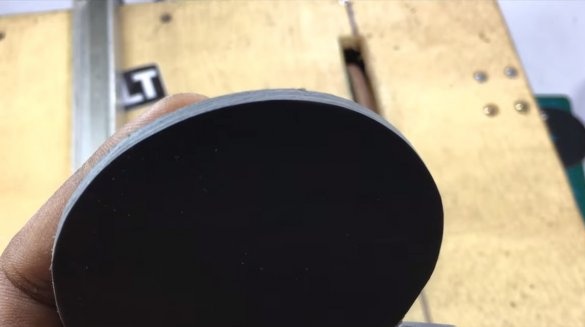
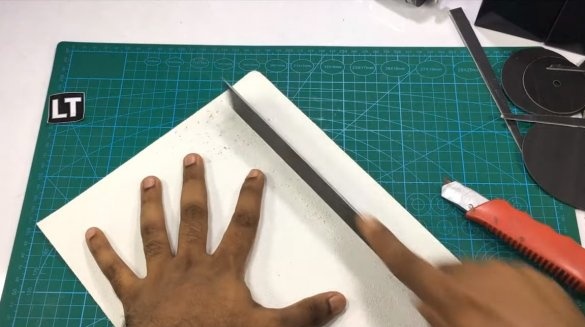
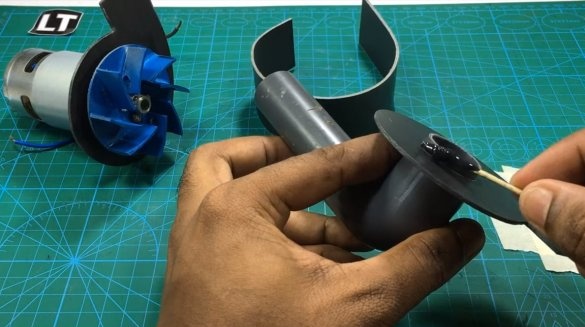
The author used PVC sheet as a source material. We need to cut two main parts for the pump casing, the author draws the details with a pair of compasses and cuts with scissors for metal. Next, the details must be processed on a grinder and large sandpaper.
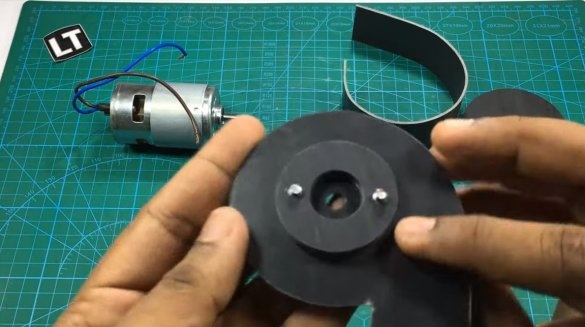
In addition, the author cut out a circle that will serve as the main one for the impeller. To make the circle perfectly smooth, install a screw and nut in the center and, turning the circle with a drill, grind it with sandpaper or a file.
Step Two Washers
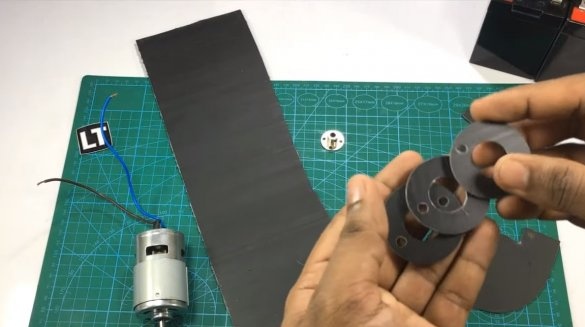
We need to make washers that allow the motor to be installed with some clearance between the housing. Washers are also cut out of PVC sheet. In the washer that is adjacent to the body, you can make a slit hole that will allow water to flow out in case of breakdown of the gland.
Step Three Installation of the side wall of the housing
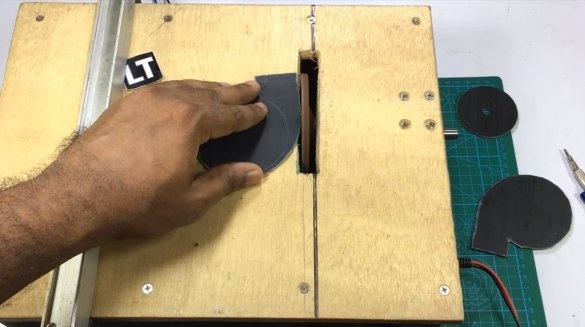
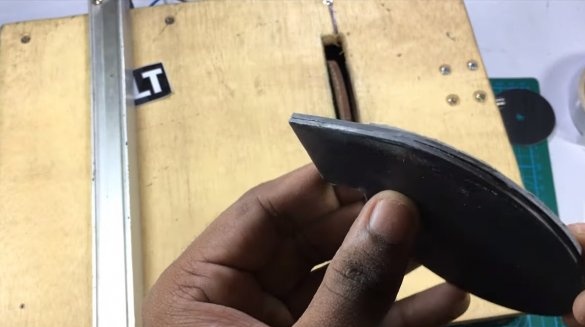
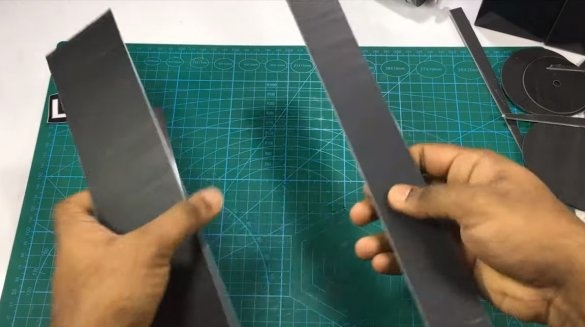
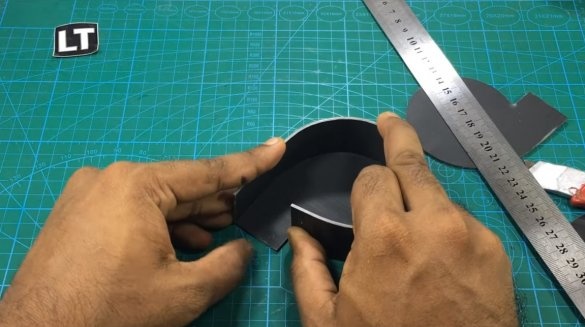
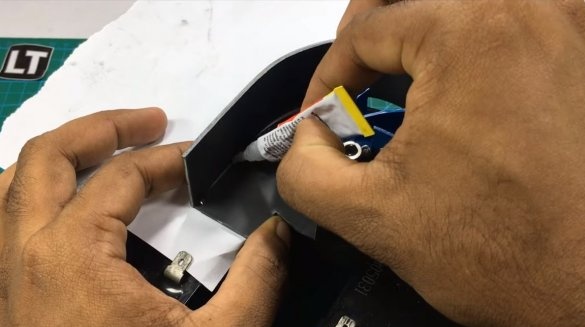
We make a side wall for the pump body, just cut a piece from the PVC sheet, and then bend it to the desired shape. To bend the material, it can be heated with a hairdryer or a soldering iron. Temporarily grab the parts with super glue.
Step FourImpeller assembly
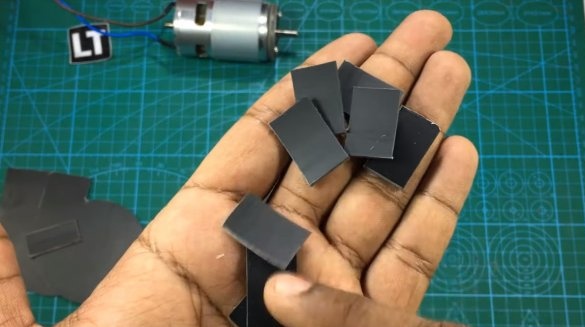
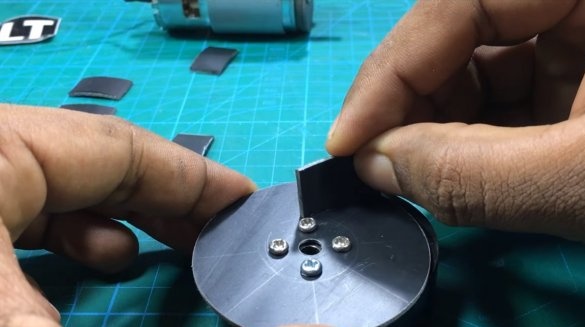
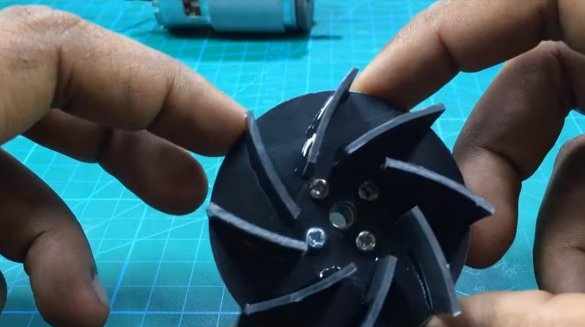
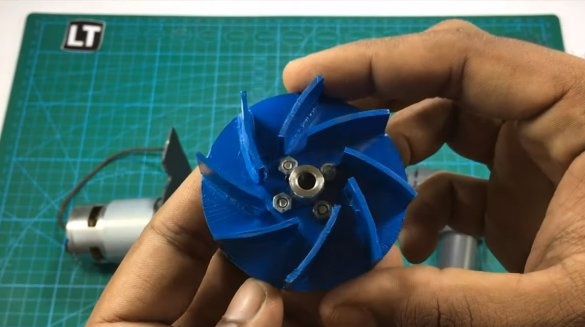
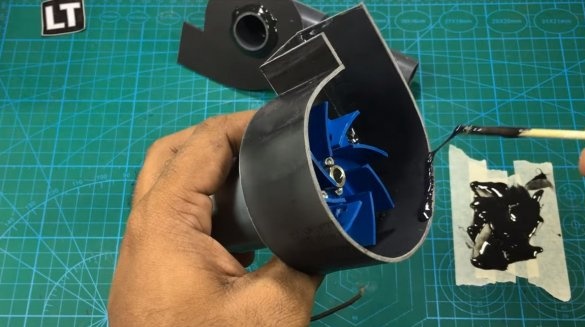
We assemble the impeller, the author cut the blades from PVC sheet and bent them a little by heating. Glue the blades to the circle made earlier. The author uses super-glue for the connection, but it is better to further fix everything with epoxy glue.
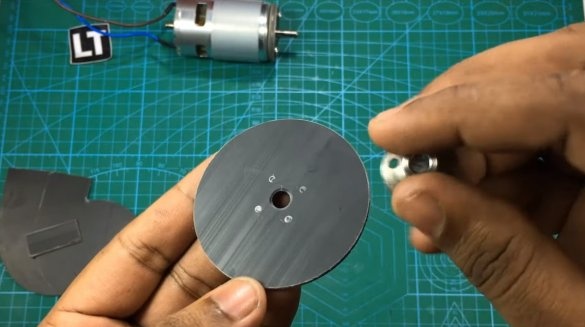
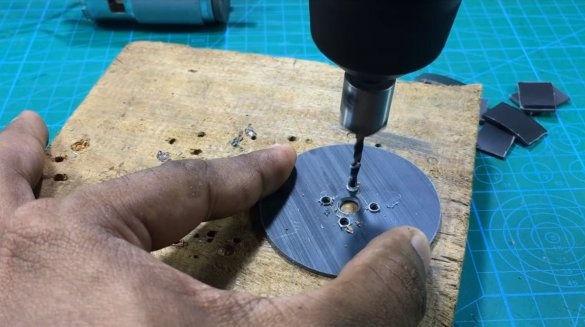
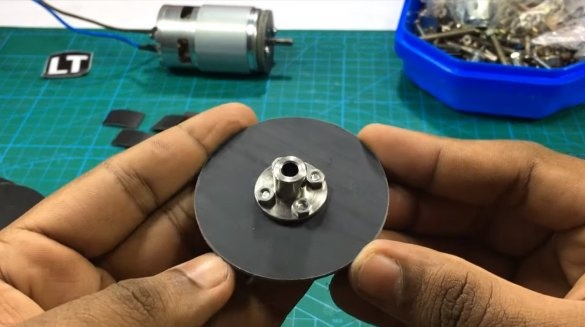
We also install a flange on the impeller, and fasten it with screws and nuts.
Step Five Assembly
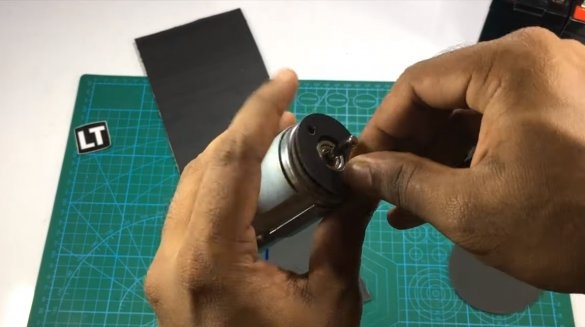
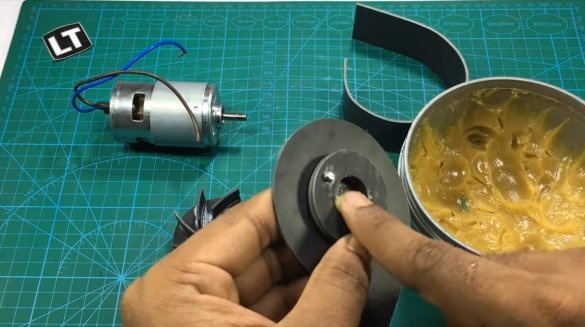
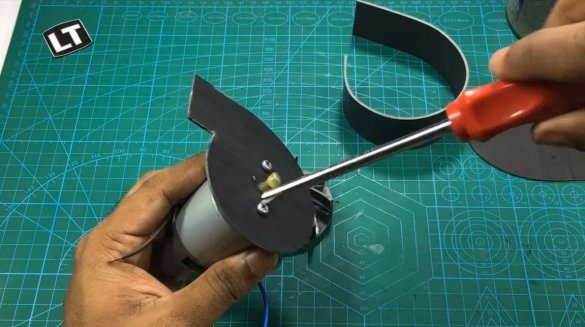
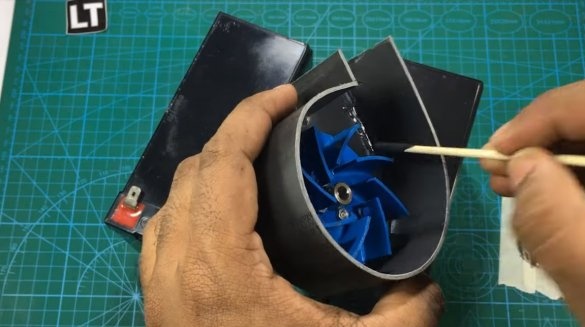
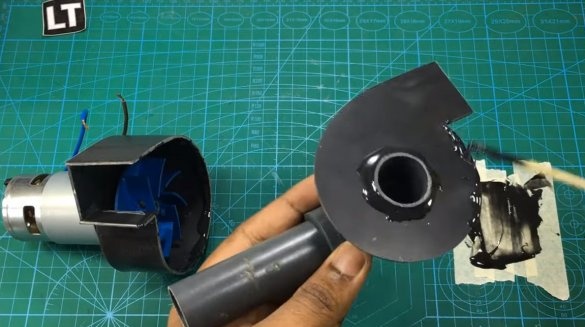
First, install the motor on one of the halves of the housing, the motor is installed through spacers. The author fills the resulting cavity with thick grease so that it does not let water through. Of course, in this place it is necessary to install an oil seal, which can be very quickly made from a piece of a bicycle chamber. It is also highly recommended to make a drainage hole through which water will flow out in the event of a breakdown of the gland. Note that when connecting the hose to the pump, the water pressure in the housing will increase and therefore the presence of an oil seal in the structure is mandatory.
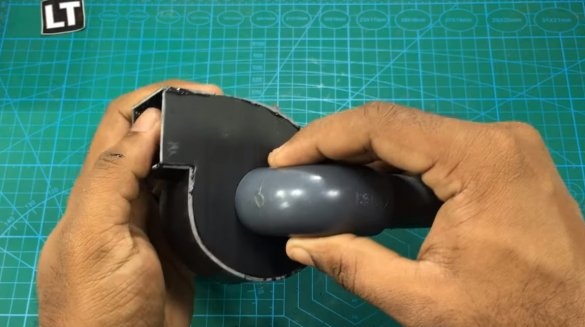
We assemble the case, temporarily glue it with super-glue, and then well coat all the joints with epoxy glue. The design will be solid, airtight, but the pump will not come apart without damage. We also install the necessary plumbing couplings for connecting pipes. The suction hole at the pump is in the center, so we choose the right direction of rotation of the impeller.
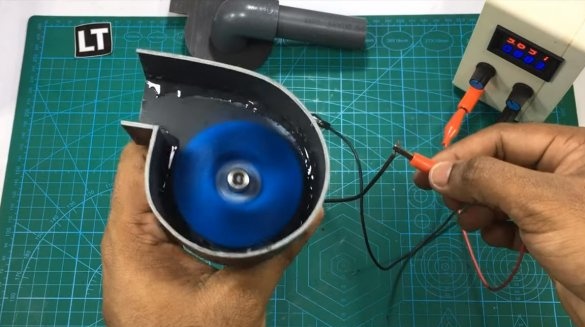
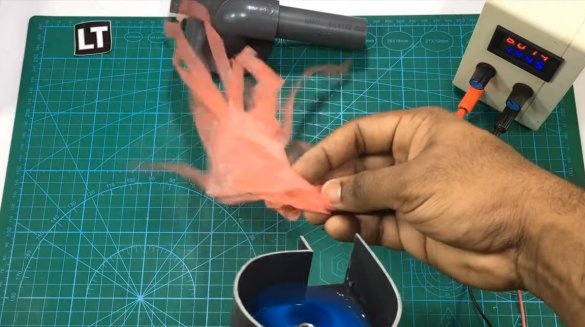
The pump is ready, you can test, the author turns it on through the speed control. This approach will allow you to control the pressure of the device. The pump works well, however, it remains unknown what pressure it gives out and what the height of the water column will be. This is the end of the project, I hope you liked the homemade work, and you found useful thoughts for yourself. Good luck and creative inspiration, if you decide to repeat this. Do not forget to share your ideas and homemade things with us!

