Hello everyone, today we will consider how to make a milling cutter from a grinder. Homemade assembly is not complicated, but everything is made of scrap metal. The author made his own chuck for milling cutters on his own. Homemade works perfectly, everything is done reliably, despite the poor source material. If you are interested in the project, I propose to study it in more detail!
Materials and tools used by the author:
Material List:
- Sheet steel;
- studs or steel rods with tubes;
- bolts and nuts;
- nuts for the manufacture of a chuck;
- paint.
Tool List:
- grinder;
- welding machine;
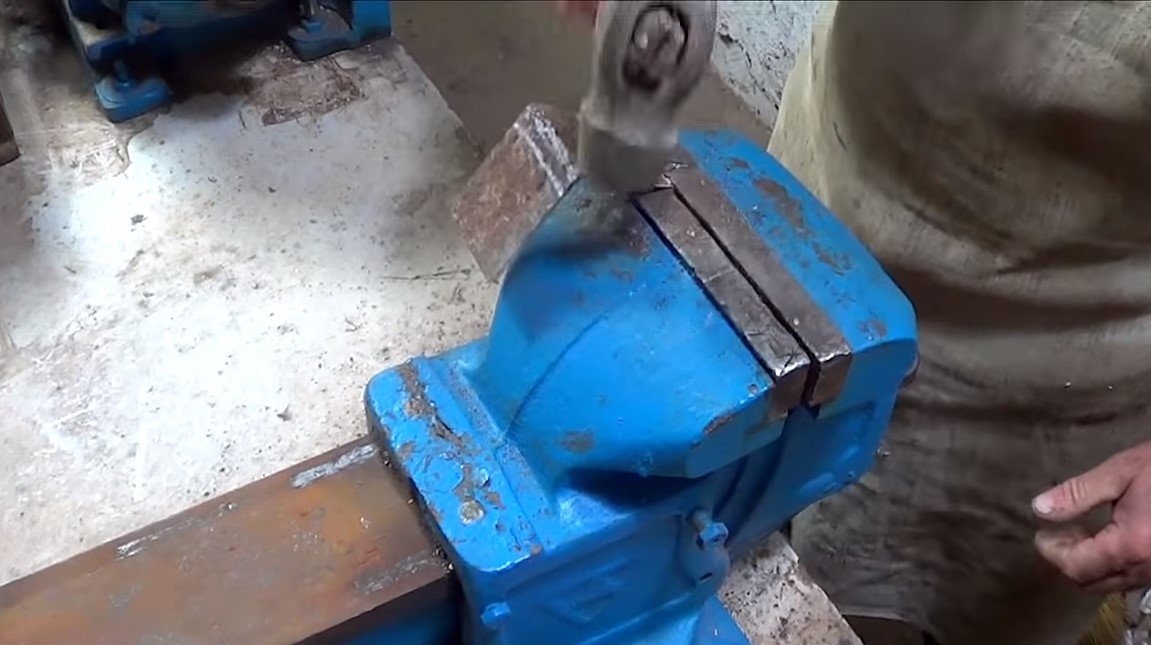
- vise;
- drill or drilling machine;
- grinder.
Homemade manufacturing process:
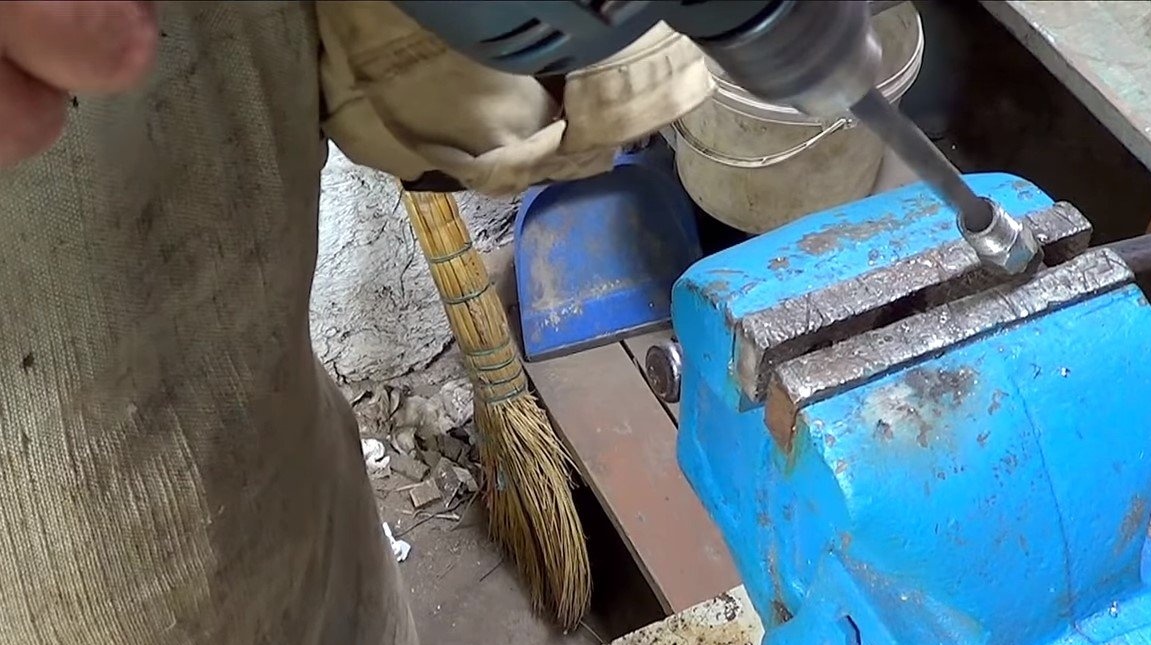
Step one. Chuck
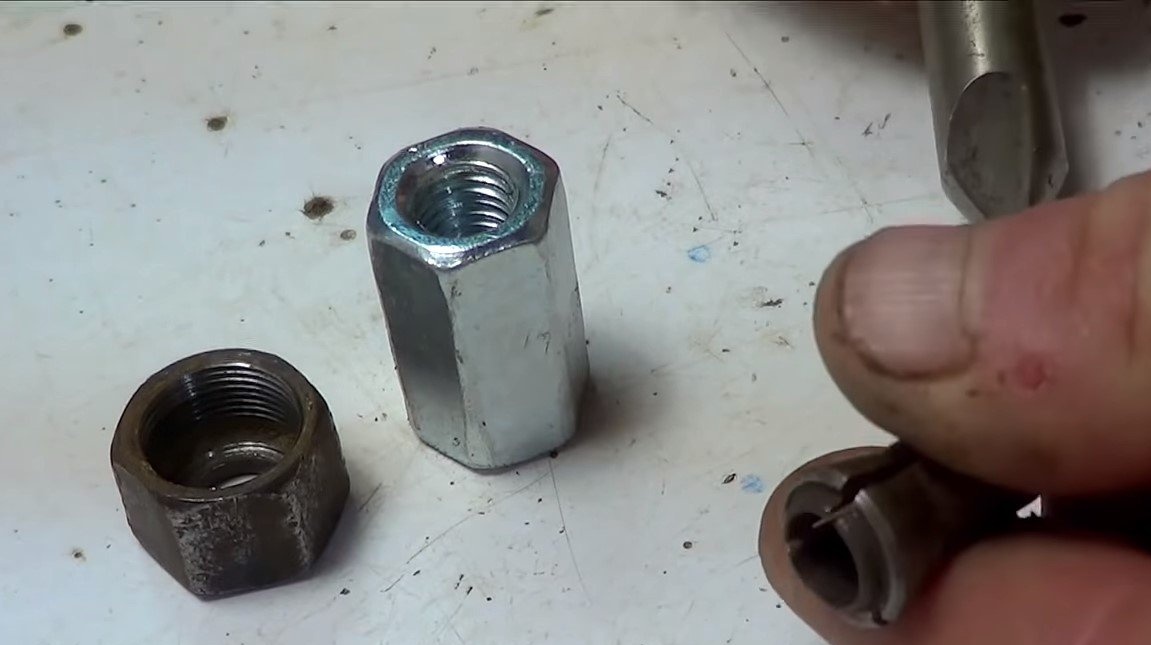
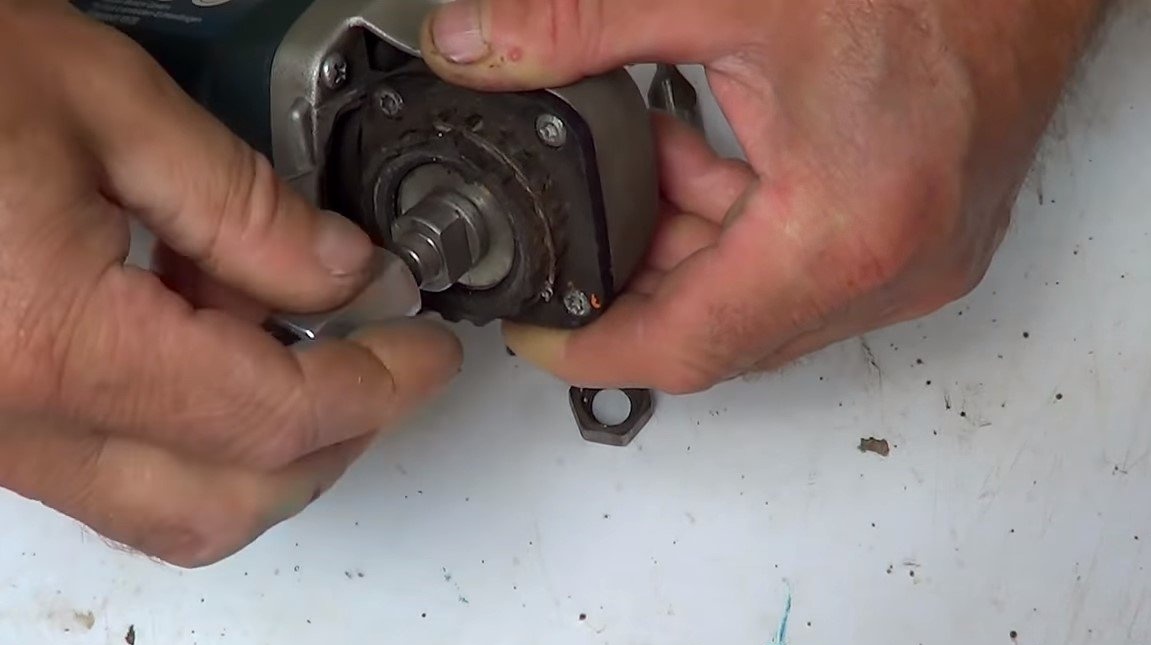
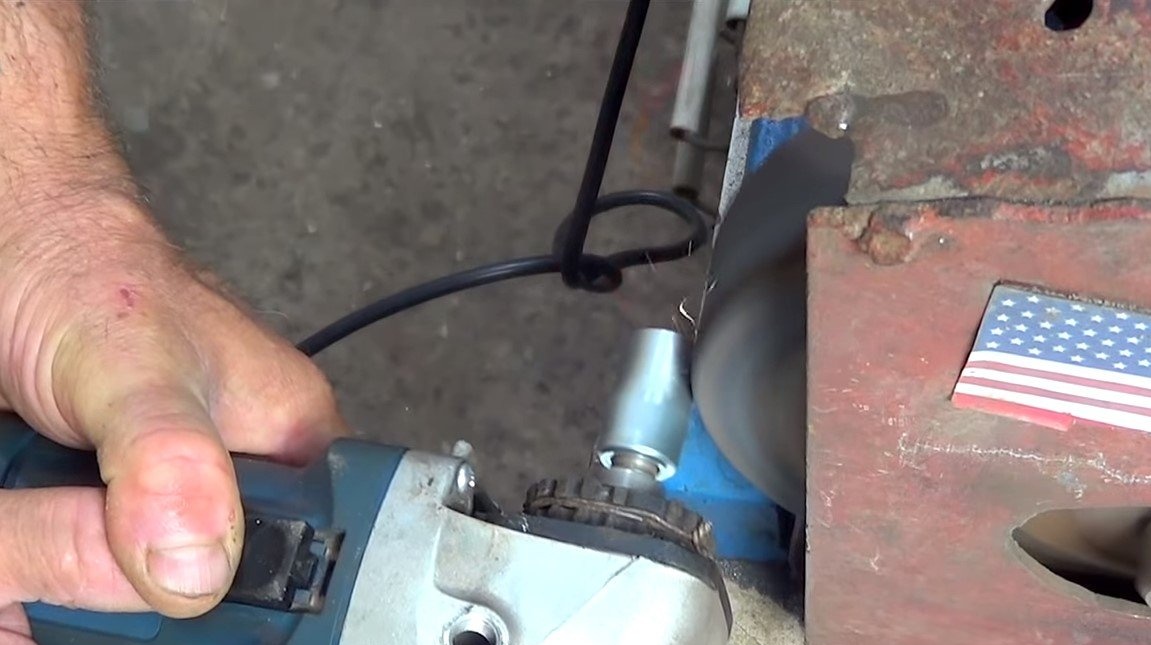
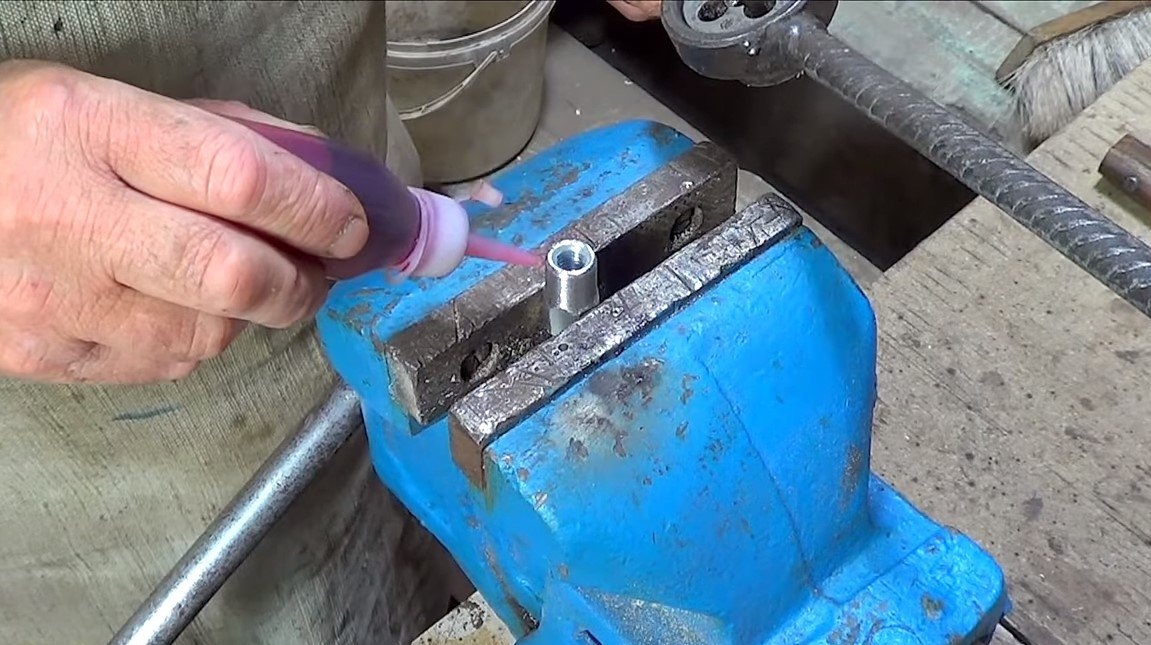
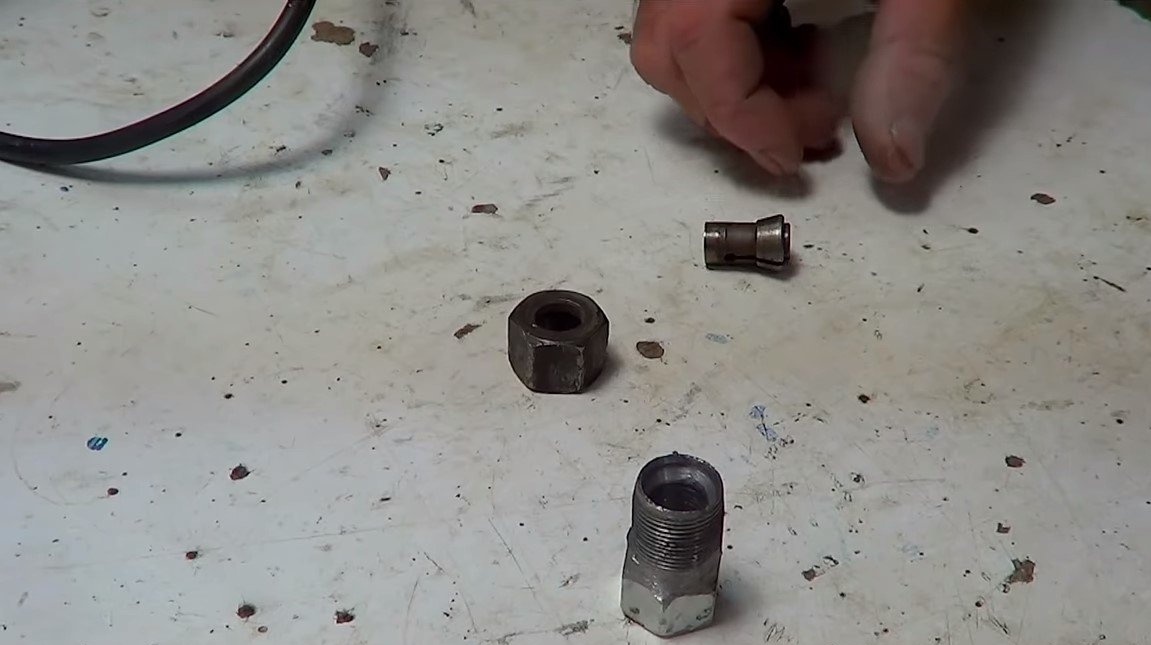
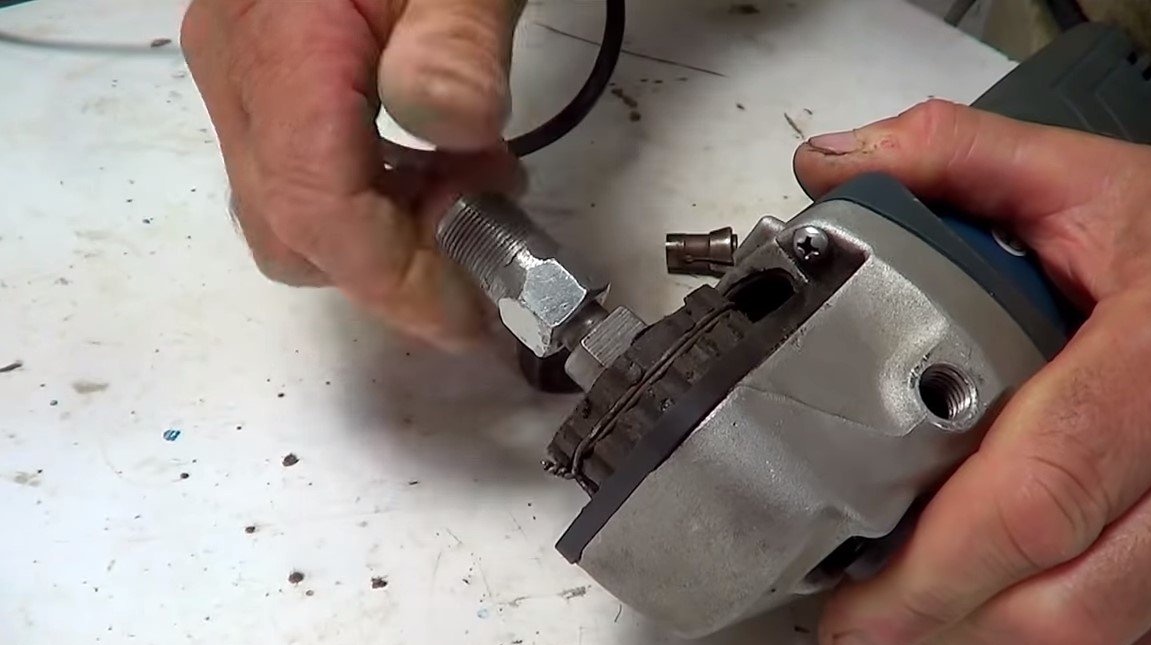
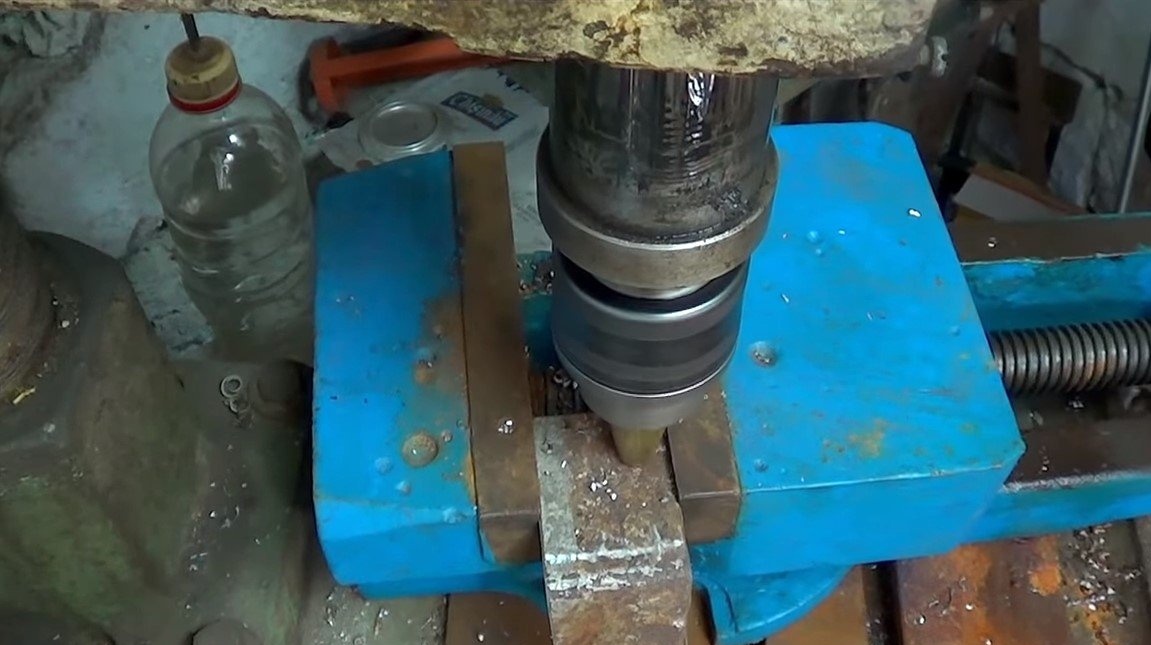
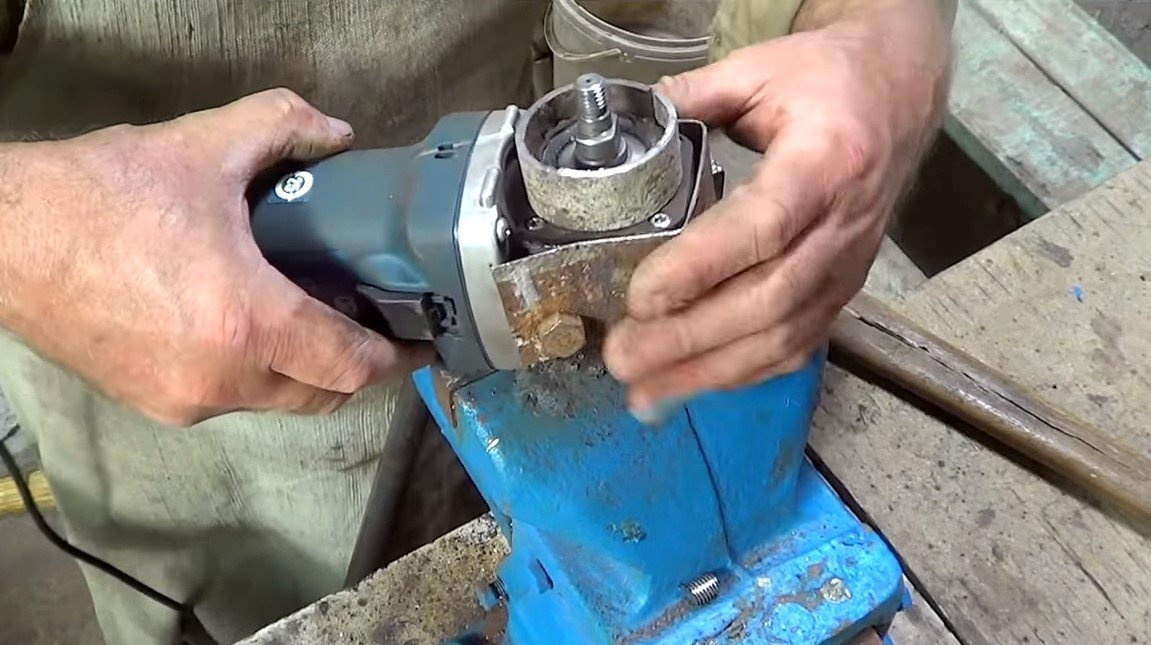
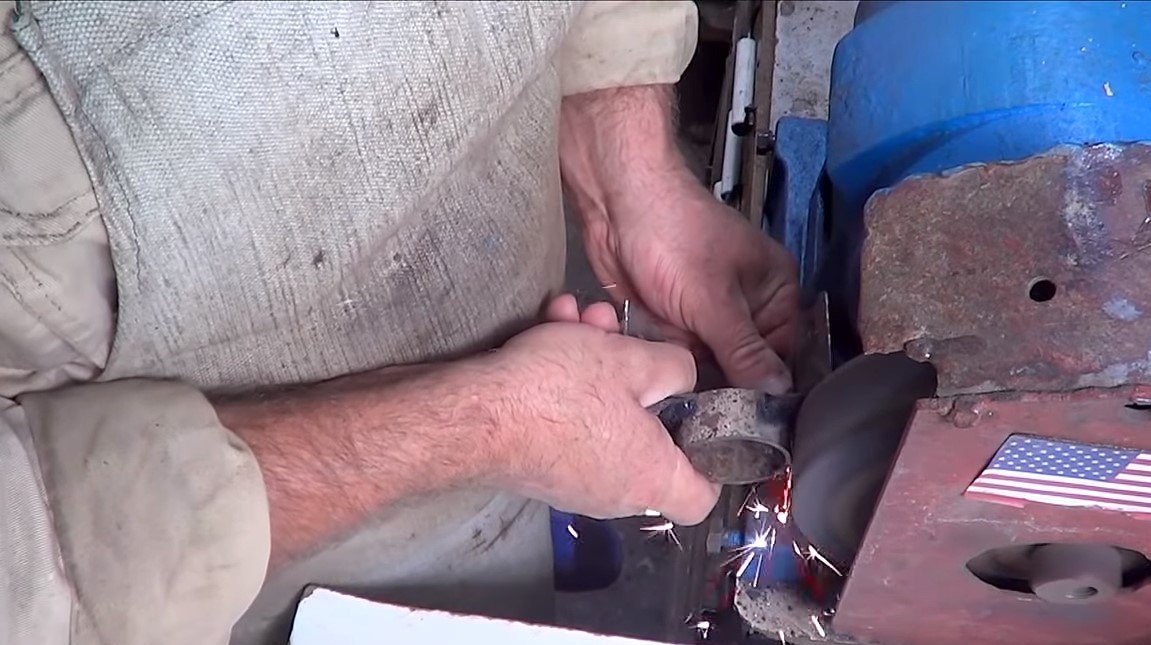
The author decided to make a chuck himself, for this we need two nuts that are threaded to the shaft of the grinder. We weld the nut together, install it on the grinder shaft and grind it on a grinder. As a result, a nut should be obtained, on which slots will be drained on one side, then we cut the thread under the union nut from the gas pipeline or the like.
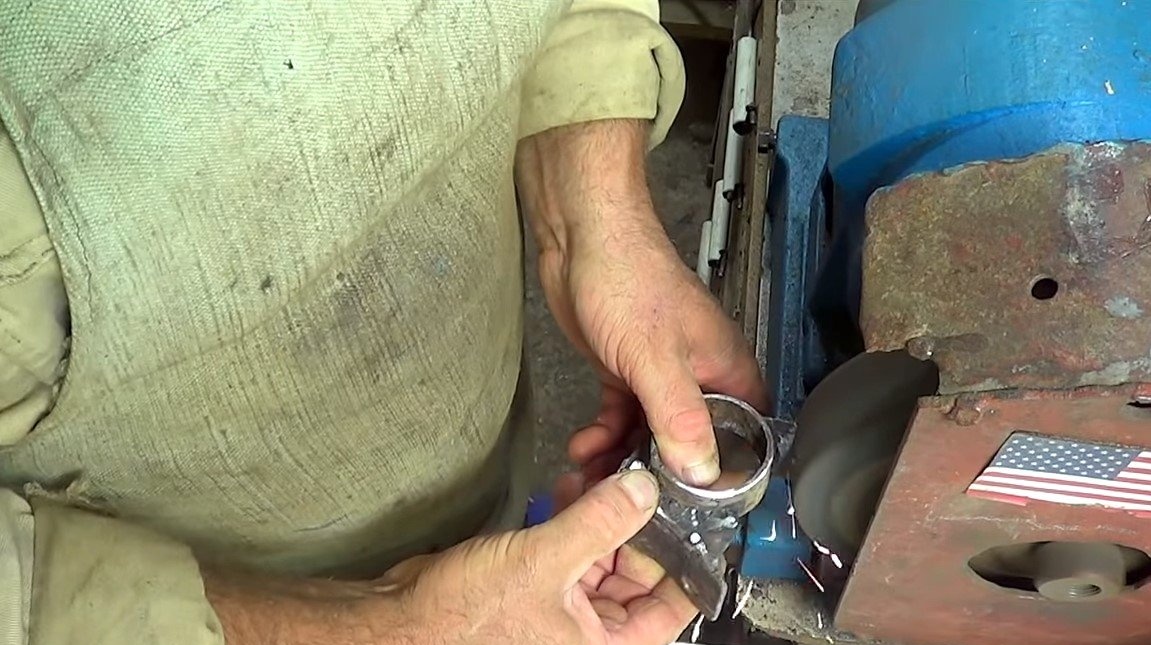
That's all, now the cartridge is ready, a homemade collet is installed inside it, which the author made of a copper clamping sleeve for the pipeline. You can also use a piece of flared on one side of the tube.


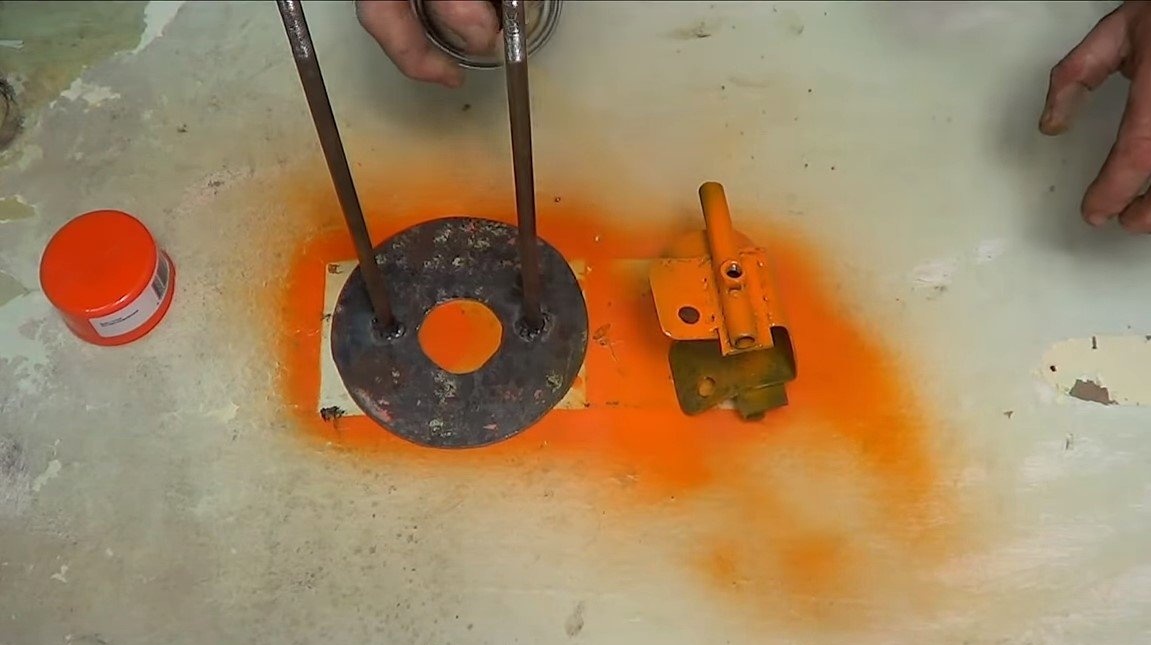
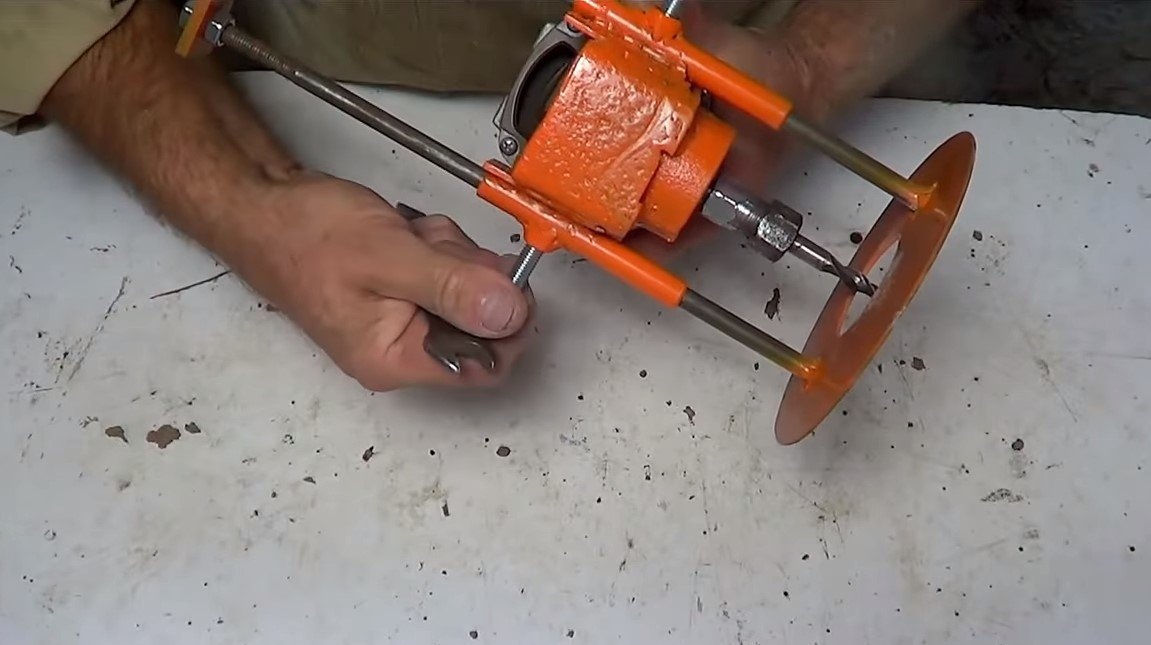
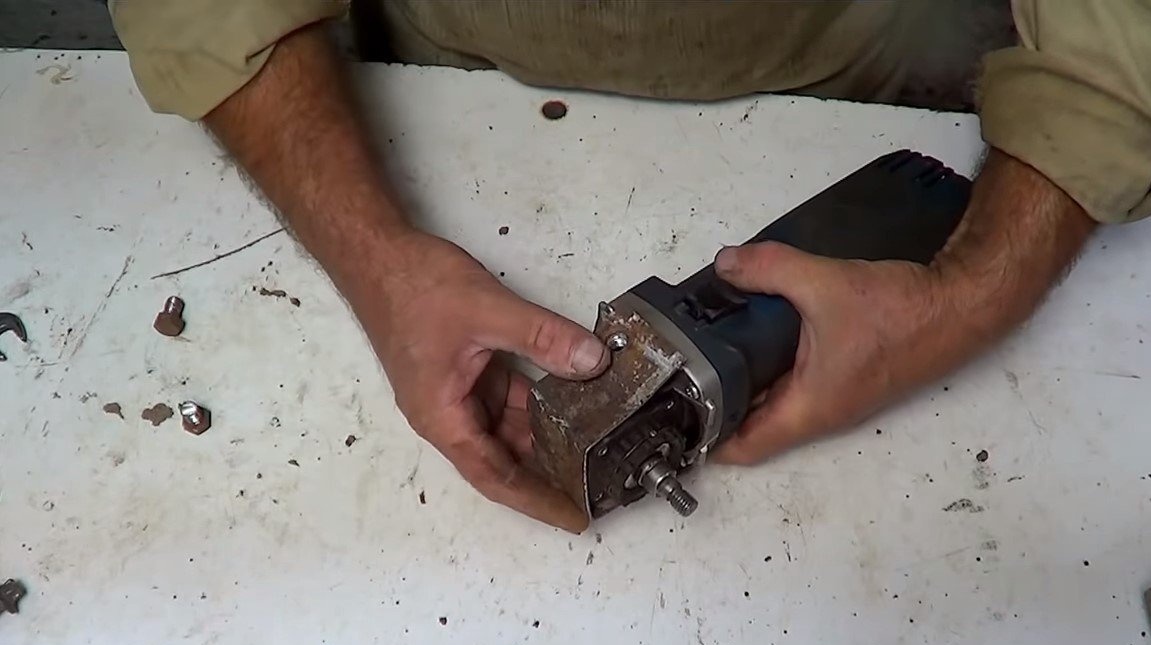
Step Two Mounting bracket
We make a mounting bracket, the author made the part from a steel plate and a piece of a round pipe. The bracket will be fastened in two places by bolts, and also just in case it rests against the part where the flap of the grinder is placed. If desired, you can make a clamp, with which the nozzle will be fixed.

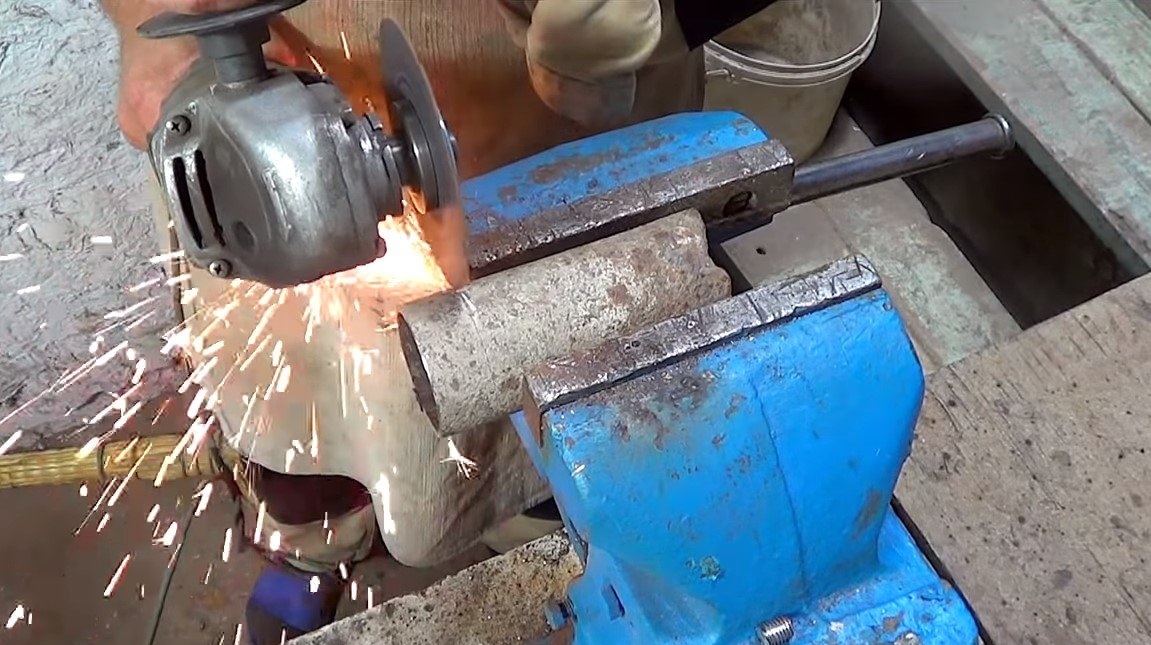
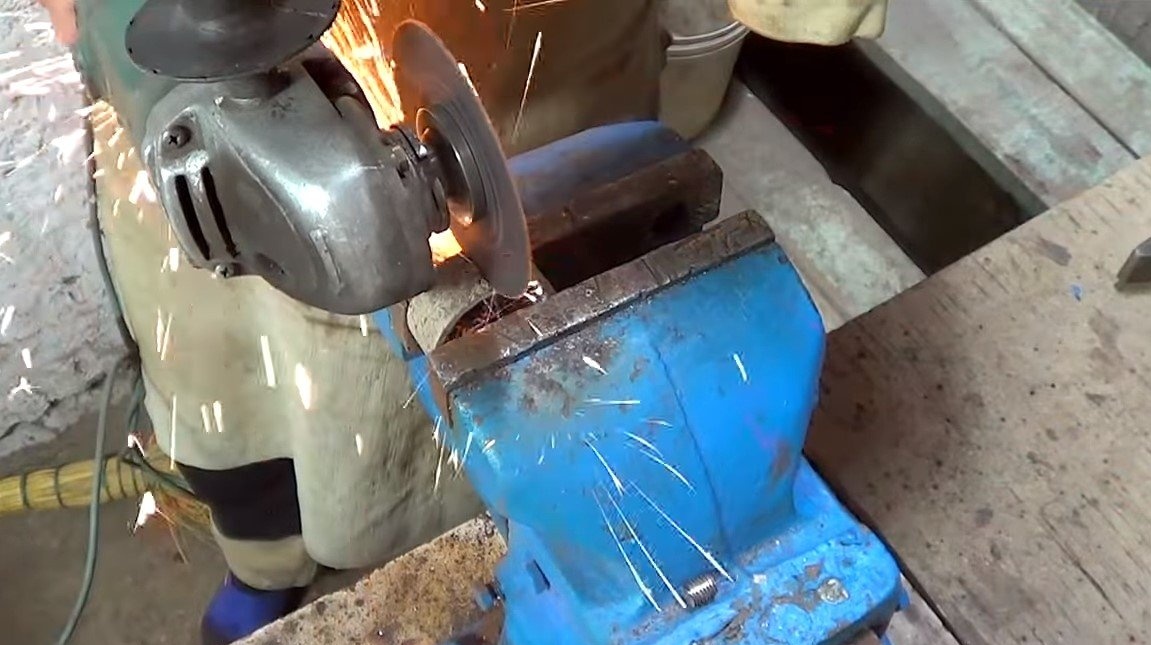

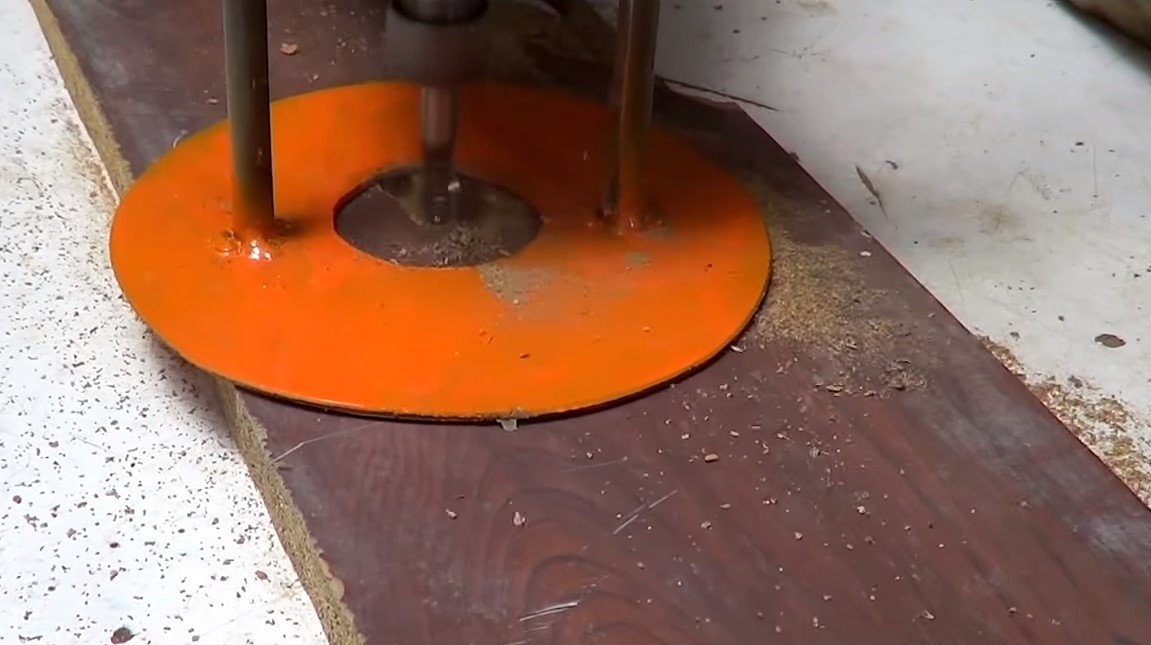
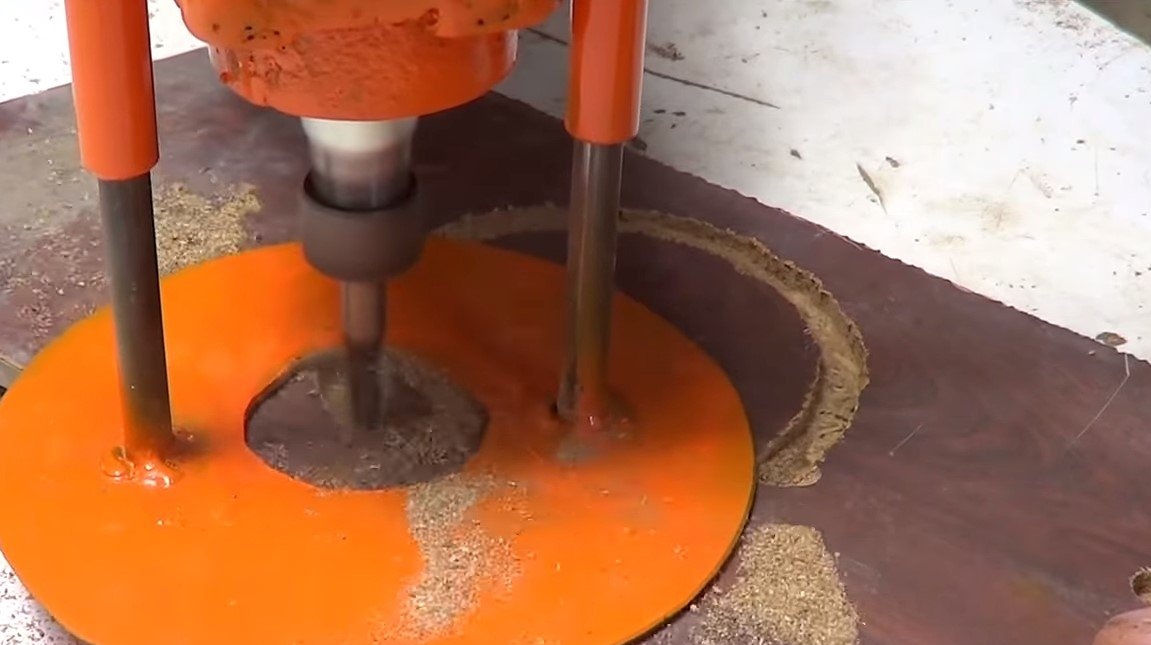
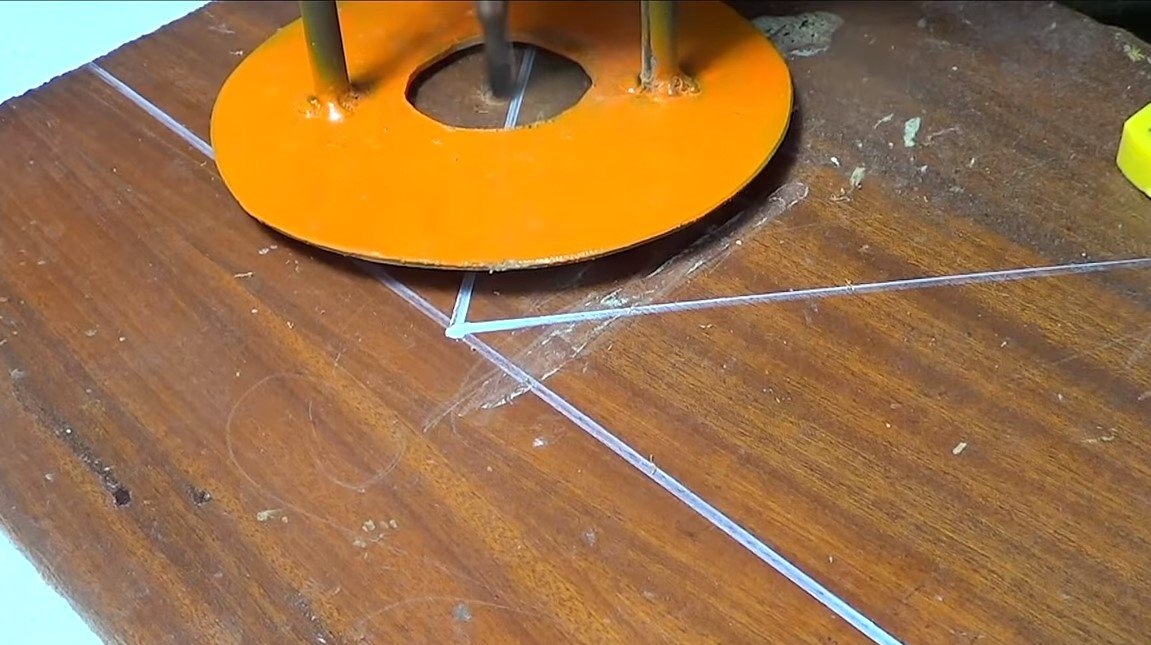
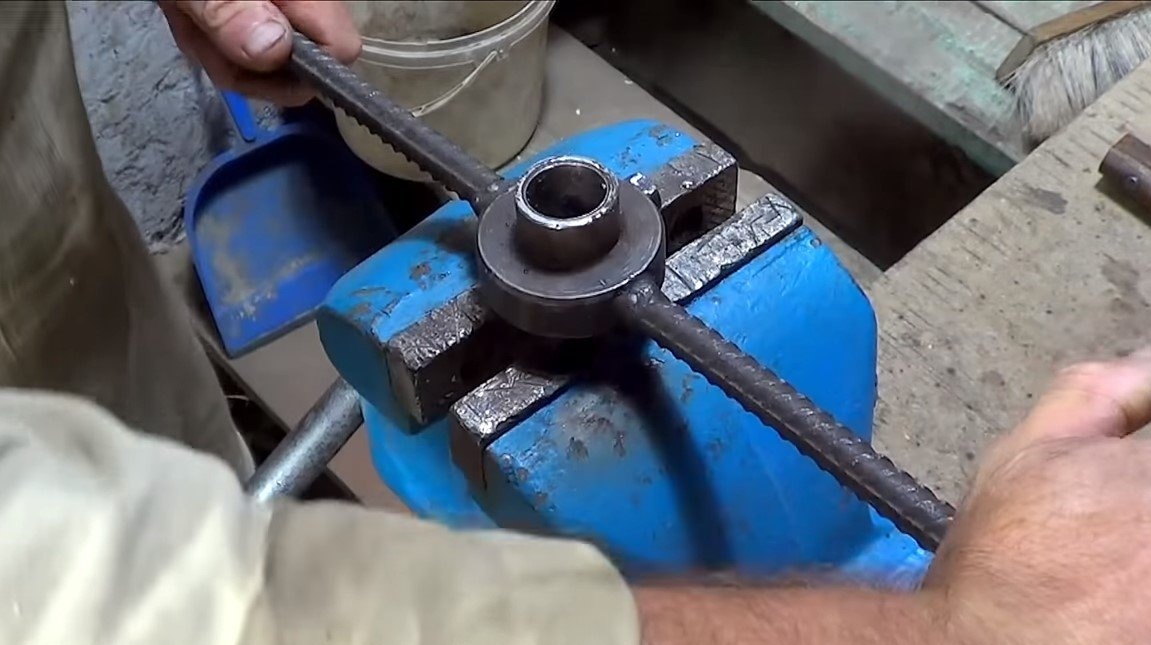
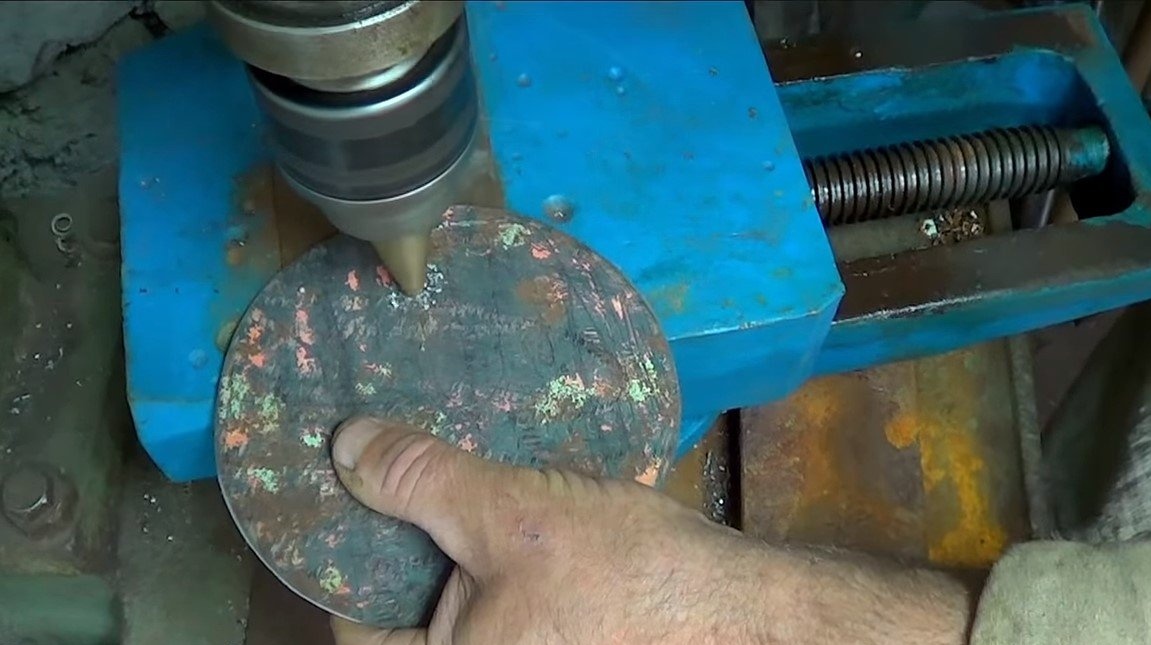
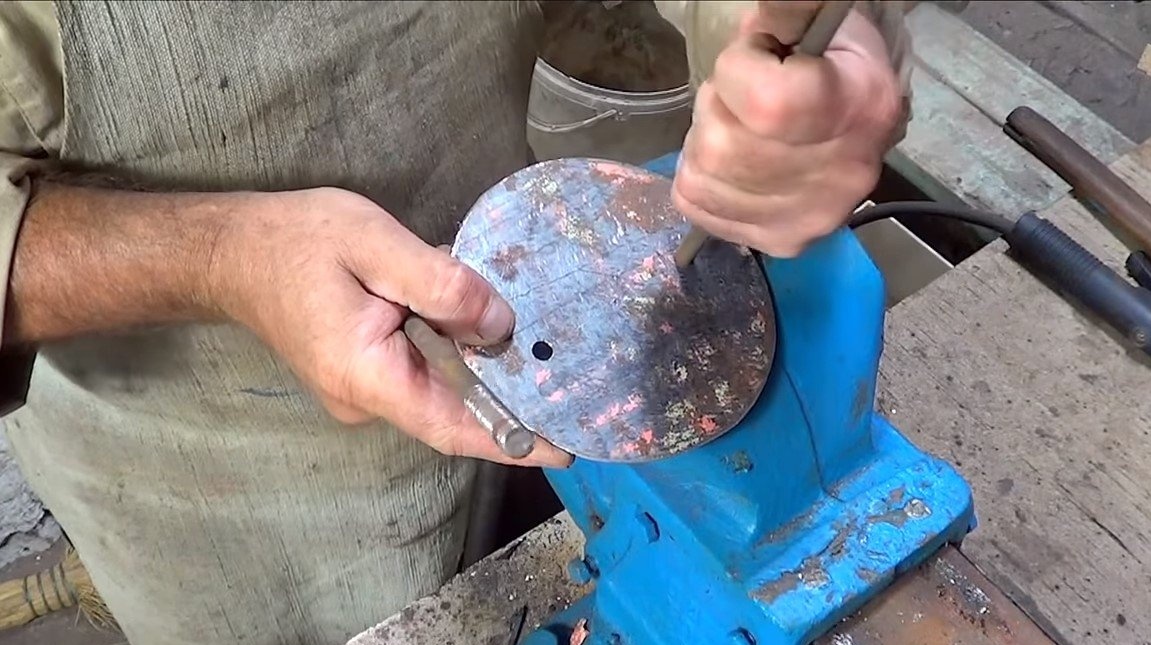
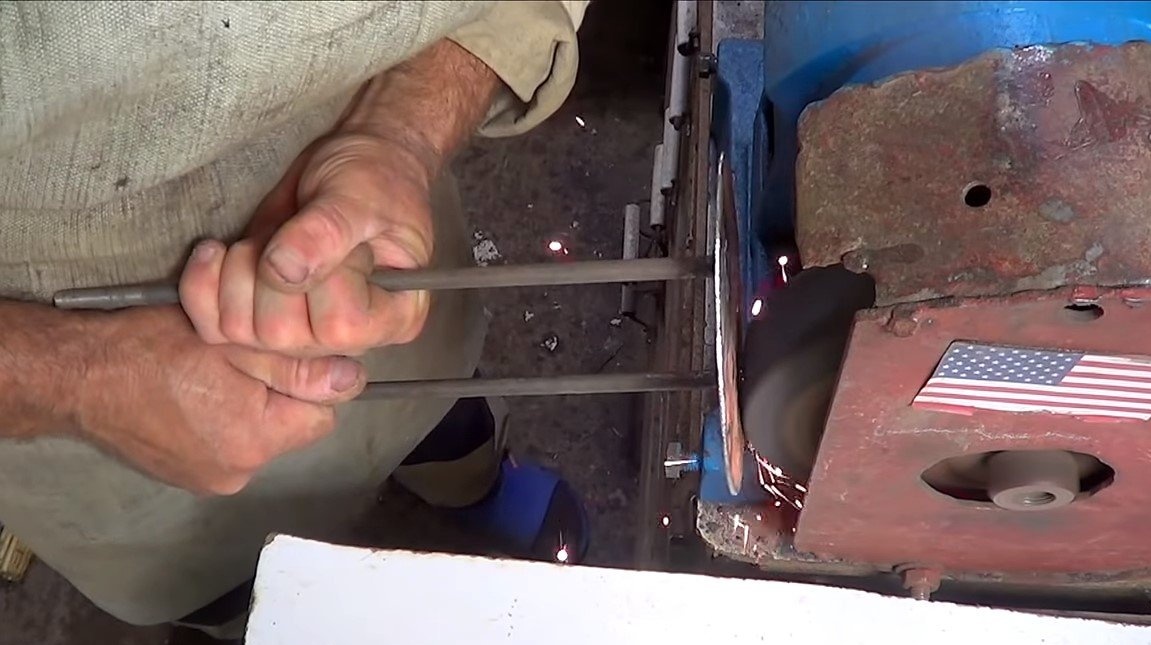
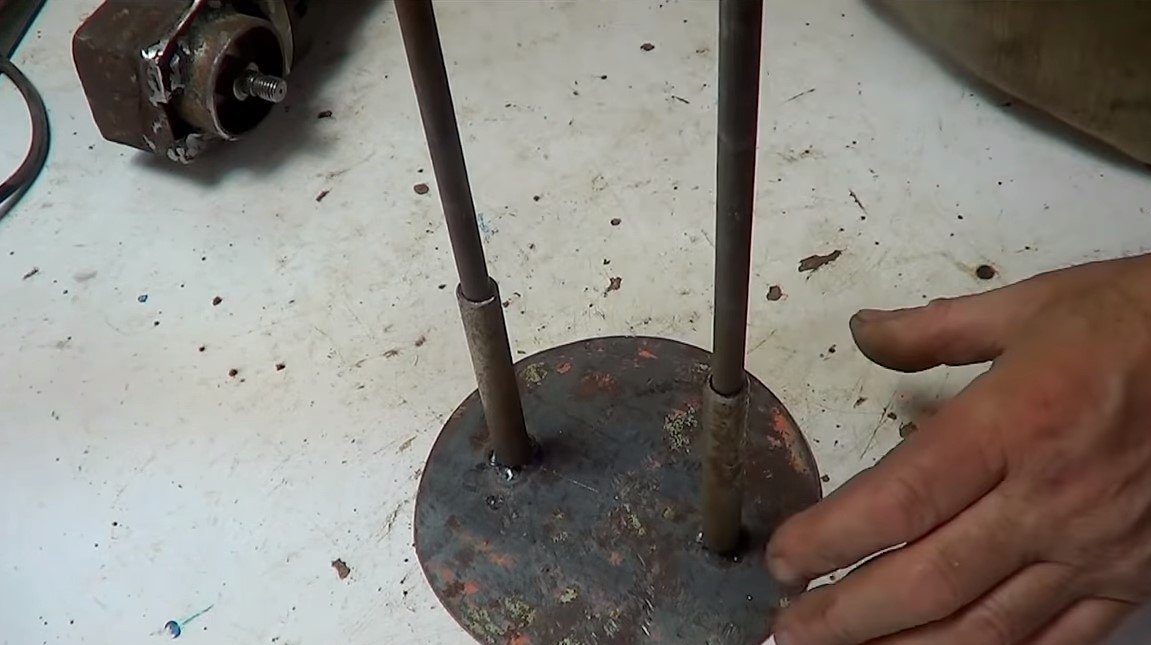
Step Three Base and guides
We cut out the base for mounting the guides, here the author used a piece of a steel plate, he cut it out in the form of a circle. We weld two studs vertically to the base, which will serve as guides.
Under the studs, you need to pick up pieces of pipes with such an inner diameter so that they move along the studs with a minimum clearance.
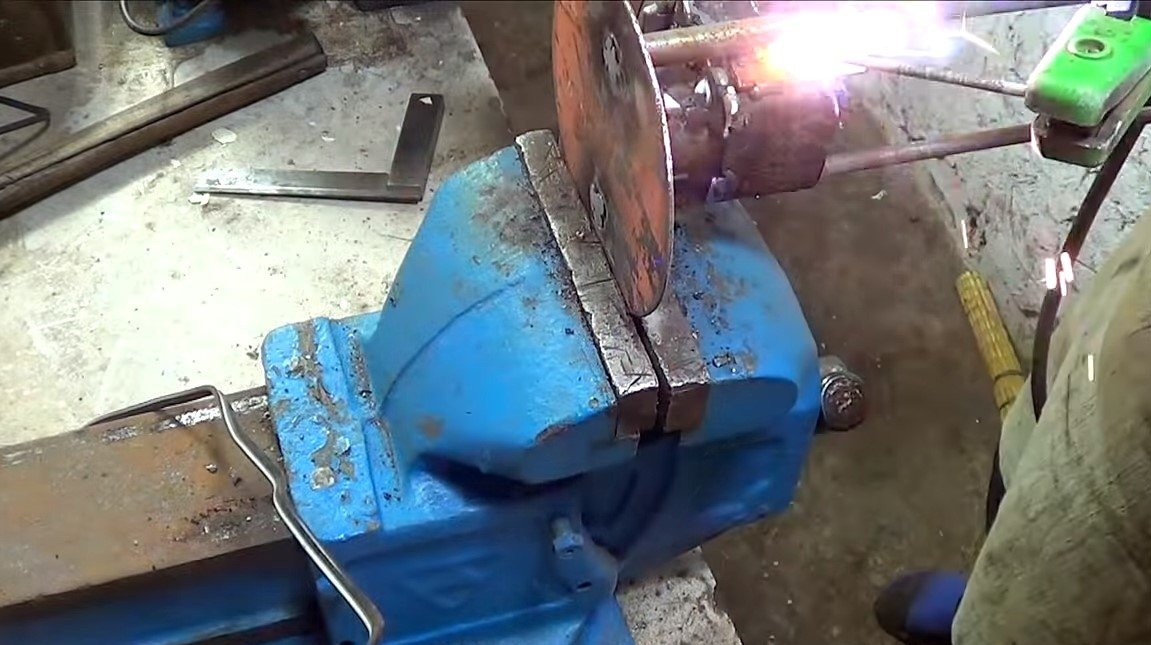
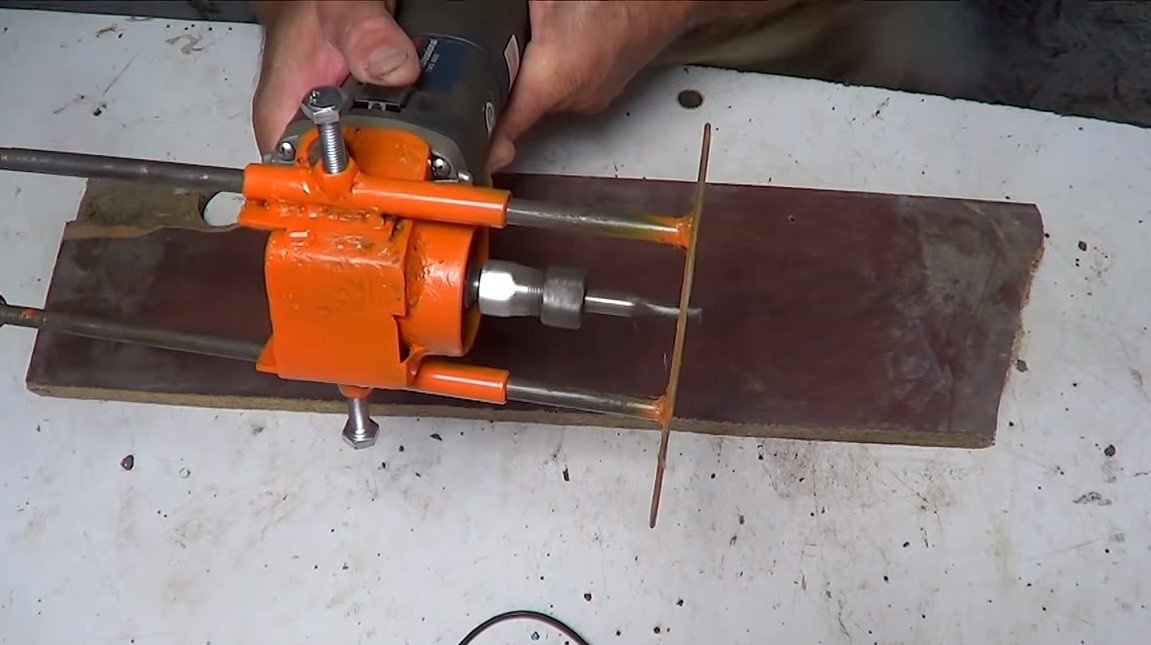
Step FourAssembly
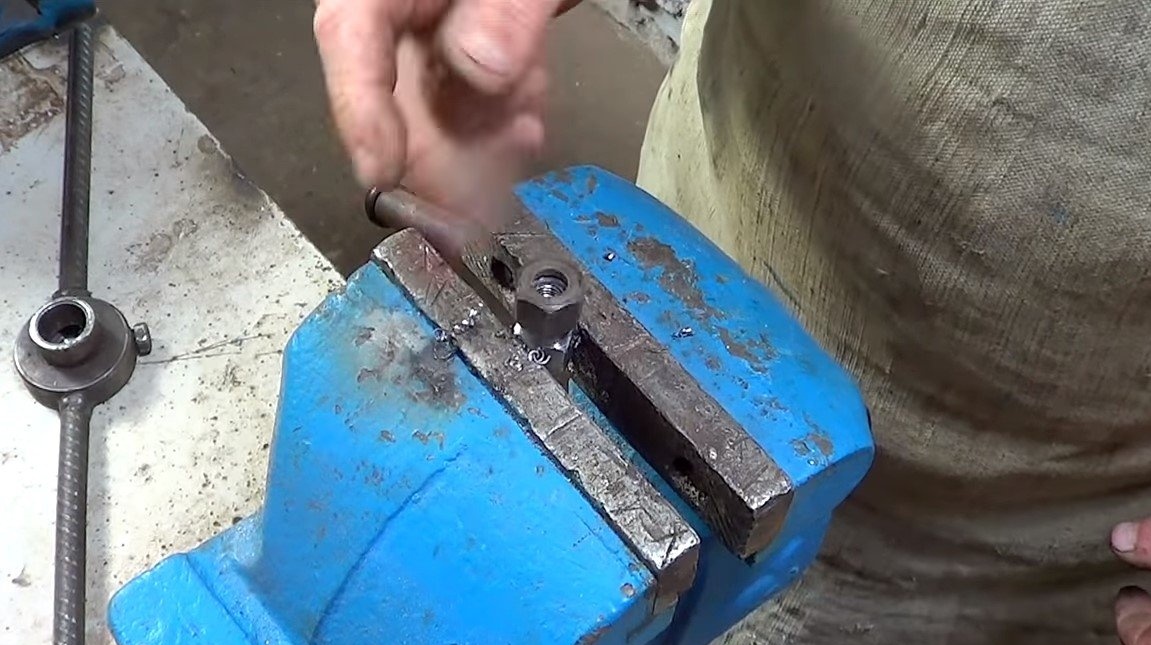
We assemble homemade products, welders of the grinder are welded to the tubes that slide along the guides. In the upper part on the studs we install a piece of a steel plate, fasten it with nuts.
Do not forget to make and fixators of bolts and nuts, which will fix the grinder at the desired height. Of course, it would be nice to install springs on the guides in the future for easier setup.
That's all, now we paint, collect and test everything. The milling cutter works without problems, in the home, homemade work will be useful, and the main plus is that the design of the grinder does not change. This is the end of the project, I hope you liked the homemade work, and you found useful thoughts for yourself. Good luck and creative inspiration, if you decide to repeat this, do not forget to share your ideas and homemade things with us!