
Hello everyone, today we will look at how to turn a grinder into a manual wood milling machine. Homemade It turned out to be convenient to manufacture and reliable, although the author used a lathe for manufacturing. Plexiglas was used as a base, so it’s convenient to work with homemade products. The author turned the guides from the round timber on a lathe. As for the installation of the cutter, for this, the author installed a drill chuck from the drill on the Bulgarian shaft. If you are interested in the project, I propose to study it in more detail!
Materials and tools used by the author:
Material List:
- plexiglass;
- round timber;
- springs;
- screws;
- steel plates;
- a cartridge from a drill or screwdriver.
Tool List:
- lathe;
- vernier caliper;
- drilling machine;
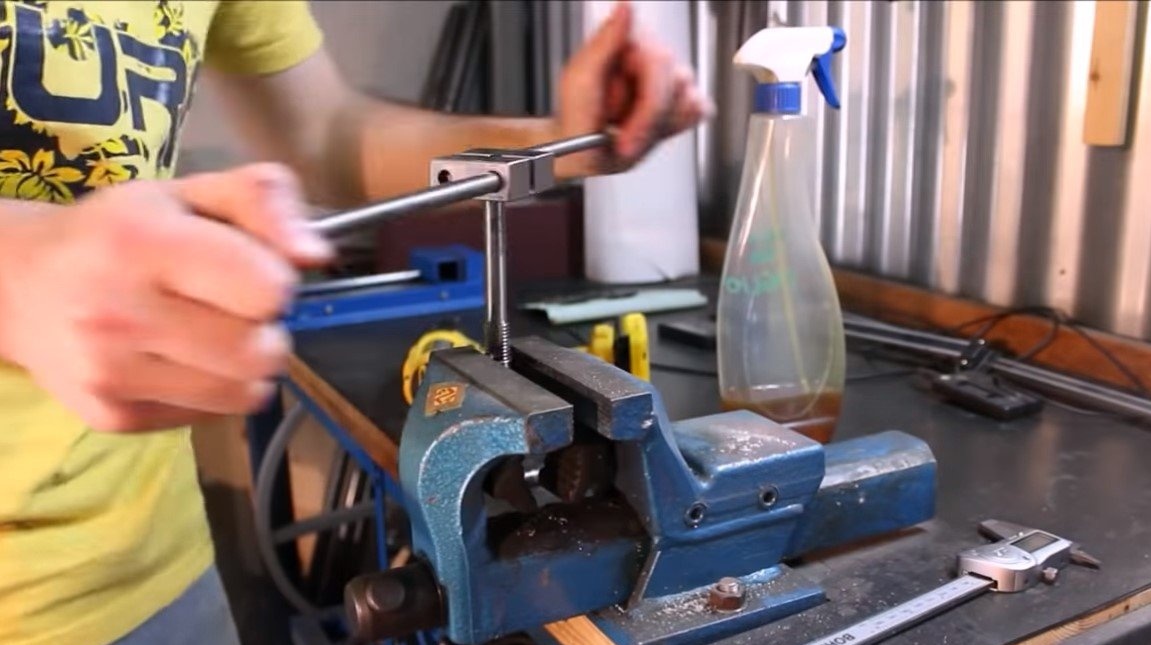
- tool for threading;
- vise;
- welding machine.
Homemade manufacturing process:
Step one. Drill chuck
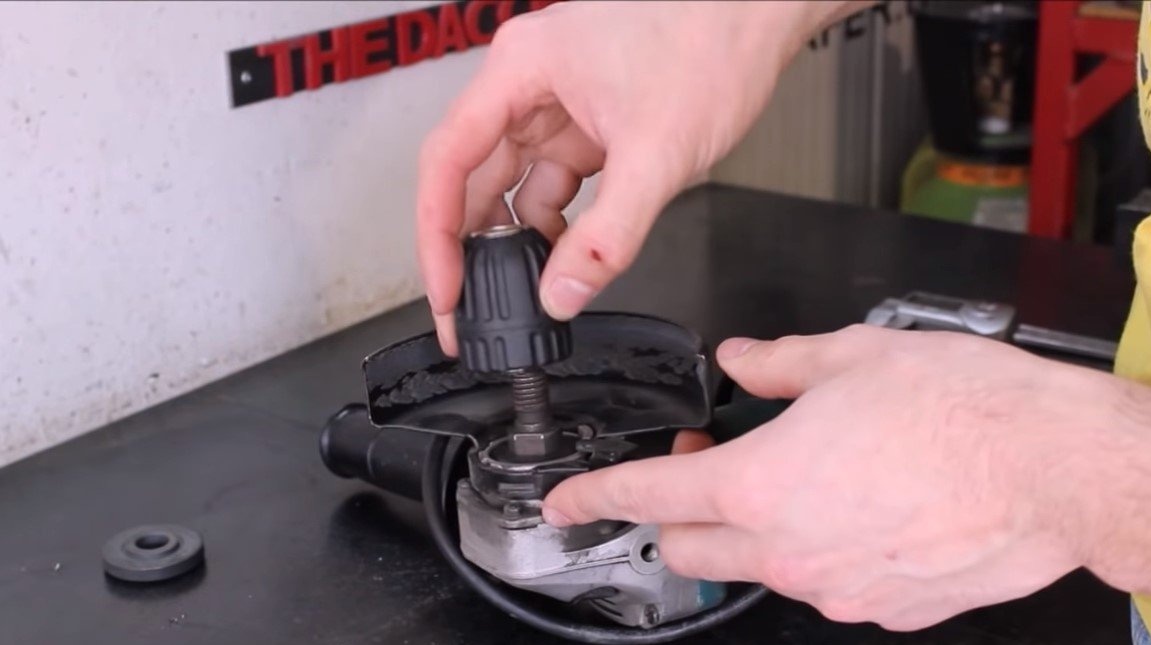
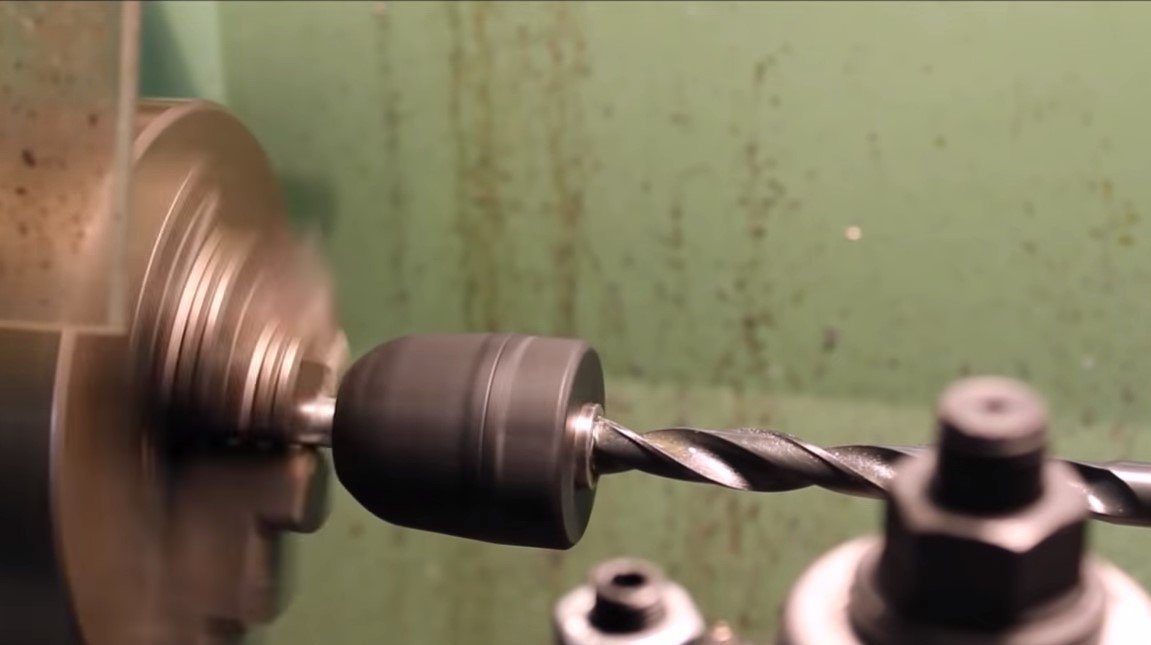
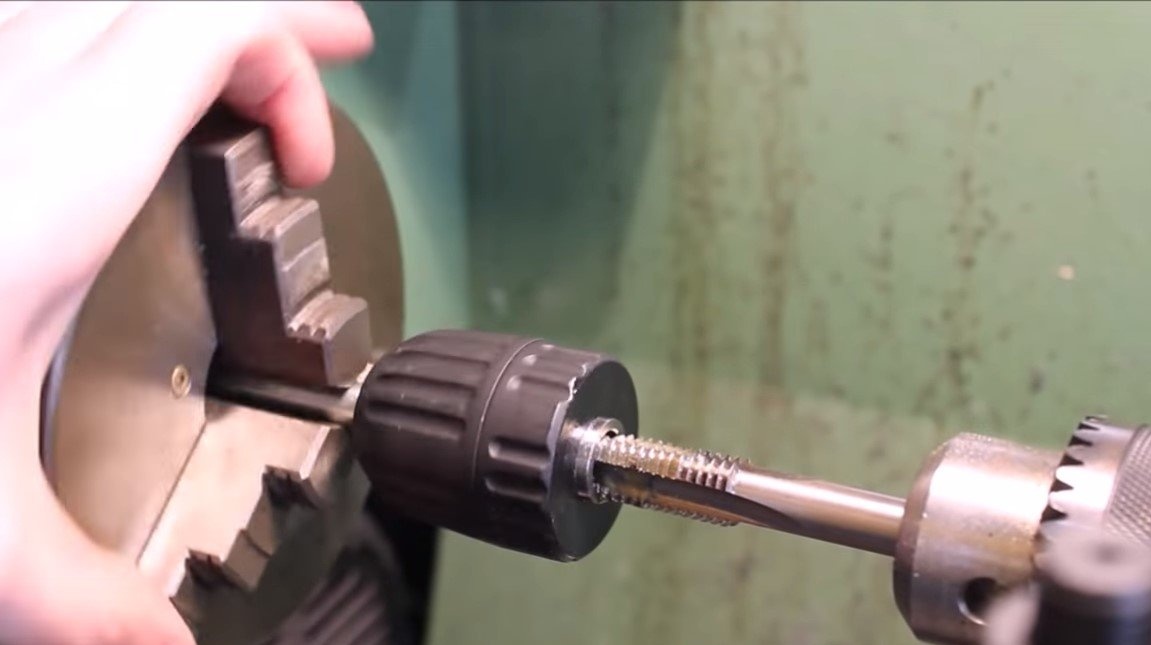
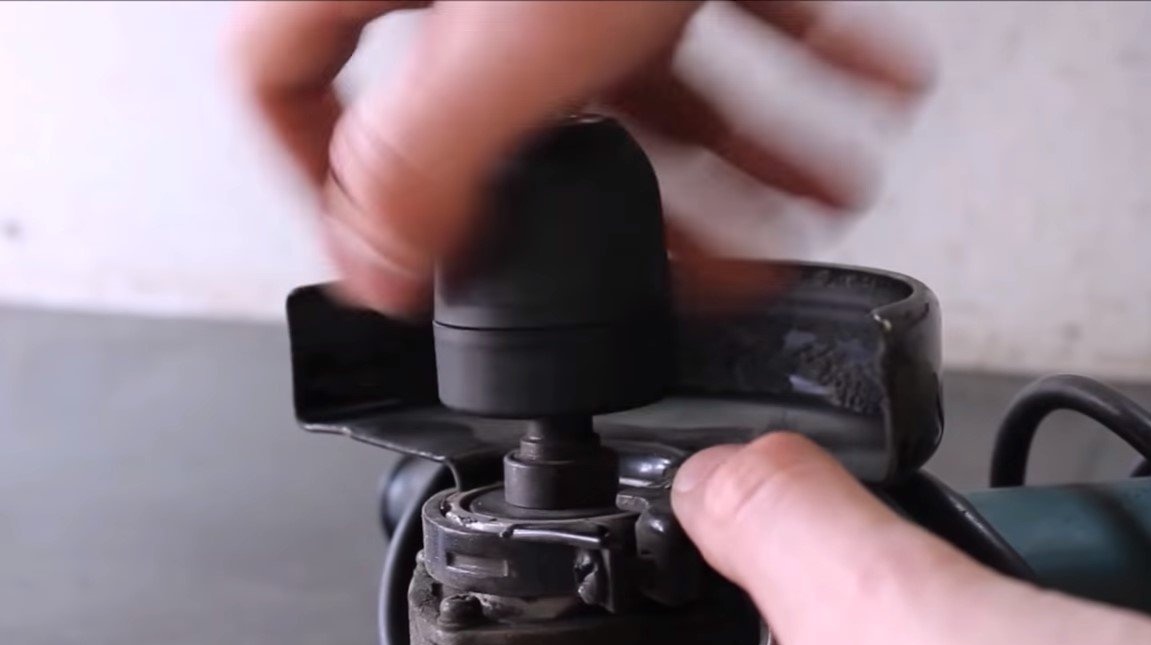
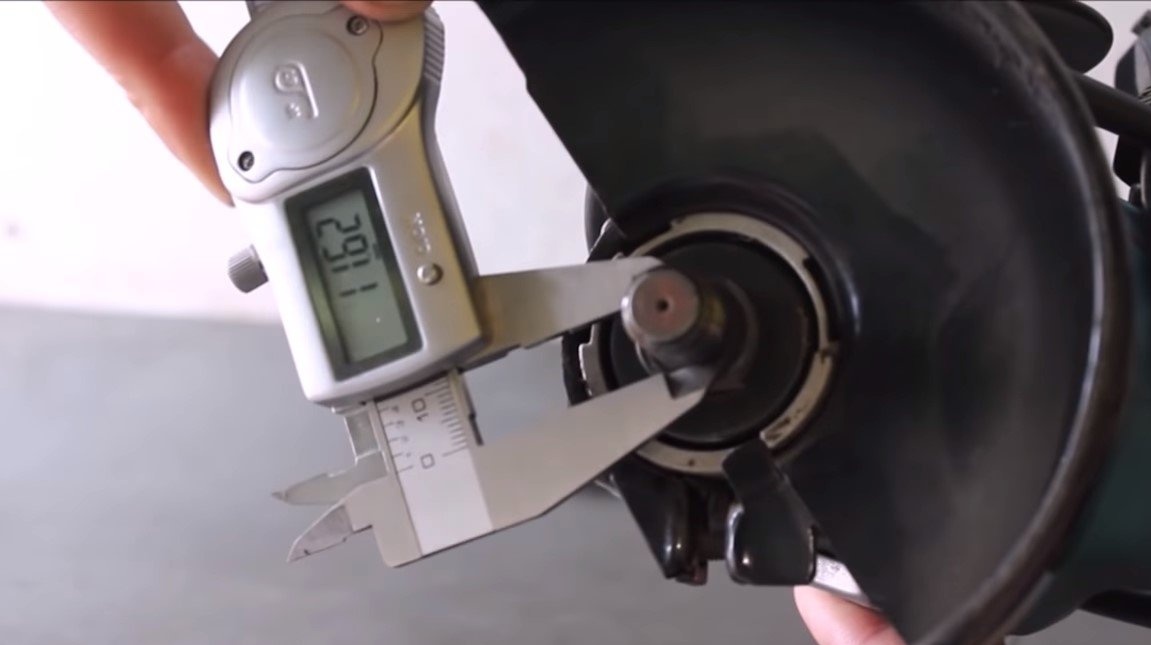
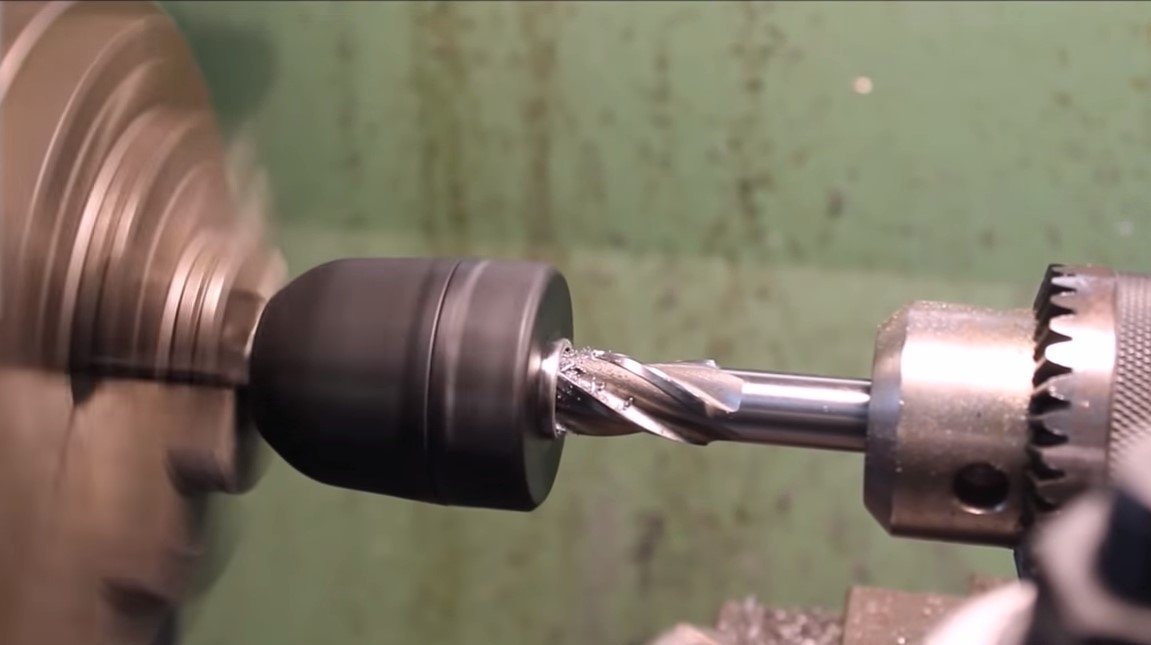
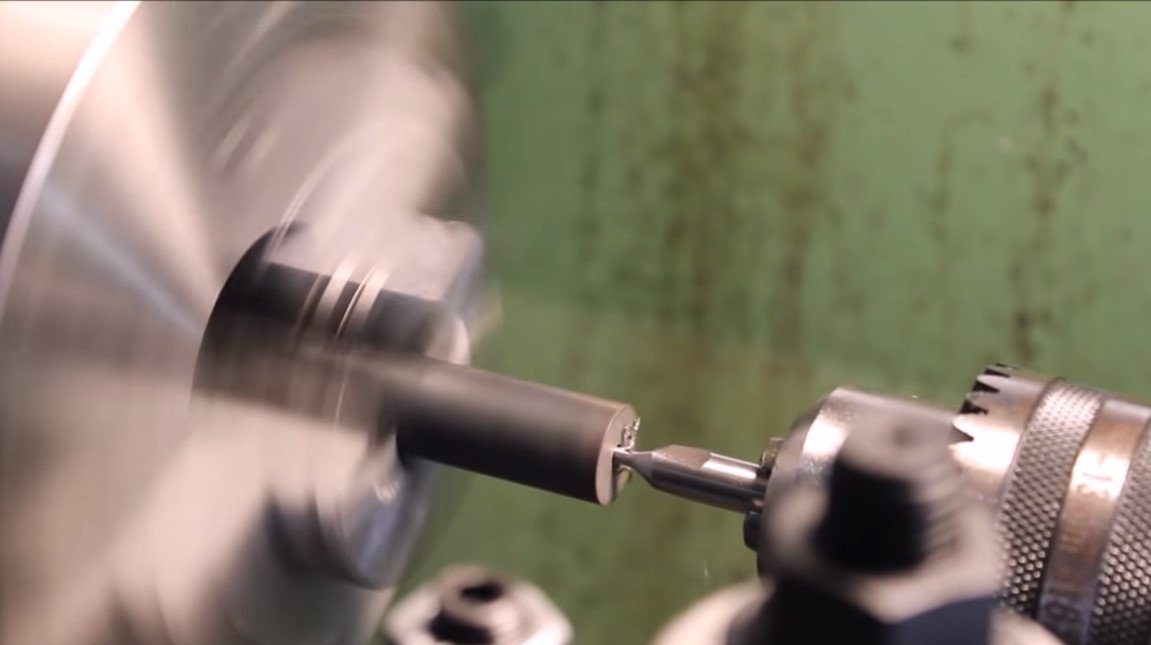
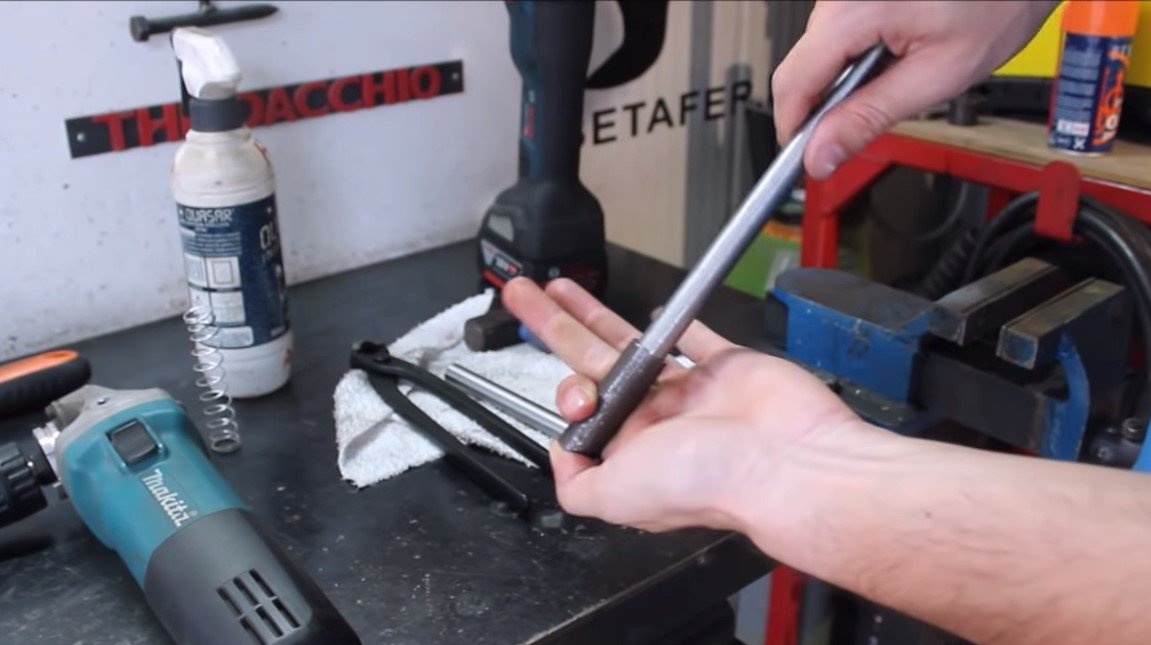
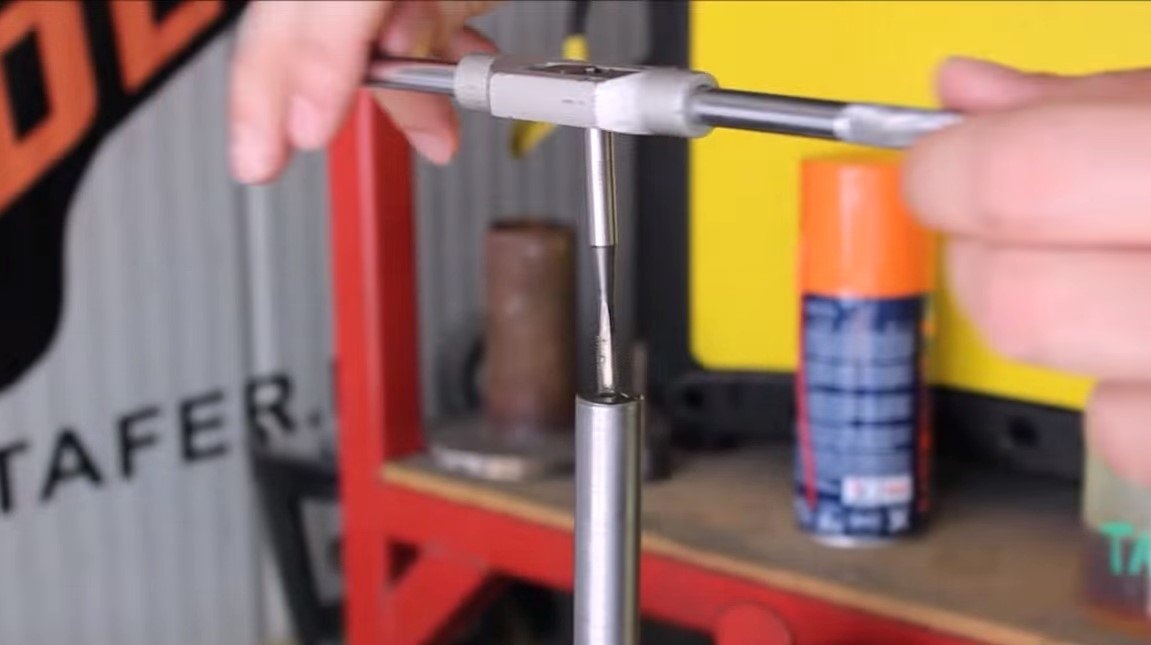
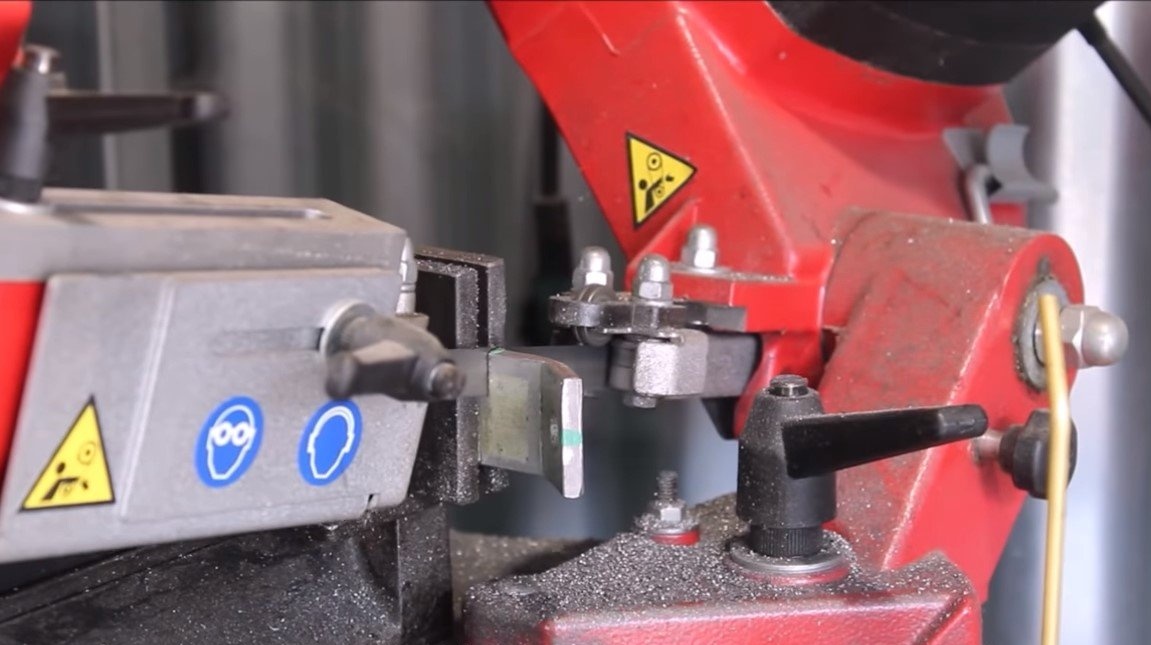
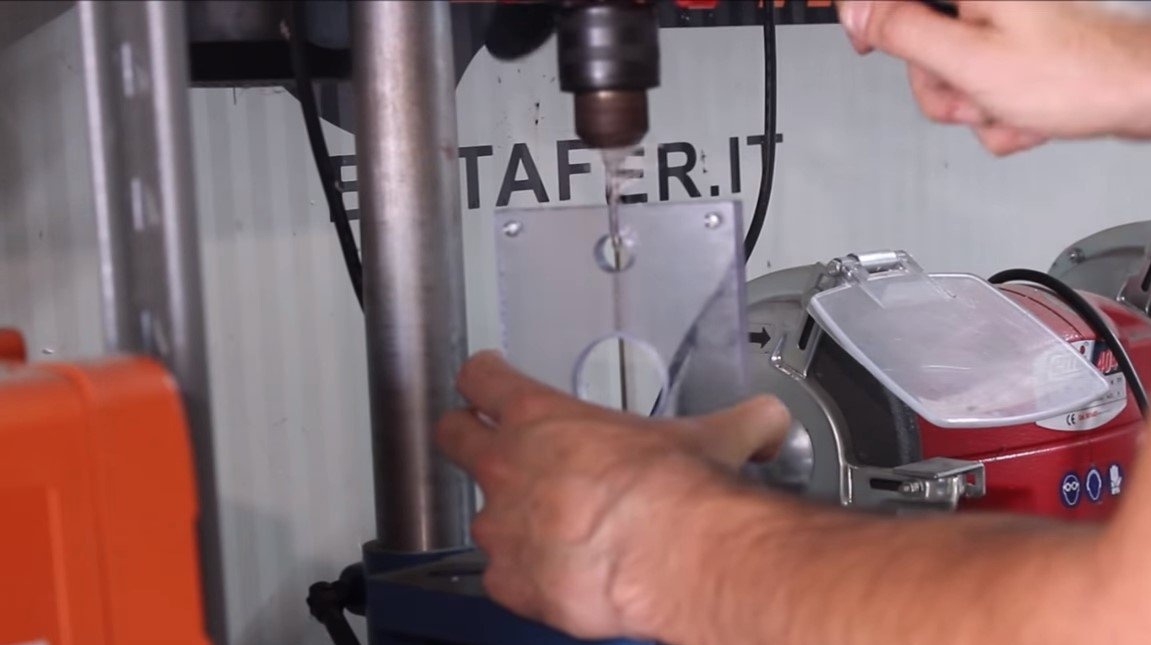
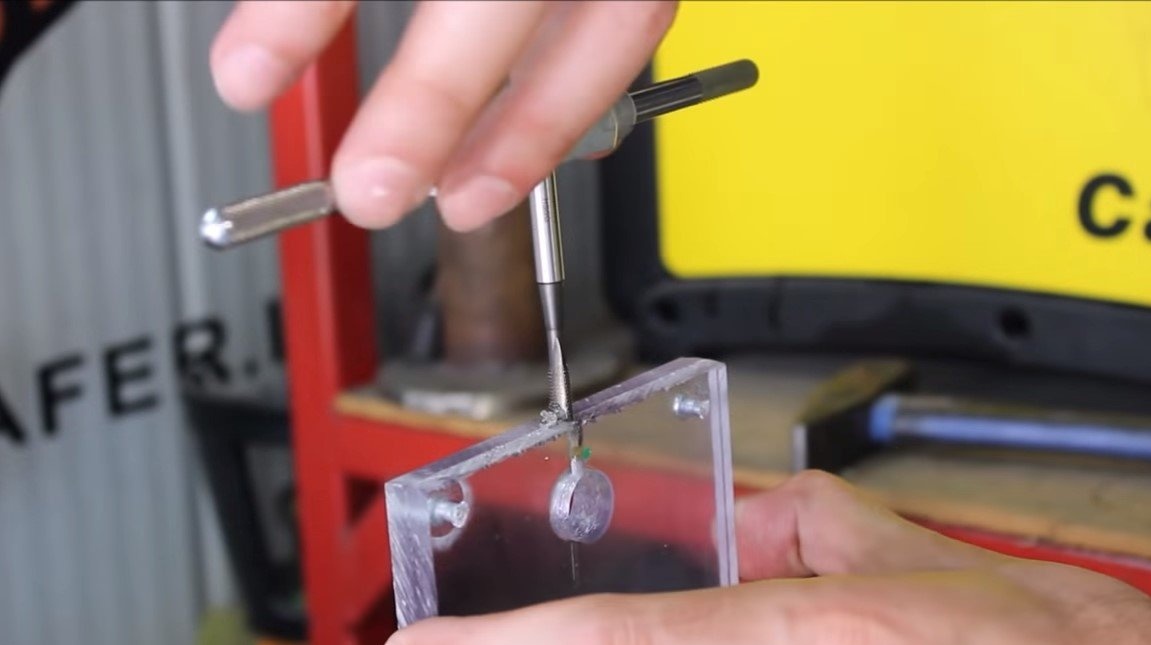
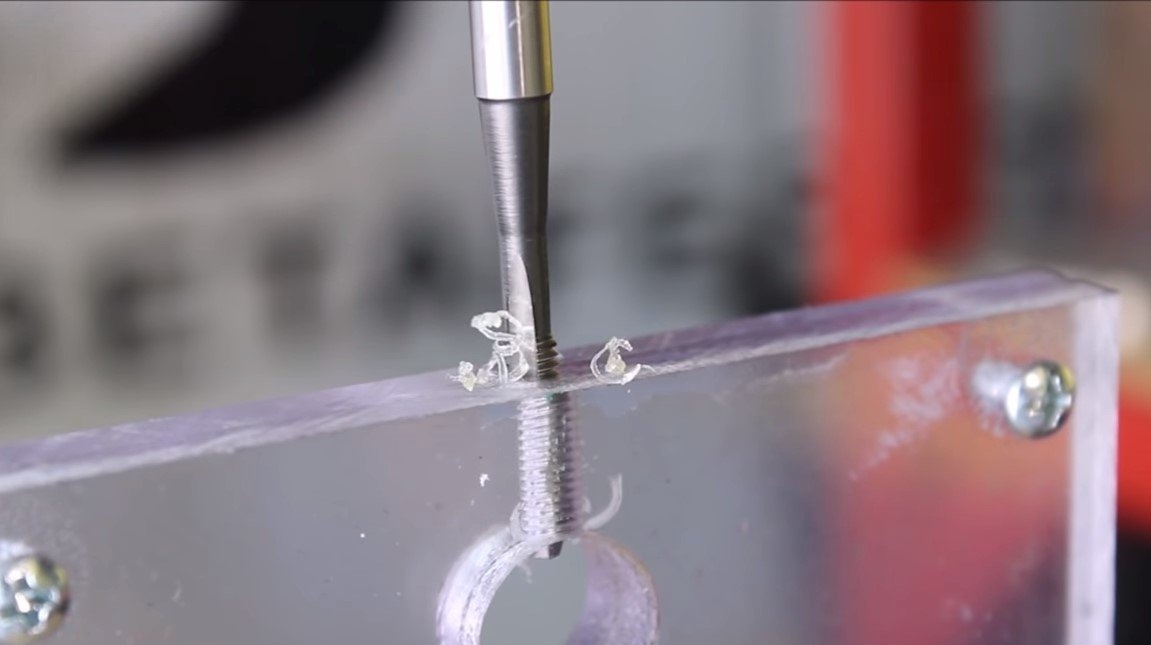
First of all, we need to redo the drill chuck, measure the diameter of the shaft of the grinder and, accordingly, taking into account the thread, we drill a hole in the drill chuck. Next, we cut the thread and the cartridge can be screwed onto the shaft of the grinder.
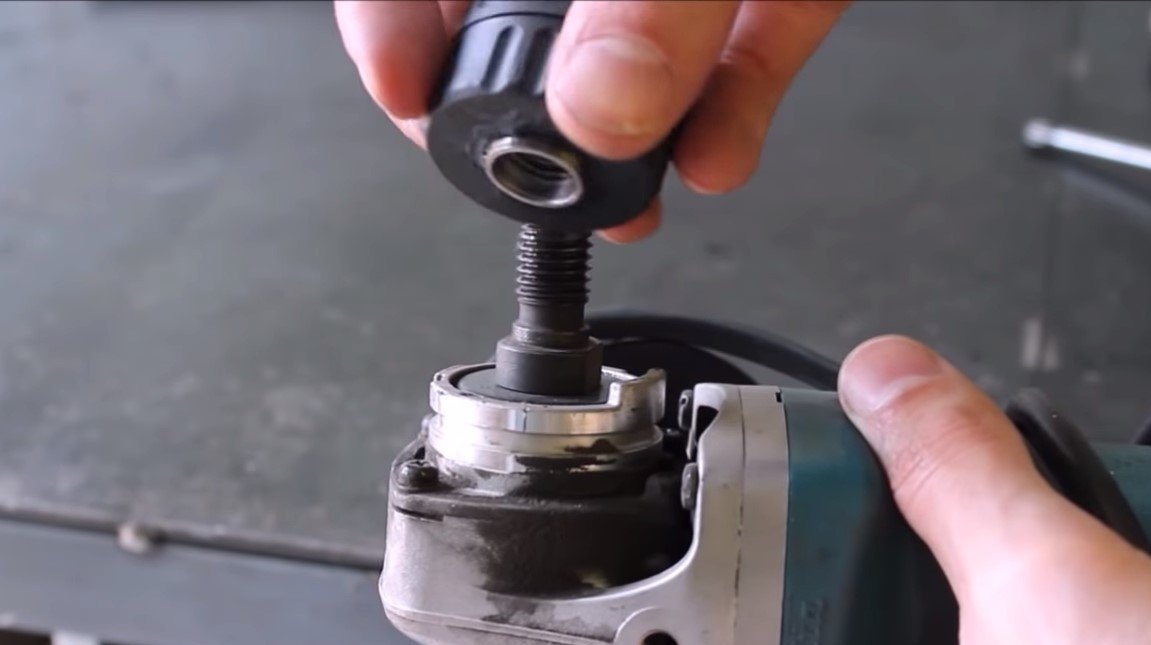
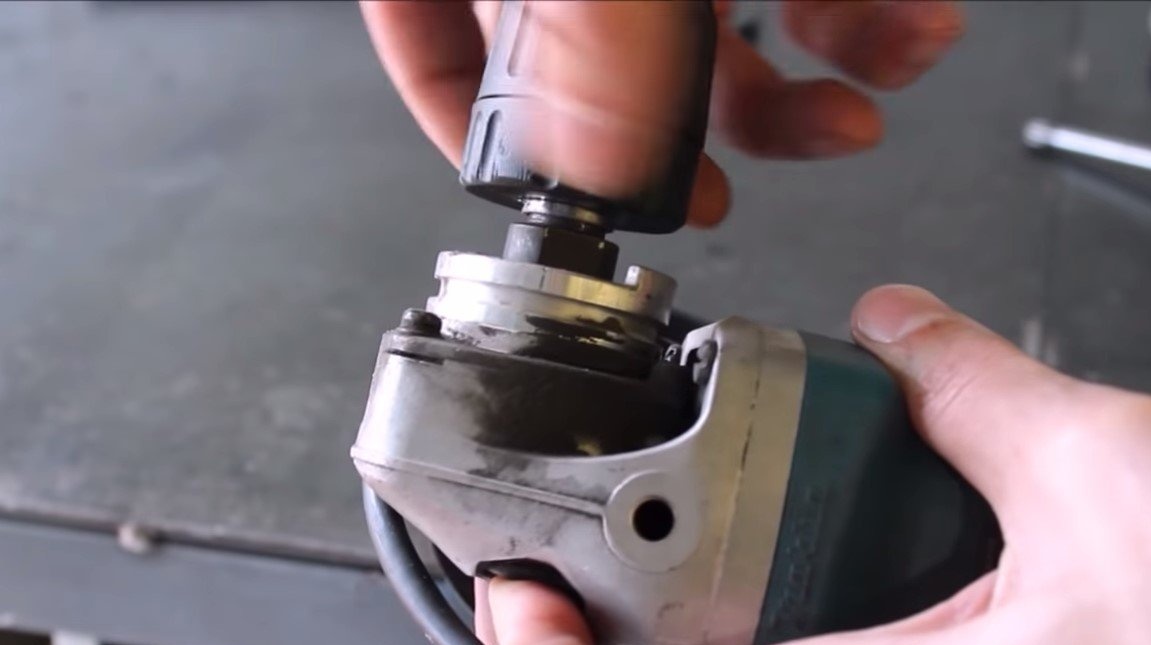
After installing the cartridge, the author noticed that the cartridge hangs on the thread to solve the problem, the cartridge must be wound on a special protrusion on the shaft. Under this ledge, the author leaked a place in the cartridge.
Step Two Guides
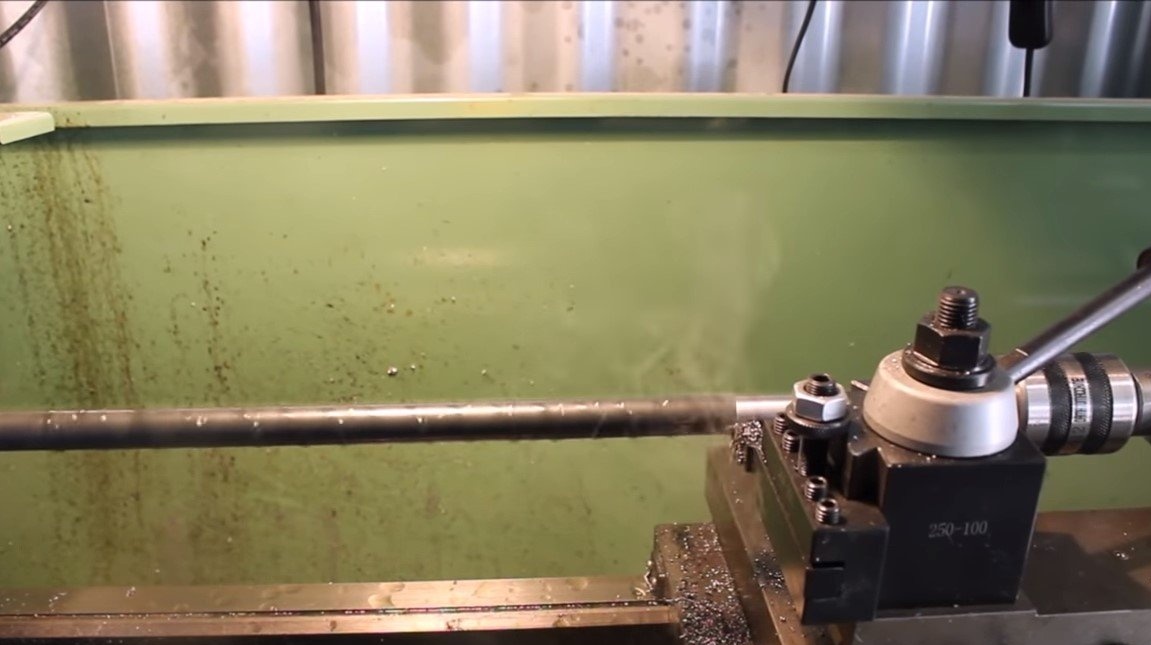
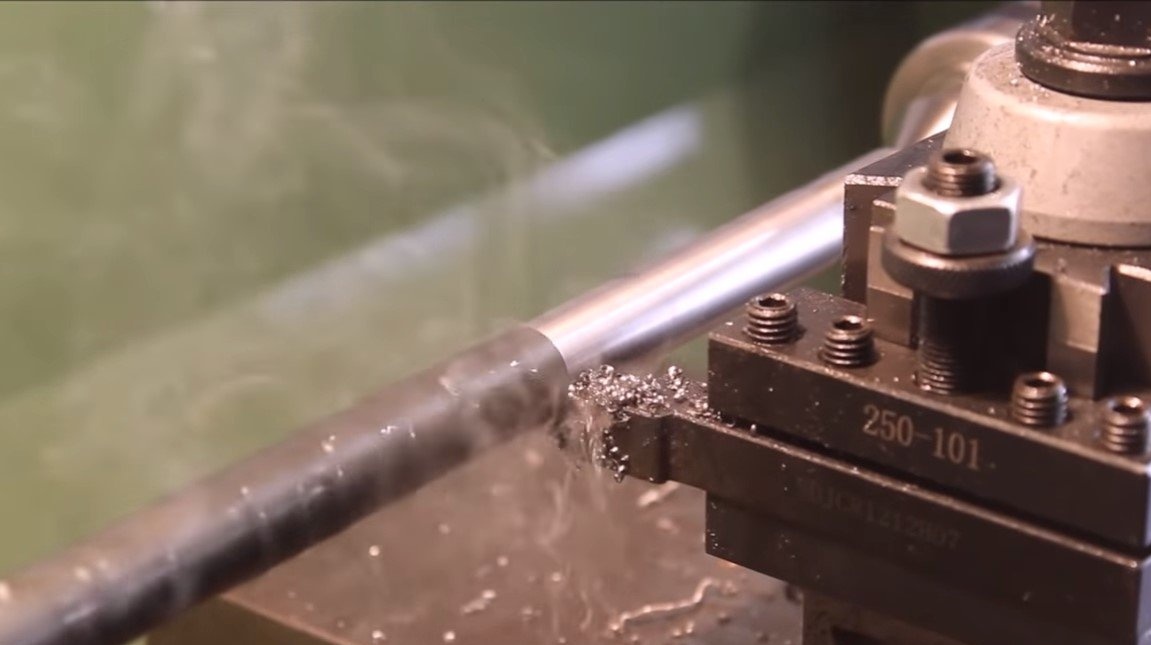
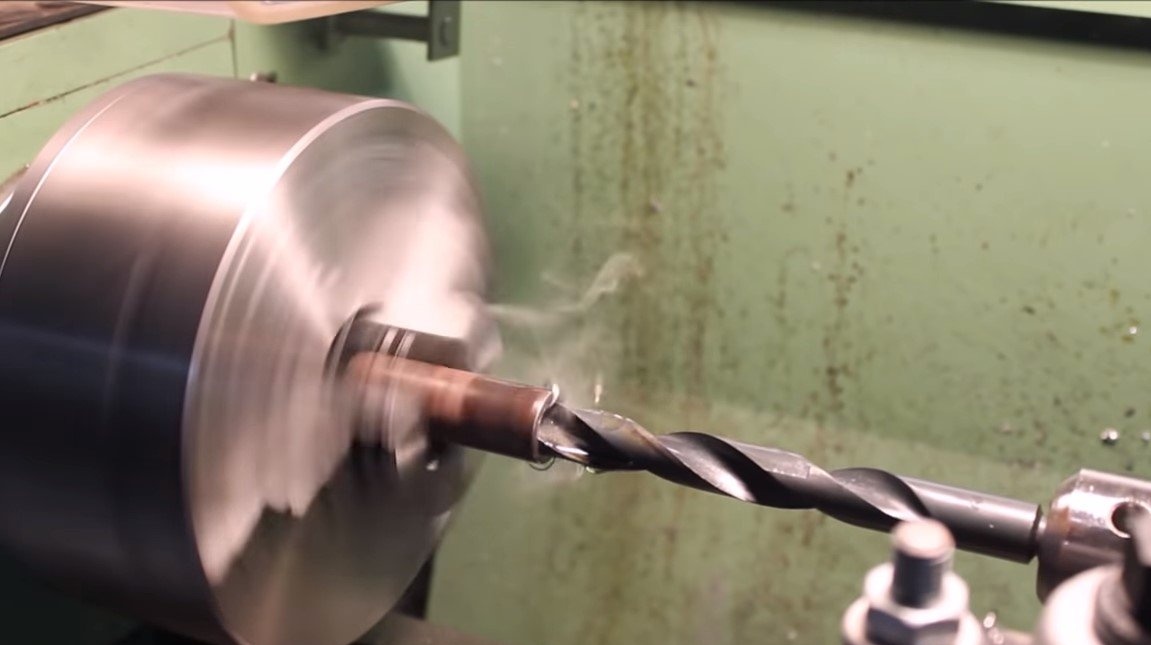
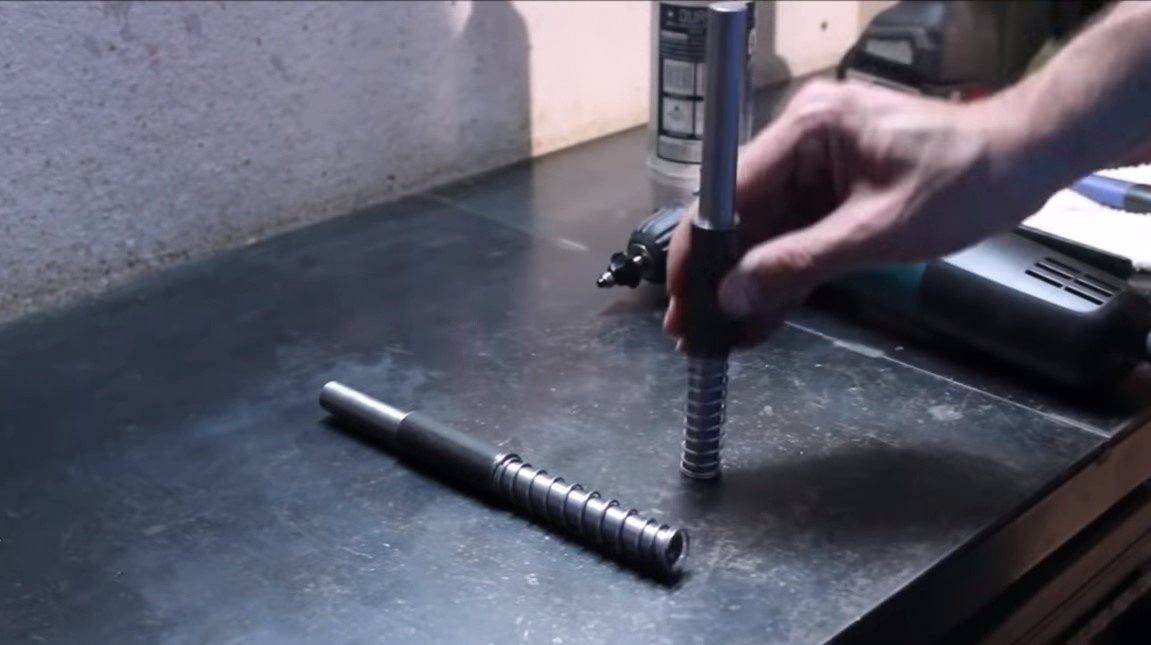
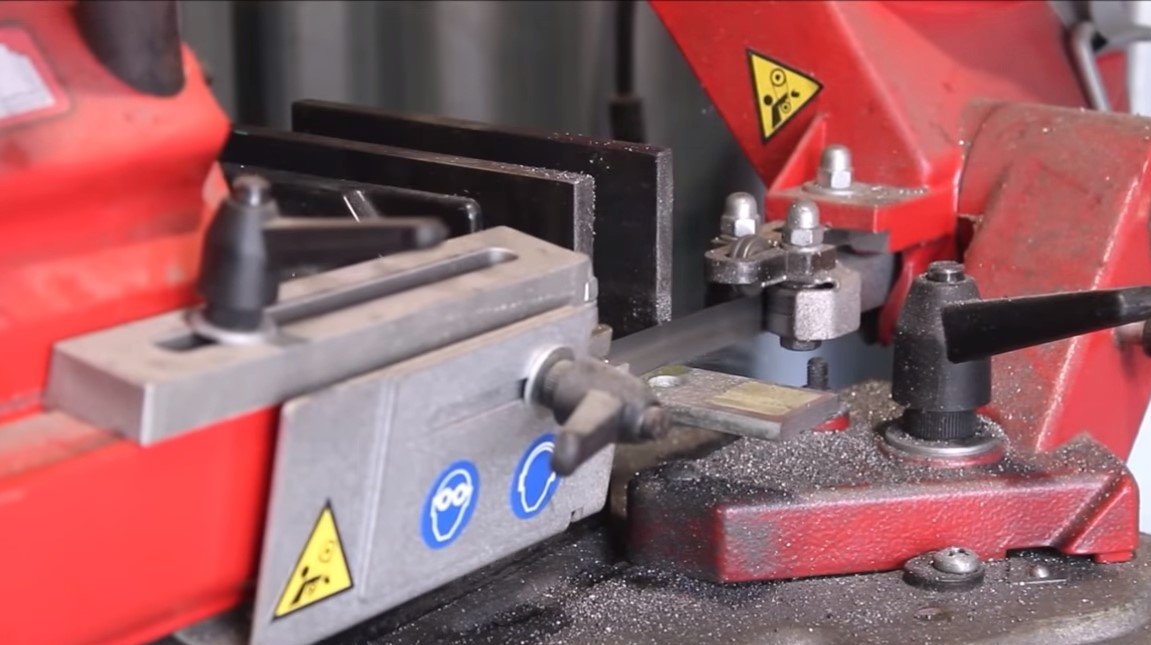
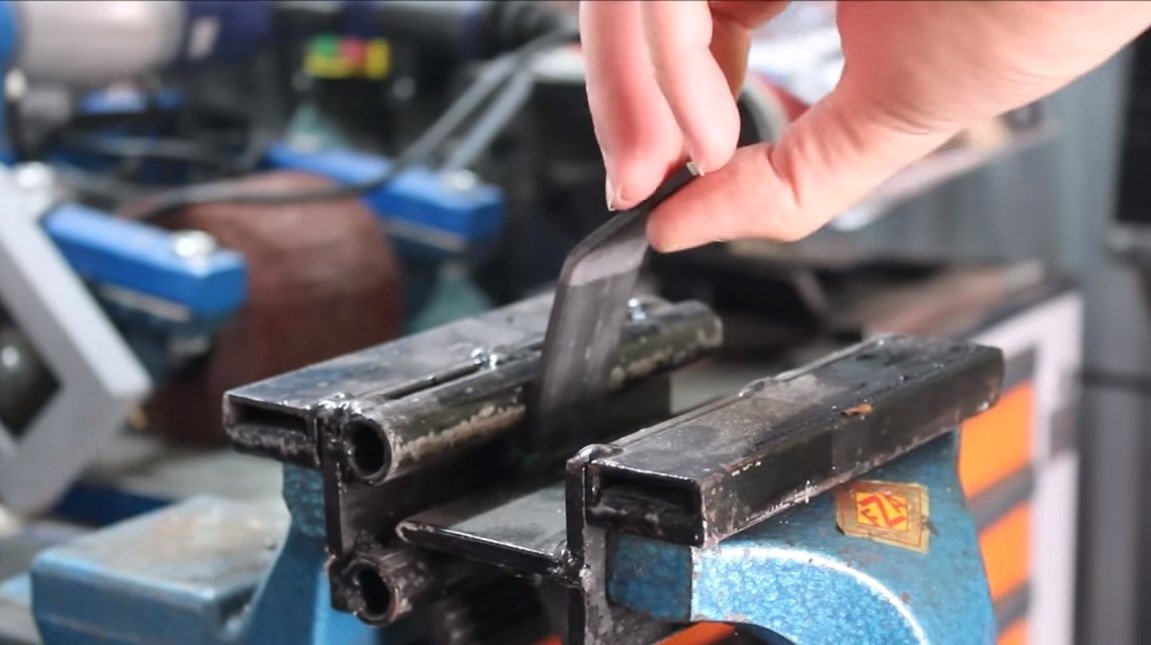
As for the guides, their author made using a round lathe using a lathe. First, drill a round to make two tubes, and then grind the axes out of the round that will go into the tubes with a minimum clearance.
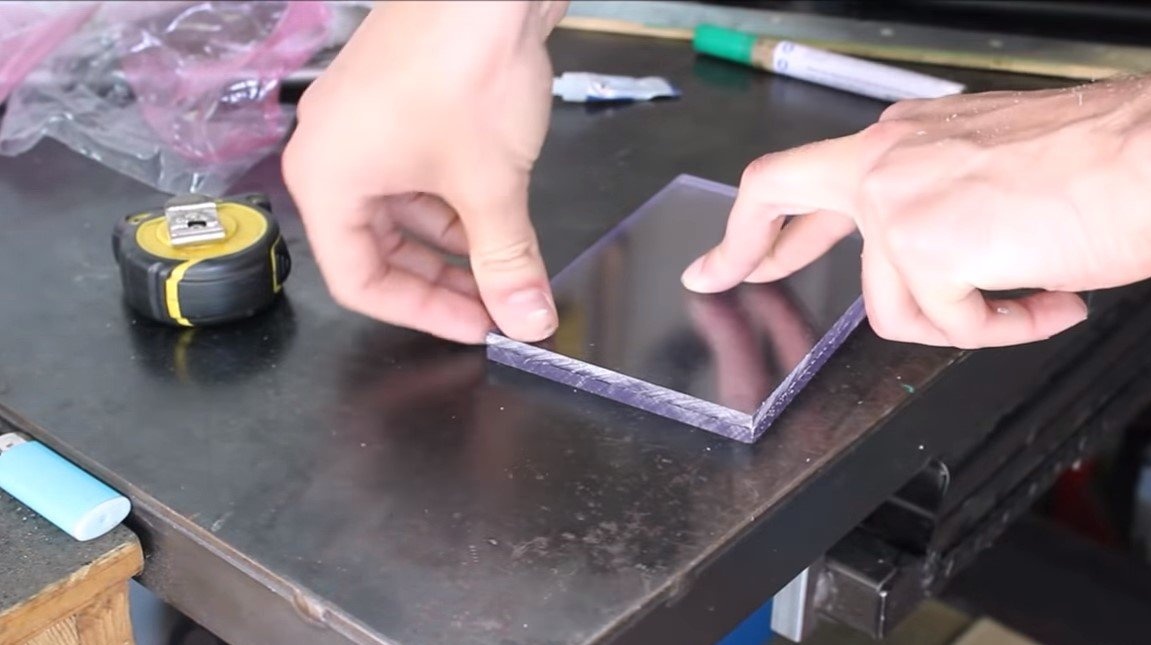
Step Three Base
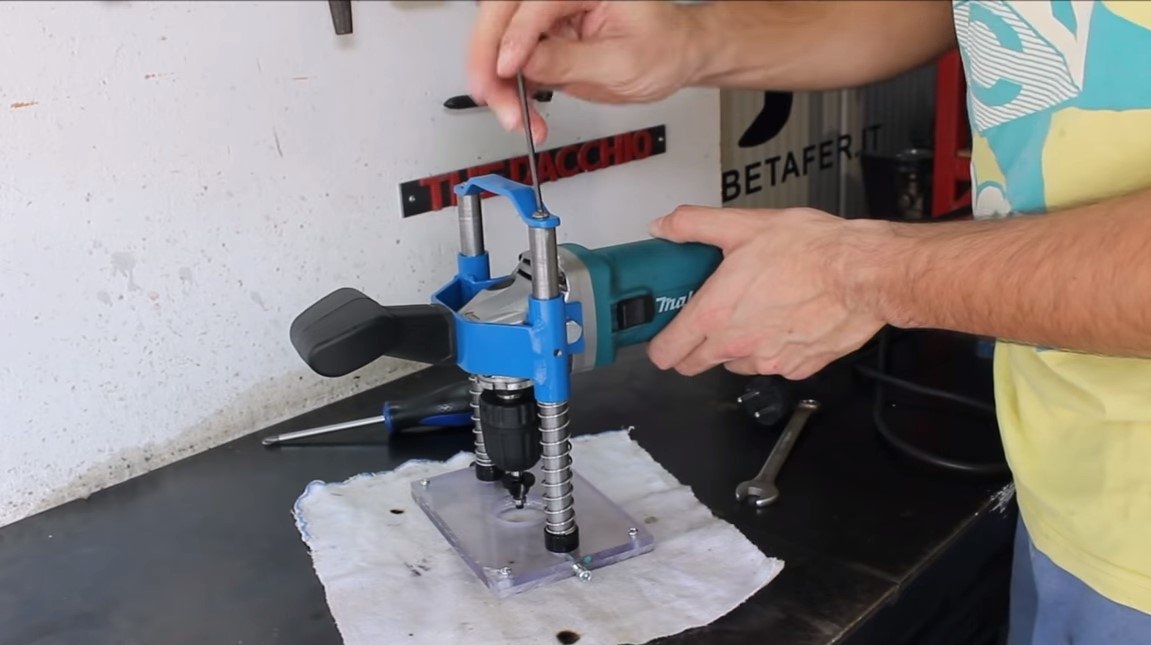
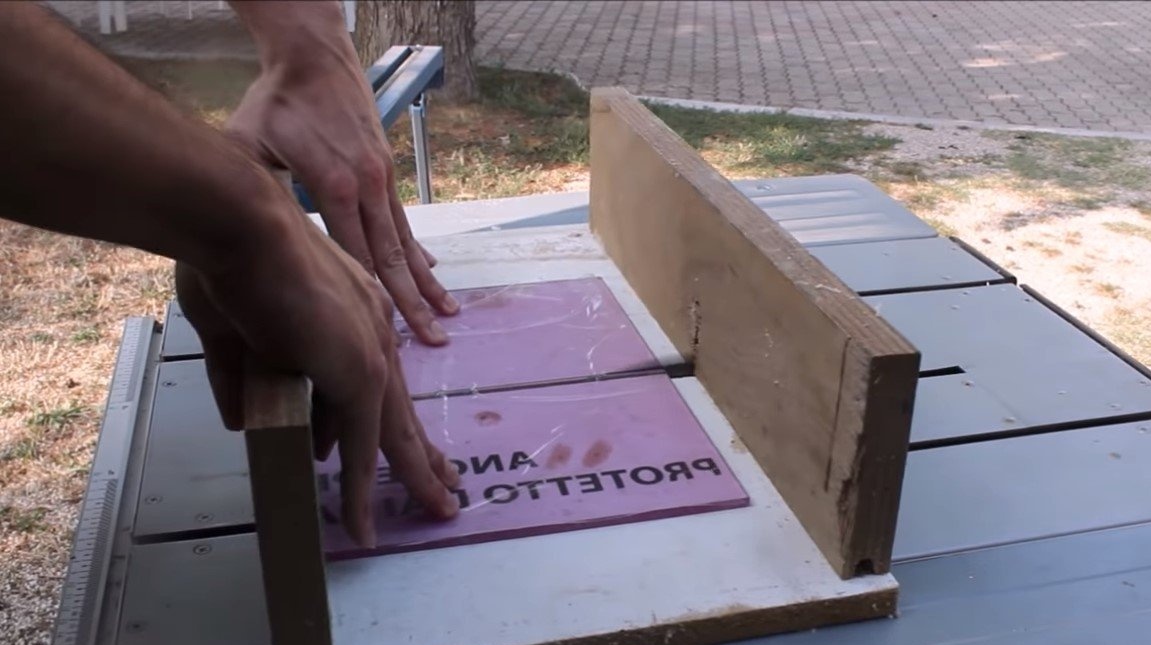
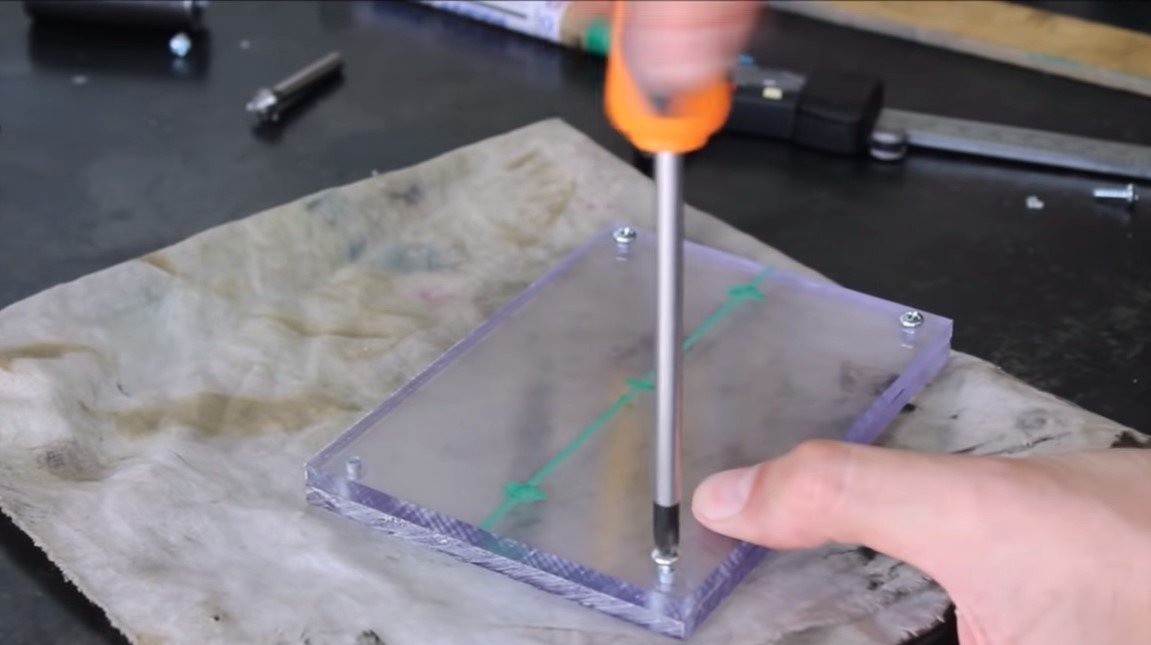
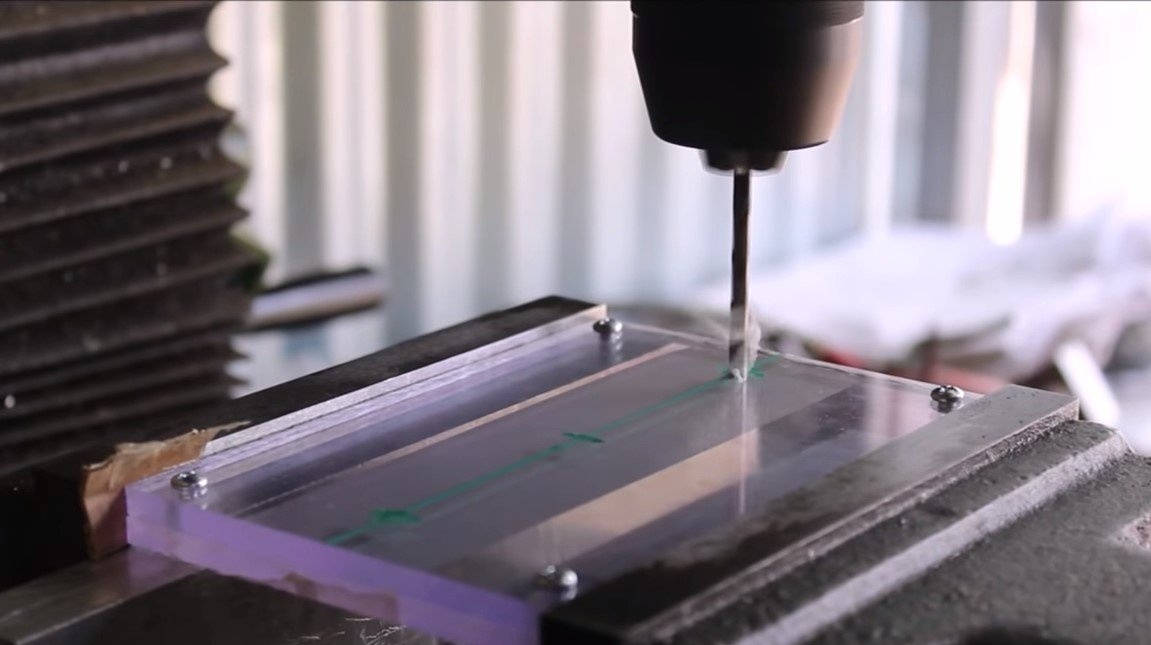
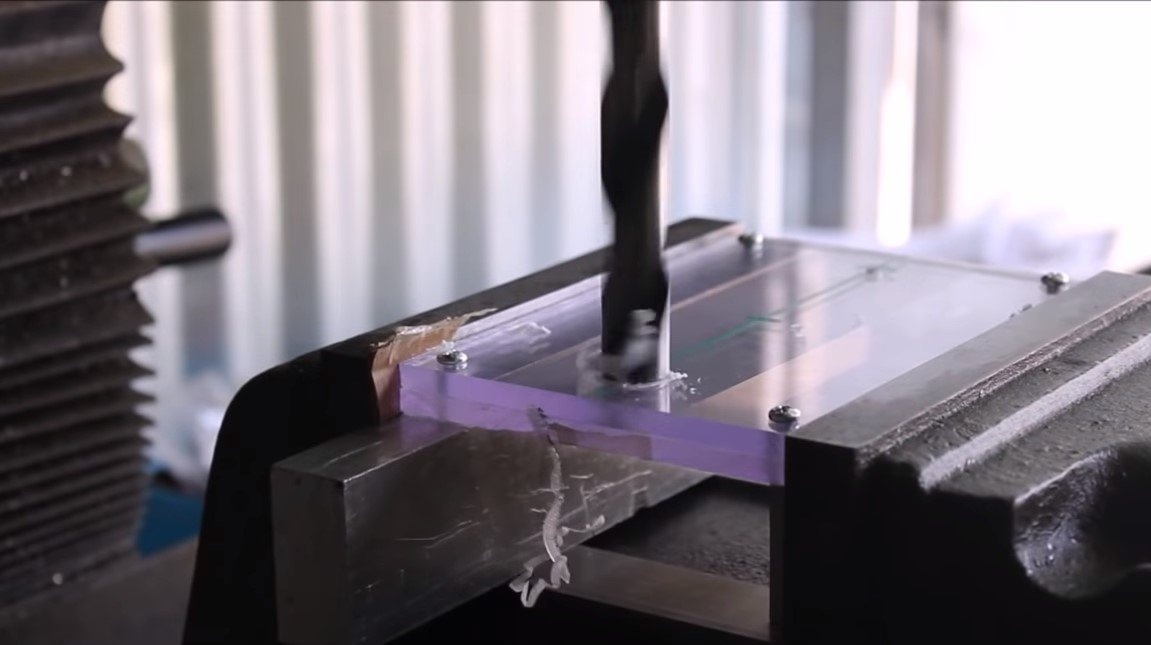
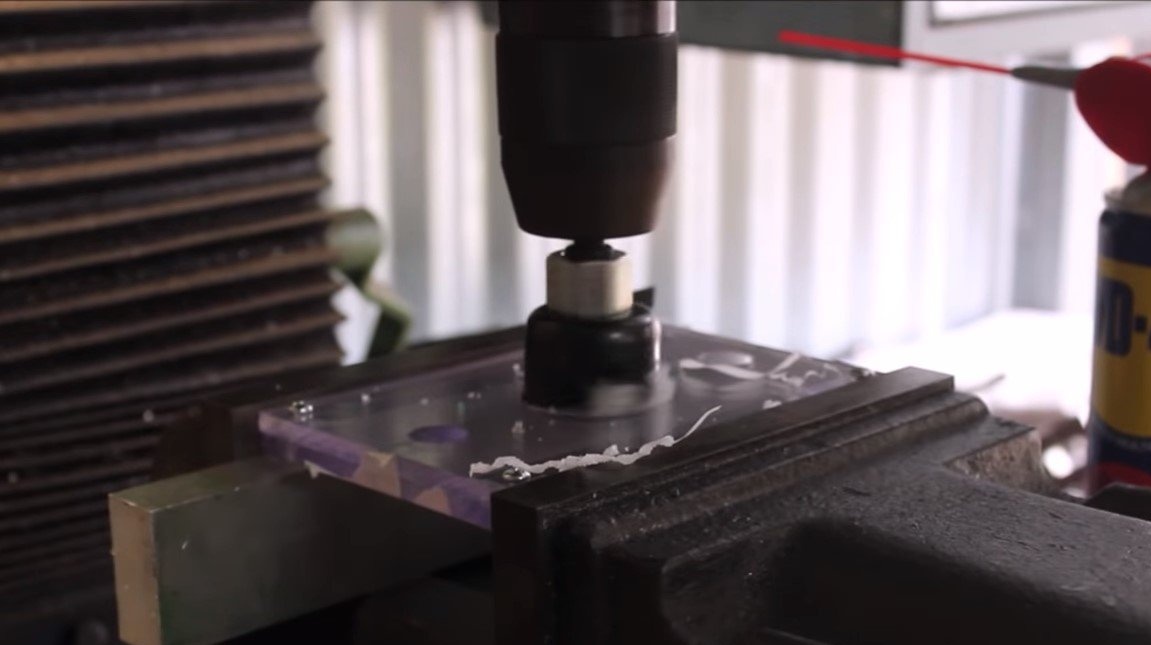
The author made their plexiglas the basis for the nozzle, this material is durable and transparent, which is convenient when working. To get good rigidity, the author twisted two pieces with screws. At the base, we drill holes for the racks, and also we make a hole into which the mill will go.

Step Four Assembly and testing
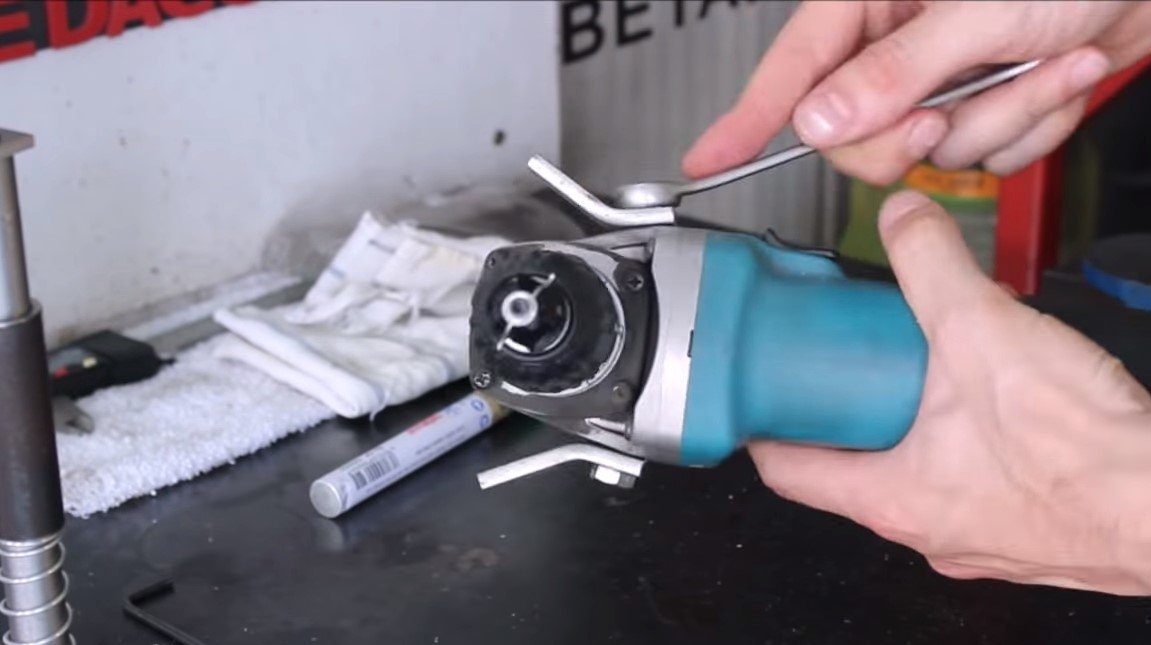
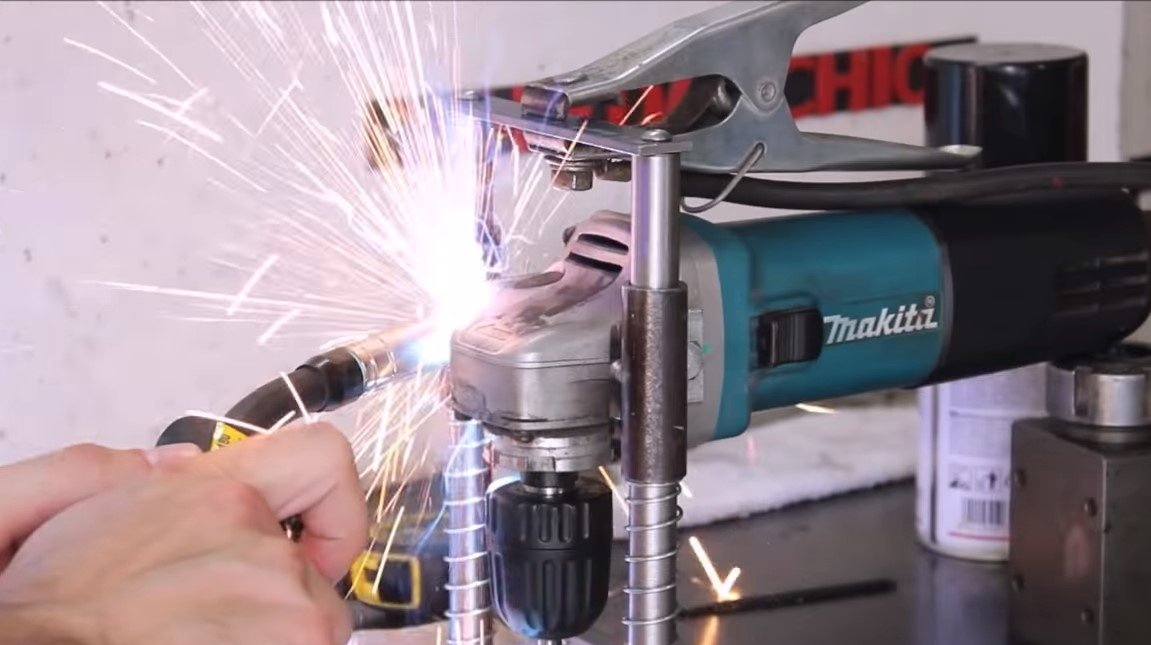
We need to make yes fasteners, with which we will install the nozzle on the grinder.We make two ears of steel plates and weld them to the tubes that are on the guides.
At the bottom, the guides are attached to the base with screws, the author cut the thread directly in plexiglass.
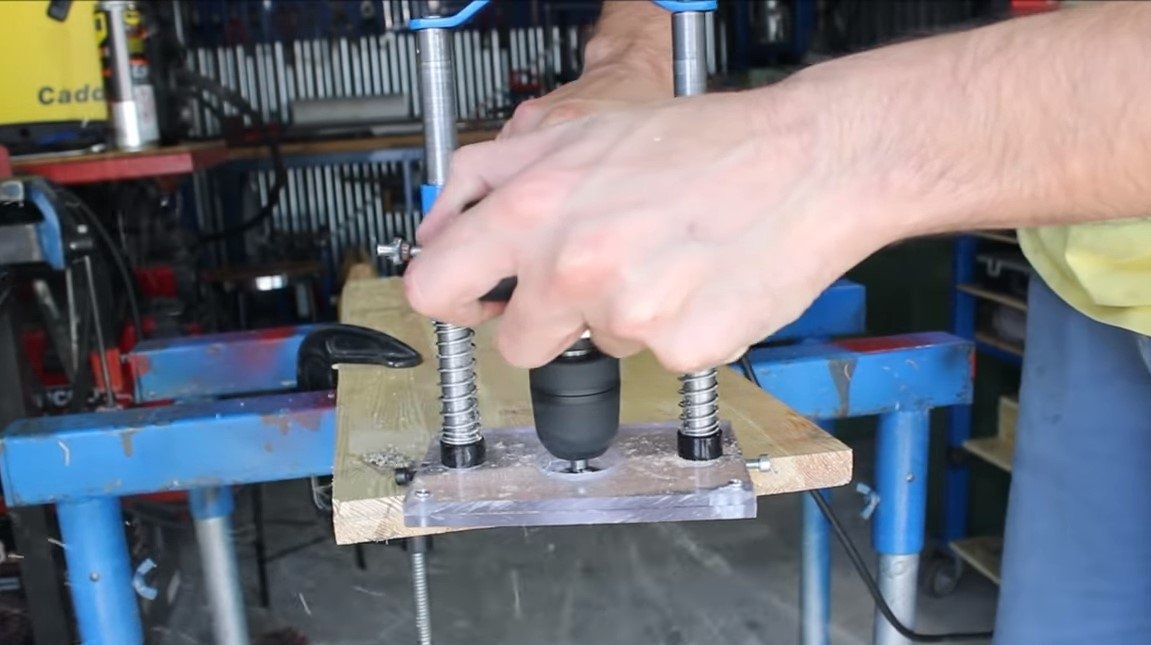
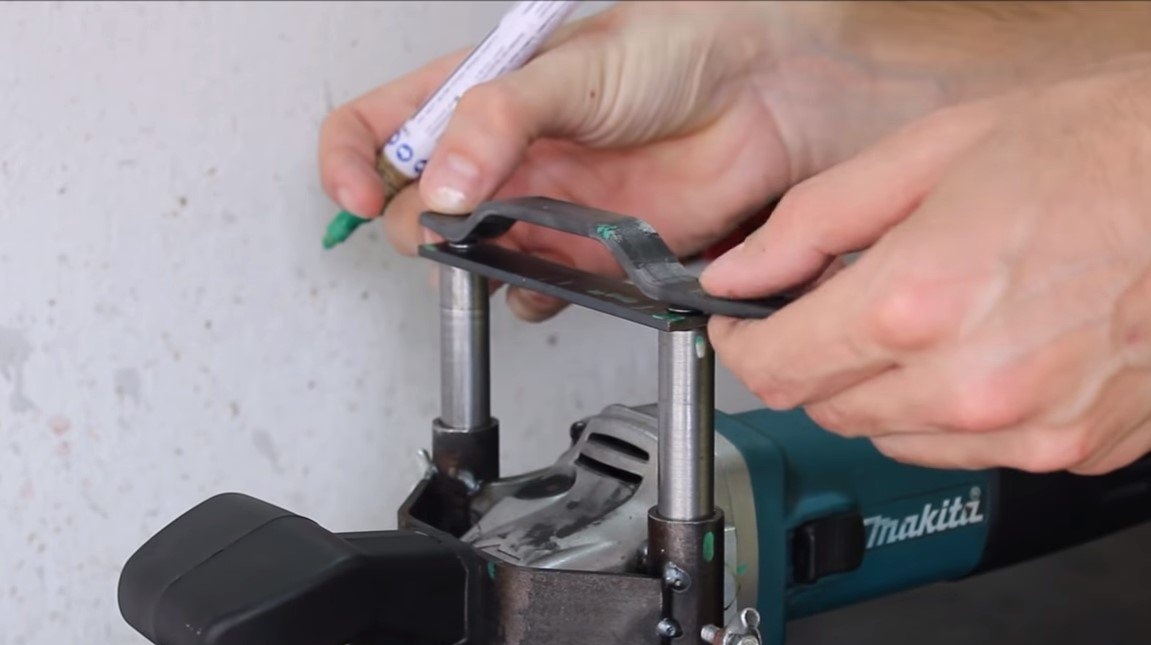
In conclusion, in the upper part it remains to make the handle of a steel plate, and also we make clamps that will allow us to fix the cutter at the desired depth.
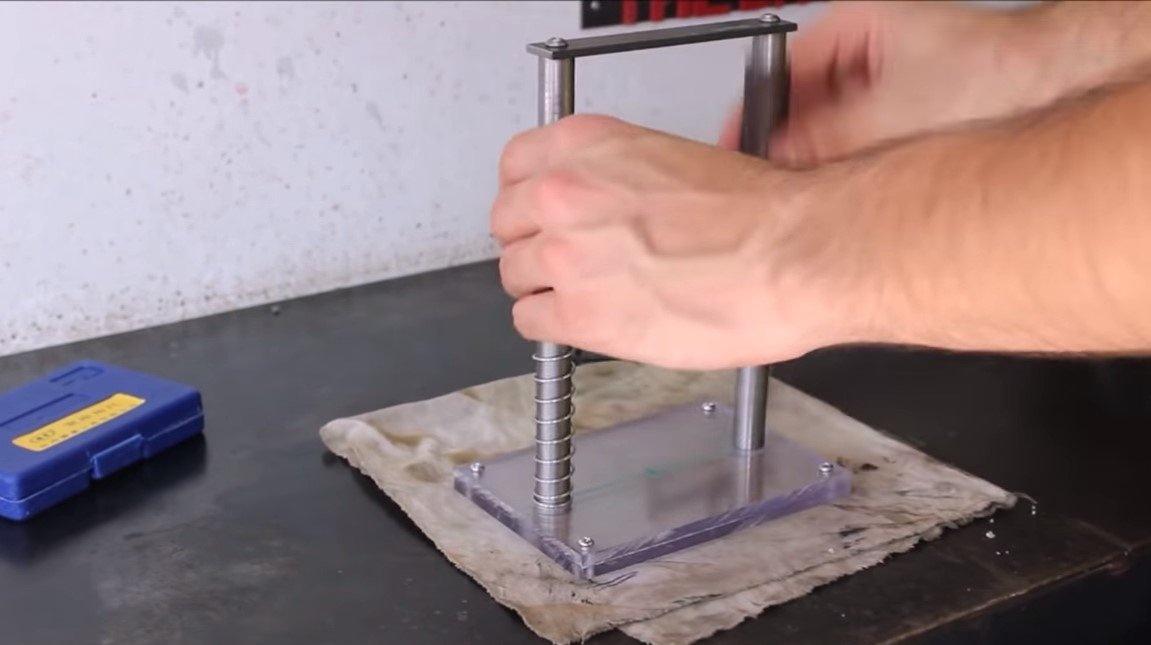

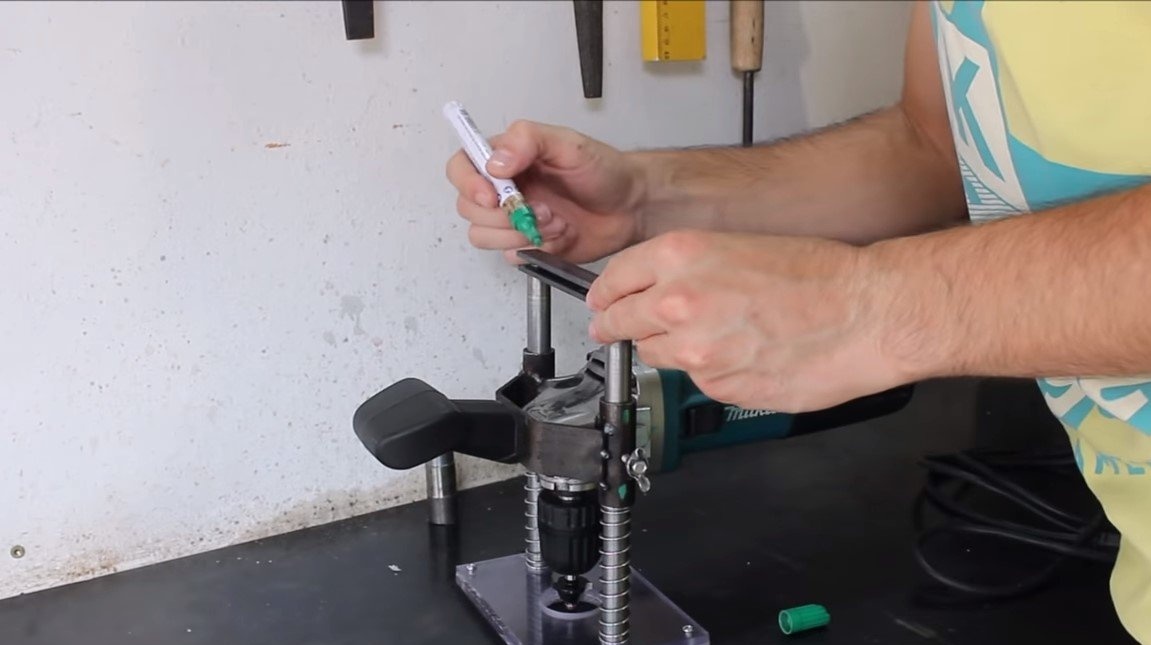
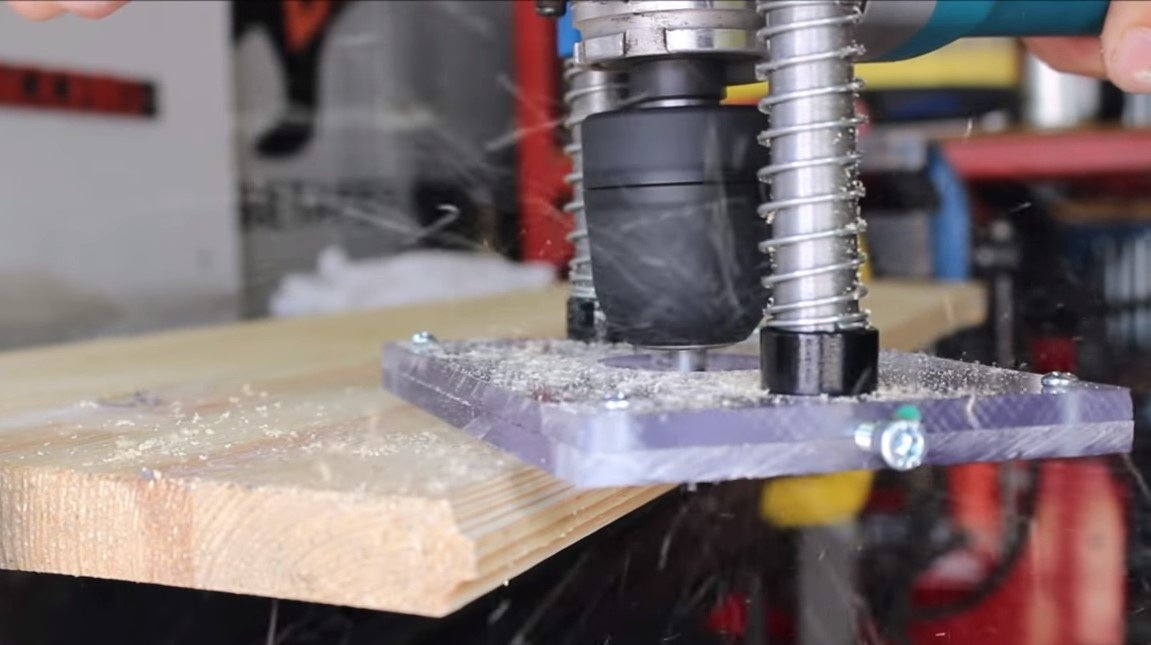
After painting, everything can be assembled and tested. The nozzle turned out reliable, the play here is minimal. We adjust the desired depth and get to work, the machine easily copes with the task. Of course, for more comfortable work, it is useful to have the ability to adjust the speed of the grinder.
This is the end of the project, I hope you liked the homemade work, and you found useful thoughts for yourself. Good luck and creative inspiration, if you decide to repeat this, do not forget to share your ideas and homemade things with us!