Today I want to introduce my next homemade product. This time it will not be a machine or tool, but, just a table lamp.
Earlier, I presented here one of the options workshop table lamp. But, over time, I decided to make another one. The fact is that I usually work in my basement, in which I have a workbench. There is a lamp installed. But sometimes it’s more convenient for me to do something while sitting at the table. (There is also a table in the basement). I set the table with cardboard and work. And since my eyes require more and more light for normal functioning with age, I have to resort to local lighting. Using a table lamp is quite inconvenient, since when working, it often overturns it, hooking it with a cord of a power tool, or a workpiece. So I decided to make another lamp on the clamp. If the last time I was inspired to create it by the presence of a diode strip, now it’s the appearance of compact diode spotlights on sale at relatively low prices. ))).
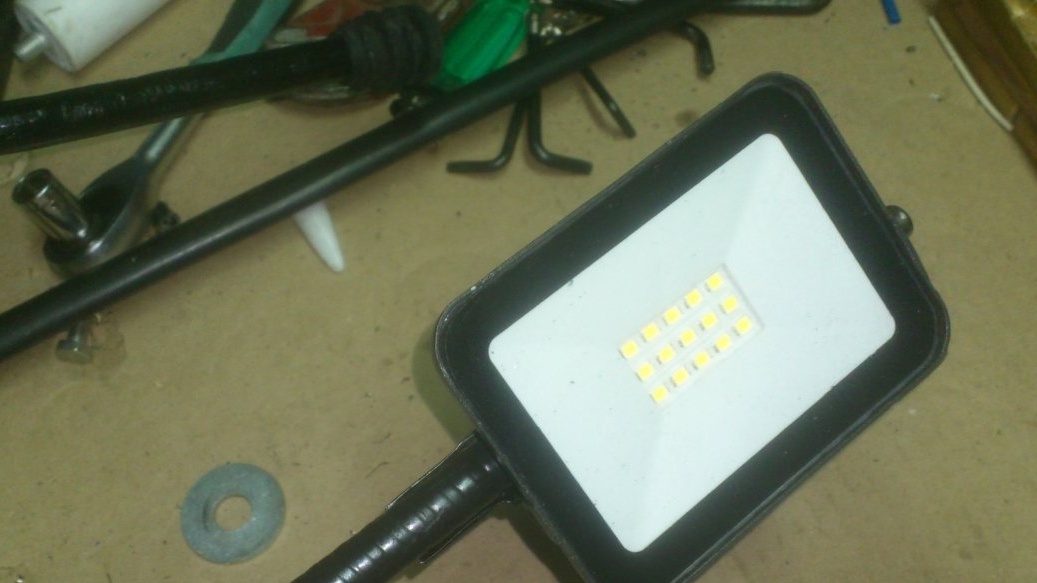
I first noticed them when I did drilling machine.. Thinking about what you can make a backlight from, I saw these diode floodlights in the store:
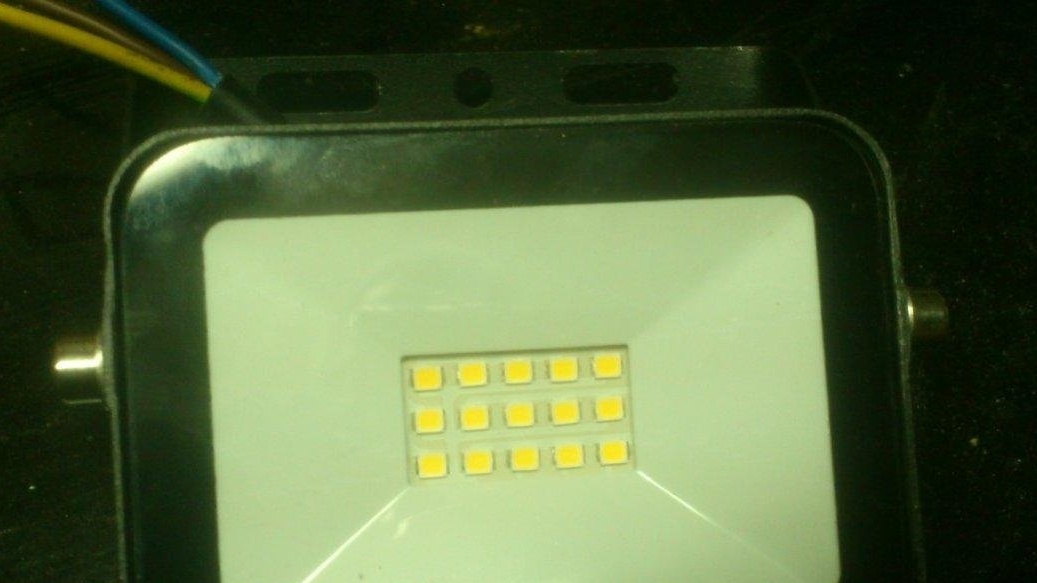
They shine brightly enough, thanks to a ten-watt LED matrix, and, at the same time, are quite compact. The price pleased (about three dollars), and then I bought two of them. One - for the machine, the second - "to be"))))
Now I decided to use it in my homemade product.
To make it, I needed the following materials:
1. 10 Watt LED floodlight.
2. Scrap of a casing from an automobile cable of a manual brake.
3. Cutting of sheet metal with a thickness of 1 millimeter.
4. The clamp.
5. Cord with plug.
6. Heat shrink tube.
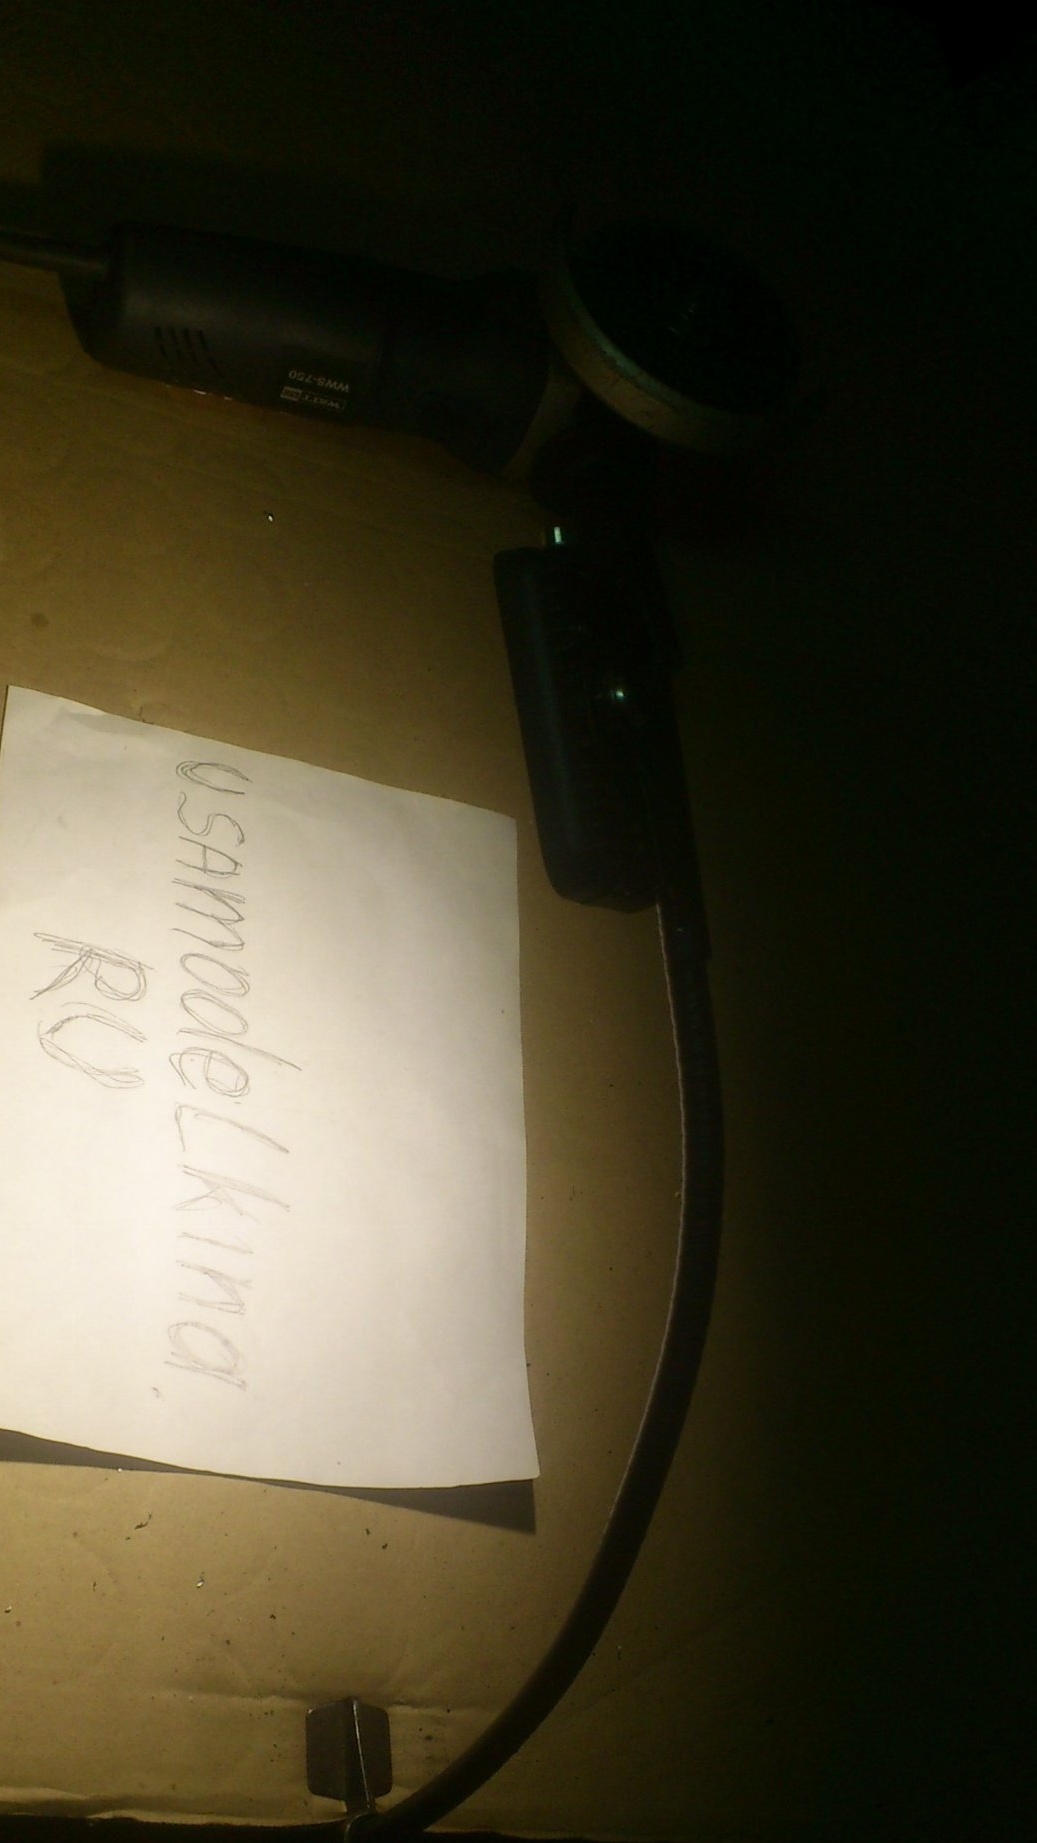
So, let's begin. Once, one of my friends could not find a hand brake cable for his American-made car. He asked my advice, and I helped him - in my workshop we made the right cable from two "Zhiguli" ones. Since then, in my "right rubbish" lies a piece of casing from this cable:
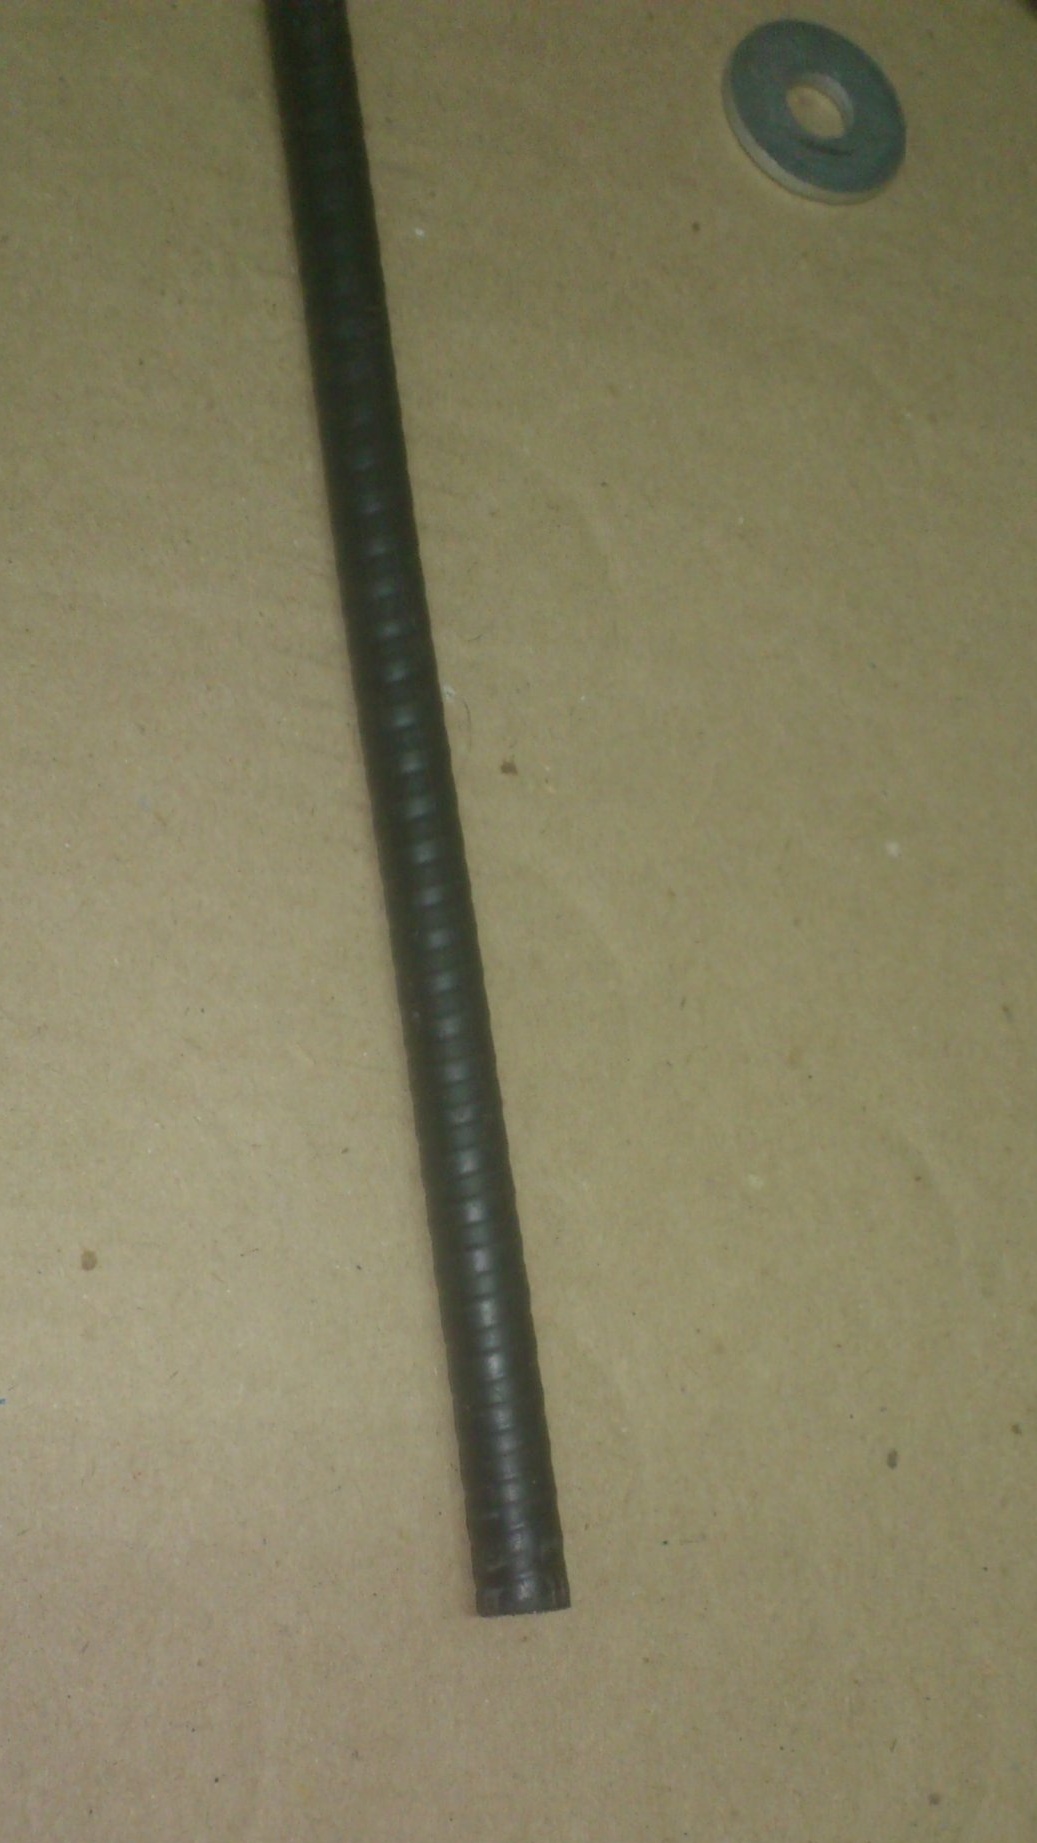
My attention was attracted by one of his qualities - the ability to keep in shape.That is, if you bend it, for example, with an arc, or a “snake”, you can even hold it by the end and wave it, and the shape of the bend is saved !:
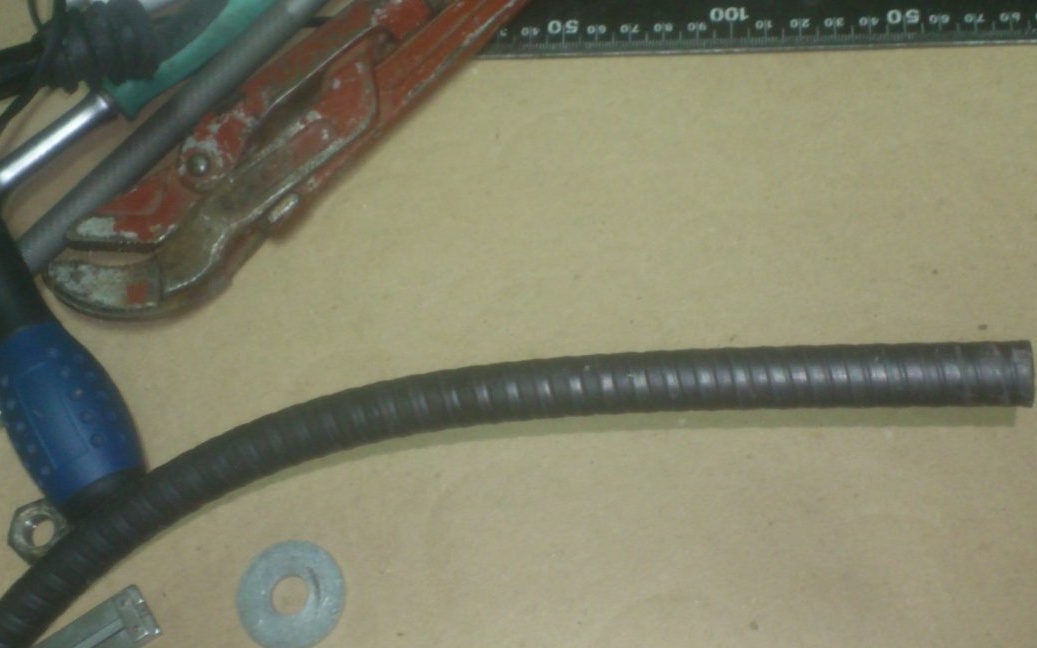
This led to an association with lamps that are installed on lathes. There, the "leg" of the lamp has the same properties, so that the lamp can easily be directed in any direction. That is why I decided to use this casing as a holder for my spotlight. It remains to figure out how to fix the spotlight on it.
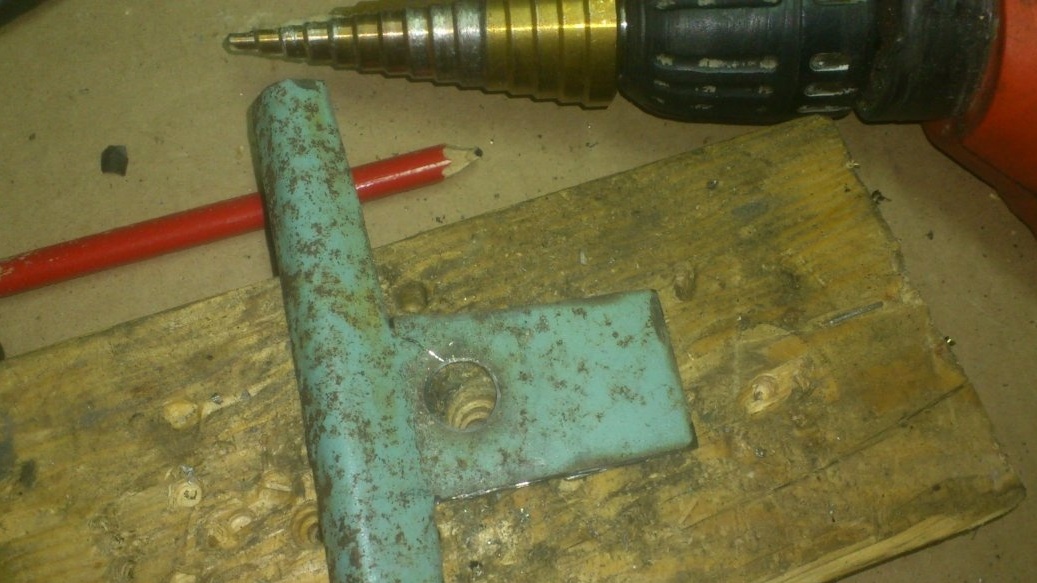
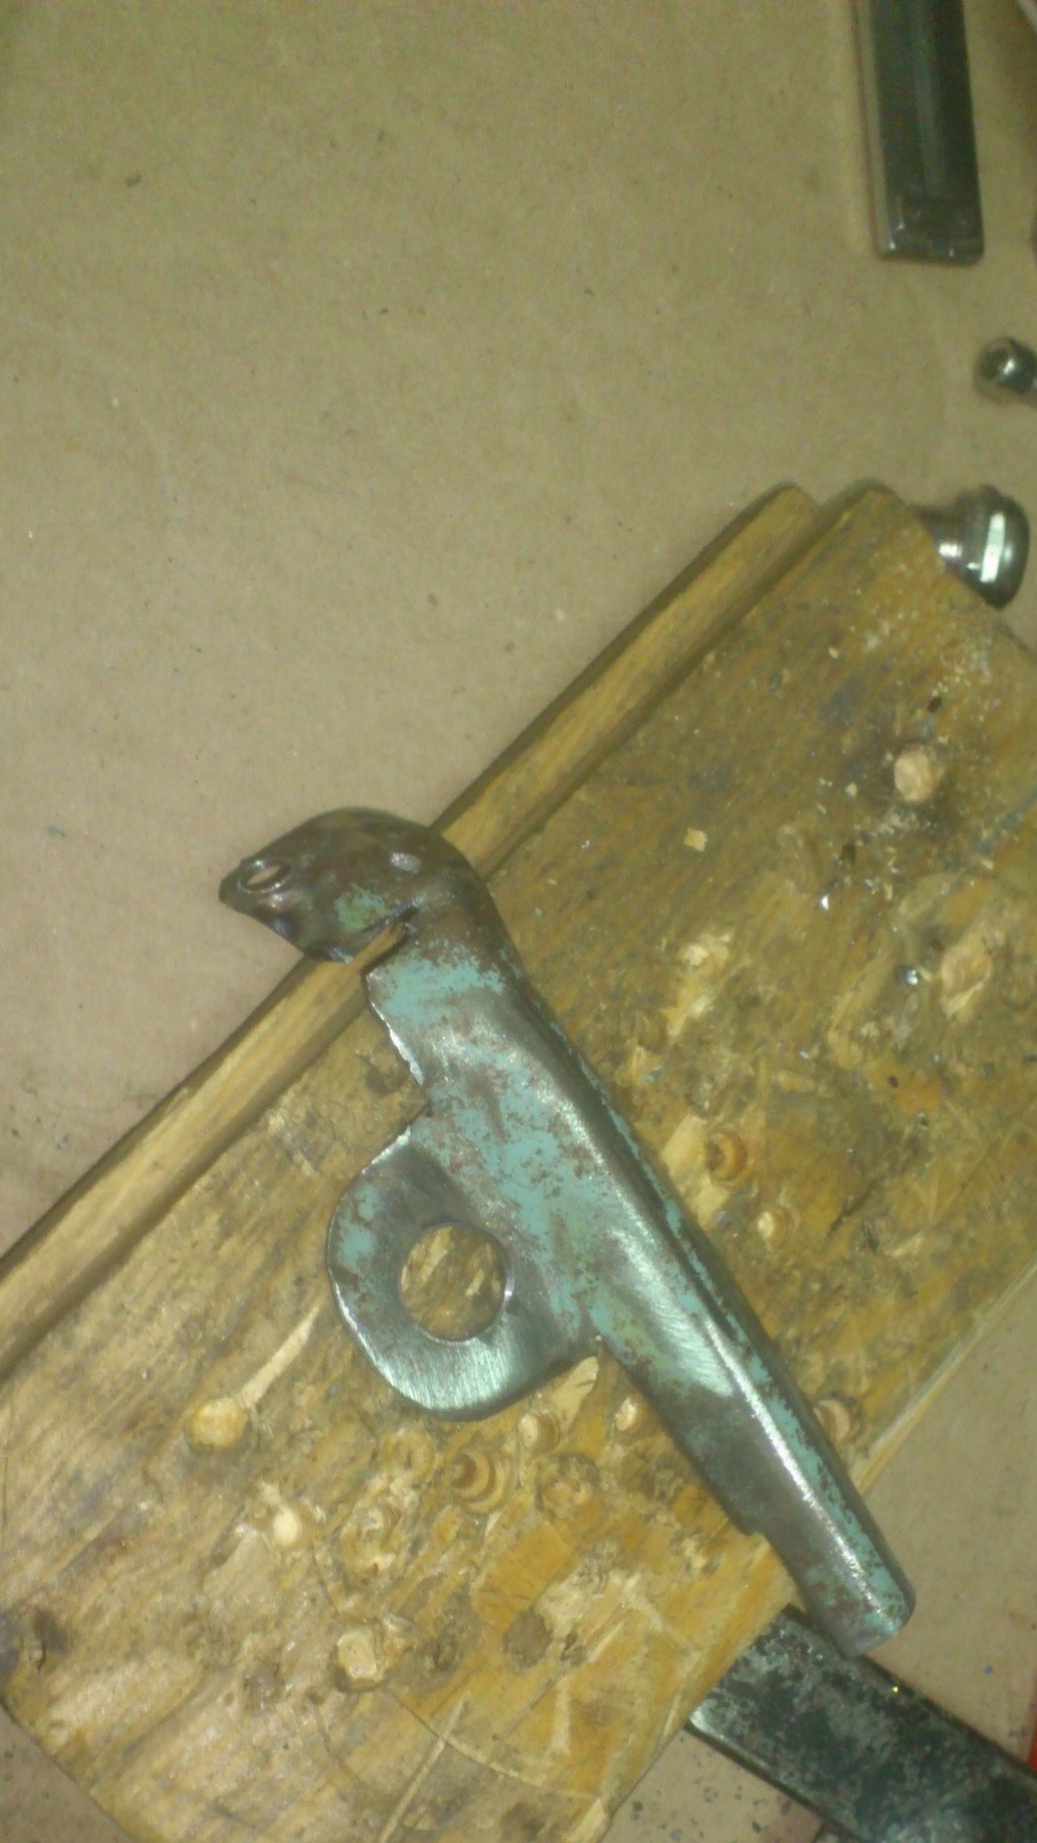
I decided not to use the standard bracket - it is not suitable for this. (I do not need to ensure that the spotlight rotates in the same plane. I need to firmly fix it on the end of the casing). Therefore, I immediately dismantled the bracket. And I decided to make the mount out of metal scrap, 1 mm thick, which was lying in my scrap metal.
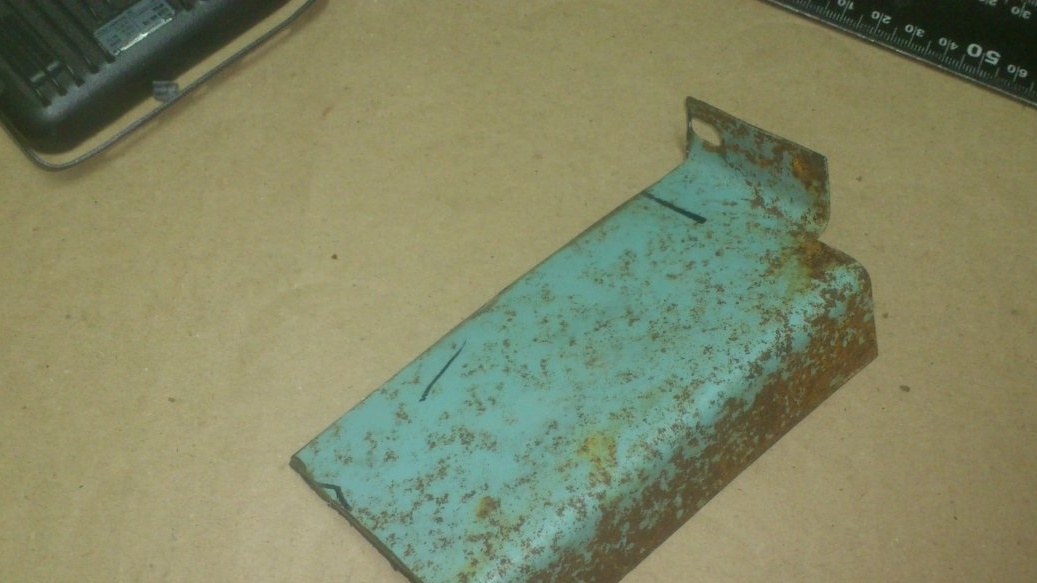
From it I cut out such a blank:
In doing so, I used the existing bend at a right angle:
It is through the resulting “gutter” that I am going to press the cable cover to the body of the spotlight.
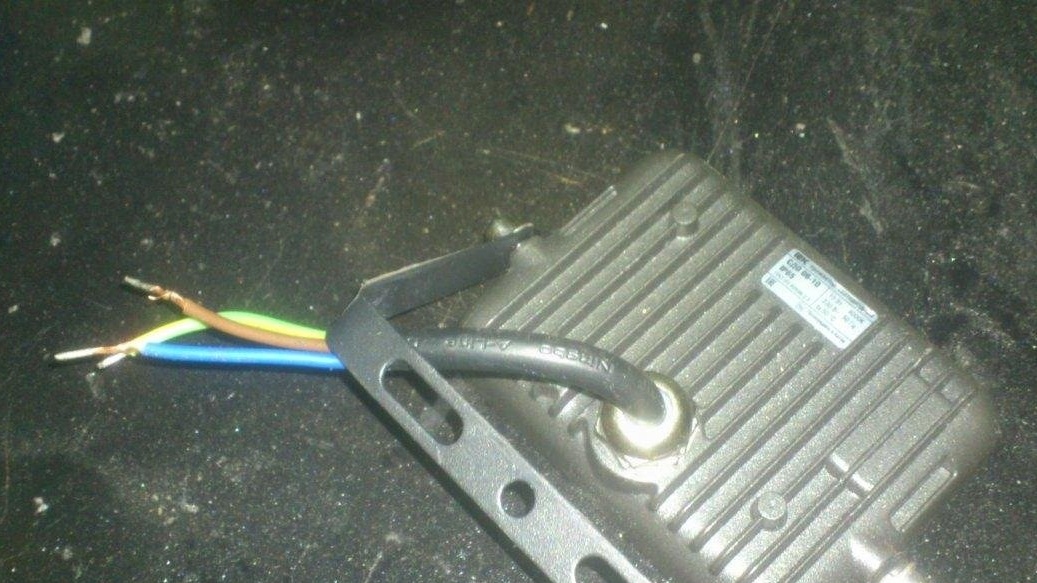
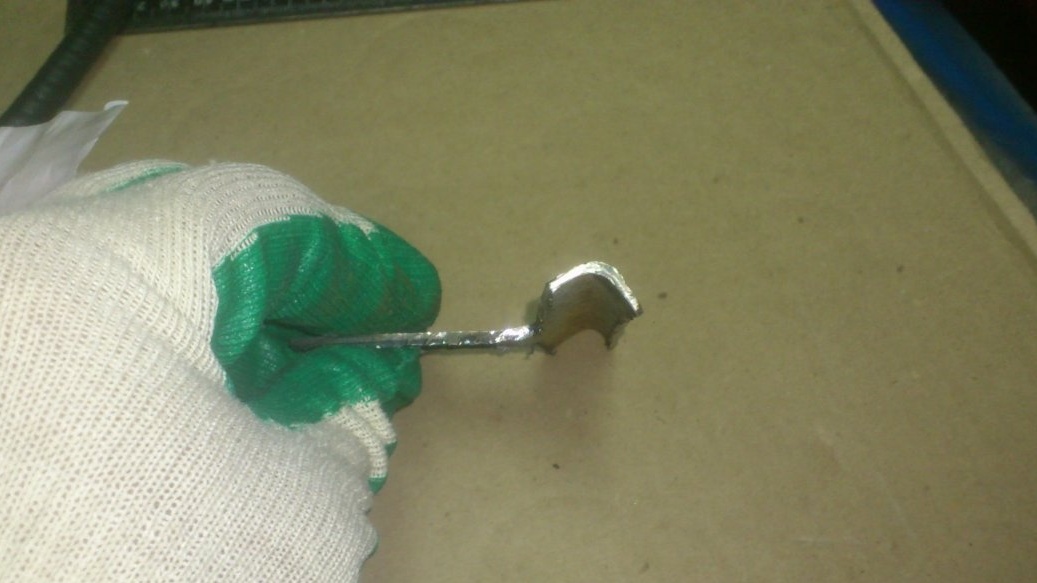
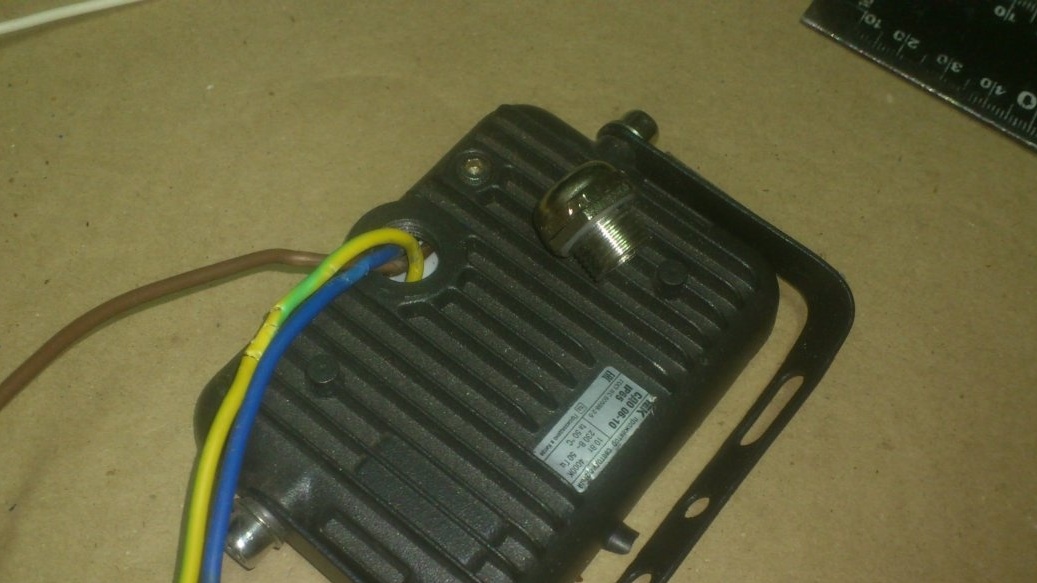
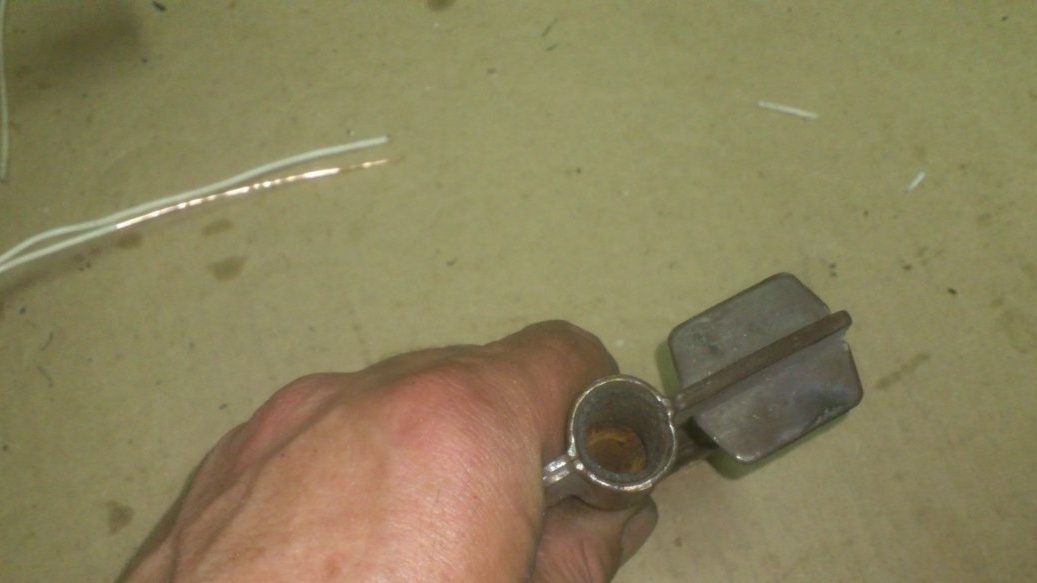
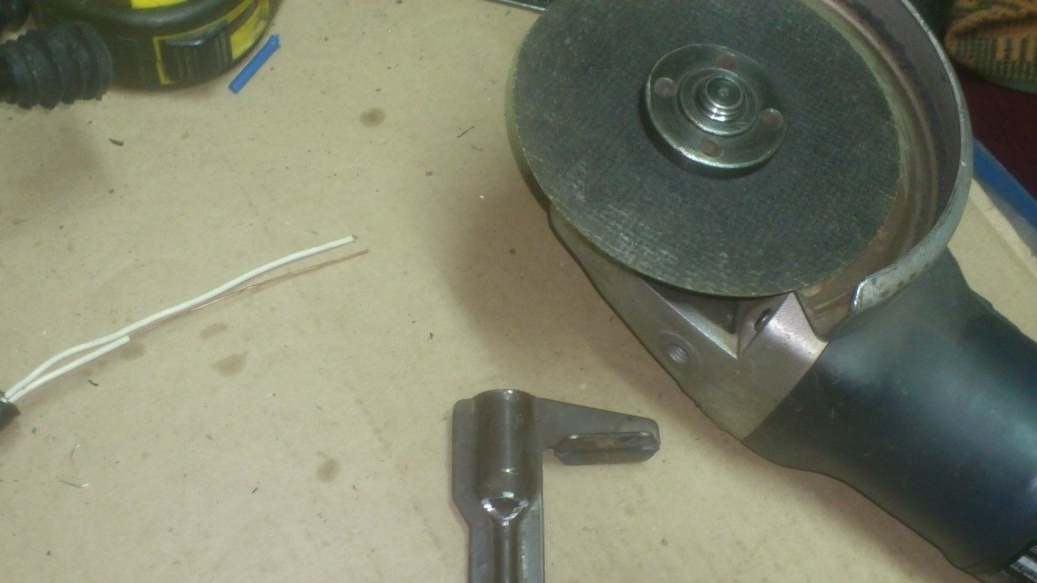
I’m going to fix the bracket myself using the cable gland nut. (The floodlight is IP 65 in terms of protection, so the wires are sealed). For my purposes, tightness is not required for me, so I unscrewed the pressure seal nut and cut the cable insulation, freeing the wires:
In the bracket, I drilled a hole with a diameter of 12 mm (the threaded part of the sealing nut has exactly this diameter:
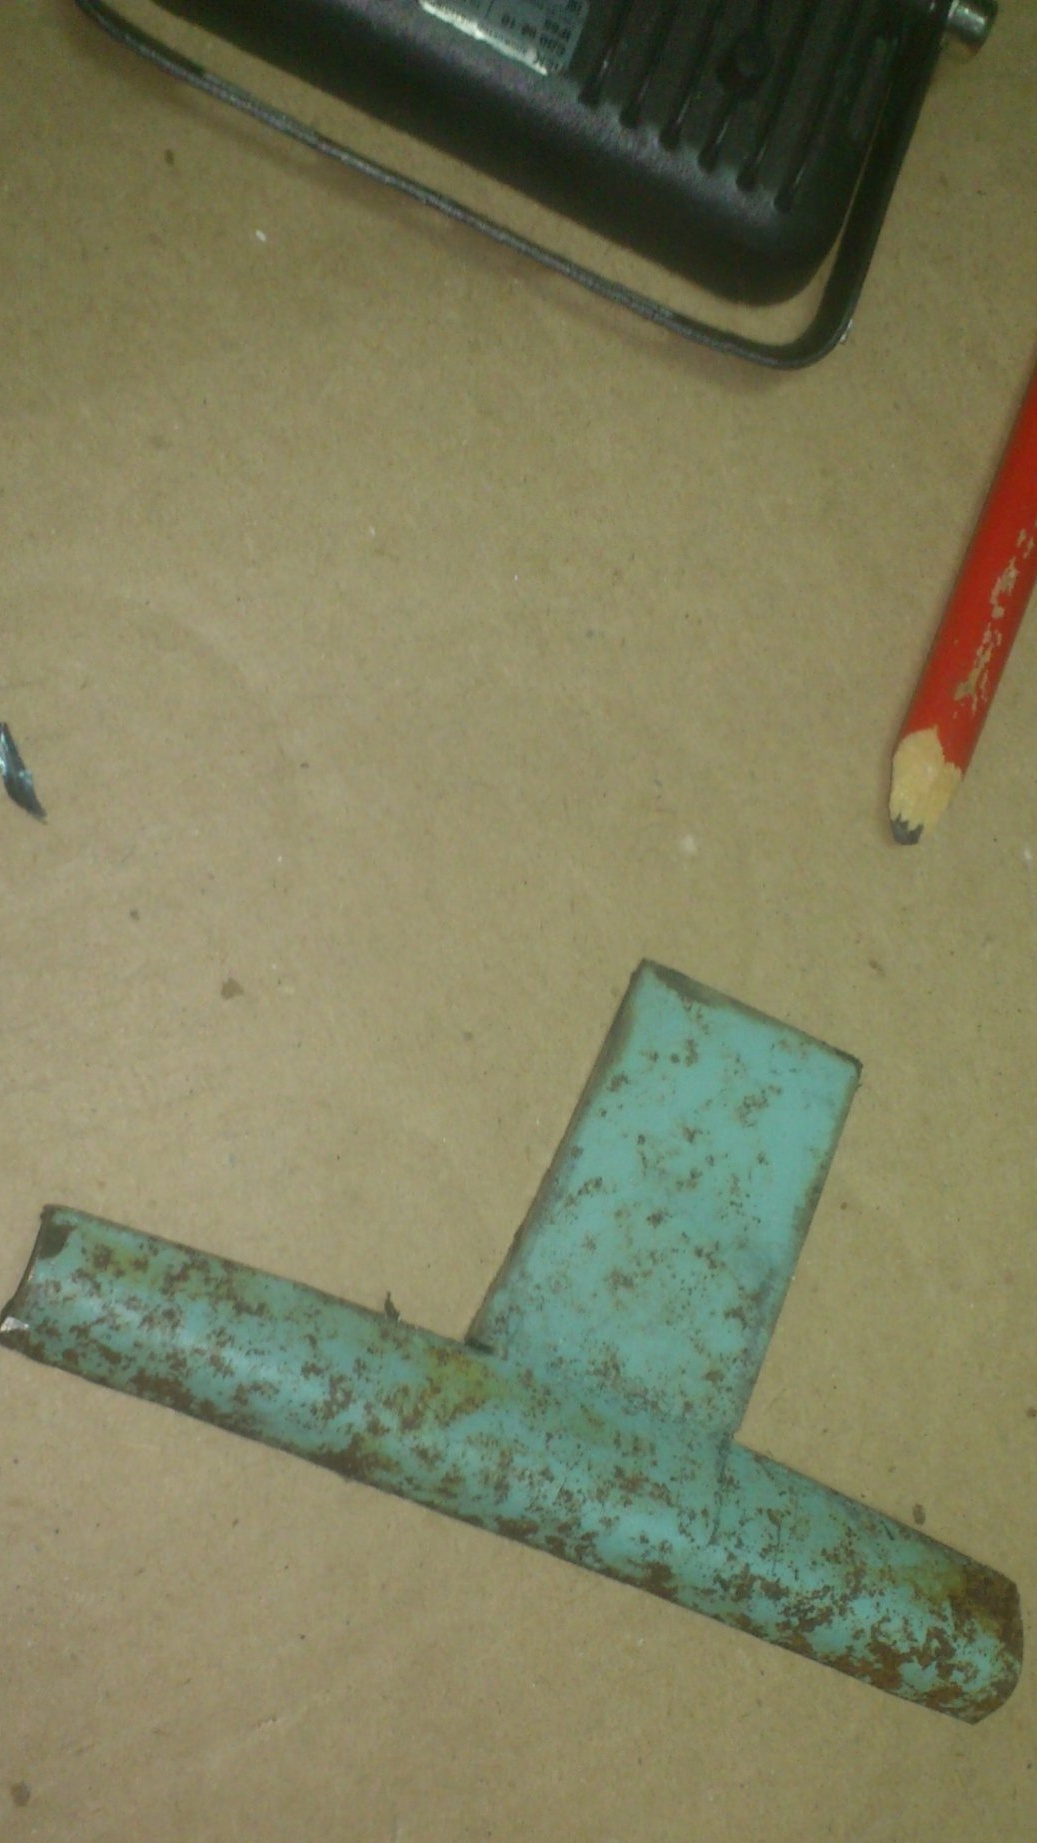
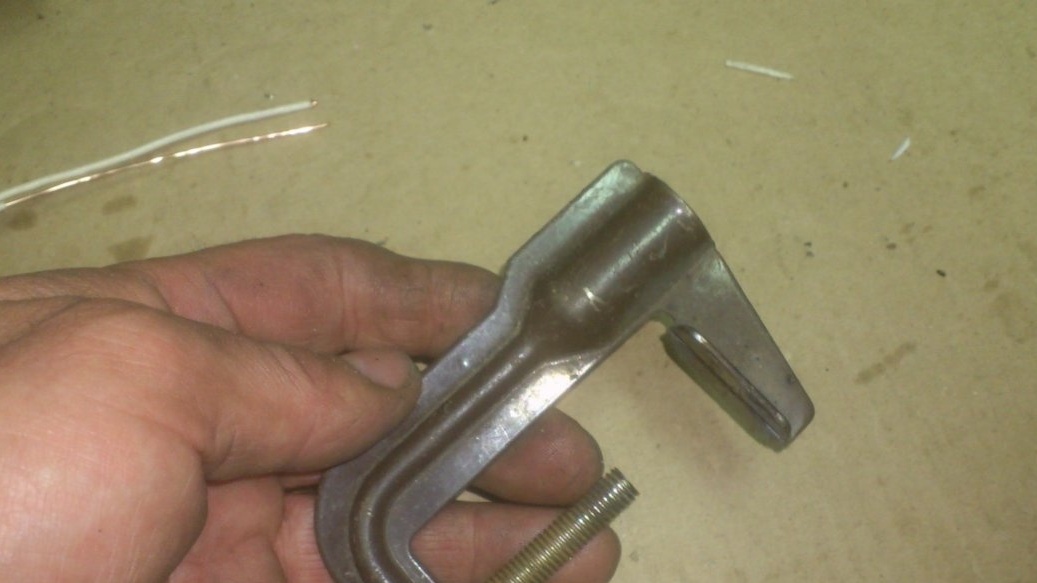
Since I need to very tightly press the end of the casing to the body of the spotlight, I considered the rigidity of the bracket insufficient. (After all, it is made of steel with a thickness of only 1 mm.) In order not to allow it to bend, I made another attachment point, for which, having cut one side, I bent the end of the bracket and drilled a hole in it:
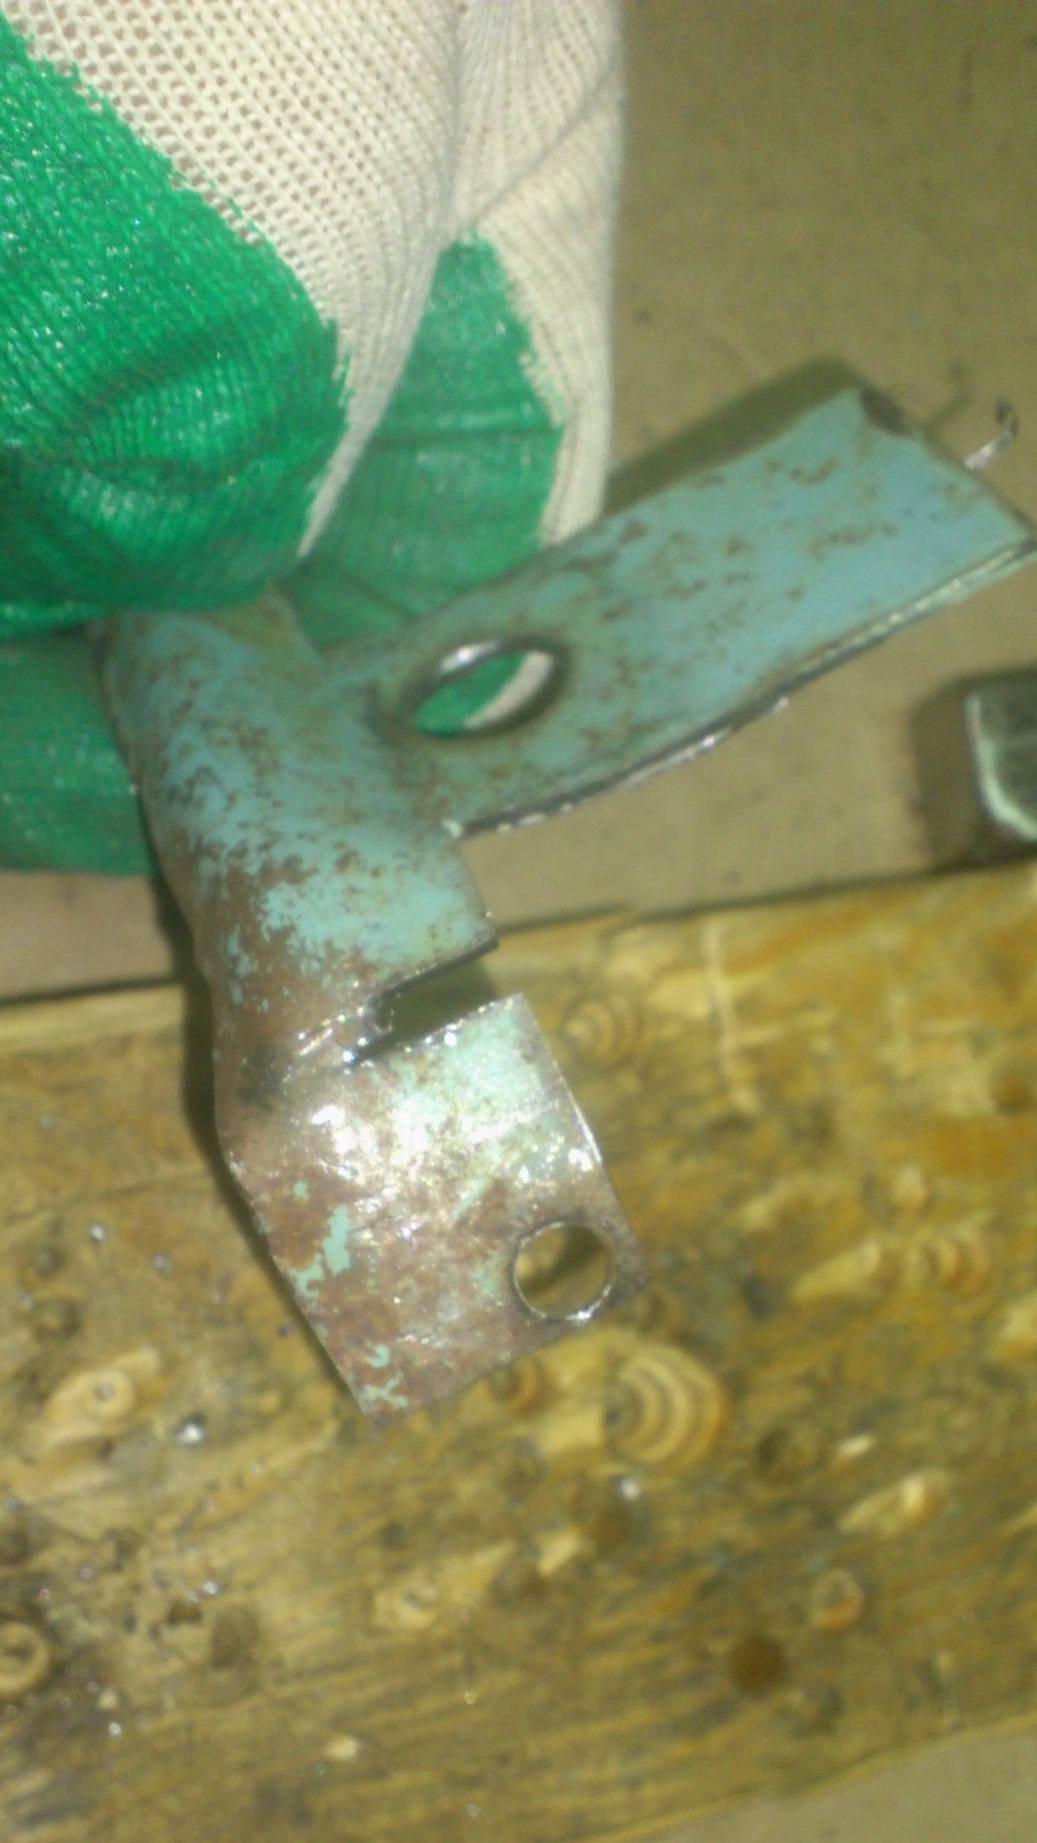
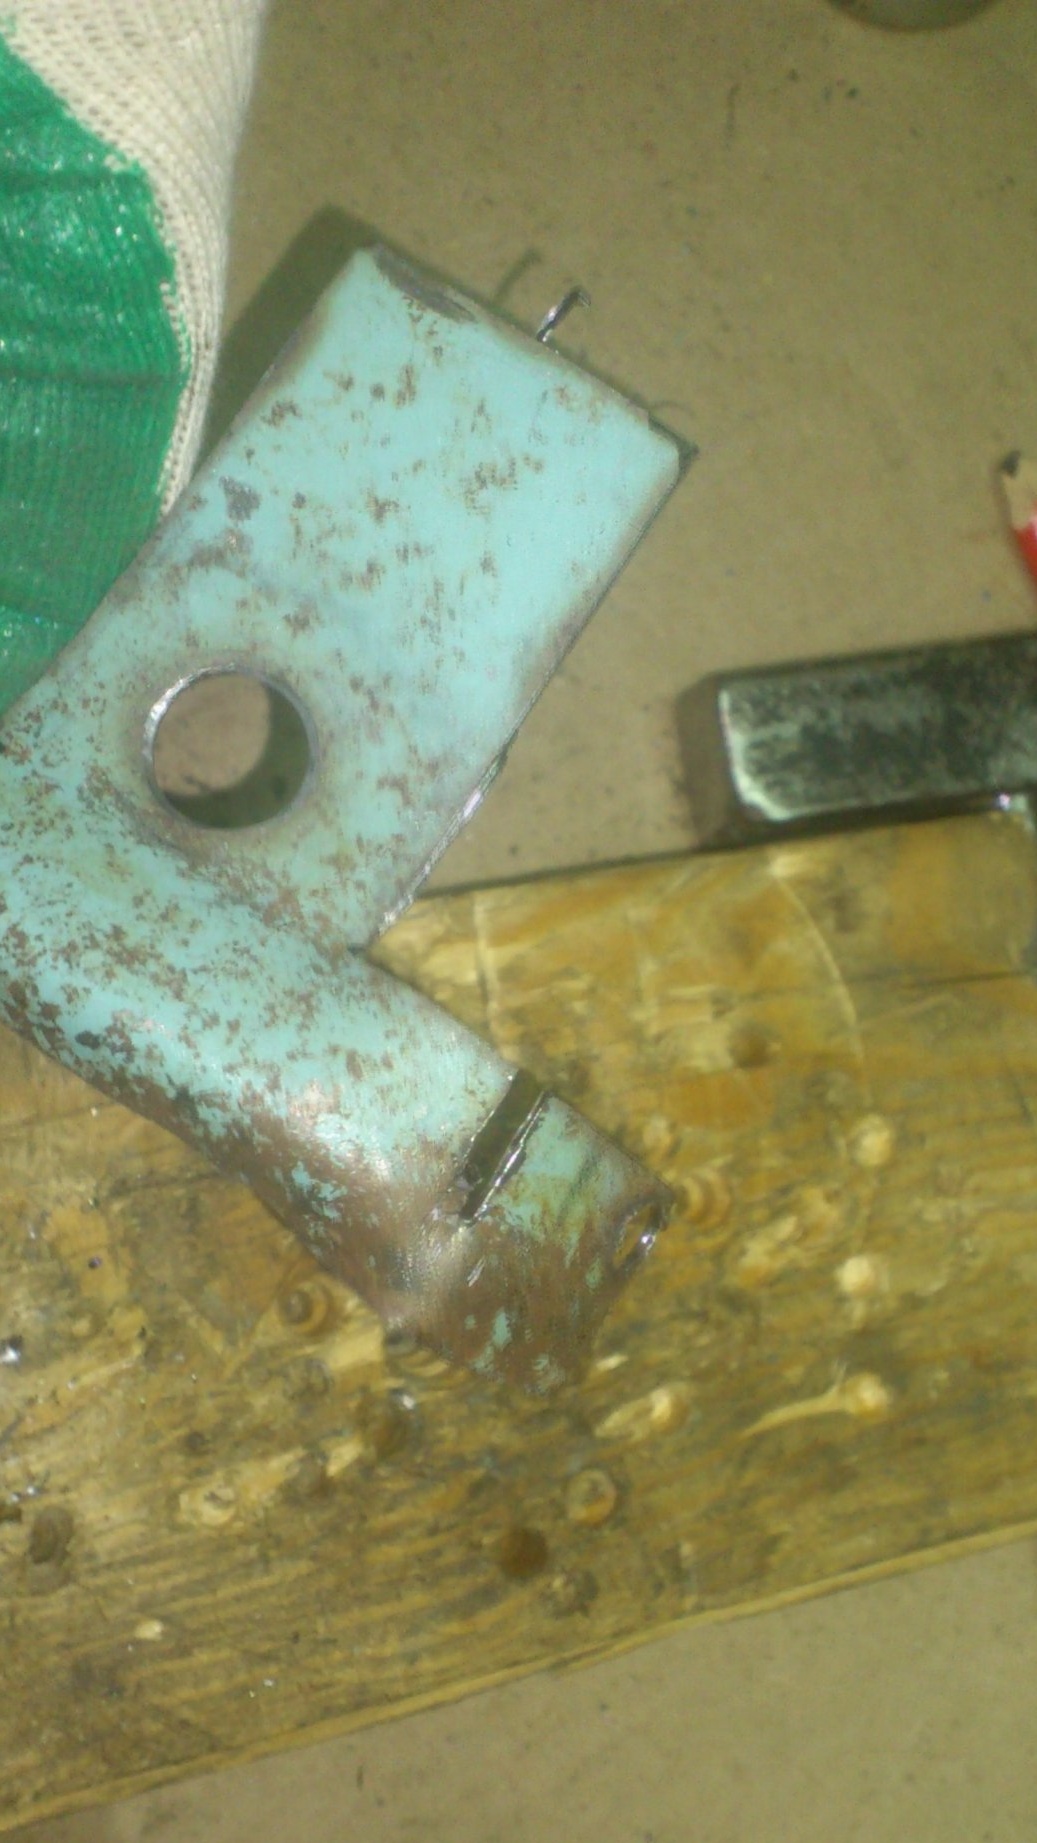
Now, through this hole, you can fix the end of the bracket with one of the screws that used to fix the standard bracket.
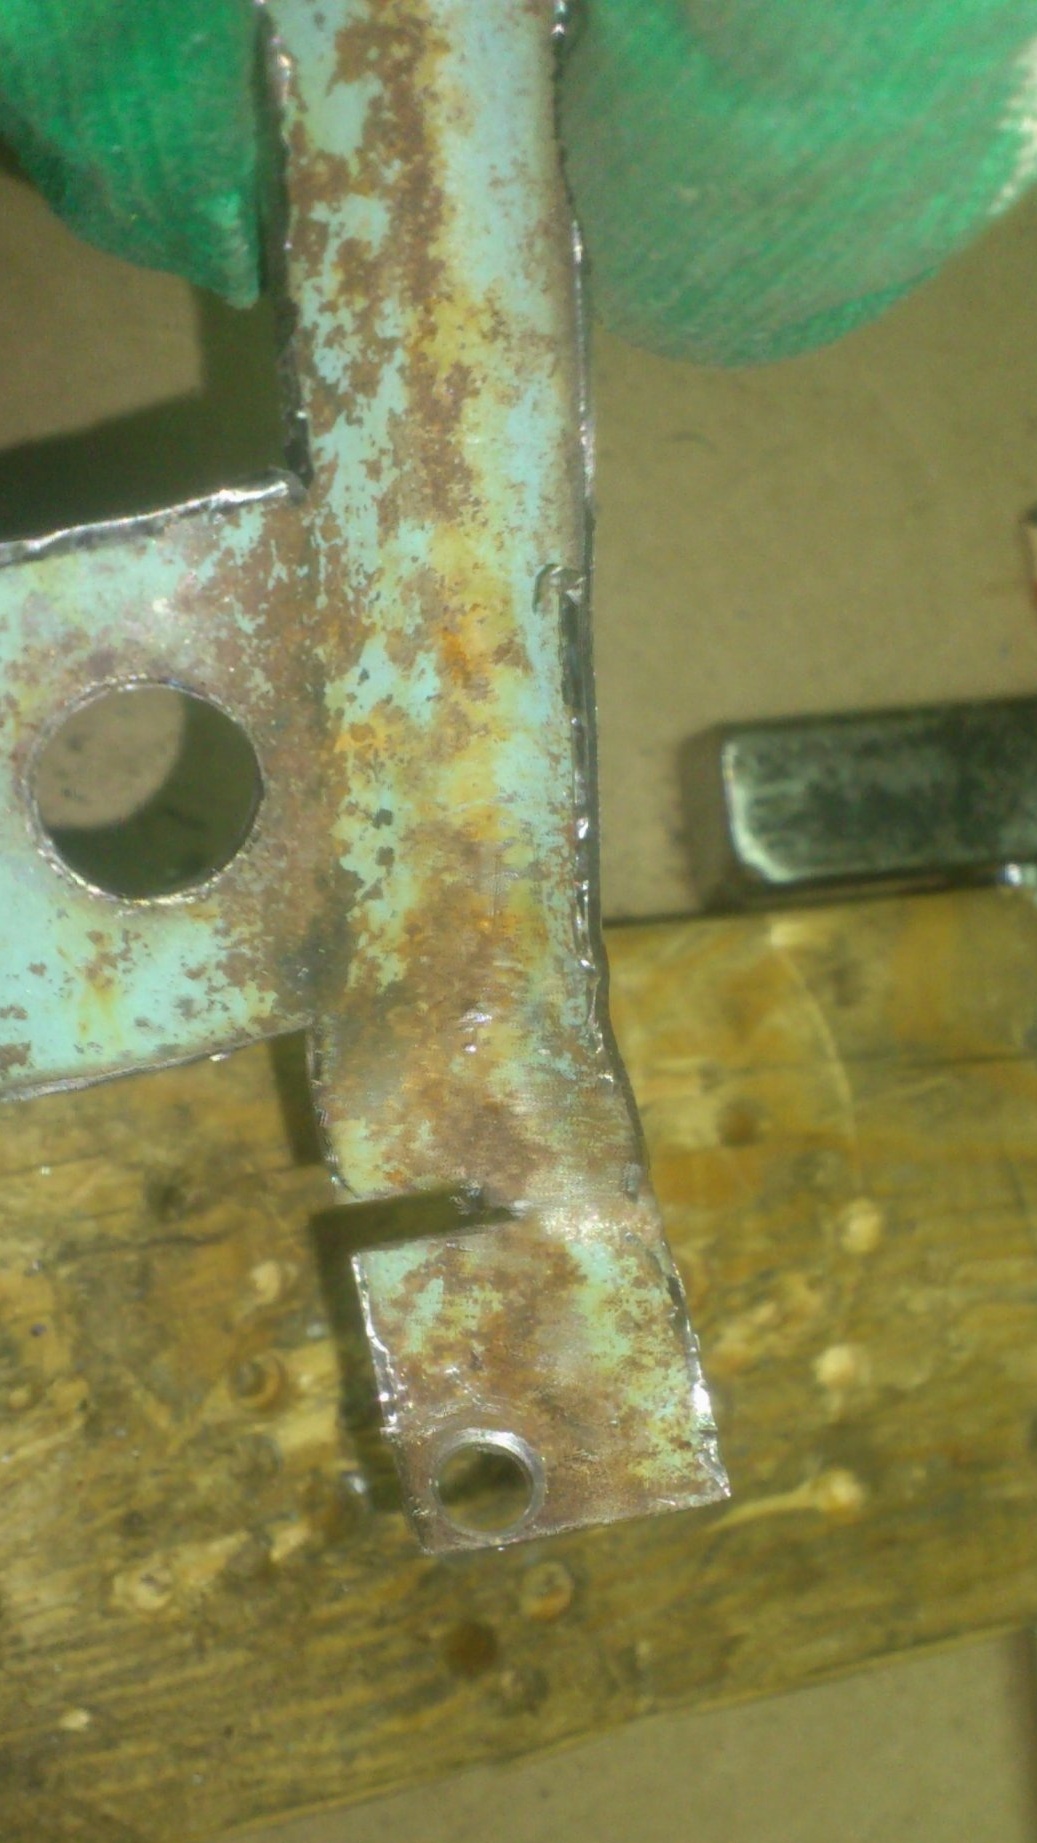
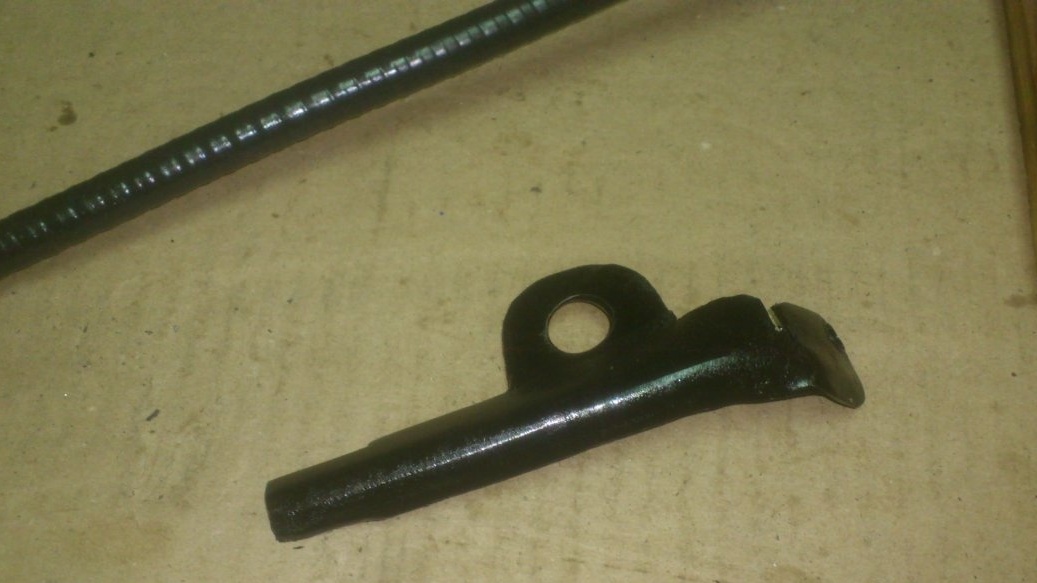
Having tried everything and making sure that the holes match, I cut off all the excess, rounded off all the corners and cleaned it:
The bracket is ready. We send it so far for painting. (Perhaps, I already voiced my method of accelerated painting of metal parts. For those who don’t know, I will tell you. You need to heat the part with a heat gun before painting and paint “hot.” Nitro enamel dries instantly in this case).
In the meantime, the paint dries, let's deal with the electrical part.
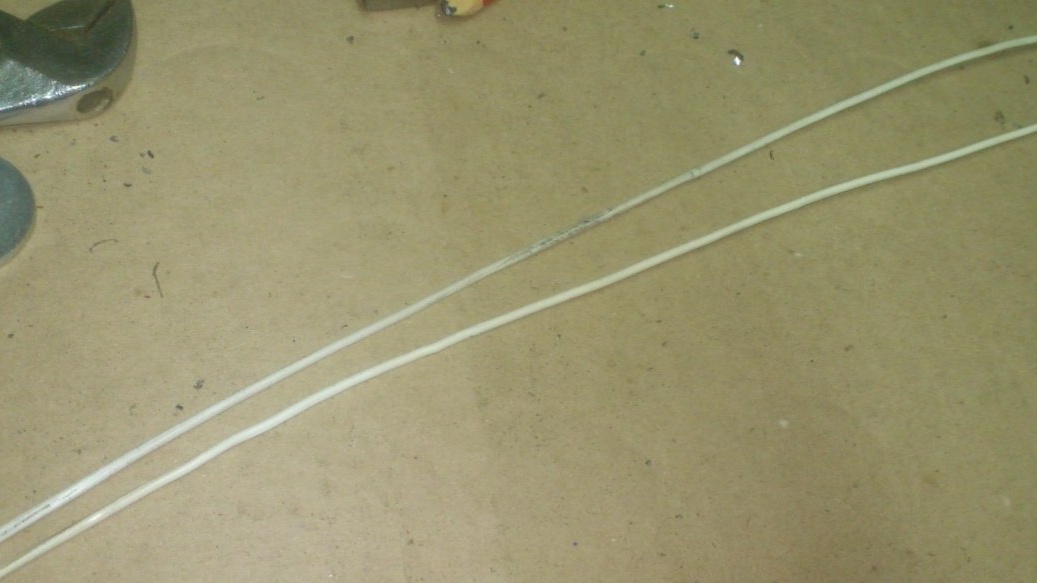
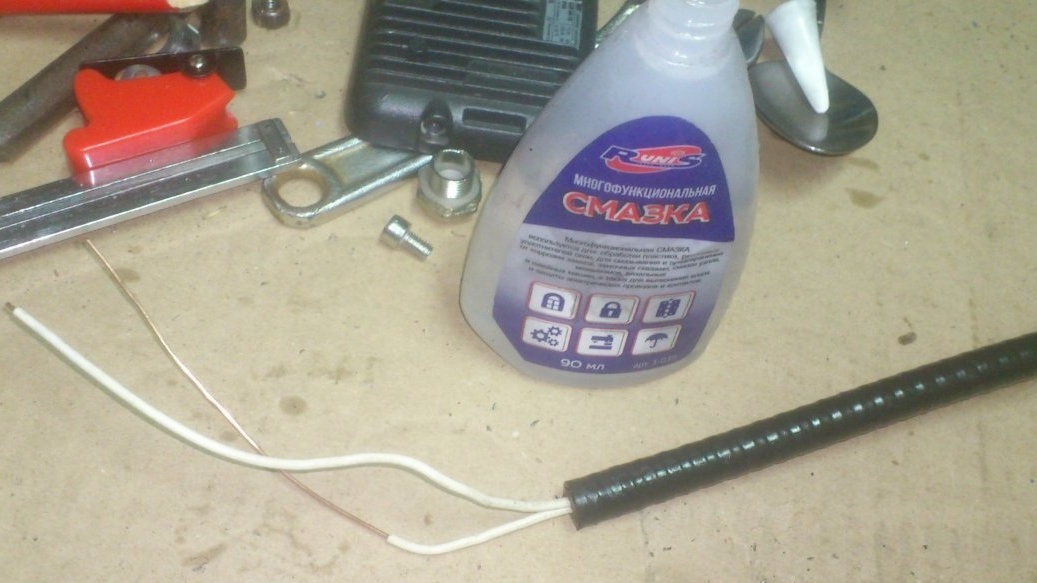
The cable cover has an inner diameter of 4 mm. For laying inside the casing, I decided to use copper wires with a mono-core, which I left after remaking the fluorescent lamp "2 by 36" for LED lamps:
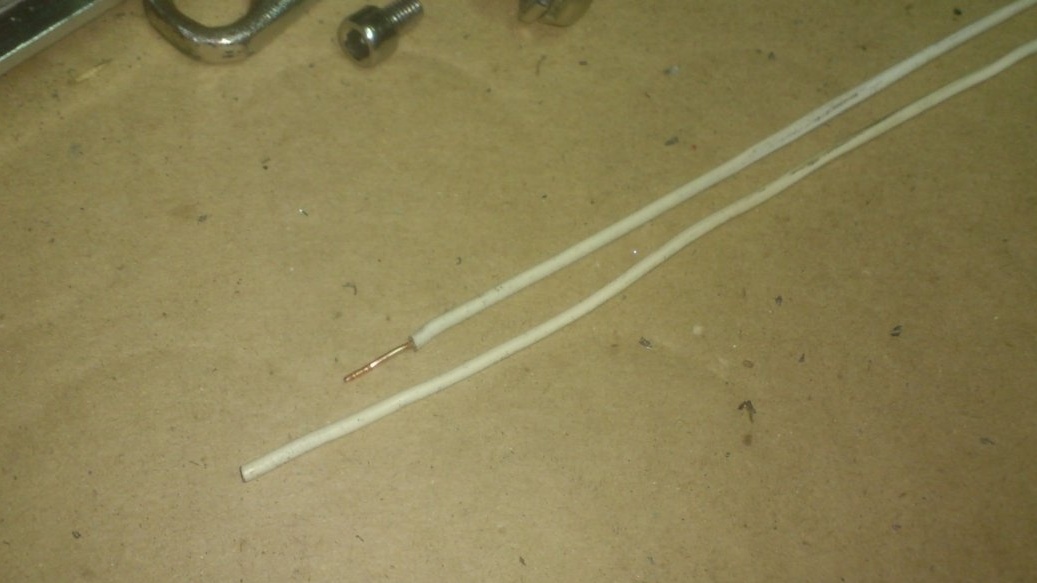
Using silicone grease, and working with pliers, I easily inserted a pair of wires into the casing:
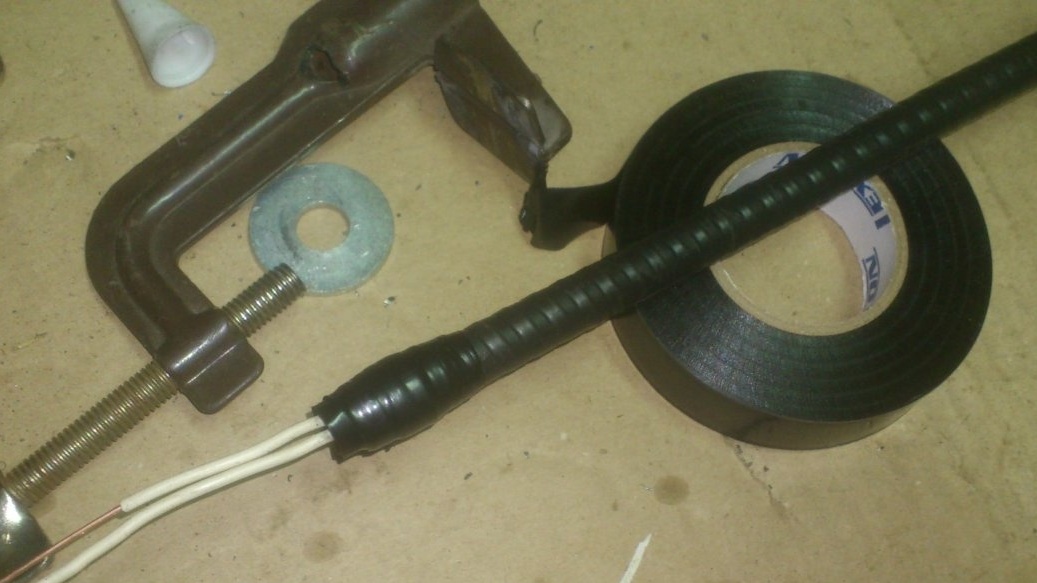
Since grounding in my lamp will not be provided, I cut off the yellow-green wire, and connected the other two by soldering with wires threaded through the casing, after which I insulated them with heat-shrinkable cambric:
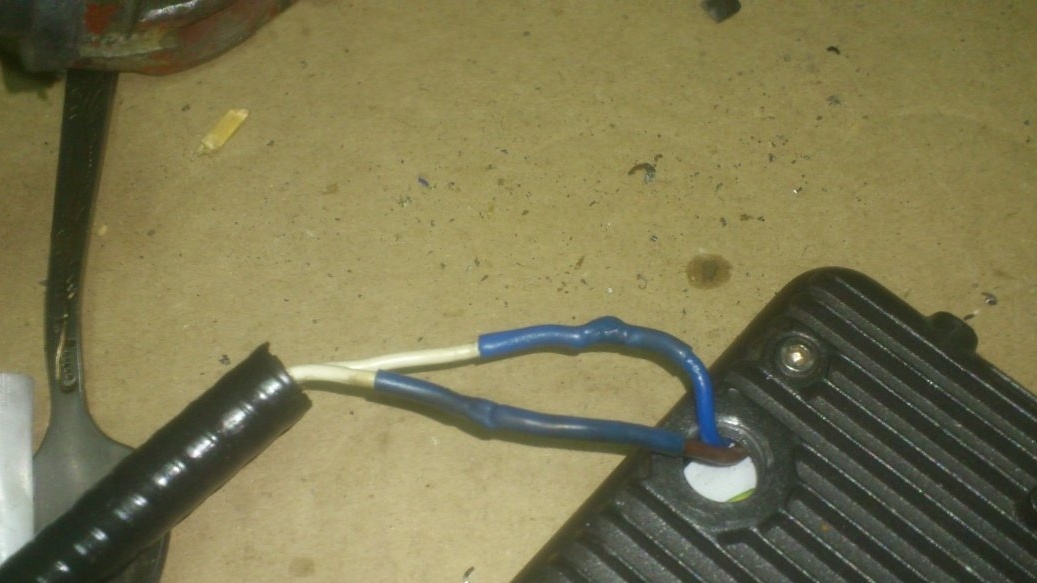
Then, using a cambric of larger diameter, he wrapped them in wires with an approach to the casing:
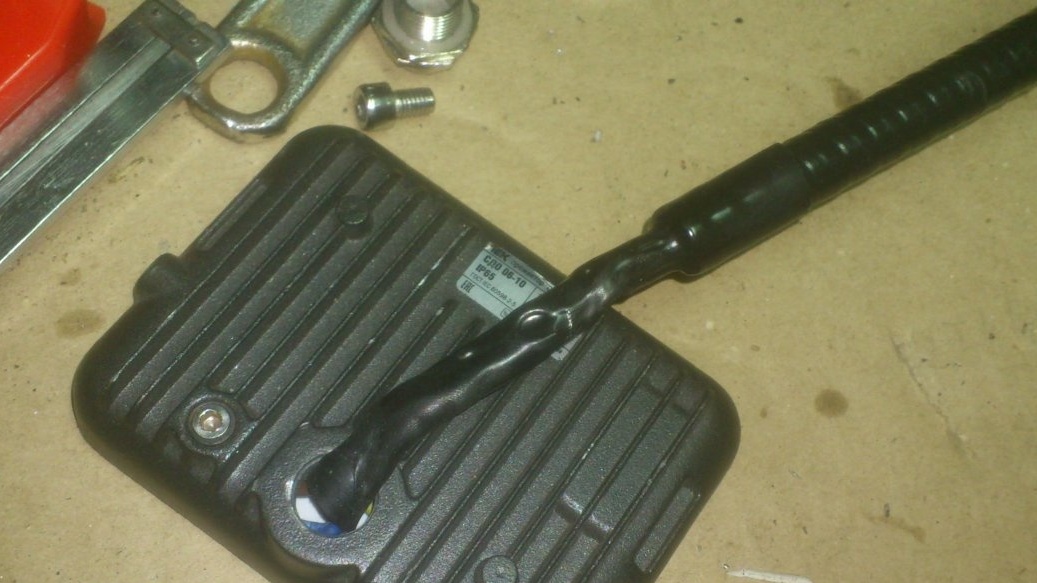
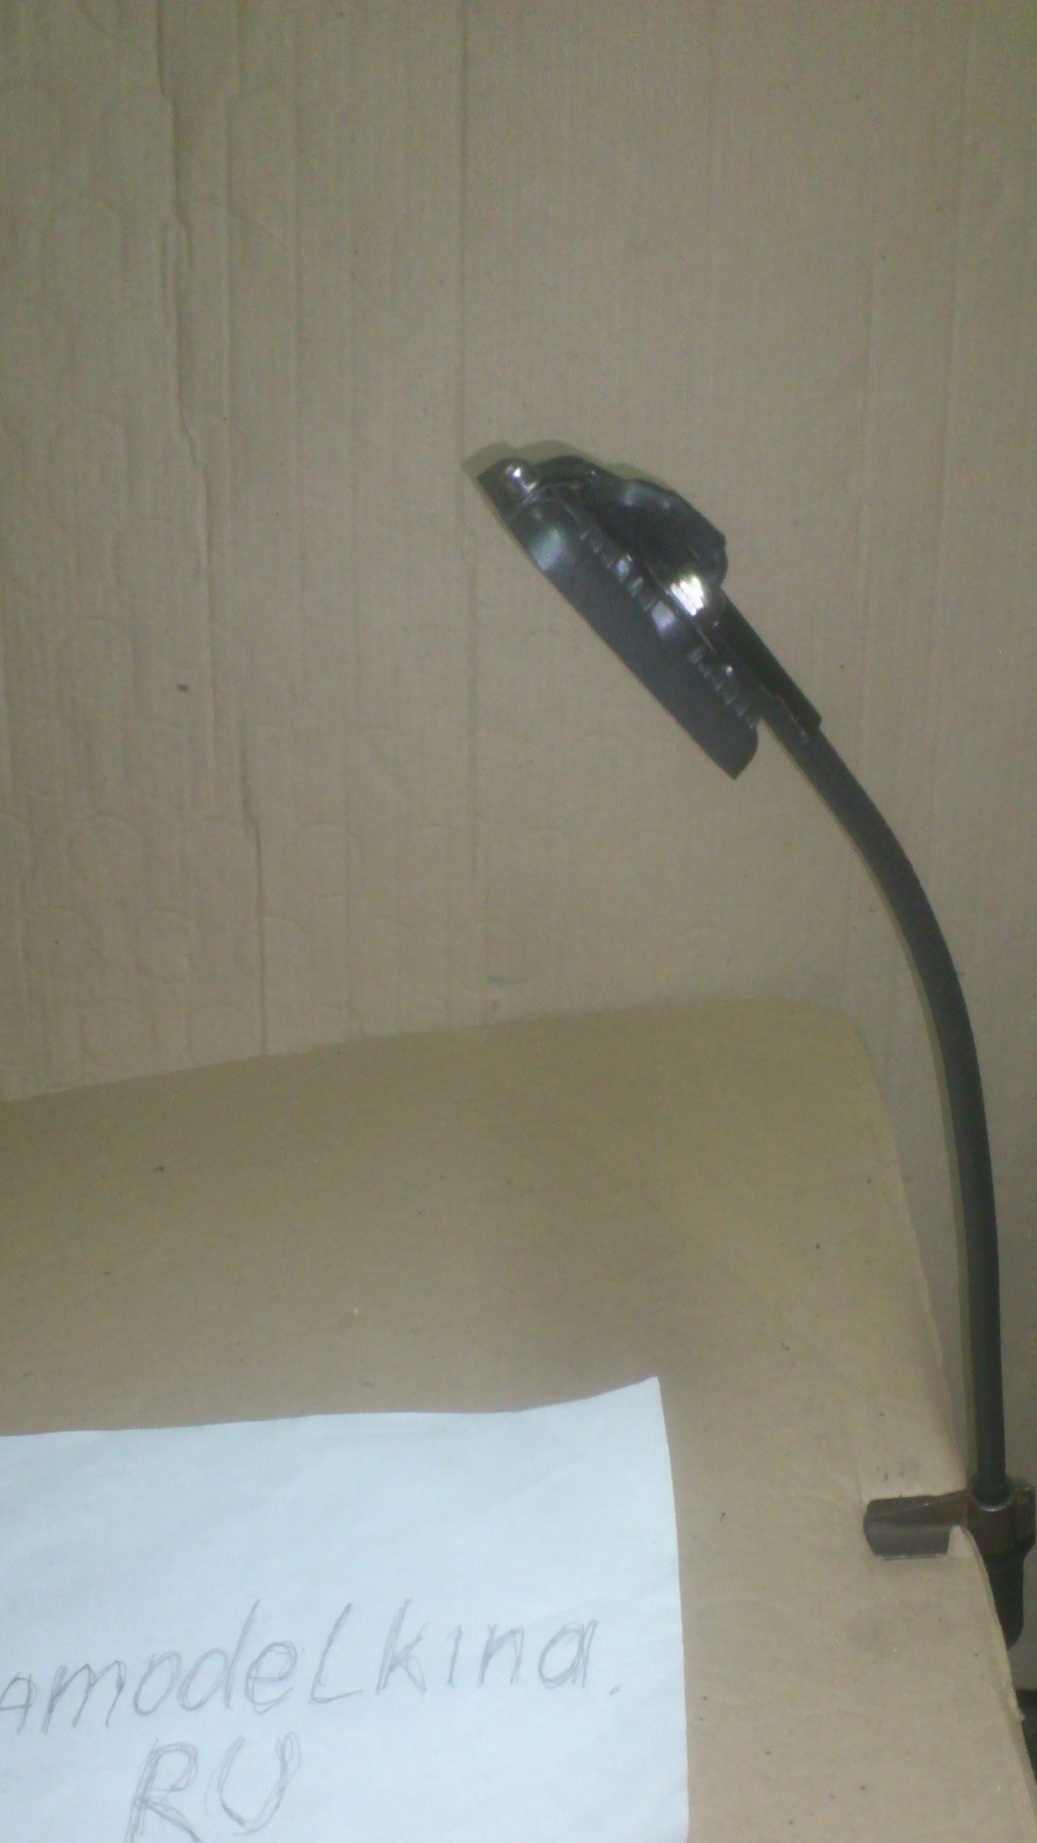
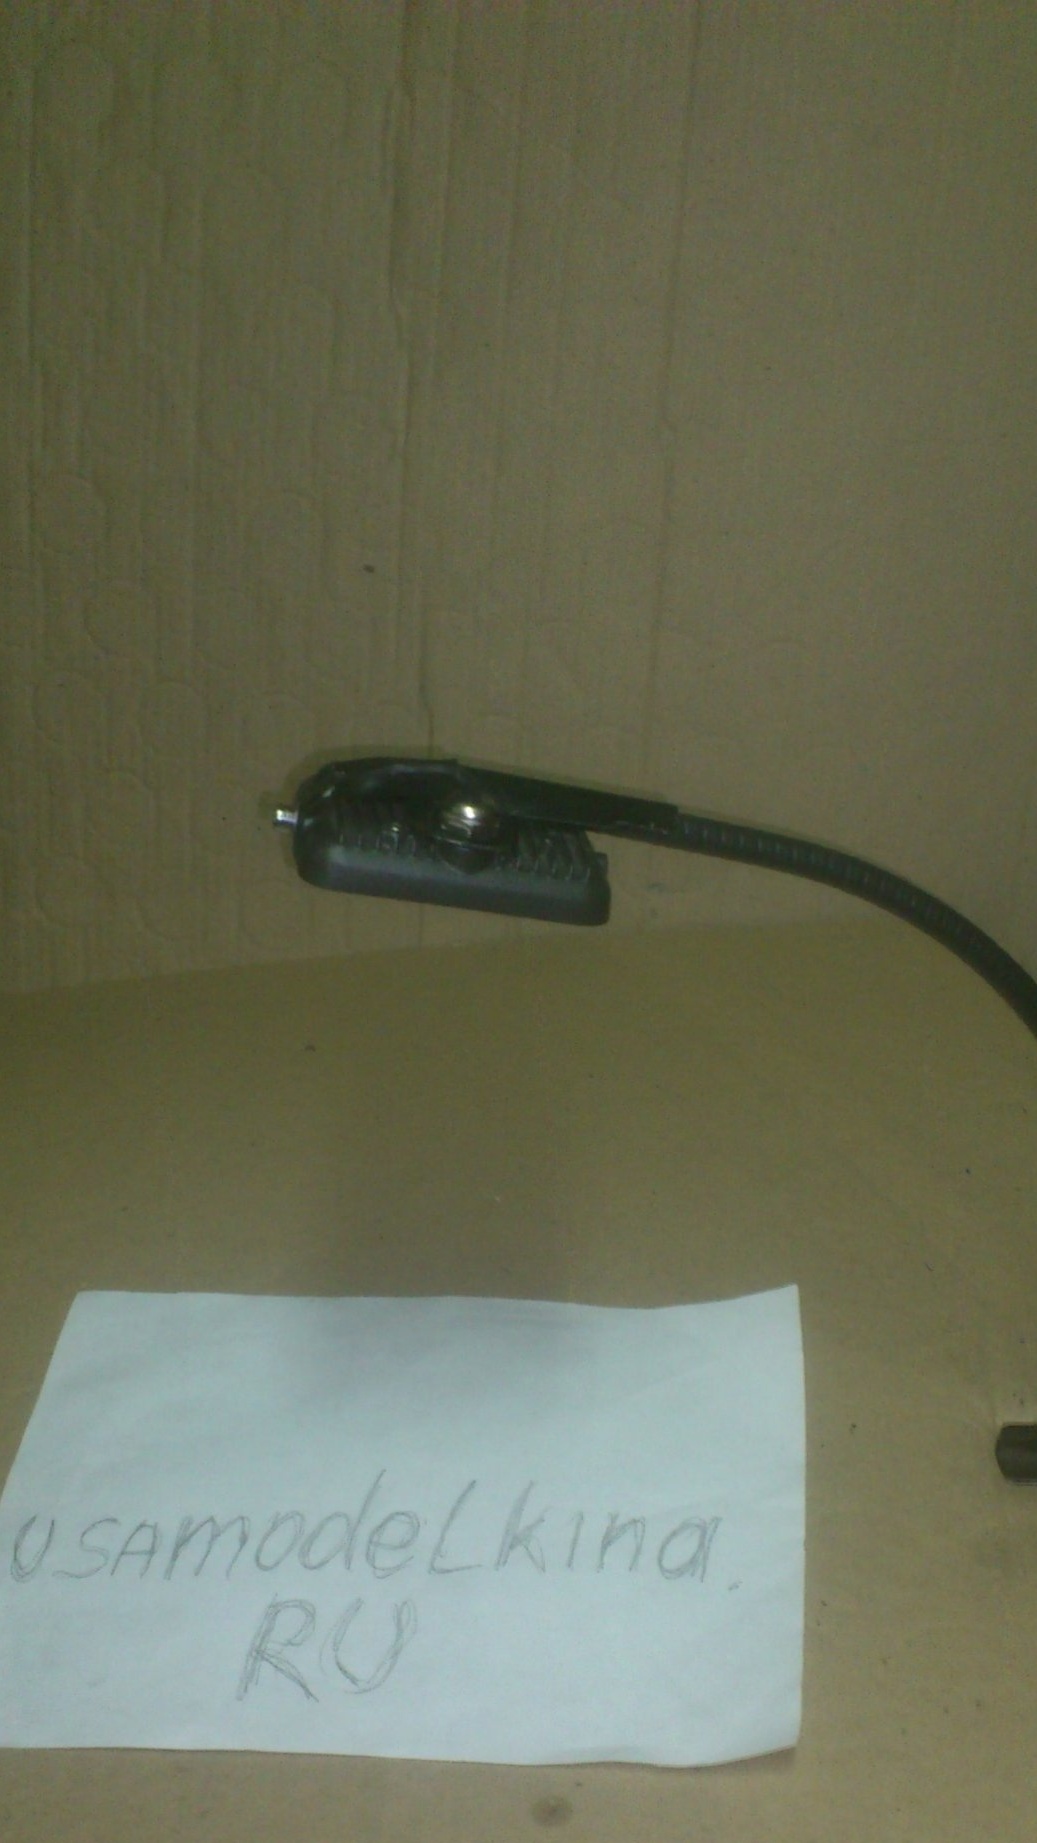
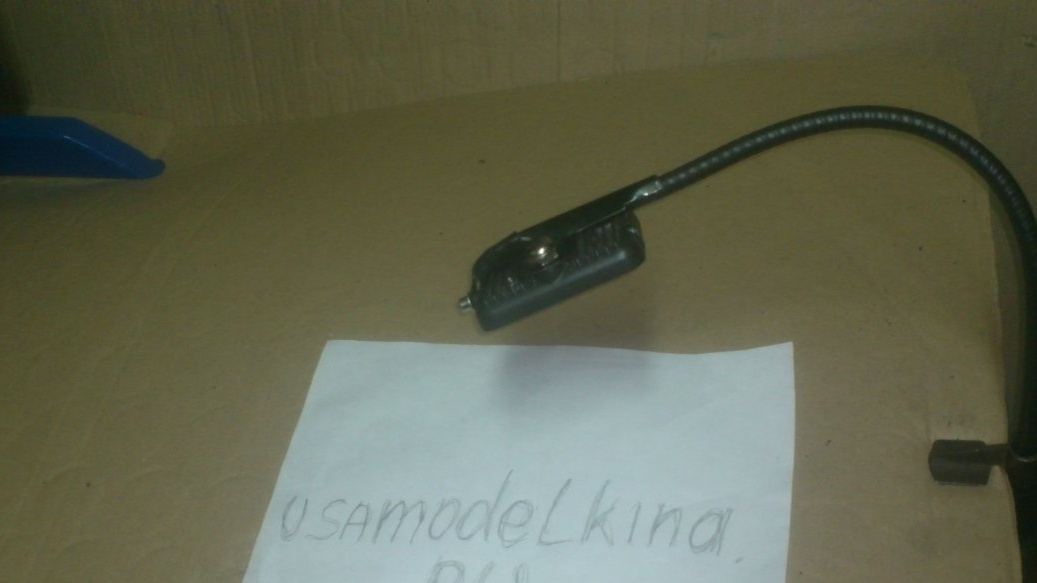
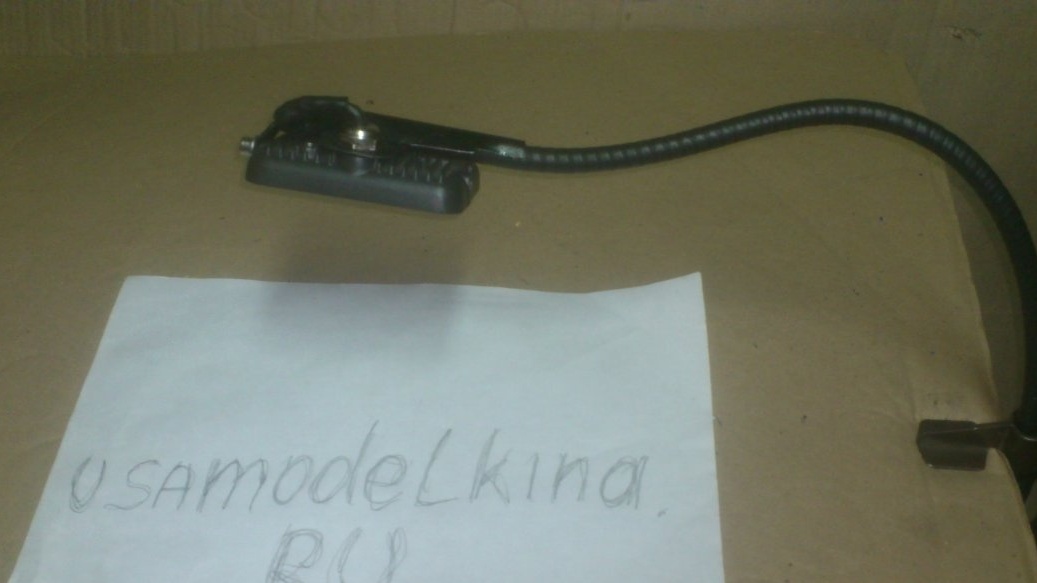
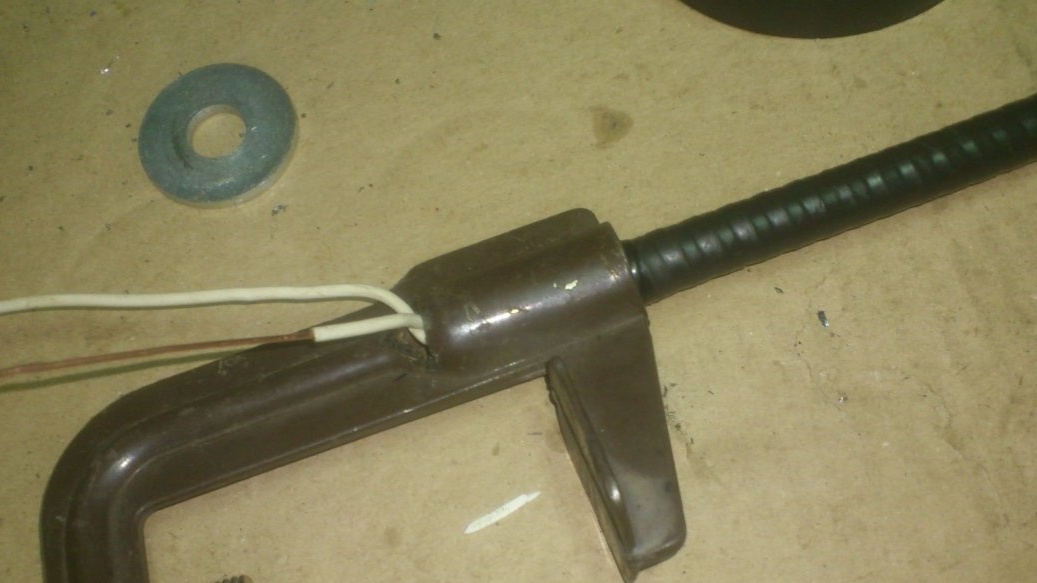
The paint on the bracket dried up, and I fixed the casing on the body of the spotlight, passing the harness through the slot:
The fastening turned out to be very strong, due to the fact that the casing, which has transverse “ribs”, pressed against the cooling ribs of the searchlight:
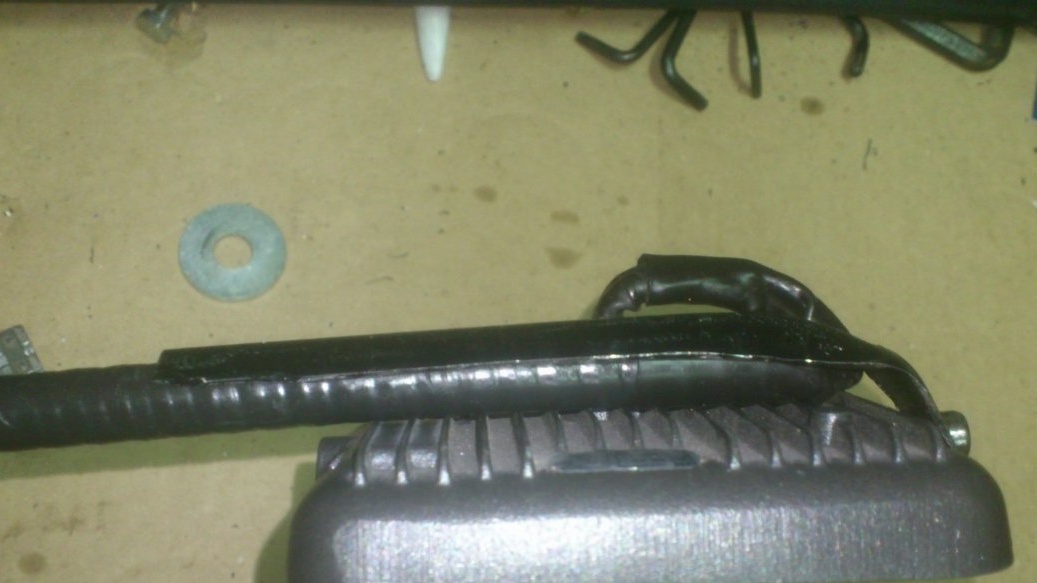
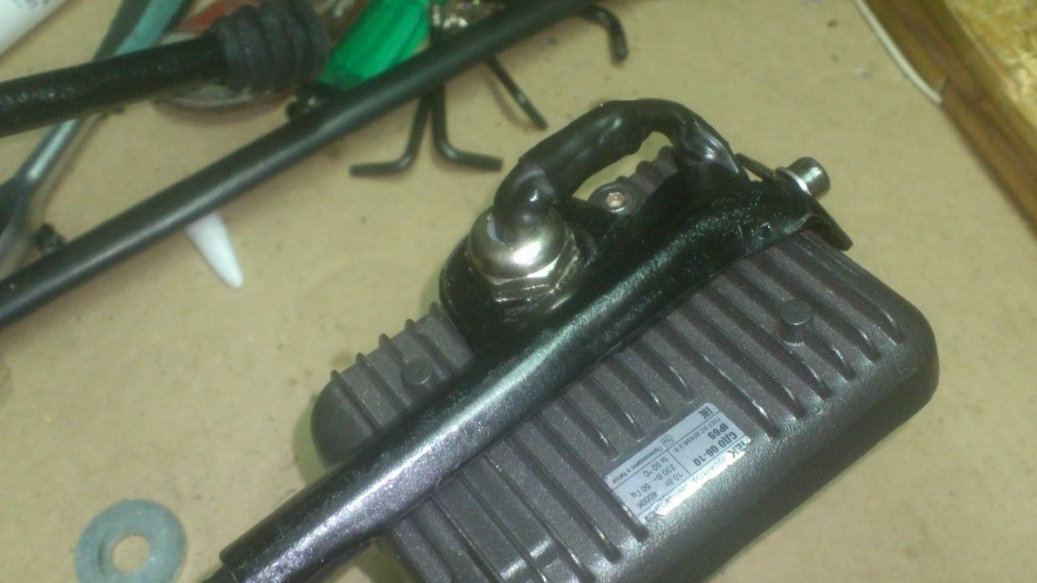
It is impossible to pull it out of there. To test the strength, several times, holding the spotlight body with my hand, I gave the “leg” several different shapes, bending it:
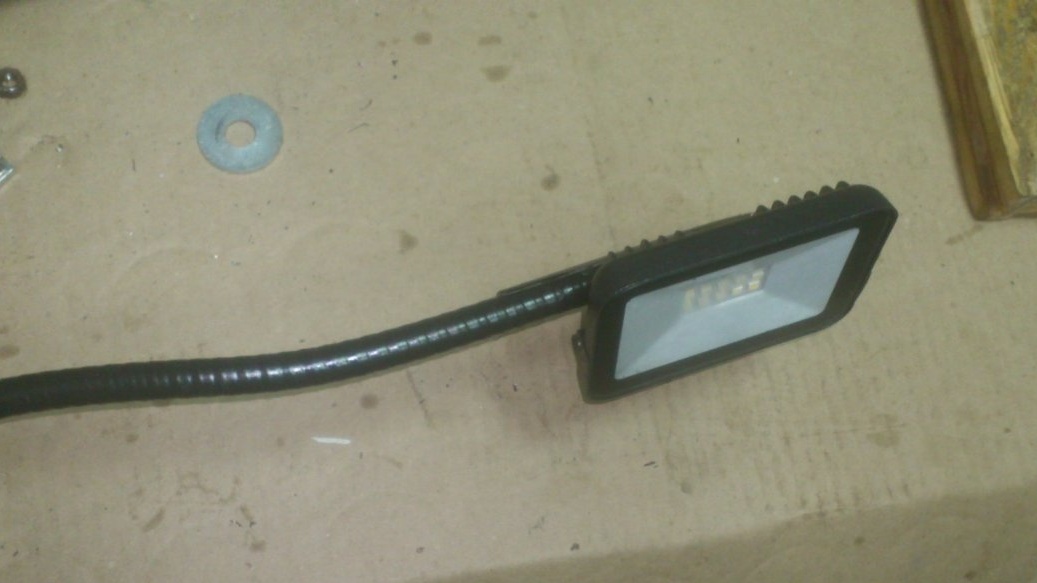
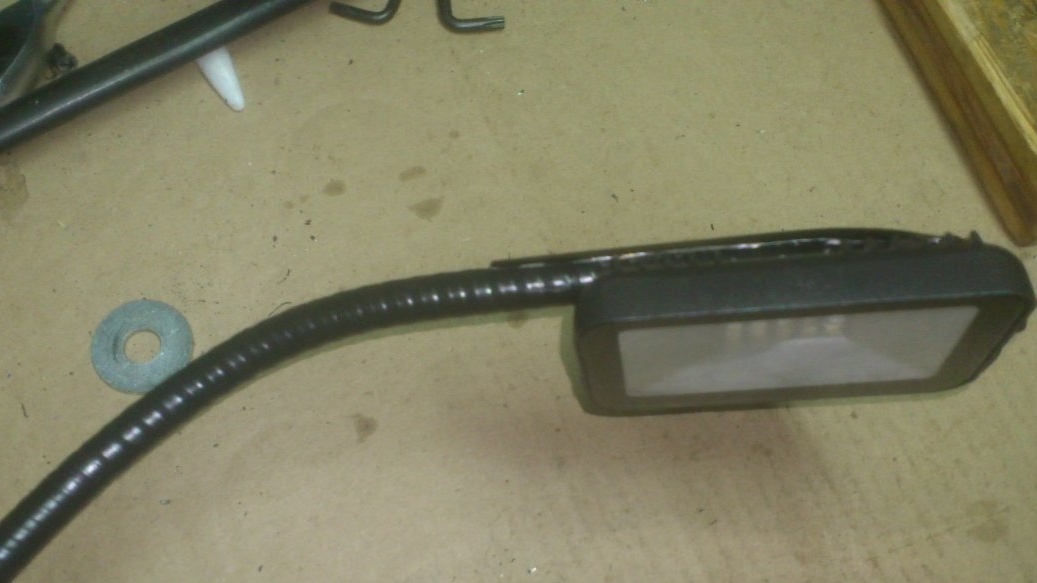
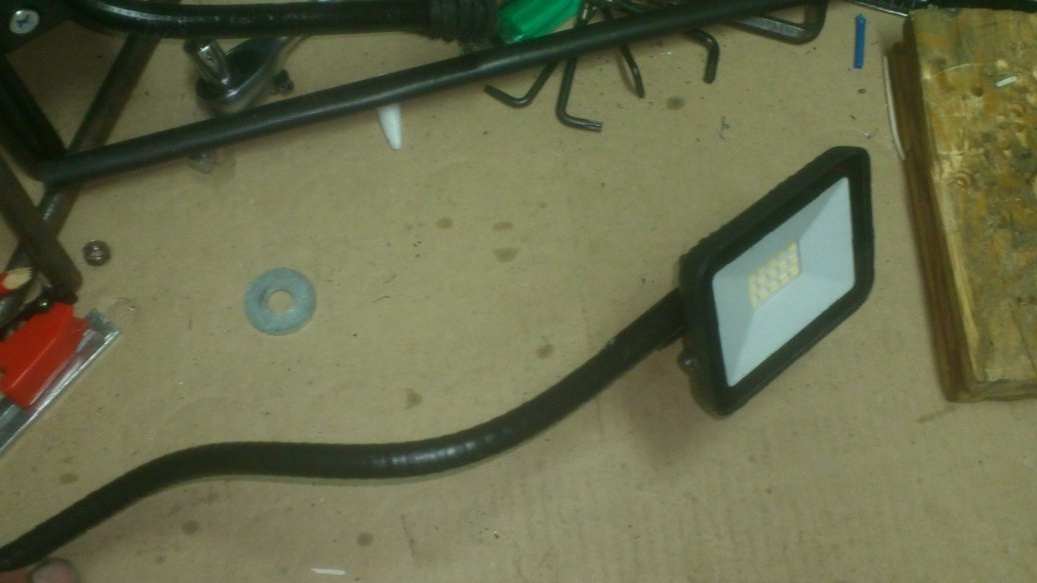
It is this effect that I need. So I can easily direct the light to where I need to.
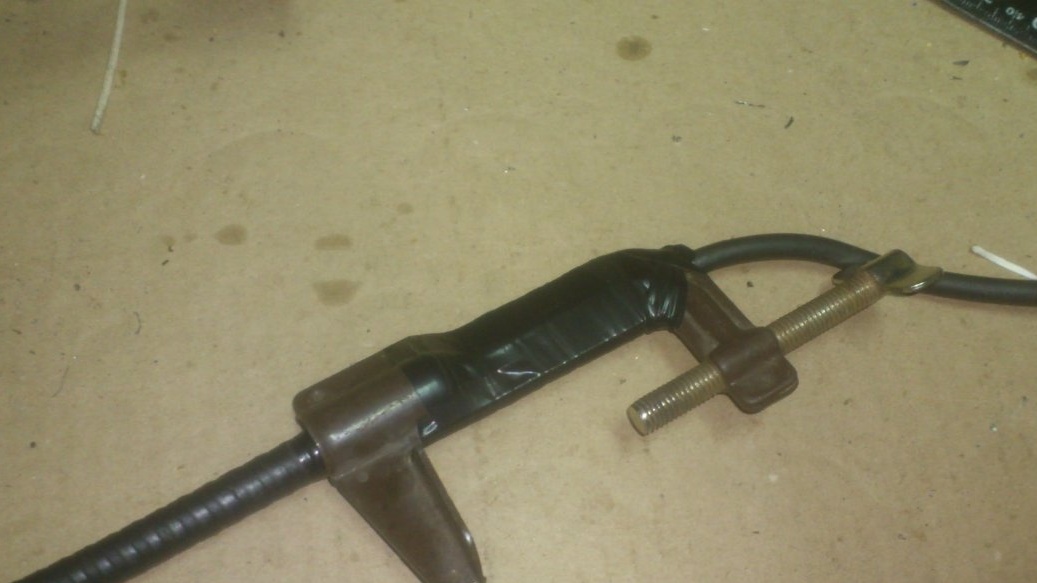
Now you need to come up with a convenient lamp mount to the table. I immediately rejected the idea of making any kind of persistent platform. The lamp for work should not take up space on the table. The most convenient way out is to fix it with a clamp to the opposite edge of the countertop.Initially, I thought of making a simple clamp from a piece of corner, nut and bolt .... But in time I remembered about such a clamp lying around with me for a very long time:
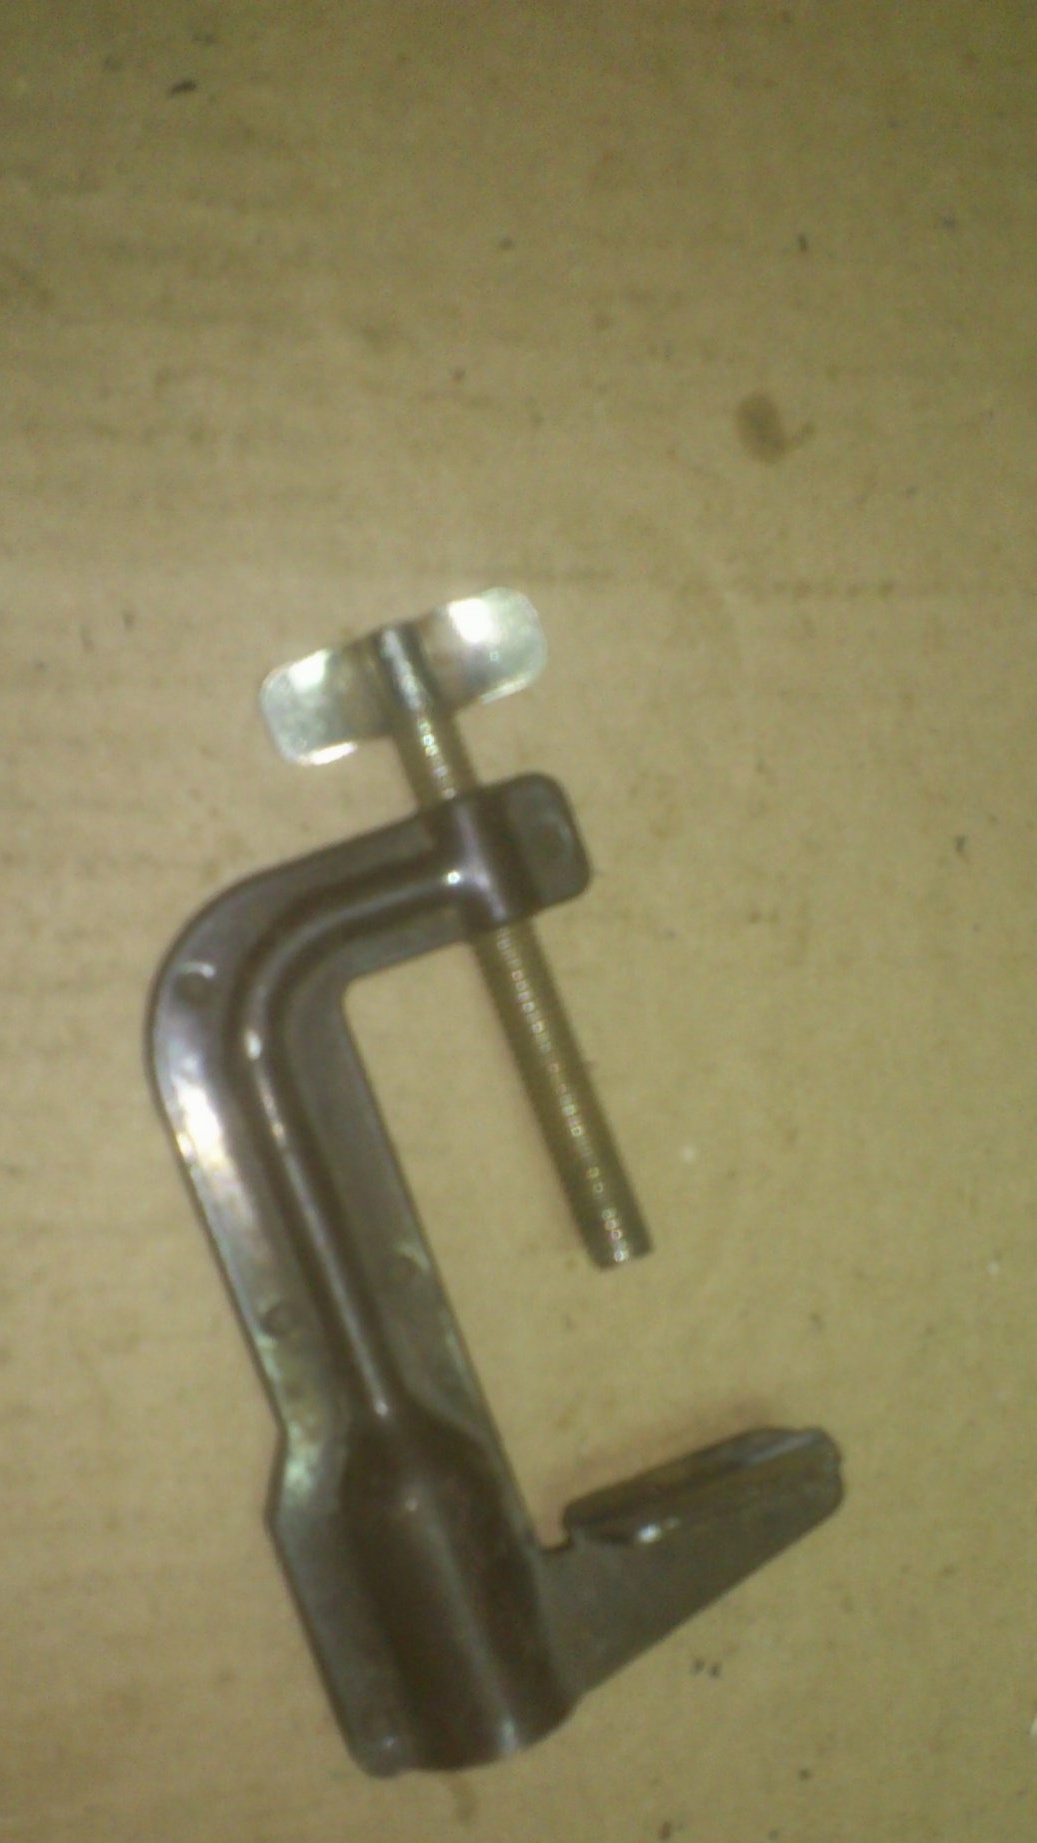
I do not know what she is from, and even forgot how she got to me! ))))) It hurt a long time since she was lying around with me))) .... But it is perfectly suited for my purpose. I decided to insert the lower end of the “leg” of the lamp into the clamp channel. In order to release the wires, I, using angle grinder, made a cutout at the bottom:
After which, after shaking the electrical tape, he “screwed” the lower end of the casing into the clamp with force:
Having rummaged in my "electrical supplies", I chose a suitable cord with a plug:
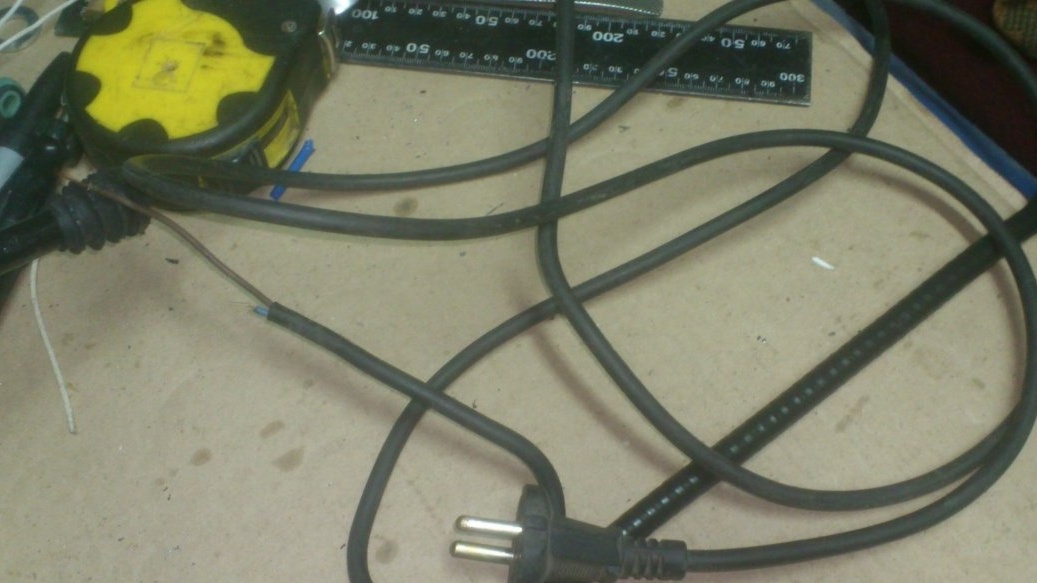
(I always have such ready-made cords in stock.)))) I never throw anything away without taking it apart. And, I don’t even see anything shameful in cutting off the cord from the device that was thrown away. (As a rule, old televisions / irons / vidicas are carried out and placed in garbage containers)))))). And, at the same time, I do not feel the slightest shame or inconvenience.))) I just go up and cut the cord ...
But it’s a shame, I think - this is when a peasant does not have a piece of wire or a plug in stock ...)))))
Having connected the wires by soldering, and insulating them with heat-shrinkable cambric, I, in order to avoid tearing off by accidental jerking, wound the connection point to the clamp with tape:
(I'm not making a beautiful, but a comfortable and (most important) good-quality lamp, because in the workshop you can not exclude any jerks of the cord, or bumps)))).
I did not make any switch. The fact is that the table and the workbench are equipped with "controlled sockets". (I fix several sockets under the tabletop, next to each there is a switch. This is very convenient when working with different tools, for example, with several soldering irons at the same time ... "So as not to pull the plugs")))))). Here in one of them the lamp will be included.
And if someone needs a switch, then you can fix it on the "head" of the lamp, or on a clamp. As the least convenient, but the most easily feasible option is to hang in the break of the cord.
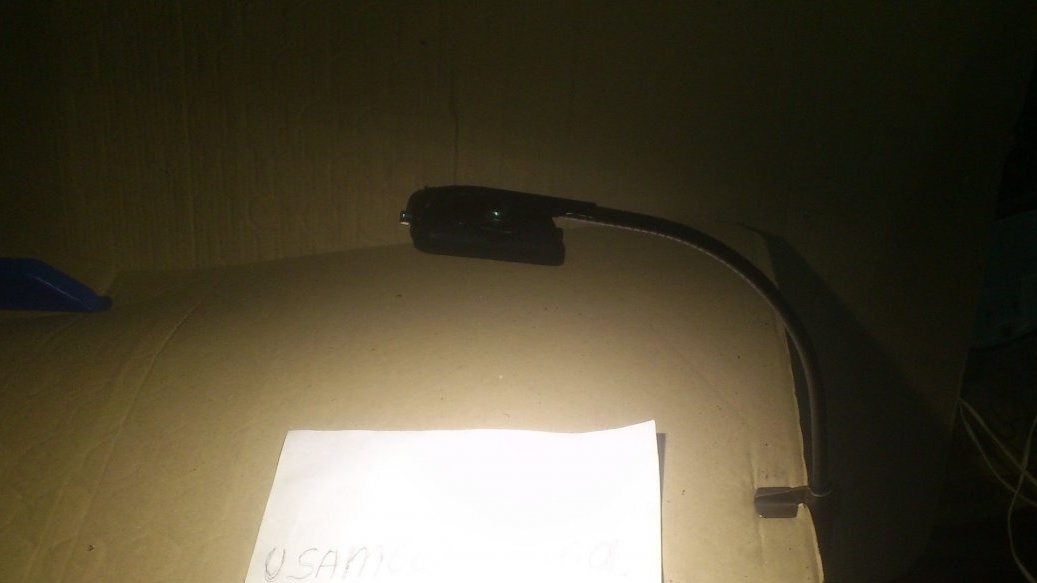
That's all. The lamp turned out to be very comfortable. It shines brightly. You can easily direct in any direction. Places on the table does not take. When not needed - you can simply bend it to the table.