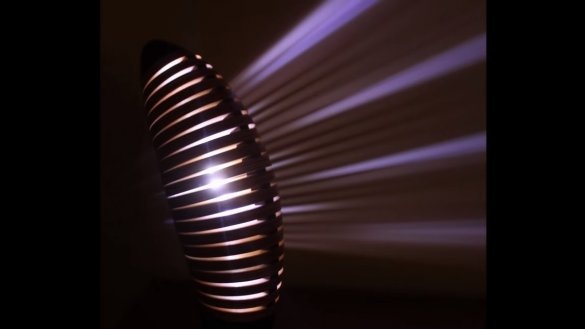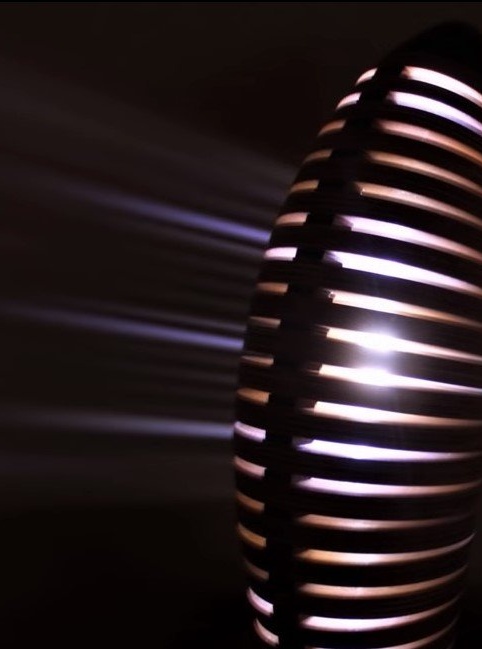
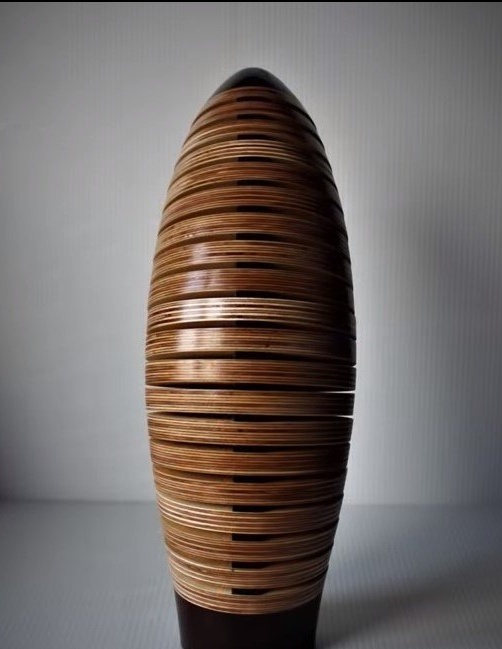
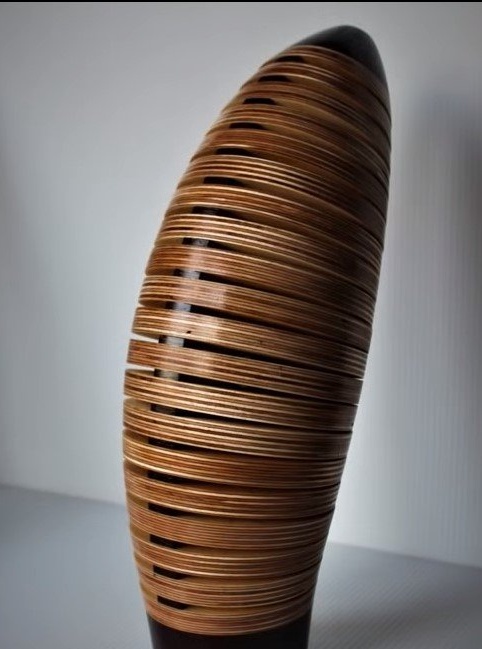
Hello to everyone who likes to craft, today we will consider how to make an unusual lamp. Homemade similar to a larva, such was the author’s idea. The light from the lamp body passes through the slits, due to which an interesting striped pattern forms in the dark. The light source is LED strip, and the body is mostly made of plywood. If you are interested in the project, I propose to study it in more detail!
Materials and tools used by the author:
Material List:
- plywood;
- dark wood (for front and back);
- carpentry glue;
- LED Strip Light;
- oil or varnish.
Tool List:
- lathe;
- a circular saw;
- drilling machine;
- tape cutting machine.
The manufacturing process of the lamp:
Step one. Body parts
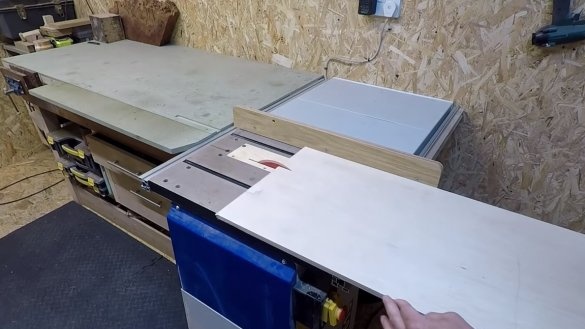
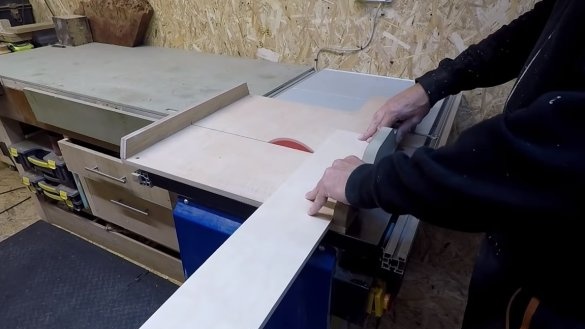
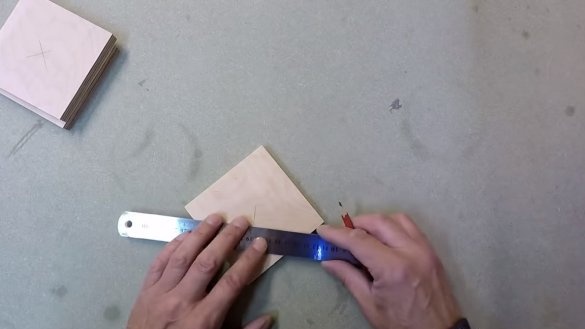
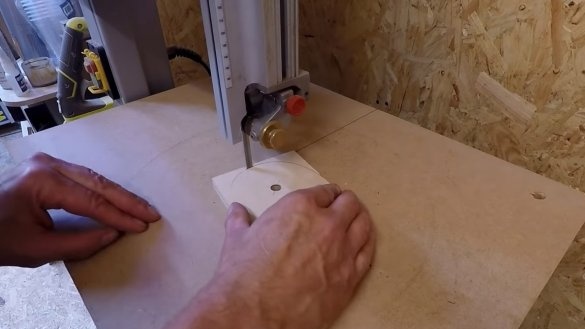
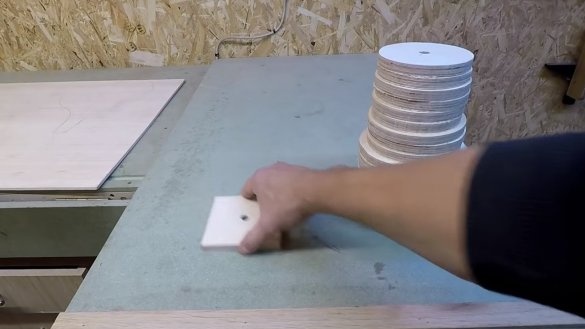
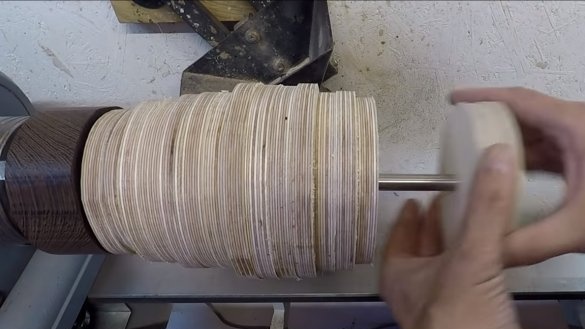
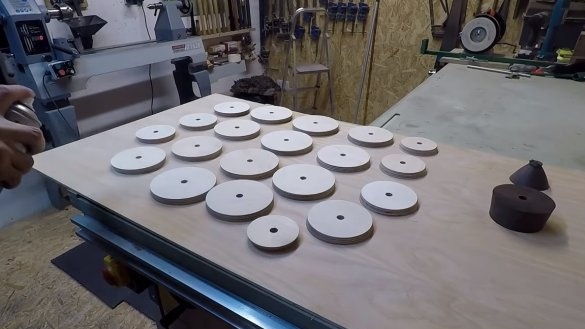
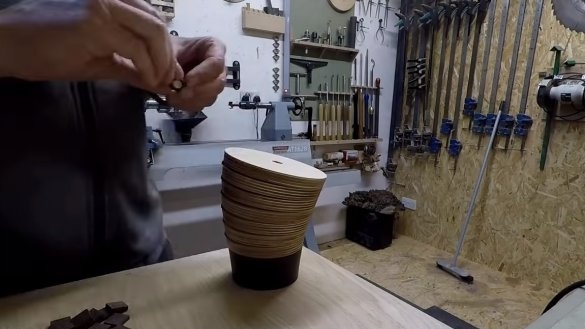
First, we cut the parts for the manufacture of the body, using plywood as the material. We need to cut many circles of different diameters in order to form the body of a larva on a lathe from them. First, the author cut the plywood into squares using a circular saw, and then you can cut the circles using a tape cutting machine or jigsaw.
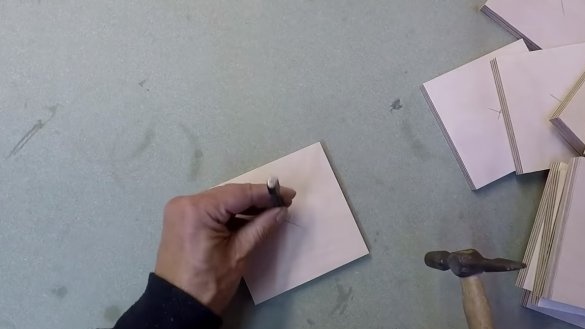
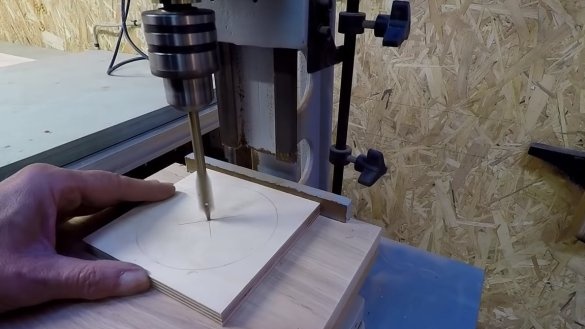
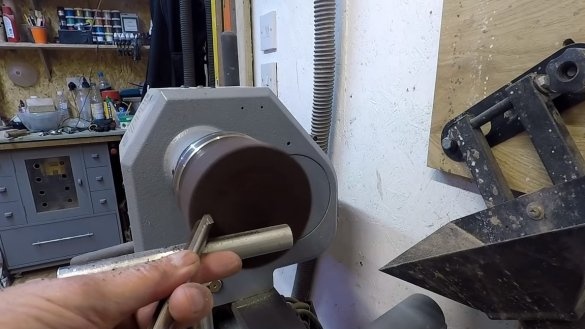
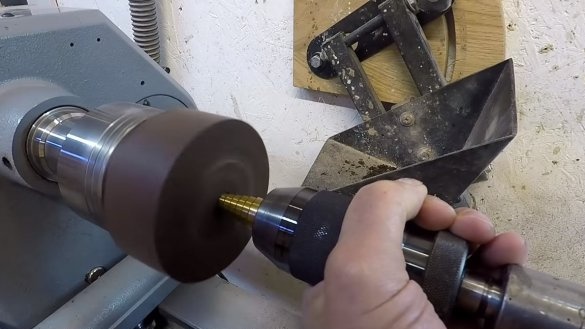
In the center of each part, you need to drill a hole where the axis will go, on it the whole structure and will be clamped into a lathe.
Step Two Back and front
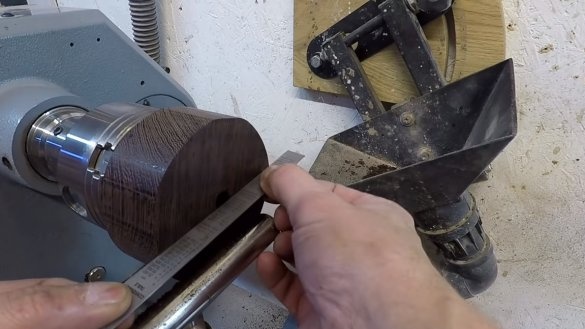
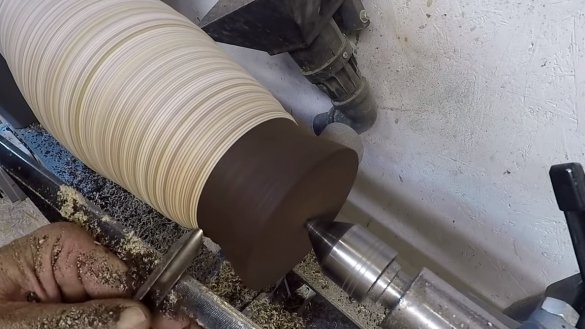
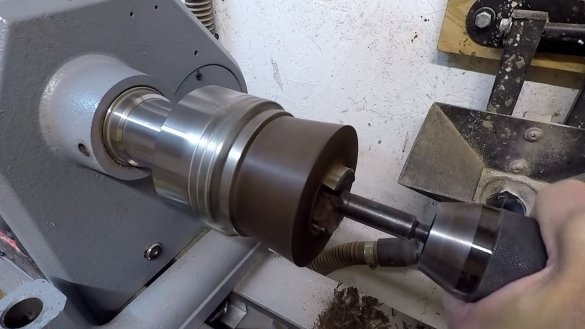
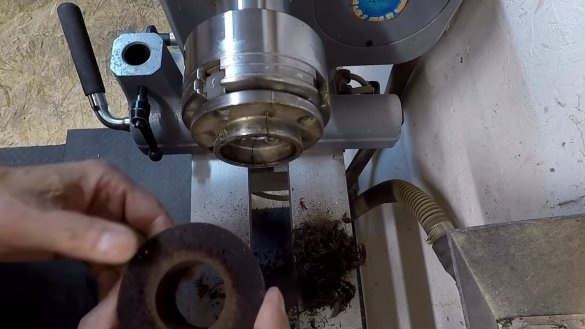
We will prepare the parts for the back and front, usually in the larvae these parts are darker. Here we need dark wood, or if you wish, you can soak the wood with stain. The author forms the initial blanks on a lathe, in the center of each blank we also drill a hole for the axis.
Step Three Turning
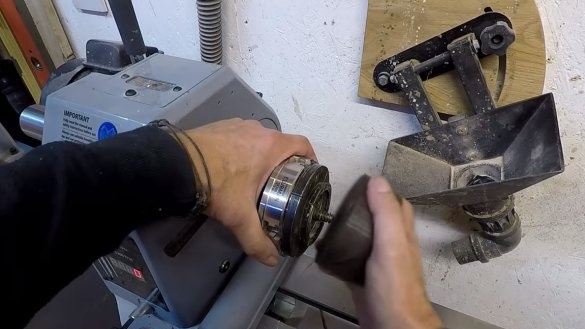
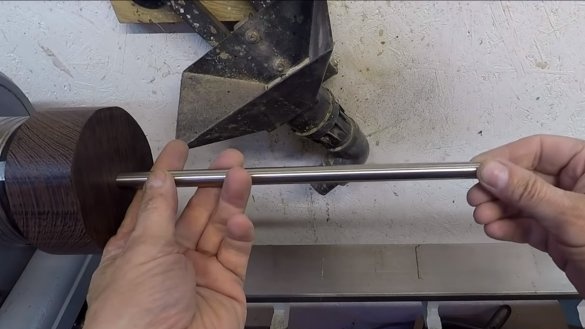
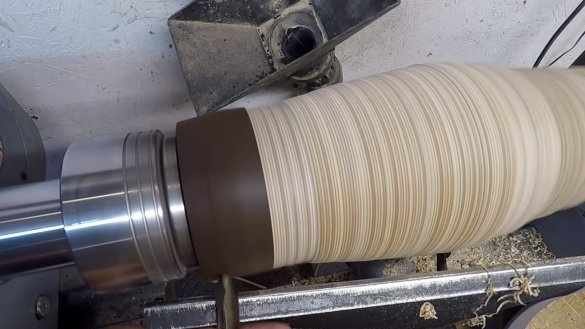
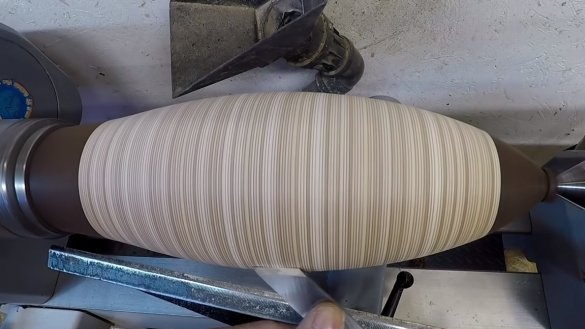
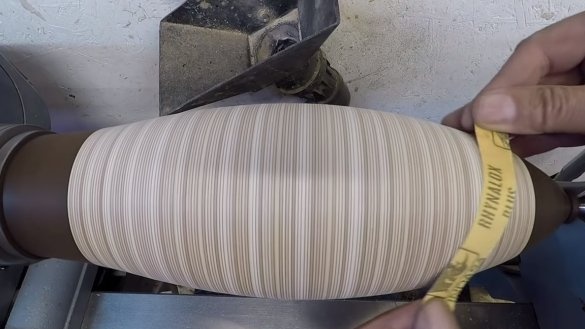
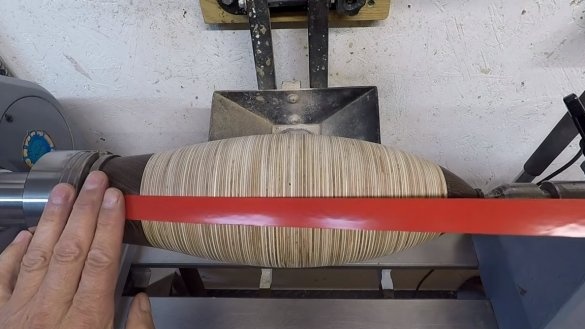
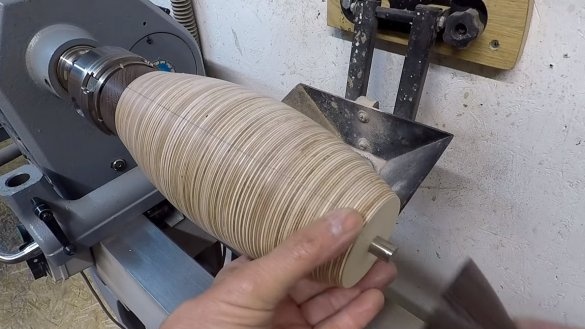
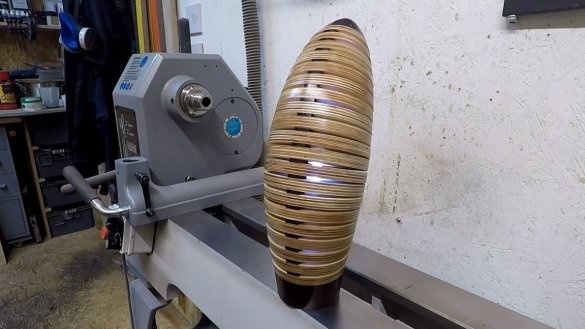
We collect the entire garland on a steel axis and clamp in the lathe chuck. We proceed to processing, form an oval or other body shape of the larva at your discretion. At the end, we grind the whole product well with sandpaper to a smooth state.
Step Four Final touches and assembly
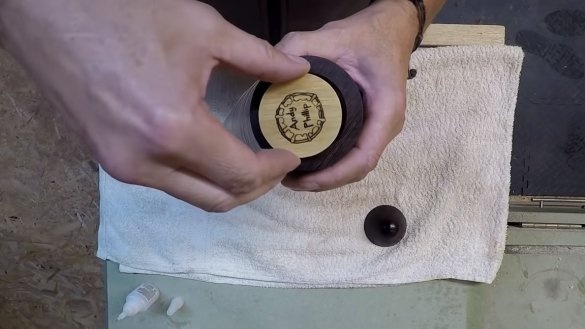
Before disassembling the body of the larva, draw a line with a pencil so that later you can understand how to assemble everything.After removing the blank, do not swap discs, otherwise it will be hard to assemble later.
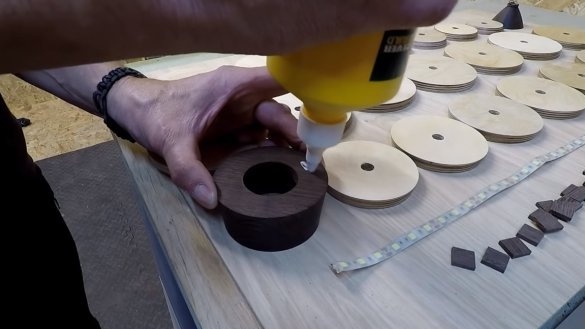
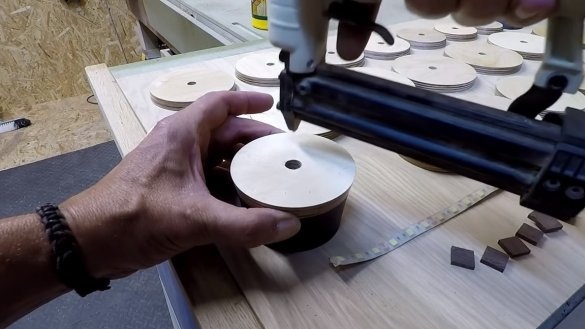
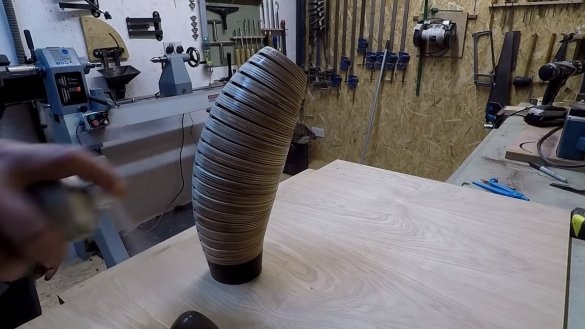
The body of the larva has a curved shape, we also need to get gaps through which light will exit. To solve the problem, you will need spacers, you can use small pieces of boards. All construction is assembled on glue.
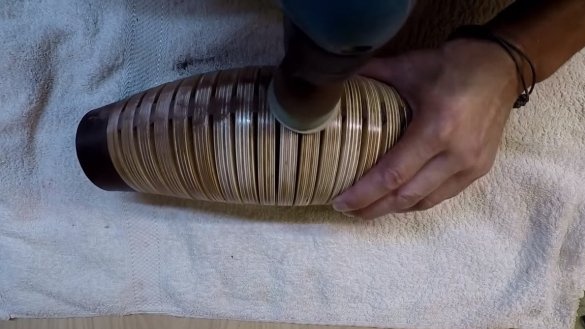
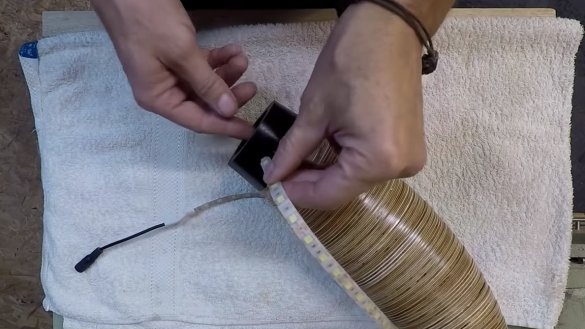
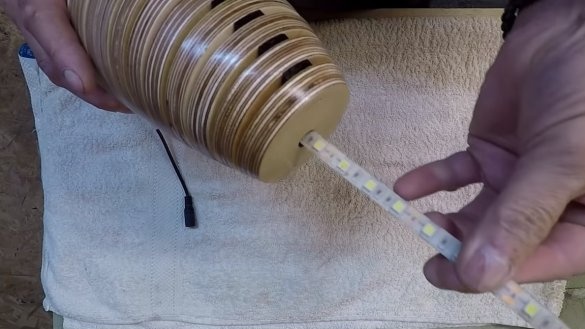
After assembly, we install an LED strip inside the housing so that it emits light along the entire length of the lamp. Well, then the case can be carefully sanded with a grinder or drill and varnished from a spray can. If solid wood was used, it would be more appropriate to use wood oil.
After that, the lamp will be ready, you can connect the LED strip to the power supply. The homemade product looks original and interesting, I hope you liked the project and you found useful thoughts for yourself. Good luck and creative inspiration, if you decide to repeat this, do not forget to share your ideas and homemade things with us!

