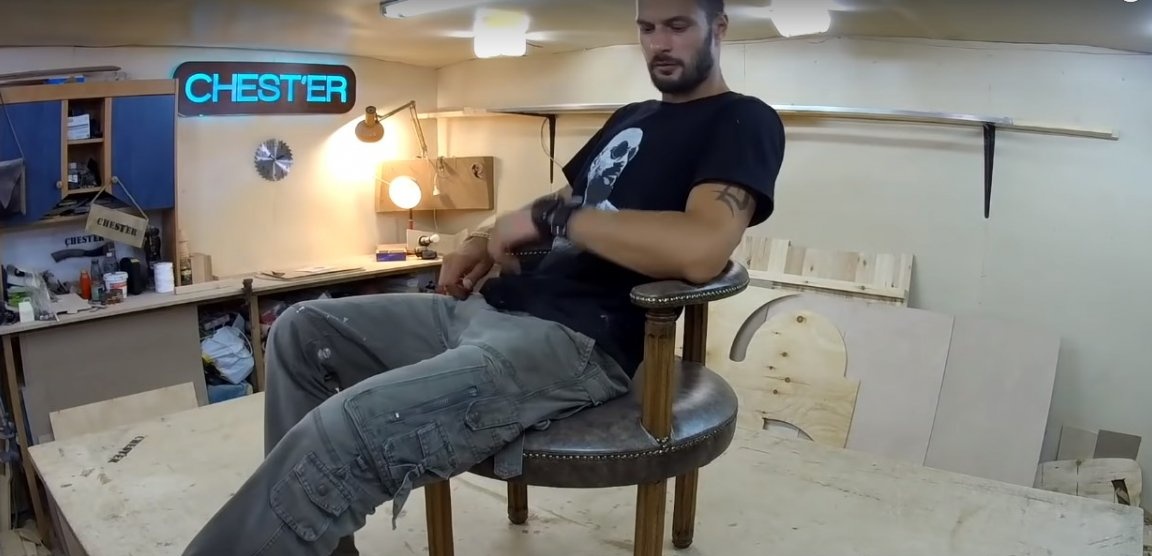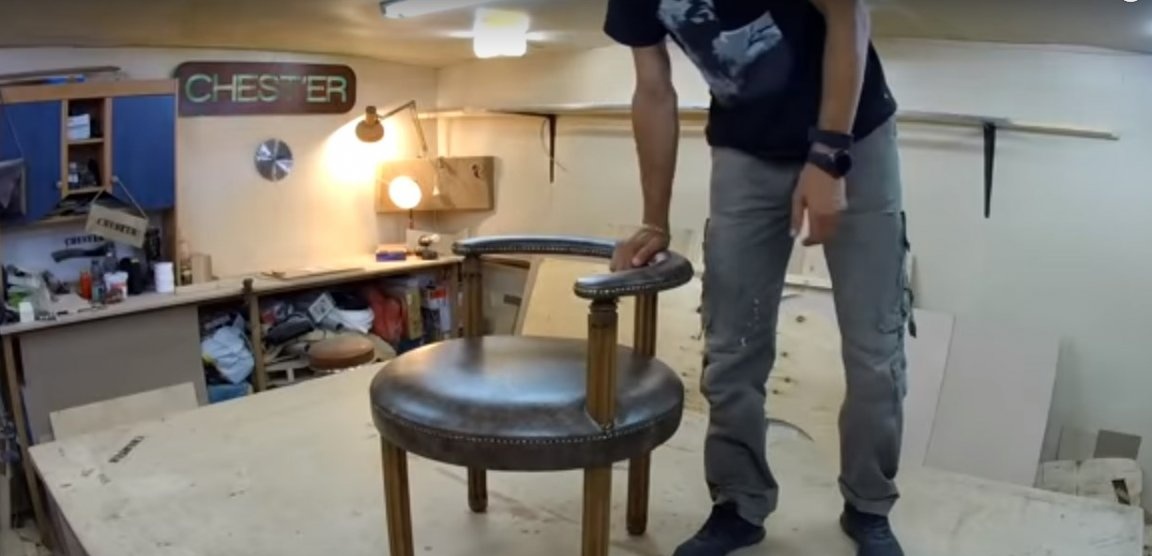
Sometimes furniture Looks like a real work of art. Moreover, it can be made by one single person in the garage using household power tools. People often avoid furniture with upholstery, but in this master class the author shows in detail the entire process of making a leather chair from beginning to end.
He uses ready-made wooden legs, which can be purchased at most online furniture hardware stores. Durable leatherette or genuine leather is suitable as upholstery. With the frame, everything is simpler - it is made of plywood and scraps of wooden block.
At first glance, the project seems quite complicated, but even a beginner can cope with the task with a great desire. For work you will need:
Materials:
- plywood 5-6 mm thick;
- wooden block 40 x 40 mm for the frame;
- furniture belt (textile furniture tape) for hauling the seat;
- finished wooden or metal legs;
- tinted furniture wax or oil stain;
- silicone furniture edging;
- furniture metal molding;
- furniture foam 50 mm thick;
- thin foam rubber 5 mm;
- leatherette or genuine leather;
- burlap for processing the back of the seat;
- furniture glue;
- screws and nails, staples for a pneumatic stapler.
Instruments:
- jigsaw;
- electric drill;
- a milling machine or a stationary milling machine;
- screwdriver;
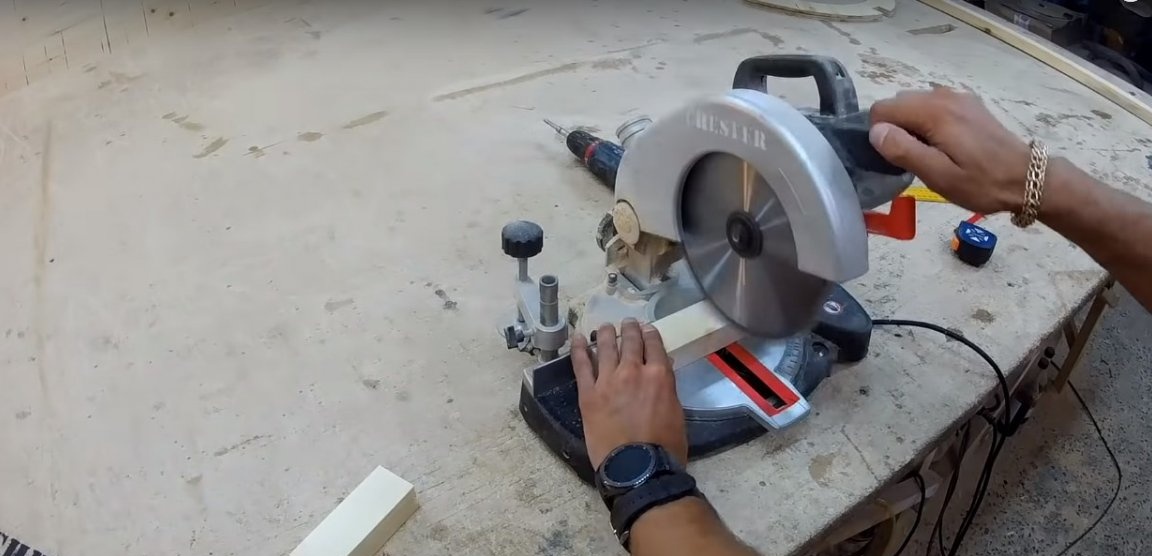
- Miter saw;
- pneumatic furniture stapler;
- hammer, rubber mallet;
- rasp;
- fine grain sand paper;
- foam and mittens for tinting wooden legs;
- a sharp knife for cutting foam rubber and leather;
- roller or high-quality stationery knife for cutting leather;
- spray gun for glue;
- homemade compasses;
- scissors;
- ruler, square, construction tape;
- marker.
Manufacturing process:
Step One: Fabrication of Seat Frame Parts
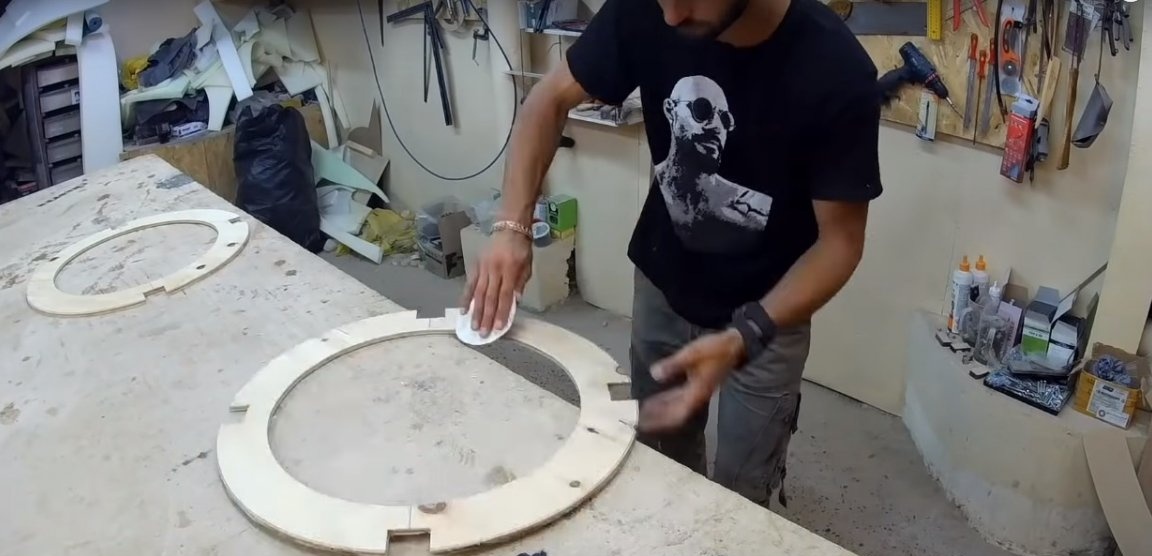
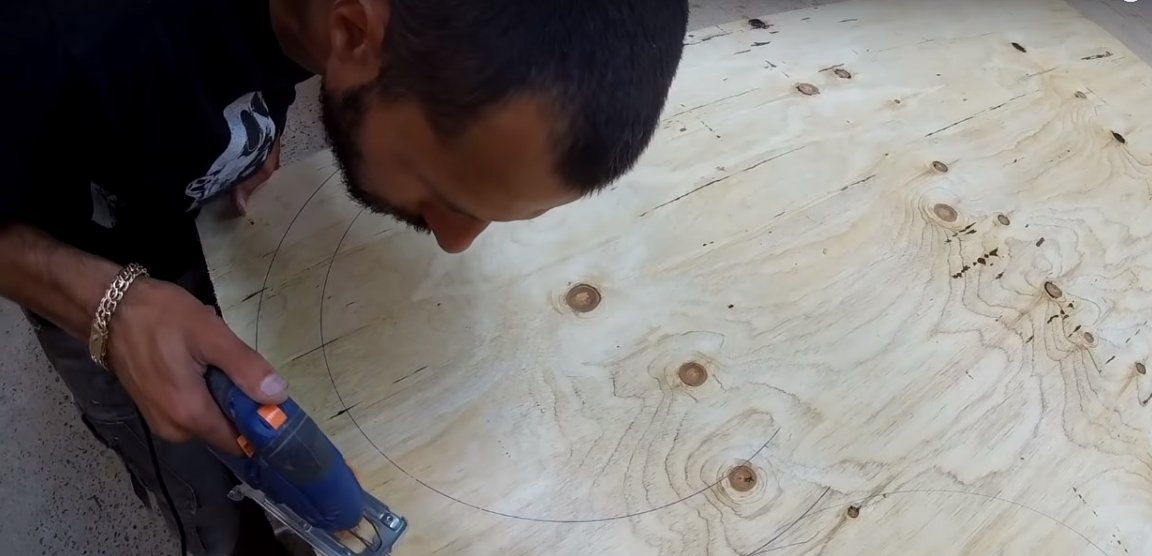
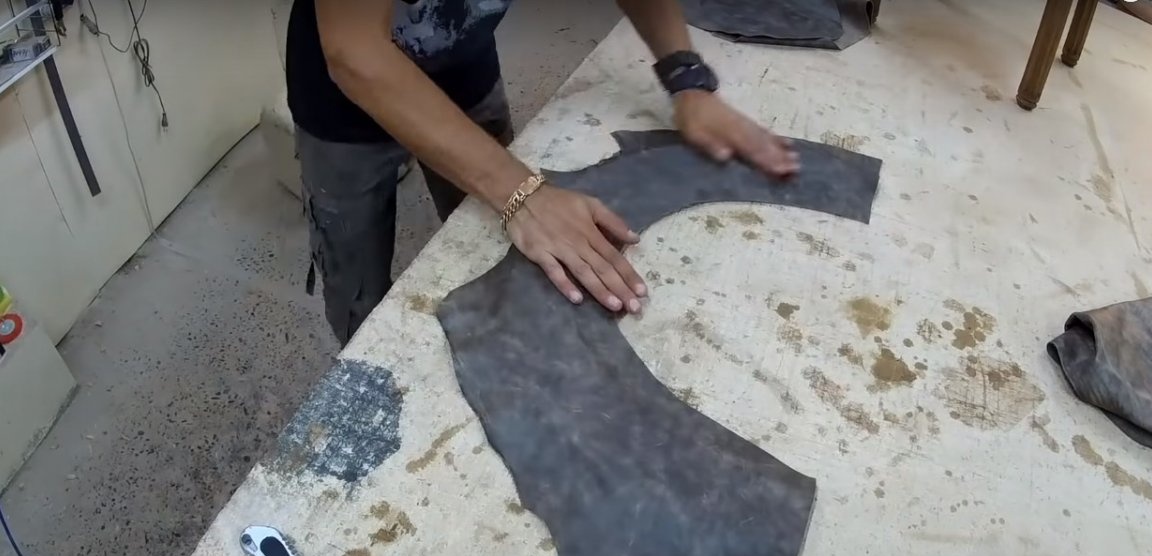
To make a chair seat, the author uses plywood. The frame consists of two flat plywood parts that are attached to each other by pieces of a wooden bar.
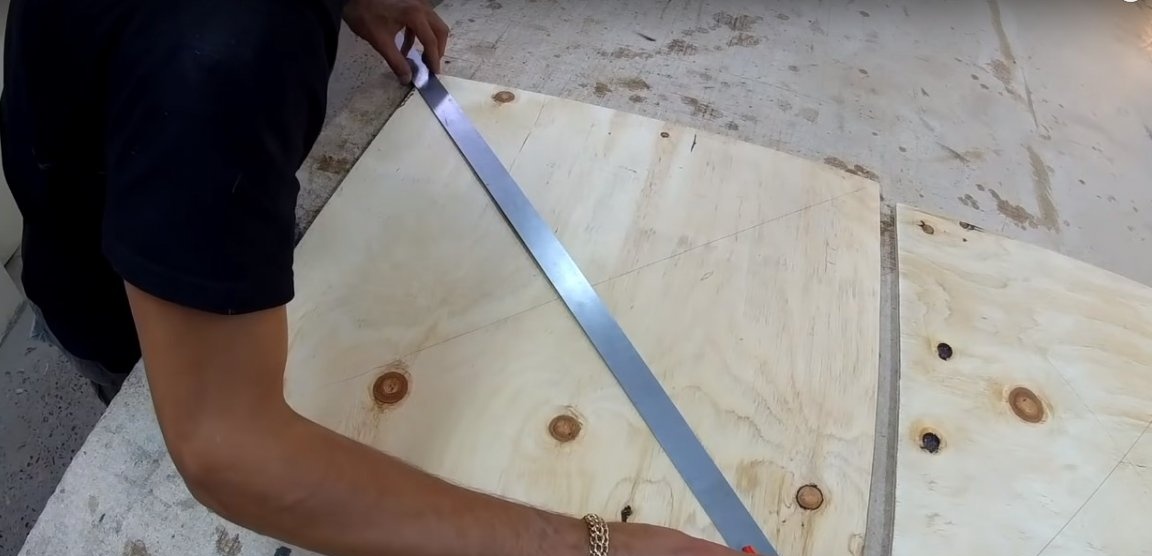
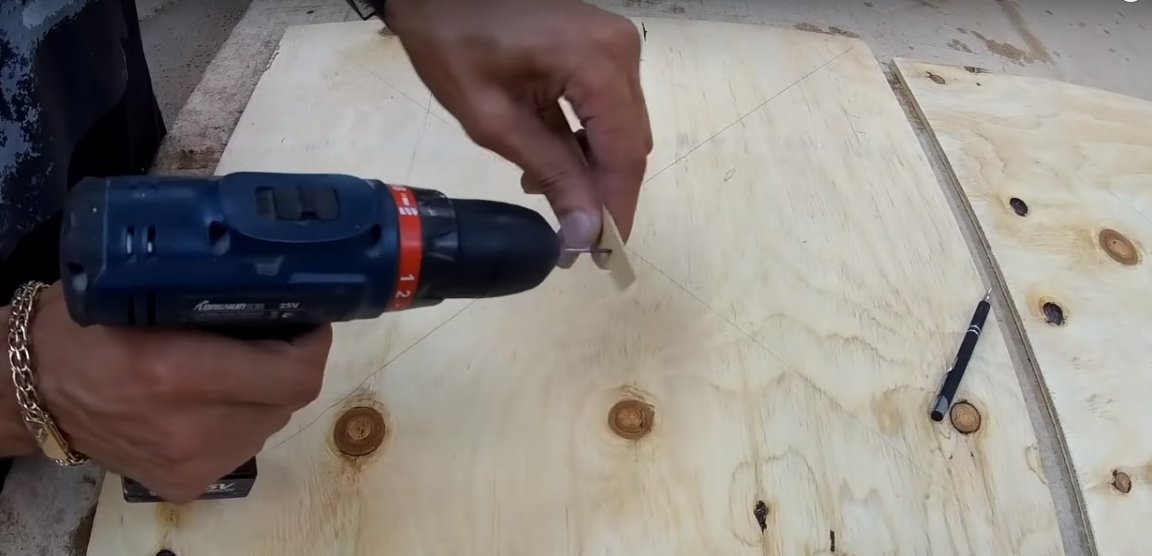
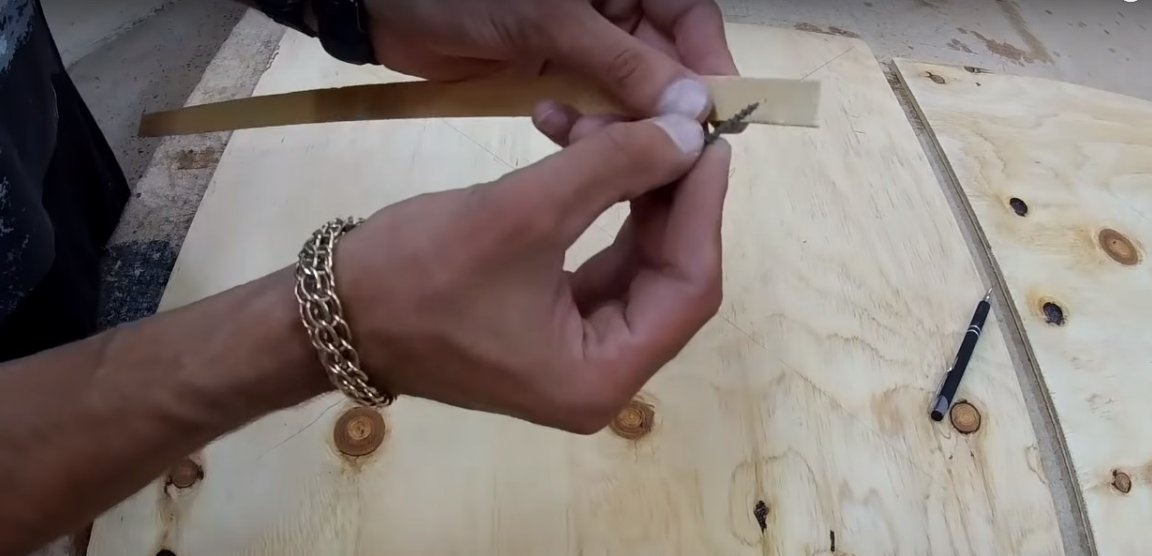
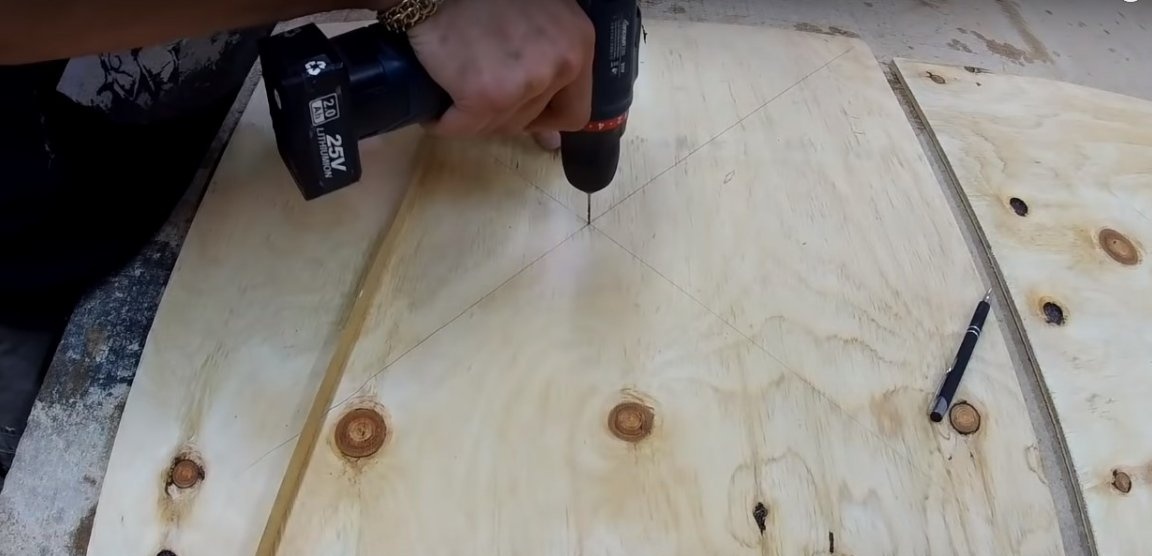
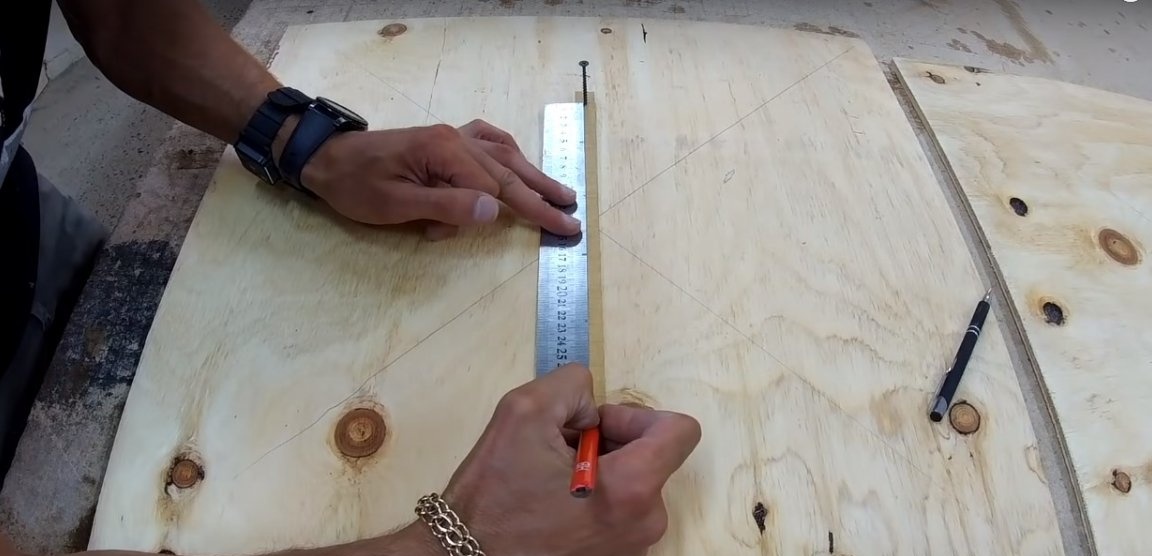
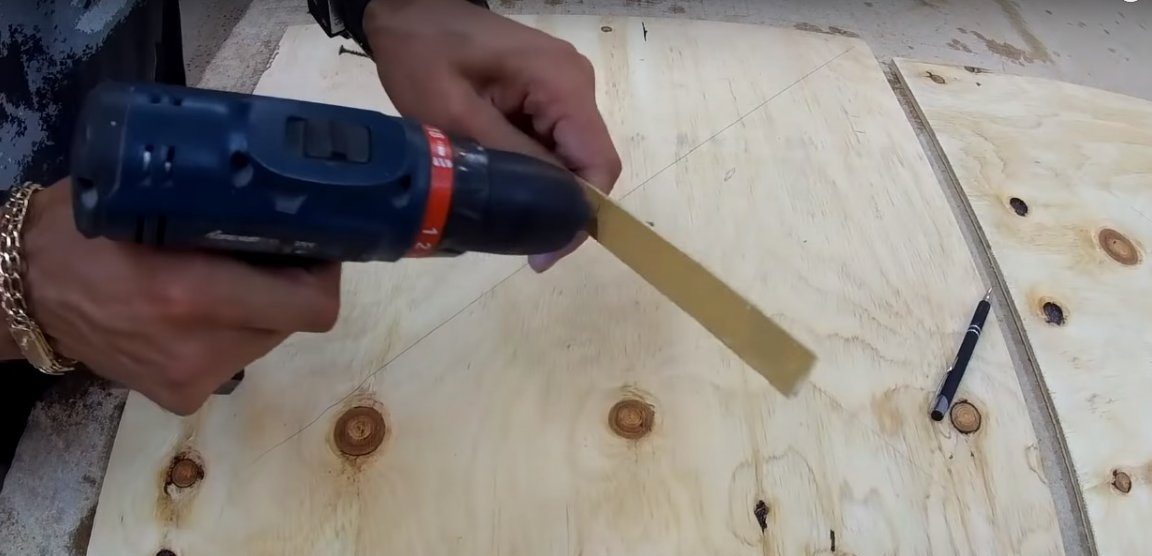
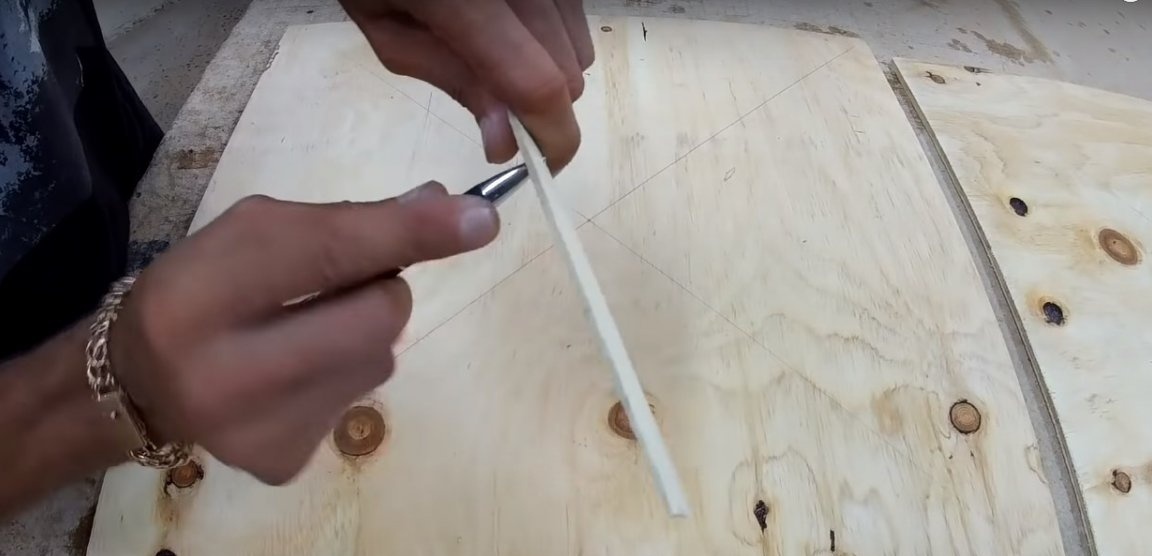
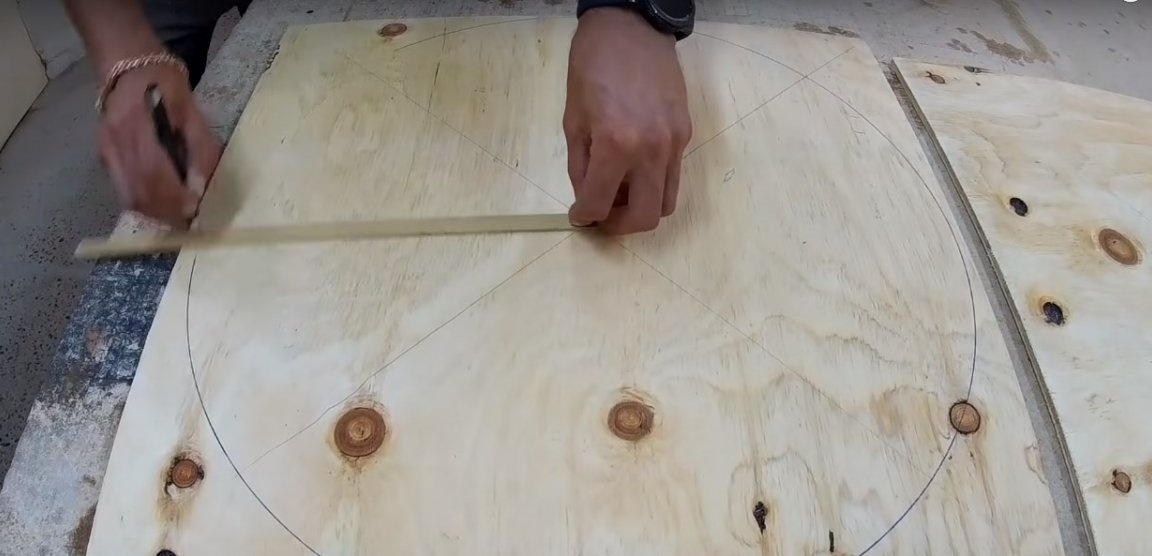
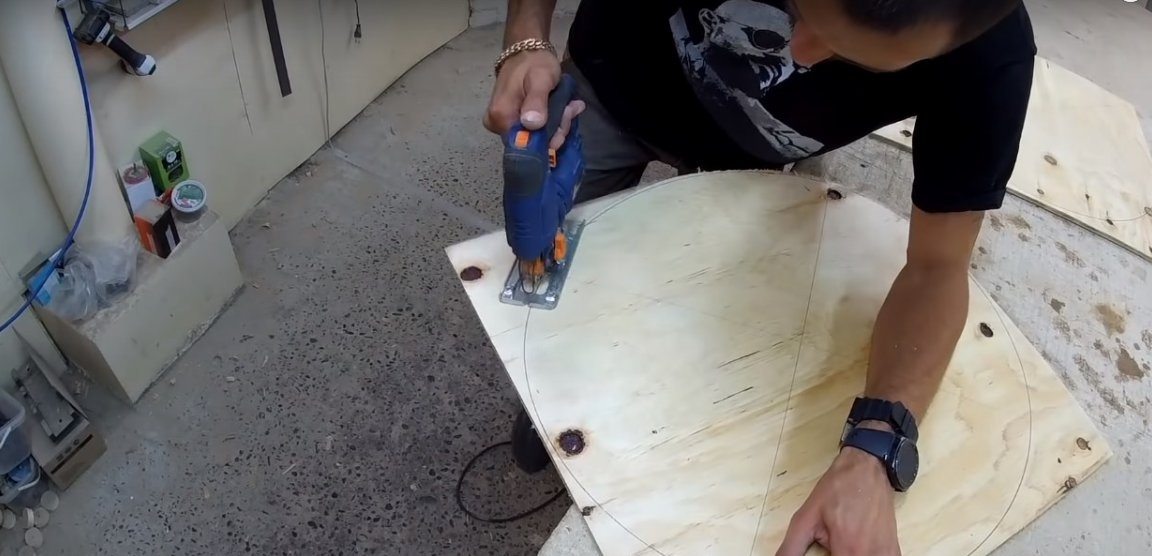
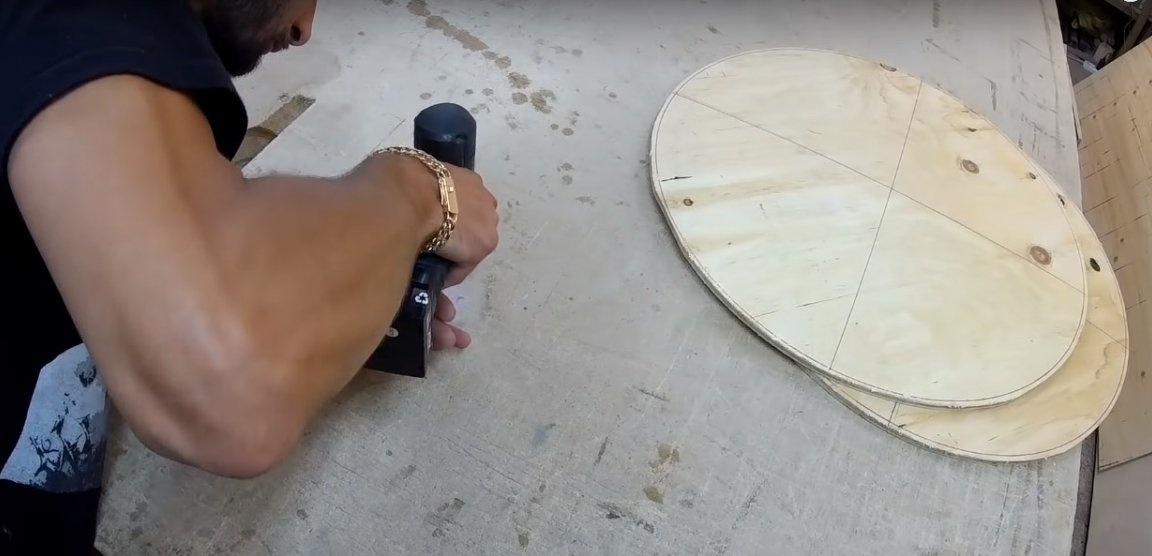
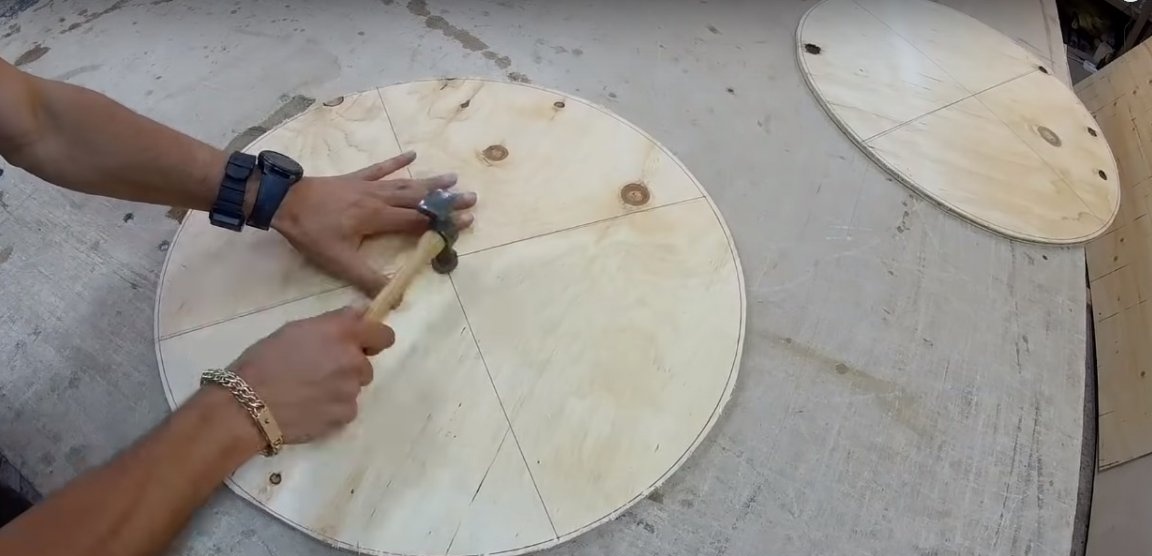
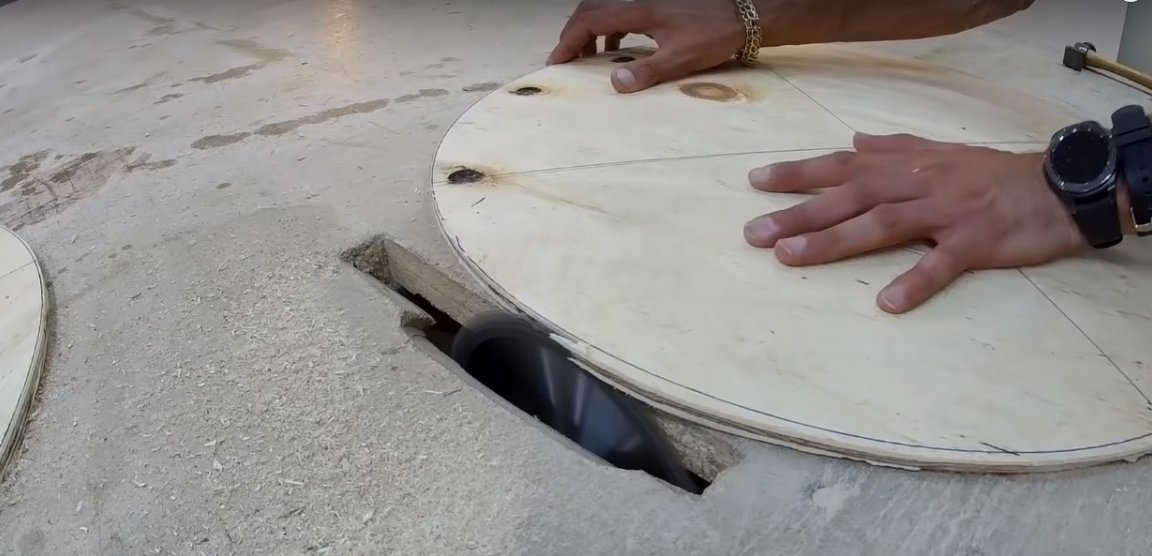
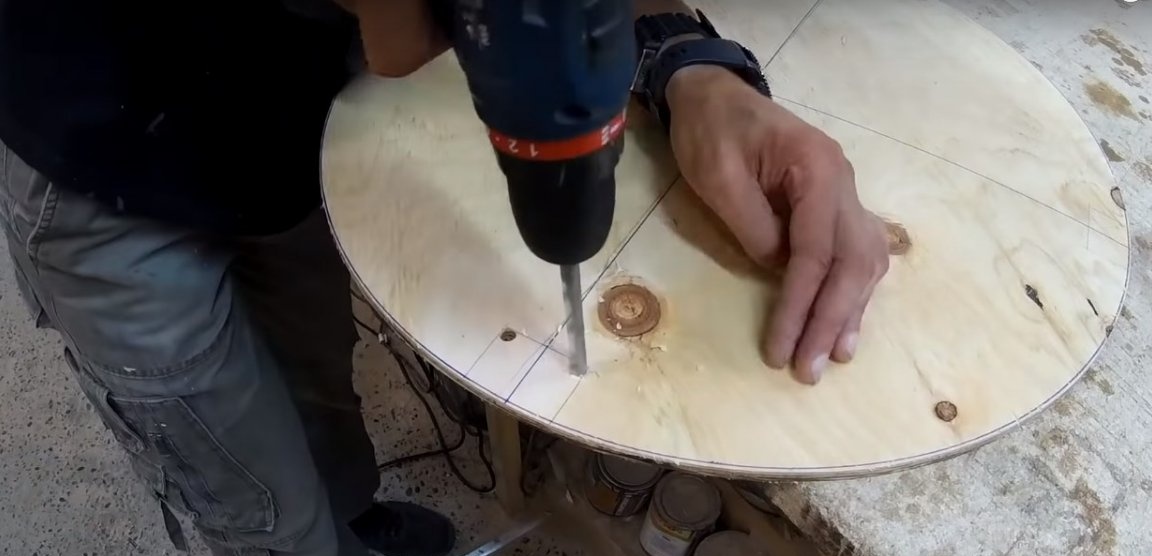
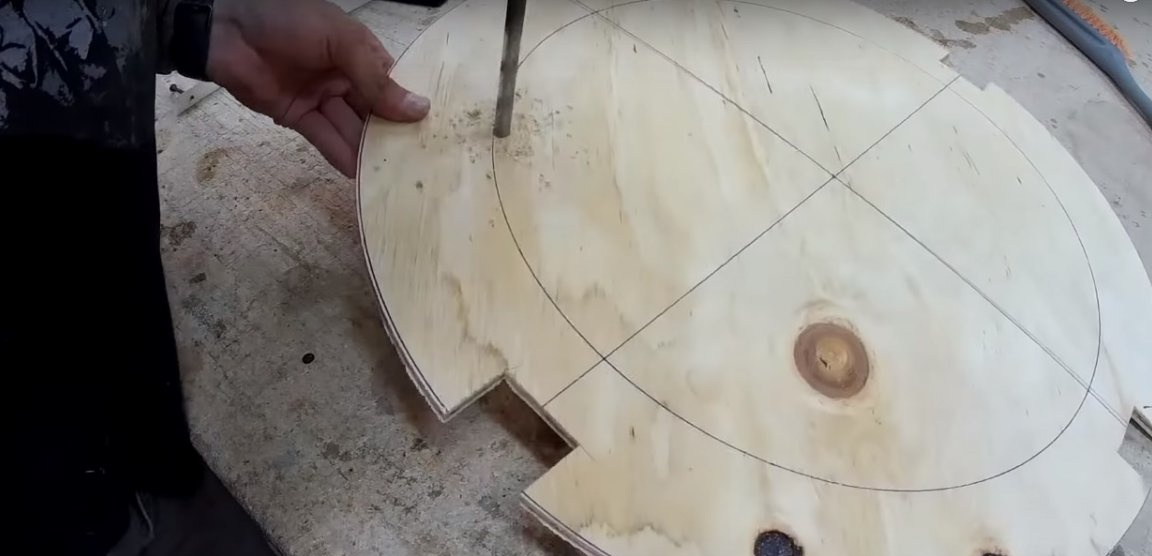
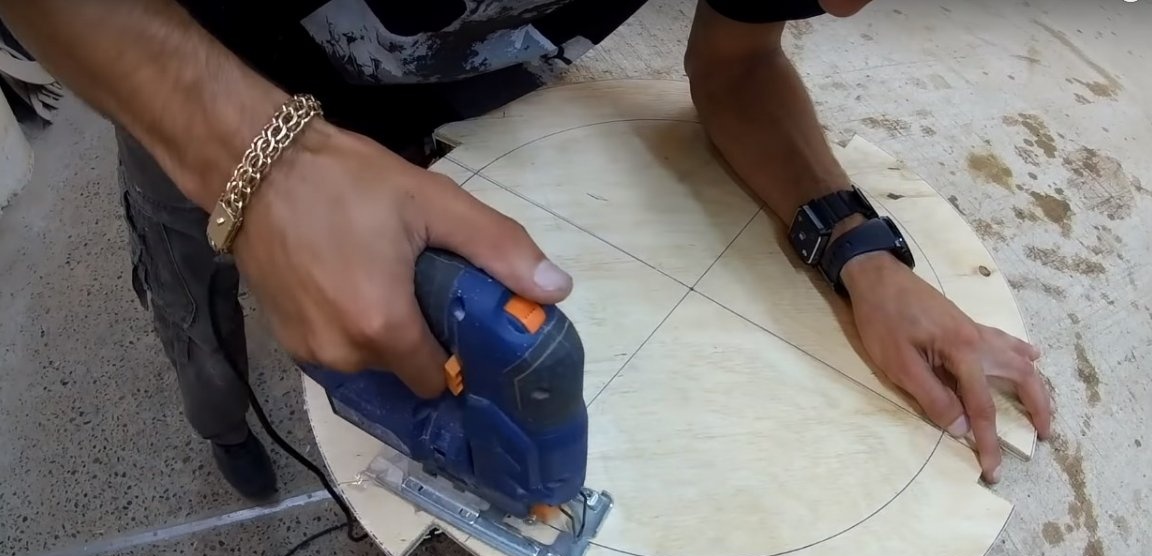
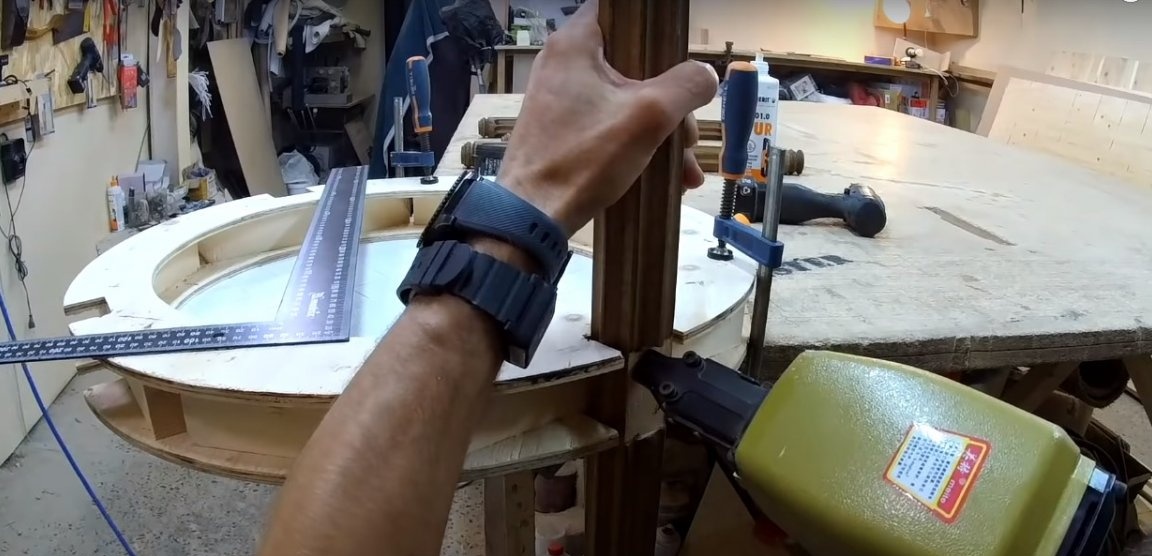
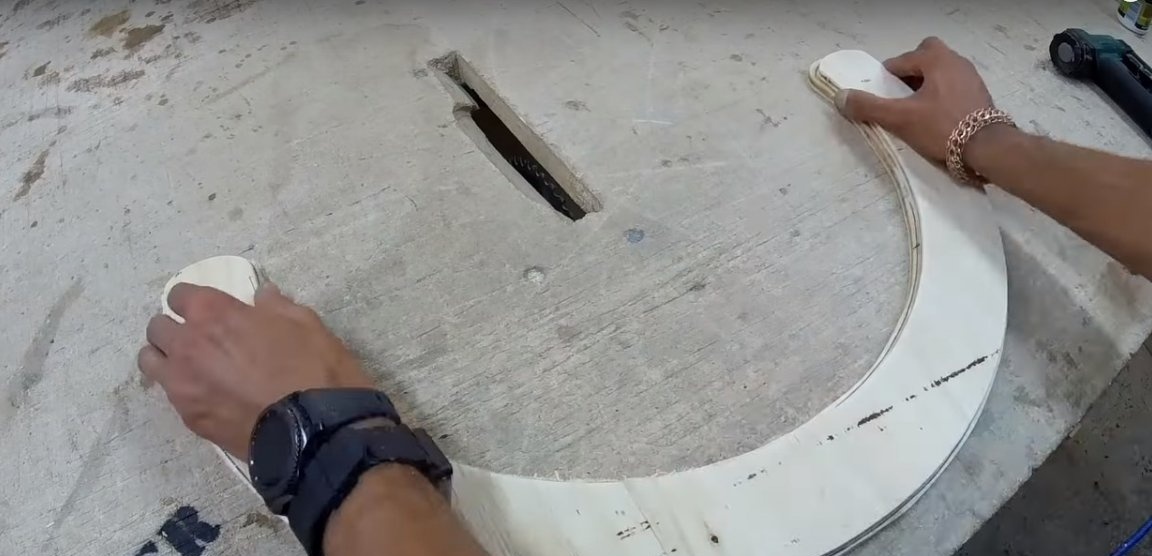
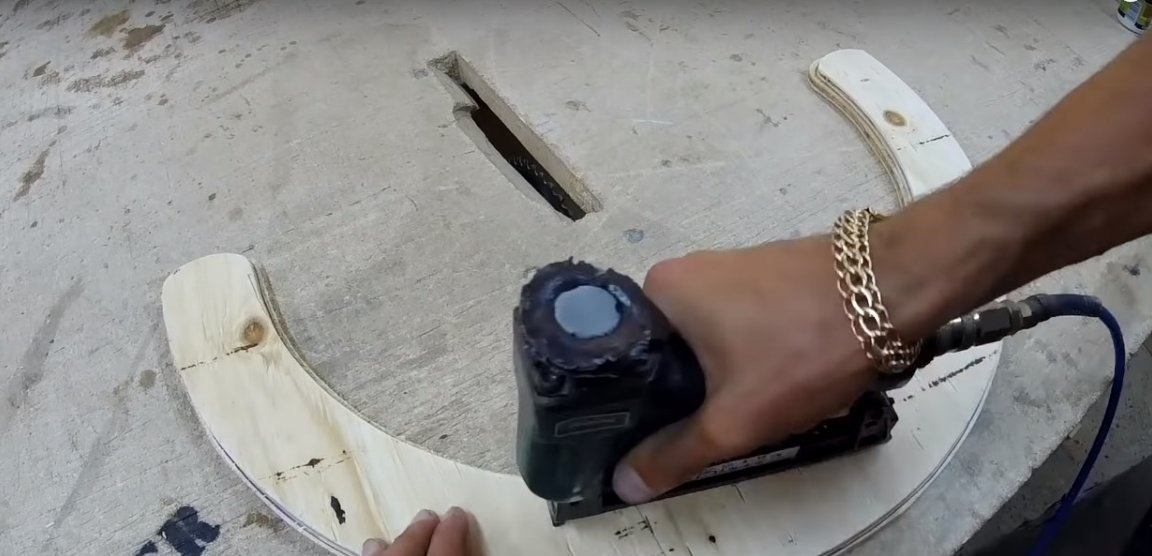
In order to mark out the round base of the seat, the author made a home-made compass for a pen from a wooden plank and a regular self-tapping screw. Circles of plywood are cut with machining allowance on a milling machine. A wood milling cutter allows you to process the edge of the plywood and prepare it for further tightening.For fidelity, all edges should be sanded manually with fine sandpaper.

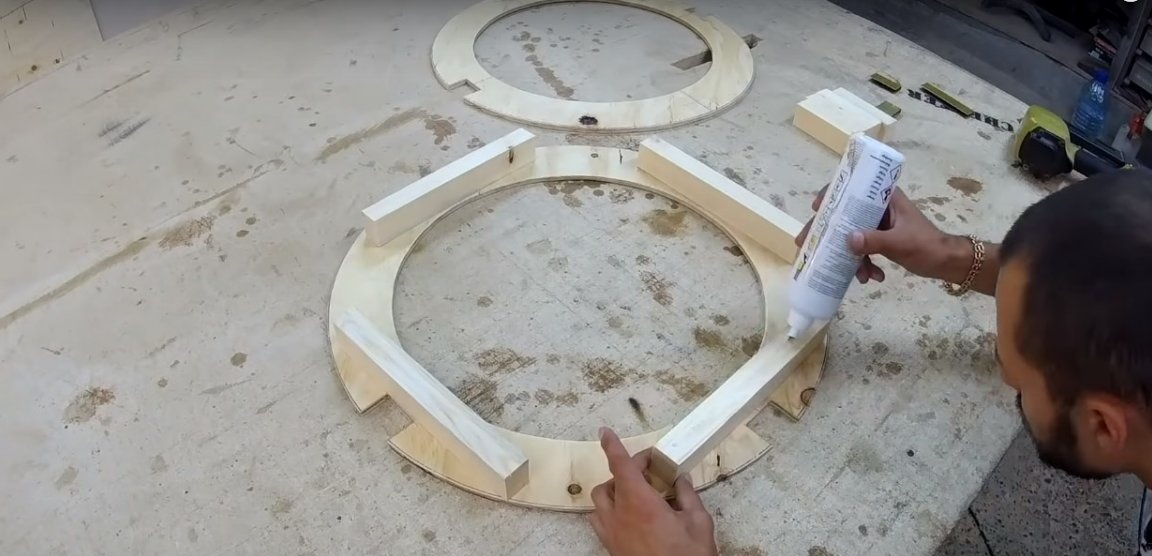
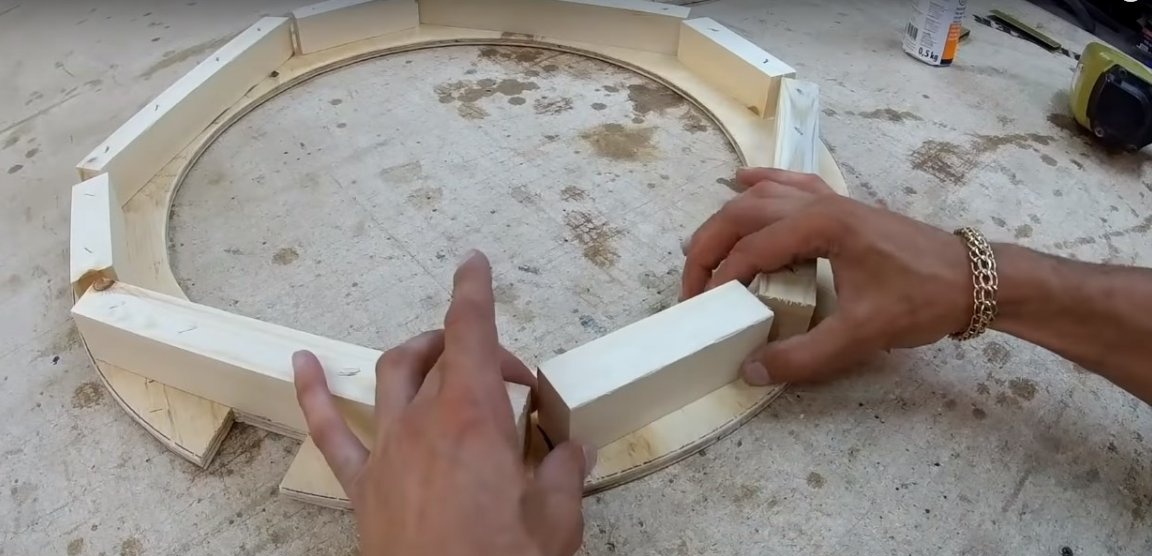
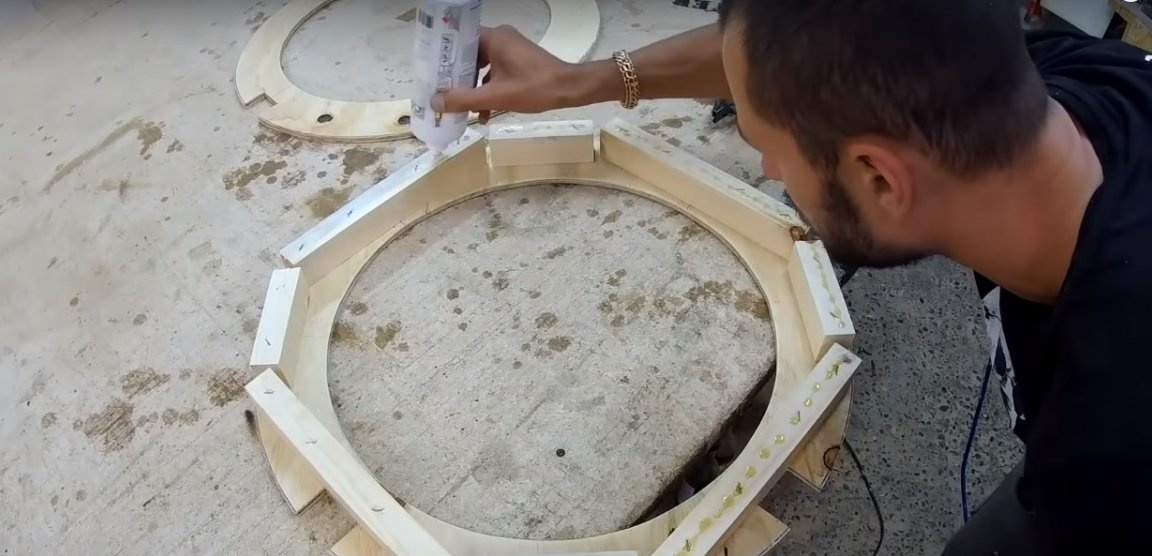
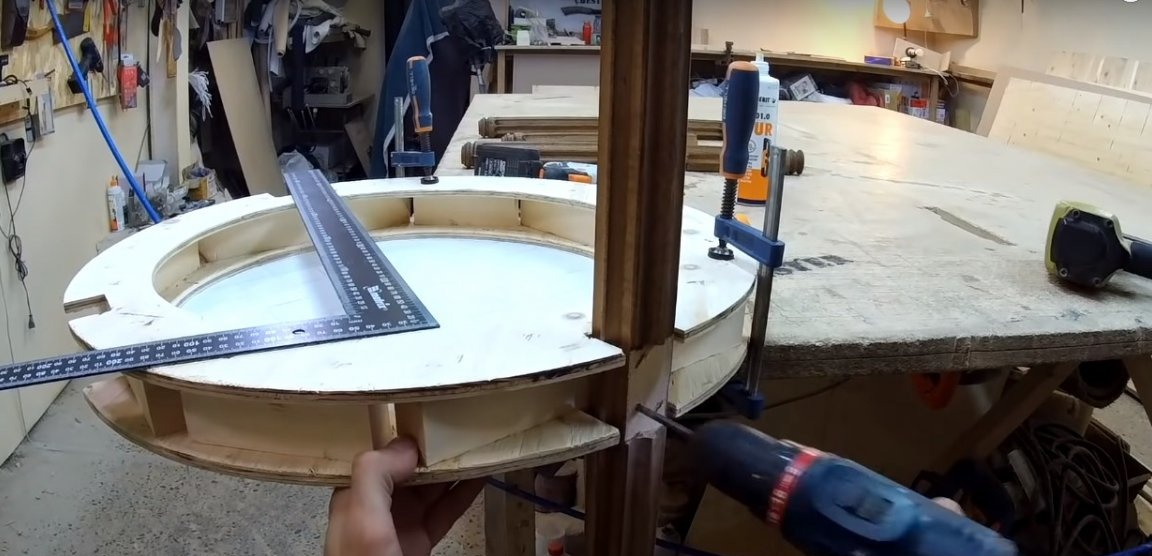
Step two: assembly of the seat frame
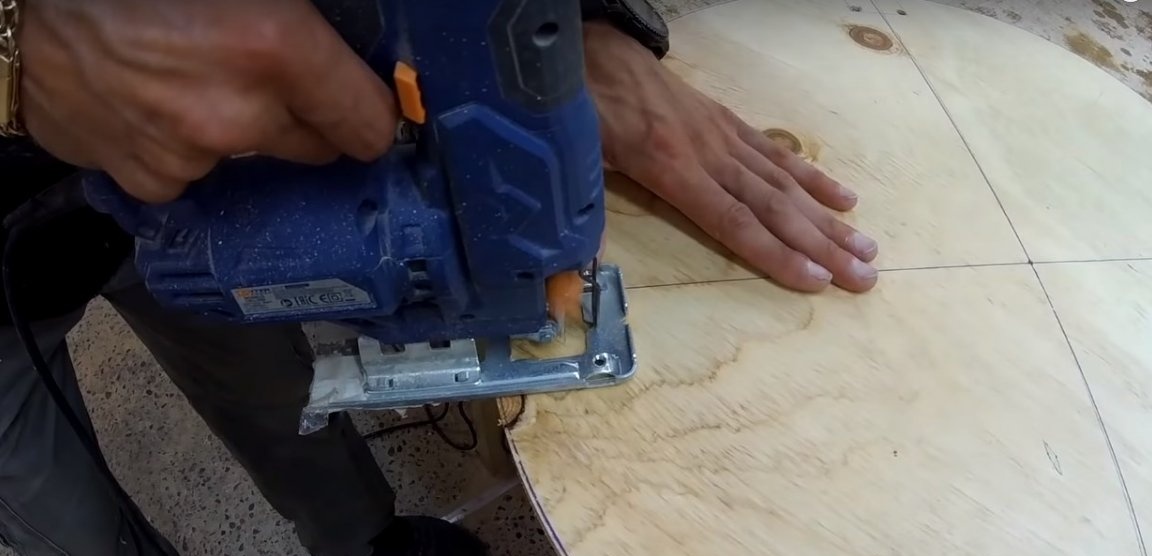
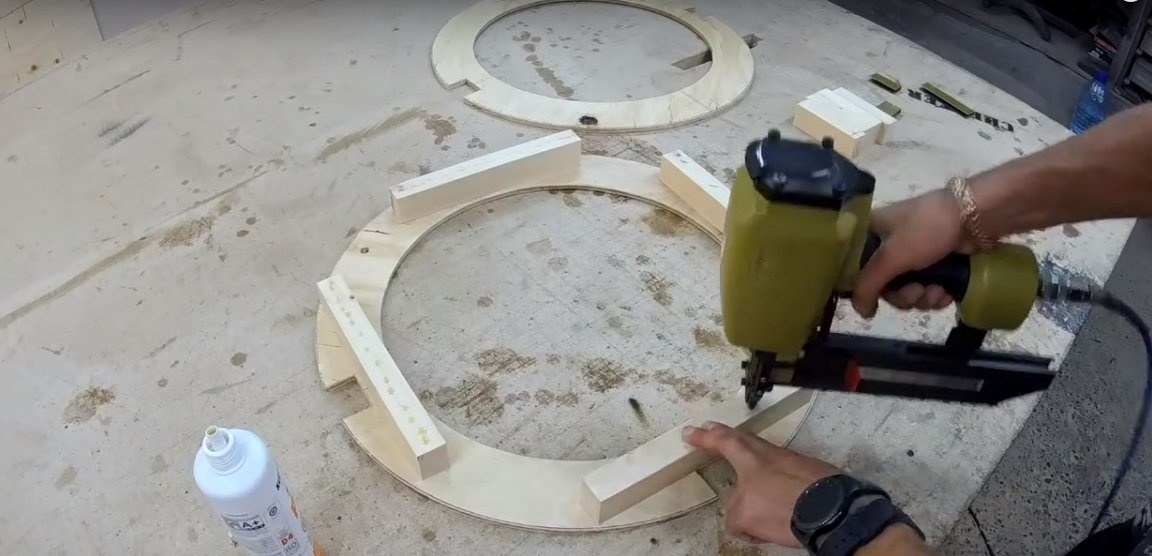
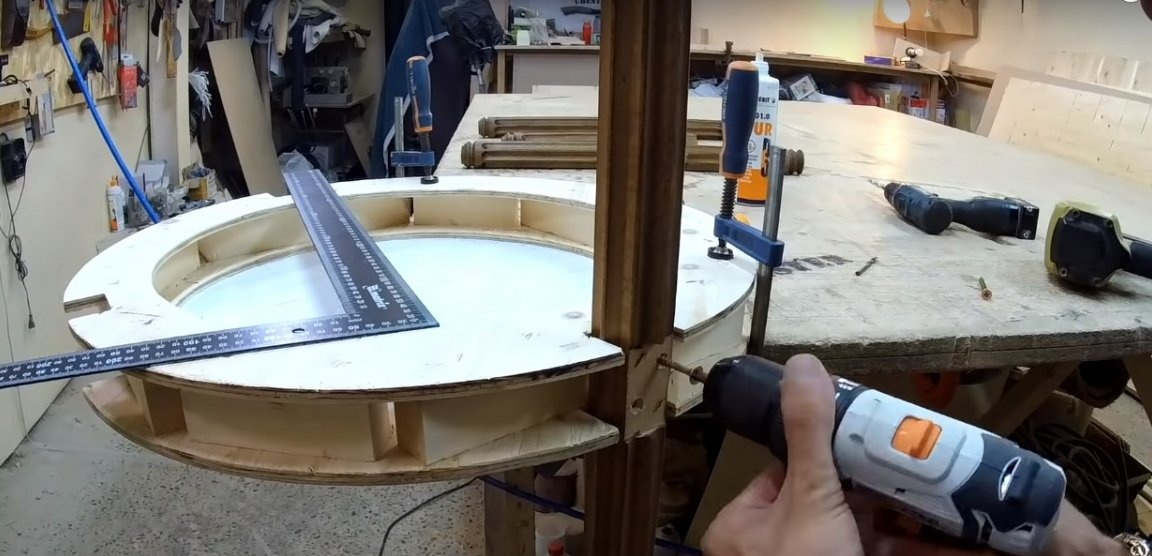
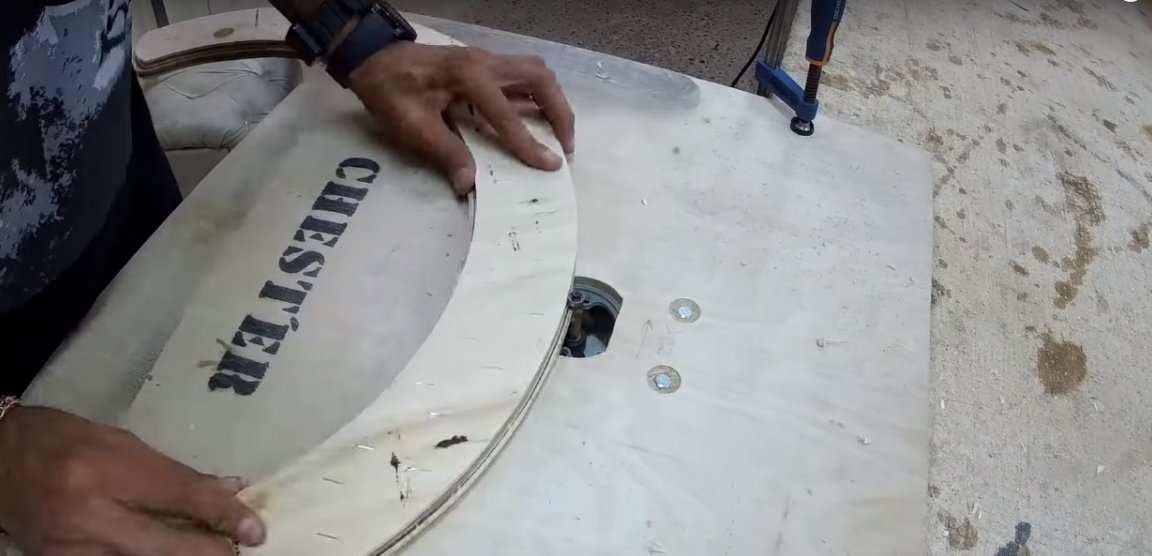
The upper part of the frame has 3 grooves for the legs, while the bottom - 4 grooves. The grooves are cut with a jigsaw and machined with a rasp. The author connected the workpieces with bars on metal staples using glue. The bars are mounted flush with the base of the grooves, since it is planned to attach wooden legs to them.
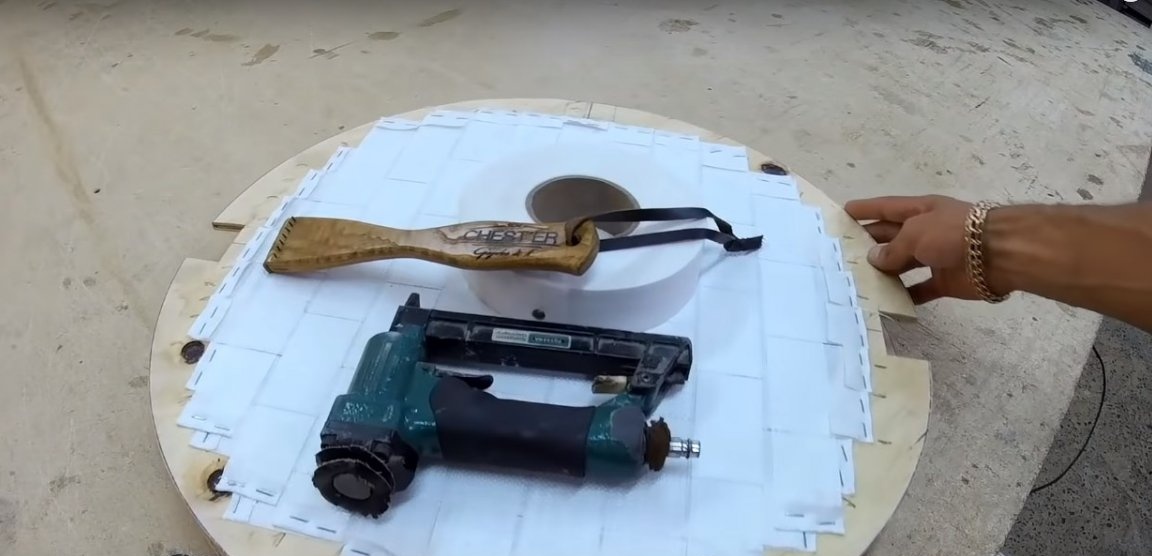
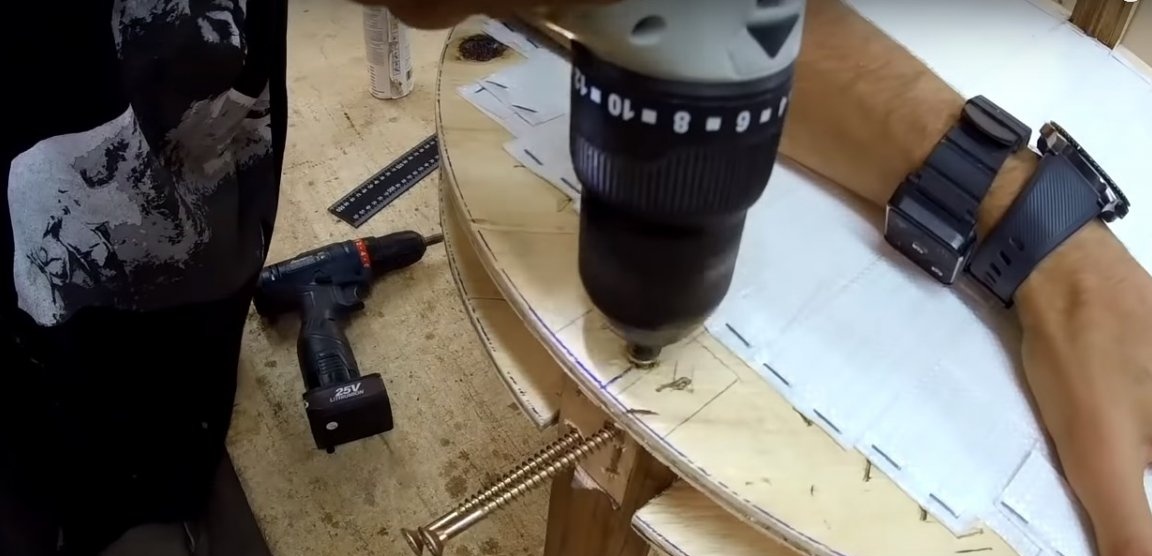
The reason for the foam was textile furniture tape - furniture belt. Thanks to him, the seat will spring slightly, and the foam will last much longer, without requiring an immediate replacement. In addition, the synthetic tape is very durable and does not stretch over time, able to withstand maximum vertical loads. It is attached to the plywood with metal brackets.

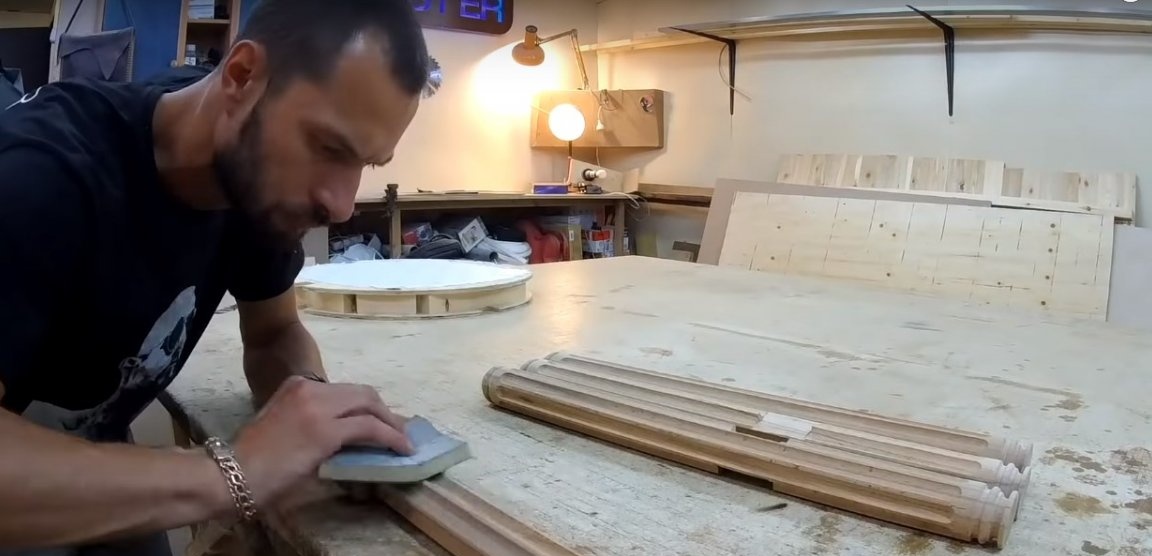
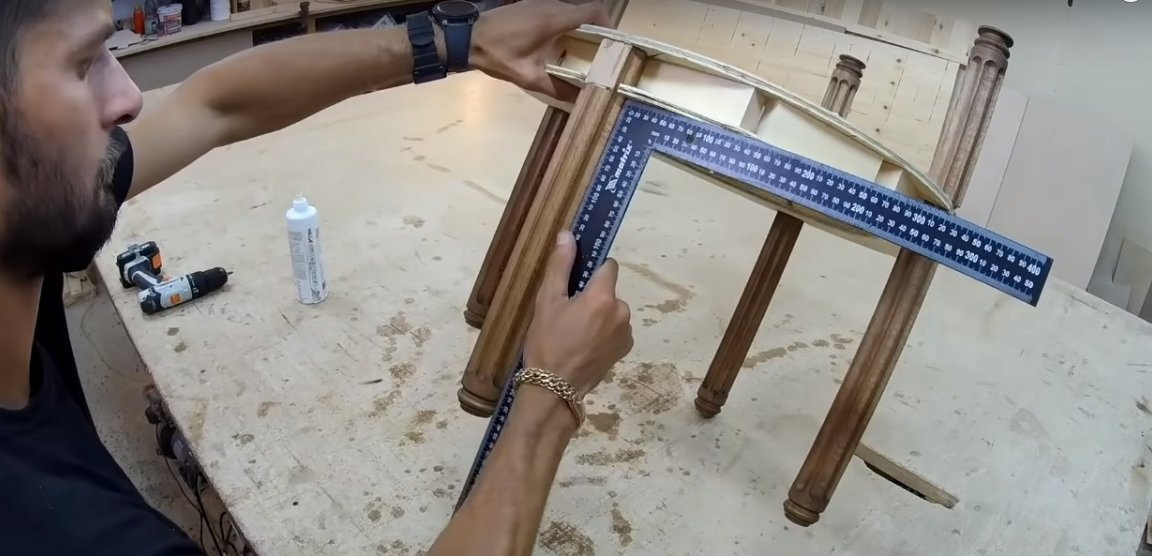
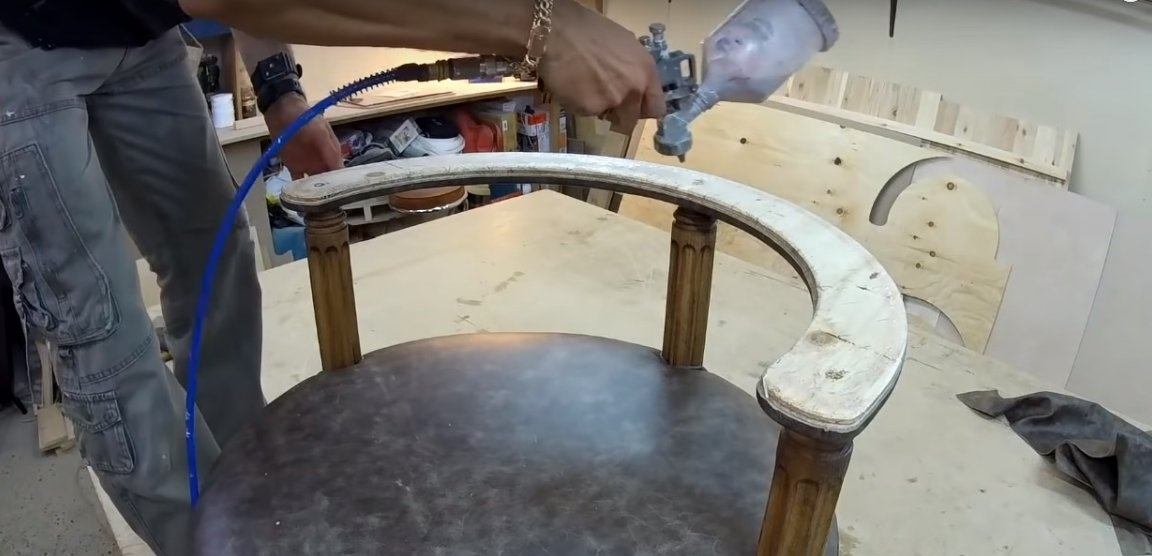
Step Three: Processing and Installing the Feet
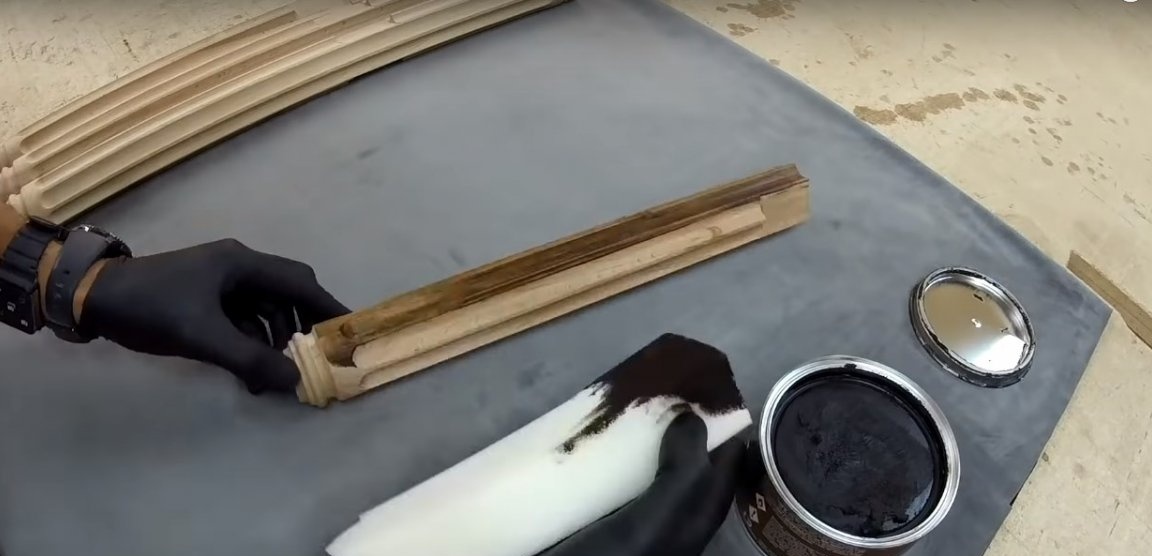
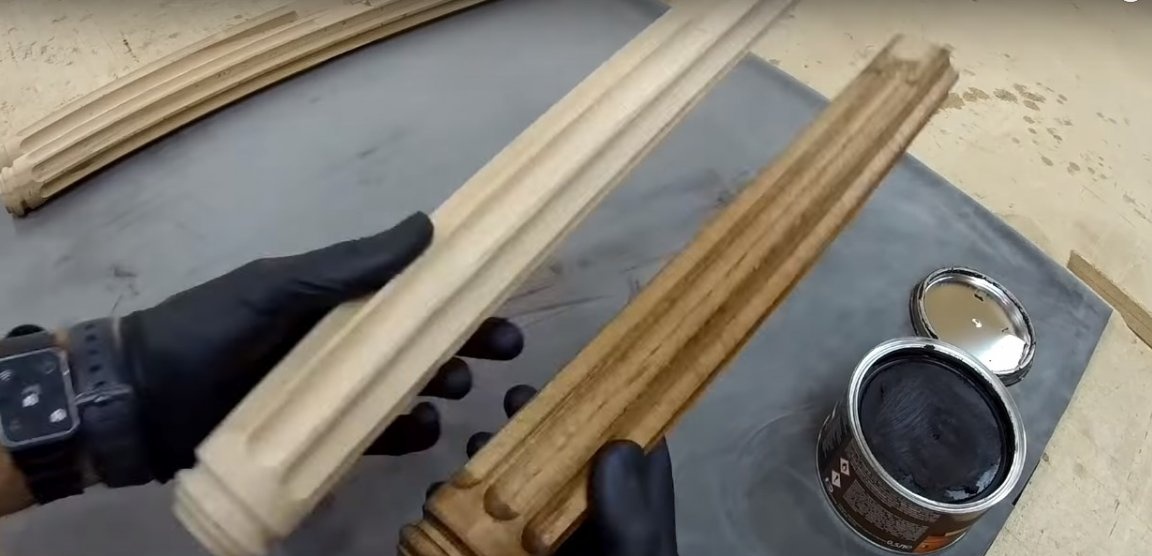
The author uses ready-made wooden legs made on a lathe and decorated with a milling cutter. Often such blanks are not processed in any way and require finishing grinding for painting.
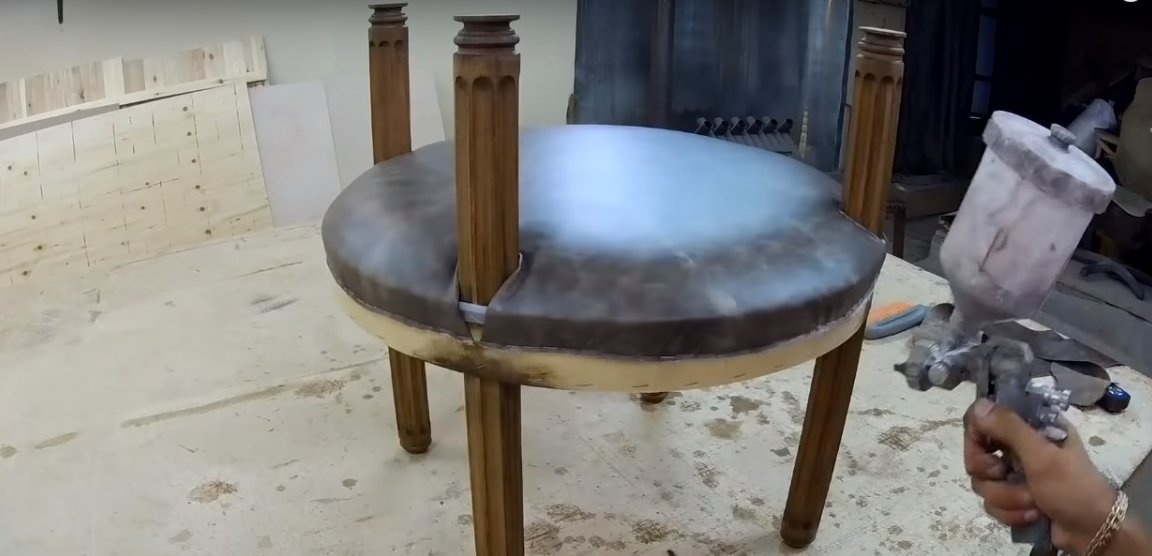
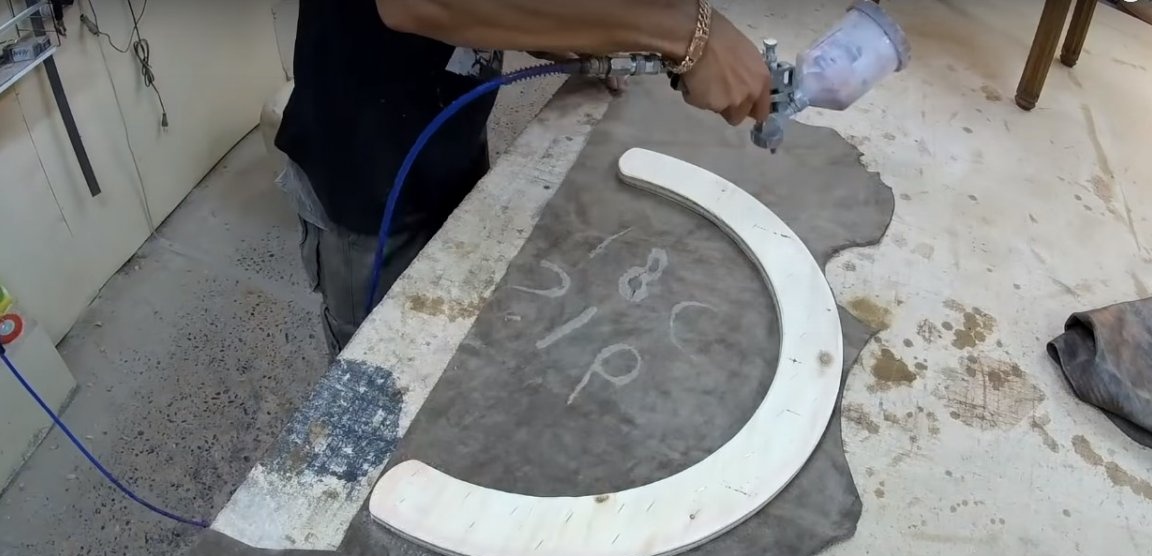
The legs are tinted with furniture wax, which, thanks to a variety of synthetic additives, dries quickly and creates a protective film on the wood surface.
Furniture wax is good because at any time the tree can be freshened with a new layer of wax, and surface preparation is reduced to removing contaminants.
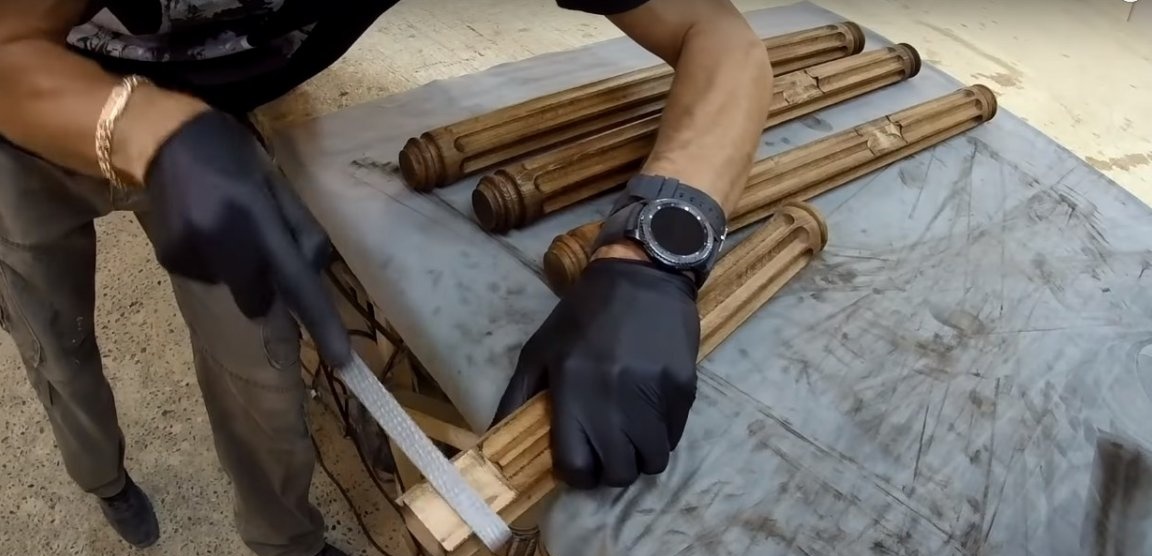
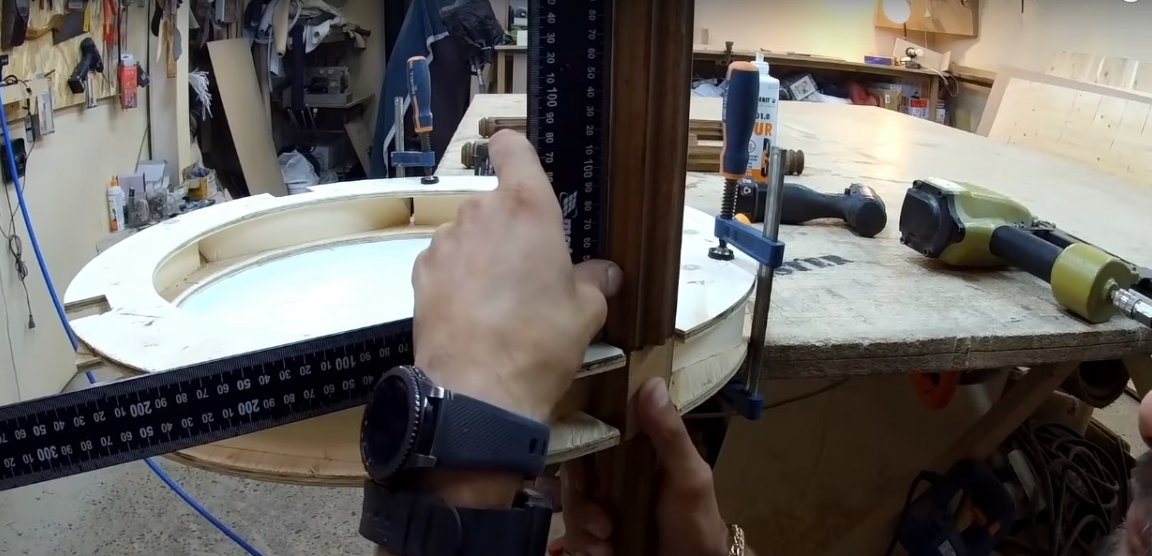
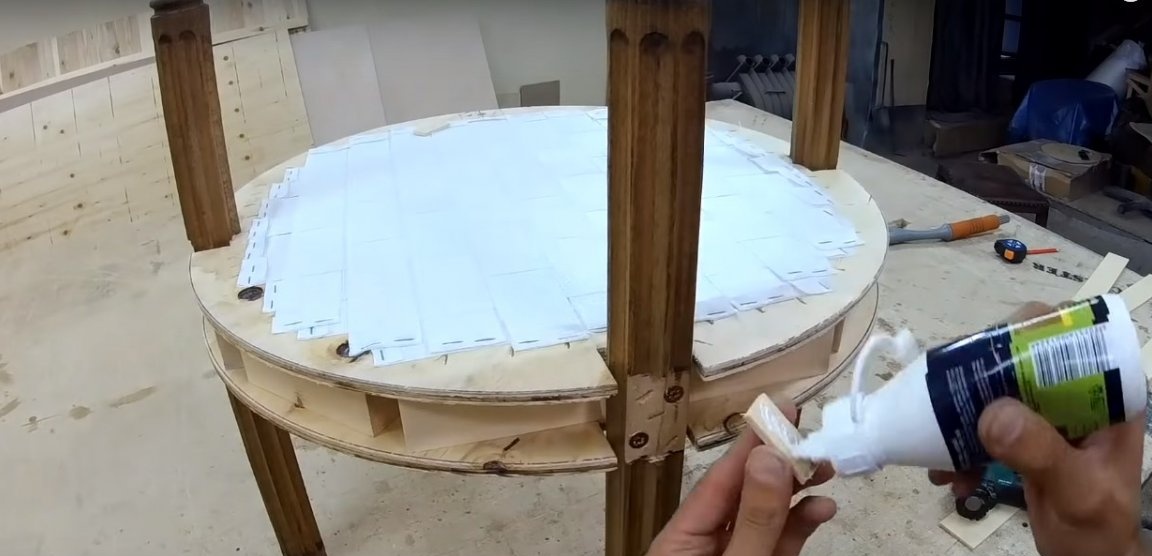
The legs are attached to the seat frame with furniture screws using glue. Under screws, the author pre-drilled holes. In order for the adhesive bond to be strong and reliable, fasteners should be cleaned and wax removed from the surface of the wood.

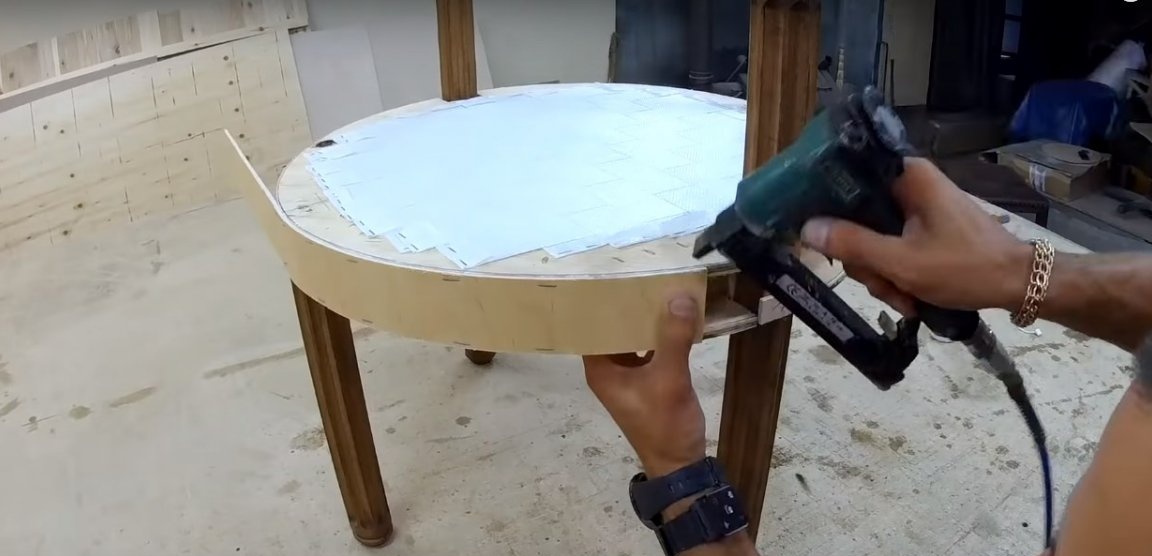
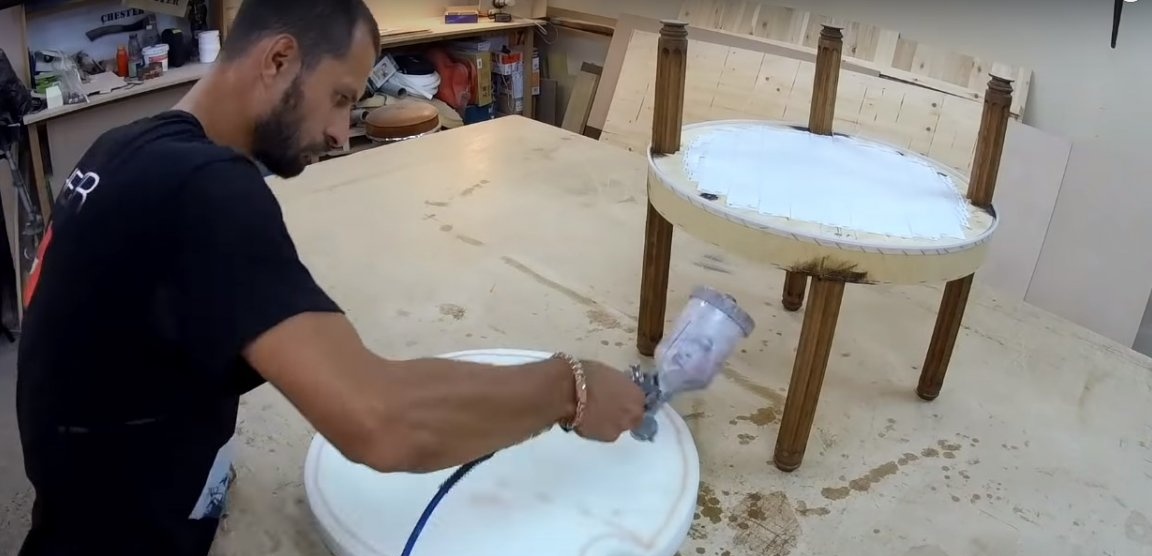
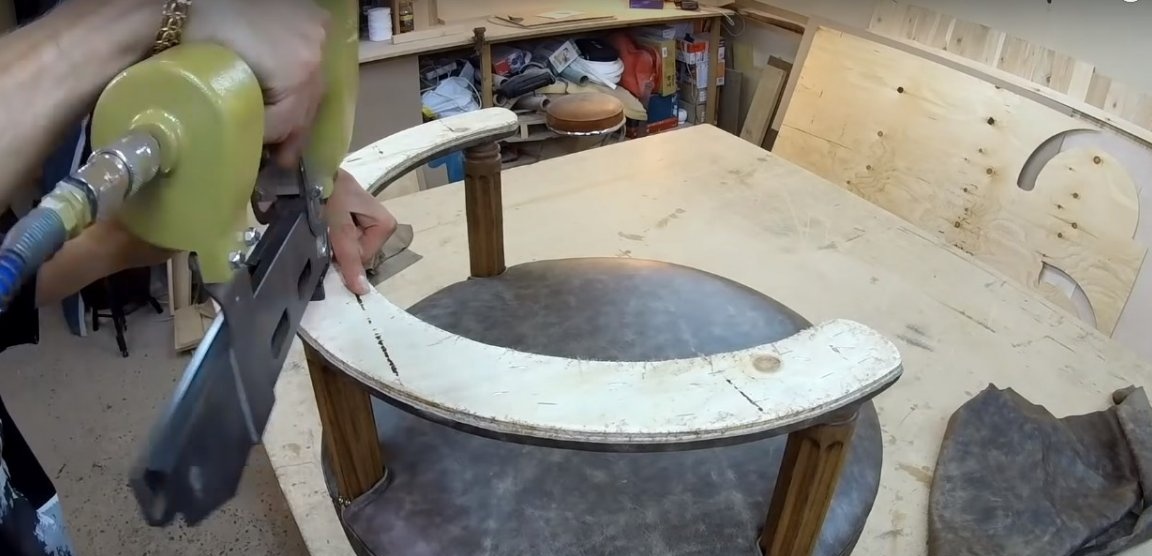
Fourth step: preparing a tight-fitting seat
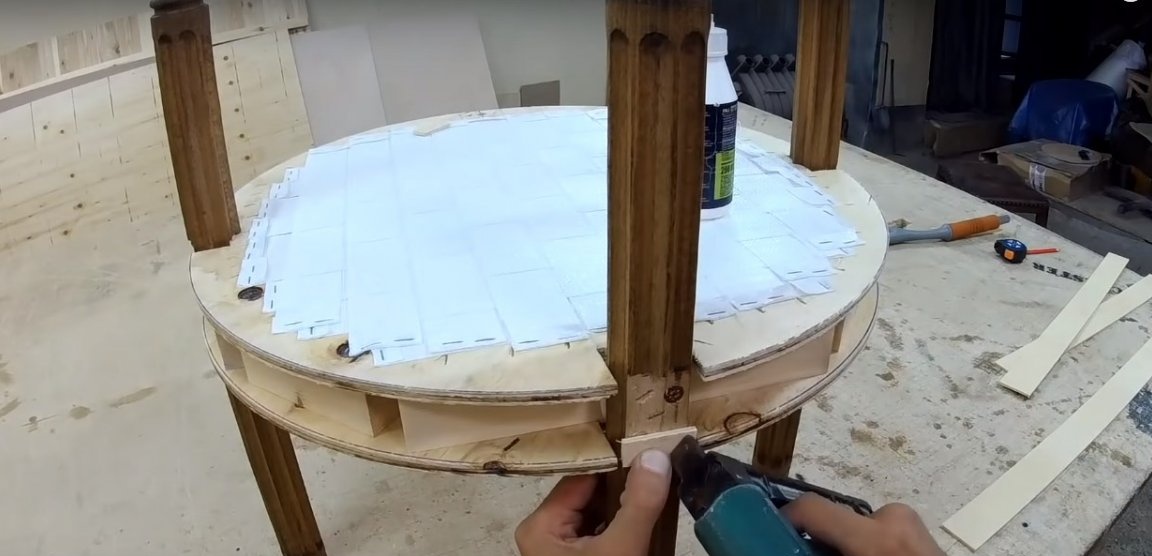
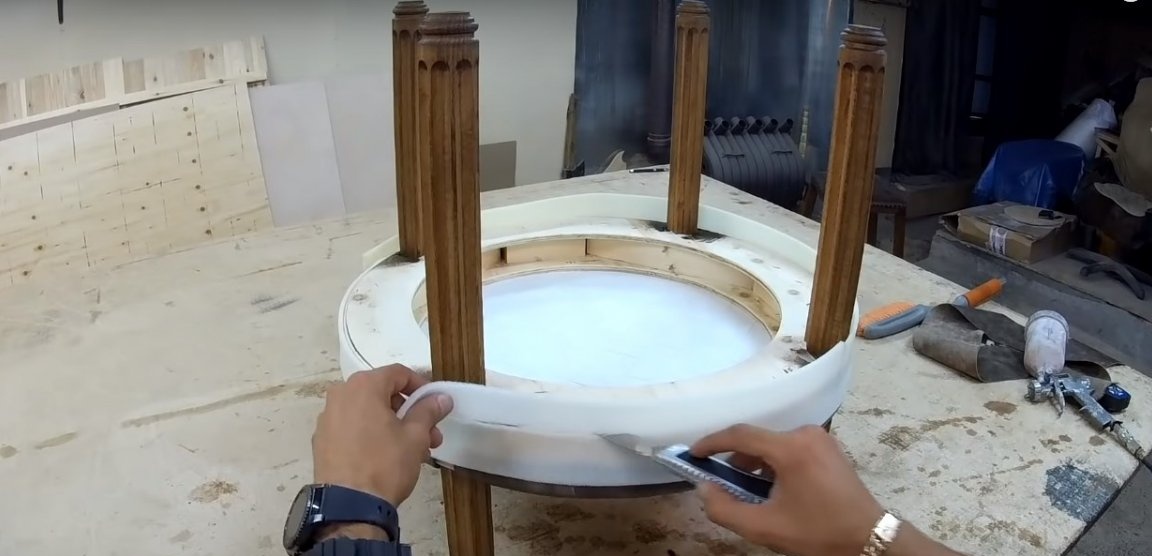
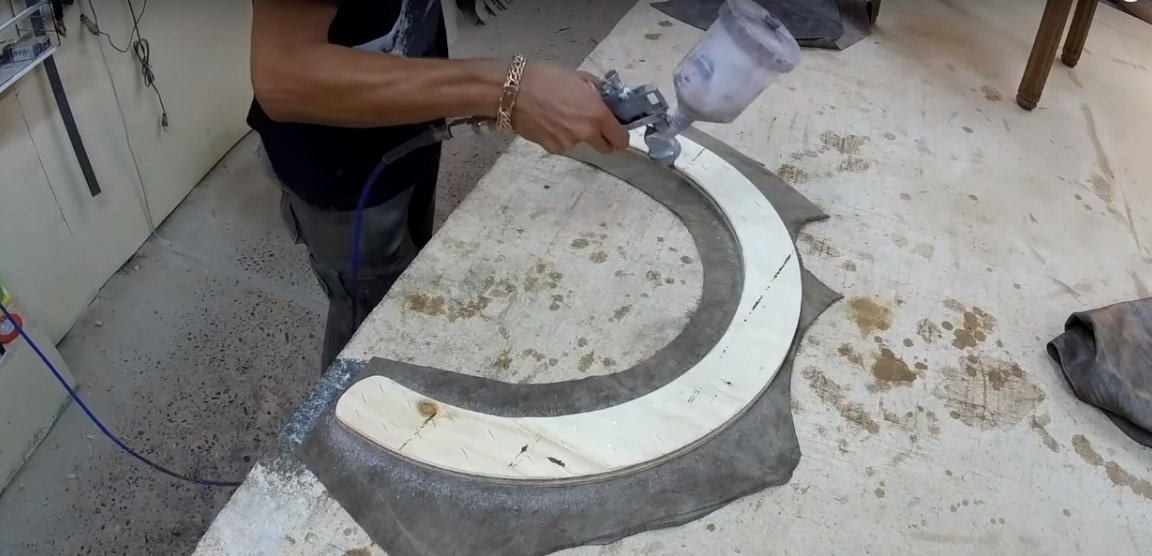
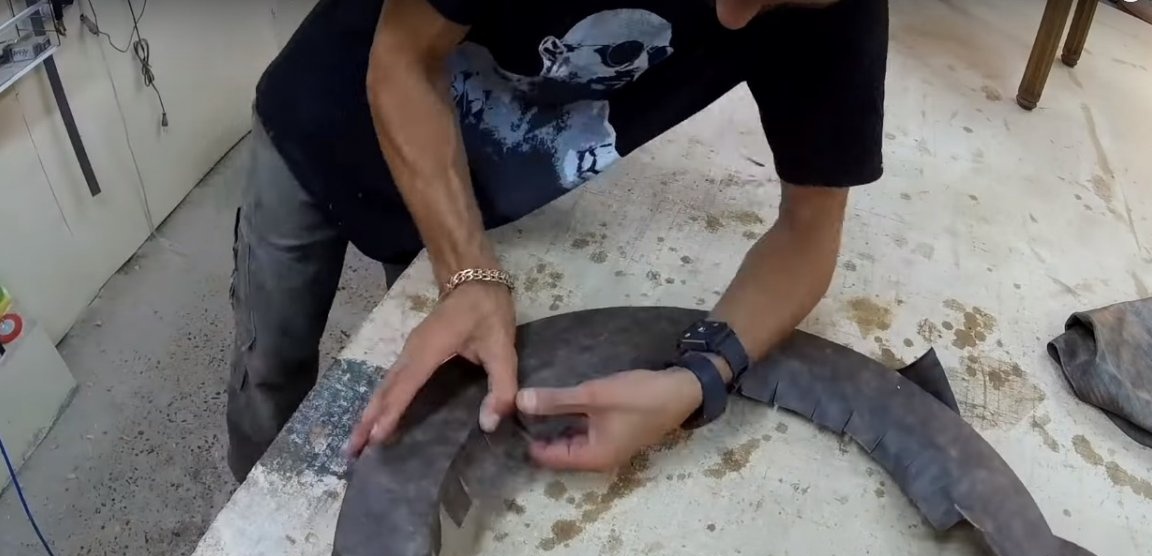
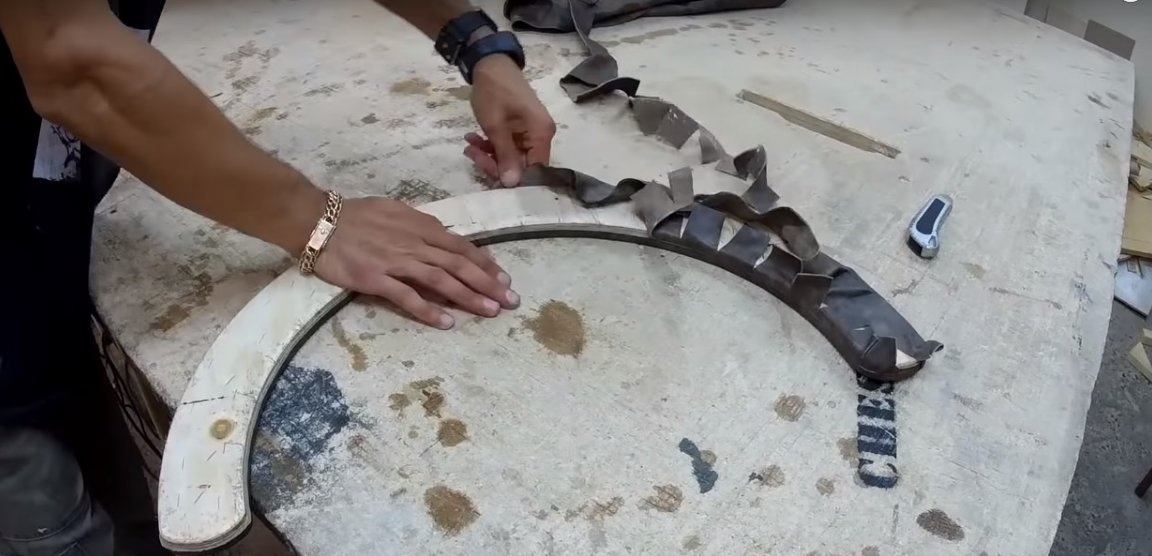
The author sewed up the contour of the seat with a strip of plywood. To do this, you need plywood with a thickness of not more than 5 mm. The contour is fixed with staples using glue. A silicone edging is fixed along the edge.
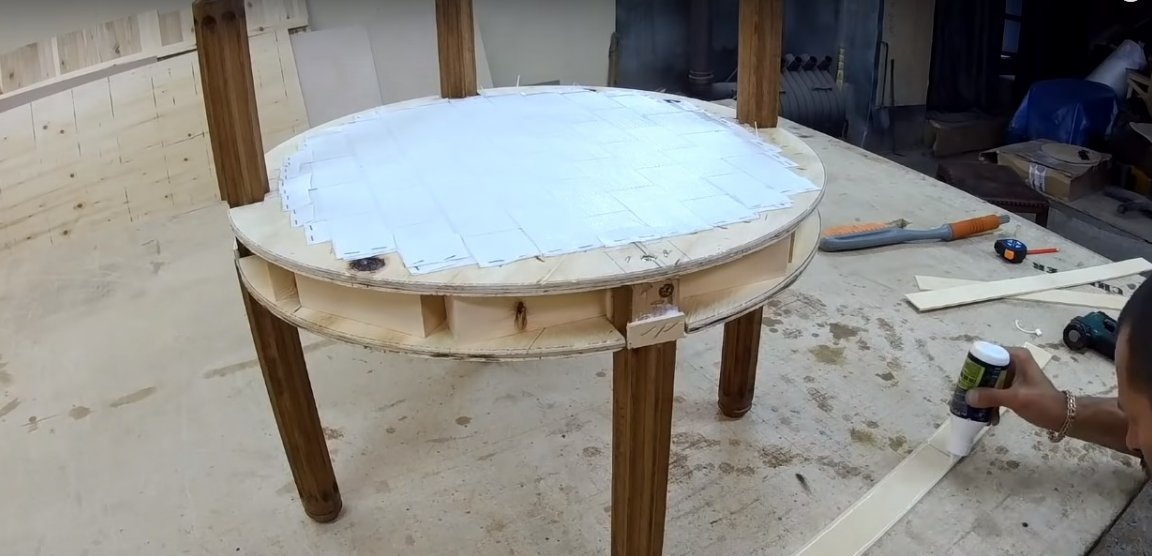
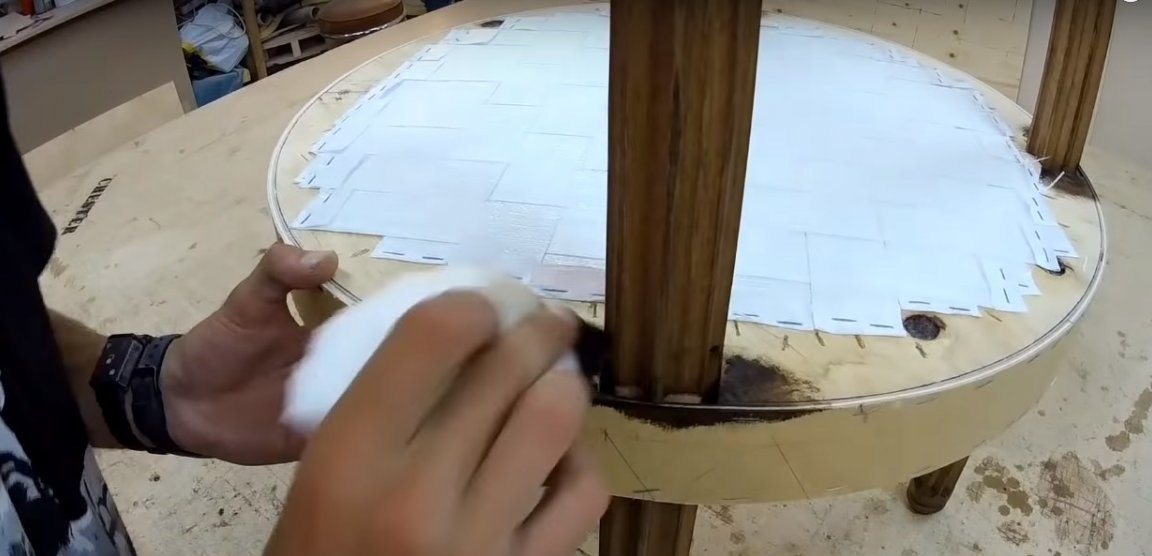
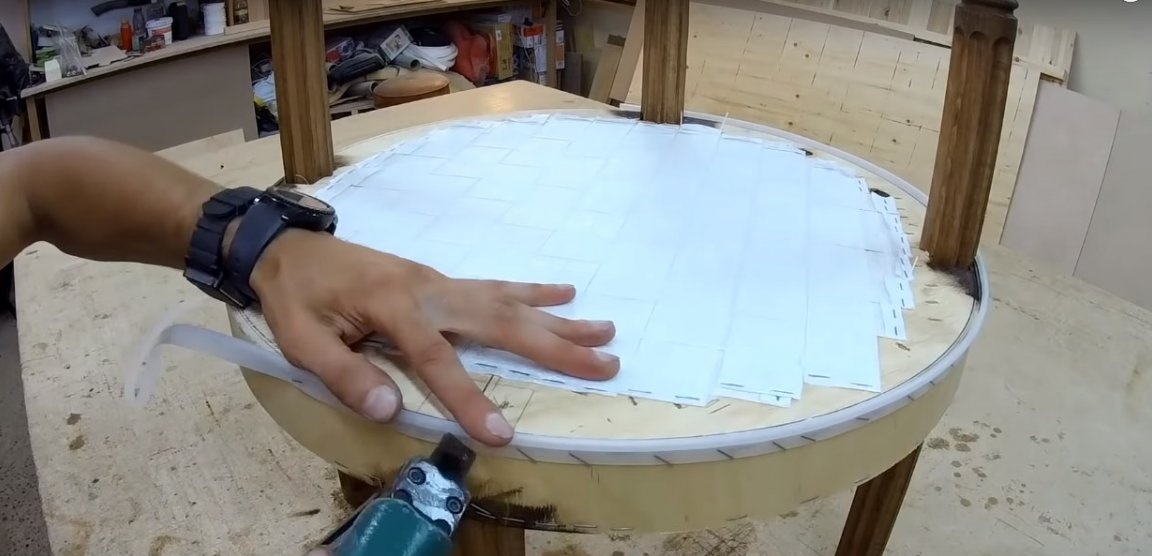
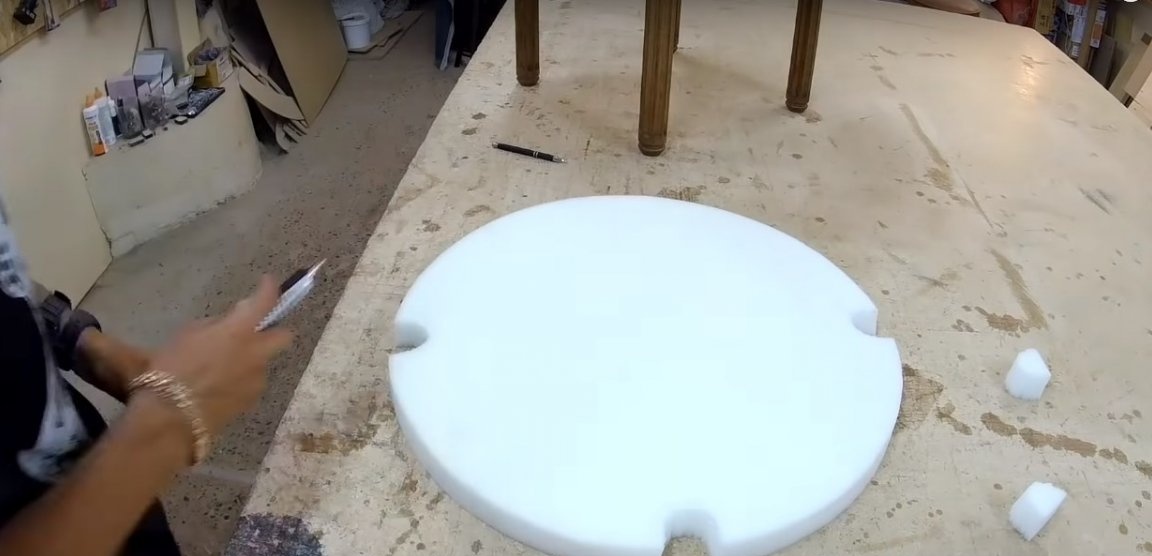
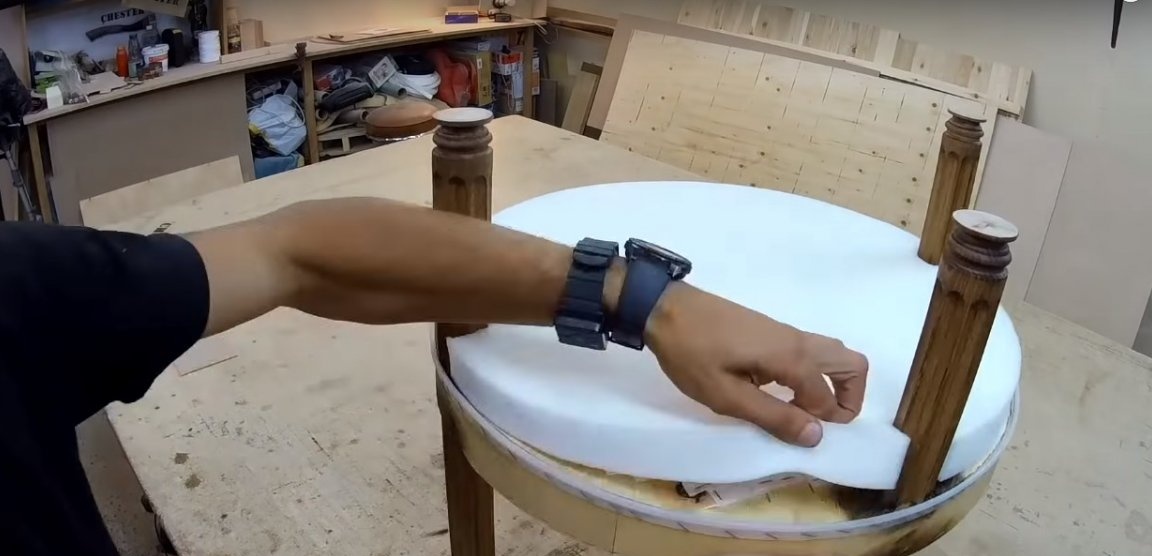
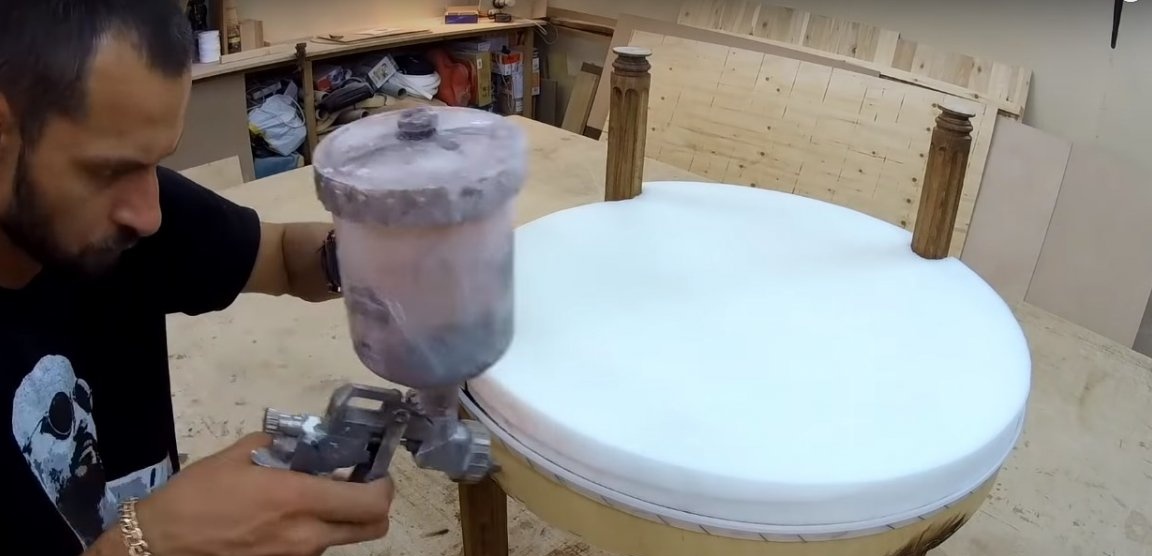
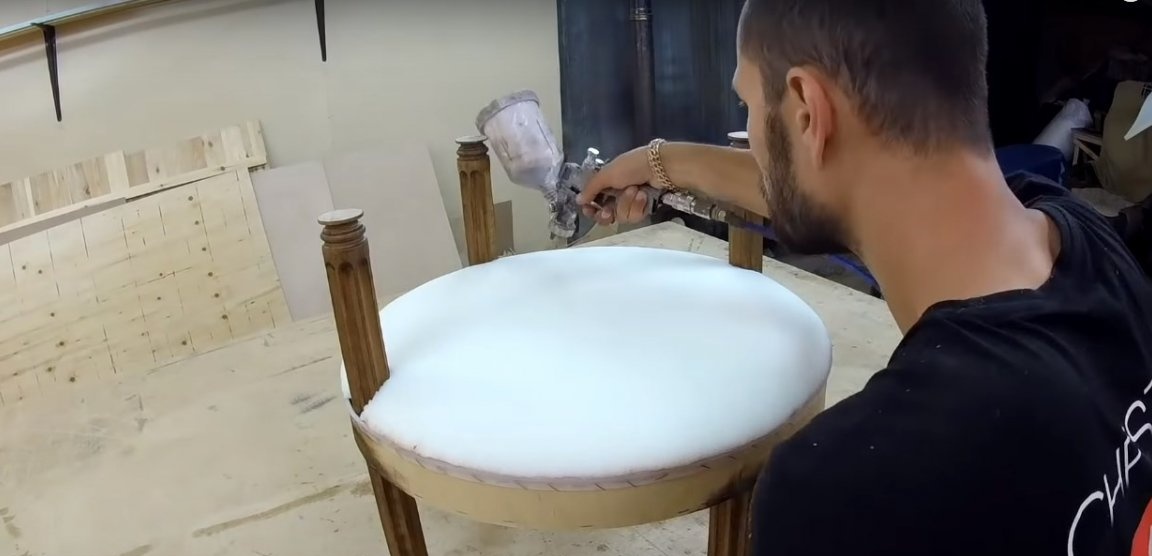
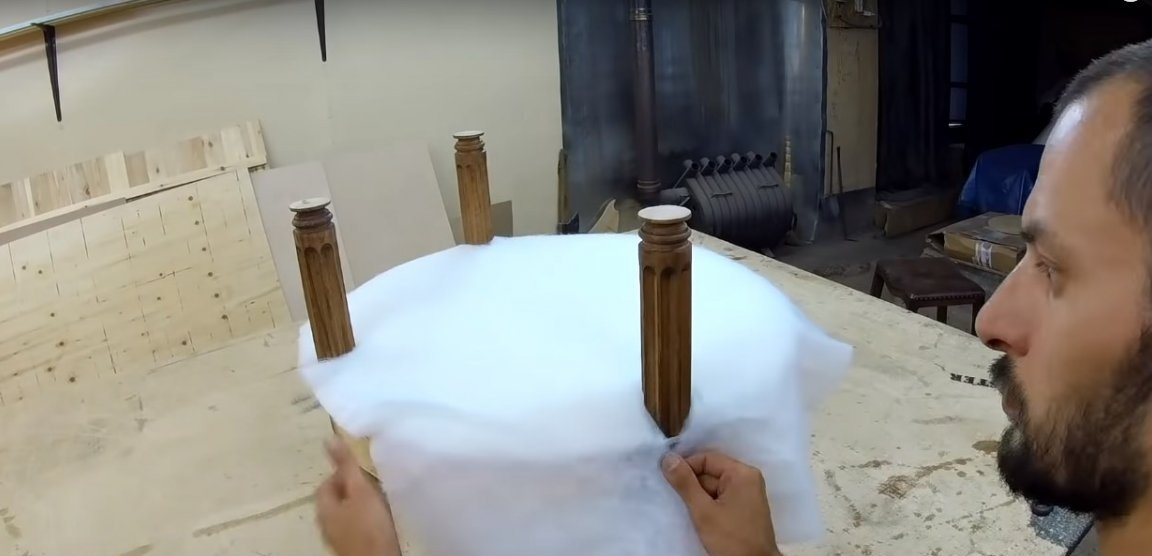
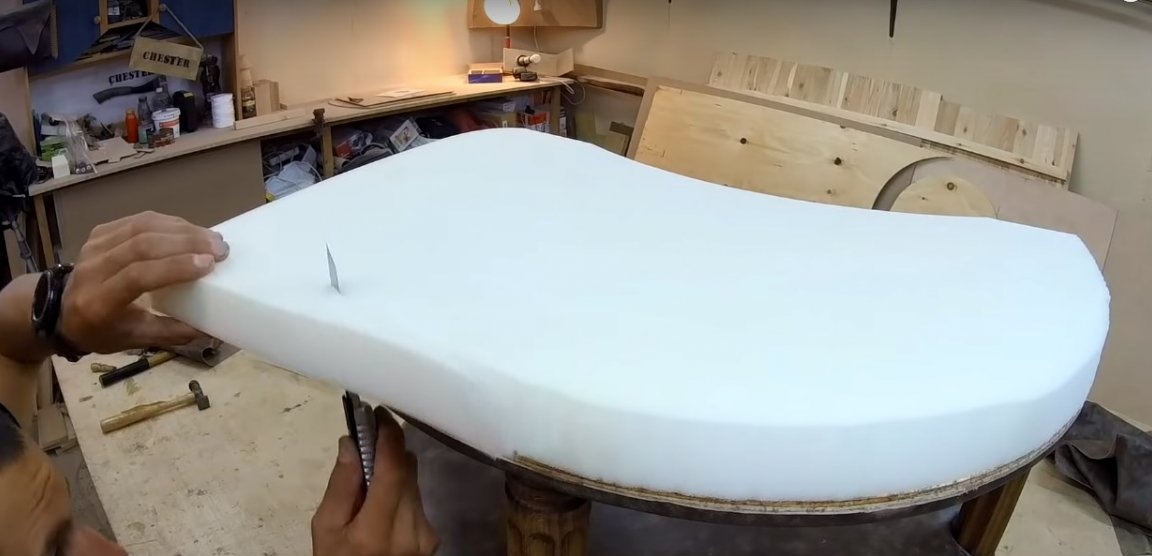
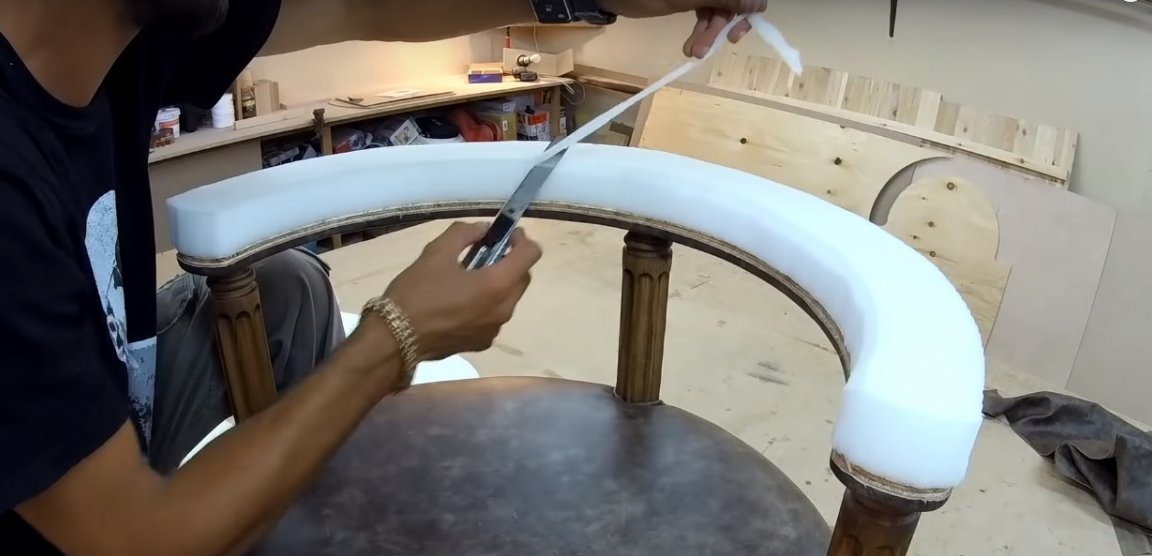
You should also glue a layer of thick furniture foam under the slinky. The author treated the edges of the foam rubber with glue and glued its upper edge to the base of the edging. Thus, the future seat took on a convex shape.
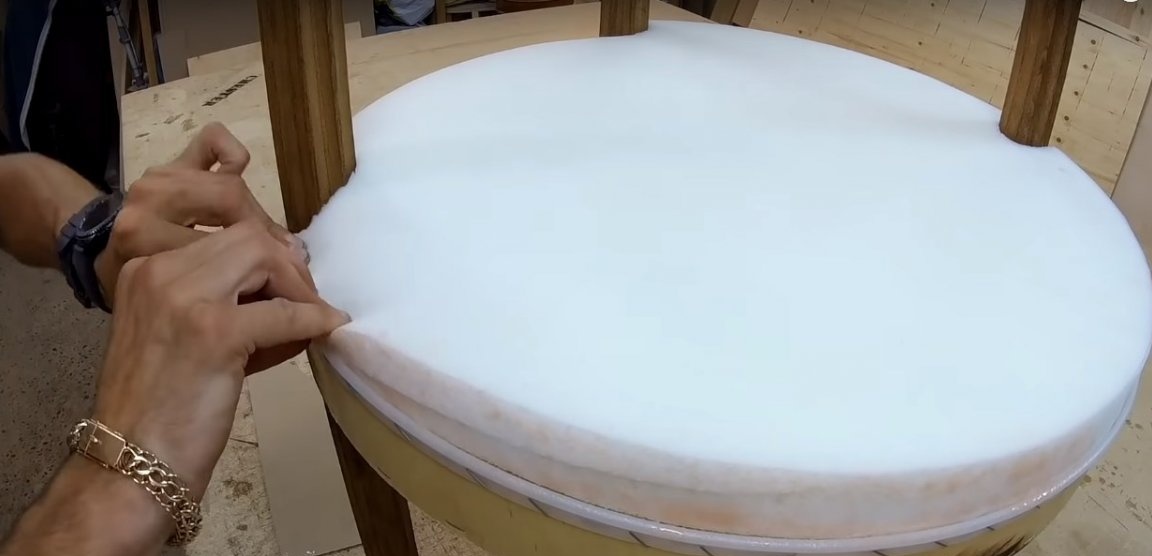
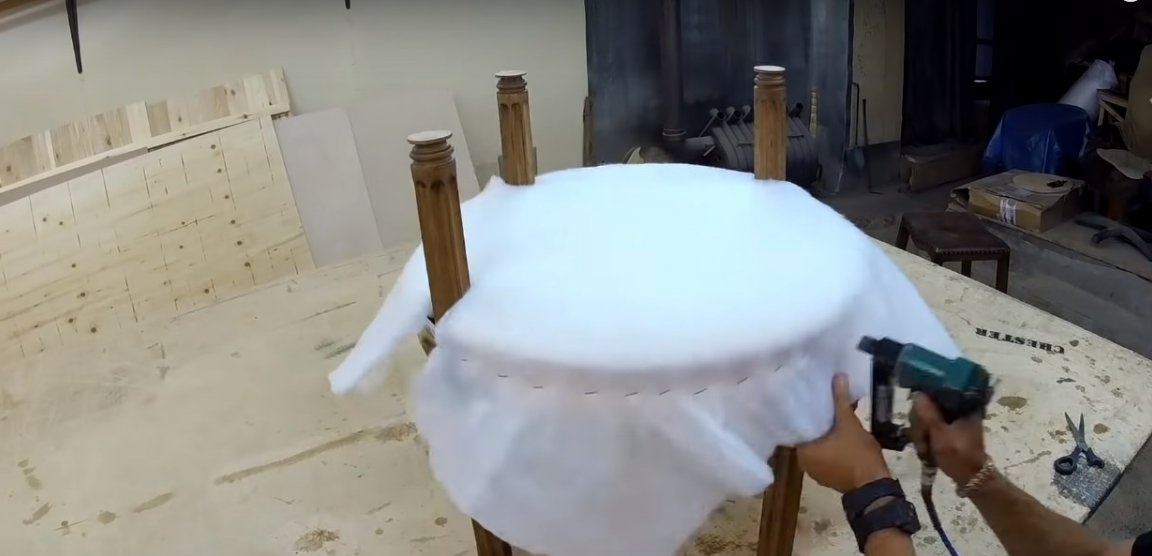
To smooth the base on top of thick foam rubber, the author secured with brackets a thinner foam rubber.


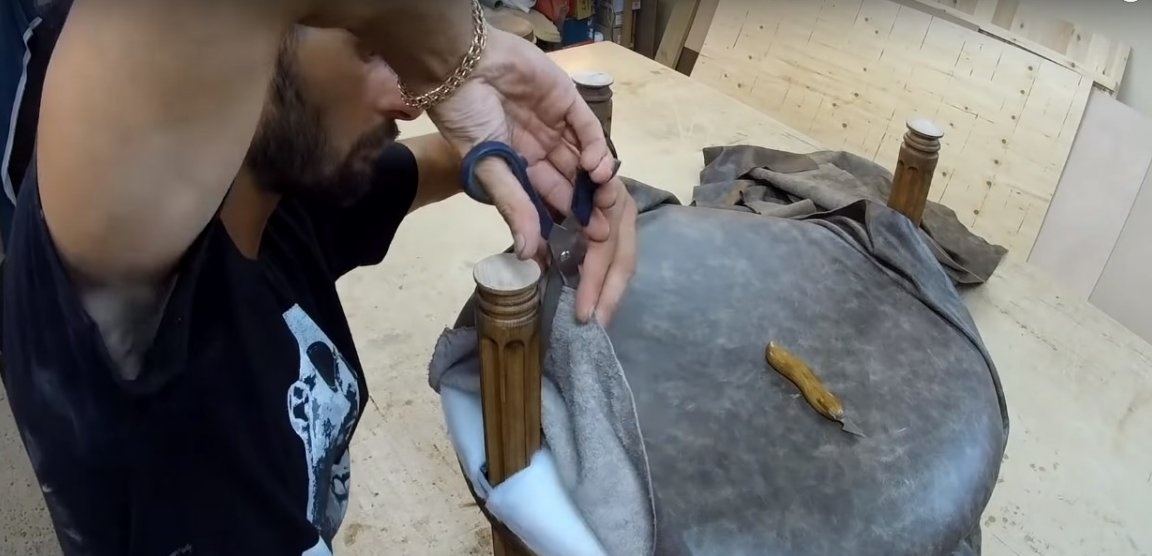
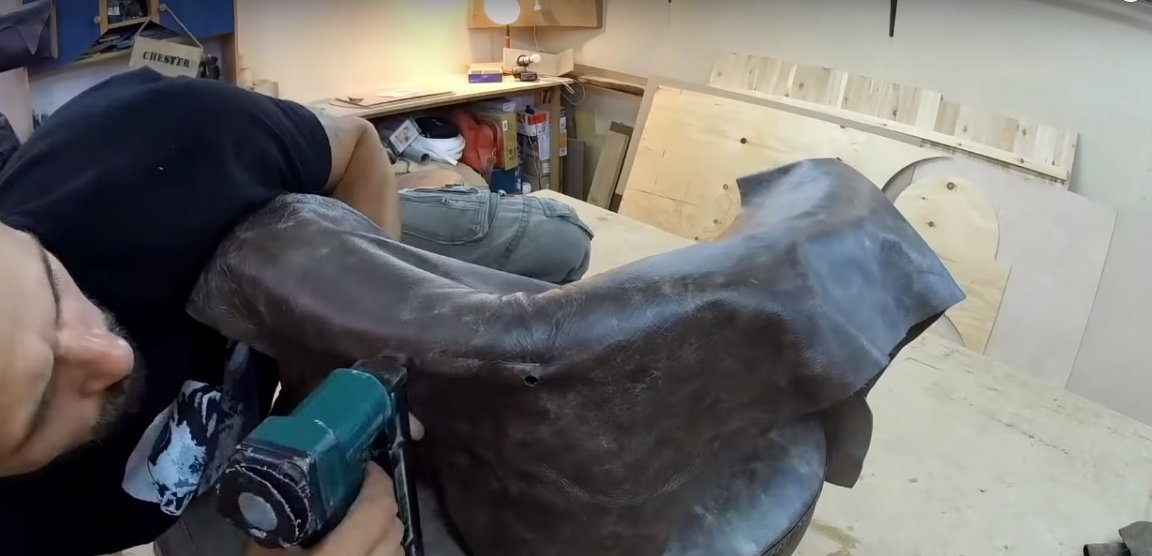
Step Five: close-fitting chair seat
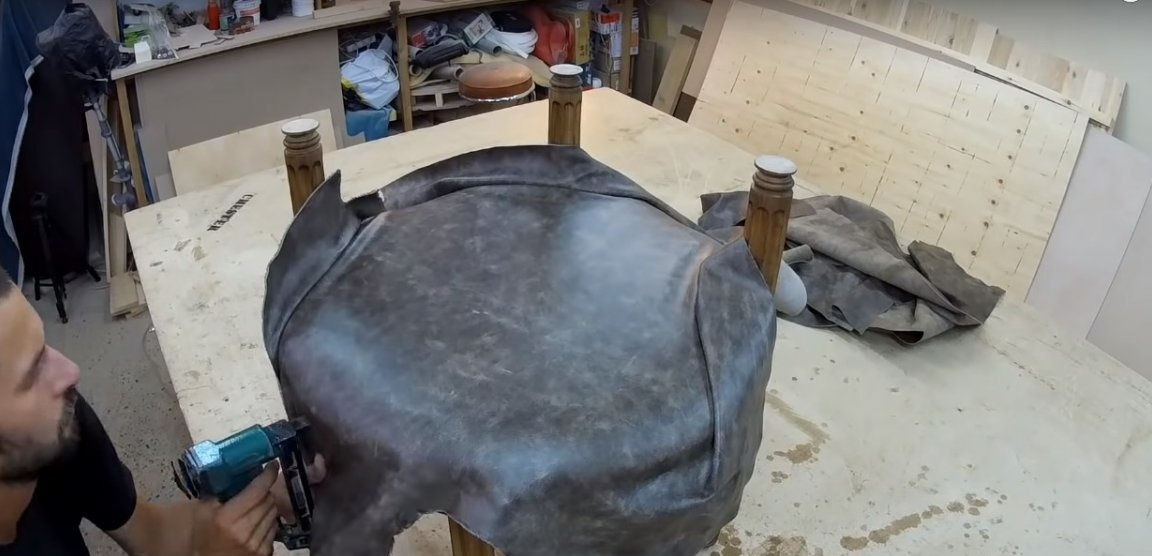
For a covering the genuine leather is used. However, in our time there is a worthy replacement for natural materials in the form of high quality leatherette.
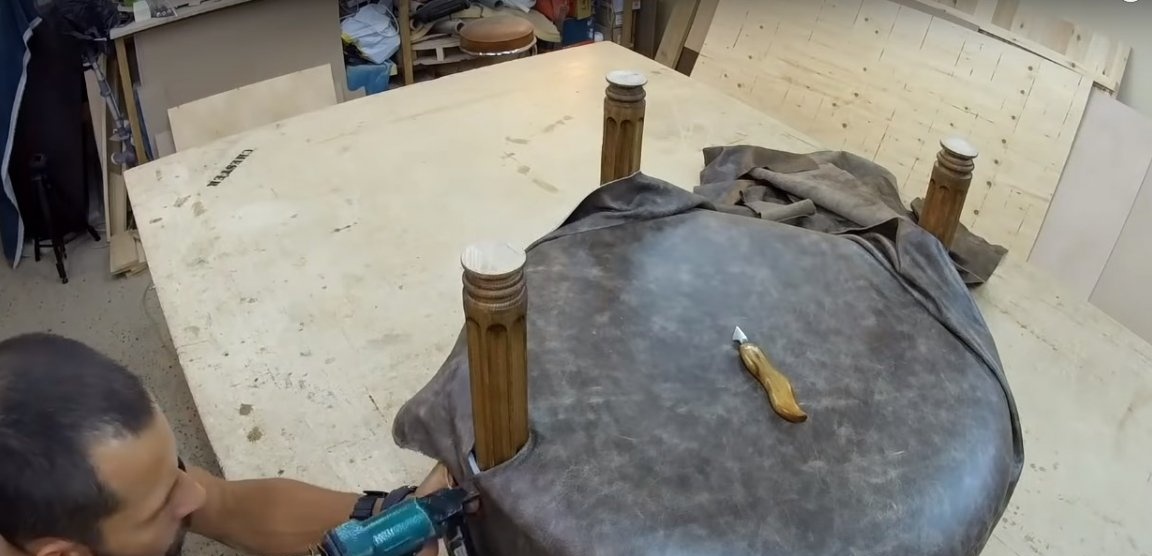
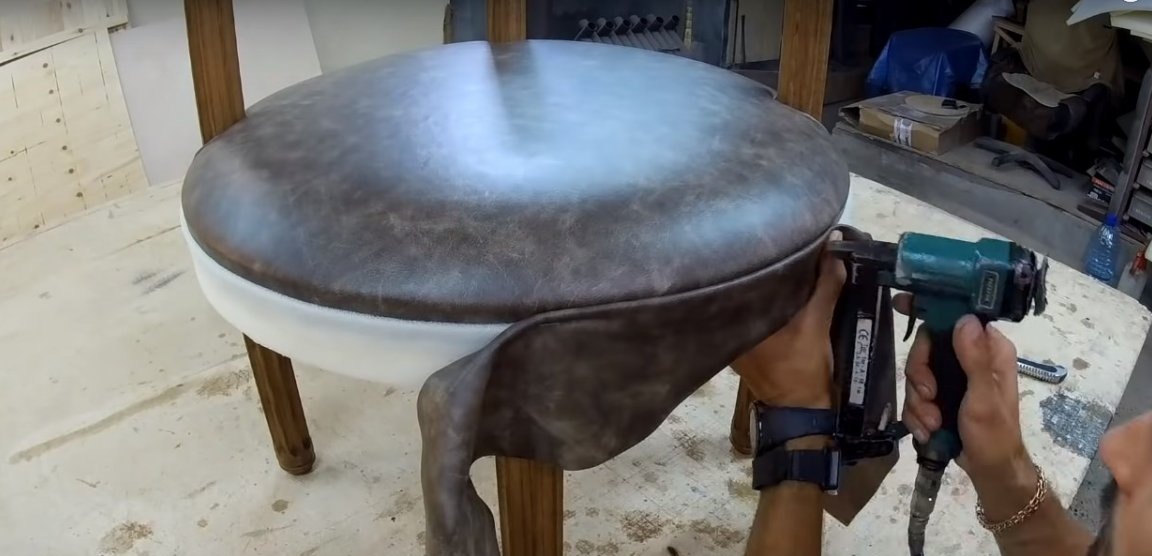
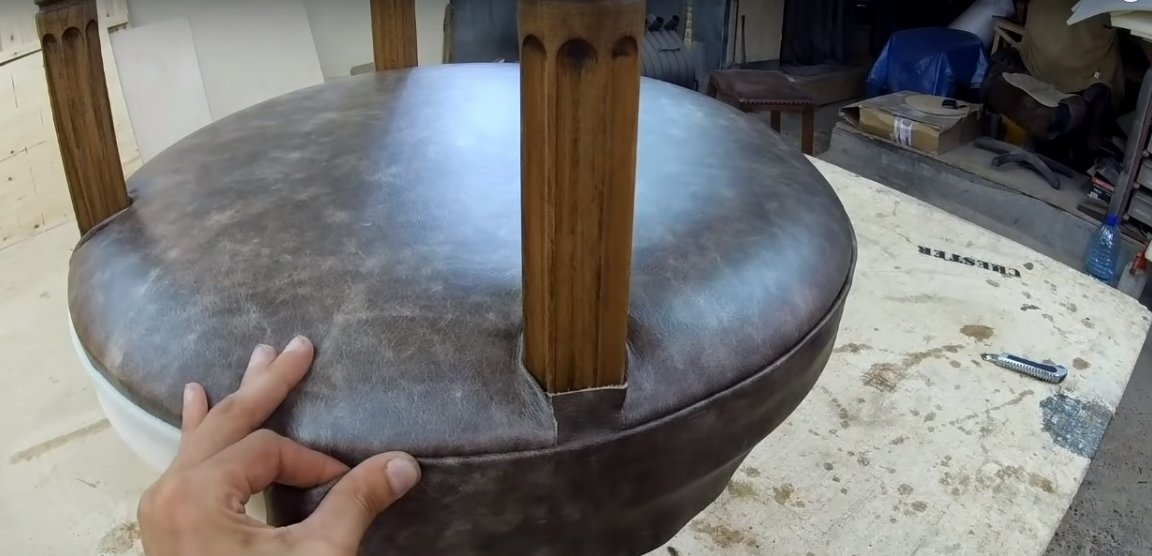
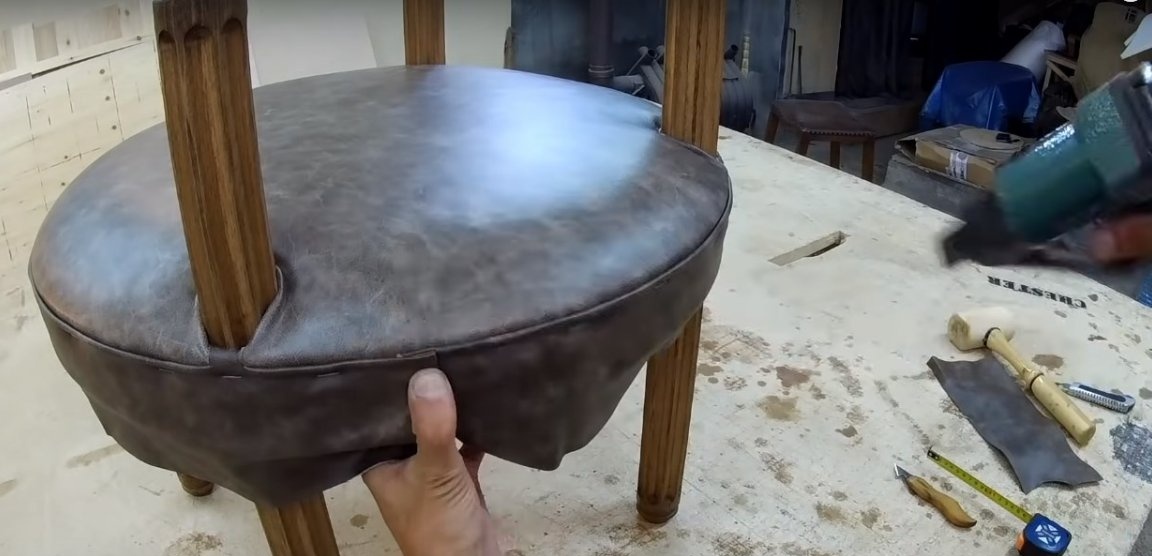
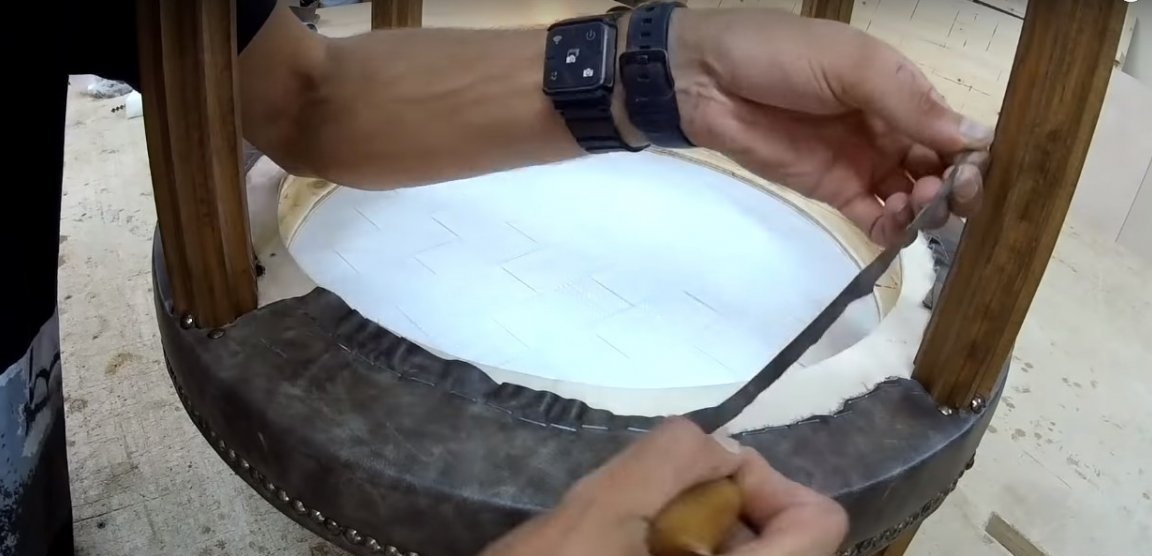
In order to fit the foam base, the author uses a single piece. After fixing the tightness, the excess can be cut off.
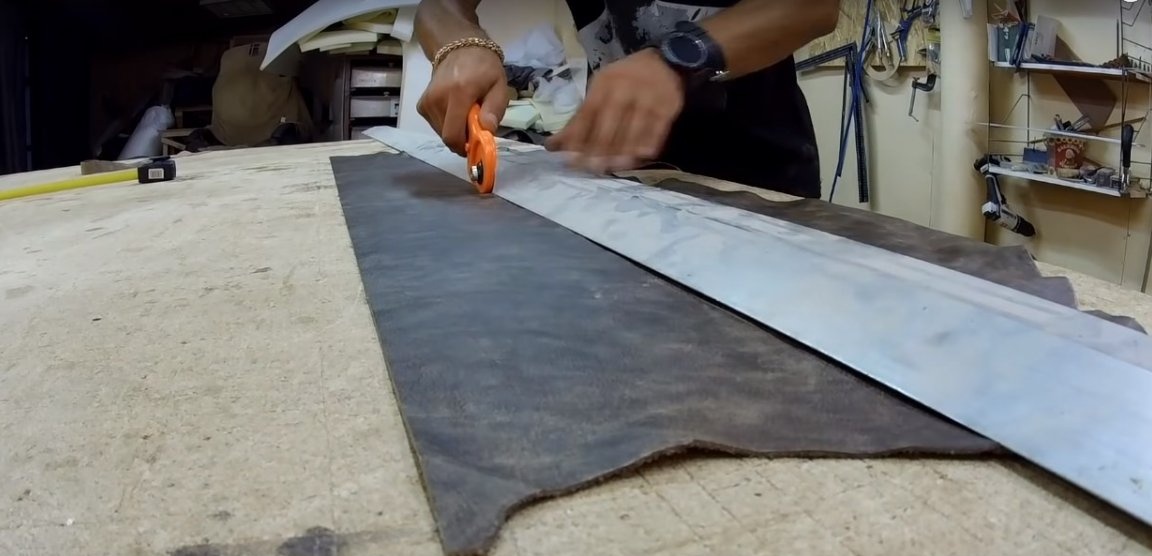
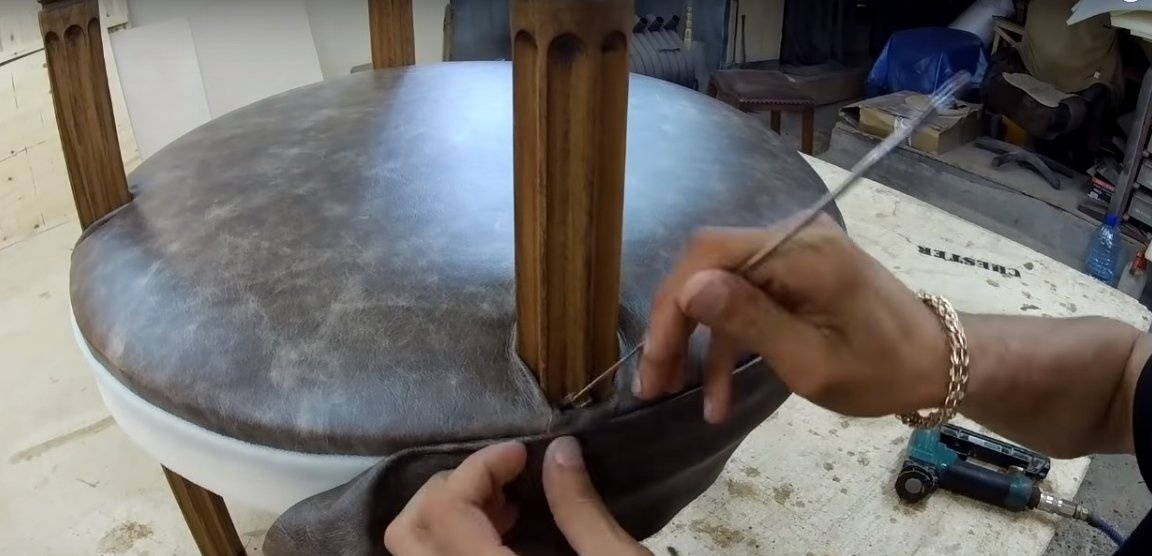
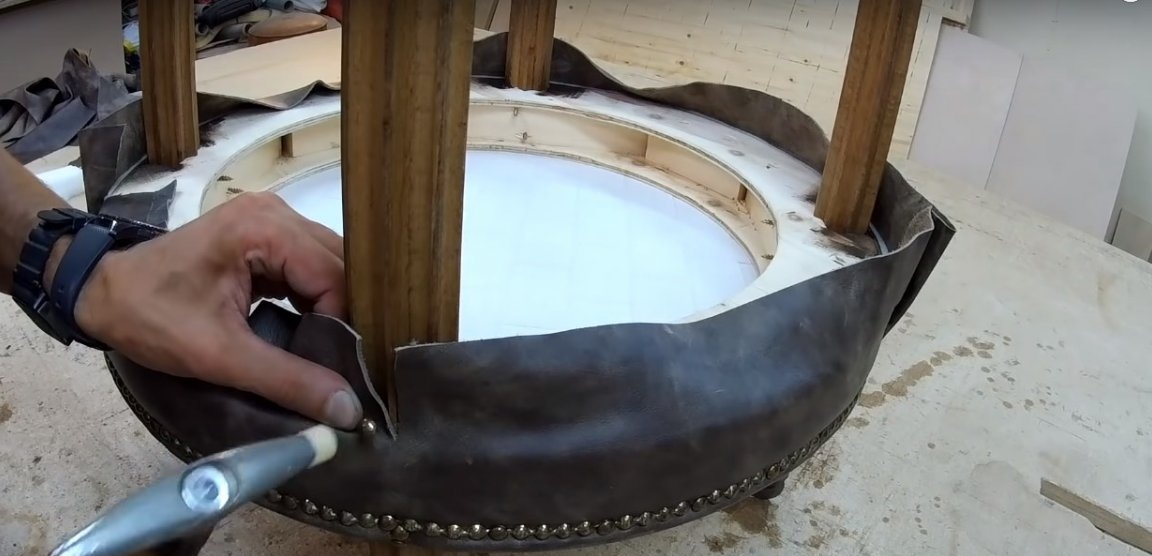
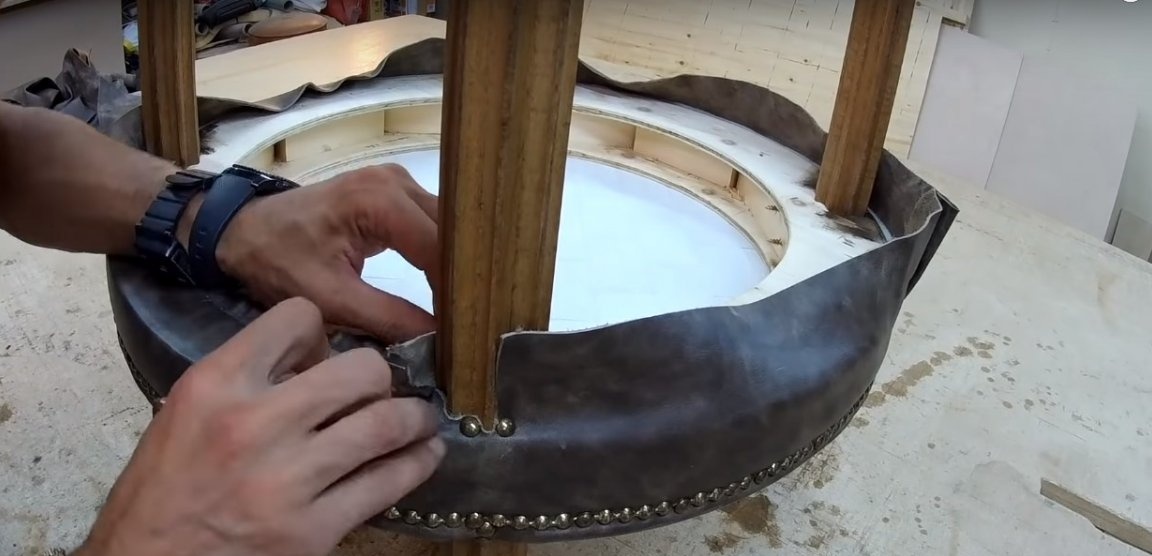
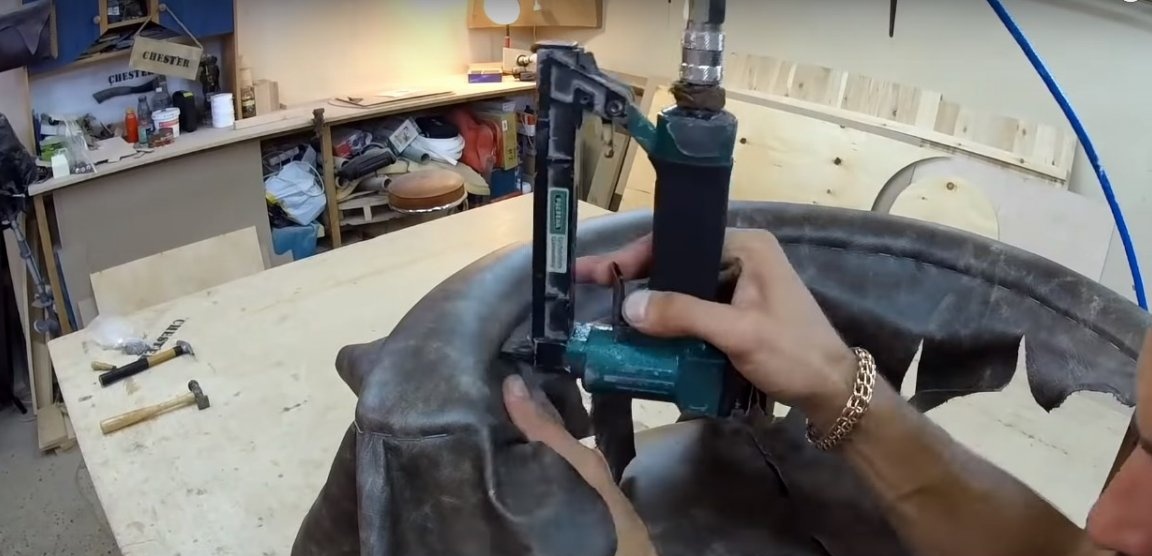
For starters, a hauling of the top is carried out. The contour of the seat is fitted with a strip of leather cut separately. The part is cut with a roller knife with a good allowance for the undercut.
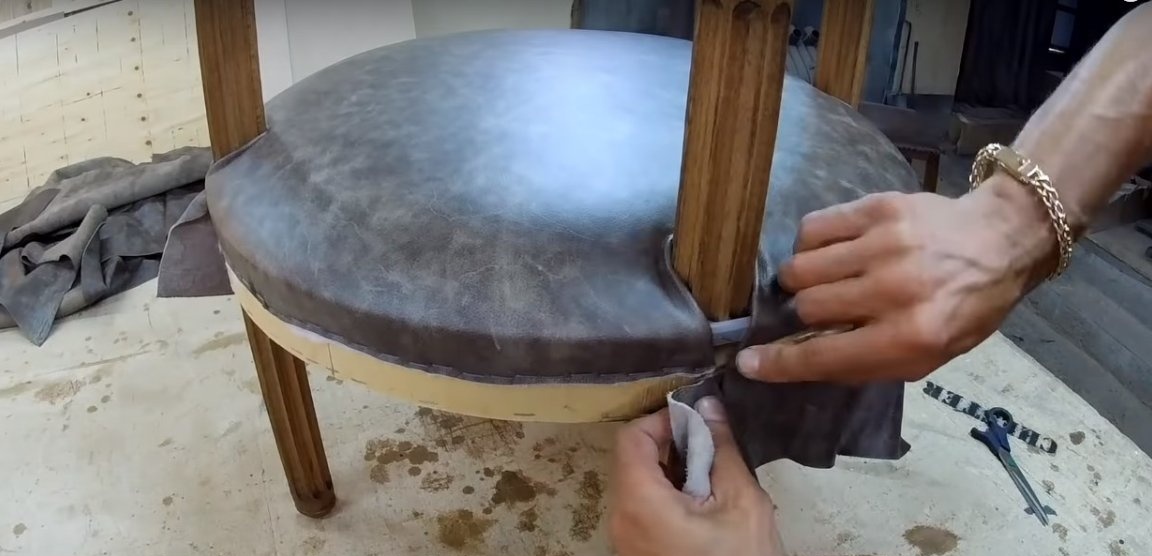

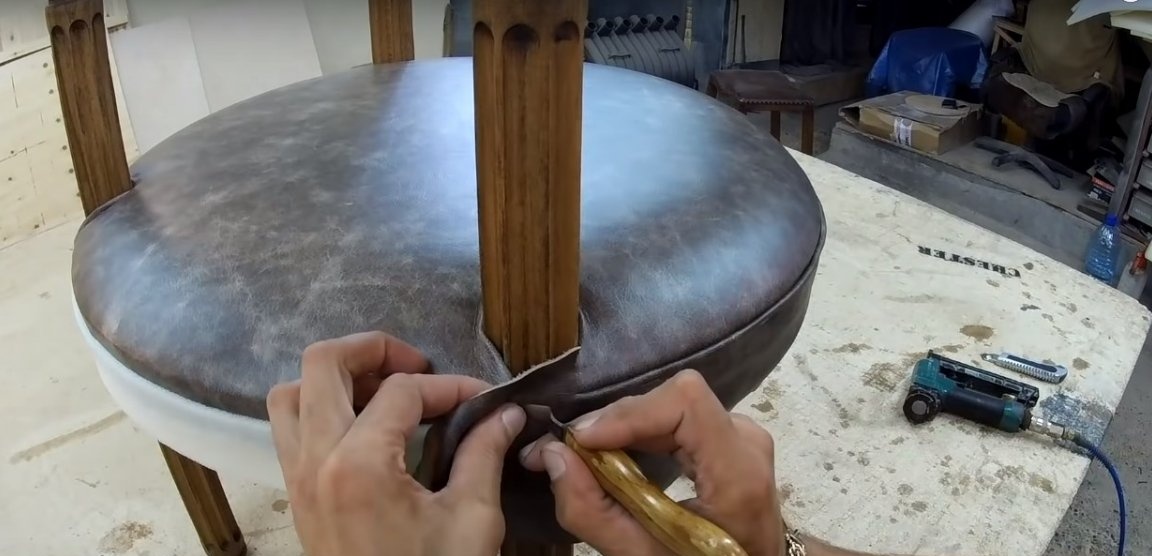
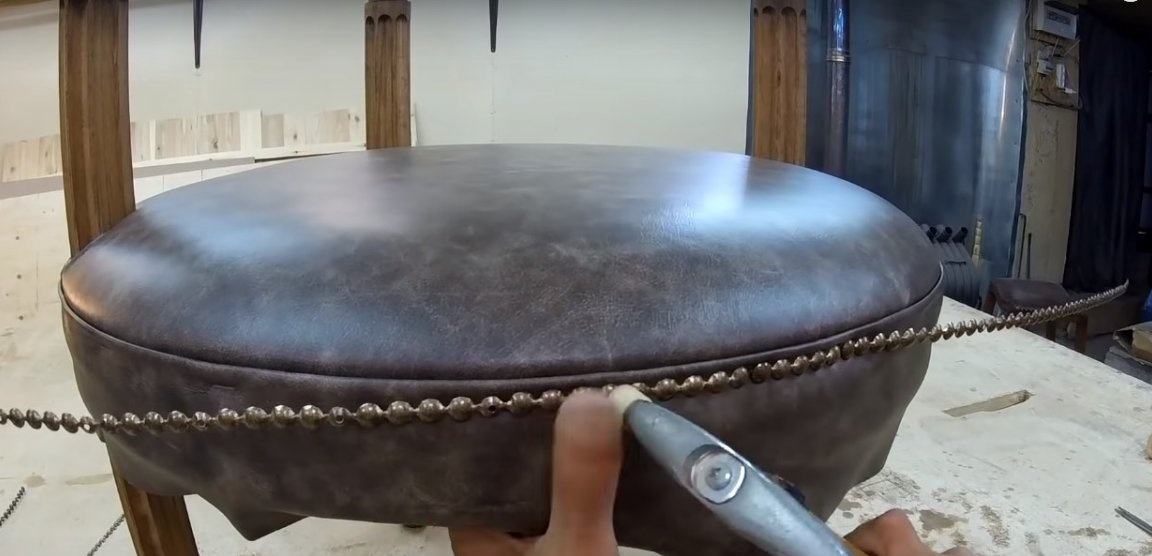
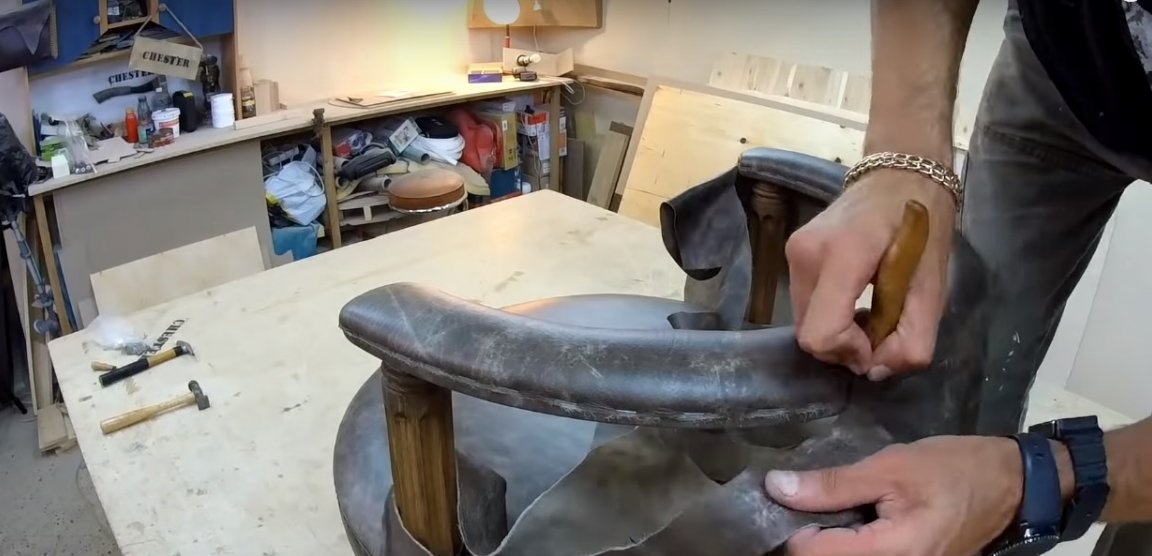
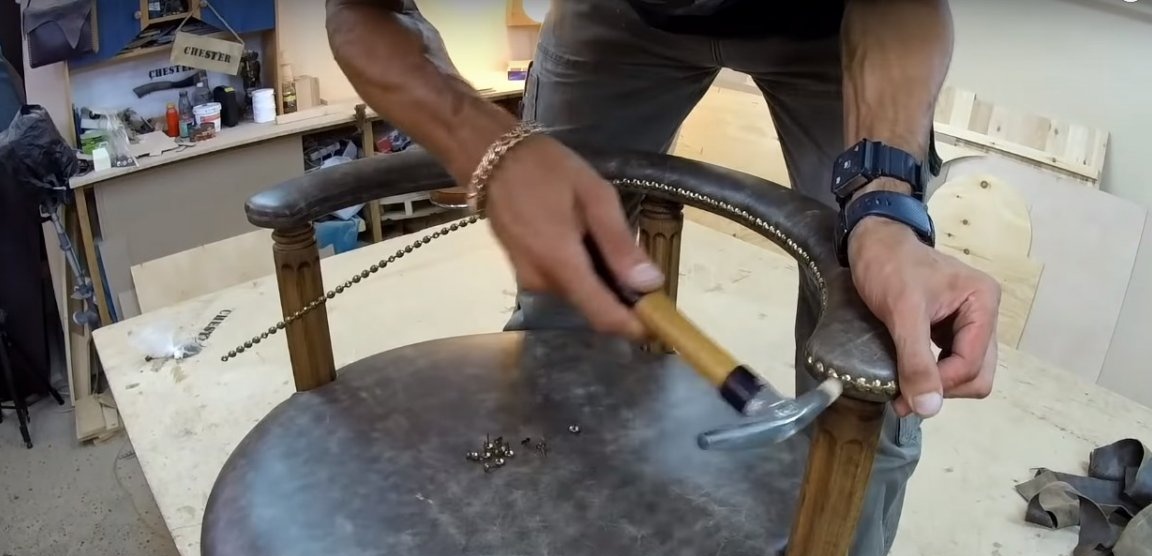
Finally, to mask the junction of the upper skin and the contour, the author uses a metal furniture molding. It is fixed with special buttons that come with the kit.
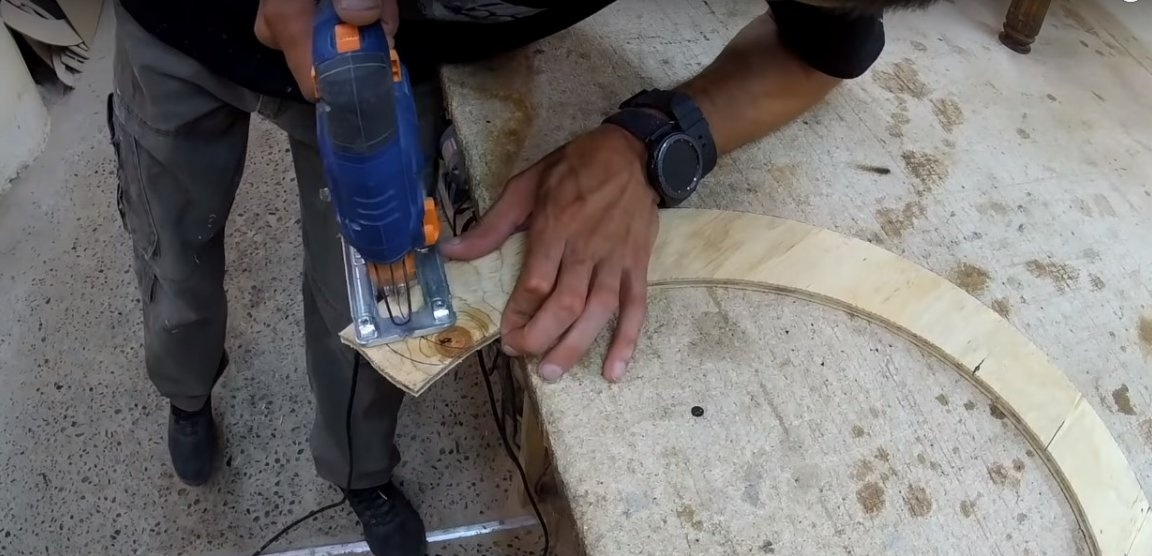
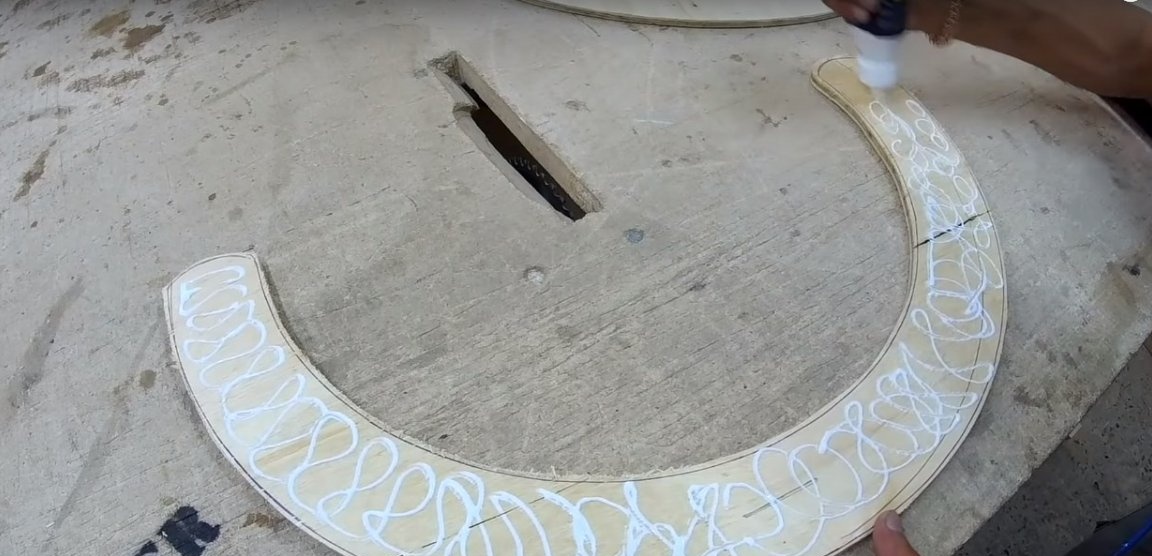
Step Six: Making and Covering the Chair Back
The back of the chair consists of two identical parts glued together and additionally fastened with brackets. Instead, use thicker plywood.
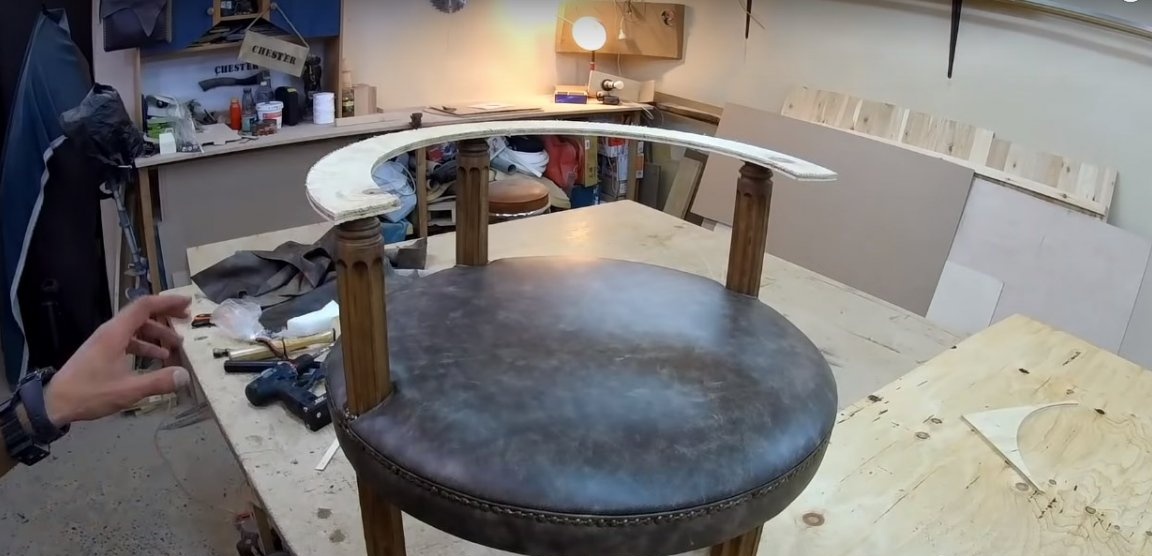
The back casing consists of two parts. The top and bottom are joined along the edge line, and the staples are masked by a molding. The back is attached to the legs with screws after its back is covered with leather. After that, the upper was tightened.

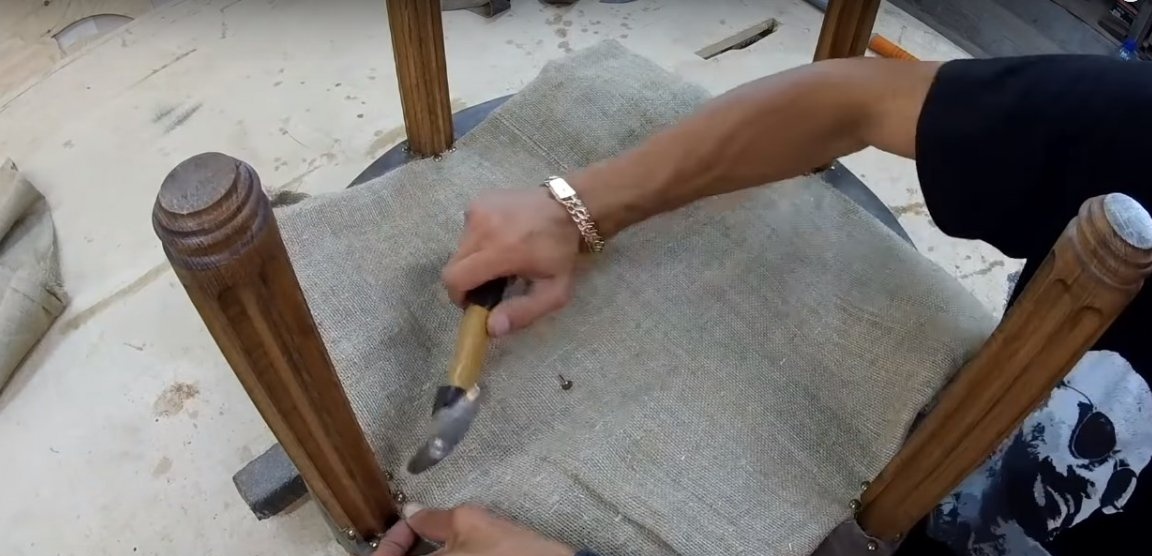
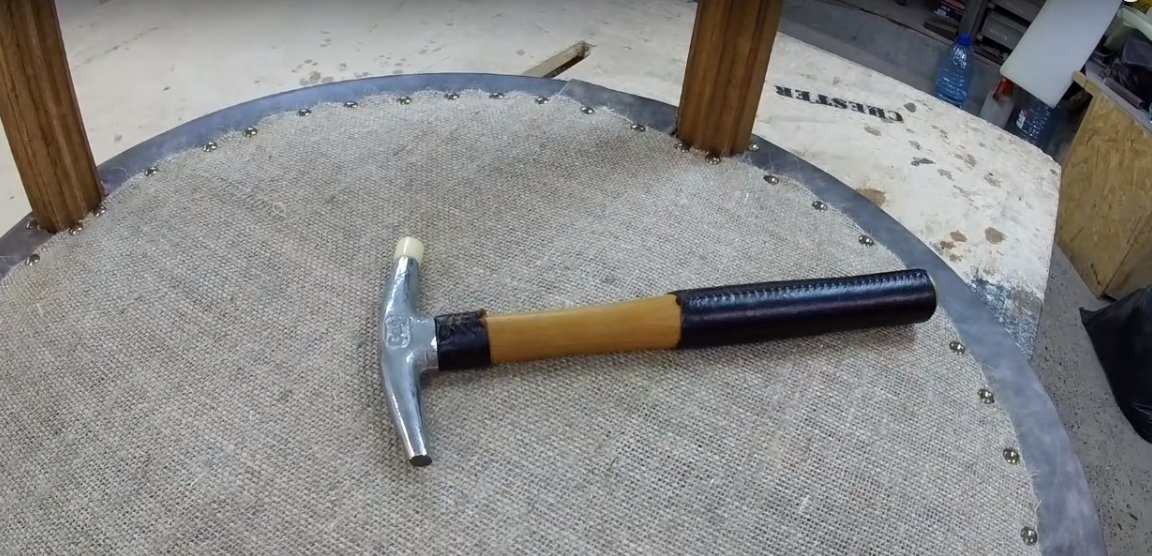
Seventh step: covering the back of the seat
To bind the seat on the back, the author uses burlap. A piece of burlap of arbitrary shape is attached to the plywood with buttons with a hem. Thus, residues remain inside the seat.