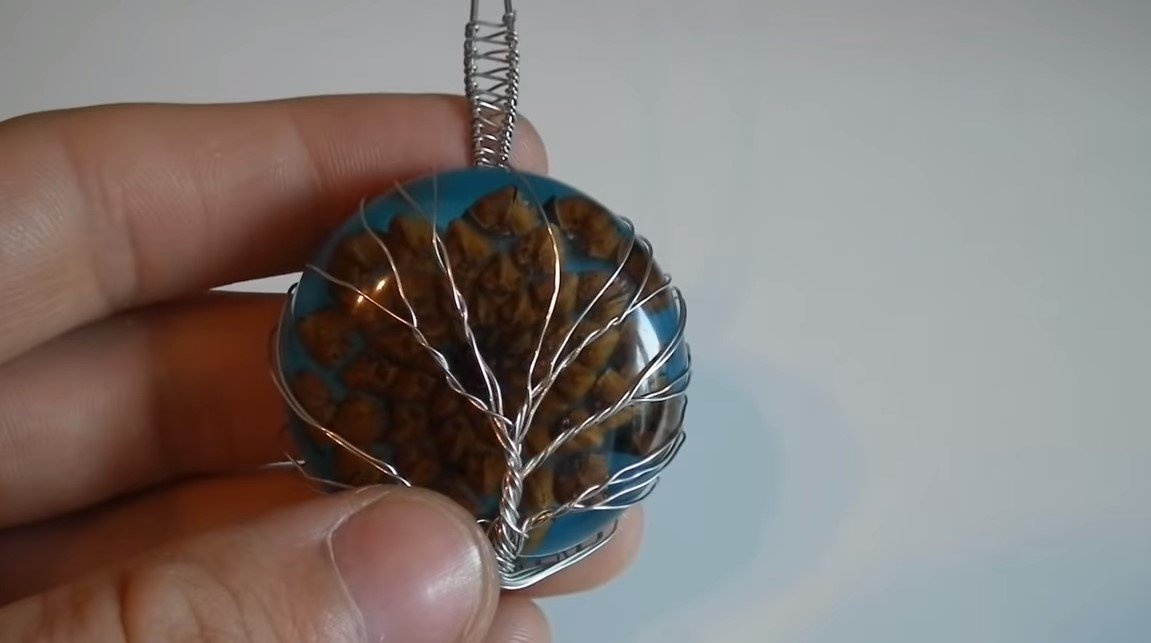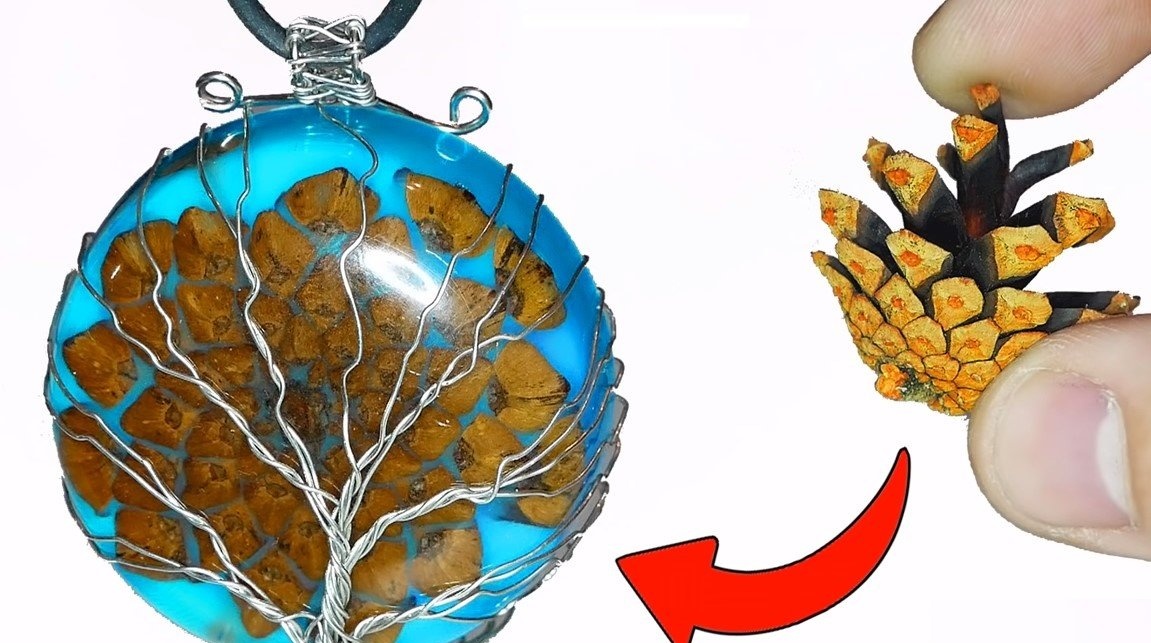
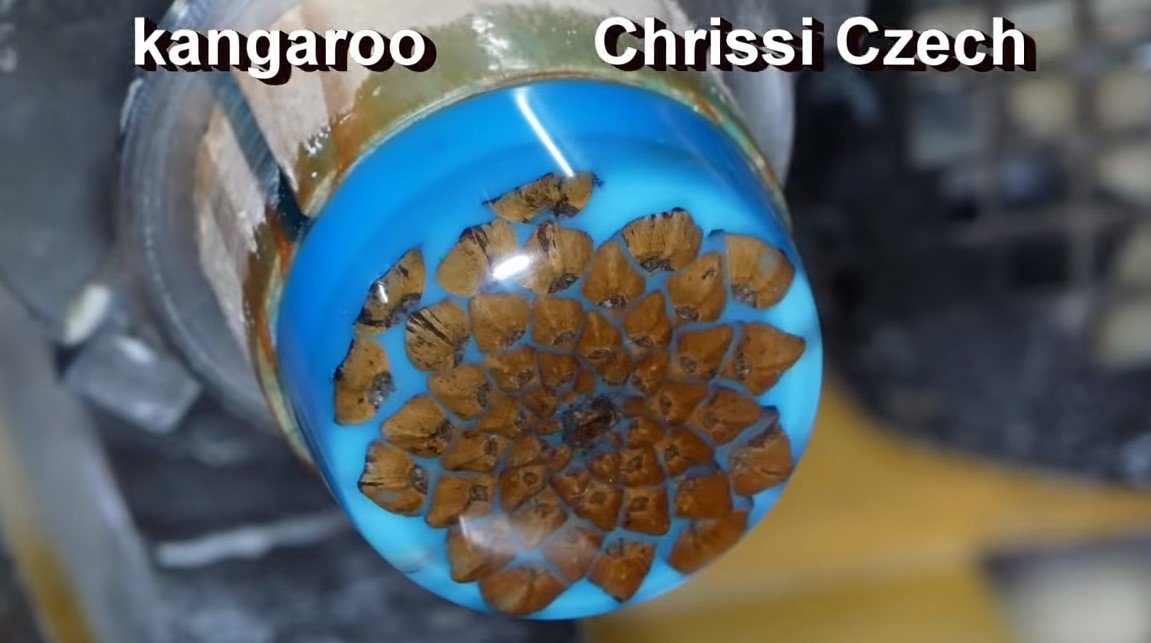
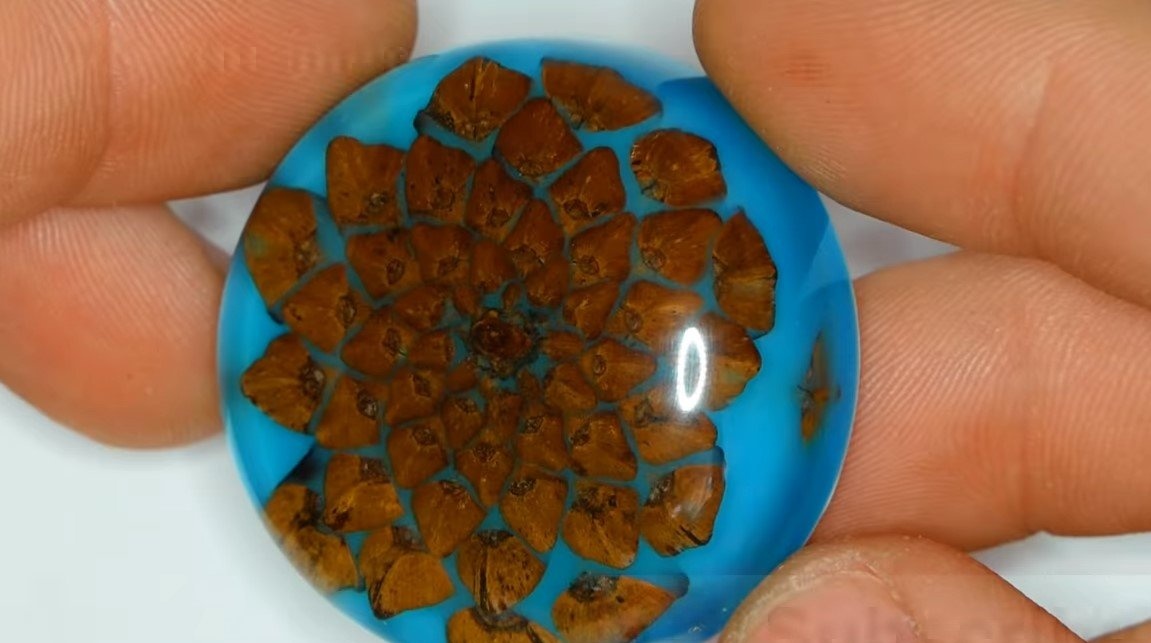
Hello to all fans of craftsmen, today we will consider how to make an interesting pendant from a pine cone. The author poured a bump into the epoxy resin; as a result, a rather interesting pattern resembling the foliage of a tree turned out. As for the tree, its author weaved stainless steel wire, with the help of it the pendant can also be hung. To make a pendant, the author needed a lathe. If you are interested in the project, I propose to study it in more detail!
Materials and tools used by the author:
Material List:
- epoxy resin for pouring;
- dye for epoxy;
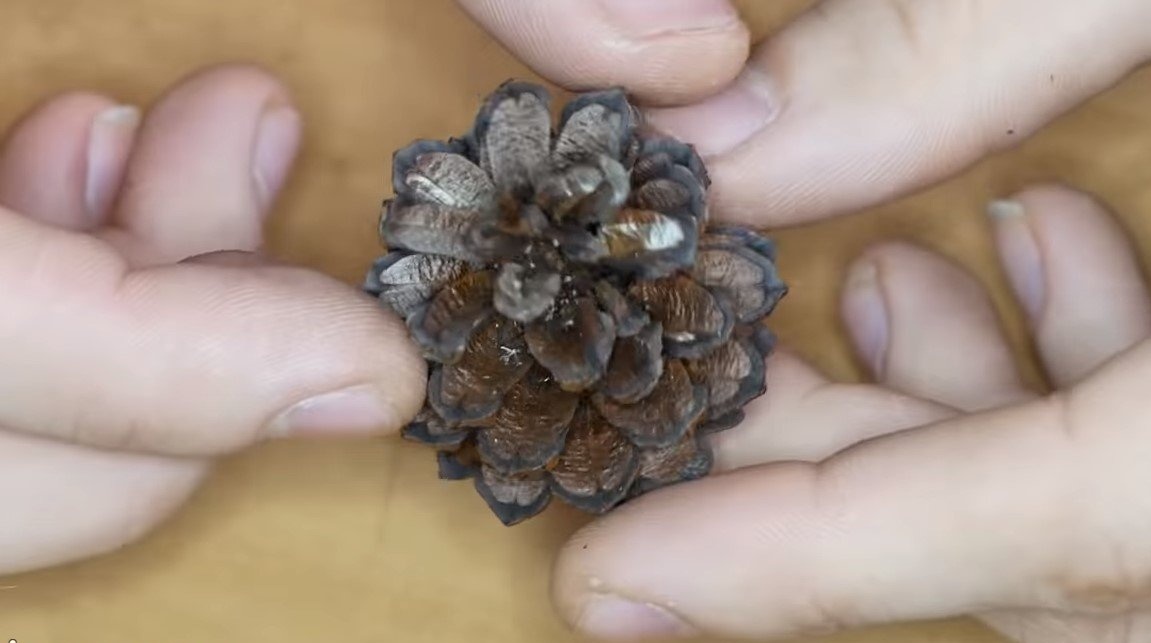
- dry pine cone;
- stainless wire;
- adhesive tape;
- Super glue.
Tool List:
- lathe;
- sandpaper from large to smallest;
- polishing and abrasive paste;
- disk grinding machine;
- nippers.
Manufacturing process homemade:
Step one. Resin preparation and filling
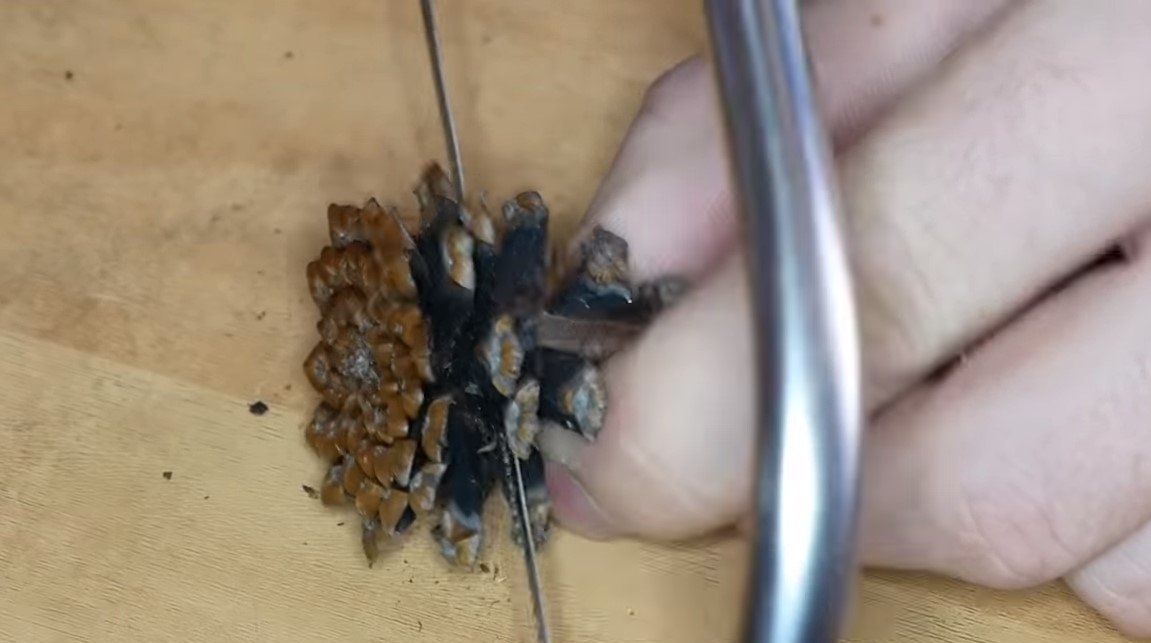
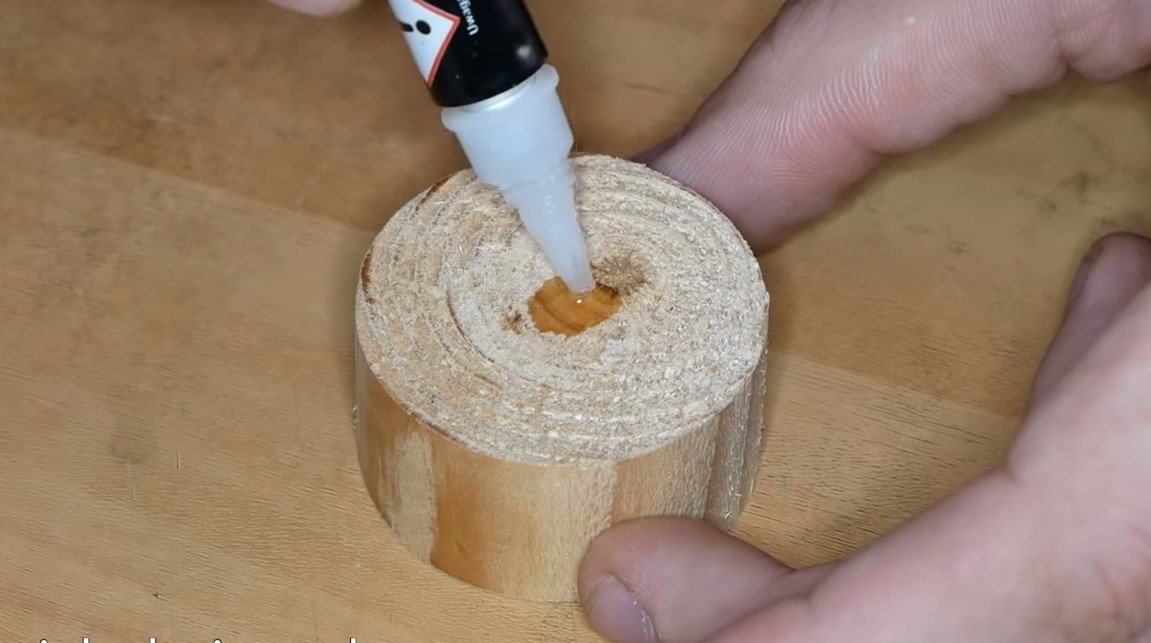
We will prepare the base for pouring epoxy; the author used a piece of stick as the base. From the bump we cut off the lower part, we will need it. Then glue the bump to the wooden base with super-glue.
We collect the formwork around the cone, here the author did not bother and just wound the tape. You can also use polyethylene from a bottle.

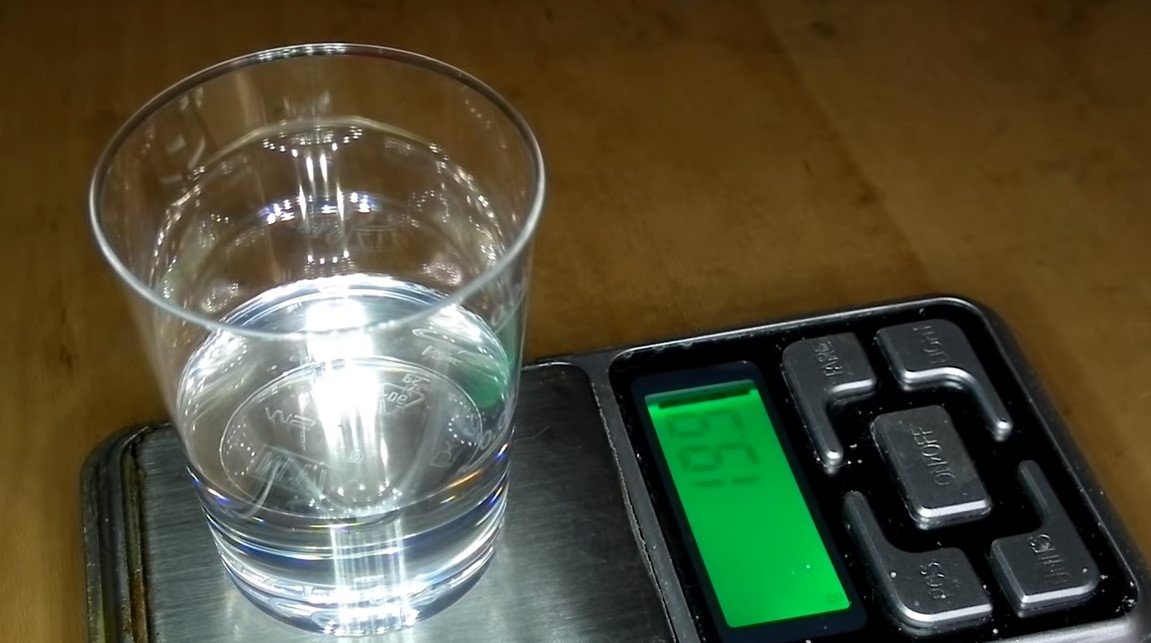
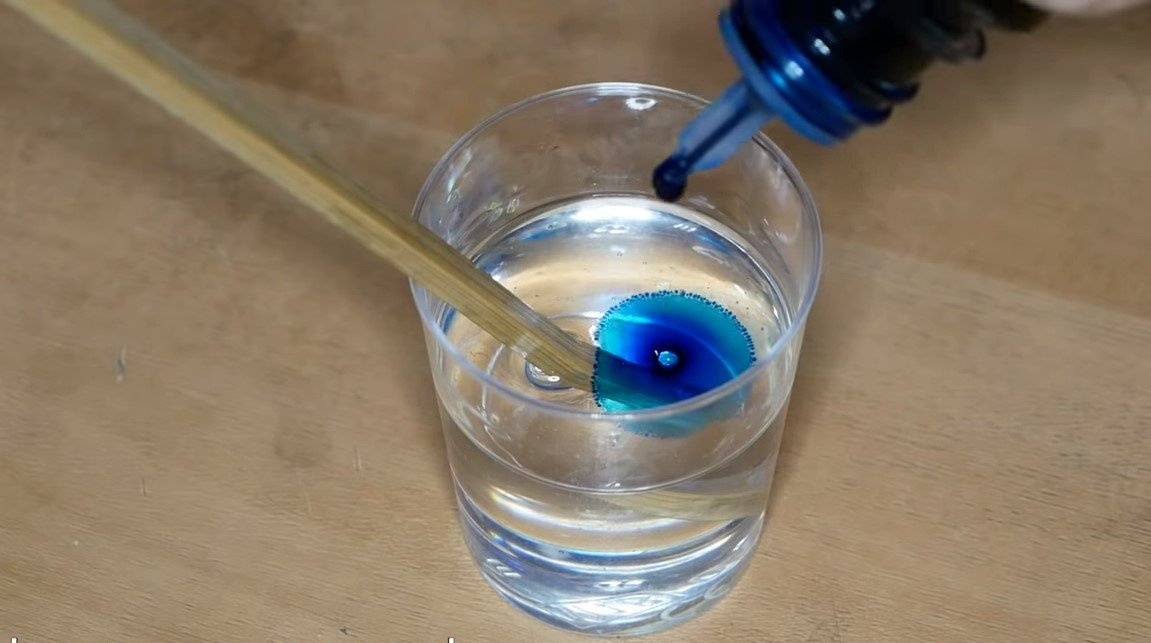
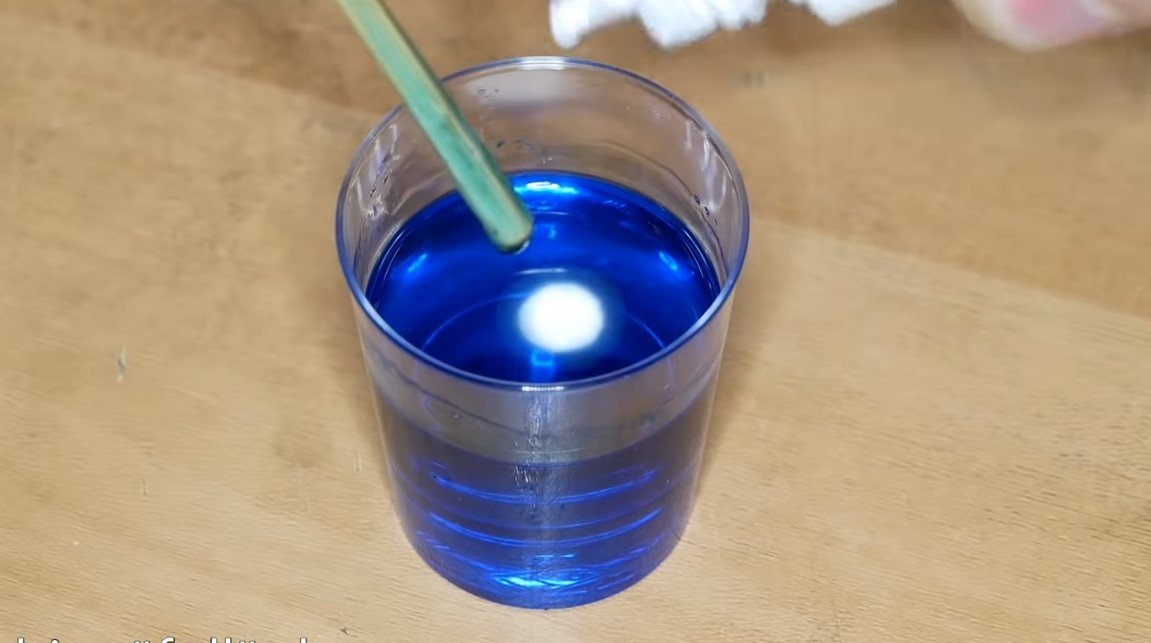
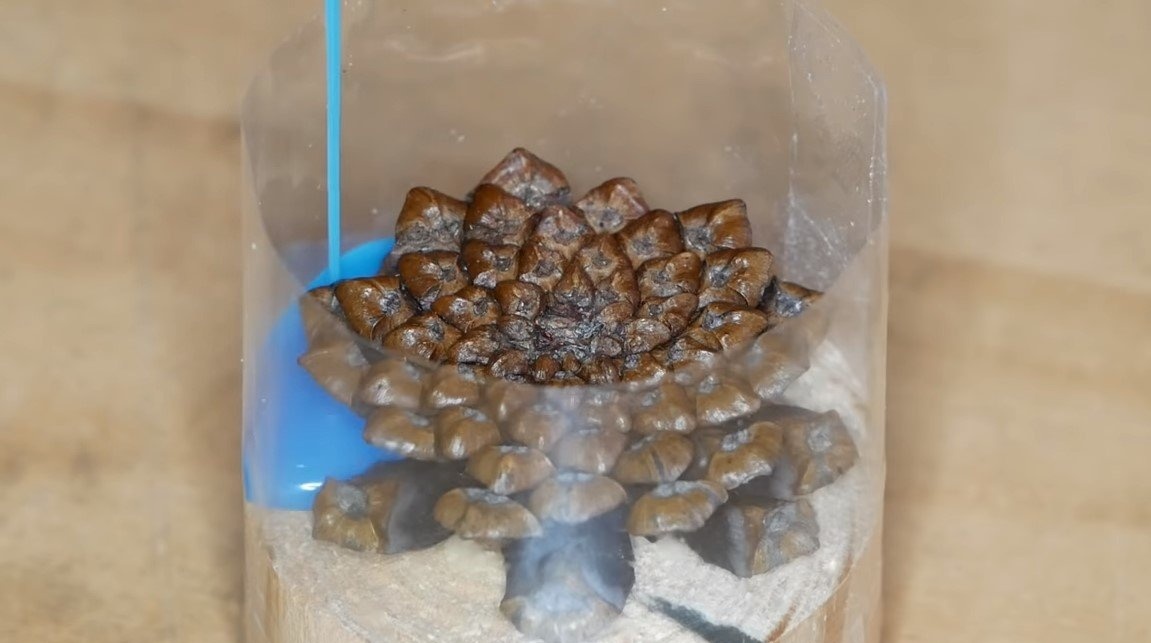
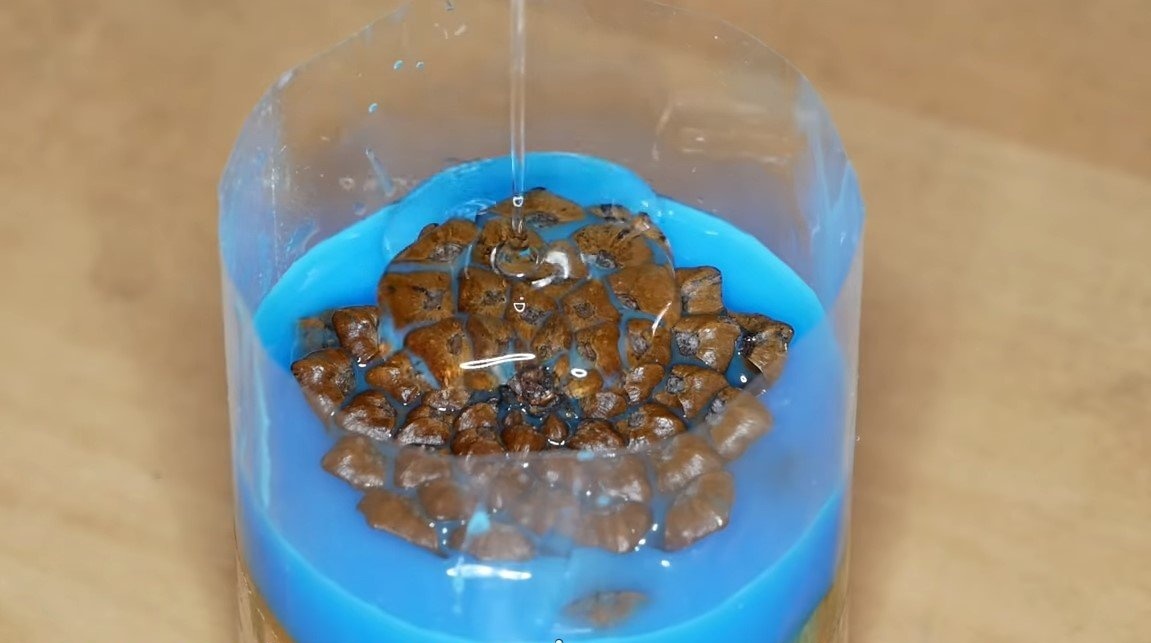
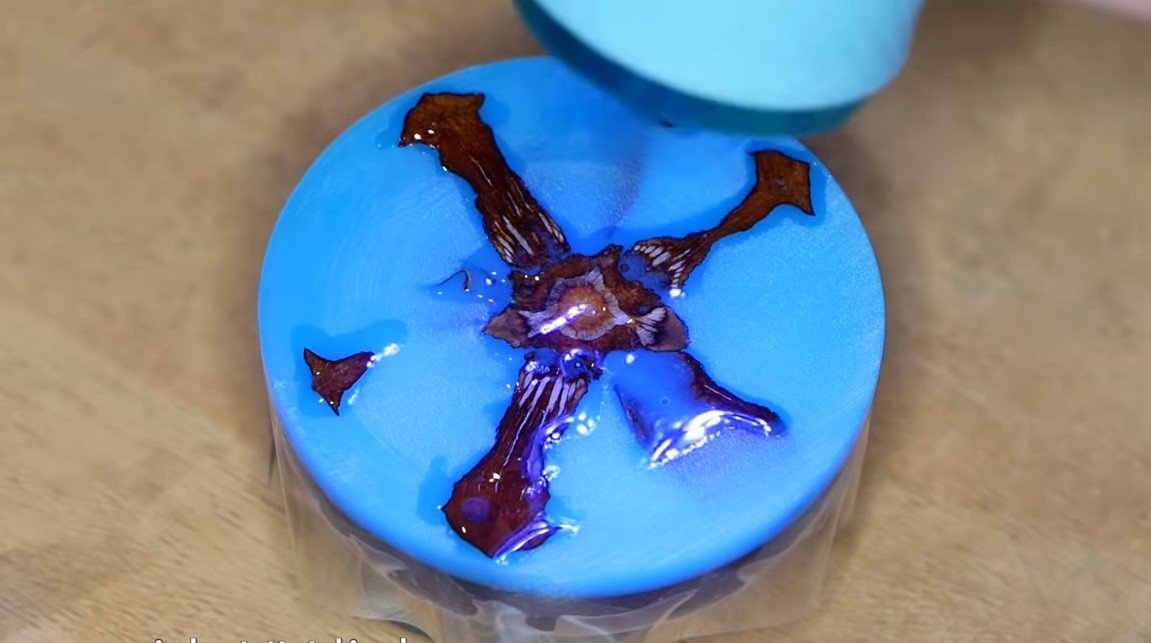
Fill the first layer of epoxy, we will need dyes of blue and white, as a result, the resin should become dull. Gently pour the resin into the lower part, you can not smear the bump. Pour so much resin so that a cone is immersed in it, and a beautiful drawing is obtained. Then we pour transparent resin on top and leave everything to dry.
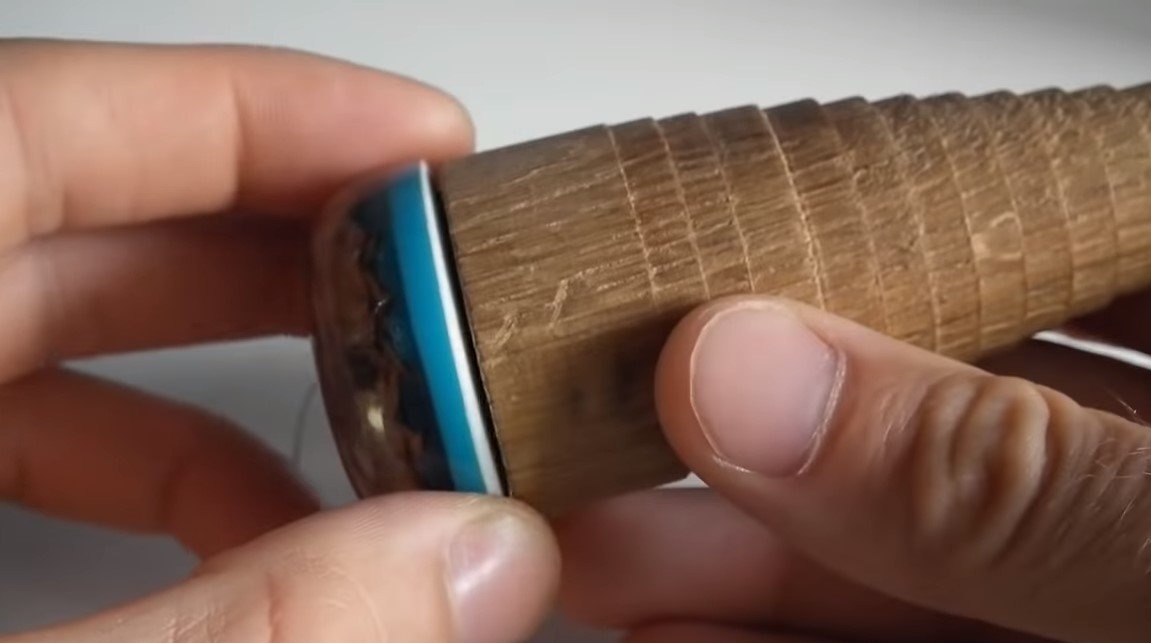
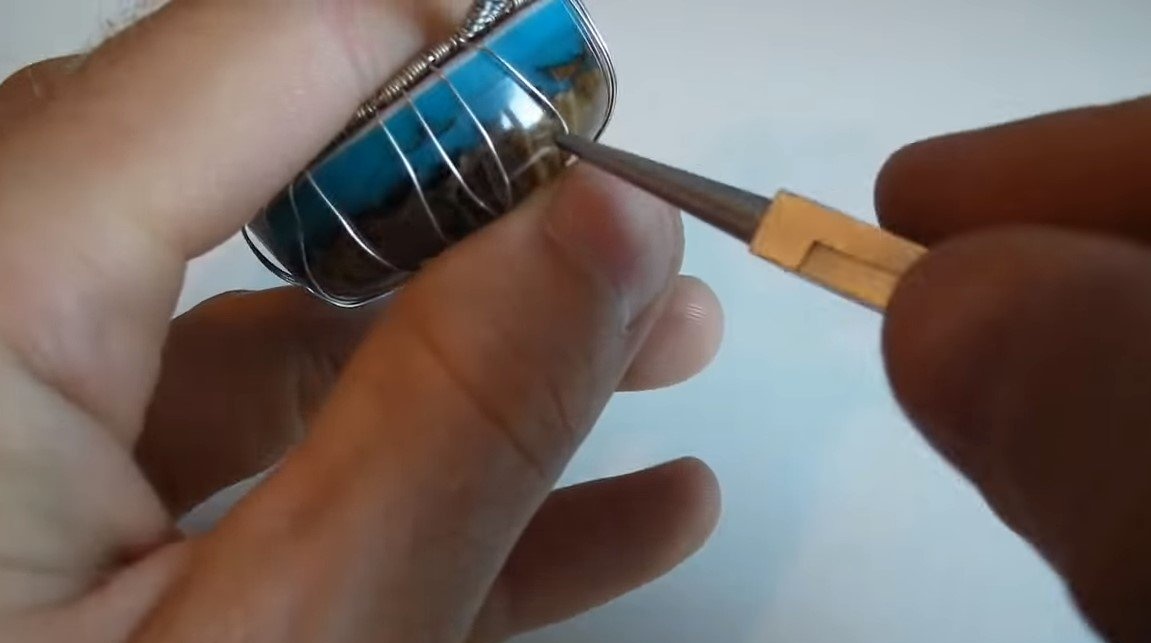
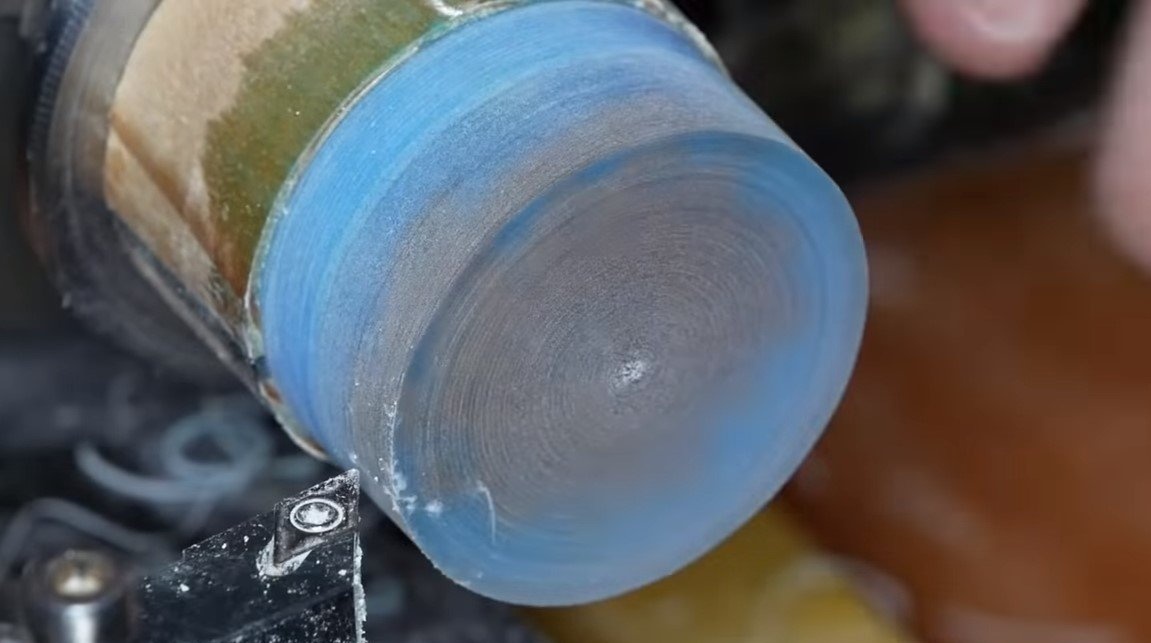
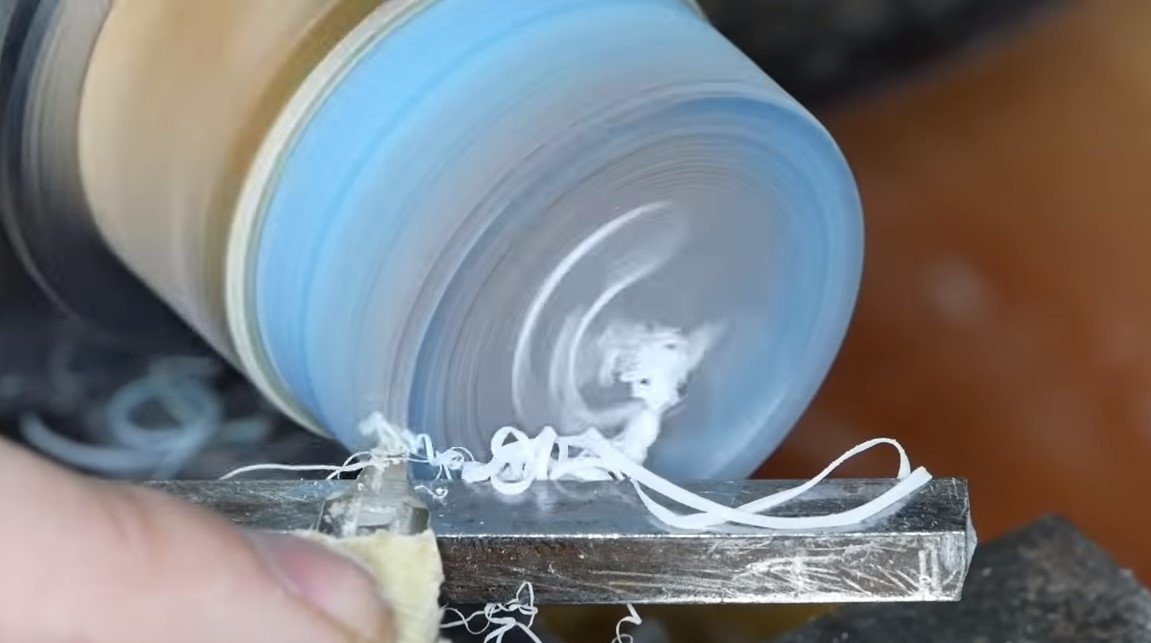
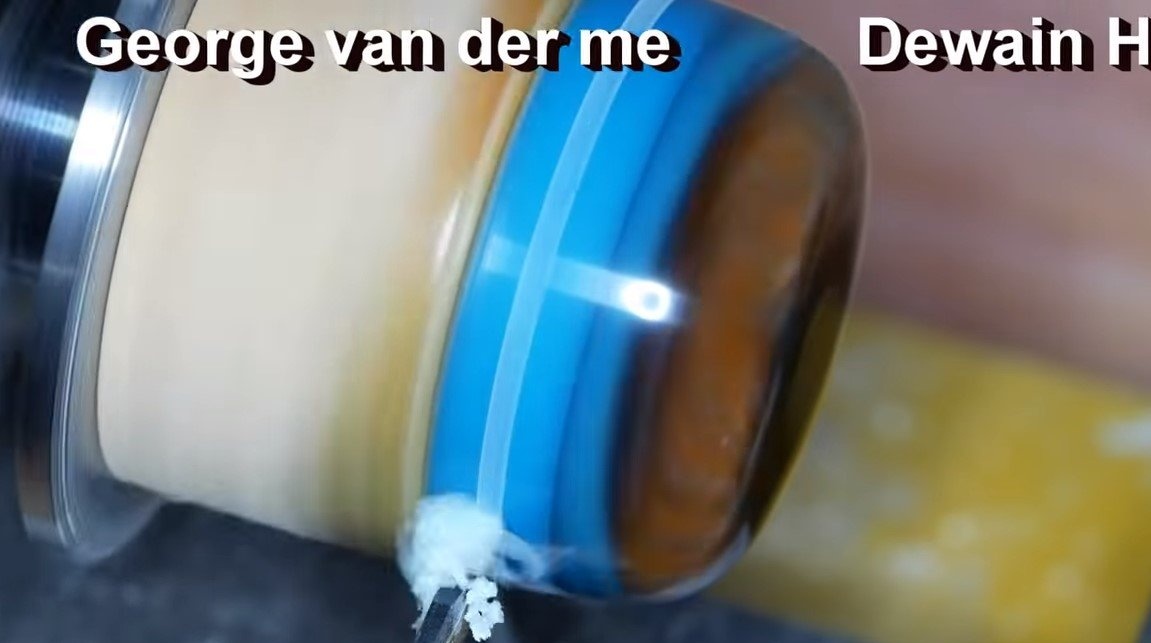
Step Two Turning works
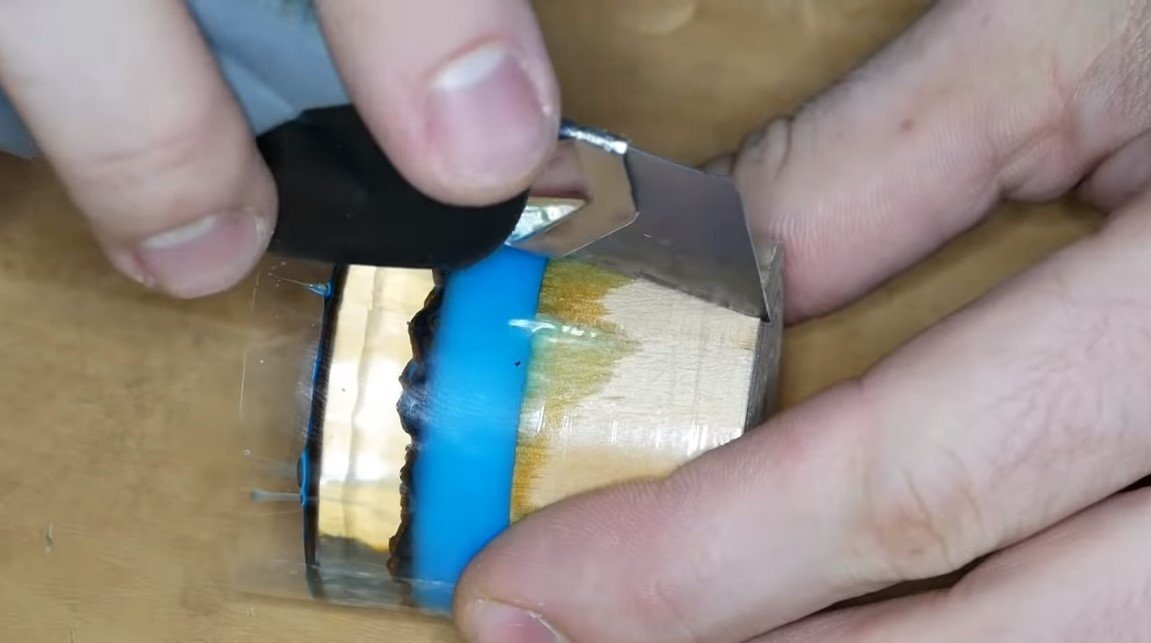
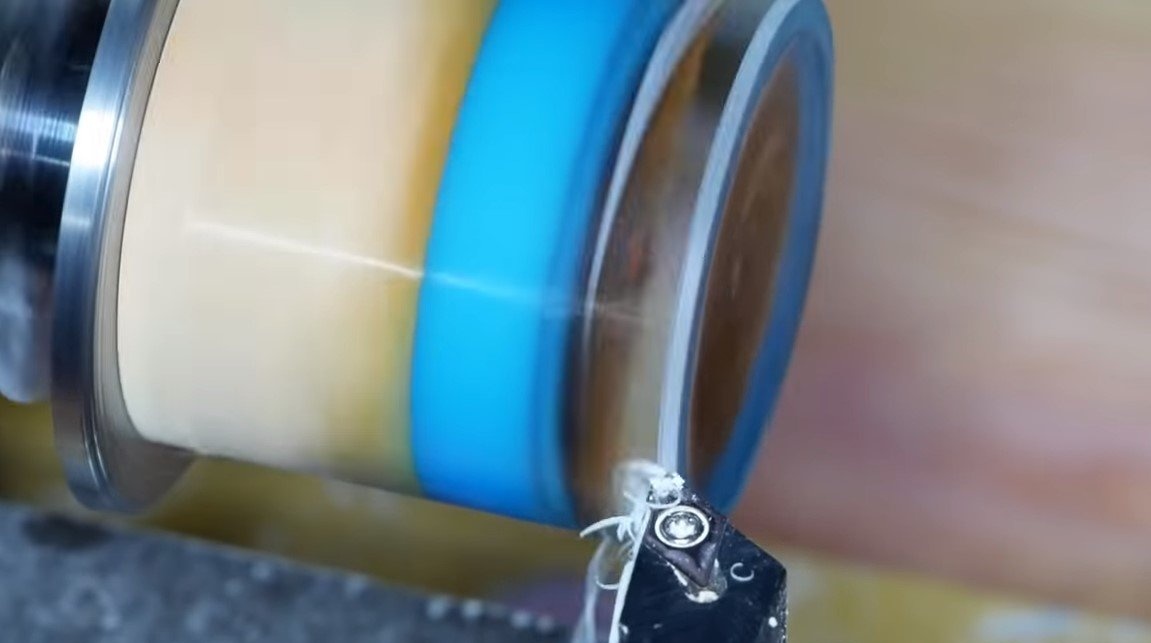
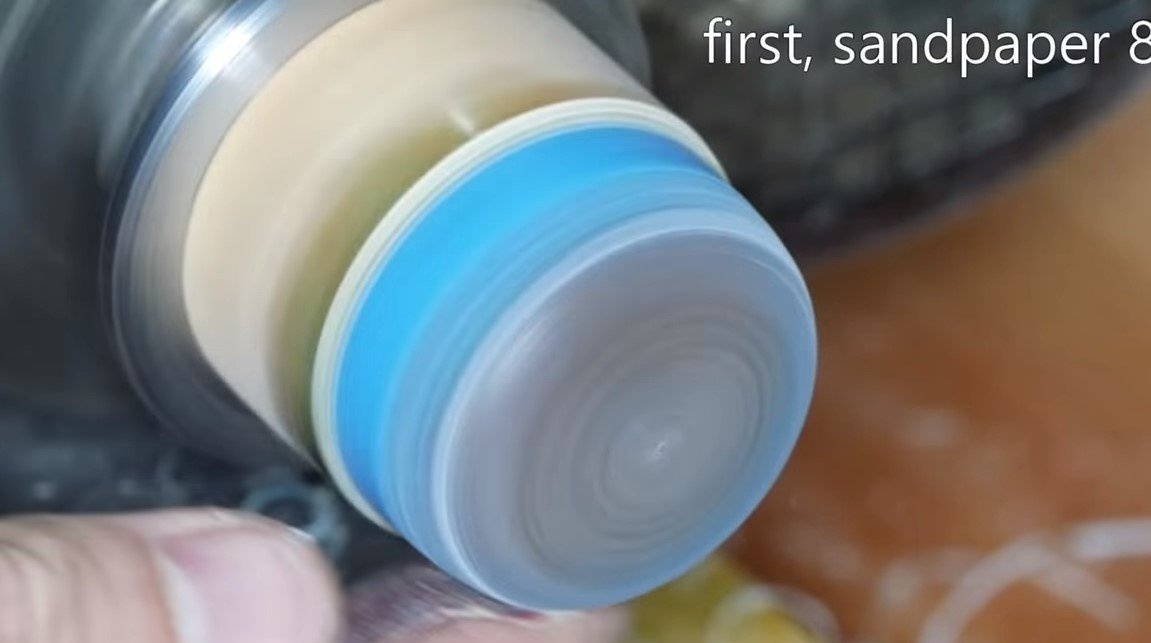
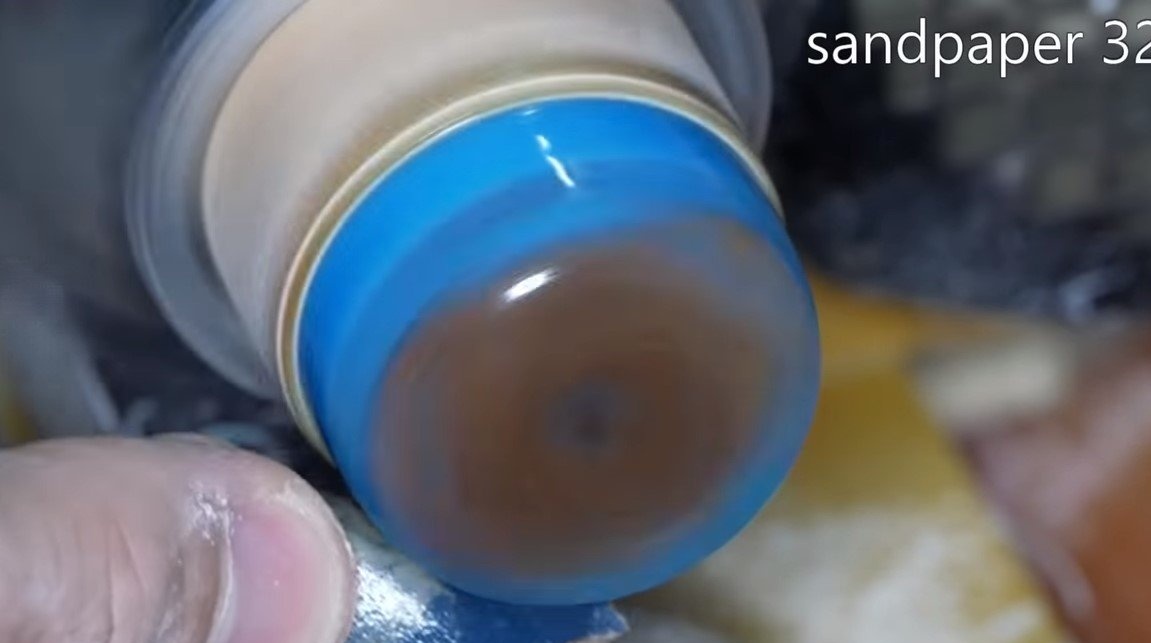
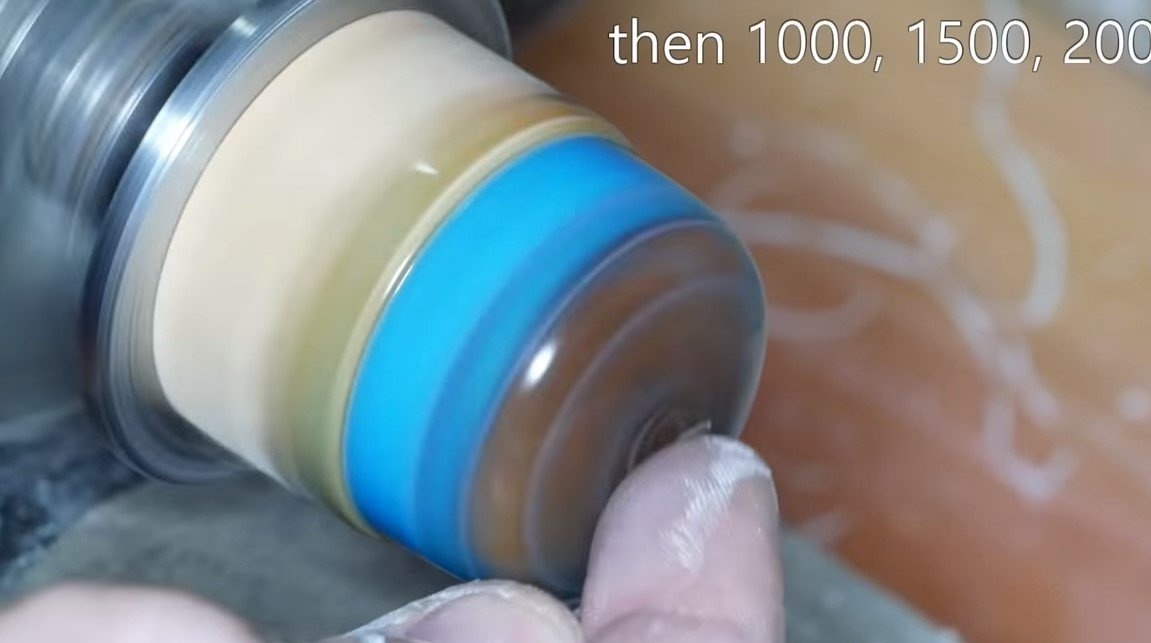
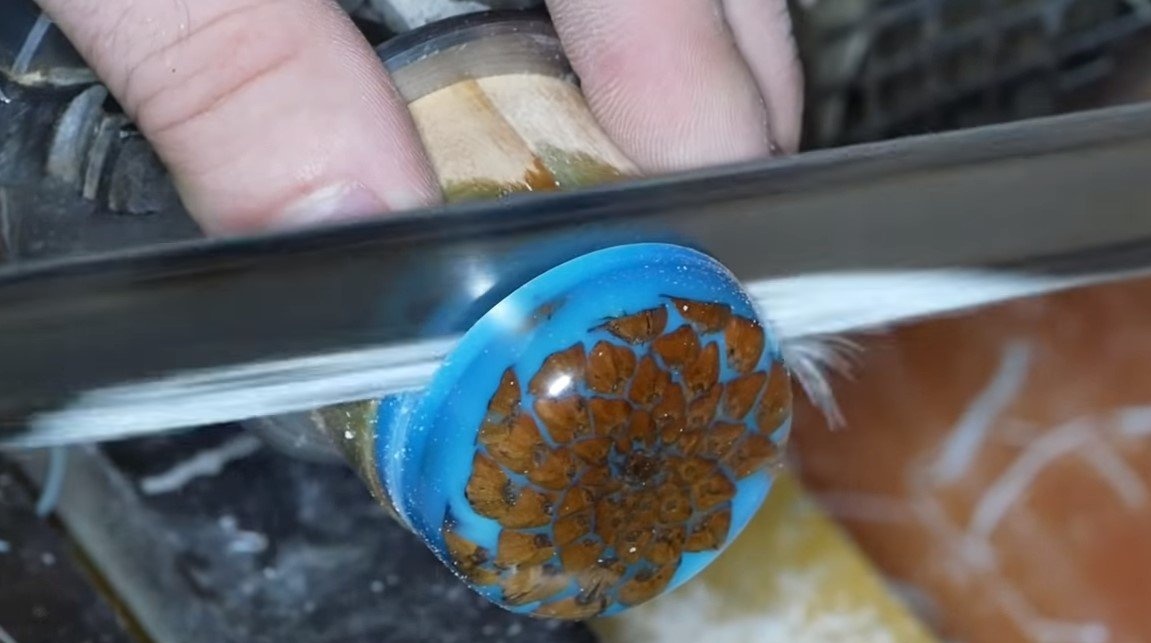
Carefully remove the formwork and proceed with turning. First, with the help of a cutter, we form the desired shape of the pendant, and then proceed to grinding. The author starts with 320 grit paper and gradually switches to 2000 grit paper.
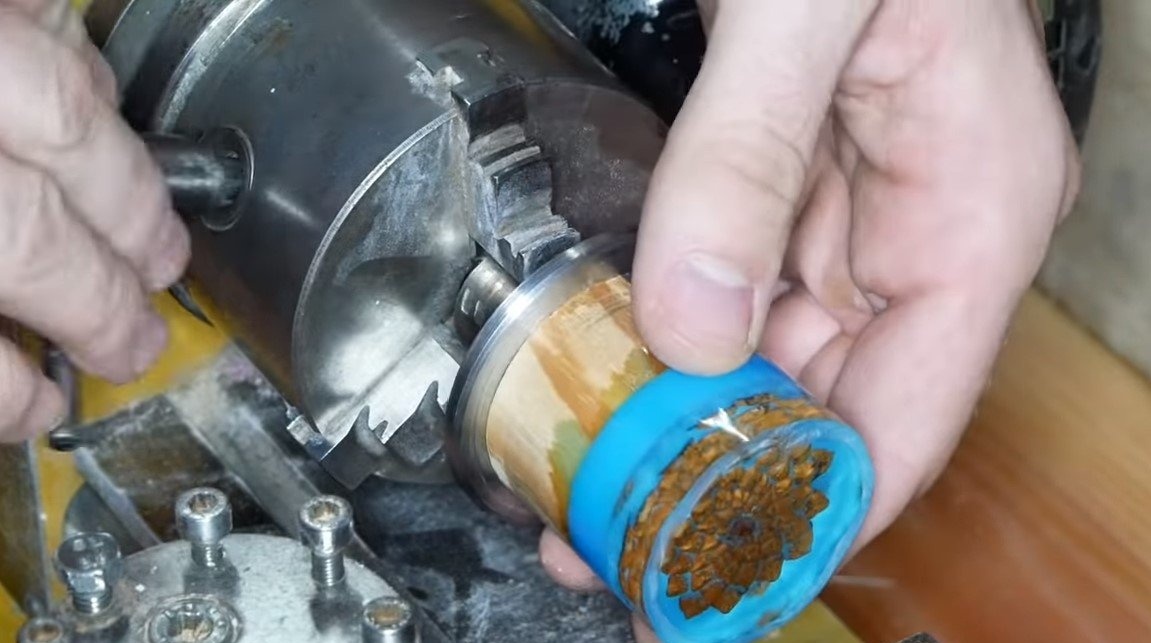
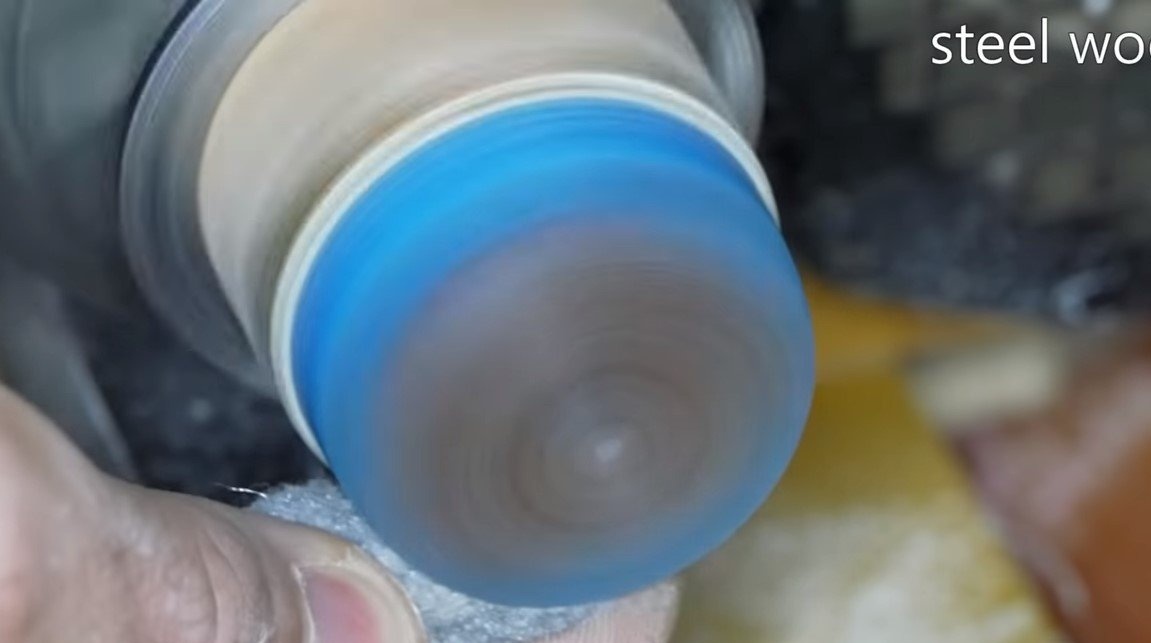
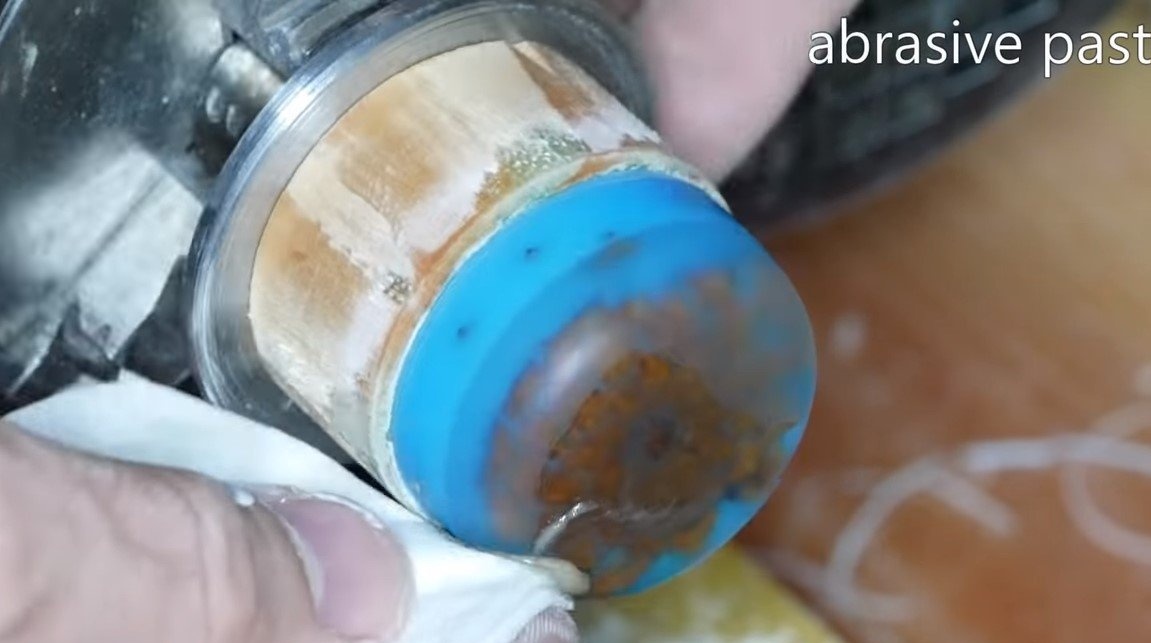
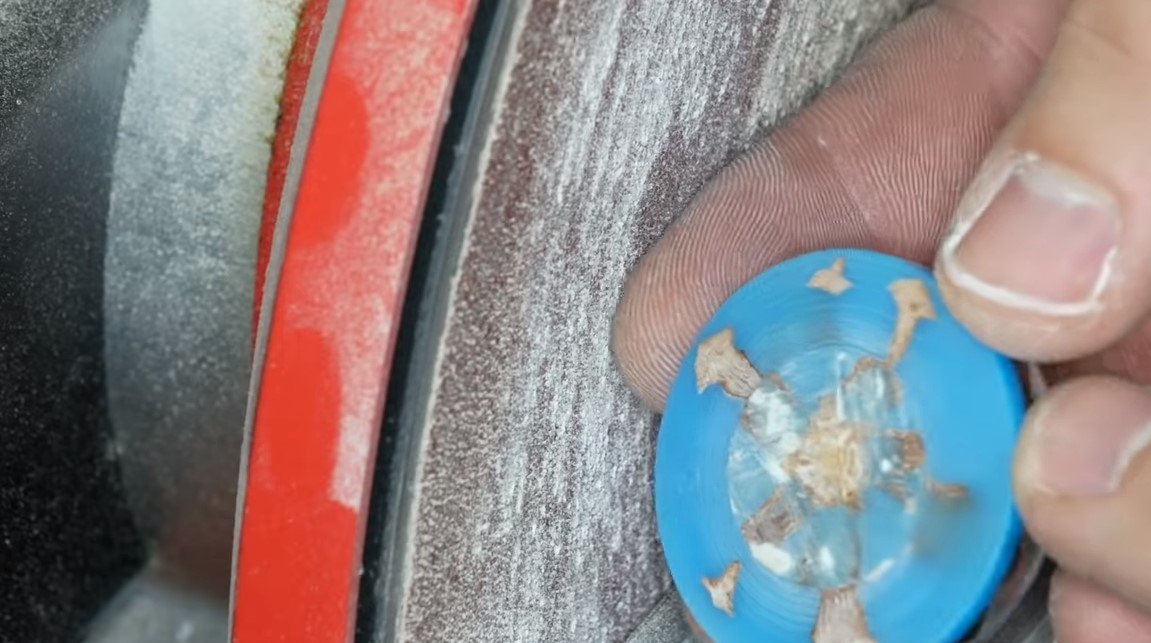
Next, the epoxy resin must be treated with abrasive paste, and in order to restore the primary transparency to the resin, we polish it with a polish.After that, an almost finished pendant can be cut with a hacksaw for metal, and we grind the resulting plane on a disk machine.

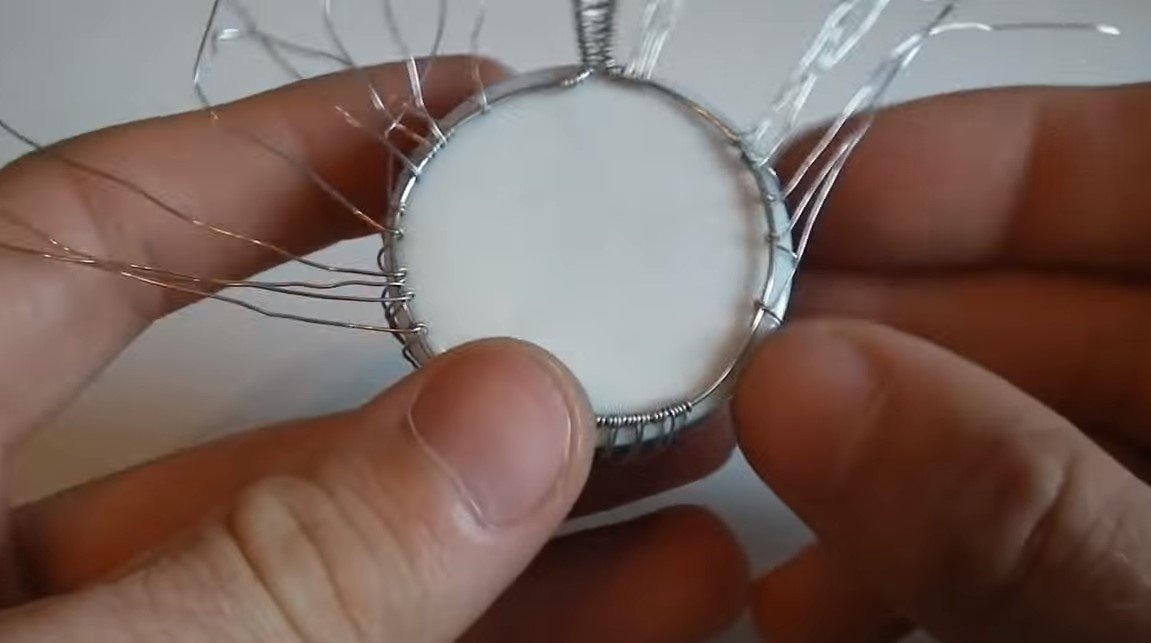
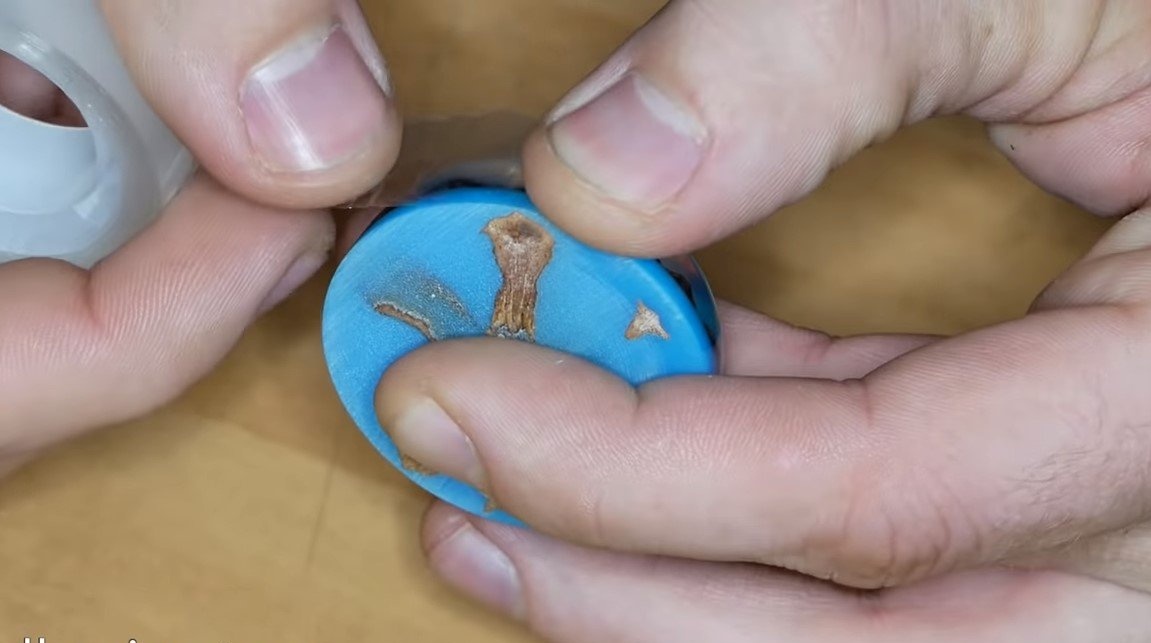
Step Three White layer
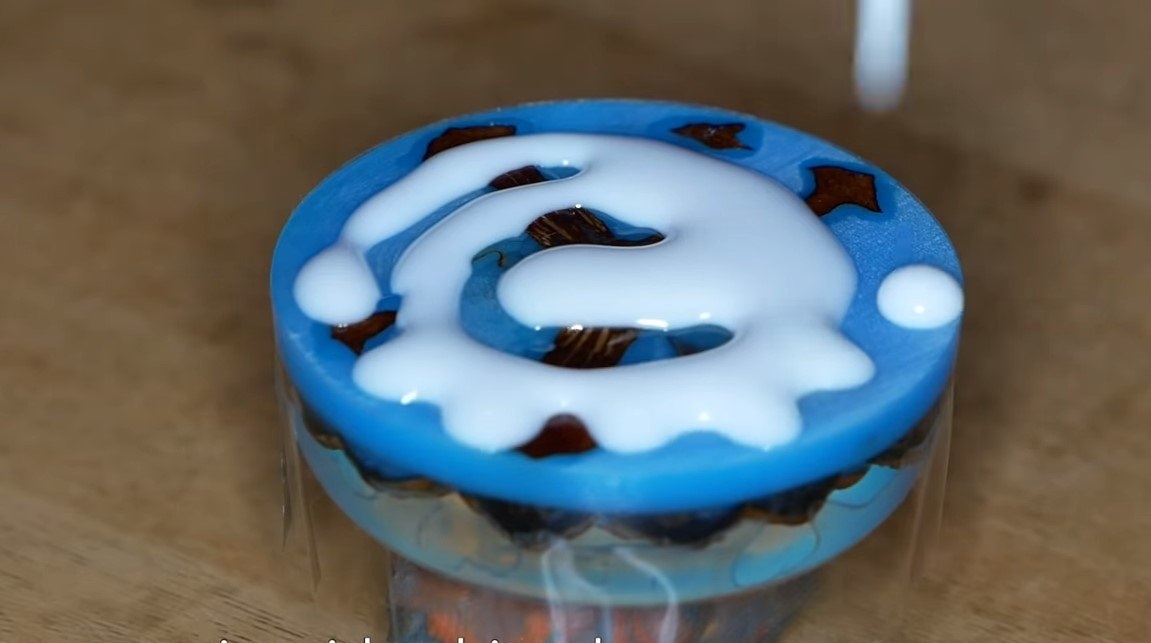
On the back of the pendant is a white layer that gives the pendant an interesting look. To begin with, the author smeared with resin the wooden parts, the resin used was that which hardens from ultraviolet radiation. This is most likely done so that the bump does not give yellow.
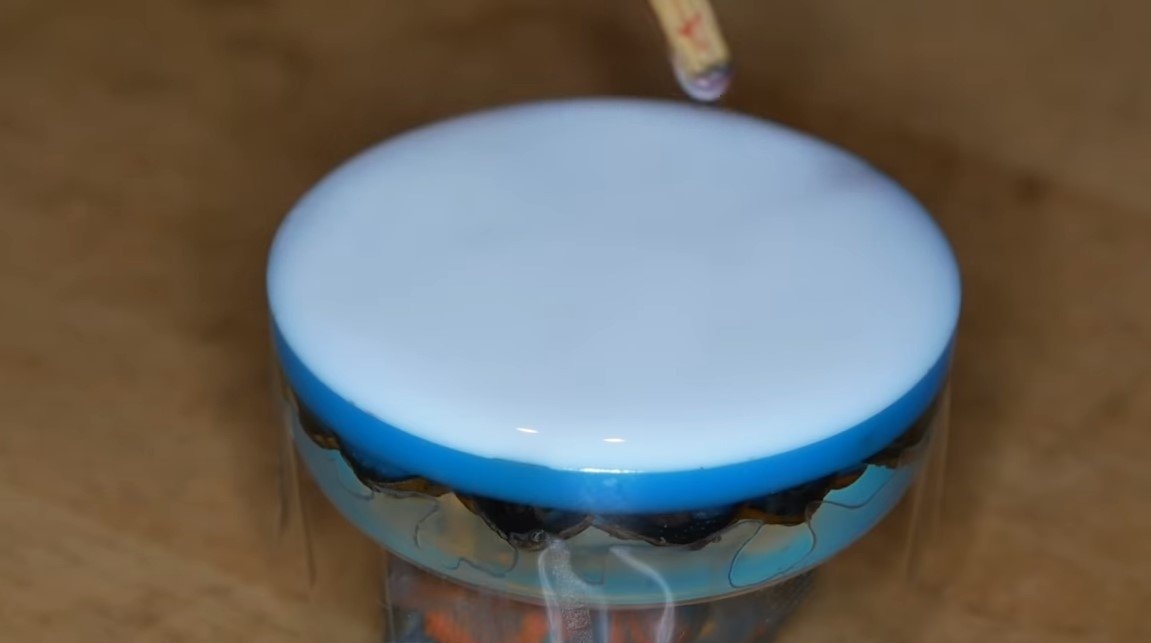
Well, then again we make the formwork from adhesive tape and fill the final layer of resins with white dye, we will not process it anymore.


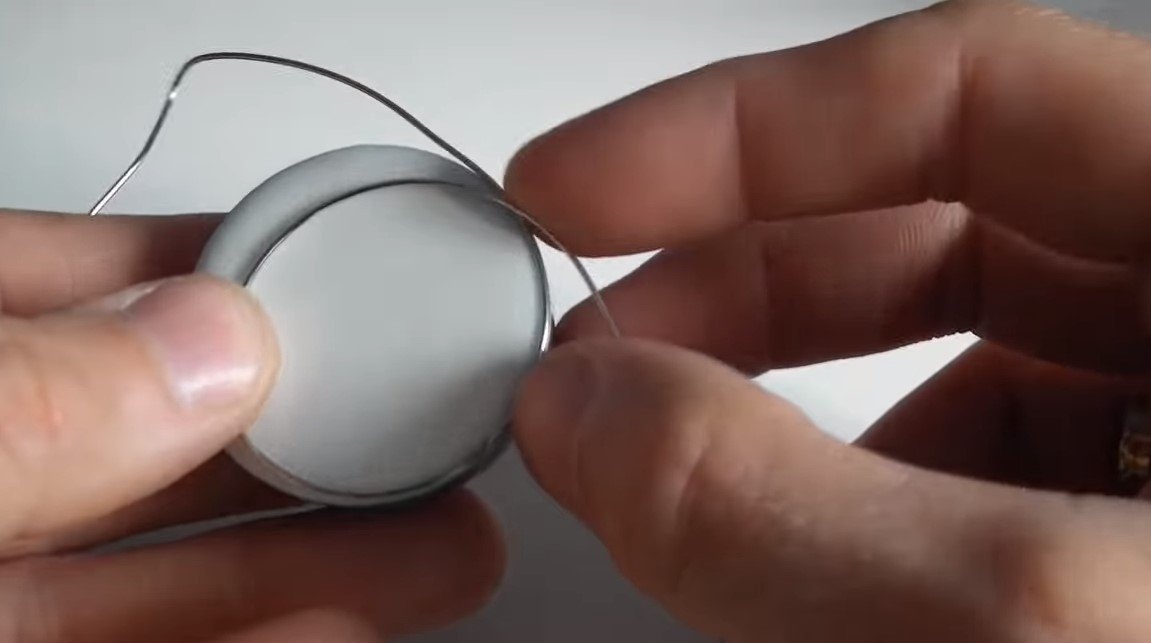
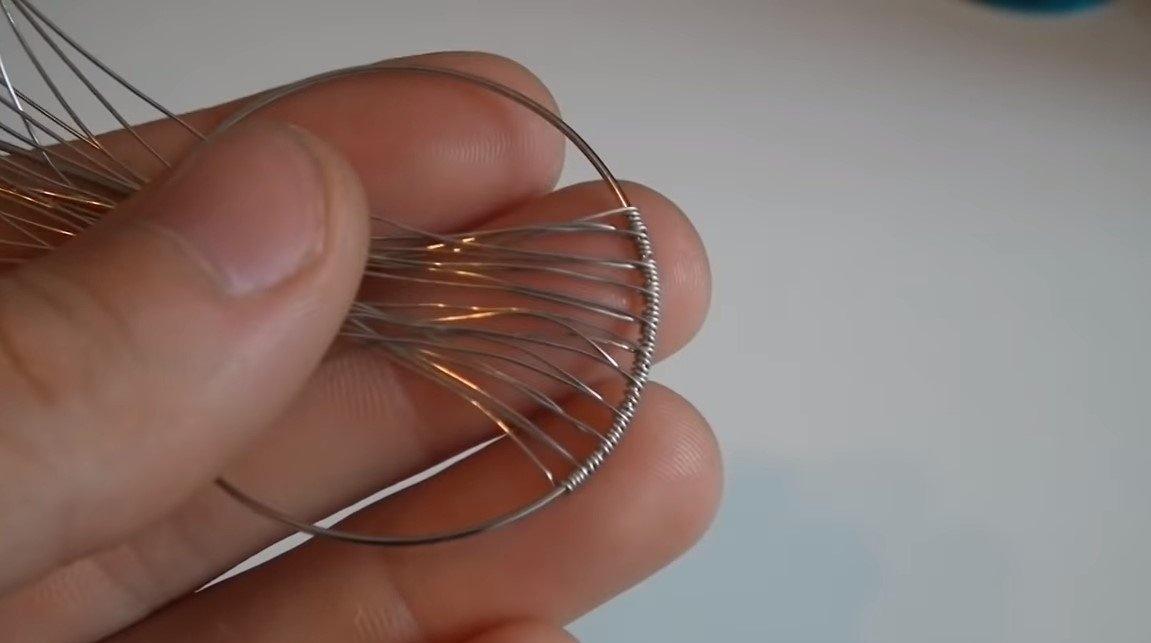
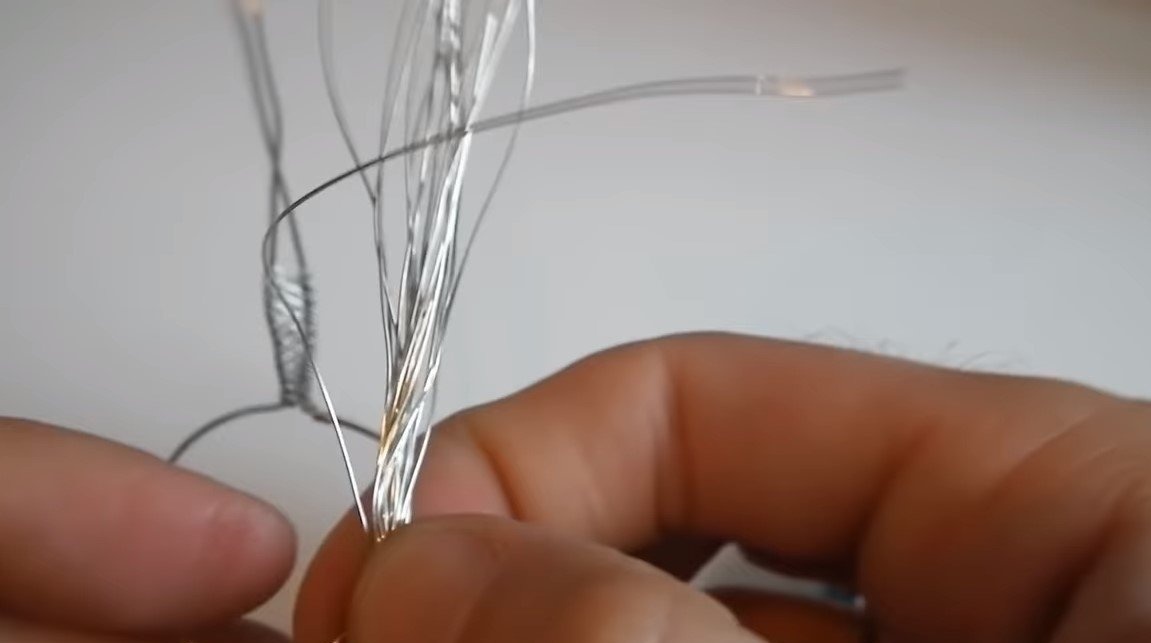
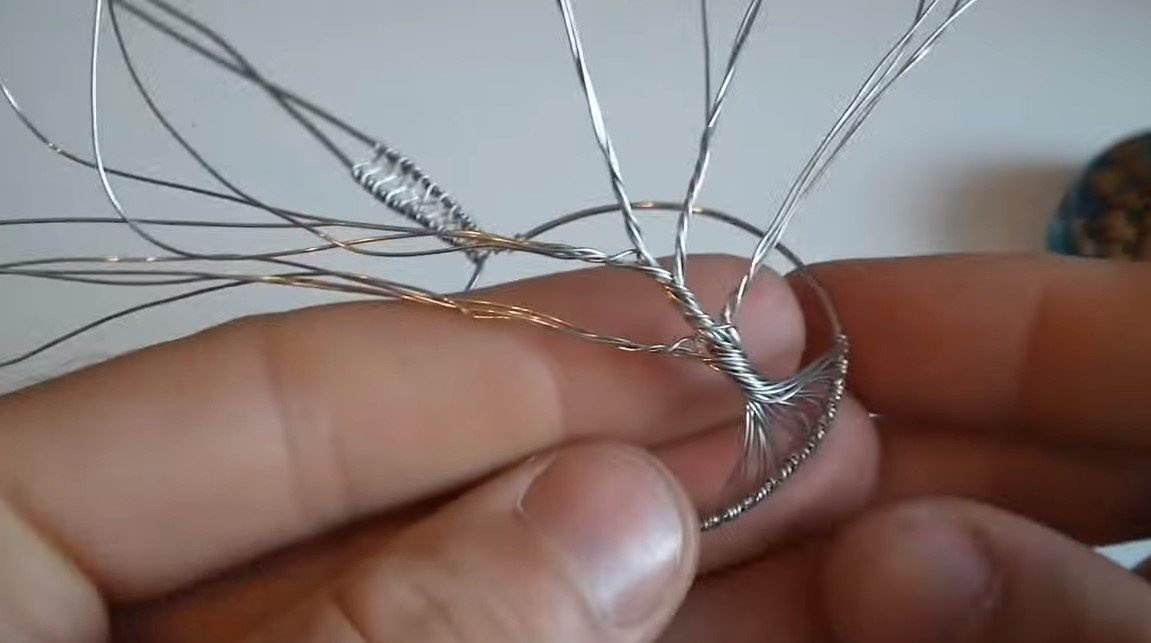
Last step. Working with wire
In conclusion, we need to make a tree imitation of wire, and also equip some holder for the pendant, for which it can be suspended. A ring of thicker wire is installed on the back, and the tree is already made of thinner wire. It is not necessary to use stainless wire, copper is quite suitable, but everything is to your taste. To make the tree more realistic, in the end the author bends its branches with pliers.
The result is a rather interesting pendant that every lady and not only will appreciate. This is the end of the project, I hope you liked the homemade work, and you found useful thoughts for yourself. Good luck and creative inspiration, if you decide to repeat this, do not forget to share your ideas and homemade things with us!