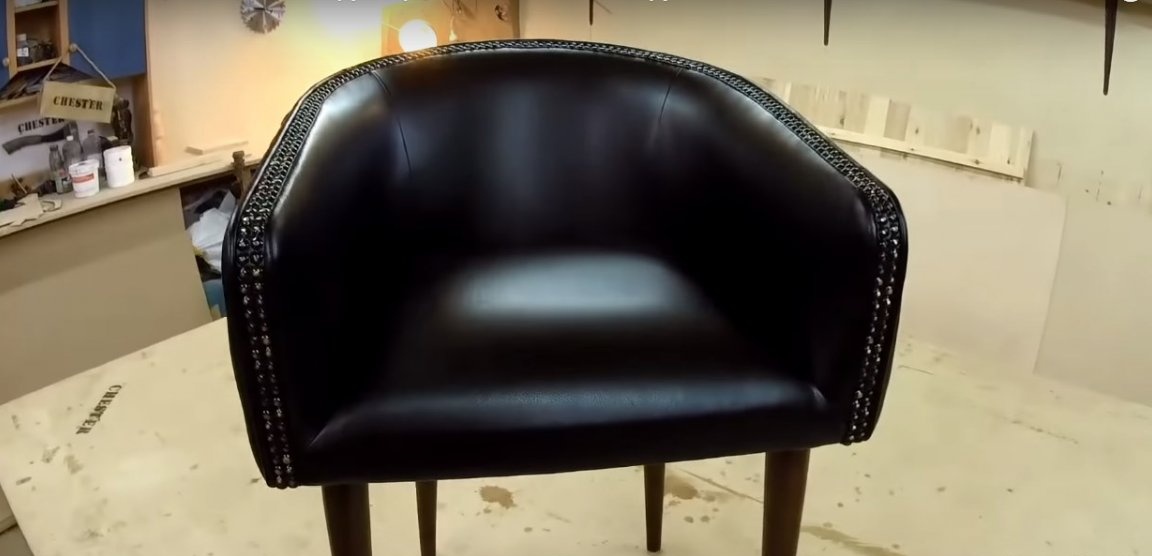
Bar stool - extremely comfortable element of furniture, which, of course, is not only found in bars. As a rule, a distinctive feature of a bar chair or chair is its height. Since the bar counts are quite high, the legs of the bar stools are long.
This bar chair in the style of old American films is made by the author in his home workshop according to pre-prepared templates. Such patterns can be made independently, however, the level of complexity of this project is suitable for advanced furniture makers.
The chair is made of plywood, foam, thick leatherette and finished legs with a fastening system. The upholstery is made using the carriage coupler technique. Of the specific tools you will need a pneumatic furniture stapler and possibly a spray gun, which will greatly facilitate the work.
So, in order to make a soft bar chair from leatherette do it yourself you will need:
Materials:
- plywood 12-15 mm thick for the manufacture of load-bearing frame elements;
- plywood 5 mm thick for sheathing the frame;
- leatherette for covering the chair;
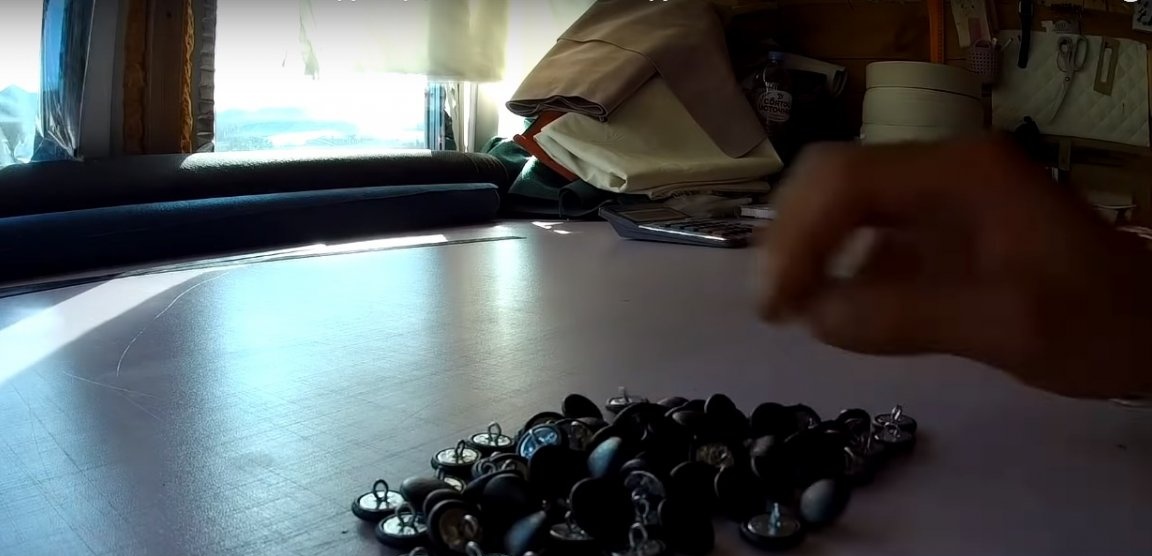
- finishing buttons for carriage screed;
- a cord and a leatherette strip or a finished furniture edging of a suitable color;
- furniture foam 40-50 mm thick;
- thin foam rubber or synthetic winterizer;
- finished wooden or metal legs;
- glue;
- furniture screws and screws;
- metal furniture buttons;
- textile furniture tape or furniture belt;
- metal furniture molding.
Instruments:
- pneumatic furniture stapler;
- jigsaw;
- spray gun for glue;
- electric drill, wood drill and crown for drilling holes in foam rubber;
- screwdriver;
- hammer;
- stationery knife;
- square, construction tape, flexible metal tape;
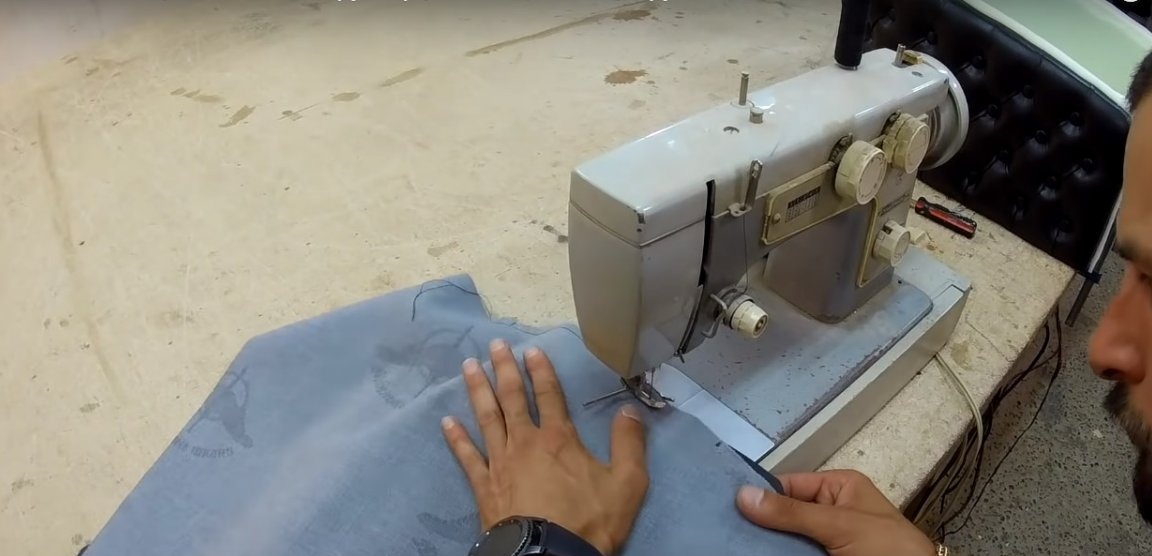
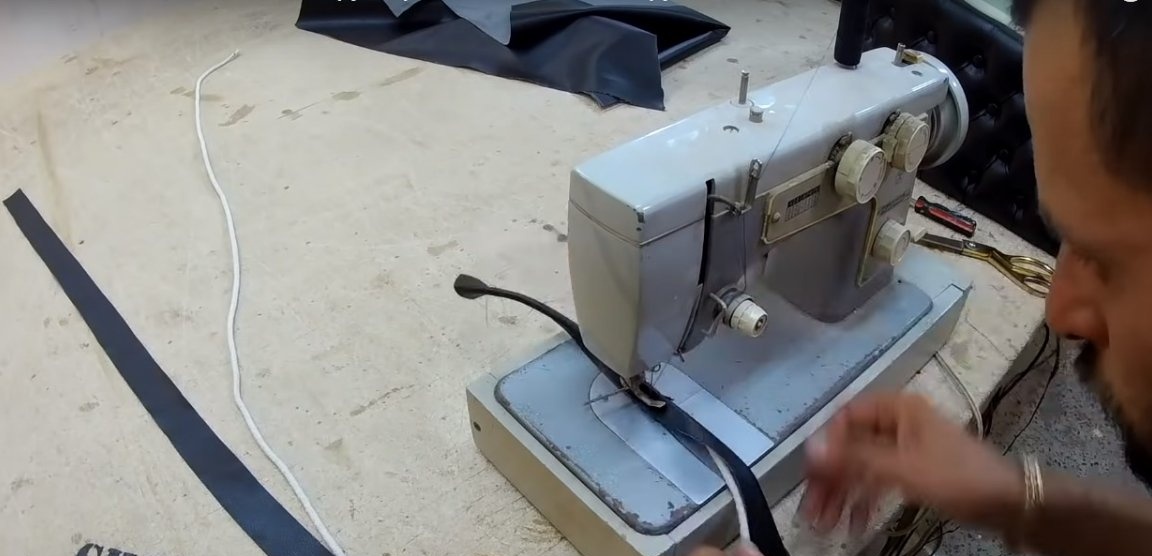
- sewing machine;
- marker.
Manufacturing process:
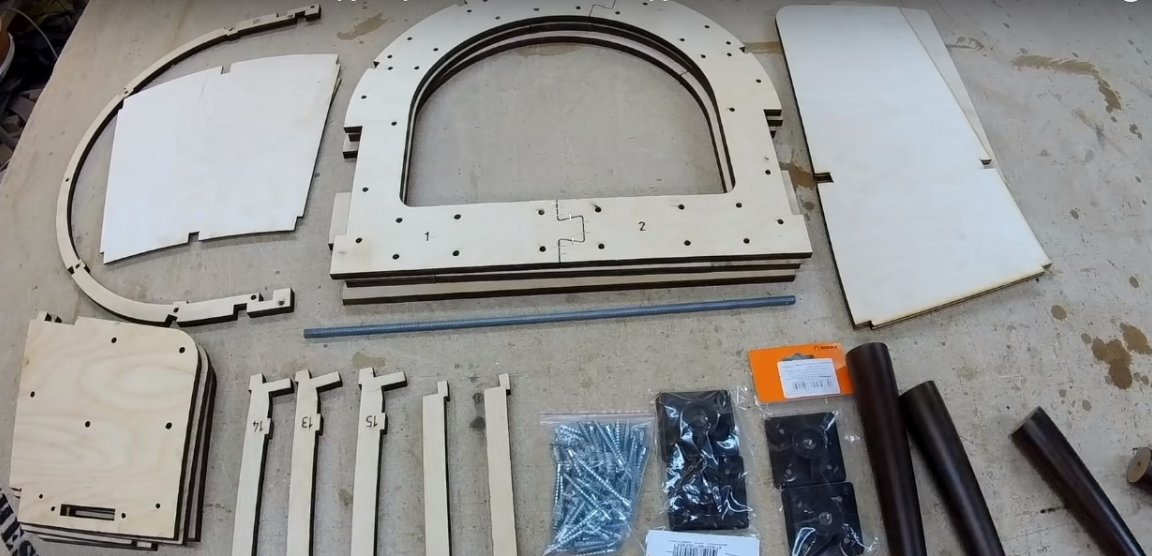
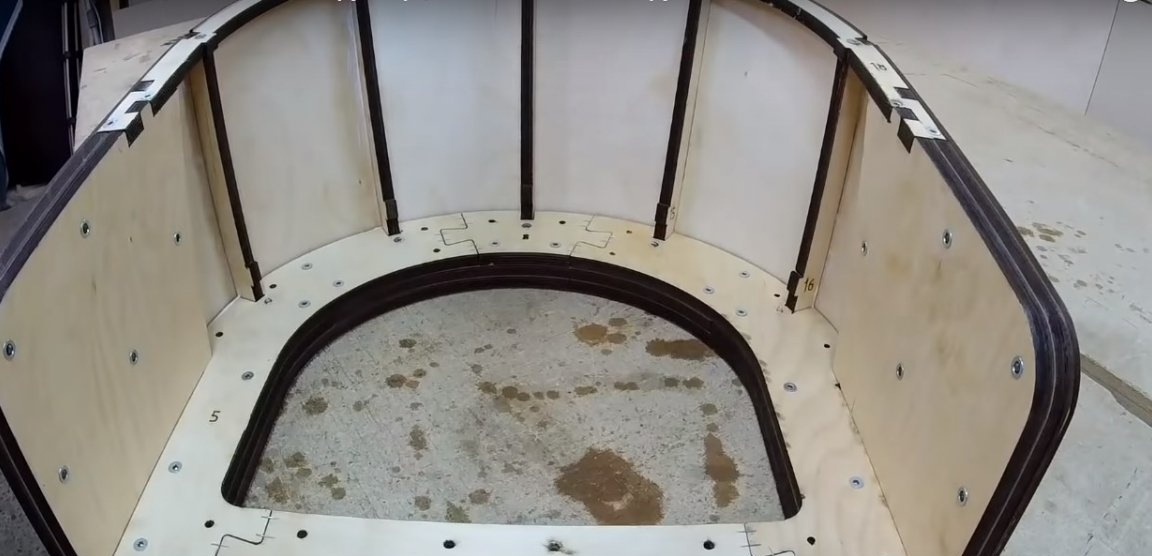
Step One: Making Frame Parts
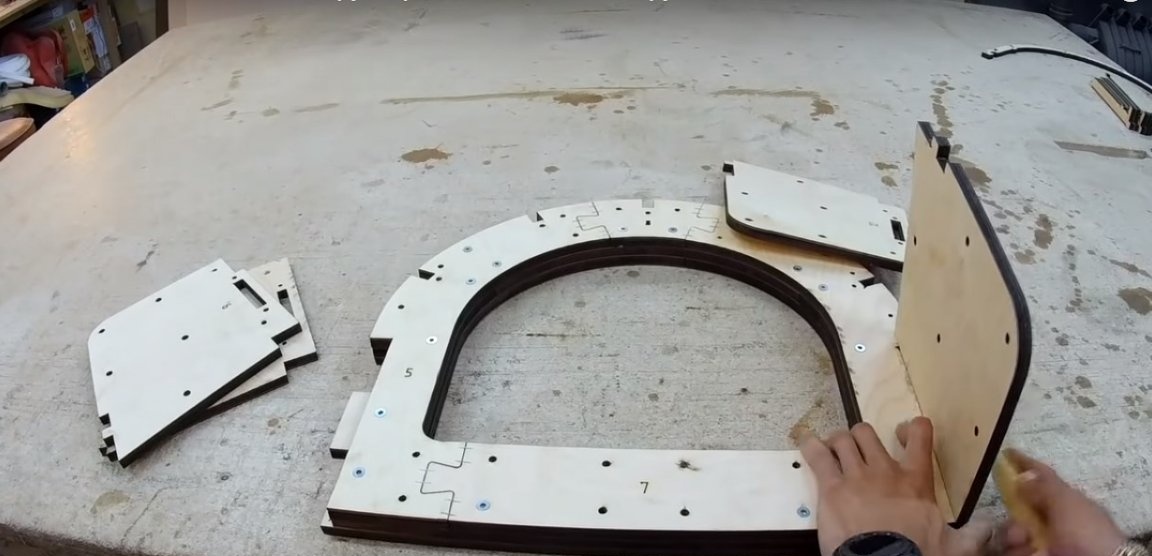
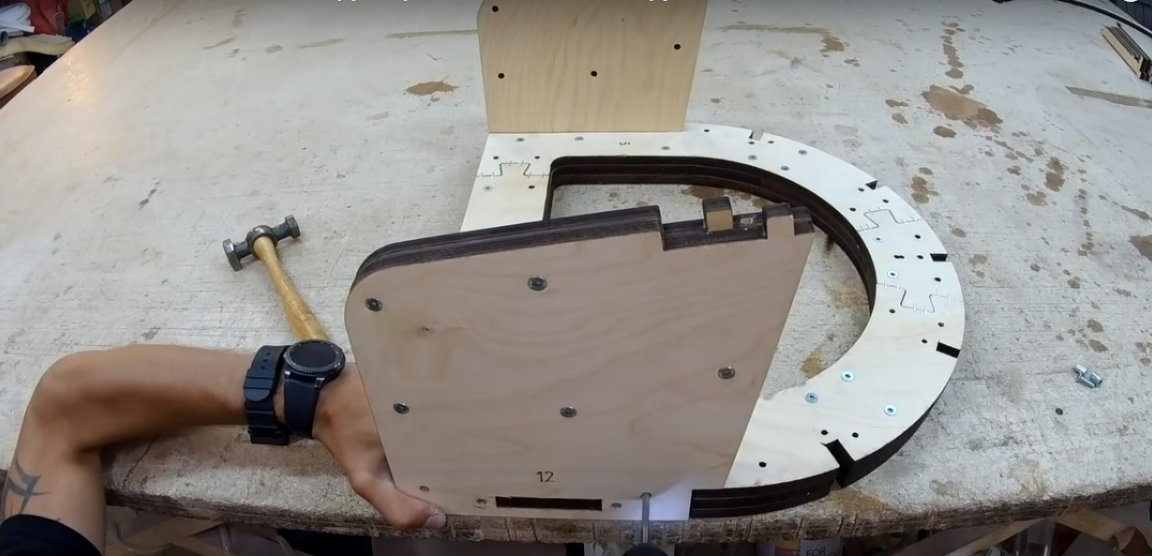
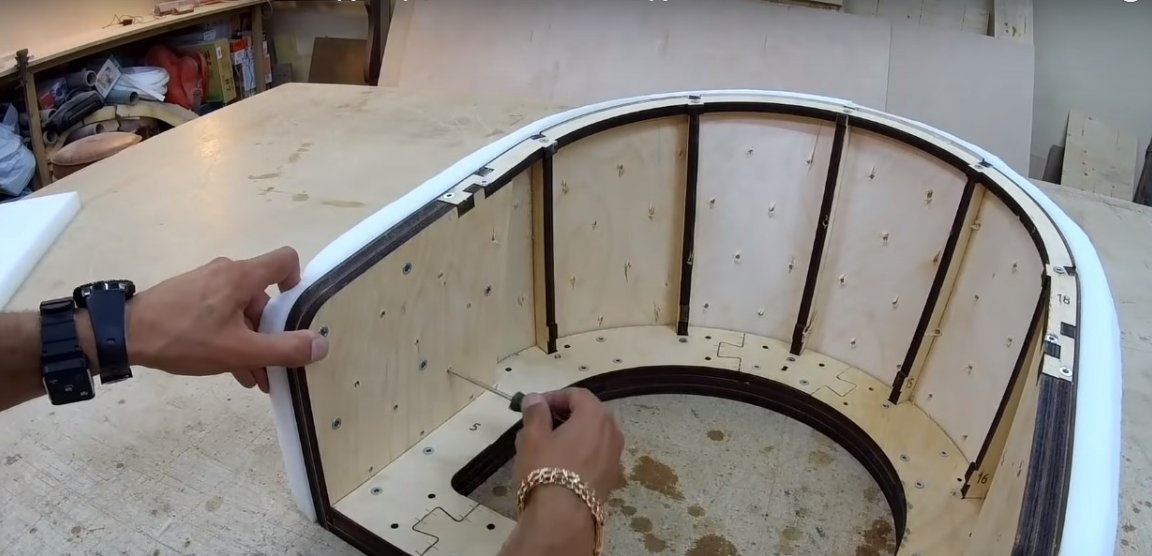
The frame of the chair consists of plywood parts, cut according to previously prepared patterns. The basis of the frame is a multi-layered seat, to which the vertical guide backs and the upper part of the back are attached.
Each part has grooves that provide the frame additional rigidity in the assembled state. The edges of the plywood parts must be sanded by hand.
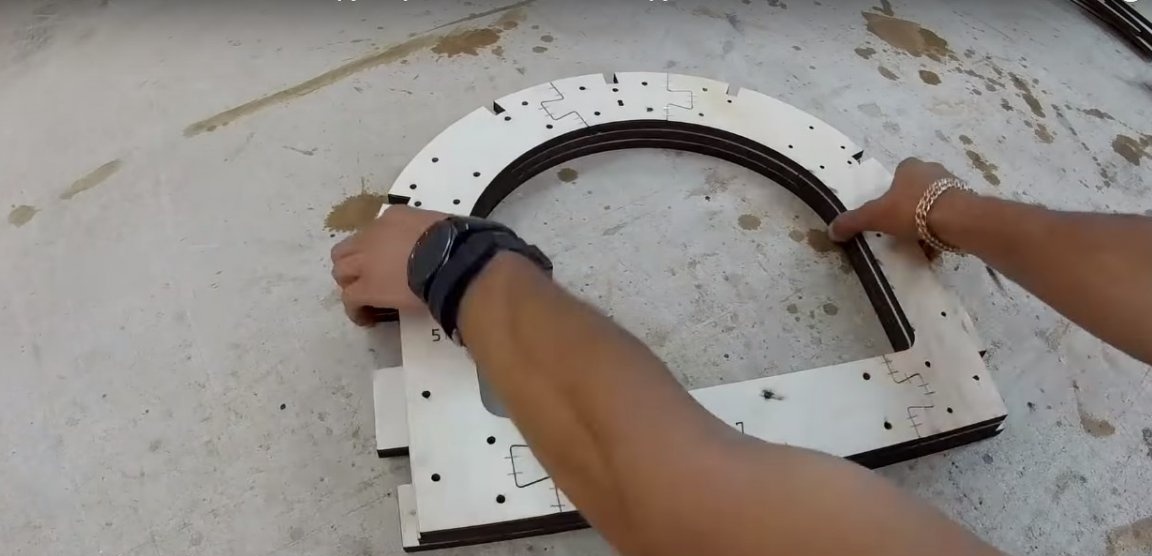
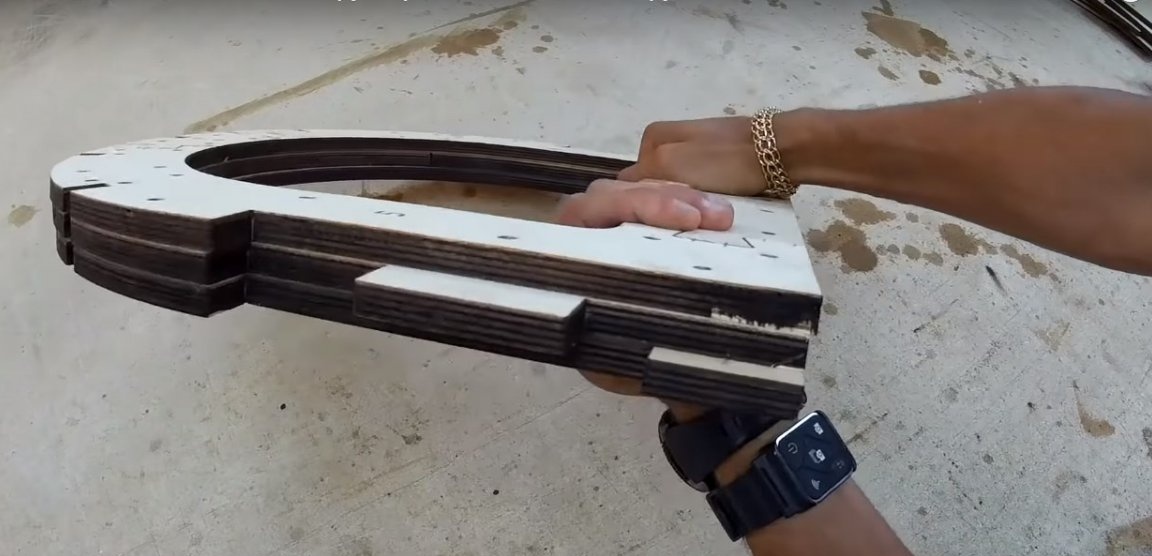
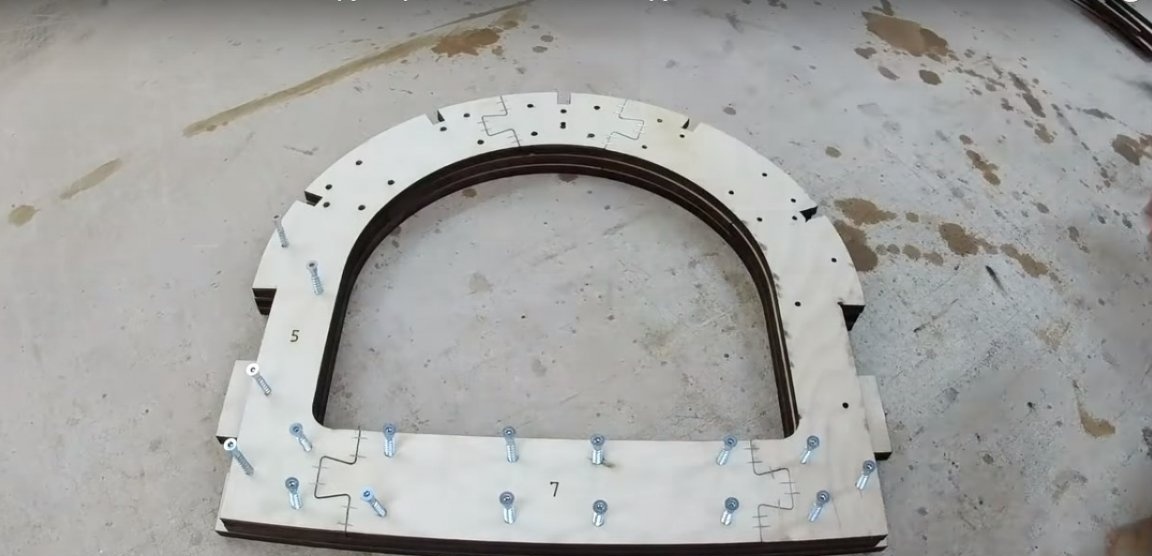
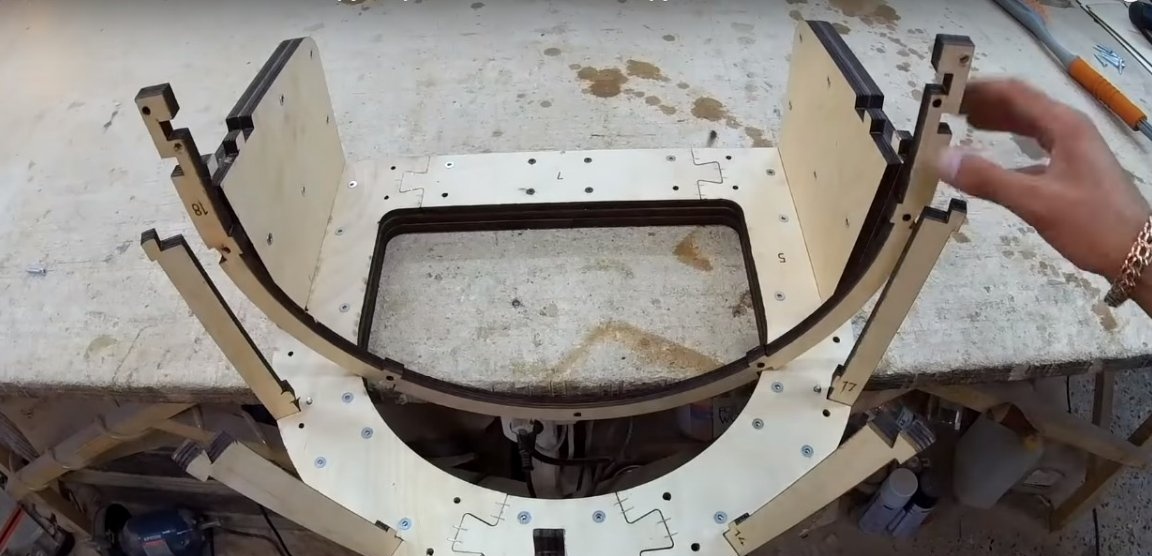
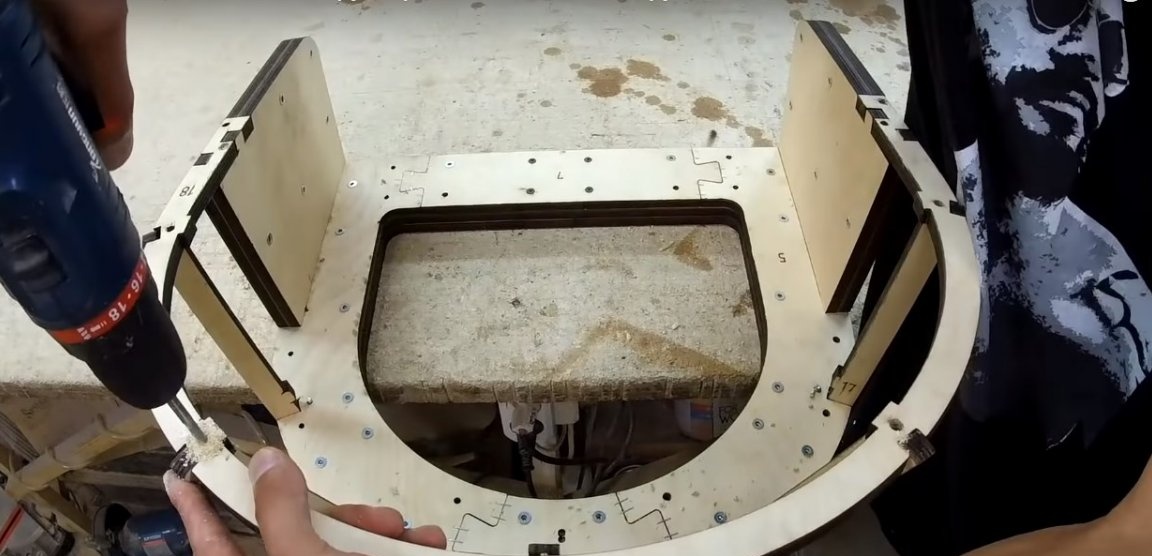
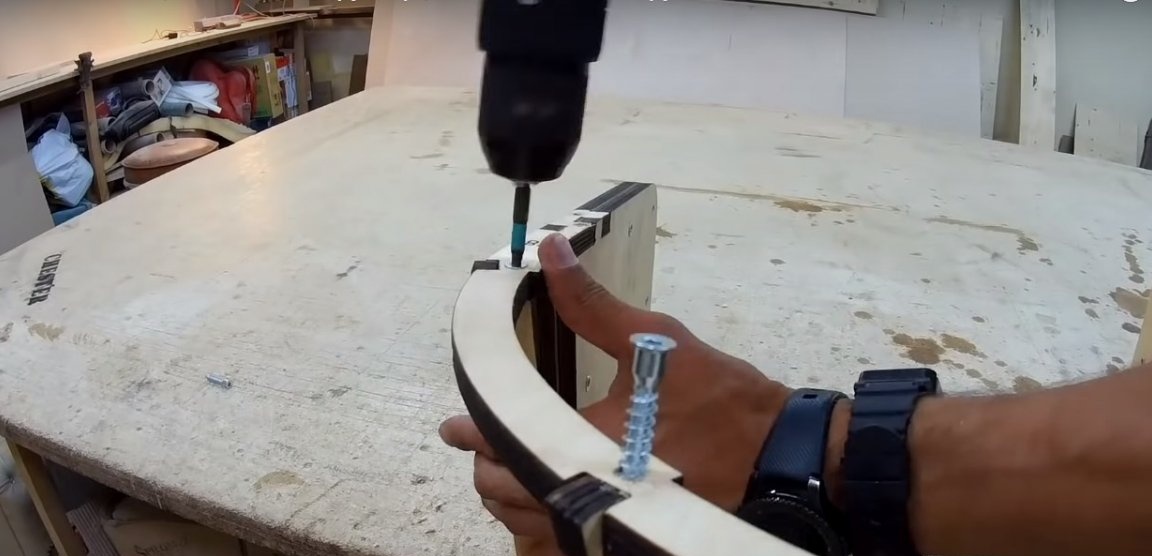
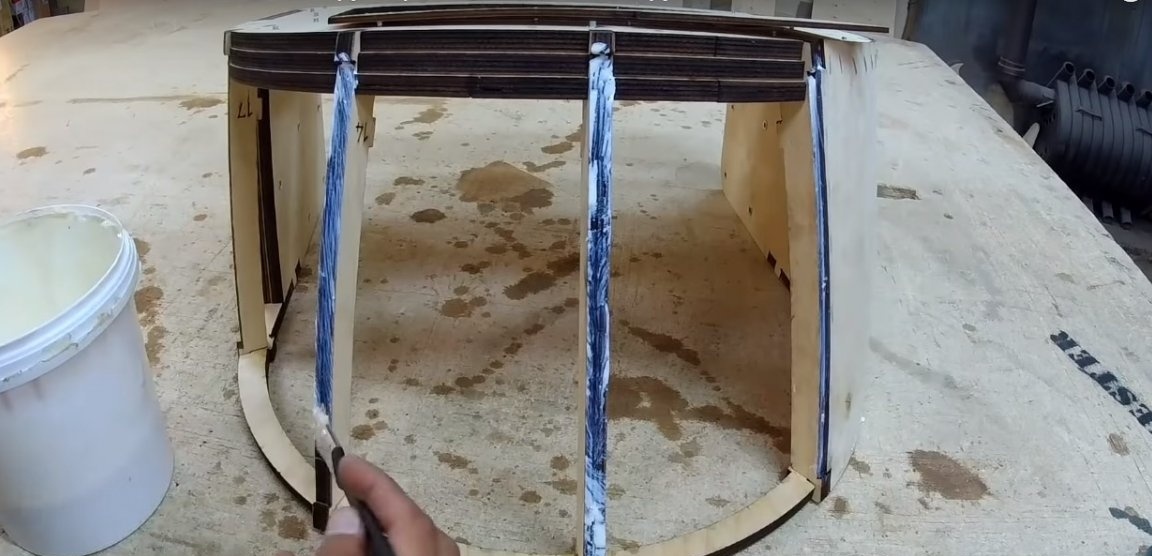
Step Two: Frame Assembly
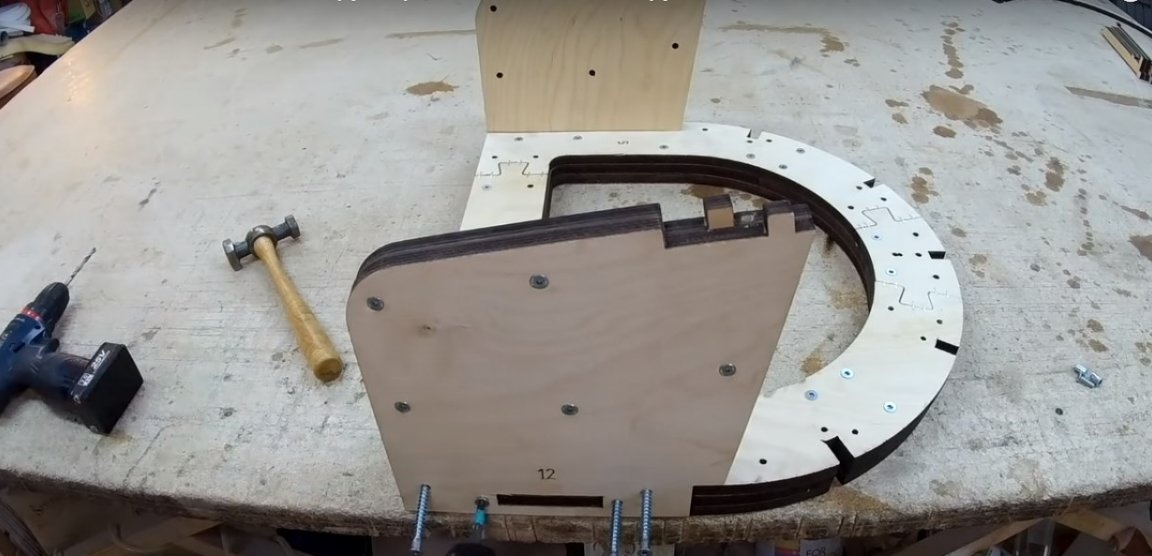
Start assembling the seat frame by connecting the 3 seat parts together.To do this, you will need glue and furniture screws.
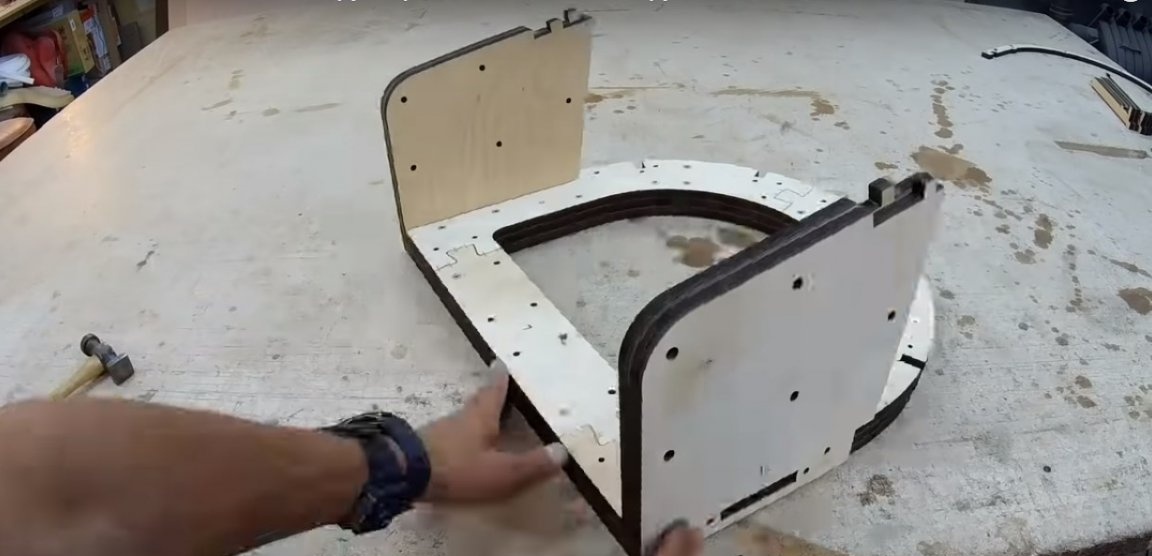
Install the side parts on the seat and secure them with screws. Please note that the sidewalls are made of two layers of thick plywood.
Fix also the vertical directing backs. Screw the upper narrow part of the backrest with screws.

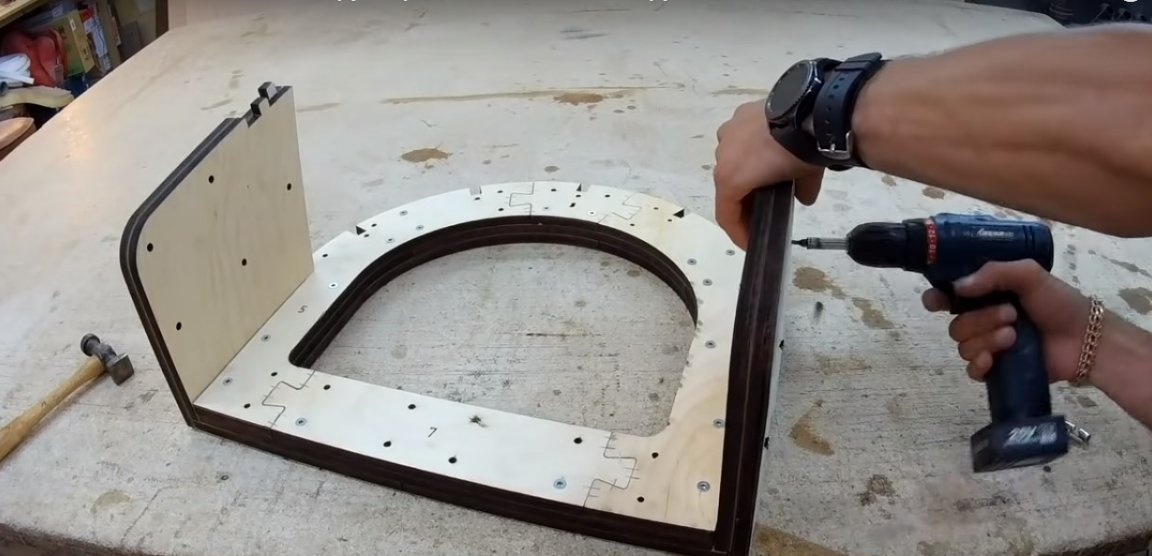
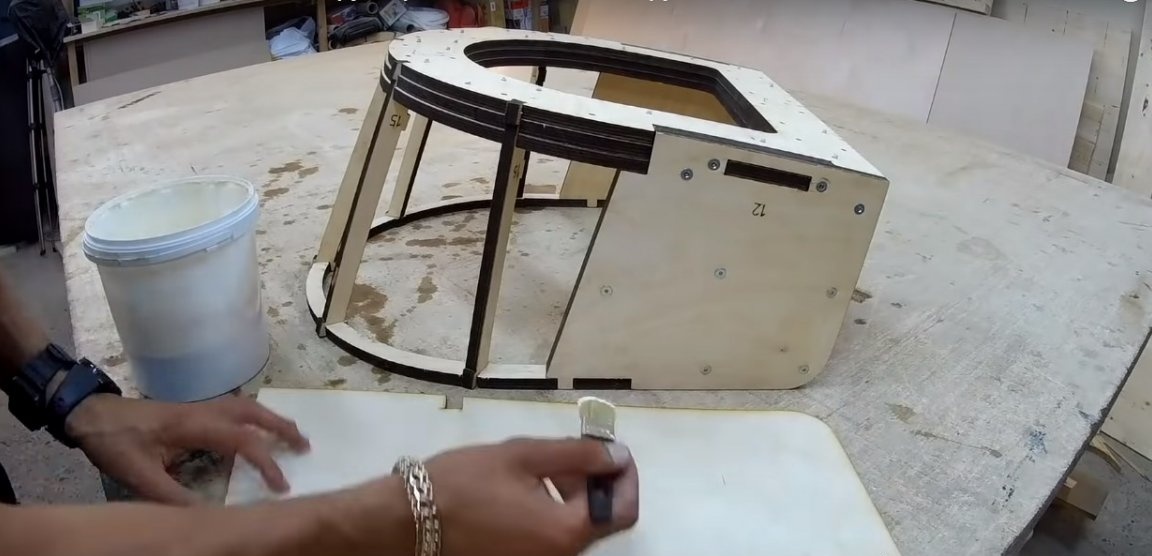
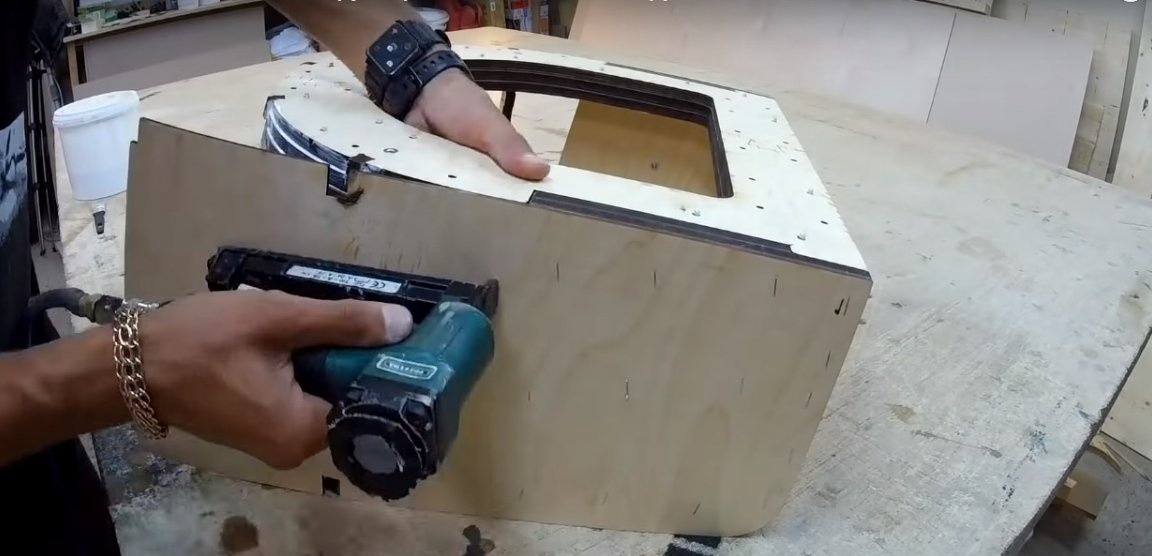
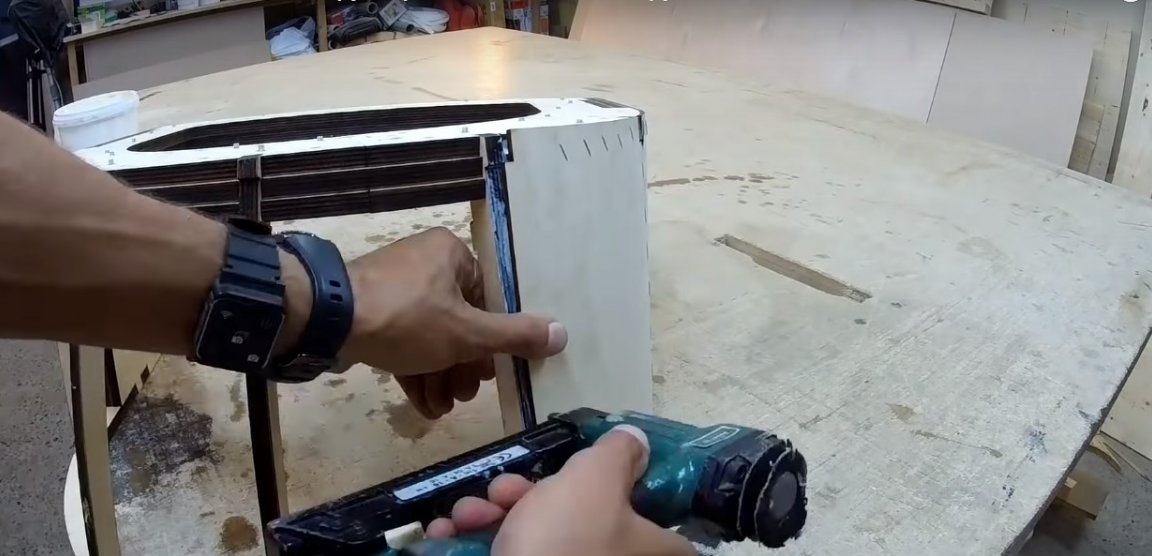
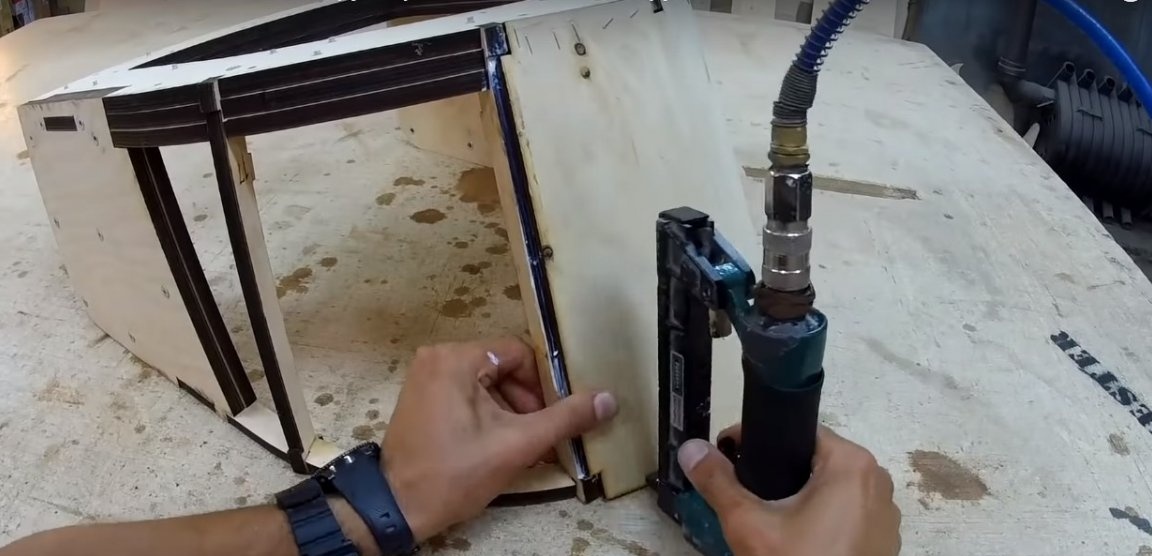
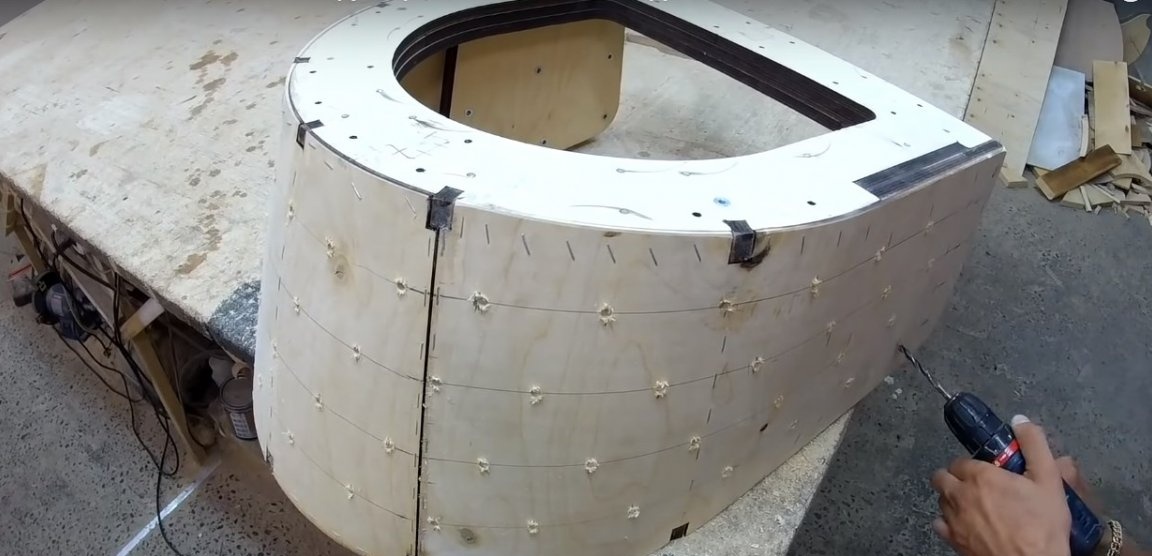
Step Three: Frame Cladding
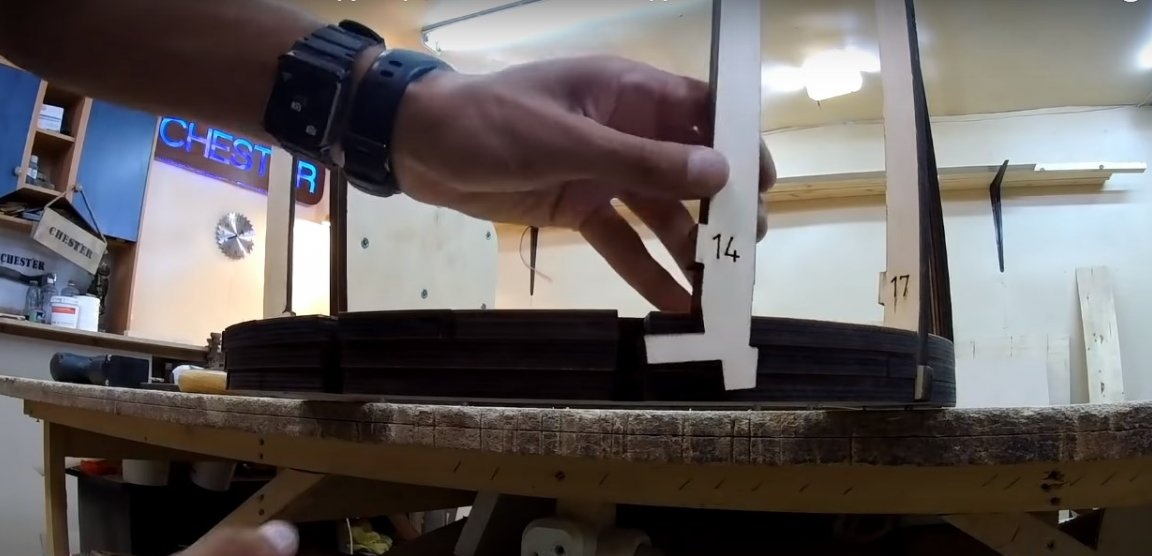
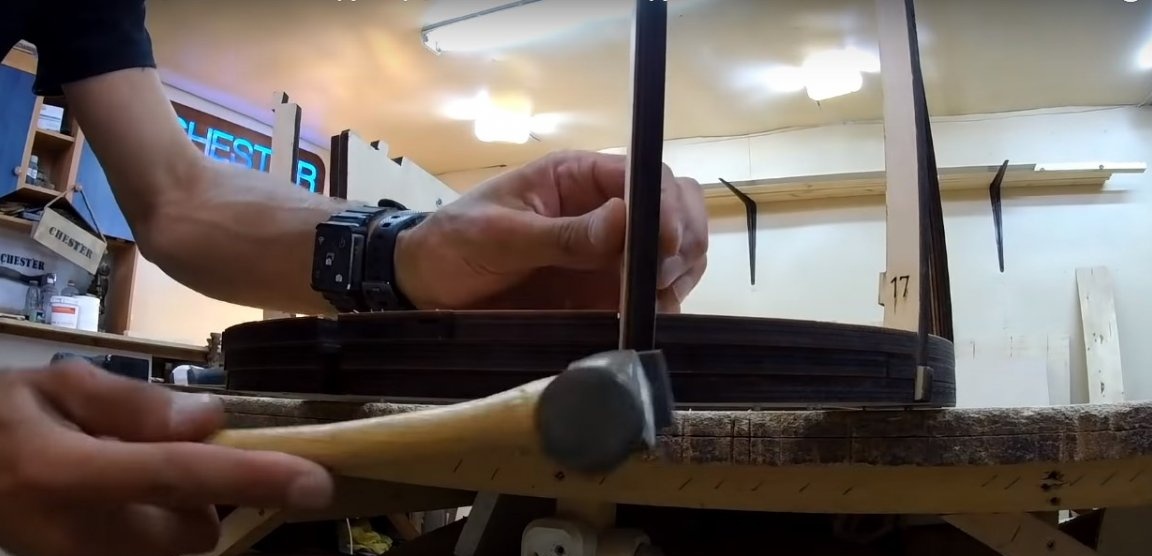
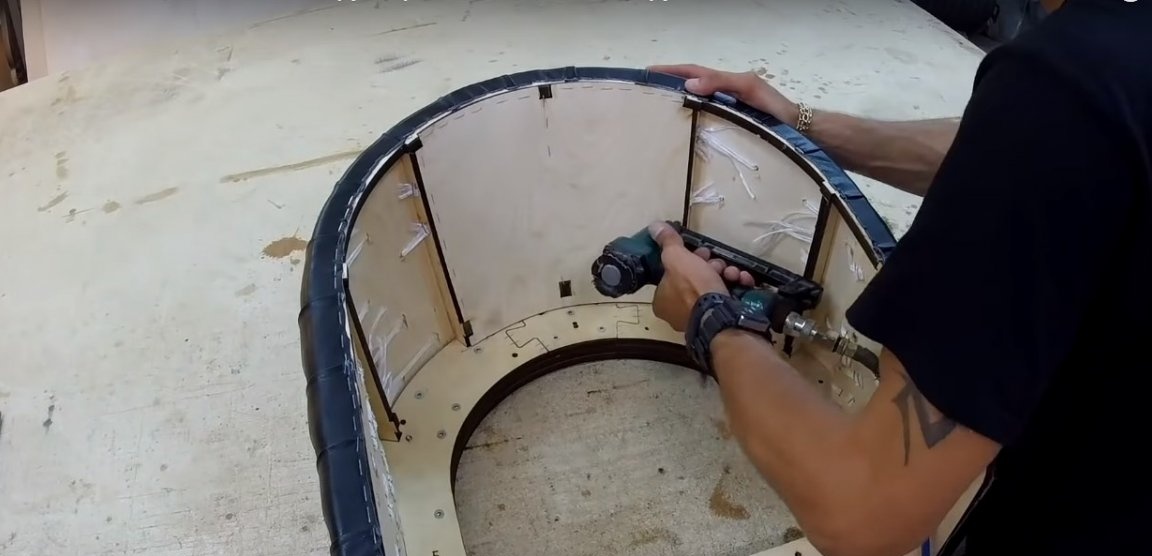
The casing of the bar chair frame is made of thin plywood up to 5 mm thick. It is attached to the body with glue and metal staples. Sheathing joints are at the center of the vertical struts.

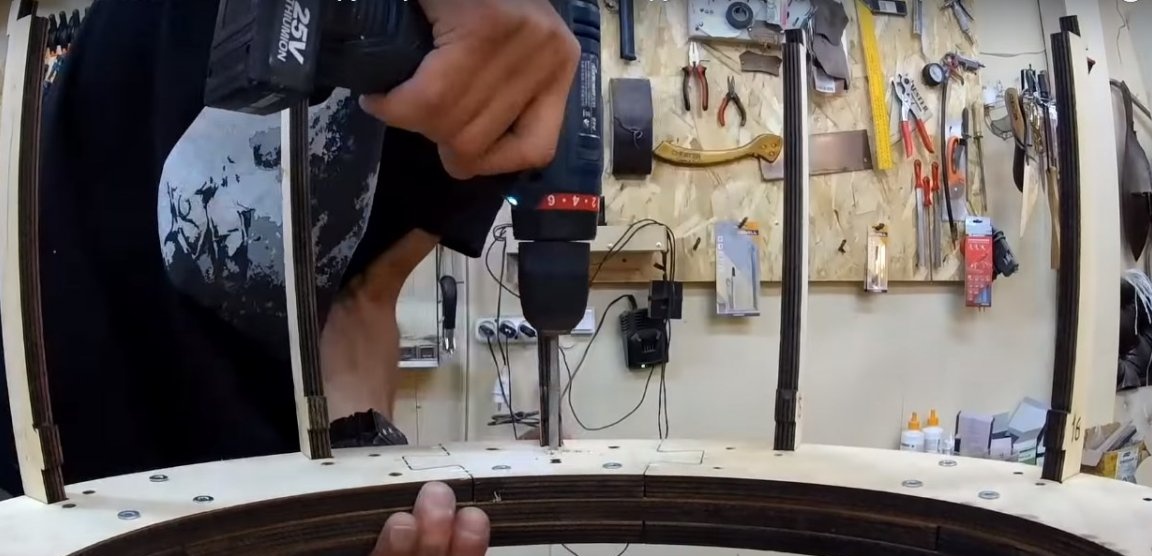
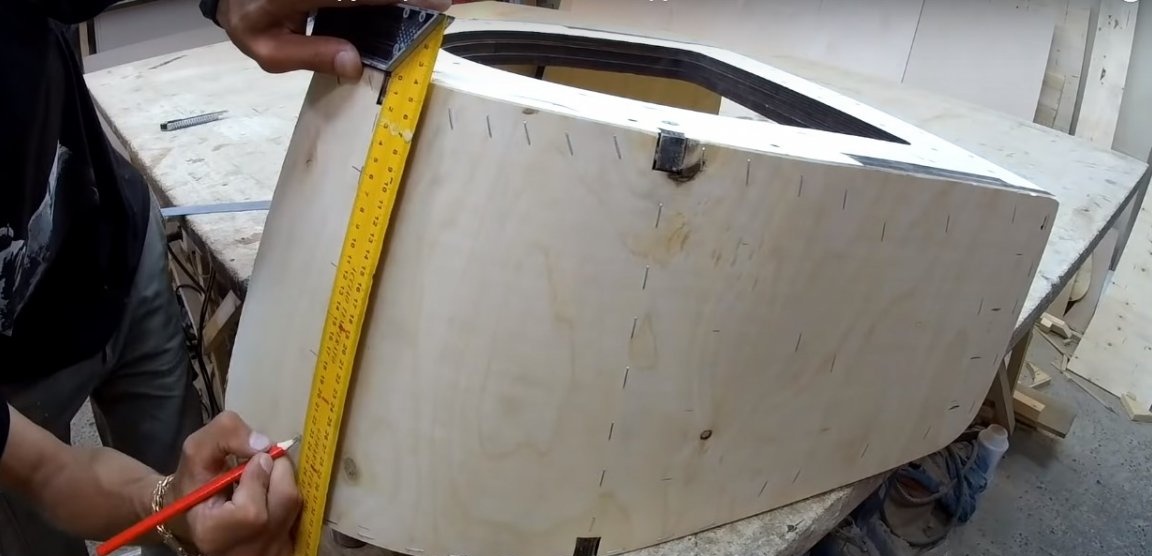
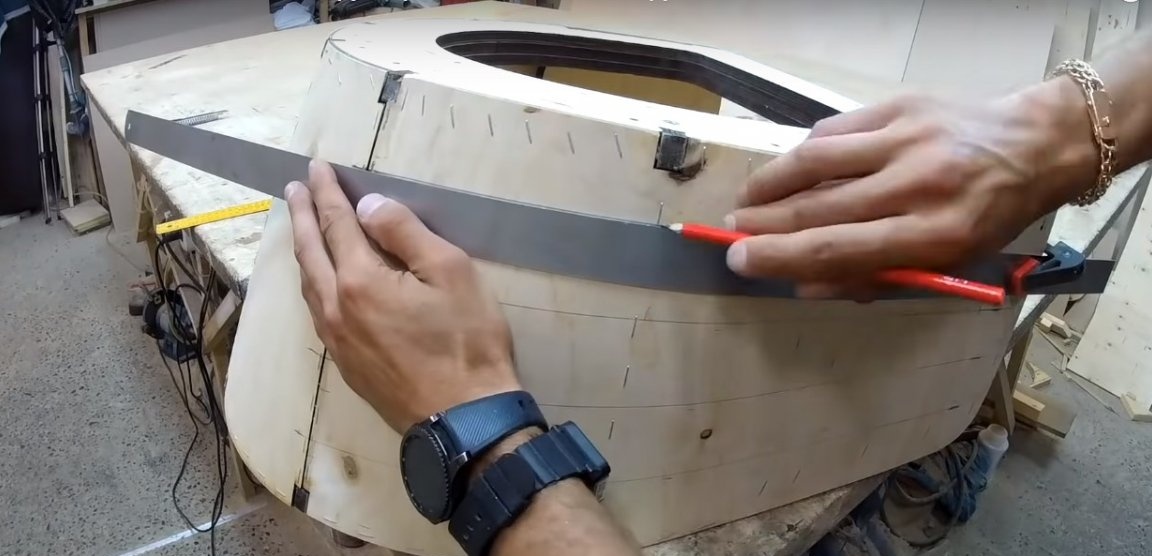
Fourth step: drilling holes for the carriage coupler
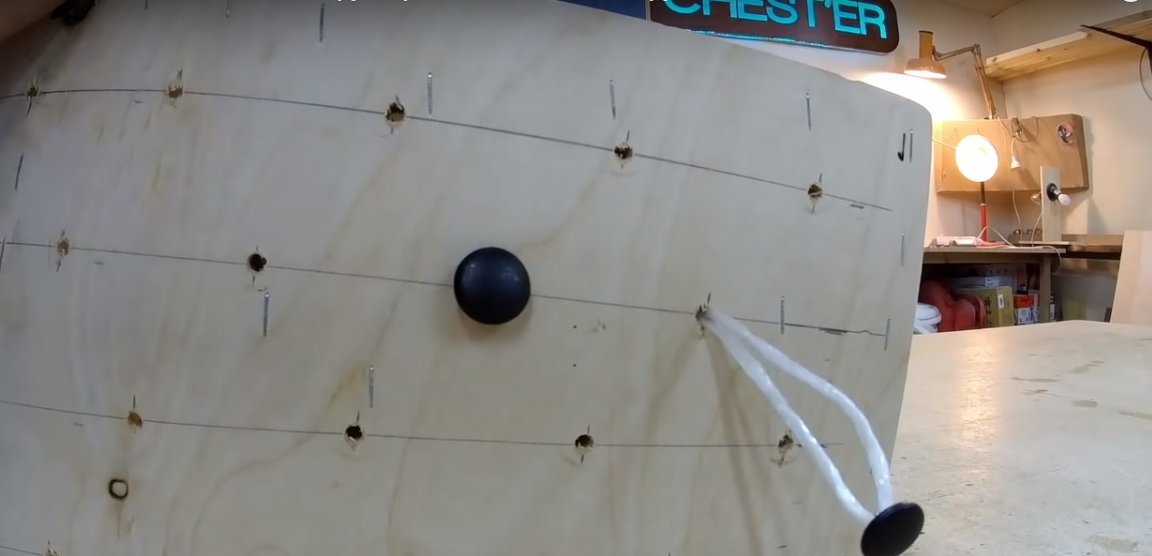
Mark the holes for the carriage coupler. A flexible metal ruler and a clamp will help you with this to fix one edge of the ruler in a stable state. Draw the longitudinal lines in 4 rows at an equal distance from each other and drill holes with a diameter of 8-10 mm. The burrs created during the drilling process are cleaned with sandpaper.
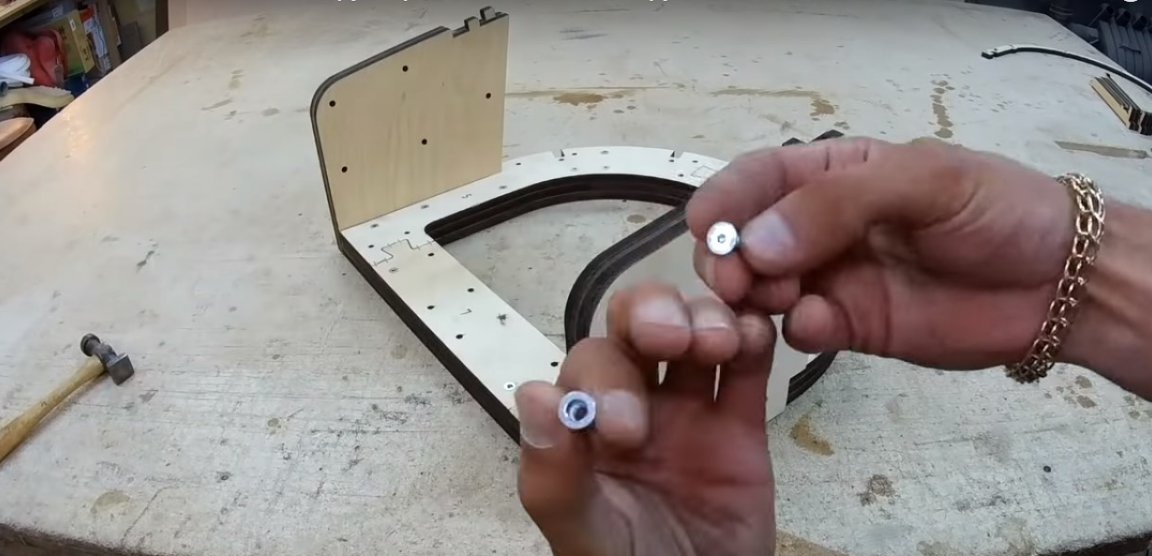
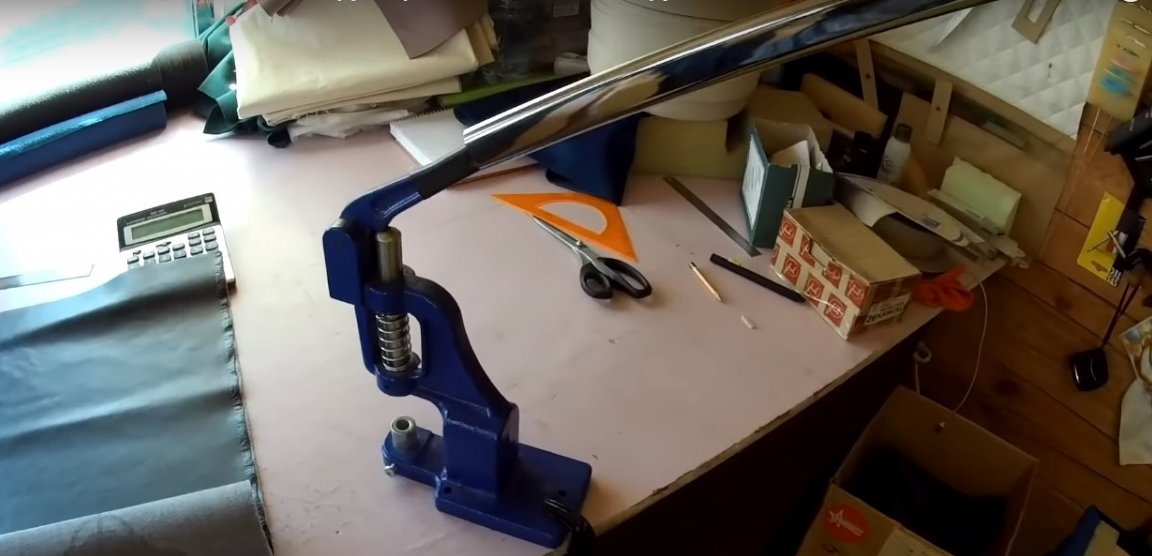
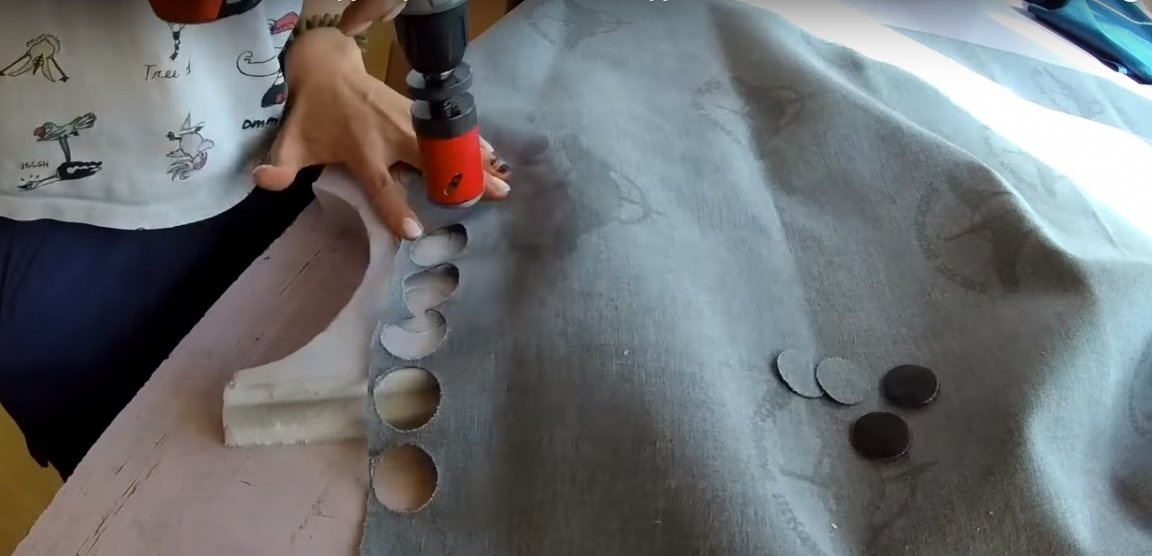
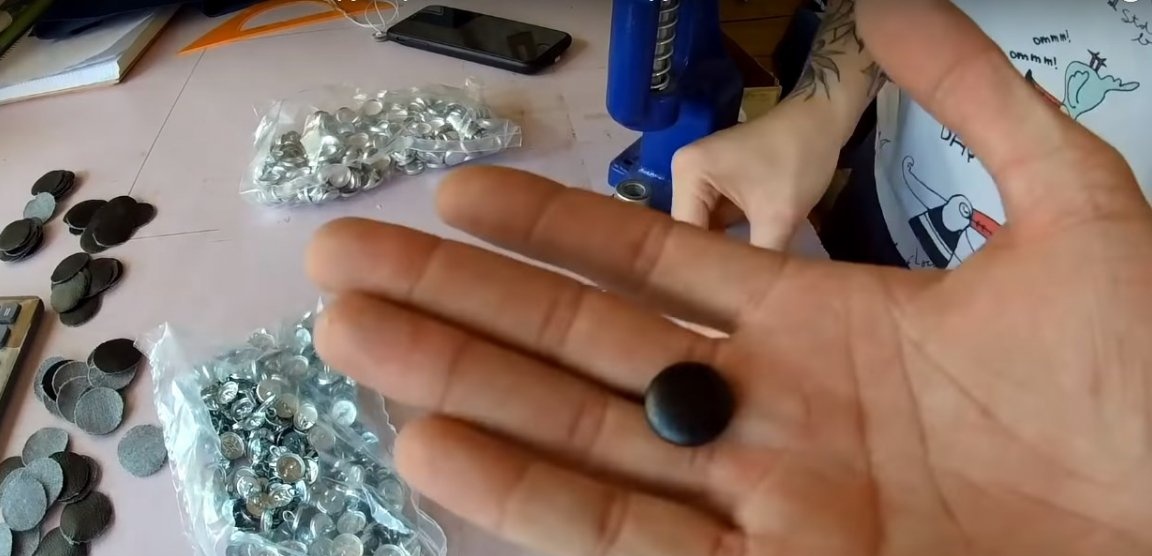
Step Five: Tight Button
Instead of ready-made furniture buttons, the author used homemade buttons to make a carriage screed. For their manufacture, you can purchase a special mechanical device and metal blanks of buttons on the leg. You will also need a piercing gun to cut fabric or leather that comes in close-fitting buttons.
Step six: preparing the base for the carriage screed
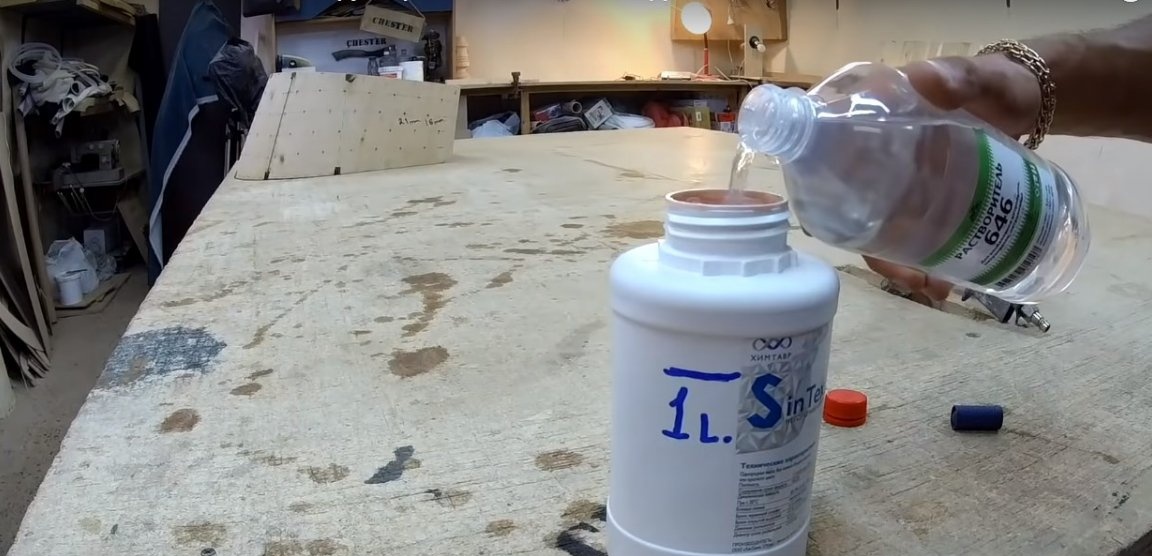
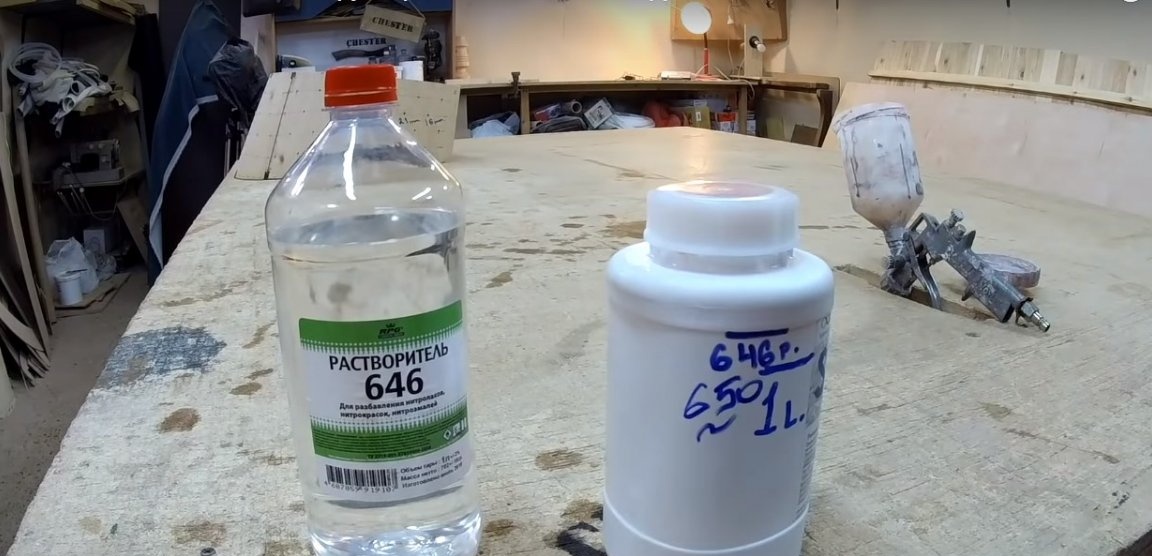
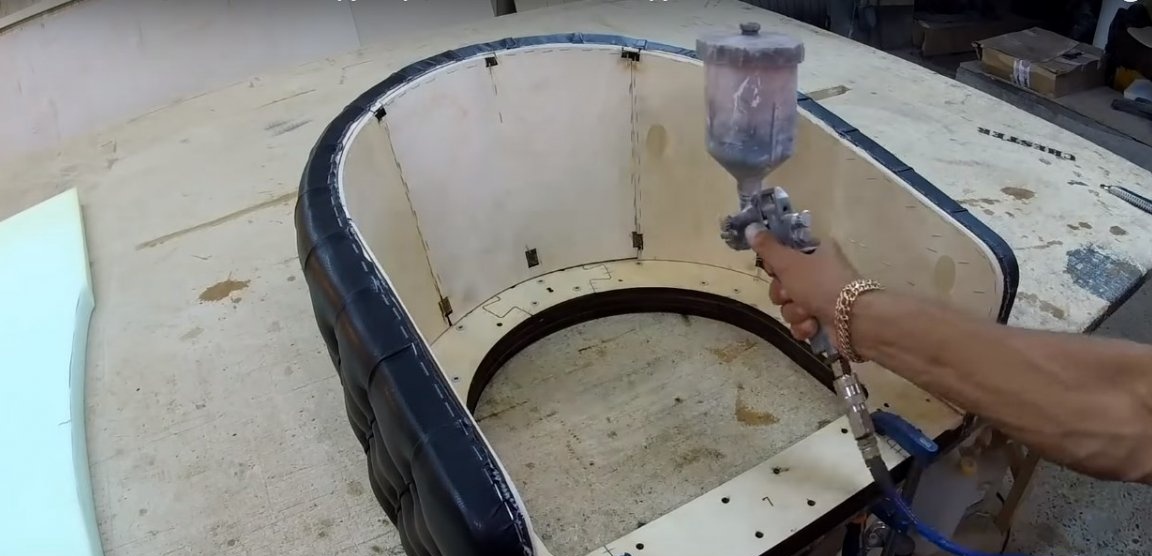
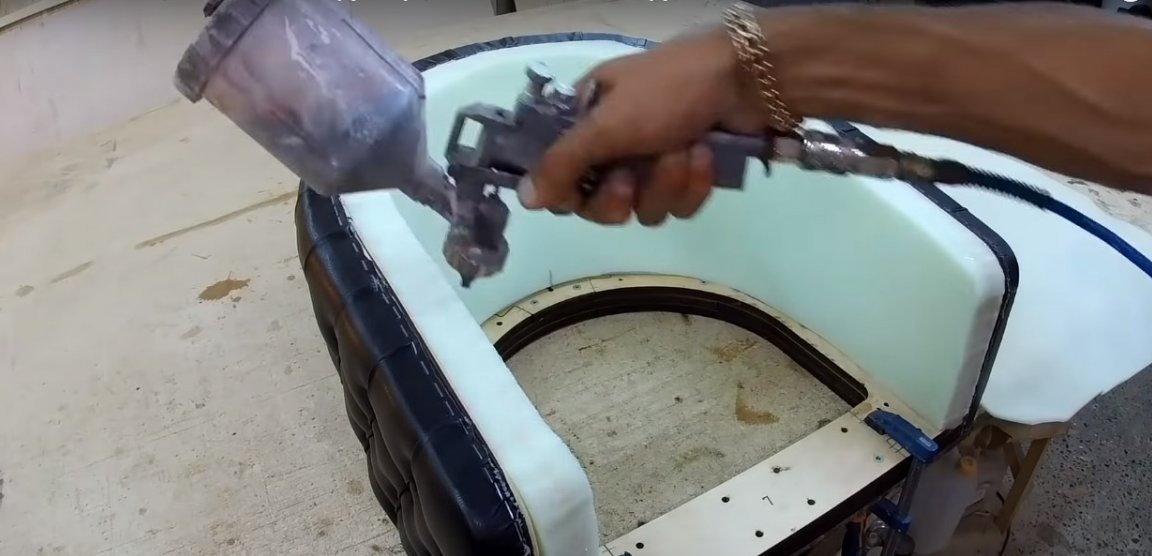
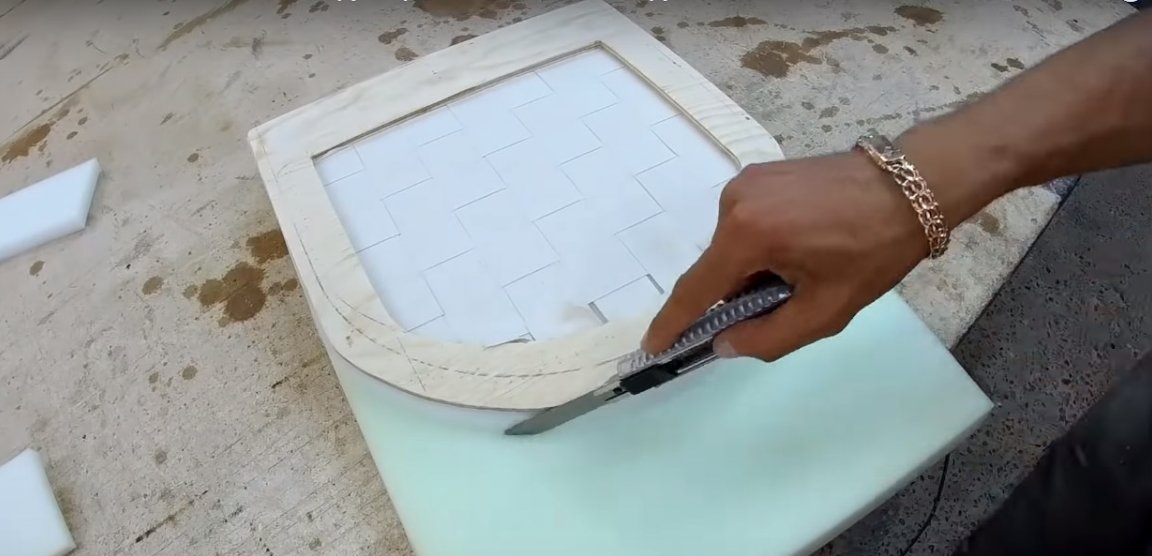
Before you start covering the chair with leatherette or genuine leather, it is necessary to prepare a foam base. For gluing foam rubber, the author uses non-combustible glue and a spray gun. However, the consistency of the glue is quite thick, so it is preferable to dilute it with a solvent for nitro-varnishes and nitro-paints.


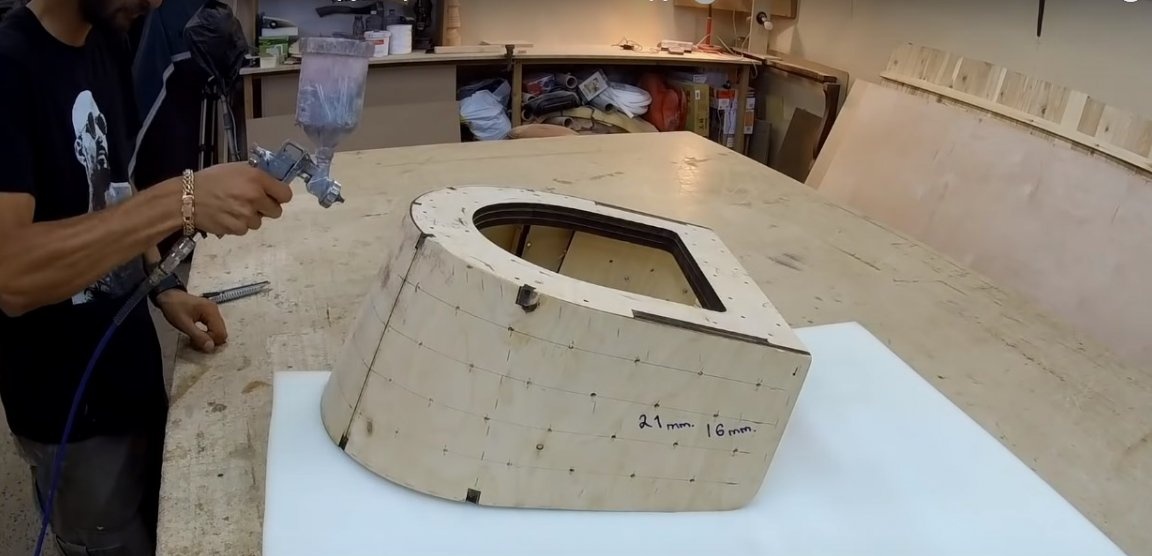
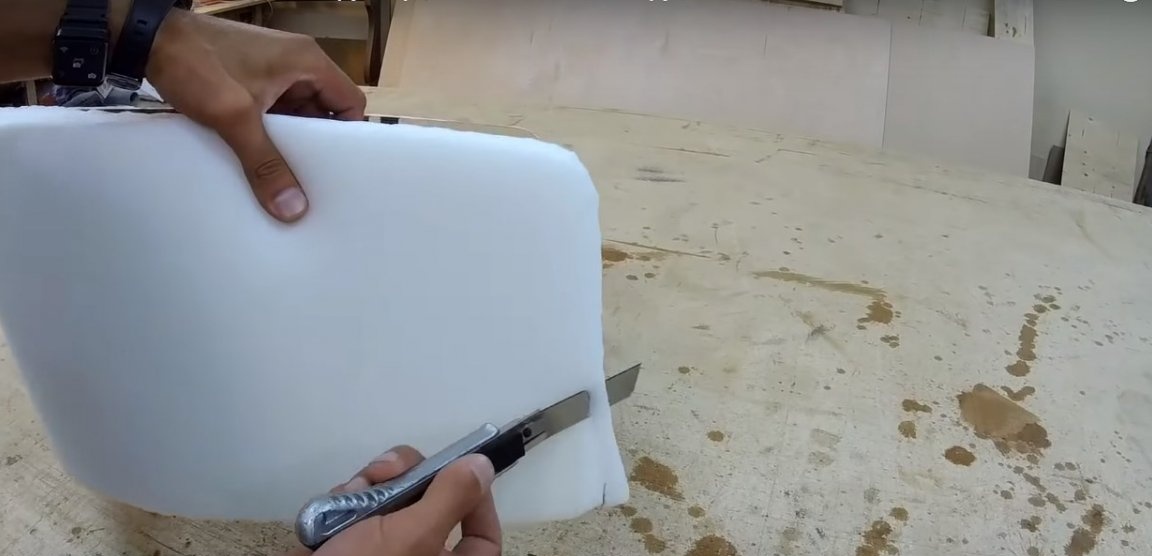
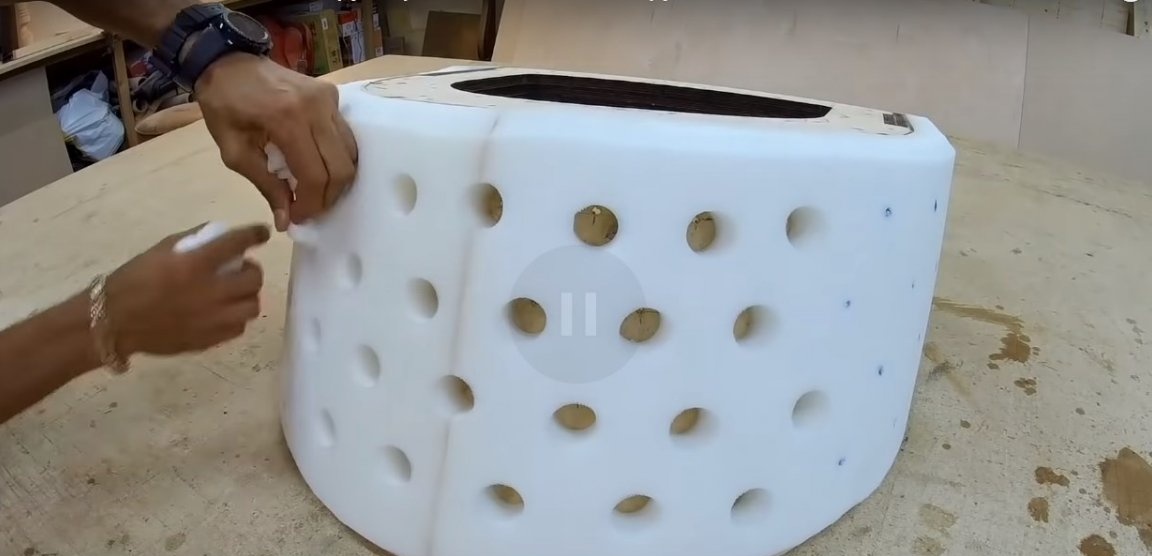
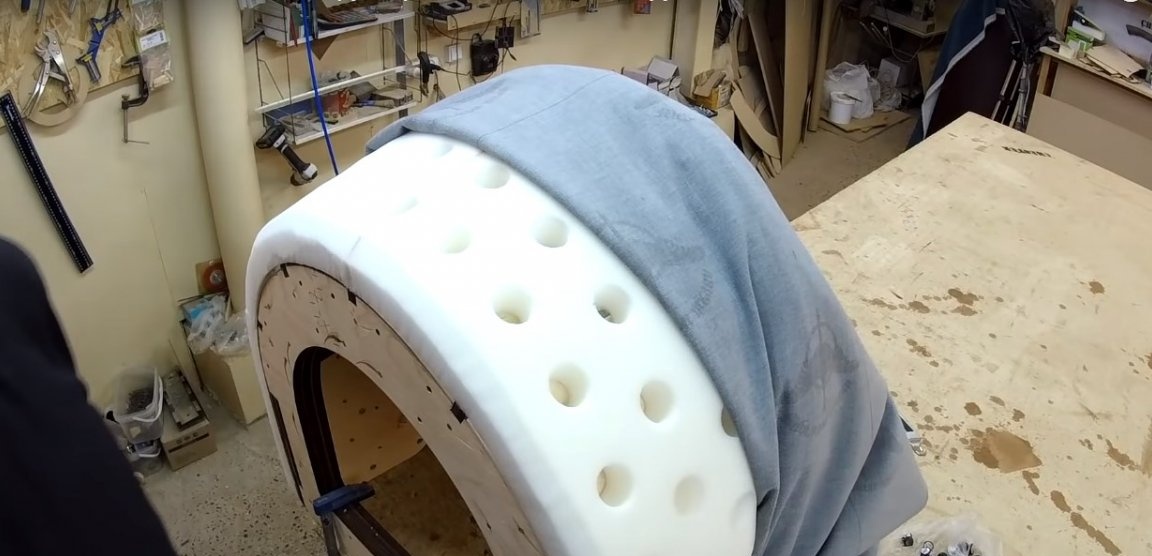
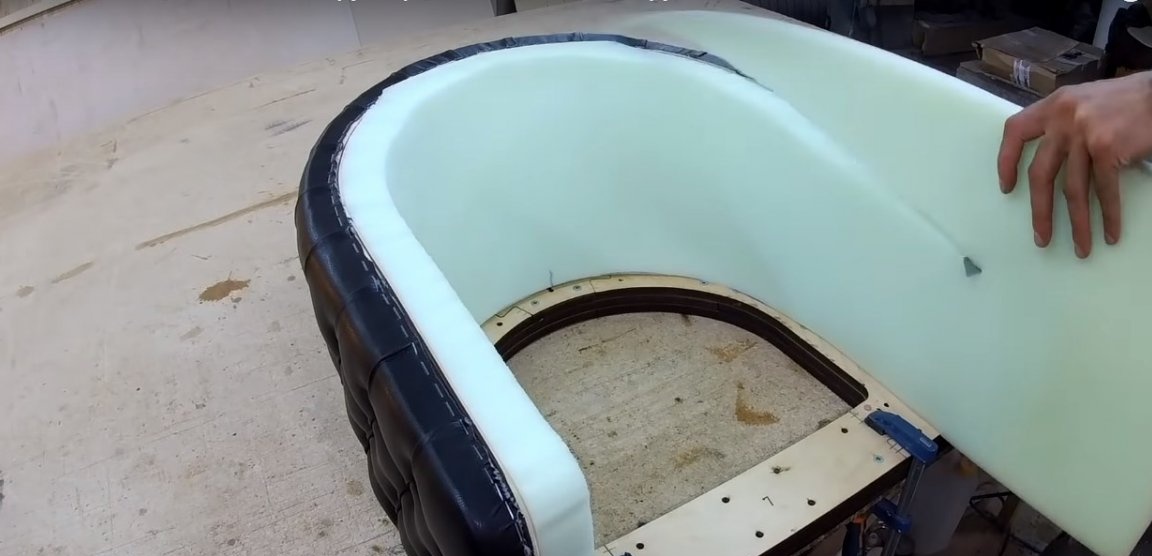
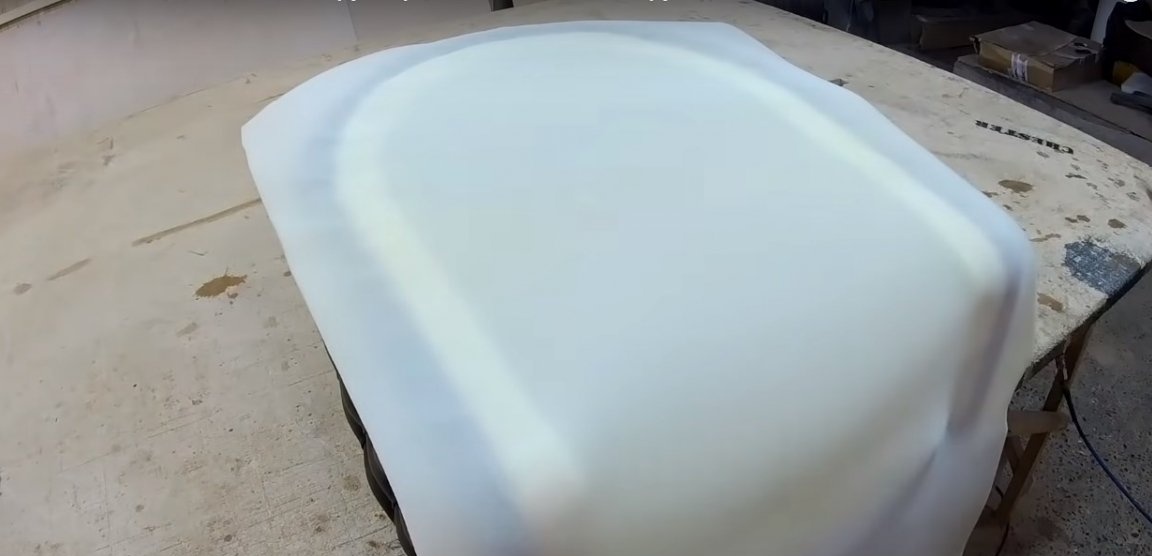
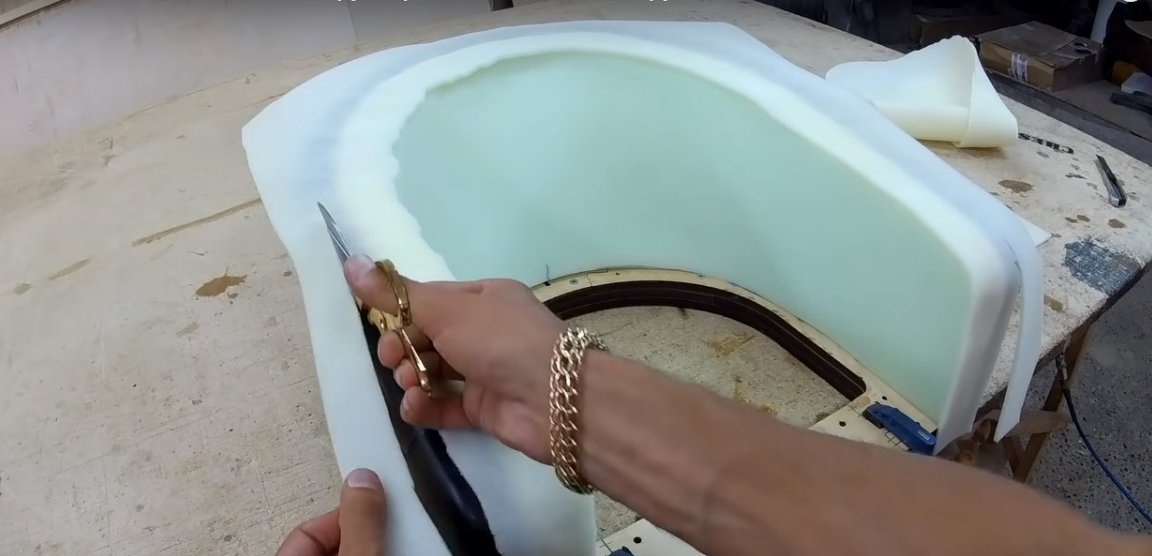
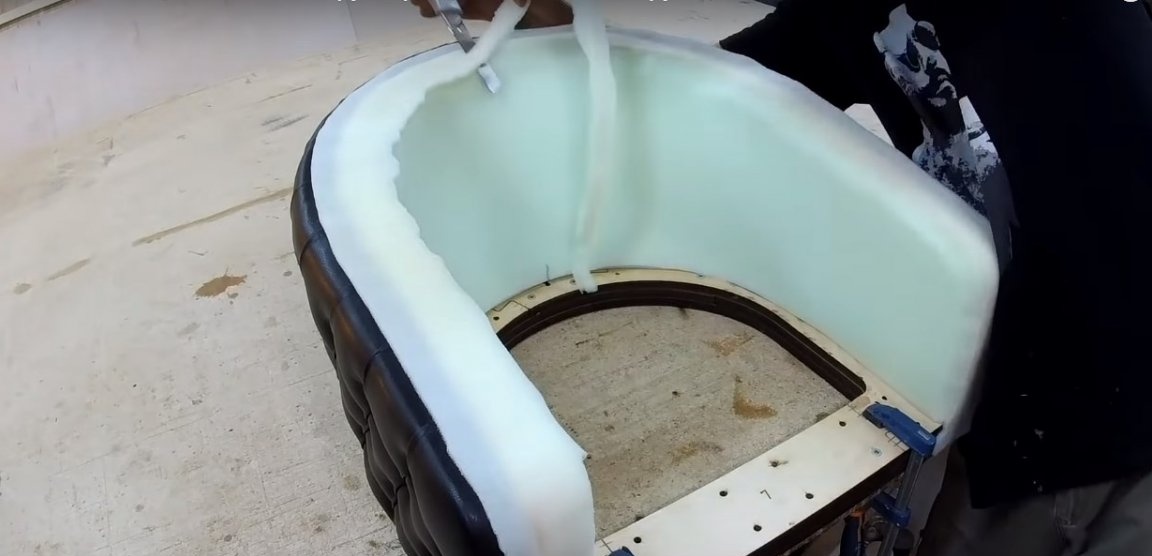
Spray glue on the outer surface of the back and fix a layer of thick foam. In this case, use only furniture foam with a dense texture, since ordinary foam quickly disintegrates into dust and loses its properties during operation. Cut off excess foam with a sharp clerical knife. Round the foam rubber edge.
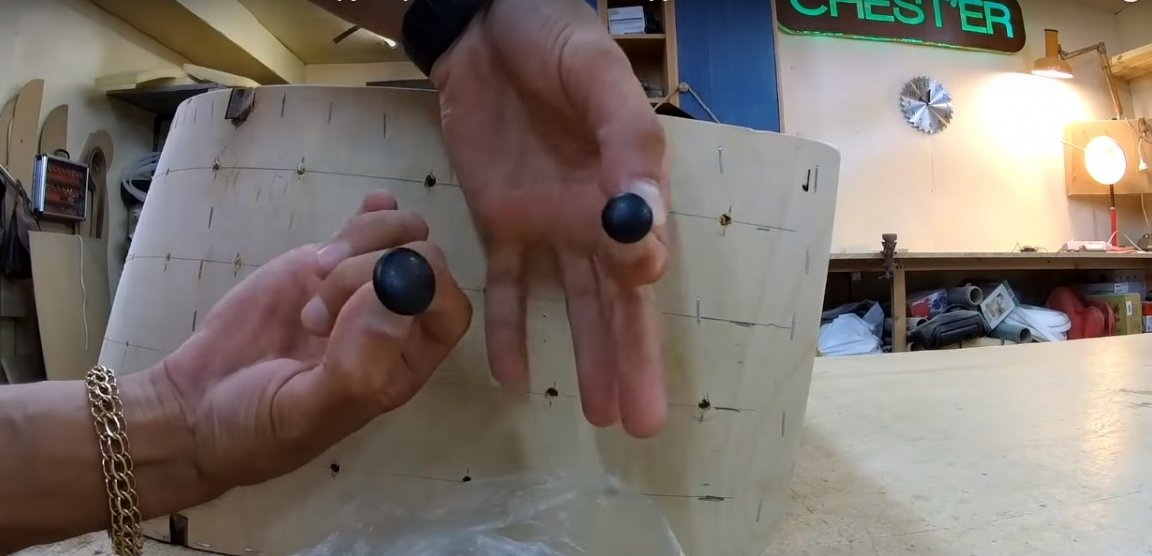
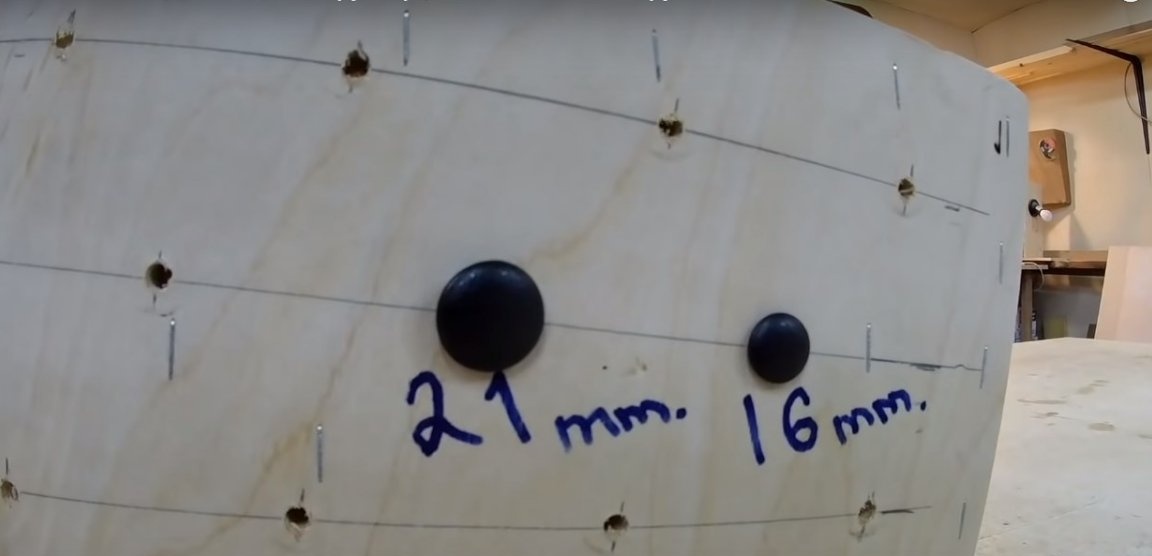
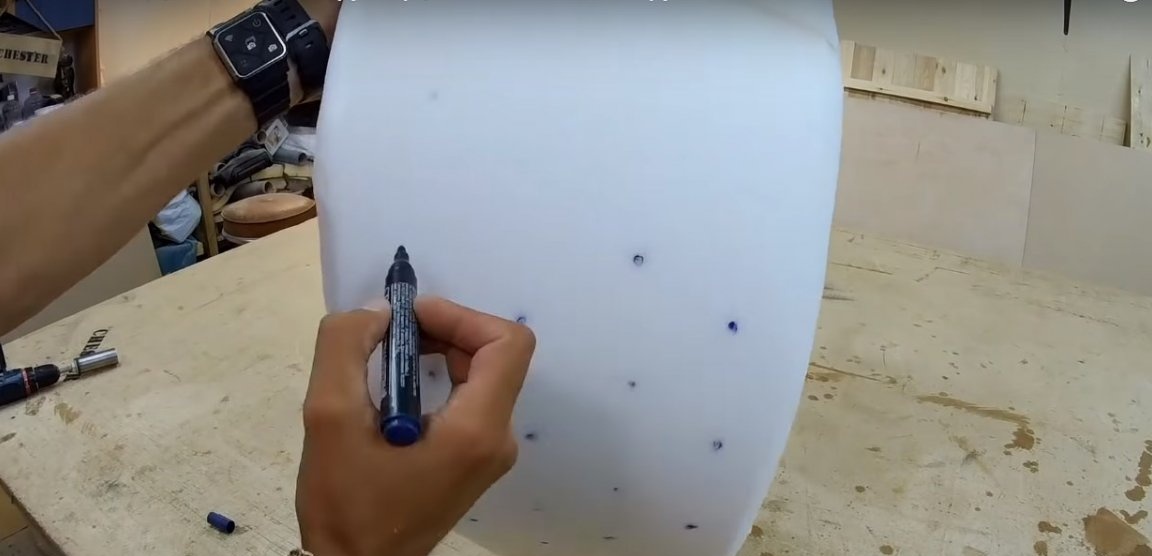
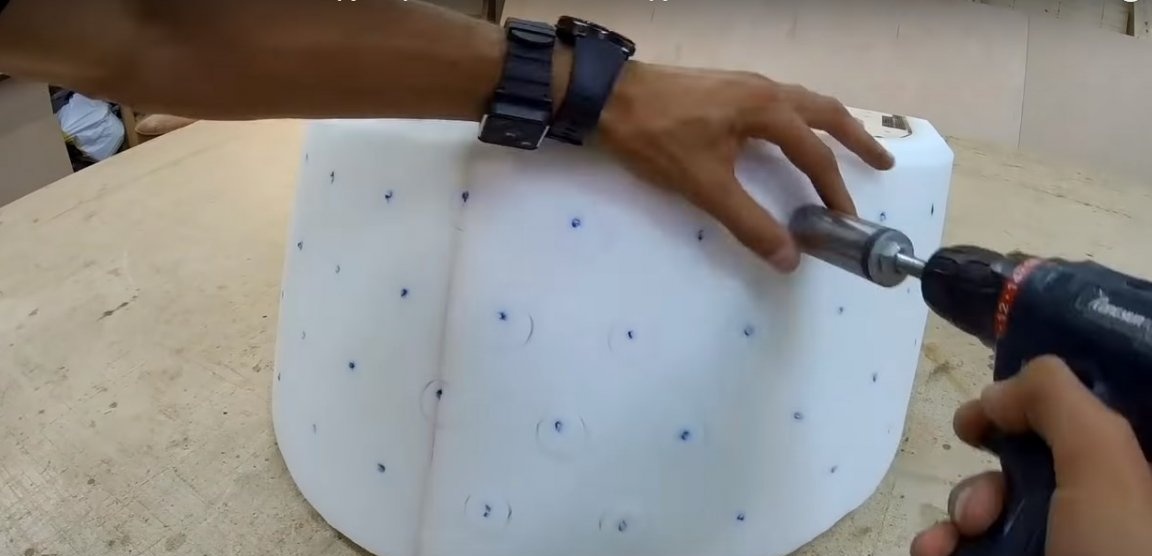
Make holes in the foam layer by piercing it with a screwdriver from the inside of the chair. Mark the puncture sites with a marker. Drill holes for the carriage coupler using a metal crown. Typically, the diameter of such holes is 20 mm.

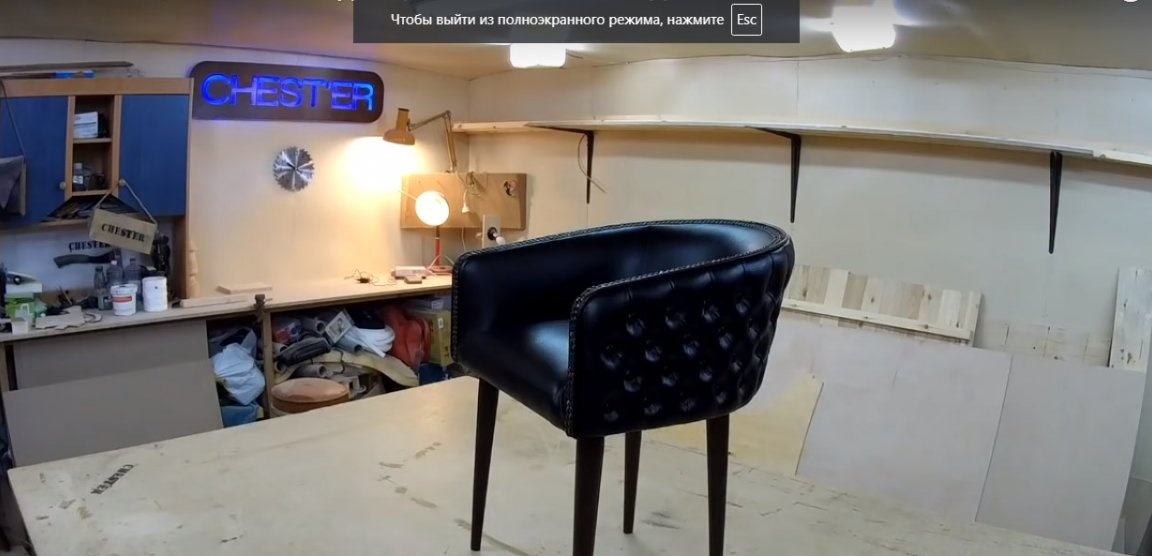
Seventh step: making a carriage coupler
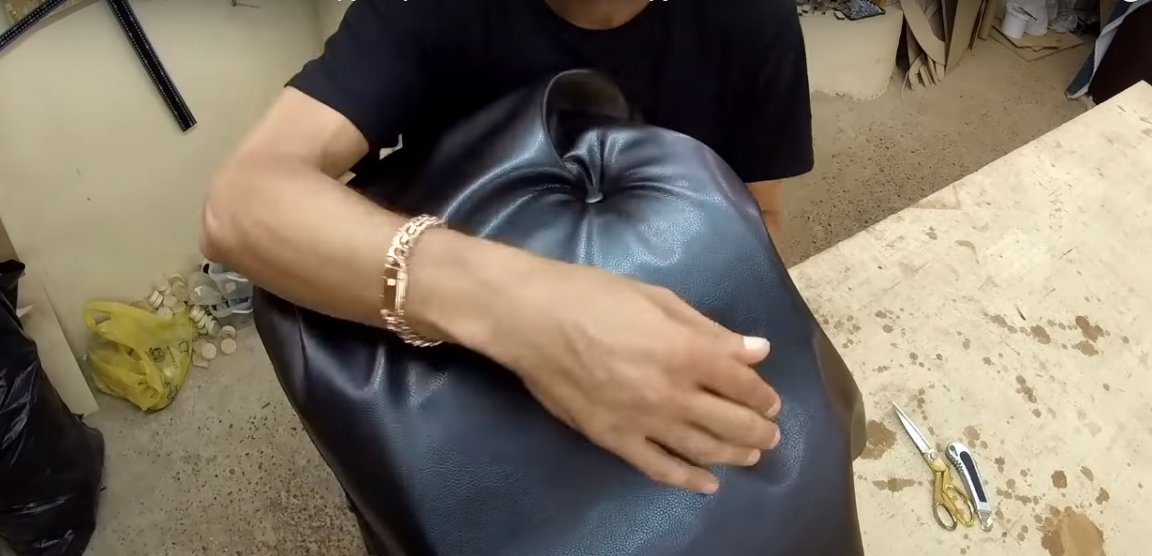
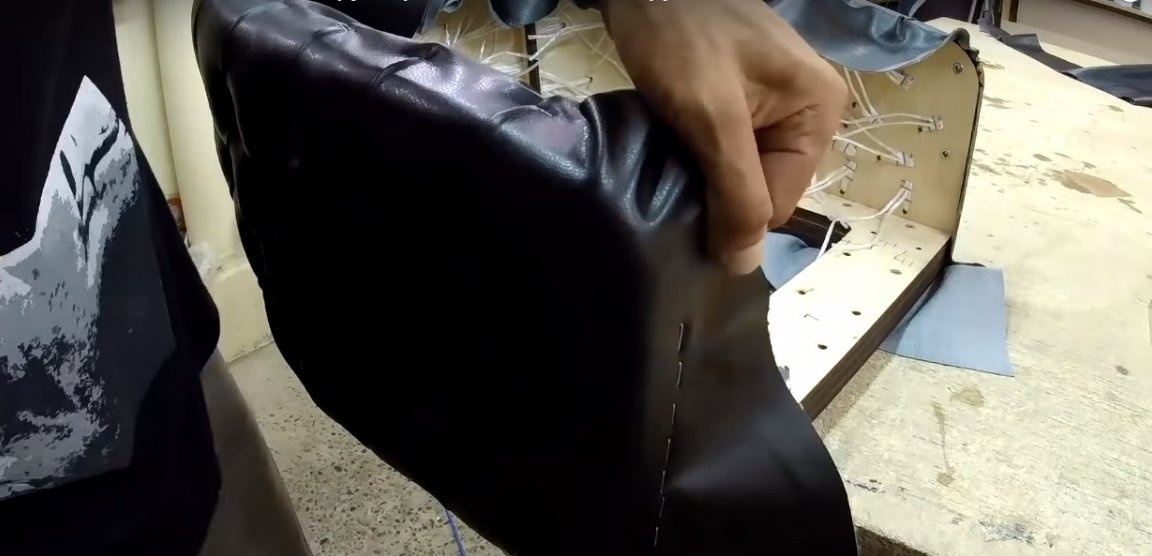
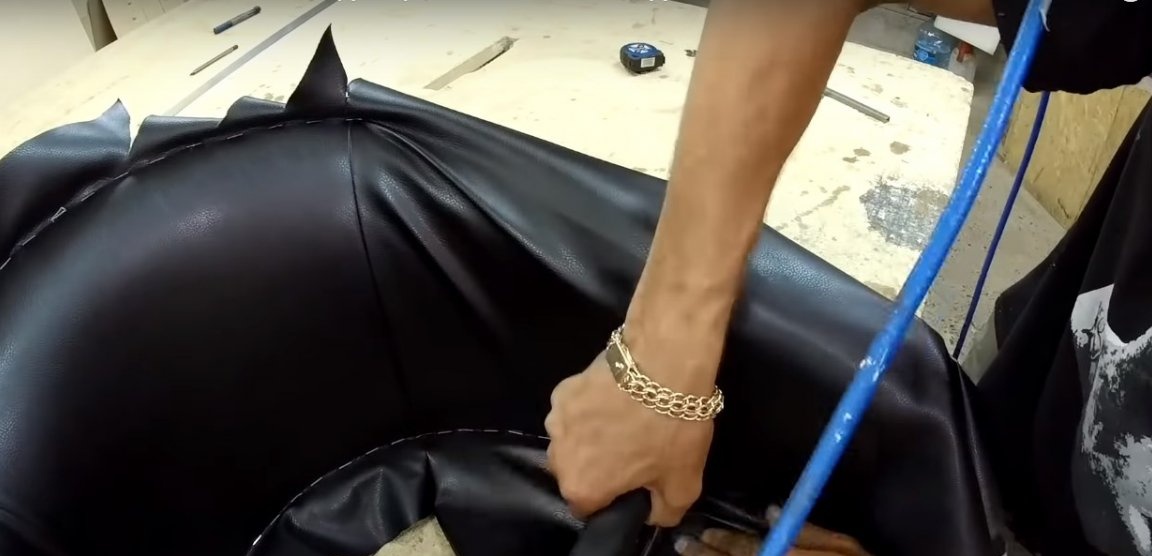
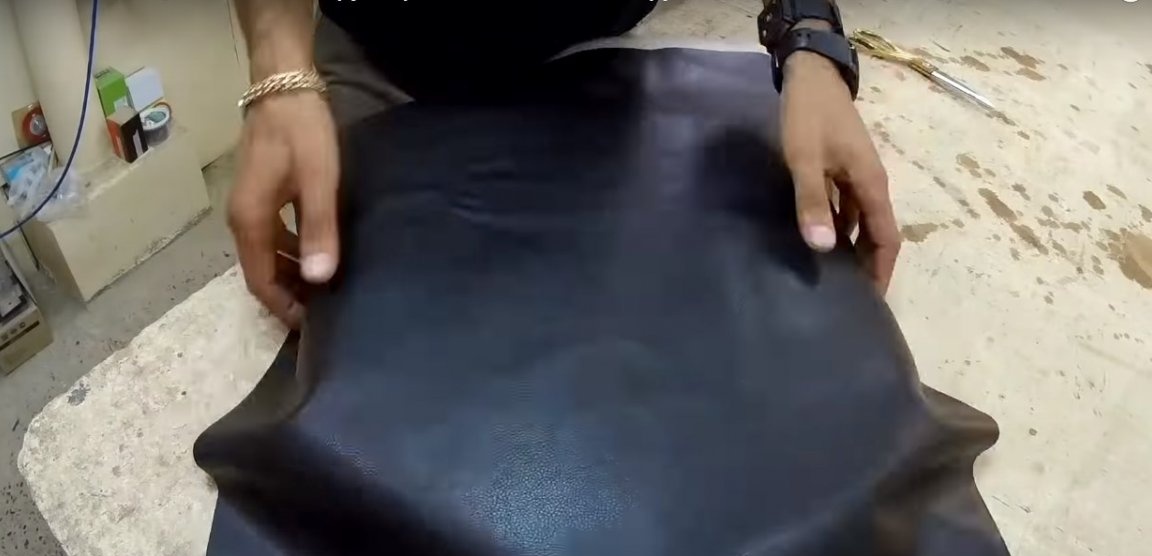
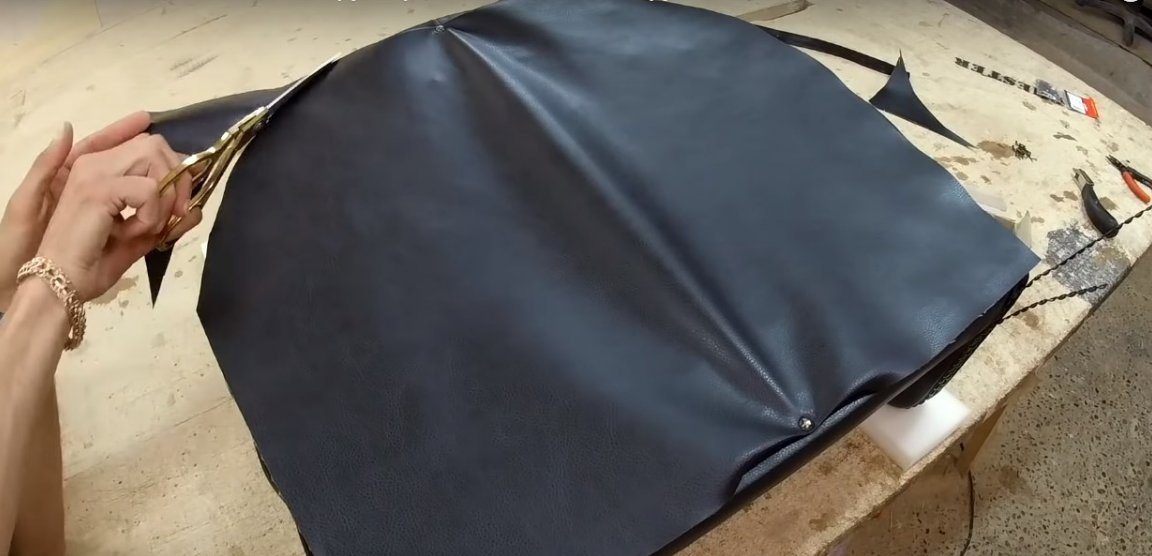
Lay the leatherette layer on the back with large allowances around the perimeter. Start screeding along the top row from the center to the edges. The leatherette is fixed using buttons and a strong synthetic cord, while the cord is fixed from the inside of the chair with staples.
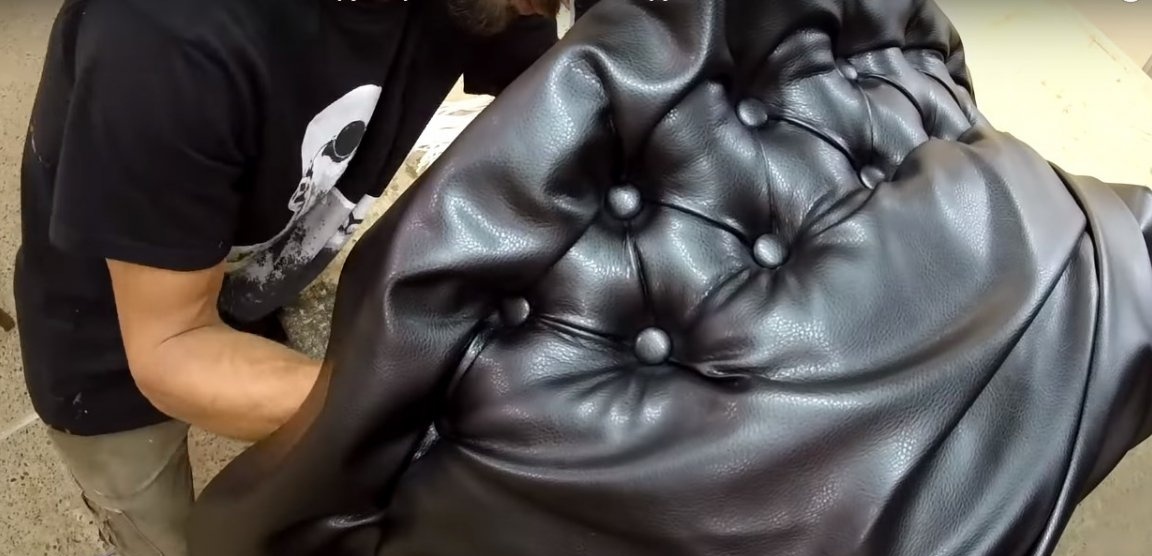
Observe the same tension on the cord. Sew a couple of rows of carriage ties in this way and straighten the leatherette folds as shown in the photo. Additional fixation of the folds do not require. They are held in this position due to tension.
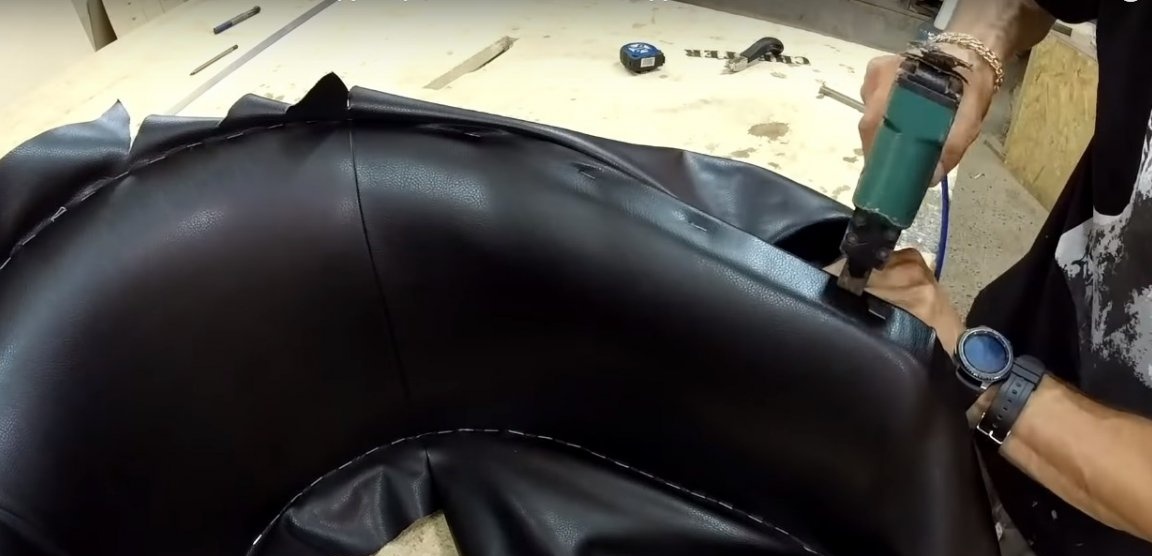
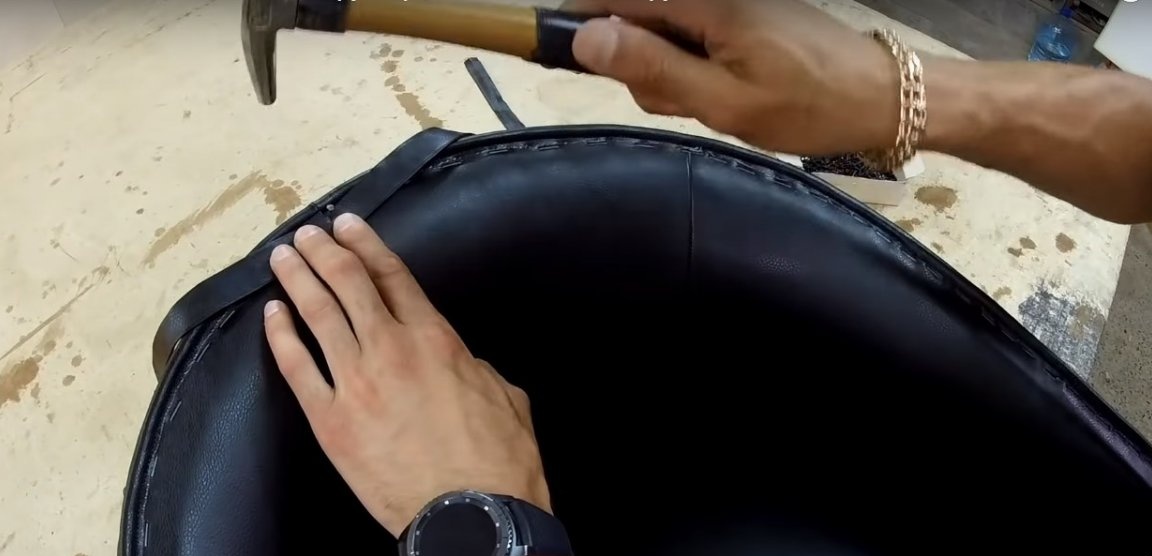
After the carriage screed, fasten the leatherette along the edge of the frame, laying the folds.
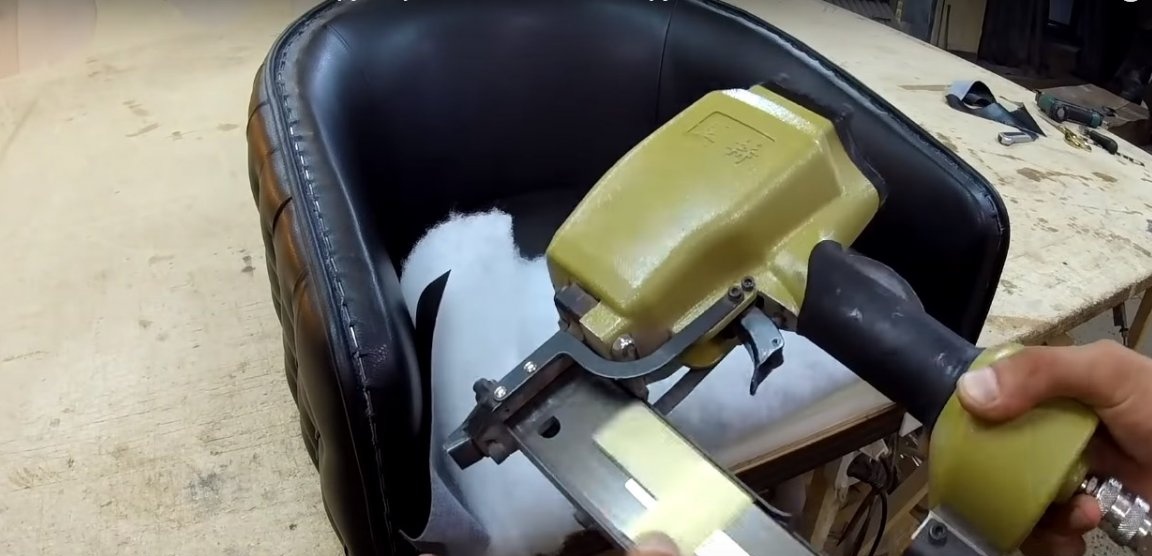
Step Eight: Performing an Interior Cover
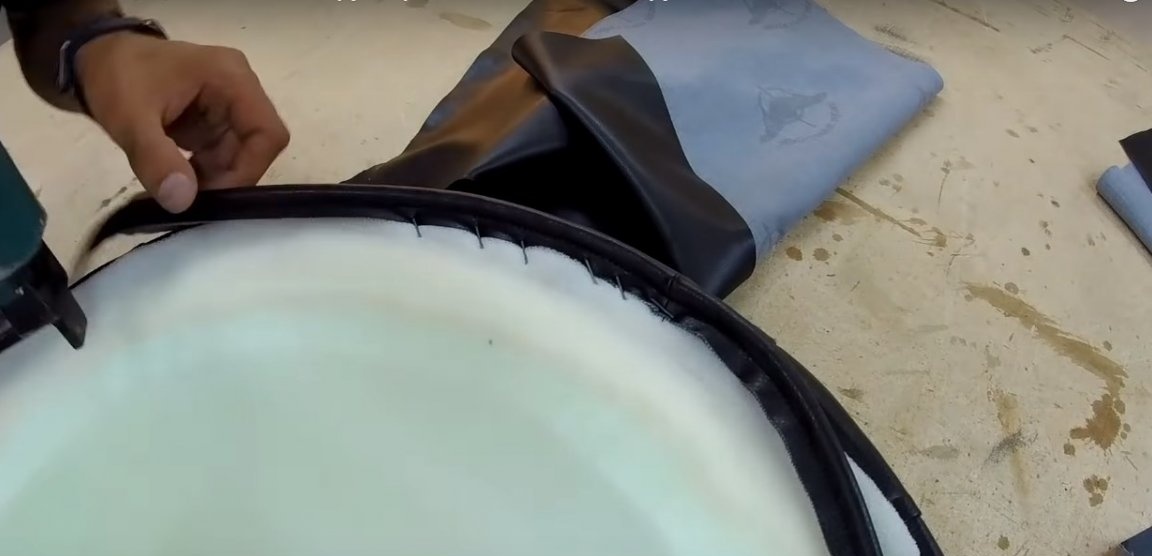
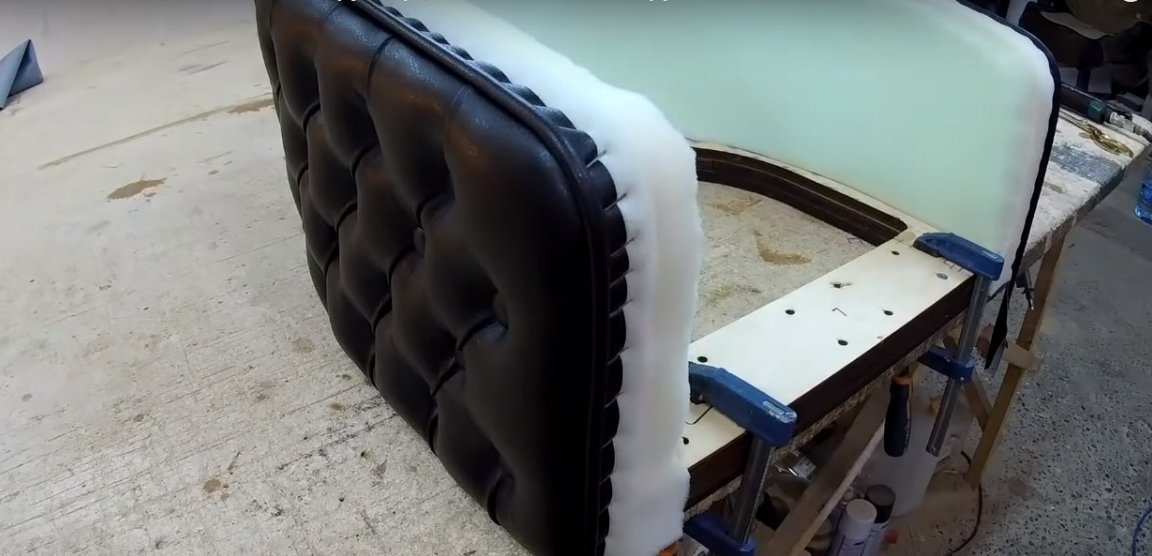
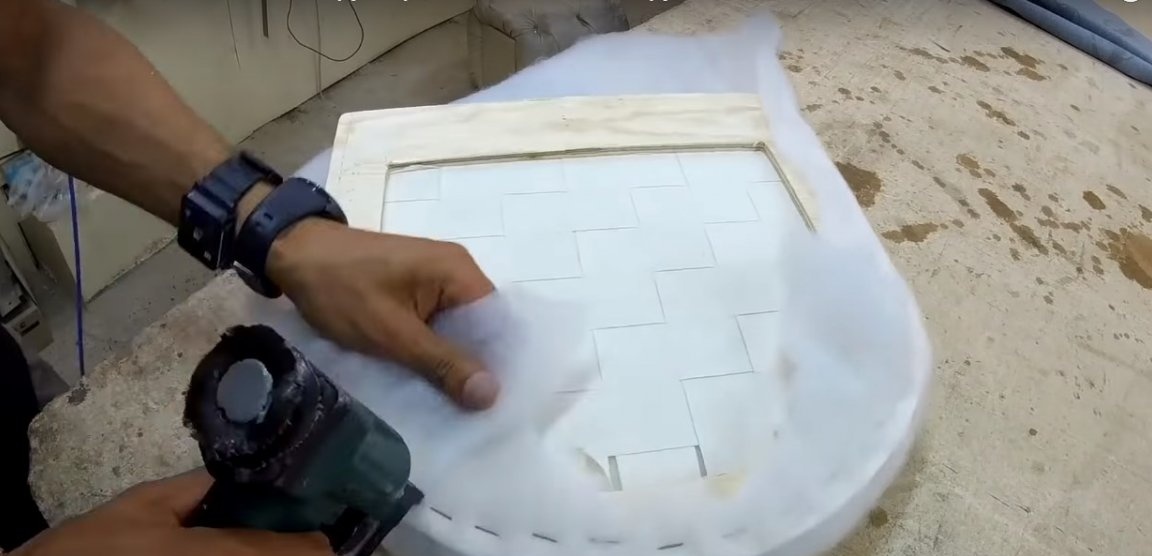
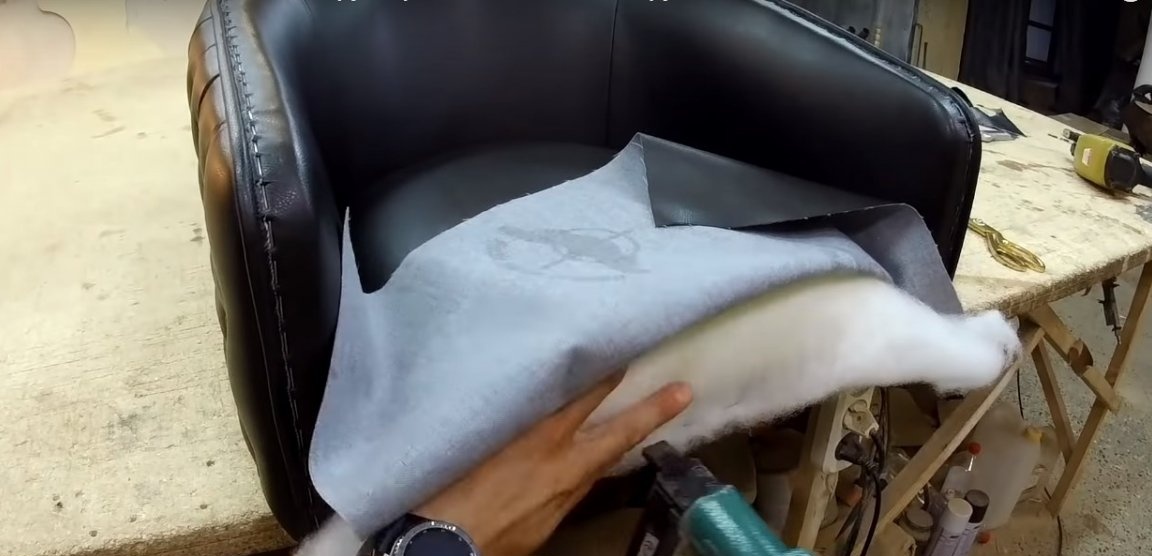
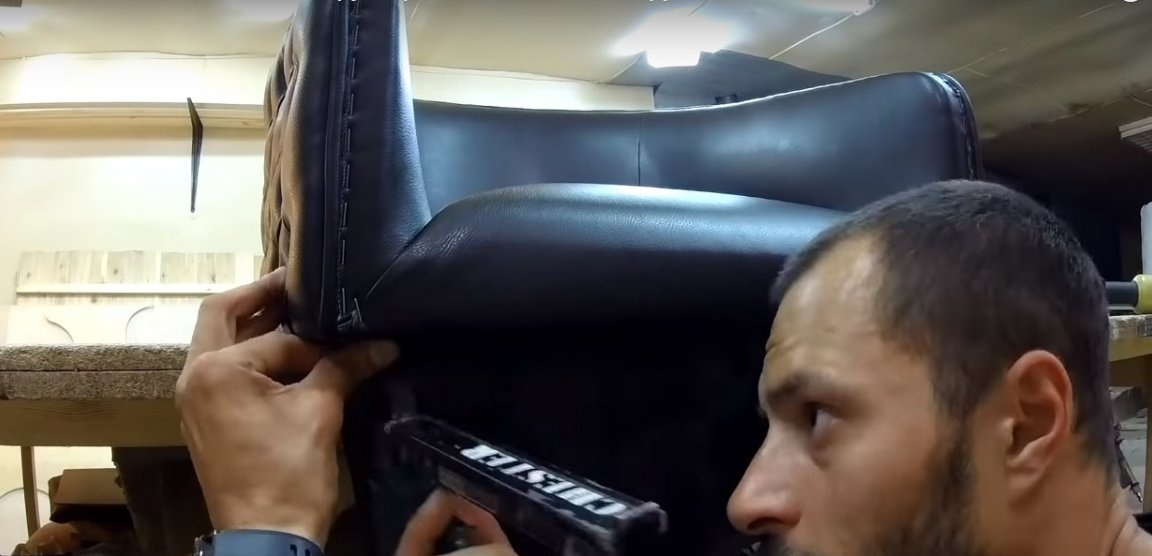
Sheathe the inside of the back with thin plywood and secure it with staples. Apply a layer of glue to the surface of the plywood and lay a layer of foam rubber, cut off the excess. Apply a layer of glue again, but this time on the back of the back. Fix a strip of thin foam rubber or synthetic winterizer, and round the right angle as shown in the photo.
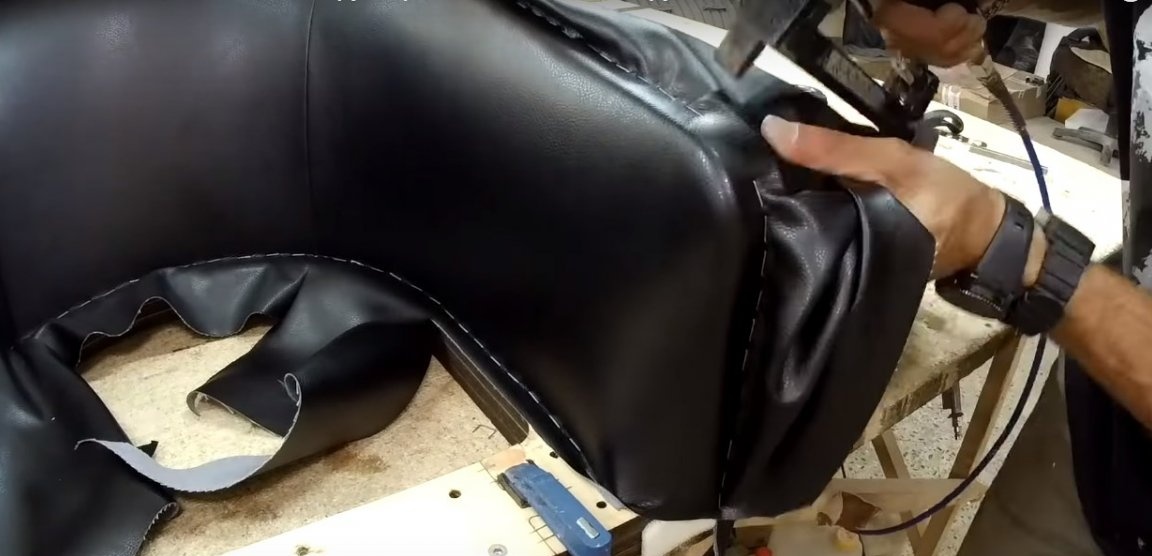
Before proceeding to close-fitting, prepare the furniture edging to the tone of the sheathing and fix it on the back with brackets. Begin to fasten the leatherette, alternately fixing it from above, then from below and adjusting the material tension. At the top, the fastening line runs along the channel edge. Cut off excess leatherette with a sharp knife at the very staples.


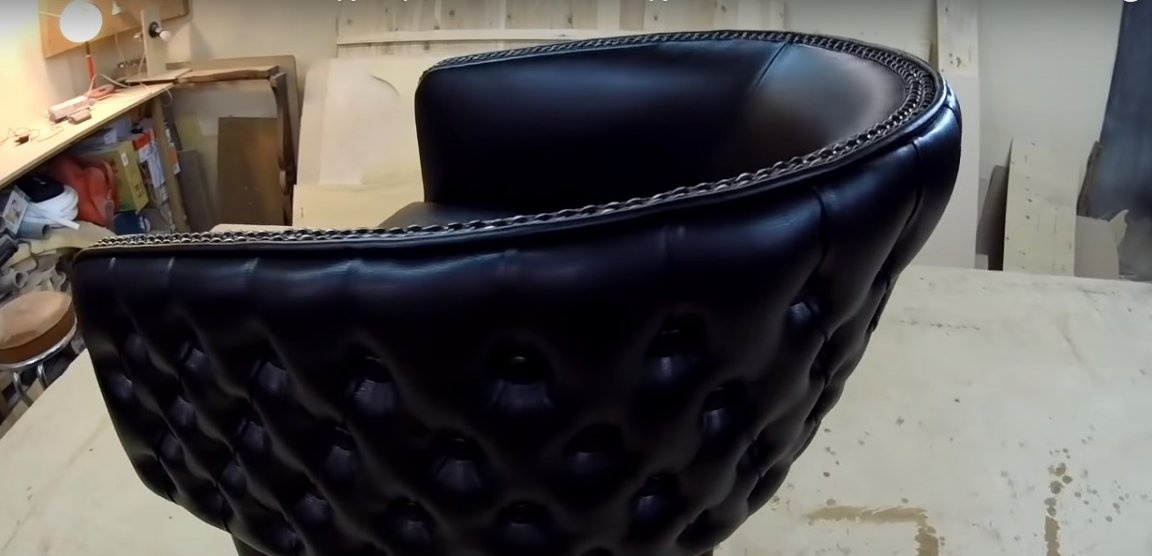
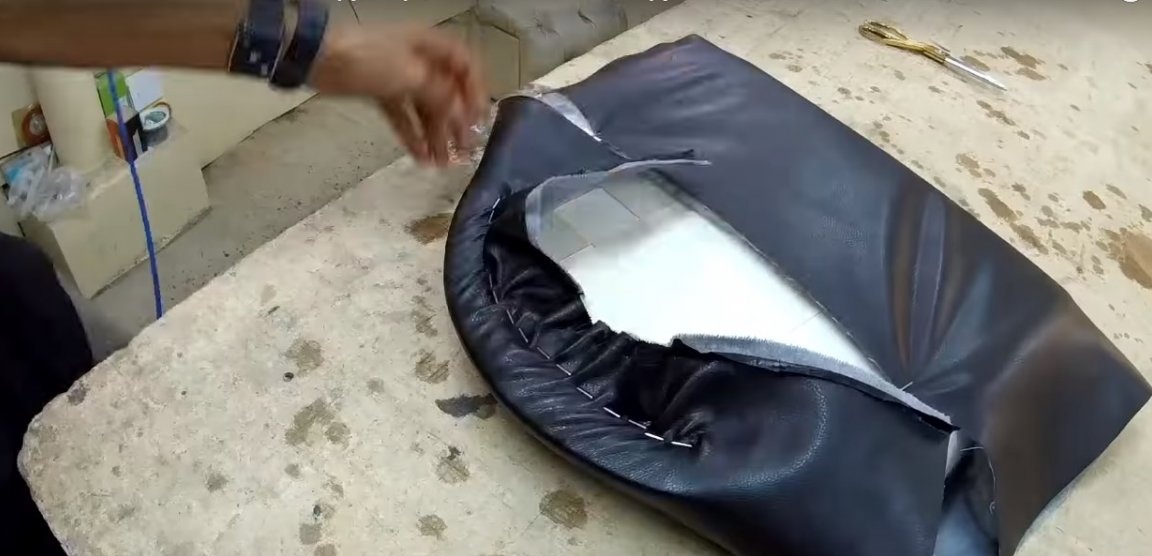
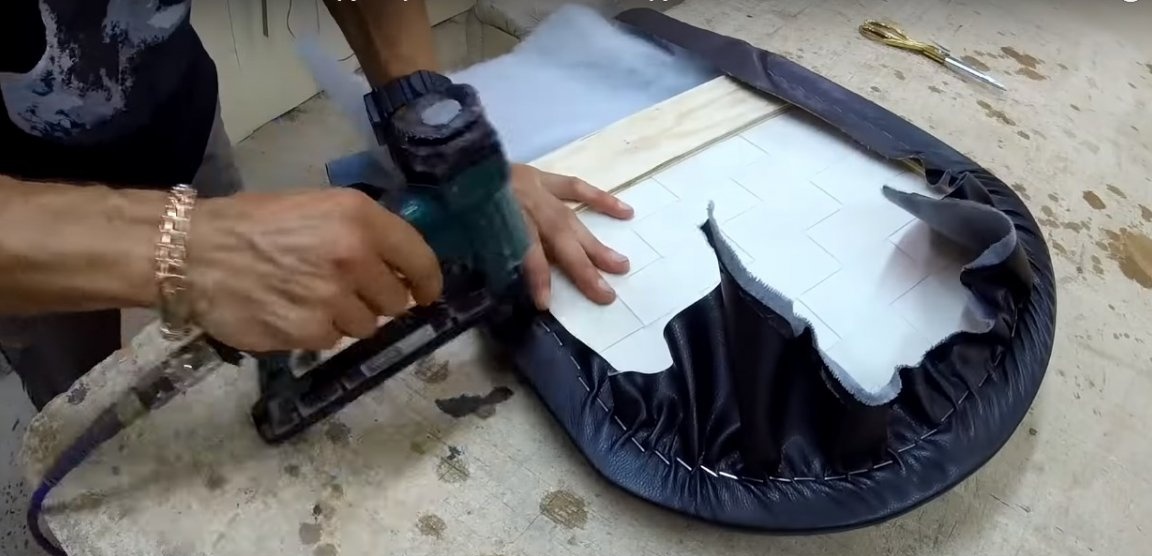
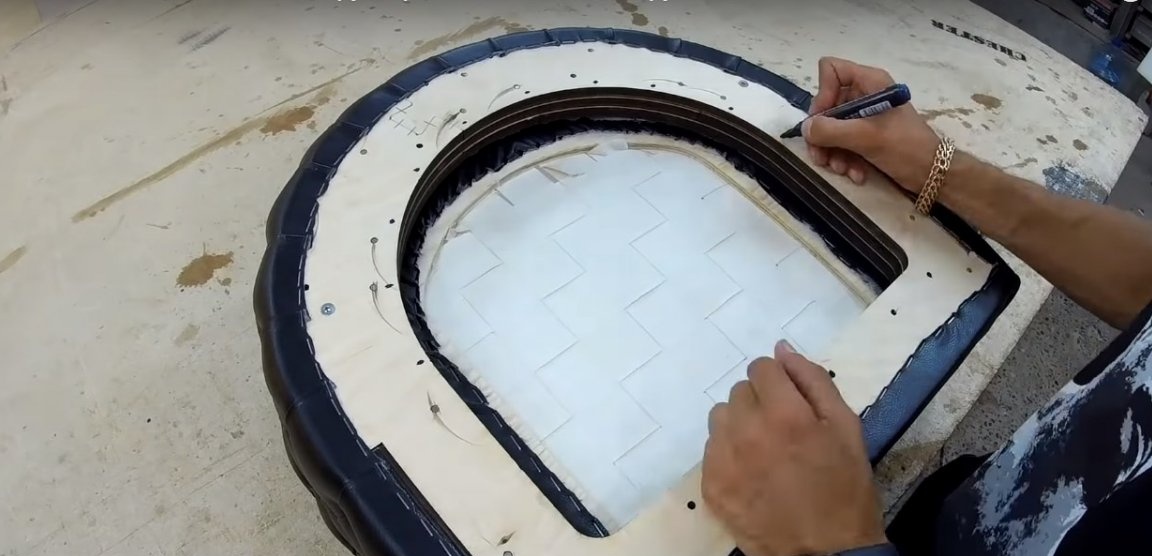
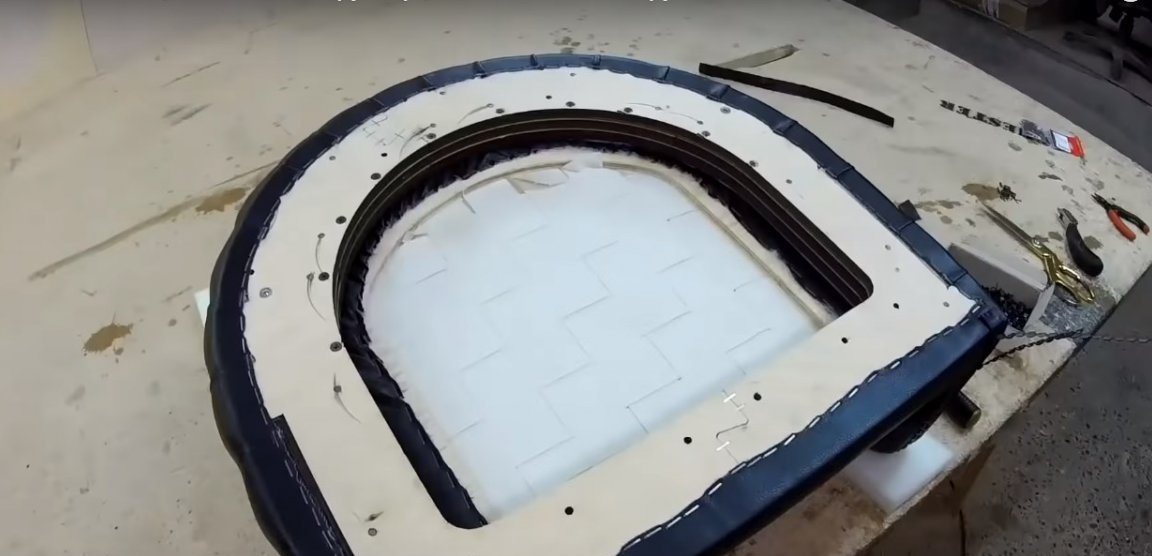
Step Nine: Close-fitting Seat
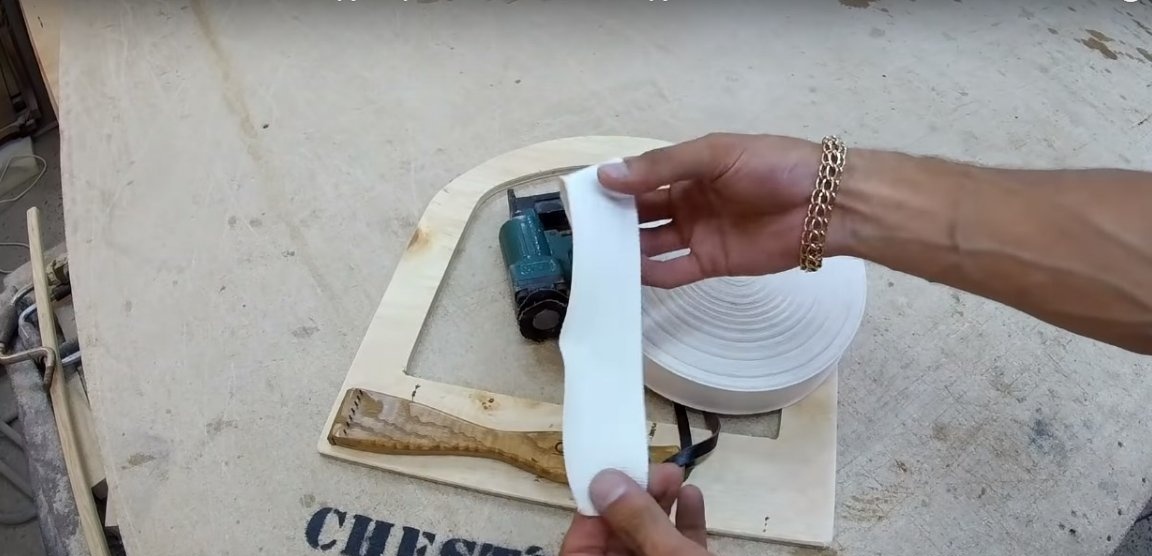
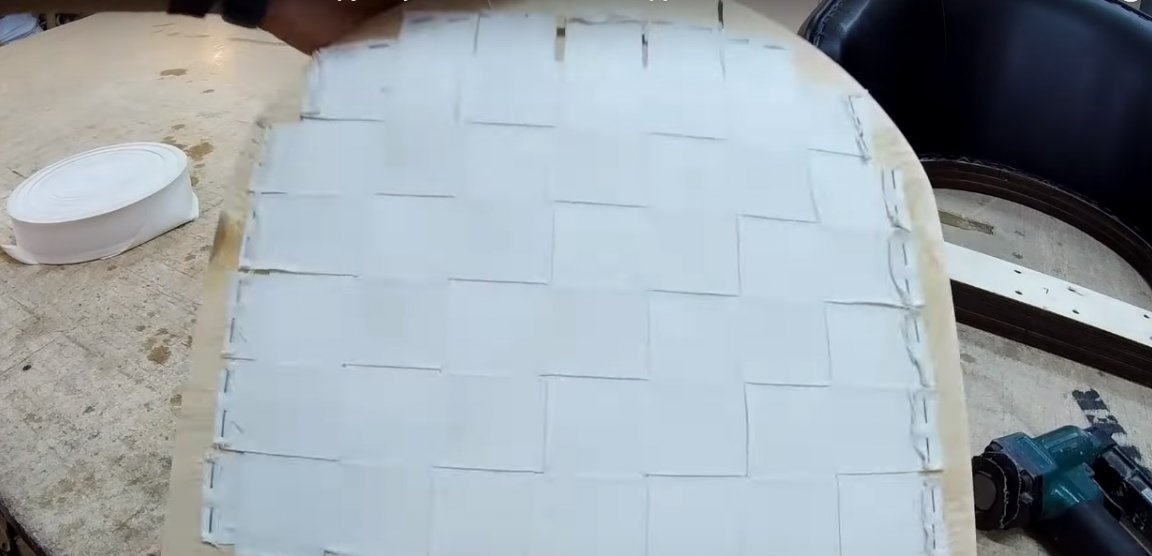
The seat of the chair should spring, because this is the key to its durability. For this purpose, the base is usually arranged from a furniture belt stitched in a checkerboard pattern and fastened with brackets.
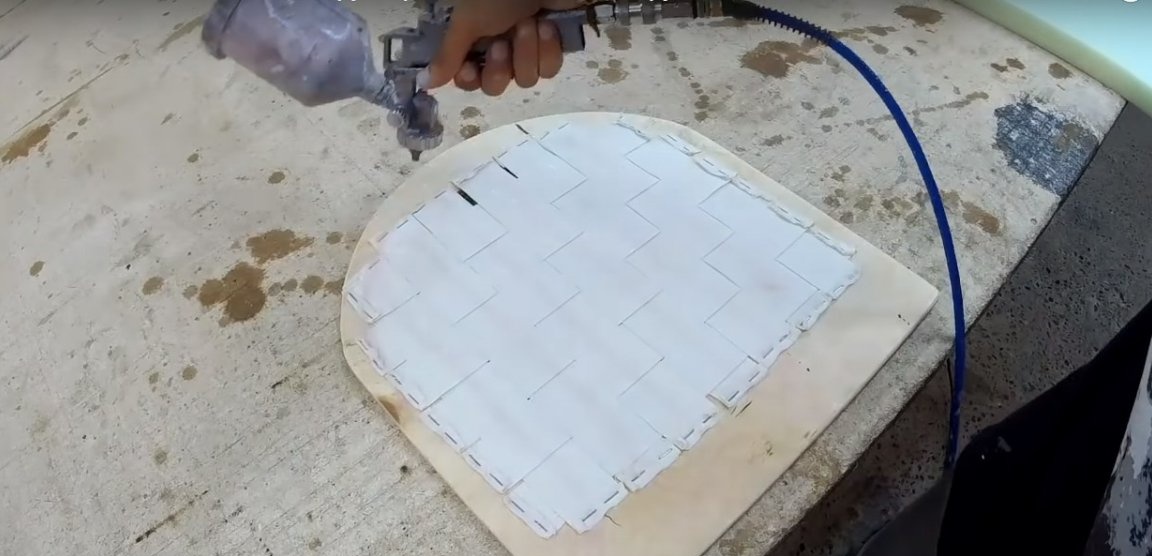
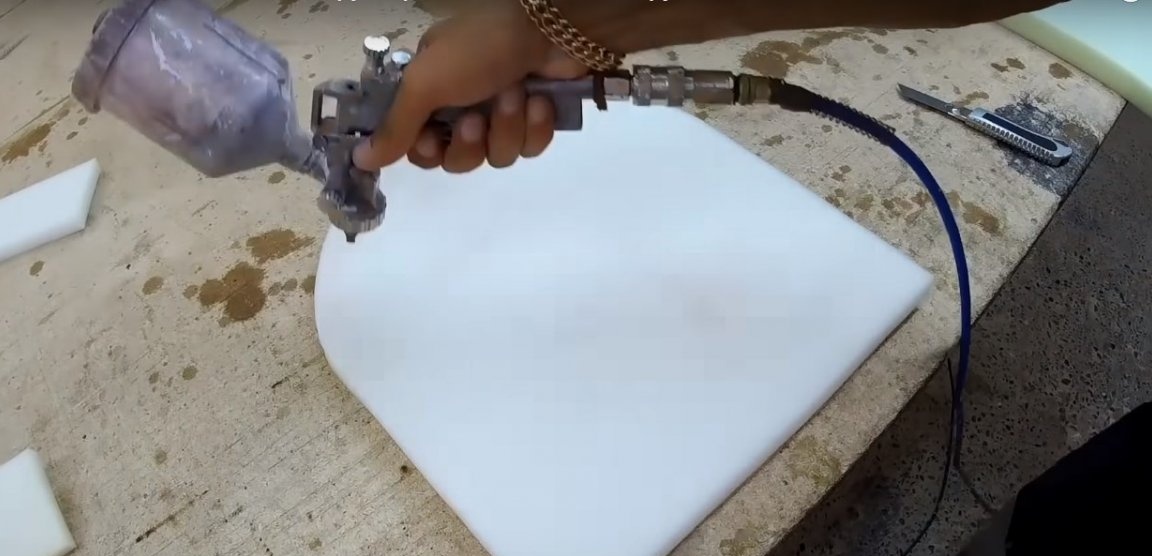
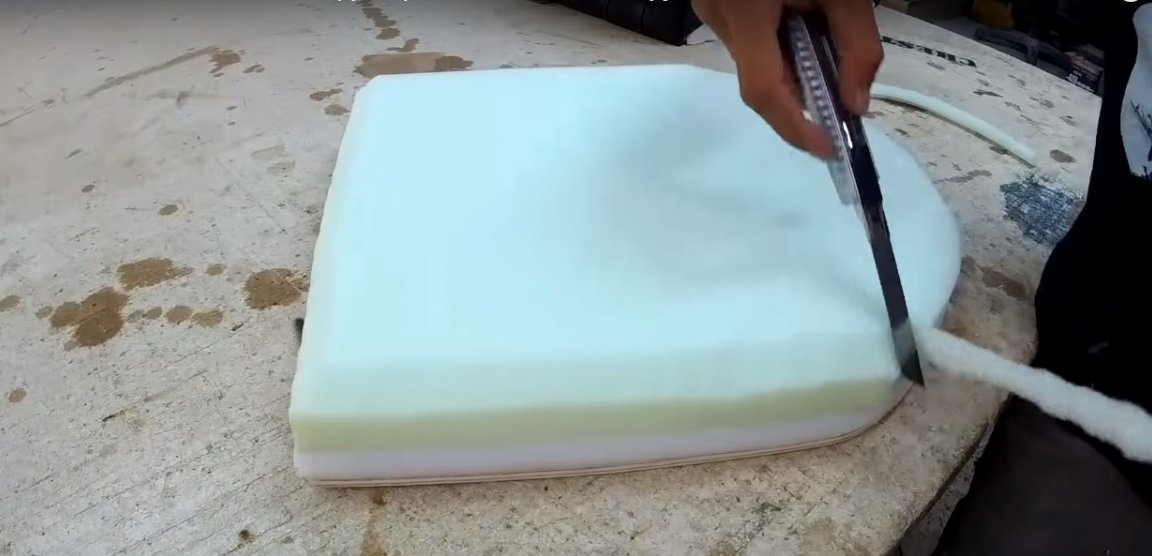
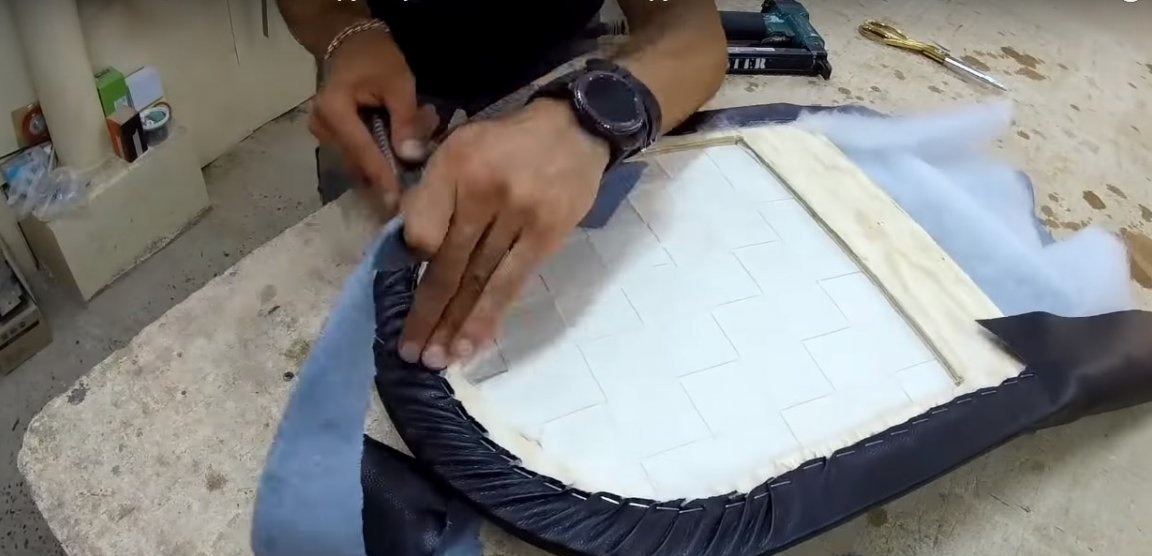
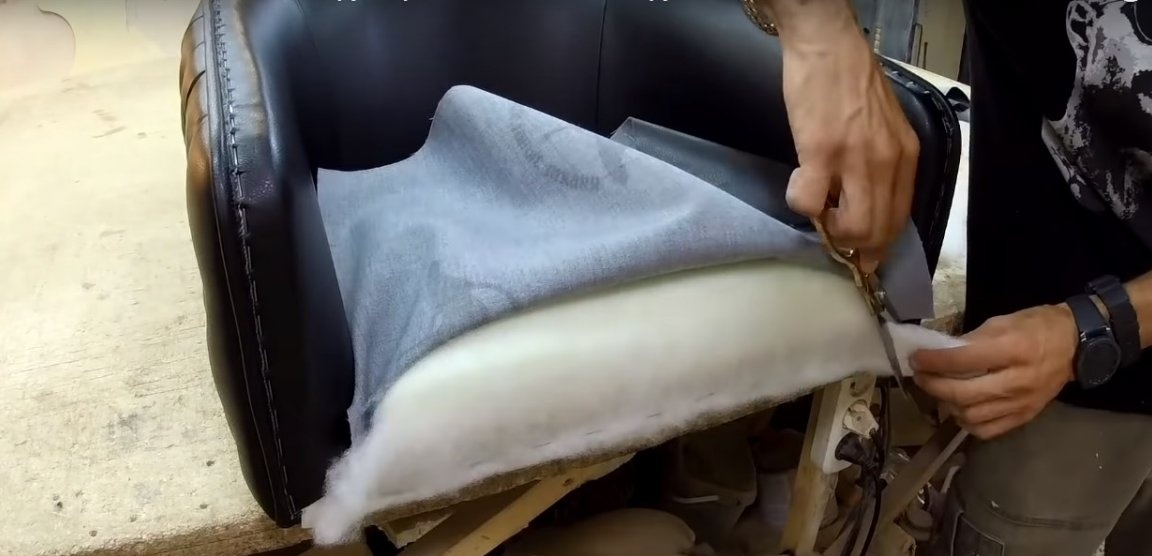
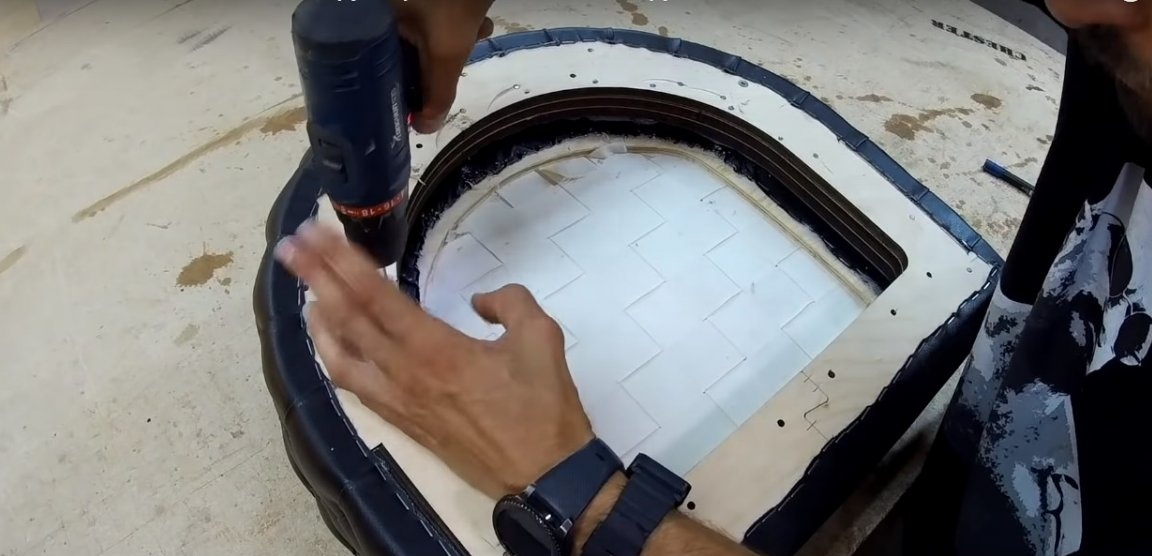
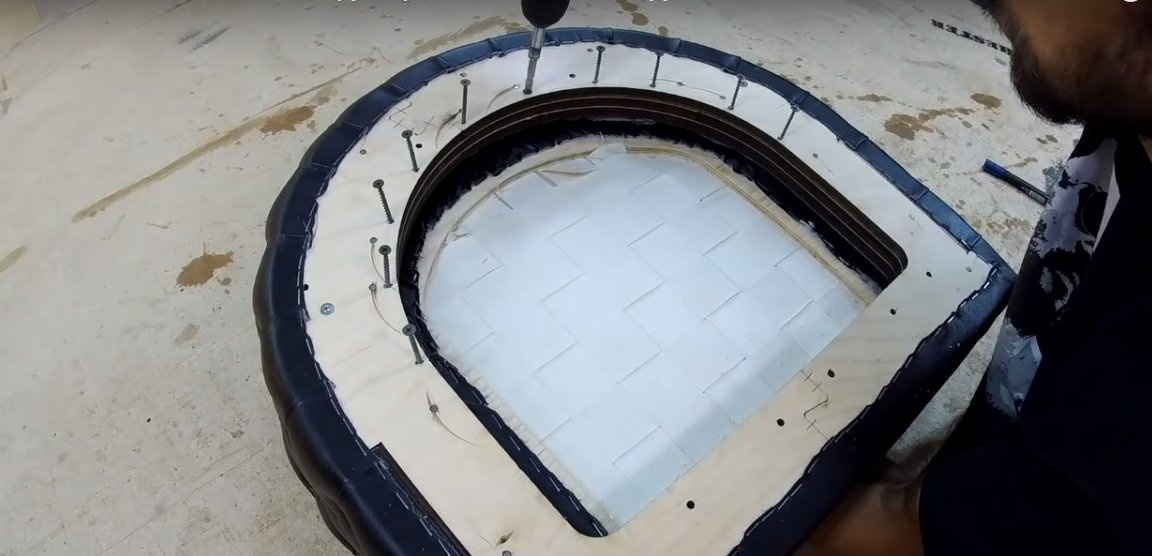
Apply a layer of glue to the base of the seat and glue the thick furniture foam. Apply a layer of glue again and fix the second layer of foam rubber. Thus, the height of the foam must be at least 80 mm.
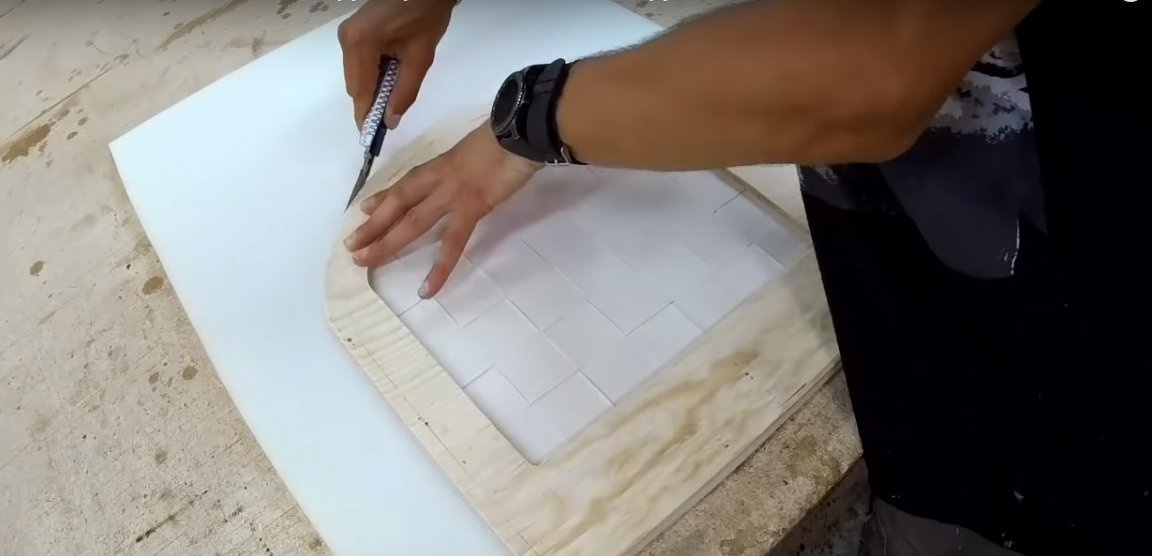
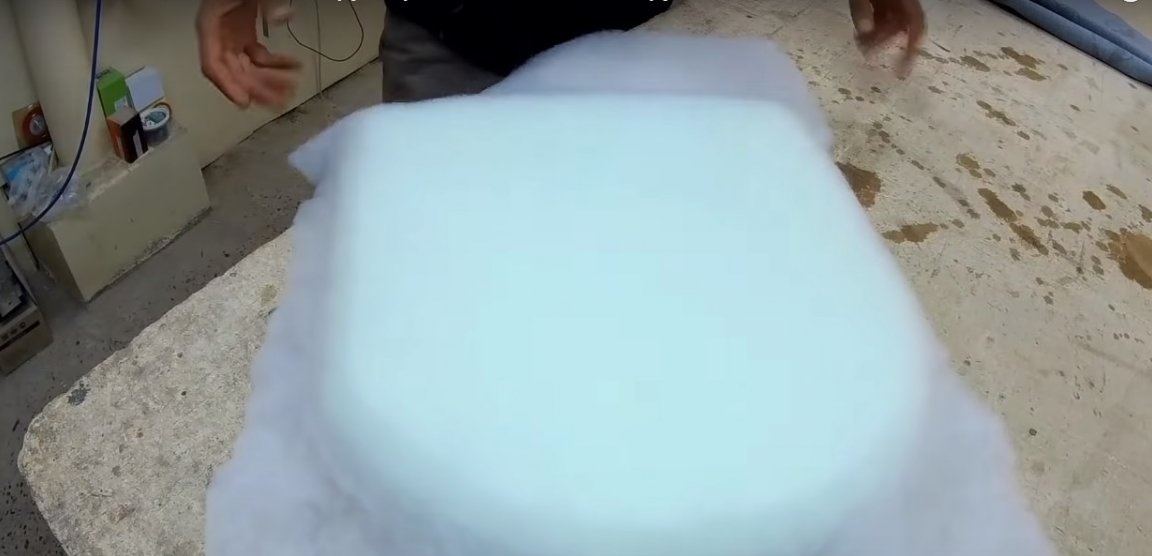
Round the corners with a knife and glue on top a layer of synthetic winterizer or thin foam rubber. Fix the edges of the synthetic winterizer with brackets on the back of the seat.
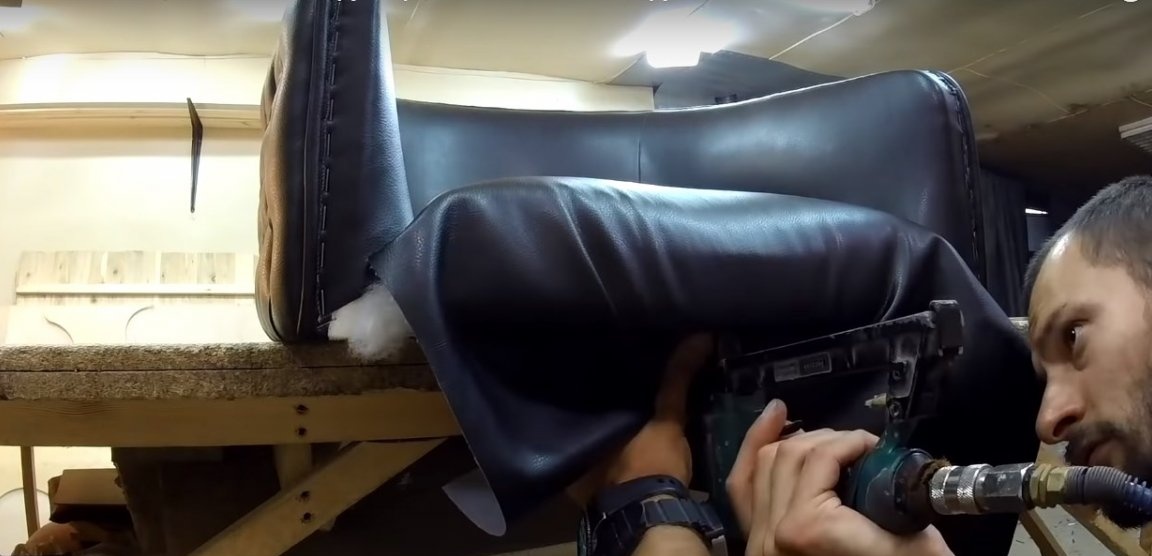
Lay the leatherette on top and start fixing it to the plywood with staples. Turn the seat over and over from time to time to control the evenness of the tension on the fabric.
Cut the excess leatherette from the back. Place the seat in the chair and fasten the leatherette with a hem on the back of the seat and at the base of the back on the sides.
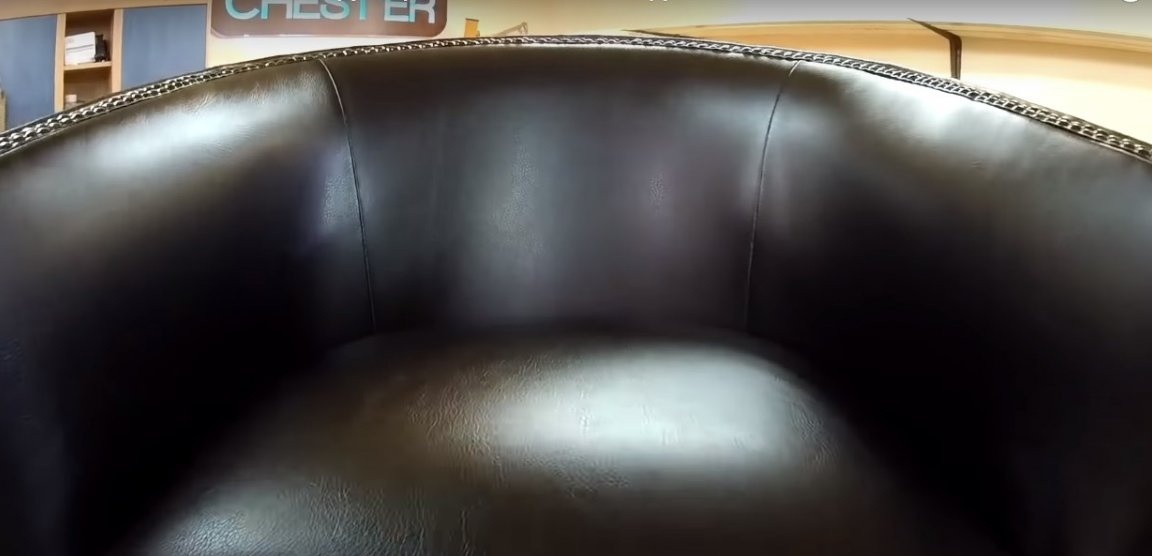
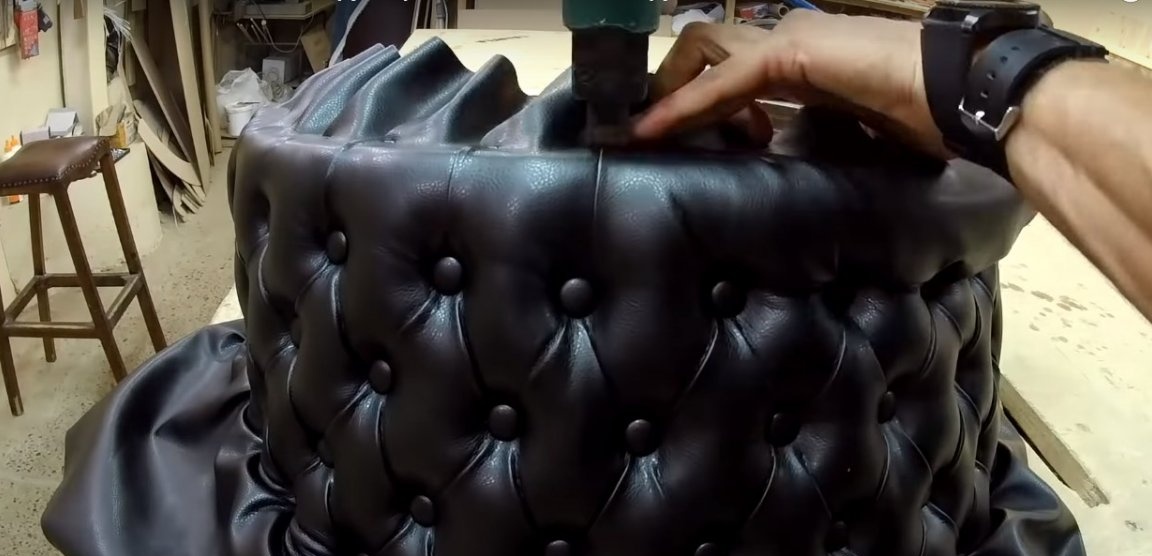
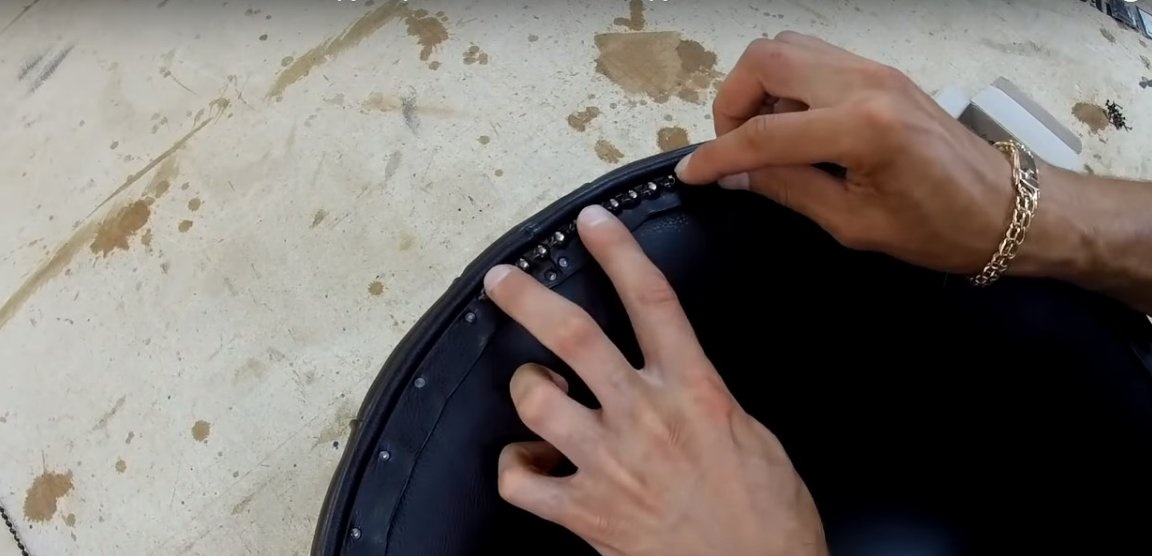
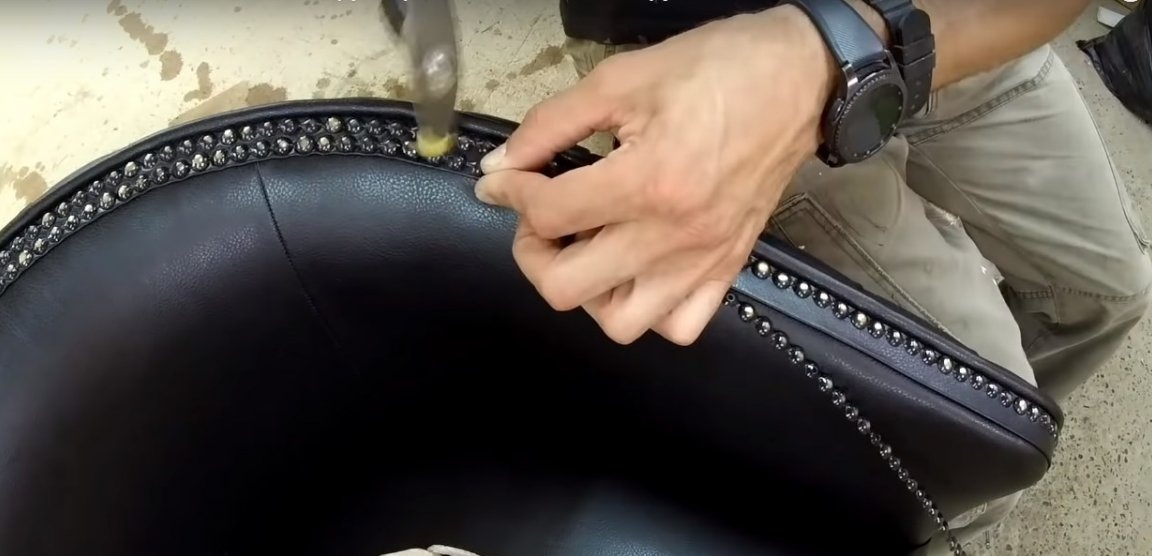
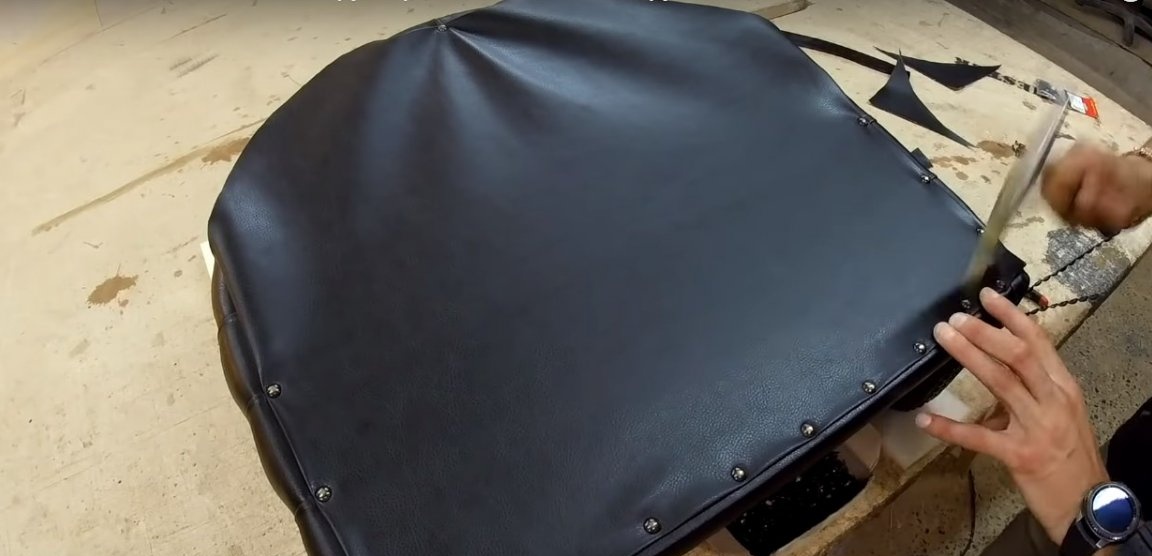
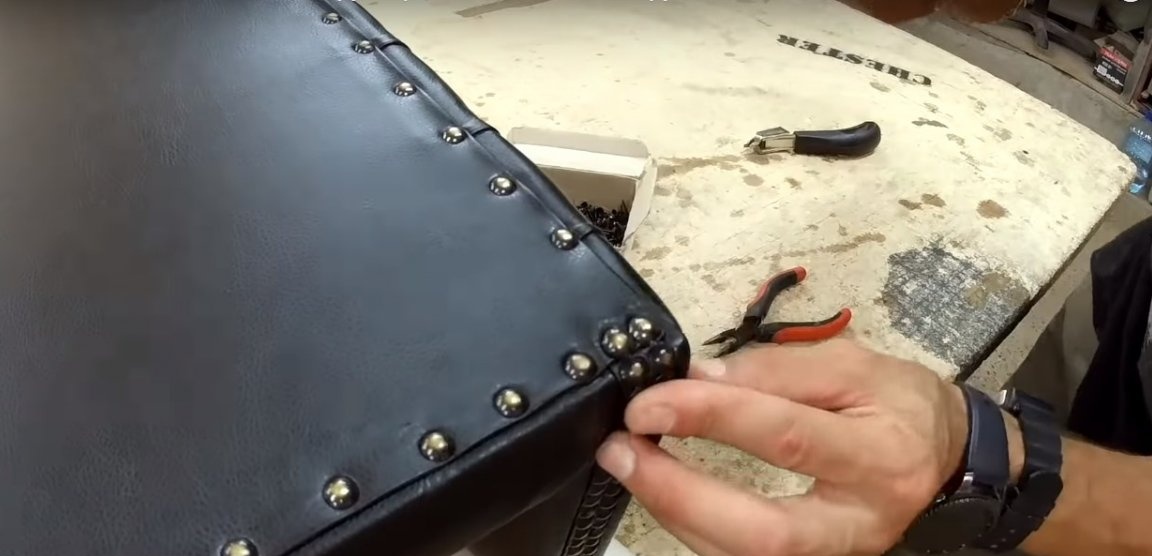
Step ten: processing the joints of the cladding moldings
Close the joint of the casing on the back of the chair with a leatherette strip and pre-fix it with buttons. Install two rows of furniture metal moldings along the contour.
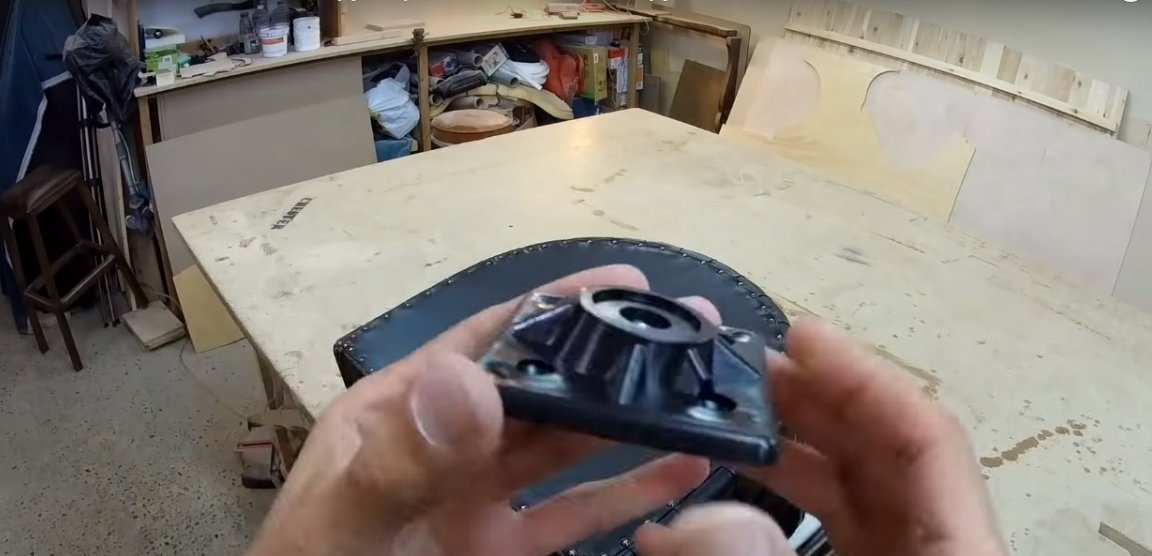
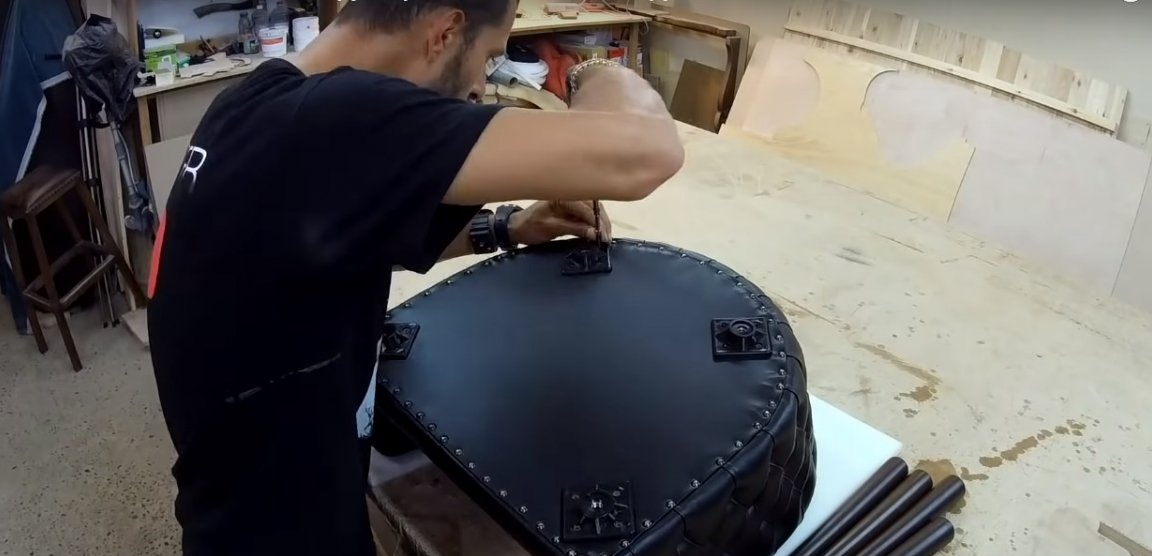
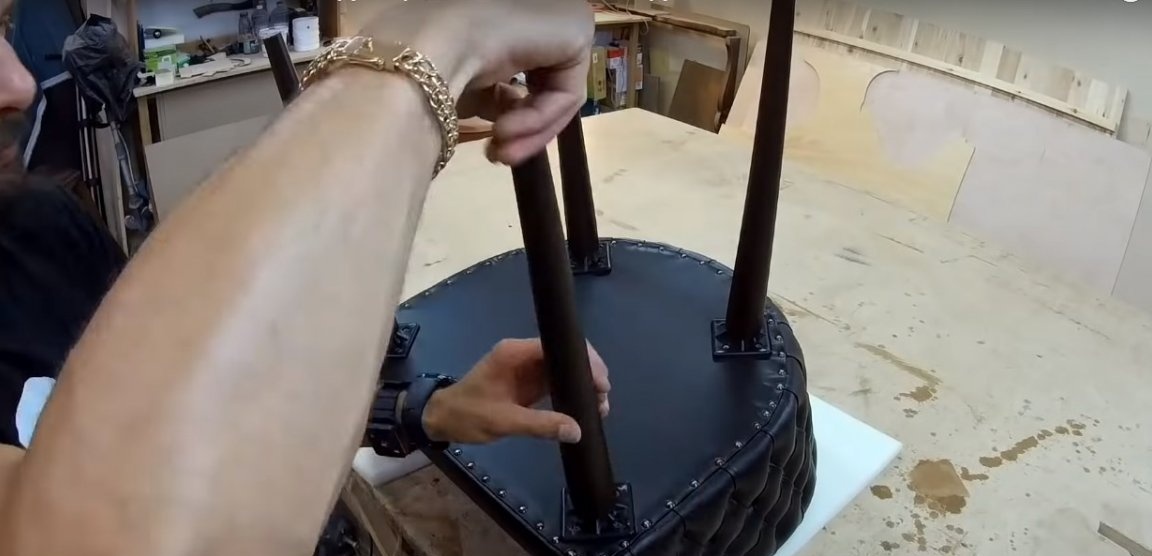
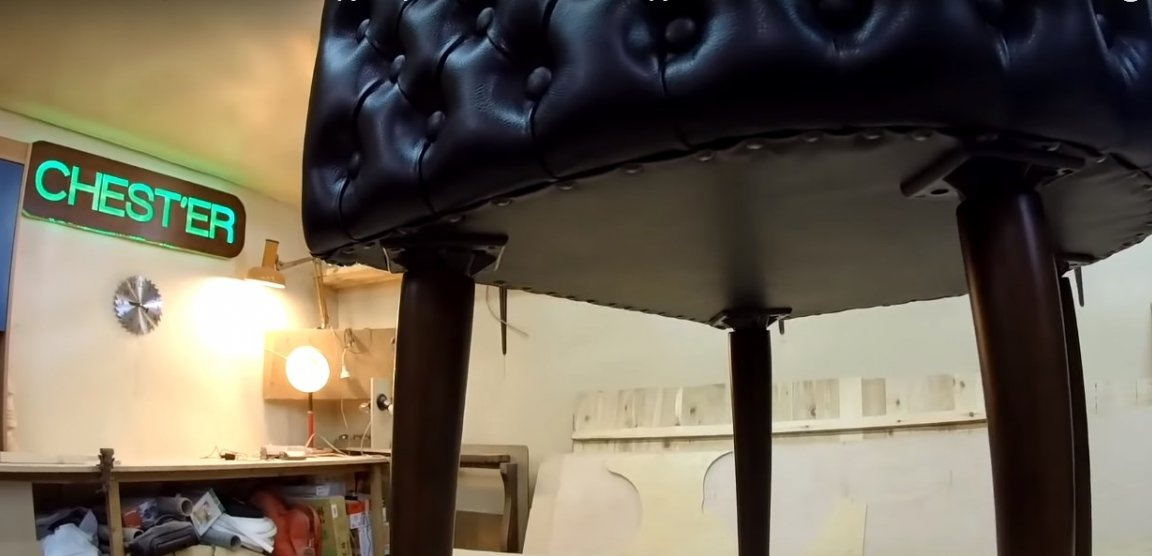
Step eleven: processing the bottom of the chair and installing the legs
Turn the chair upside down and hem the base of the seat with a leatherette with hem using metal buttons.
Also screw the threaded fastenings of the legs with screws and install the wooden legs.