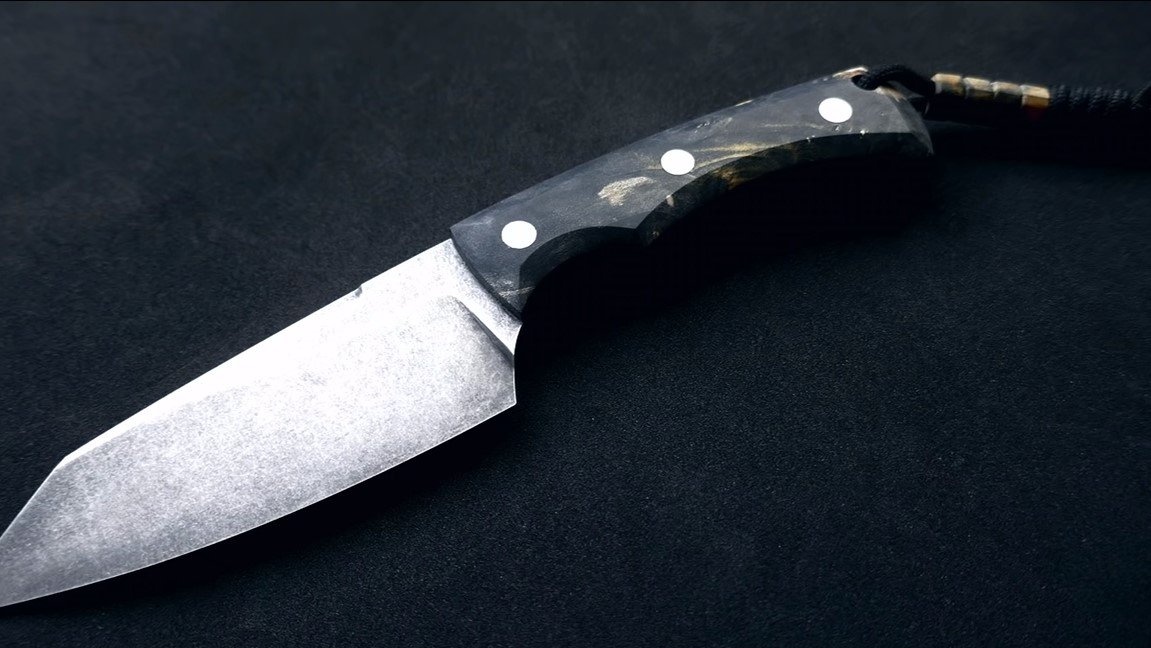

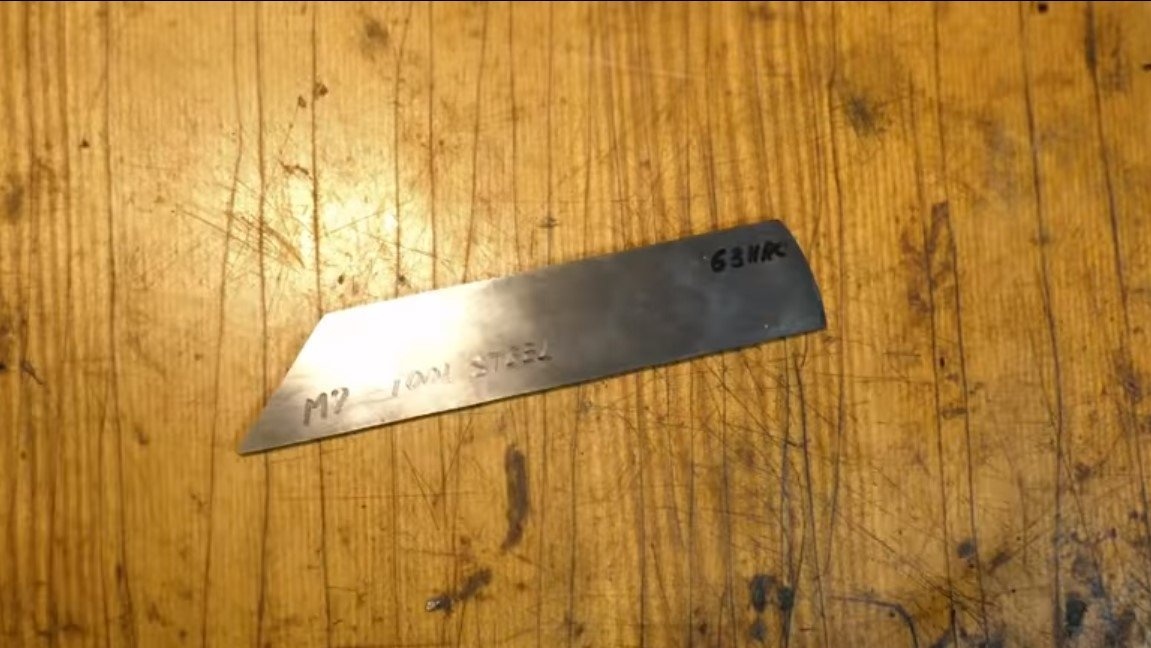
I welcome all fans to craft, today we will consider how to make a very durable knife without forging. As a material, the author used carbon M2 stainless steel. Such steel after hardening can reach a hardness of 63HRC, the blade easily leaves scratches on the glass bottle. The author did not temper the blade, the source material is already hardened and released according to all the rules. The knife is not complicated to manufacture, but for processing you will need only an electric tool, since you cannot take such steel with a file. If you are interested in the project, I propose to study it in more detail!
Materials and tools used by the author:
Material List:
- hardened steel grade M2;
- G10 or similar material for the handle;
- decorative screws as pins or rods;
- epoxy adhesive;
- the rope.
Tool List:
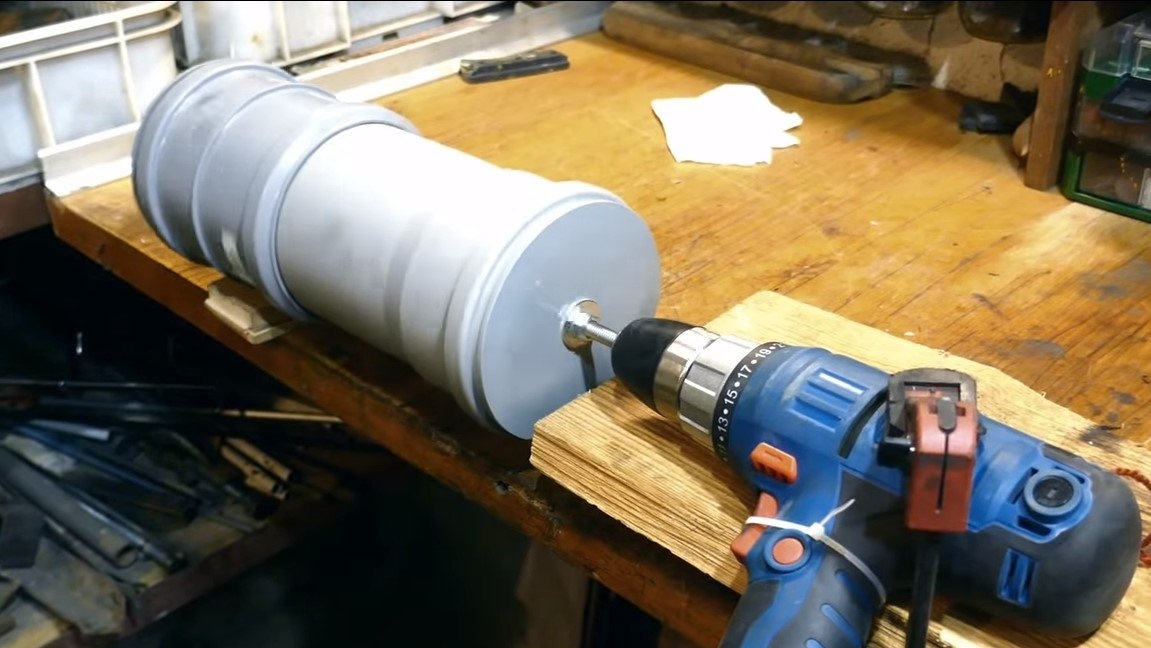
- Tumbling machine (from the author of a screwdriver);
- a drilling machine with a special drill for solid steel;
- a grinder with cutting discs and grinding nozzles;
- belt sander;
- paper, pencil, scissors, marker.
The process of making a knife:
Step one. Primary profile
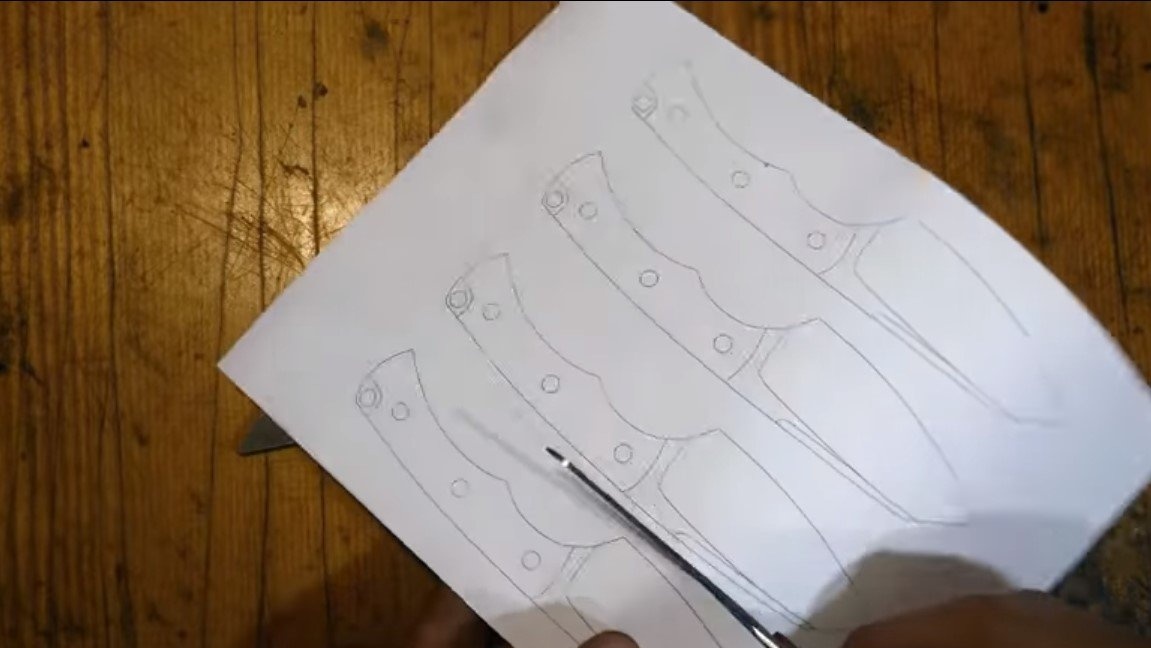
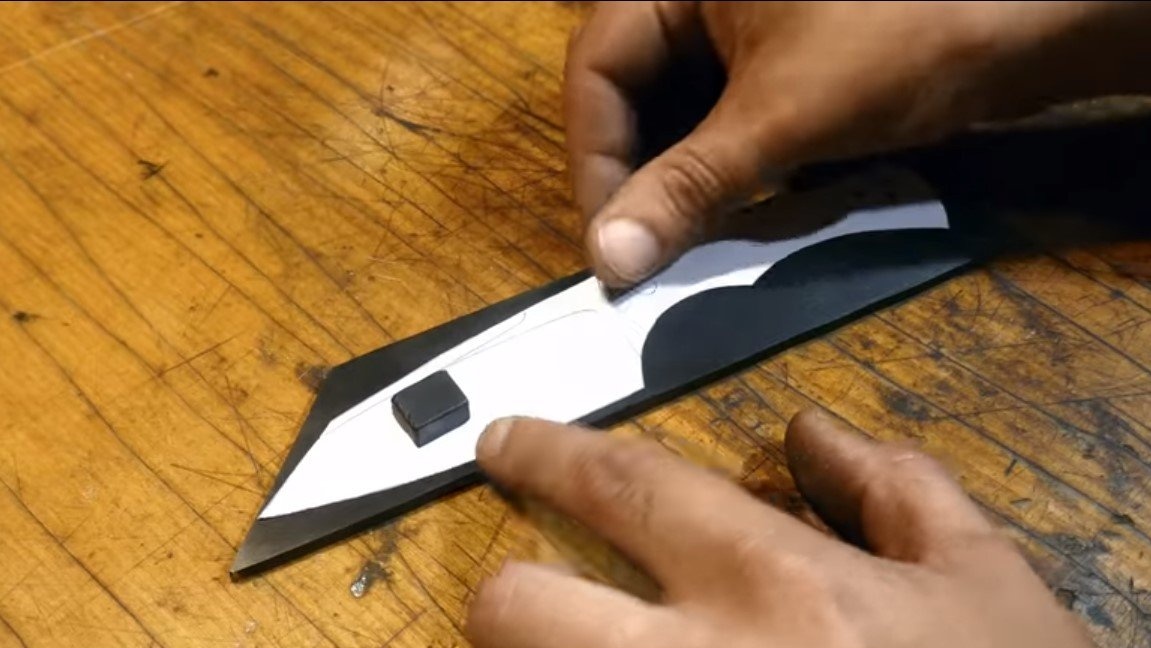
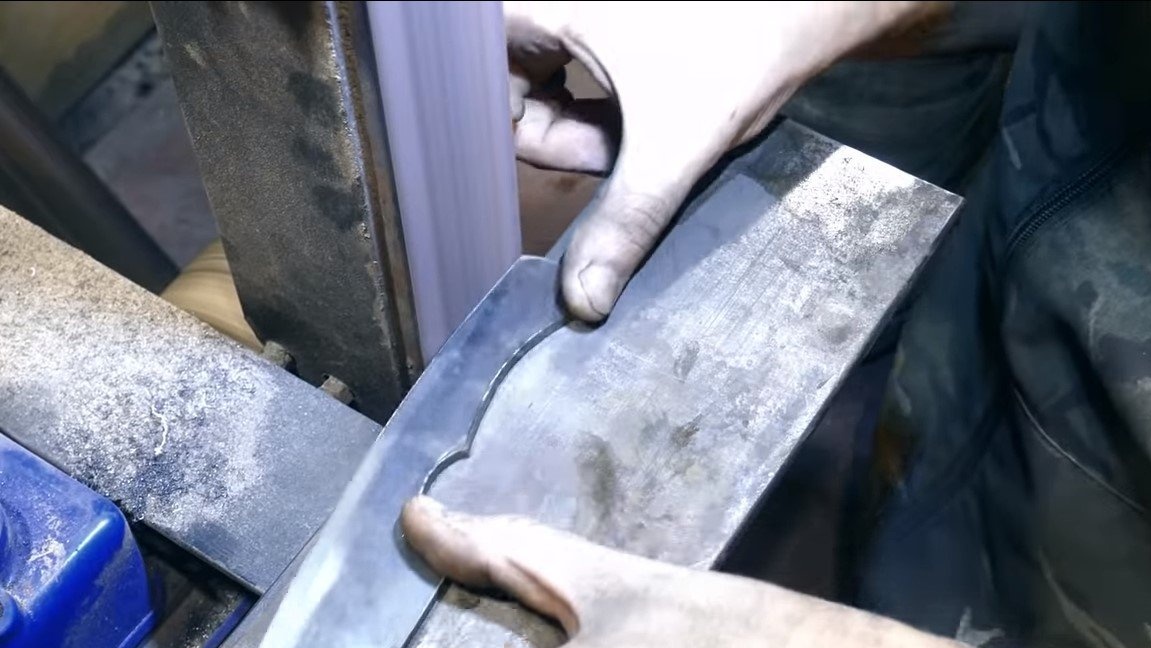
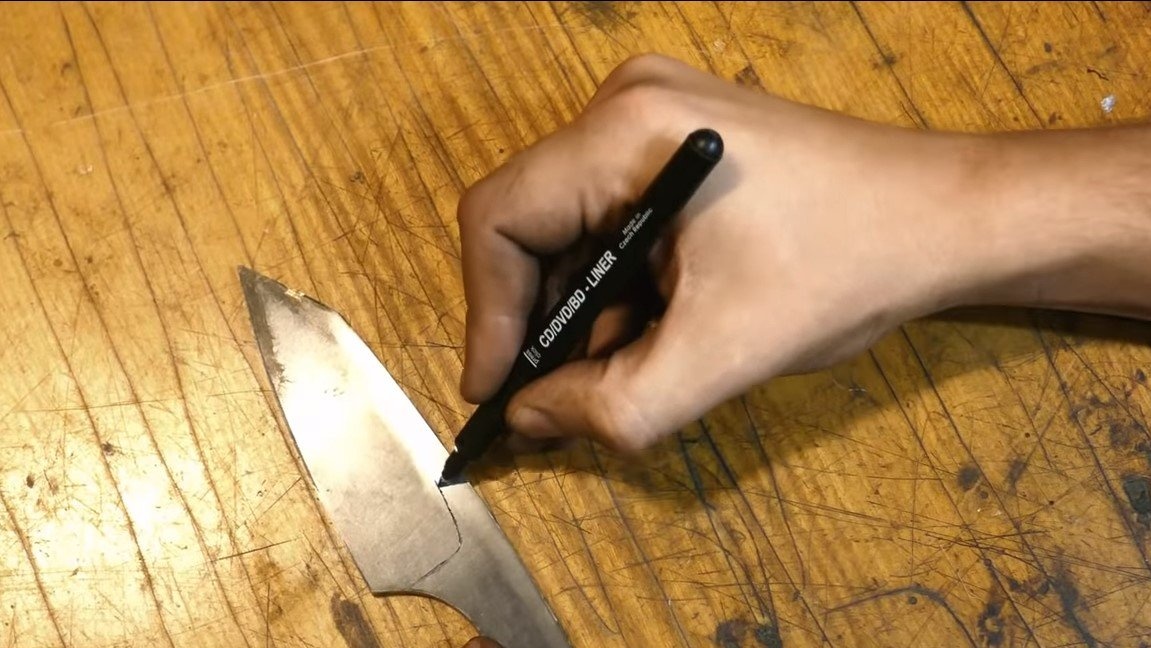
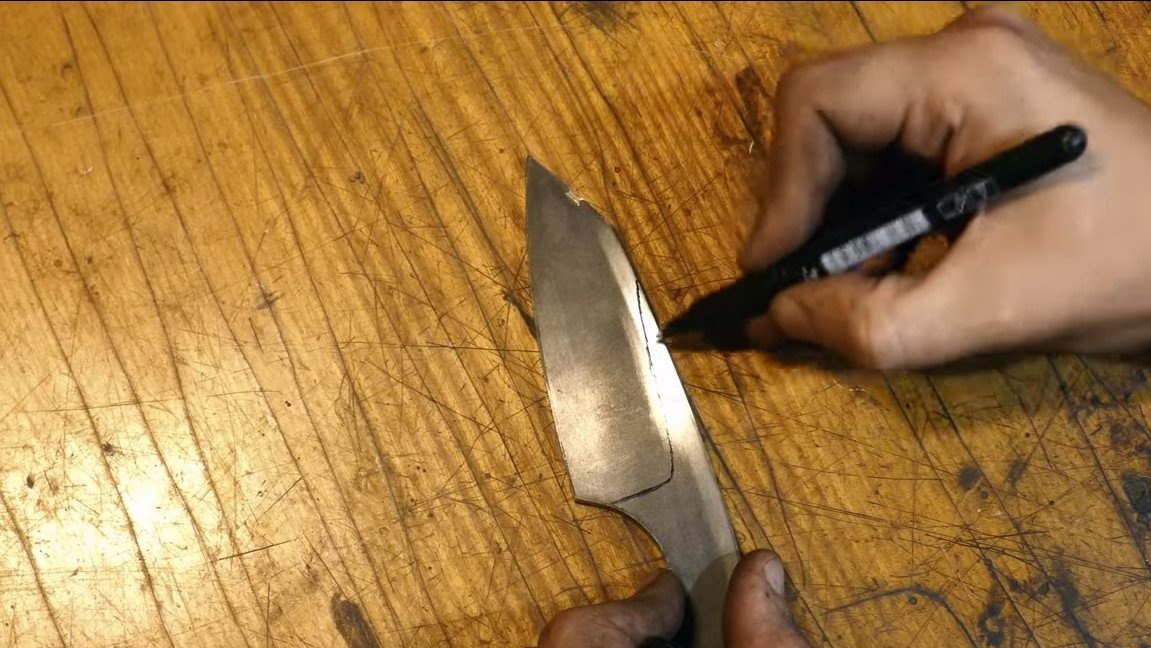
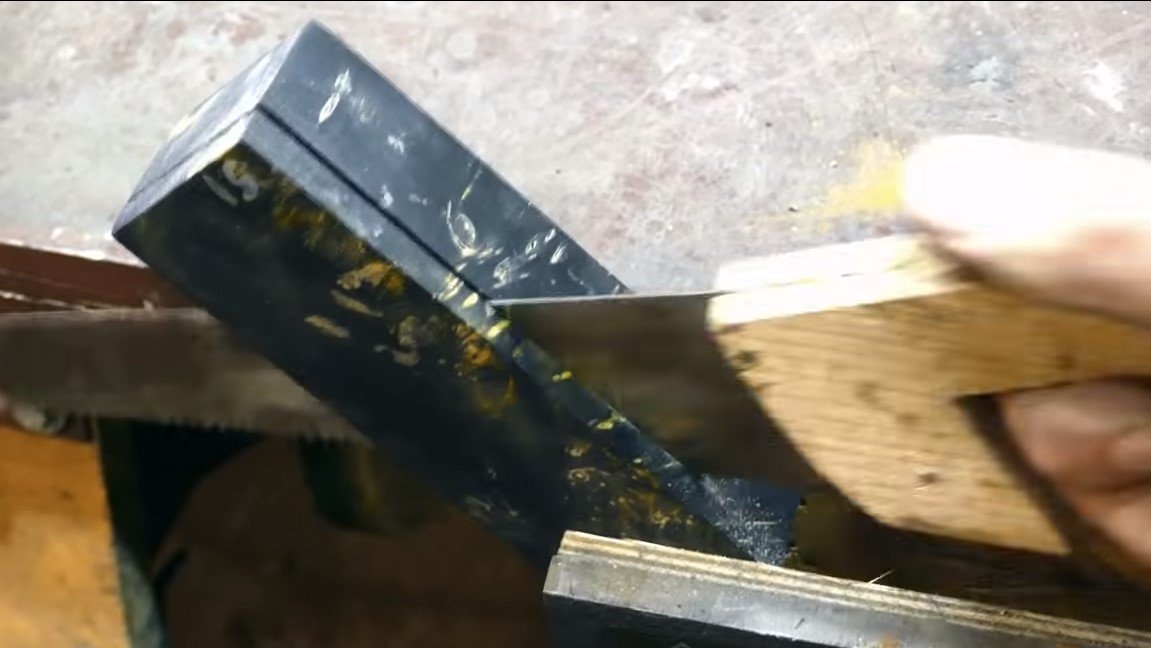
First of all, we need to draw a template of the future knife on paper. If everything is bad with the drawings, you can download the finished project from the Internet and print it on a printer. We cut out the template from paper and transfer it to metal. The easiest way to transfer is to simply paint over the template from the spray can, as a result, you will need to cut out the unpainted area.
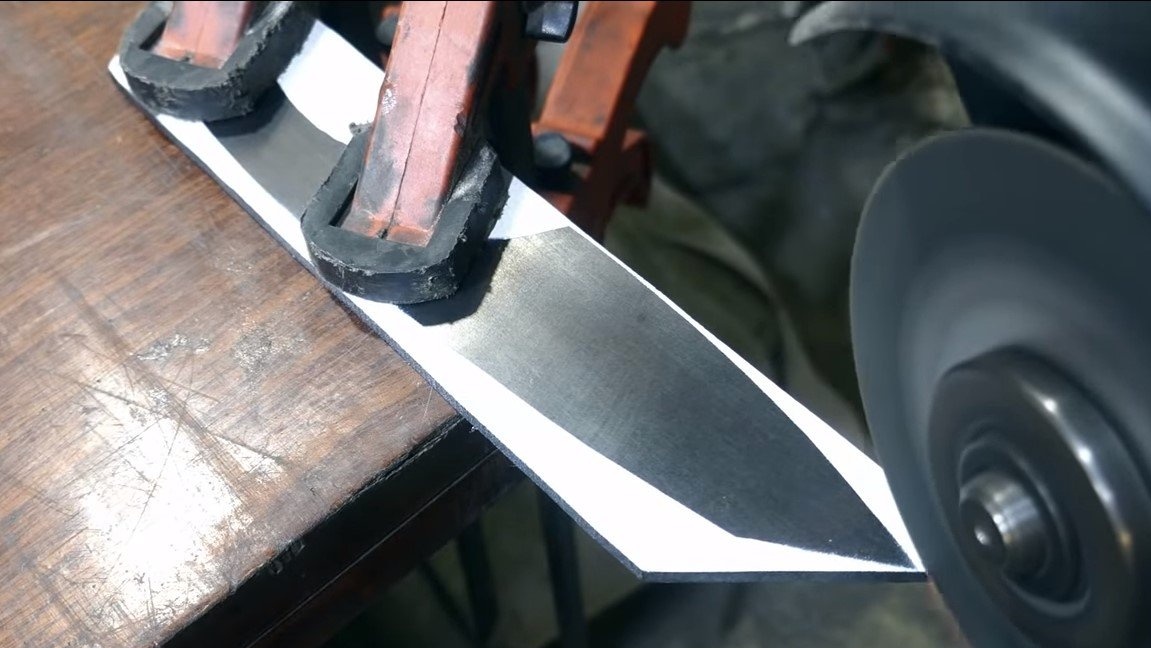
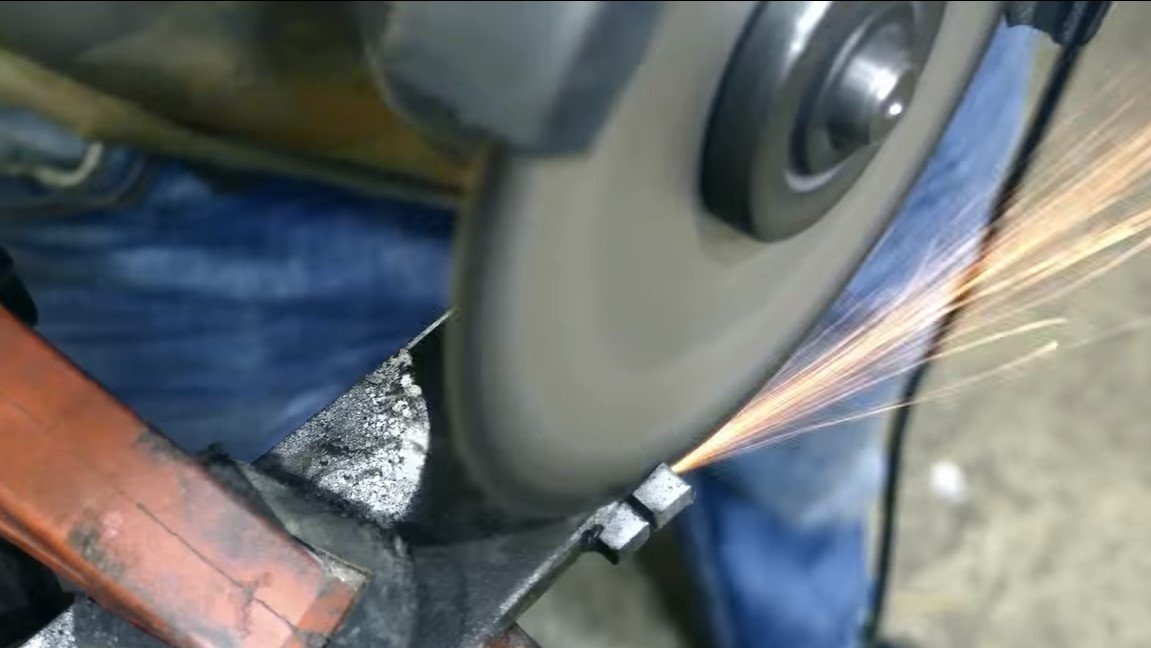
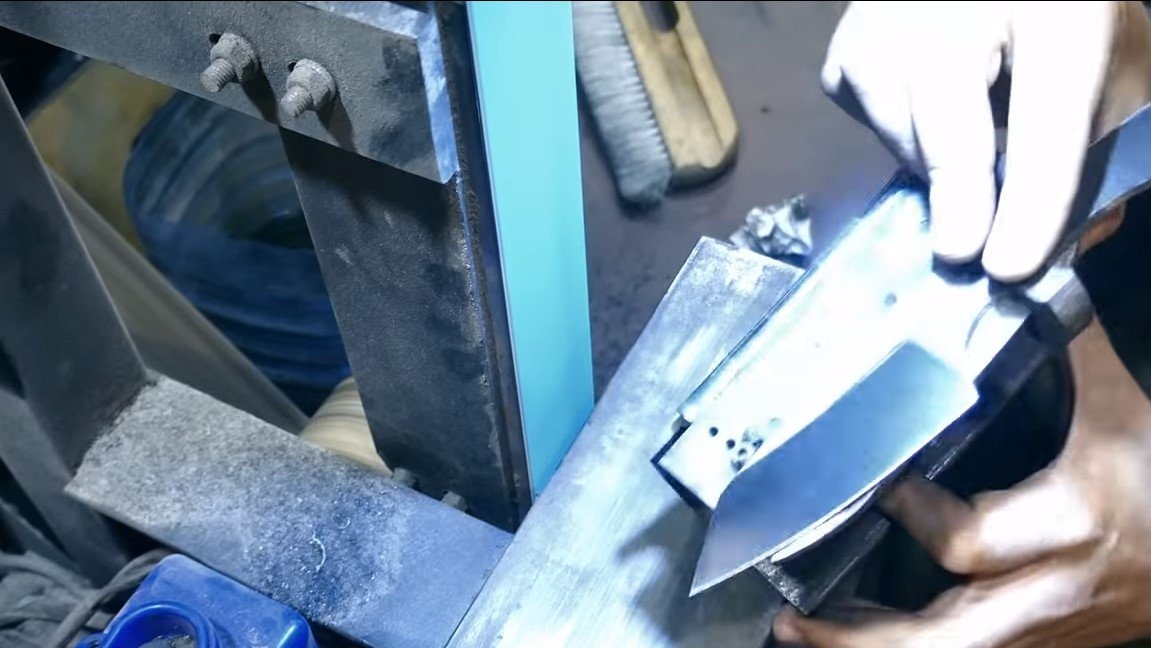
For cutting, the author used the most ordinary grinder. When cutting, it is important to remember that we work with hardened steel, it must not be overheated, otherwise the steel will become not so hard. Constantly water the steel with water, if it boils, it means that the steel is already heated to more than 100 degrees, and in the cut area this temperature can be all 300 degrees, which can already be critical.
The author cuts the problem areas into pieces, but in the end we go through the contour with the help of a thick grinding disc.
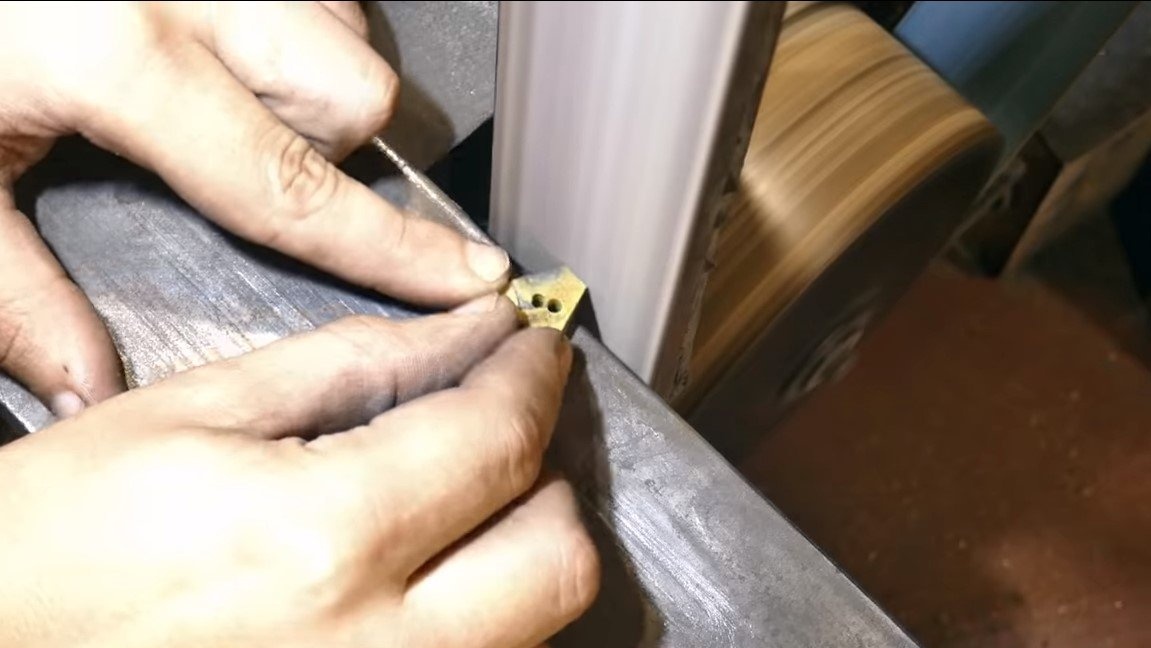
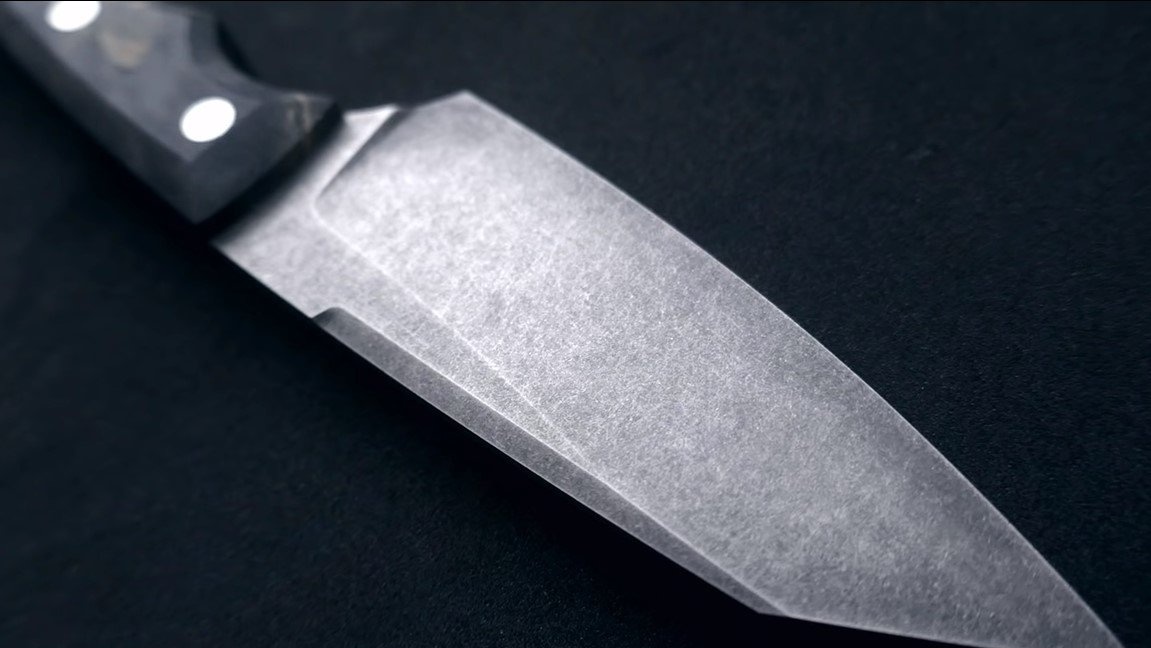
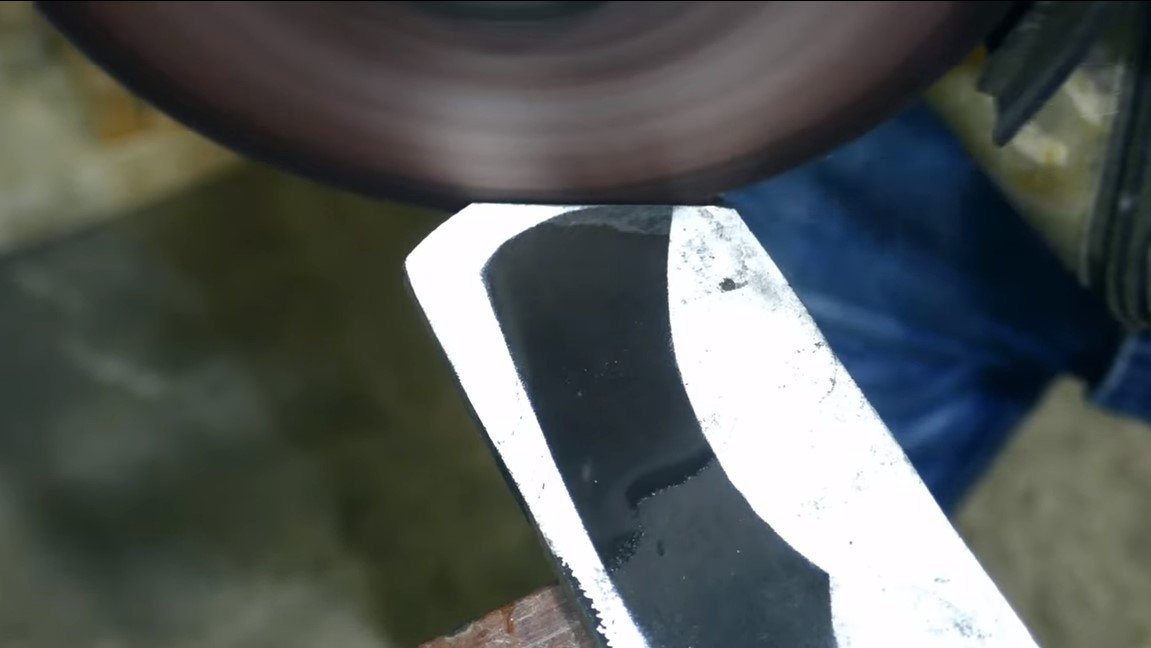
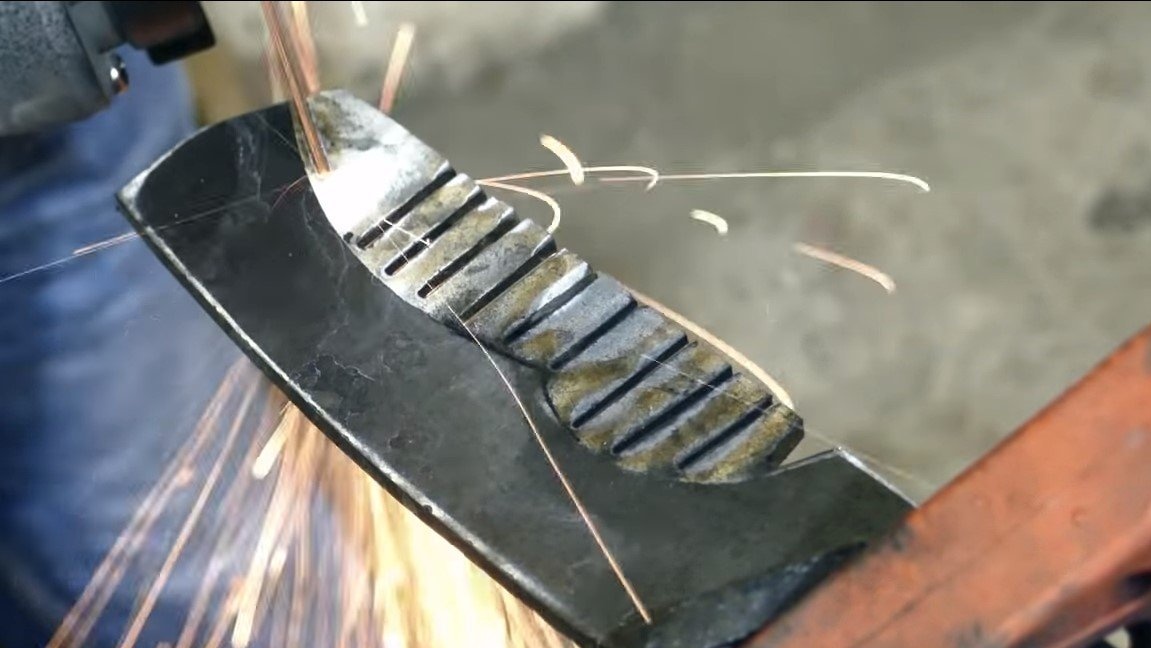
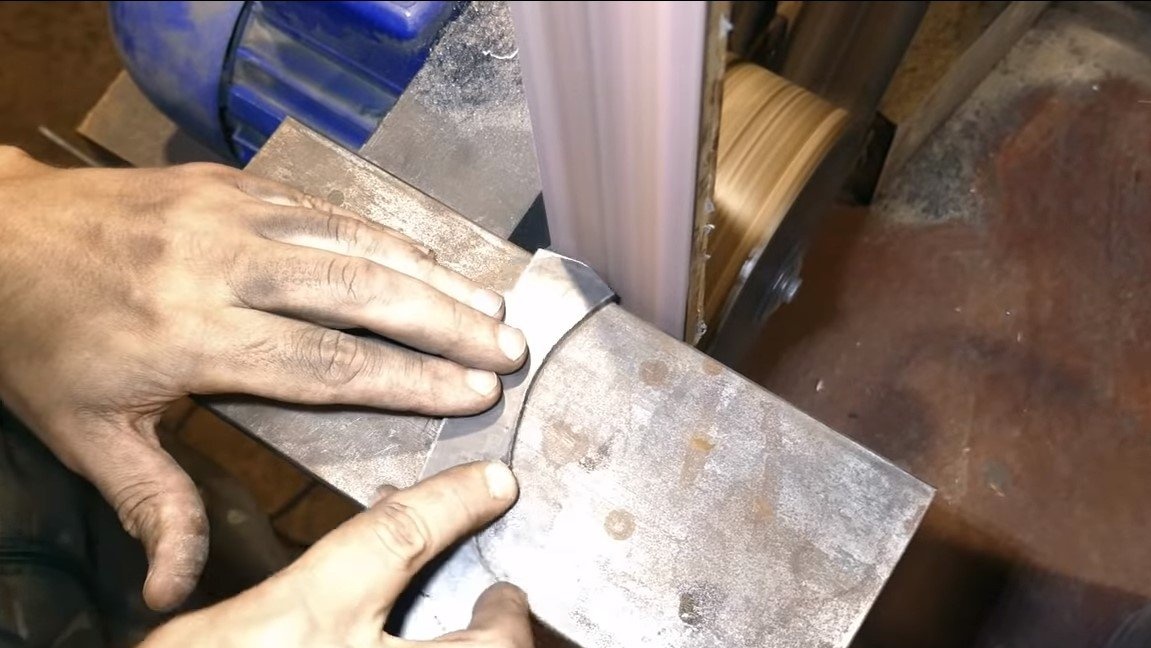
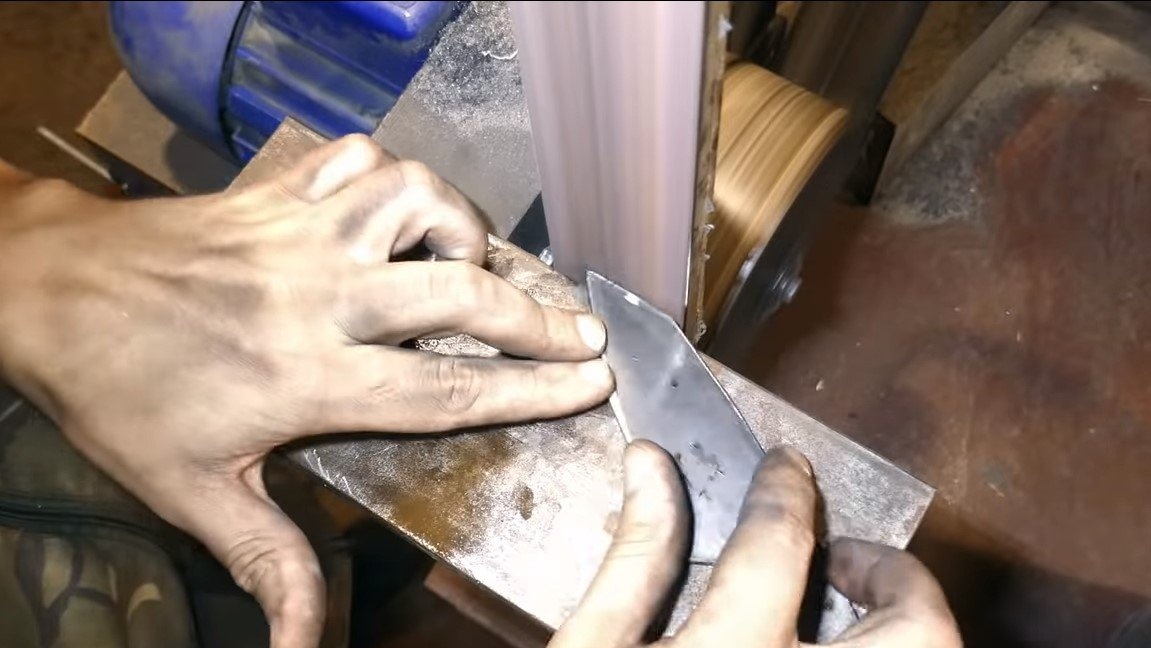
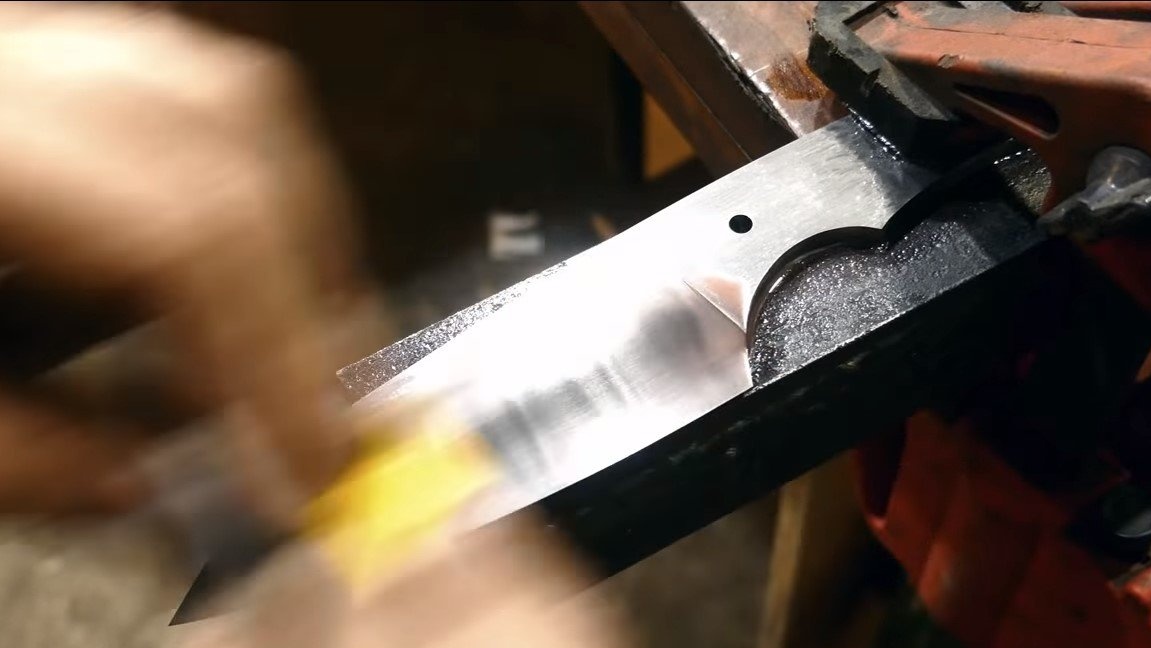
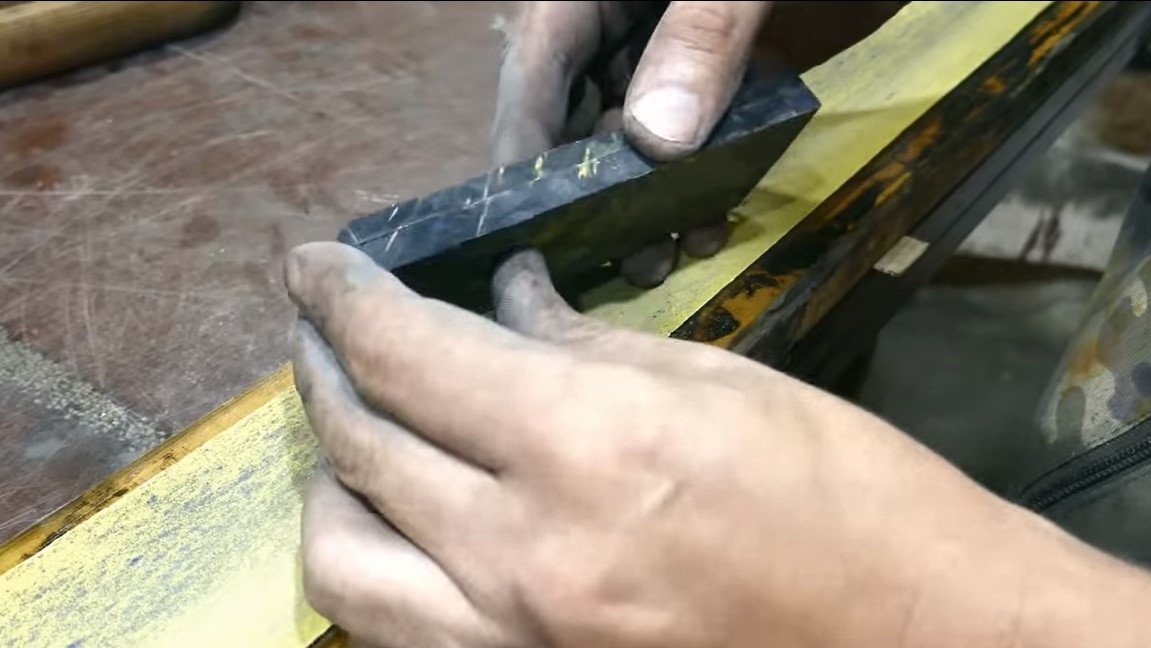
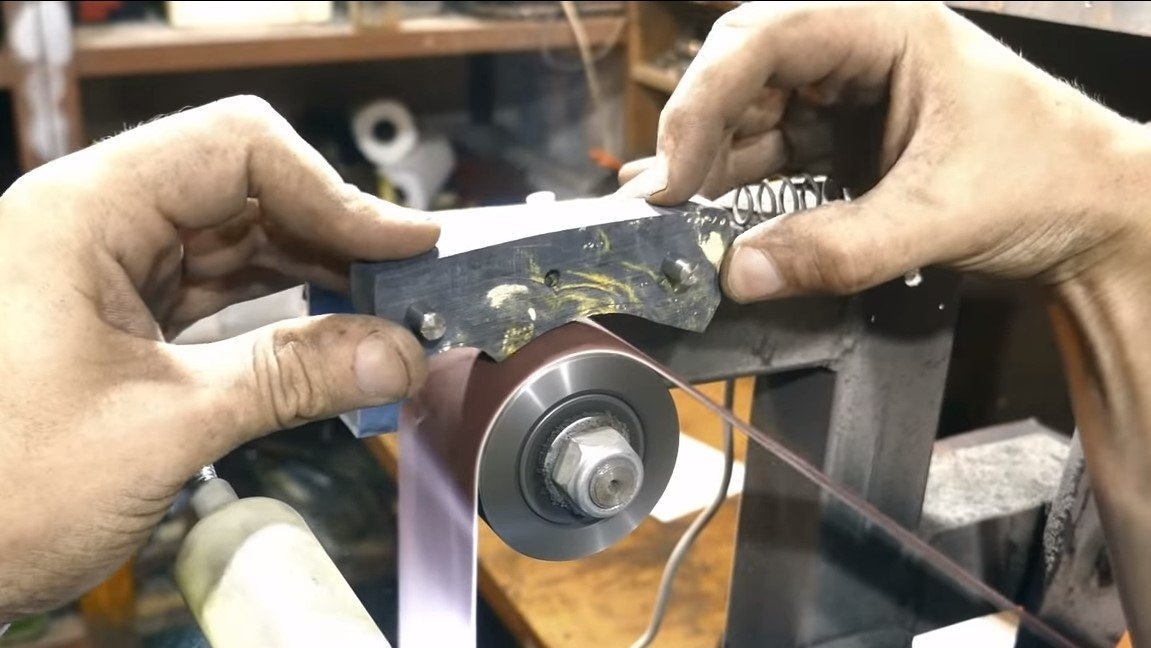
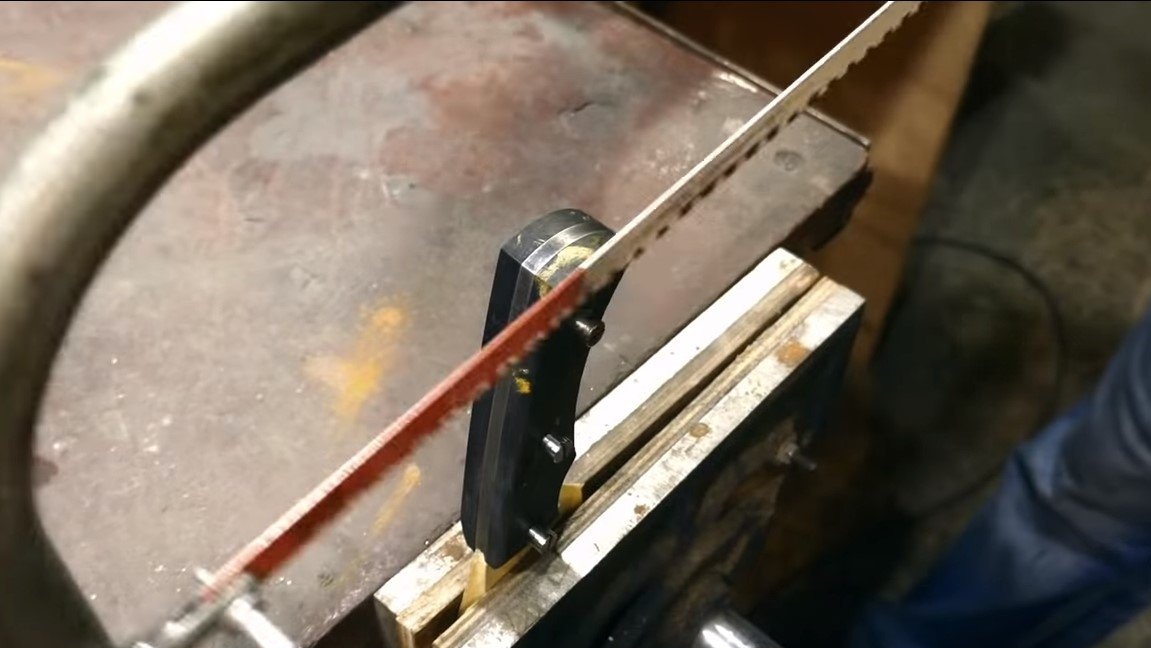
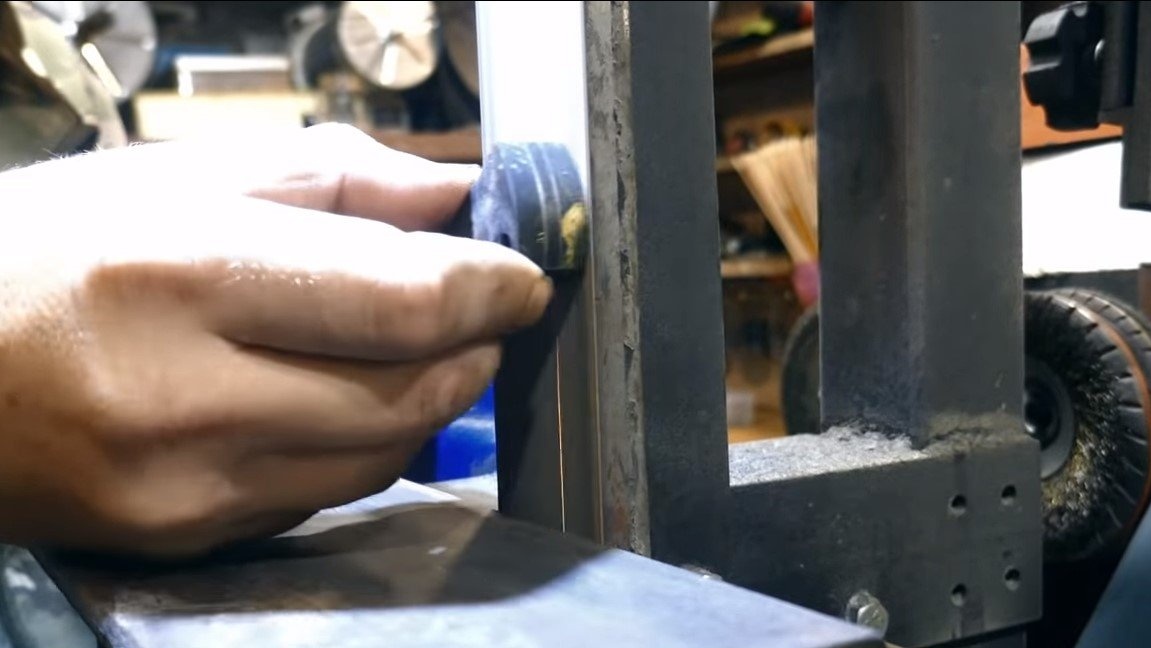
Step Two Final refinement of the profile and the formation of bevels
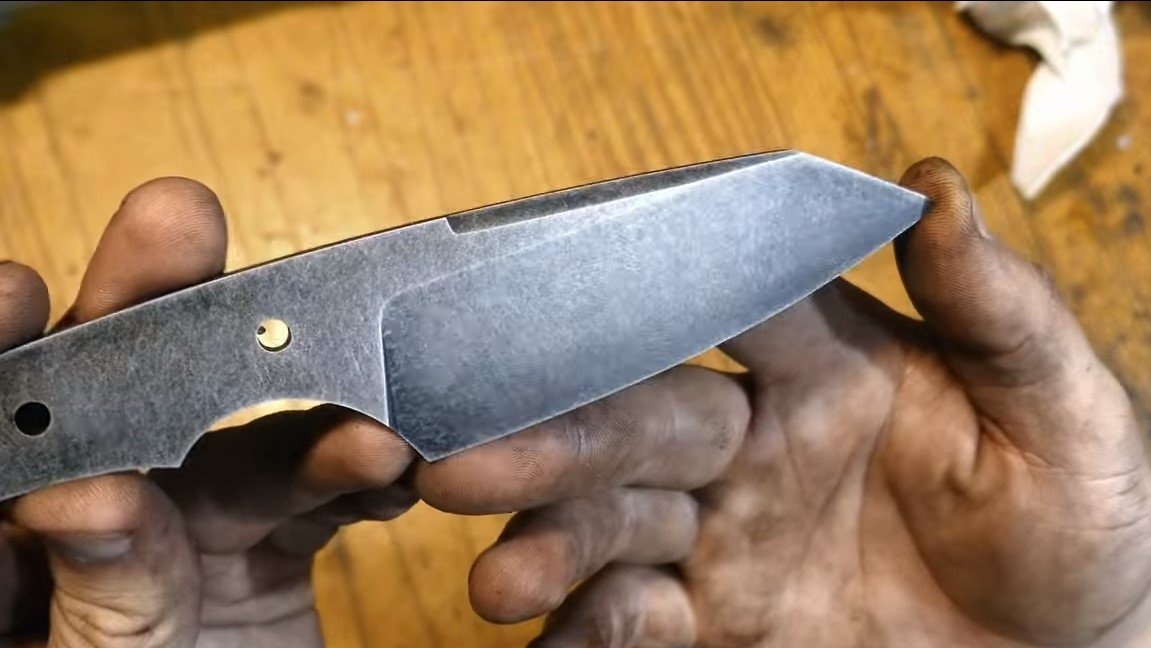
The author performed the final processing of the knife profile on a belt sander. Bends and other areas can be processed using a drill or other power tool, the file does not take hardened steel.

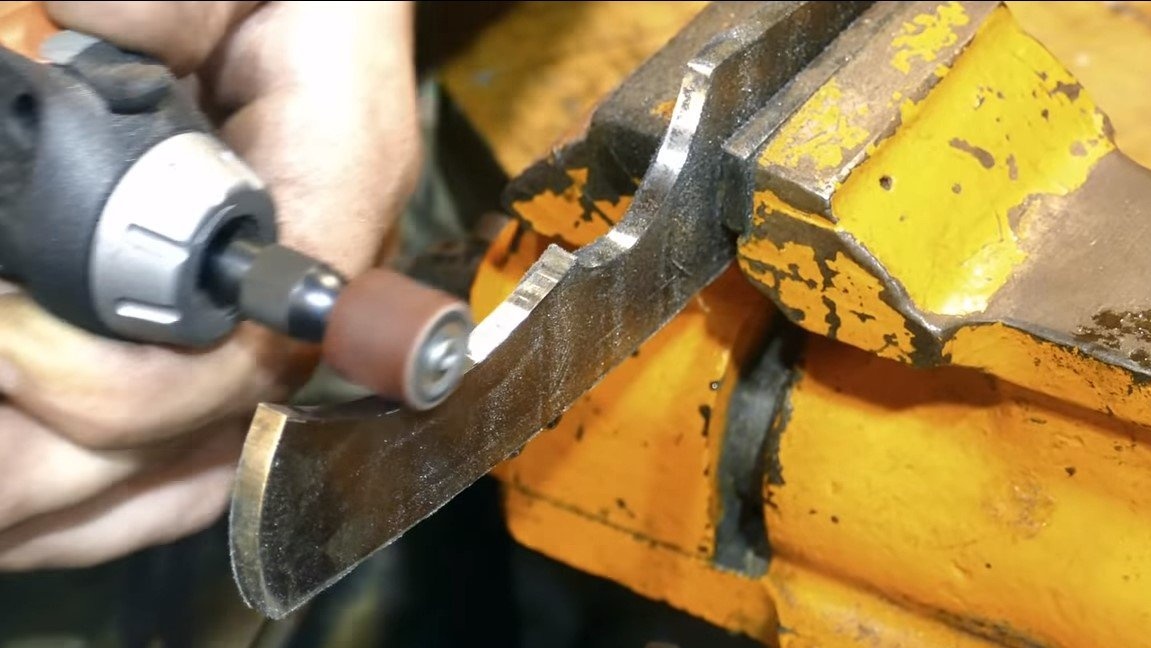
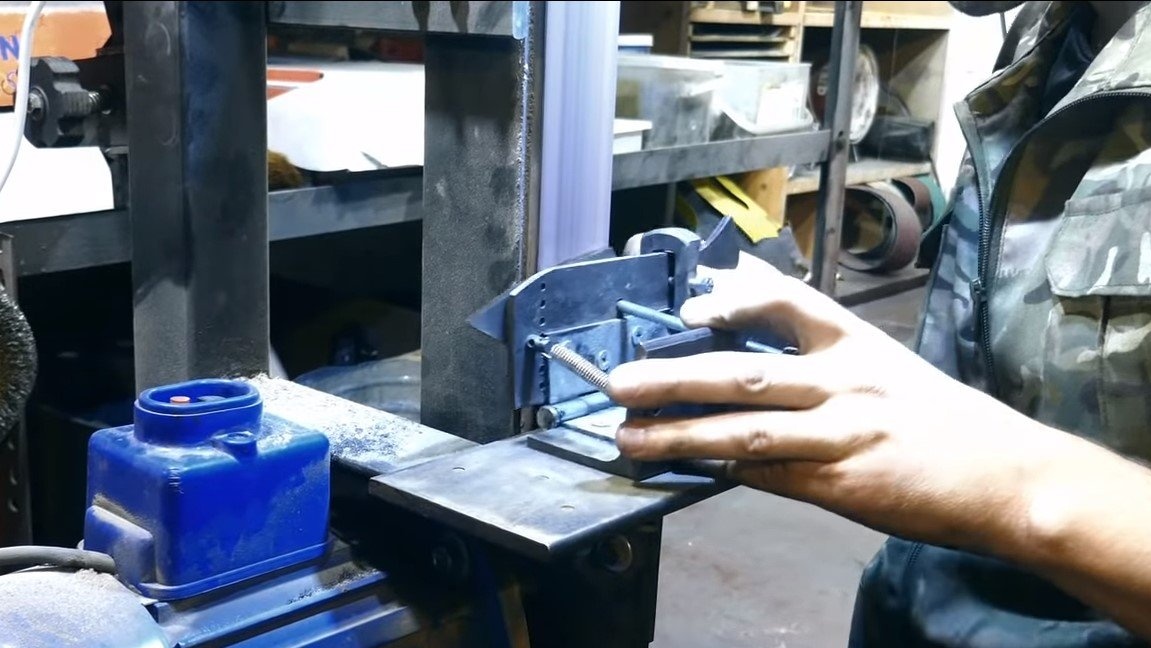
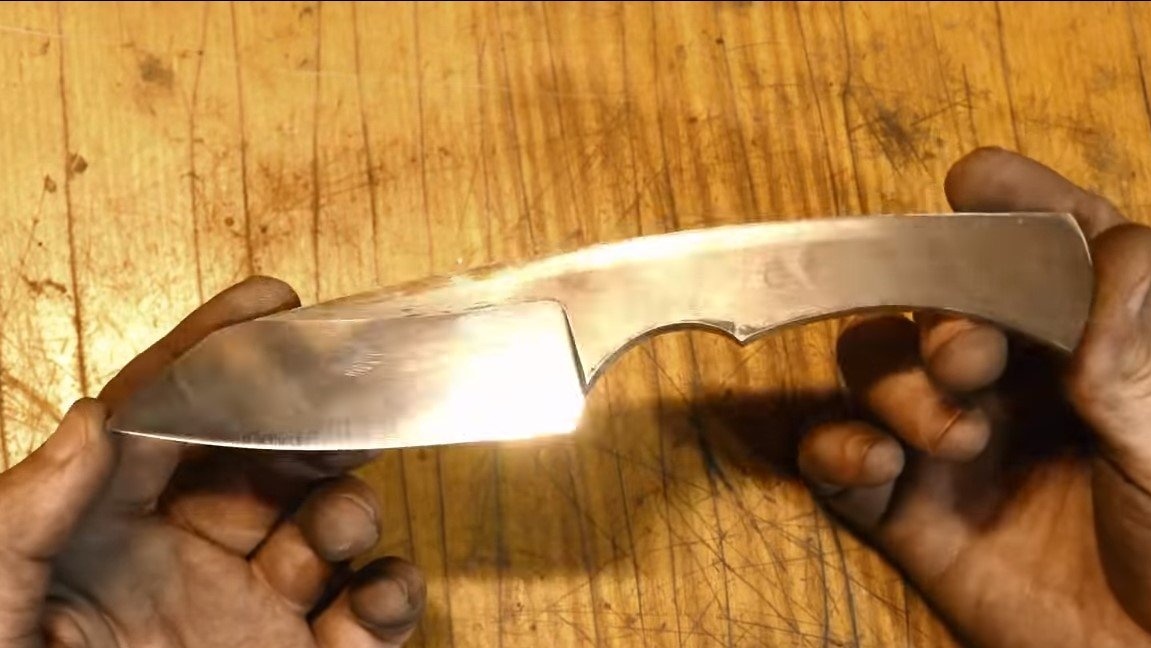
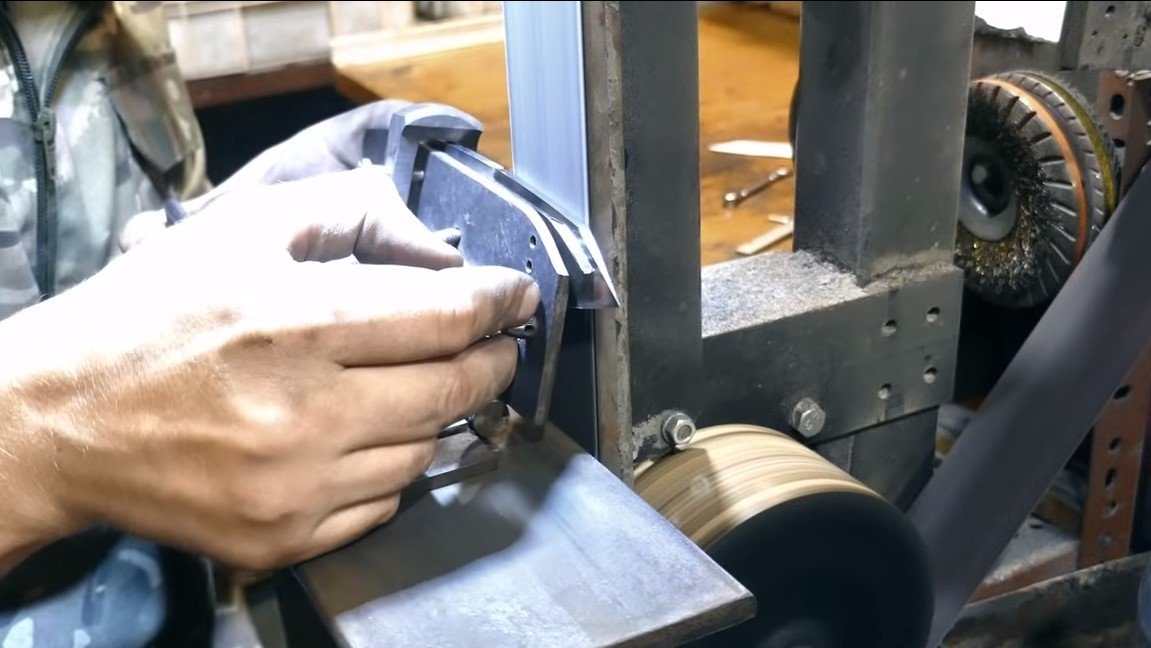
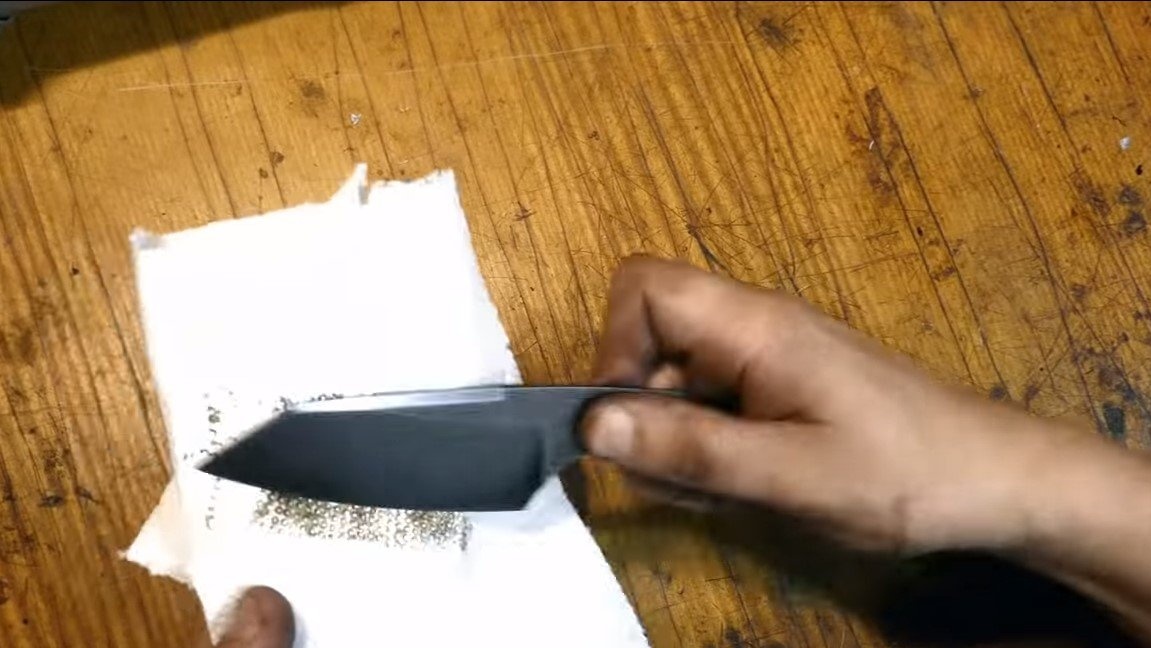
We also form the slopes on the blade, for starters it is recommended to draw a central line along the blade, which we will be guided by when forming the slopes. The task can be dealt with using a caliper or drill of suitable diameter. To form the slopes, the author has a special holder for the blade. Here it is important to remember again that it is impossible to overheat steel, we constantly cool it with water. As a result, we got a rather strong blade, the author scratches them with a glass bottle, which indicates a great hardness.
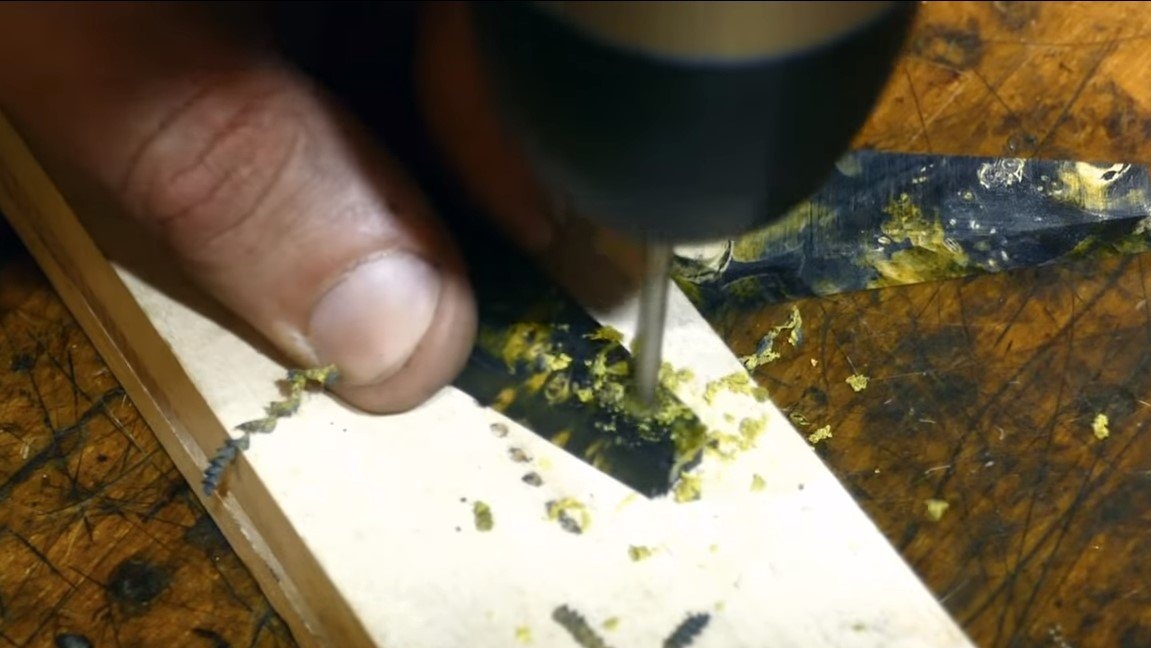
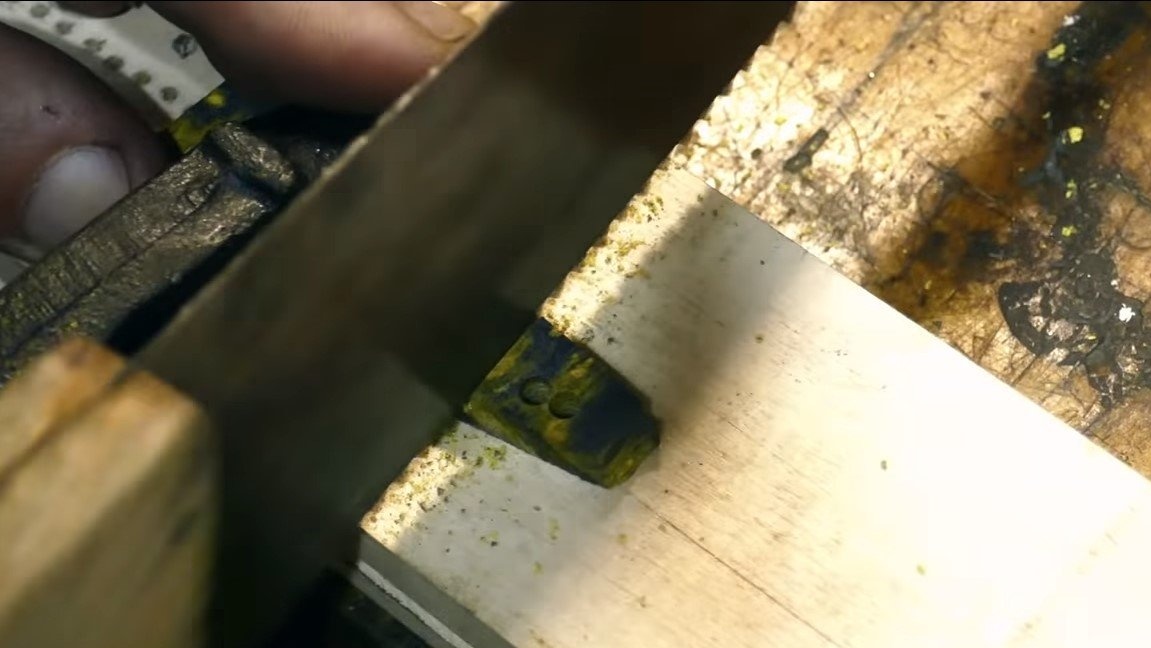
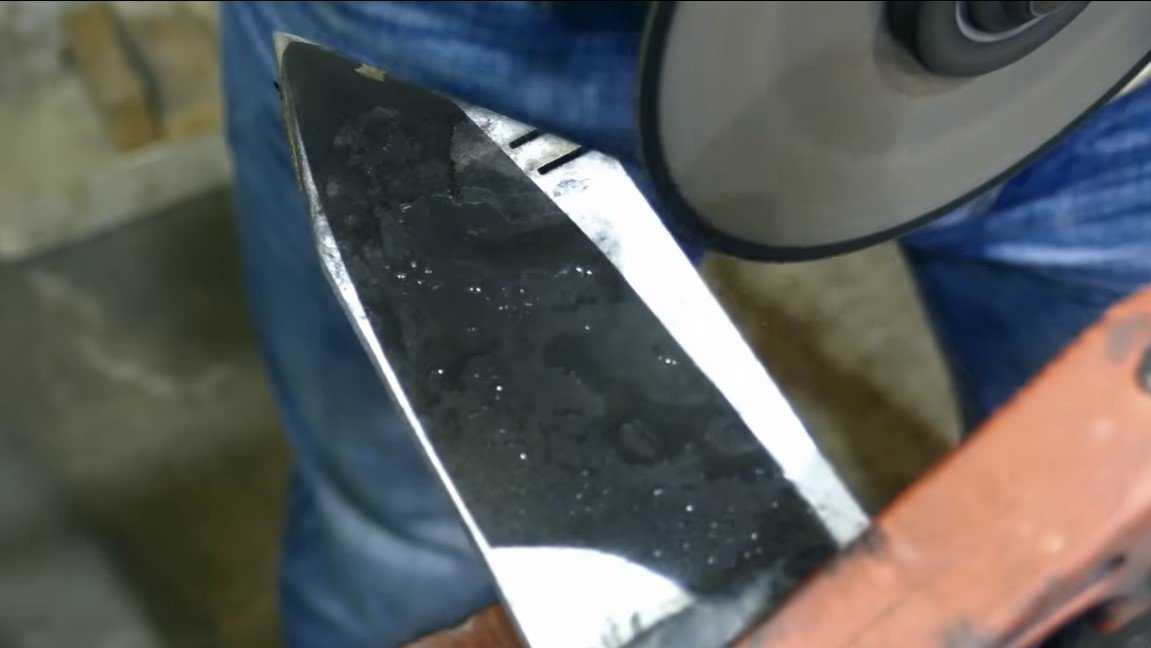
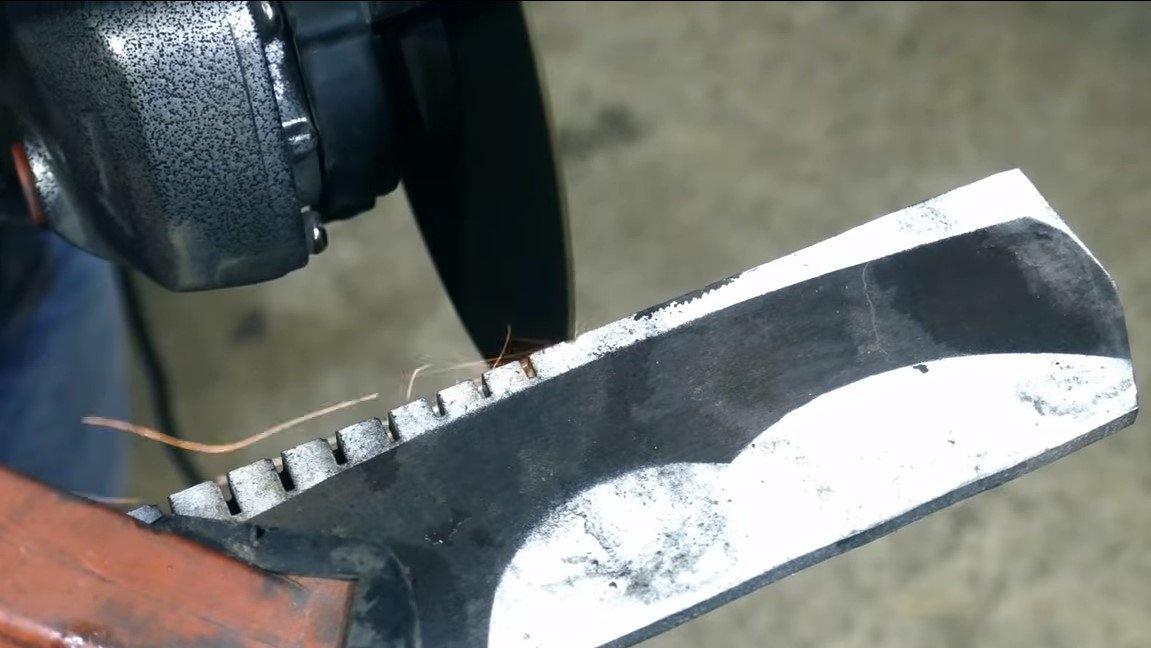
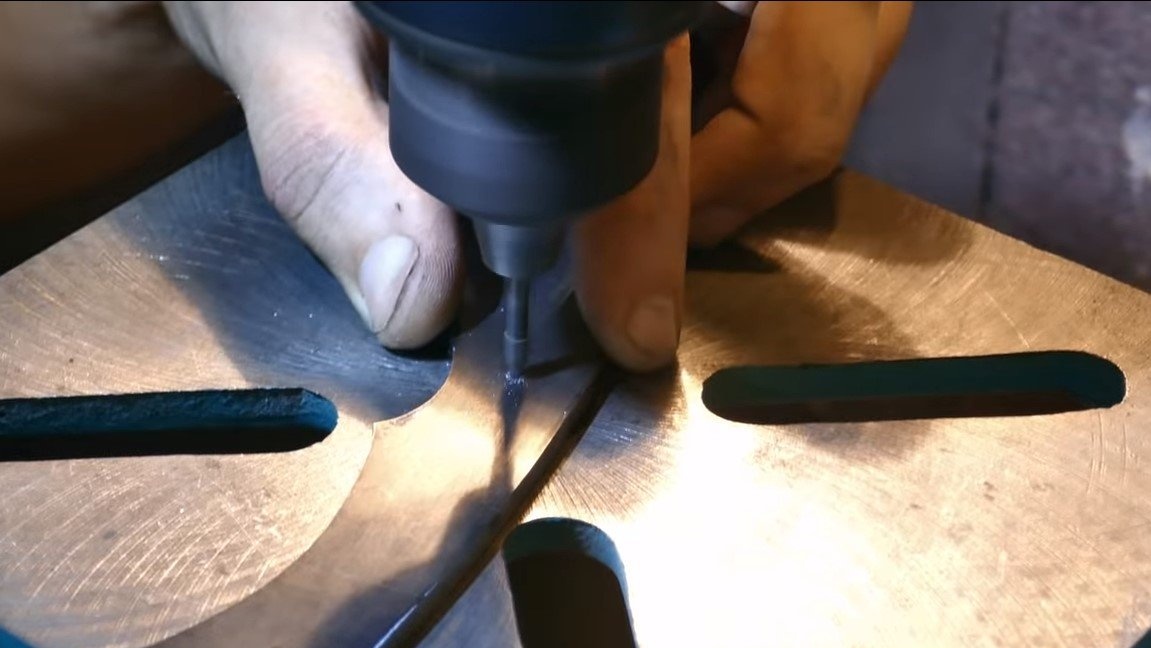
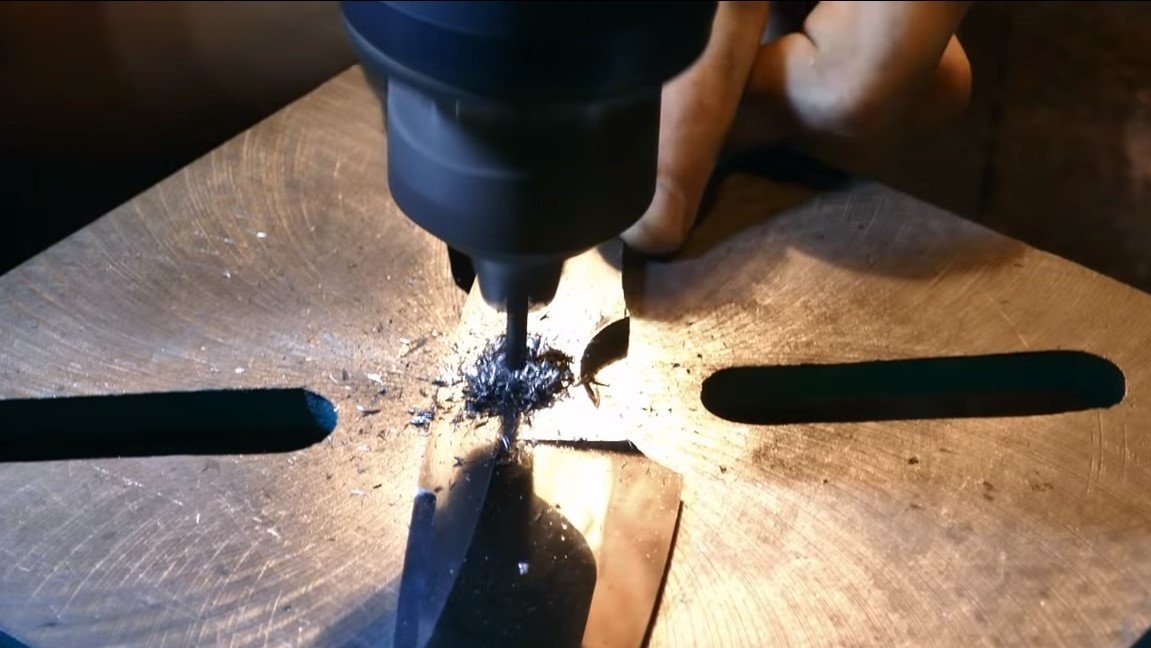
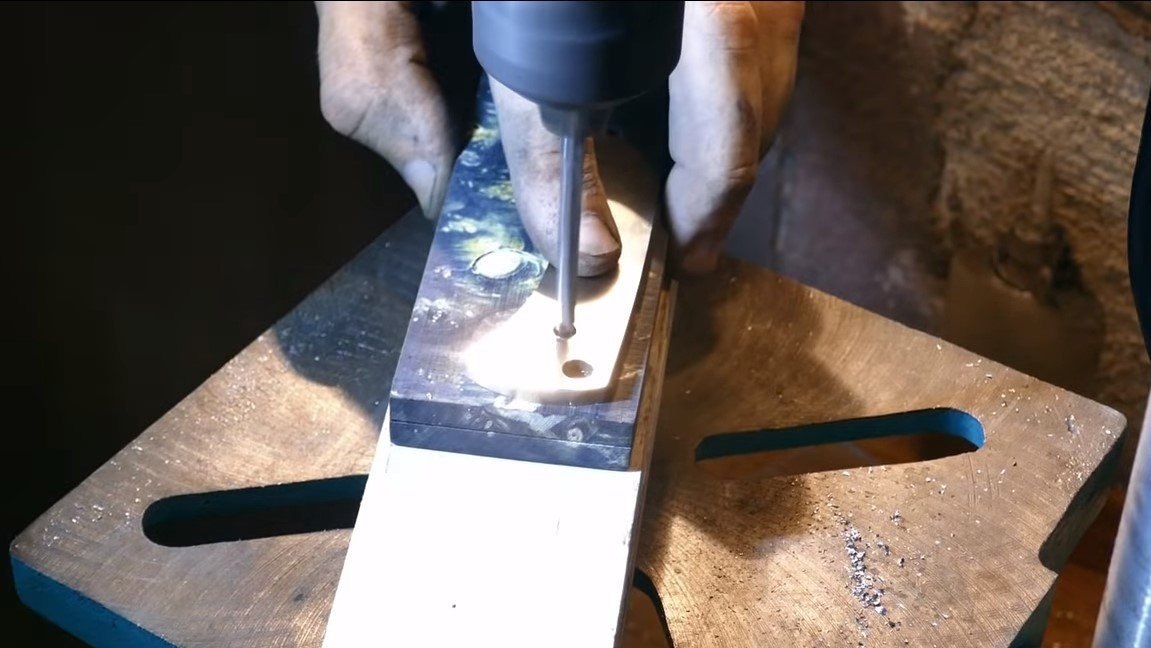
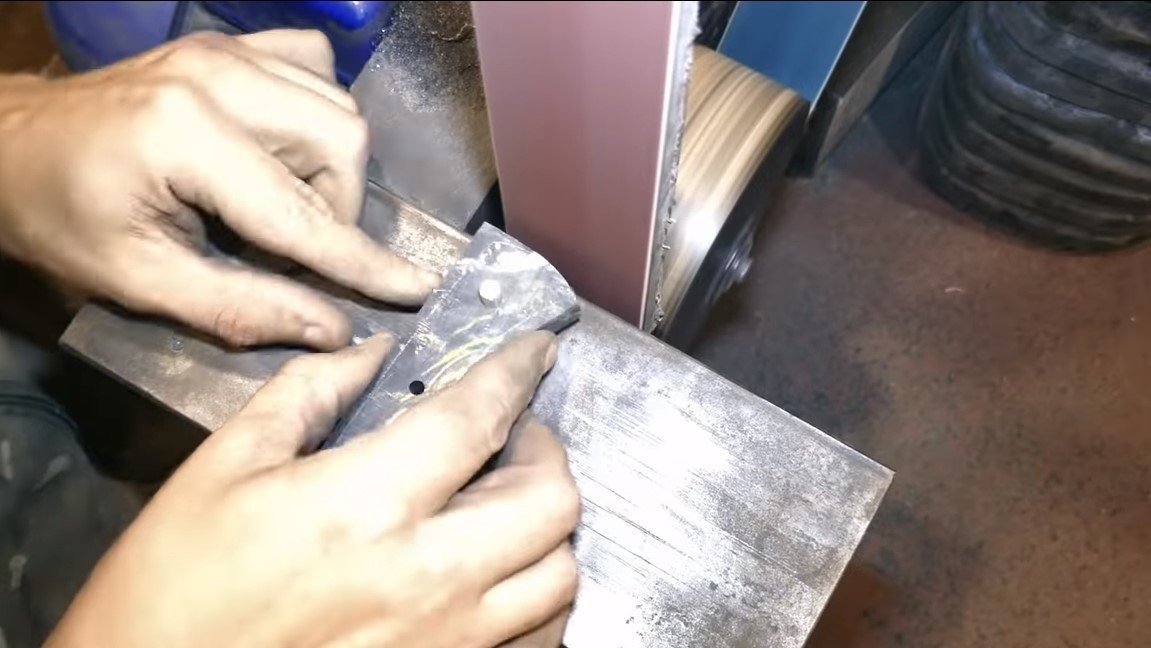
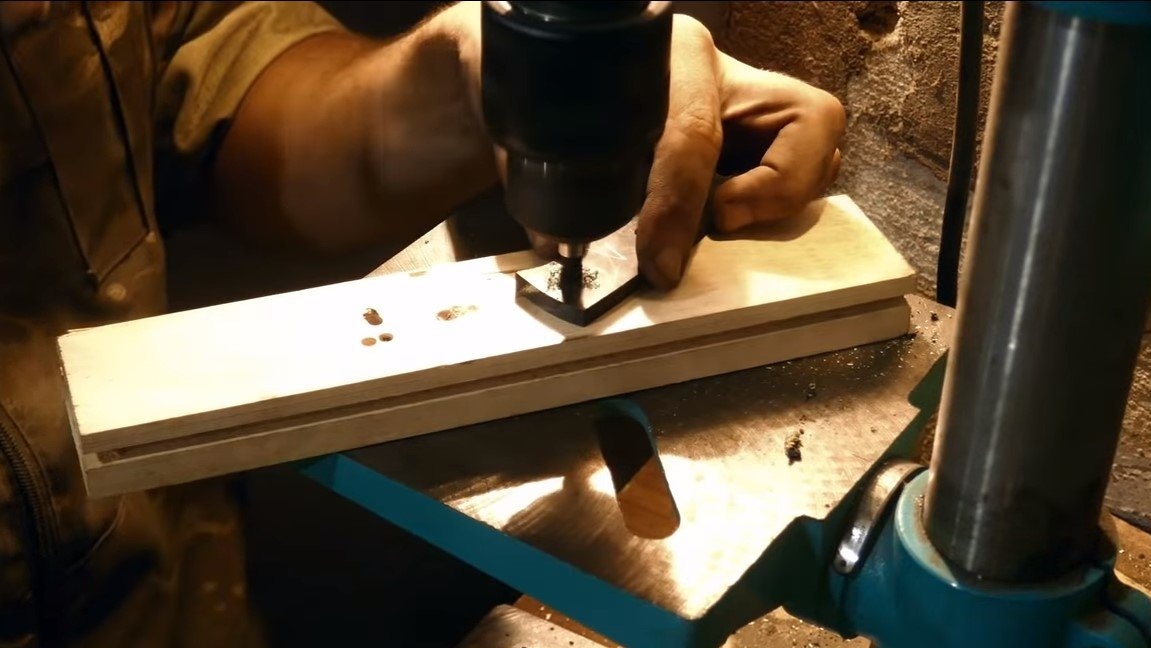
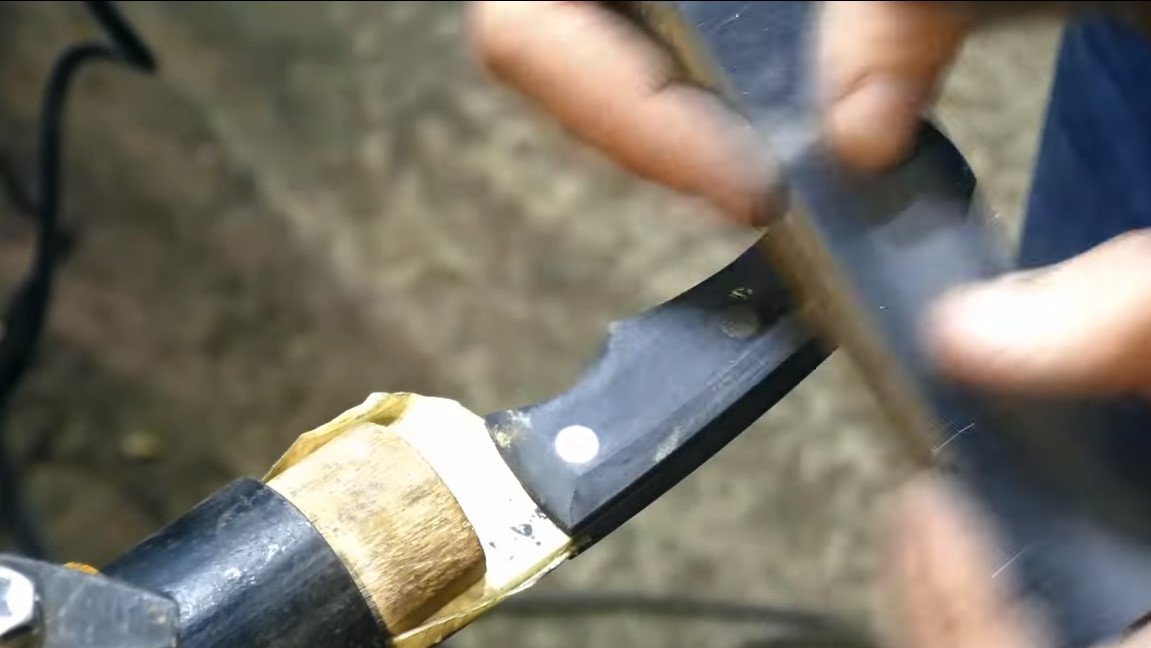
Step Three Holes
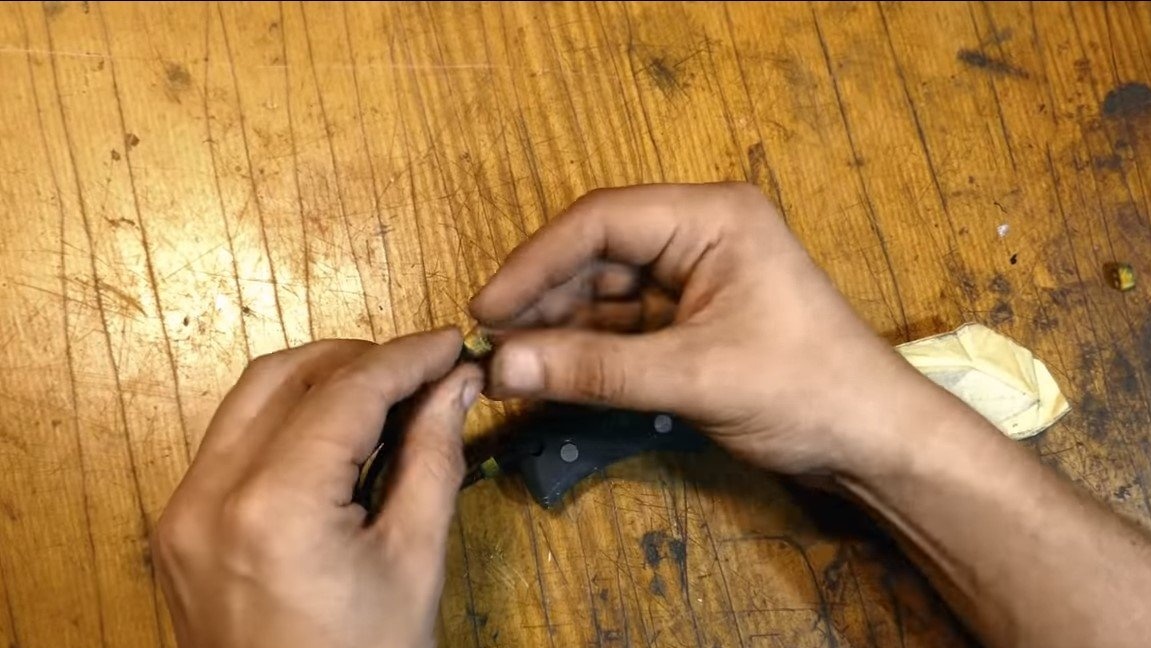
Holes for pins and cord need to be drilled in the handle area. To cope with this task, you will need special drills with carbide tips. This drill is not spiral, it's just a rod with a very hard tip, often in the form of a triangle. Despite such high strength, the author was able to easily drill holes on the drilling machine.
If such a drill does not come out, you can heat the area of the handle with a gas burner and thereby release the steel. After tempering, steel can be drilled with a conventional drill.

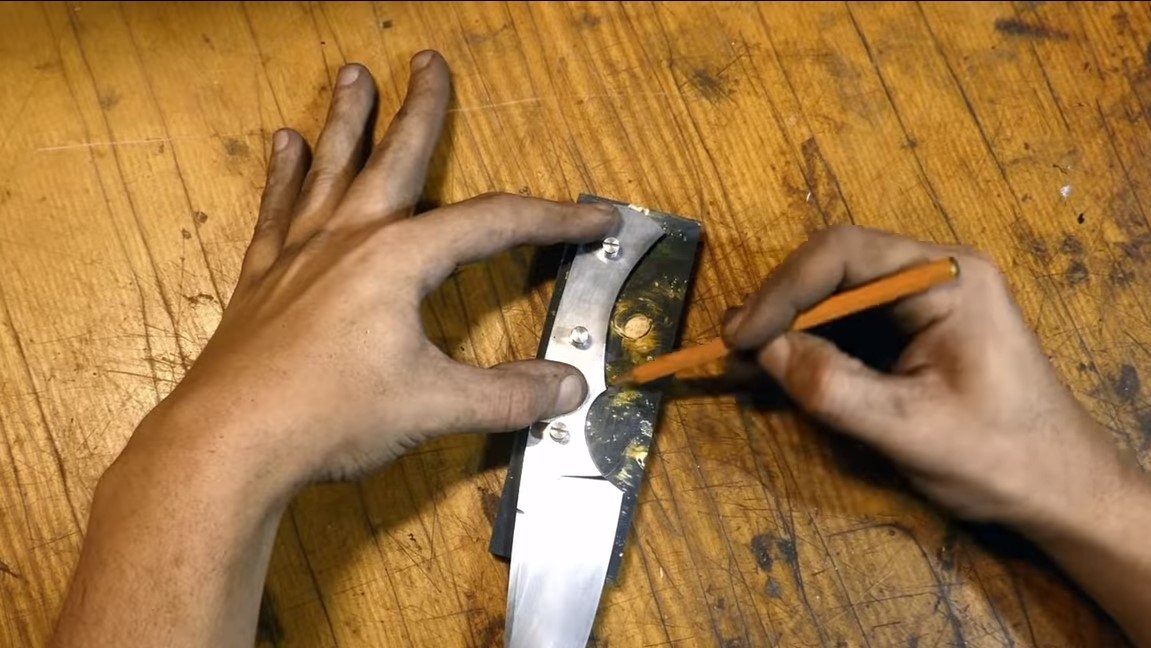
Step Four Lining
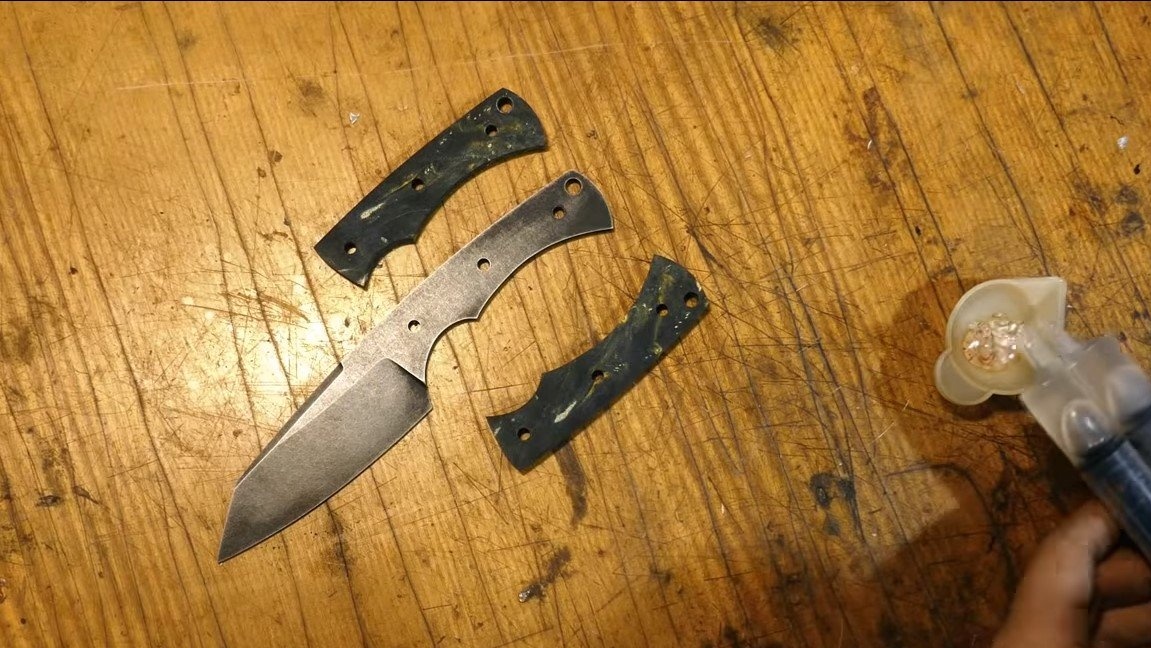
We make the pads for the handle, as the material G10 or a suitable cast block of epoxy is suitable. The advantage of synthetic materials is that they are durable and not afraid of water.
The author cut the bar and got two pads, we drill holes and install the pads on temporary pins. Well, then we sew off the excess or cut it off. If you wish, you can bring the lining to a finished form, and only then glue it.
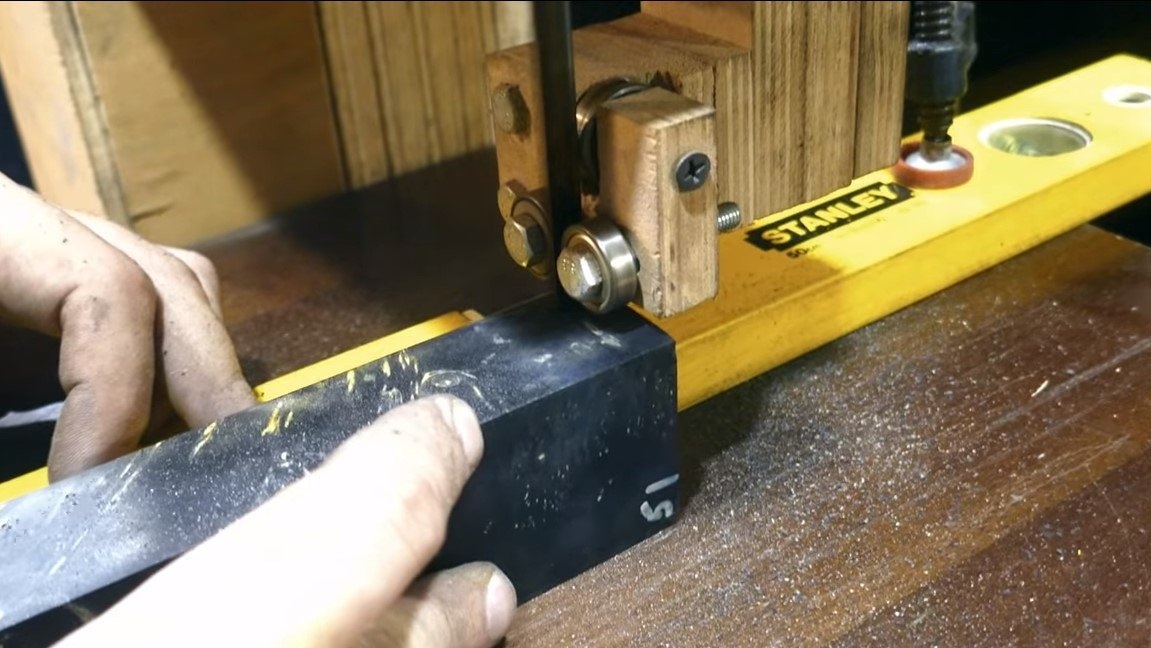

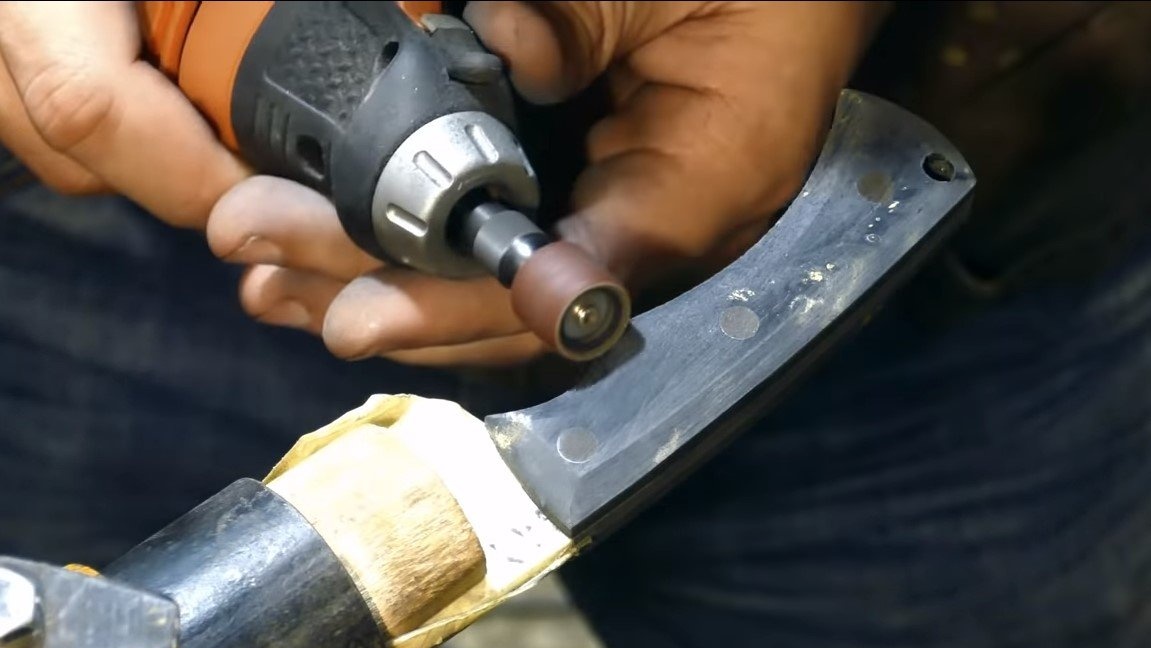
Step Five Steel processing
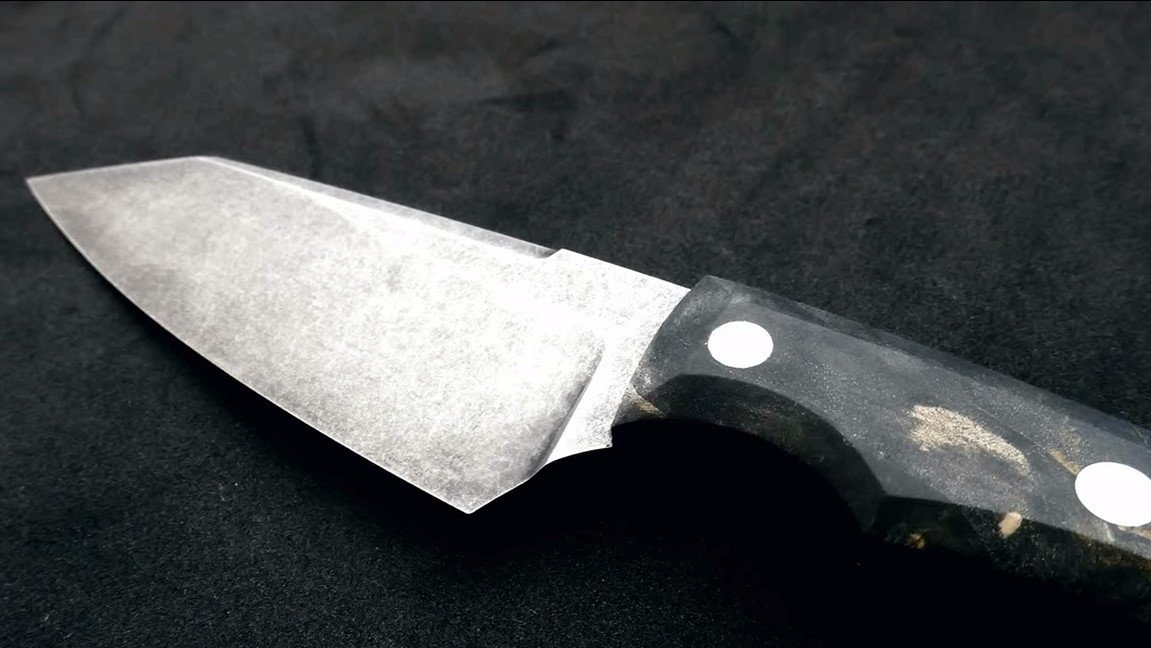
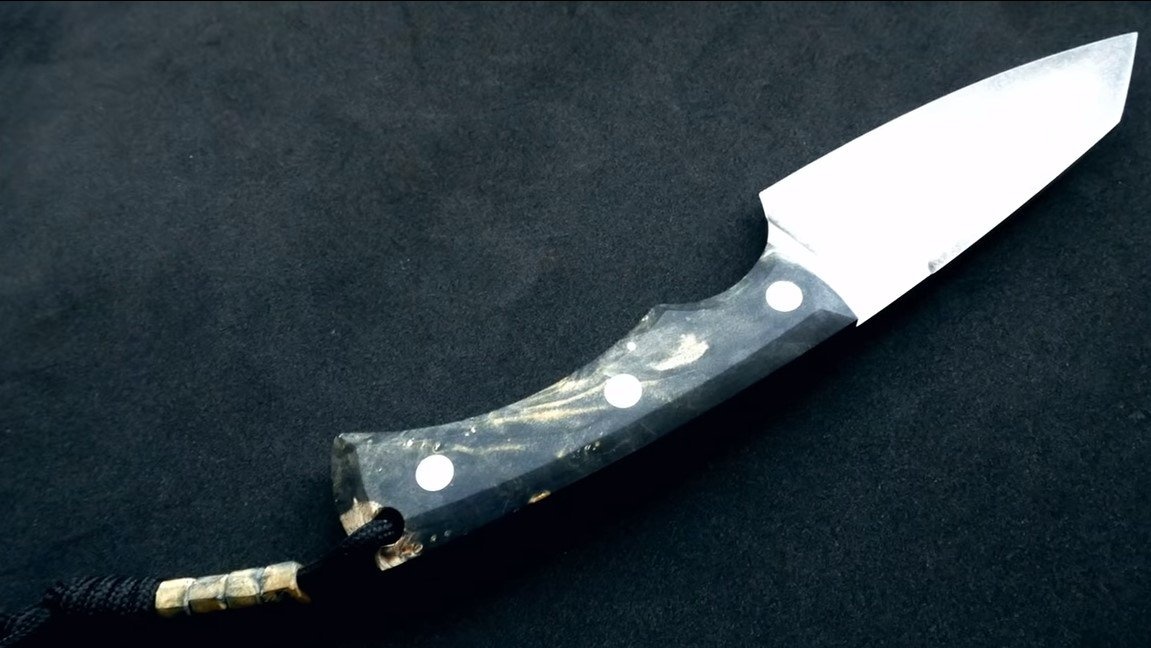
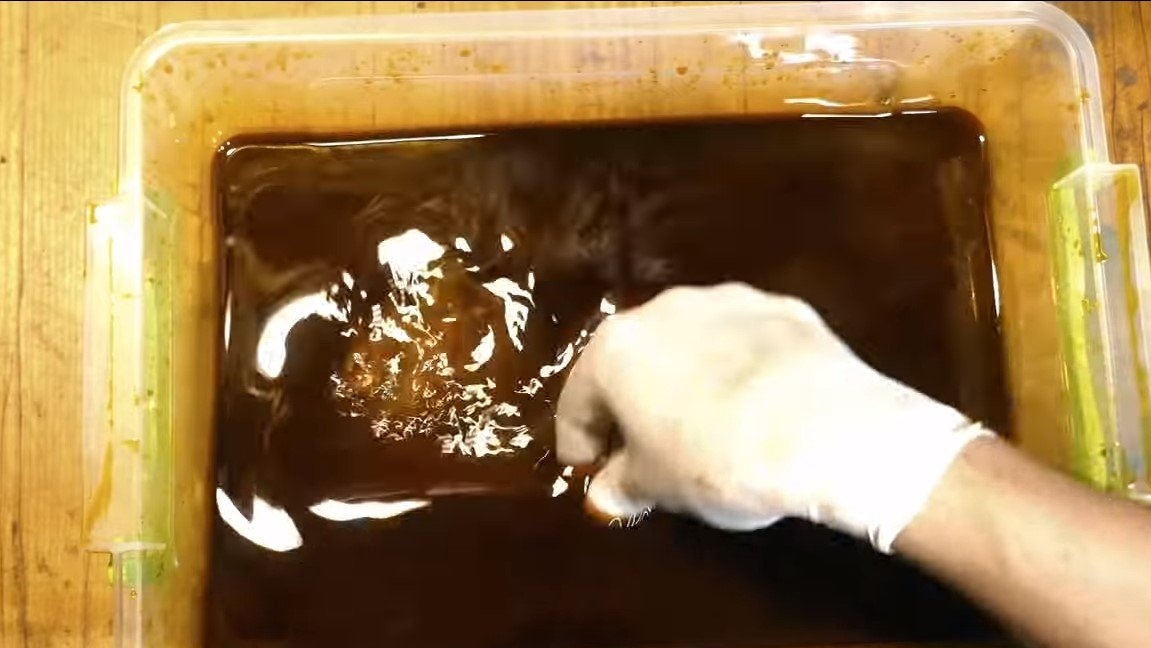
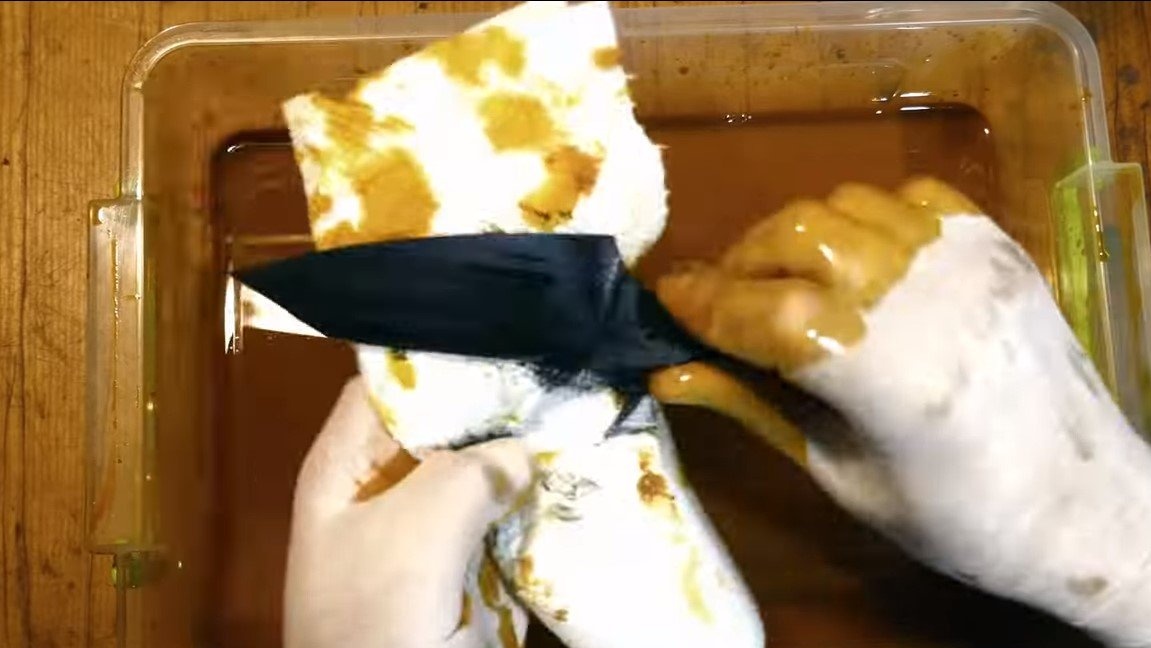
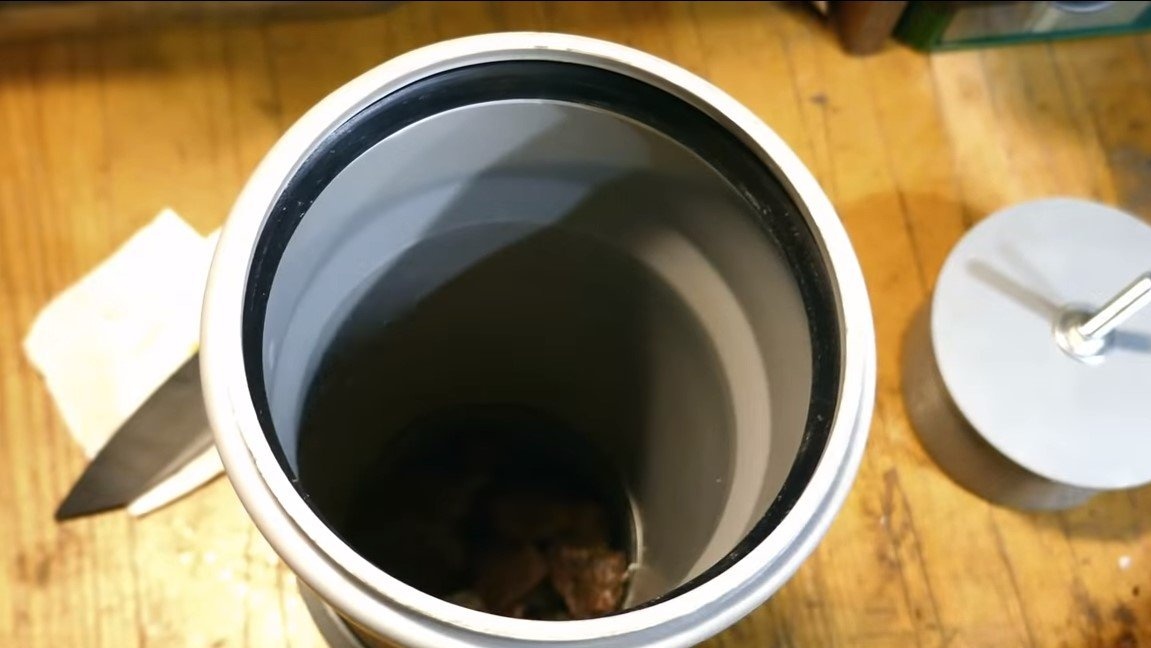
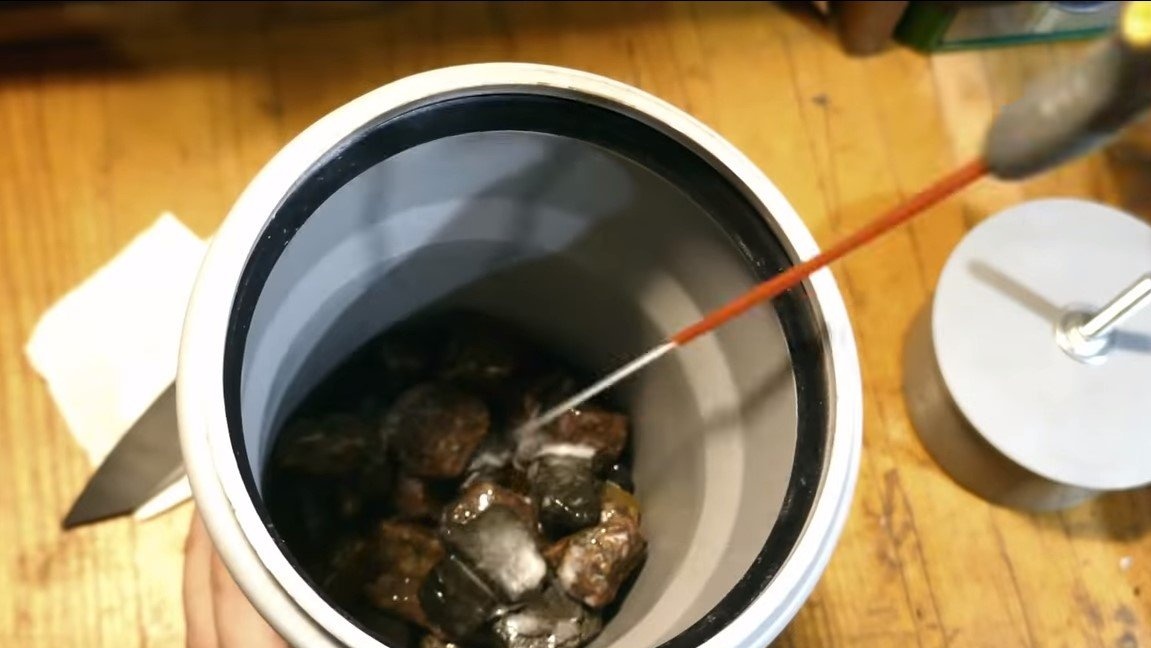
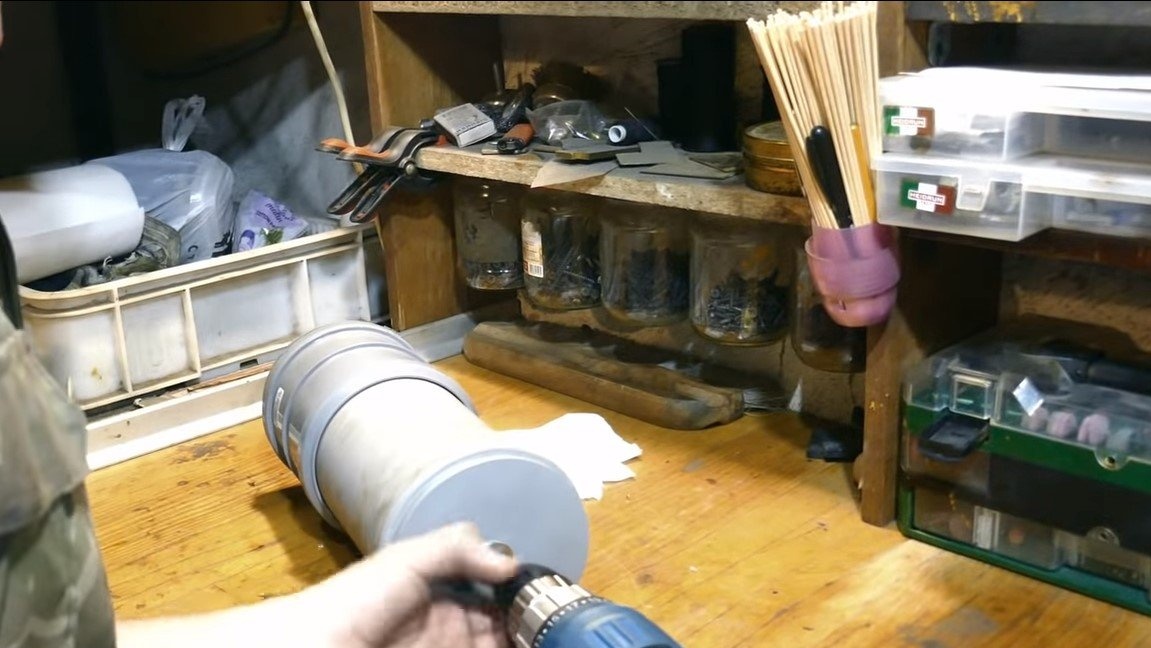
If desired, the steel can be etched in ferric chloride, as a result, it will become dark. However, the used steel M2 is already resistant to corrosion, so the presence of patina is already a matter of taste for everyone. The author etched a blade in ferric chloride and then sent it to a tumbling machine. Tumbling was quickly made of plumbing parts, and a screwdriver rotates it. Stones and sand can be used as an abrasive for a tumbling machine. As a result, after processing, the author got a pretty nice drawing on the blade.

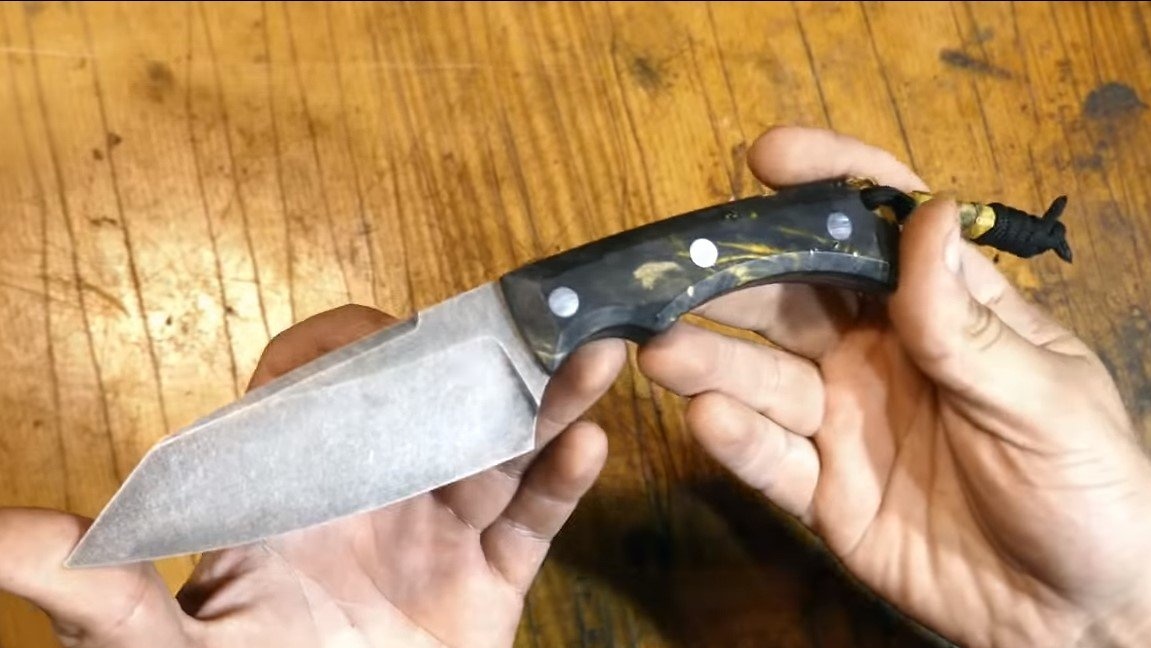
Step Six Handle assembly
We install the pads on the handle of the knife, the author glues everything with quick-drying epoxy glue. As pins, you can use various studs, bolts and even nails. After the hardening of the resin, we form the final profile of the handle. Here a belt sander, as well as a drill and sandpaper, will come to the rescue. Synthetic linings do not need to be impregnated, and if wood is used, be sure to impregnate it with oil.


Seventh step. The final
At the end, the author made a decorative braided cord; he also made beads himself. It will not be amiss to make a scabbard for such a knife so that you can safely carry it on your belt. That's all, homemade ready, I hope you liked the project, and you found useful thoughts for yourself. Good luck and creative inspiration, if you decide to repeat this, do not forget to share your ideas and homemade things with us!