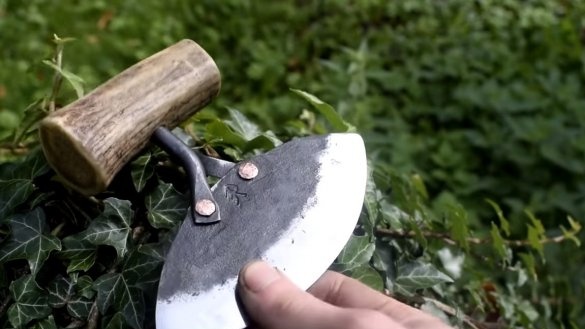
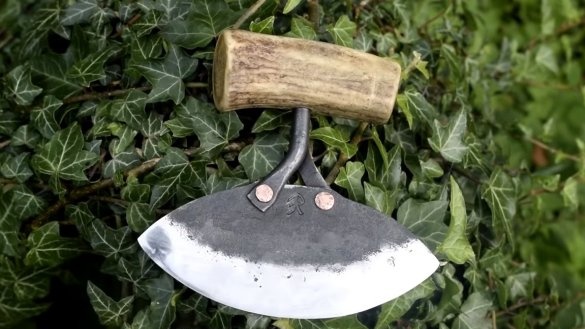
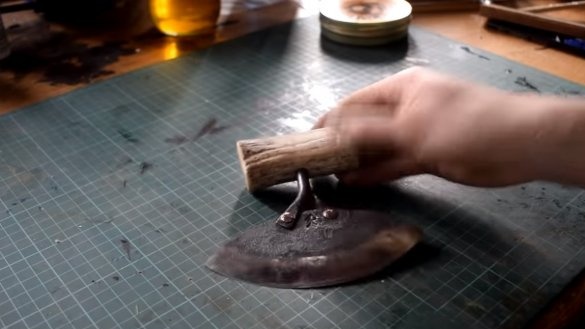
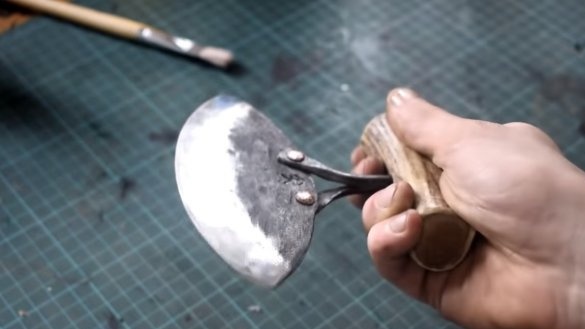
Hello everyone, today we will look at how to make a fairly ancient knife called Ulu. In ancient times, such knives were made of flat stones, they are mainly needed for working with leather, for dressing hides and cutwork. Nowadays, such knives are rarely seen, but as a collection it is quite an interesting exhibit. The author made the knife according to an ancient technique - by forging. Steel was used good, carbon, the author hardened it to high hardness. The knife handle is also unique; it is made of deer antlers. If you are interested in the project, I propose to study it in more detail!
Materials and tools used by the author:
Material List:
- carbon steel for a knife;
- steel bar for the handle;
- animal horn or tree;
- epoxy adhesive;
- not enough for a tree;
- copper or brass rods (for rivets).
Tool List:
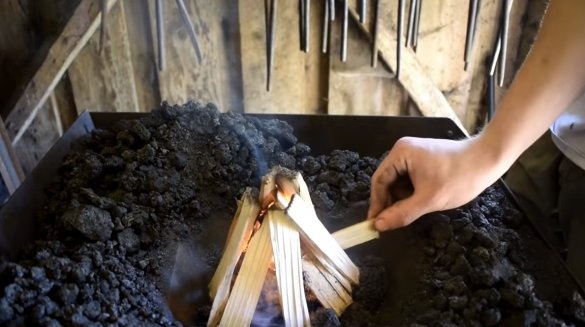
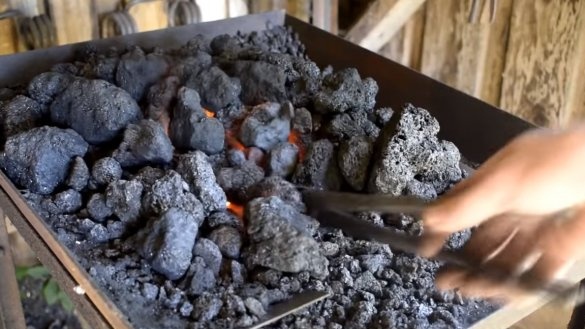
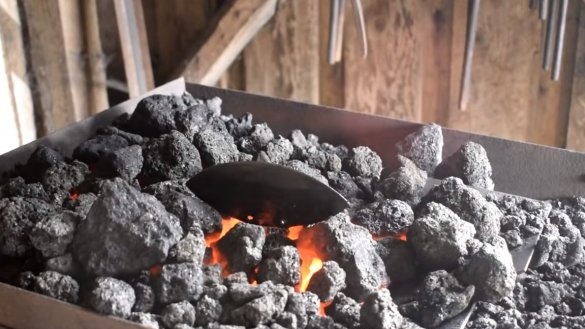
- oven and blacksmith tool;
- belt sander;
- oil for hardening;
- file;
- wire brush;
- a hacksaw;
- drill.
Manufacturing process homemade:
Step one. Forging blades
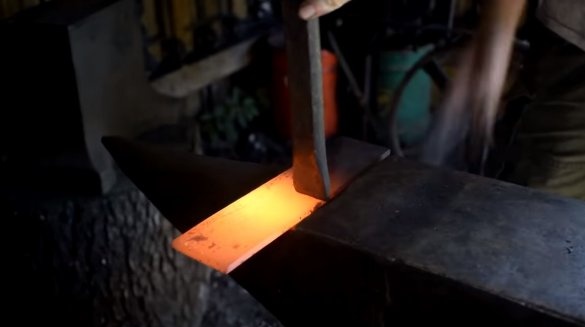
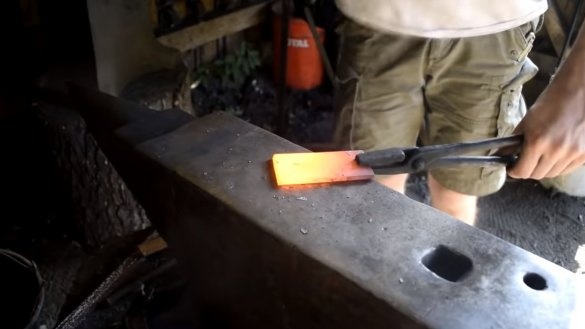
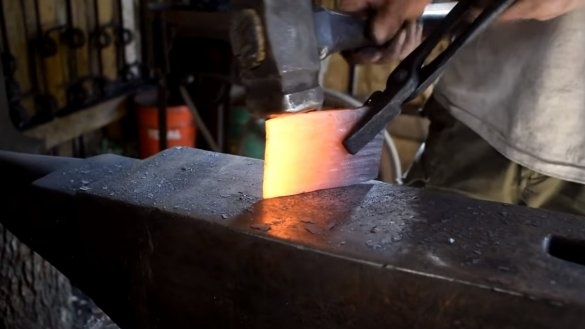
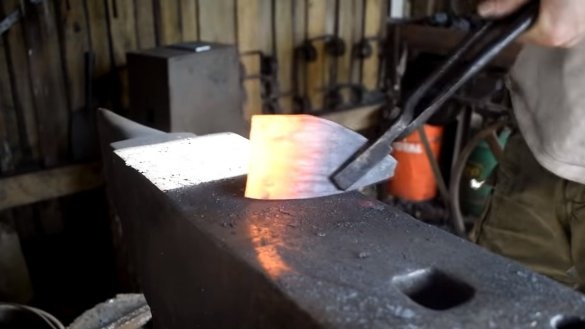
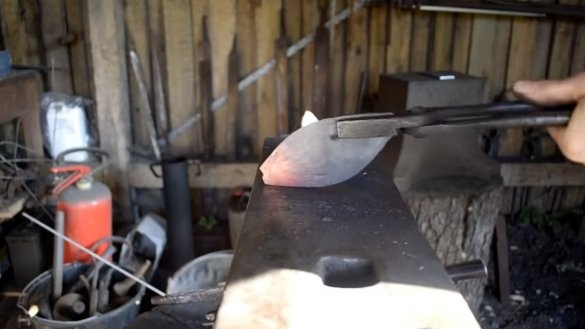
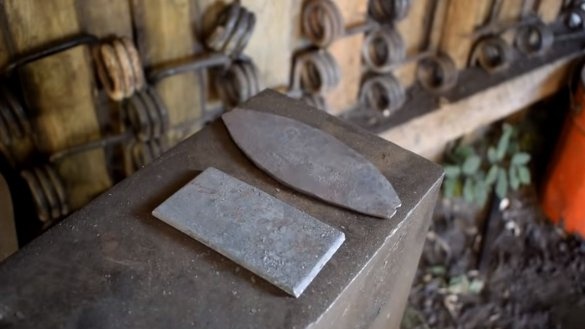
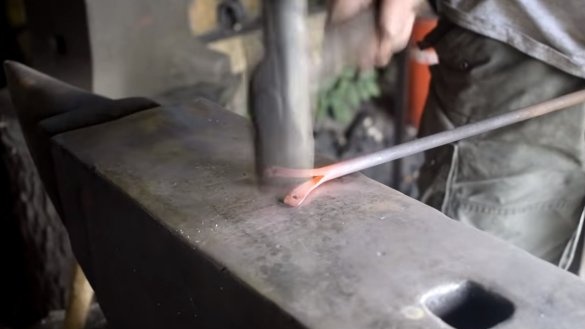
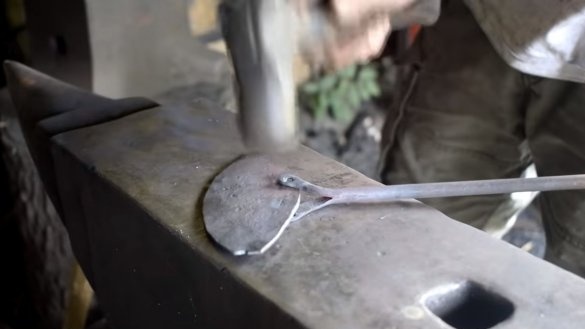
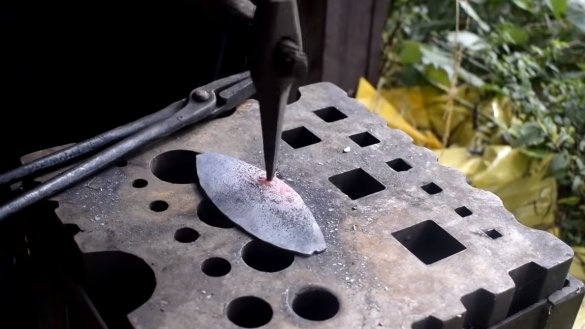
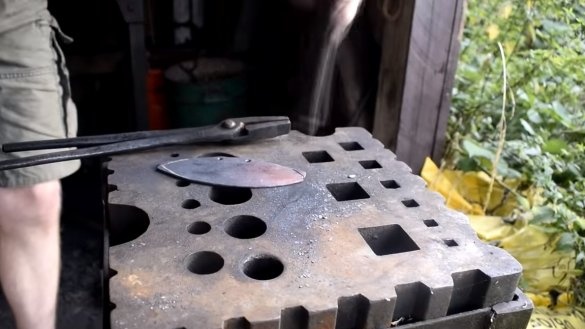
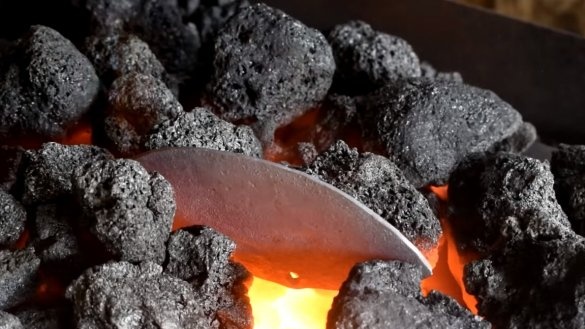
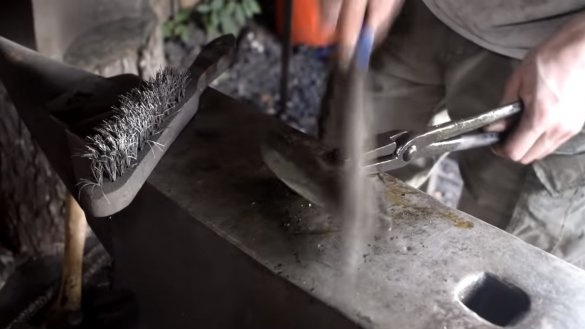
The author forged the blade from a steel plate. If you work with such a knife, it is important that the steel is of high quality, with a high carbon content, such steel can be hardened. In general, most steels become quite durable after forging. We form the desired blade profile and normalize the steel to relieve internal stresses. Just heat the steel and let it cool gently near the fire.
Step Two A pen
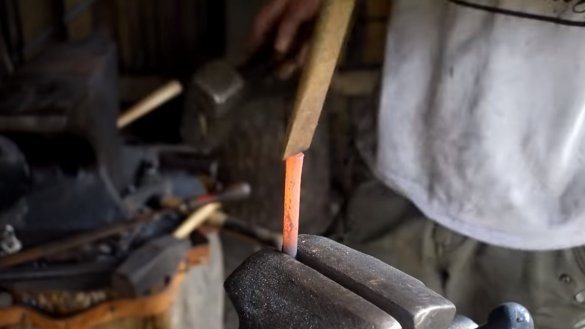
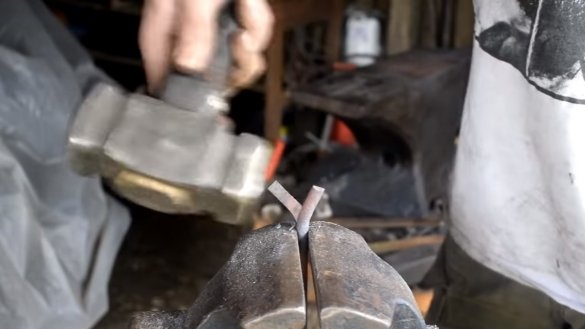
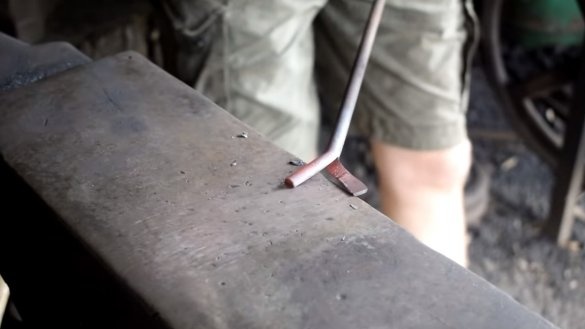
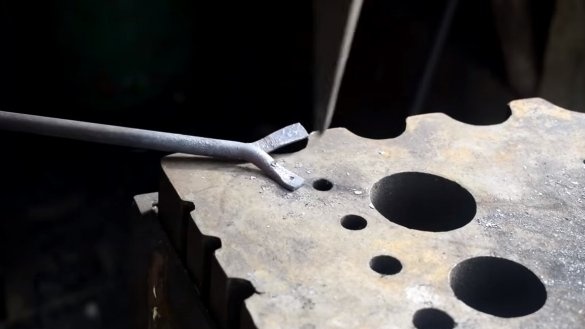
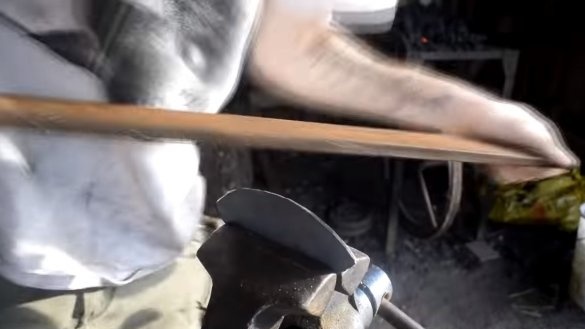
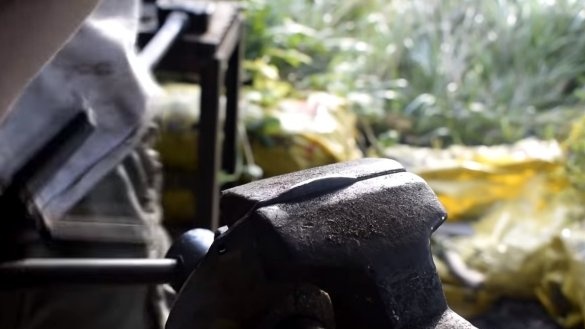
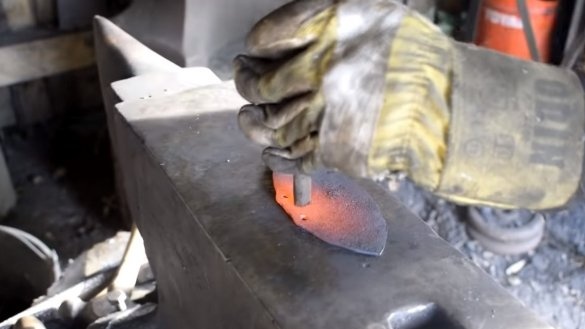
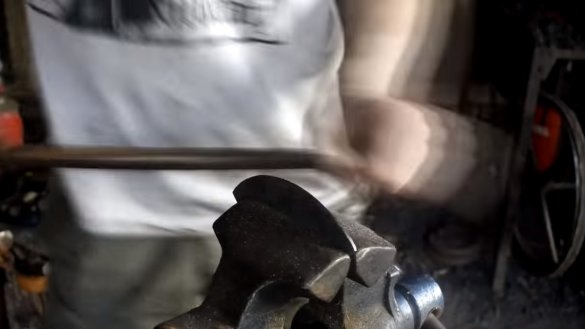
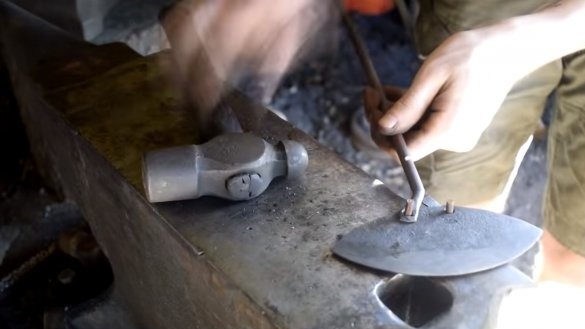
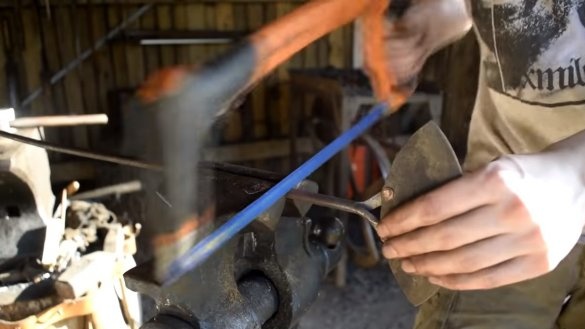
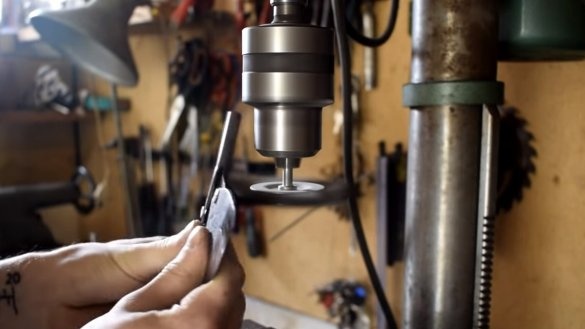
We will make the steel part of the handle, for this you need a suitable bar. We make a cut in the bar with a grinder or a hacksaw for metal and wedge after heating with a wedge. Well, then we forge the handle, make the ends flat, and also with the help of a punch we break holes for rivets.
Step Three Refining the blade
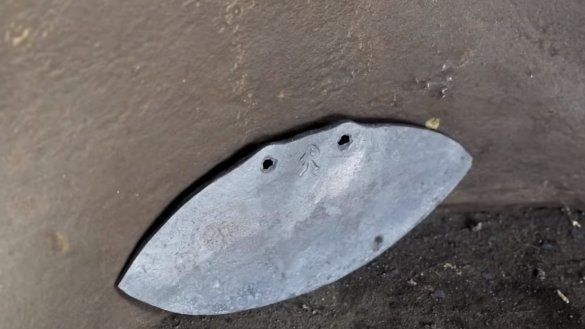
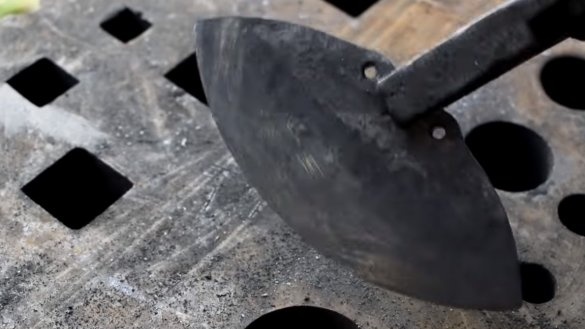
After the normalization of the blade, the steel becomes soft, we modify the profile of the knife with a file. Also in the blade you need to punch holes for mounting the metal part of the handle. If desired, we put a mark on the blade, this will decorate the product.
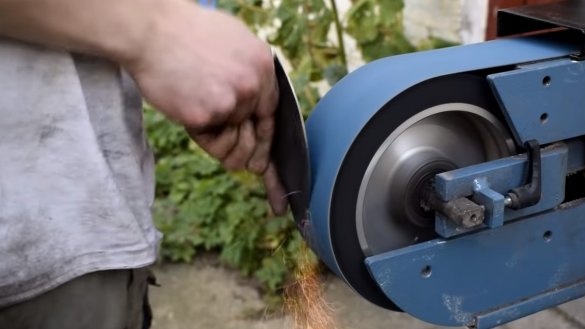
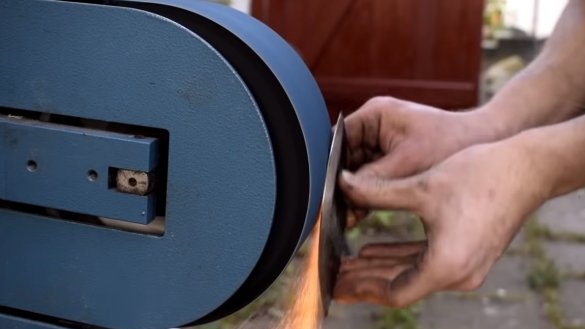
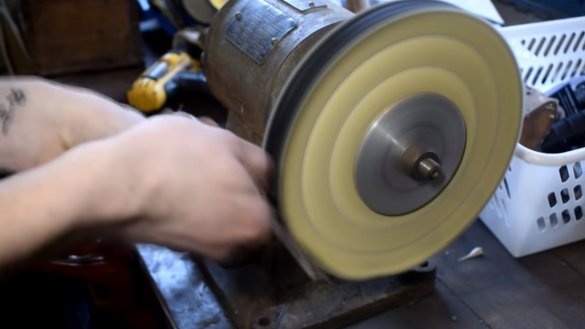
In the end, the author polished the descent of the blade with a belt sander.
Step Four Quenching
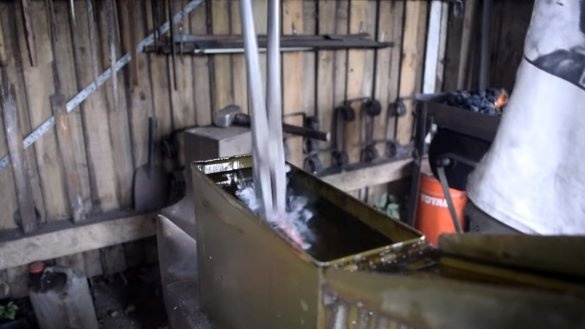
We heat the blade to a yellowish glow and cool in oil. To actively cool the steel, the product must be driven in oil.
After hardening, the steel will begin to ring, it will become very strong, but it will be quite fragile.
So that the steel does not crack or chip, it must be released. Before vacation it is recommended to grind and clean the surface so that the color of the oxide film is visible. The author warms up the steel over a fire and monitors until straw tones appear, this will be the moment of the desired vacation. If everything is done correctly, the steel will spring and hold sharpening perfectly.
Step Five Assembly
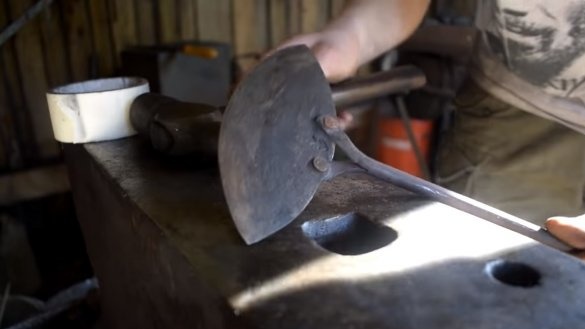
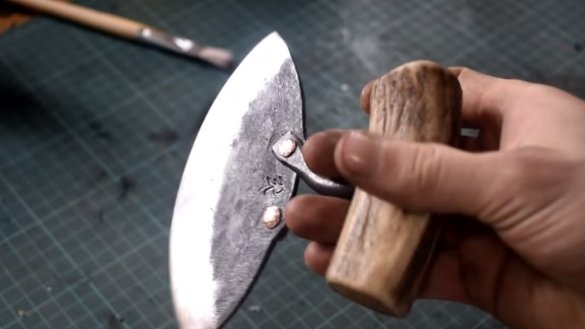
We clean the blade and install the metal part of the handle. The author fixed everything on copper rivets, the knife looks interesting.
Well, then it remains to complete the work with metal, sharpen the blade on a belt grinder and polish the slopes as desired. Using grindstones, carbon steel can be ground to a razor condition.
Step Six Horn handle
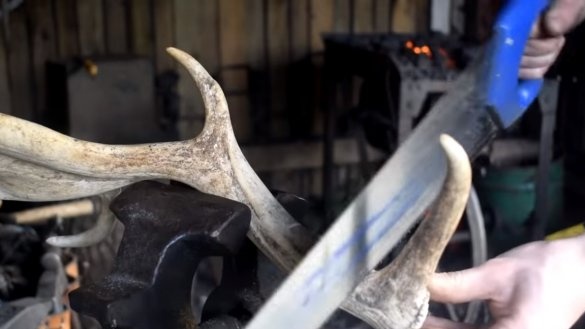
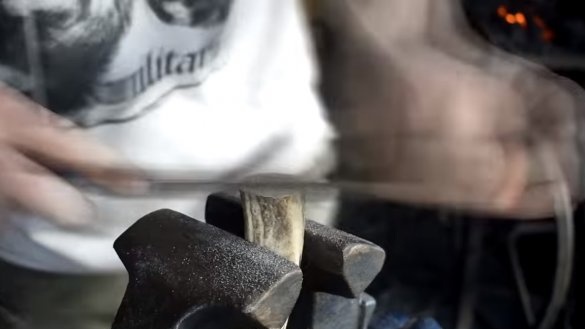
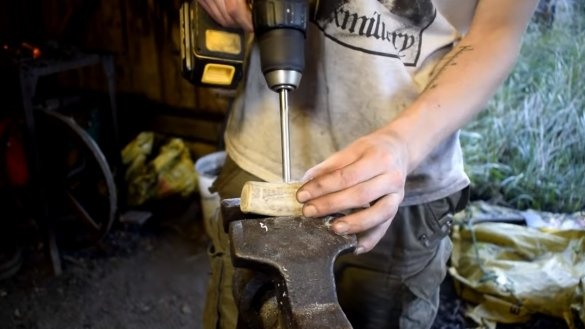
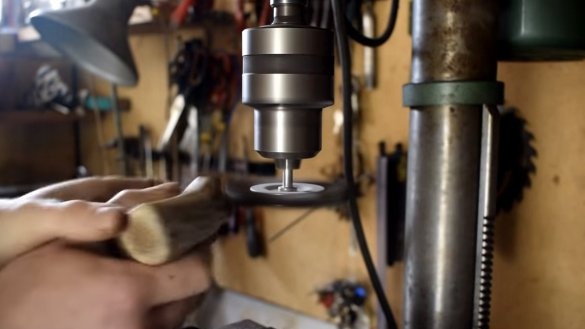
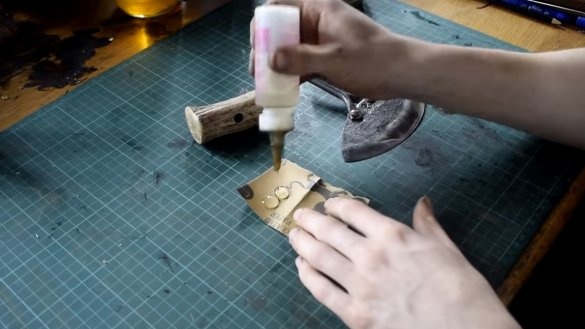
At the end, cut off a piece of the horn and make a handle, which we will take with our hands. Of course, you can use a tree, but the horn looks much more spectacular. The author glued the pen with epoxy glue.
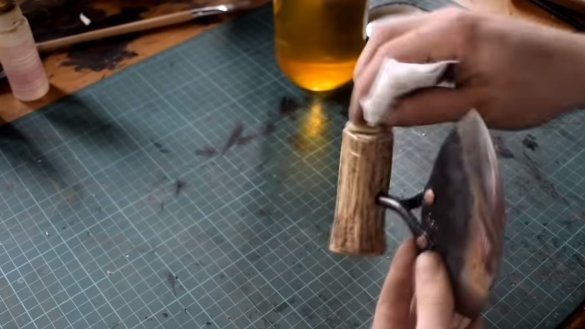
Finally, to protect the horns and metal, we cover everything with wood oil. The homemade product looks great, just a museum exhibit. The tool can be used for its intended purpose, if you know how to do it. This is the end of the project, I hope you liked the homemade work, and you found useful thoughts for yourself. Good luck and creative inspiration, if you decide to repeat this. Do not forget to share with us your ideas and homemade products.

