- Circuit on lamps or transistors?
- On the nails.
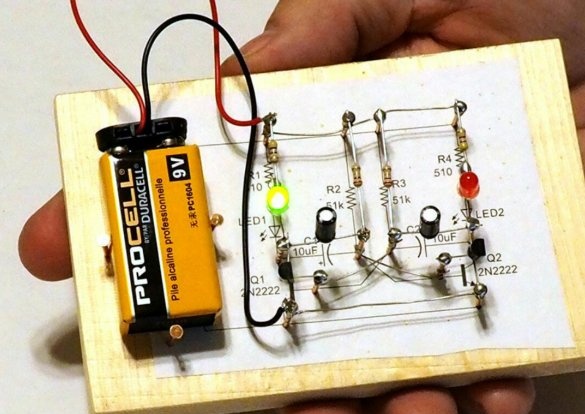
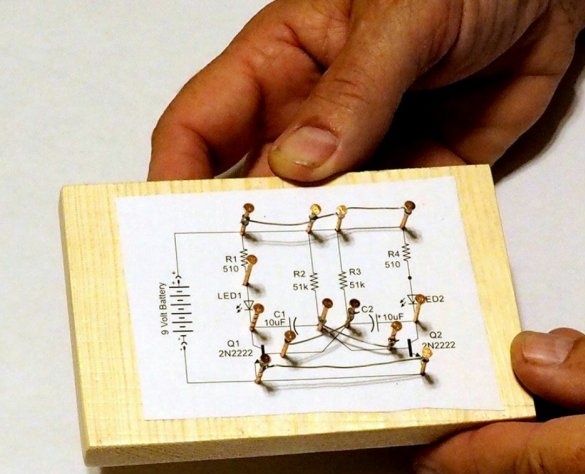
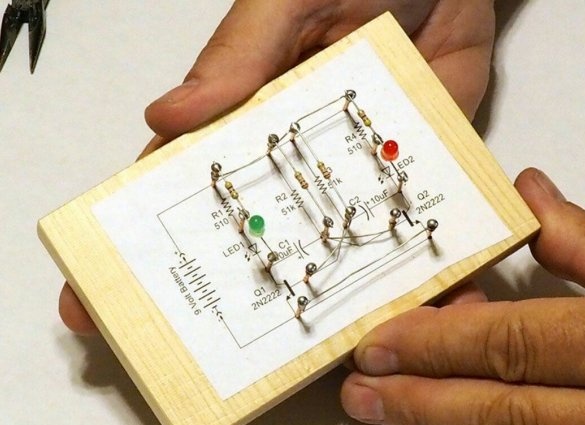
One type of breadboard is called breadboard, which is strange at first glance, because such a board does not look like a cutting board. And the thing is that when electronic the components were large, the circuits were actually debugged and even assembled for permanent use on cutting boards. Very large components - transformers, lamp panels - were screwed to them, and those parts that were smaller and with flexible leads were soldered to nails hammered into the board. The author of Instructables under the nickname geotek offers the same way to assemble a sculpture scheme on modern components. For example, he makes a symmetric multivibrator, but for example, an amplifier is also suitable.
The master takes a wooden board (suitable for plywood) with dimensions of about 130x80 mm, a printout of the circuit, components, nails and aerosol glue. If the circuit is printed on a laser printer, it can also be glued with PVA glue, if on an inkjet - with glue-pencil.
"If there is nothing at hand but a hammer, everything seems to be nails."
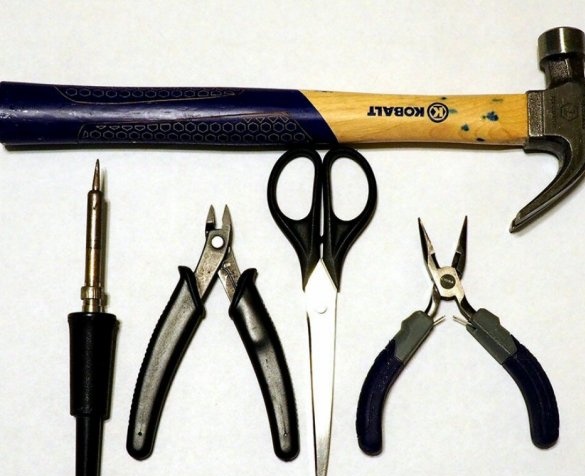
This is not the case; the master has other tools:
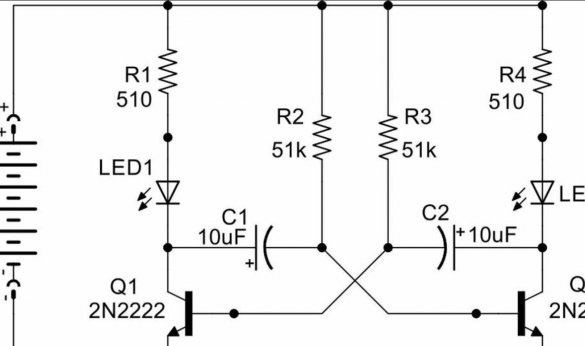
This circuit:
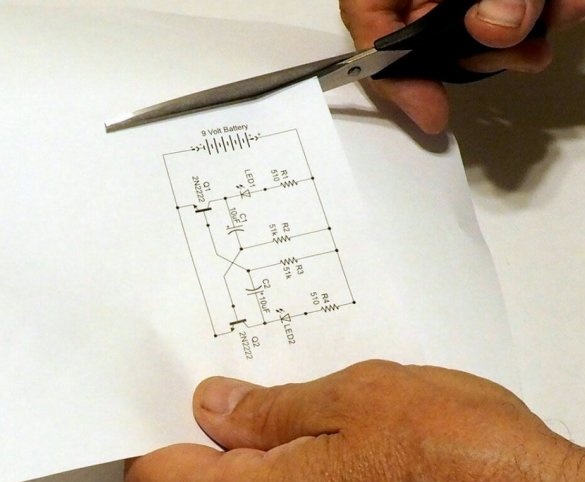
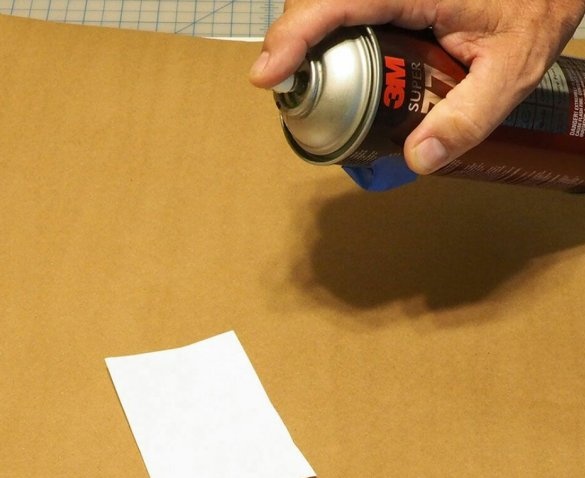
The master, having printed on a suitable scale, cuts out (you can take this Pdf file and print on a scale of 1: 1, it turns out the dimensions are about 80x50 mm):
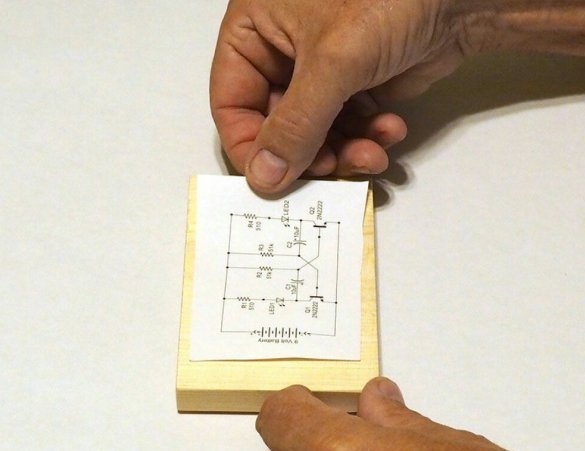
Glues in the middle of the board:
- So you all solder something and look at Yunost.Ru, but you know how to hammer nails?
- Yes.
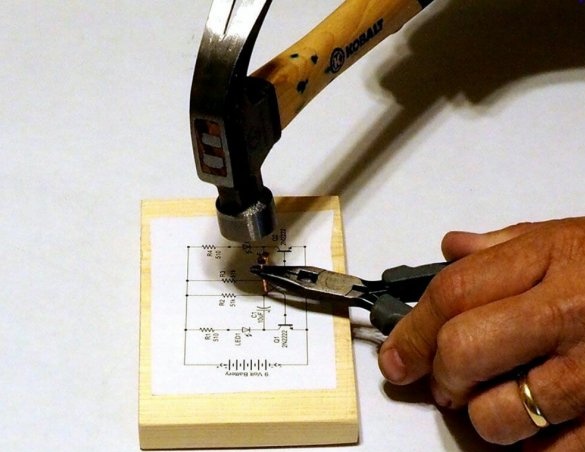
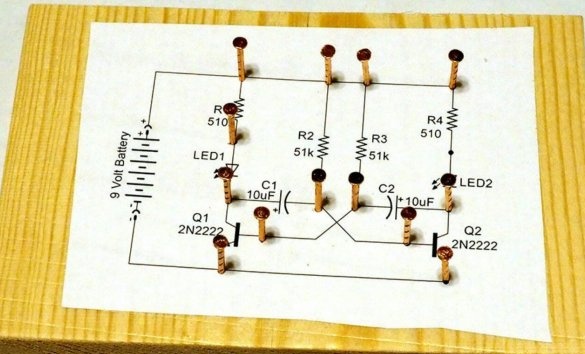
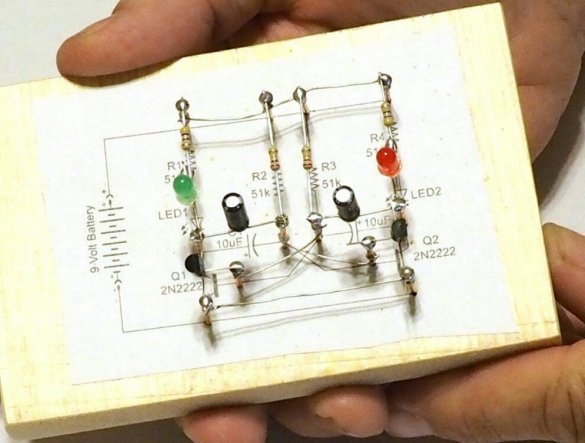
Having hammered nails in all points of connection of conclusions of components:
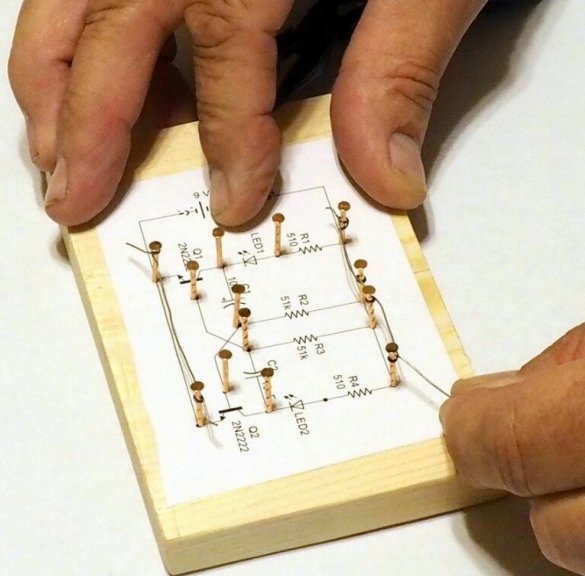
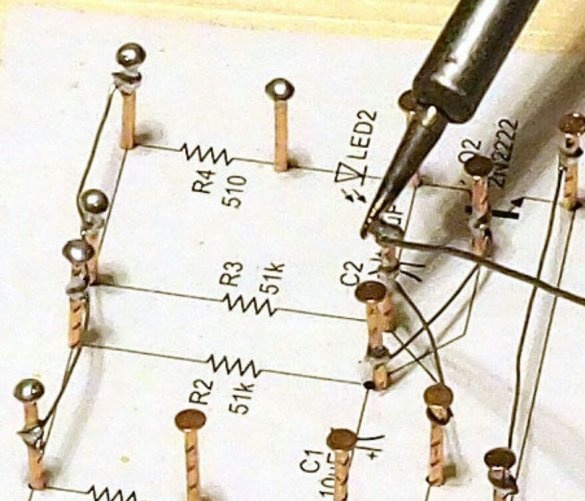
The master first winds the nails and solders all the jumpers to them. Those of them that intersect diagonally in the multivibrator circuit are located at different heights. If desired, isolate one of them with a tube. At first glance, nothing will work without acid, but in fact it’s the opposite: you can’t use it, over time it can cause leaks that disrupt the operation of the circuit, and even short circuit. Nails lend themselves perfectly to tinning and without acid.
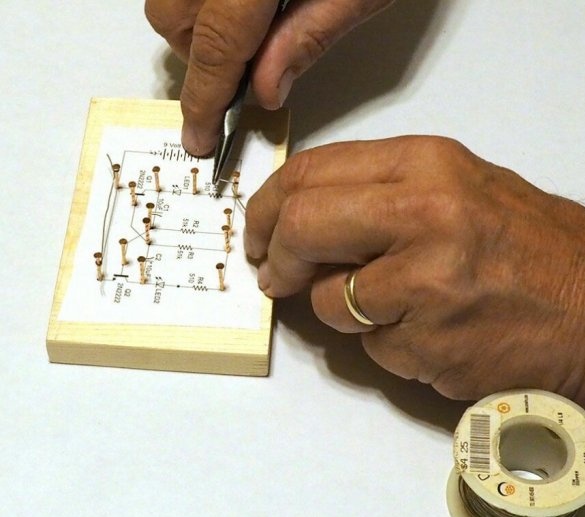
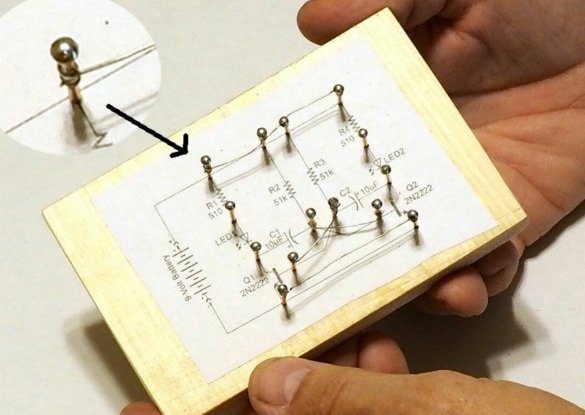
When all the jumpers are in place:
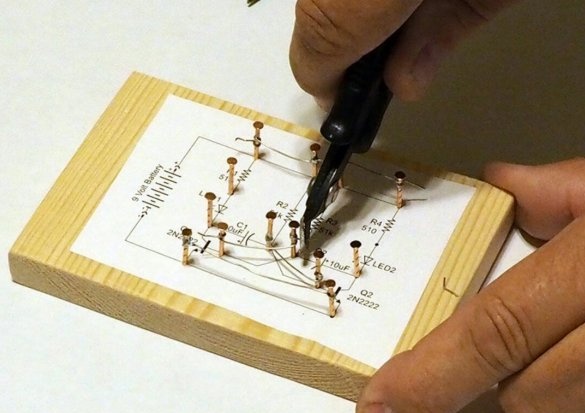
The master bites off the excess with nippers:
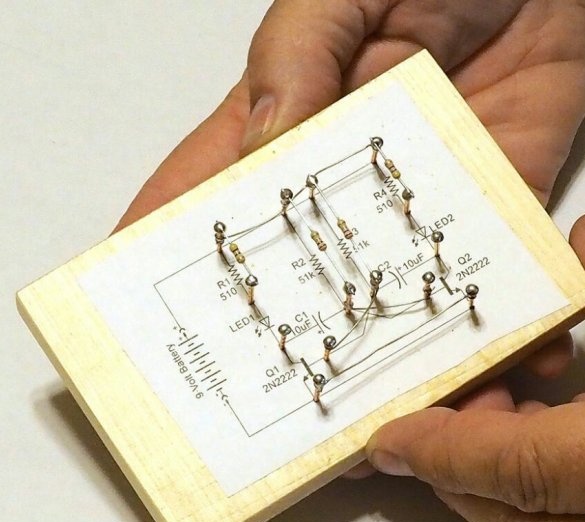
And gets the following result:
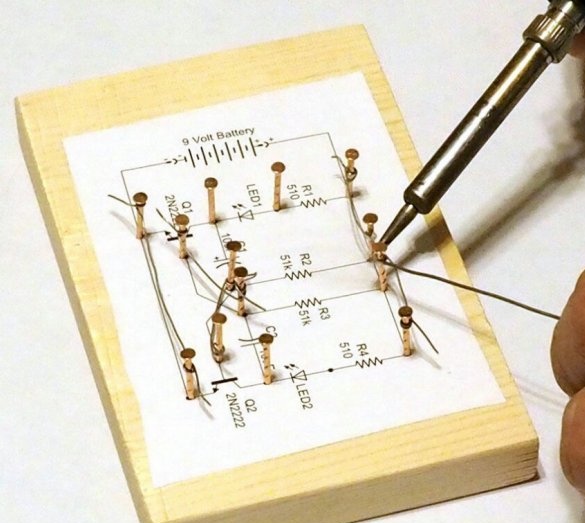
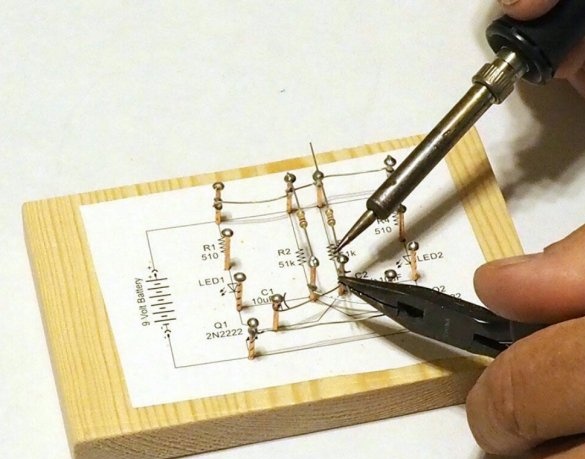
Now he tins the caps of all the nails:
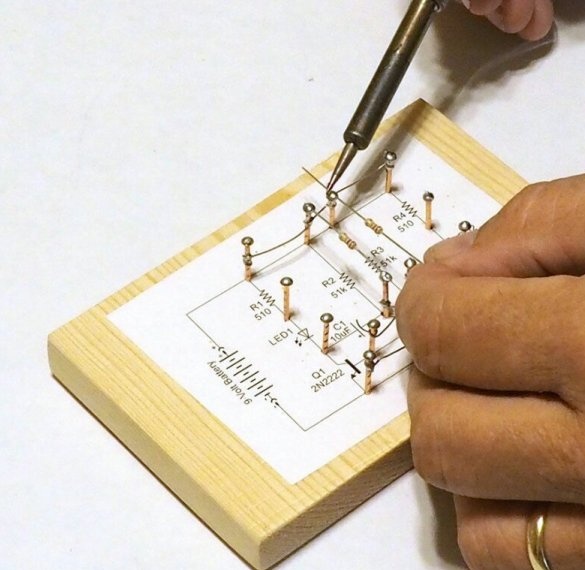
Solder resistors to them, first designed to supply bias to the base of transistors:
And then those that limit the current through the LEDs:
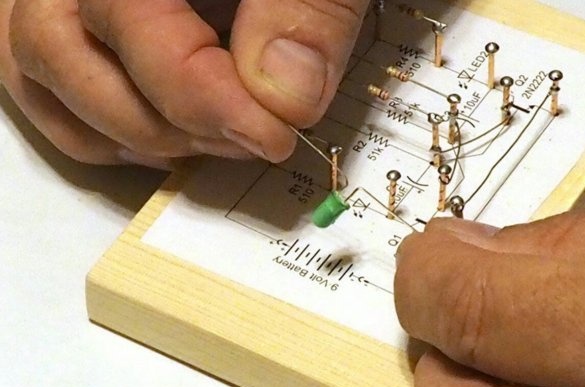
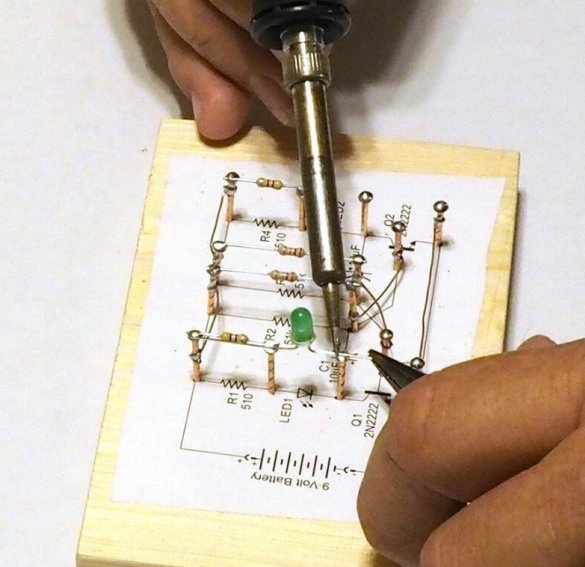
And the LEDs themselves also solder, observing the polarity:
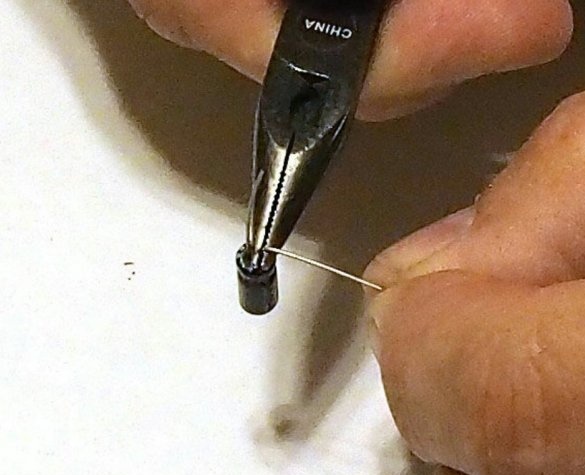
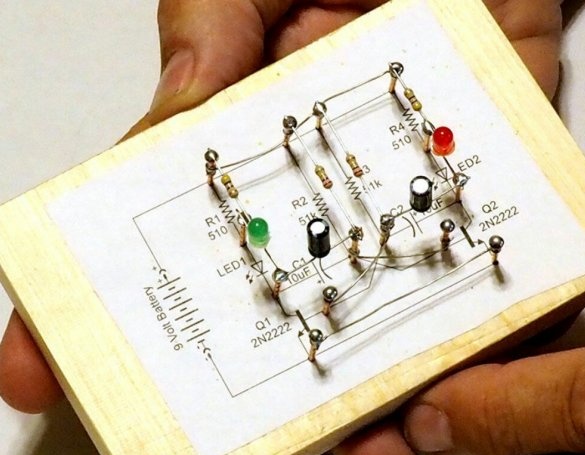
And electrolytic capacitors, also observing it:
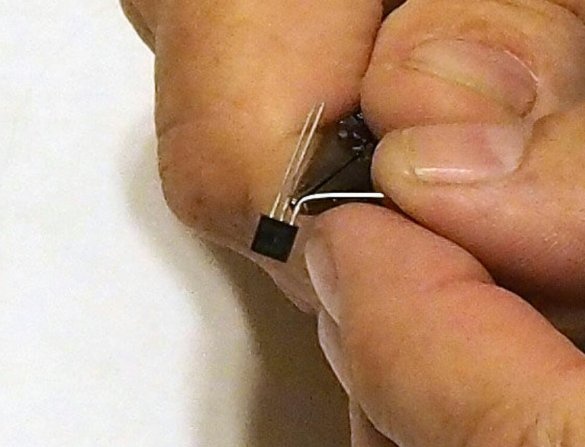
Transistors master solder according socle:
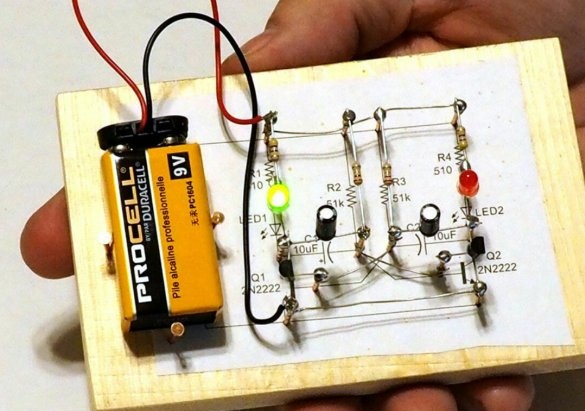
Connects, observing the polarity, the battery with a block that allows you to turn it off, and the multivibrator "starts up", pay attention to the simplest "pocket" for the battery, consisting of three nails:
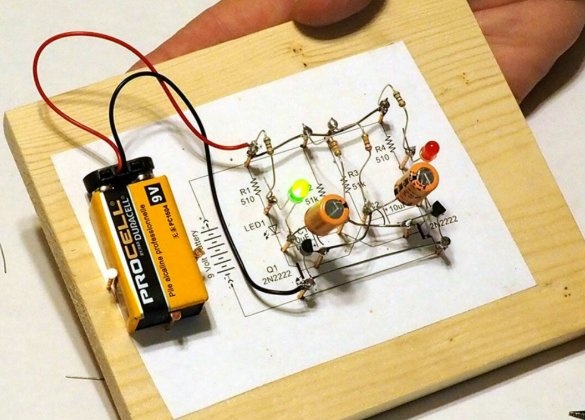
Since this is not only an electronic sculpture, but also a training manual, one of its variants was assembled without shortening the conclusions of the components, allowing multiple disassembly and assembly:
In this case, you need to make sure that there is no short circuit anywhere, and since it is impossible to completely eliminate it, it is better to use a salt battery with a low load capacity, because under the components there is a tree.

