

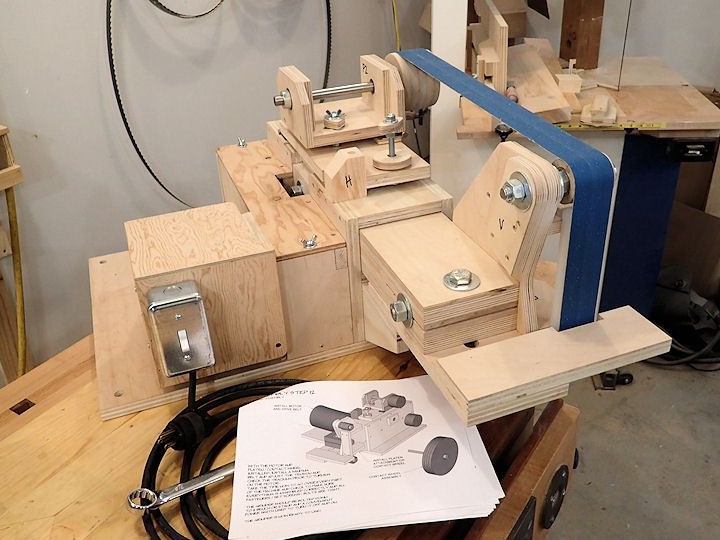
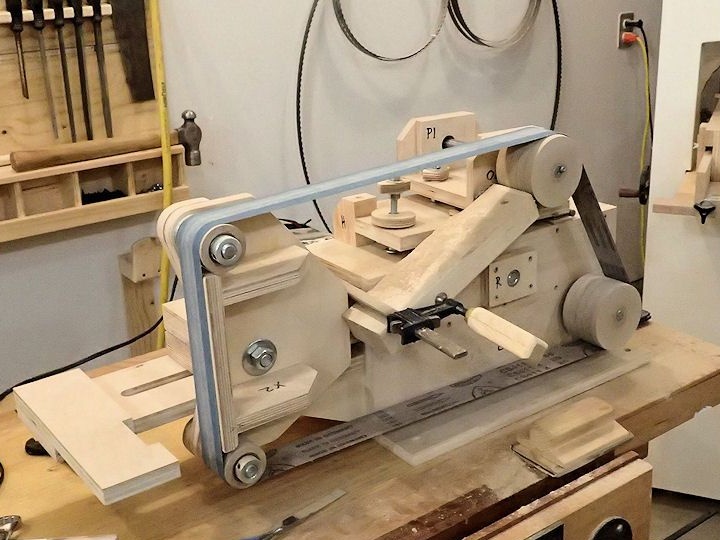
Hello everyone, if you want to make a belt sander for yourself, you can take a closer look at this project. For the most part, the entire project is assembled from plywood, even the wheels of the machine are made from this material. The project is quite complex and has many nodes, but thanks to the large number of photos you should not have difficulties in assembly.
The assembled belt sander is designed for 2X72 belt. With the help of such a machine you can easily make knives, grind various materials and much more. The performance of the machine will largely depend on the power of the installed engine. The author used an asynchronous motor with a speed of 1725 rpm. You can use a more powerful one, but it is no longer so safe. Always remember that a machine made of wood cannot withstand such a load as a metal one. So, let's start the assembly.
Materials and tools used by the author:
Material List:
- plywood;
- engine;
- washers, screws, nuts, etc .;
- bearings and axles;
- door hinges;
- drive belt;
- steel plate (for emphasis);
- glue, etc.
Tool List:
- pencil, ruler, tape measure;
- drilling machine;
- drill;
- a circular saw;
- a lathe (preferably);
- a disk grinder or the like (preferably);
- grinder;
- screwdrivers;
- jigsaws or another tool for cutting plywood;
- clamps;
- spanners.
The process of manufacturing a belt sander:
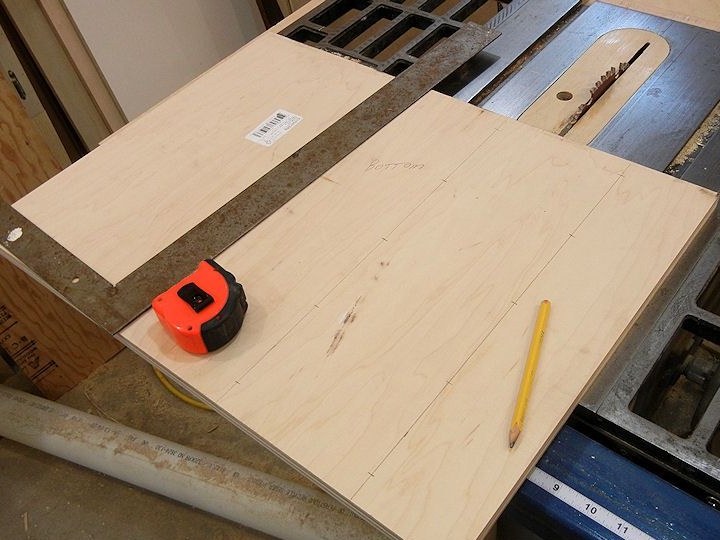
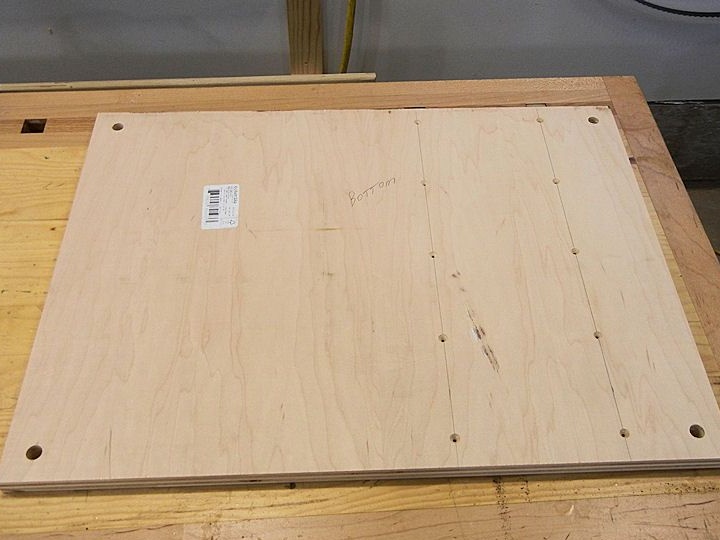
Step one. Foundation preparation
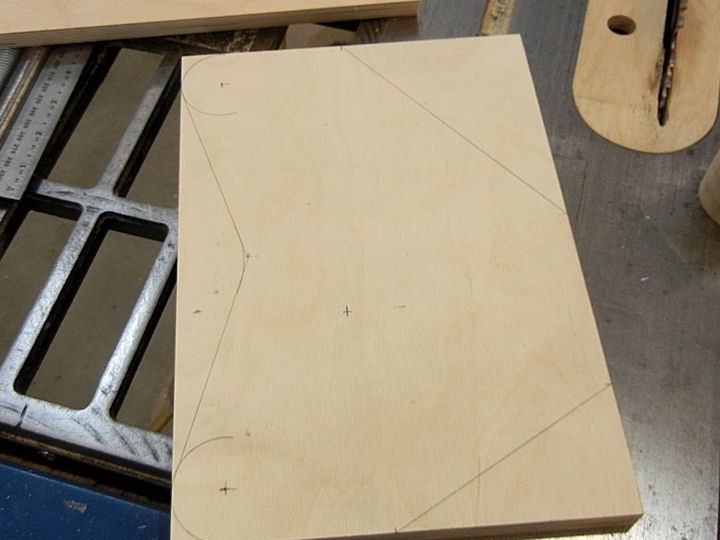
For foundation you need a sheet of thick plywood. Drill holes at the edges of the sheet, using them the machine will be attached to the table with bolts and nuts. Mark the base and drill holes for the racks. The author drills holes for countersunk screw heads.
Step Two Parts B1 and B2
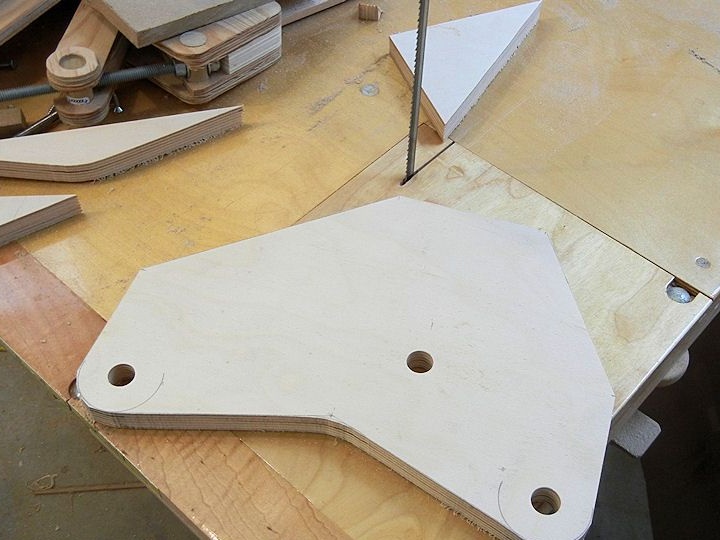
Now cut out the plywood details as the author. They need to drill holes in one inch (about 2.5 cm). Make parts that are under heavy load out of plywood thicker. As a last resort, you can always glue several sheets together.
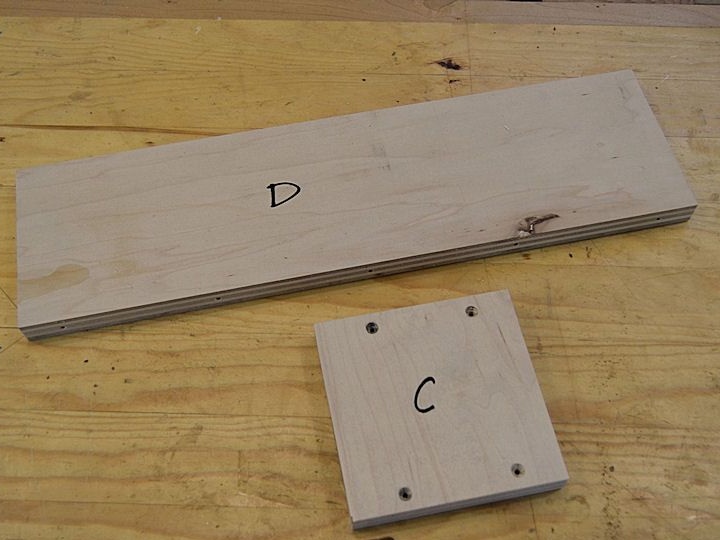
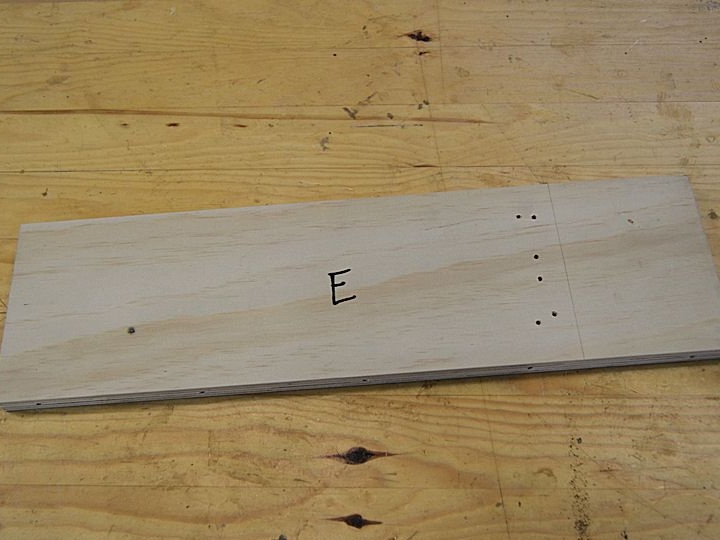
Step Three Details D, C, E
These parts are the easiest to make, they have a rectangular shape. Drill holes in them as in the photo.
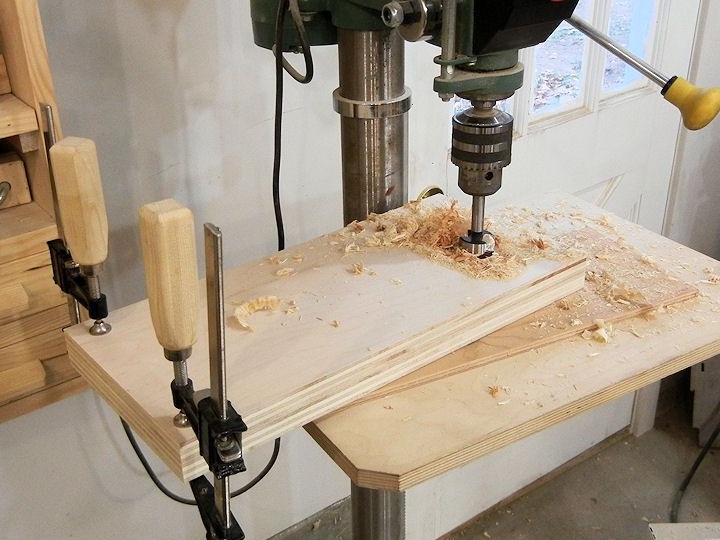
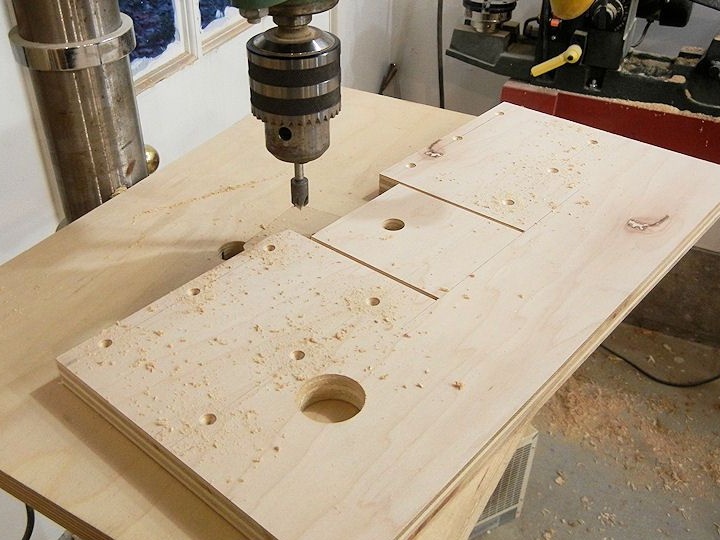
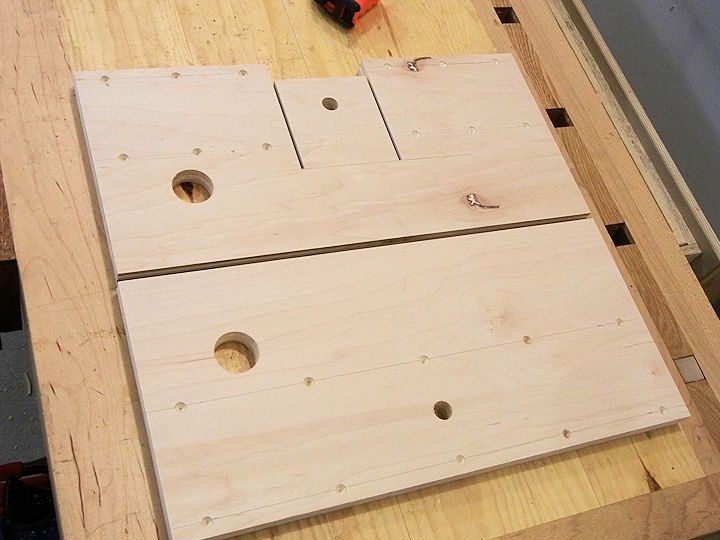
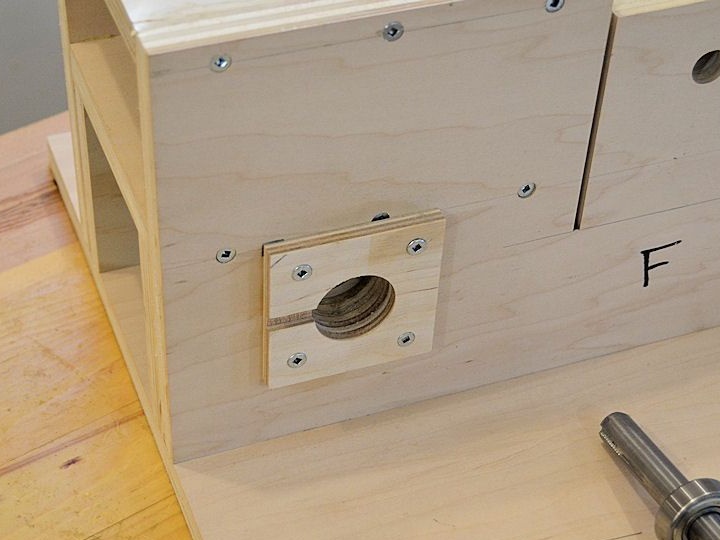
Step Four Parts F and G
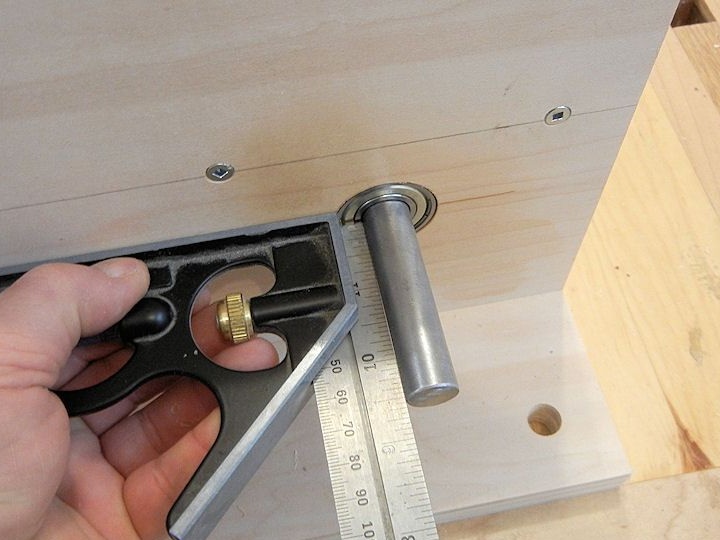
In these details, it will be necessary to drill holes under the shaft. Precision is crucial here. The diameter of the holes is selected depending on the size of the bearings used.The bearing should fit snugly into the seat.
In part F, cut out two slots, as the author did.

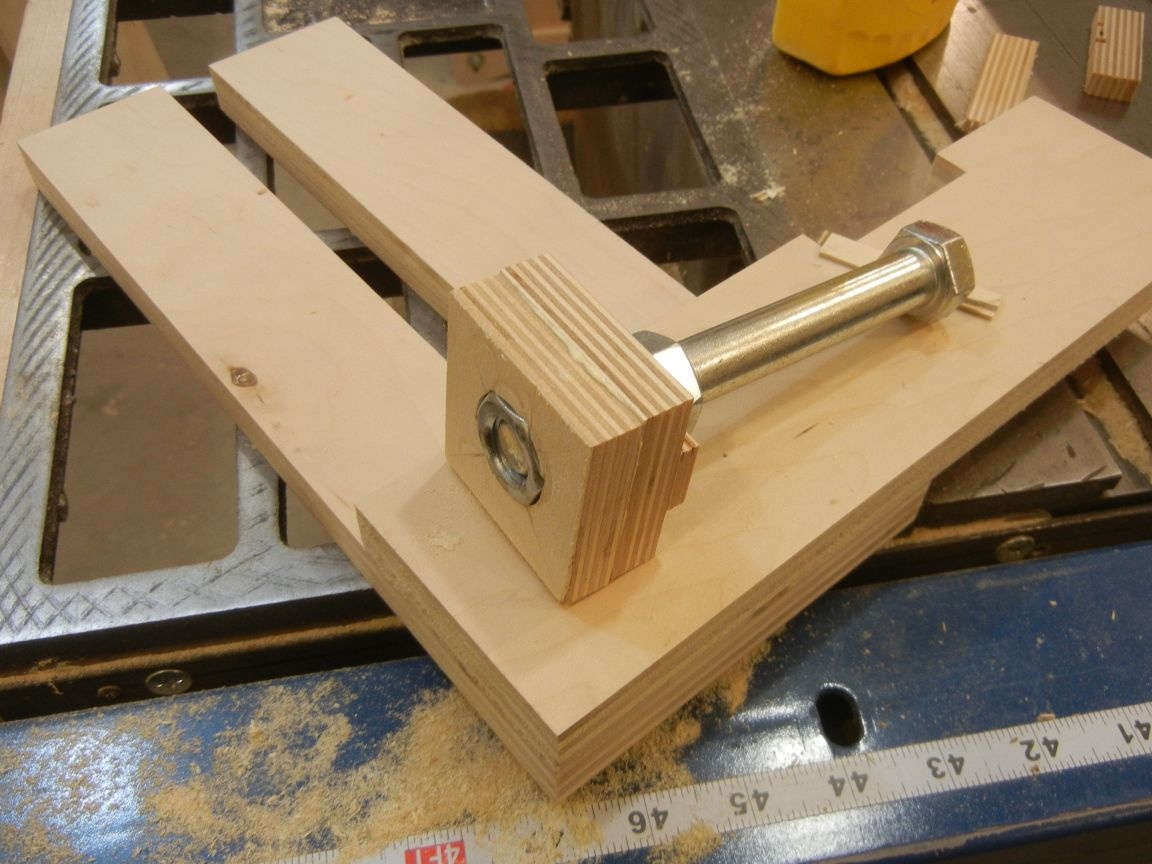
Step Five Part h
This part is a piece of bar, which is cut at the right angle. The author drills a screw hole in it.
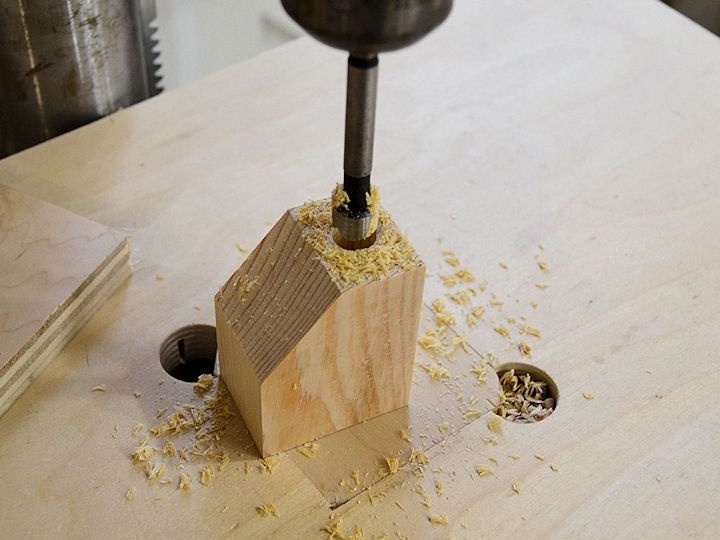
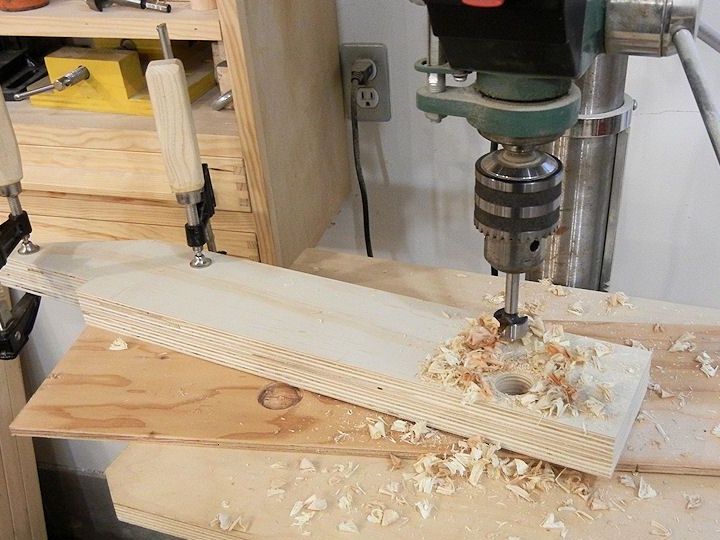
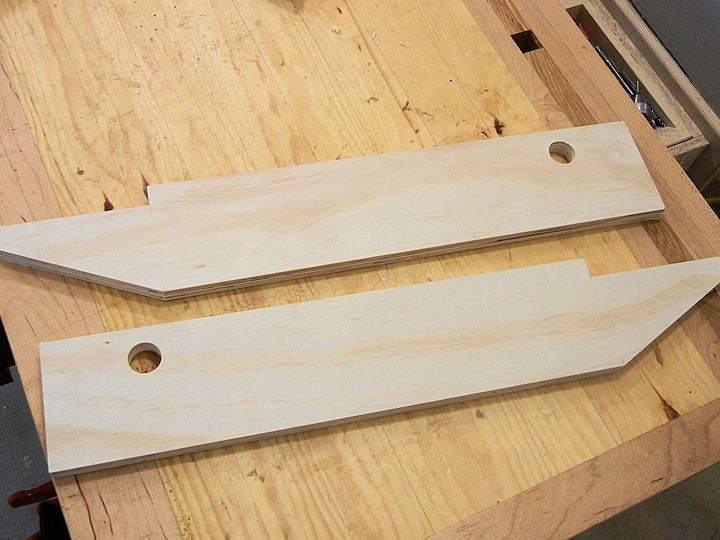
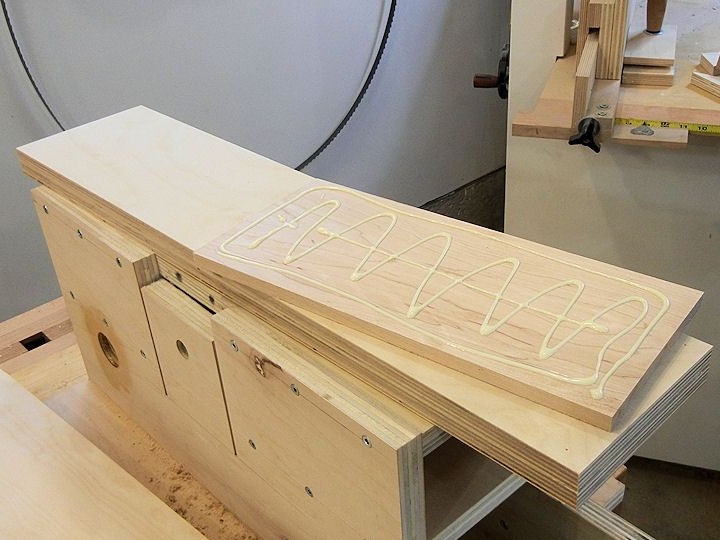
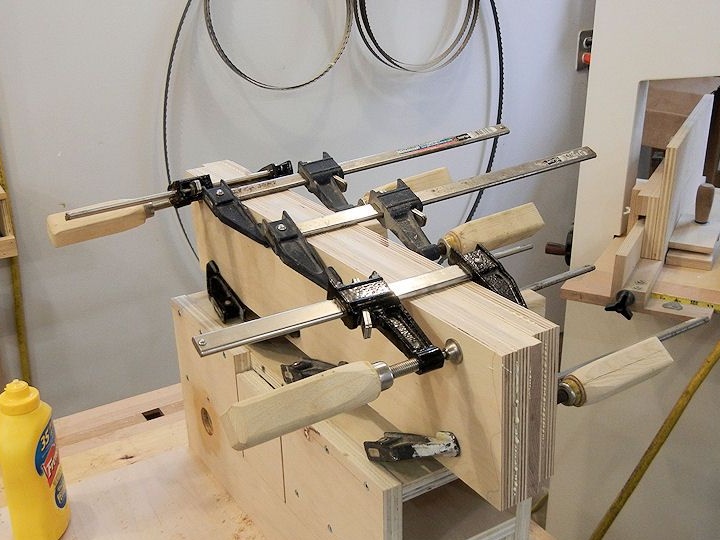
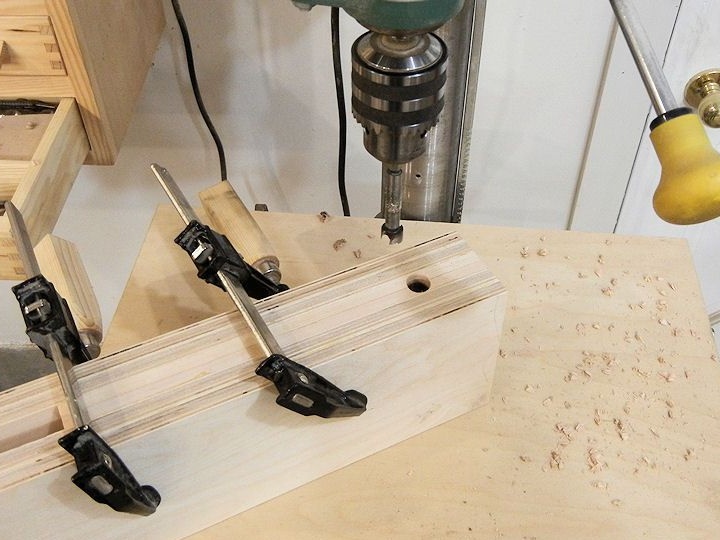
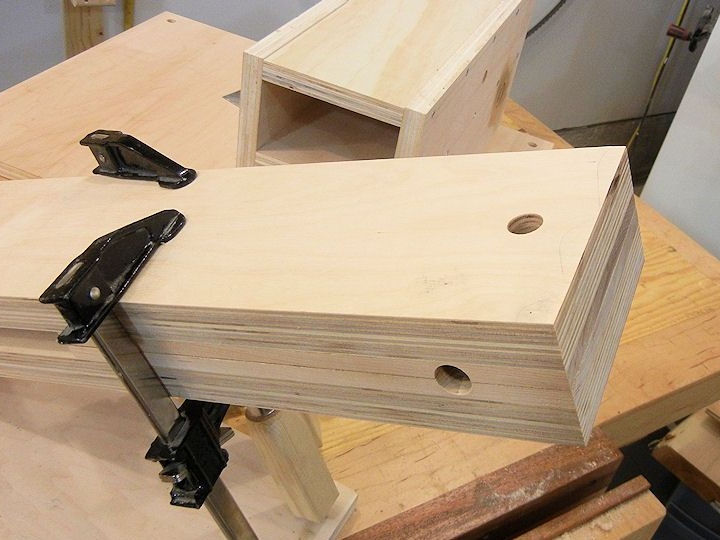
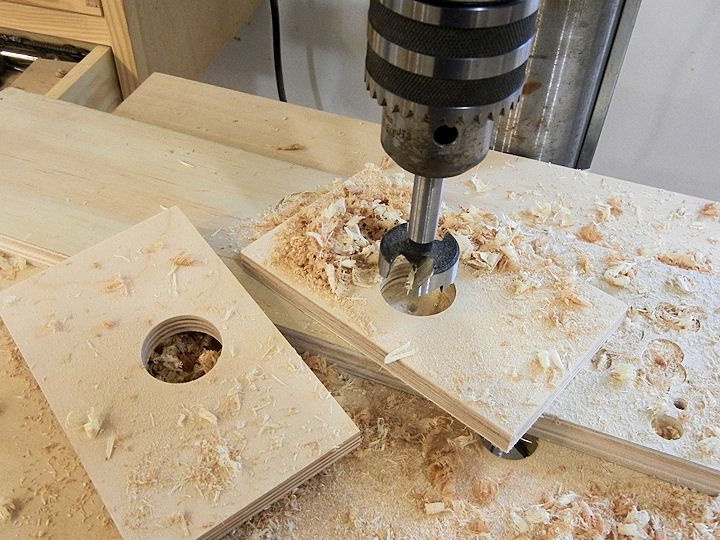
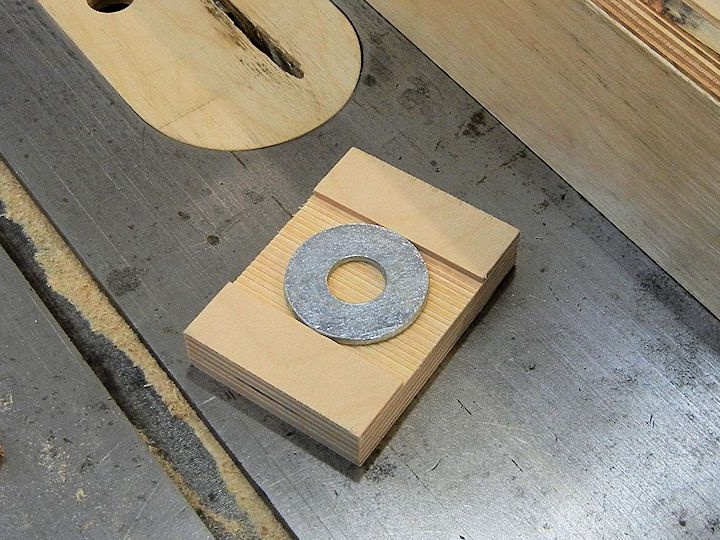
Step Six Details “I1” and “I2”
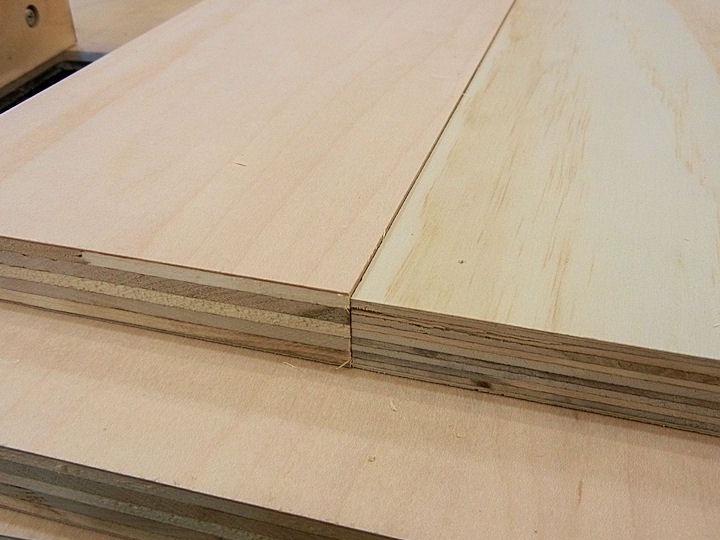
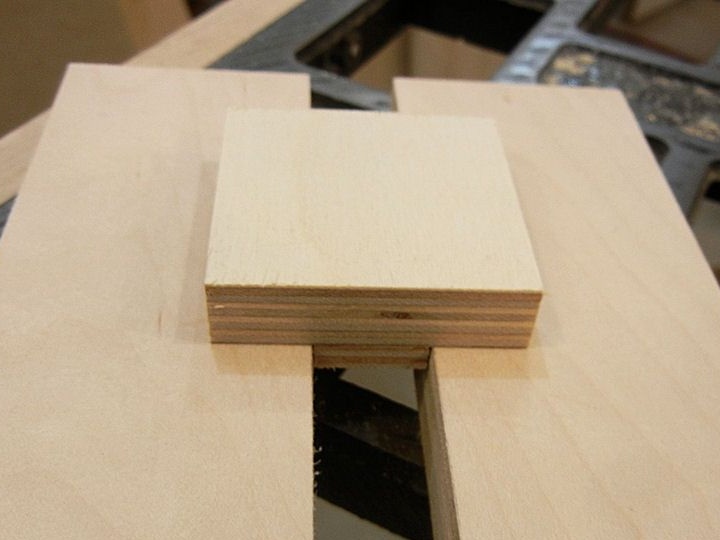
These elements are best made from solid wood, as they must withstand a considerable load. Better yet, glue together a sheet of plywood and a sheet of solid wood, as the author did. At the end, the holes are drilled in the details as in the photo, and a groove is cut.
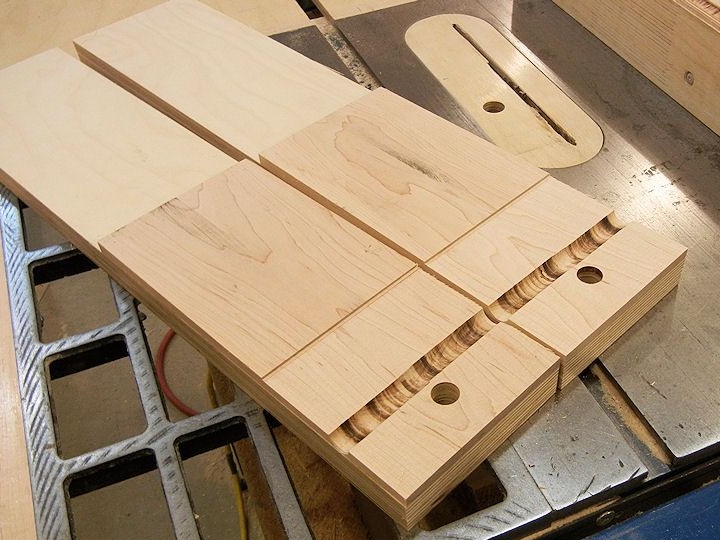
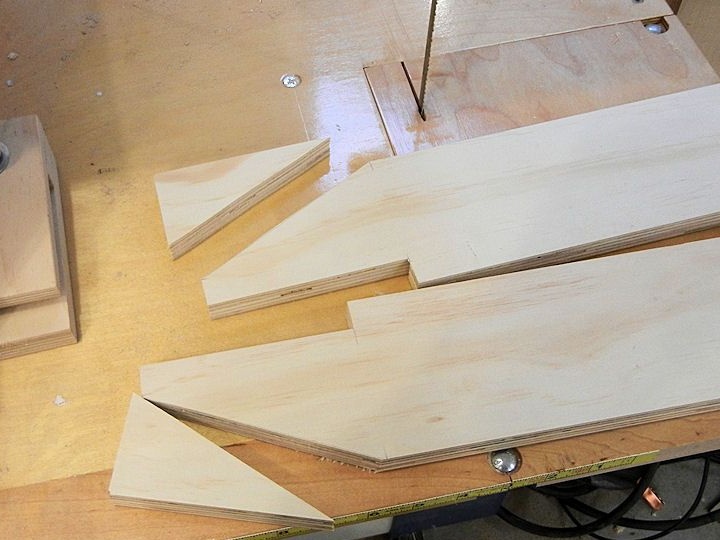
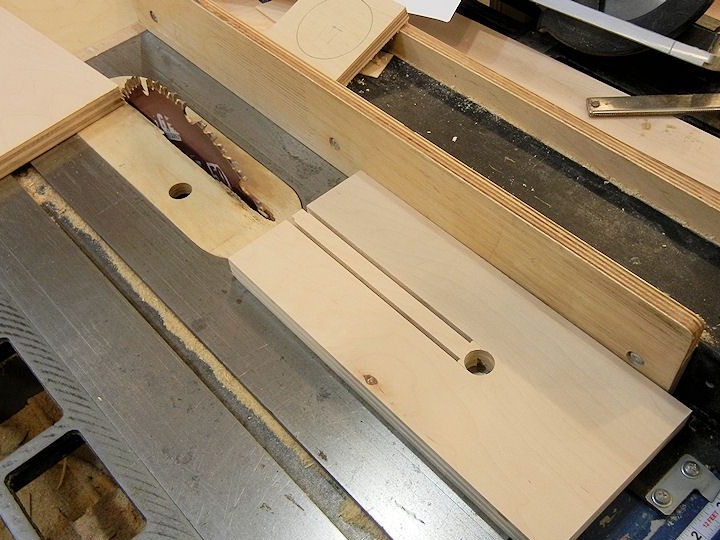
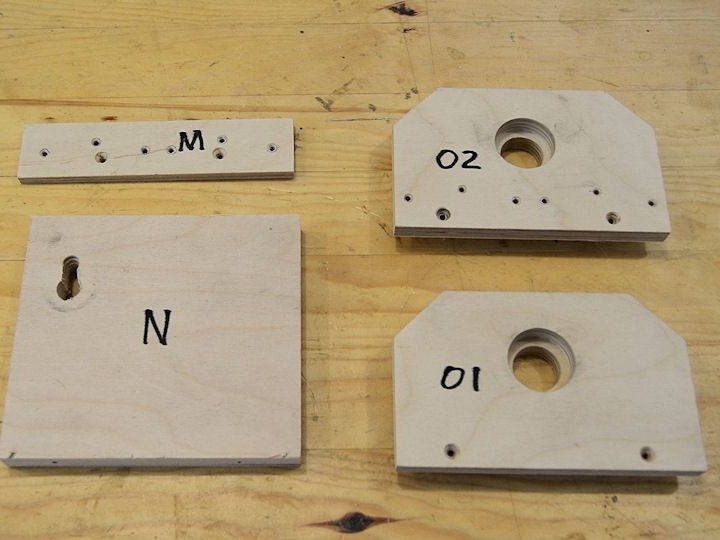
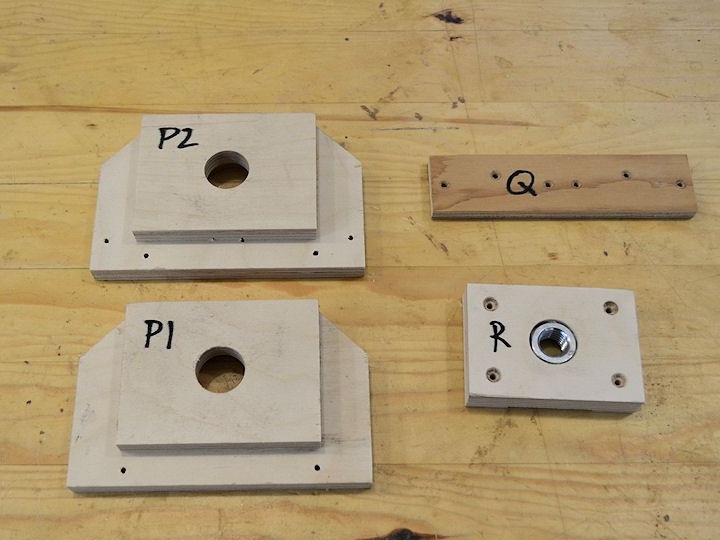
Seventh step. Details J, K, L and the rest
In this component, you need to cut a groove, for this a circular saw is suitable. As for part L, this is the main element of the tensioner.
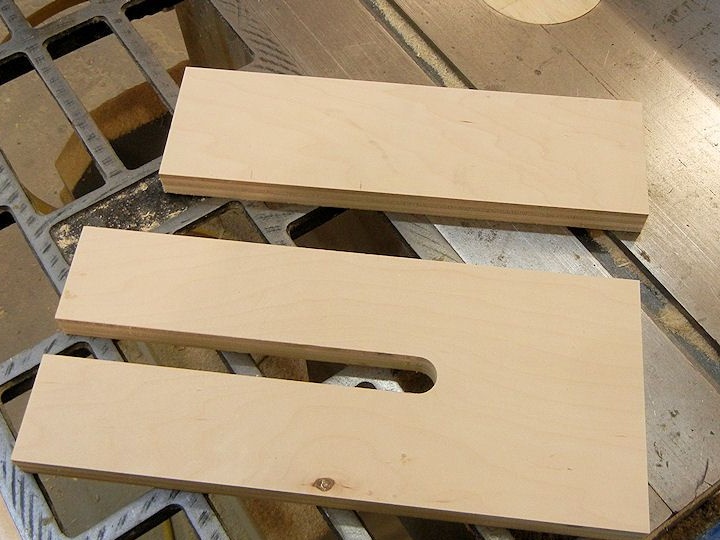
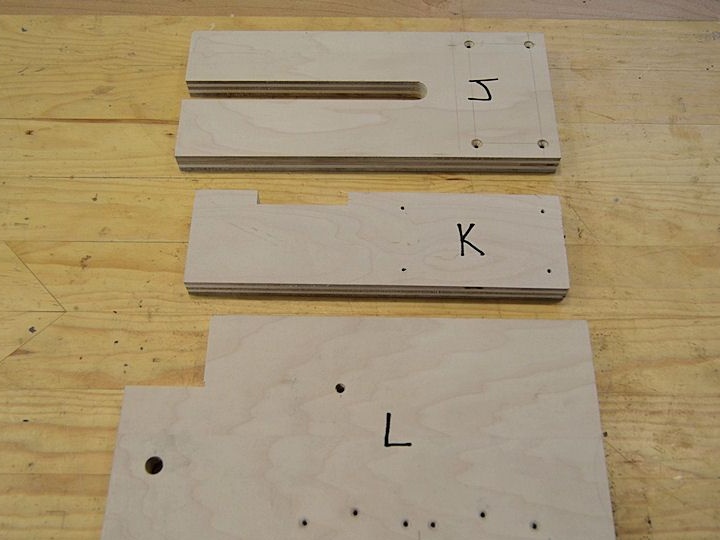
As for the remaining small parts, they are made in a similar way. We cut, drill holes for screws, and also form seats for bearings. The hardest part will be to cut the “U” part, then you need a jigsaw or other band saw.

Step Eight. We assemble the machine
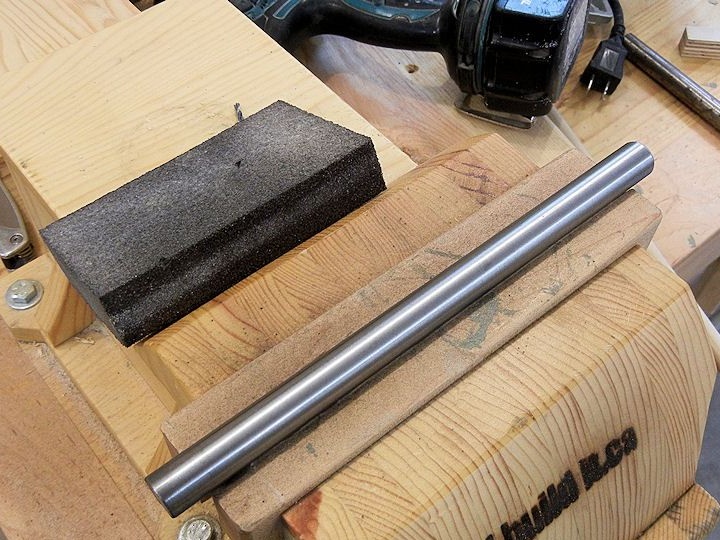
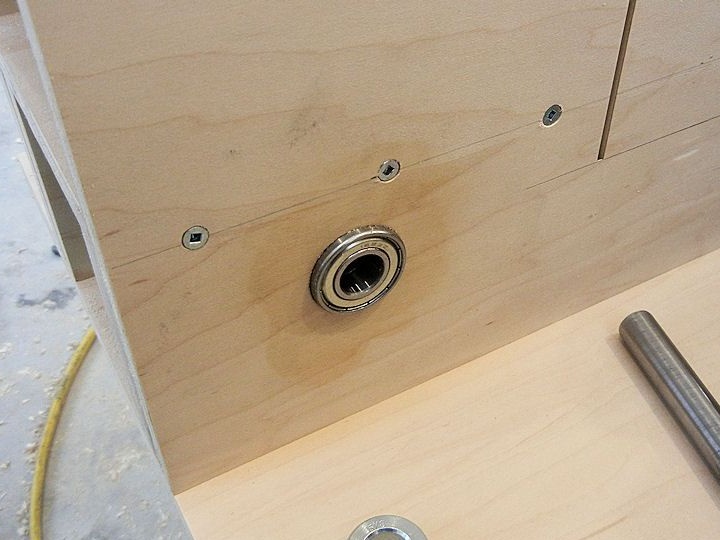
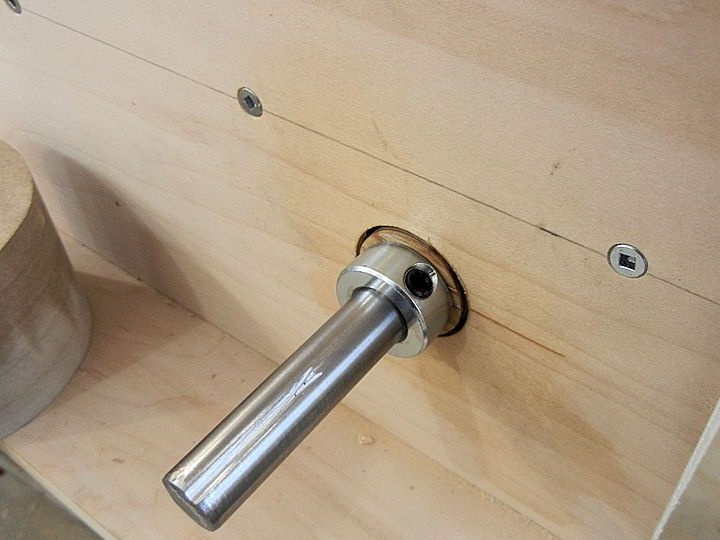
For assembly, the author uses countersunk screws, preferably combined with wood glue. As for the bearings, they are installed on glue, you can use epoxy. Remember to lubricate the bearings. You also need to cut steel rods under the shafts of the machine. We fix the wheels to glue, thoroughly clean the metal and apply epoxy.
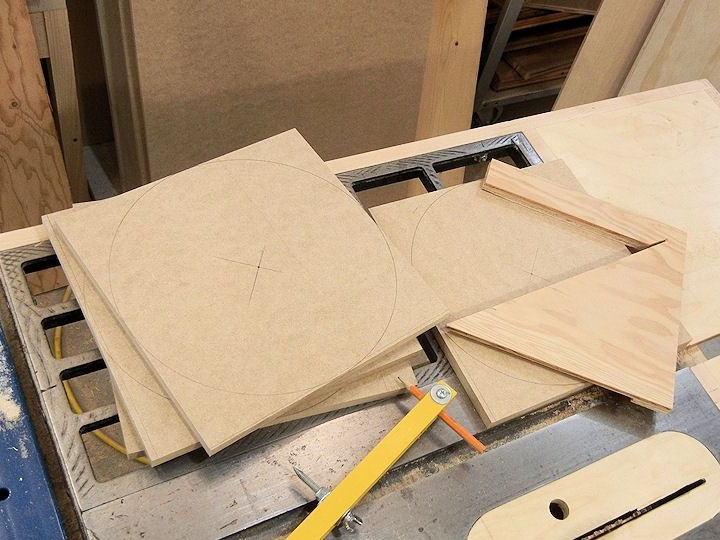
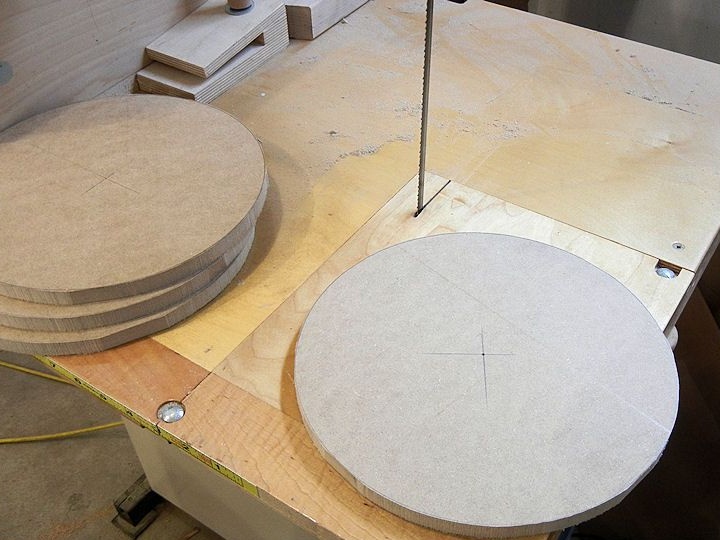
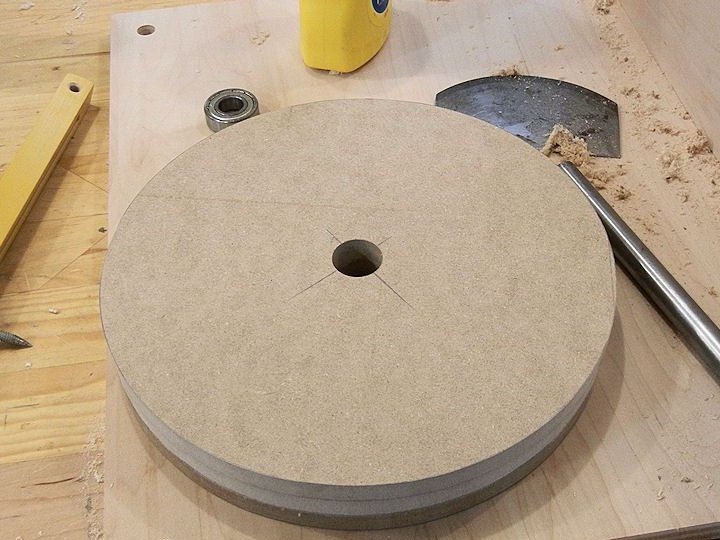
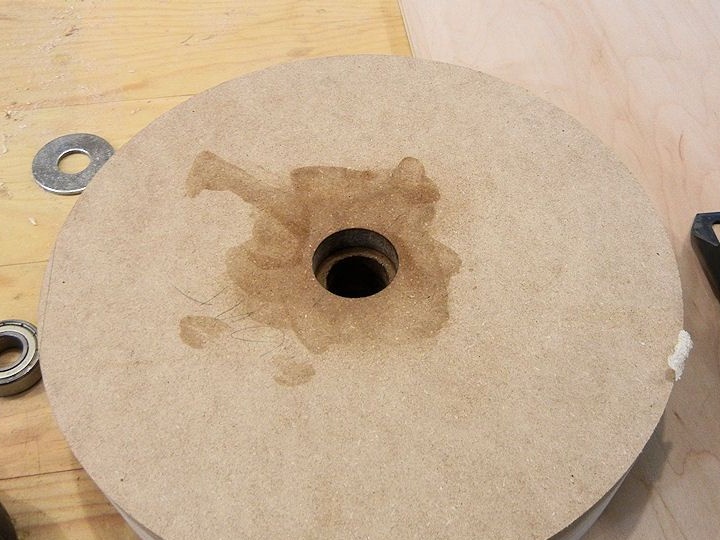
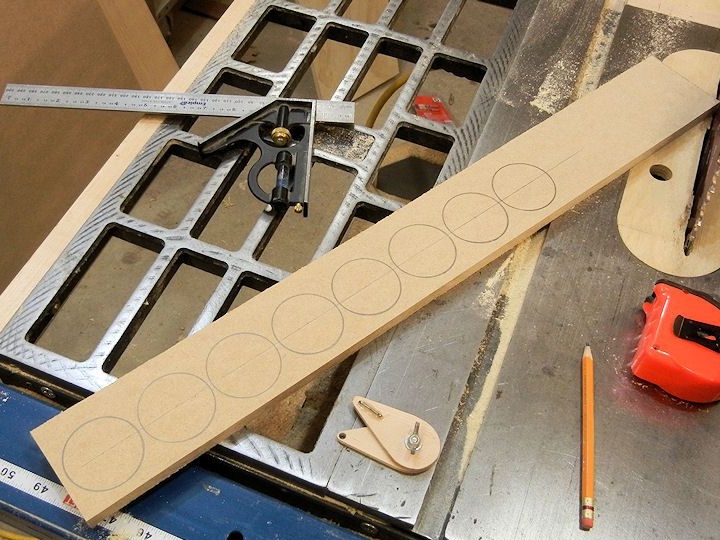
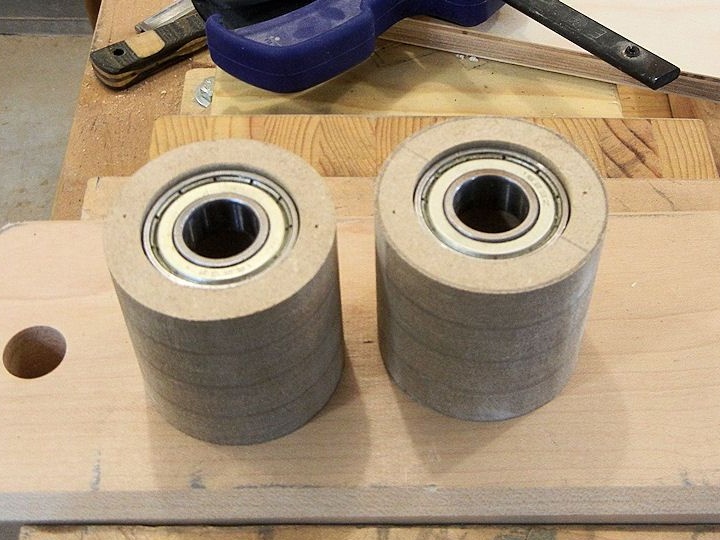
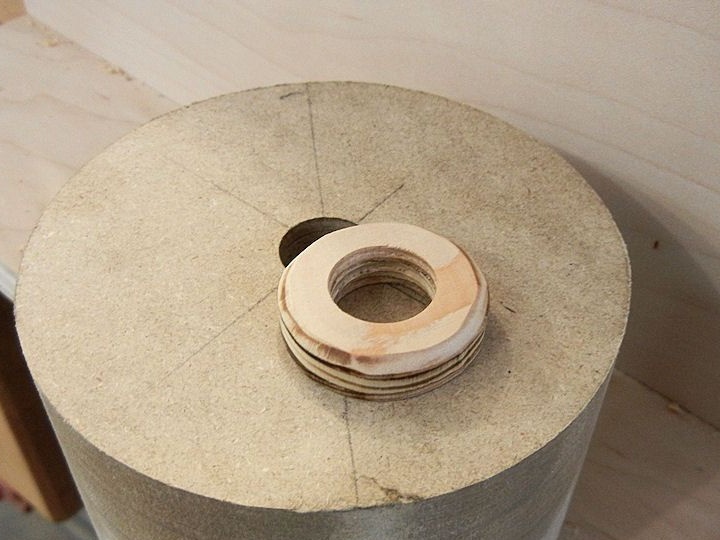
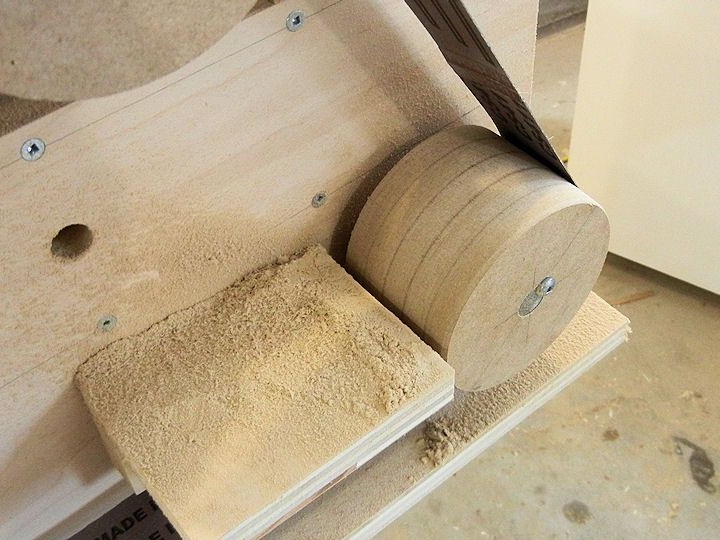
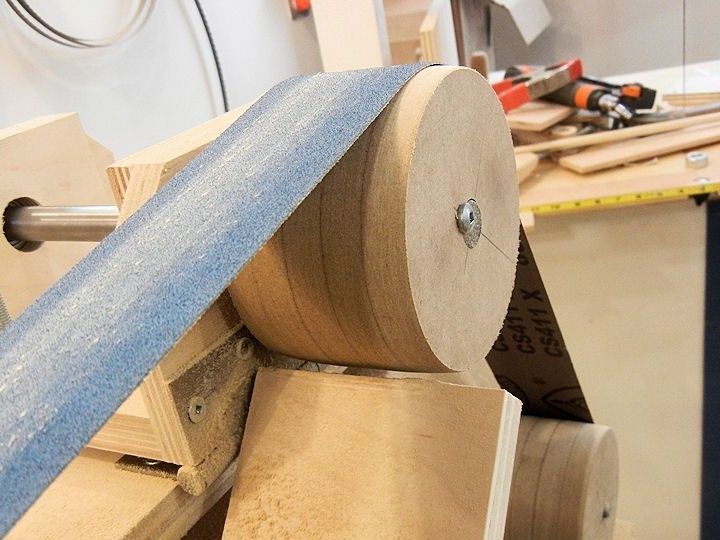
Step Nine. Wheel making
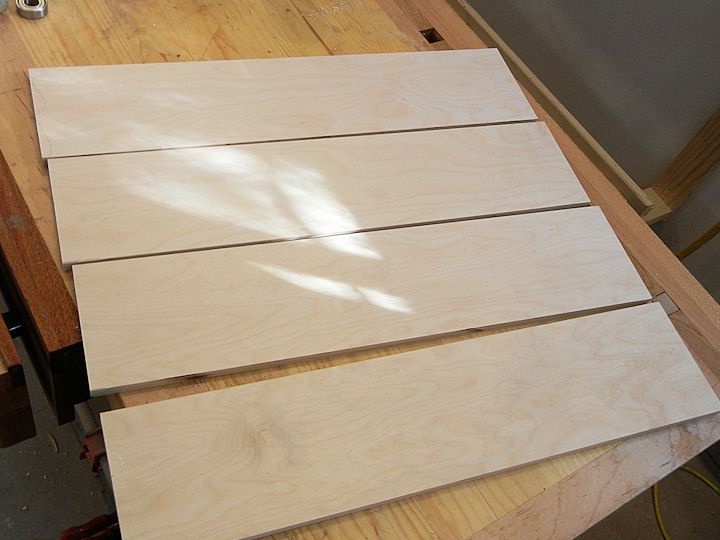
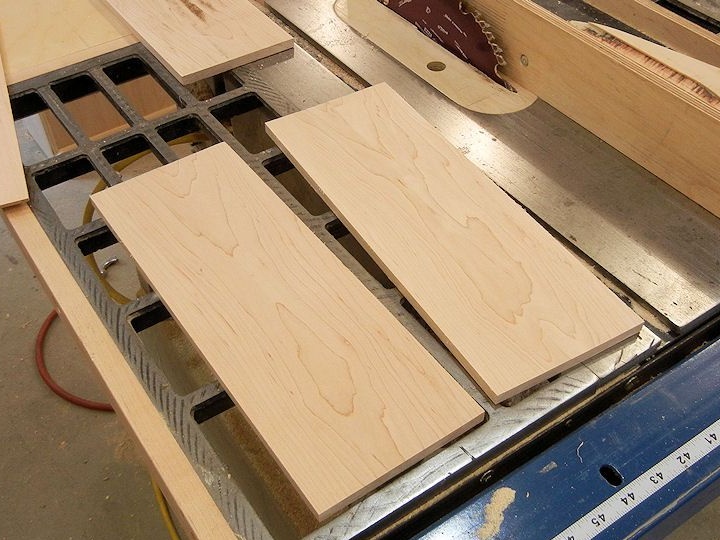
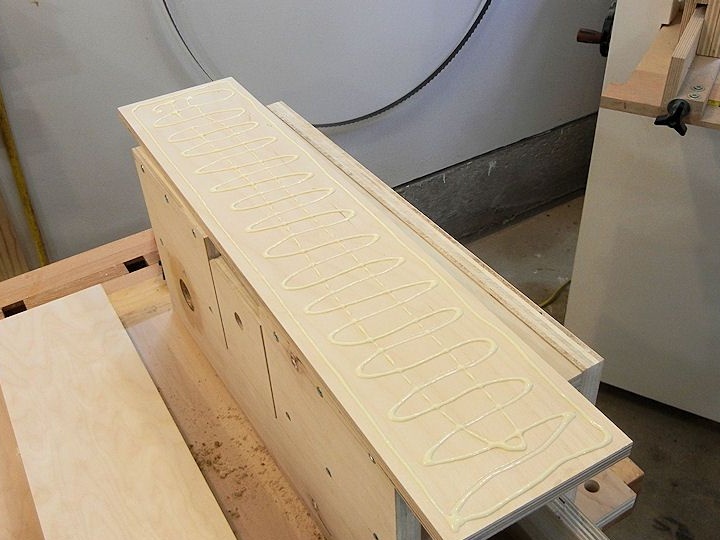
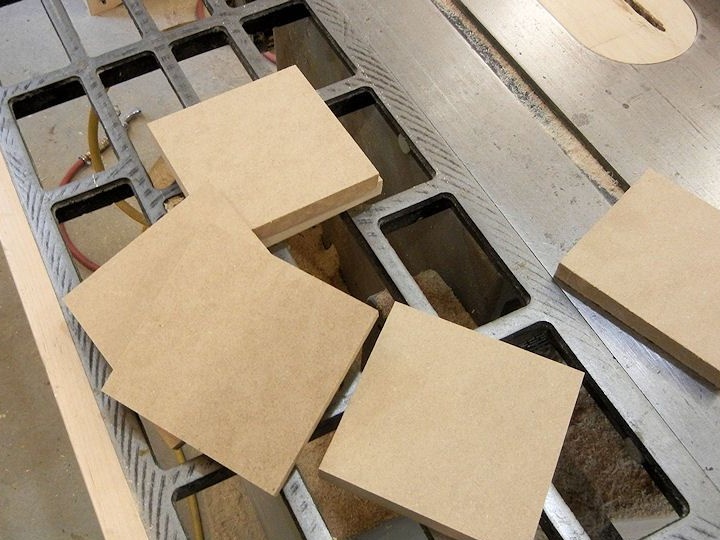
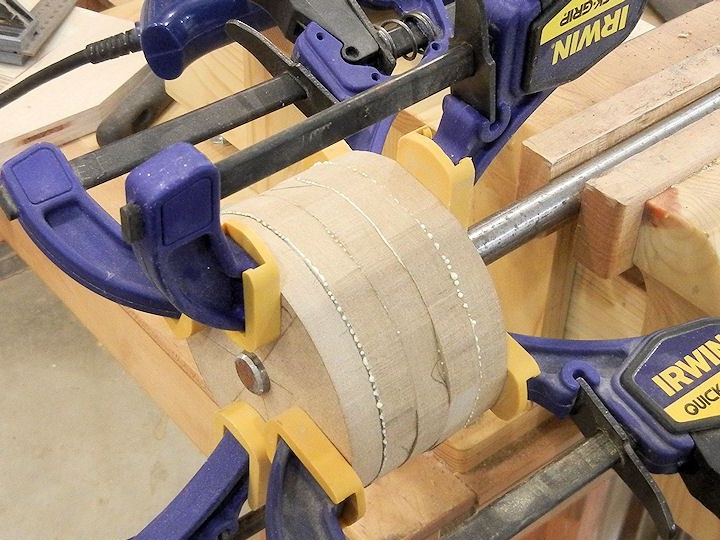
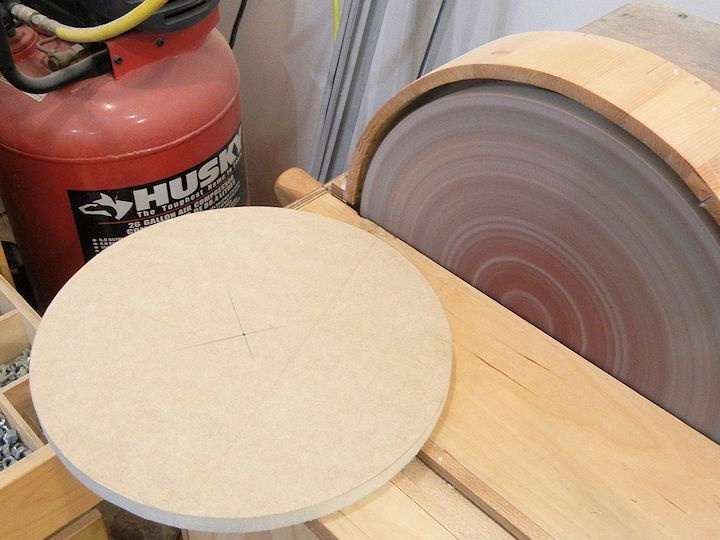
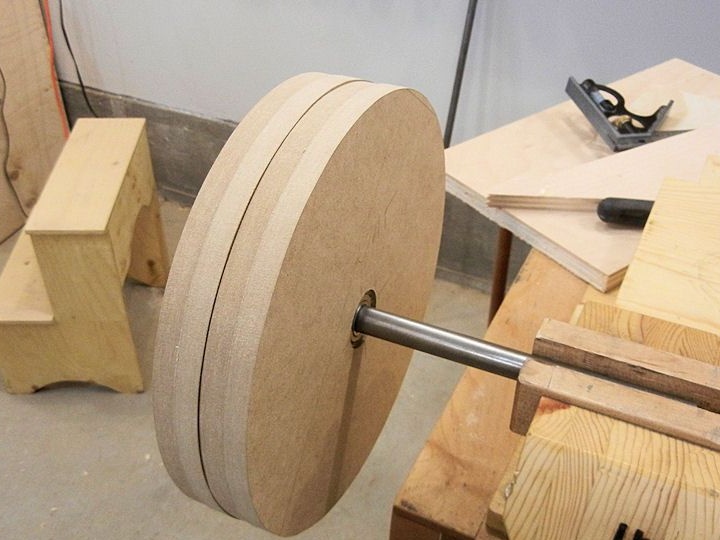
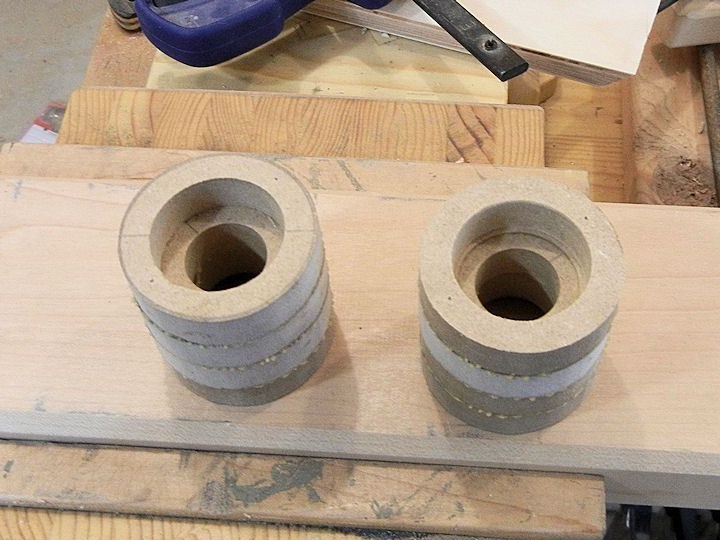
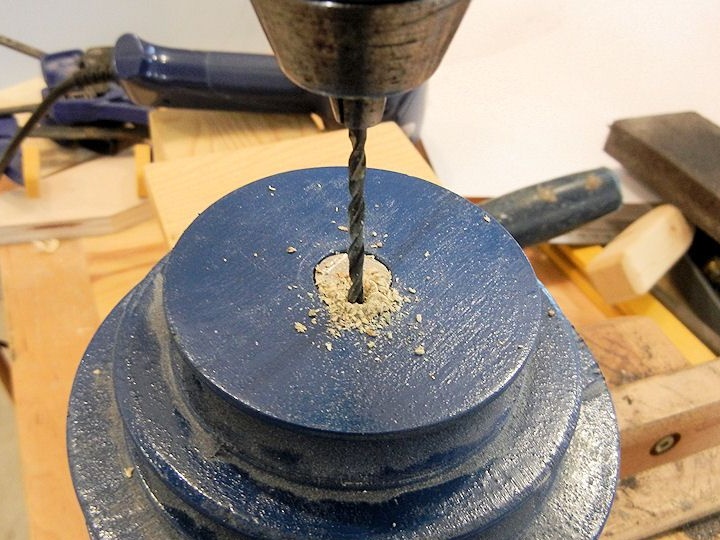
The author makes driven and driving wheels from plywood. To do this, we cut the required round-sized rounds and glue them together. Then it is advisable to grind the wheels on a lathe or using a conventional drill. However, if you have a lathe, you can simply glue square pieces of plywood, and then form wheels on the machine.
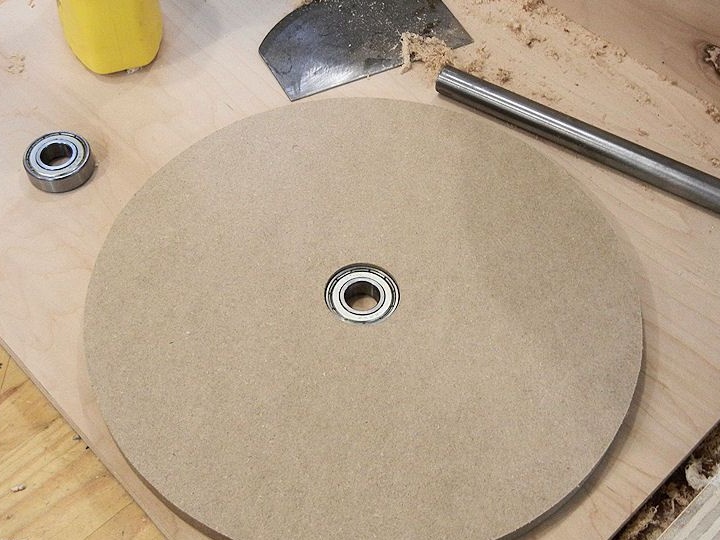
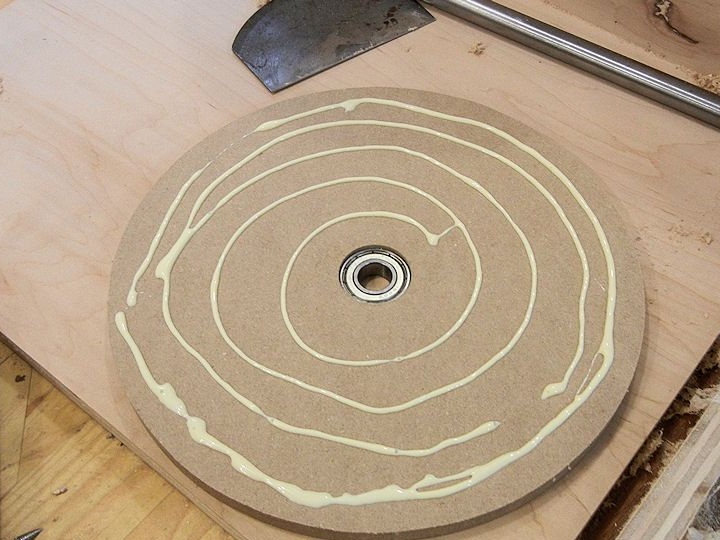
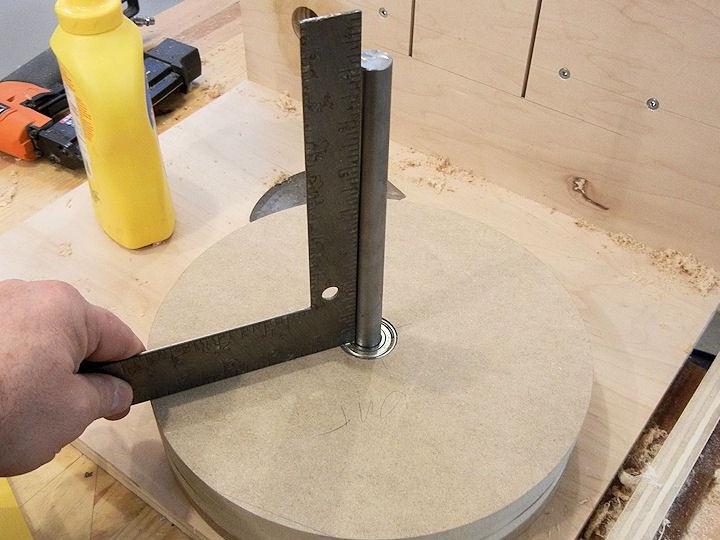
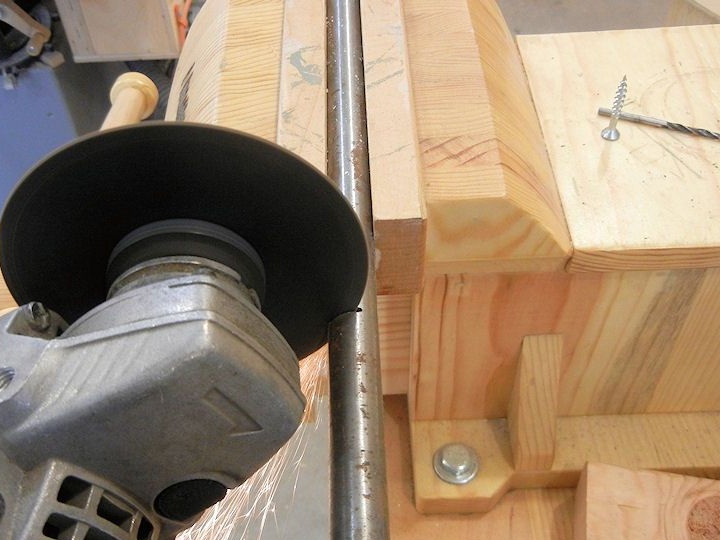
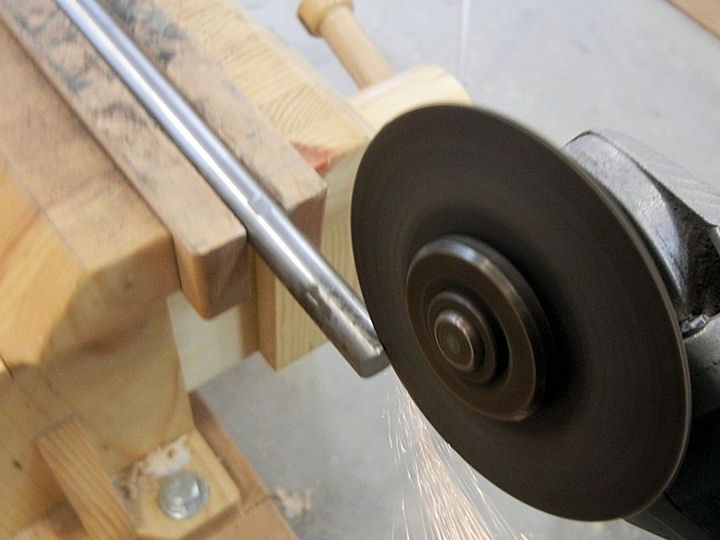
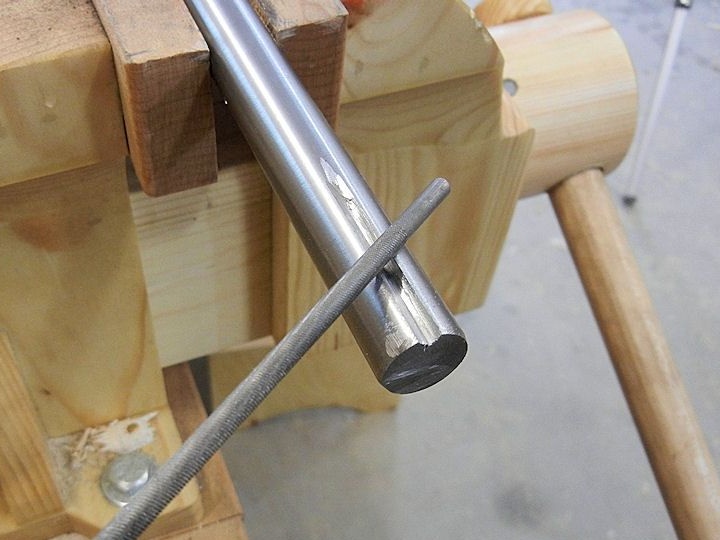
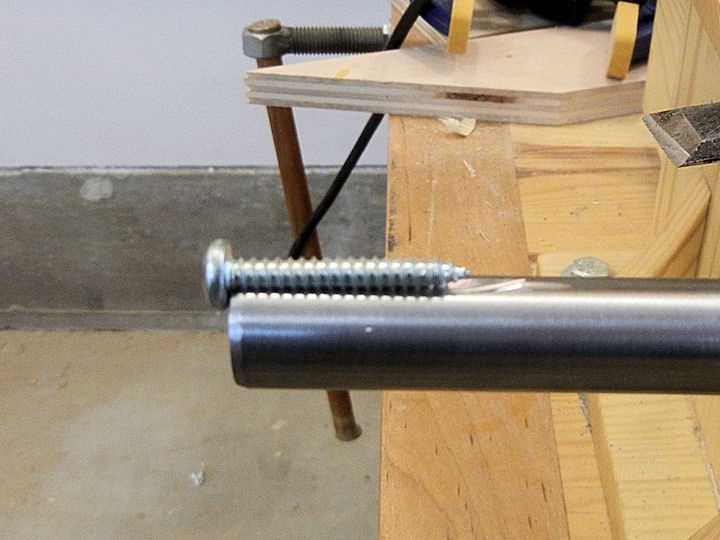
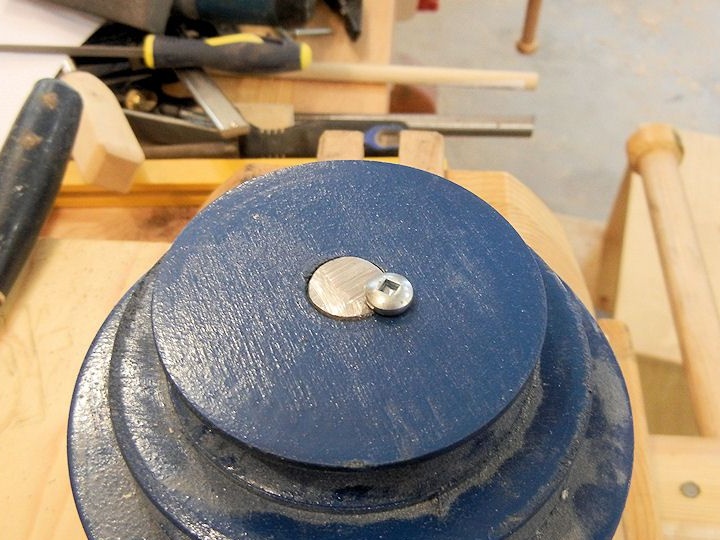
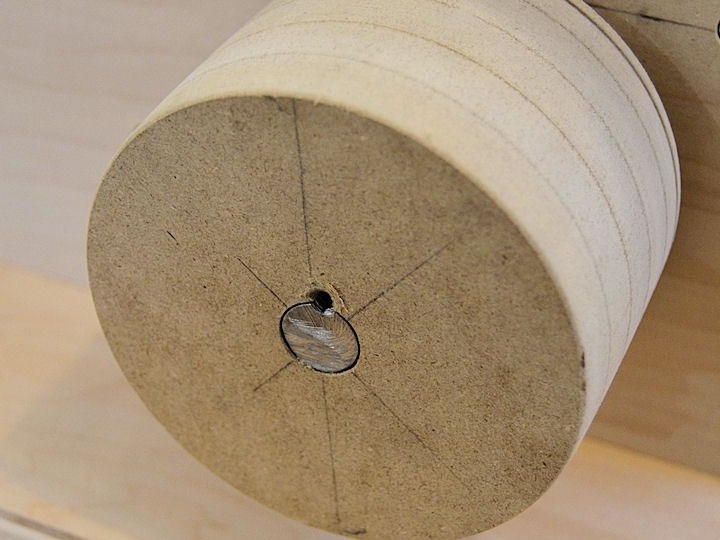
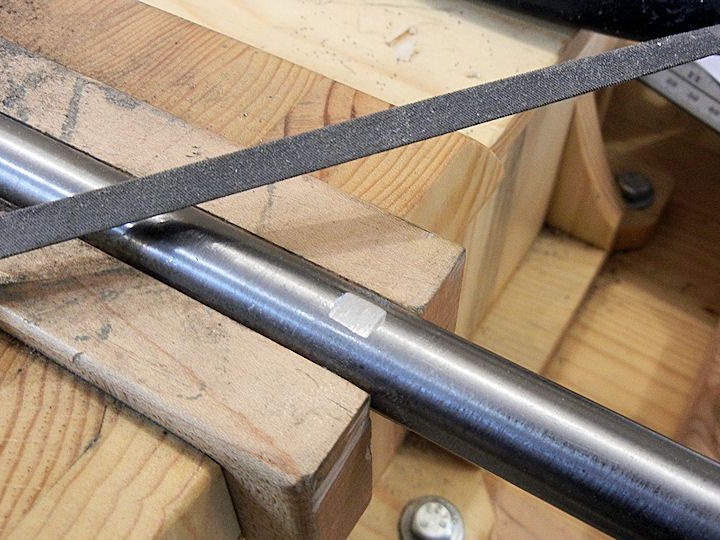
As for the drive wheel, then you need to install a key so that the wheel does not turn on the shaft. We cut the groove on the shaft with a grinder, and the key can be made of a screw and so on. We install bearings in the driven wheels.
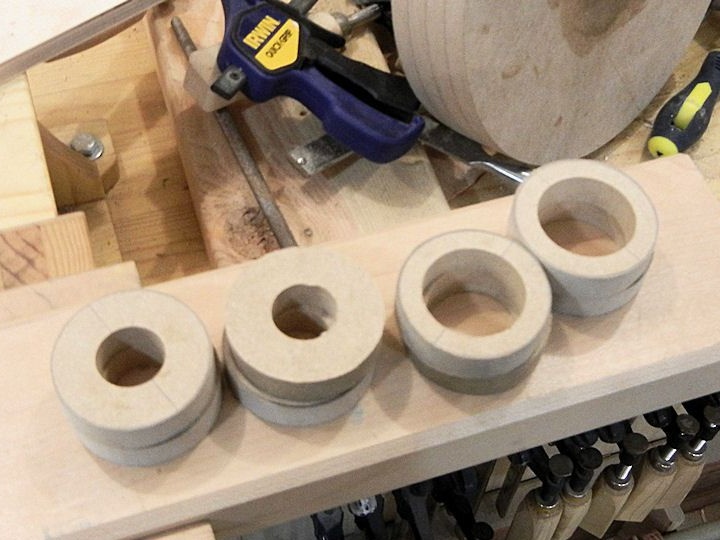
As for the pulleys, they are made according to a similar scheme.
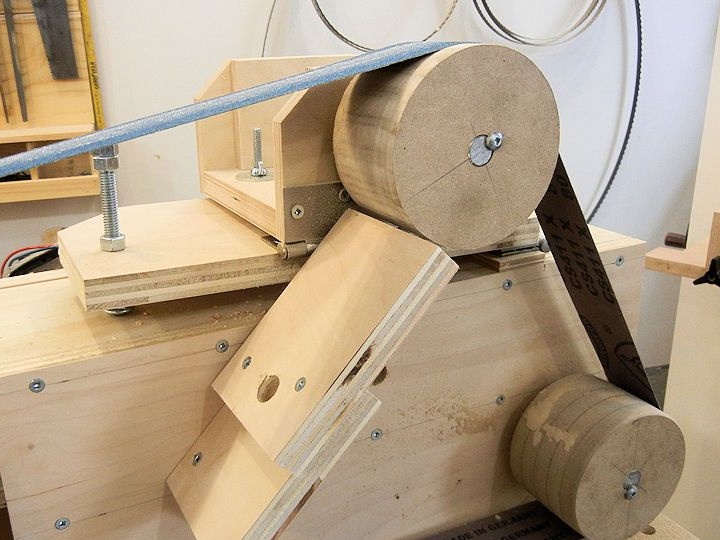
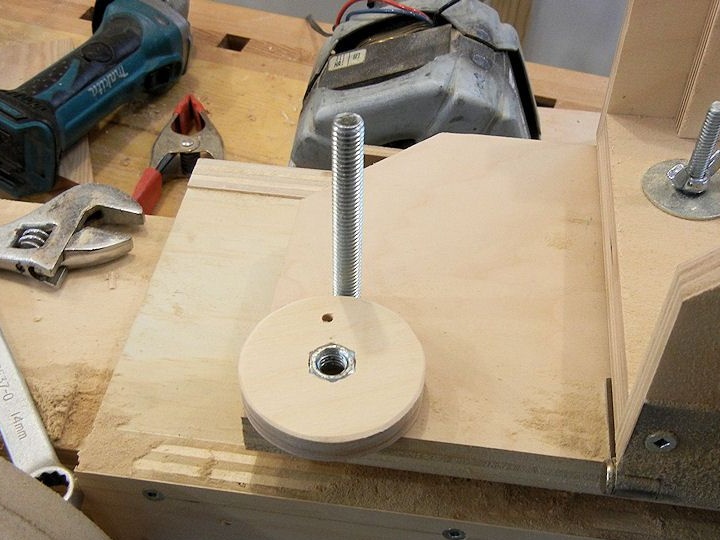
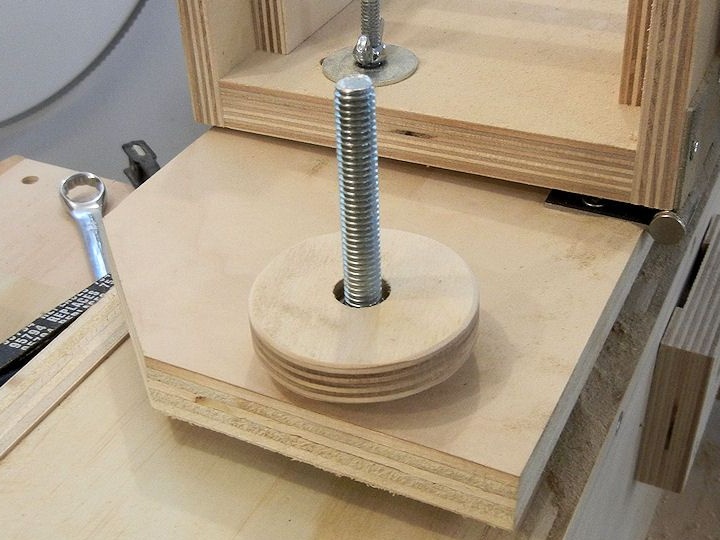
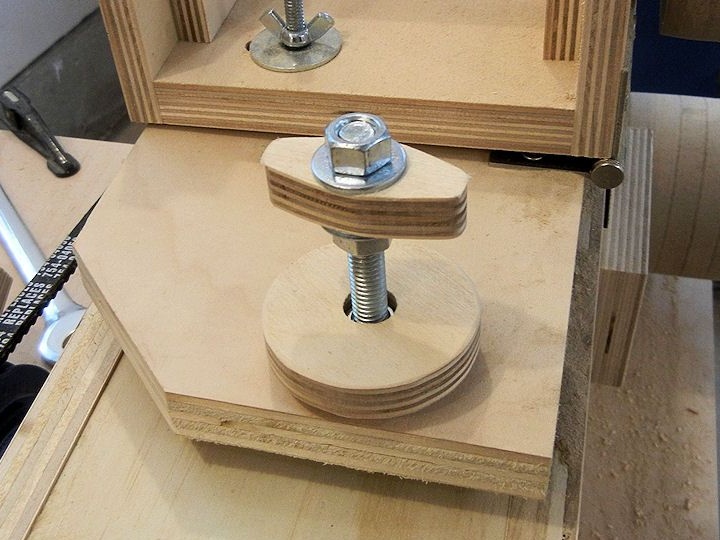
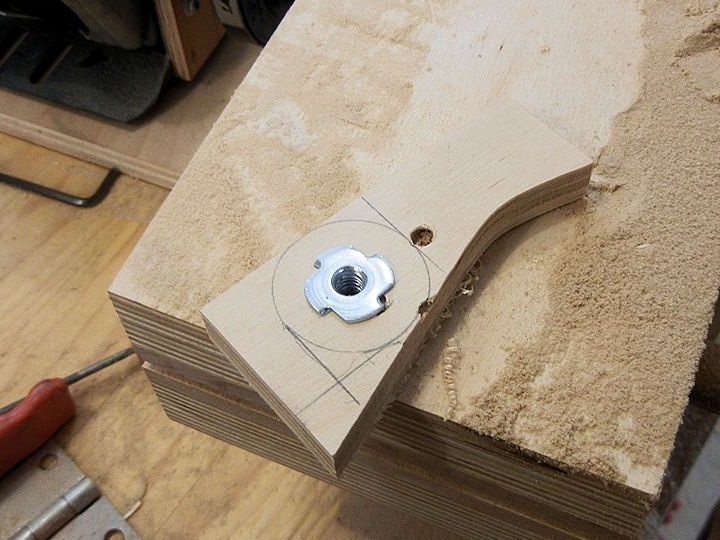
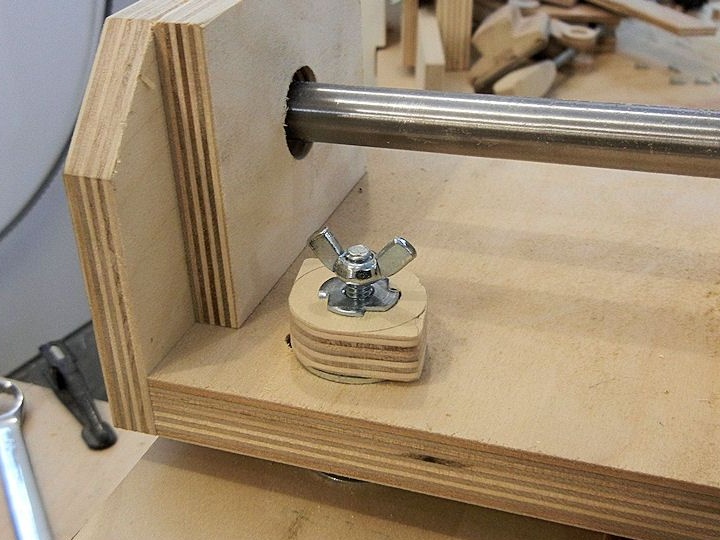
Step Ten Adjusting knobs
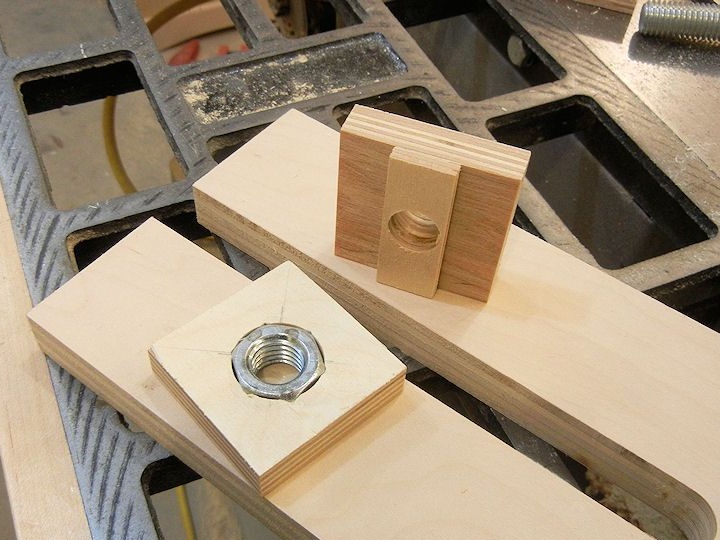
Install the adjustment knobs on the machine. Here you will need nuts and screws. We install nuts on glue, just like wheels. An epoxy is good for this. The upper wheel is mounted on an axis that can change the angle in a horizontal position, this will center the belt.
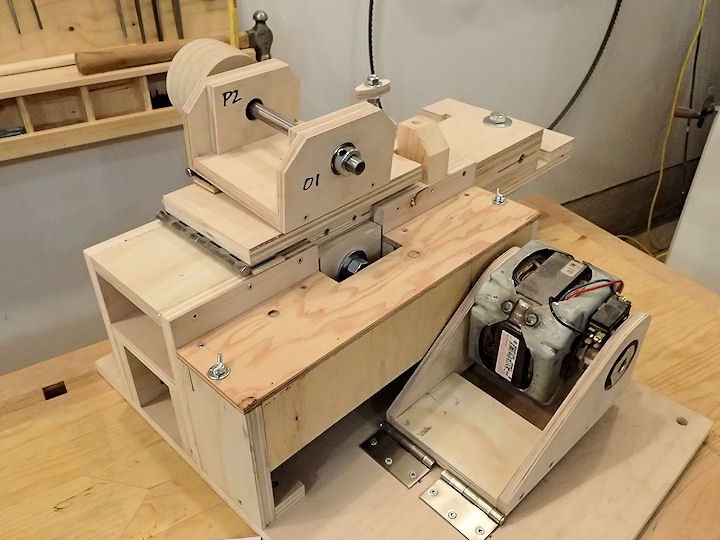
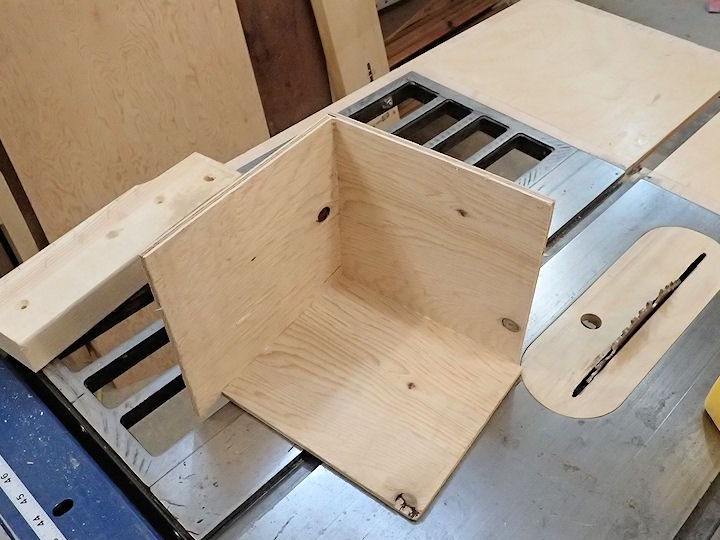
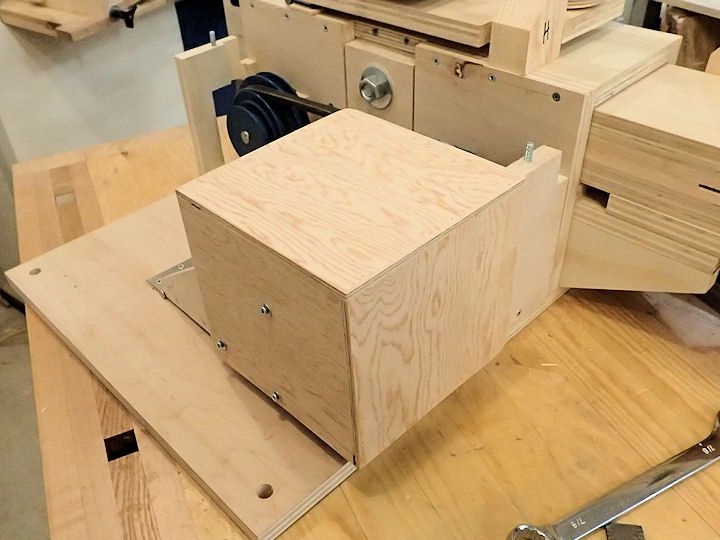
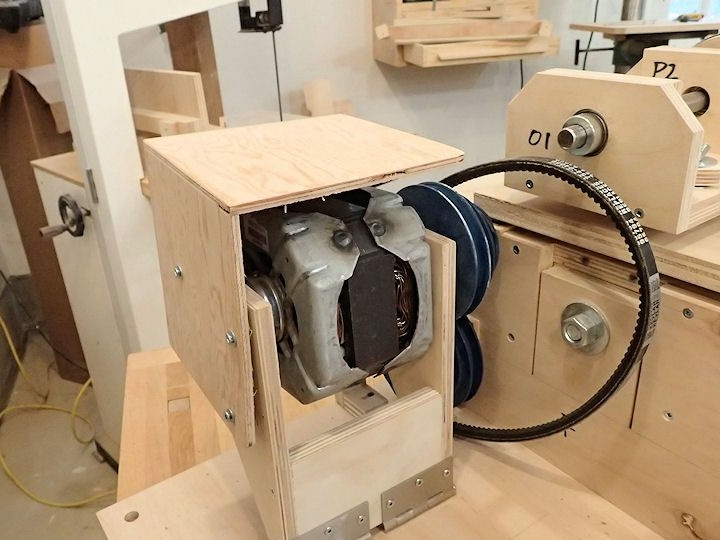
Step 11. Installing the engine
You can install the engine, the author used an asynchronous unit with a speed of 1725 rpm. The power and speed of rotation of such an engine is quite enough for the safe use of the machine. The transmission of torque is carried out through a belt drive, which will allow the pulleys to slip if an unexpected situation occurs and the machine jams.
We connect the power cable and install the switch. Do not forget about safety, the switch should be large, convenient and be at hand with the master. In which case the machine can be quickly turned off.
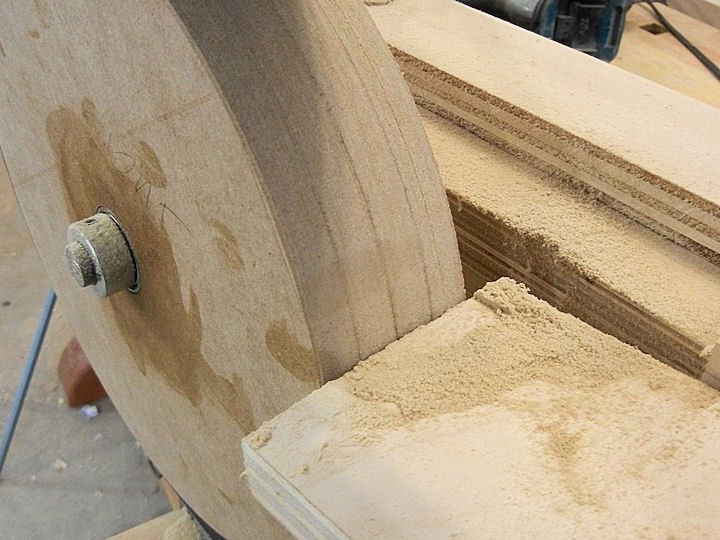
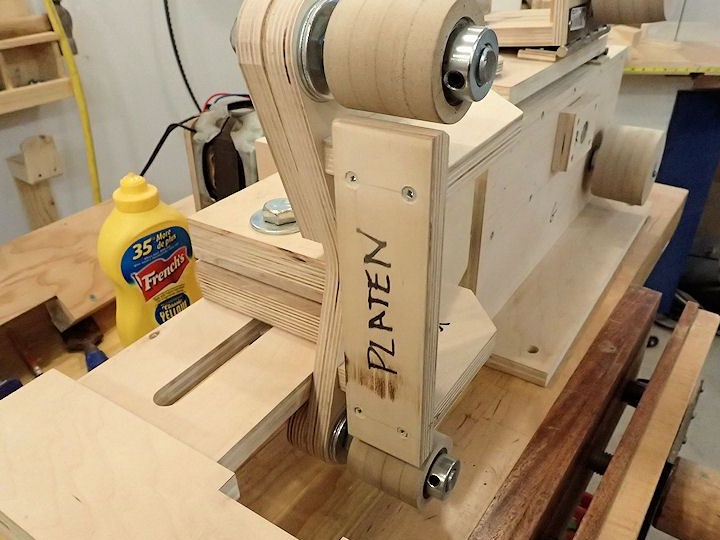
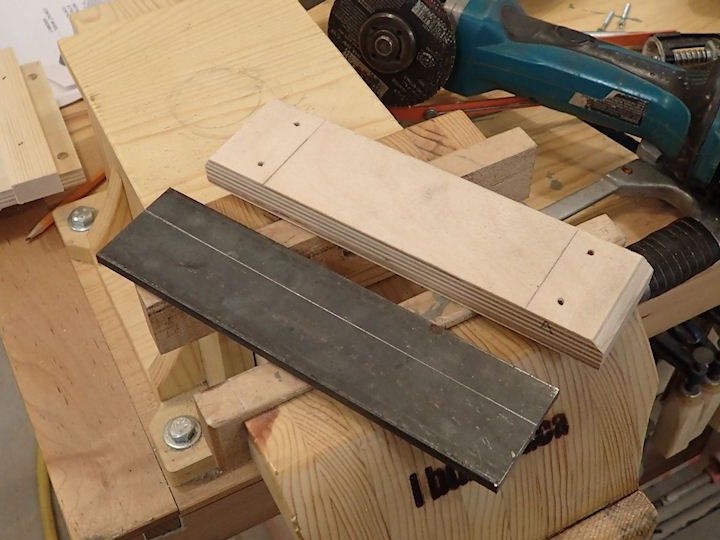
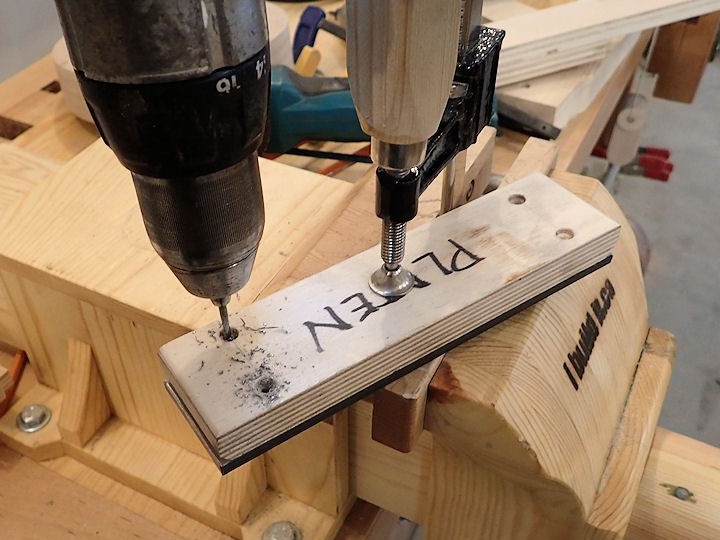
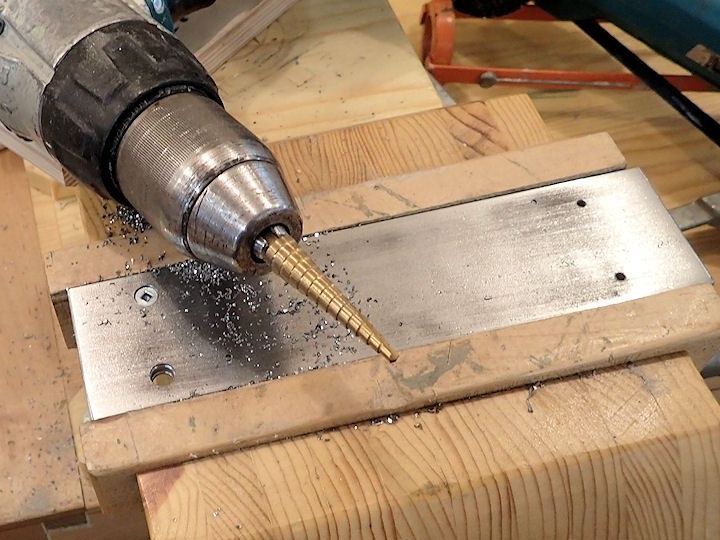
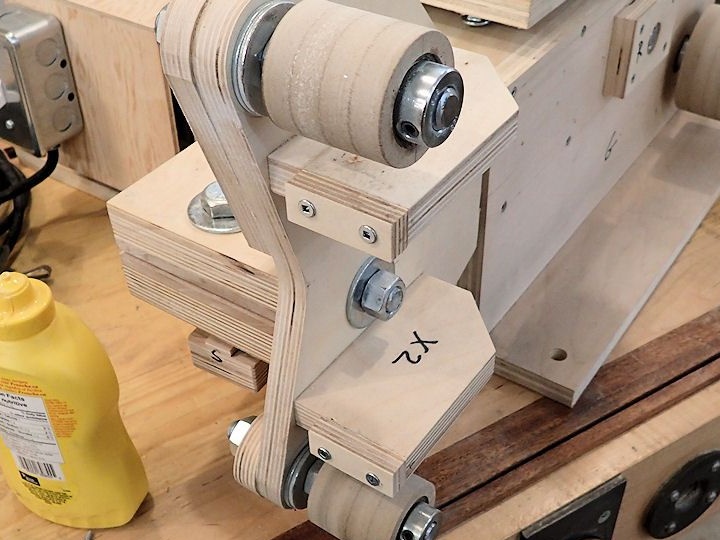
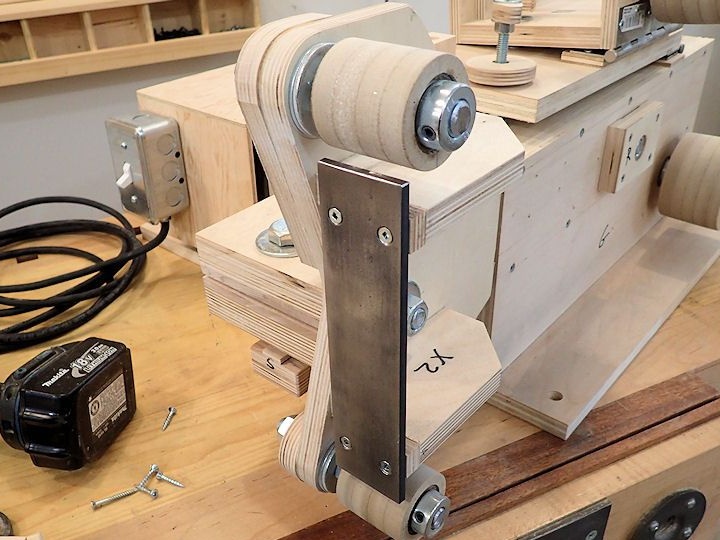
Step 12. Install the stop
So that you can lean on the grinding belt during operation, you will need to install a stop. The author makes it out of plywood, on which a thick steel plate is screwed. It must be fixed with countersunk screws so that they do not destroy the belt.
In principle, this machine is ready, install the grinding belt and adjust it so that it is clearly in the center of the wheels. After that, the car can be tested!
If everything is working properly, paint the machine or apply varnish. This is necessary not only for beauty, if the tree absorbs moisture, it will deform and will quickly become worthless. In addition, the machine settings can constantly be lost. That, in fact, is all. Good luck and take care!