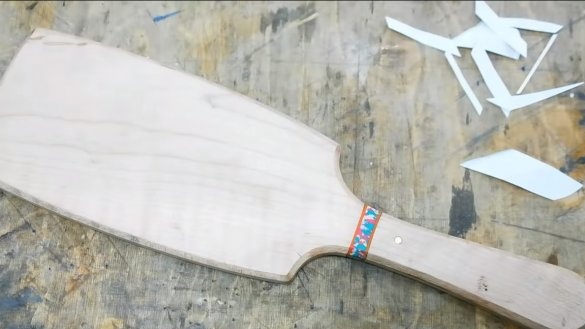
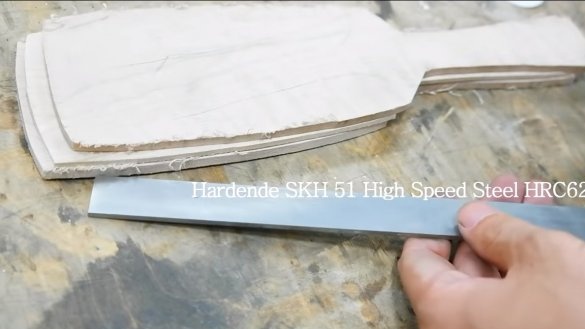
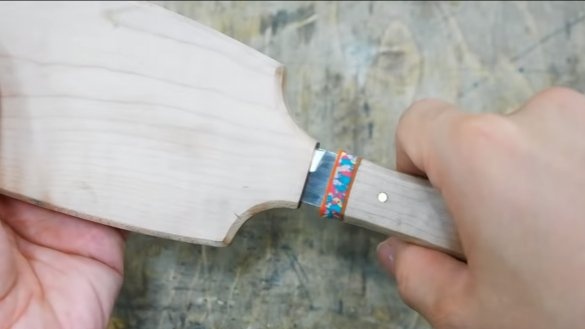
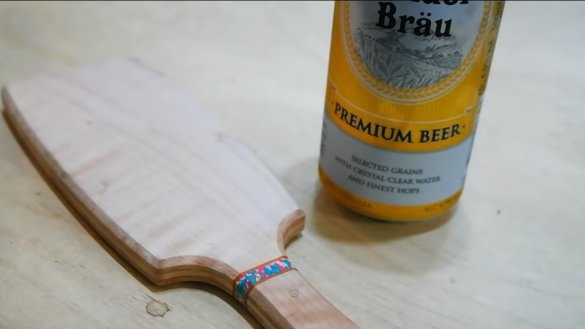
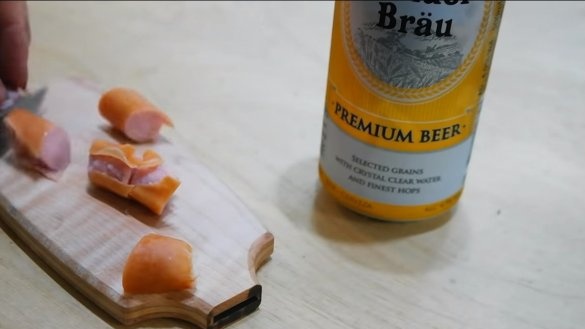
I welcome all fans to craft, today we will consider how to make a unique homemade for kitchen. It will be about a cutting board, which is also a sheath for a knife. The knife is so disguised that without a clear understanding it will not work to guess the secret of the cutting board. Such homemade work can surprise guests, and in everyday life the product is useful, the knife is always in place. The author made a blade of very strong steel, which has a hardness of 62HRC. Steel was used already hardened, brand SKH51. The project in the manufacture is not particularly complicated, if you are interested in home-made, I propose to study it in more detail!
Materials and tools used by the author:
Material List:
- high-quality carbon steel for a blade;
- wooden boards;
- carpentry glue;
- ;
- epoxy adhesive;
- brass rods;
- oil for wood;
- paper, pencil, scissors.
Tool List:
- tape cutting machine;
- grinder;
- drill with carbide tip (can be on glass);
- drill;
- belt sander;
- orbital sander;
- polishing machine.
Homemade manufacturing process:
Step one. Blanks for the “sheath board”
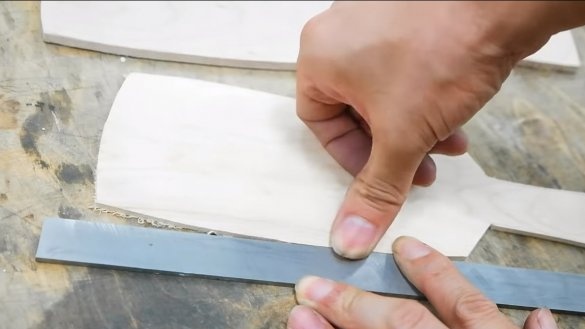
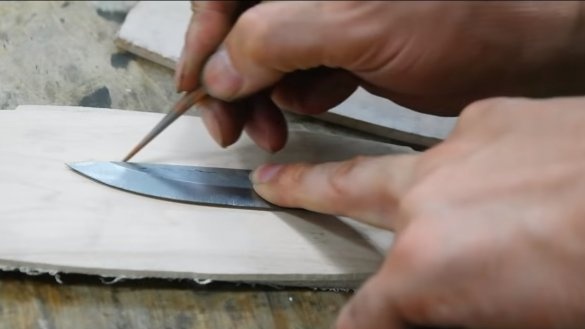
To begin with, we need to find a board in thickness as a blade, this will be the central part of the scabbard, in which we cut out a place for the blade. Well, you also need boards for the outer parts, here you can already use dense wood with a beautiful texture.
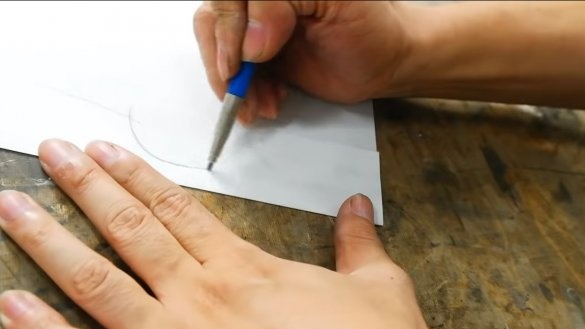
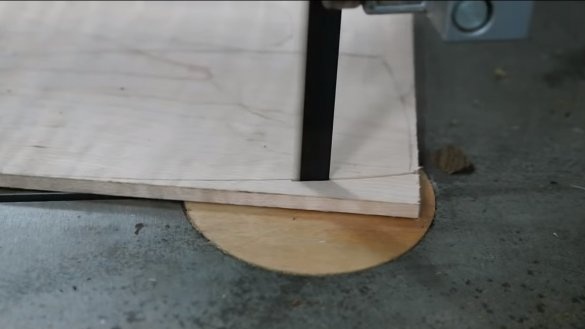
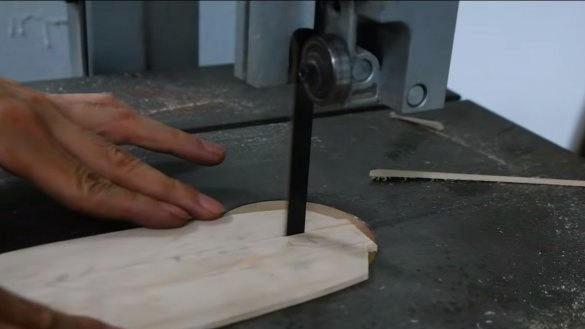
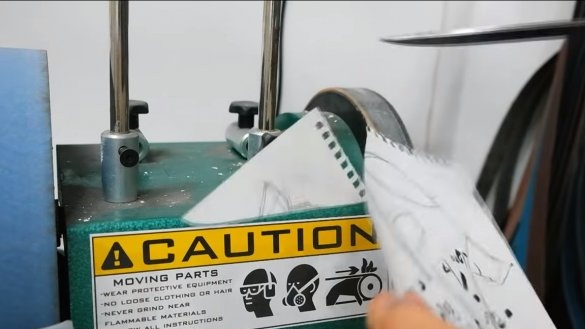
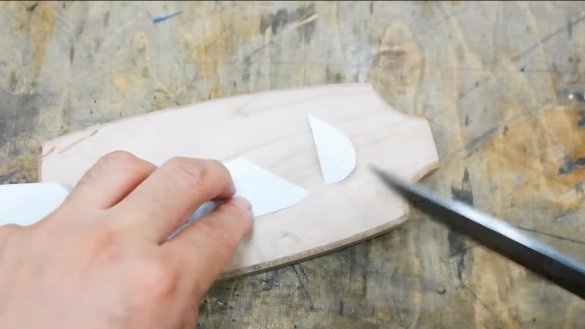
To do everything right, first we make a paper template. We cut three identical pieces of wood from a cutting board. An electric jigsaw, a tape cutting machine or another machine is suitable for cutting.
Step Two Knife profile
We make a knife profile, the author used already hardened steel, which has a hardness of as much as 62HRC. Such a knife can be sharpened to a razor condition, and it will hold a sharpening for a long time. Suitable steel will be in the old Soviet file.
When working with already hardened steel, it is important not to overheat it, otherwise the tempering of the metal takes place and it becomes soft. The knife profile can be drawn directly on the metal, and a more correct solution is to make a template out of paper. If you are not sure whether the knife will be convenient, you can first make it out of cardboard, you can hold such a template in your hand and determine the convenience.
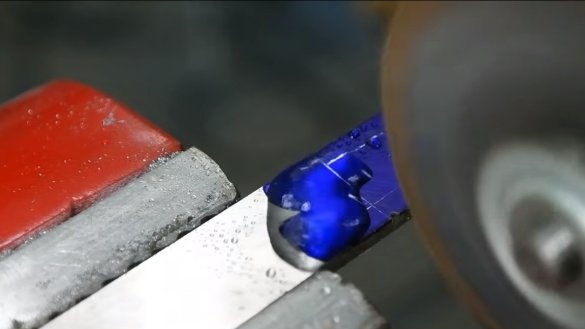
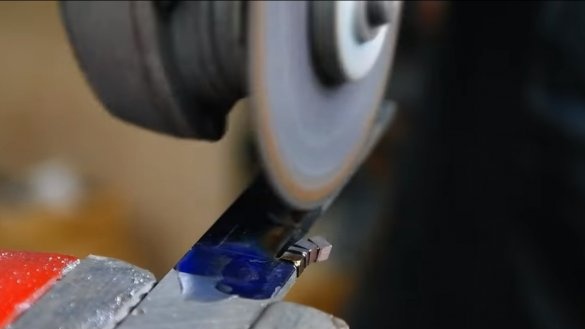
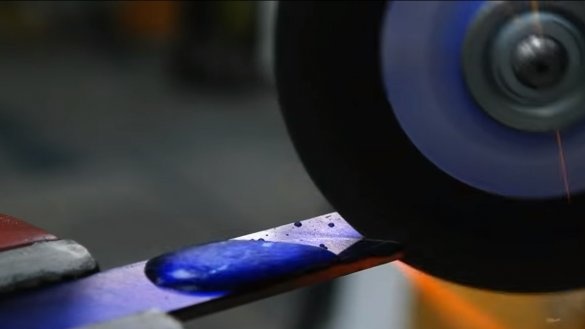
We start cutting, pour water on steel, so that you can monitor the heating.If the water boils, it means that the temperature in the cutting area is already high. We regularly water the cutting place, but do not forget about the safety when working with a power tool. It is best to cool steel from a spray gun.
Metal is best cut in pieces, so the cut is more even, and there is less chance of overheating the metal. After cutting, the author finalized the template using a belt sander. When grinding steel will also become very hot, this must be remembered. Especially it is impossible to overheat the area of the blade.
Step Three Slopes
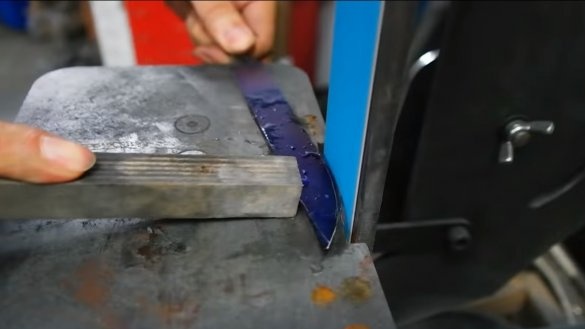
We make descents on the blade, to begin with, mark the future blade, the author drew two lines, the place between which will be the blade. Well, then gradually, slowly, we bring down the slopes with the help of a belt sander. Of course, in order for the descents to be symmetrical, you will need a special clamp that will hold the blade at the right angle. To make the treatment area more visible, usually the craftsmen paint over the steel with a marker or paint from a cylinder.
Step Four Board assembly
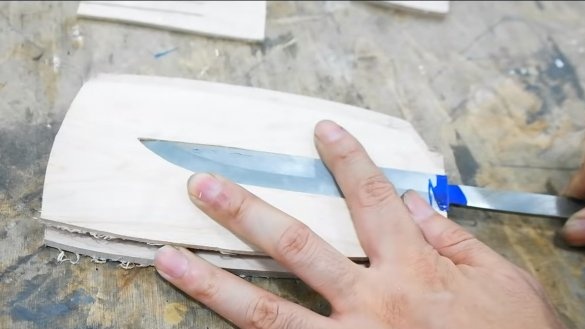
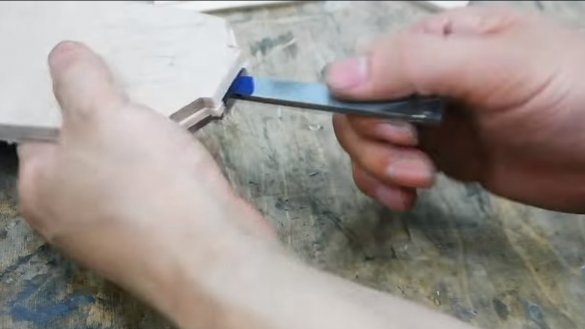
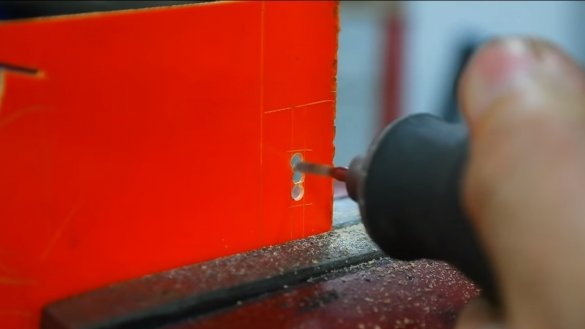
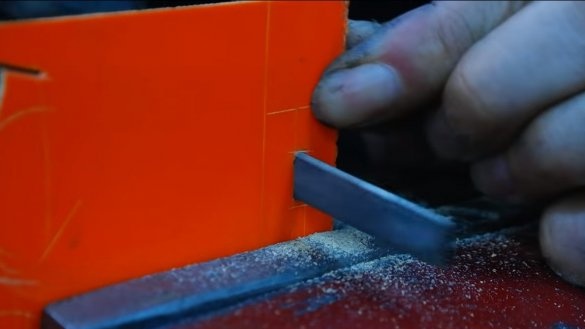
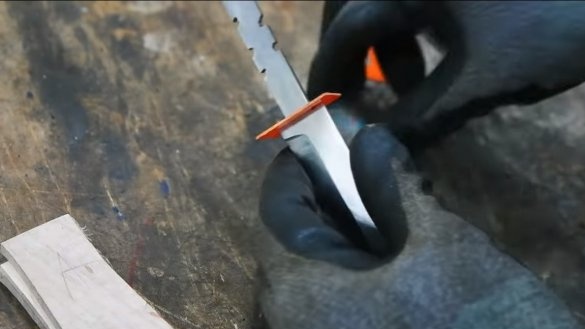
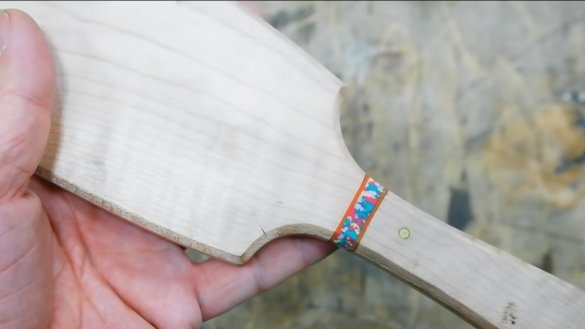
First, in the part that will be in the center of the board, we make a cutout in the shape of a blade. Well, then glue the board using carpentry or epoxy glue. For decorative purposes, as well as for additional reinforcement, brass pins or decorative nails can be hammered in a circle. We send the board under the press to dry.
Step Five Knife handle assembly
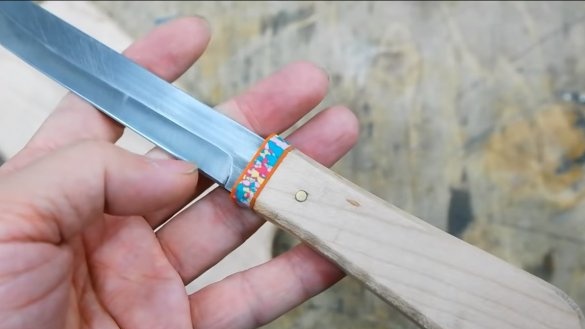
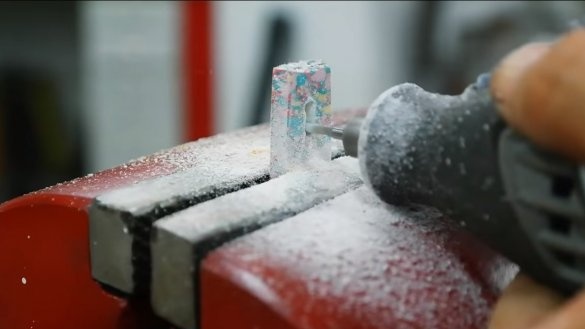
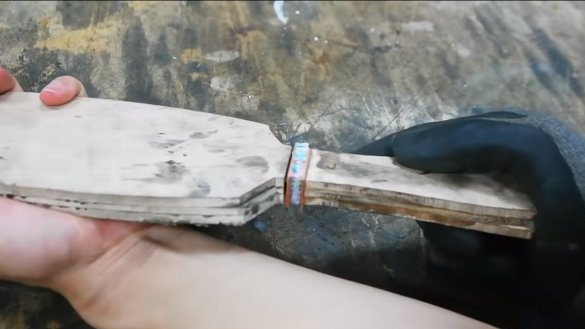
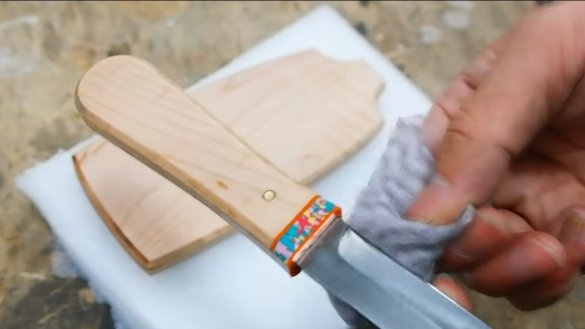
We assemble the handle of the knife, the handle from the board is used as overlays, it is not necessary to glue it. In addition, the author uses inserts as a decor, and even these inserts hide the junction of the handle with the board.
Pads also hold brass pins, holes must be drilled under them. Note that the drill will not take such strong steel, you will need a special drill with a carbide tip, which is usually used to drill ceramics or glass. Having prepared all the details, glue the handle with epoxy glue and tighten with clamps.
Step Six Grinding
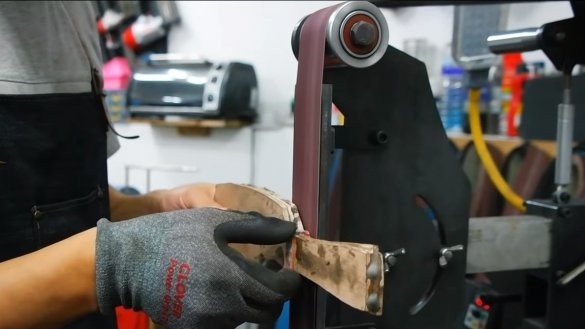
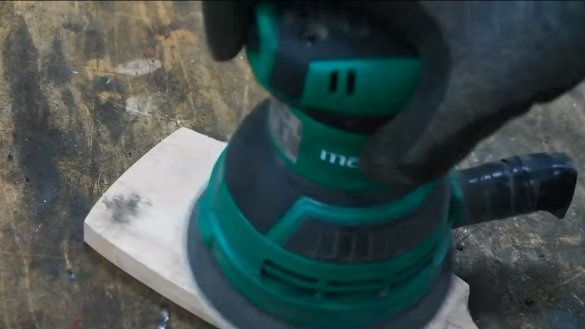
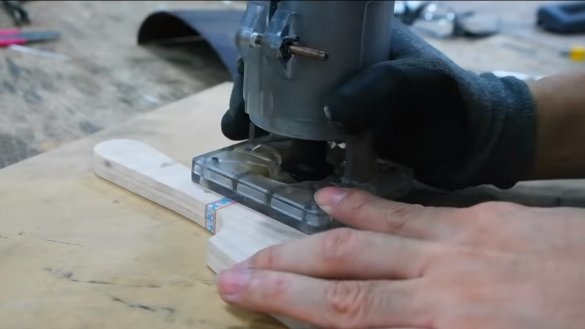
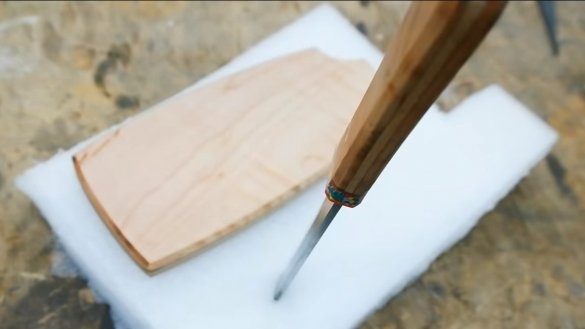
When the glue dries, insert the knife into the board and grind the whole product to make it look solid. We carry out rough work on a belt sander, as well as files and sandpaper. Well, then an orbital sander comes to the rescue, we finish the final grinding manually using fine sandpaper. When the tree is polished, we impregnate it with oil, it will protect the tree from water, and also emphasize its beauty.
Seventh step. Sharpening and testing
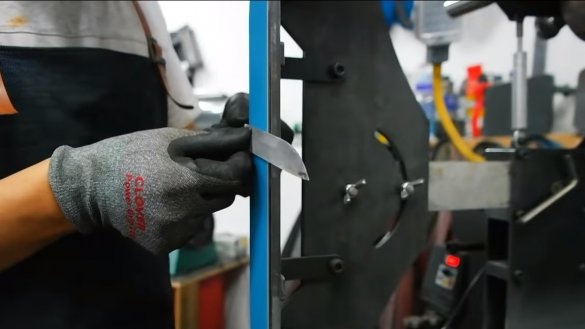
We carry out rough sharpening of the knife on a belt grinder, and in order to sharpen the knife to a razor state, the author used a polishing machine with paste. If there is no such machine, you can use Japanese water-grinding stones and machines based on them.
Since the steel is strong, the knife turned out to be very sharp, it easily cuts paper, thinly cuts tomatoes, and such a knife will shave hair without any problems.
Homemade turned out useful and convenient, I hope you also liked the project. Good luck and creative inspiration, if you decide to repeat this. Do not forget to share your ideas and homemade things with us!

