“When it comes to heating a room or house in the midst of winter, who are we to argue with Canadian lumberjacks?”
These are the words posted on the website of one of the manufacturers of the Burelyan furnace. Developed by Eric Darnell in 1975 in Vermont, this stove quickly gained popularity among American and Canadian lumberjacks. Over time, Eric founded the company and entered the European market.

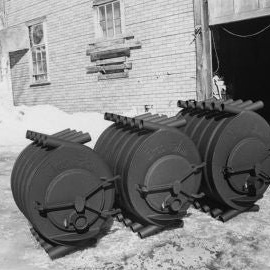
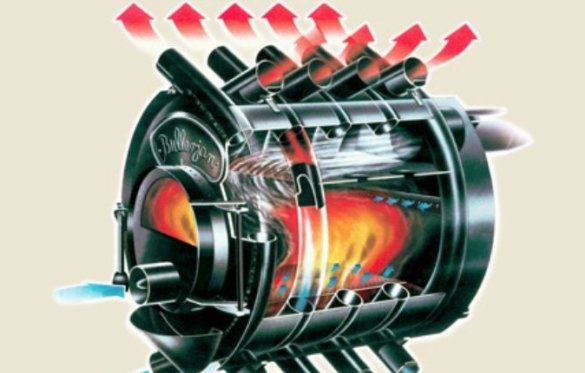
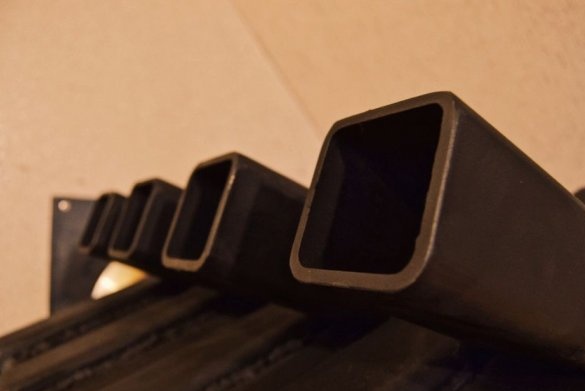
The popularity of this stove in its original design. Pipes are welded along the furnace circuit of the furnace, in fact, the pipes are the furnace. One end of the pipe looks up, the other down. When fuel burns in the furnace, cold air is sucked in through the lower hole and, after heating, exits through the upper one. According to some manufacturers, the efficiency of such a furnace reaches 80%, and the air temperature in the upper part of the pipe, after 15 minutes of burning fuel in the furnace, reaches 100-120 ° C.
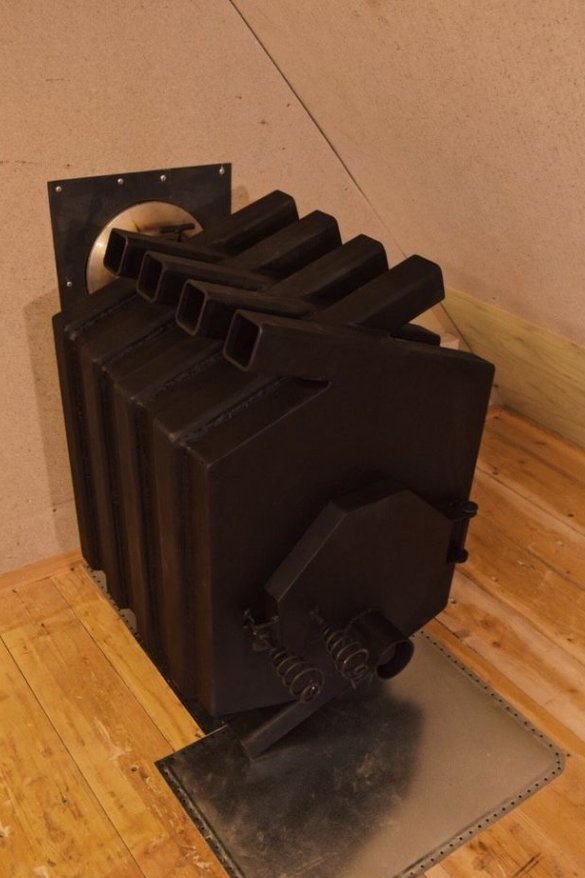
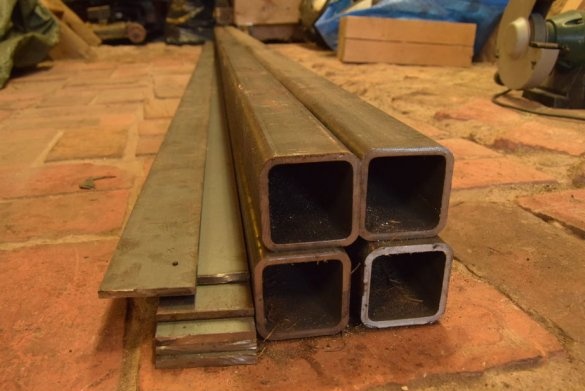
Typically, a furnace is made of a round pipe. Master, for his the garage, I decided to make a furnace from a profile pipe. Working with a profile pipe is simpler, it does not need to be bent, but only cut at a certain angle and welded.
The drawing with the dimensions of the furnace can be downloaded here.
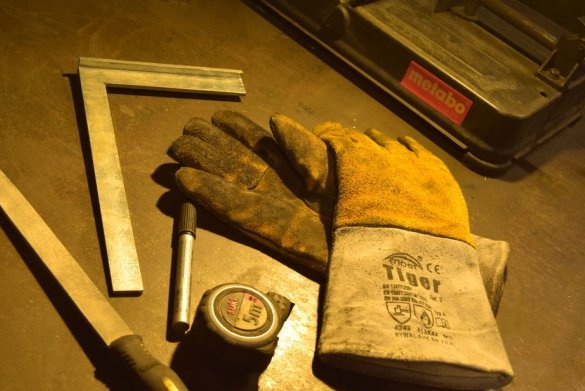
Tools and materials:
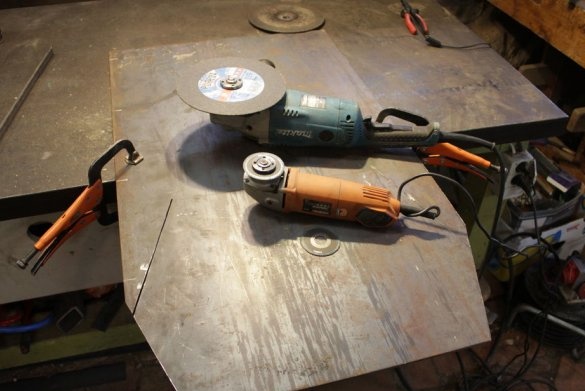
-Angle grinder;
- Jigsaw;
-Welding machine;
-Roulette;
-Marker;
-Hammer;
-Clips;
-Metal brush;
-Gon;
-Magnets;
Profile pipe 60X60 mm;
-Sheet metal;
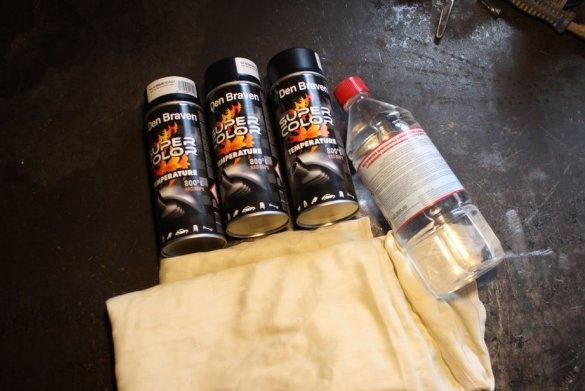
- Aerosol heat-resistant paint;
-White Spirit;
-Metal core;
-Washers;
-Springs;
- Damper 70 mm;
Step One: Cutting
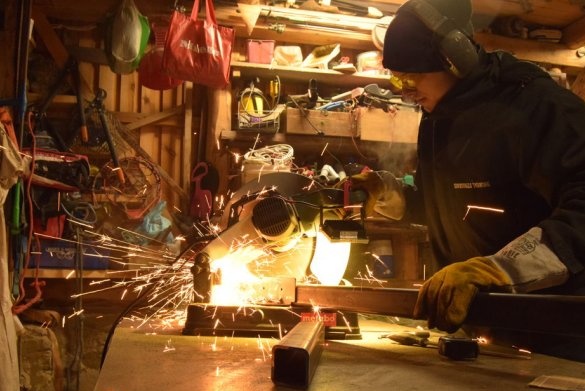
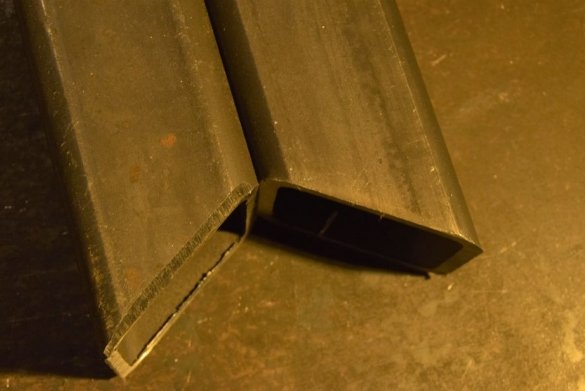
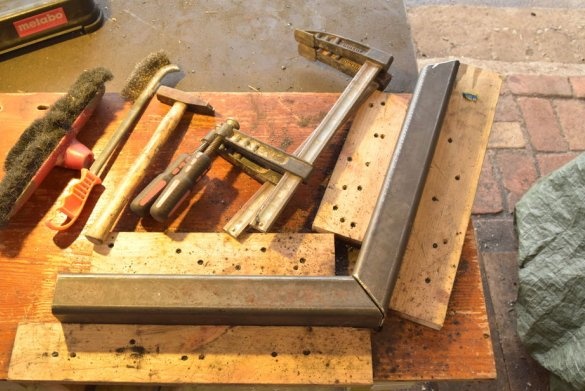
First, the master, at an angle of 45 degrees, cuts the profile pipe into blanks.
Step Two: Welding
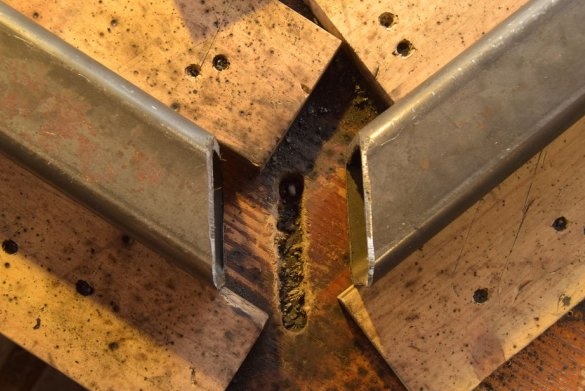
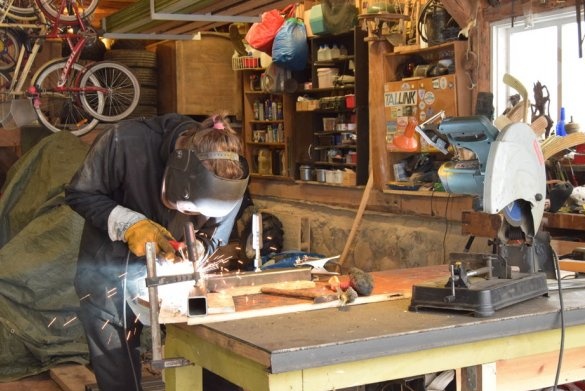
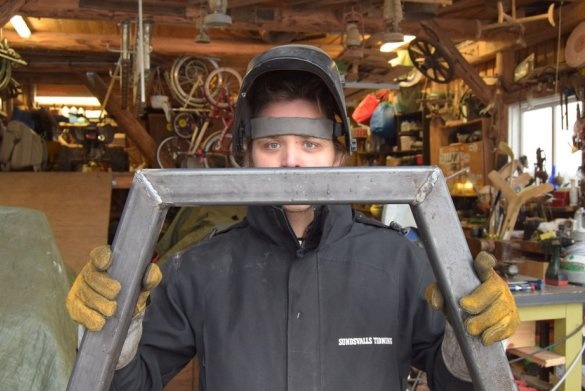
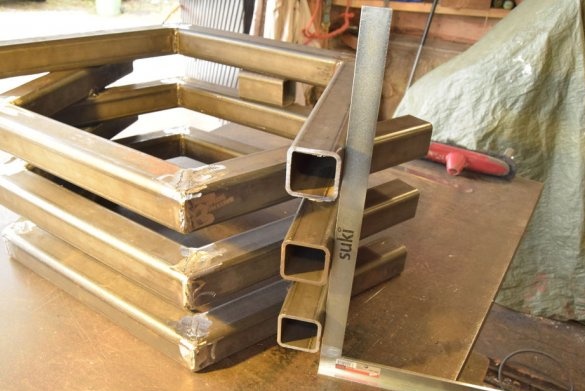
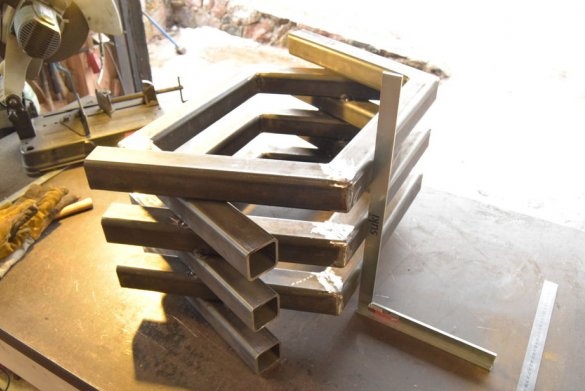
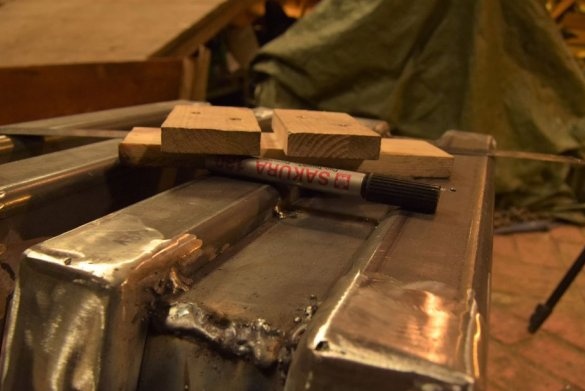
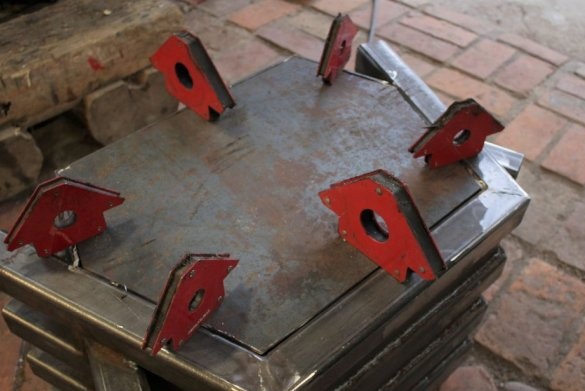
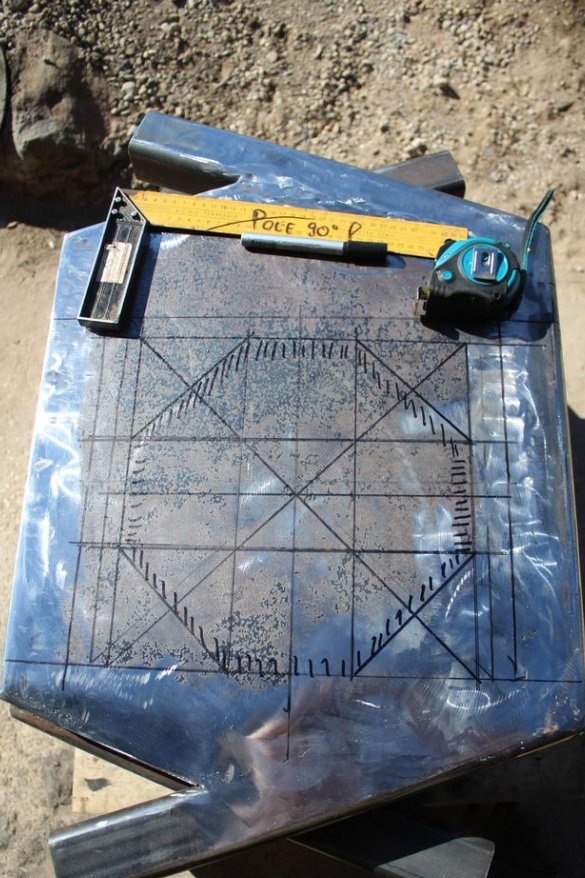
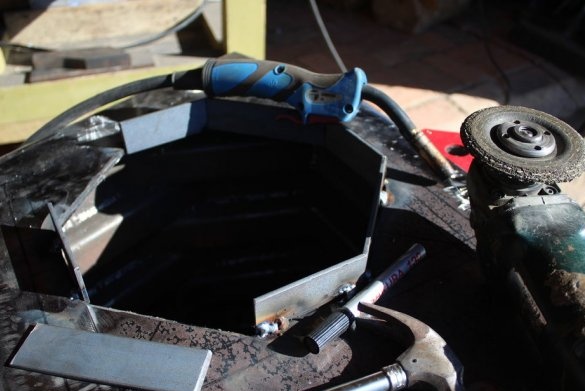
First, the master made a template, and then welded sections from the blanks. After welding, it cleans welds.
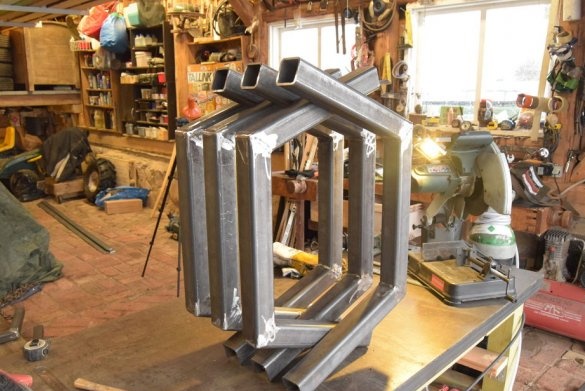
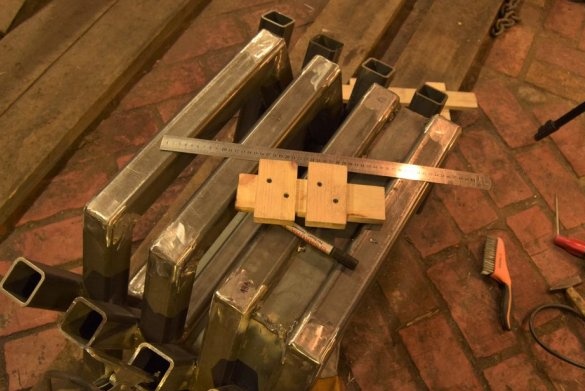
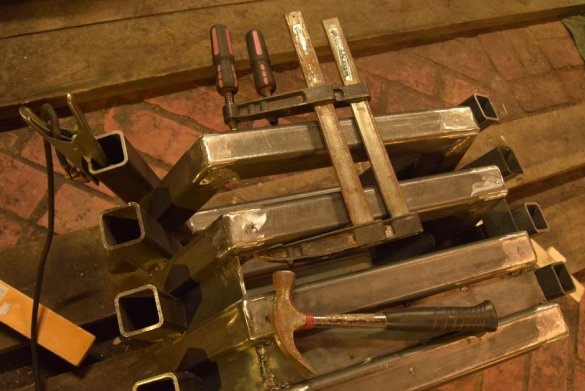
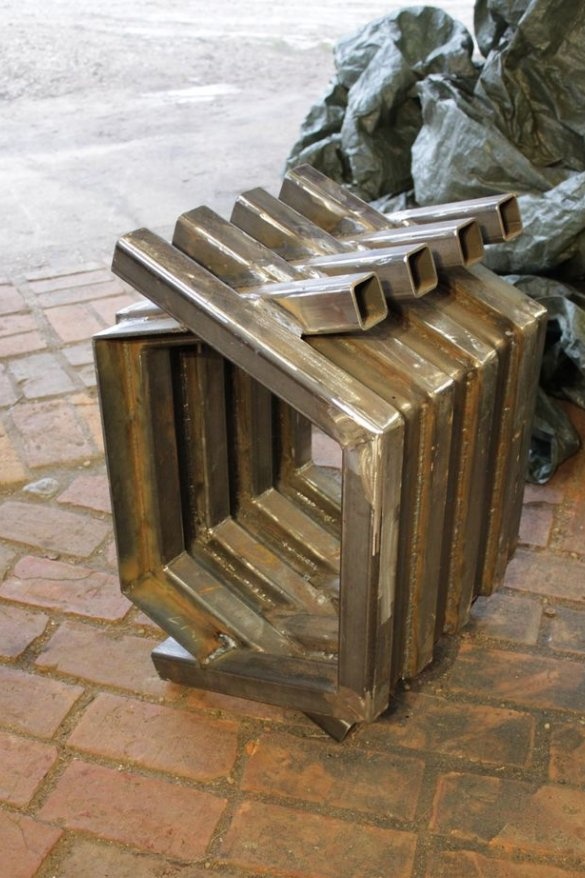
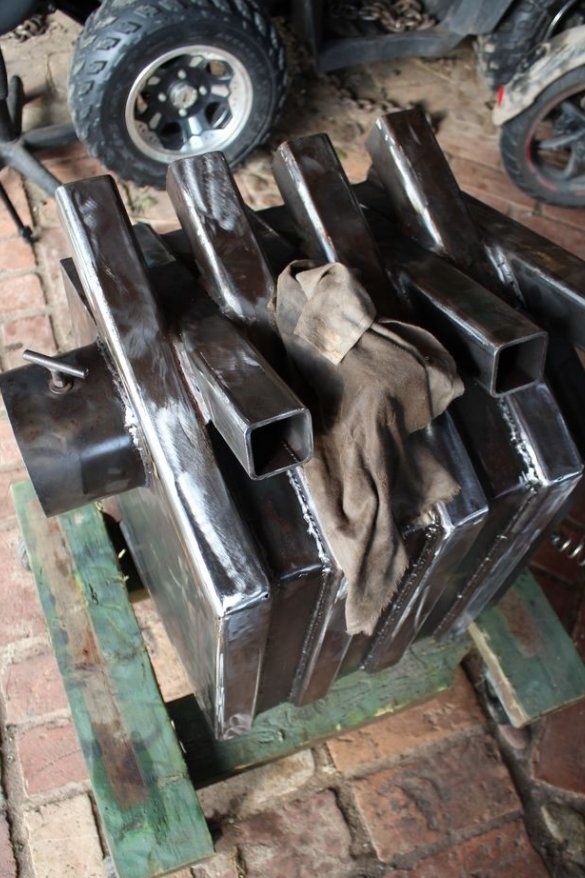
Now the sections need to be welded together. Sections alternate, if on one section of the pipe the open side is looking in one direction, then on the other section in the opposite. In total, 4 sections need to be welded on each side. Then a metal strip is welded between the sections.
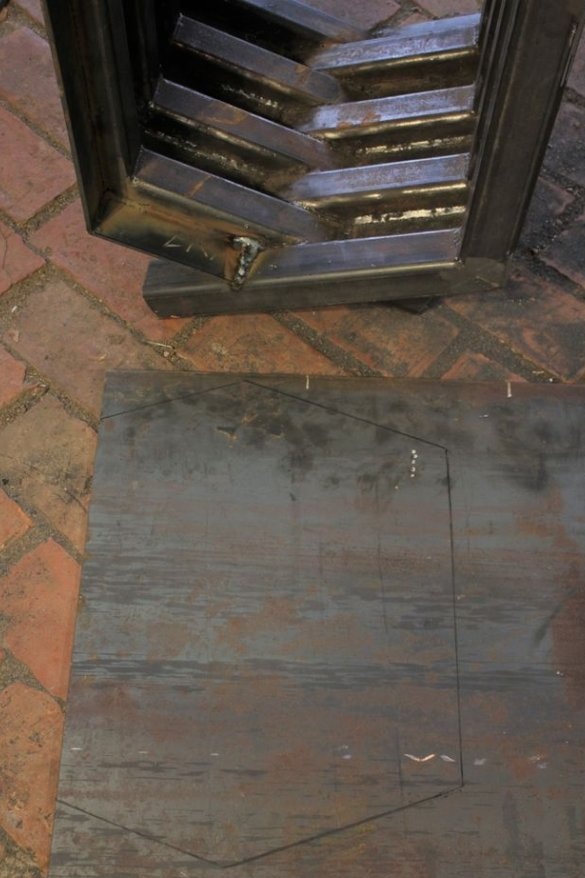
Step Three: Back
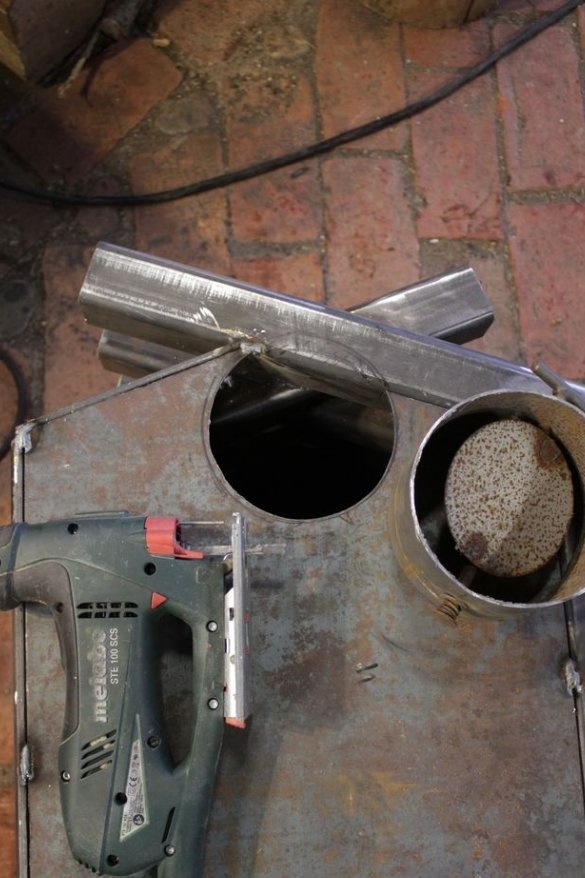
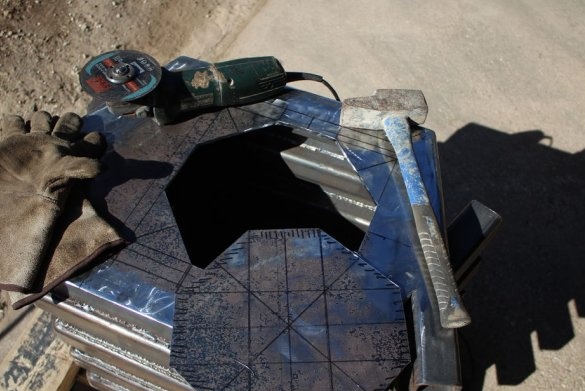
Now you need to cut and weld the back wall. In the wall, the master cuts a hole and welds a chimney with a diameter of 70 mm.
Step Four: Upper Section
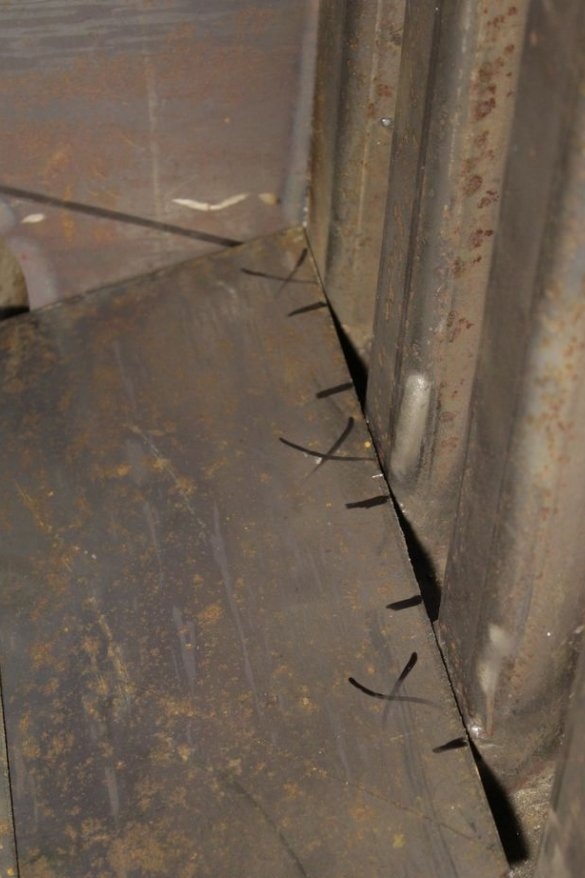
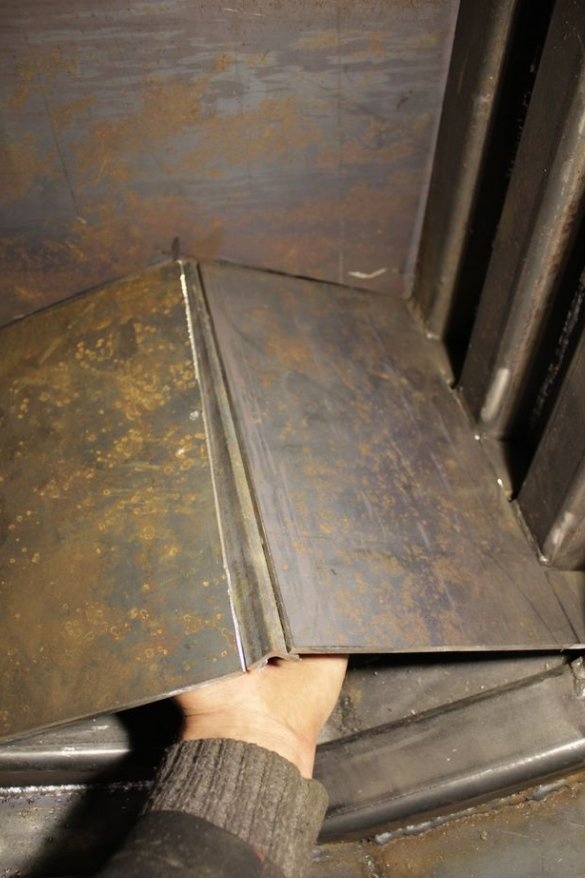
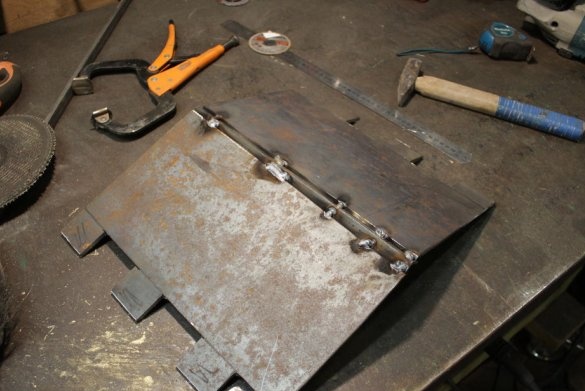
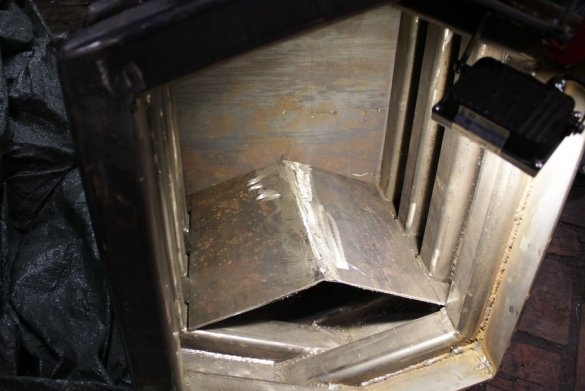
In order that the flame does not fall directly into the chimney, the master welds a chipper from metal. Cut and weld two metal sheets. Welds them under the chimney.
Step Five: Airflow
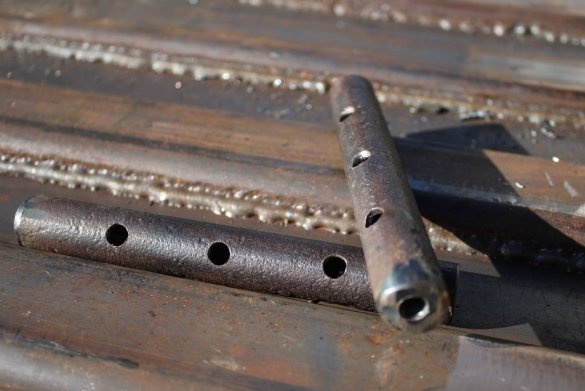
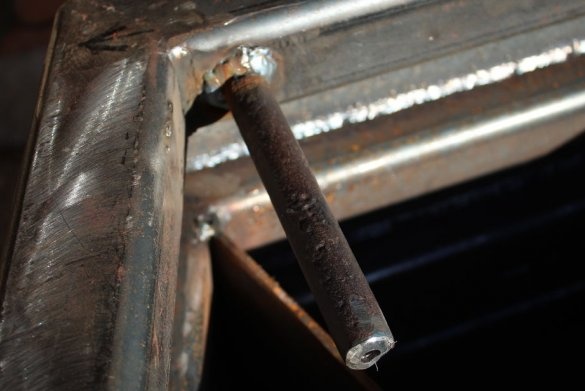
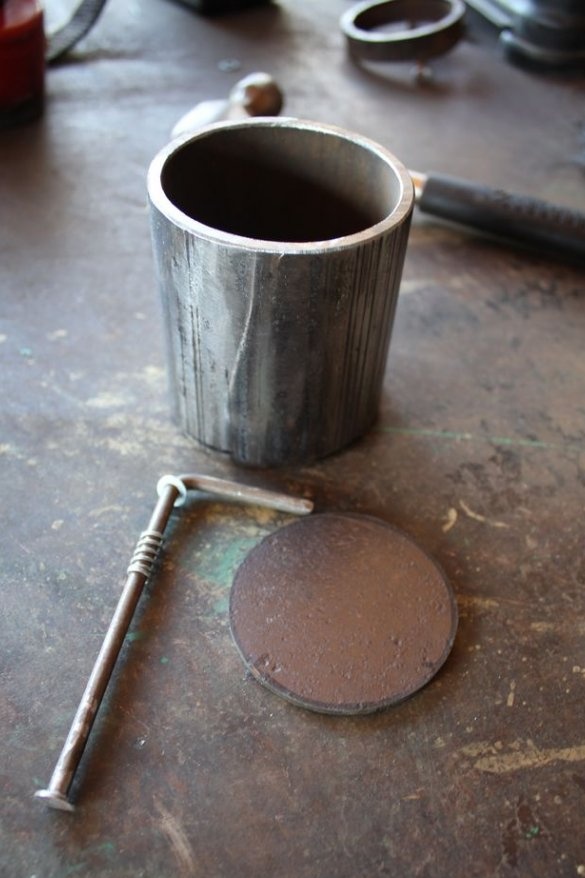
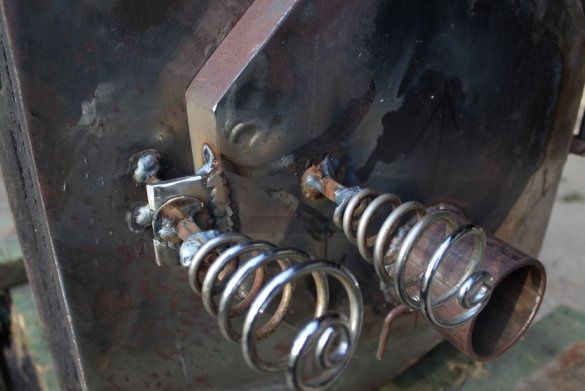
This is what the master copied from the original Bullerjan that he had.These are two round tubes with three holes on the side and at the end. These pipes provide fresh air through the first two square pipes.
The master explains their purpose as follows: as soon as the fire reaches a certain temperature, the main air intake is blocked, and the formation of wood gas begins. Then the main air intake will pass through these two tubes.
First you need to weld the washers at one end of the pipe. Then you need to drill holes. Three small holes on the side and one large in the furnace section (for each tube). Next is welding. The openings on the side of the pipe should be directed in the direction in which the smoke will go.
Step Six: Front
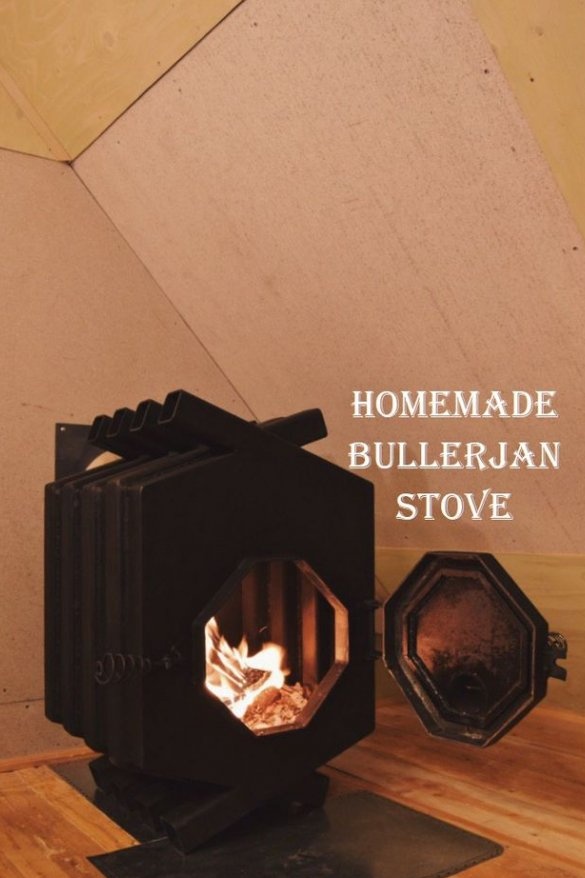
Similarly, the back plate welds the front plate. Then marks and cuts out the doorway. Around the opening welds a strip.
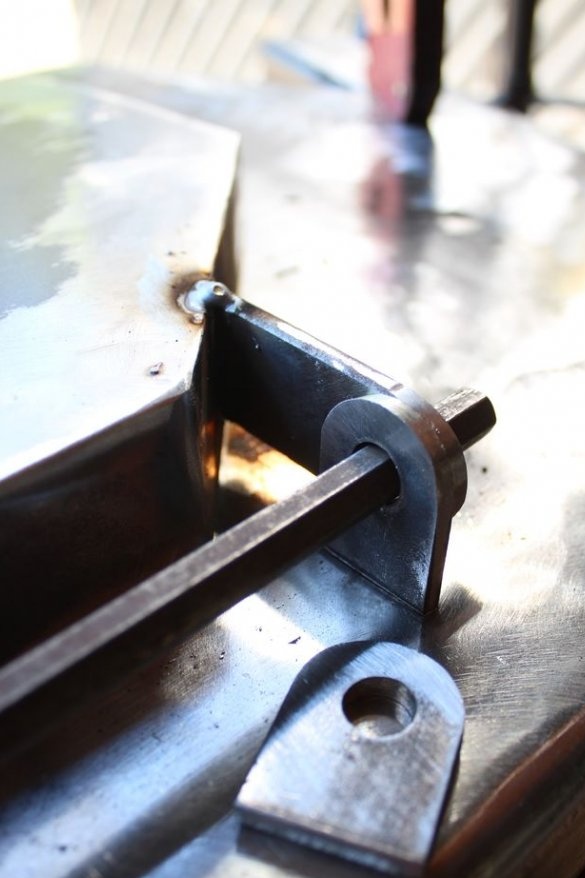
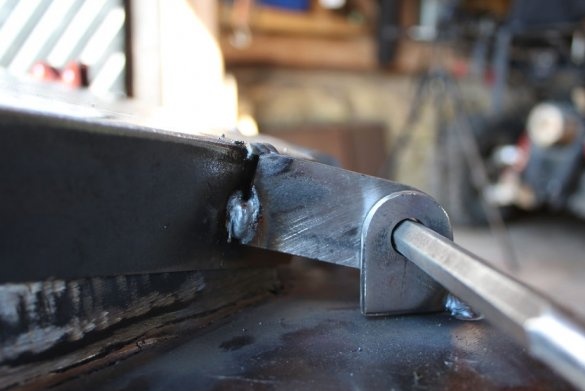
Makes door and hinges. Welds the hinges and sets the door.
Seventh step: air duct
From the pipe makes an air intake. Inside it installs a valve. Welds the air intake at the bottom of the door.
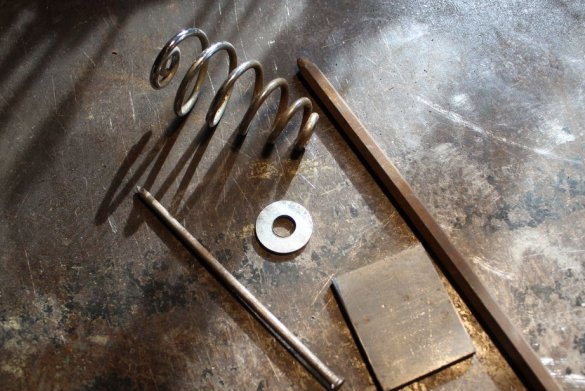
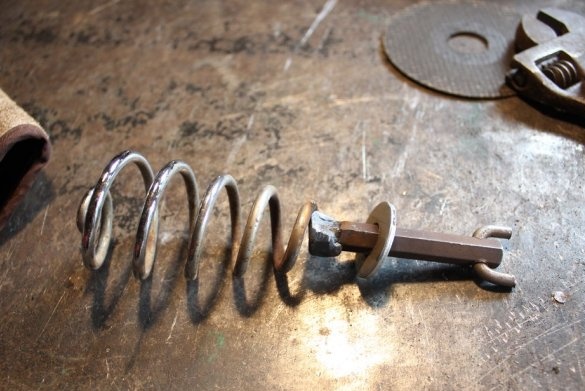
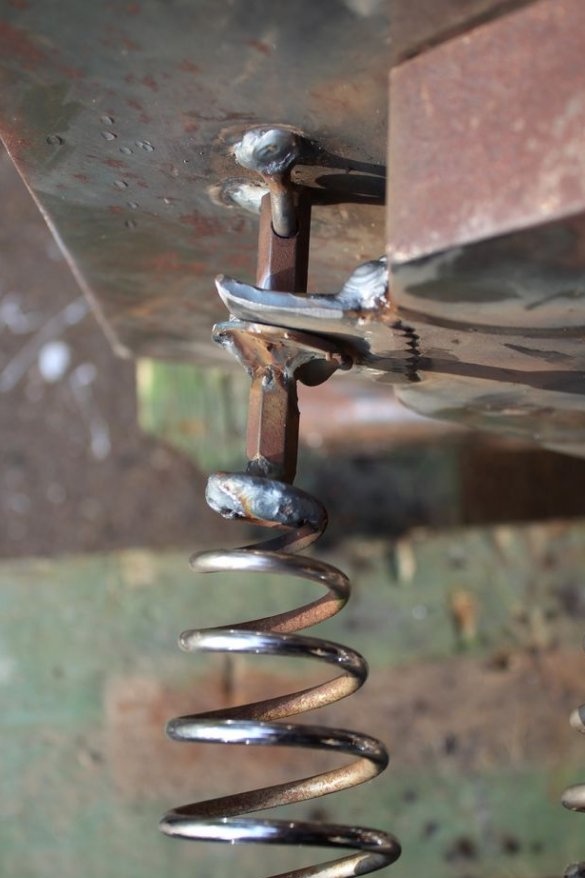
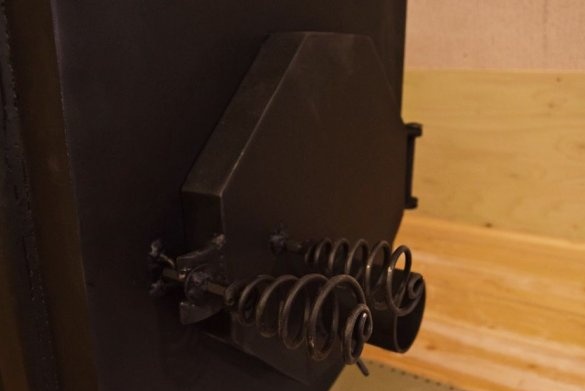
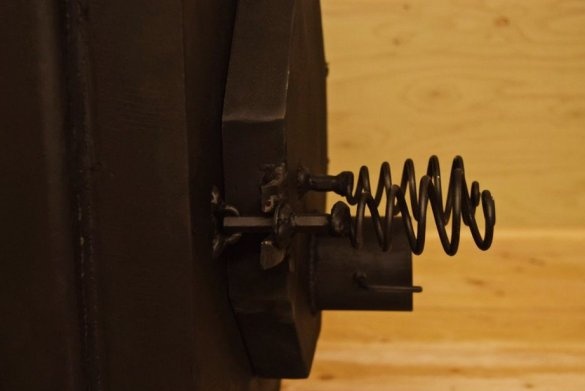
On the inside of the door, a gasket from the profile pipe is welded. Welds the handle and gate valve from the spring to the door.
Step Eight: Painting
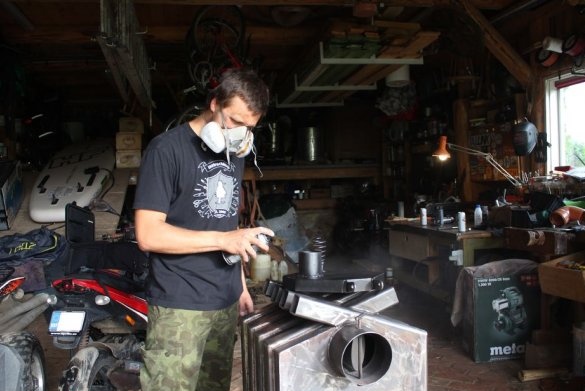
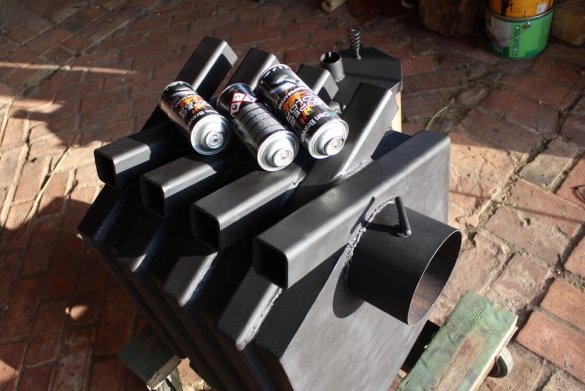
The last step is to paint the heater. Of course, this is not necessary, but it gives the stove a pleasant look. The master decided to paint his Bullerjan in matt black. Since the furnace heats up very much, you need a paint that can withstand such temperatures. Before painting, it is also important to clean the oven with a degreaser to get rid of dirt and oil.
Step Nine: Security
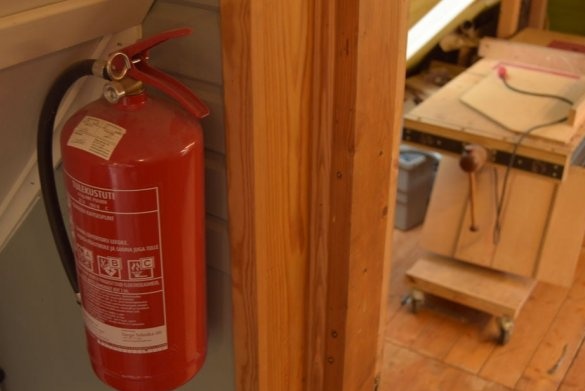
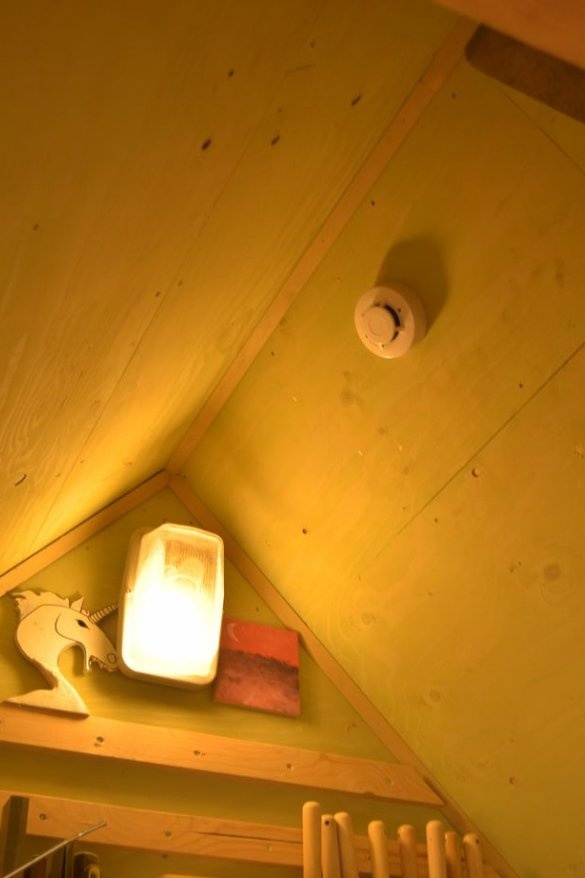
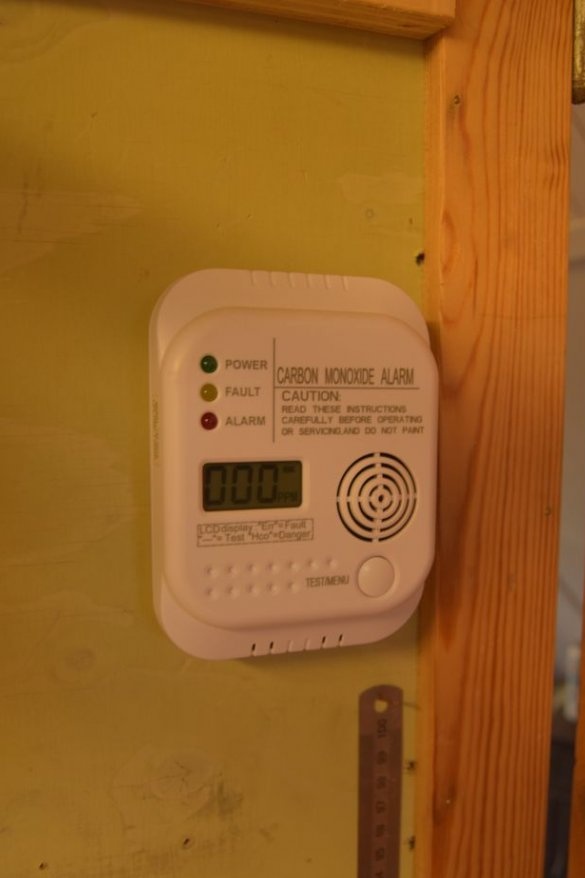
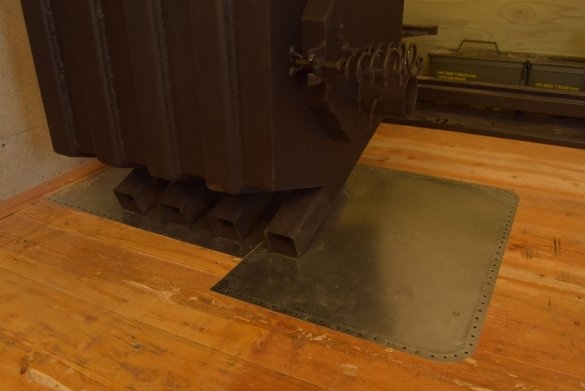
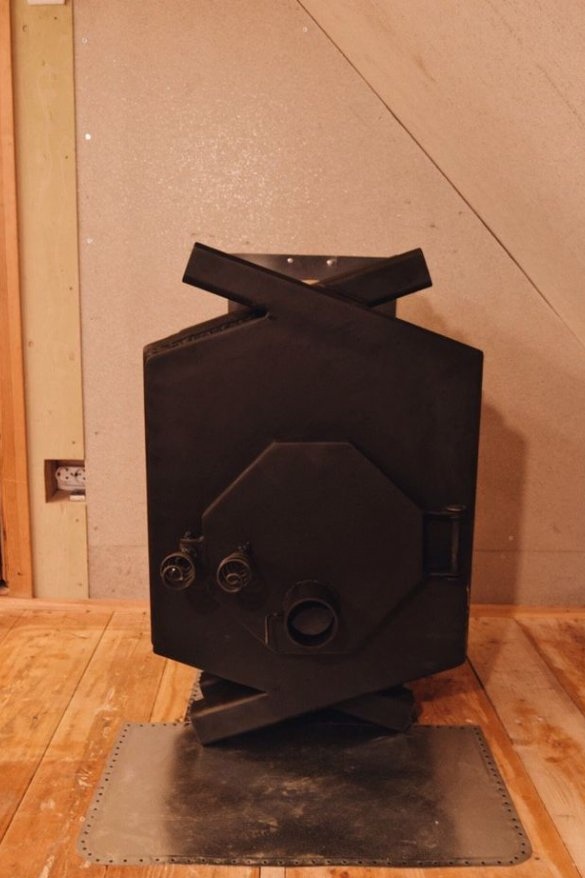
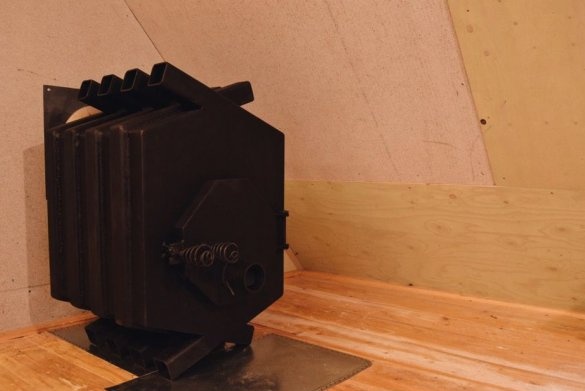
When operating the furnace, the master took care of safety. First, he installed the furnace on a metal sheet, and covered the walls around it with refractory material. Secondly, he got a fire extinguisher and installed a fire detector and a carbon monoxide detector.
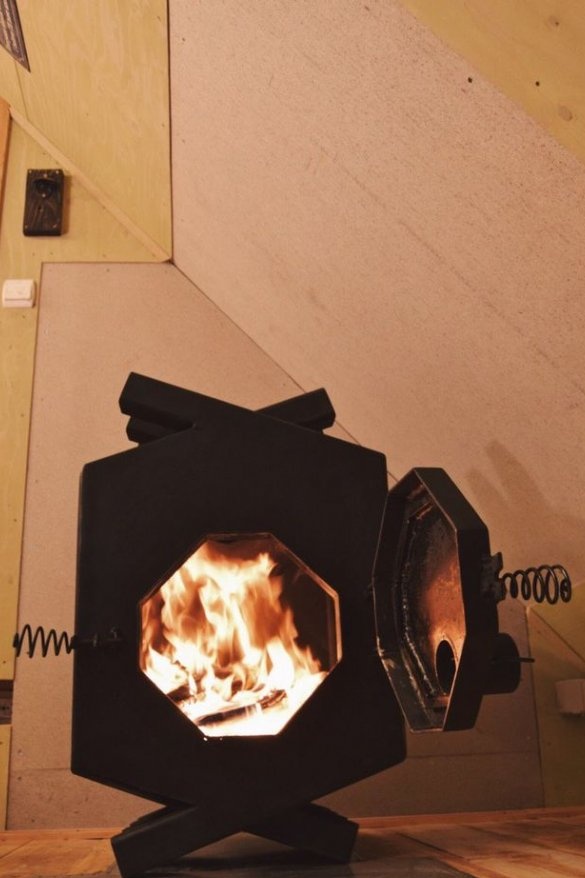
The furnace is ready and the master is pleased with its work.
The whole process of making the furnace can be seen in the video.

