
Some of you have your own workshops, or garages. But you all know that there is absolutely not enough space in them.
In this article, the author of the Jackman Works YouTube channel will tell you how he made a simple hanging mezzanine from planks and plywood.
This homemade product is very easy to manufacture, and is done in literally an hour.
Materials
- Boards
- sheet plywood
- Wood screws.
Instruments, used by the author.
—
—
—
- Hand circular saw
—
- Chipping thread
- Square, tape measure, pencil.
Manufacturing process.
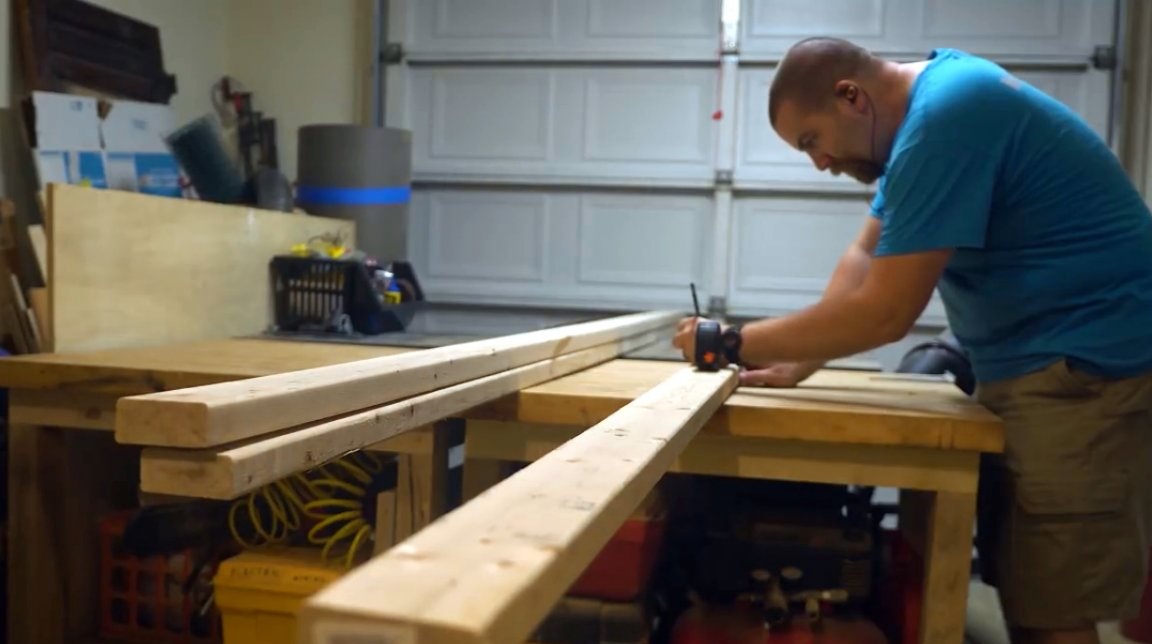
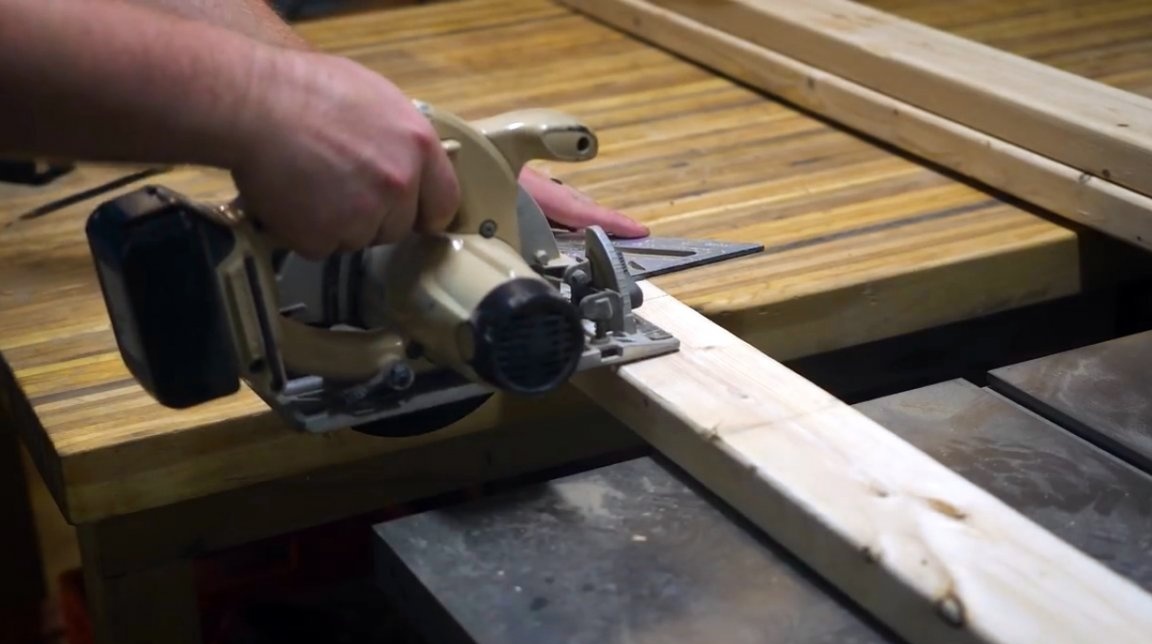
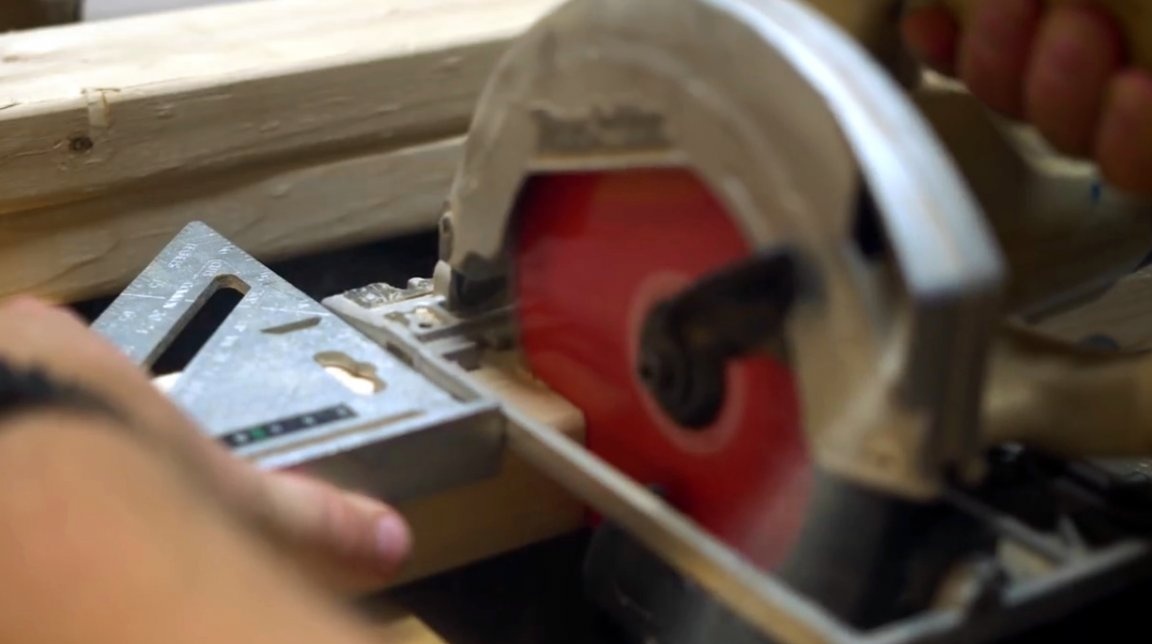
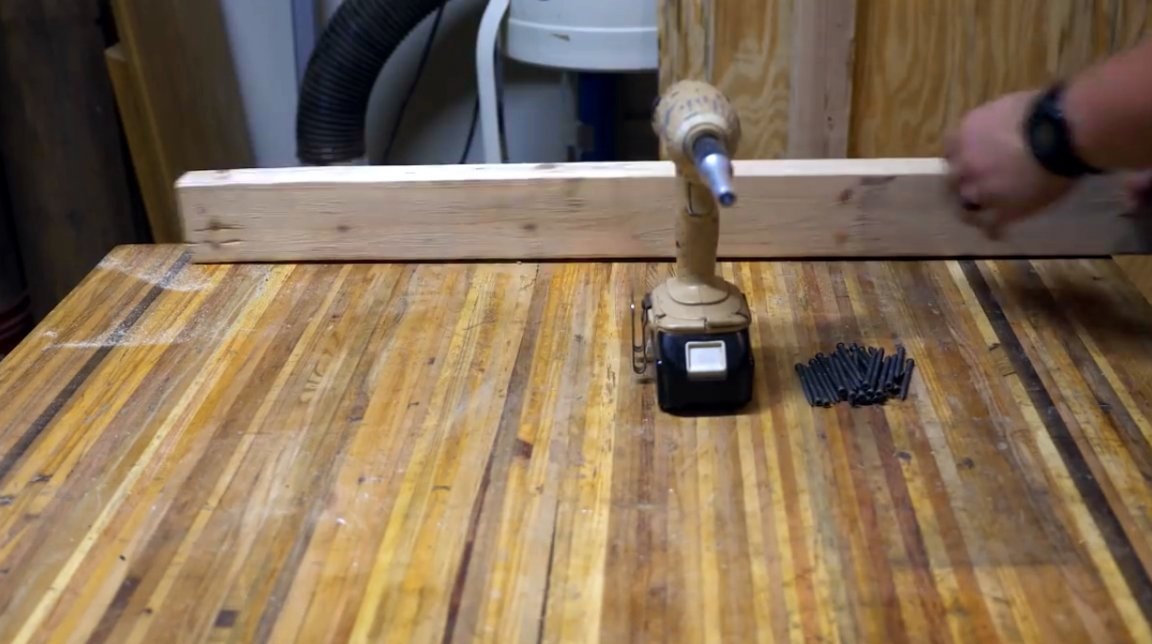
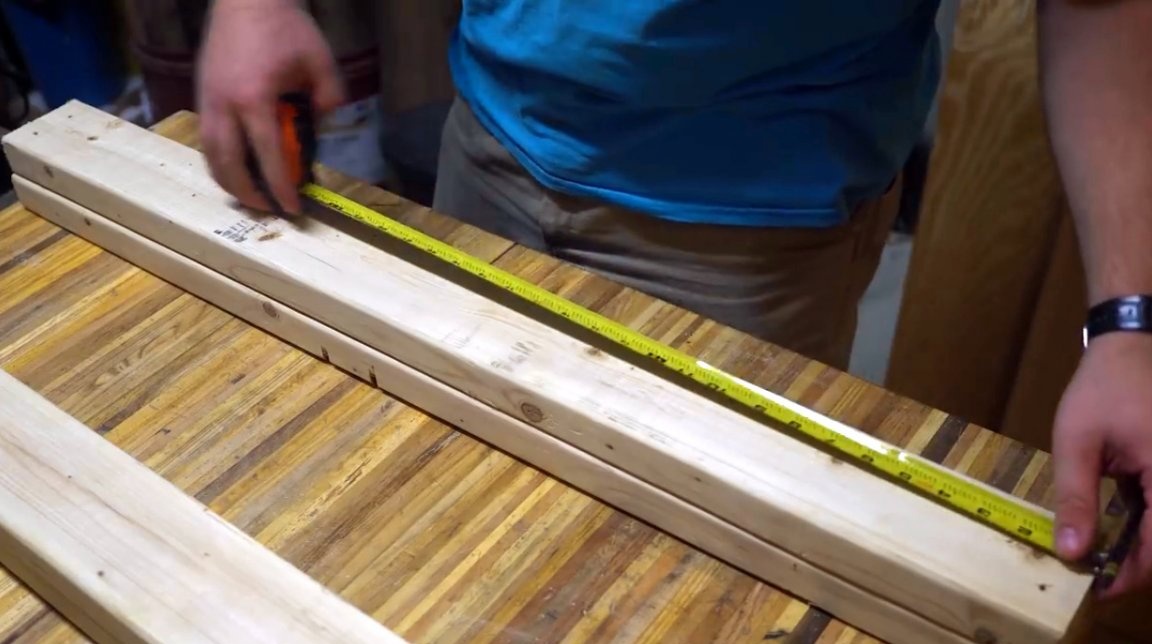
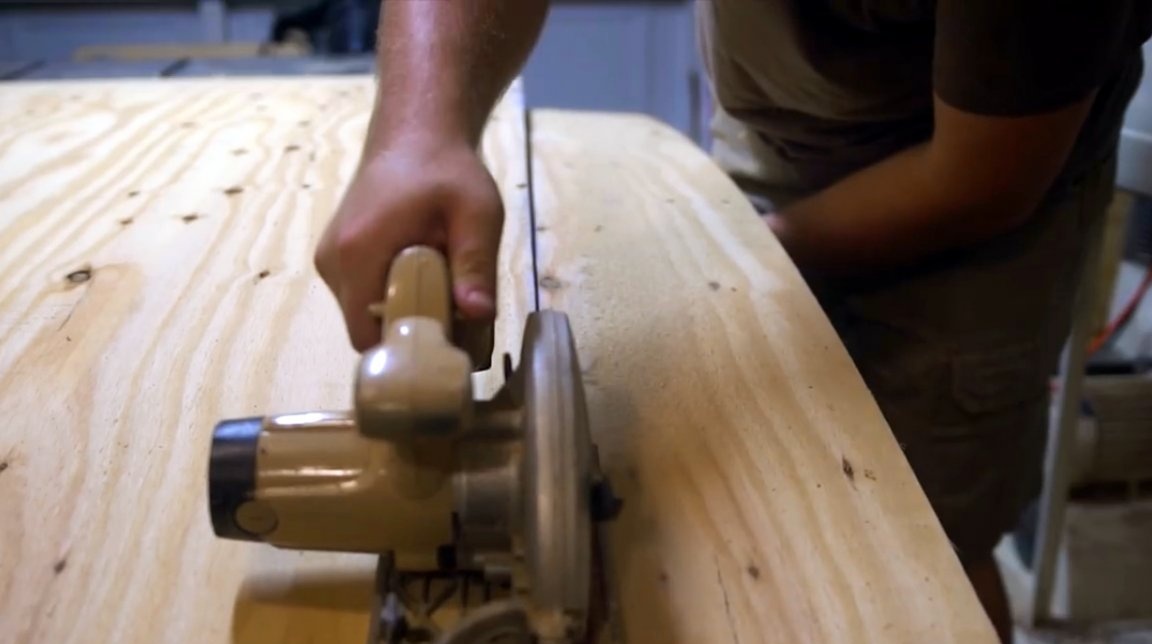
First of all, the master acquired the boards, and sawed them for the mezzanine frame using a hand-held circular saw and a square. Of course, you can use an electric jigsaw or a hacksaw.

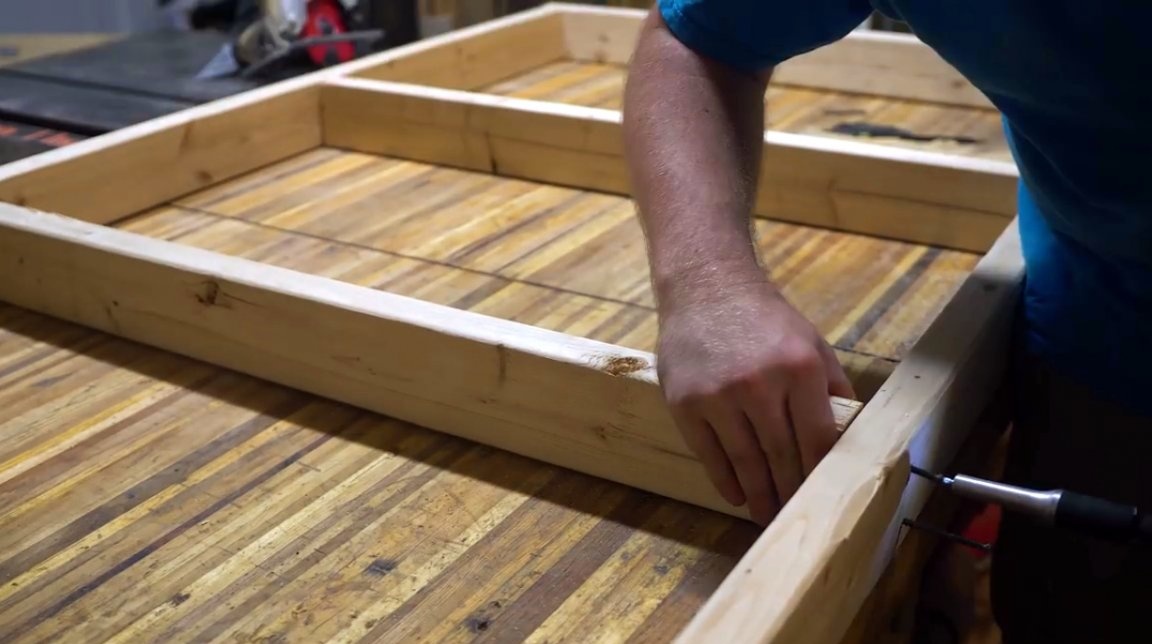
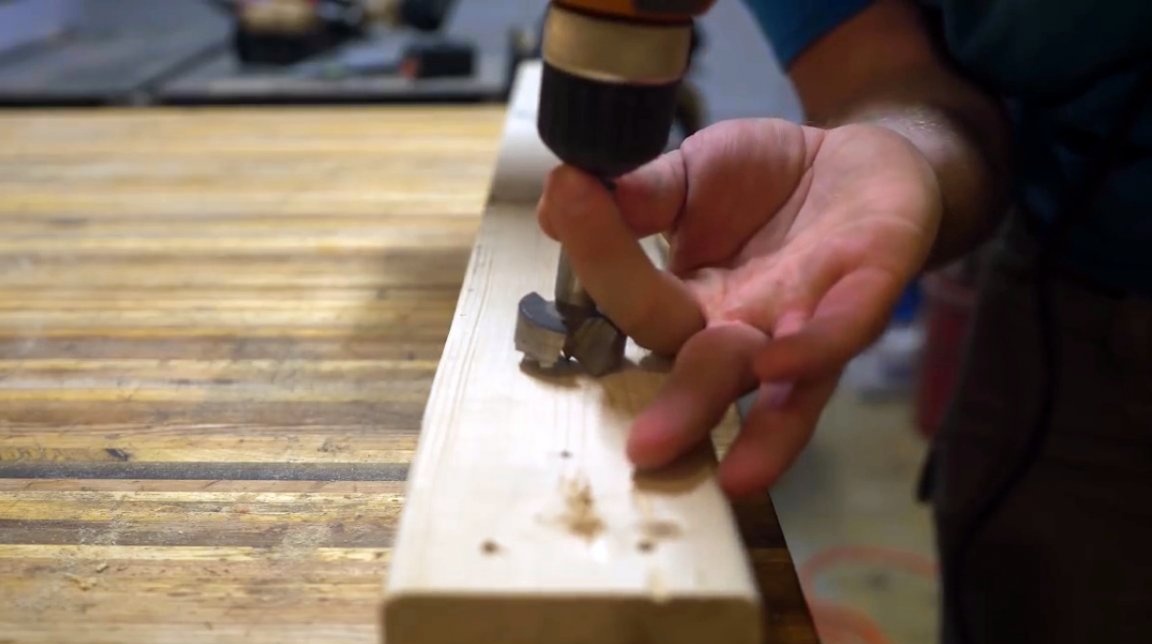
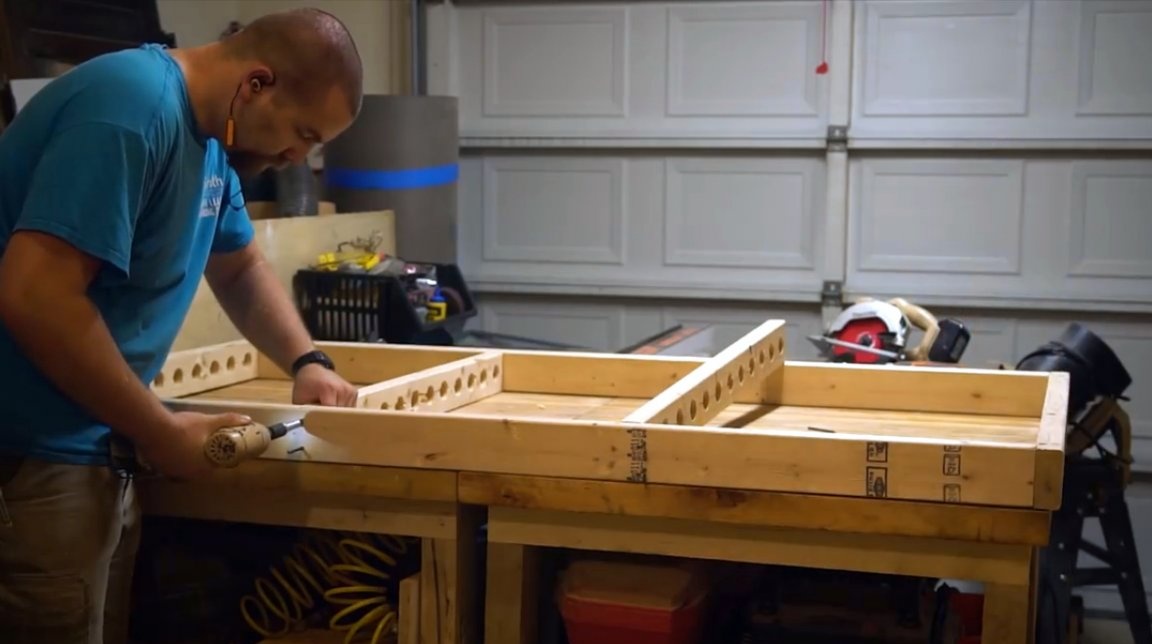
At the edges of two planks, he drills a pair of pilot holes for connecting screws.
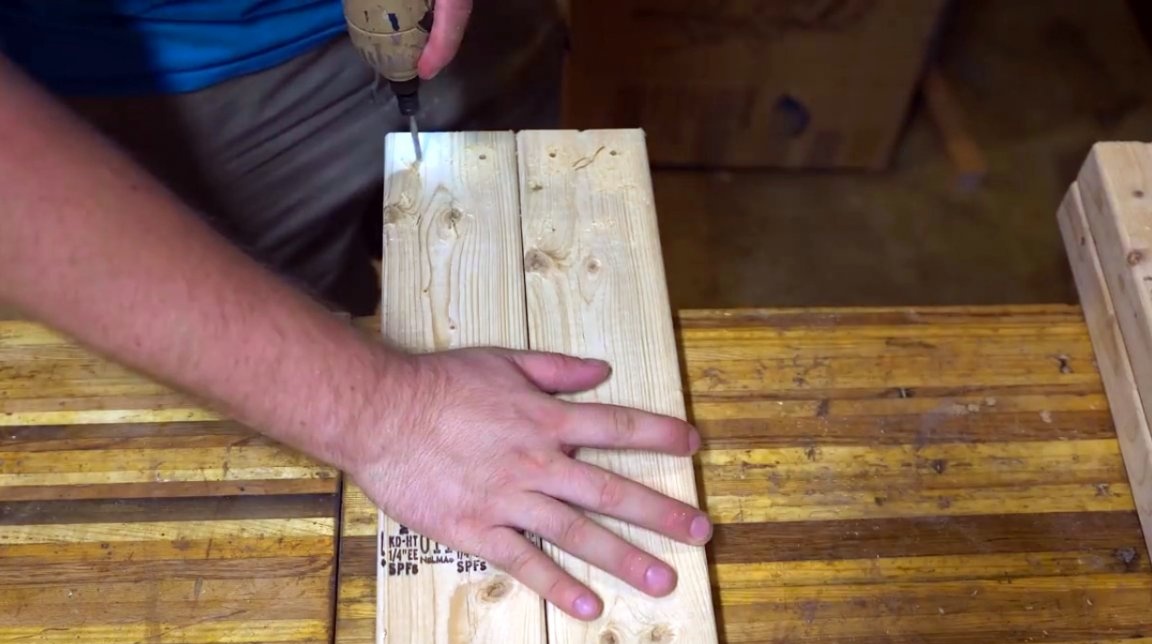
The author twisted the bars with self-tapping screws.
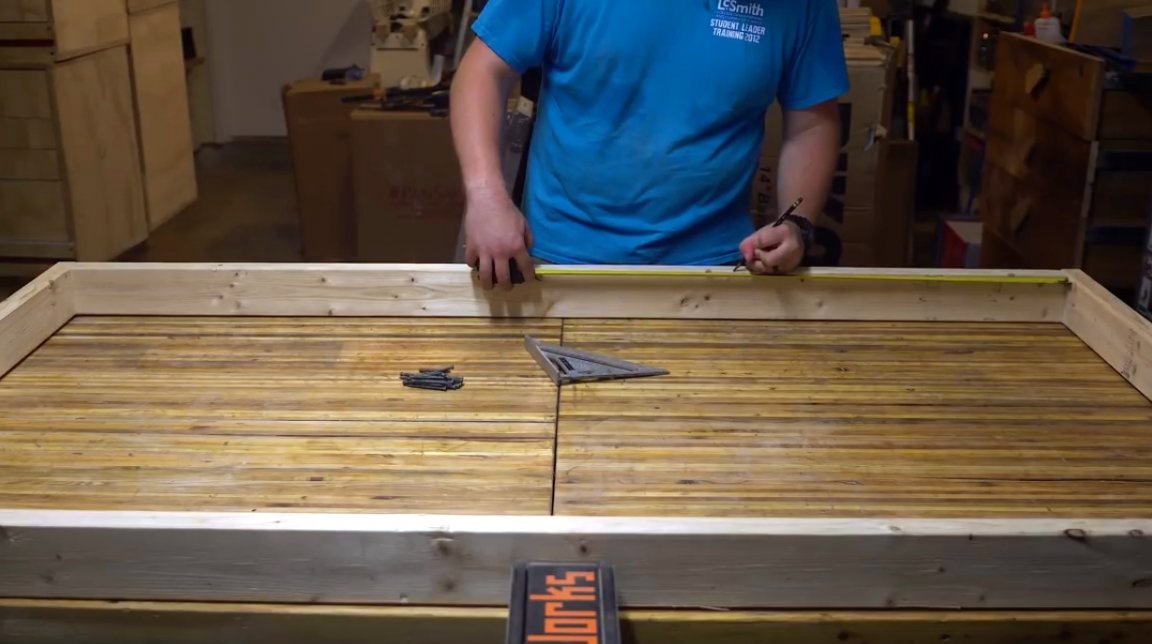
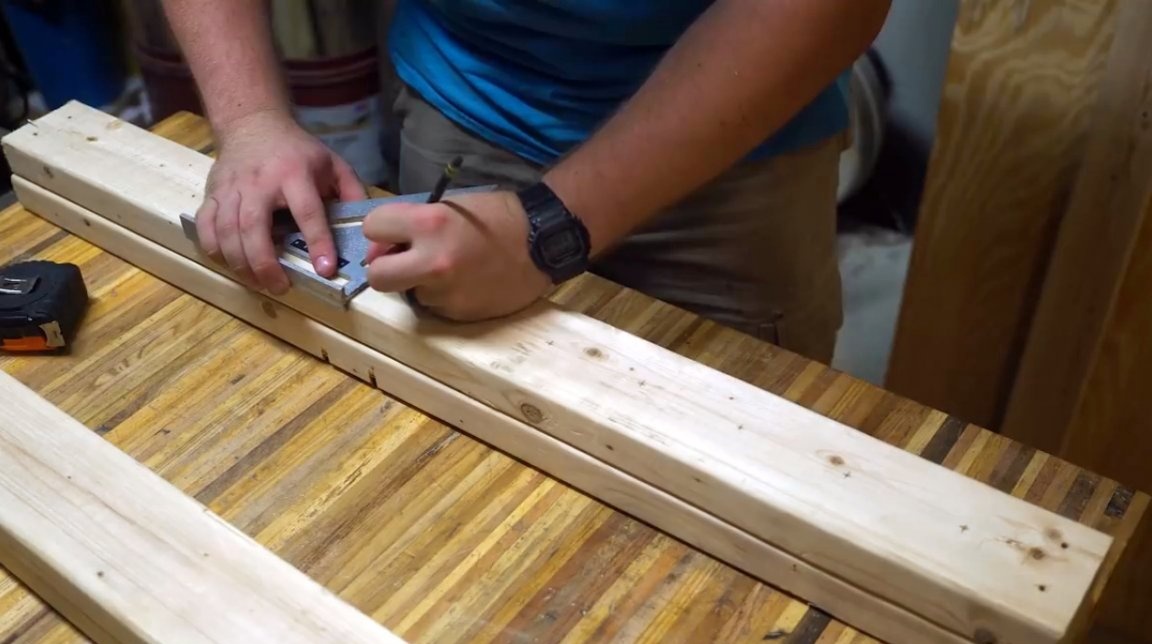
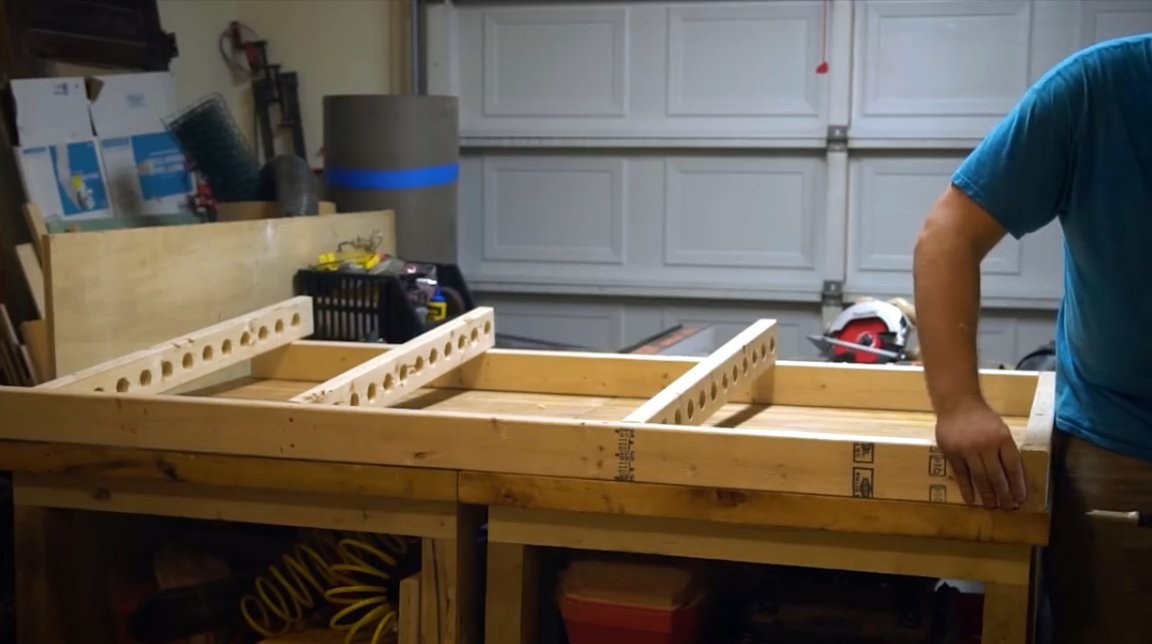
Then I marked on both sides of the frame the mounting points of the stiffeners. Although this could be done easier, before assembling the frame. Just by connecting the two boards together, and putting the appropriate marks.
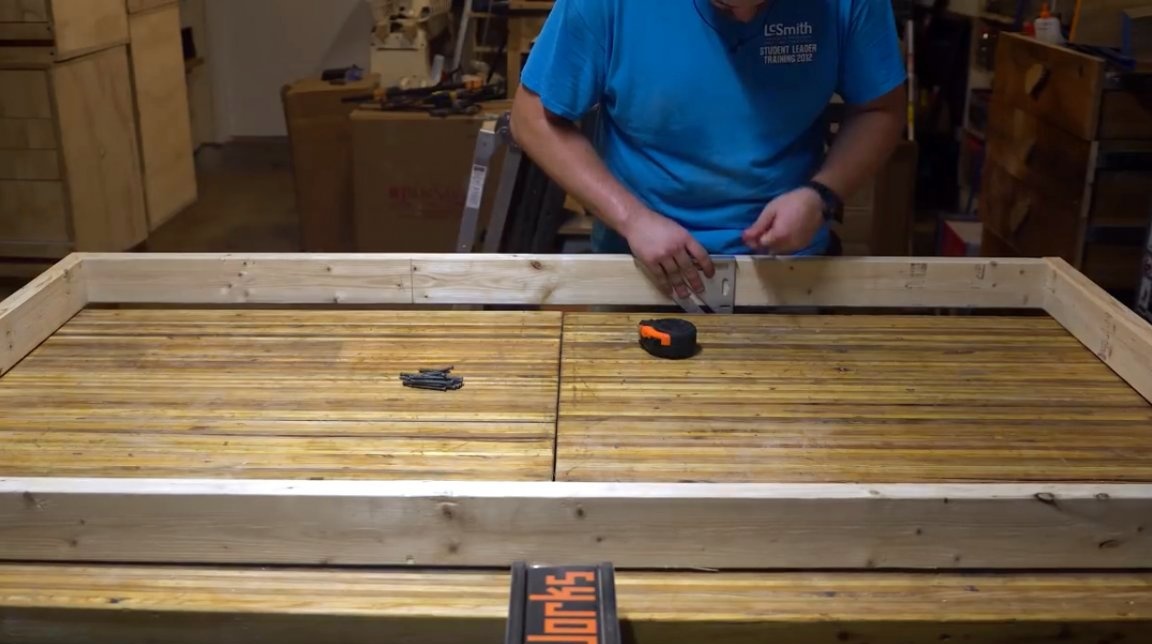
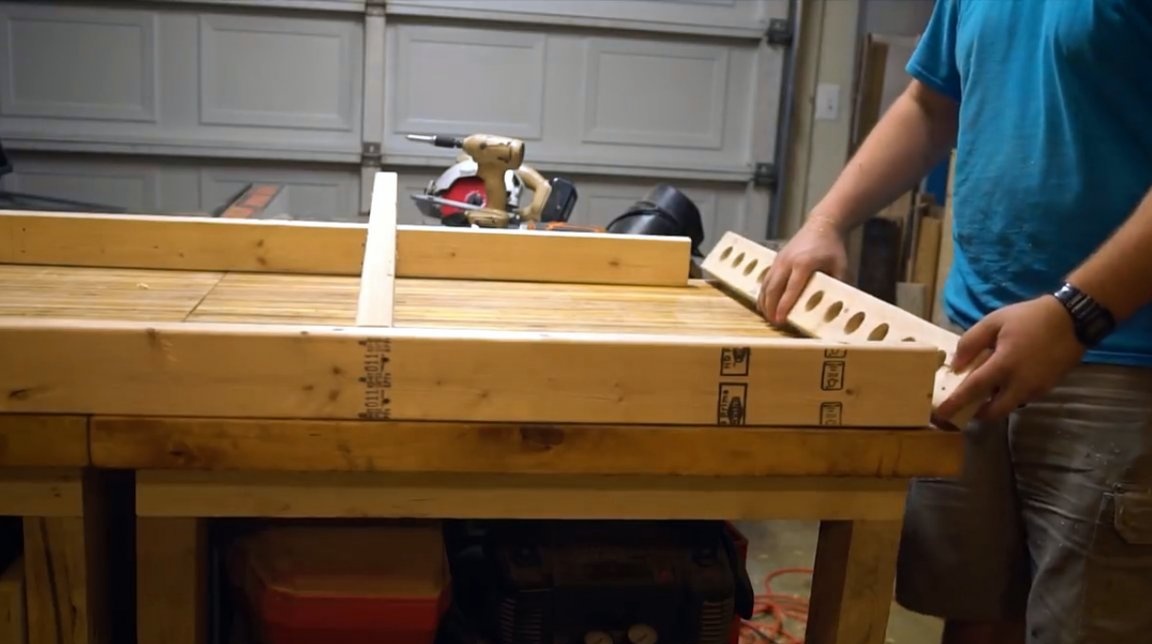
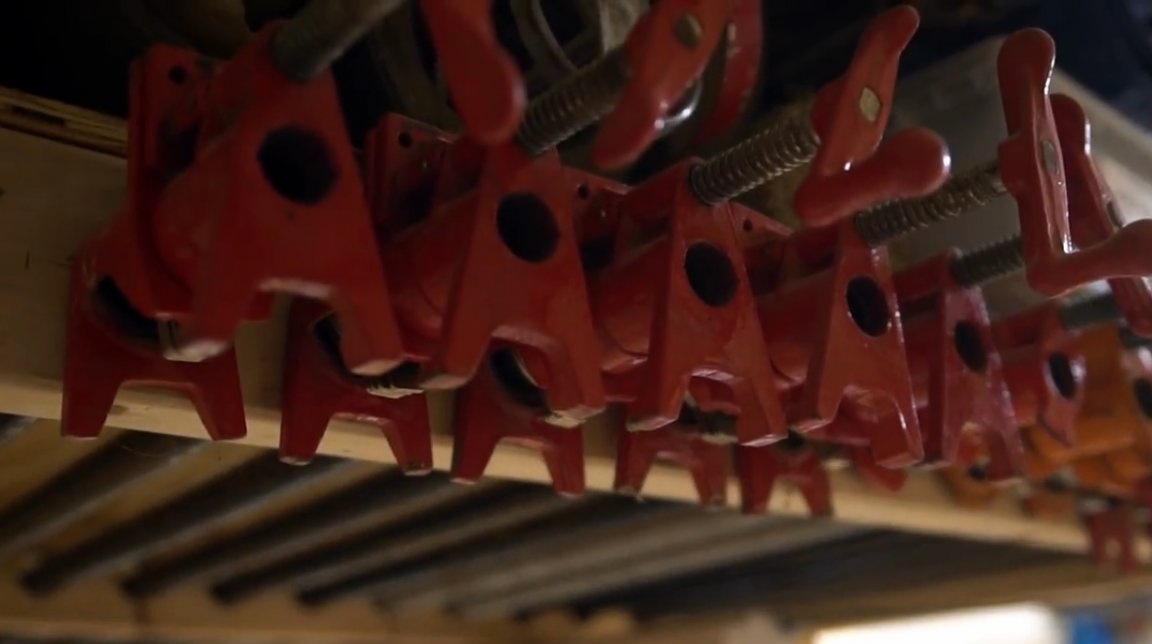
The author has almost assembled the frame, but he came up with the idea to create a place to store long clamps.
He dismantled the frame, and on one of the boards he marked the centers of future holes.
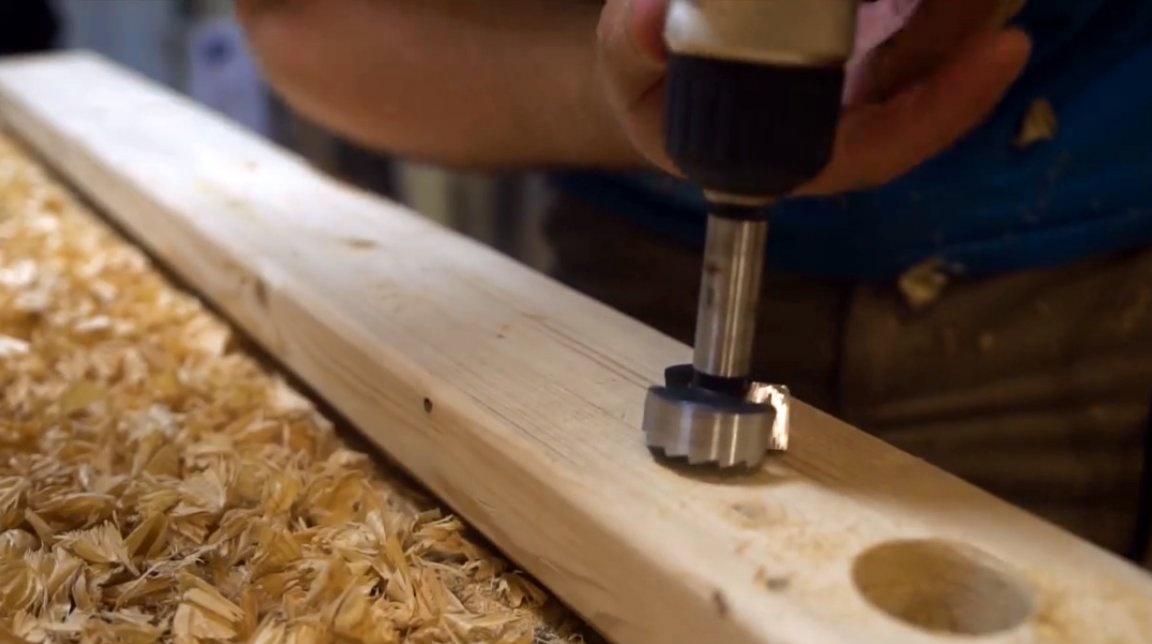
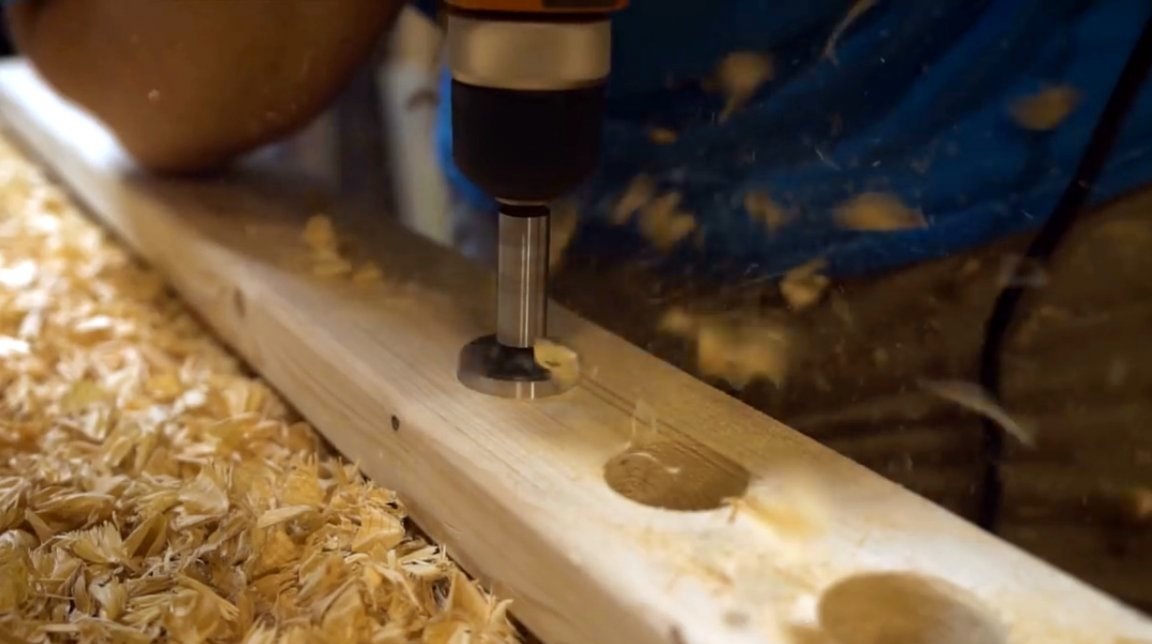
In this blank, I drilled a series of holes with Forstner drills suitable for diameter clamps.
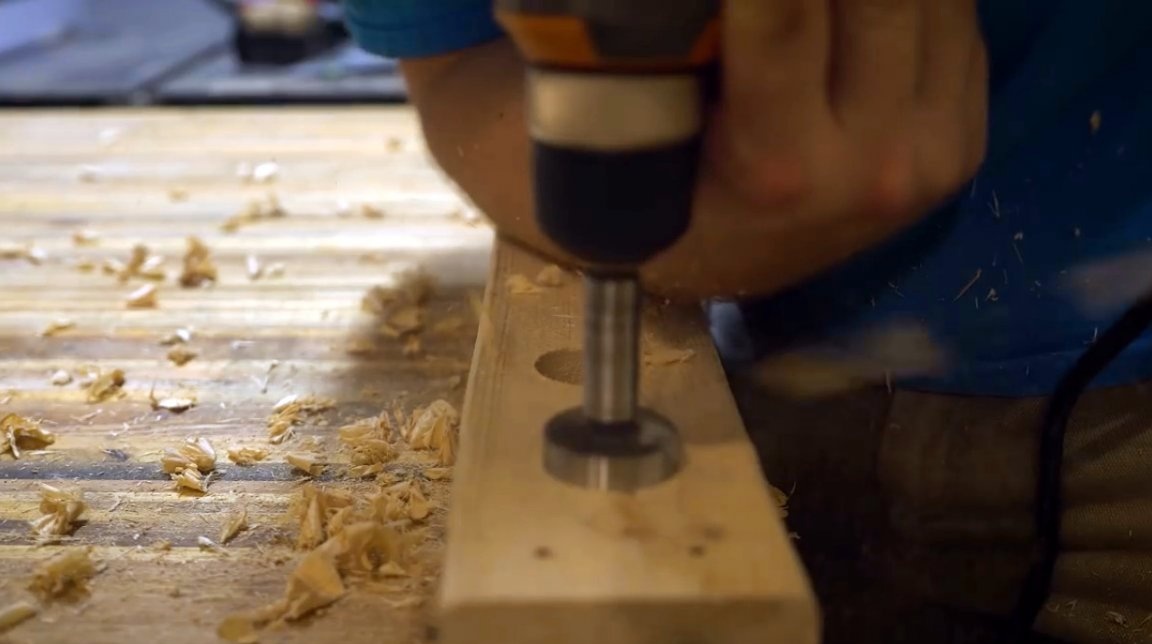
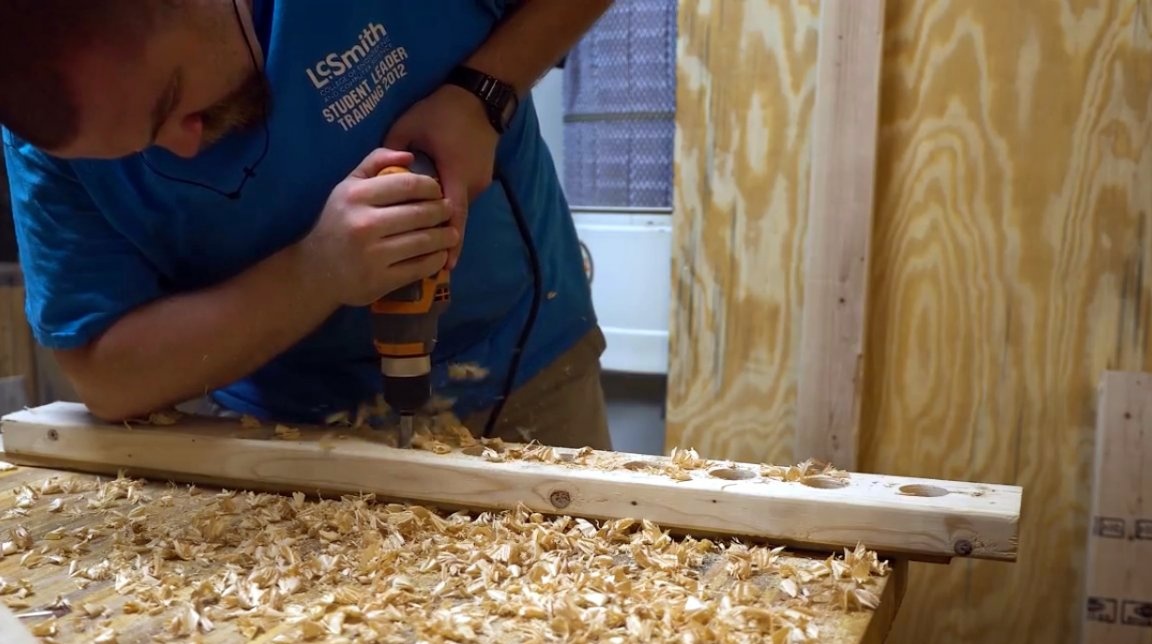
Using the first workpiece as a template, he marks the centers of the holes on the remaining boards with a drill. Then repeats the drilling of all the workpieces.
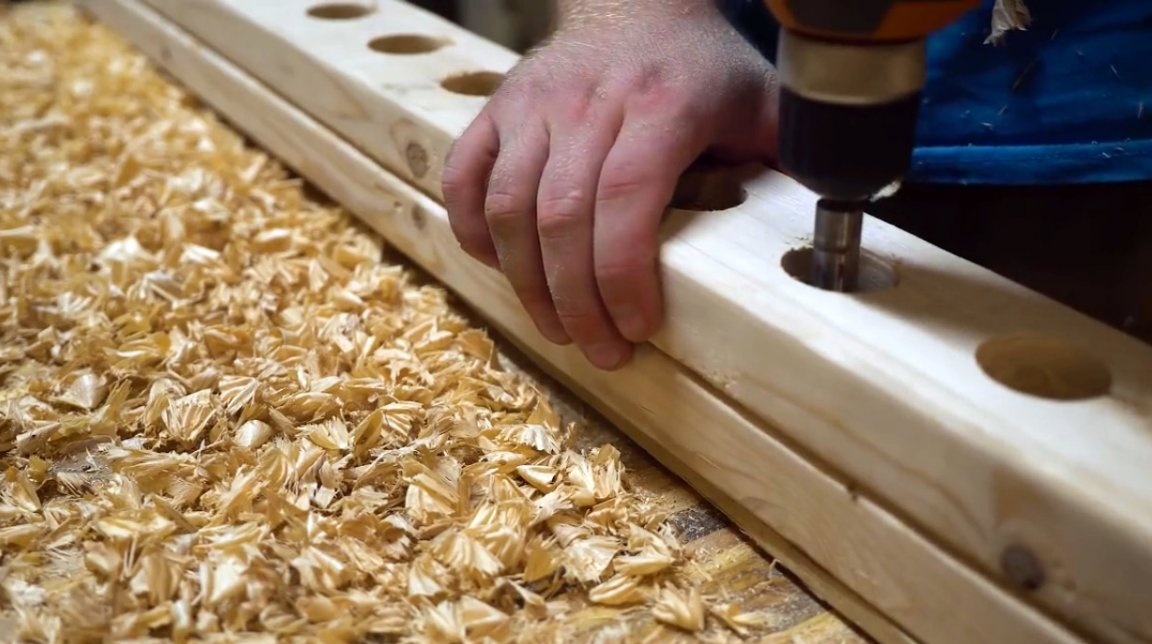
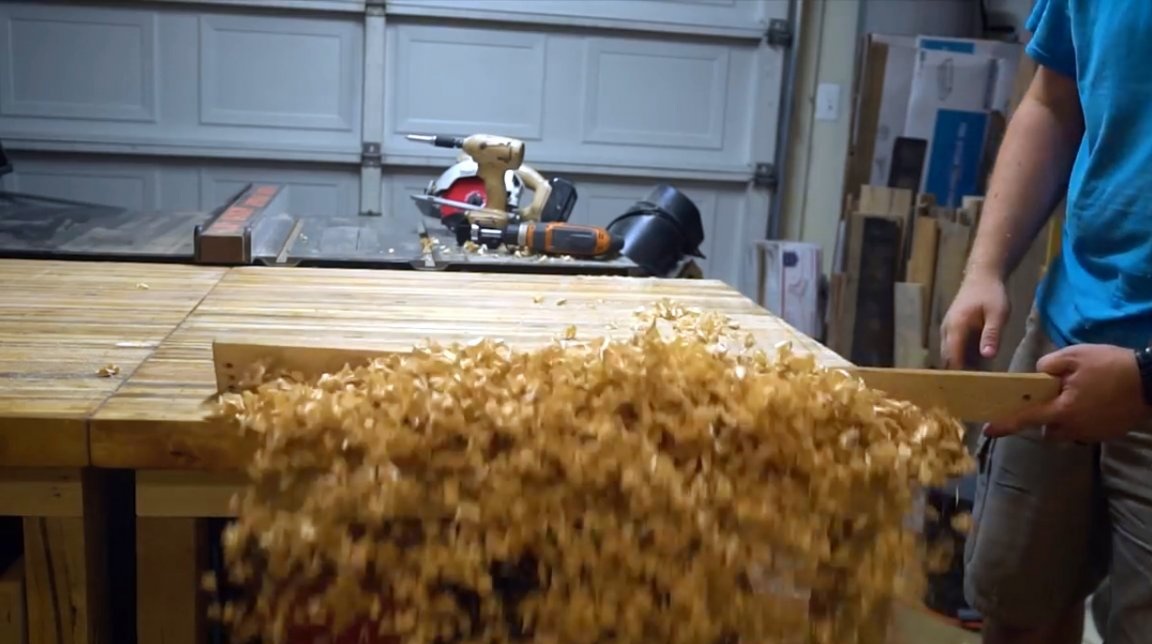
Dauzh, there are a lot of shavings from such drilling. Lucky for those owners of cats who have a carpentry workshop nearby.
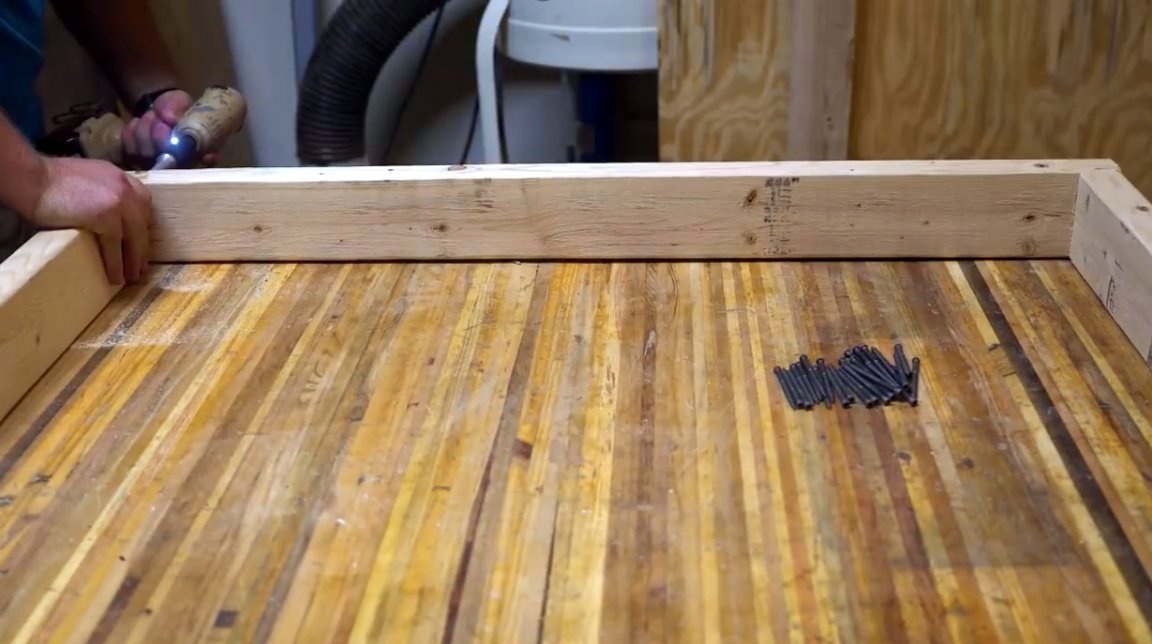
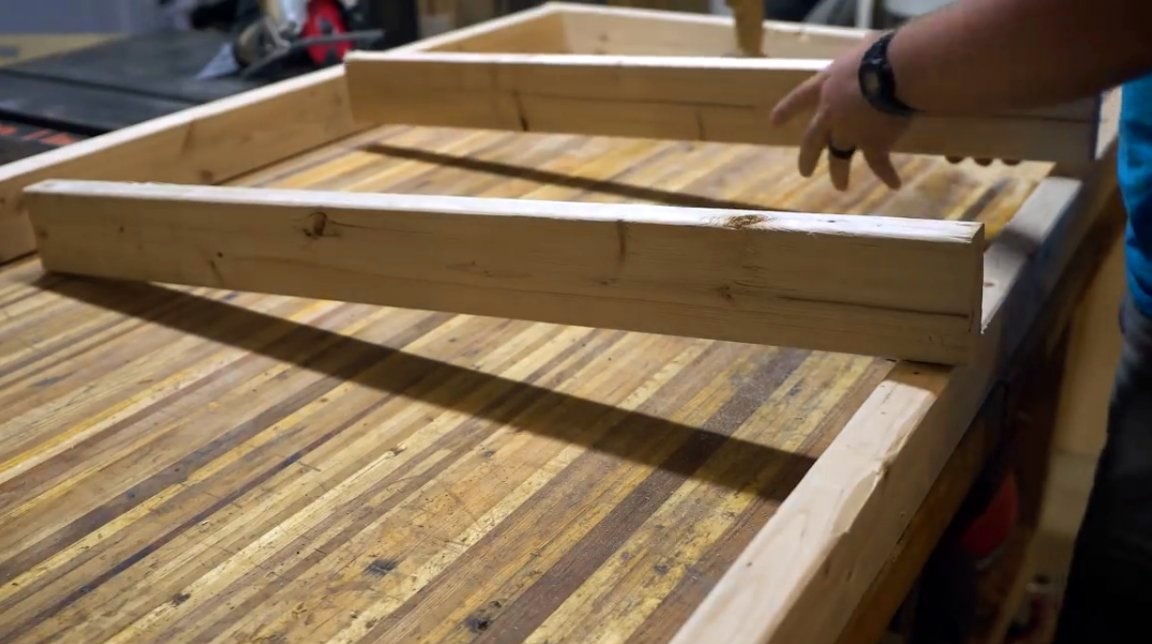
So, everything is ready, the frame is assembled, and stiffeners are screwed.
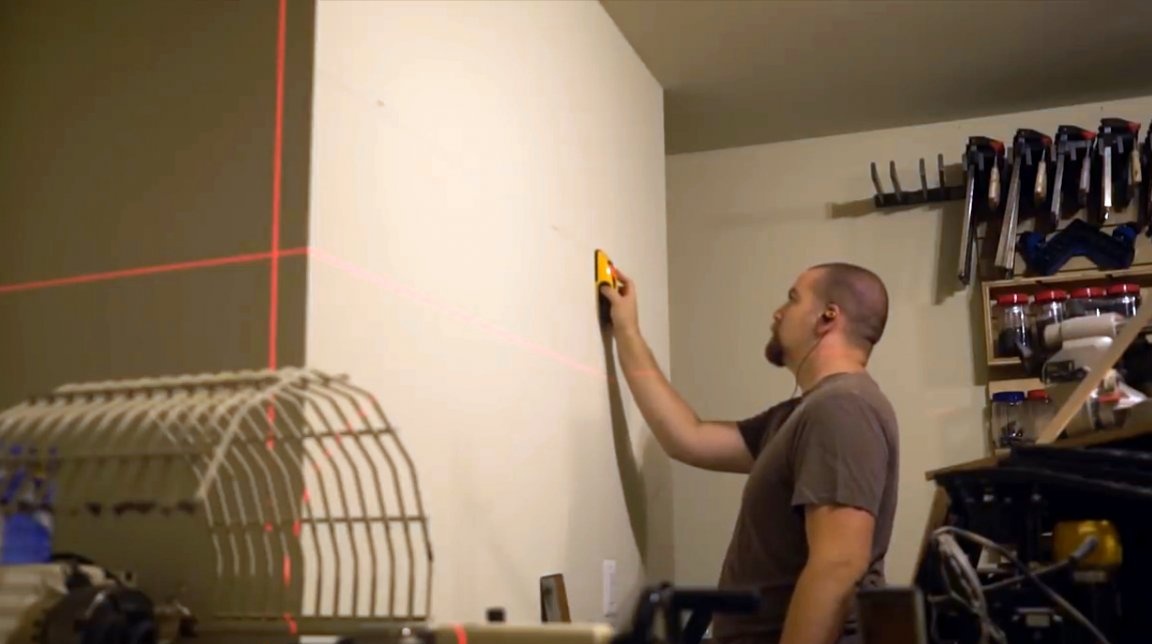
An important point of marking the wall. First, the author established by determining the desired height of the mezzanine. Then I checked the walls for hidden special wiring.
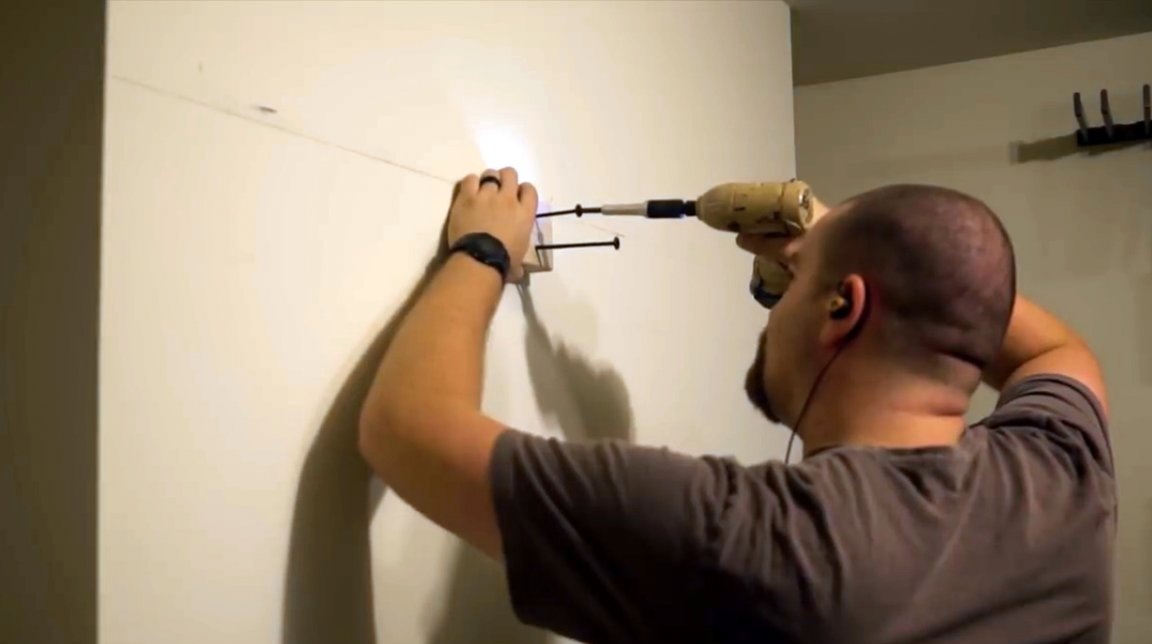
I picked up two suitable trim boards, drilled holes for long screws in them, and screwed the blocks to the wall according to the marking.
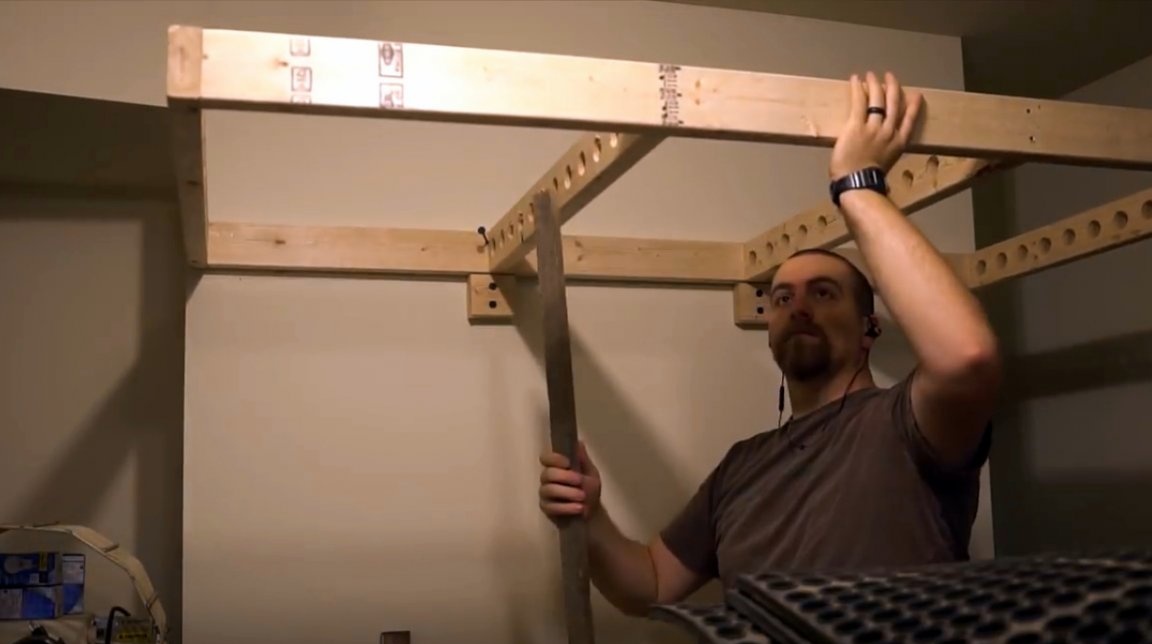
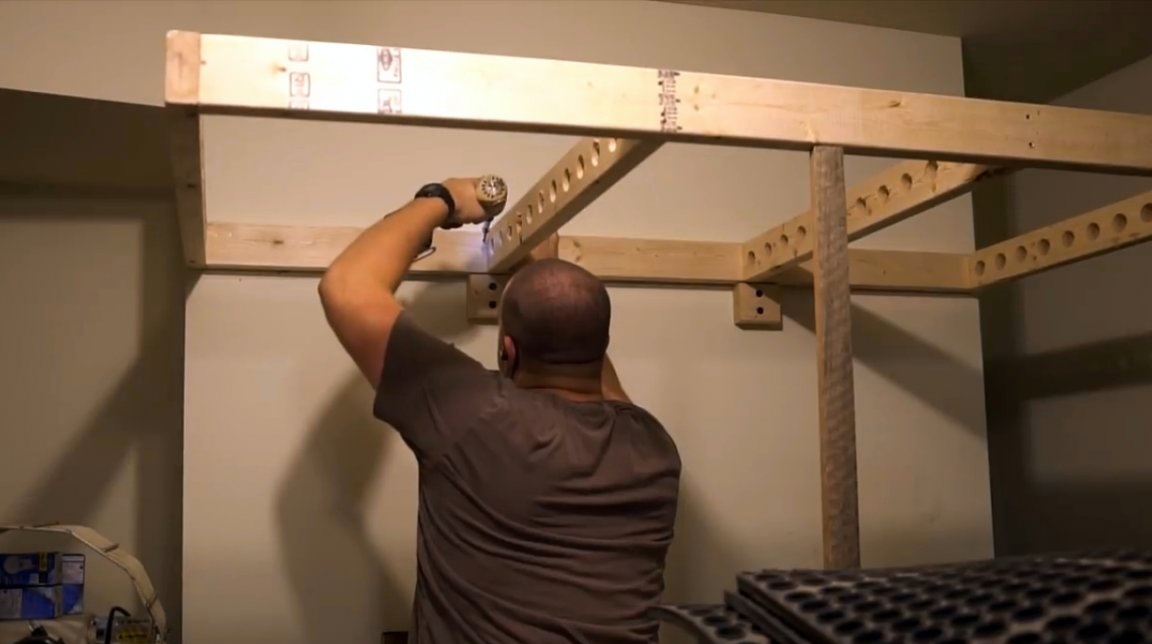
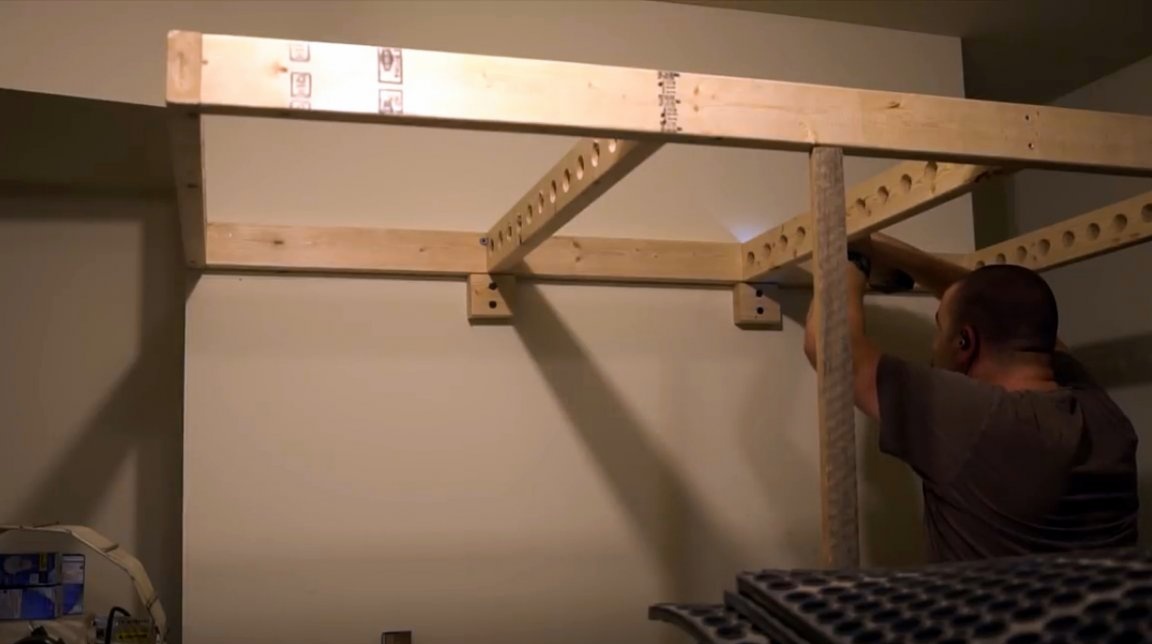
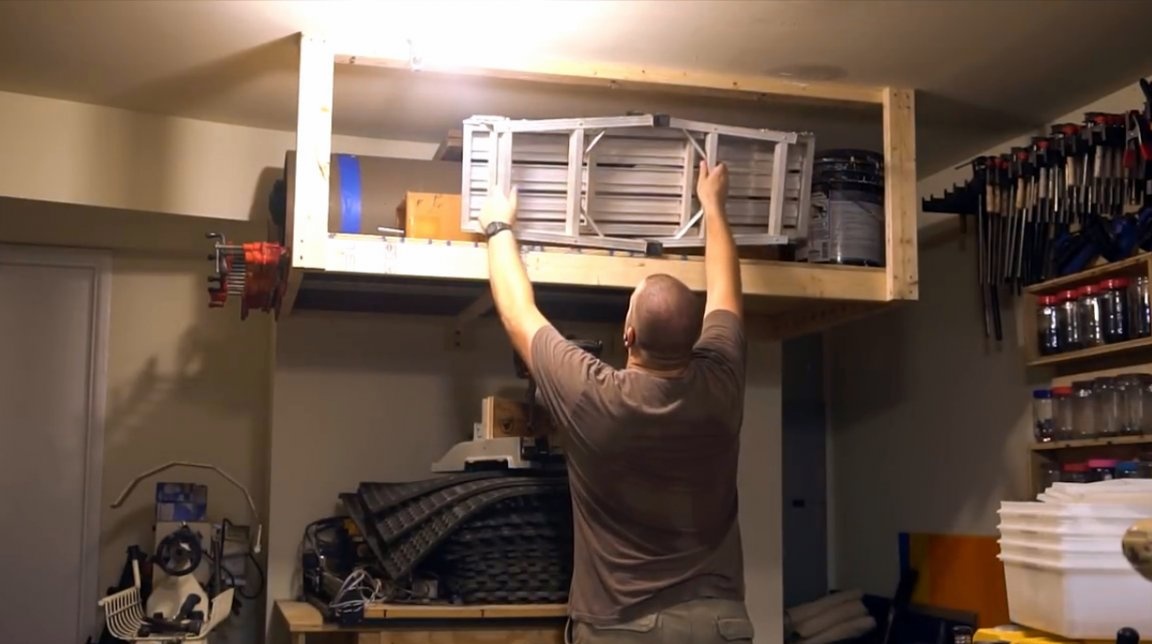
He laid one edge of the frame on the support blocks, and installed a stand under its free edge. Screwed the frame to the wall.
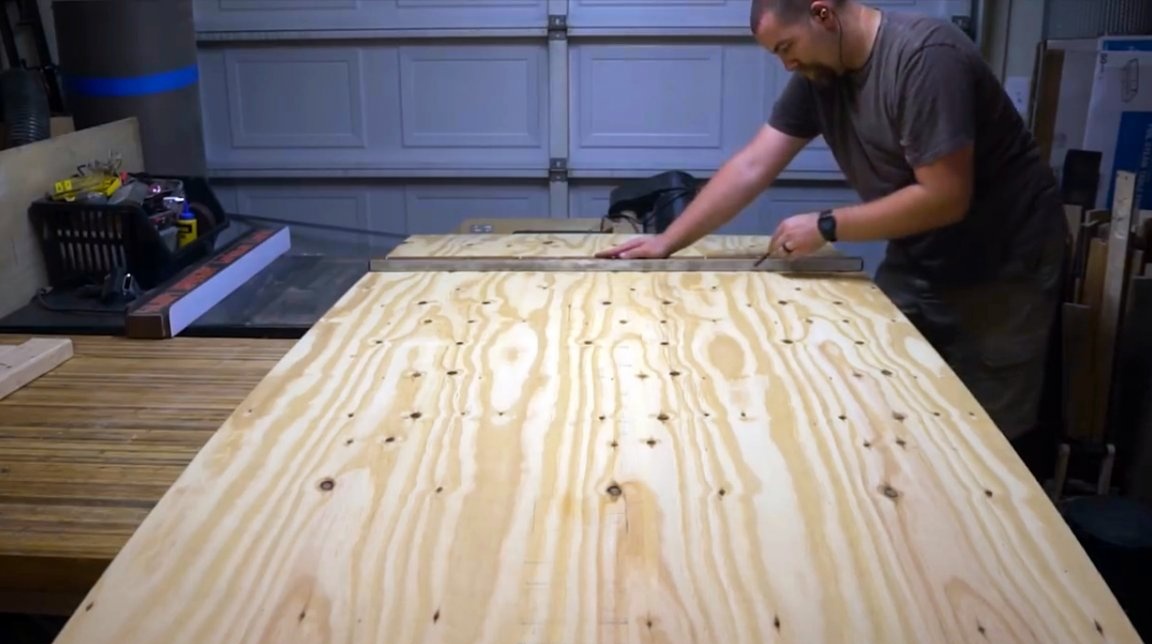
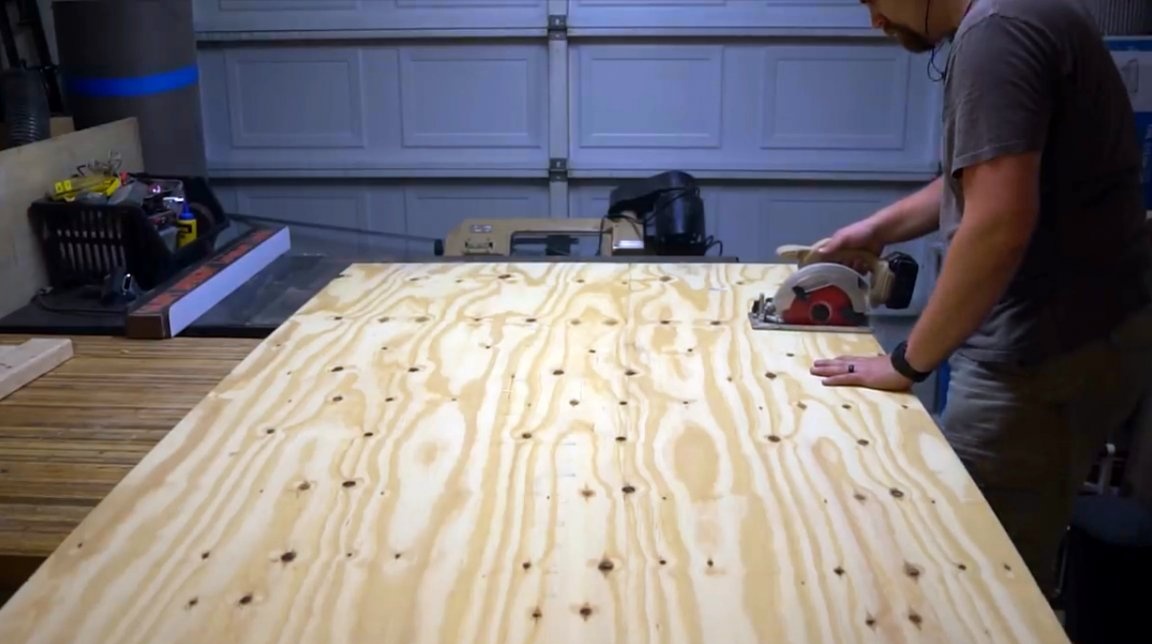
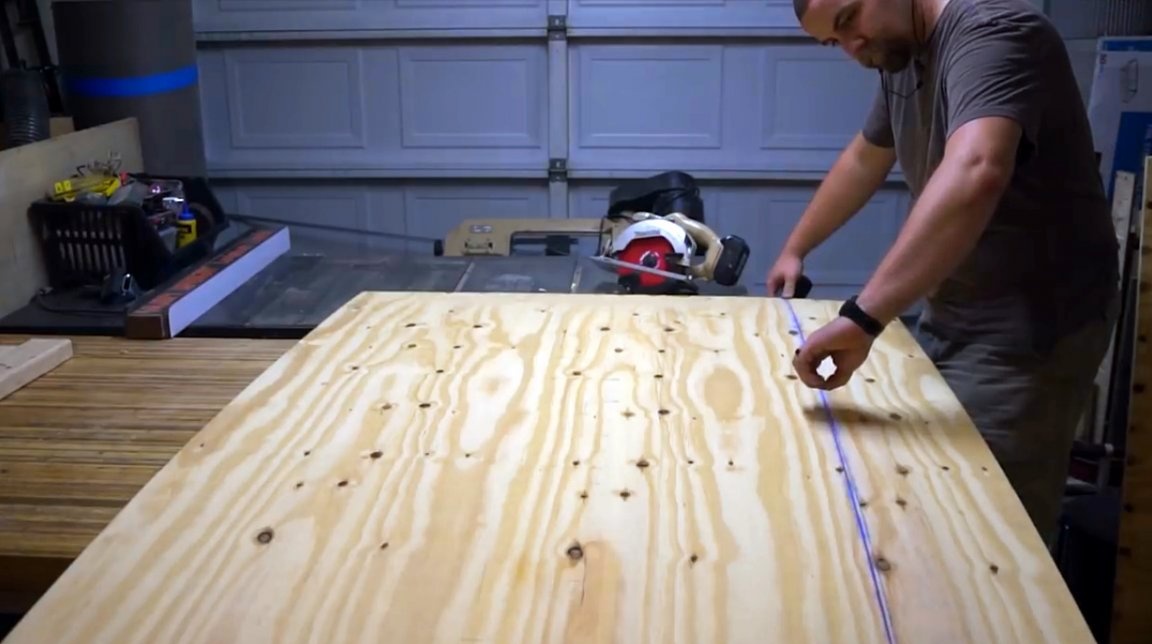
Then I marked and cut out the plywood sheet according to the size of the frame.
Now the sheet can be put on the frame, and screw it around the perimeter.

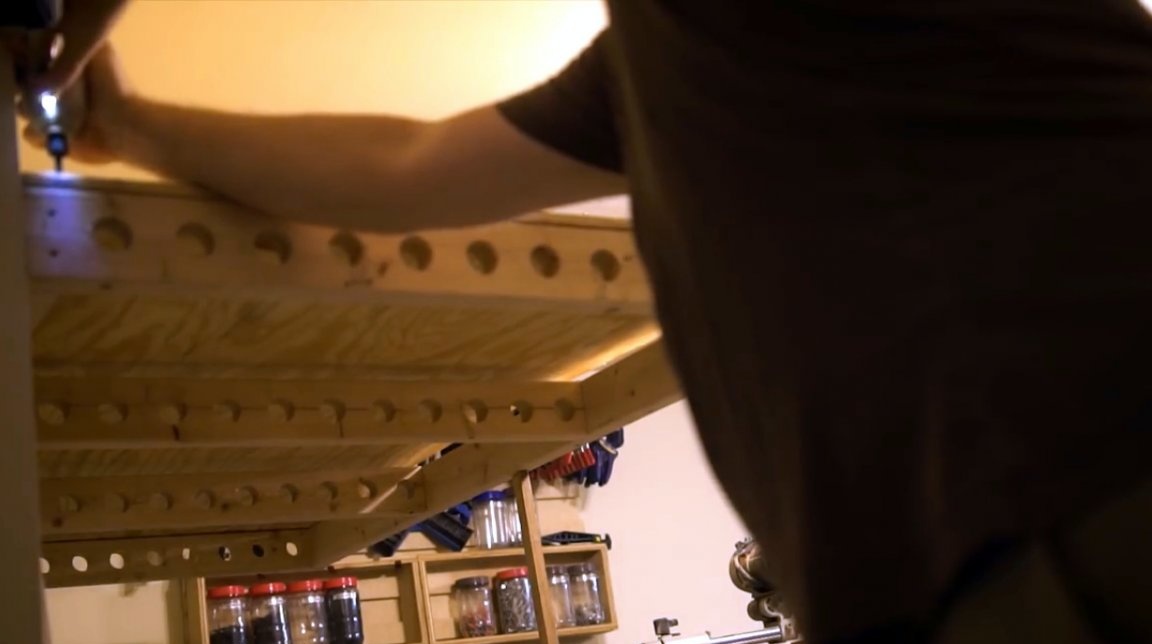
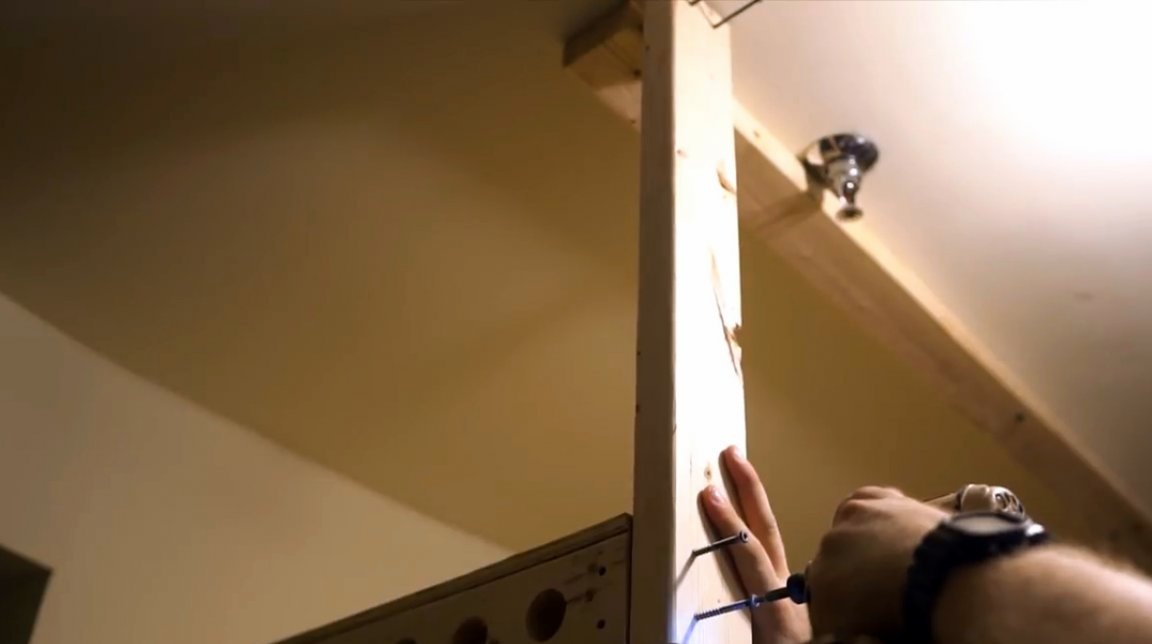
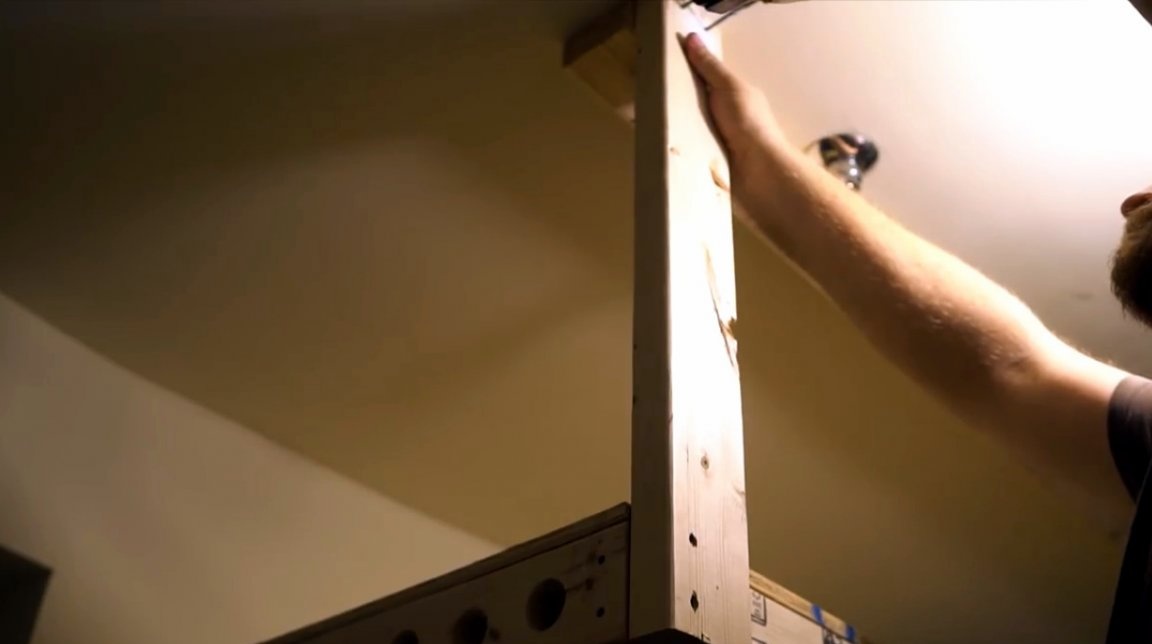
The master screws another board to the ceiling.
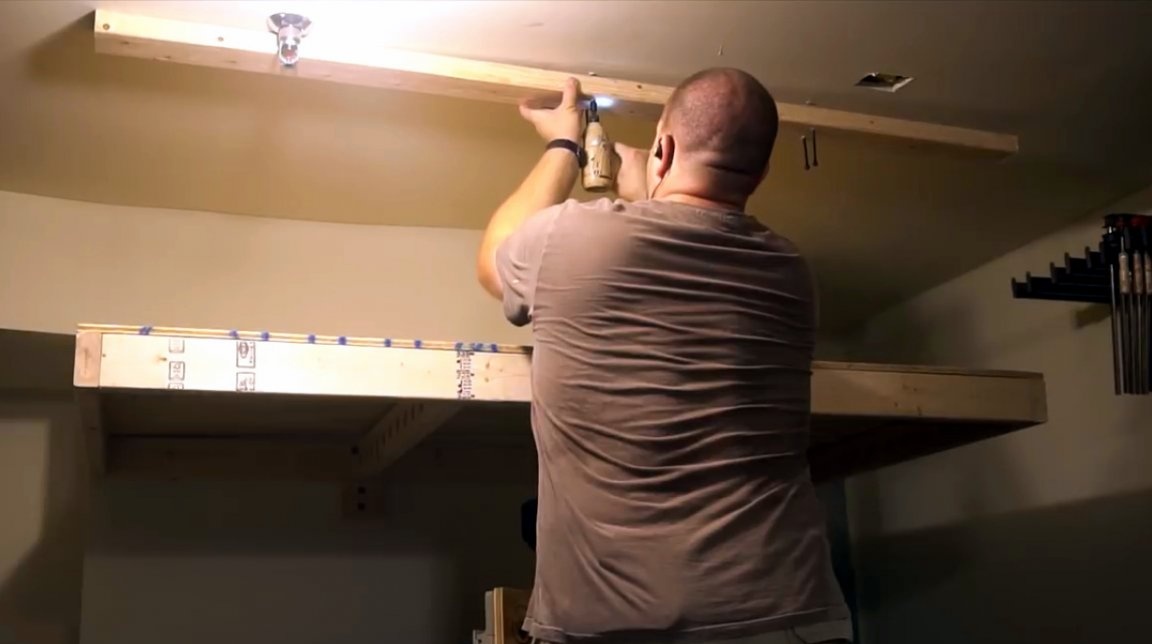
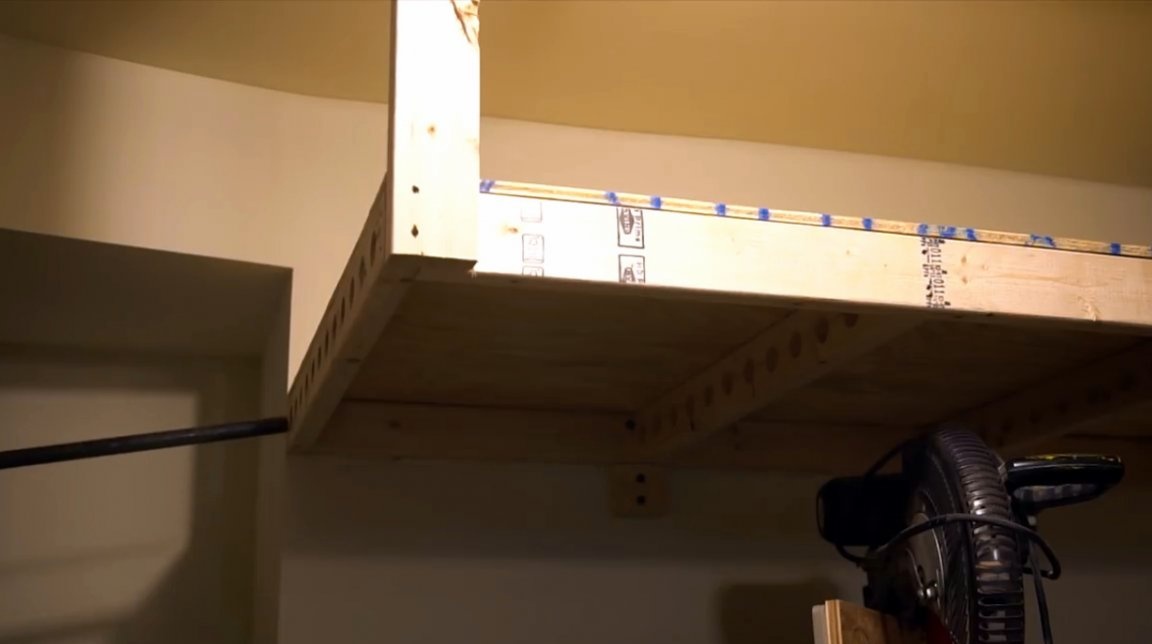
Now connects the front edge of the mezzanine with the ceiling jumpers with vertical jumpers.
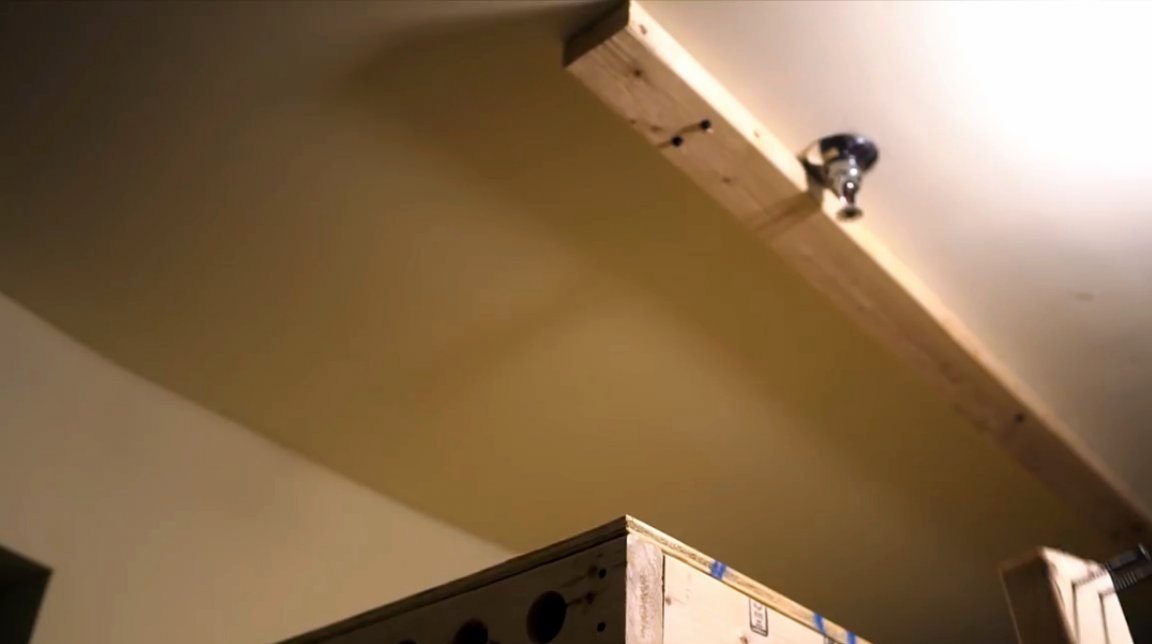
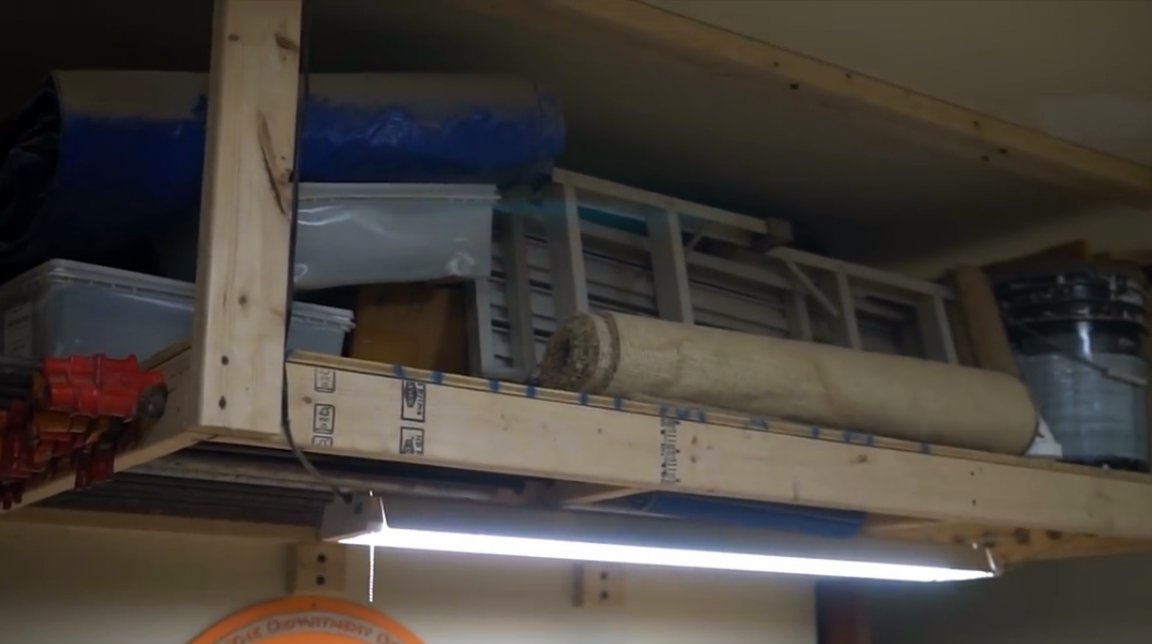
That's all ready, the author is happy with such a design, although if you do the same for yourself, you can also coat the product with paint or varnish.
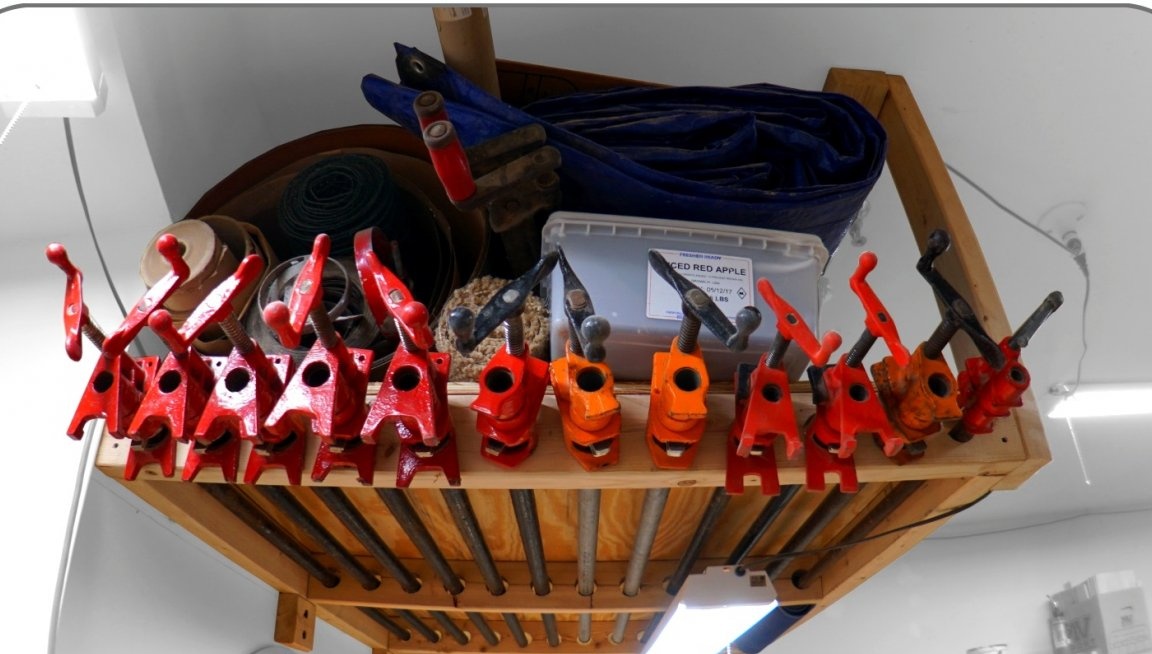
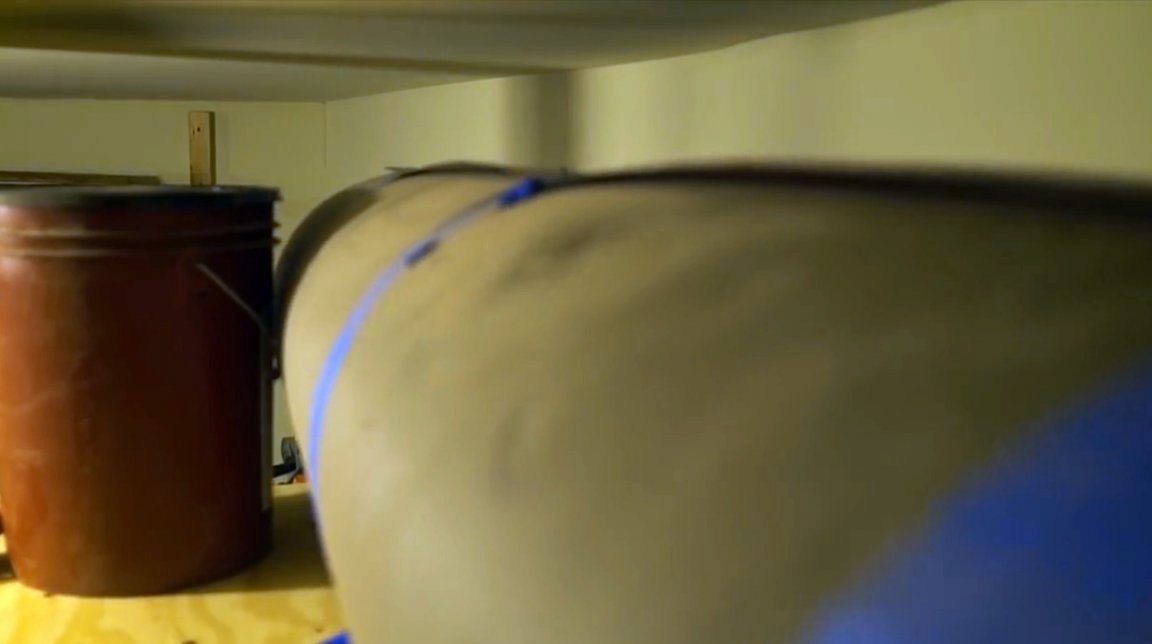
The author loaded the clamps into place. Now they will not interfere in the corners of the workshop.

And on top of the mezzanine you can load the rest of the infrequently used tool andfixtures.
I thank the author for the simple idea of expanding the space in the workshop!
All good mood, good luck, and interesting ideas!
Author video can be found here.