


Greetings to all lovers homemade, today we will assemble a car voltmeter on Arduino and a seven-segment indicator for monitoring on-board voltage in auto. This device is easy to assemble and requires setup only once.
Tools and materials
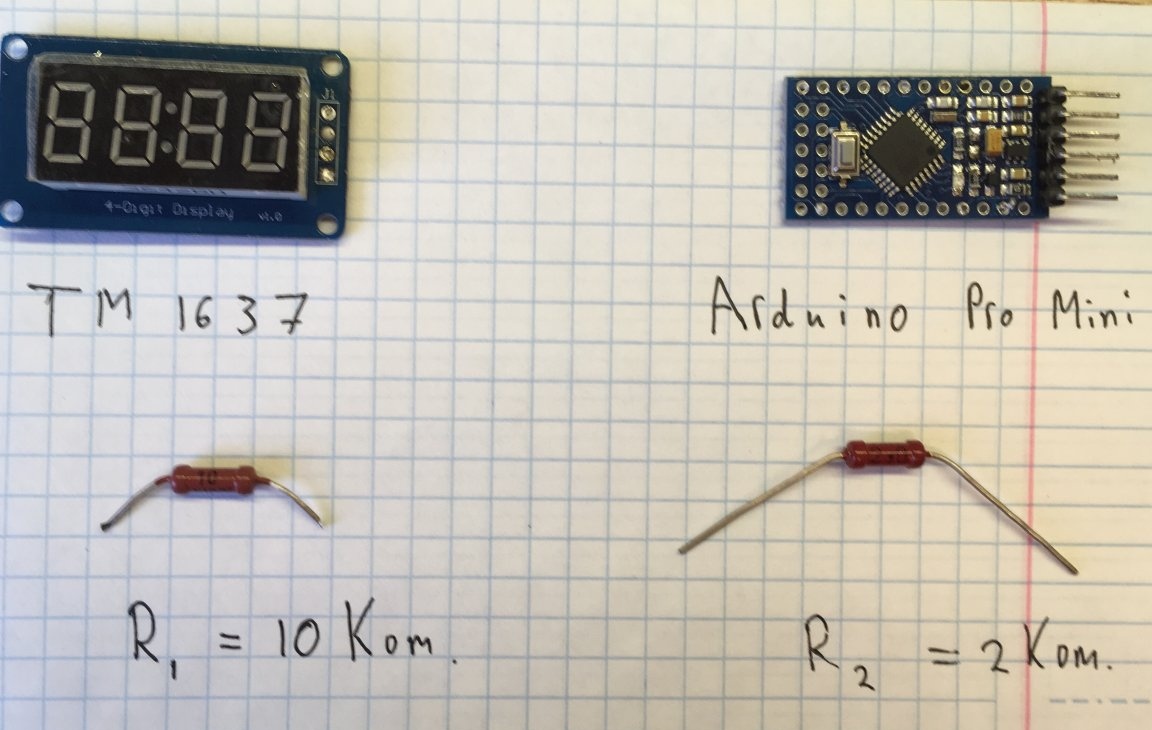
-Arduino Pro mini
-Resistor for 10 Kom 0.5 W
- Resistor at 2 Kom 0.5 W
- Indicator on tm1637
-Wire (in my case - MGTF 0.12)
-Programmer
-Klem
-Thermokley
-Glue gun
-Soldering iron
-Solder
-Rosin
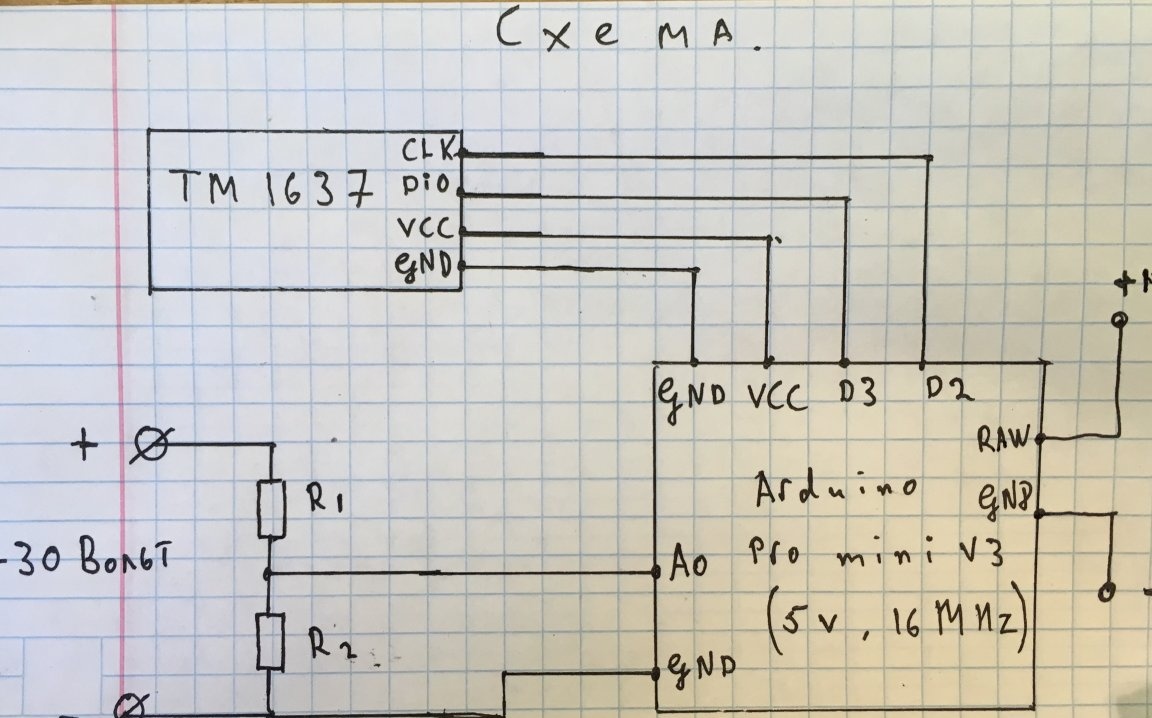
Step one. Scheme:
The circuit is easy to assemble. R1 = 10 Kom, R2 = 2 com.
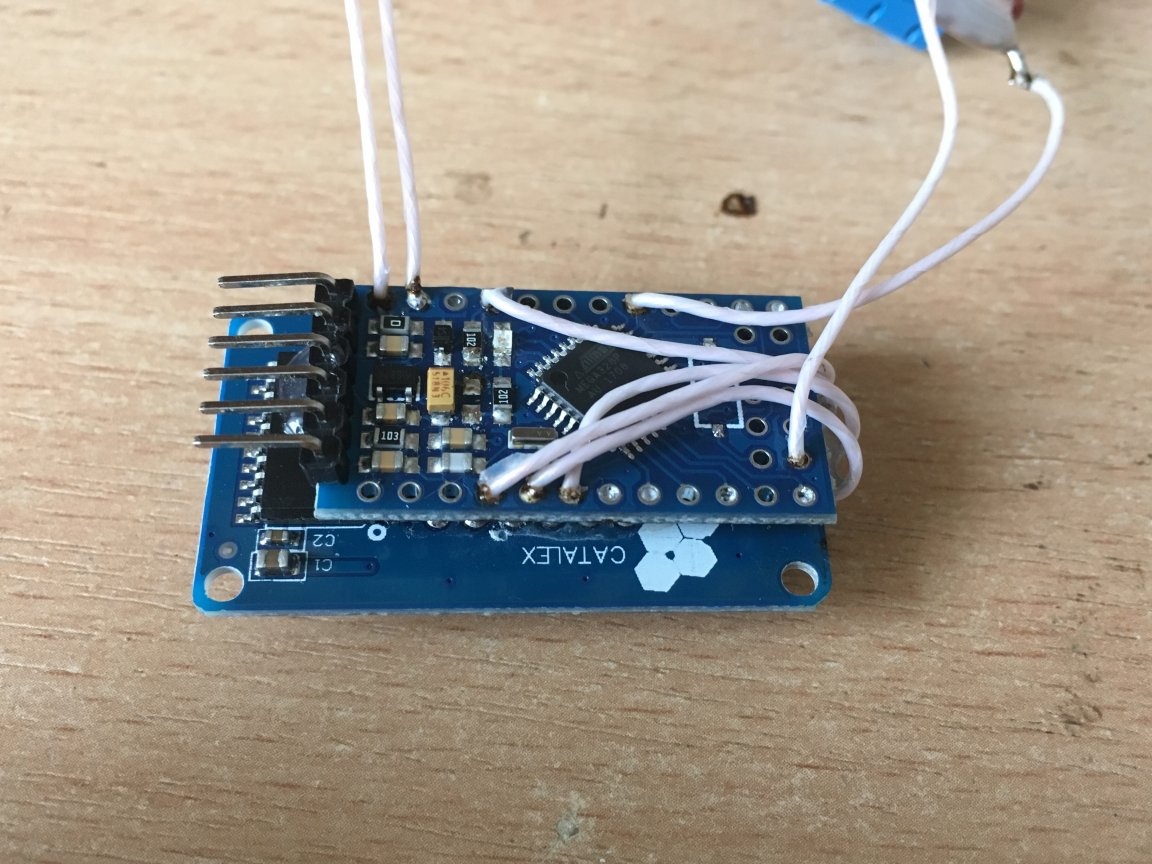
Step Two. Assembly:
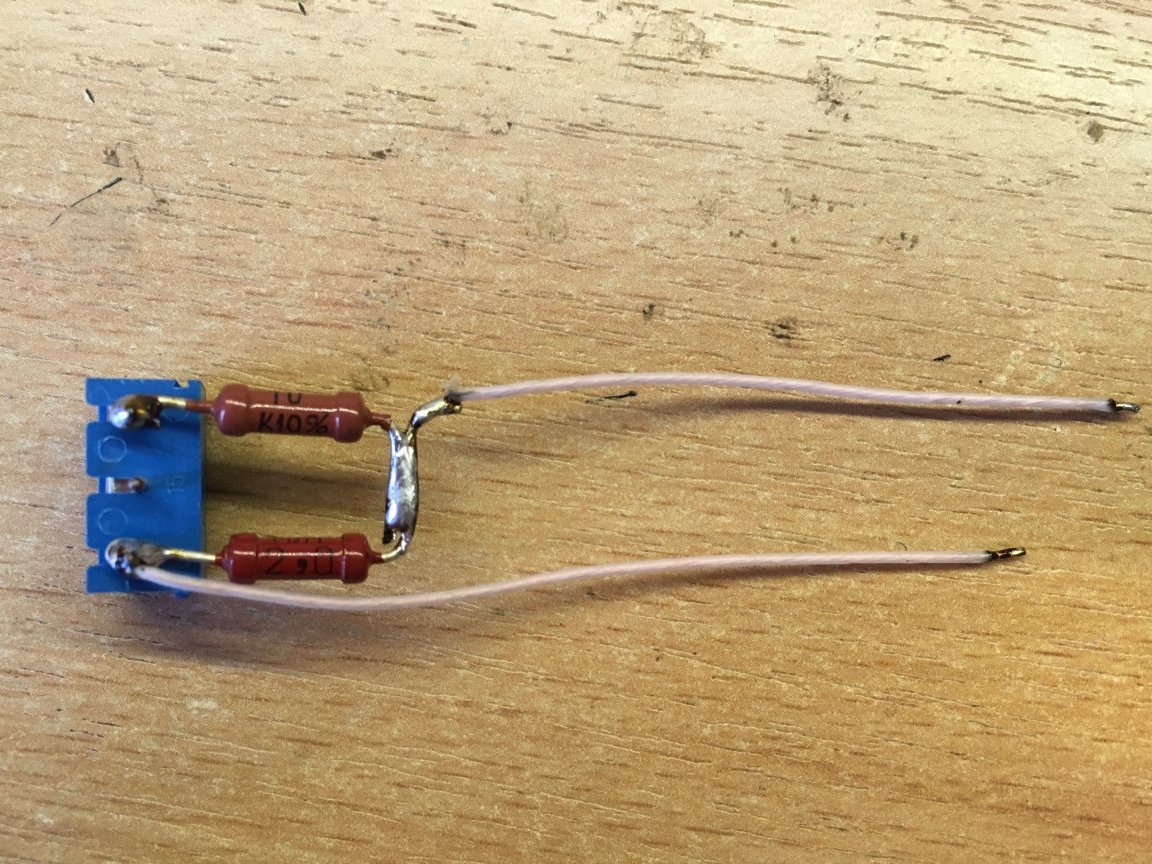
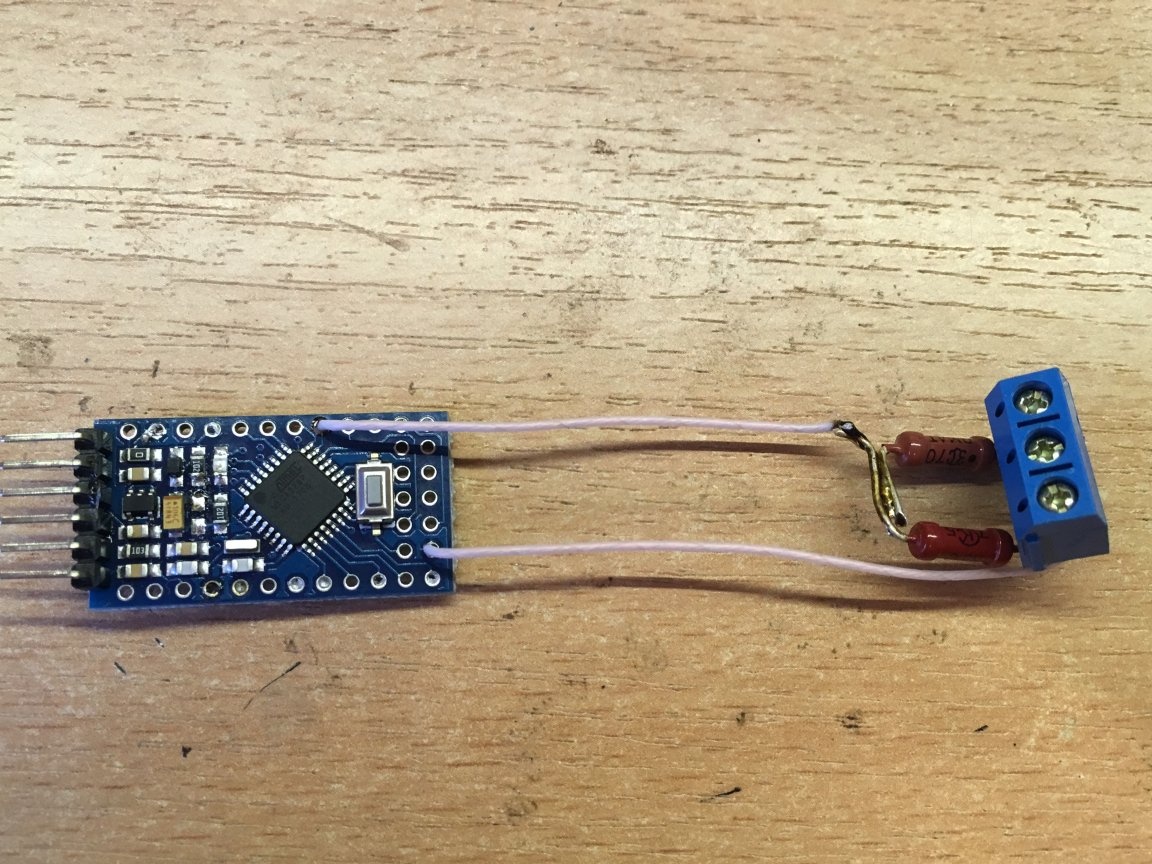
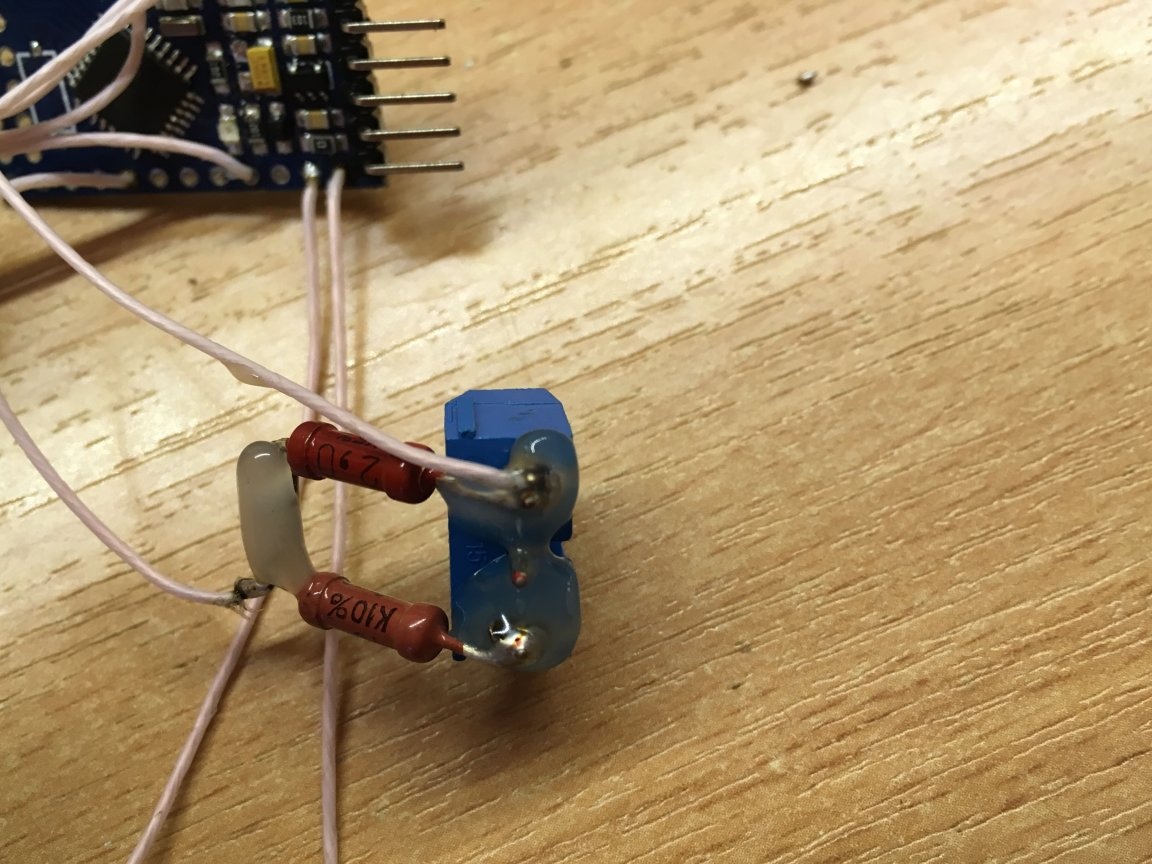
Assembling a voltage divider
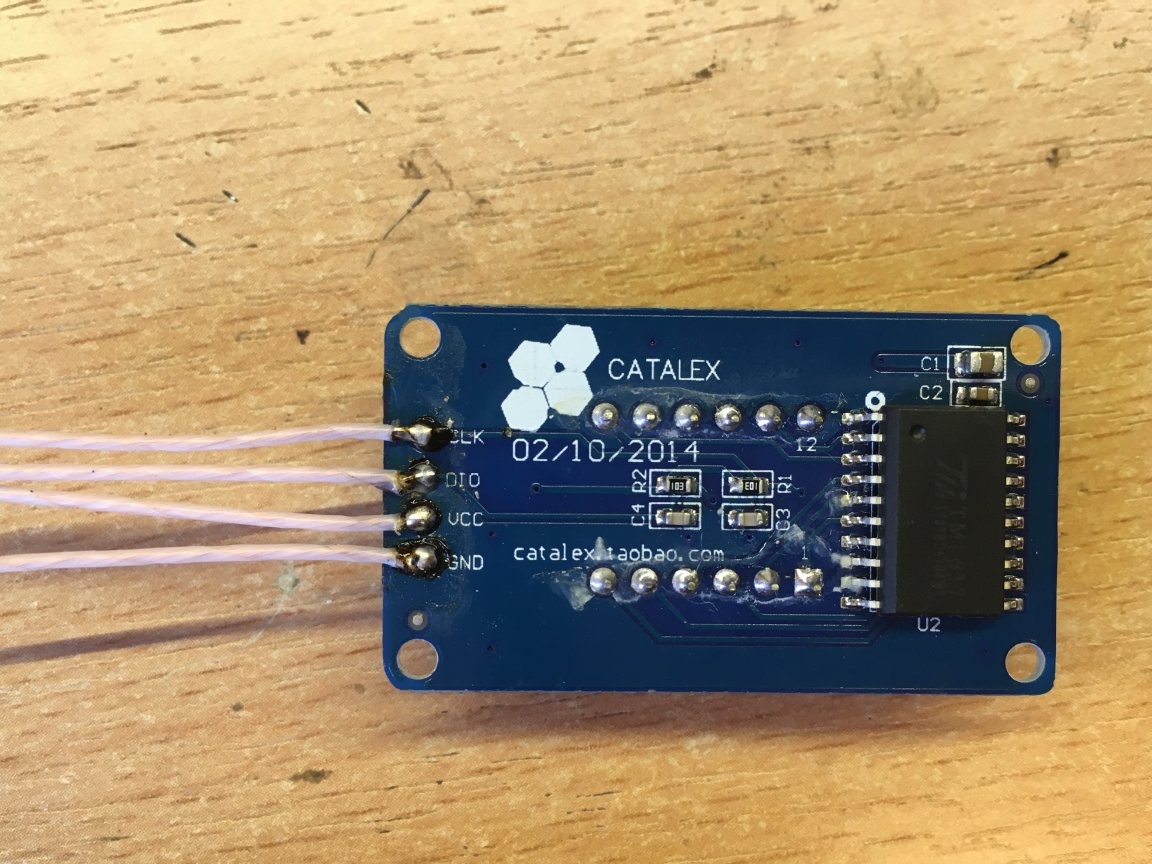
Solder wires to the indicator
We solder everything according to the scheme
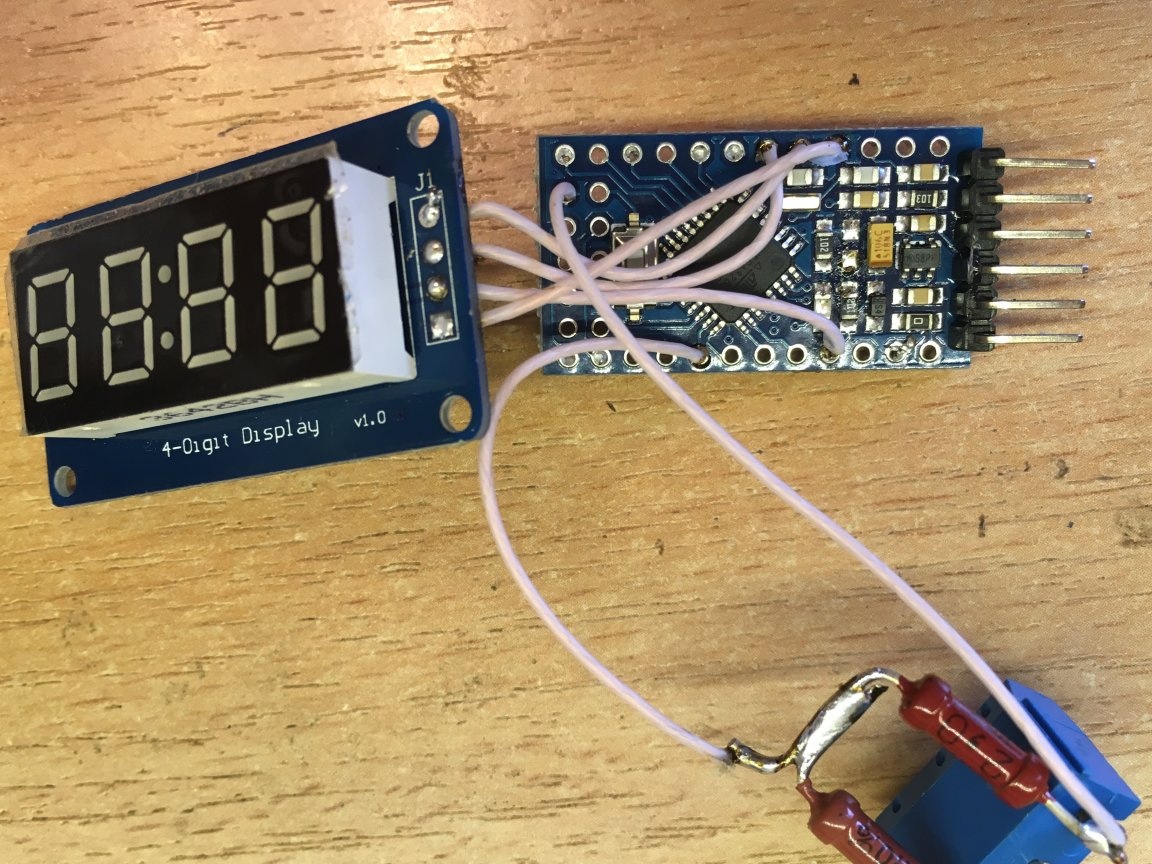
Places where short-circuiting can occur, you can fill with hot glue
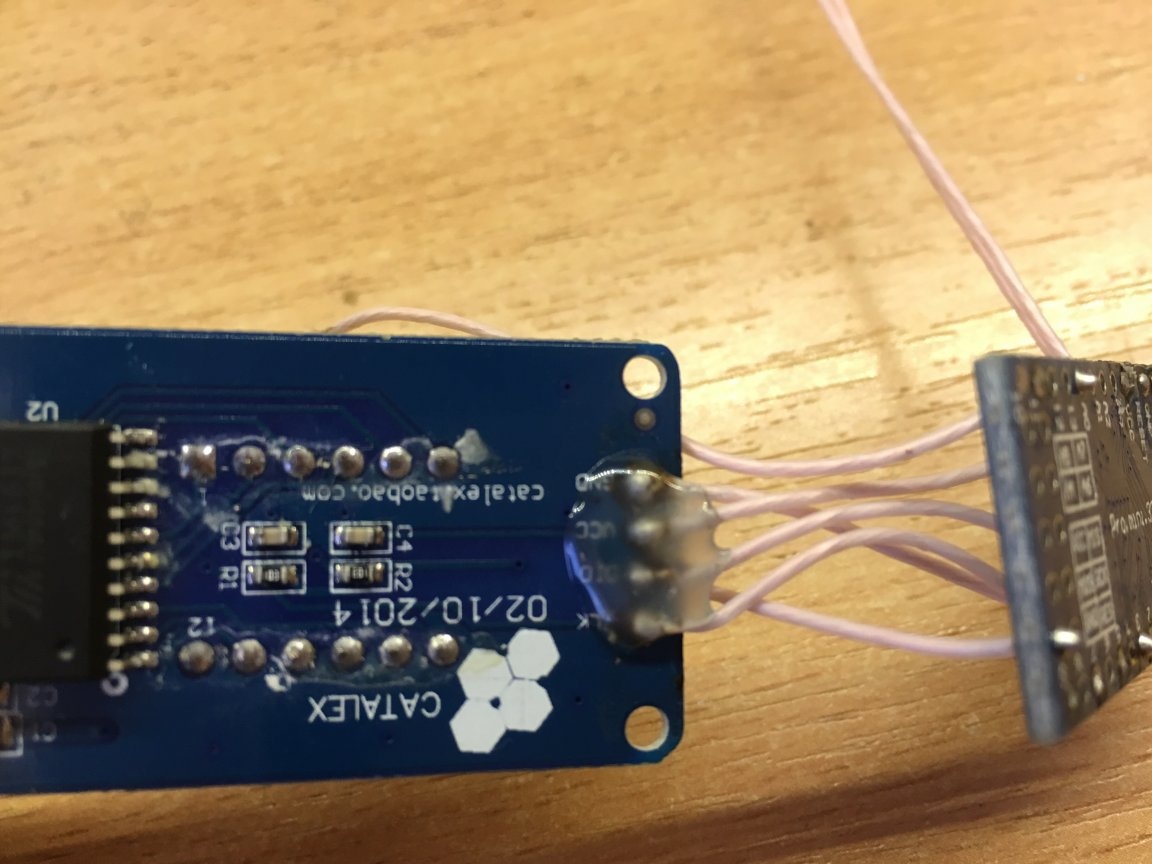
Arduino glue to the back of the indicator (to reduce the size)
Step Three. Sketch:
There are 4 variables in the sketch that you need to adjust for yourself
#include

// --------- Variables to configure ------------
#define CLK 2 // Digital port on Arduino where the display CLK is connected
#define DIO 3 // Digital port on Arduino where the DIO display is connected
int analogInput = A0; // Analog port where the output from the voltage divider is connected
double inaccuracy = 0.5; // voltage in volts that must be taken away from the voltmeter reading so that it matches the readings on the power supply (or add)
// ----------------------------------------------

GyverTM1637 disp (CLK, DIO);
byte tire [] = {0x40, 0x40, 0x40, 0x40}; // conclusion ----
float R1 = 10000.0; // Resistance R1 (10K) in OMAH
float R2 = 2000.0; // Resistance R2 (2K) in OMAX
float vout = 0.0;
float vin = 0.0;
int value = 0;
double ptr;
void setup () {
pinMode (analogInput, INPUT);
 disp.brightness (7);
 disp.point (0);
  disp.displayByte (tire);
  delay (500);
  disp.clear ();
}
void loop () {

value = analogRead (analogInput);
vout = (value * 5.0) / 1024.0;
vin = vout / (R2 / (R1 + R2));

vin = vin - inaccuracy;
double V1 = floor (vin);
double V2 = modf (vin, & ptr);
V2 = V2 * 100;
disp.displayClock (V1, V2);
if (vin <0.95) {
vin = 0.0;
disp.displayClock (00.00);
}
delay (1200);
}
Fourth step. Test:
We connect the battery and see the result:
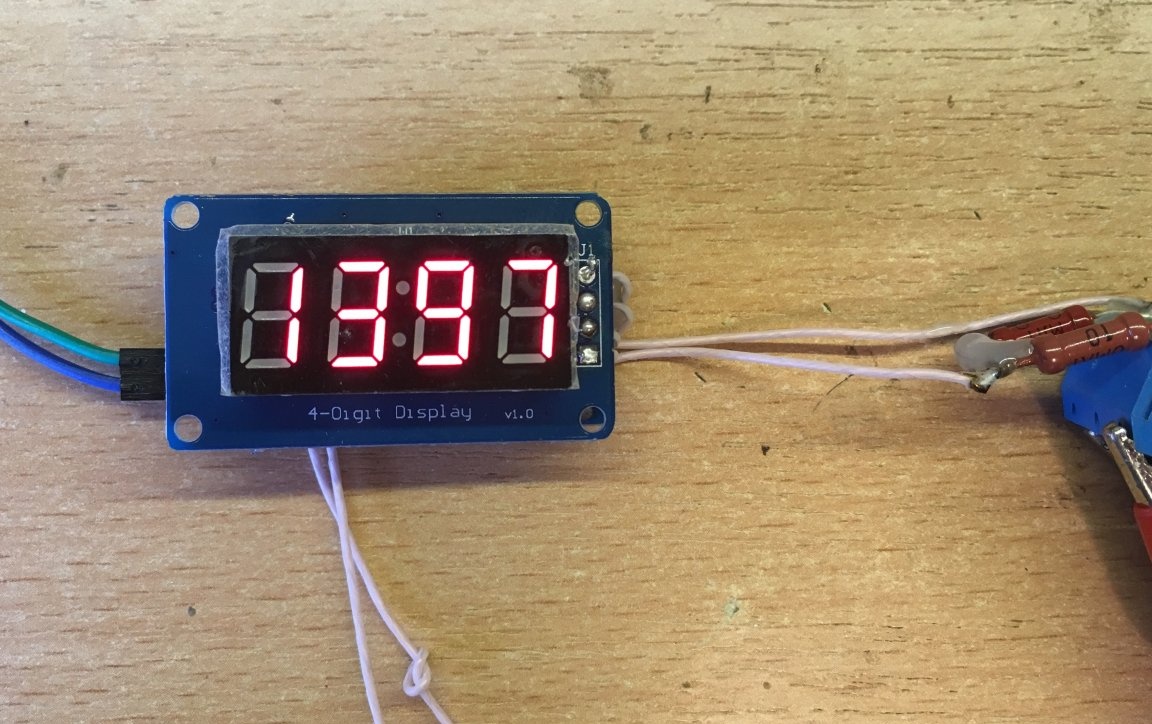
Done! Now it remains to install this device in the car and you can use it.