
Three years ago I made a circular table.
I took the “3 in 1” design as a basis - a circular, a milling cutter and a jigsaw on one bed.
As implementation and operation, I realized that this is an undertaking for a warm workshop. I actually have a street.
The box was made of plywood 20 mm thick.
After a couple of years, she led the countertop and began to heave plywood near the side walls, as she had not immediately painted.
There were problems with parallel and lateral stops.
Found pieces of laminated plywood for formwork.
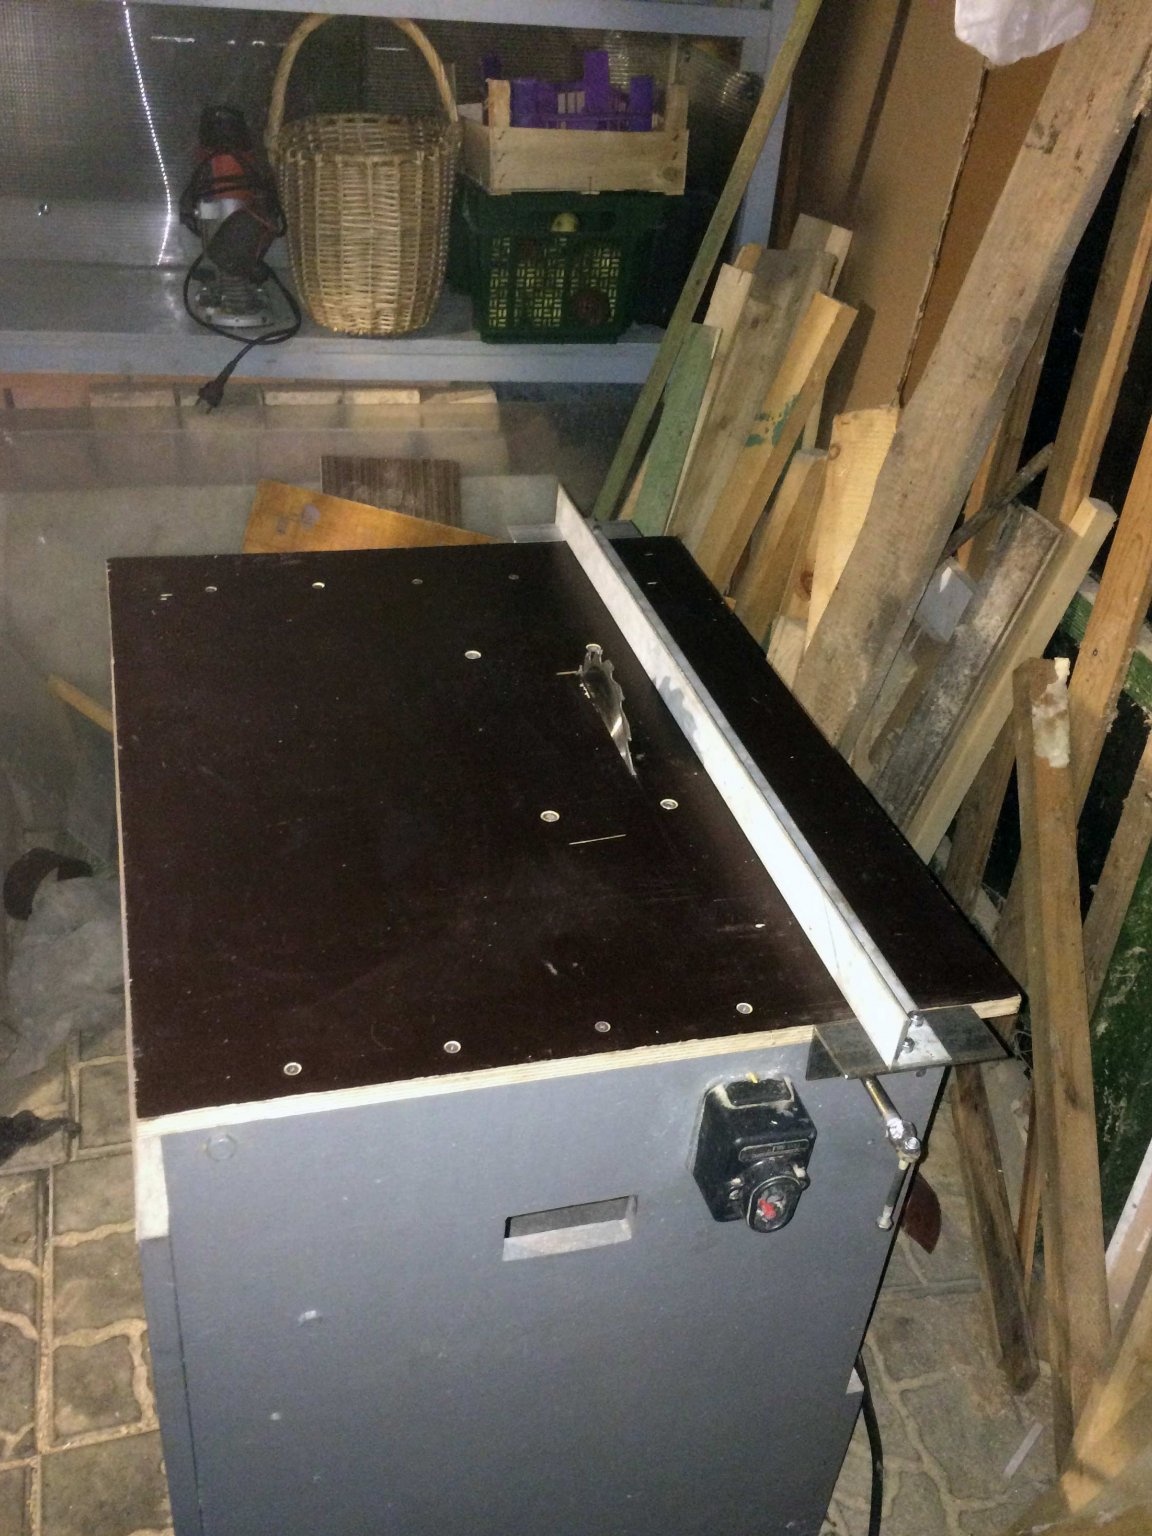
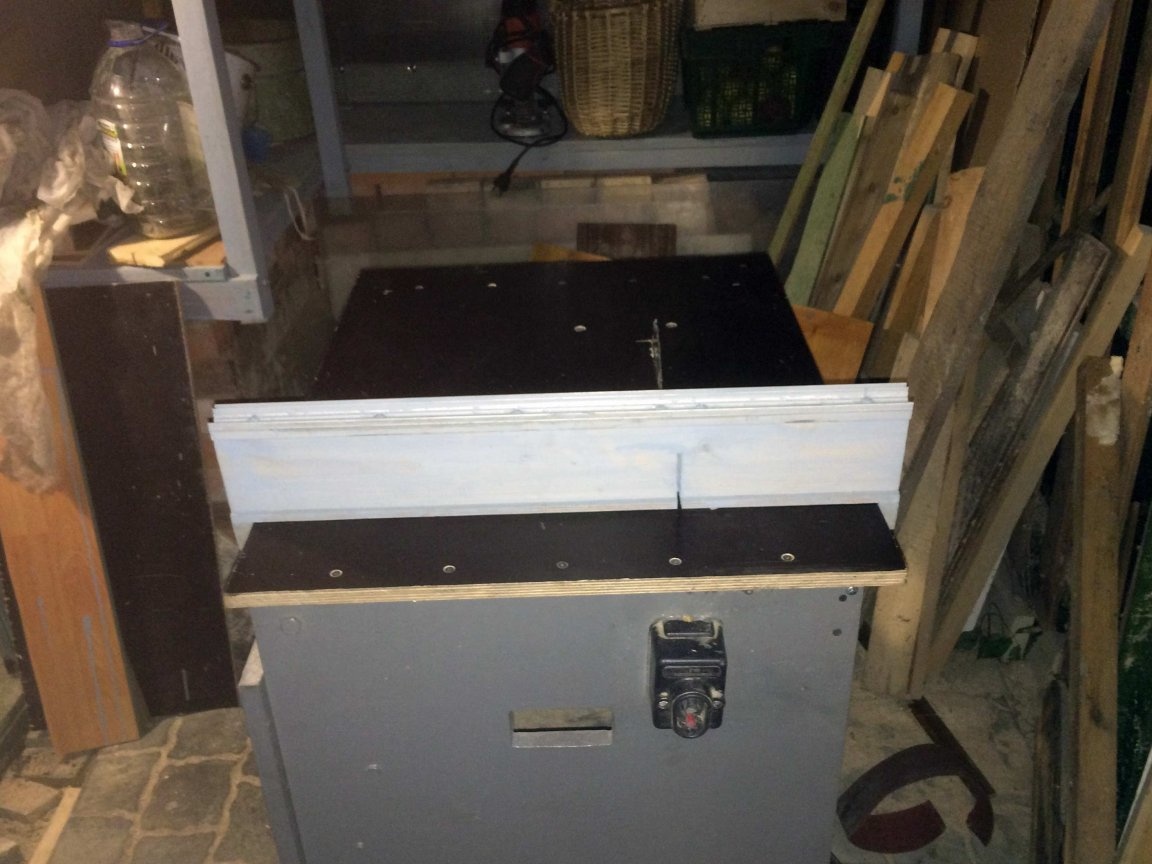
Sawed off a new countertop with a size of 1: 1 with the old.
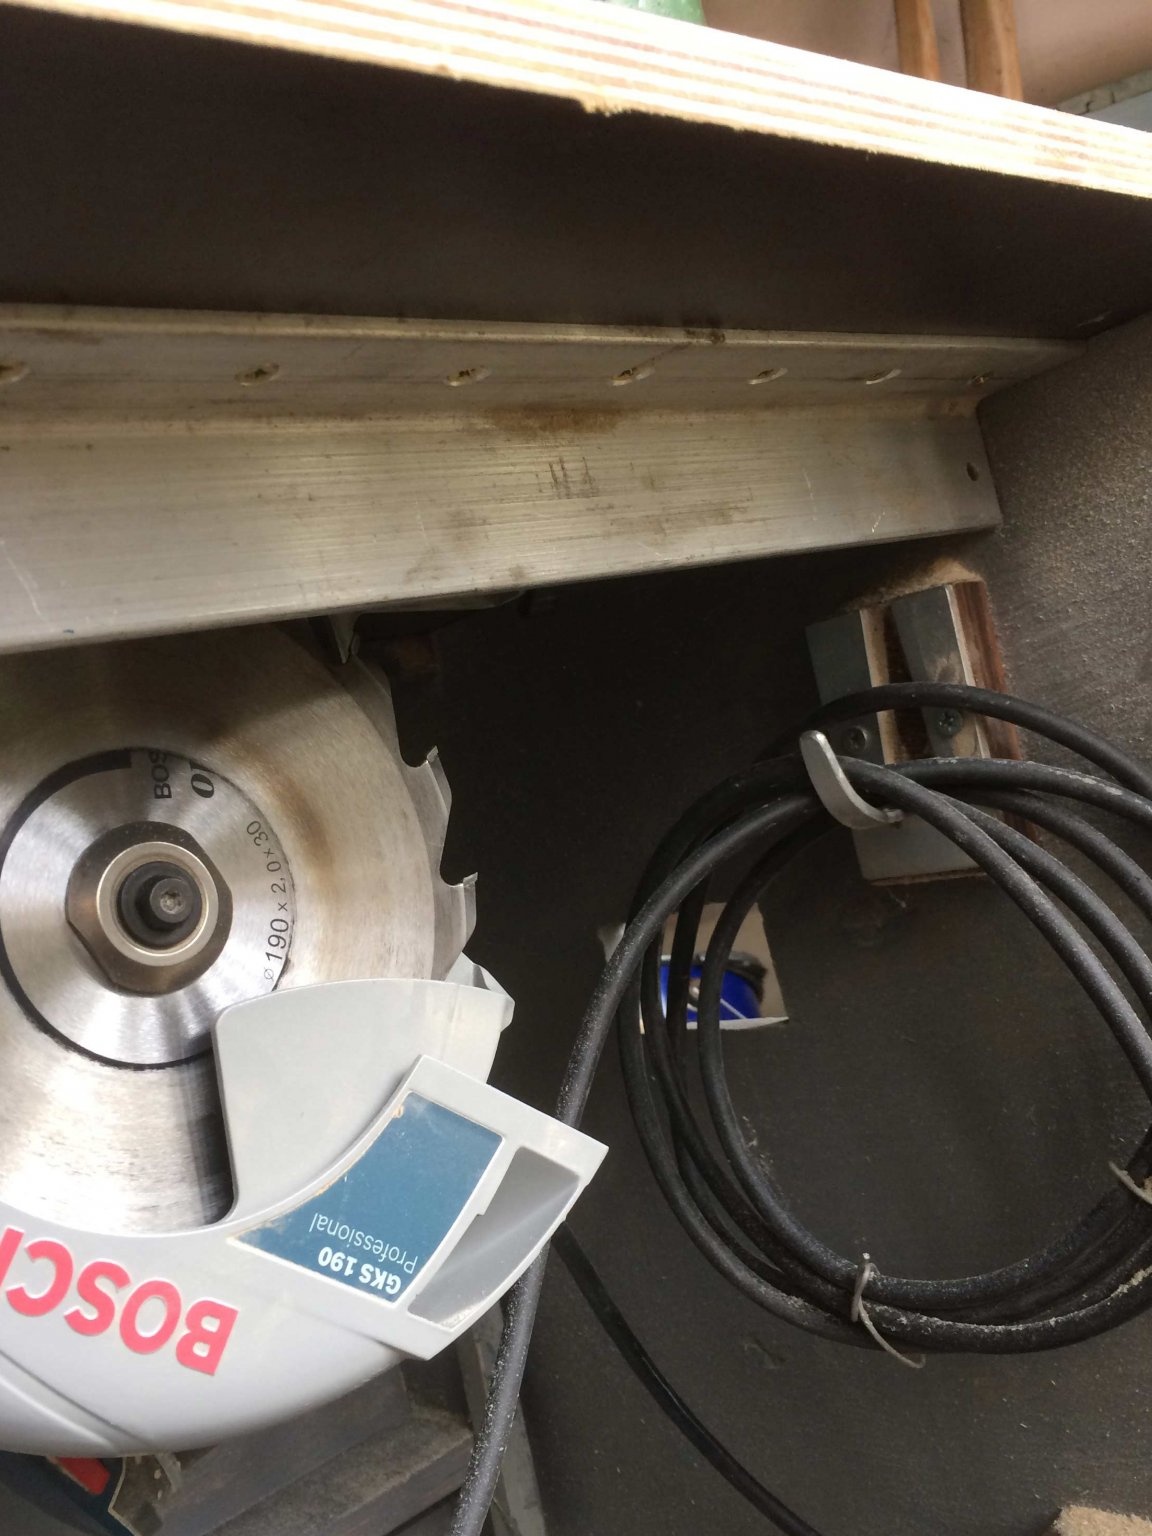
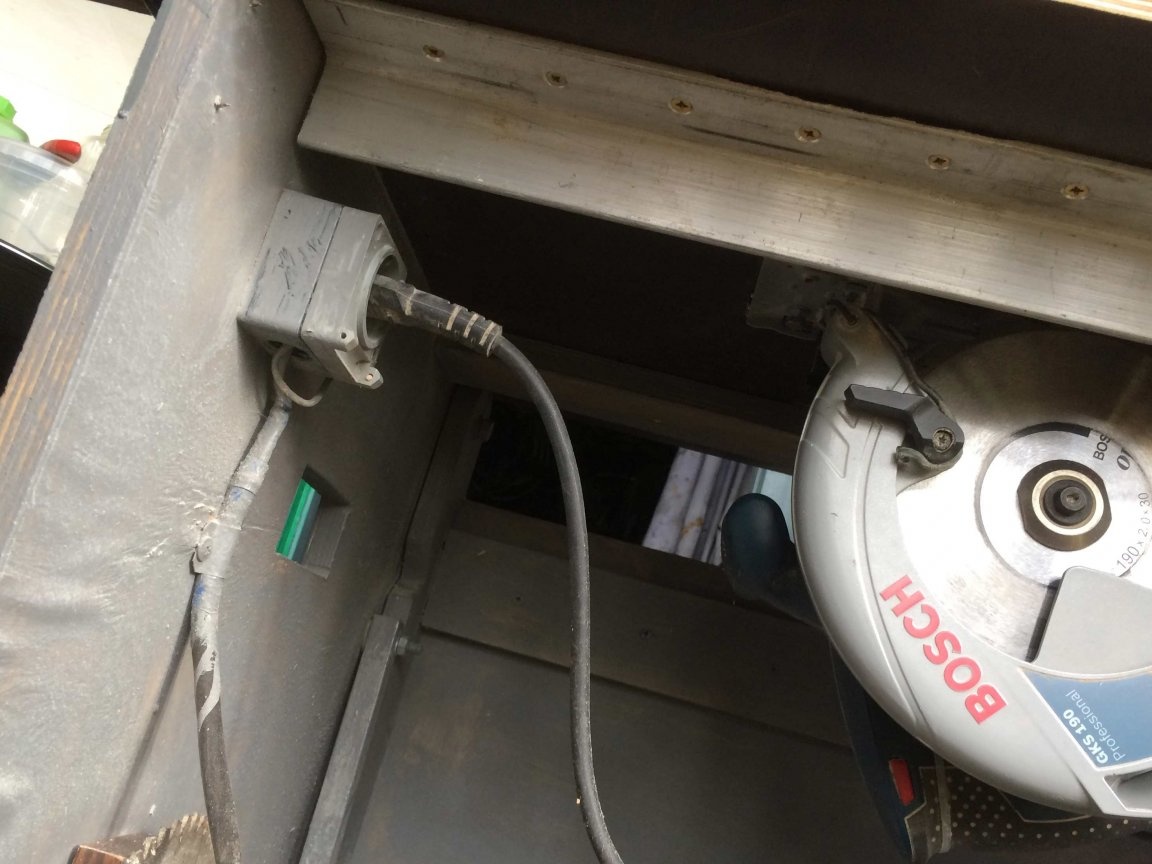
I installed a circular from an old countertop with a disk with a diameter of 190 mm.
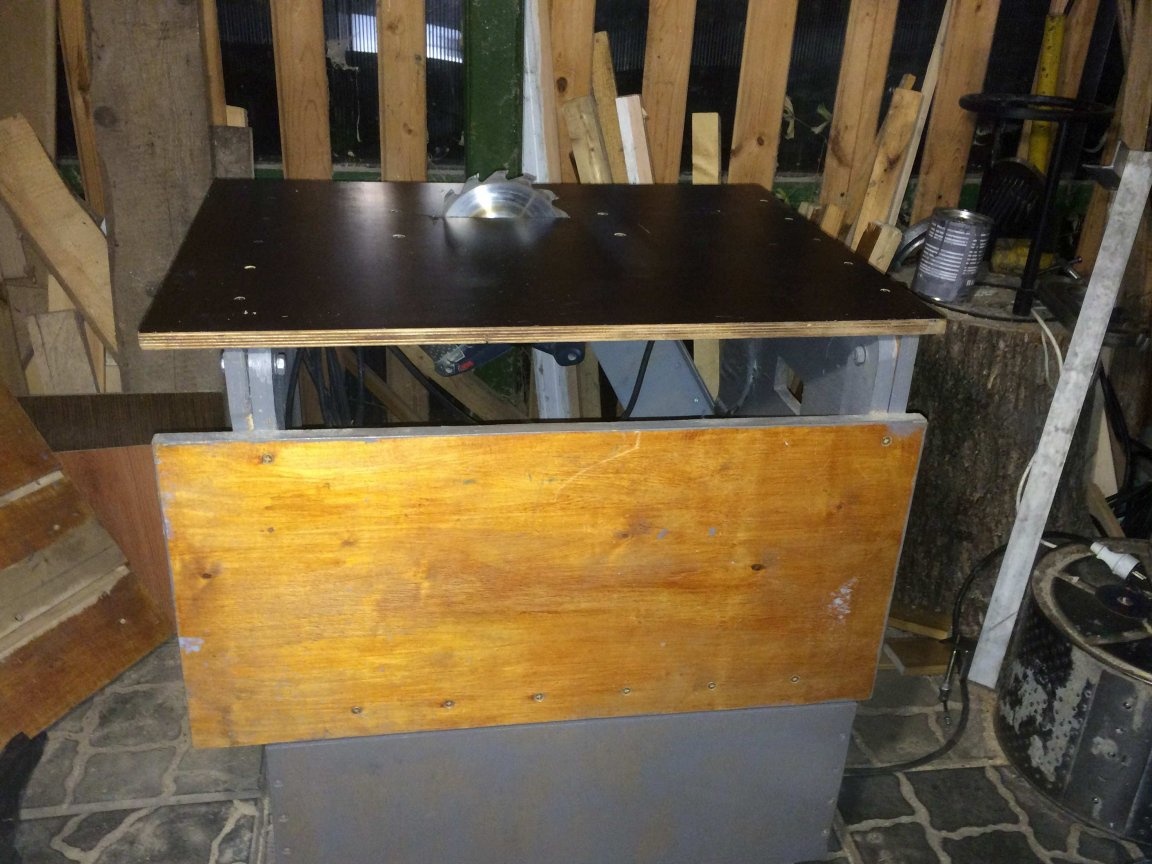
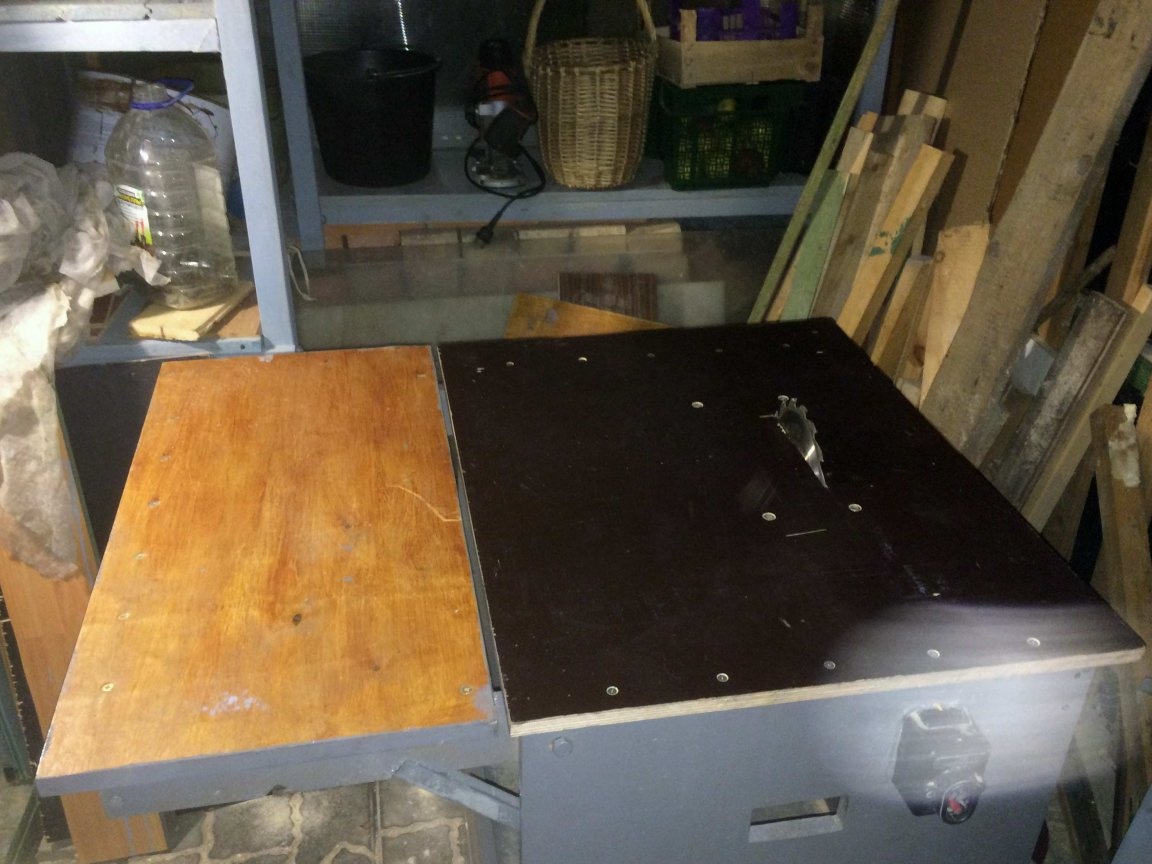
The folding table top remains from the old table (wood color). It is saturated with varnish ..
I painted the whole box on the outside and inside with gray paint PF 115.
It was supposed to install a milling cutter on one side and a jigsaw on the other on a folding tabletop.
In the manufacturing process, I decided to make only a circular and one of 2 folding tabletops.
There was a problem with the parallel focus.
I had to manually set up parallelism with the saw blade for a long time.
Cross emphasis also did not cause joy.
For transverse emphasis in the old countertop, I made a recess of 10 mm and inserted a U-shaped profile of aluminum.
The emphasis worked poorly.
Sawdust fell into the profile and the emphasis wedged.
Cross emphasis (new)
Revised many designs. I decided to make my own.
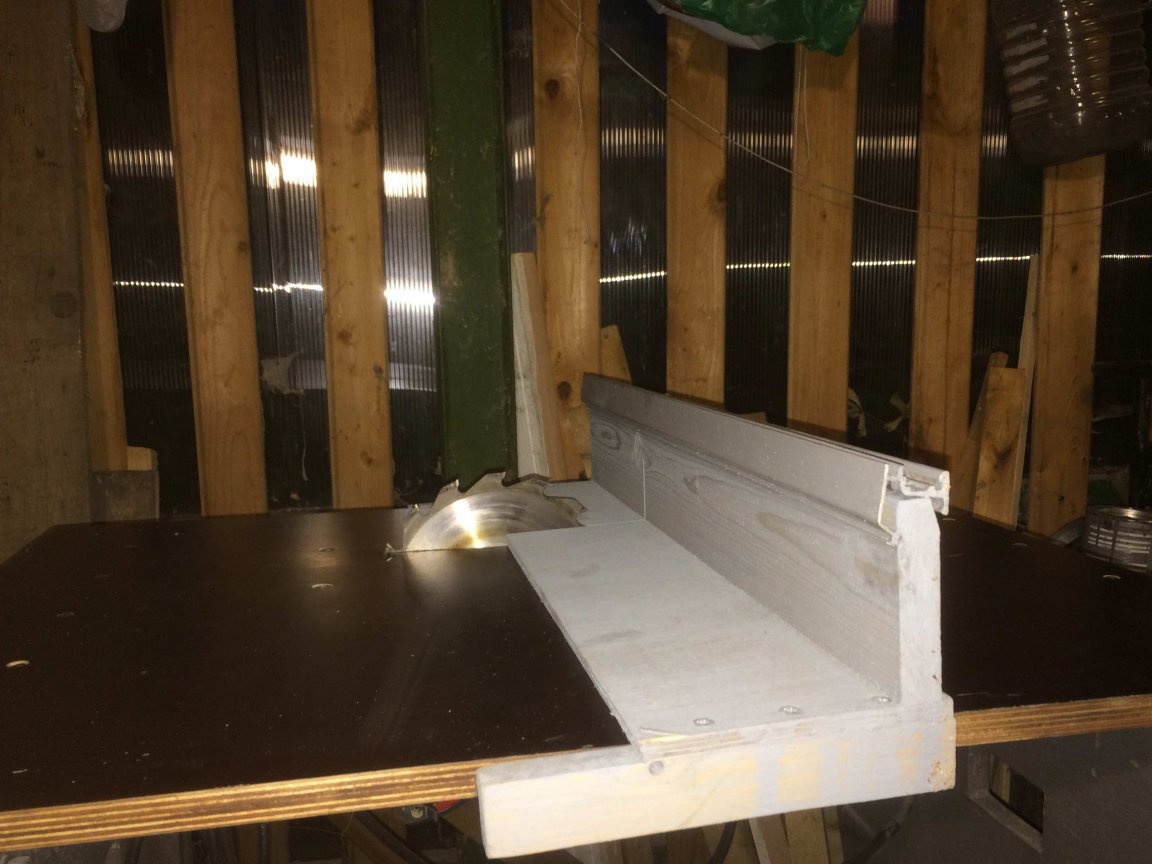
The horizontal part is plywood 10 mm thick. 15 cm wide
The vertical part is made of 20 mm thick lining. Height 14 cm.
Guides - 20 cm wood blocks.
On the top of the board I installed an aluminum profile for rigidity.
I don’t know what it was intended for, but it fit well into the design.
Hands do not slip on it.
The vertical part received additional rigidity.
The whole tree is painted with moisture resistant Finnish gray impregnation.
Cross Stop Alignment
Nowhere are they talking about adjusting the lateral stop.
At least not found.
It is understood that everything is parallel and everywhere angles are exactly 90 degrees.
No matter how I tried neither for the first time, nor to set the saw parallel to the side, this failed. There is still a slight angle.
Steps for assembling and adjusting the transverse stop:
1. I connected the plywood with a vertical board (from the lining) with self-tapping screws through 50 mm.
2. On one side, attached the rail with one self-tapping screw to the plywood.
3.I set the vertical board perpendicularly to the vertical plane relative to the plane of the saw blade (slightly rotating the guide) and fixed the guide with 2 more self-tapping screws.
4. I leaned the second guide to the other side of the stop with a small gap (0.5 mm - you can lay a sheet of thin cardboard between the guide and the table top).
In the center of the rail with one screw, attached the rail to the plywood.
I was convinced that the stop movement does not play and at the same time it moves freely along the countertop.
I fixed the guide to the plywood with 2 more self-tapping screws.
(The holes for the screws went countersink)
I missed the end of the countertop with a thin layer of lithol.
A thin layer of lithol was also applied to the inside of the guide.
The cross emphasis slides freely without play.
During the manufacture, he made plywood and lining slips that were removed after the final assembly with a grinder.
Parallel emphasis
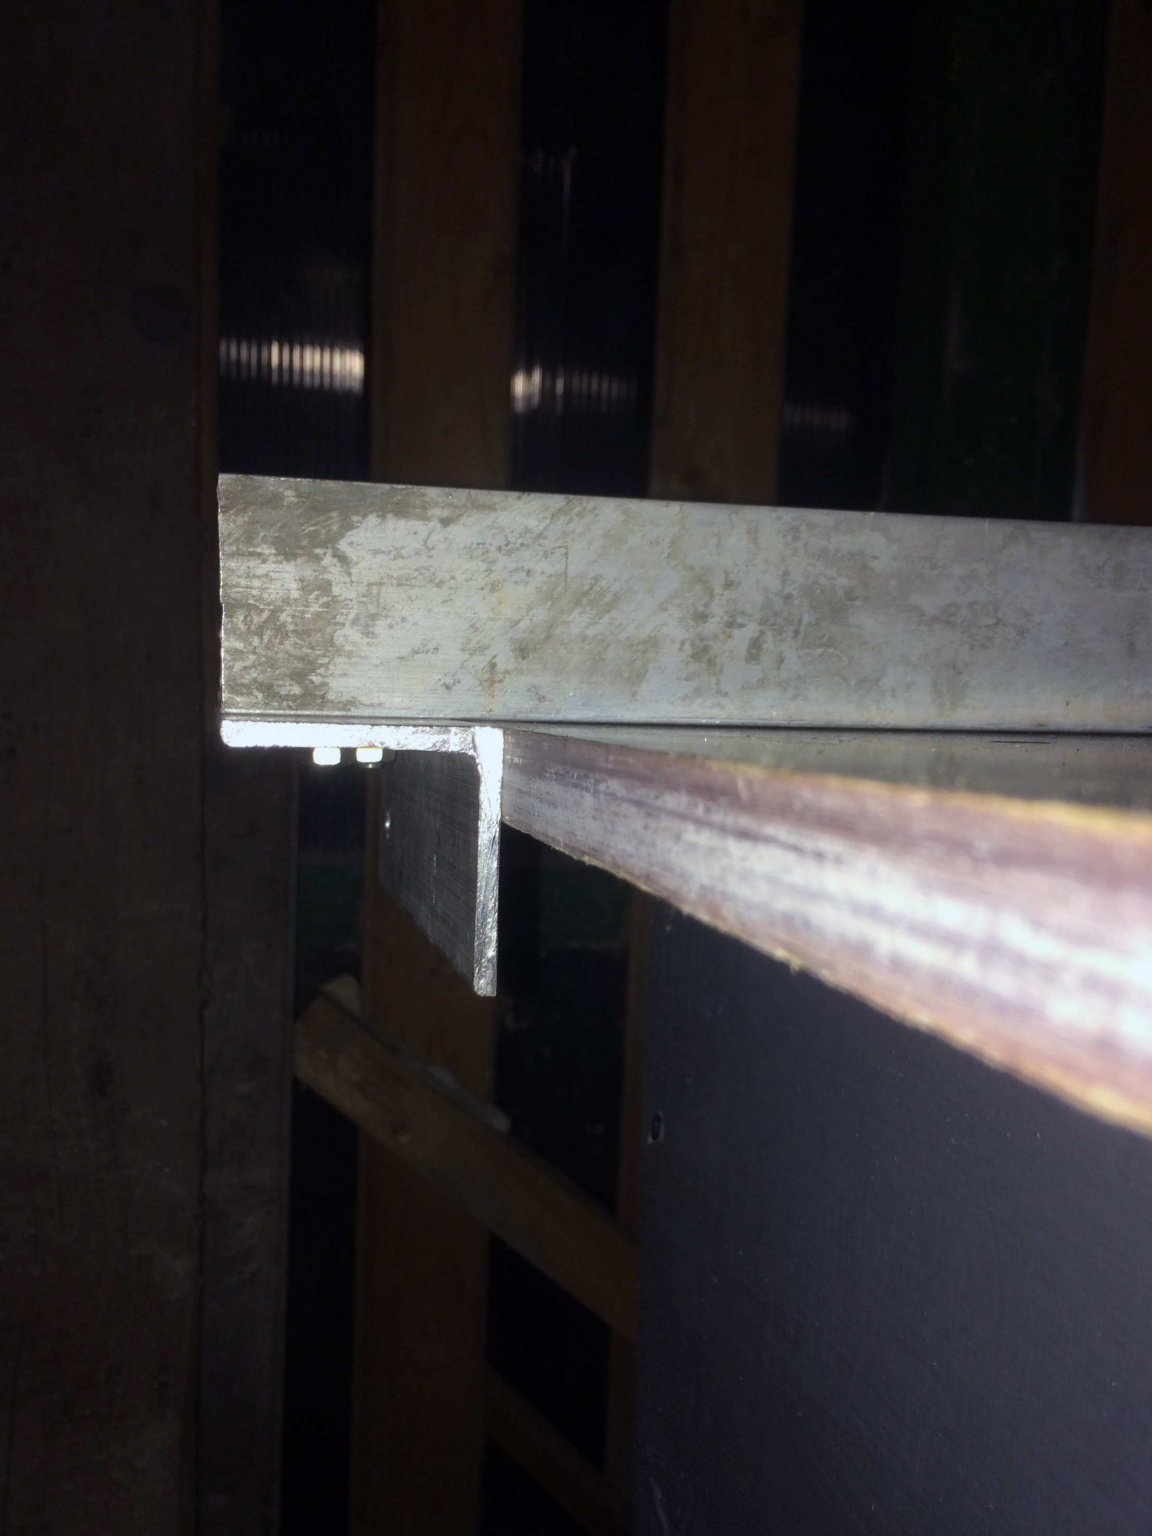
I have a thick aluminum corner with a side of 50 mm.
In the previous design, he was a parallel focus and in this decided to repeat, but taking into account previous mistakes.
From the far side, a piece of aluminum corner (short) 15 cm long is attached to the longitudinal (long) corner.
I fixed both corners with a clamp and drilled a 6.0 mm hole in both corners at the same time.
An M6 bolt inserted into this hole and, on the opposite side, fixed it with a nut and a washer (not very much).
He attached a long corner to the saw blade and turning a short corner made it tightly adjacent to the end of the countertop.
A strict parallel has formed between the long corner and the saw blade.
Clamp clamped both corners and drilled a second hole with a diameter of 6.0 mm in both corners at the same time. The 2nd bolt is inserted into it. Both bolts tightened tightly.
Now the offset of the large corner will be strictly parallel to the saw blade.
On the opposite side, I attached a 15 cm long steel corner to a long corner.
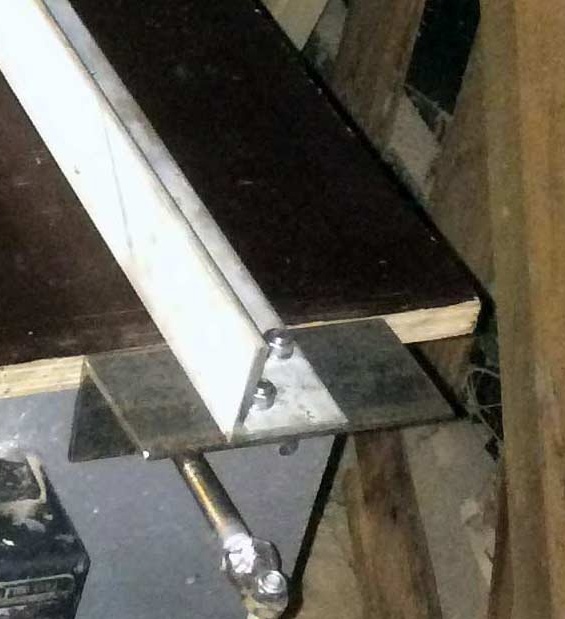
The orientation of the steel corner relative to the countertops made by analogy with the aluminum short corner. I fastened the corners with 2 M6 bolts.
Polished the side of the steel corner adjacent to the countertop with a grinder.
The ends of the countertops and corners are lubricated with a thin layer of lithol.
I drilled a hole in a steel corner and cut an M10 thread.
To an M10 bolt, welded an eye with a handle for clamping
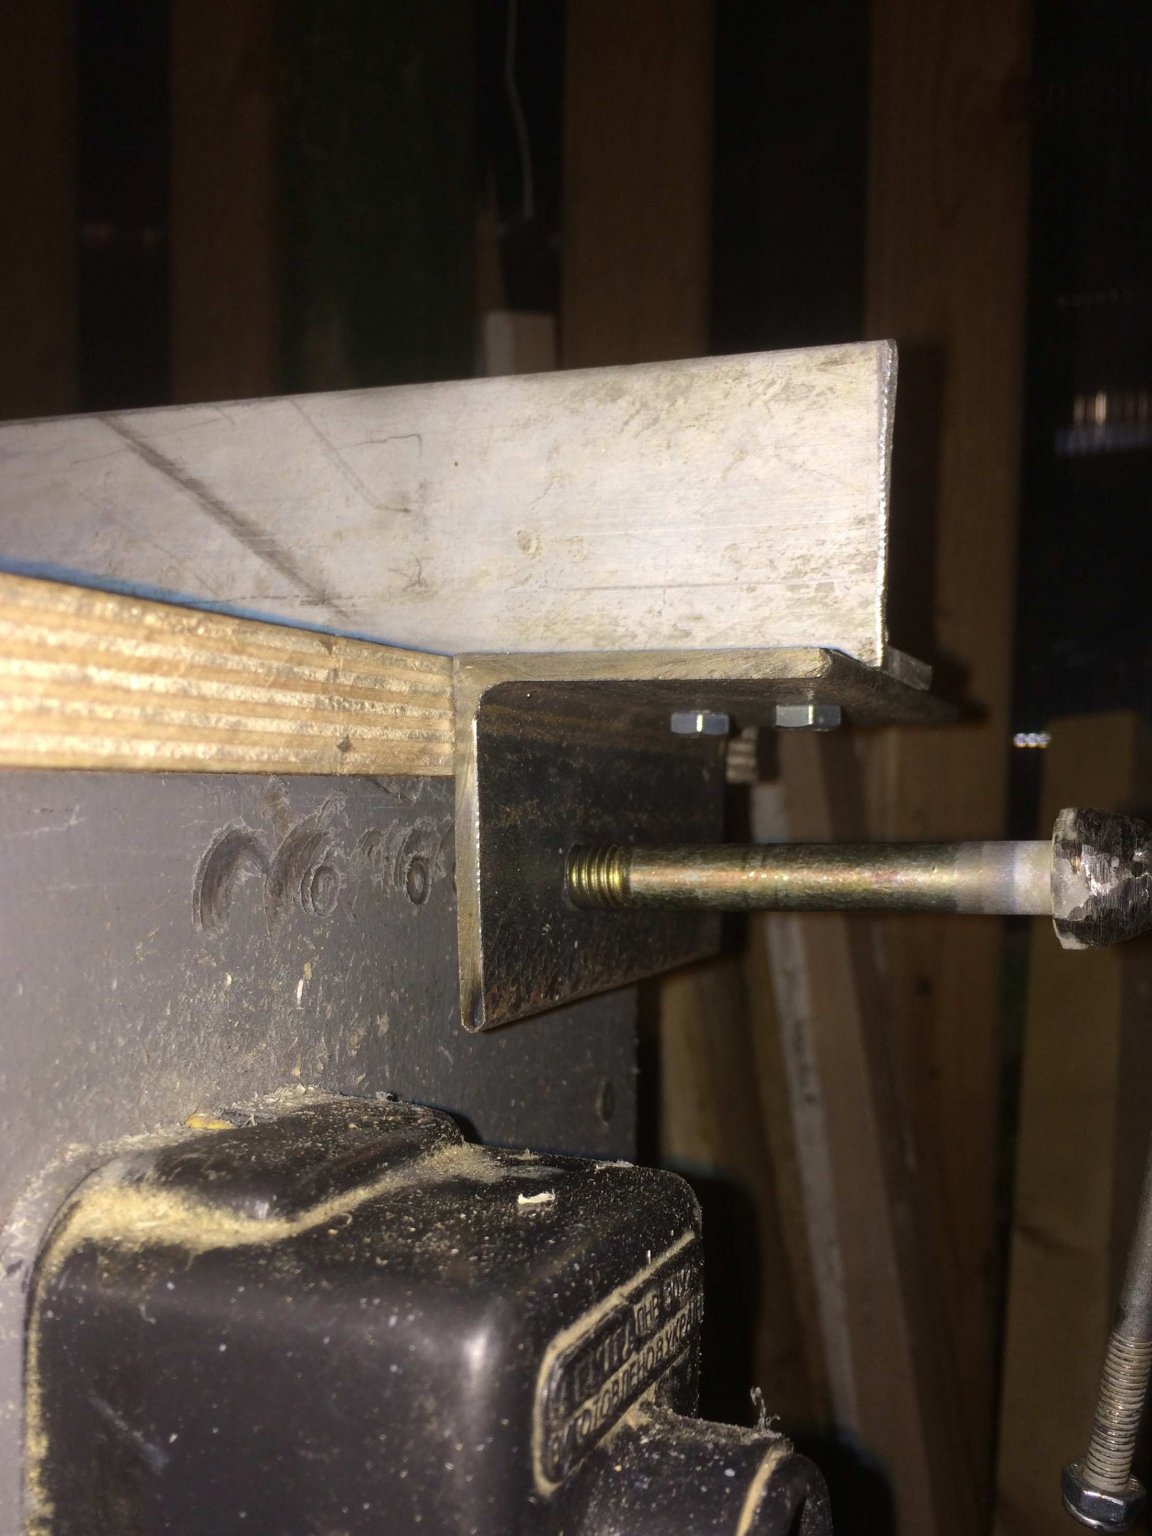
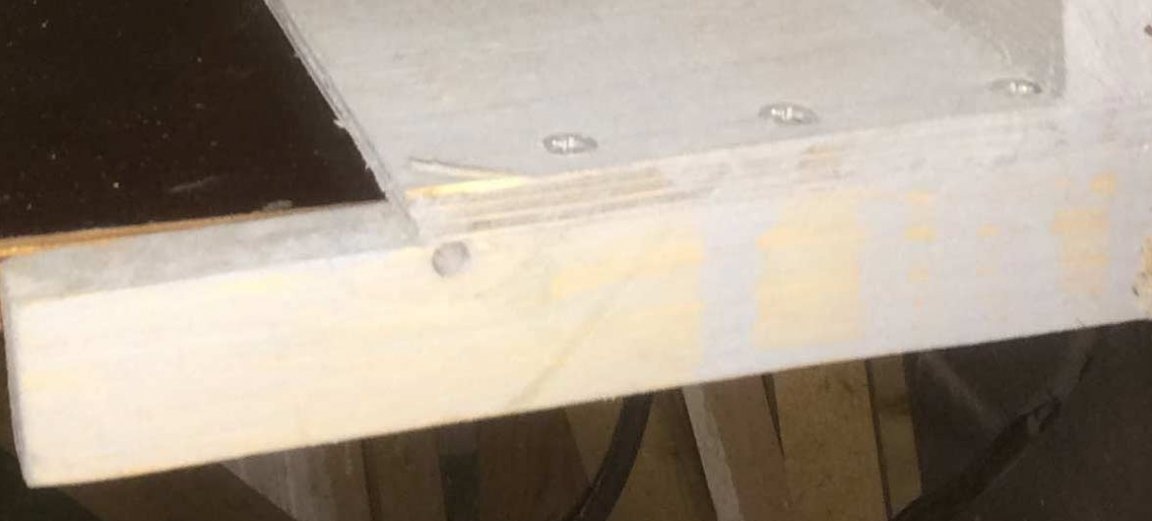
When the bolt is screwed in, the parallel stop is fixed. Bolt marks are visible on the body. A metal plate will be installed in this place, and the end of the bolt will be given a conical shape.
The first trial cuts showed much better results than the old design.
From the bottom of the tabletop to the right of the saw, an aluminum corner from the old parallel stop is attached for the entire rigidity for additional rigidity (through self-tapping screws after 7 cm).
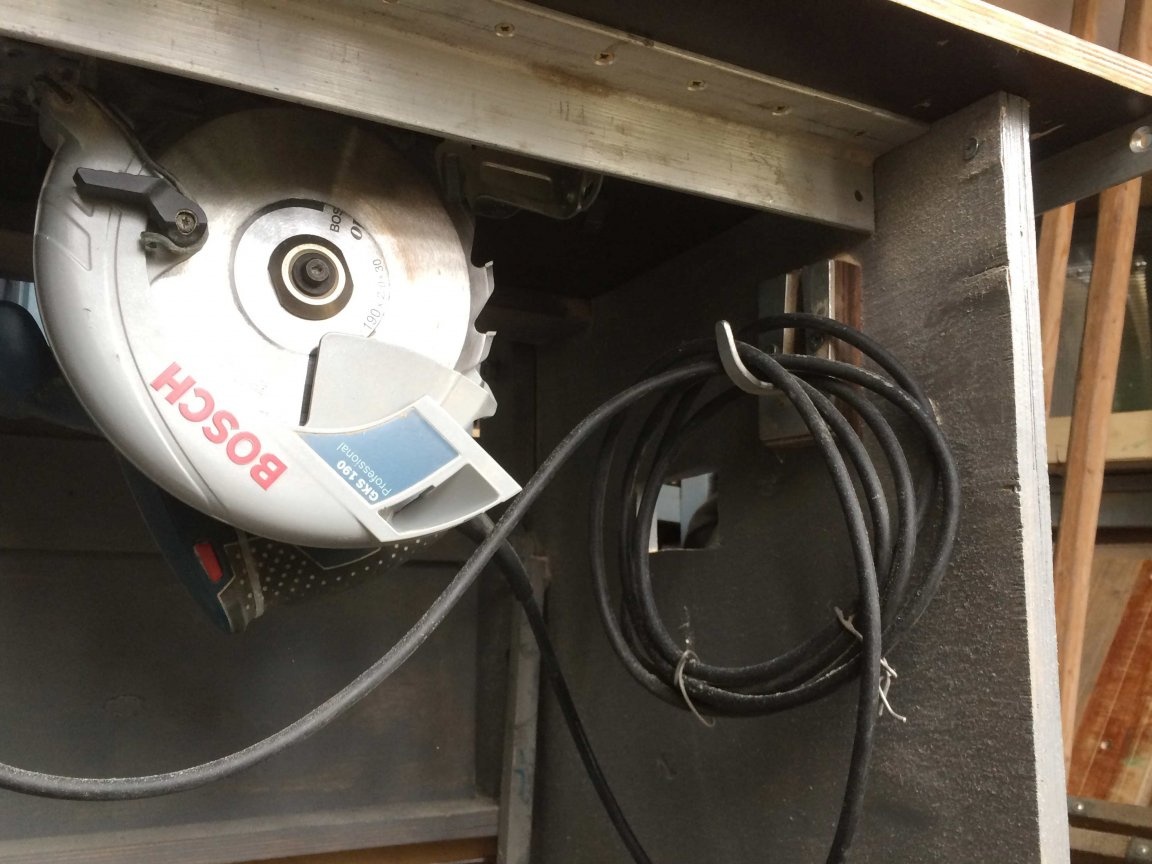
Inside the design are hooks for hanging circular wires and spare saw blades
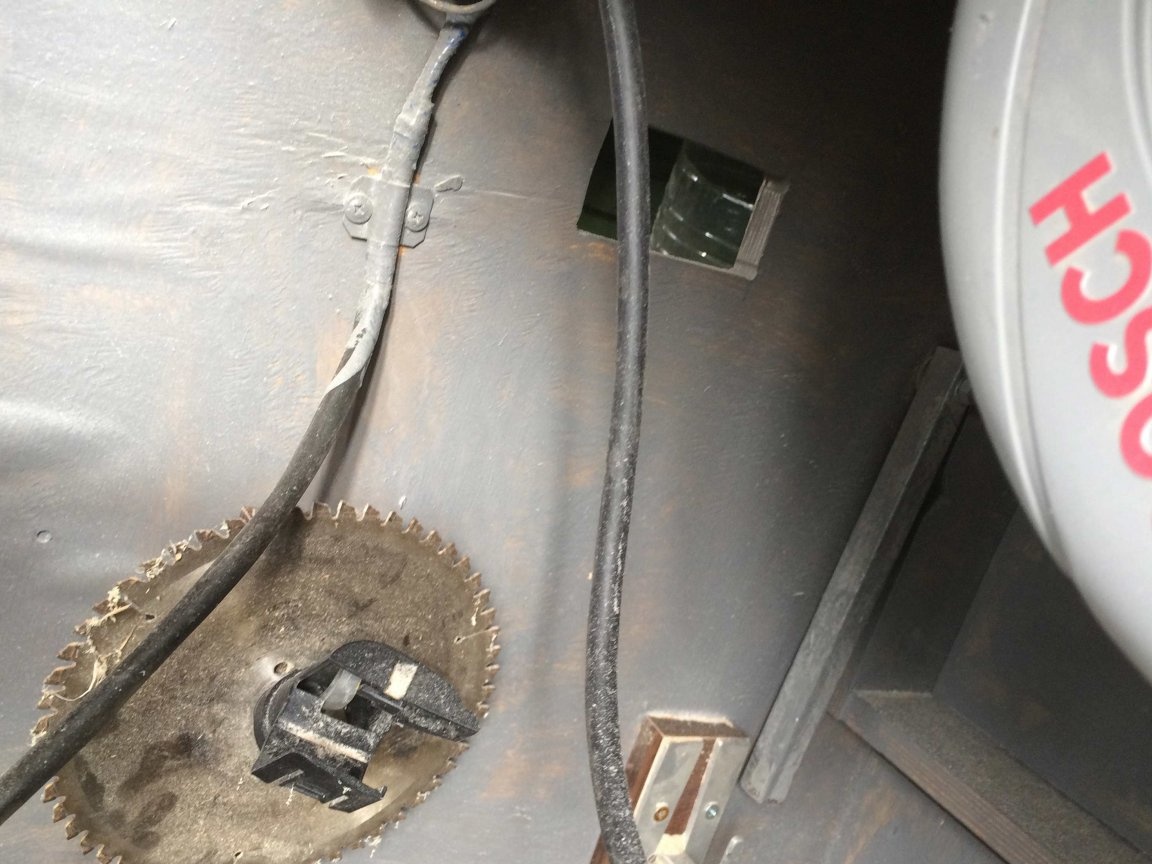
The circuit is connected to the outlet that stands after the switch.
Sawdust fall down. They are very convenient to clean with a vacuum cleaner with a nozzle "Cyclone".