

Good day to all the masters!
I want to share the experience of repairing the support (stand) of the soldering iron of polypropylene pipes.
While doing holster For this soldering iron, the support broke. First, after the purchase, doubts about the quality of this support immediately crept in, it bent very well, although for this tool it should be, at least, made of metal. The expected breakdown was not long in coming. A soldering iron was bought just like a couple of weeks.

Instruments
- soldering iron (normal)
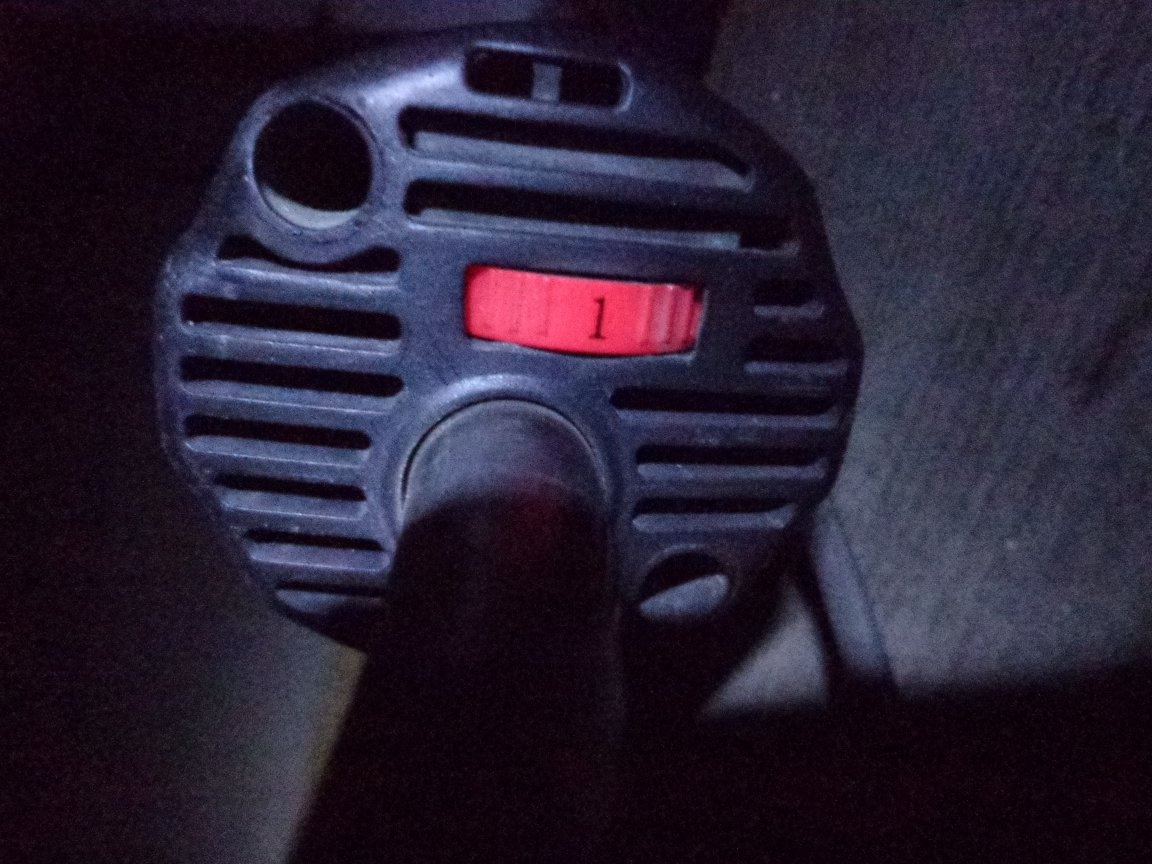
- ear (grinder with speed control)
- scissors for metal (for cutting plastic)
- stationery knife
- Soldering Station
- epoxy glass
Material
- bicomponent epoxy
- scraps of the 110th sewer pipe
- electrical tape (for fixing)
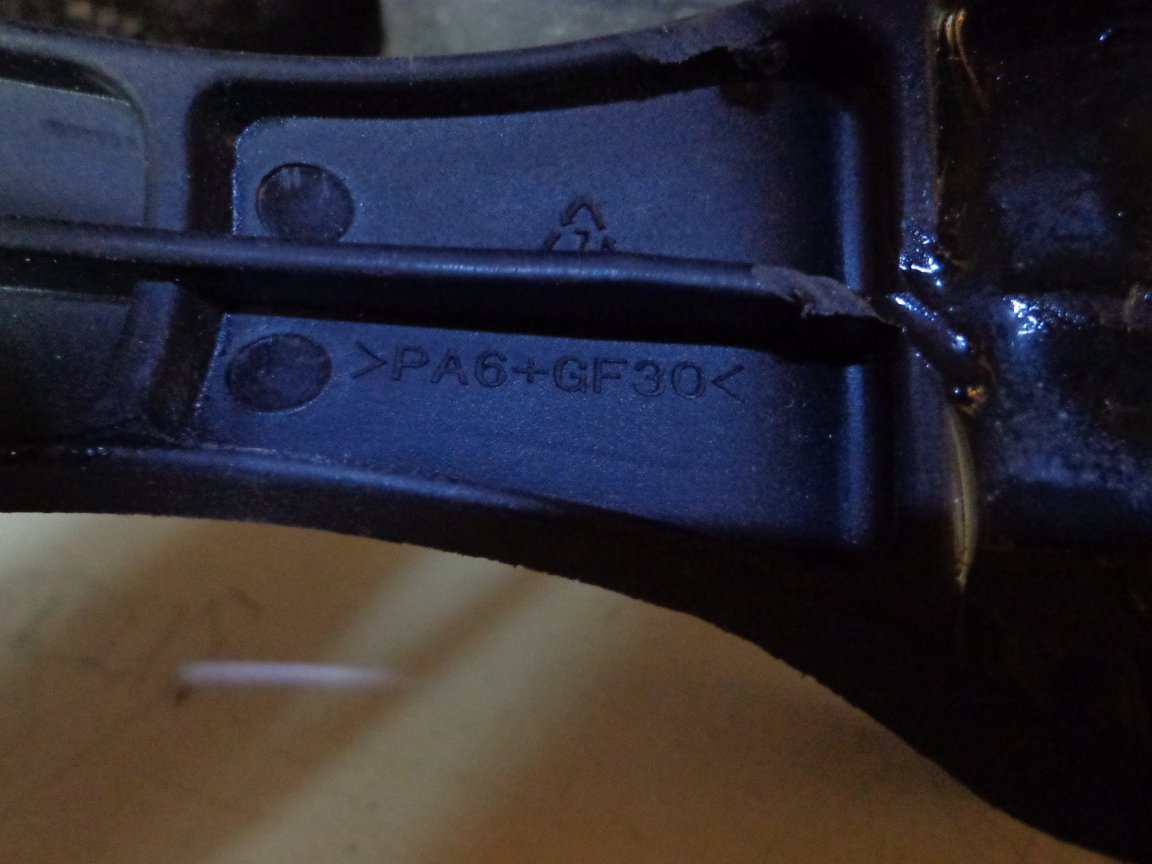
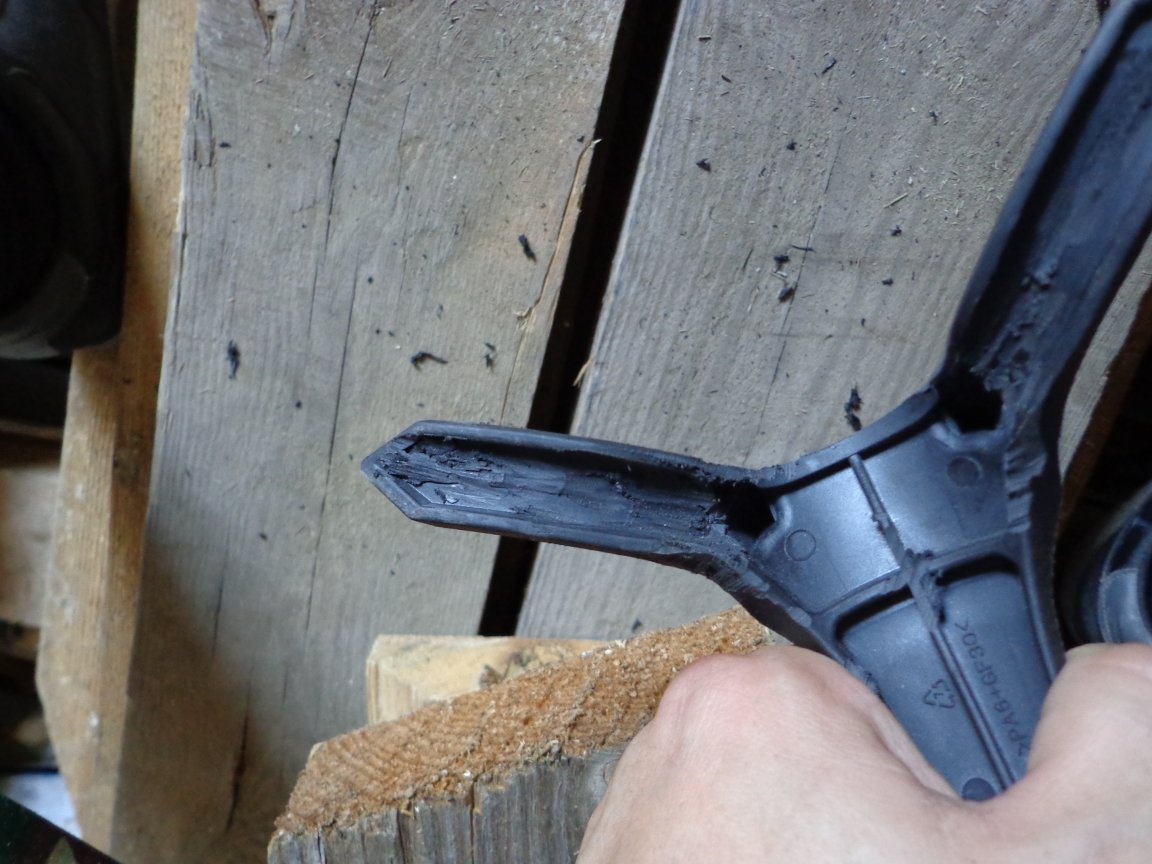
At first I decided to seal the crack with an ordinary soldering iron and to solder as I did the box for "grinders", but when it was soldered, I found that among the existing plastic rubbish there is no identical plastic, but this is "polyamide 6" (PA6). The support is made of> PA6 + GF30 <(reinforced with fiberglass 30 units), ordinary RA is also suitable for repair.
Although in the process of "brain damage" how to repair it, doubts crept in, but is it generally RA6? Judging by because I was holding in my hands, apparently this is not RA6.
I found an article on the Internet, here on it link.
PA6 "having good strength and antifriction properties", it is hard to believe that the support is made of it.
How much I came across it, it is durable ... and this one: firstly soft, secondly it easily broke, etc.
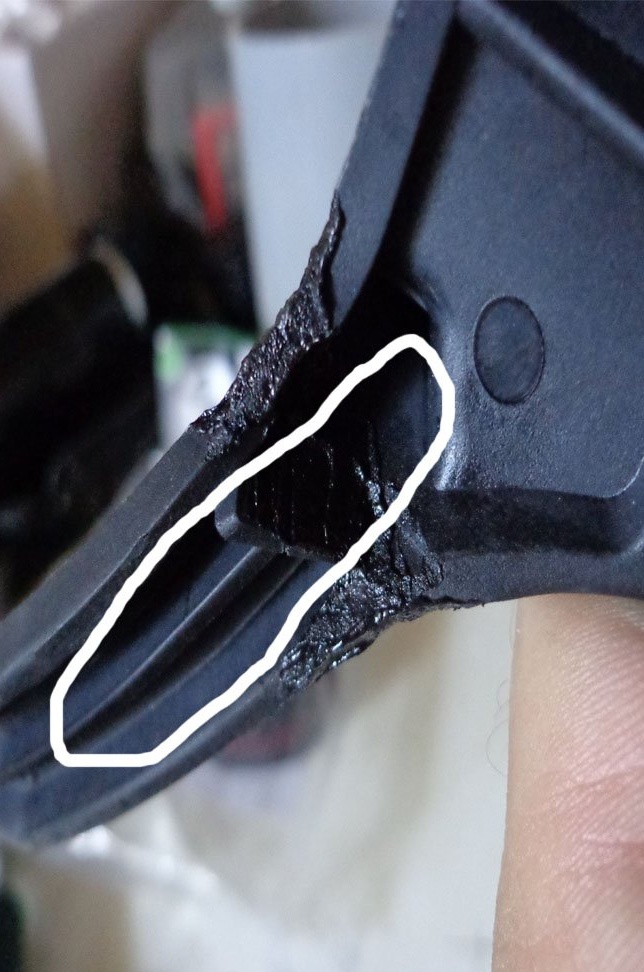
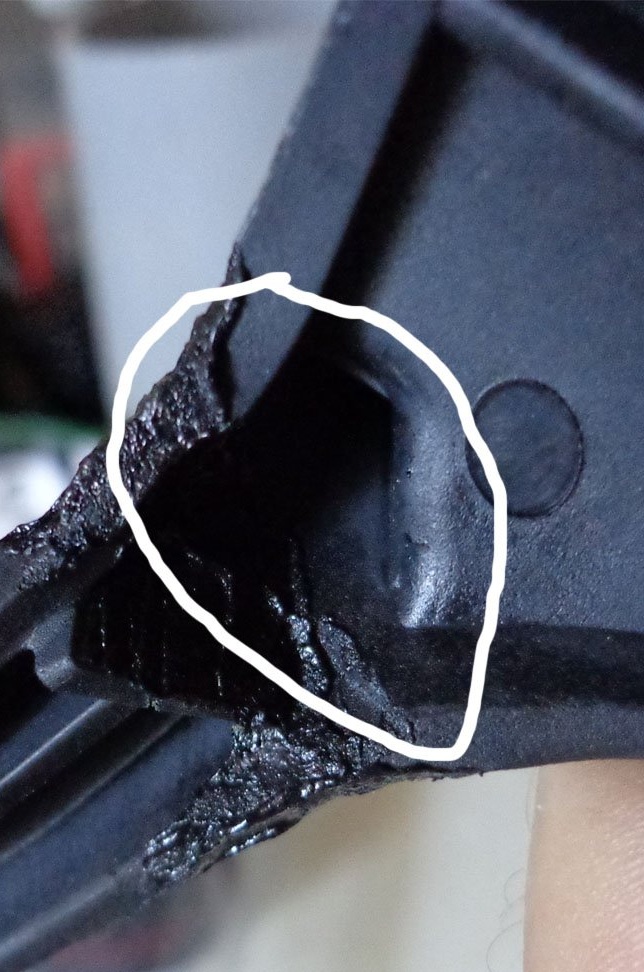
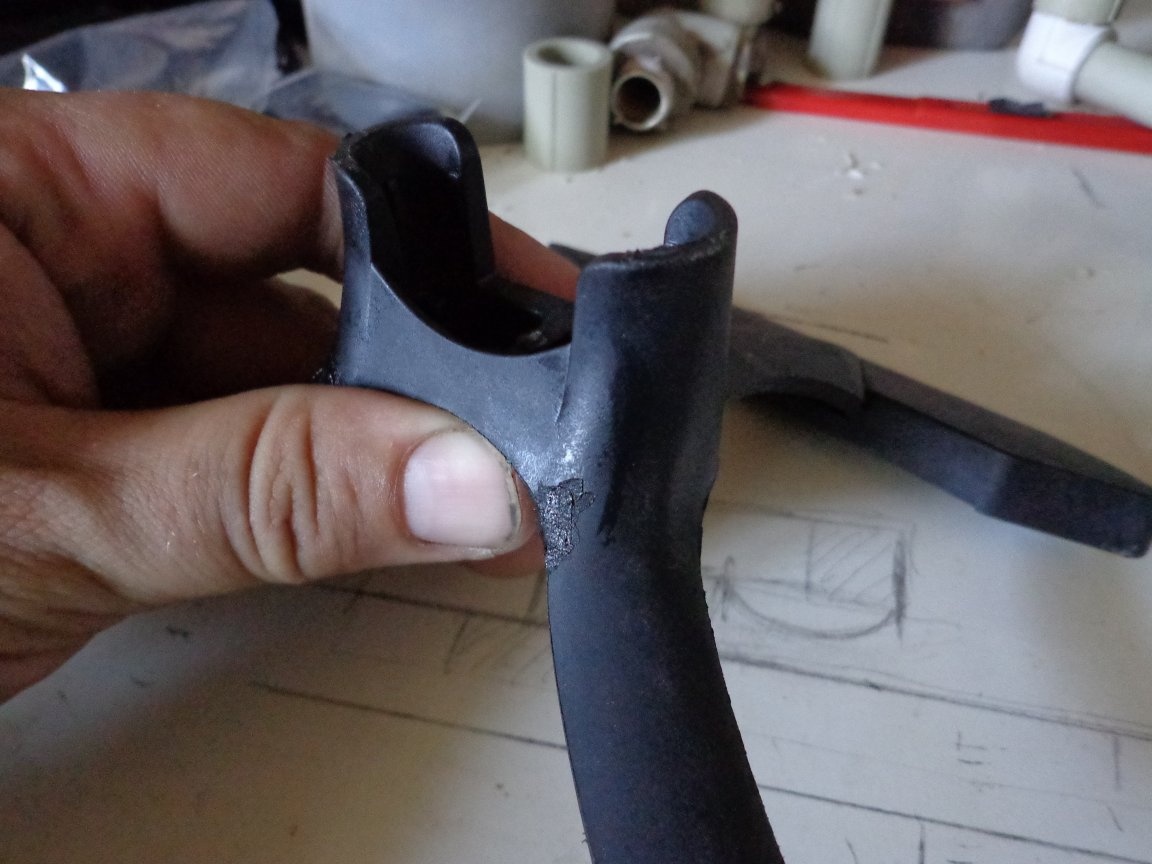
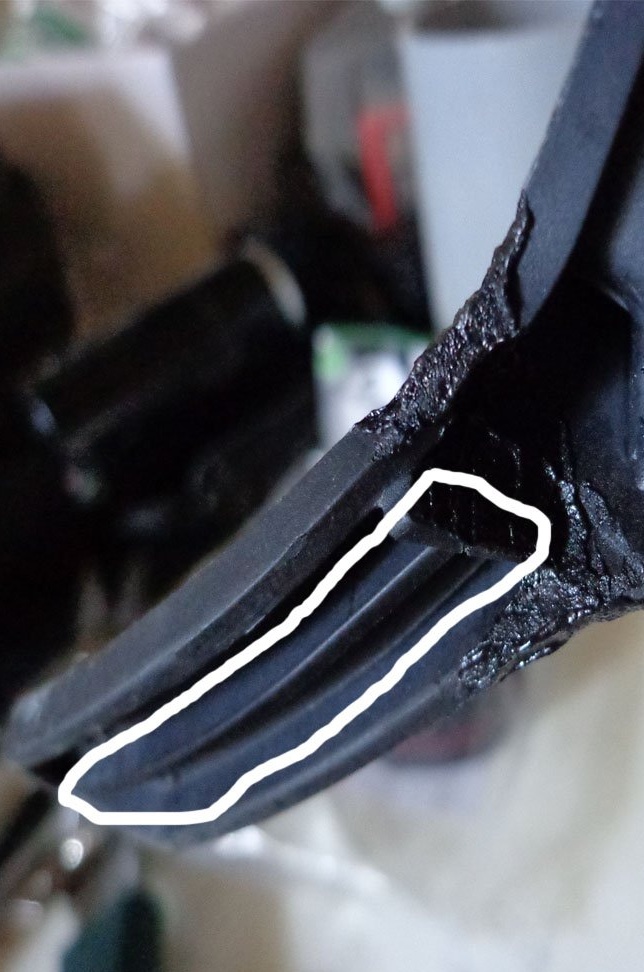
The support broke just in the place where the stiffener should be, but it is not there.
I decided to immediately get to work without drawing into the details.
Step 1: Restore the primary form.
I soldered the broken leg to the support itself with an ordinary soldering iron.
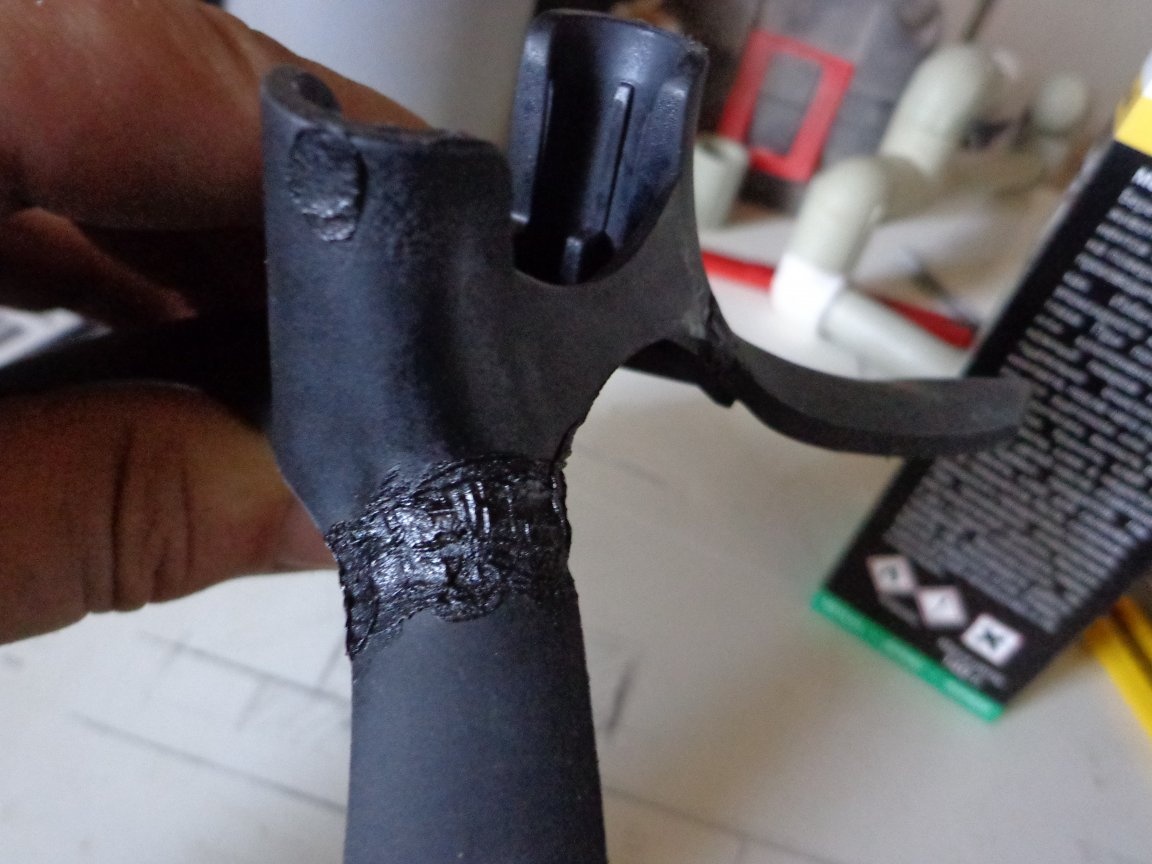
As the primary form recovered, I noticed grooves on the inside after molding.
There was an idea to use these recesses to strengthen the legs.
Step 2: material selection.
Of the available, tested for strength plastics, the first thing that caught my eye was the 110th sewer pipe, scraps from it.
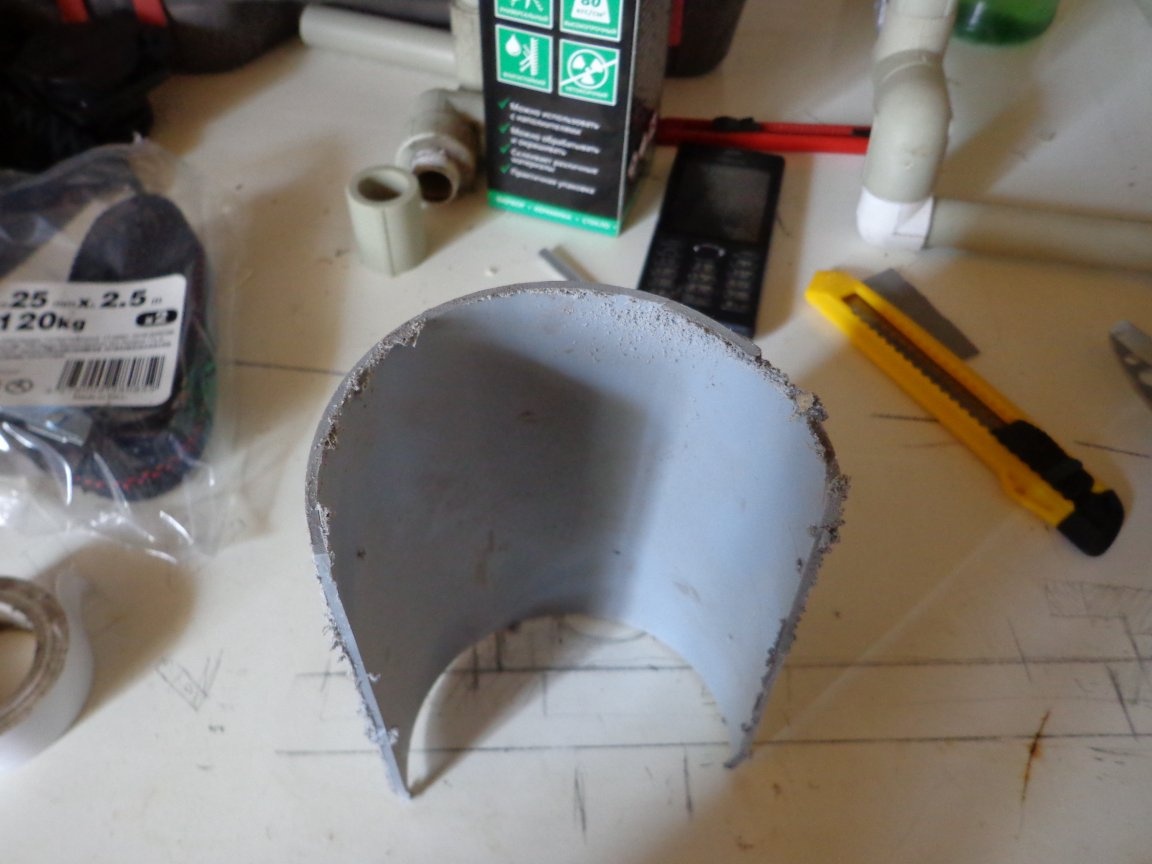
I cut the metal into two strips with scissors, two “crutches” were obtained (along the length of the legs themselves, plus 2–3 cm, to insert them into the recesses).
Two strips were required due to the fact that I found a crack on the second leg symmetrically to the first, so you have to do everything also symmetrically.
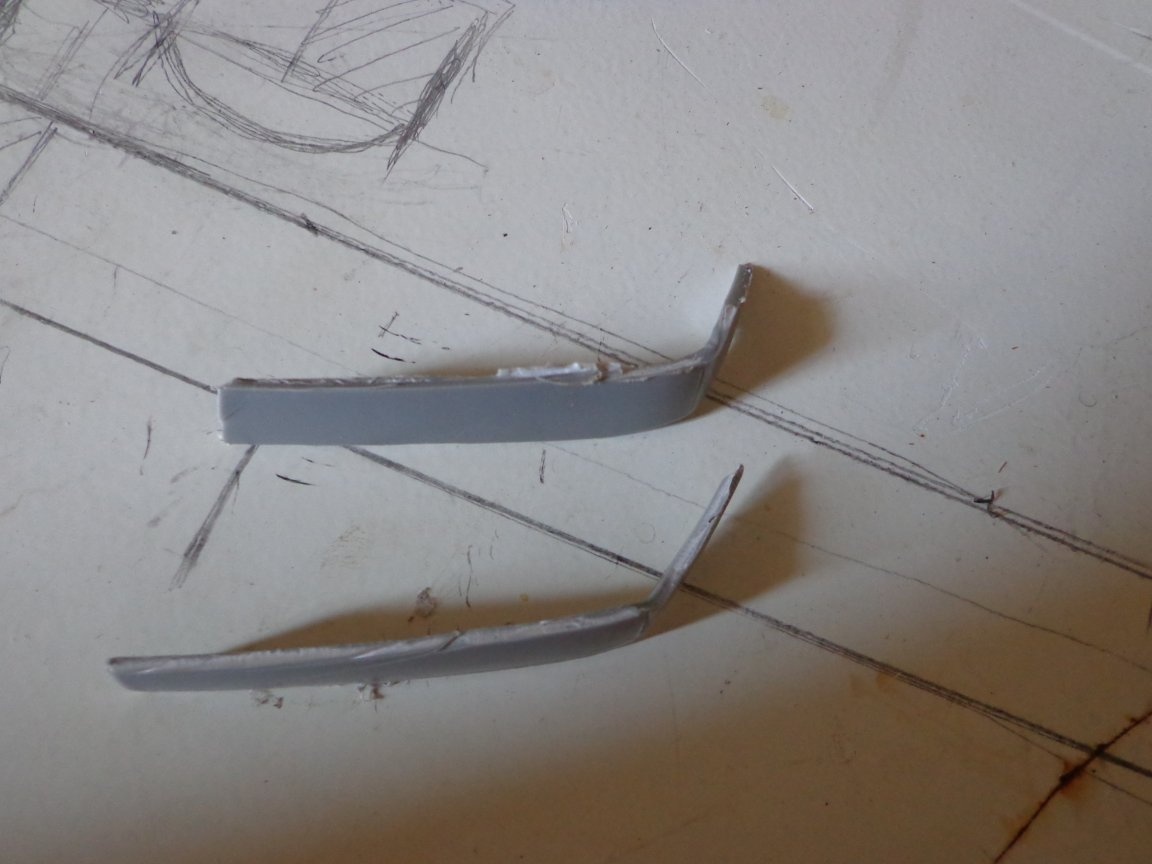
On the one hand, we bend them, it could be done either with a soldering iron or a soldering station, but decided to try another idea!
I didn’t cut it with a clerical knife to the full depth, the strength will be lost, but on the whole the plate will remain intact and it can be bent inside without extra effort.
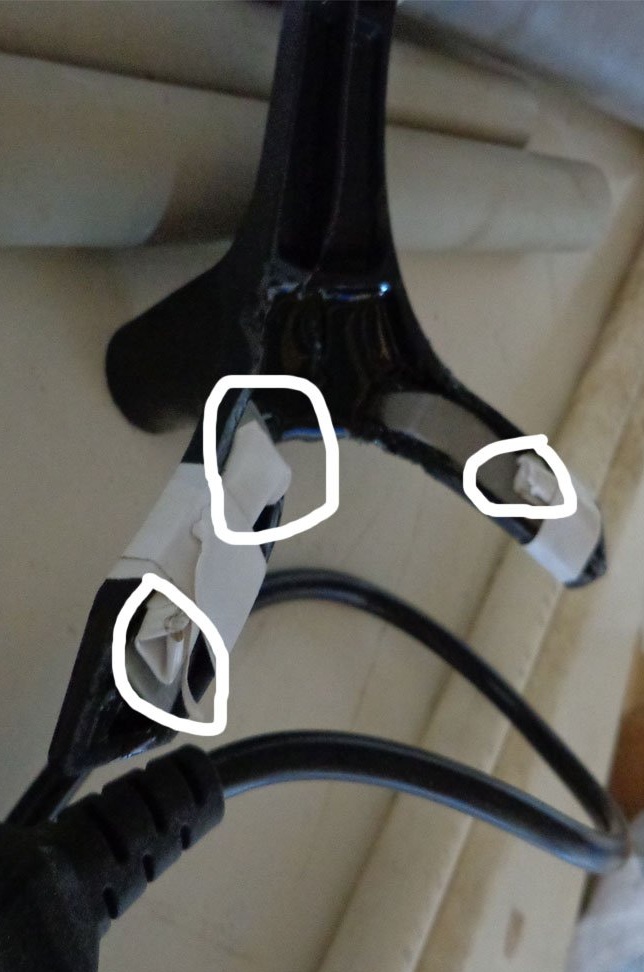
Step 3: Surface preparation and epoxy treatment.
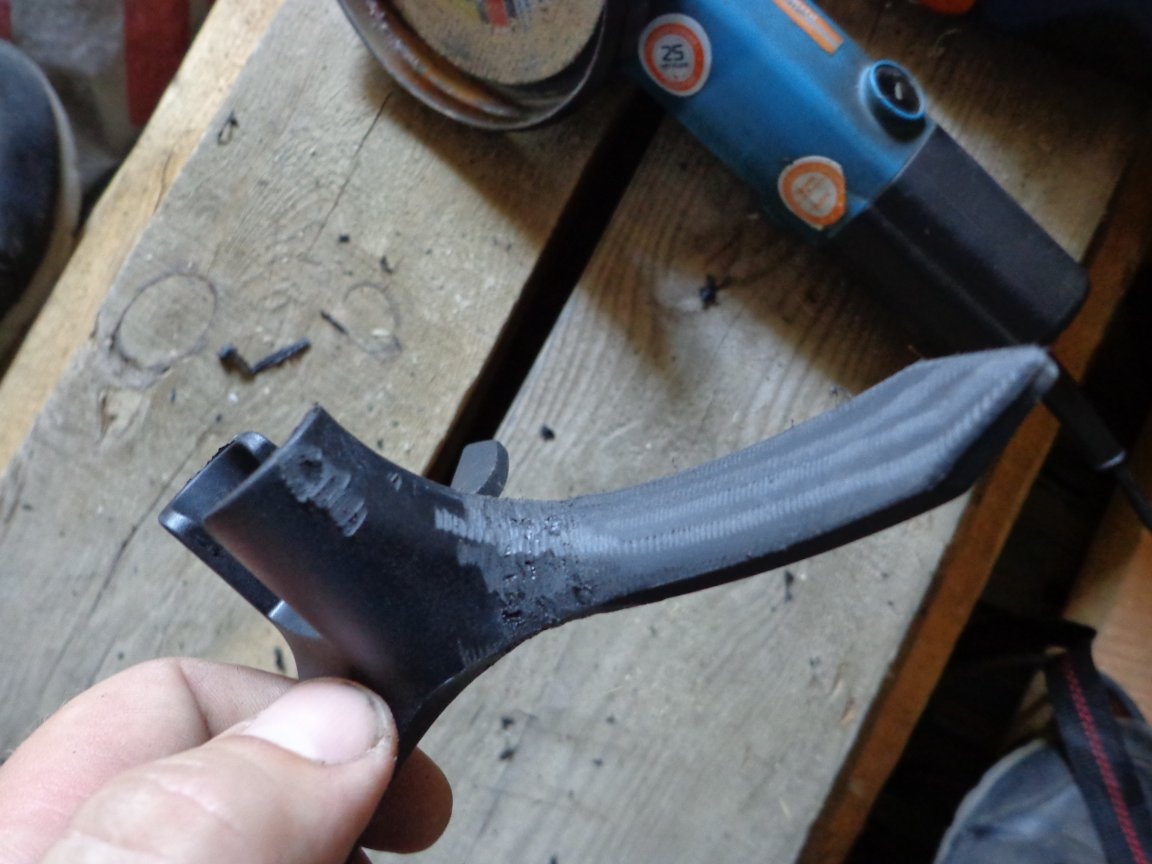
Before inserting reinforcing “crutches”, stiffening ribs should be removed on the legs. The manufacturer did not think about how the reinforcing parts of the structure should be.
The angle grinder was set to minimum speed (convenient when cutting materials from plastic).
I chose (cut, licked, etc.) those in the middle.
It makes no sense to grind to a smooth state, on the contrary, roughness and roughness are needed, an epoxy is better to grab onto such a surface.

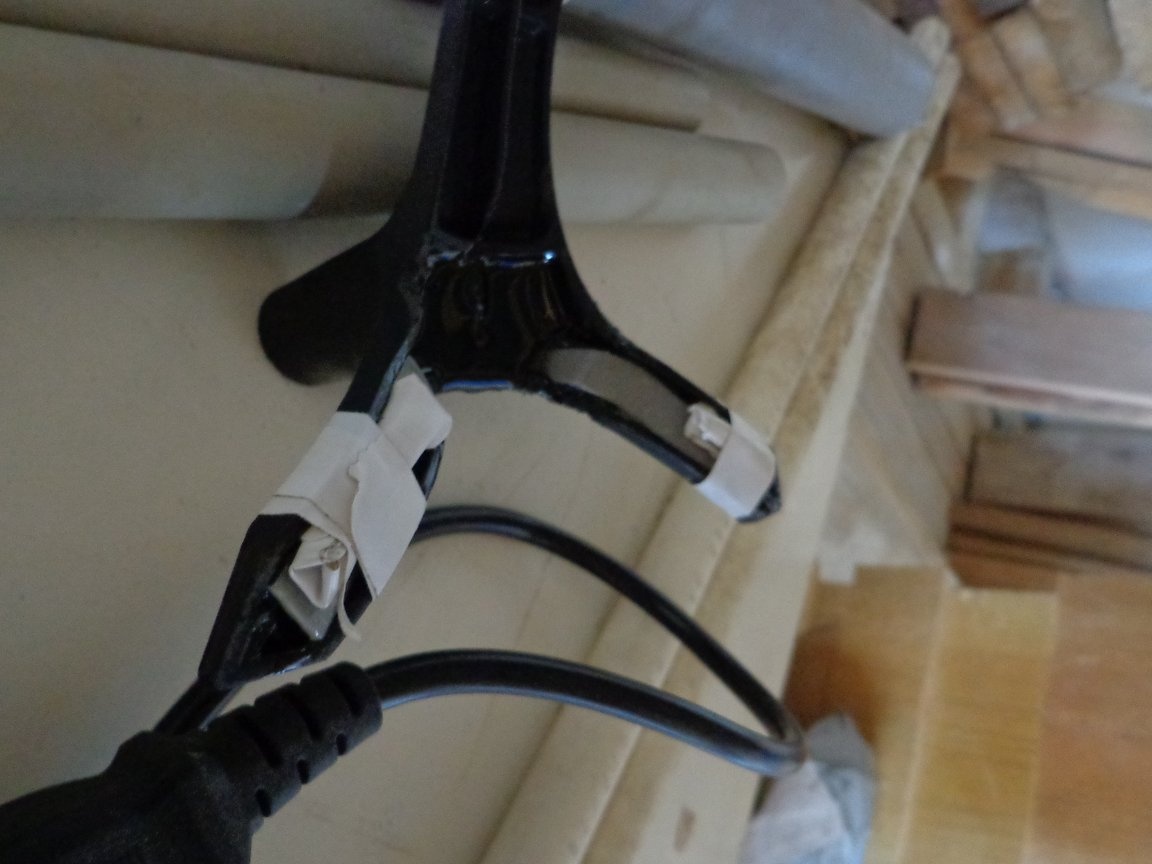
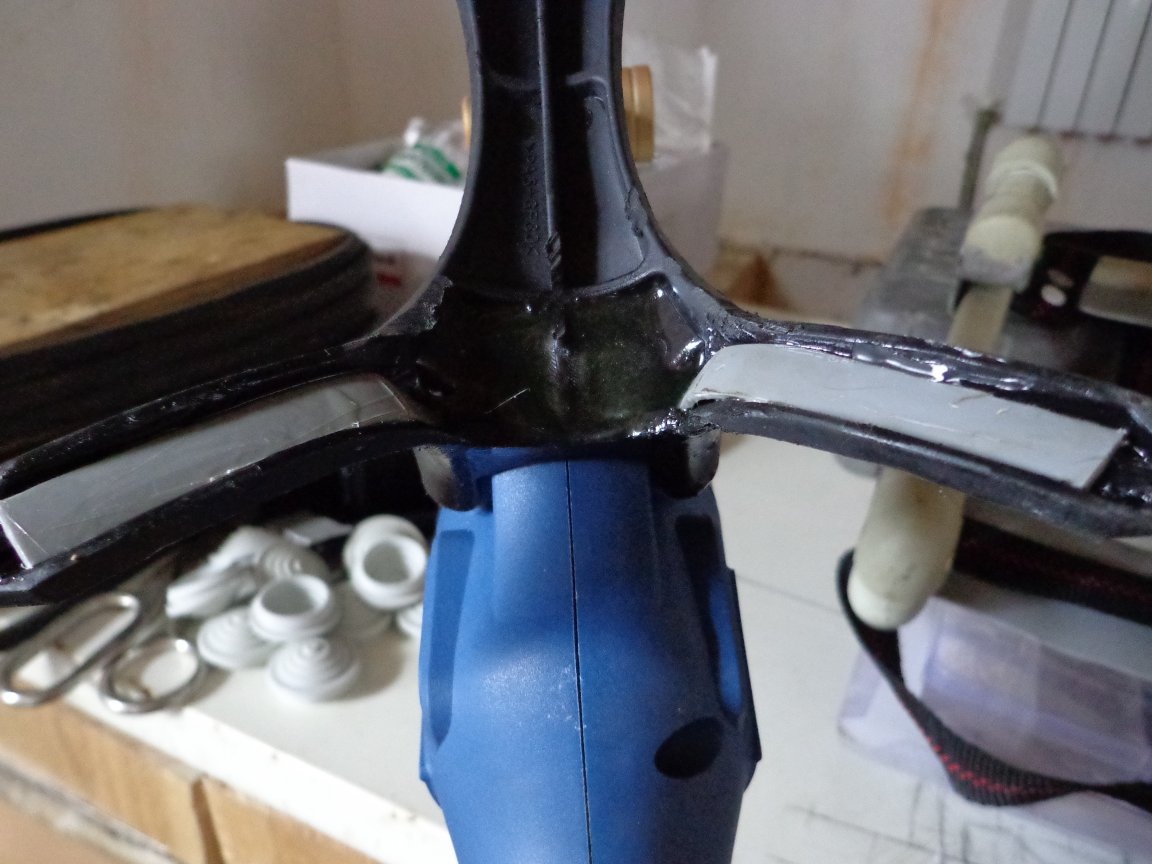
We put plates in them and fix with electrical tape.
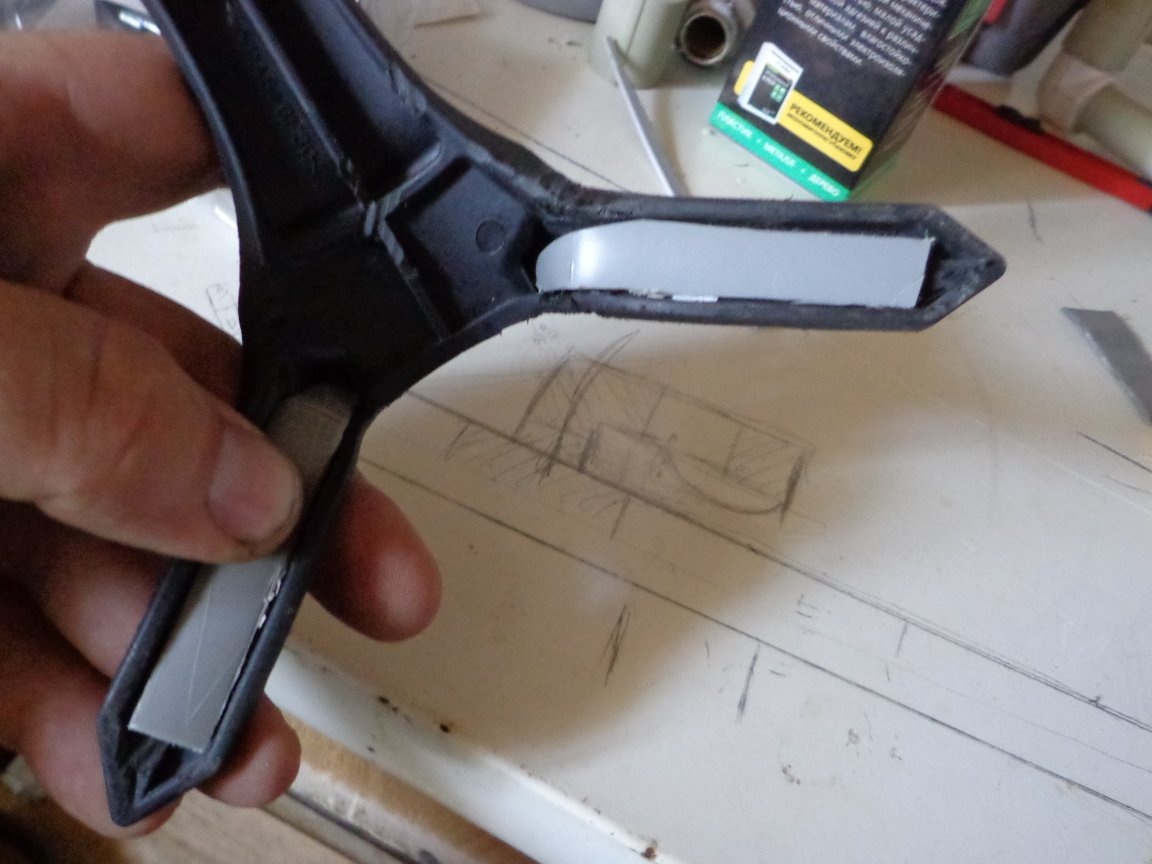
Before wrapping the tape, it is necessary to make twists of electrical tape, the plates will be in the recess and the tape will not press them down.
We buy a two-component resin.

We prepare according to the manufacturer's instructions.
Used a chopped glass to make the resin. It took epoxy less than expected.
He poured into the recesses and on the gray plates themselves so that the epoxy fell under them.
We are waiting for a day and everything is ready.
P.S .: Initially, I planned to stick a piece of tape on the front part after "Step 3" will be ready, also for epoxy, and everything has been prepared for this. He brushed the front part and prepared a piece of tape from polypropylene (PP).

But after drying the resin, I saw that the leg is holding tightly and began to bend less.
In the video below, at the end you can see how I am pulling the soldering iron on the support in a holster-out of a holster and the leg holds perfectly.
All success and creative fantasies, and most importantly their execution.