

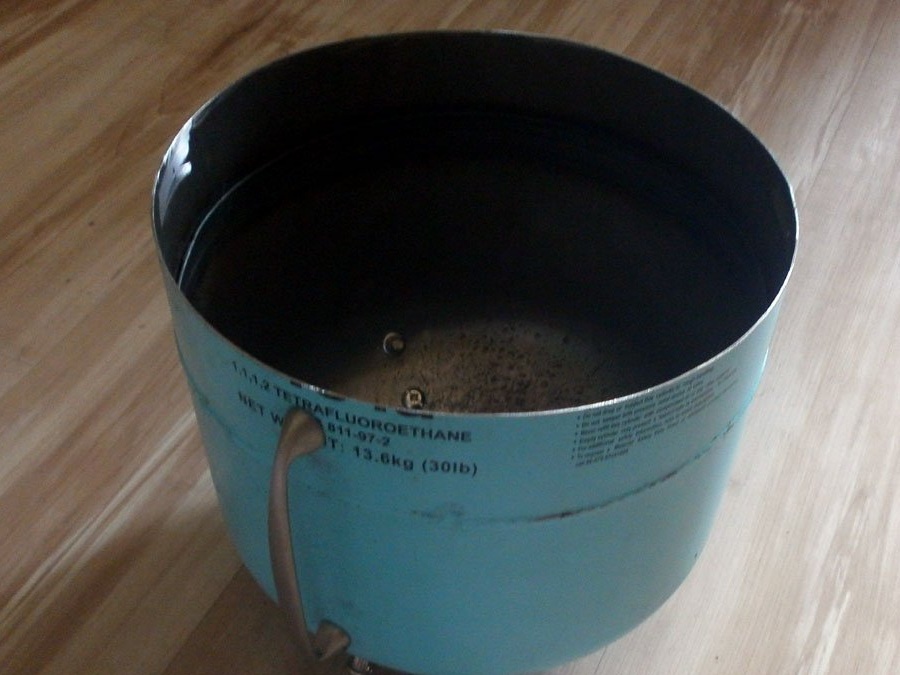
It seems that when the freon cylinder is empty, then its mandatory reincarnation is a garbage can. And almost always - just like this:
But only she has two drawbacks:
• welding is required in the manufacture;
• she is big.
But I needed the opposite, small, roomy, which is easy to make. For my home workshop on the balcony: throwing garbage into a cardboard box is already tired. Moreover, I even had an extra empty cylinder
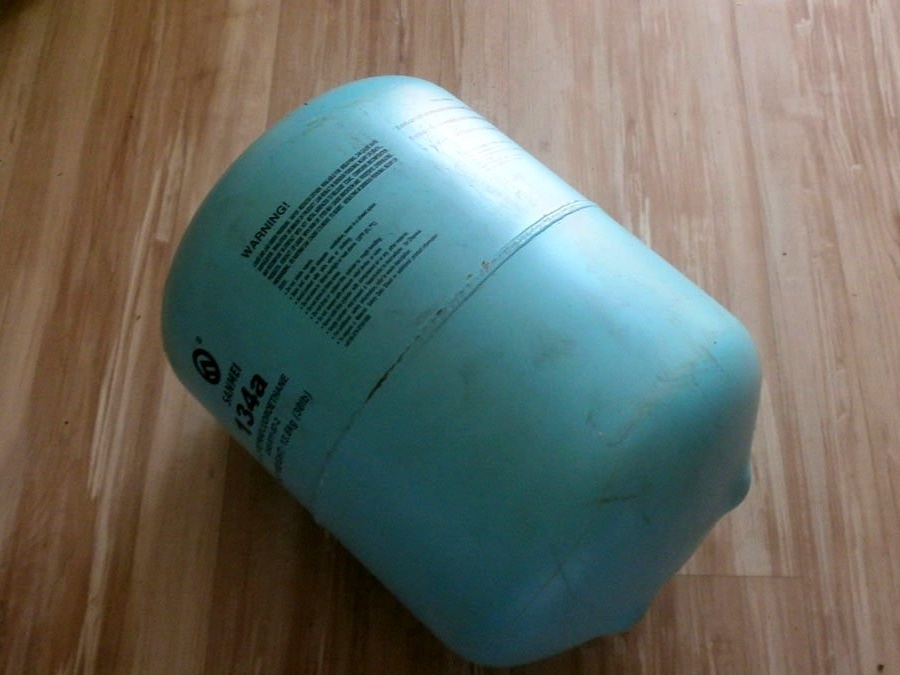
which ruined by doing a similar stove for cauldron for a gift.
And the zeal to create something was strengthened by the fact that I hadn’t done anything worthwhile or useful for the last couple of months. Hands itched, already terrible: the inhabitants of our site they will understand me.
So I needed:
• a sheet of metal 250x300 mm - took the one that the windows use for the manufacture of window sills;

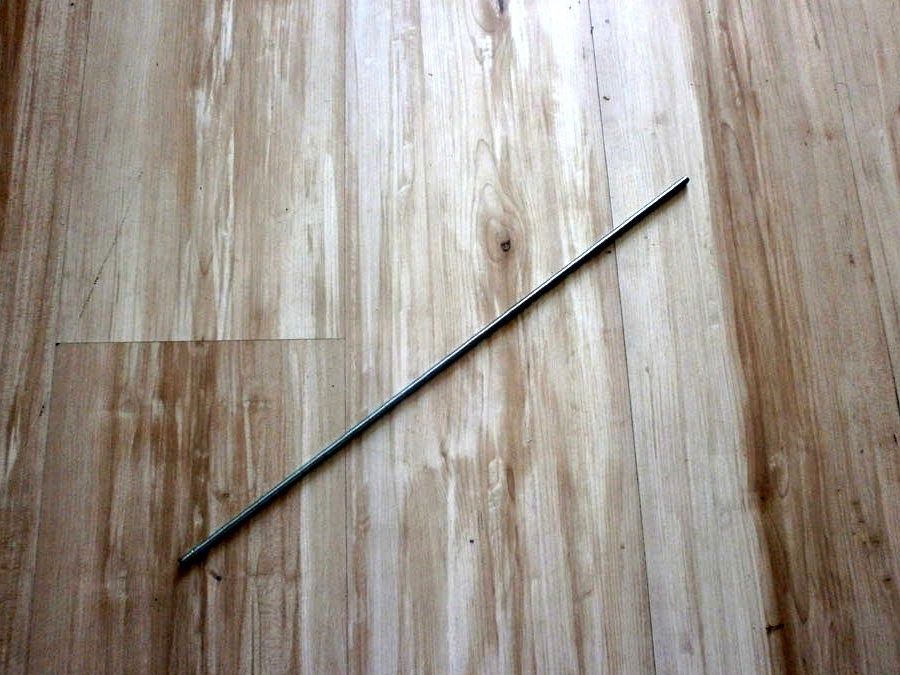
• 6 mm threaded bar - a very small piece;
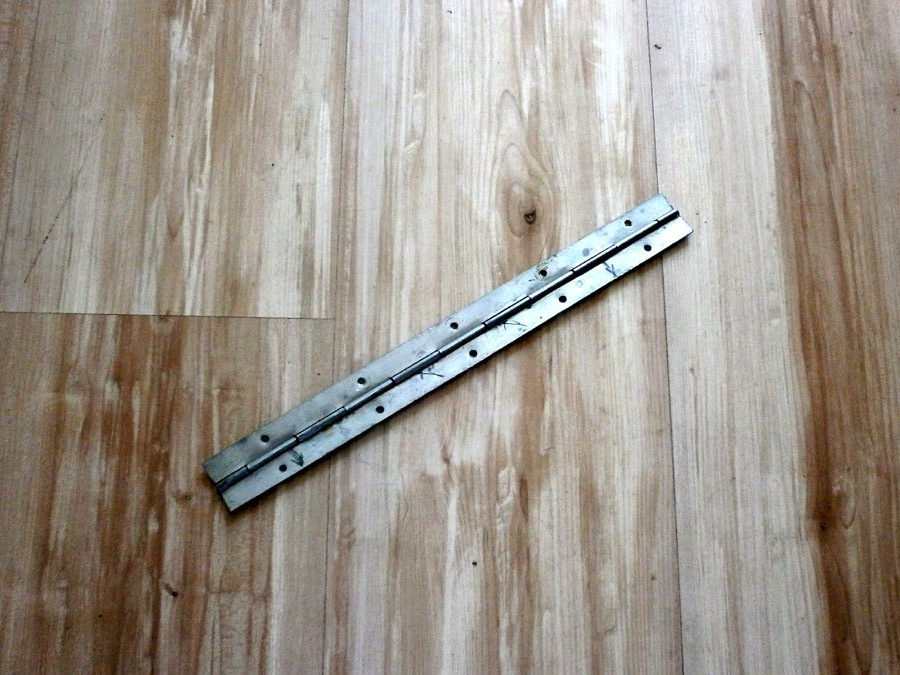
• piano loop - a fragment 300 mm long is enough with the head;
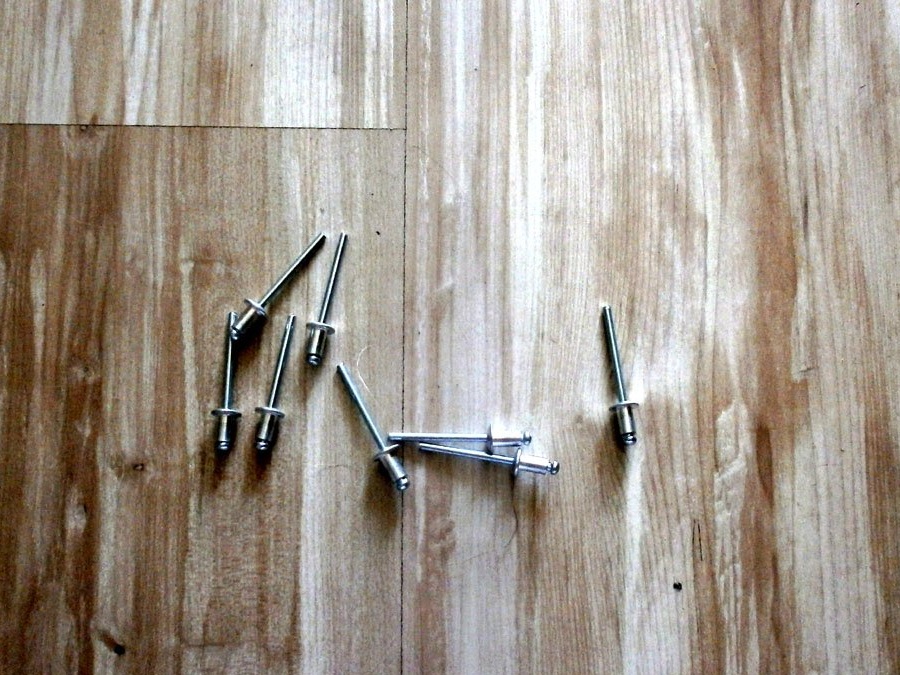
• 8 exhaust rivets;
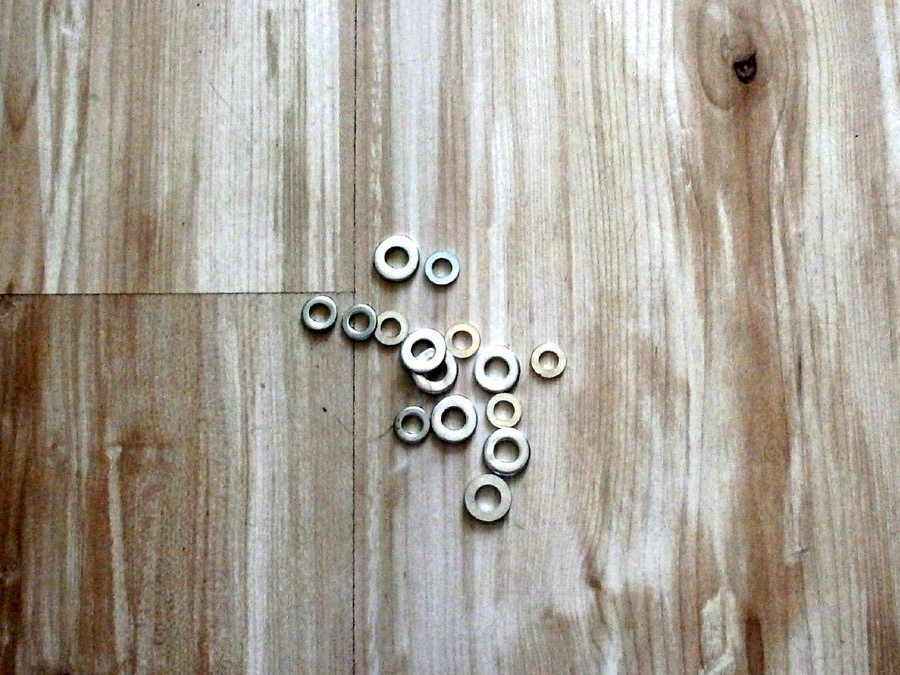
• washers - M5 is also eight pieces, like rivets, and M6, but more;
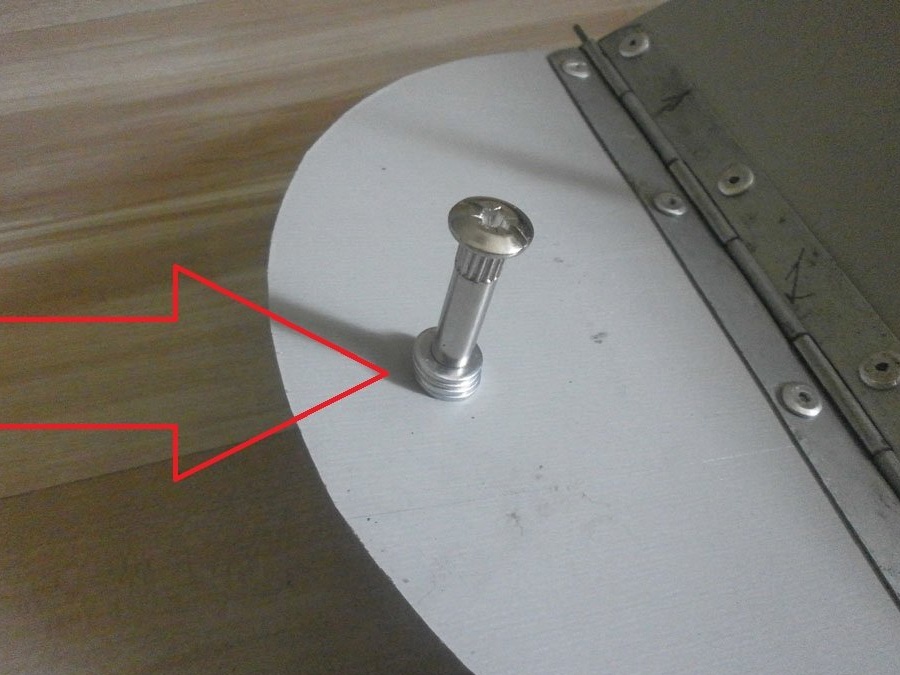
• 7 coupling bolts, those with a diameter of 7 mm;
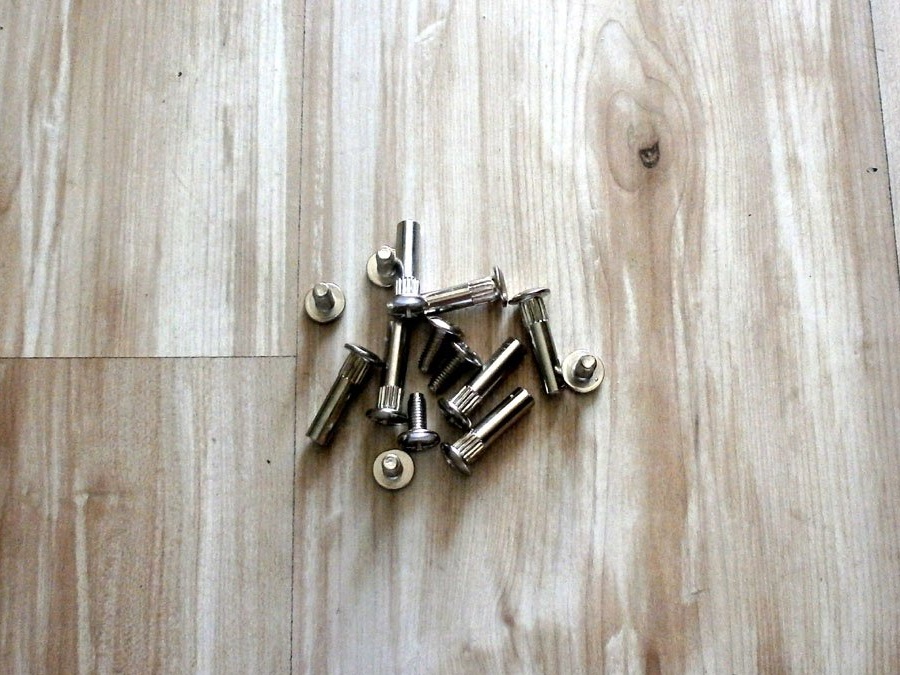
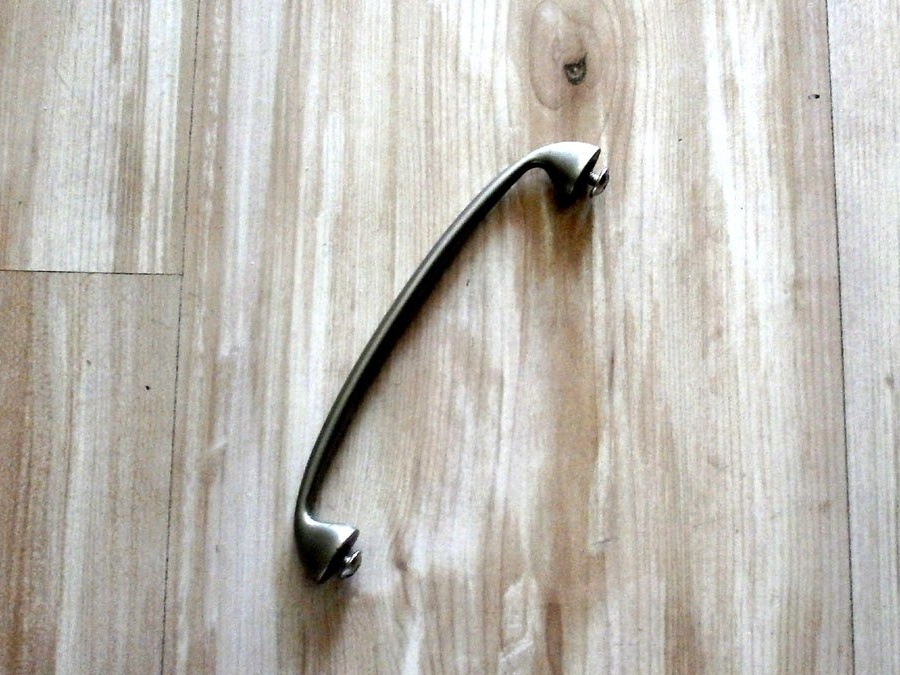
• and one handle for cabinets. Changed the kitchenjust stayed.
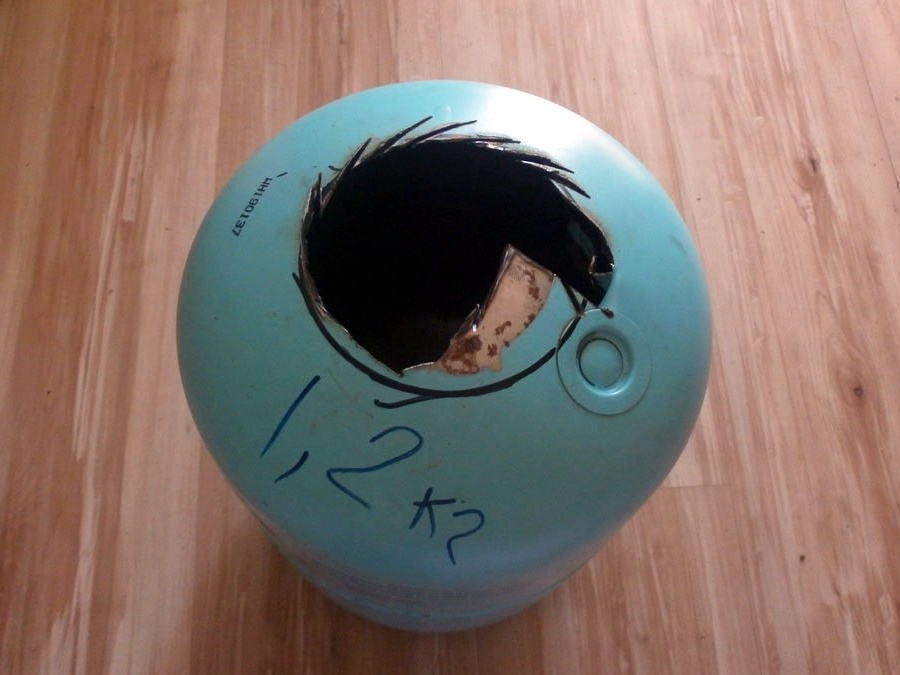
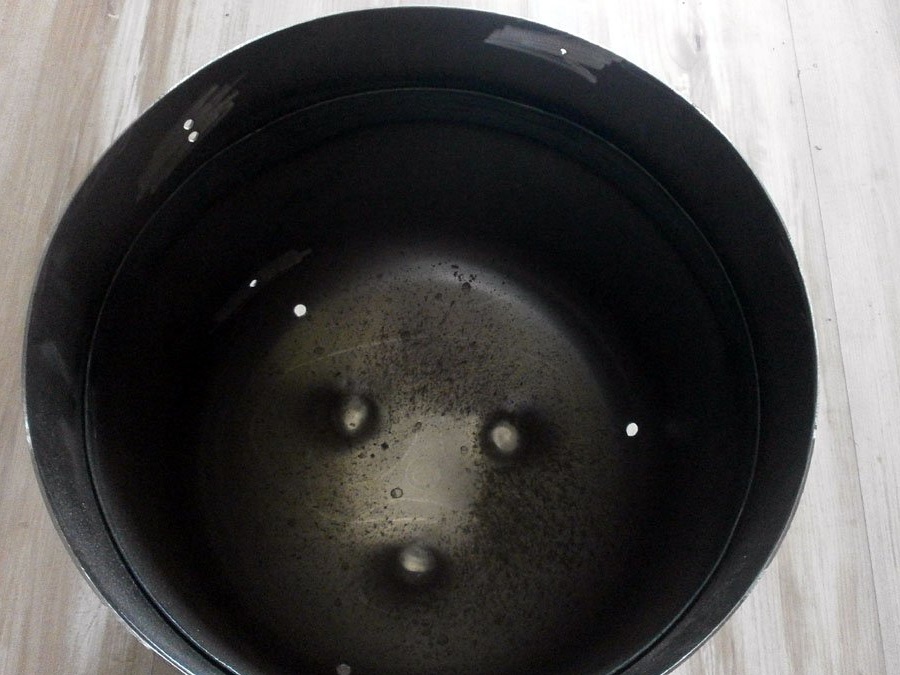
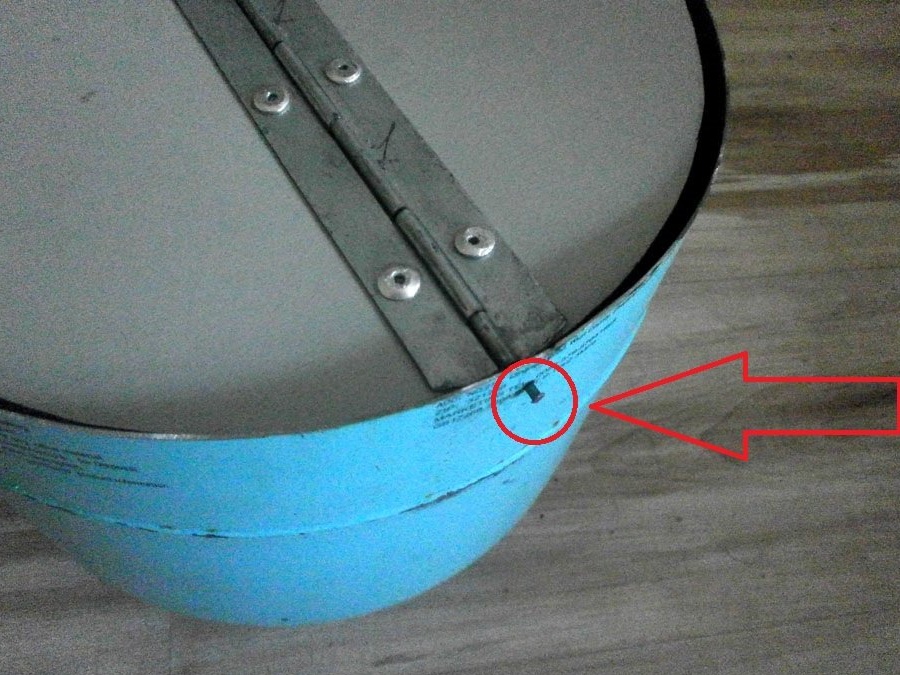
The manufacture itself is insanely simple. The cylinder was cut by a grinder: I needed a part with a height of 220 mm. You can leave more: the urn will be more spacious.
We drill 7 holes in it:
• three in the bottom with a diameter of 6 mm under the legs;
• two (one missed) for the handle in the wall 4 mm;
• and two more, 2.5 mm, at the very top.
We fasten the legs (I missed again, so I drilled holes for a smaller diameter), be sure to lay the washers. Without them, thin-walled coupling bolts will lead, and they will twist unevenly.

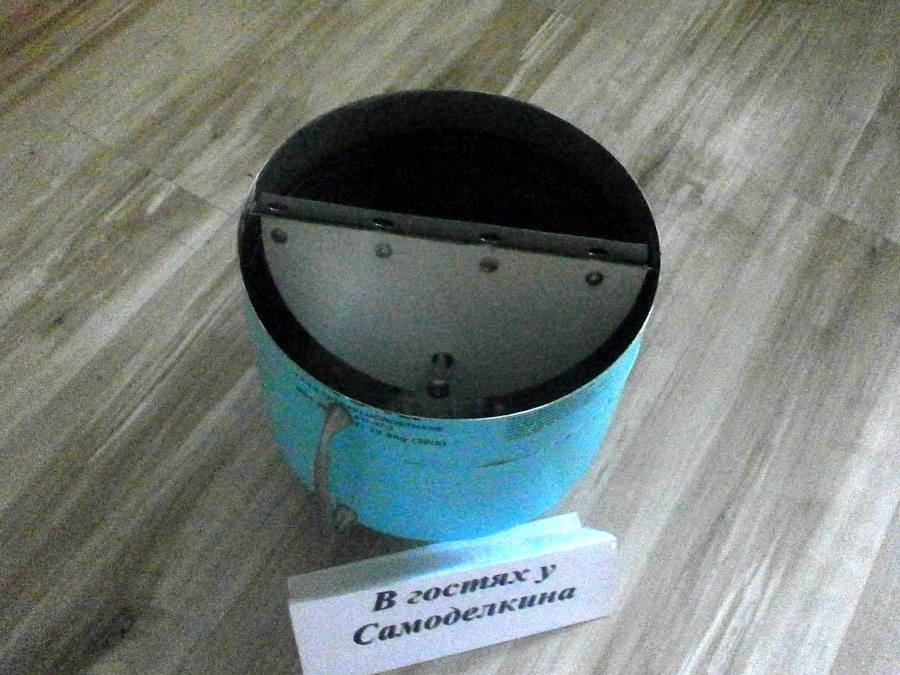
Now screw the handle. The urn, reminiscent of a large mug or a night vase, who likes some comparison, is ready.
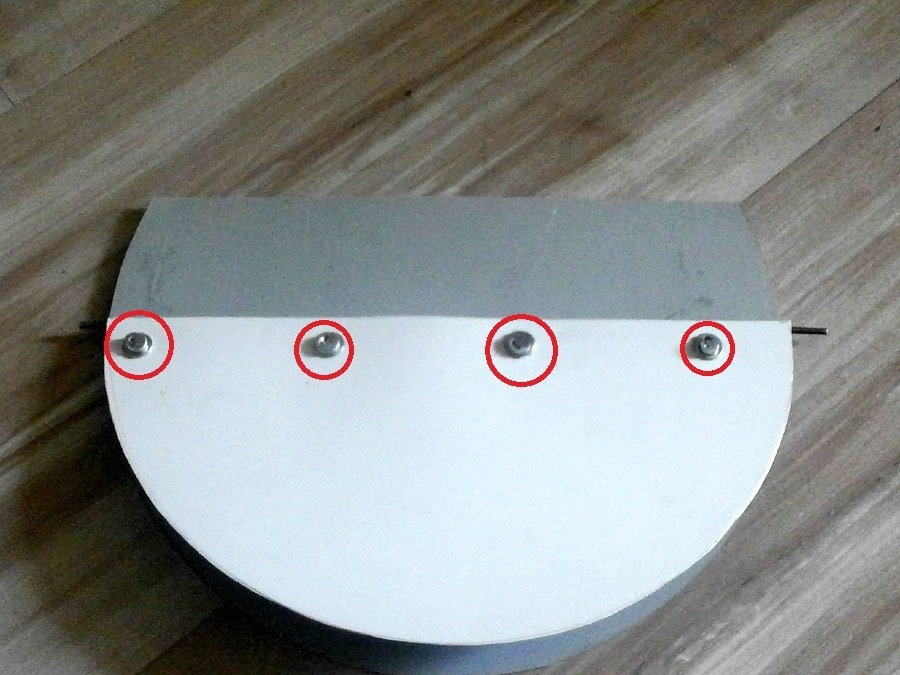
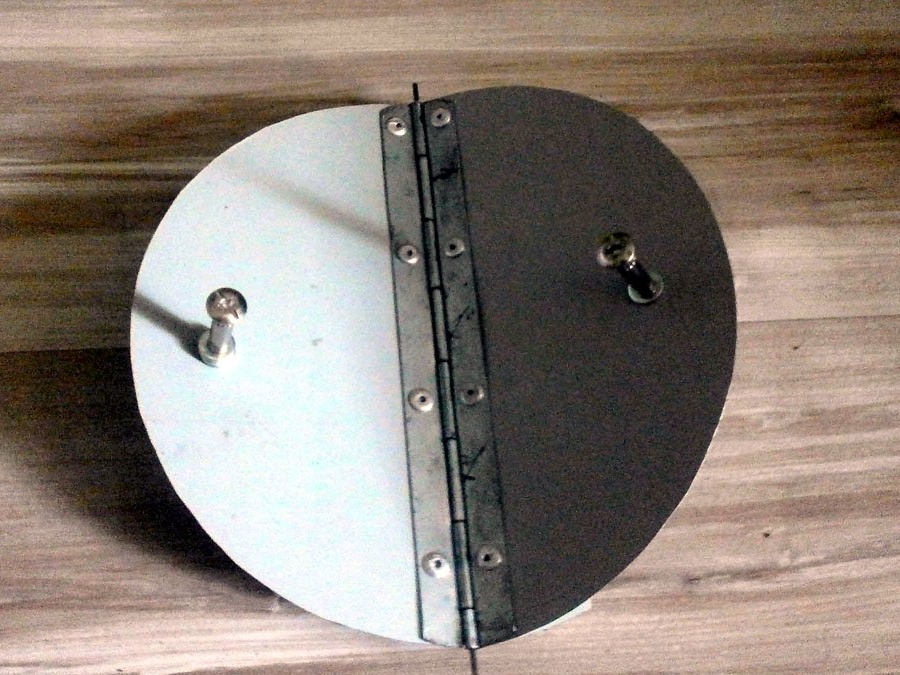
But just as uninteresting, there should be a cover. And such that it does not have to be removed every time: hands at work can be dirty and very dirty. Therefore, we cut out two semicircles from tin in diameter slightly less than the hole in the urn. One is just a semicircle, and the second is a semicircle with an overlap of a couple of centimeters.
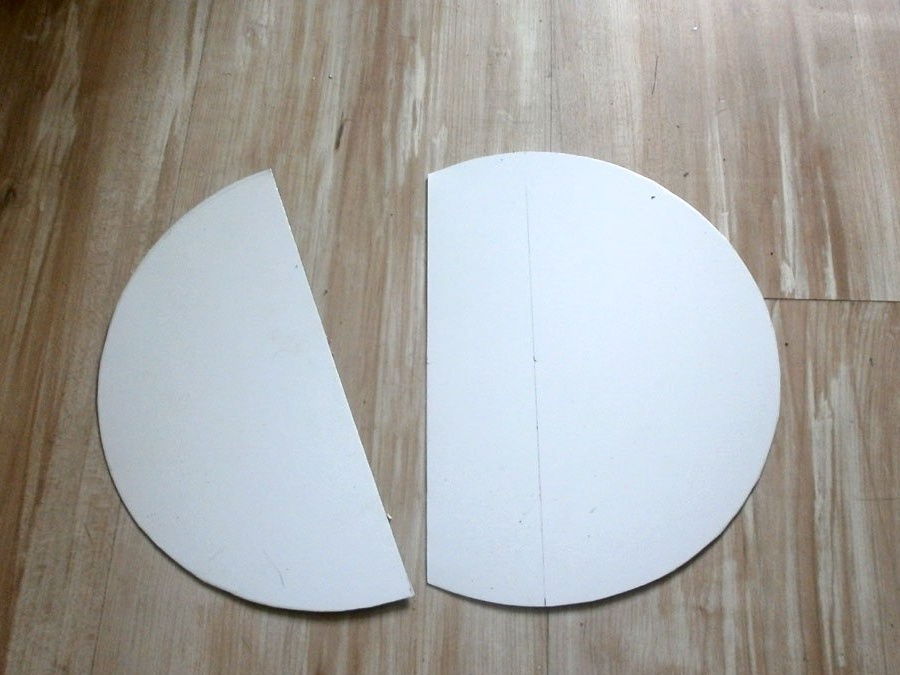
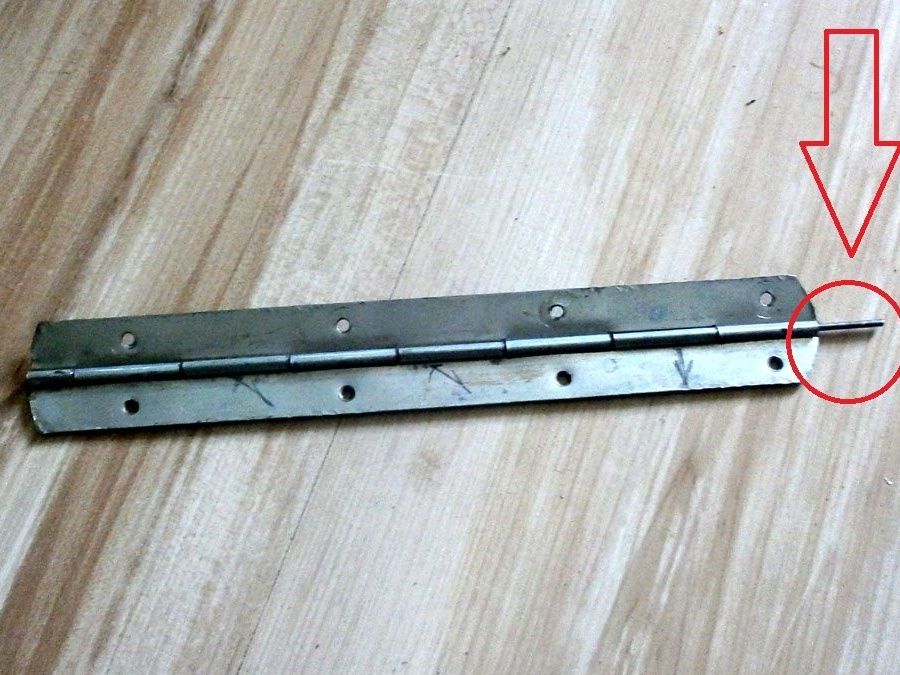
Piano loop. Not just cut it to size and round off the edges, but make sure that 20 ... 25 mm of the inner core remains. It is not difficult to do this if you trim it carefully by pushing it in and out to the right and left.
Cut the cut out halves of the tin on the piano loop.
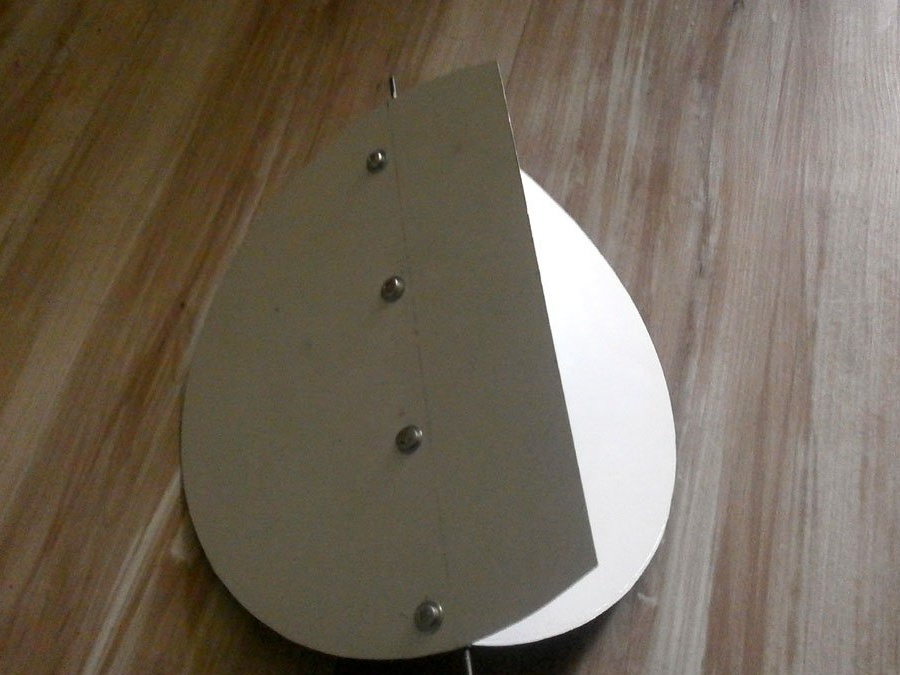
By extraction rivets, having slightly drilled holes in the loop: I took 4.8 mm thick rivets.
M5 washers were laid on the back so that the rivets did not push thin tin.
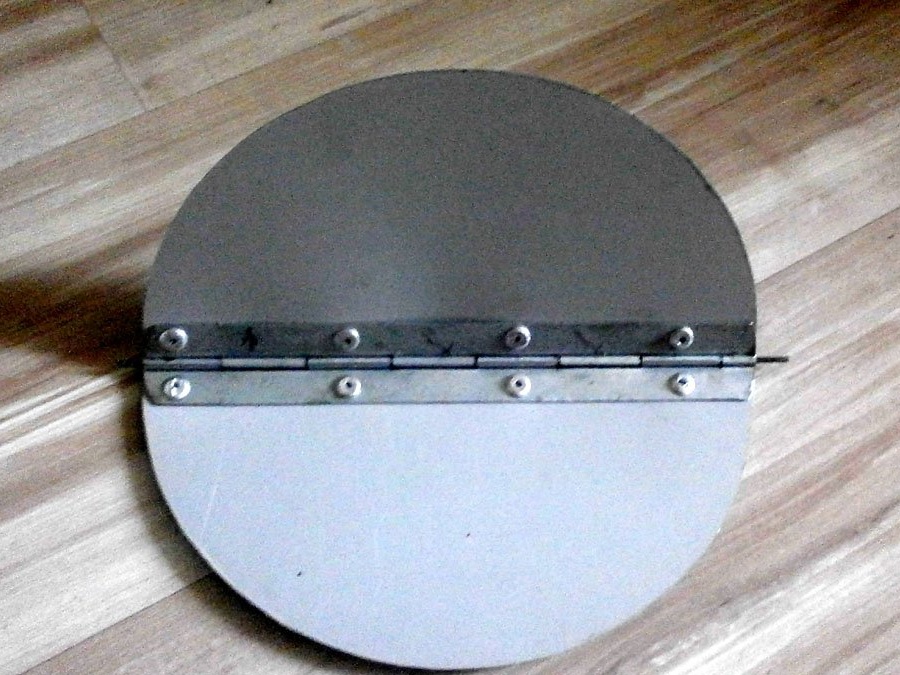
But so the cover does not fully open. It doesn’t matter, we drill holes for riveting in the counterpart.
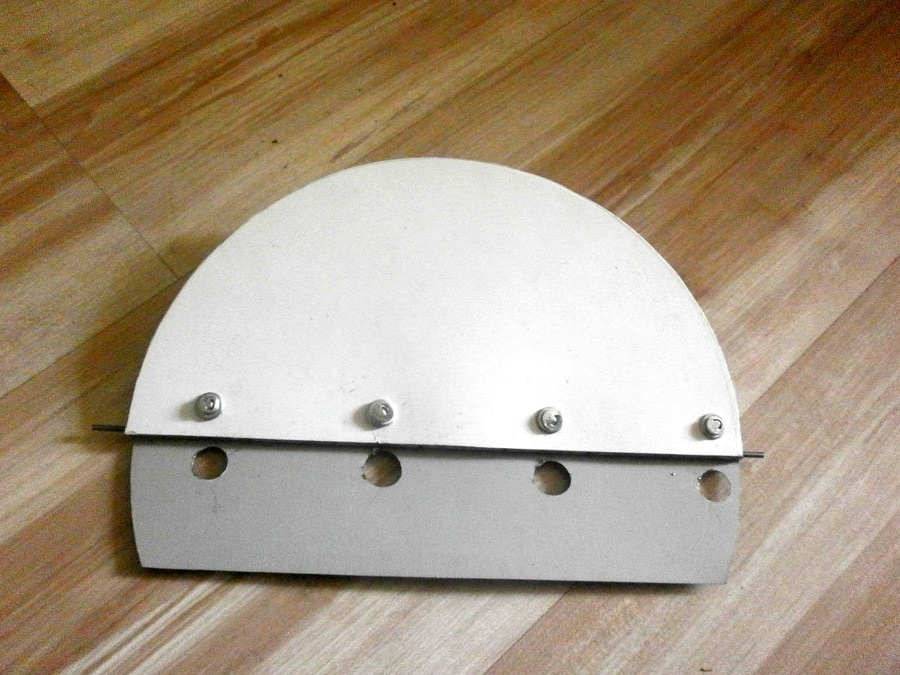
Better, with a drill of 10 mm, so that with a margin, if you miss.
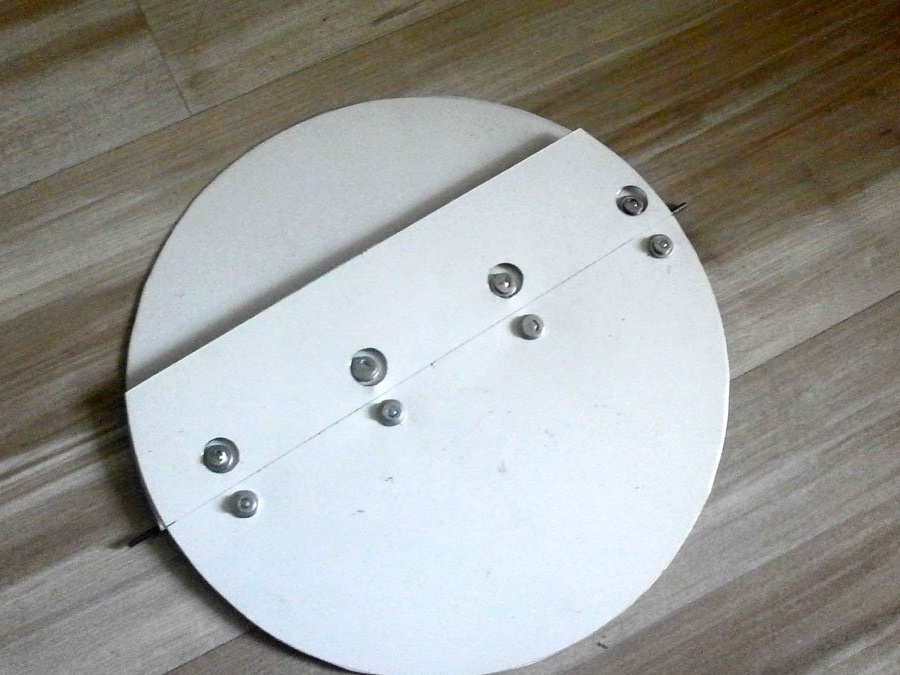
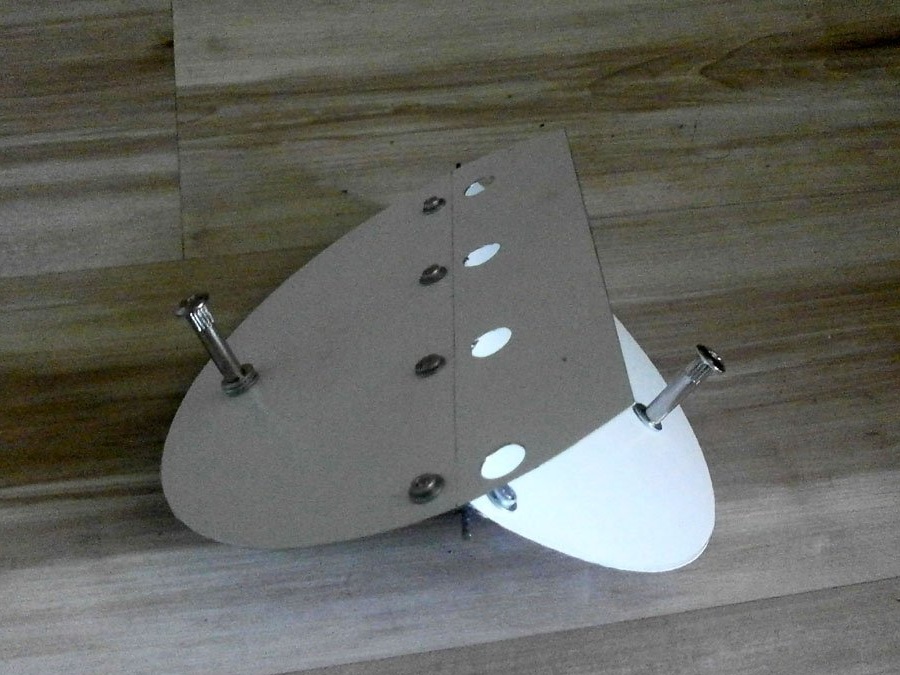
Now the handles on the cover. I also make them from the coupling bolts. And so that they are on both sides of the lid, I cut two pieces 30 mm long from the threaded rod and work from the edges.

I drill two 6 mm holes in the lid, stepping back from the edge of 15 mm.
They should not touch the walls of the urn when the lid rotates.
And to compensate for the skew, you can always use additional washers. Then, in the “scientific poke method” process, you will pick up how many are needed.
We insert into the pre-drilled holes (the lid bends a little, so there will be no problems), and a little rivet at the ends. So she certainly will not jump out.
That's all, the urn is ready. It easily opens even from a small weight: even a small bolt thrown on the lid, it deviates and it rolls down. The garbage is in the urn, and the lid, having swayed several times, returns to its previous horizontal position.
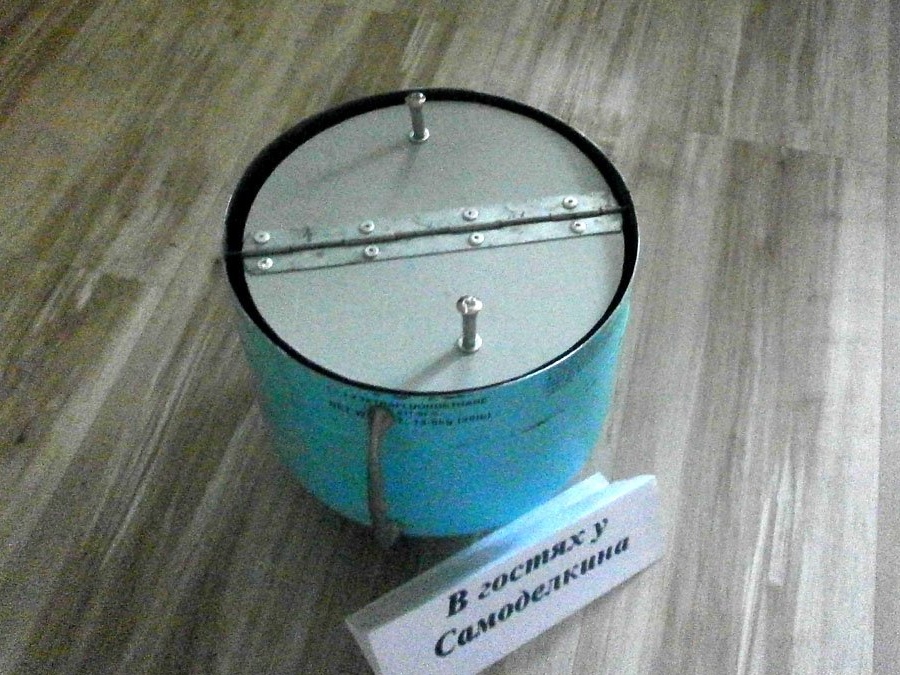
Moreover, if the lid is turned 180 degrees, the halves themselves add up. So, for example, it’s convenient to sweep away small debris immediately from the workbench into the ballot box, throw off something more bulky,
or pour rubbish out of it. Just the handle on the side is very useful.
P.S. Sorry for the low-quality photos, but this urn from an empty freon cylinder is so primitive that everything is clear.