

We always start our first outing with the preparation of pilaf: we have been following the established tradition for many years. So it was this season. And so that the existing brazier does not occupy half of the trunk, I bought a rocket stove, and even modified diffuser horns for her. But if the first test took place in calm weather, this time the wind blew. And the cauldron did not heat up elementarily: you need to come up with wind protection for the design. And when I was looking through the ideas, ideas on the Internet, I applied my imagination, asked a simple question: what prevents me from making a stove for my favorite 5-liter 2-in-1 cauldron from scratch? Compact, but effective. Where the heat from combustible firewood is transmitted to the cauldron as much as possible, and does not heat the walls of the stove.
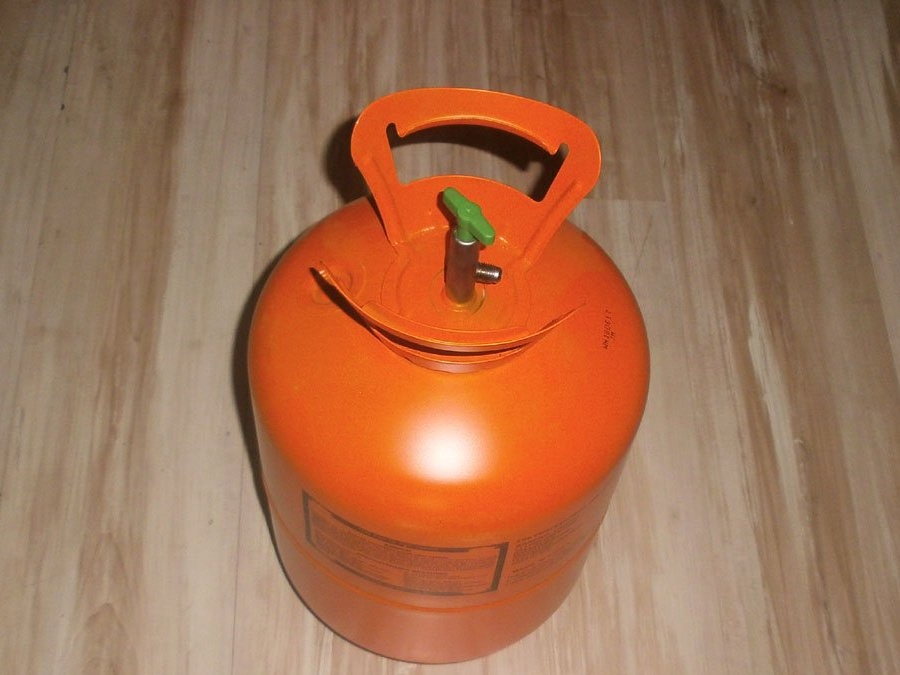
A simple measurement of the diameter and height of the cauldron prompted an obvious idea: to make it out of an empty freon cylinder. Experience was - not so long ago made of it compact barbecue, I was convinced that the metal of the walls there is thick, while it weighs quite a bit, and even it is very small. It is decided, I make the furnace from a freon cylinder.
But a friend who already drove me alone upset: the installers of the air conditioners were not in season yet, empty cylinders were all put into scrap metal, and new ones had not even begun. So wait a while. That's just the pens itch, so I decided to do the rest for him. I decided to make the design vertical, with a lid that closes with a frog closure. So that it includes firewood, which then will be burned during cooking.
From the materials, in addition to the cylinder itself, which I did not yet have, I needed:
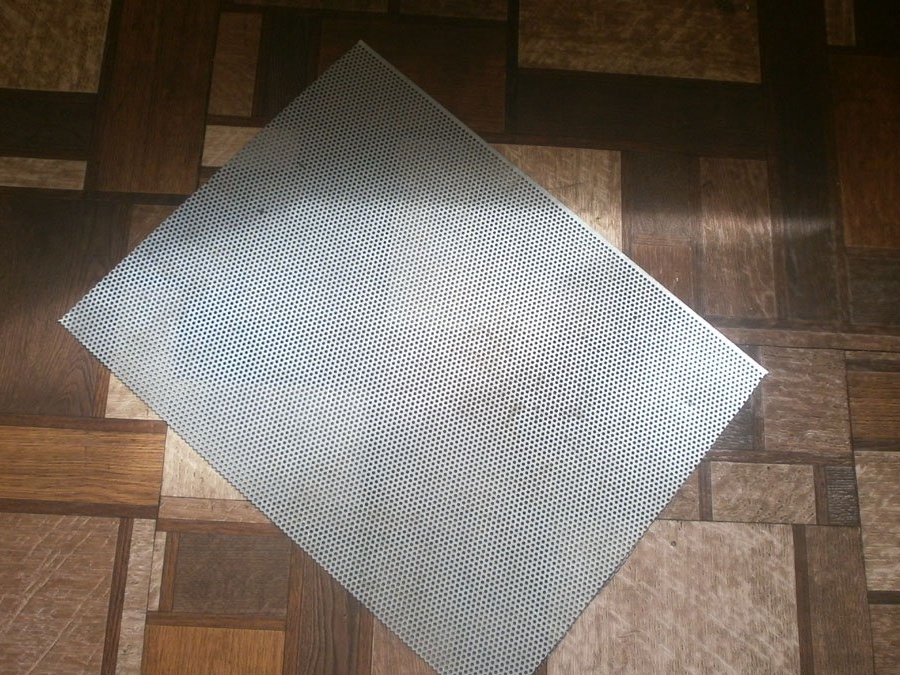
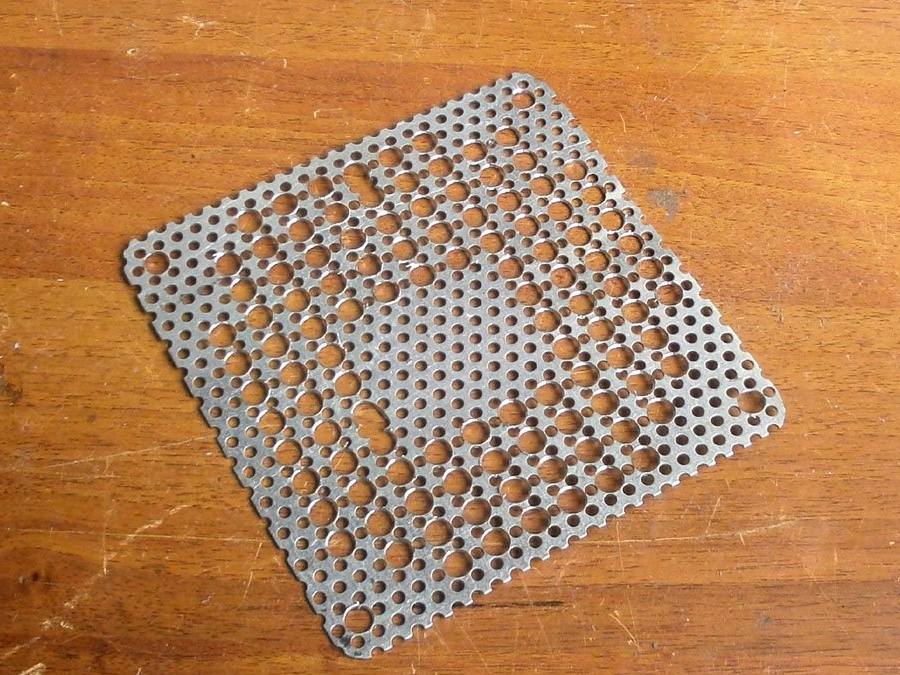
• 1 mm thick steel plate with 3 mm diameter openings;
• a piece of paronite with a thickness of 3-4 mm - why you need it, you'll find out later;

• handle-bracket and handle-mushroom, as well as a frog clasp from some kind of war box;

• a pair of hinges for doors;

• 10 screeds for of furniture;

• hardware, screws, nuts, washers, rivets, corner 40x40x50, piano loop 120 mm long.
And from the tools you will need:
• drill / driver,
• drills, core, hammer;
• metal scissors;
• grinder with a cutting disc;
• awl, ruler, marker;
• chisel;
• rivets and riveting gun;
• two screwdrivers;
• wrench.
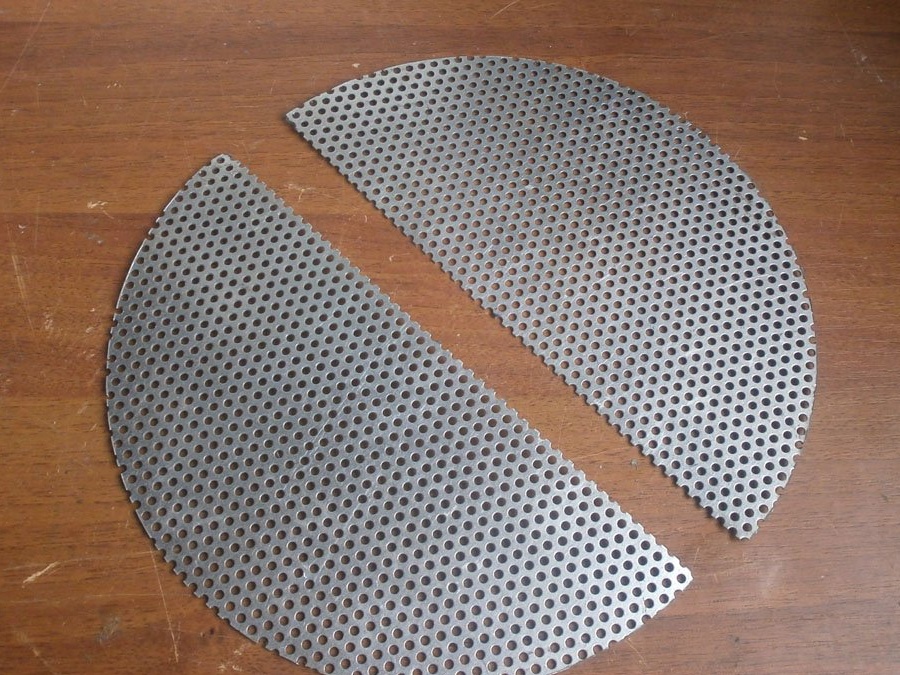
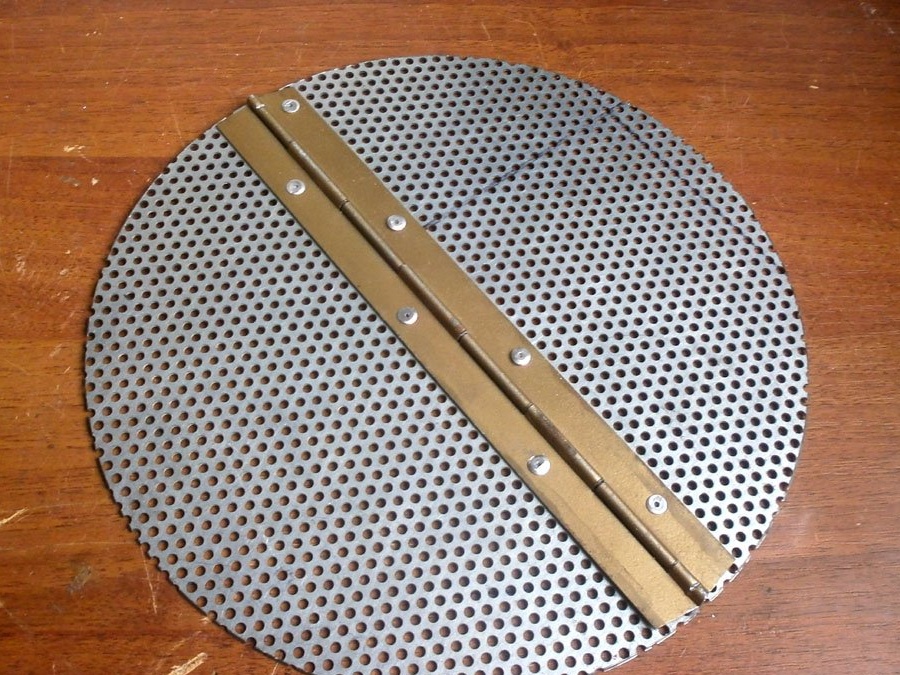
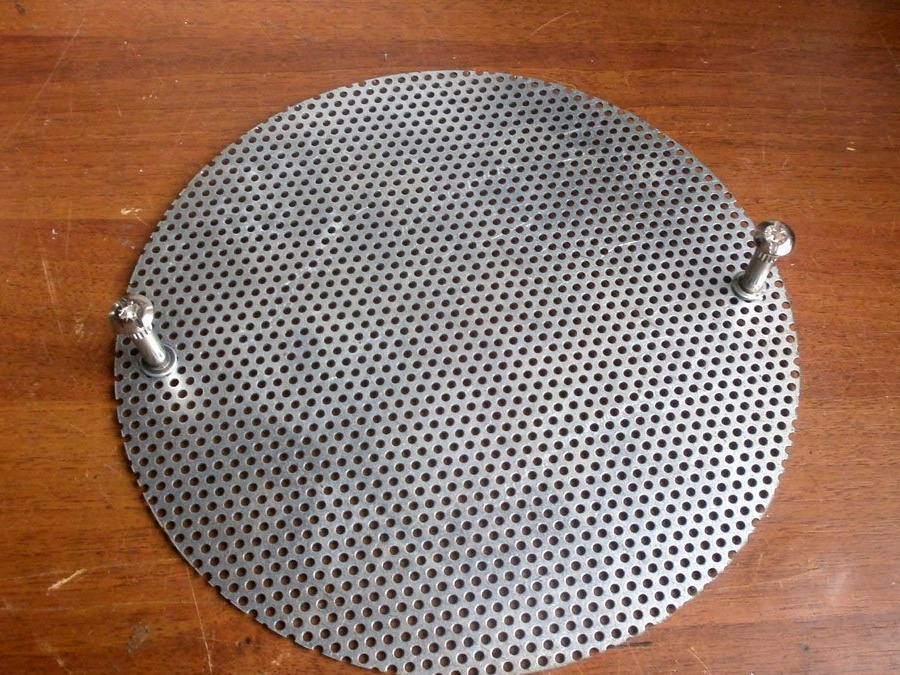
First of all, I cut two circles with a diameter of 225 mm from the workpiece: I did it on the machine, although this is done by hand. Let, and a little longer.

One cut exactly in half.
At the piano loop, I cut off the corners a bit and, with a chisel, fixed the inner shaft on one side: it wouldn’t come out like that.
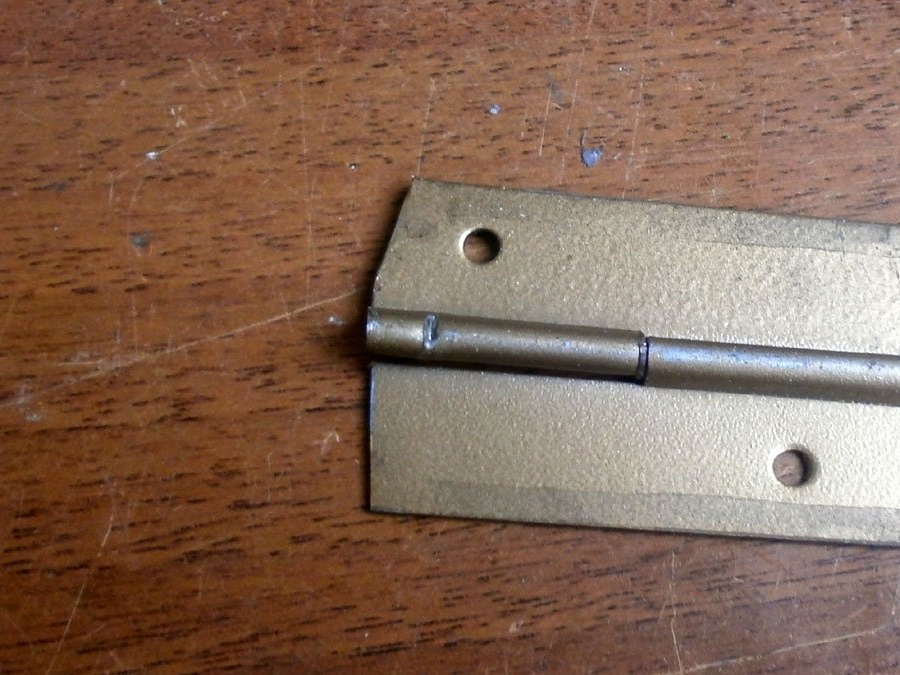
I drilled a little holes in the loop and halves of the disk and fastened the construction with rivets.
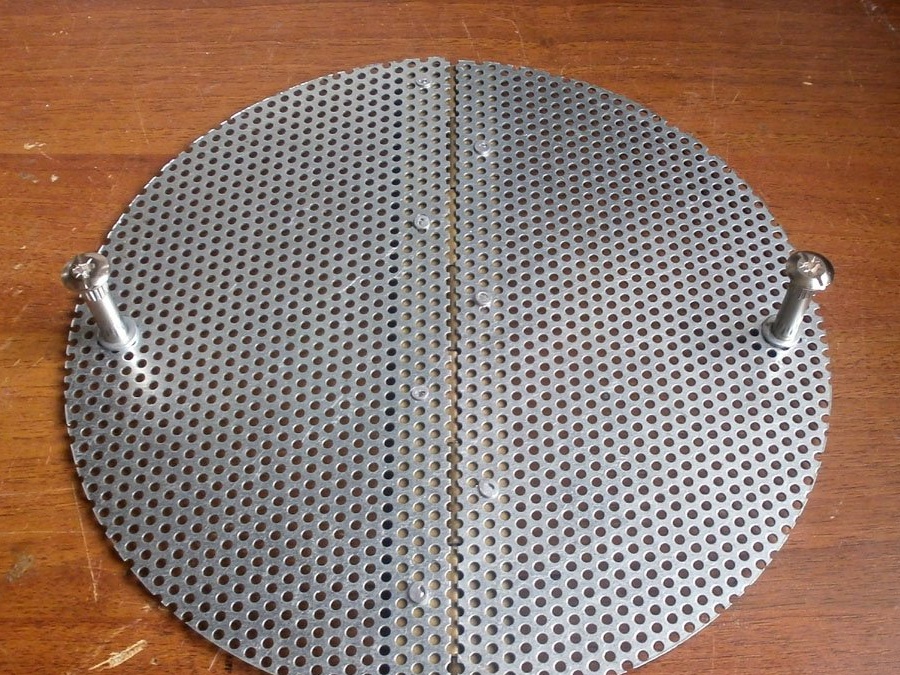
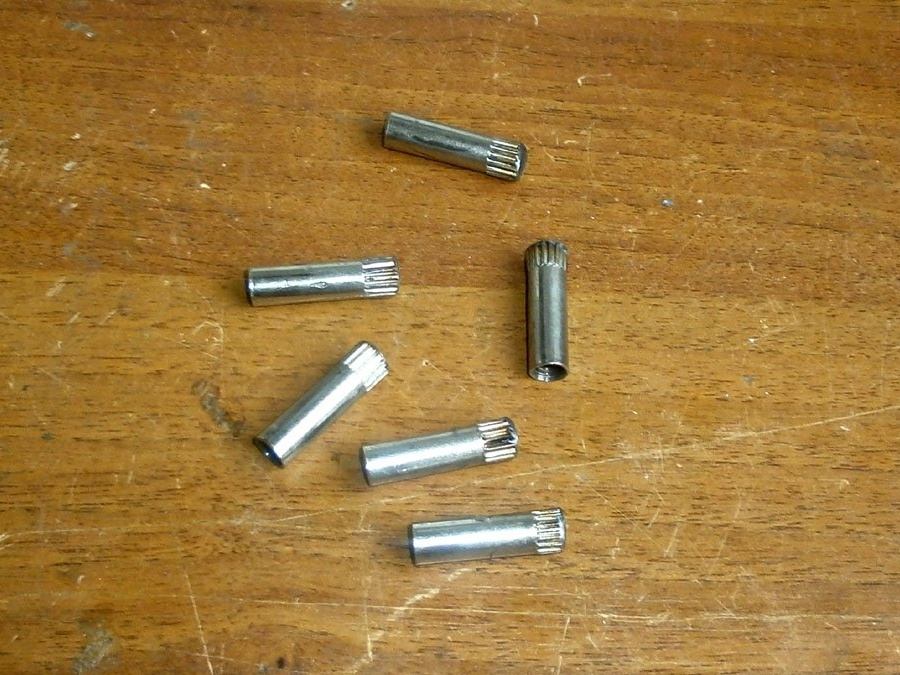
And as handles I used furniture coupling bolts. Those that are bigger.
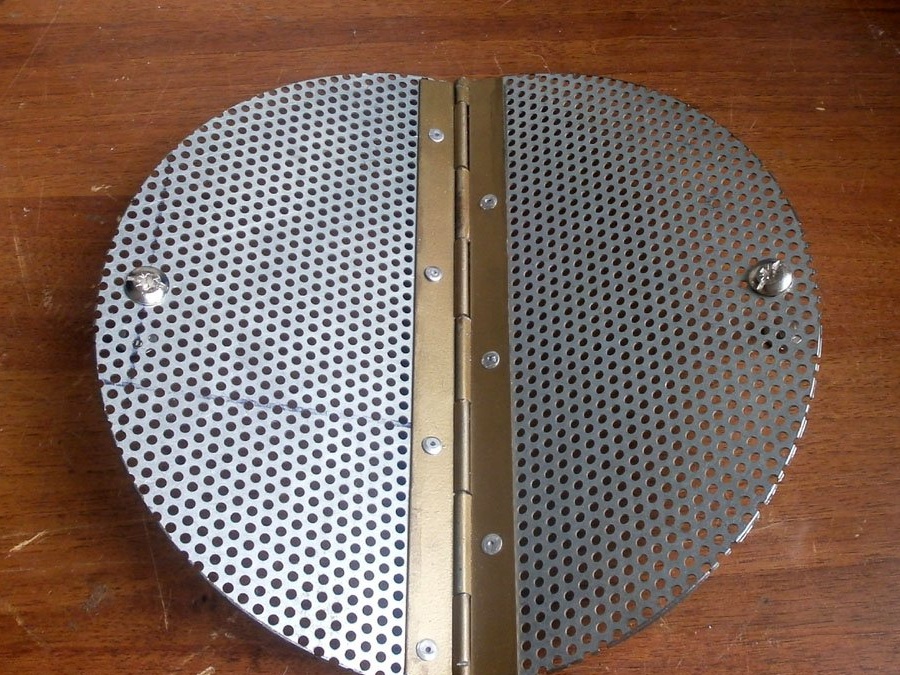
When folding in half, the holes match. And at the same time you can smoke both long products, for example, a carcass of a mackerel, as well as more compact ones. For example, a piece of bacon.
It just closes in both directions. And so that this does not interfere in the unfolded position, he made a small stop.

Now the grill closes only in one direction.
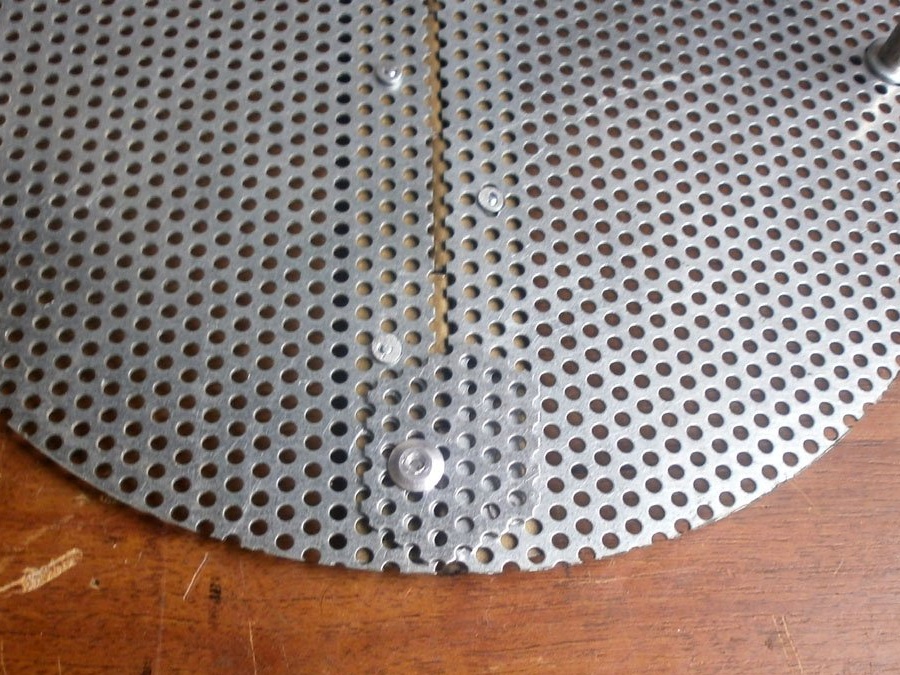
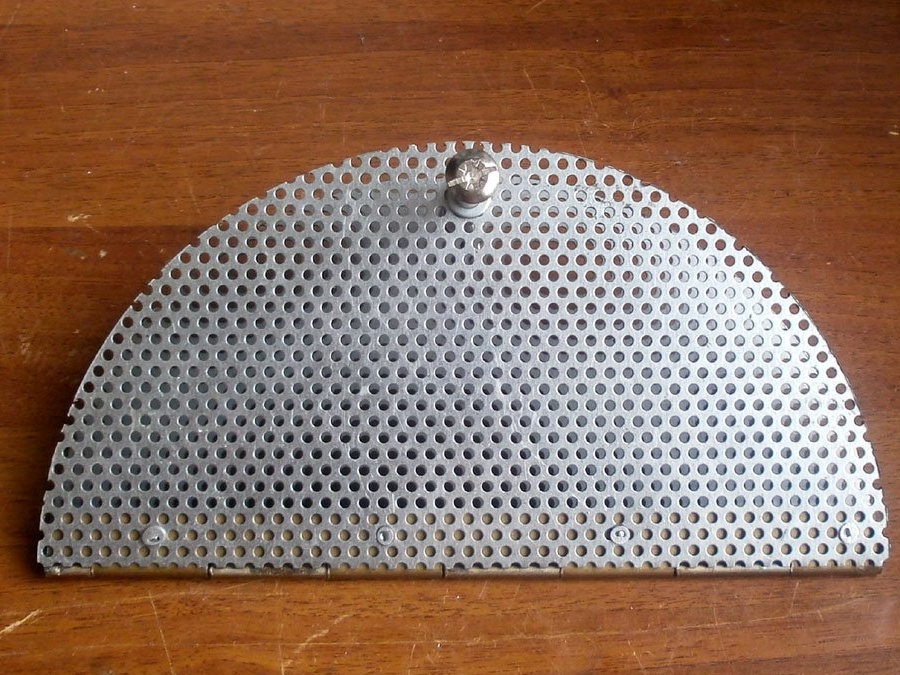
I didn’t cut the second, lower grate, on which the firewood will be directly, but just screwed all the same handle-bolts.
And so that they sat tight and did not even begin to play with time, he put washers. I also did it everywhere I screwed the counterpart.
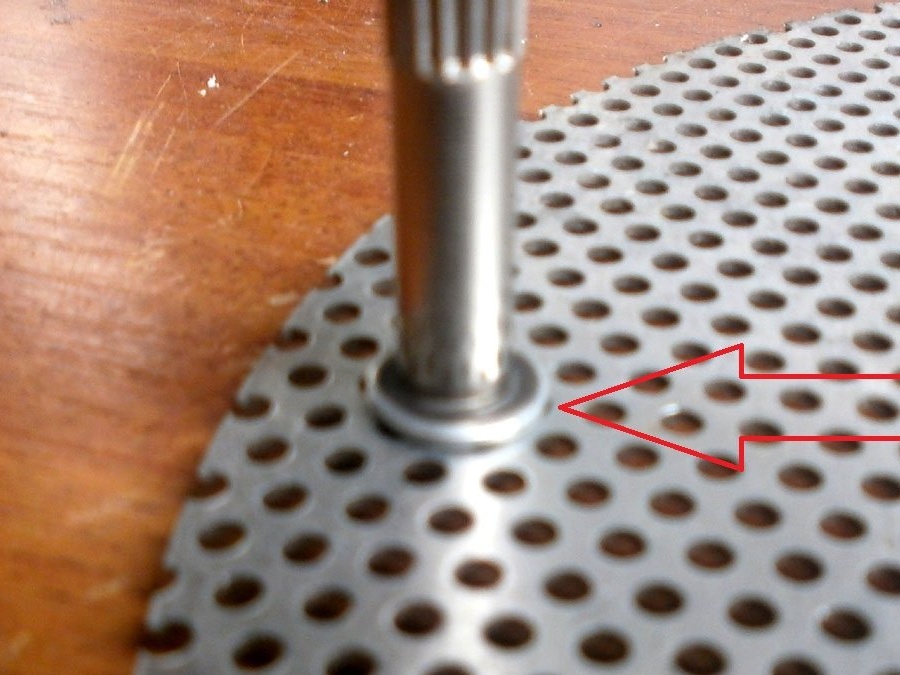
By the way, at six, on which the lower grill will rest, I cut off the hats.
Now blowing. At first I thought to make it passive, just drill holes in the bottom of the stove. But a friend who had already prompted the idea making stove-chippings, asked a simple question when I told my new idea. "And what prevents it from being active: it will prepare faster and be more effective."
No sooner said than done. For this I needed:
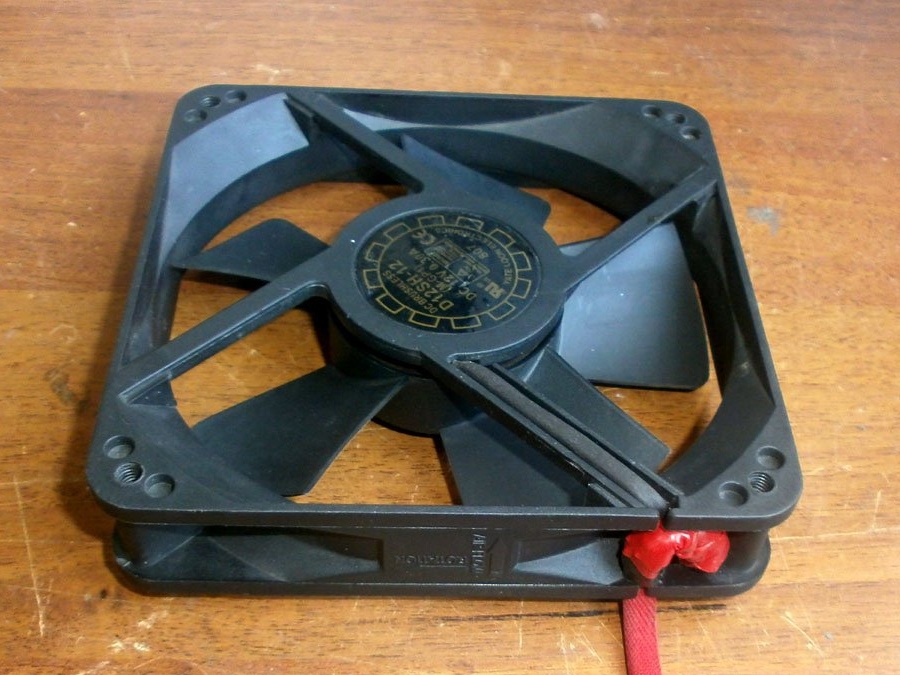
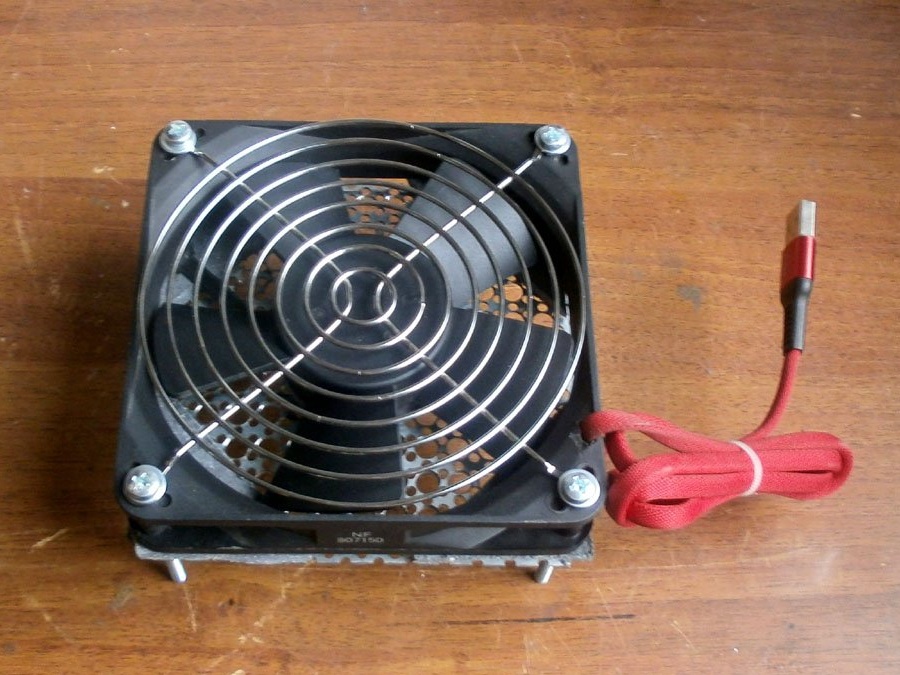
• computer fan for the system unit measuring 120 by 120 mm:
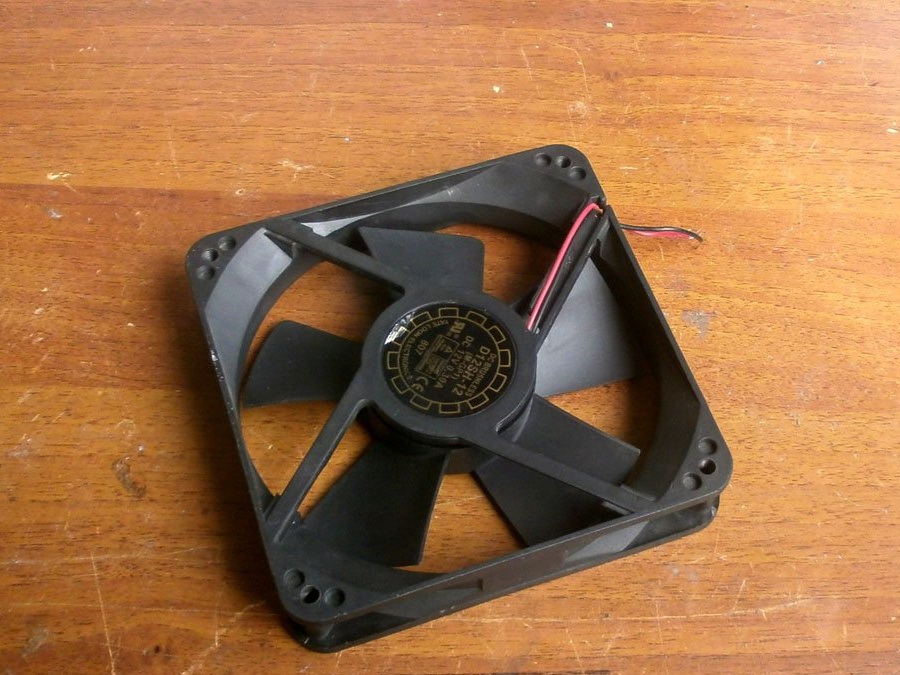
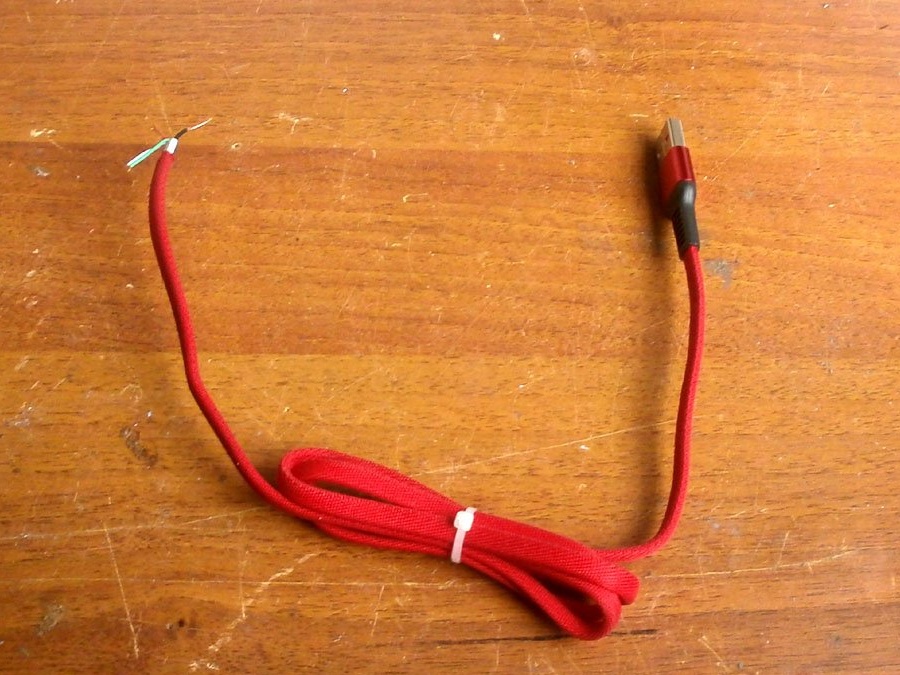
• a wire on one side of which is a usb port;
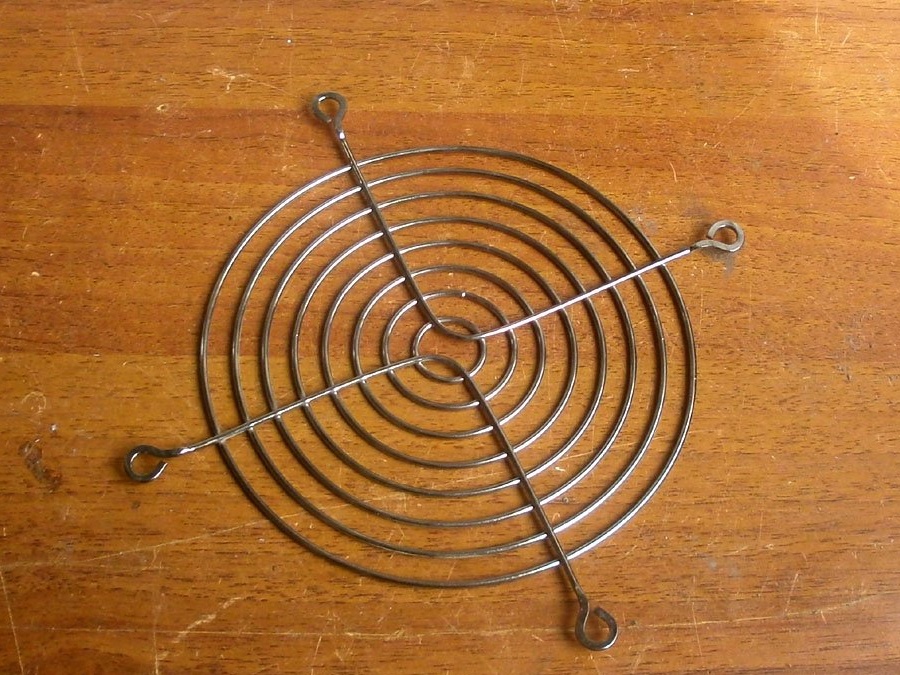
• grill diffuser from the fan;
• and a piece of the same mesh that I used. And he expanded the openings where the fan will directly blow, to the maximum: this will increase the efficiency of the structure.
And again, everything is simple. He twisted and soldered the fan leads with the same color wires in the charging wire, and insulated everything reliably. I checked - it works: I did not think that 5 volts from the bank was enough, but I was mistaken.
Gathering a “sandwich”. On long screws, grill, fan (just do not mix the direction of the air supply), pressed with nuts. Slightly so that the plastic does not burst.
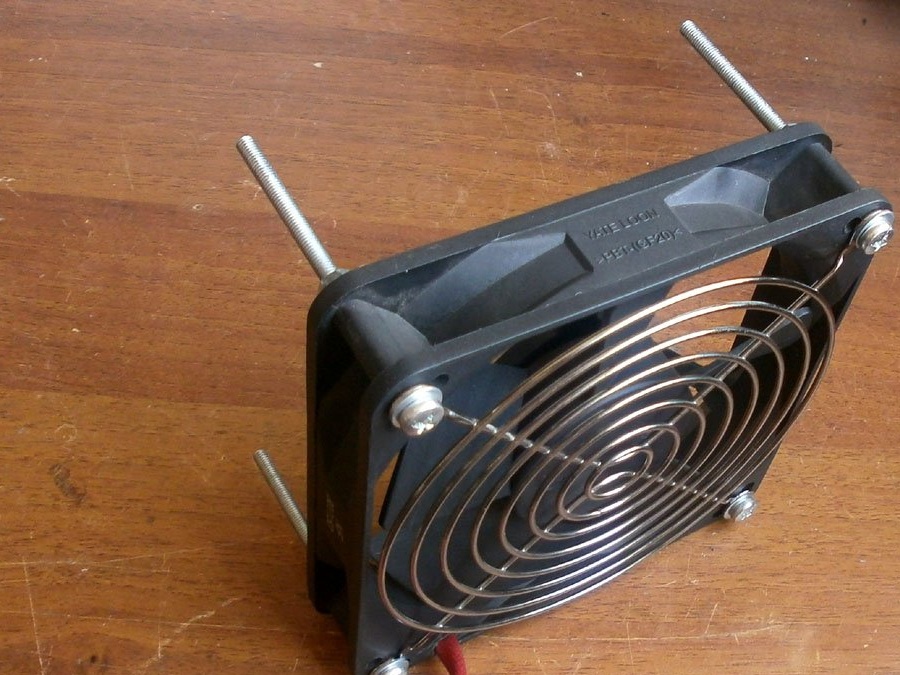
Now pieces of paronite. So they will protect it from heat, and they do not interfere with the air flow. And so that they snuggled tightly, drill more holes, not with a diameter for the screw, but for the nut used.
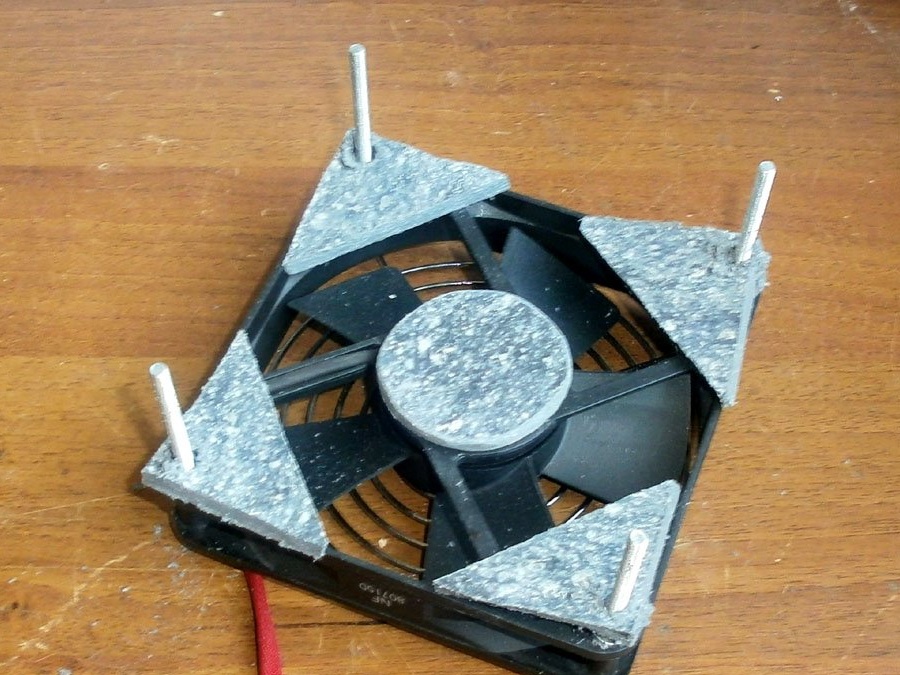
Further - a grid-lattice, and is also attracted by nuts.
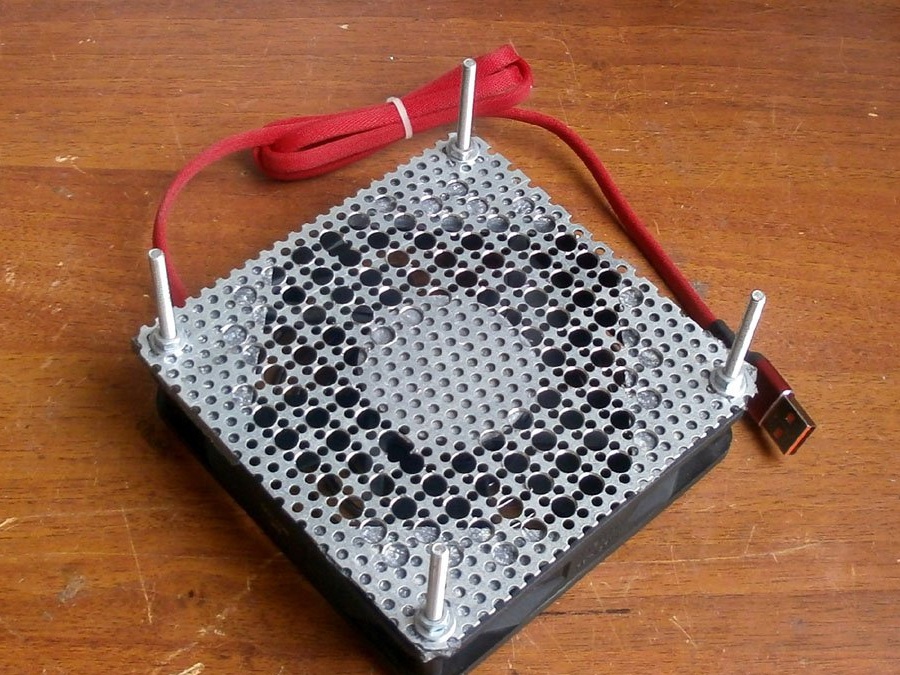
The module is ready.
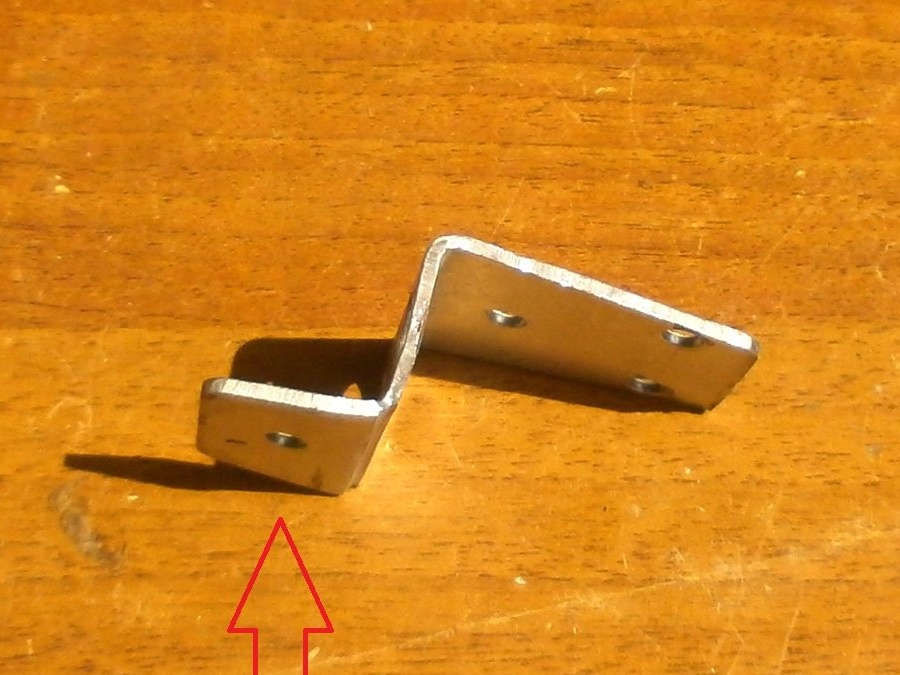
The main hinge, so that the lid opens and closes, I make of two doors. And in order to connect, from a piece of a corner, what plasterboard artists use for their designs,
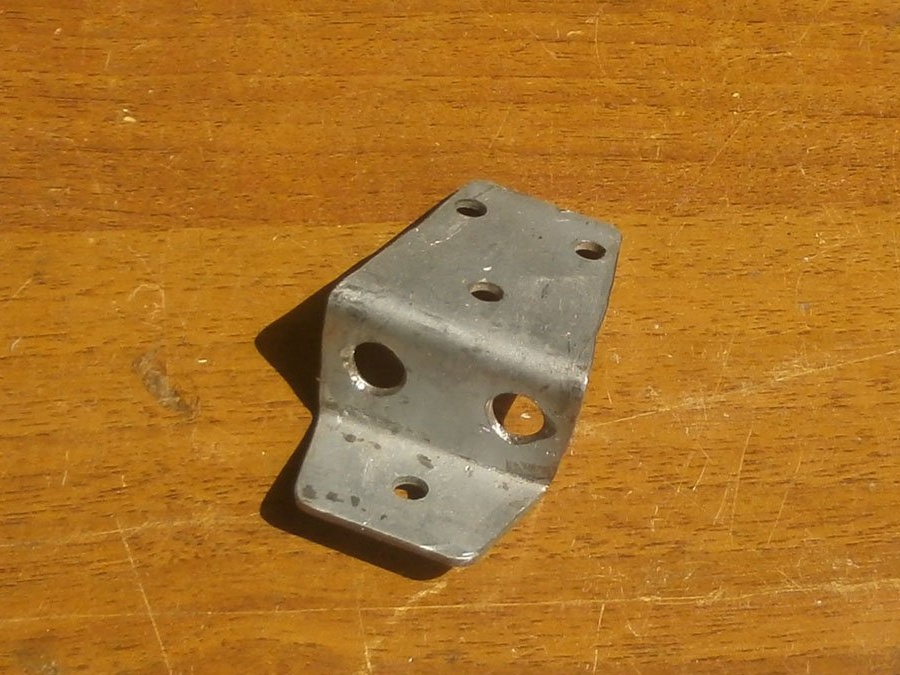
cut out and bent just such a detail. The bent part will then be the focus for the lid so that it opens 90 degrees.
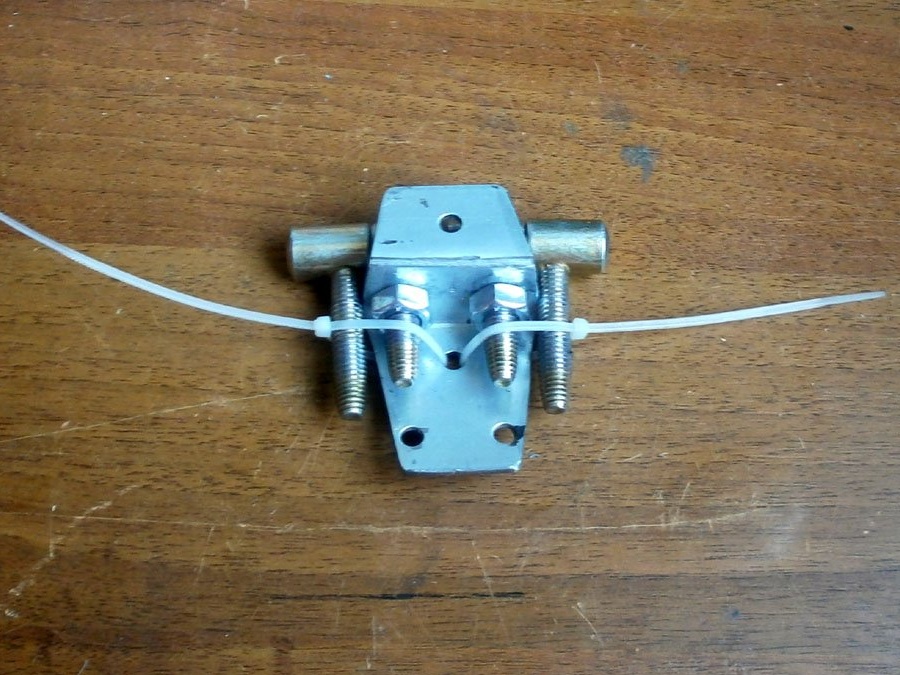
Assembled on the nuts

when I install everything, I’ll adjust it, I’ll cut it off. And so that the mates would not be lost, while he pulled together with ties.
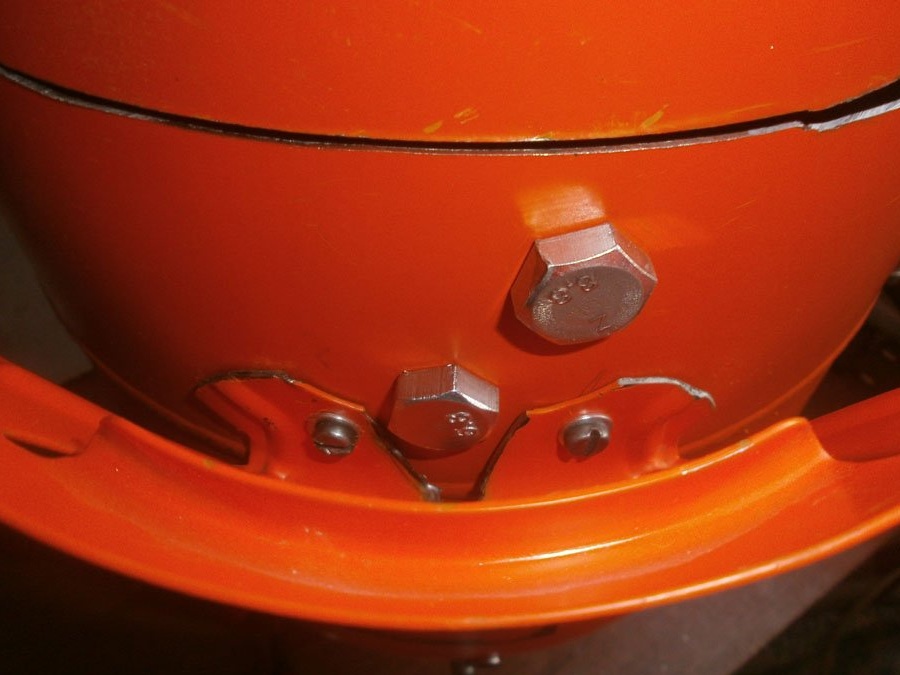
In addition, I bought three long furniture bolts M10 - they will be legs,
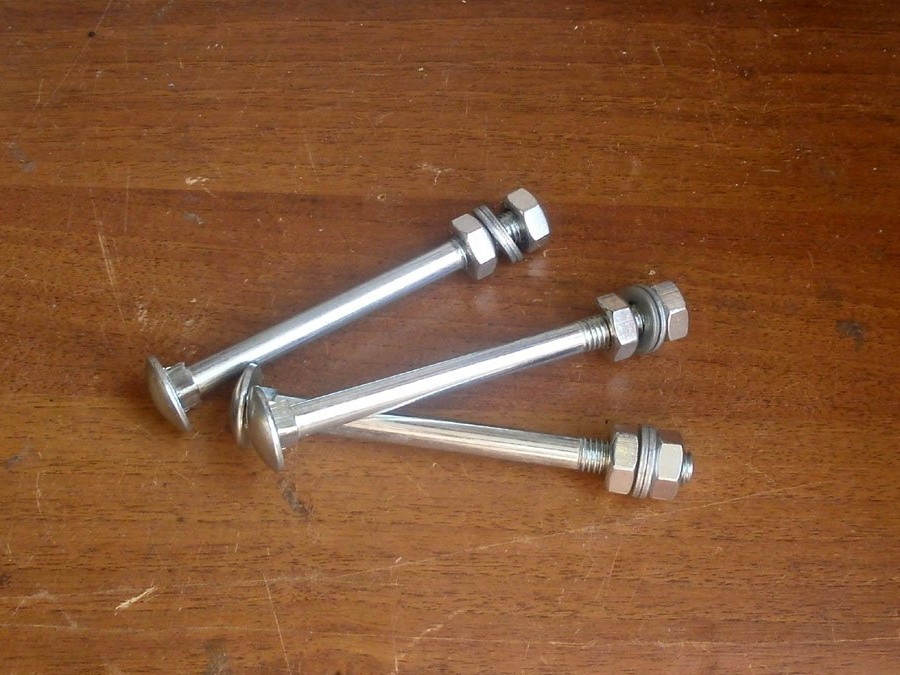
6 - ordinary nuts, 6 with a round head - they will be stops for the cauldron and the upper circle-mesh, as well as 12 bolts for them.

Now the main part, the cylinder. As I already managed to find out, they differ in the shape of the pens used: everything else is absolutely identical.
I cut a single handle in the middle, loosened and broke it.
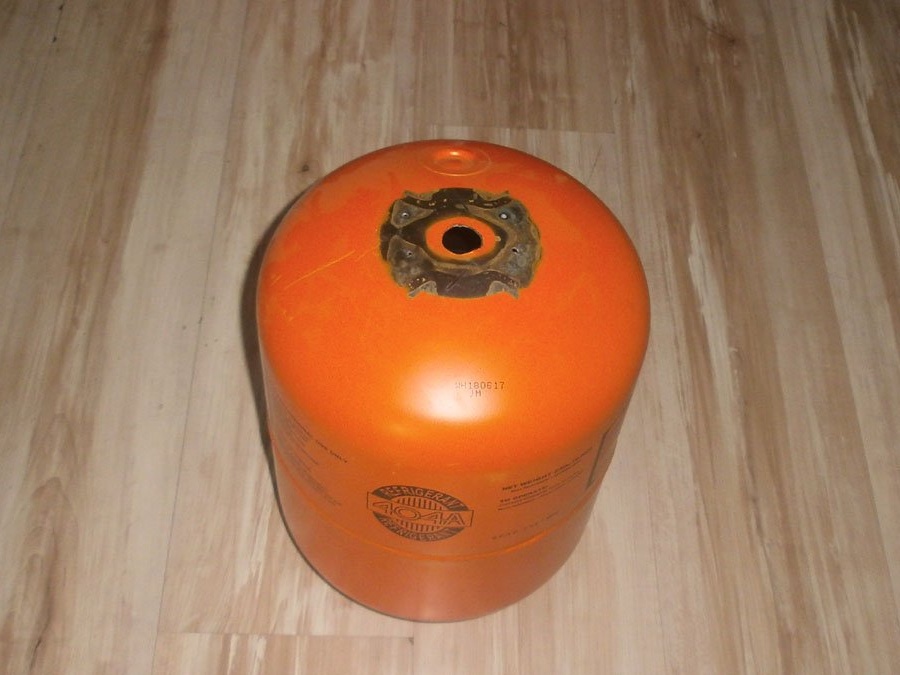
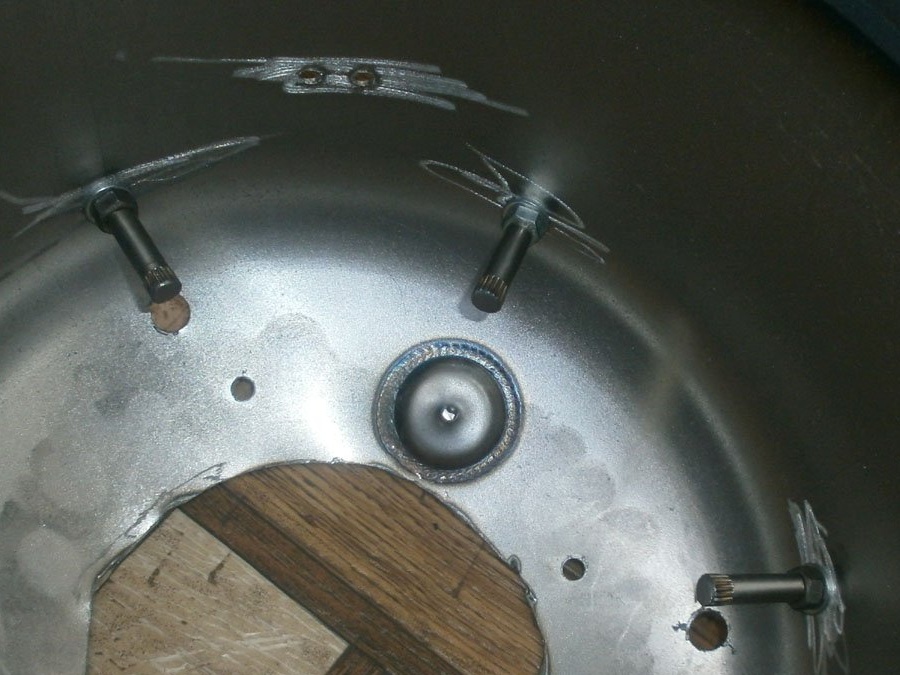
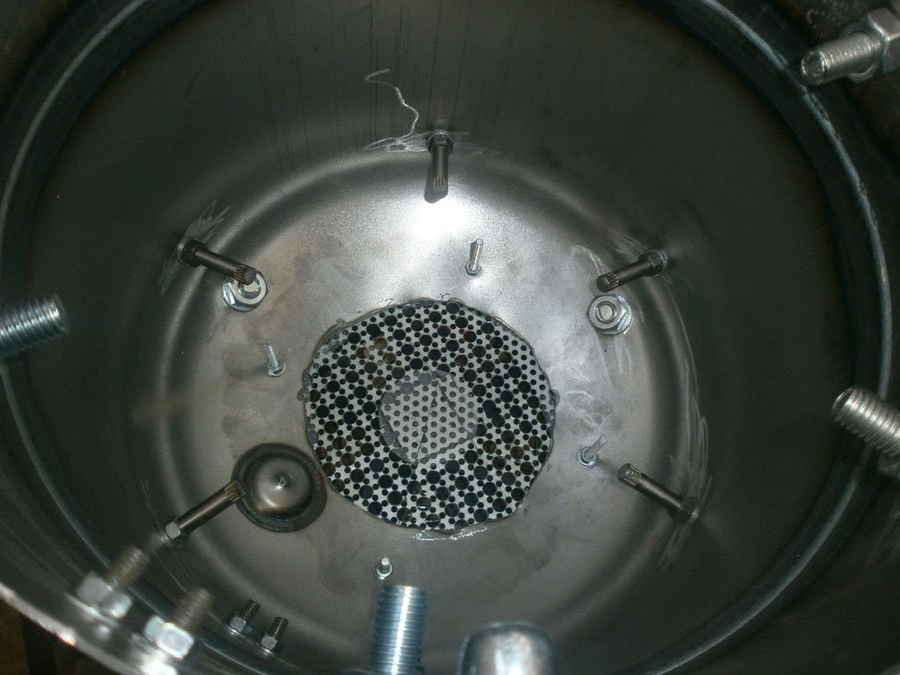
I was still not completely sure whether they would be needed or not, so I put it aside. He also broke the filling valve: it was not possible to unscrew it, and the fan hole will be here: the cylinder will be upside down.
The hole-mug helped to mark the hole: it turned out perfectly smoothly.

True, I cut a hole crookedly.
I drilled holes for the fan screws, as well as the legs.
Marked all the holes in the body, where to cut the cylinder,
and accordingly, did it.
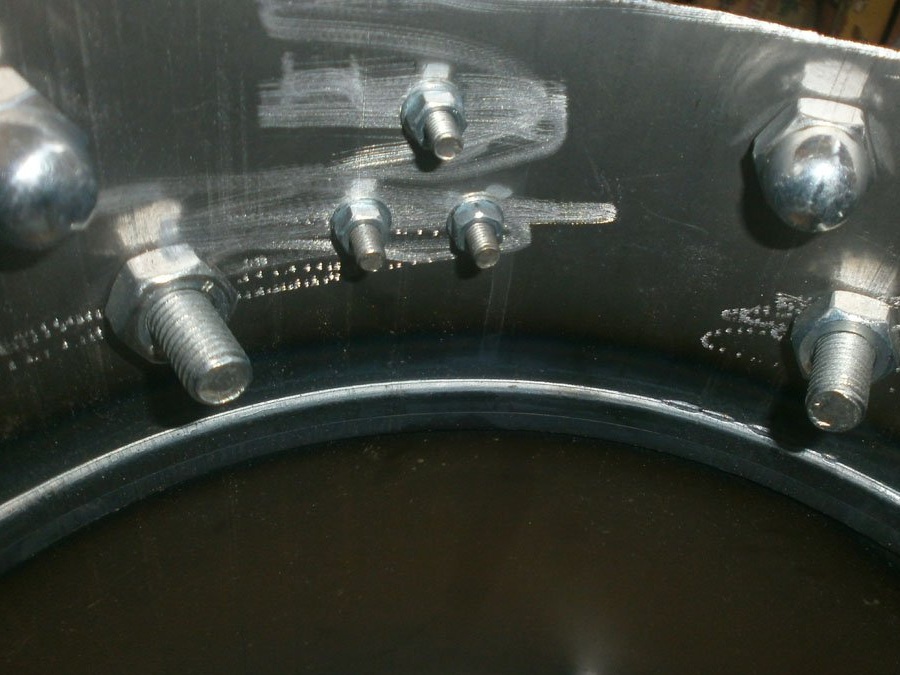
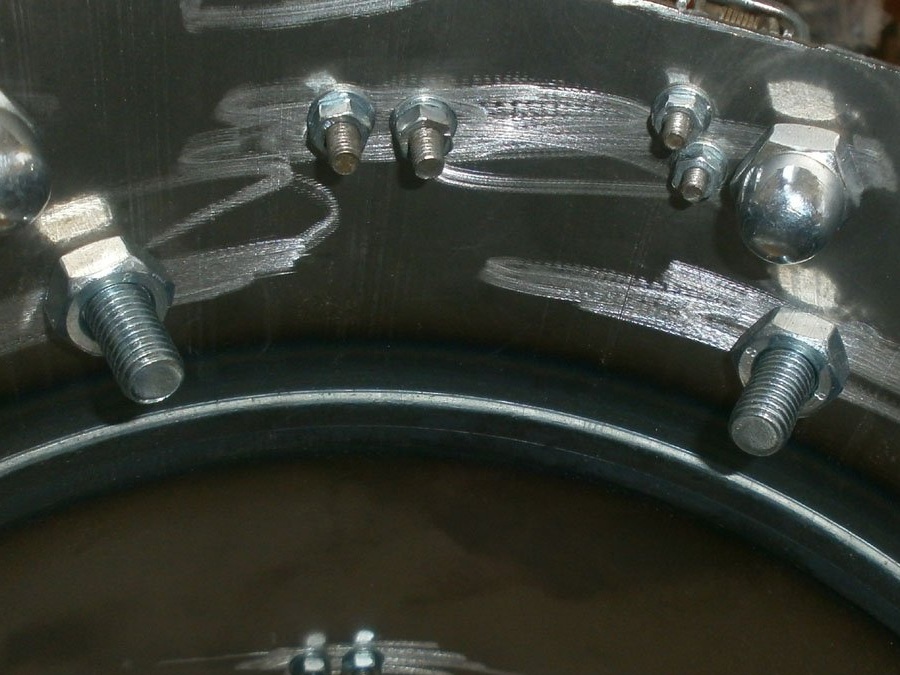
In the course of manufacturing, I realized: the smoking grate should not only be under the very top, but also lower. Otherwise, the lid will not close with the same piece of meat.Therefore, the top row - with round nuts and short bolts (had to be cut), and the bottom - just bolts with nuts.
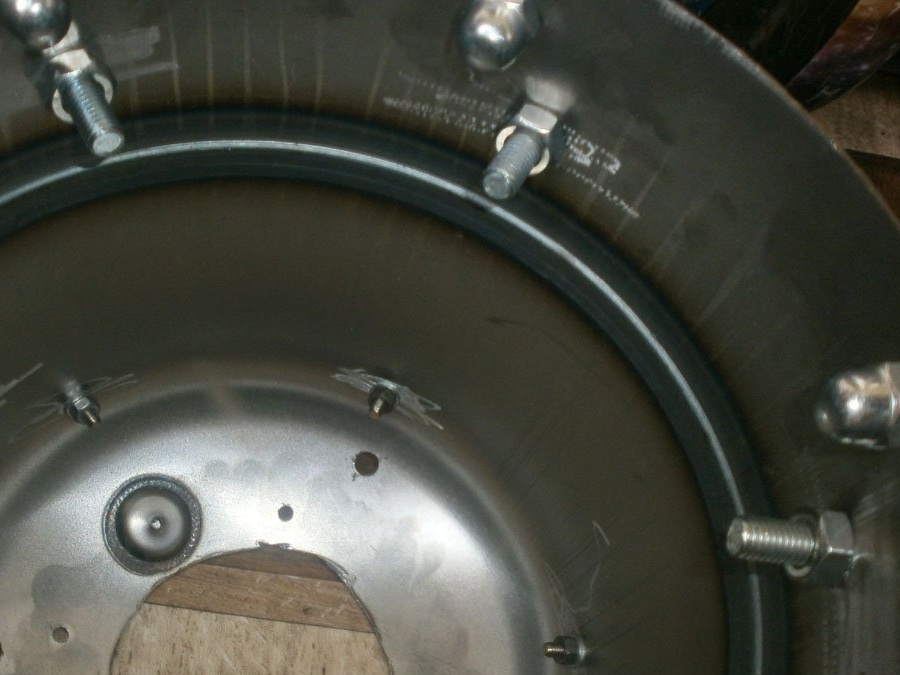
The firewood net also rests on 6 screws from the coupling bolts. First, they were tightened with nuts (thanks to them, the mesh will be centered), and then screwed up the mating parts with cut off hats.
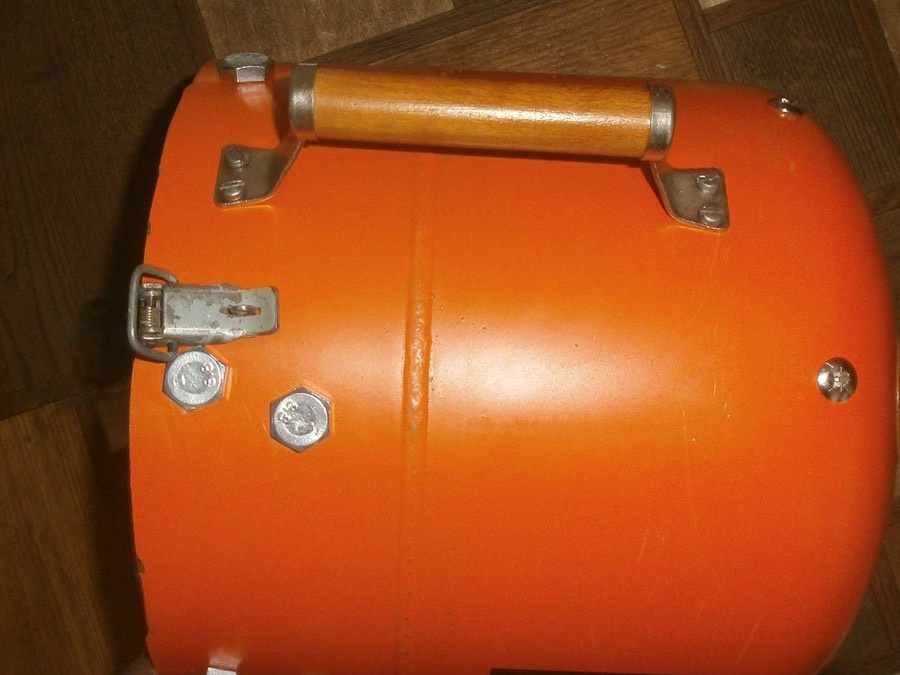
Now screw the loop
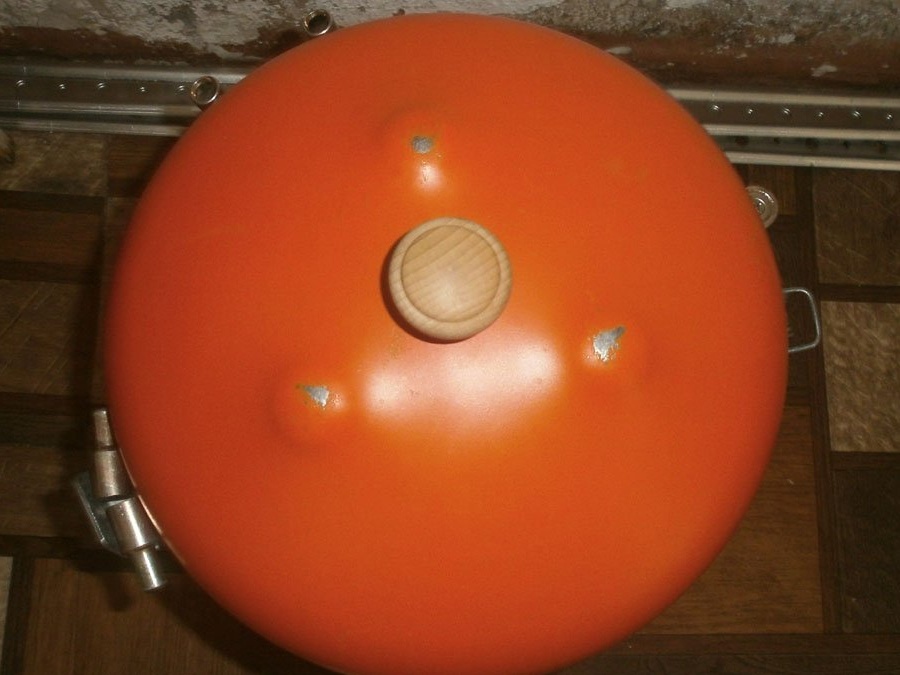
main handle, frog,
as well as a mushroom handle in the furnace lid and a frog mate.
It turns out pretty well.
Compound loop. It’s not only necessary to install it,
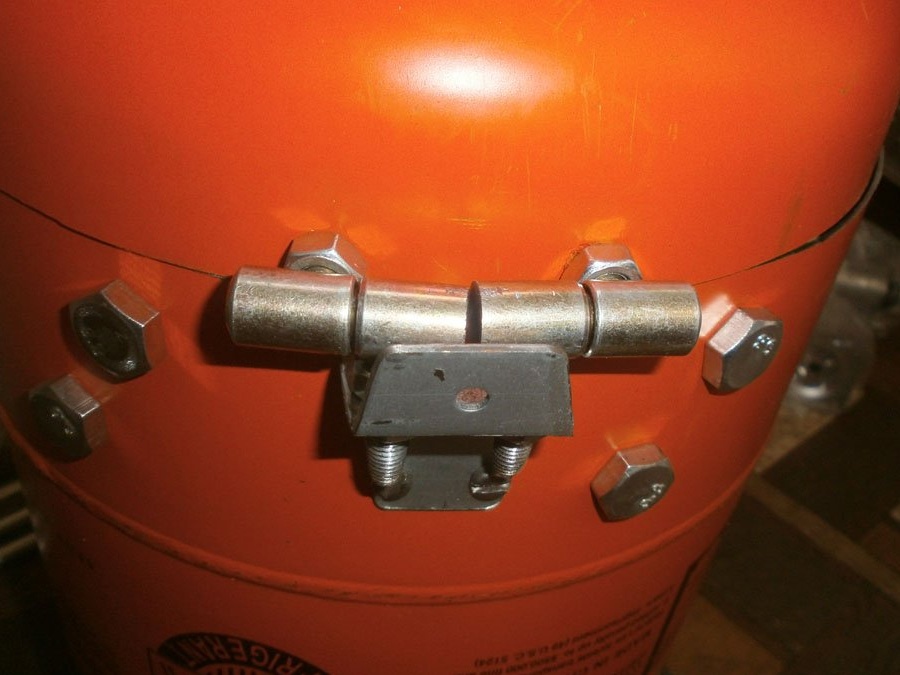
but also to adjust so that the lid to the main part of the stove fits snugly, without distortions. Of course, if you use our stove as a smokehouse. Fortunately, this is done simply: loosen-tighten the nuts.
It was the turn of the lower part. We insert the screws of the legs, tighten (there are three of them, so walk with a shaker, even if there is a slight bias, it will not), the fan unit,
and attract it too. Just do not get carried away so that the plastic does not burst.
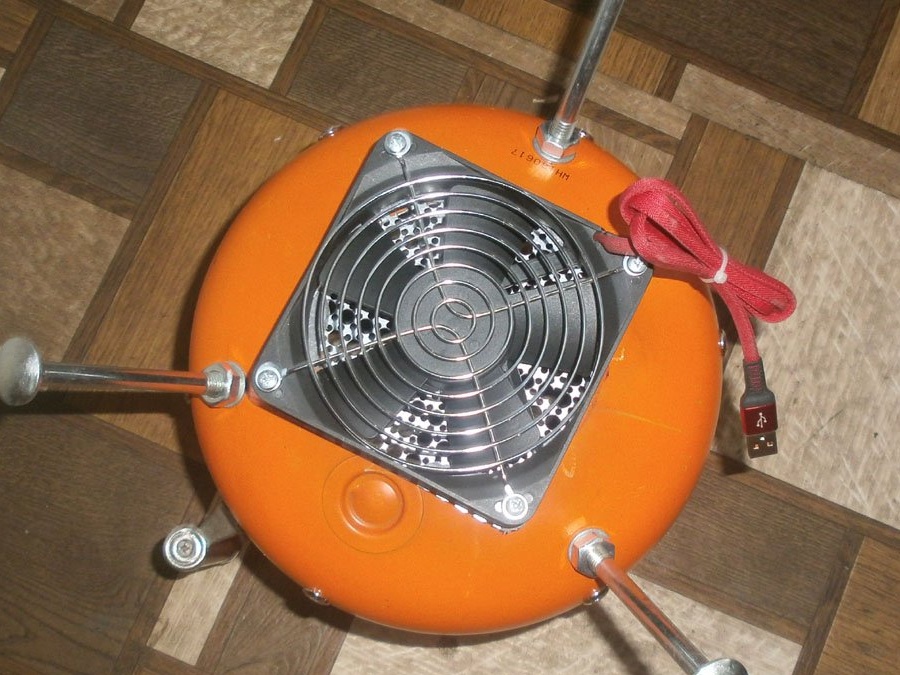
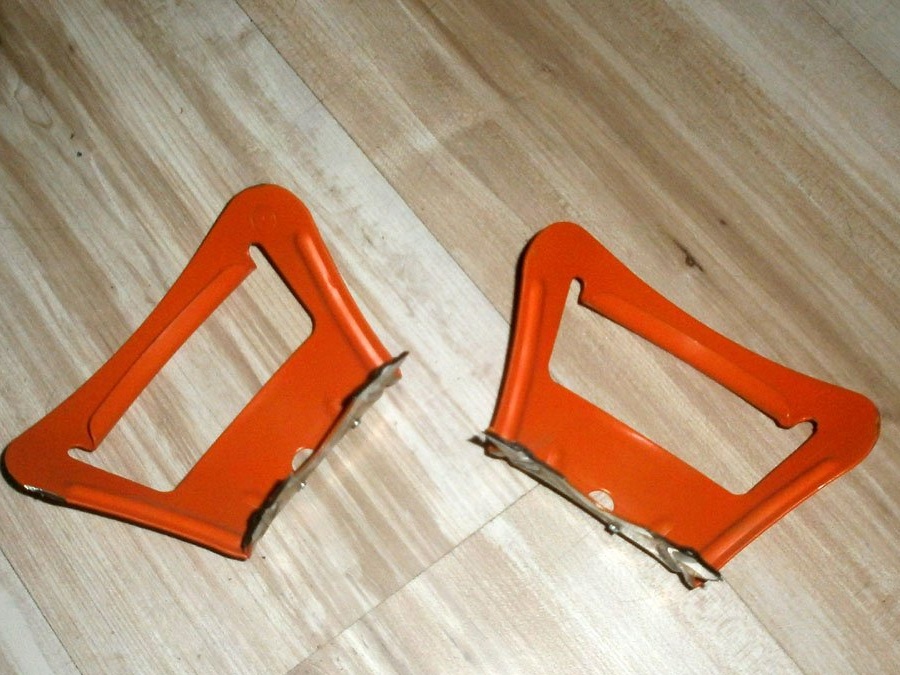
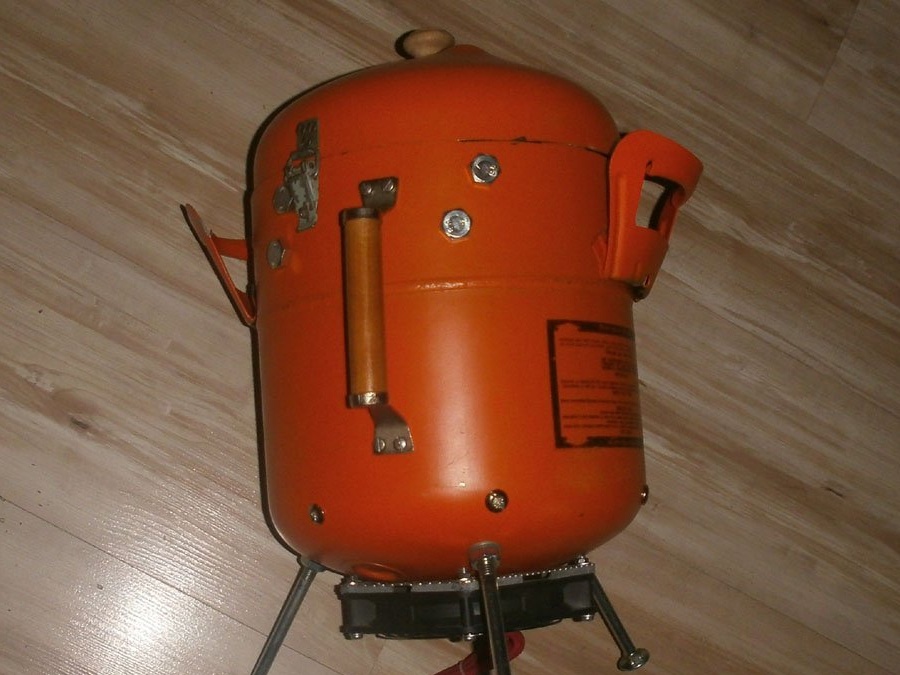
Nevertheless, I decided to fasten the side handles: with them, installing and leveling the stove in nature will be more convenient. Nothing wise: two holes in them, the same number in the counterpart, 4 M5 screws with nuts and washers and voila, you're done.
They can only push them up to make the stove more compact.

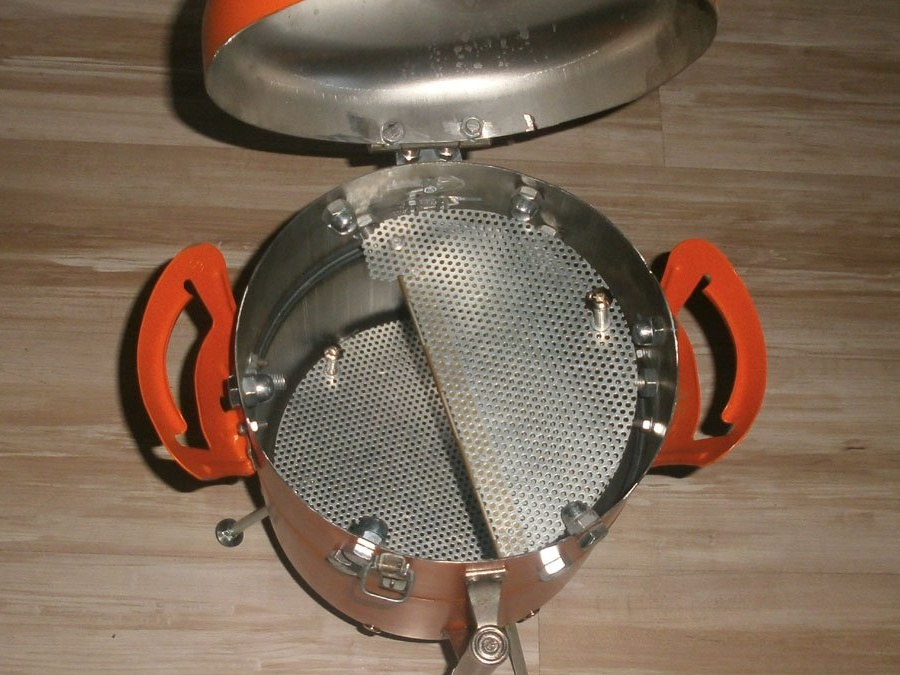
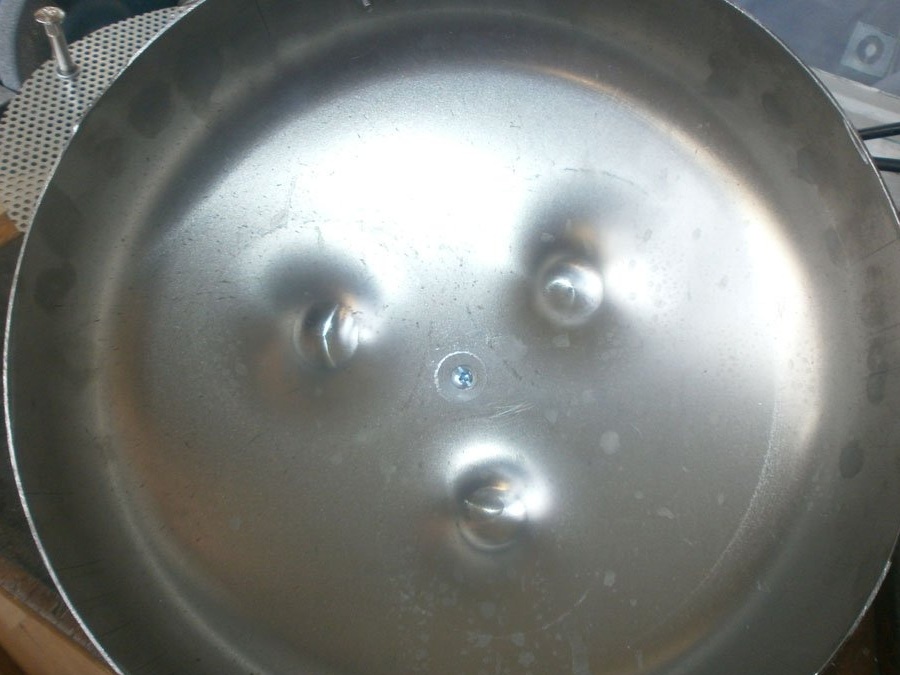
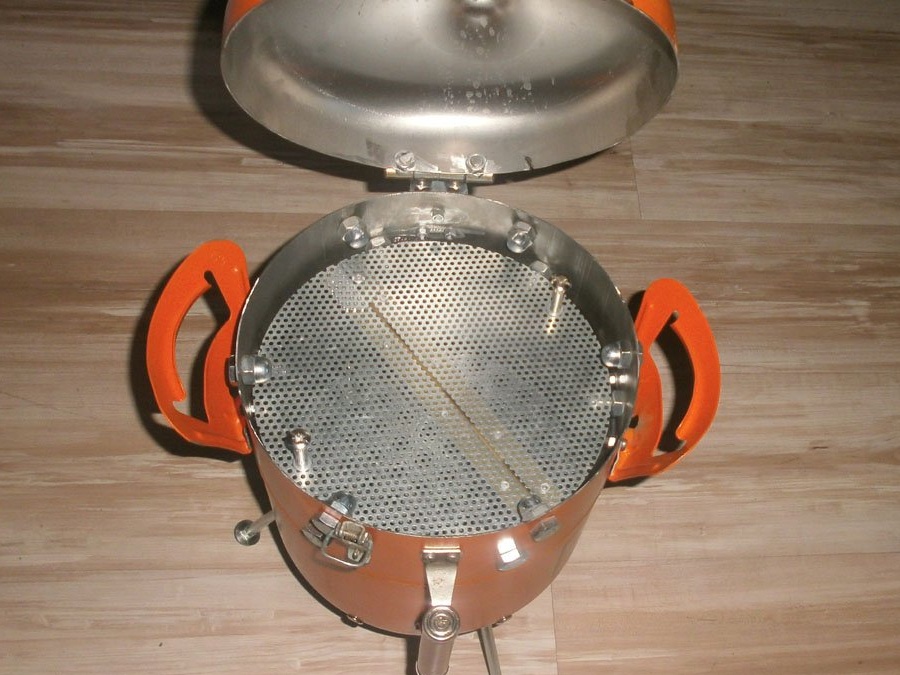
Now insert the bottom disk, which will be the base of the firebox,
we put the smoking disk on the upper level,
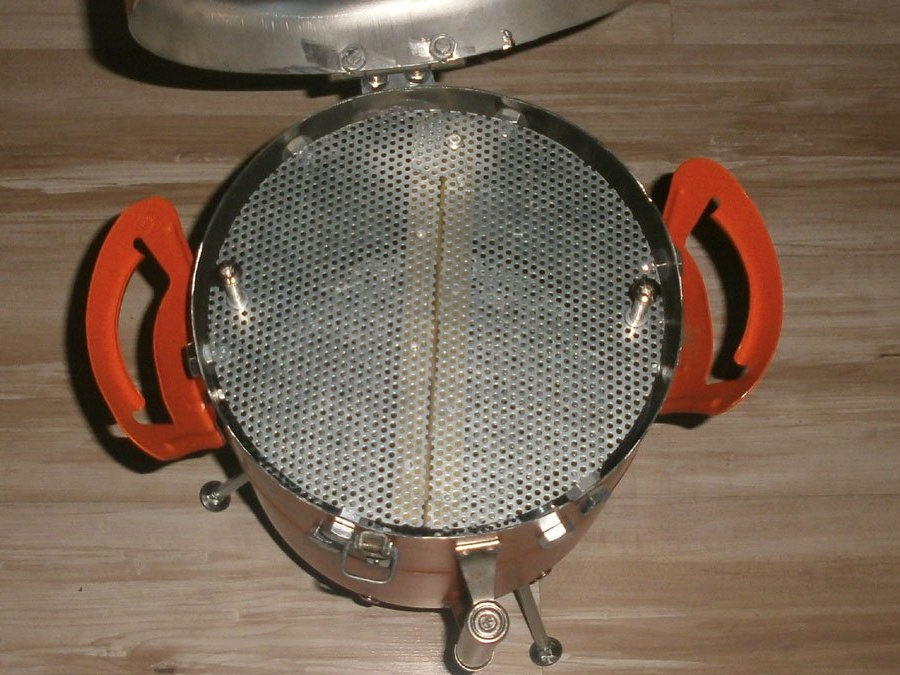
lower
or in general, a half. Everything is inserted perfectly, while lying securely. Although they are a pleasant addition: the main purpose of this homemade still different.
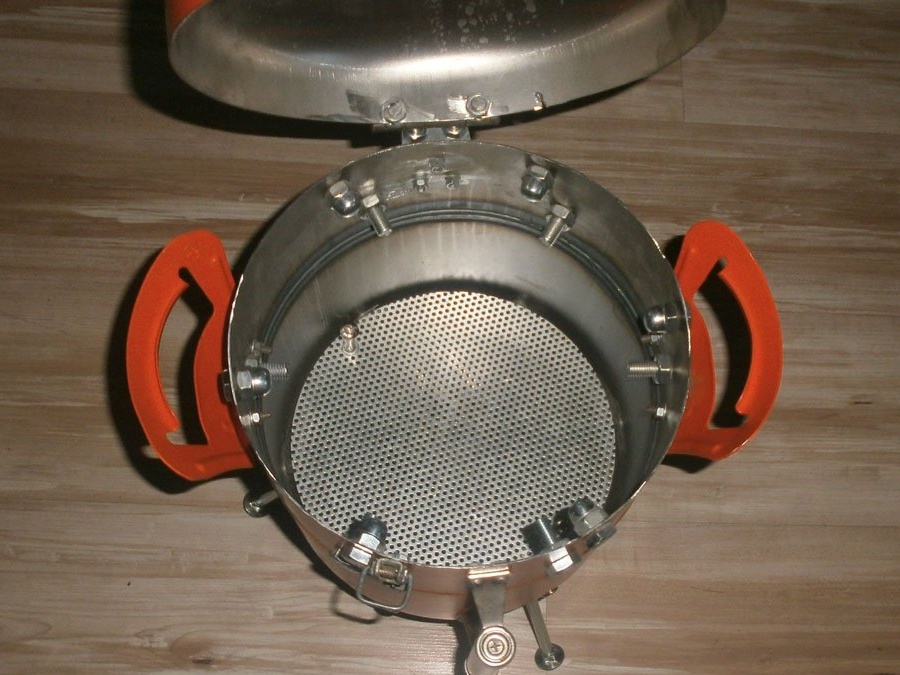
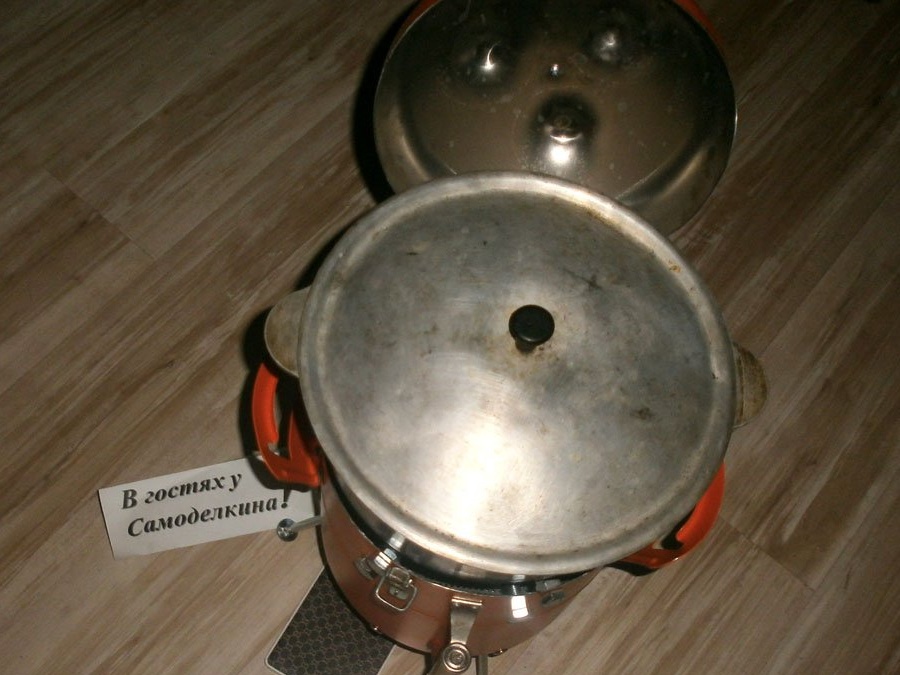
The stove for a 5-liter cauldron from an empty freon cylinder is ready.
It remains only to leave "in the fields",
and try how efficiently it works and how quickly pilaf, shurpa or roast in nature is prepared. So it remains to wait for the coming weekend.