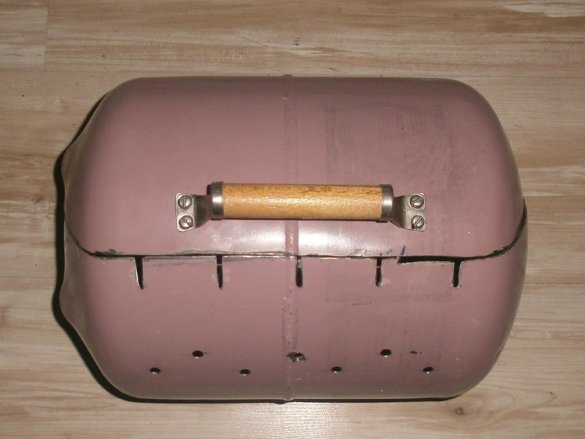
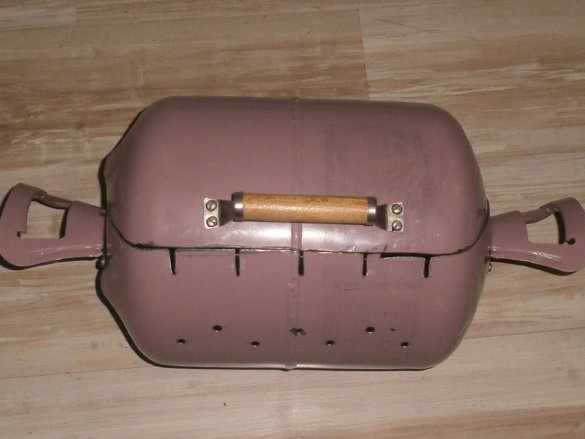
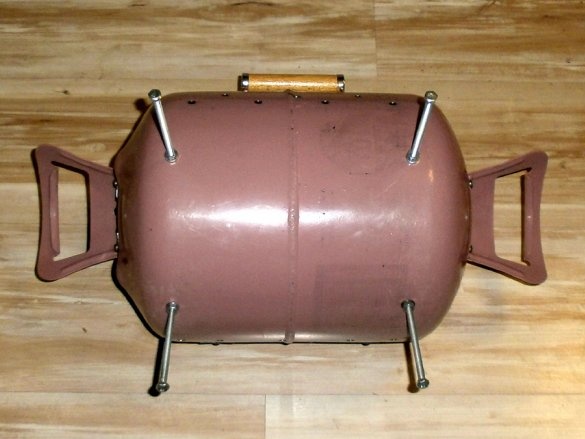
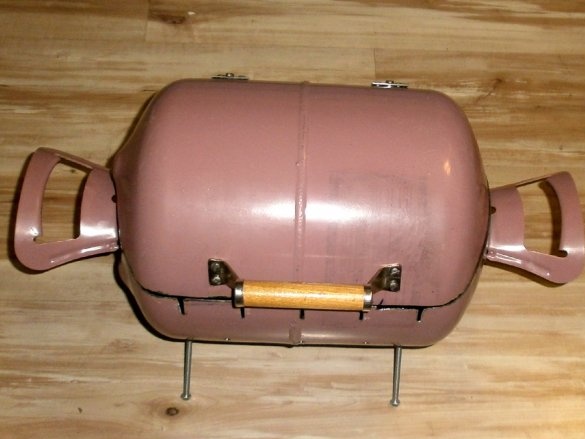
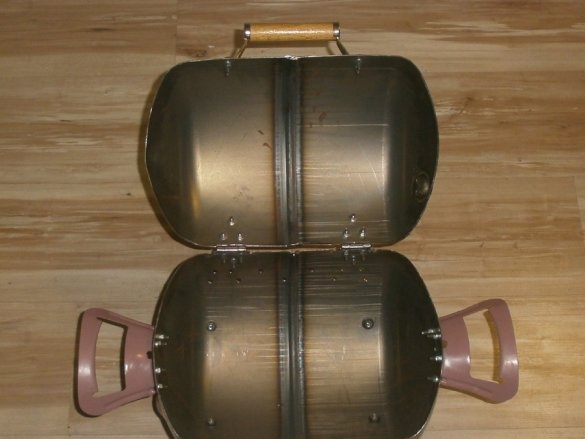
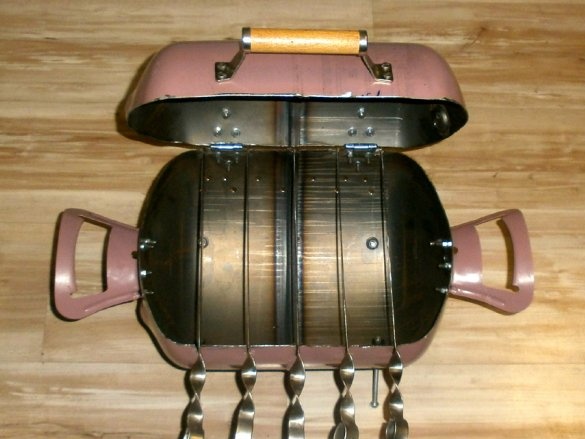
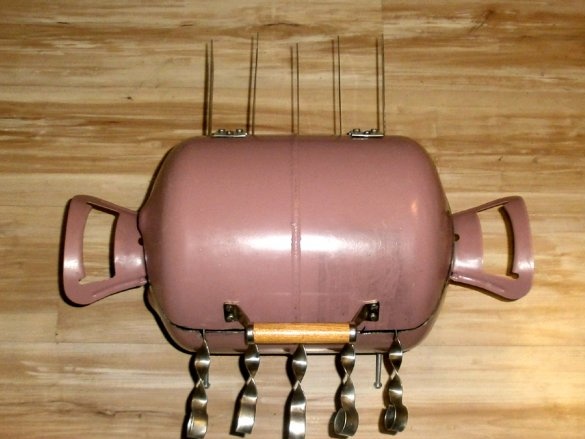
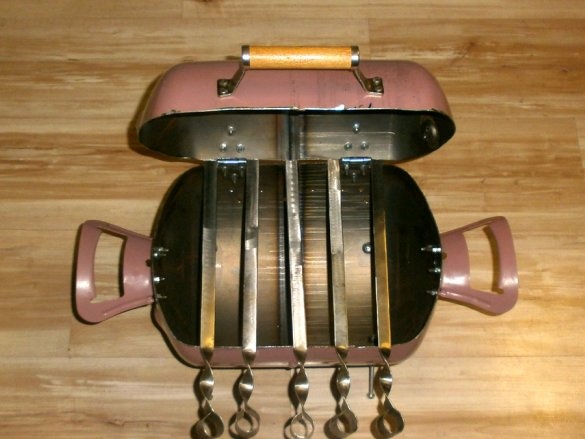
The reason is simple: I wanted to “chew” everything as much as possible, so that anyone could just repeat this master class. At the same time, I want to note right away - I did it at home, on the balcony, about any workshop or the availability of special equipment, you can not worry.
So I needed:
• a Bulgarian with a cut-off (I used two) and a cleaning disc;
• screwdriver or drill;
• several drills of different diameters;
• required - core and hammer;
• masking tape;
• tape measure, marker, level;
• wrenches M8 and M13, as well as a screwdriver;
• bench vise: it is very convenient to clamp small parts in them when cutting.
From materials:
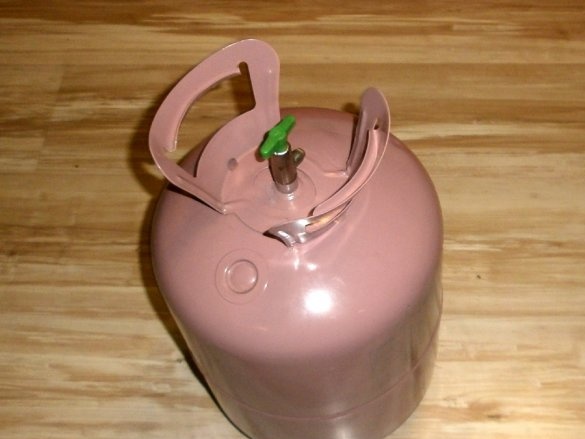
• an empty cylinder from under freon;
• 24 M5 screws, the same number of nuts and slightly larger washers of this size;
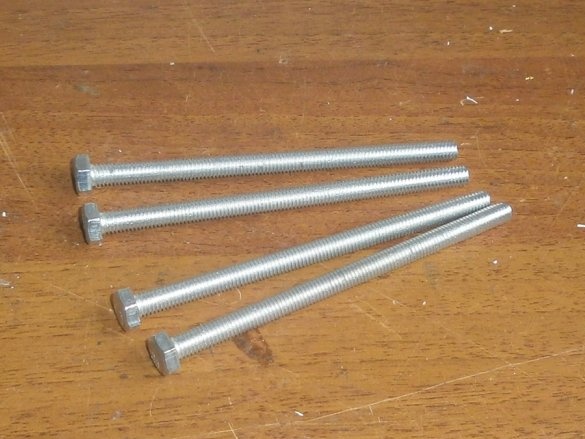
• 4 long screws M6 (or M8), 8 nuts and the same number of washers for them;
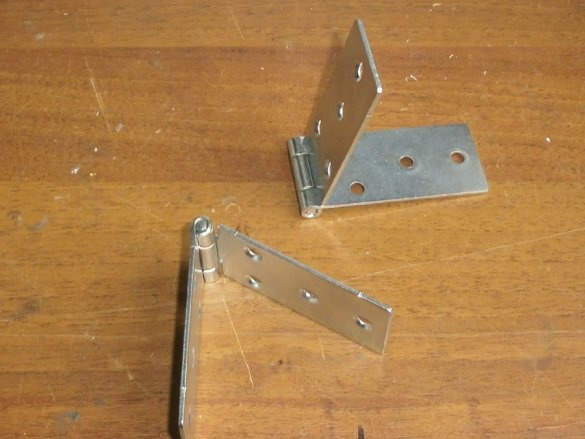
• two loops: not wide, maximum 4 cm;
• door handle, always with the main wooden part: when cooking, the brazier will be very hot;
• a metal corner or piece of steel 2 mm thick: more on that at the very end.
That's all, the preparations are over, we begin to create.
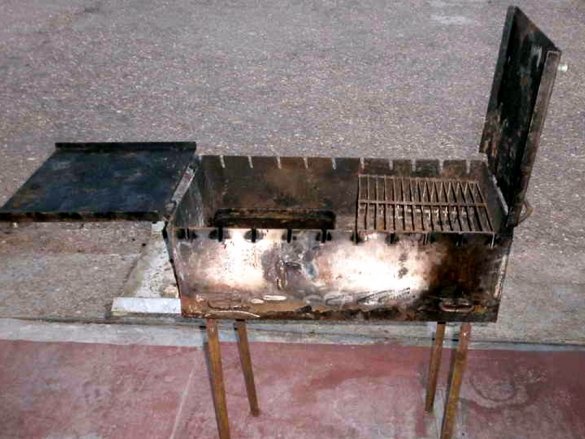
No, a large, reusable, “trivial” brazier designed for a large company, I have:
Here are just its dimensions, 600 by 300 mm and weight - 46 kilograms, they say one thing: compactness, convenience, "quickly packed and off," you can not dream of. Moreover, when we leave for a picnic only with my family. But if I bought a rocket furnace for a cauldron, I even improved it diffuser horns, then with a barbecue for barbecue you need to think something. Well, do not buy the same ready-made at the nearest supermarket or at a gas station.
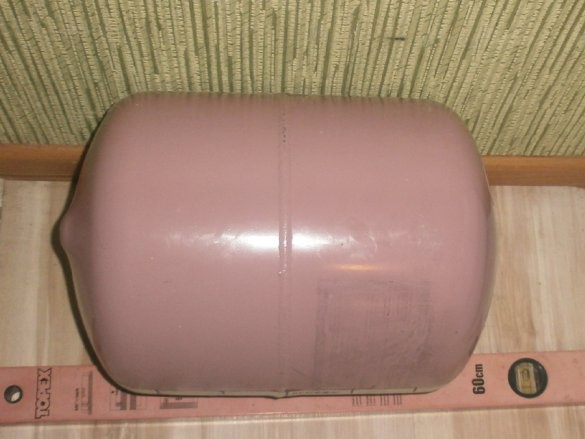
The idea was born by itself: a friend put me an air conditioner and he saw a compact cylinder with freon. And since it is by and large disposable (refueling in our city is only slightly cheaper than acquiring a new, full one), it was not difficult to get it out.
Like many, I used Yandex search. But absolutely all the videos on this topic, or articles with step-by-step photos, had one feature: the assembly was carried out by welding. But firstly, I am not friends with her, and secondly, I do not have a welding machine. And if so, then I will do model national team, bolted nuts.
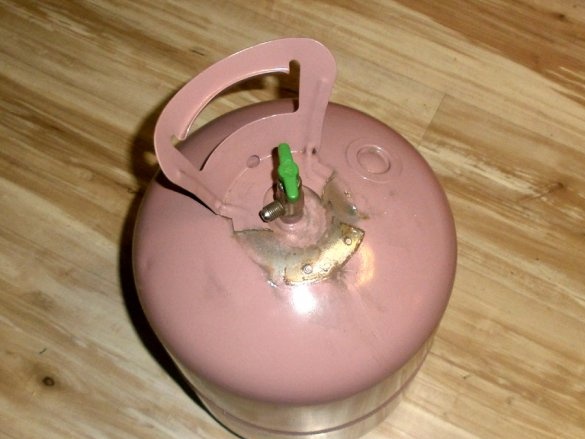
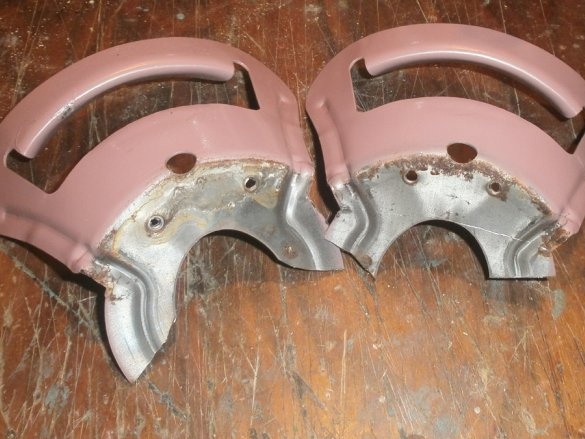
The first thing you need to do with it is to handles. I have an option where they are made as a single part.I incised, little by little (like a milk tooth, when it already needs to be pulled out), loosened and broke. First one,
and then the second. But do not rush to throw them away: they will still be needed.
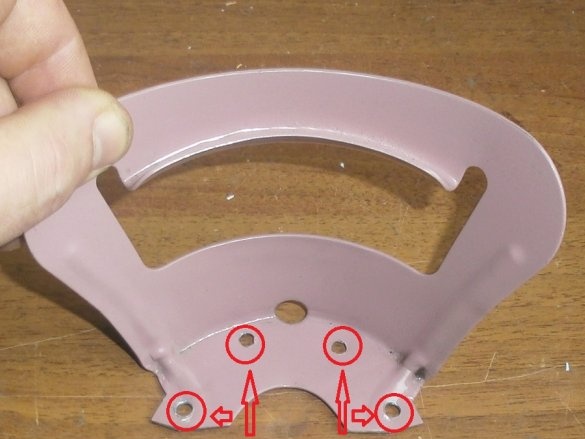
Therefore, finish it right away: cut, drill the holes obtained after breaking out with a 5 mm drill, and also make two more below. That's exactly what I did.
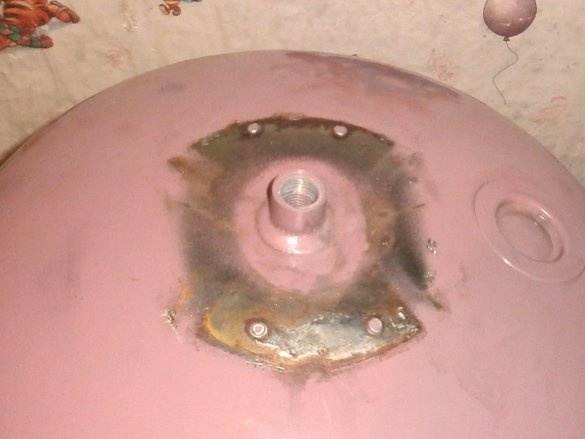
By the way, if I knew exactly where the welding points with which it was grasped to the cylinder, I would just drill and remove the handles.
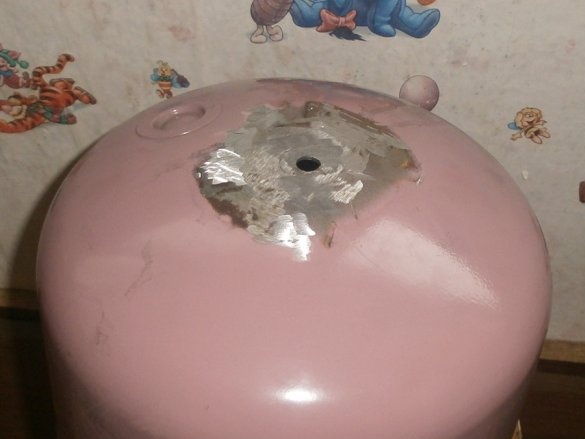
Now unscrewed the valve with the valve. He sits very tightly, is seated on some kind of thread sealant, even thought that it was reverse. But no, the valve was clamped in a vice and unscrewed. I would know that he was so firmly set, just would be cut off by a grinder. By the way, as I later realized, this is the main tool in the manufacture.
However, I cut it off, and also leveled, as far as possible, the surface with a cleanup circle.
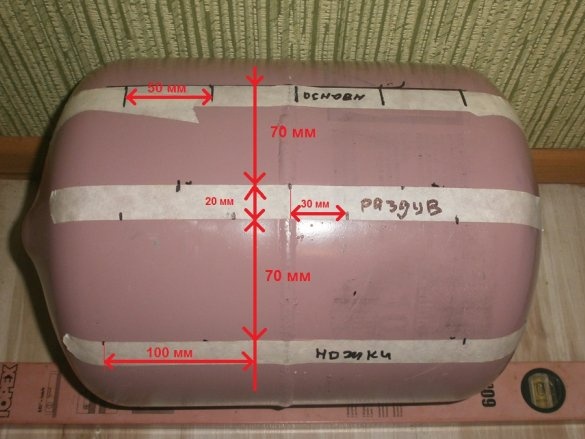
Now, the most interesting and crucial part, the markup. The diameter of the cylinder is 250 mm, I decided to divide it in a ratio of 2/3. It turns out from the bottom to the skewers of 15 cm.
In the barbecue, which I always used before, the distance from coal to meat is 13-15 (how to put a skewer) centimeters. Frying always turned out to be perfect, the meat does not burn, but not raw either. So I decided to repeat, guided by "they are not looking for good from good" to dwell on the same dimensions.
But how to draw a horizontal line on the cylinder, also with rounded edges and a seam in the middle? In fact, it’s very simple: using the level. Even the part with a bubble for horizontal lines turned out to be in place: the weld of two halves of the balloon will not interfere.
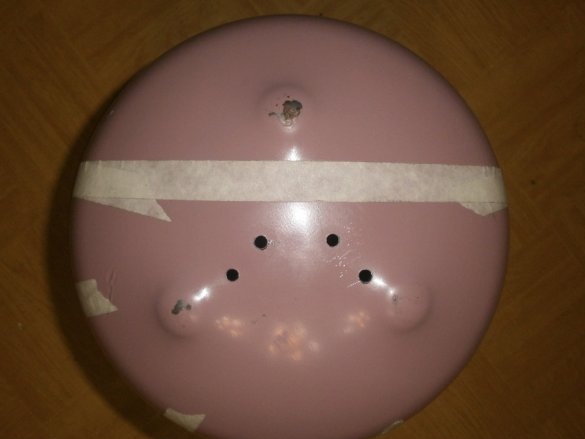
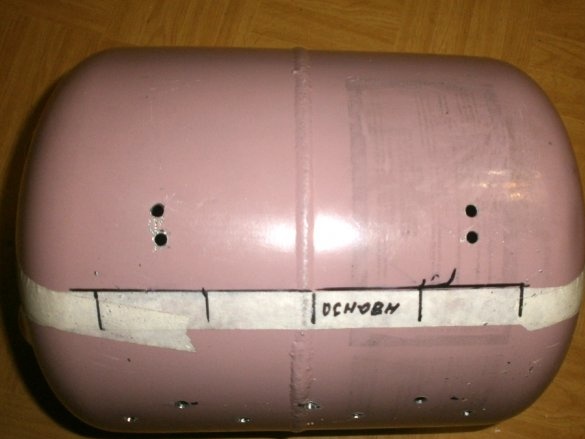
Further everything is even simpler: you see all the sizes in the picture: they are the same both on the one hand and on the other. The blow holes will be staggered. By all accounts, it’s higher than burning charcoal: they will not clog with ash and will work, supplying oxygen, even if the lid of the barbecue is lowered during cooking.
Whereas for the legs we drill holes as close to the edge as possible: so the brazier will be more stable. And to do them, I took a drill of 6.5 mm: the same as for blowing.
Holes for the side handles (those that we cut from the empty cylinder at the very beginning were just useful)
as well as the central one (he took the most ordinary one from the nearest hardware store), drilled it in place with a 5 mm drill. Naturally, he screwed all future holes before drilling: from the round cylinder of the cylinder, even at low speeds (he worked with a cordless screwdriver), the drill strives to “run away”.
Now the most important thing is to cut the container directly. I’m glad that if you mow it, you won’t have to adjust anything: anyway, two resulting parts, a bottom and a cover, from one cylinder.
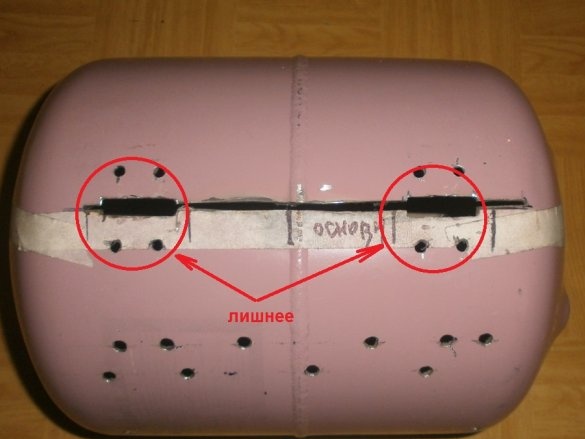
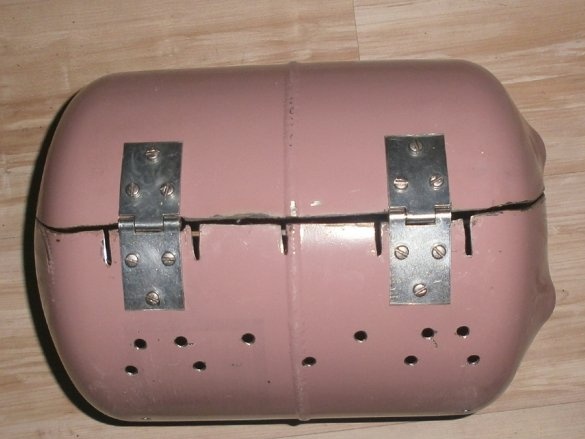
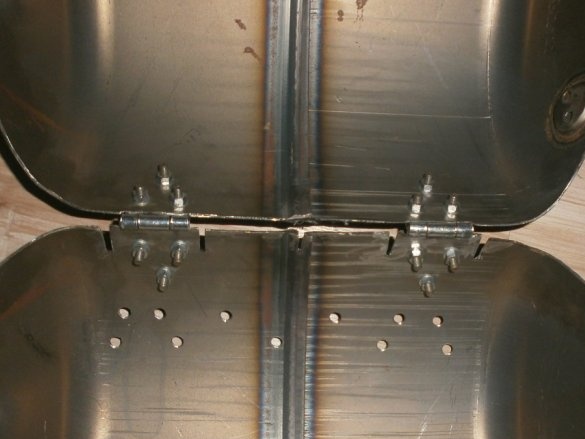
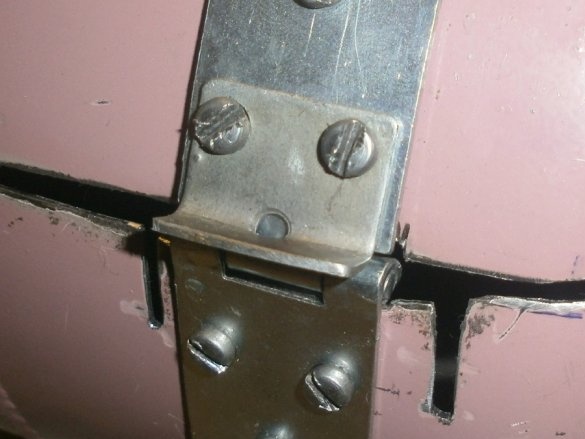
Notch the back. In no case along the entire perimeter, the cylinder should not fall apart prematurely. I expanded the holes for the hinges. As it turned out later, these are superfluous: they had to be screwed on the other side, and still had to make a stop. Now put the hinges and drilled holes for them.
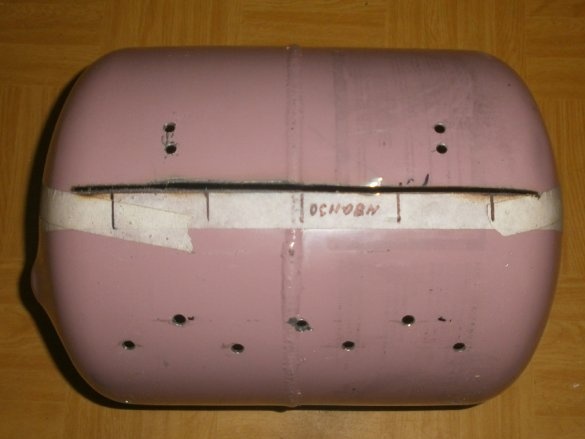
Also cut through on the other, front, side,
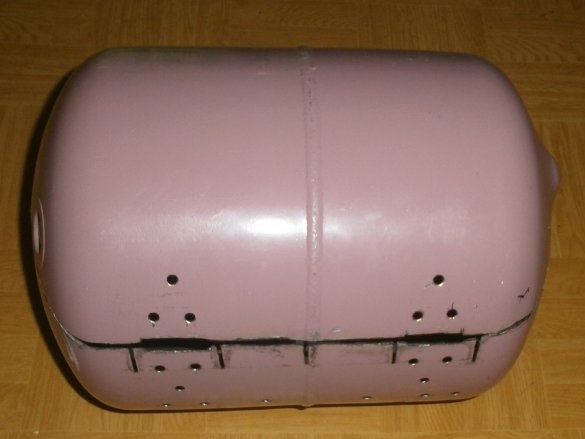
and then sawed and in a circle. Done. Just remove the burrs in a clean circle.
Now make vertical cuts under the skewer: you can forget, and then you have to re-mark. Yes, and when you mark the holes for the loops, they should not overlap them. Therefore, be sure to pick up narrow loops.
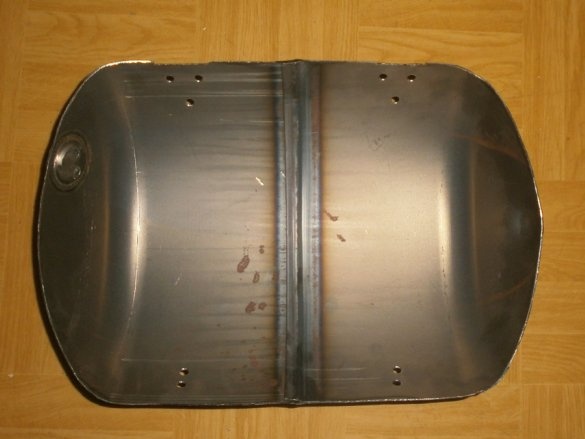
Of all the holes drilled in the lower part of the grill, you need to remove the burrs: the metal is quite soft and they will certainly be. And to make this the easiest way is a thicker, larger hole diameter, drill.
Similarly, in the lid
Getting to the assembly. For this, I used the M5 screws-nuts-washers (they were at hand). And I had to buy only loops - they had to be shortened by 2 cm from each edge,
and bolts on the legs. The M6 100 mm long came up perfectly: not long, and the brazier will not stand on the ground.
First, we fasten the hinges: first, two lower screws, and then the upper one. So the loop does not even have to be bent: the necessary curvature itself will be selected by the screw.
And if the lid rises unevenly from the bottom, it’s easy to choose by laying thin washers between the hinges and parts of the grill: it turned out
Now screw the center handle
and side.
Legs.Two nuts per screw, one outside, the other inside, through the washers with a large shelf, fasten them.
And so that the brazier does not stagger, even if you put it on a perfectly flat surface, loosening and tightening the nuts, align their length.
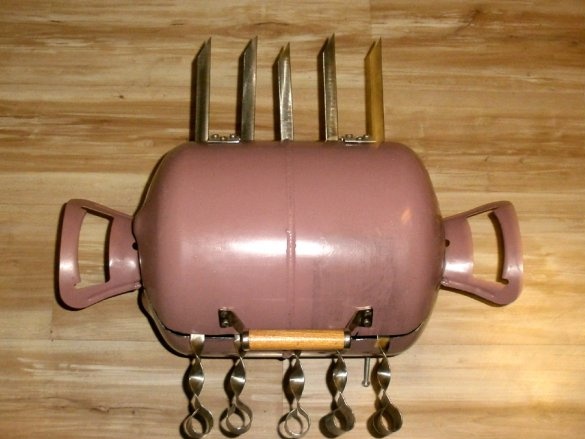
Now the compact brazier is completely ready.
With skewers lying in the slots, you can cook with an open lid,
and closed. Allowing products to soak even more smoke, making them almost smoked.
And if the heat is big, you can slightly raise the skewer:
while the lid closes anyway. It saves a wide cut and the fact that the holes for the hinges are marked BEFORE the cylinder is completely cut.
The compact brazier is ready for the picnic.
But when after several hours I tried again to open the barbecue with skewers inside, I realized that I needed a stopper. A completely open lid raises them a little.
I made it out of some kind of furniture canopy, just cut it off, bent it at 90 degrees and screwed it over the hinge. It turned out what you need.
Now there’s a little thing left: to wait for departure to nature. And when the factory paint on the cylinder, not intended for such an operation, burns, clean it. And then, cover with heat-resistant enamel for barbecues and barbecue stoves.


