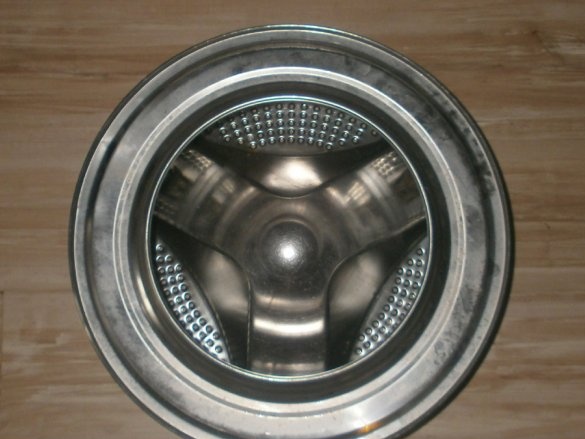
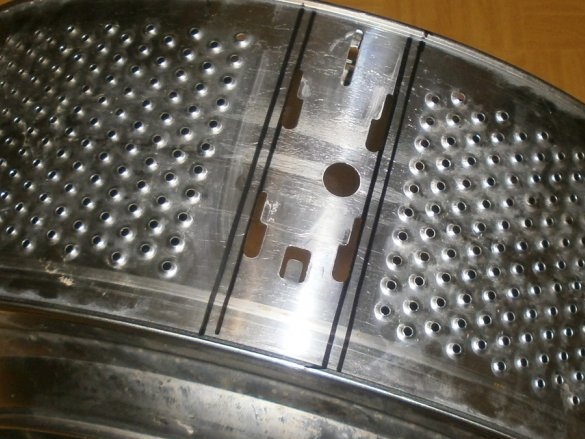
After reading this articleAfter watching the video, I also wanted to repeat this master class. Even at the nearest recycling center, I bought a drum from a horizontal-load washing machine for 100 rubles:
But when he once again, with a sober look, examined his purchase, then re-read the article, reviewed the video several times, asked a simple question: what will be this brazier? After all, the diameter of an ordinary drum is 50 cm. Therefore, how many firewood does he “eat” in just one batch of barbecue? And will not such a number of rather rather large holes be excessive? Indeed, with an excessive flow of oxygen to the coals, they will be too hot. And the meat, instead of being fried as evenly as possible, will be burnt outside and raw inside. Questions, and not idle at all, loomed a lot. Therefore, the idea of “sowing" the master class cleaned up, rejected. Moreover, the season of barbecue will come quite soon.
But after some time, the drum again caught my eye.
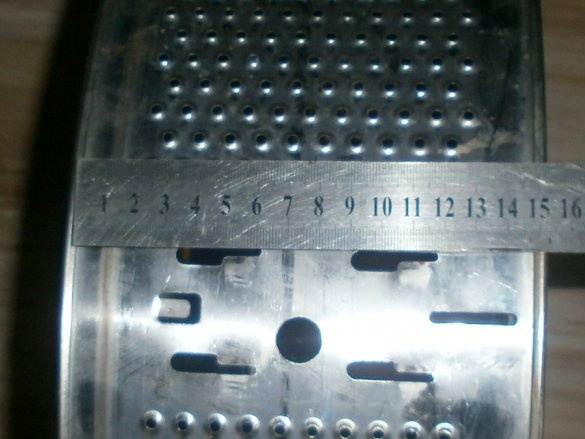
That's just the width of it, was not at all the same as in the article. Well, do not do another brazier for the family: especially since the picnic season awaits another my creation.
Which, as I see it, turned out to be more interesting. So, you also have to come up with something: though, someone will just look for a bigger drum.
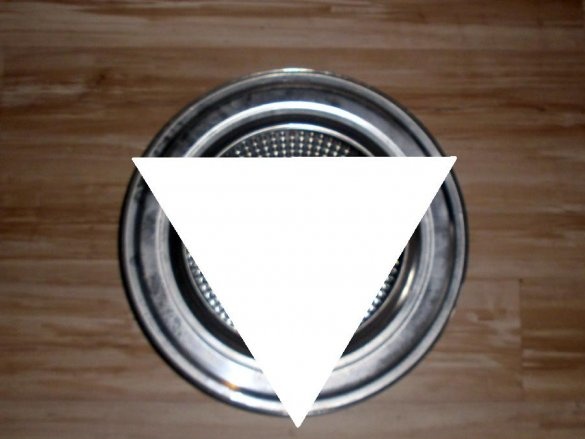
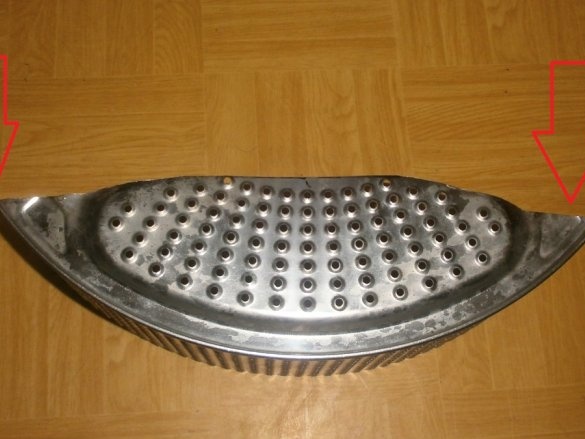
But I digress from my, as I see it, simple, but at the same time, effective idea: to cut the drum not in half, but in three parts.
It turns out that from the bottom of the grill to the top edge, on which skewers will lie, 14 cm. From practical experience in cooking in nature, I know that this distance is optimal: not a lot of coal is needed, and the heat will be as it should.
I cut it with a grinder “rough”: as manufacturing later showed, the details had to be finalized. Given that the drum itself was made of not at all thick steel, it was cut with ordinary scissors for metal. Not the most pleasant feature: doubts crept in that he would burn out very quickly and would have to make a new one. Therefore, if there is such an opportunity, look for a drum from the very first automatic washers: it definitely should be thicker.
Also, on the two resulting parts, I cut off the side of the drum, where the loading neck is located,
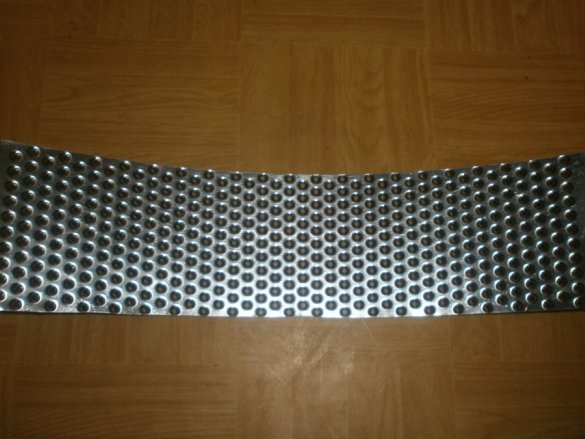
and the middle one on both sides: it should just be a net.
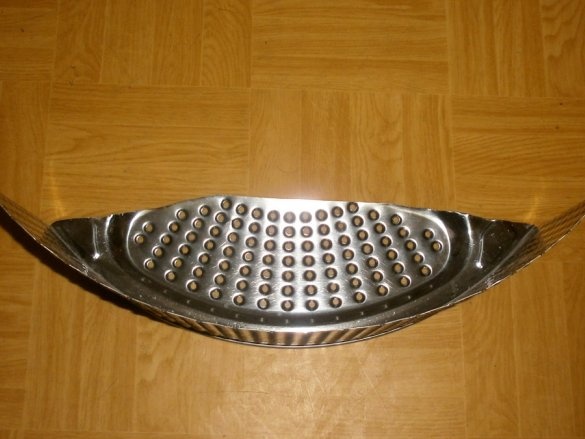
At the same time, the side parts of the future barbecue
at the edges we cut almost end-to-end:
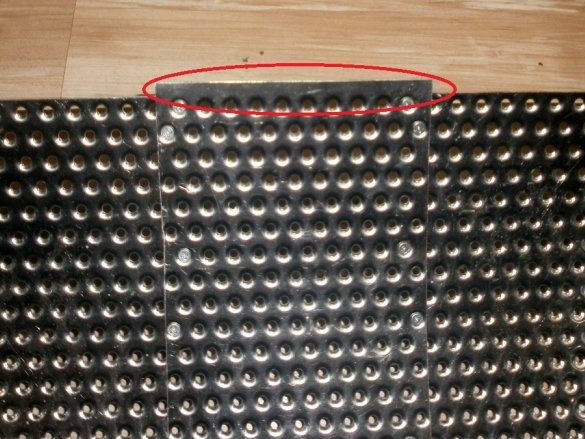
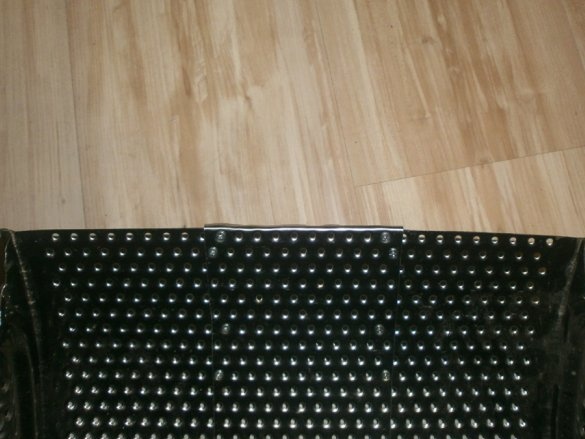
And the middle part, on the contrary, is left “with a margin."After the final assembly, it will need to be bent: this is such a simple way to make an additional stiffener. But more on that later.
Also, the side parts need to be cut so that the cut passes exactly through the holes: so when assembling the parts will fit as close to each other as possible.
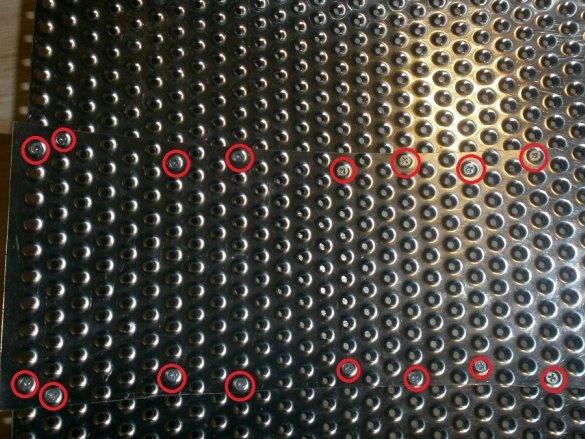
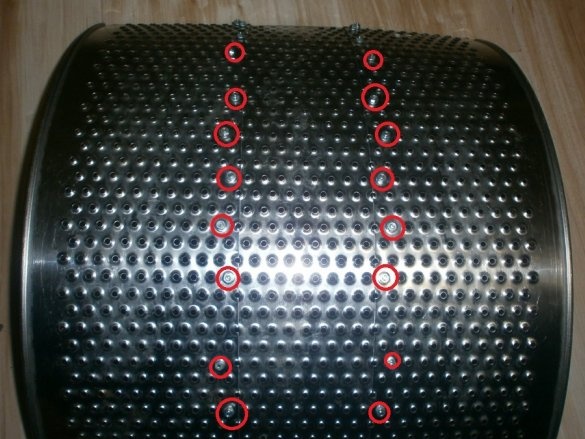
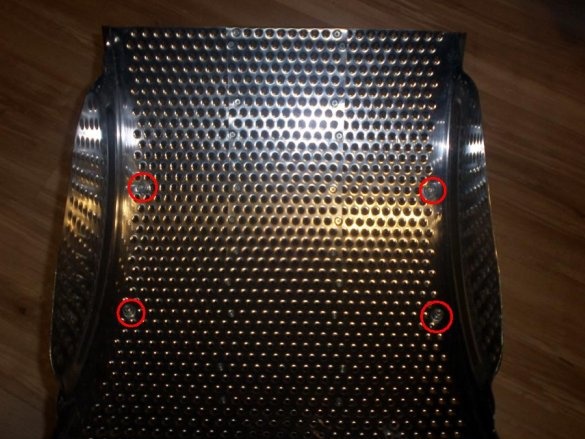
Now proceed to the assembly. I don’t have a welding machine, I don’t trust much in aluminum rivets: it’s unknown to anyone how they will behave at very rather high temperatures, when firewood burns in the barbecue. Therefore, screws with nuts remain. M3 ideally fit with a countersunk head, only 6 mm long: it took about 25 pieces, as well as the same number of washers and nuts.
He inserted the bolts in two rows to make it stronger, and, of course, tightened the nuts and washers from the outside of the grill. While the bottom remained almost flat: when you mix hot coals with a poker or clean it after cooking, only the nuts from the legs will interfere. But more about that also below.
In the middle of the article, I mentioned that when I cut the middle insert for the barbecue, I left its length “with a margin”?
So it needs to be bent 90 degrees: this will be an additional stiffener. By the way, if you will make a brazier from a wide drum, do not make a joint in a joint of only two halves. The excess middle part will not add much weight, and the strength - in excess. Therefore, do not throw it away immediately.
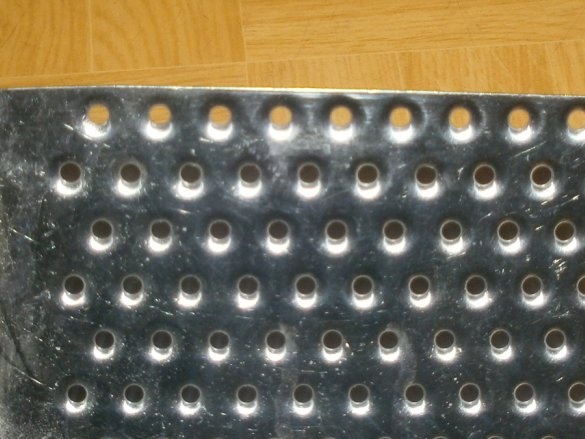
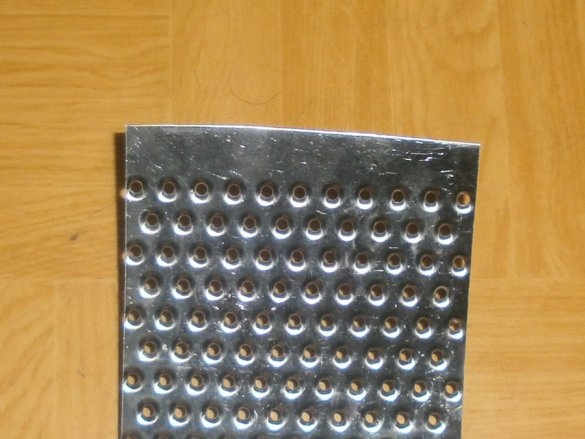
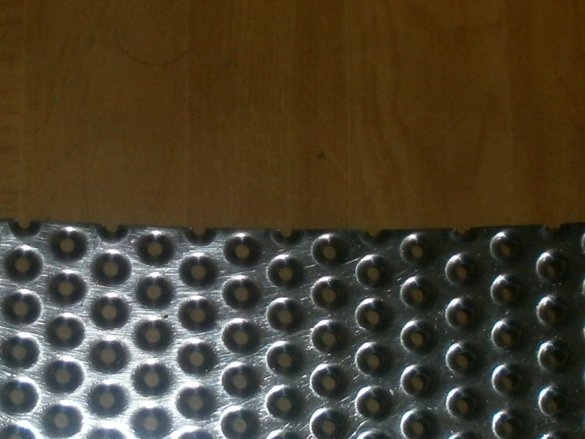
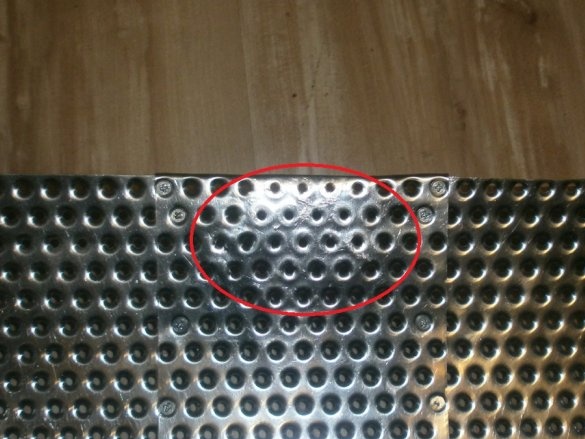
Another problem haunted: but would such an abundance of holes, albeit very small, give an excess airflow during cooking? Therefore, I tried to flatten them, thereby slightly reducing the diameter. That's just the result unpleasantly surprised: usually these holes are 3.2 mm, and after leveling the plane - 2.8. They will decrease less than 13%: very sparsely. Therefore, so far I decided to leave it as it is.
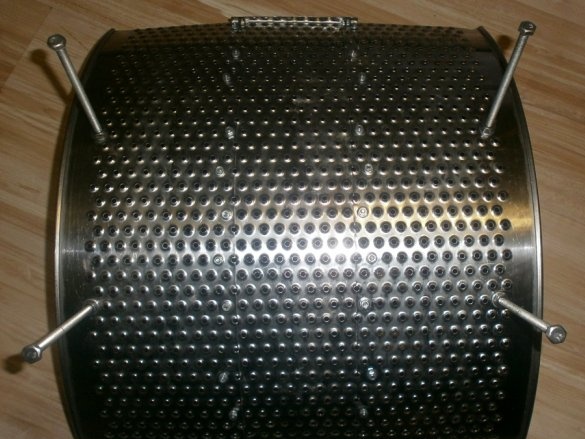
Now the legs. Used already beloved differently the brazier I made M6 bolts 100 mm long, with nuts and washers. Drilled holes a little
and twisted them. Done, I didn’t even have to tighten them, the first time they got up perfectly.
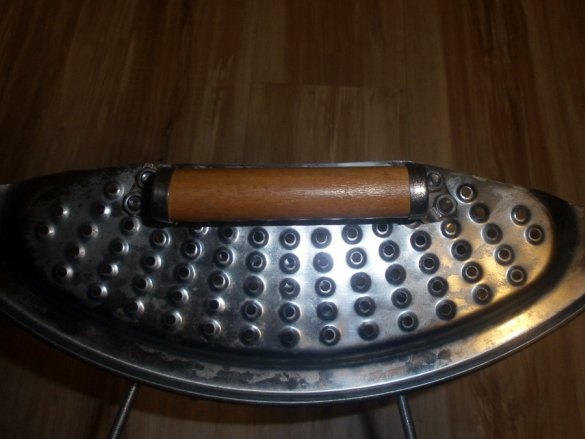
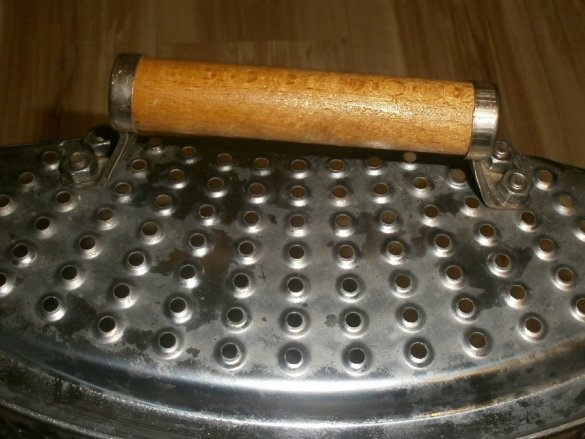
But such a barbecue lacks side handles. Therefore, there is nothing easier than just screwing them. I took the usual, the simplest. But it is necessary with a wooden central insert: during cooking, the brazier will be very hot and there is a great opportunity to get burned, inadvertently holding them.
I screwed M6 with non-long screws (they just were) also with countersunk heads and nuts, so I also slightly drilled side holes.
I didn’t even have to bend them much: they fit very well under the “native” holes that were on the drum. Moreover, the handles themselves even more extended and aligned the side walls of the barbecue: therefore, the legs still had to be slightly adjusted.
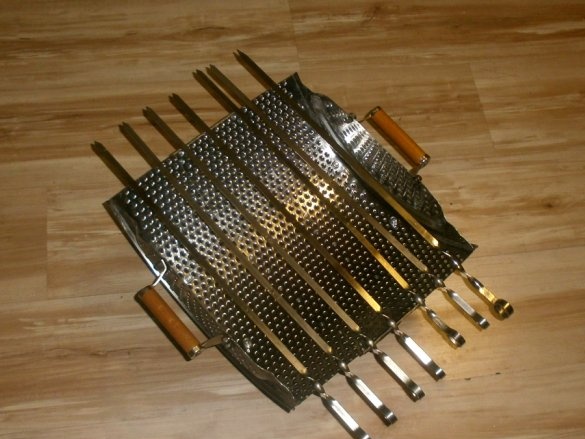
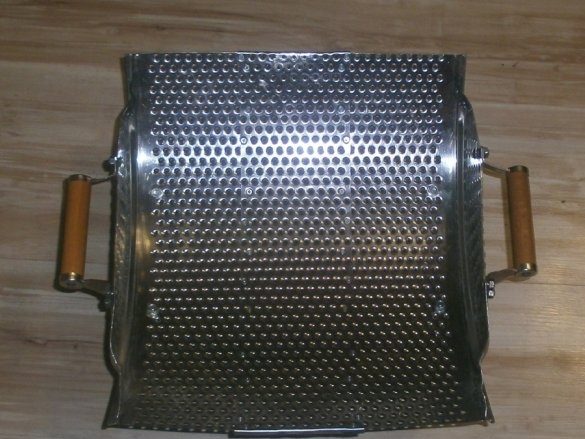
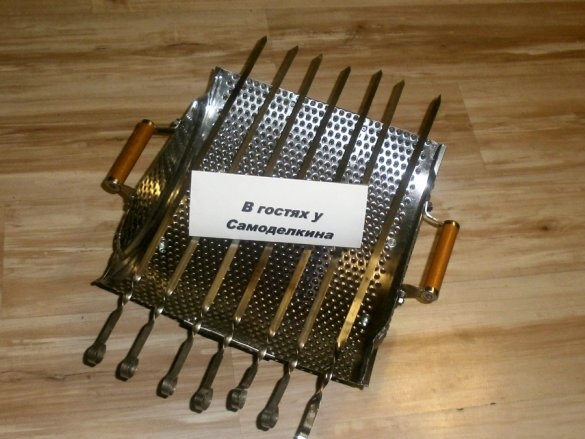
That's all, compact, very light,
but at the same time - a brazier made of stainless steel is ready.
Take advantage of my improved idea for an already unusual solution.
And as it seems to me, well implemented in practice.
P.S. Believed to try this homemade "In the fields", it is still not long before: in the courtyard of January, outside the window in Sevastopol - incessant rain. But I was mistaken: a friend, wanting to surprise his wife and daughter with a new barbecue recipe, which he found on culinary sites in the winter, asked to borrow a barbecue and skewer. And although he cooked on the coals purchased at the nearest gas station (a full test drive with burning cherry logs still ahead), the brazier passed the “baptism of fire” with honor. Therefore, before the picnic season, he left him in the trunk. It’s a pity, I didn’t bother to provide a “meat photo report”: apparently I was afraid that I would choke on my saliva


