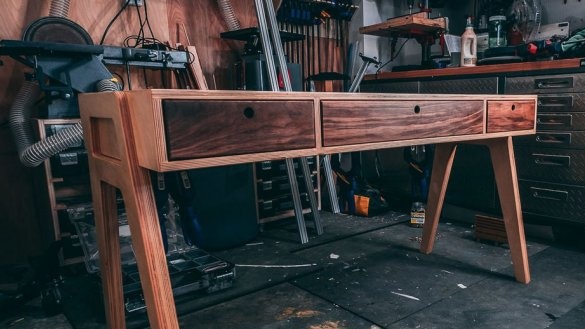
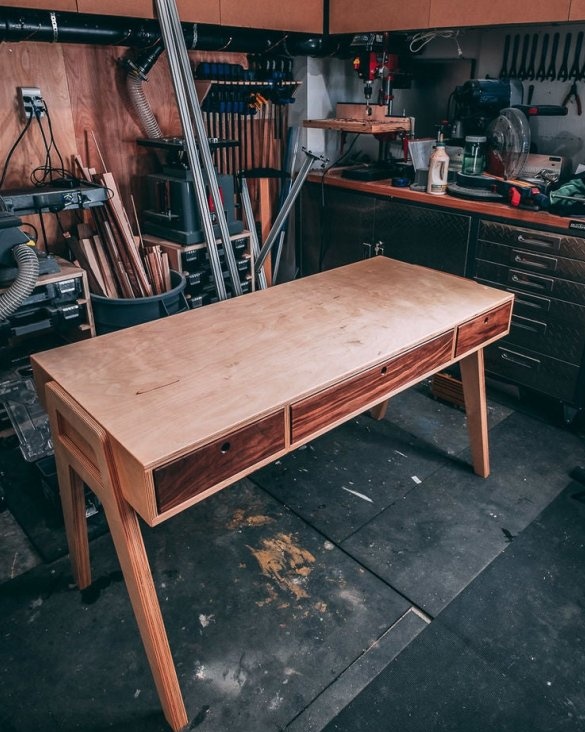
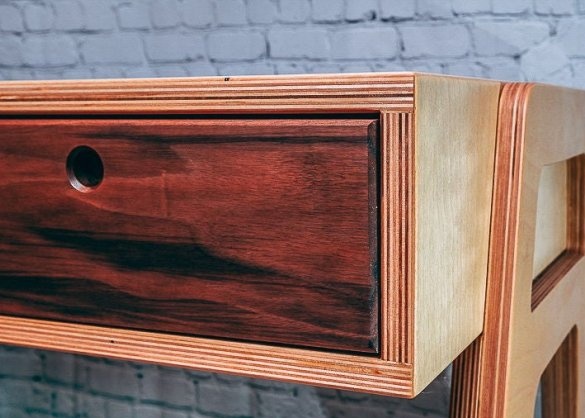
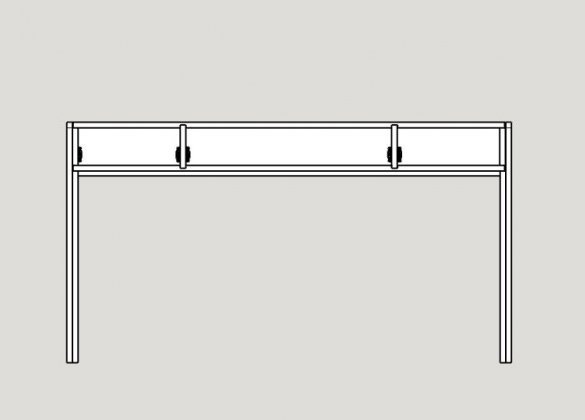
Greetings to all readers and masters. I want to bring to your attention a modern plywood table that combines simplicity and unusual design. In my opinion, this author’s project will fit into almost any interior style. In general, to judge you, and we begin!
Materials and tools:
• Multilayer birch plywood.
• Walnut board (for facades of drawers).
• Varnish.
• Joiner's glue.
• Table saw.
• Electric fretsaw.
• Drill.
• Clamps.
Step 1
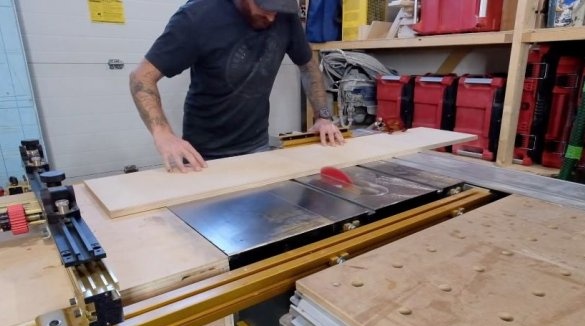
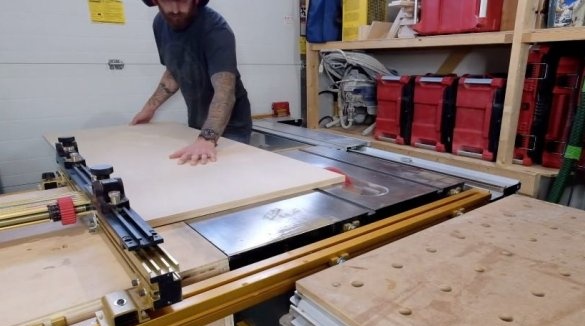
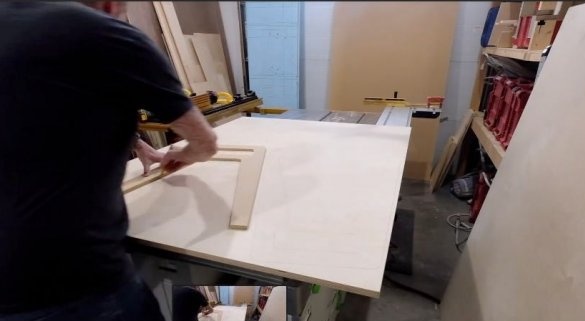
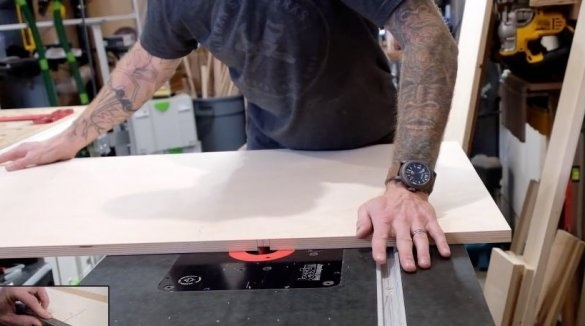
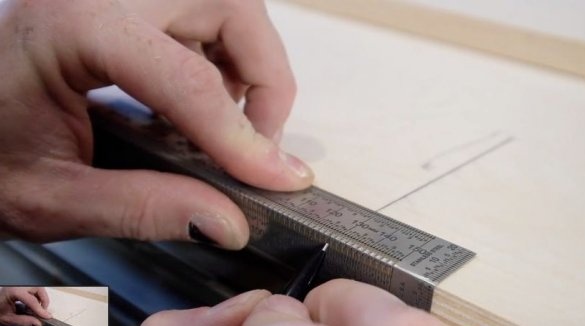
Like any other master, the author of this homemade He began work with the development of the project and the preparation of details. He gradually developed the details, performed the cutting of plywood and the preparation of templates.
Step 2
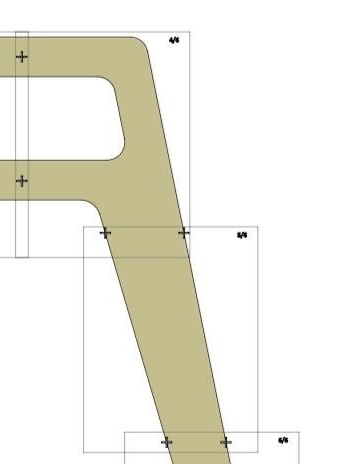
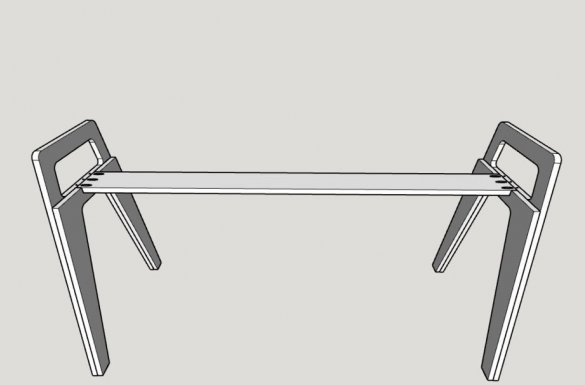
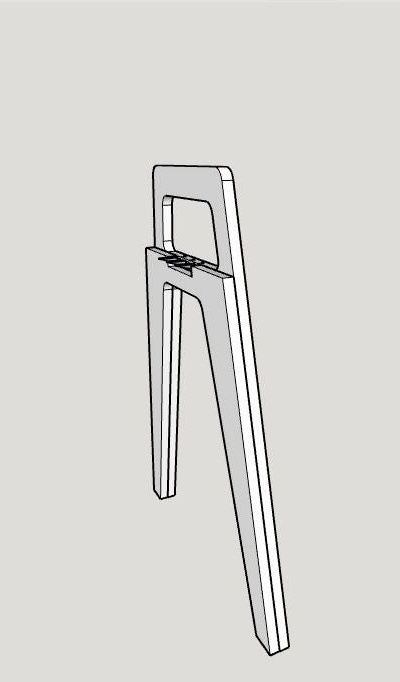
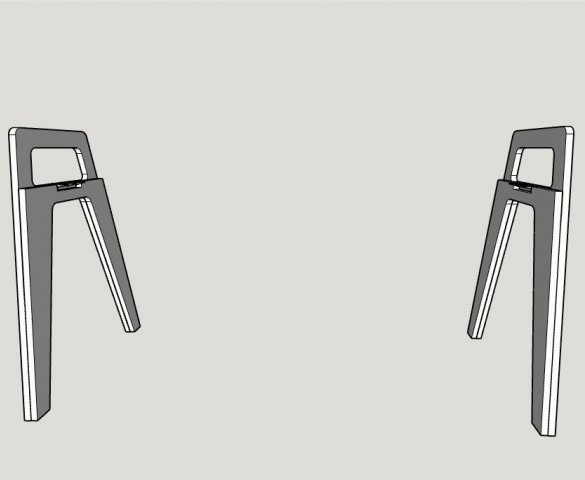
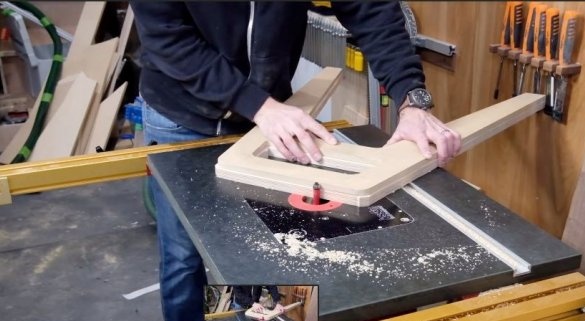
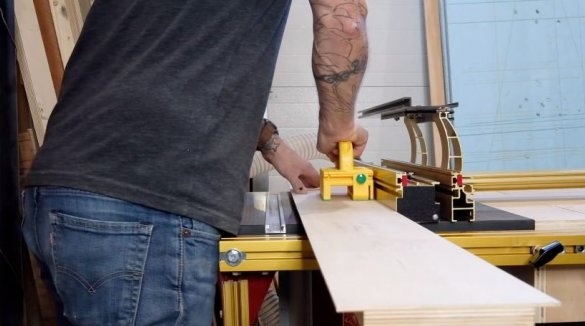
First, the author made the legs for the table.
Step 3
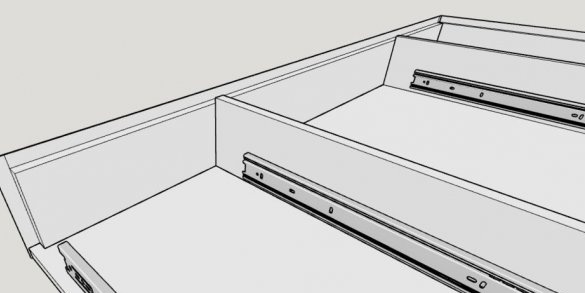
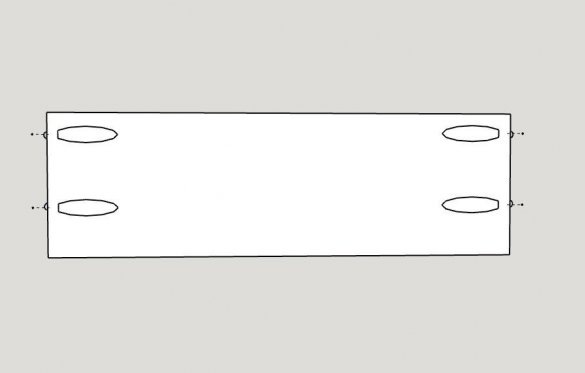
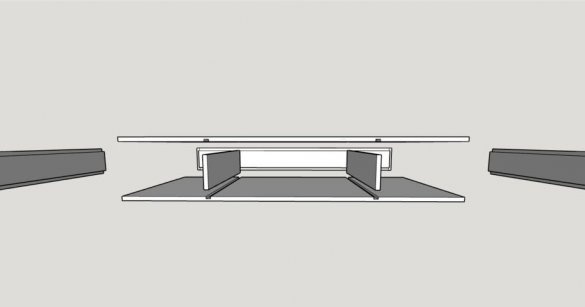
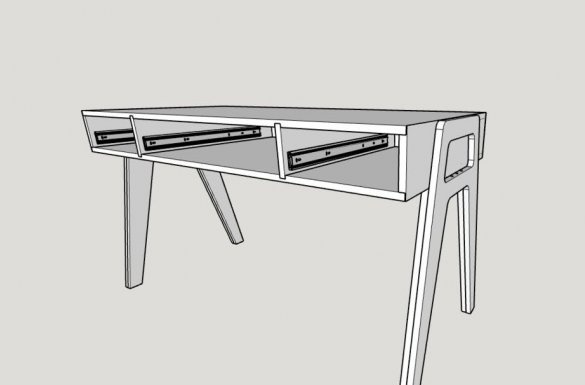
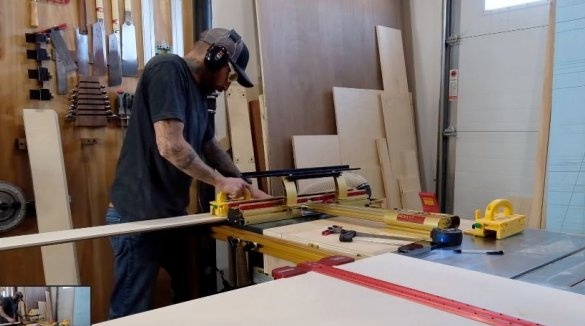
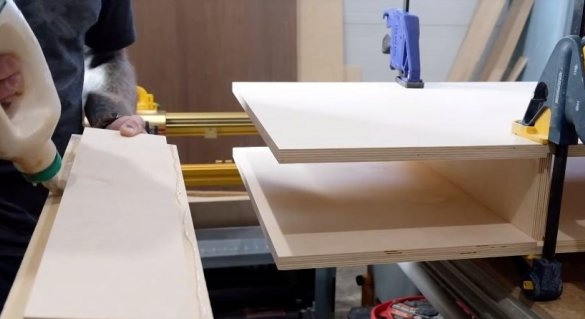
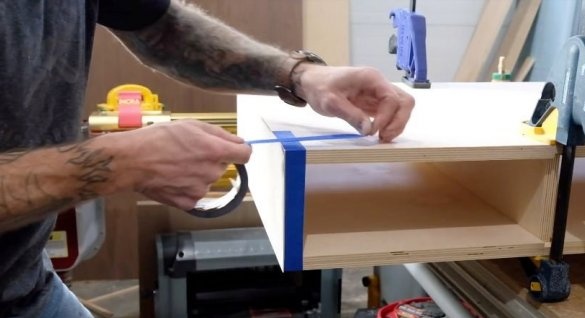
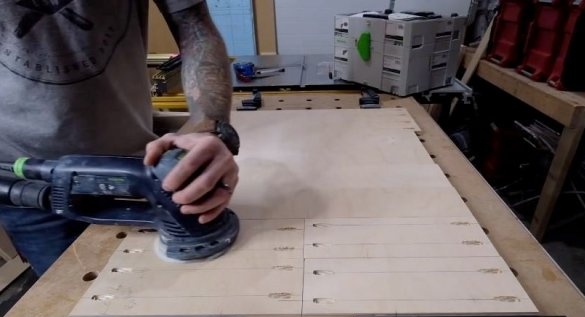
The next stage of work is the manufacture of worktop parts, sides of the compartment for drawers. After all the details are cut out, all the grooves are selected, the author assembles the frame, and pre-polishes all surfaces and edges.
Step 4
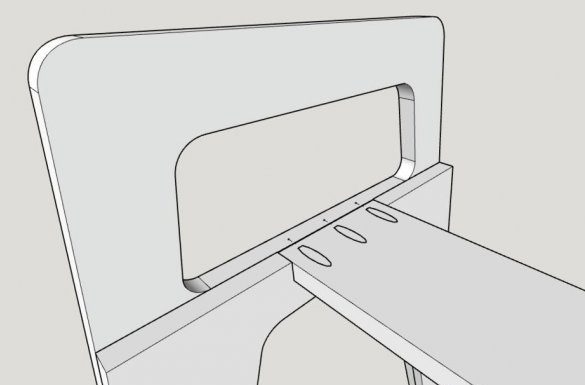
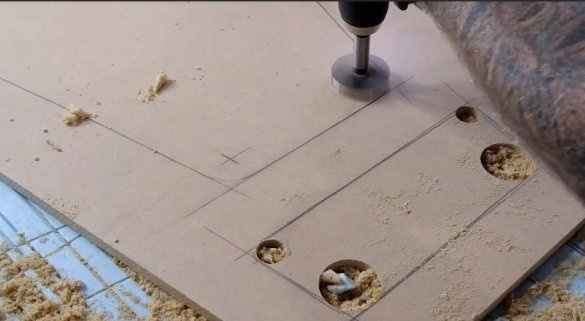
At this stage, the author returned to the legs - prepared a vertical stiffener. Drilled holes at the edges and connected the racks.
Step 5
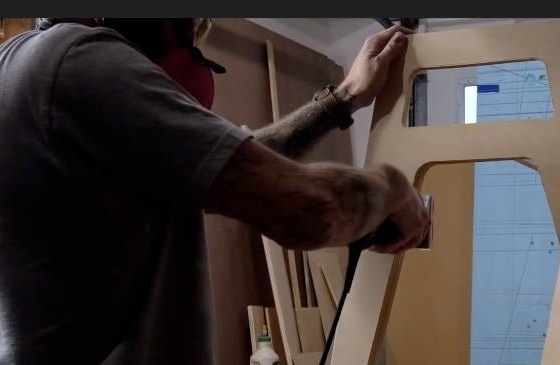
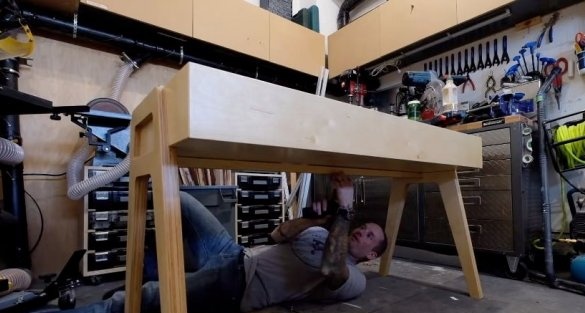
Now that the basic details of the table are ready, you need to assemble them.
Step 6
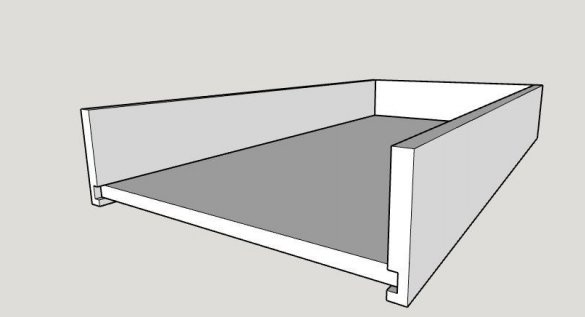
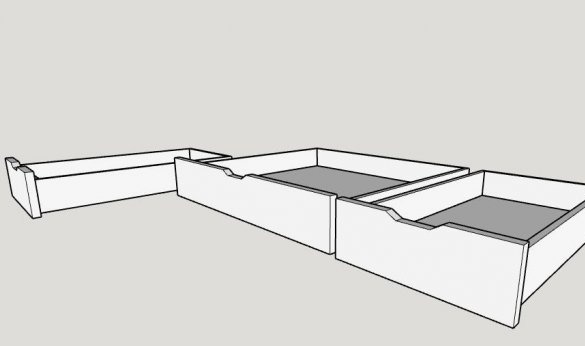
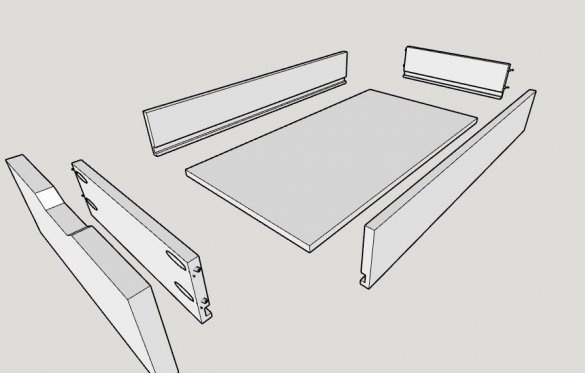
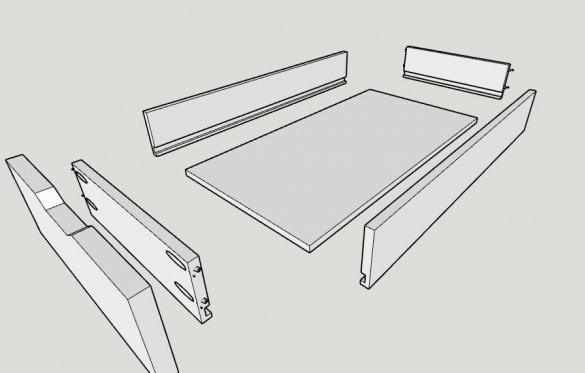
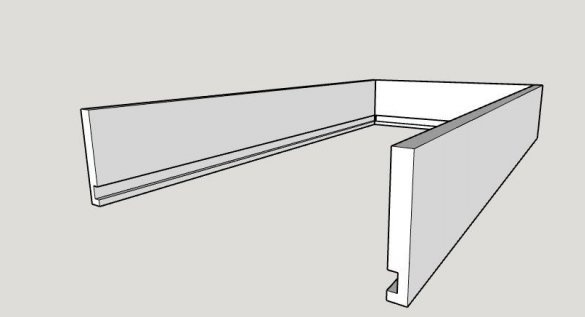
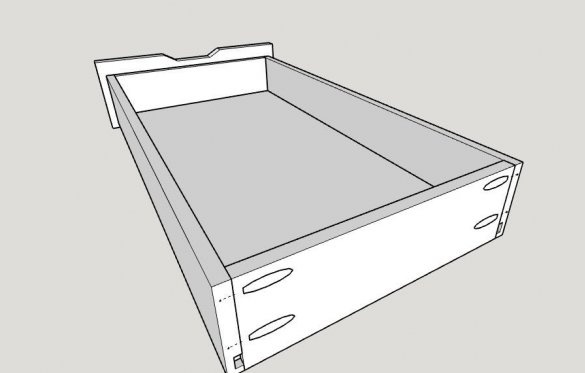
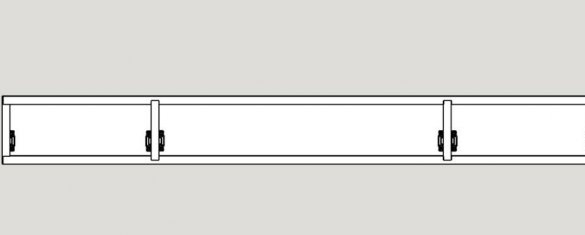
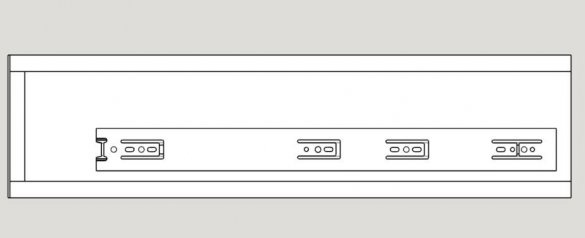
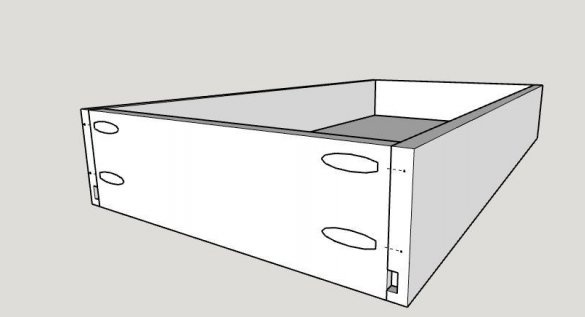
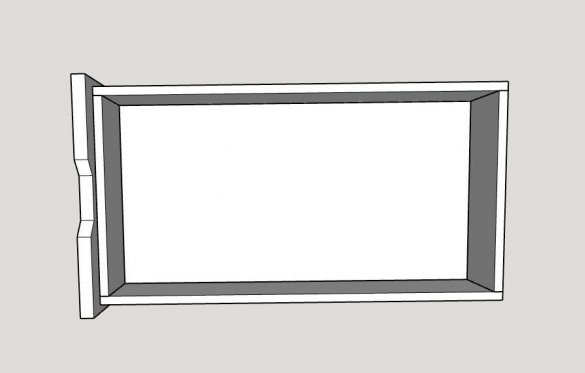
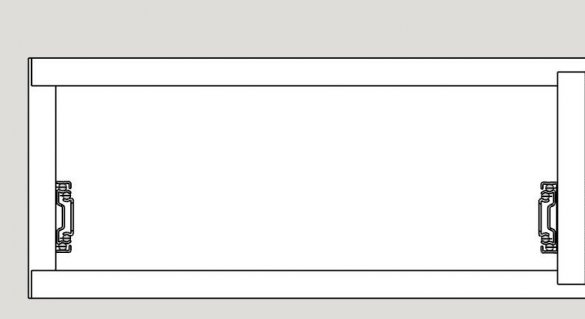
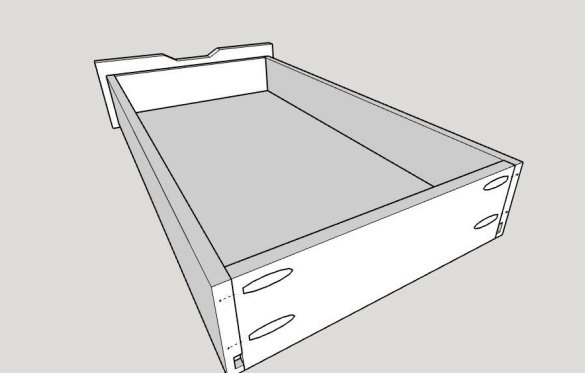
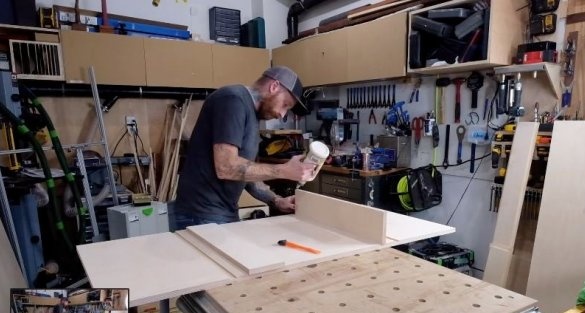
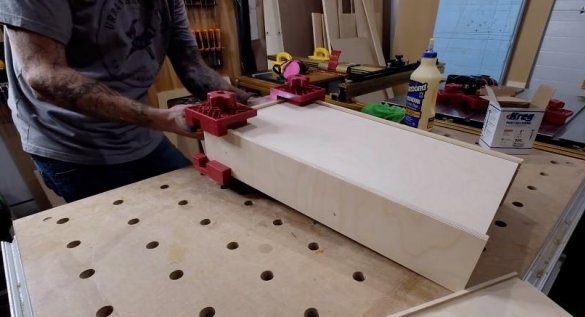
It is time to make boxes. We cut out the necessary details, select the grooves in them, drill, grind on all planes, assemble.
Step 7
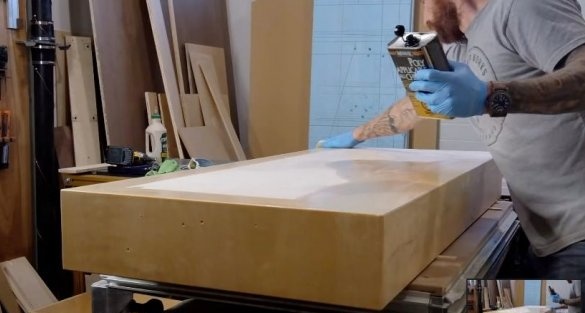
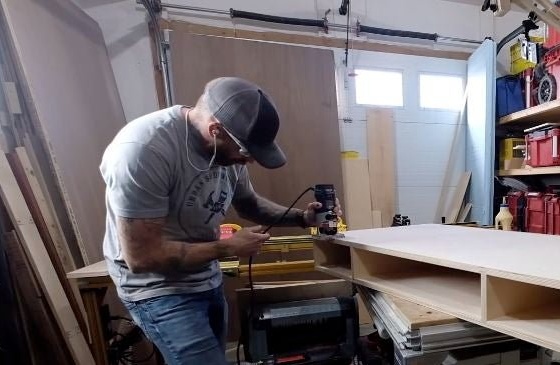
And so everything is almost ready. At this stage, the author finishes the countertops.
Step 8
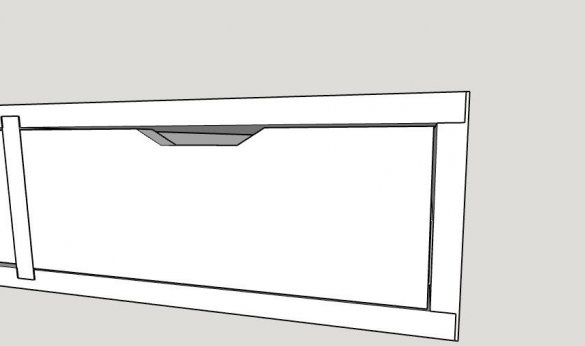
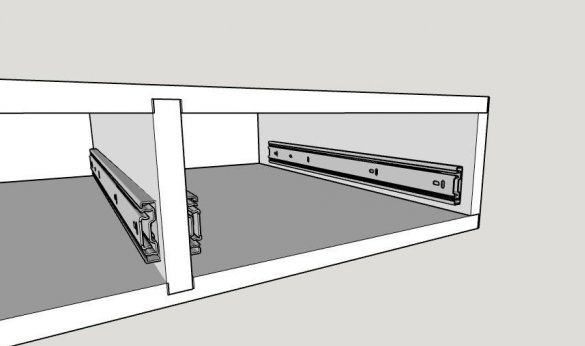
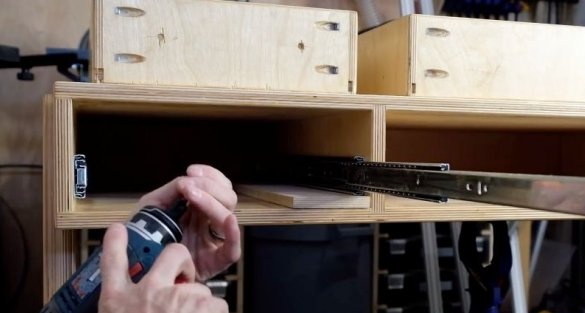
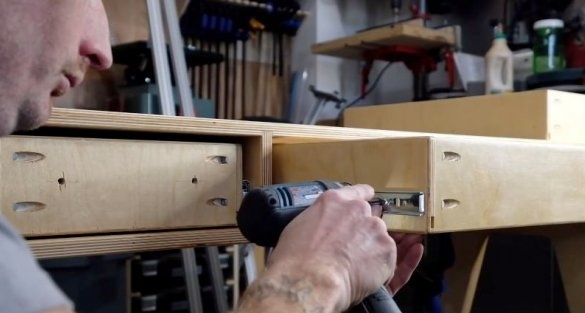
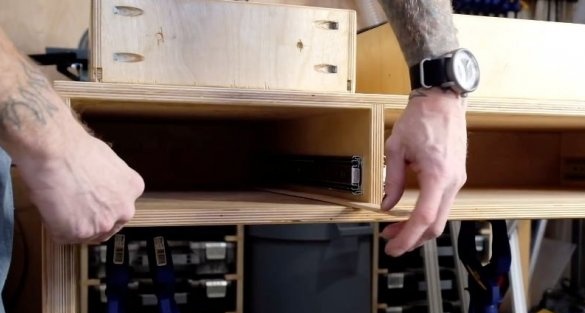
At the final stage, the author sets the fittings in the openings of the countertop and on the drawers. Then the facades are screwed.
The table is ready. The project certainly requires a lot of effort and time, but I think it's worth it. Thank you all for your attention.
To properly understand the intricacies of preparing parts, and the assembly process, watch the author’s video.
Good luck to everyone and see you soon bgm.imdmyself.com!
The next stage of work is the manufacture of worktop parts, sides of the compartment for drawers. After all the details are cut out, all the grooves are selected, the author assembles the frame, and pre-polishes all surfaces and edges.
Step 4
At this stage, the author returned to the legs - prepared a vertical stiffener. Drilled holes at the edges and connected the racks.
Step 5
Now that the basic details of the table are ready, you need to assemble them.
Step 6
It is time to make boxes. We cut out the necessary details, select the grooves in them, drill, grind on all planes, assemble.
Step 7
And so everything is almost ready. At this stage, the author finishes the countertops.

Step 8
At the final stage, the author sets the fittings in the openings of the countertop and on the drawers. Then the facades are screwed.
The table is ready. The project certainly requires a lot of effort and time, but I think it's worth it. Thank you all for your attention.
To properly understand the intricacies of preparing parts, and the assembly process, watch the author’s video.
Good luck to everyone and see you soon bgm.imdmyself.com!
And so everything is almost ready. At this stage, the author finishes the countertops.

Step 8
At the final stage, the author sets the fittings in the openings of the countertop and on the drawers. Then the facades are screwed.
The table is ready. The project certainly requires a lot of effort and time, but I think it's worth it. Thank you all for your attention.
To properly understand the intricacies of preparing parts, and the assembly process, watch the author’s video.
Good luck to everyone and see you soon bgm.imdmyself.com!

