If scraps of lumber have accumulated in your workshop, do not rush to get rid of them, because this is an excellent material for making a wooden chair. Bars and slats, previously coated with paint or varnish after processing with a jointer or surface gage, after regrinding, acquire their original appearance and are ready for further use.
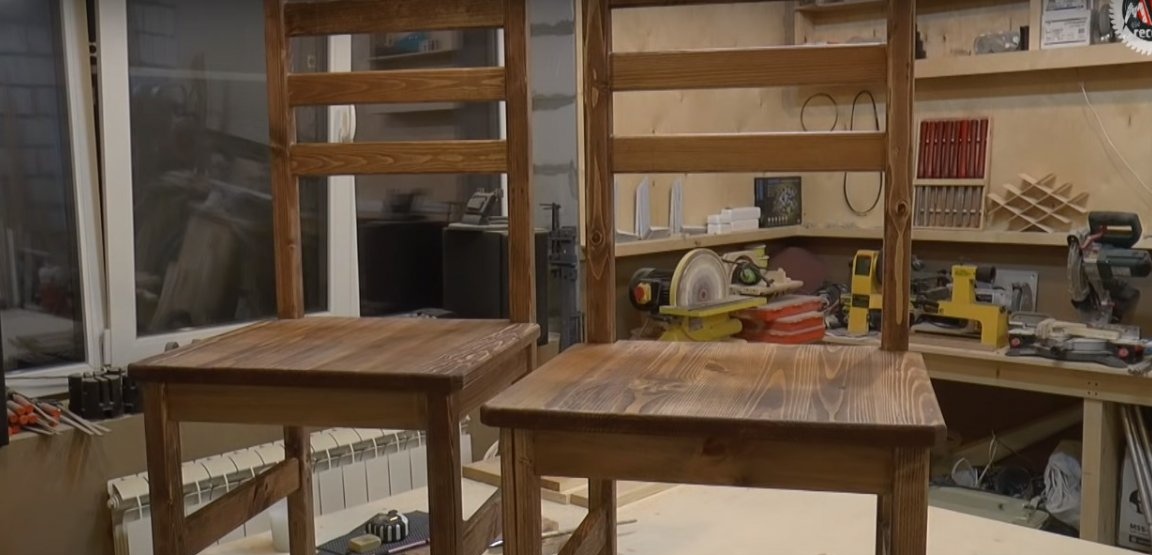
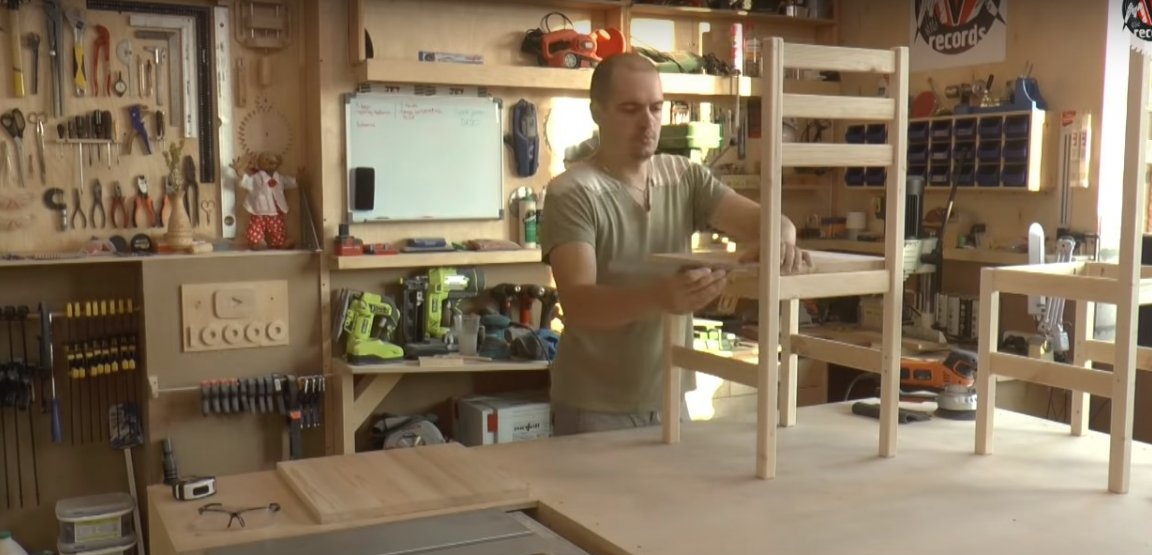
These are the first chairs that the author made do it yourself. He did not complicate anything, so the rear legs and backs of the chairs are straight. Practice has shown that it is very comfortable to sit on such chairs, although the chair does not look as profitable as in the case with a curved back.
In order to make a wooden chair with your own hands from old slats and bars you will need:
Materials:
- bars and slats for the manufacture of a chair frame with a section of 35 x 35 mm and 50 x 25 mm;
- wooden boards with a thickness of 15 - 20 mm for the manufacture of seats;
- dowels furniture beech with a diameter of 8 mm;
- carpentry glue;
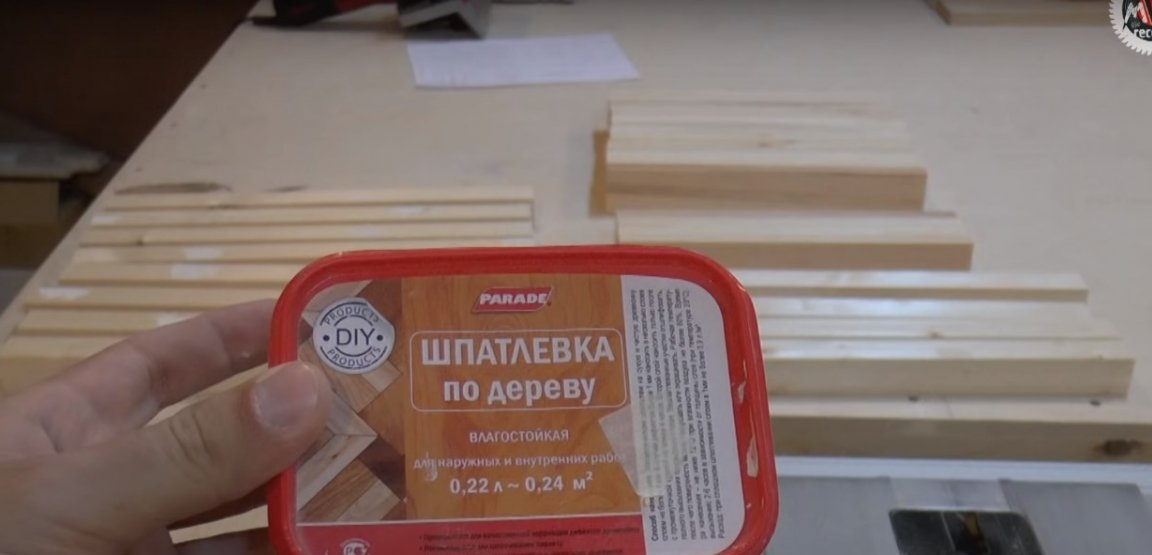
- putty on wood;
- wood screws or furniture screws, nails for fixing the seat;
- protective and decorative coating for wood.
Instruments:
- jointing machine;
- surface gage;
- grinder;
- drill;
- screwdriver;
- drilling machine;
- conductor for drilling holes at an angle from the company Kreg;
- circular;
- manual milling machine or milling machine;
- filler mill for cutting grooves for dowels;
- clamps;
- putty knife;
- a chisel;
- a piece of foam rubber or a kitchen sponge, a lint-free cloth for stain;
- construction tape, square, ruler;
- marker.
Manufacturing process
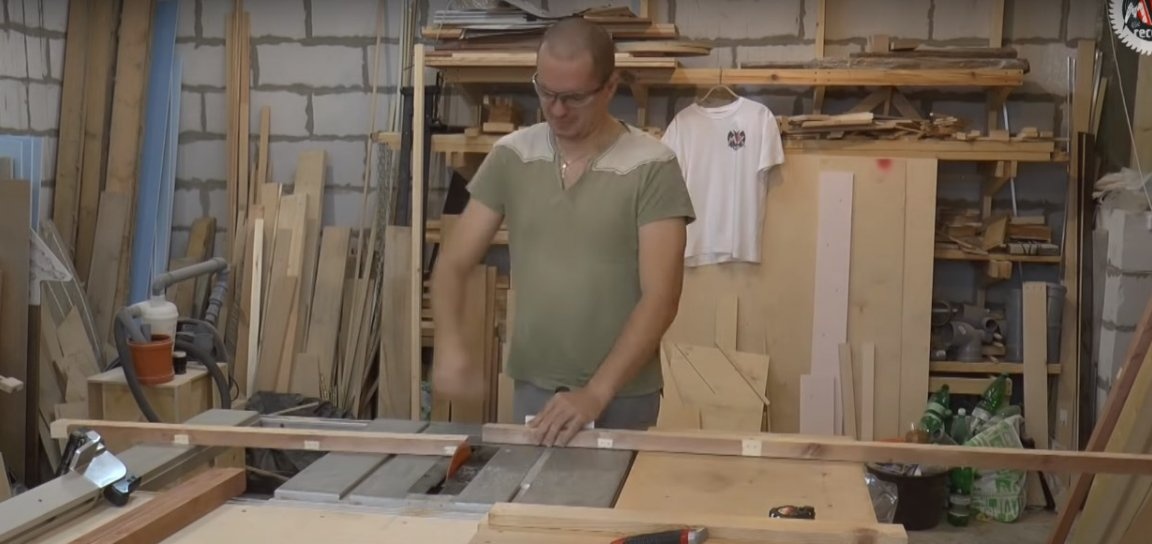
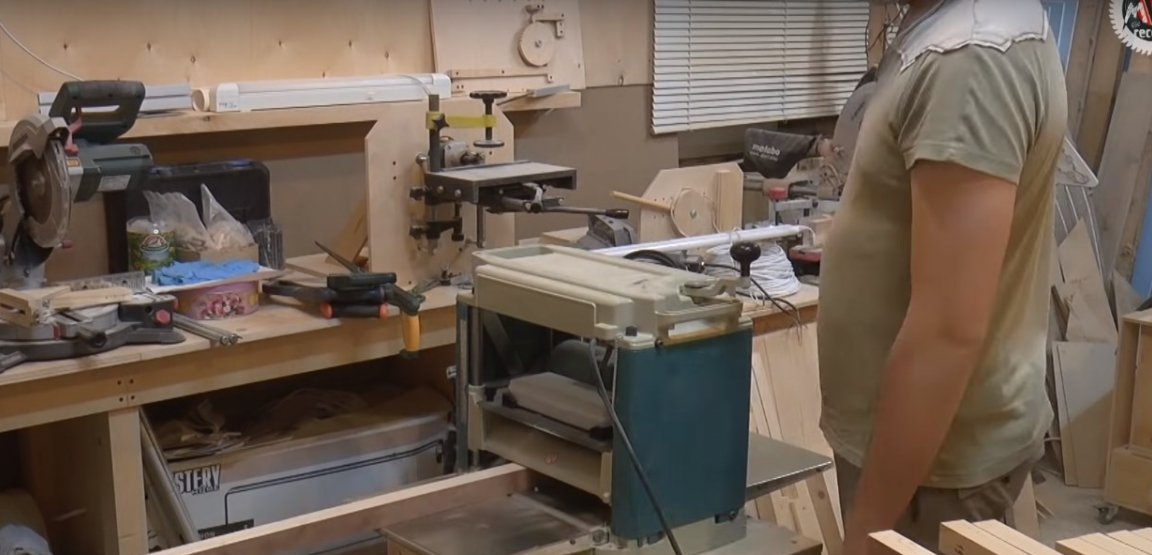
Step One: Lumber Inventory
The author dismantled his old cabinet for the thicknesser and thereby acquired some stock of lumber. He also picked up racks from the old stand - once covered with stain and varnish. At first glance, it may seem that all this is garbage suitable only for firewood. However, after processing on planing machines, you can get very decent material for such projects.
On some bars holes from screws are visible. In the process, the author will putty all this. Too large holes can always be drilled, glued with a wooden dowel and thus mask the mounting location.
Such materials are valuable in that they have matured and dried. All that could have twisted for a long time, and you can be sure that the tree will not let you down.The author advises to select dry wood harvested for future use. To do this, he himself goes to the unedged board, which is well stored and less subjected to various kinds of deformations. He processes all defects with putty, therefore he often uses wood of not the first grade, which does not bother him at all.

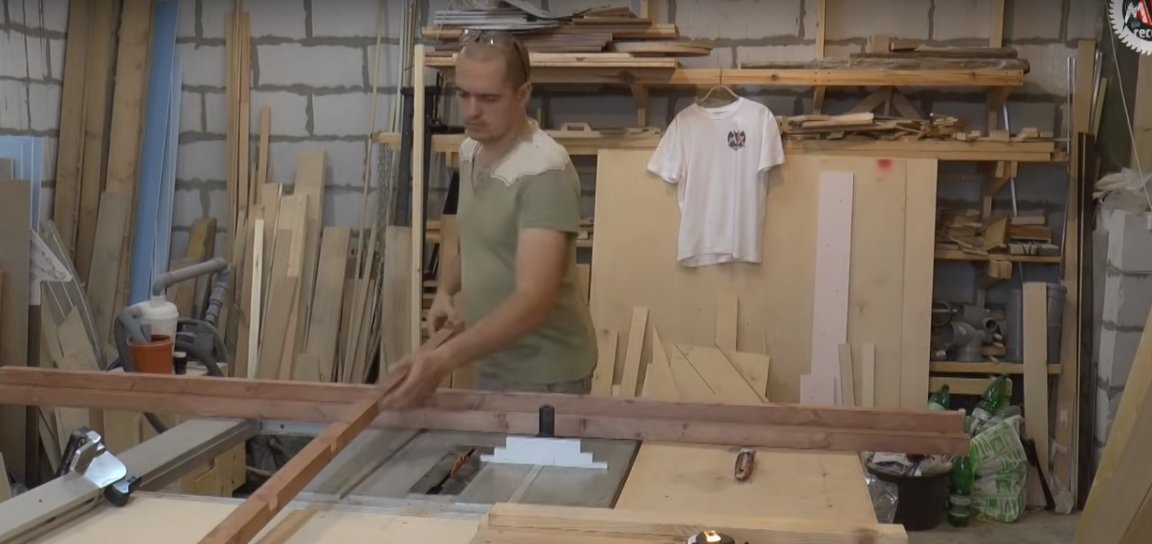
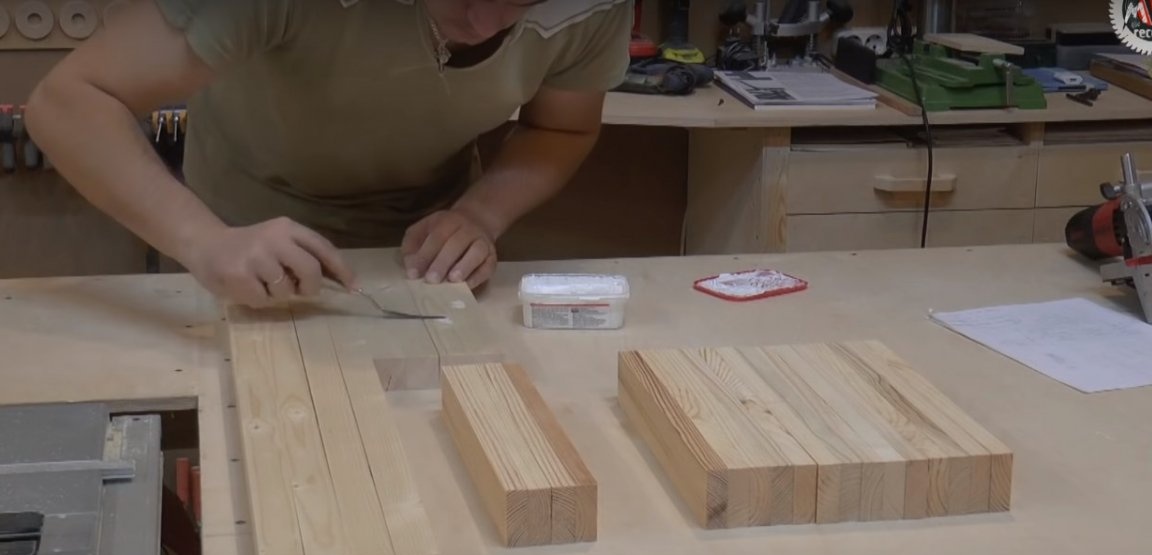
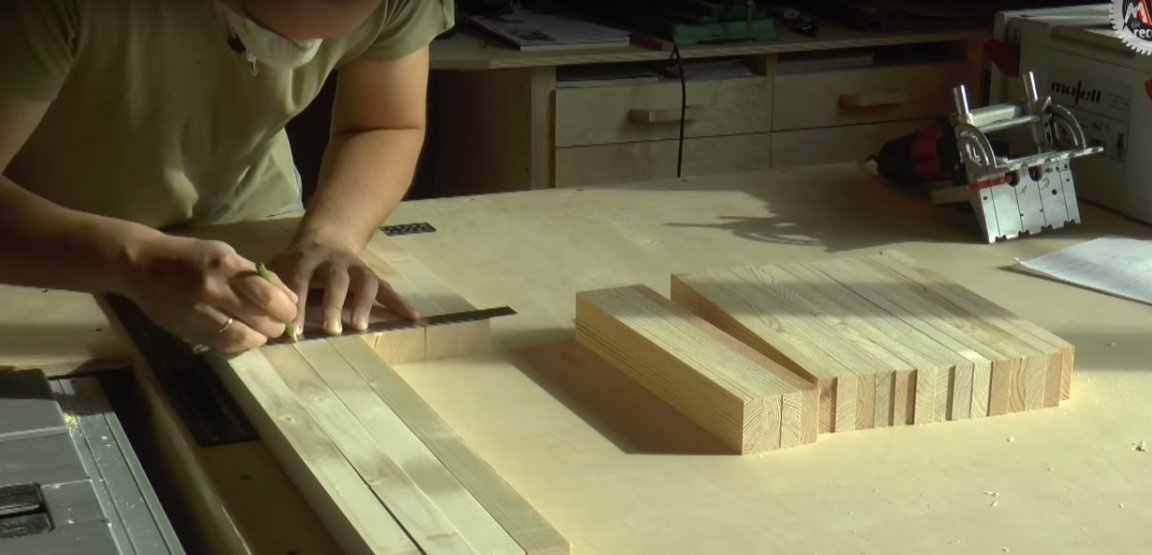
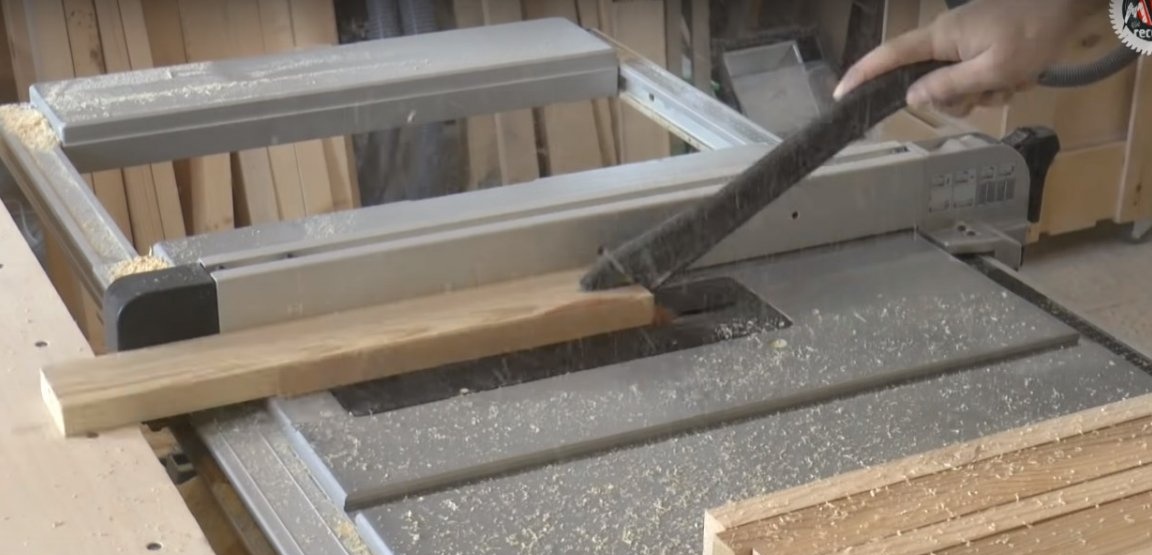
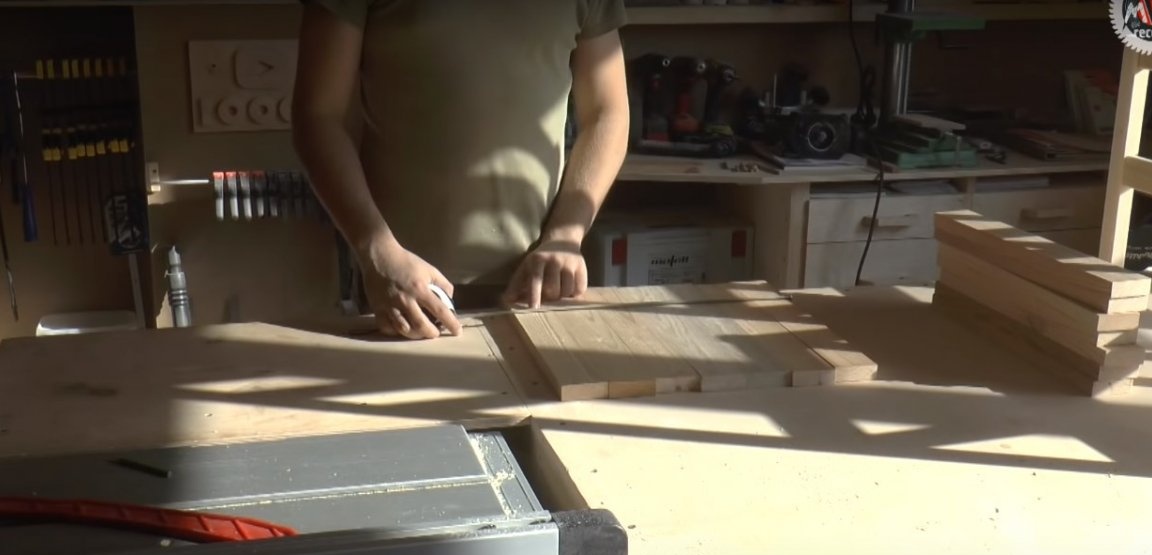
Step Two: Making Frame Parts
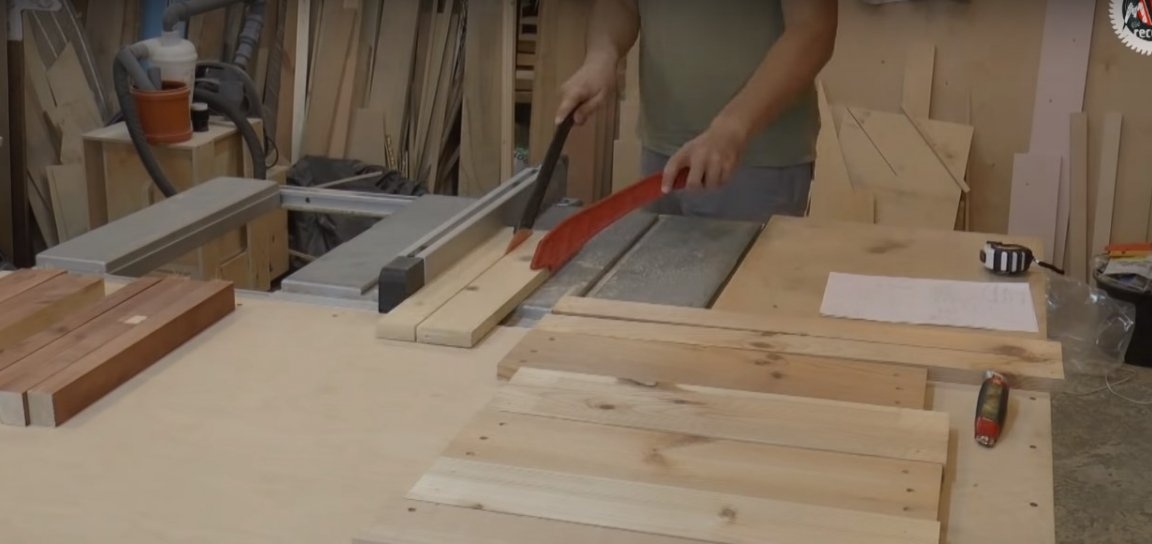
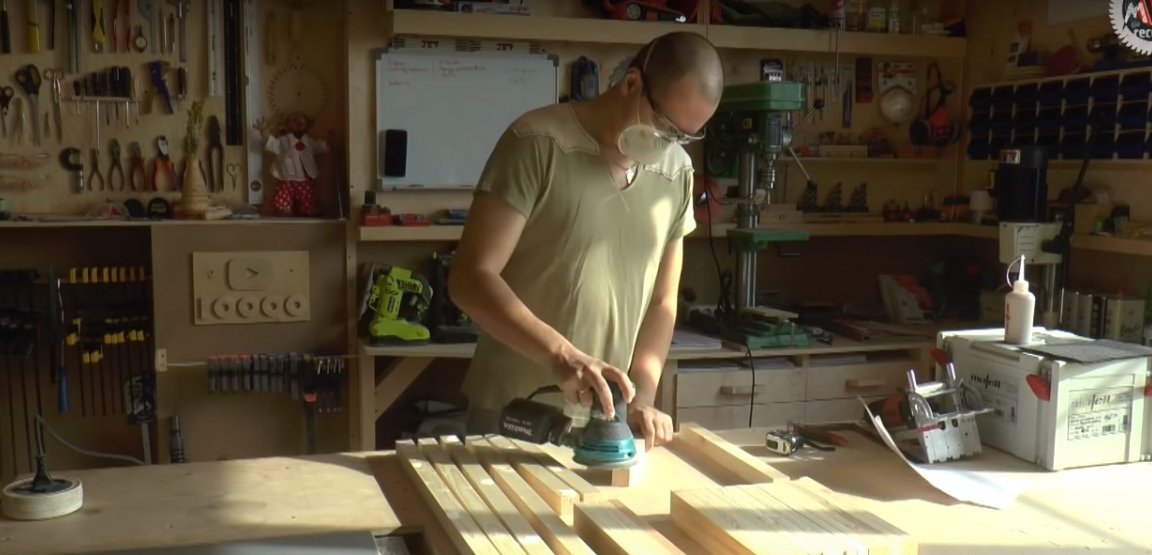
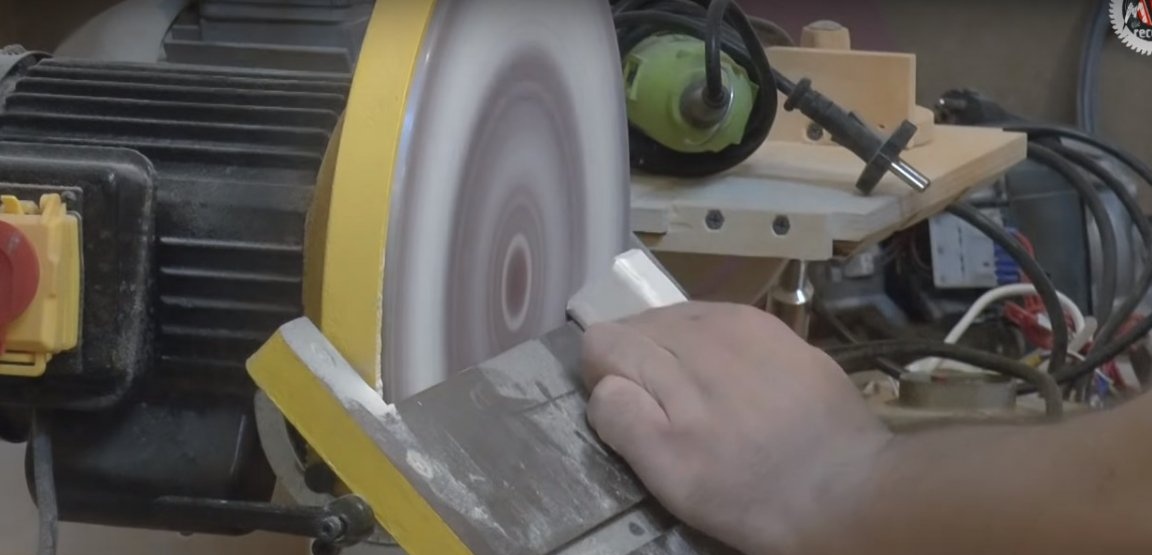
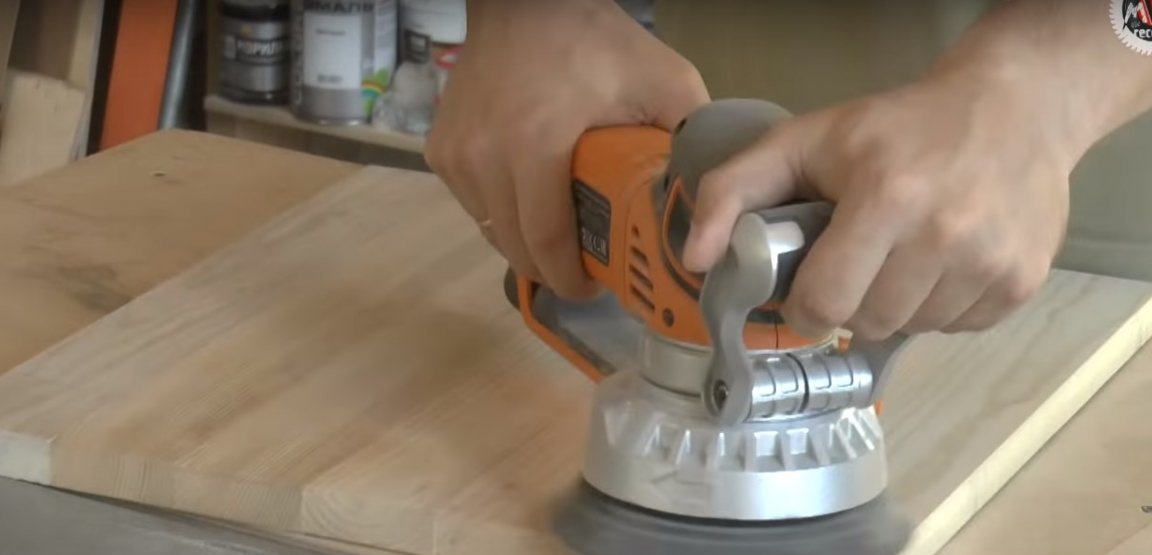
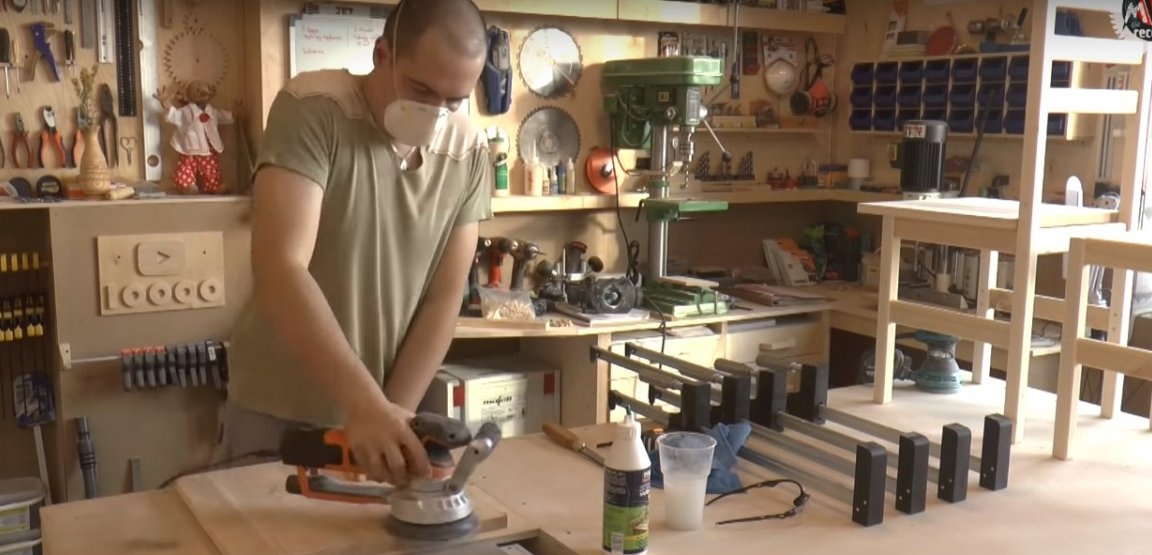
Since the author uses old lumber, he pre-processed boards and bars on the planer, then drove them through the thicknesser. After that, the surface of the wood requires only final grinding with sandpaper with a fine abrasive like 220-240. To do this, you can use a grinder, a machine or even grind everything manually, since with the correct preparation of the surface such work will not take much time.
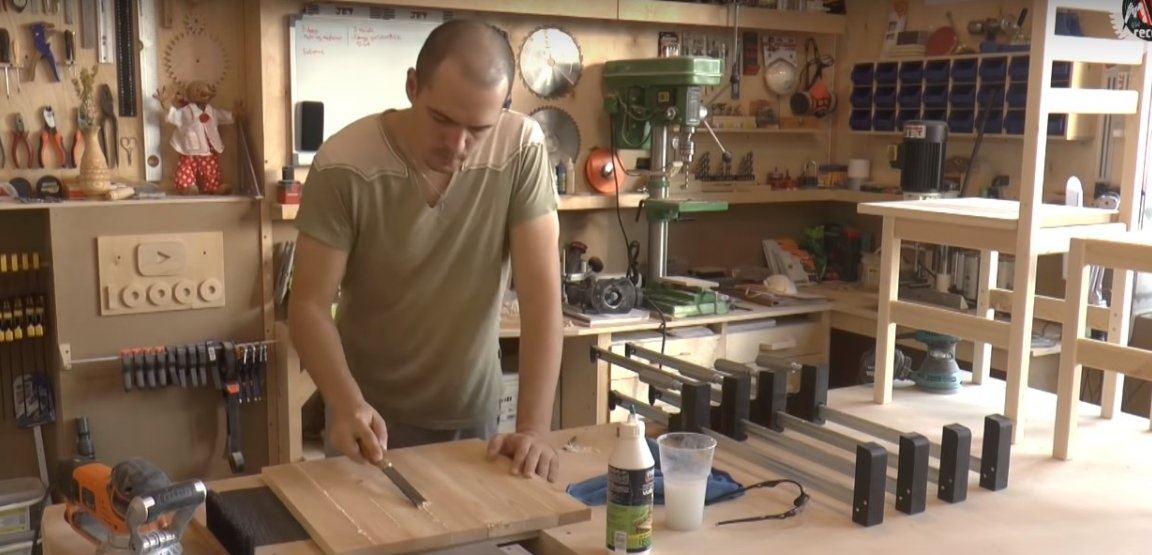
If you use putty, then this must be done at the stage before grinding. The author putty on the bed and only after that he polished the details of the chairs. Assembled chairs will be tinted with decorative oil, so you can safely use a white putty.
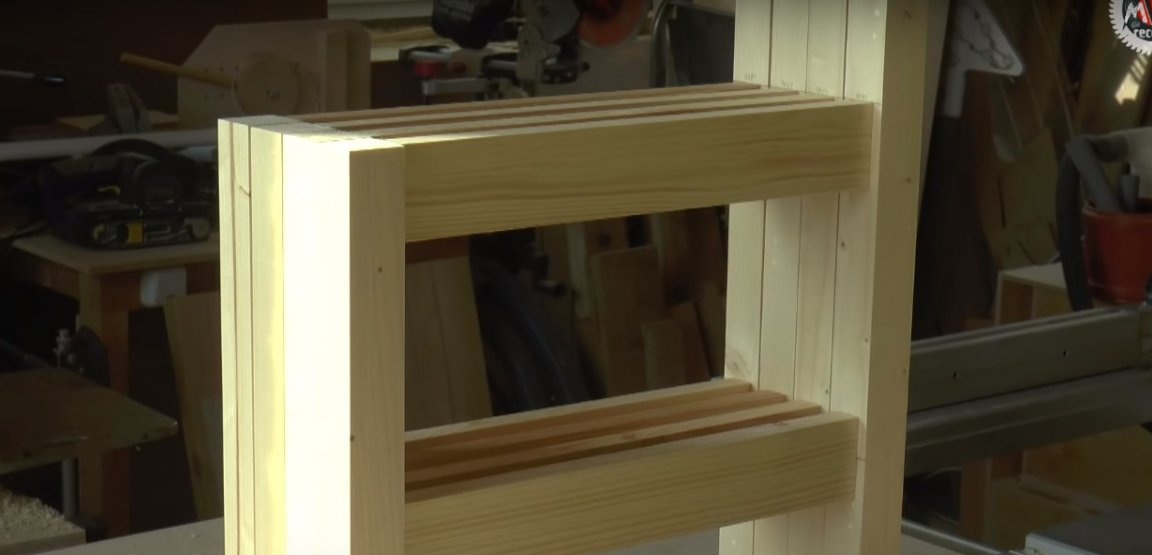
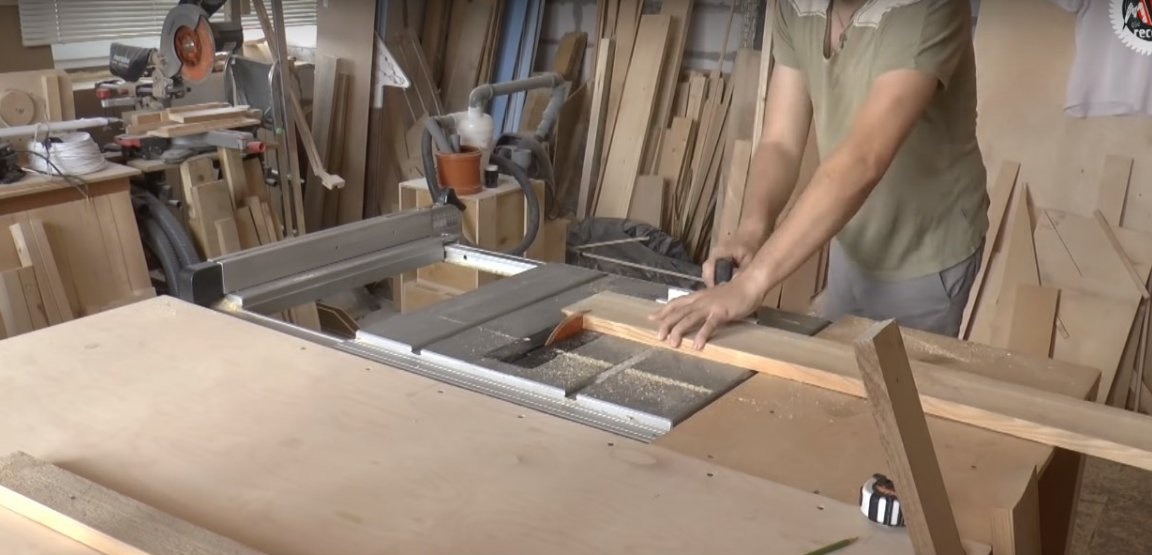
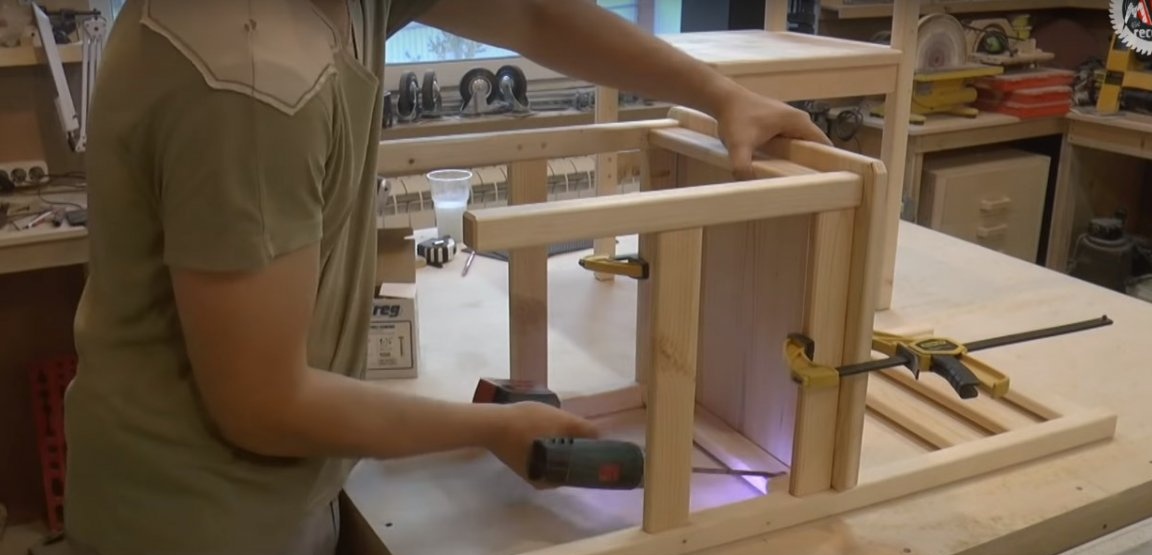
Step Three: Frame Assembly
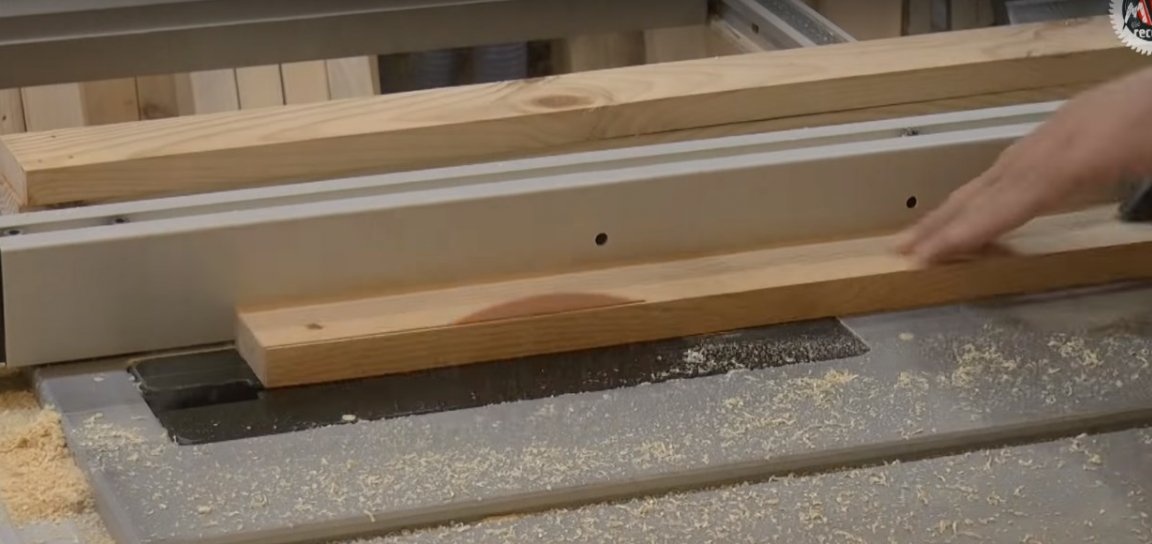
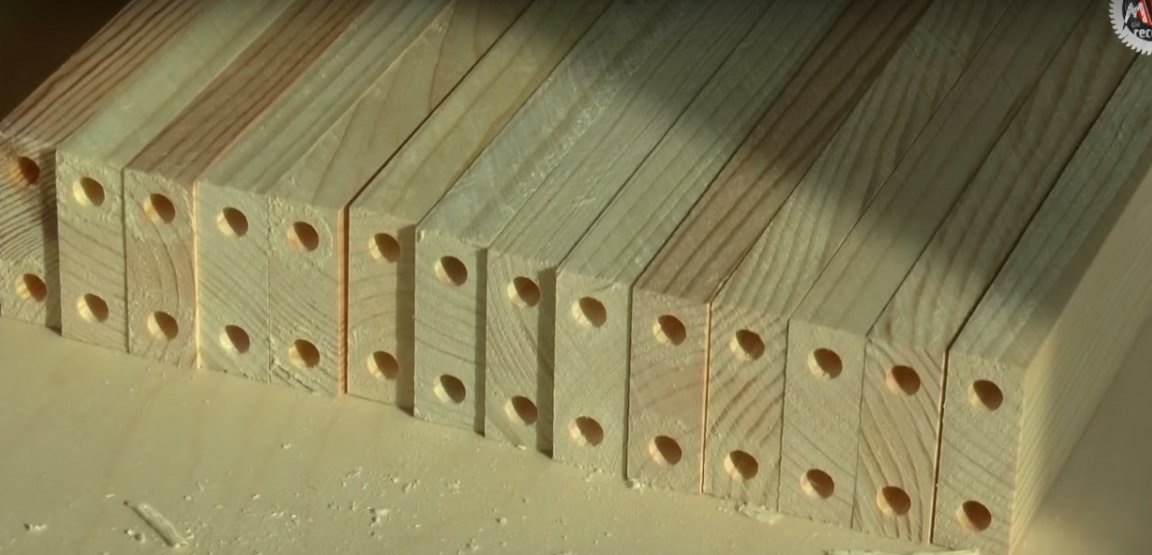
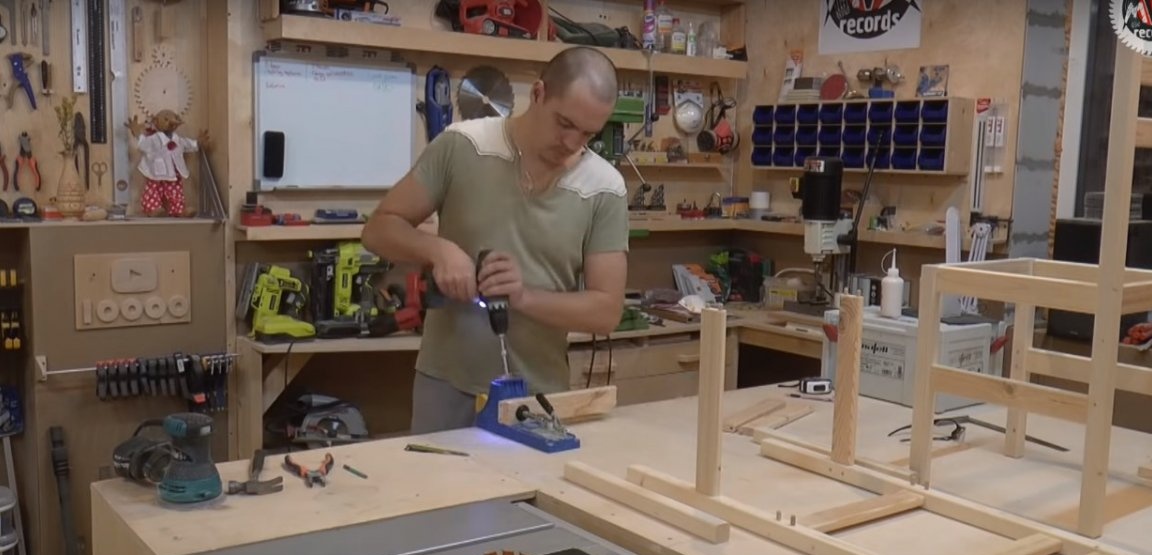
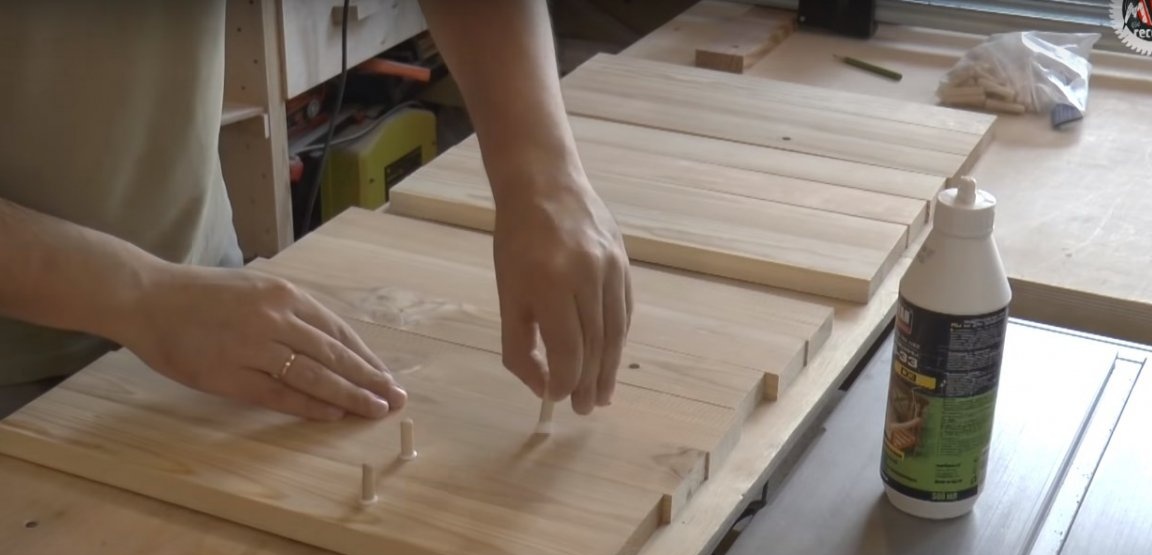
Chairs are assembled on dowels using glue and furniture screws. This combination will allow you to get a resistant frame.
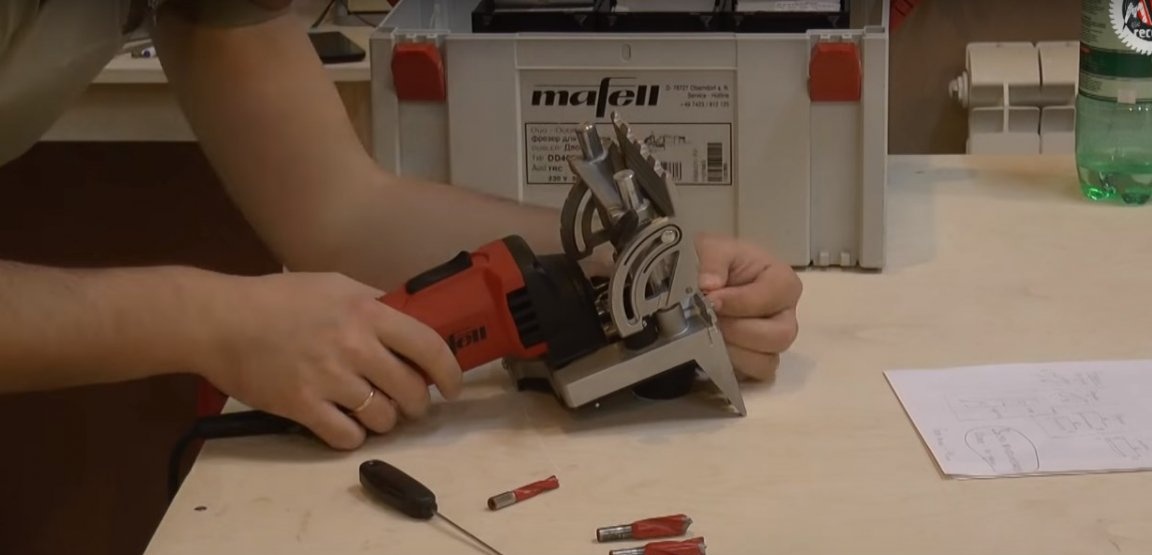
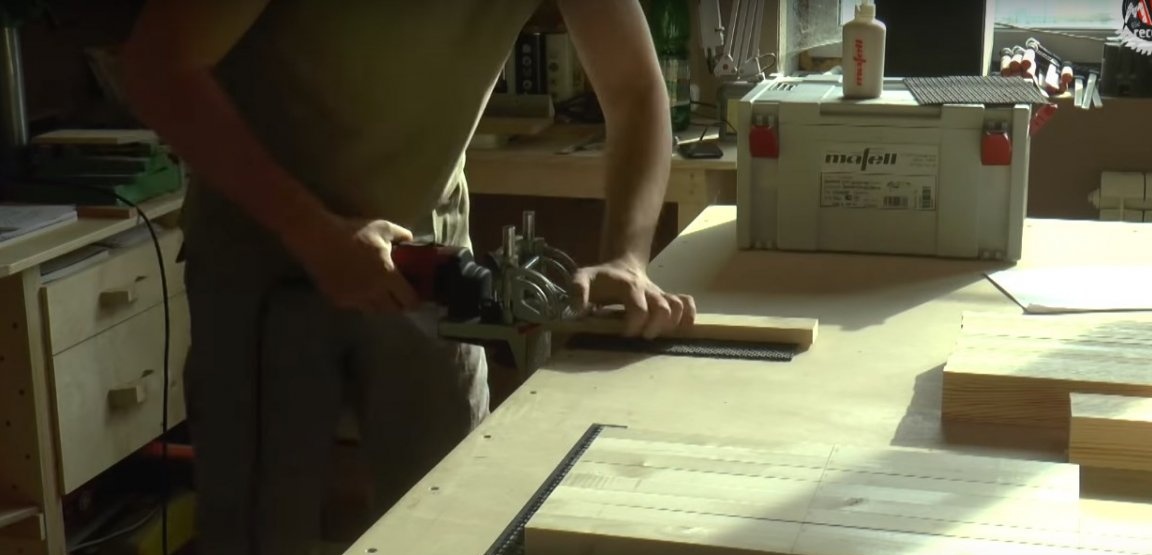
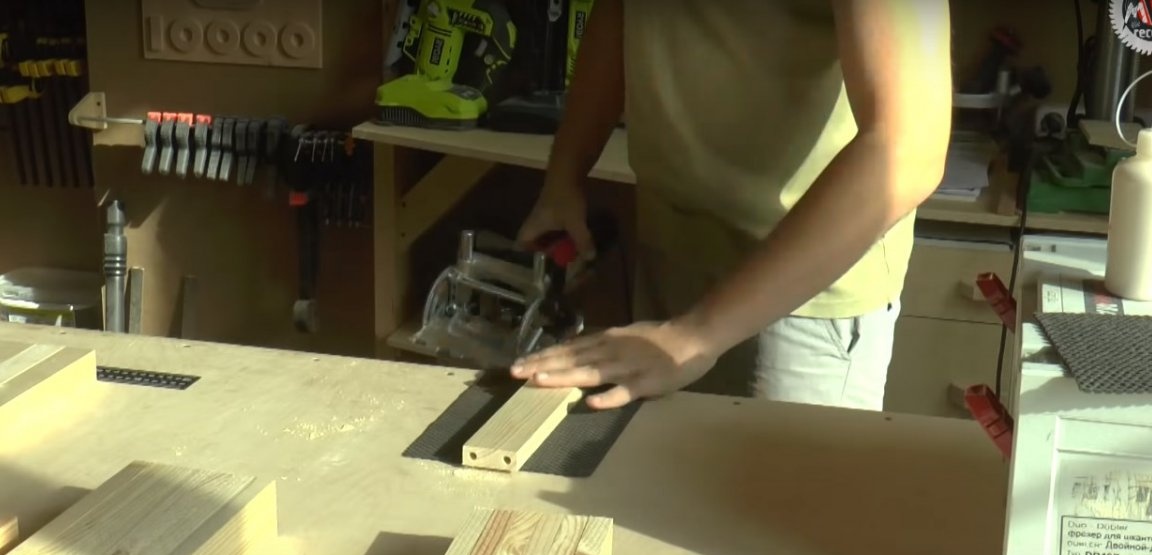
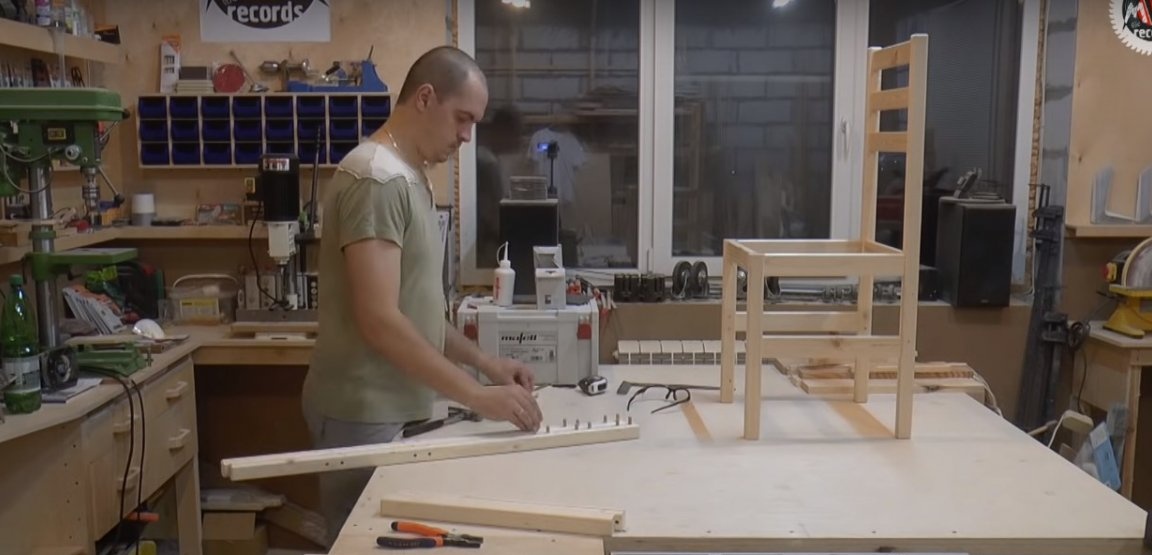
The author cuts the holes for dowels with a filler milling cutter, which significantly reduces the time spent on work. The compounds are very precise and accurate, which is difficult to achieve with any other method. Especially when you consider the speed of work. One gets the impression that such chairs can be assembled without glue, the dowel joints are so strong, and the additive is so perfect.
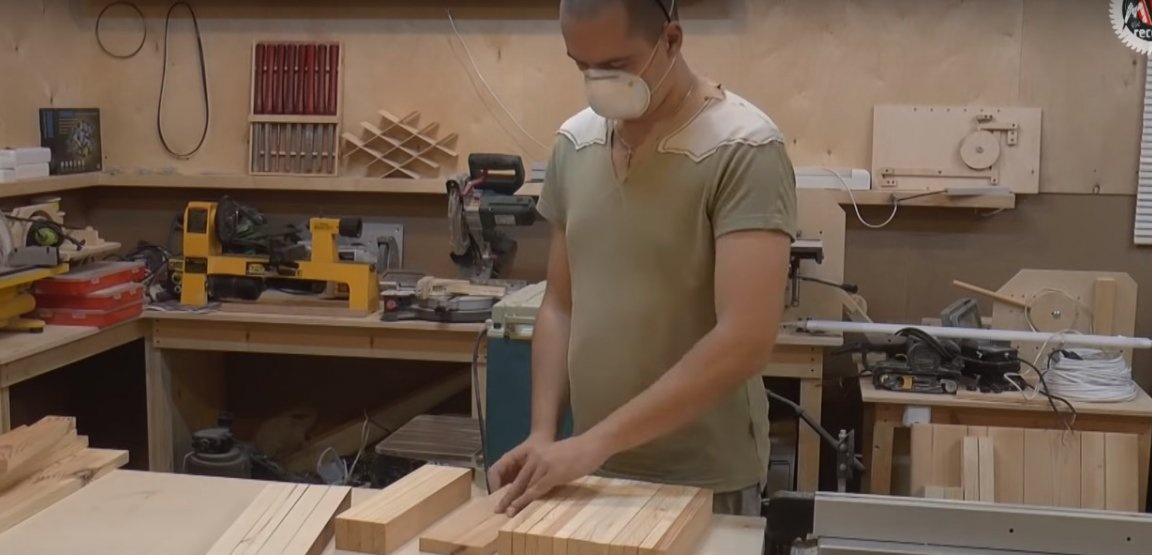
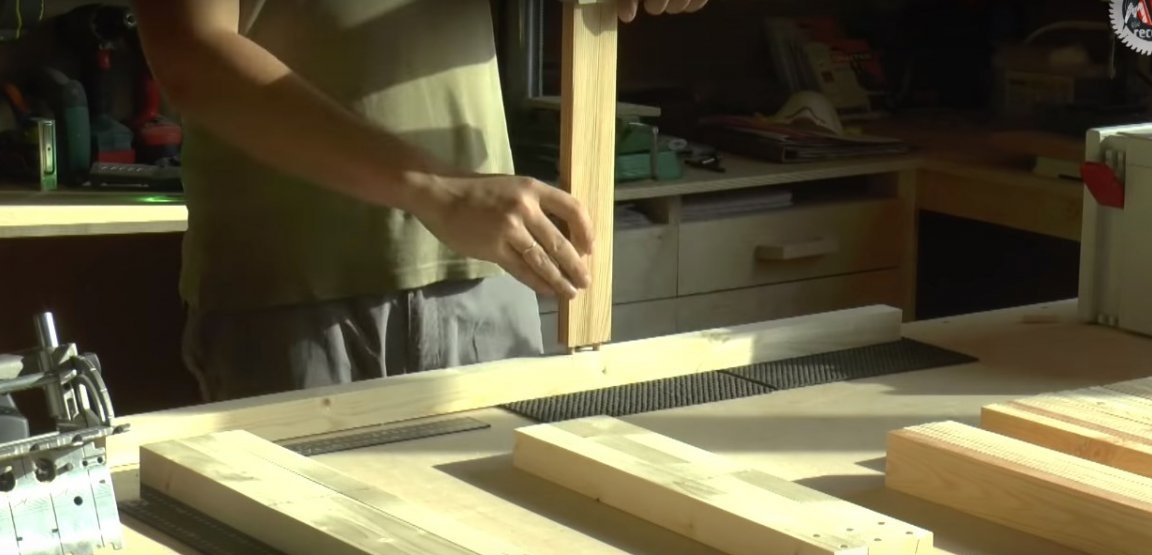
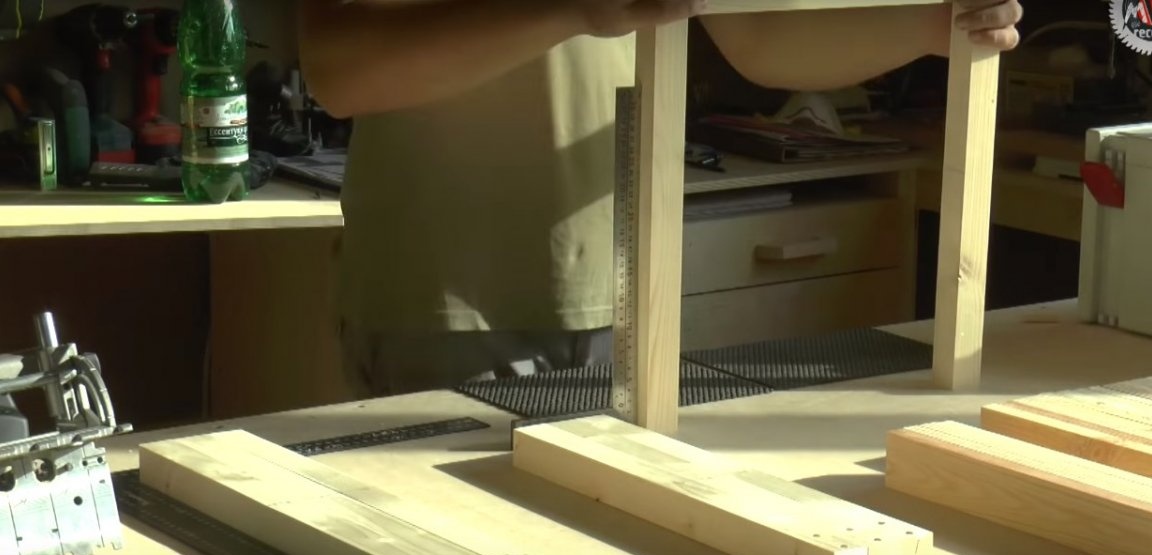
To begin with, the author makes the assembly of the chair “dry” to ensure that the workpieces are made exactly in size and that the joints are marked correctly. For preliminary assembly, the author advises using lower-quality dowels that do not fit tightly into the groove and which do not have to be hammered. Otherwise, it will not be so easy to assemble and disassemble the chair.

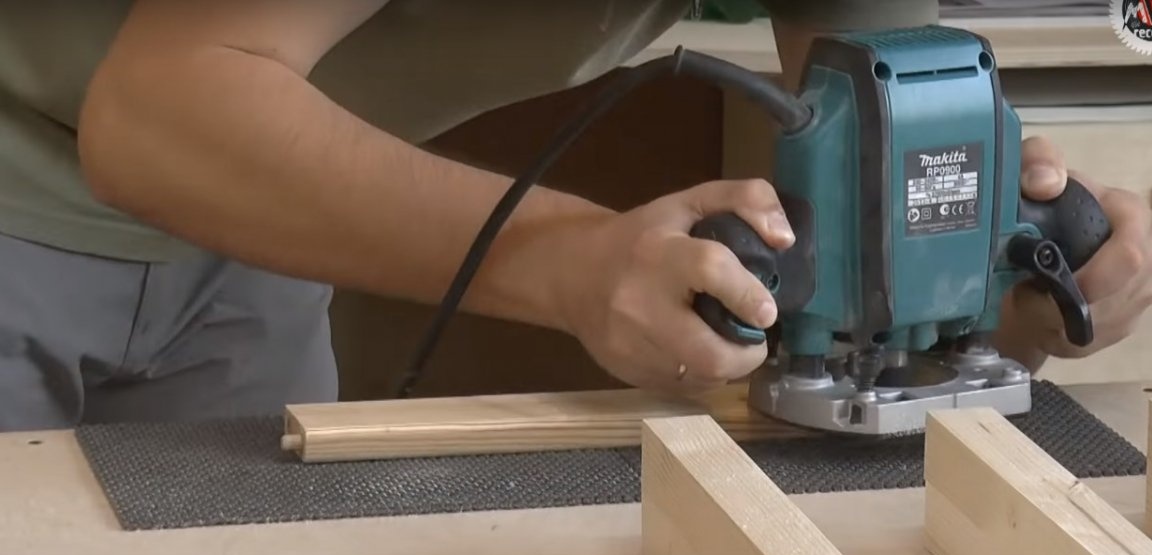
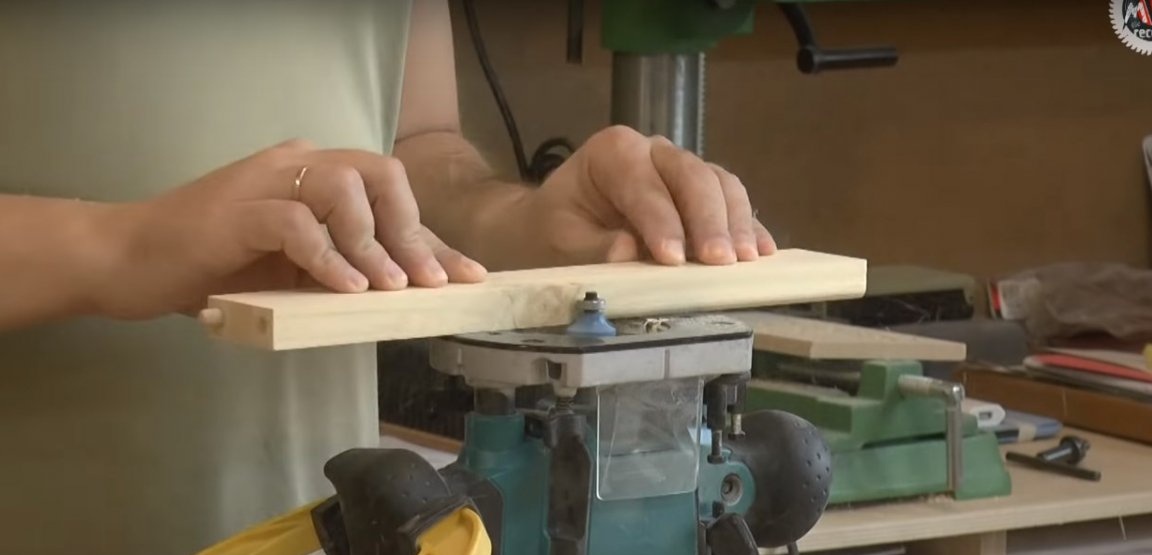
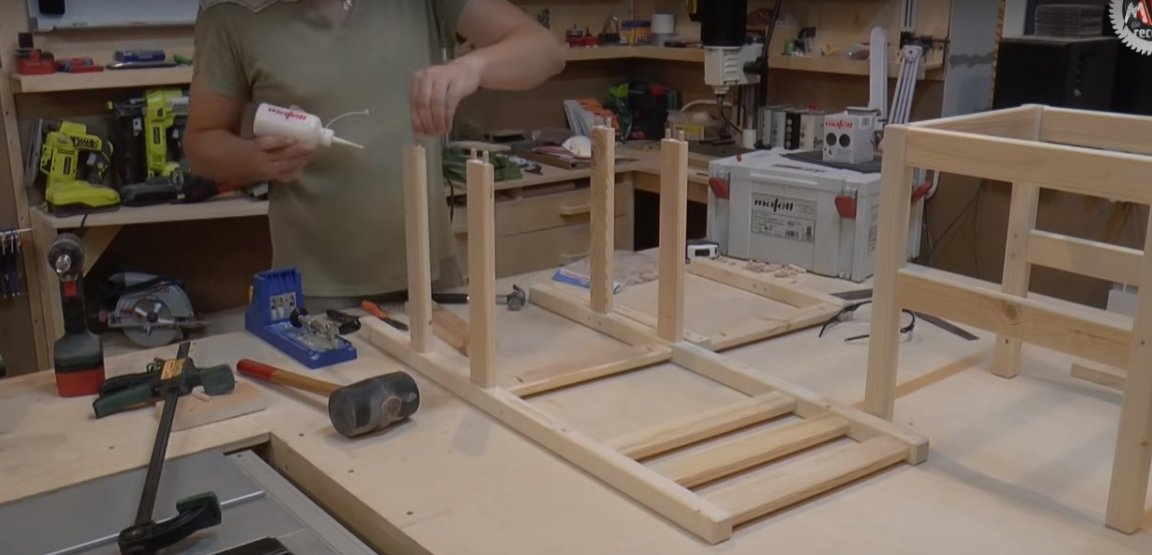
Since the author uses a pine, and it, in turn, does not have enough density, it rounds off all the details in order to avoid dents during operation. Also, the author removes the chamfers on the legs, otherwise they will become loose.
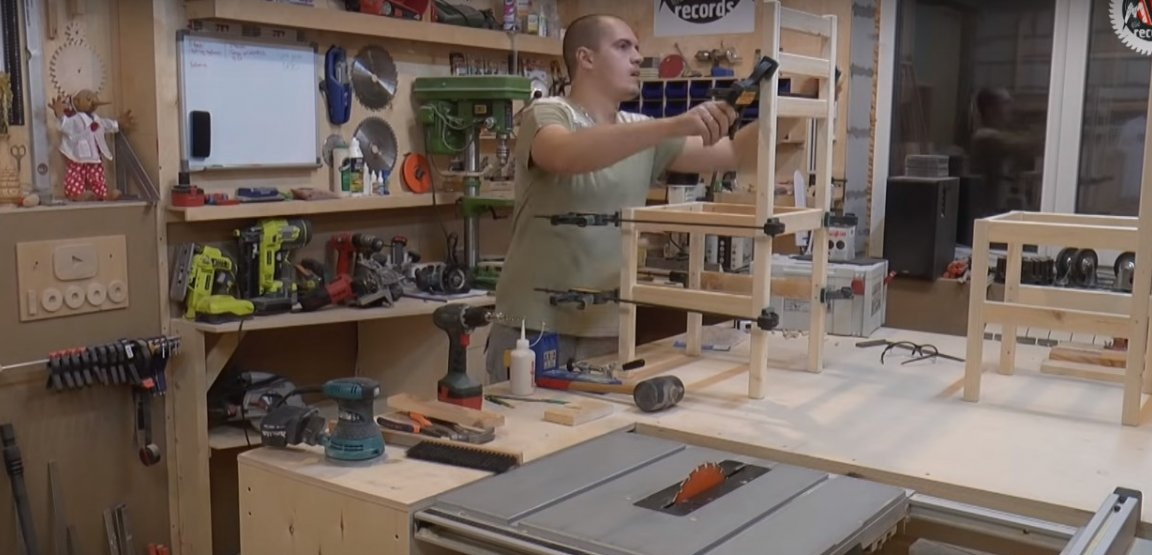
Assemble the frame on dowels using glue. The author uses a clamp to compress parts in a few minutes. This time is quite enough.


Step Four: Making and Installing a Chair Seat
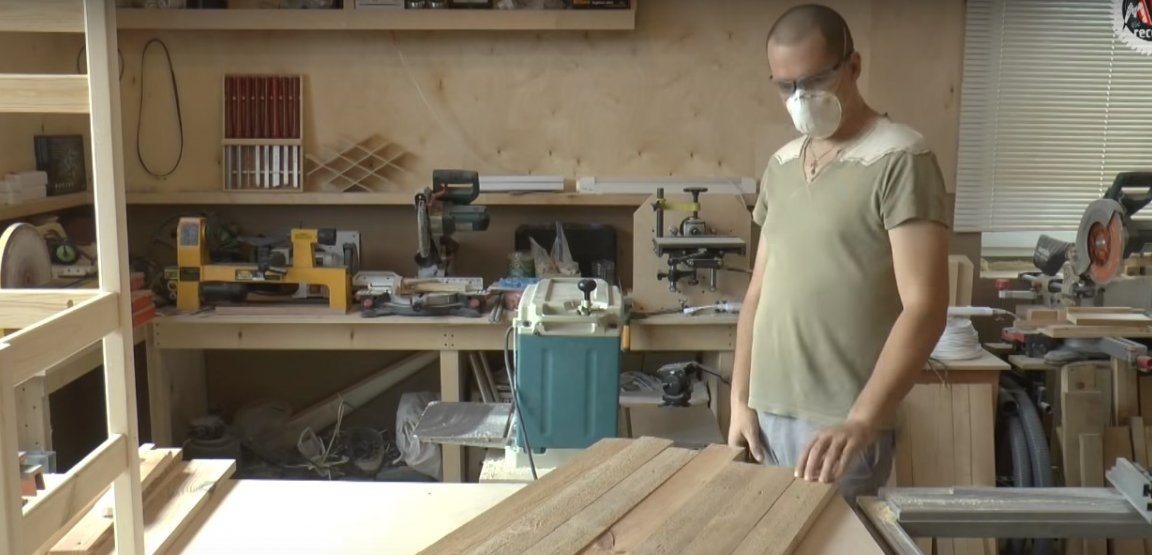
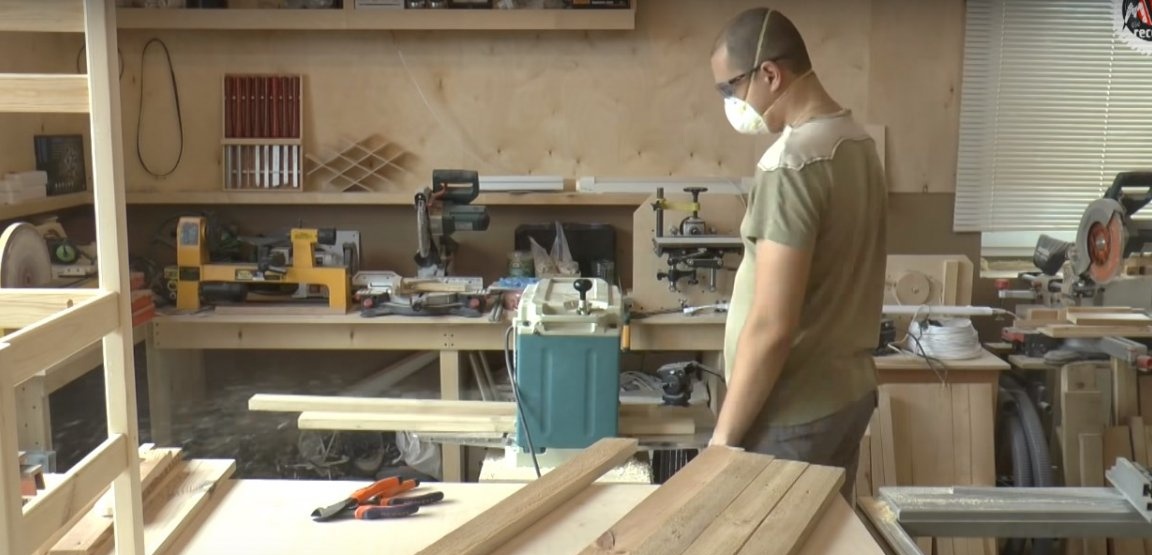
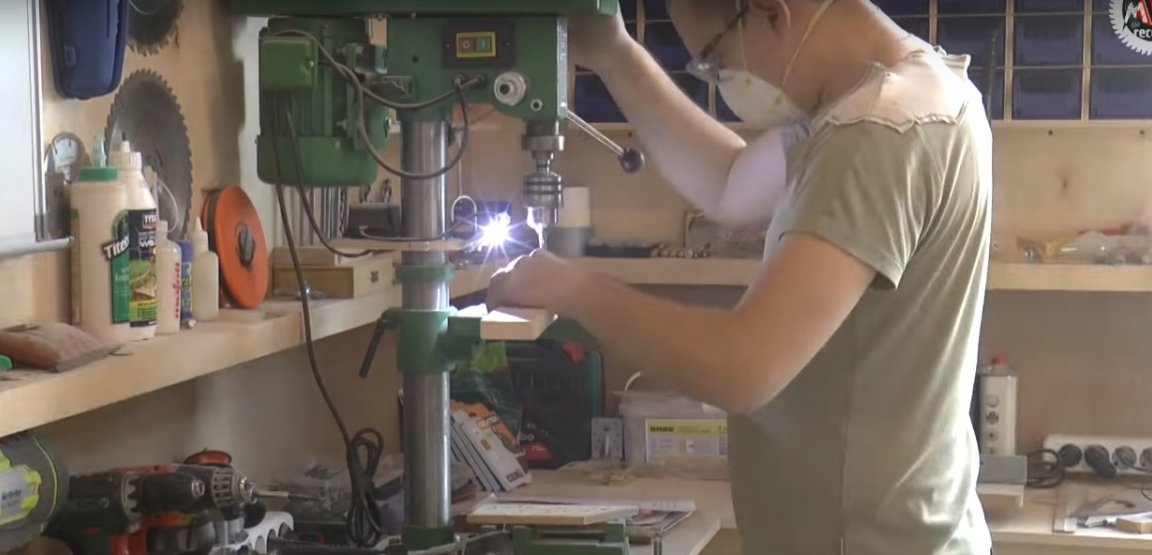
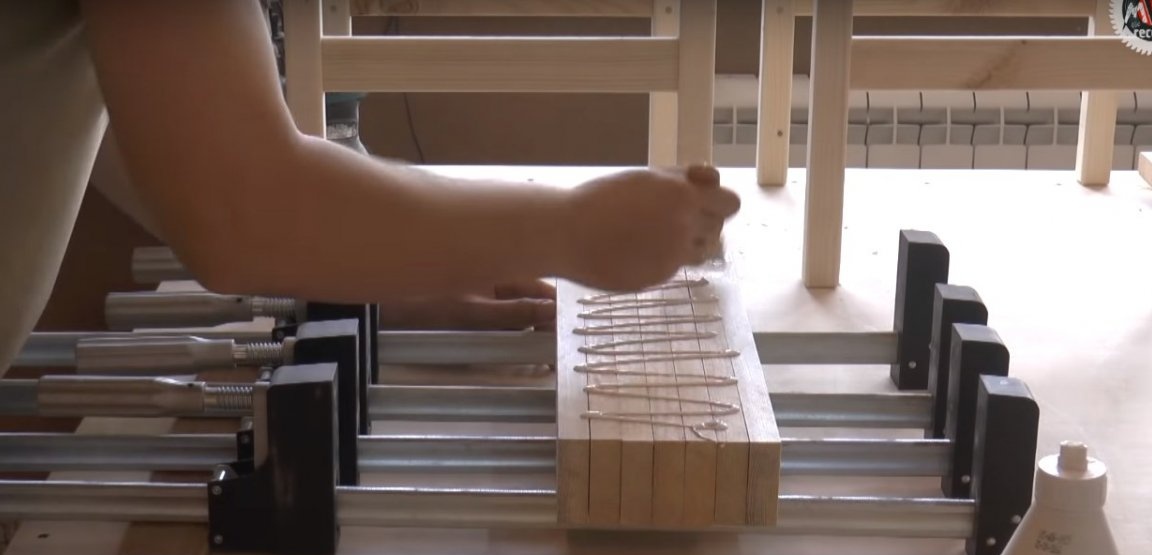
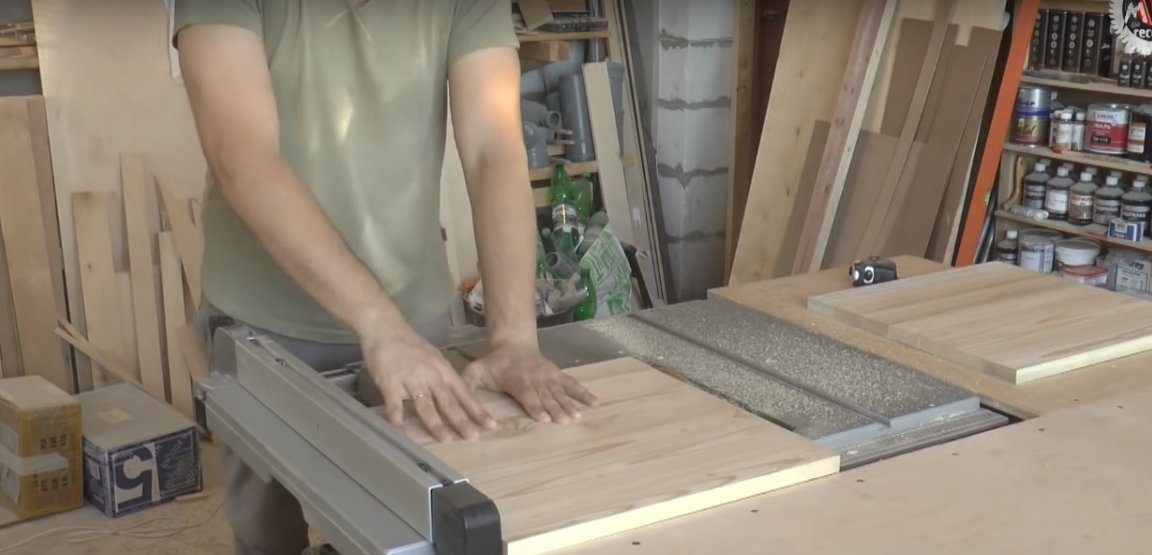
For the manufacture of seats, the author used an old countertop for circular. He cut off areas with large knots and spread the boards along on a circular. The author subsequently will drill holes from self-tapping screws and install dowels in these places. To do this, he uses a drilling machine. After the adhesive has hardened, the dowels should be cut off.
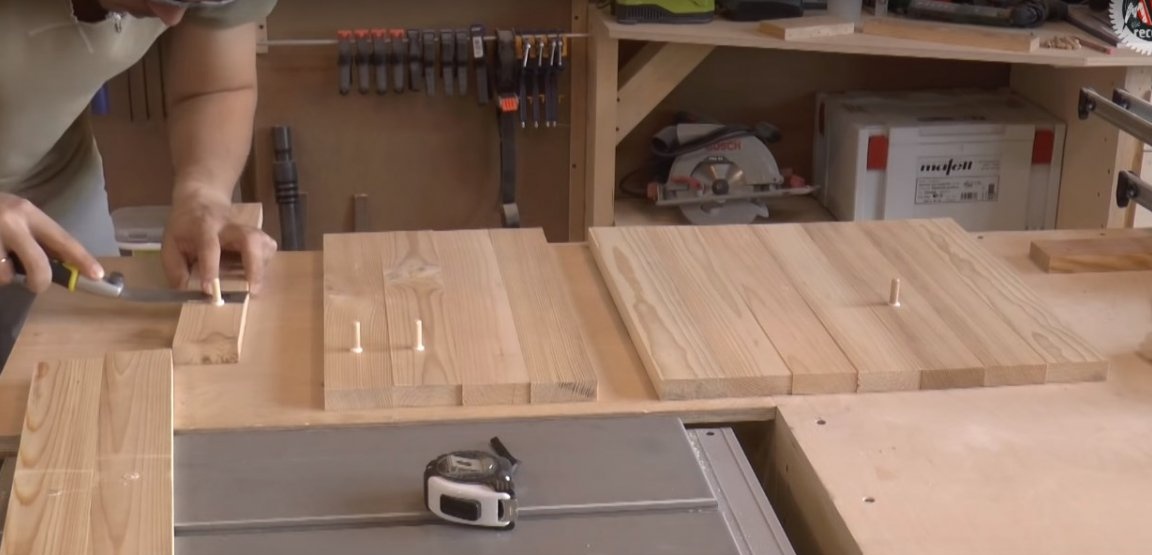
The author drove the resulting workpieces through a surface gage to level in thickness. After that, he leveled the edge with a circular. Each seat consists of 7 equal segments, of which the author will make a glued shield along the width of the seat. All that remains is to trim the shield along its length.
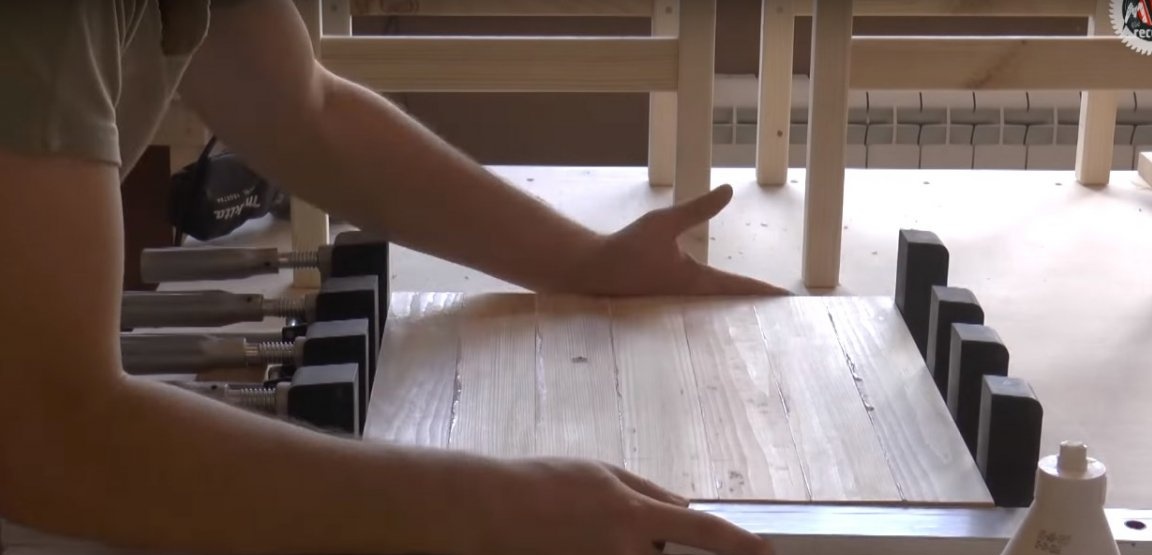
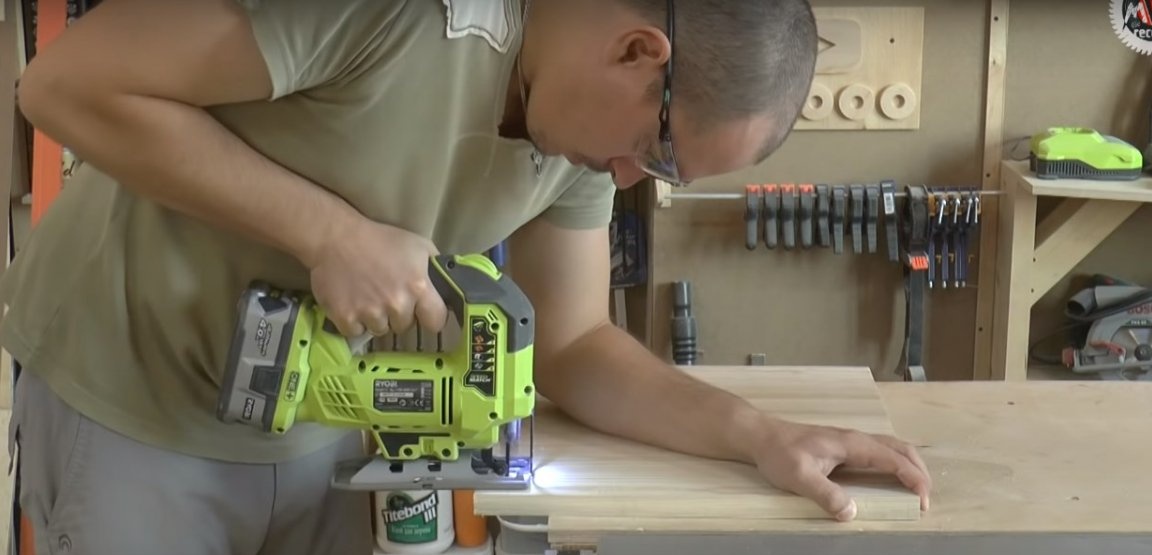
The resulting workpiece should be carefully sanded. Try on the seat, mark the selection under the frame and cut it out with a jigsaw. The author machined the seat with a milling cutter, removing the chamfers - as in the case in the frame.
As a rule, the seat is attached to the frame with small nails. The author used the diagonal holes on the back side, which he made using a special Kreg conductor, and screwed in several furniture screws.


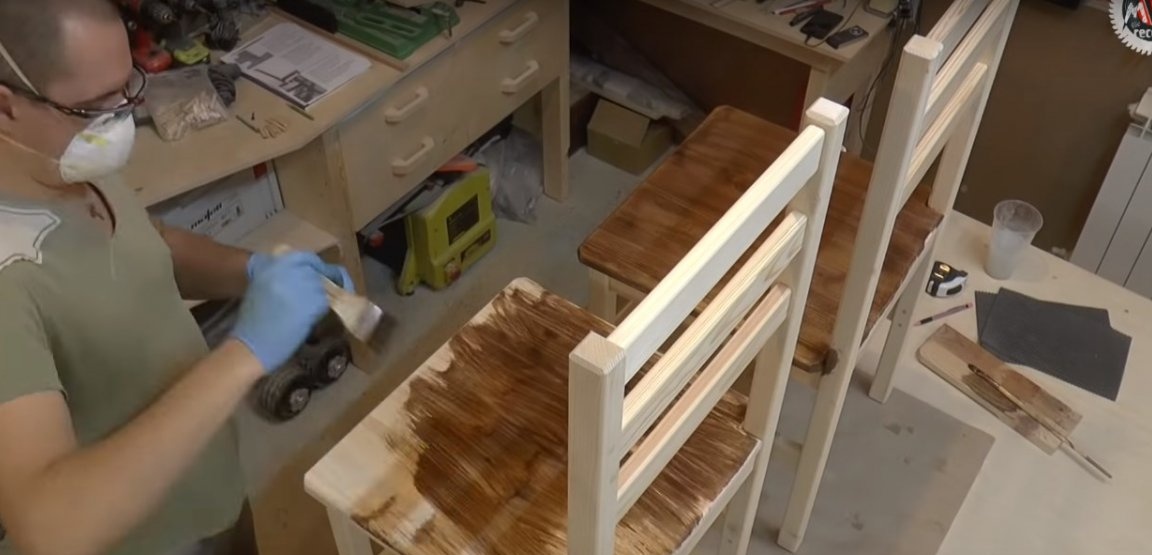
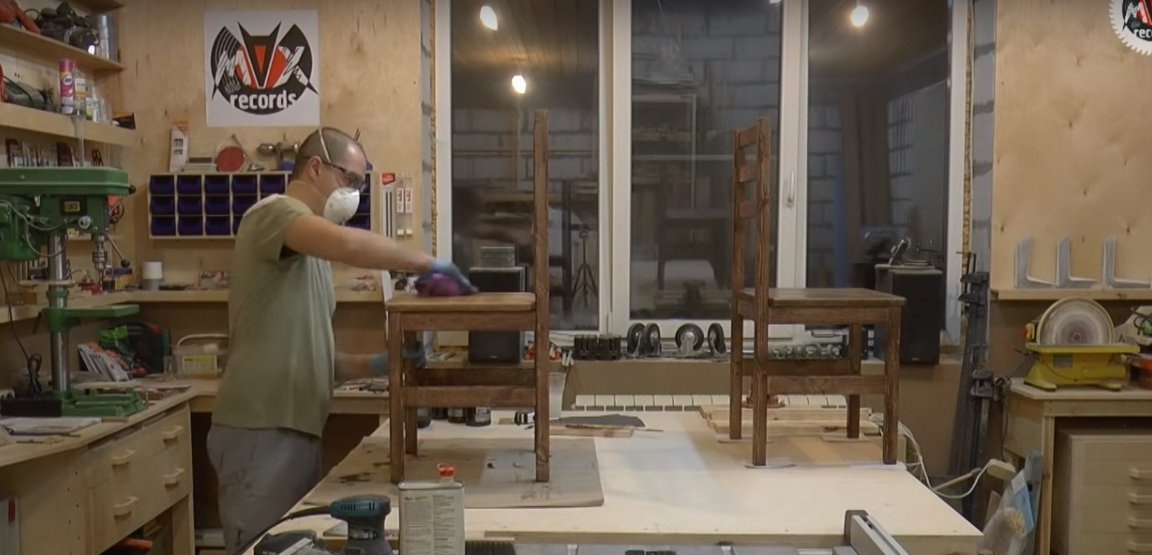
Step Five: Protective and decorative wood processing
The author processed the chairs with furniture oil, to which he added color. You can use ready-made oil stain or tinted furniture wax. Apply the composition to the surface of the tree and be sure to remove the residue with a lint-free cloth. Such a coating does not require a fixing layer.A layer of frozen stain can be polished, which allows you to get a perfectly smooth surface that resembles plastic to the touch.