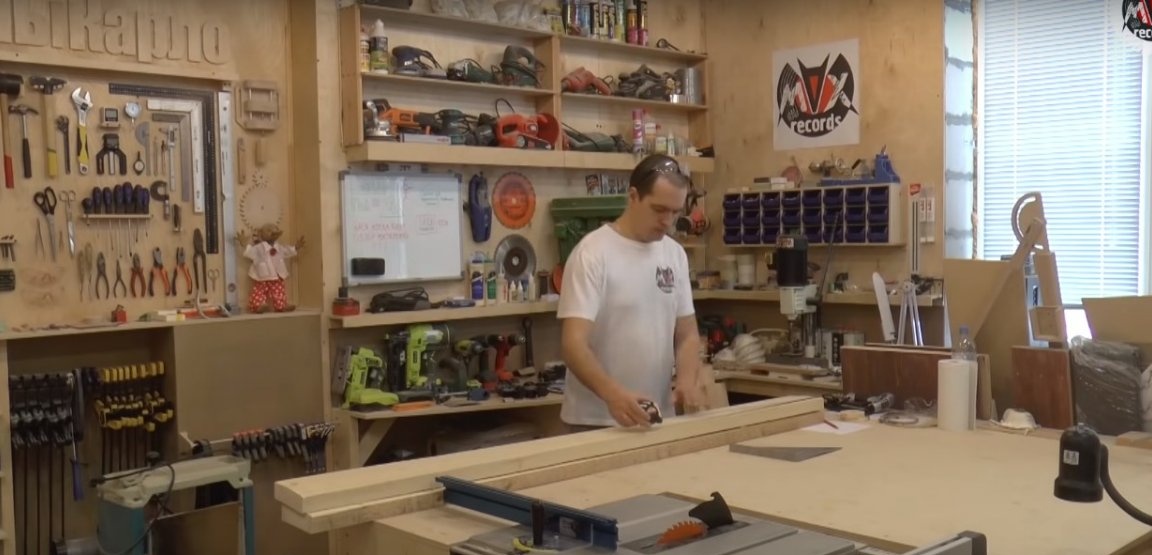
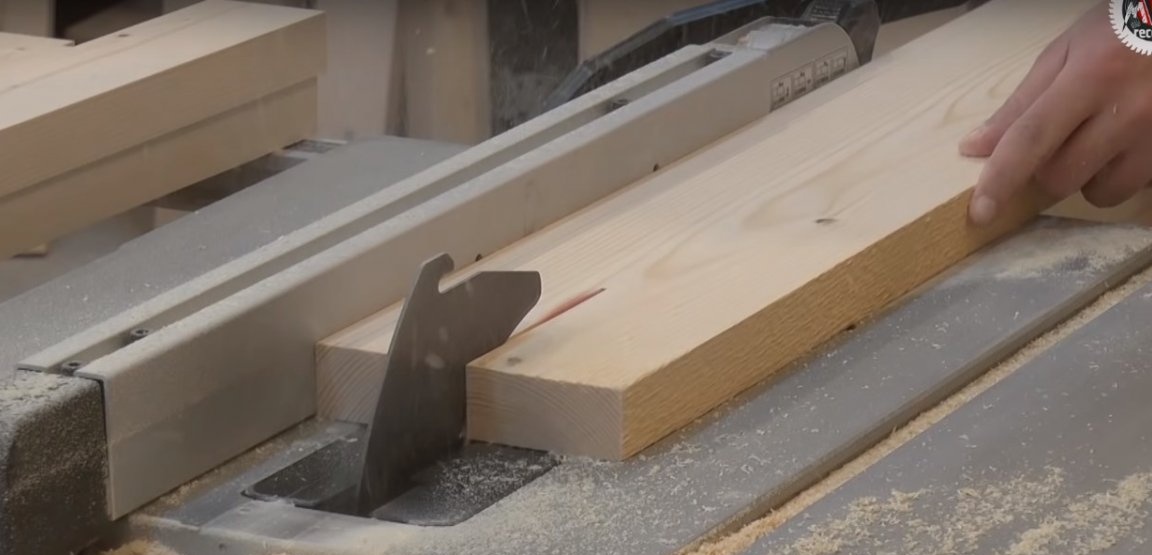
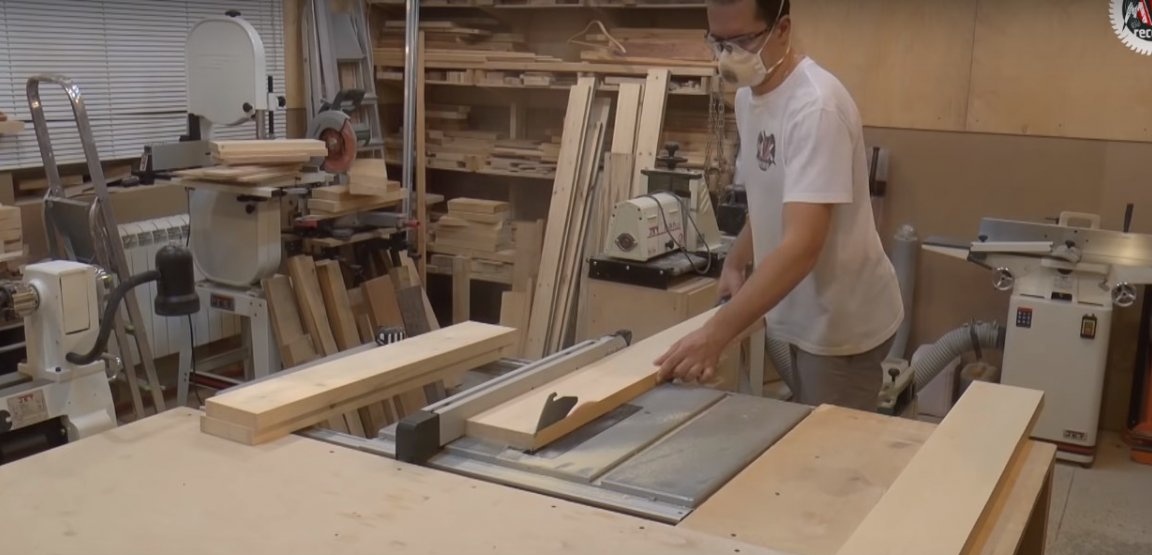
For the manufacture of the table, the author selected a trim board, slightly twisted in the process of improper storage. All lumber undergoes capital processing on machines, which in the future will allow them to be used for work. Such boards should be sawn in order to minimize irregular geometry. Thus, the author was able to bring all the details to the same thickness of 30 mm.
To make a large dining table do it yourself you will need:
Materials:
- boards with a section of 40 x 150 mm;
- a thin board for the manufacture of a worktop frame no more than 20 mm thick;
- plywood for the manufacture of countertops;
- fiberboard or MDF for the manufacture of the template;
- joiner's glue;
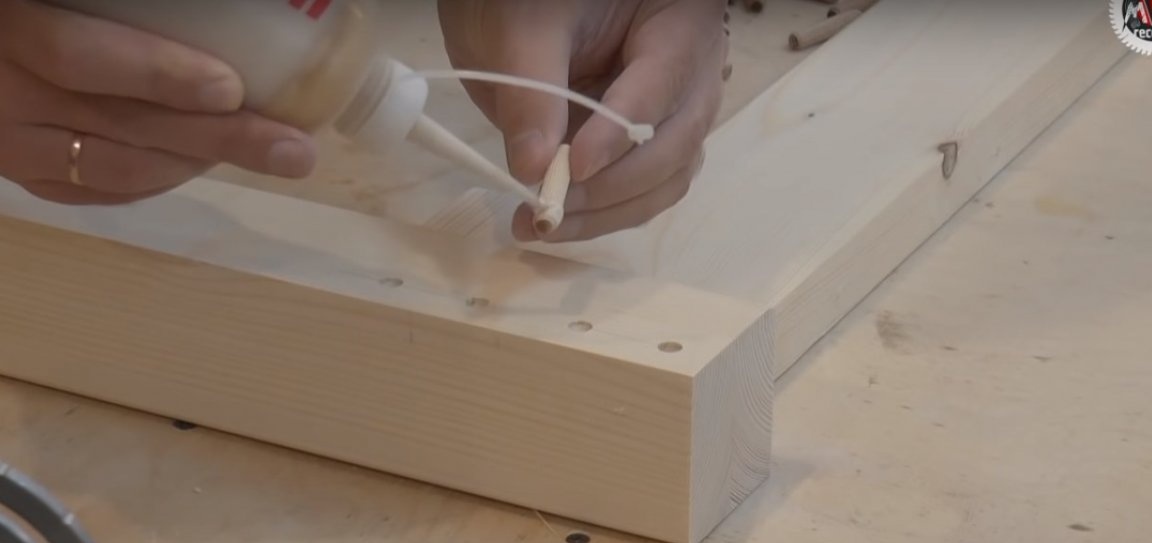
- furniture beech dowels with a diameter of 8 mm;
- putty on wood;
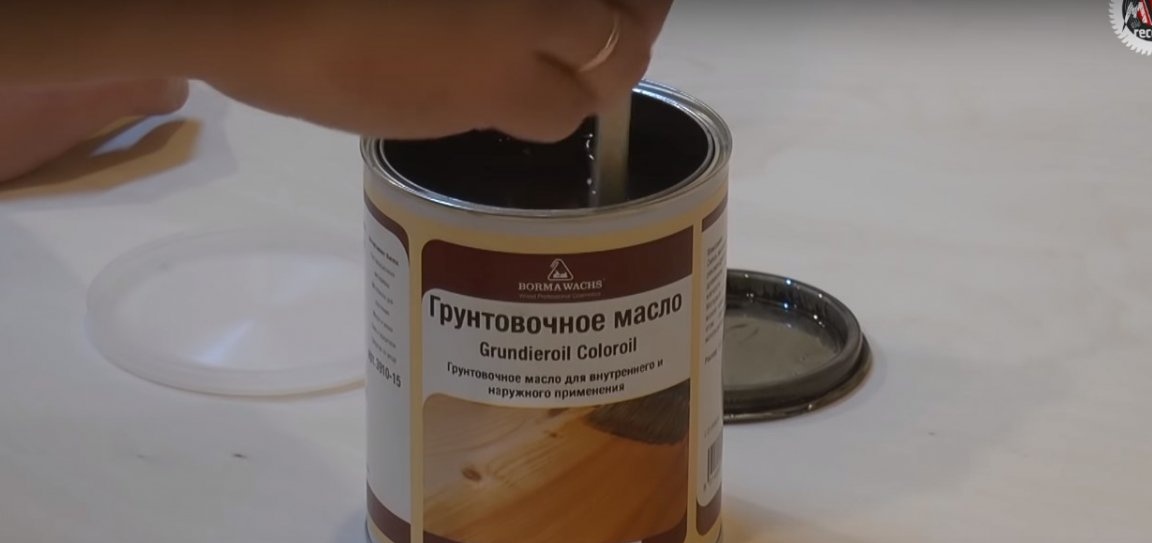
- primer oil for wood processing;
- furniture wax optional;
- furniture screws;
- nails.
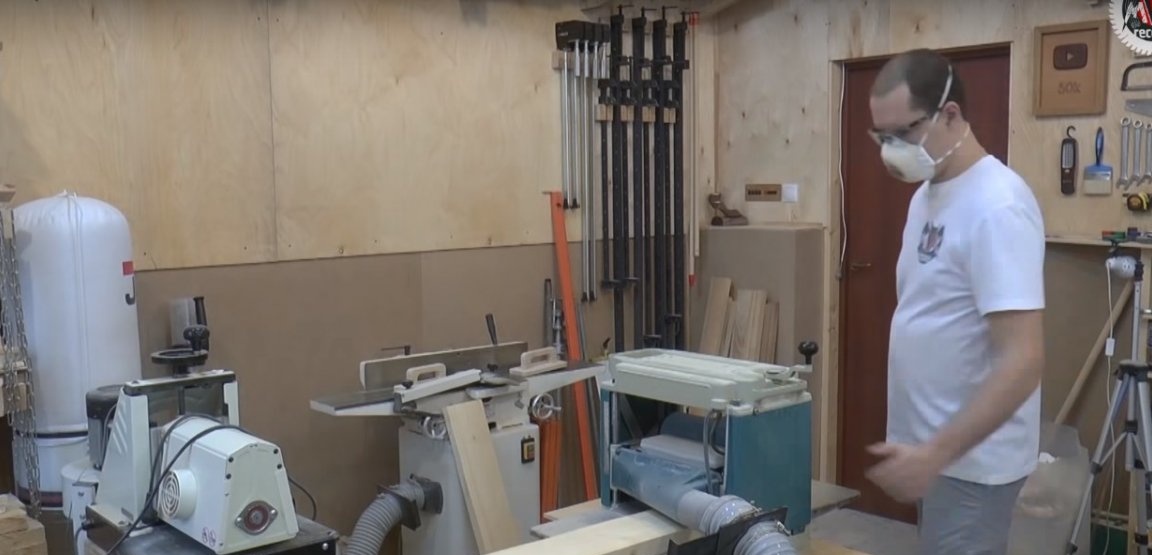
Instruments:
- circular;
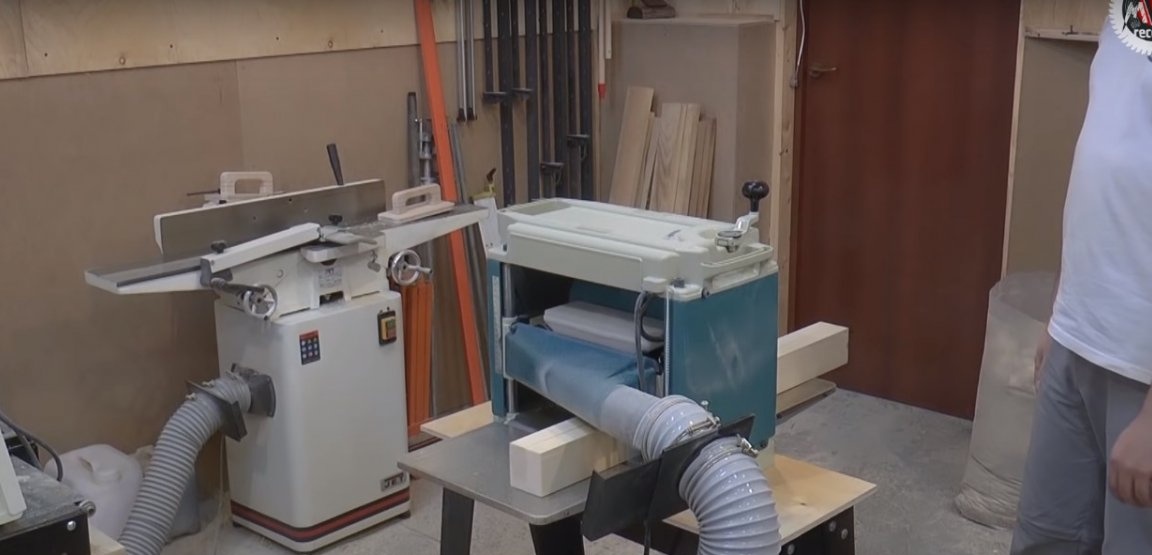
- jointing machine;
- surface gage;
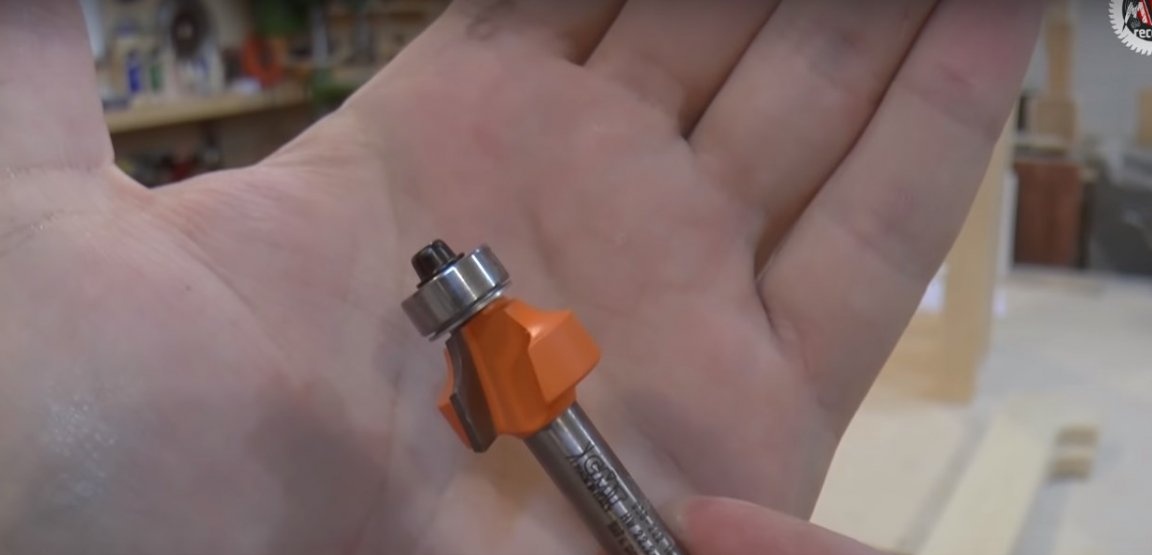
- manual frezer;
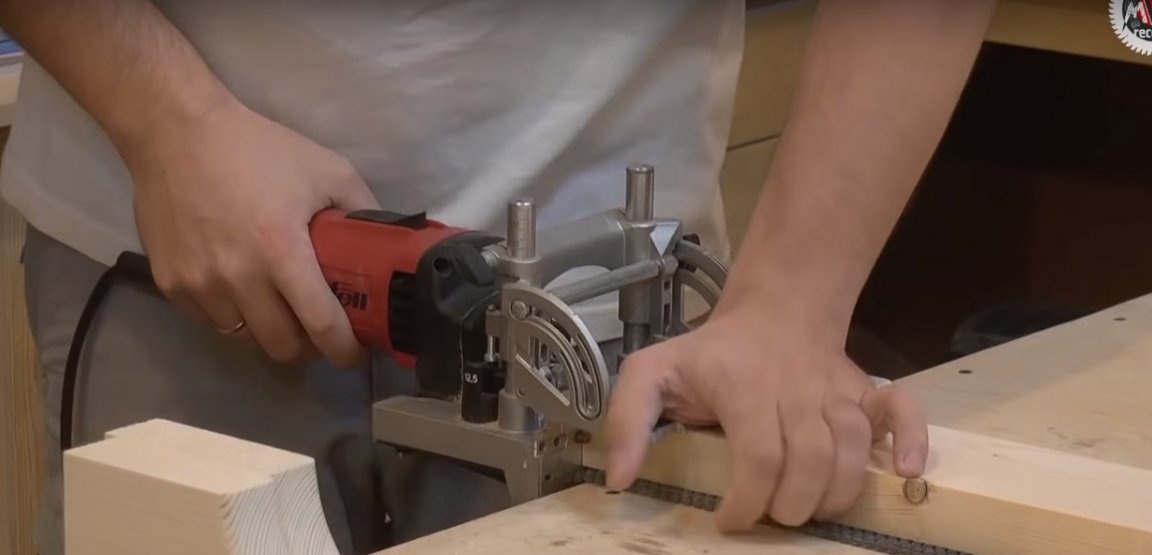
- filler mill for cutting grooves for dowels;
- grinder;
- drill;
- screwdriver;
- a conductor for drilling holes at an angle from Kreg;
- clamps;
- putty knife;
- compass for making patterns;
- tape saw machine or jigsaw for making patterns;
- grinding machine;
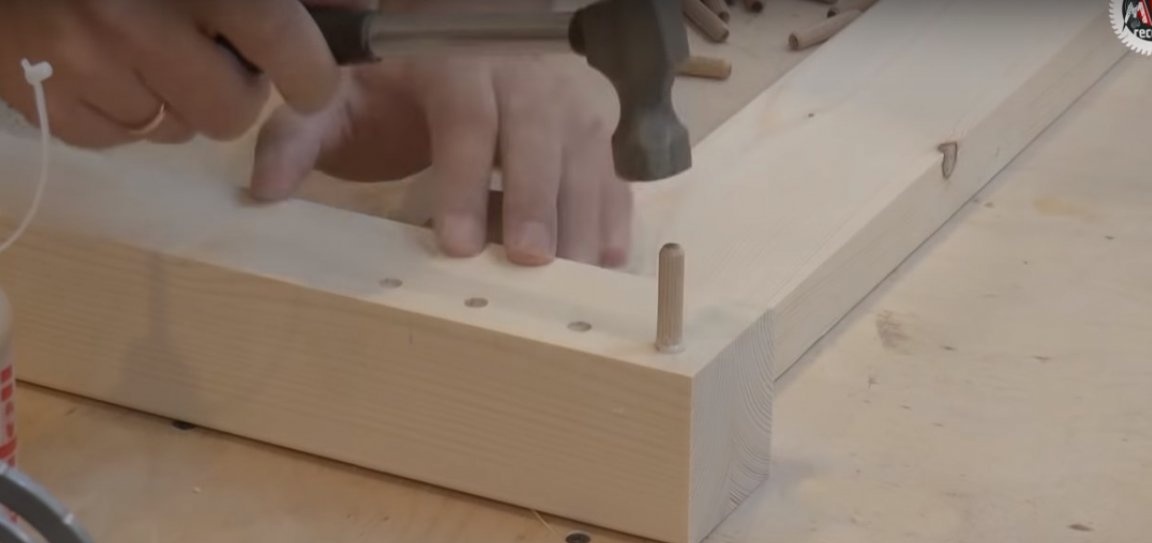
- pneumatic nail gun or conventional hammer;
- a piece of foam rubber or a kitchen sponge (paint brush) for processing wood with a primer, a lint-free cloth to remove residual oil;
- construction tape, ruler, square;
- marker.
Manufacturing process
Step One: Making Legs
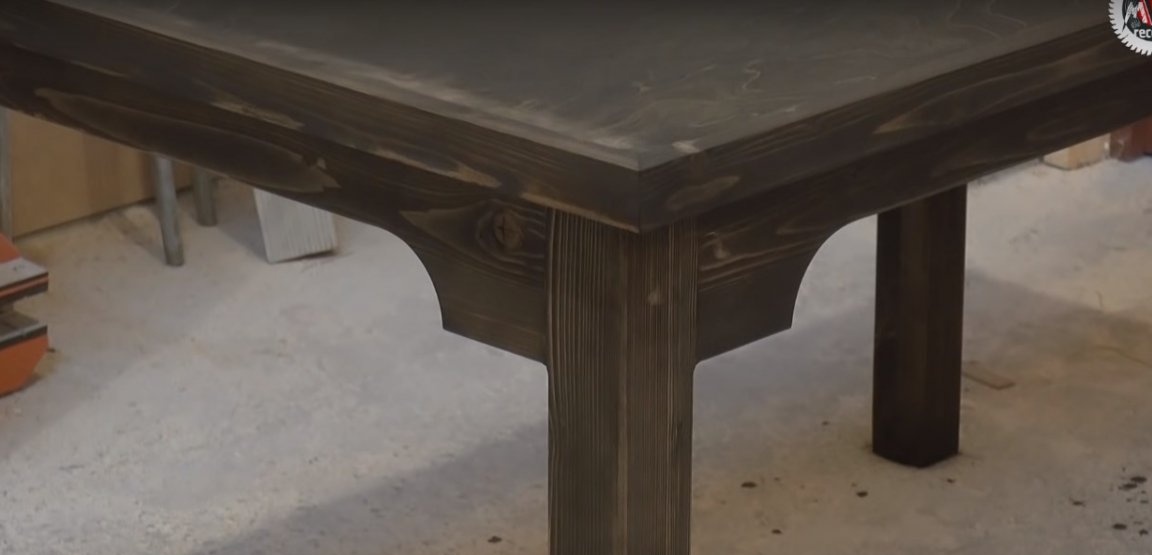
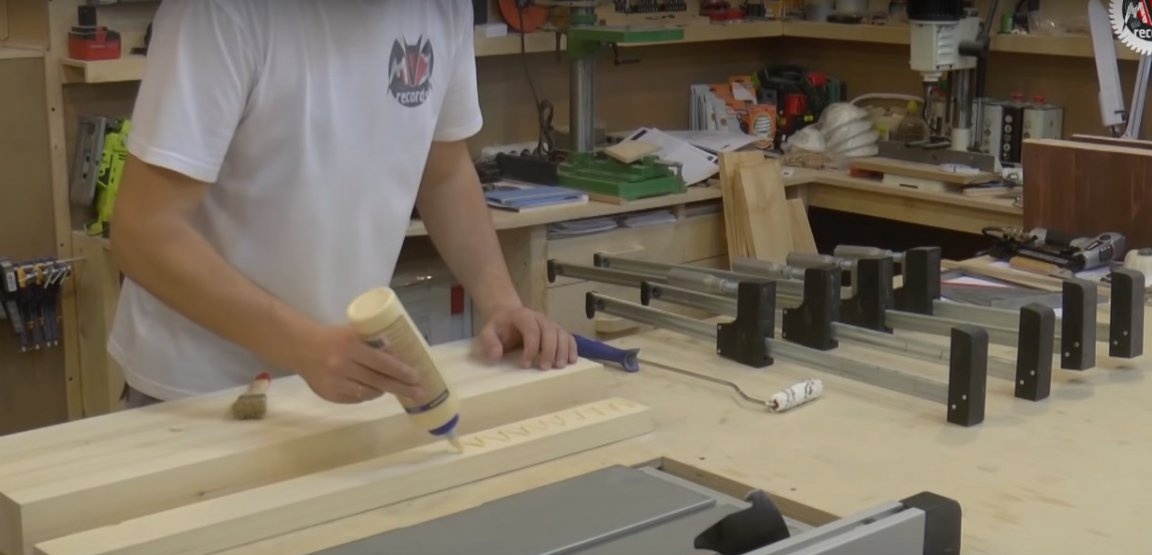
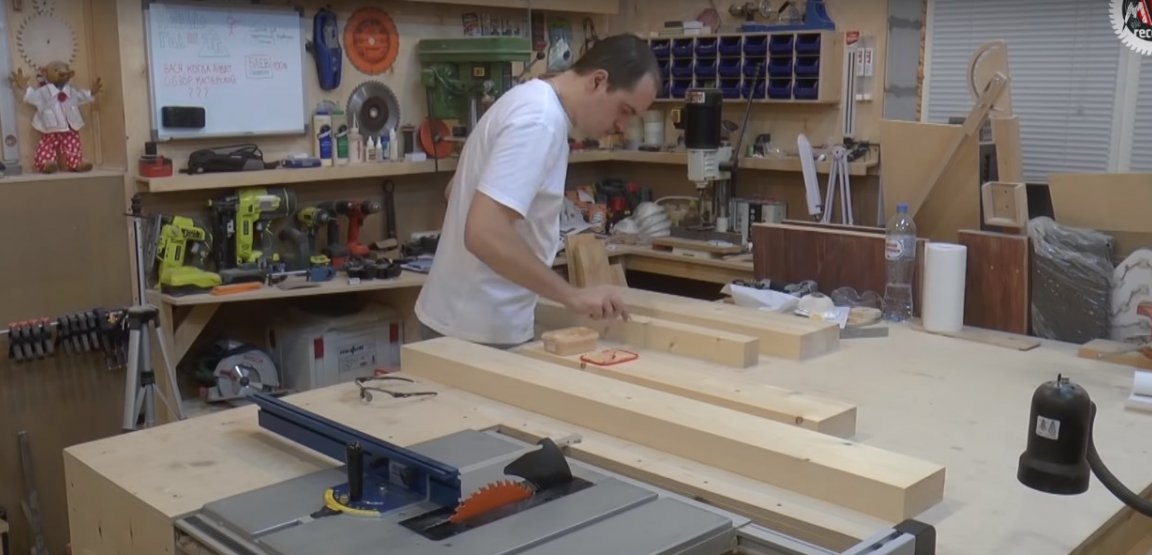
The author conceived massive legs of a square section 60 x 60 mm. Therefore, they will be glued - each of two parts.
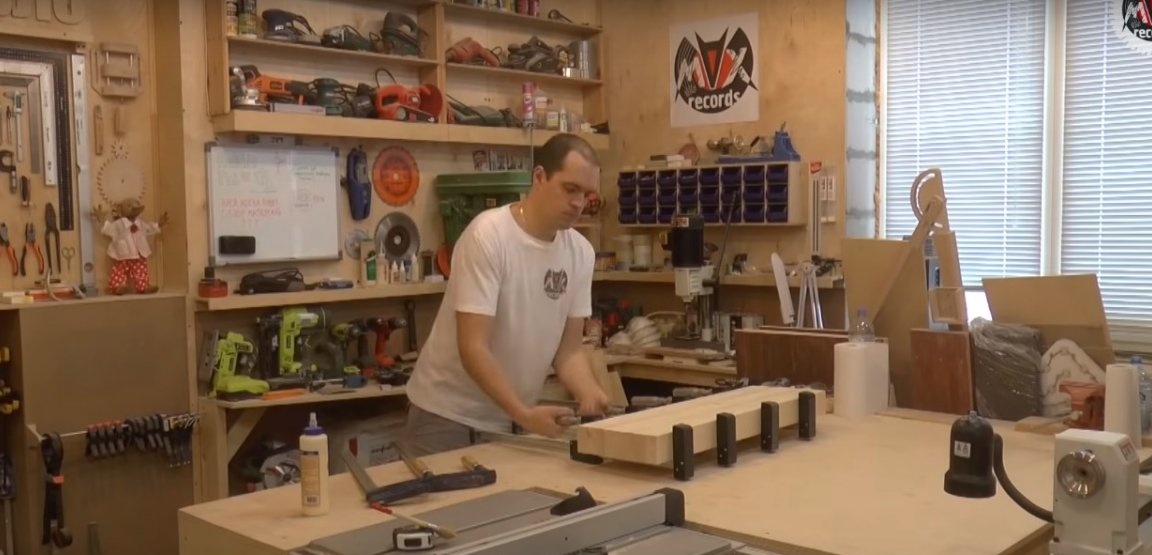
Lay all the blanks on a flat surface and apply glue from the tube and evenly distribute it on the surface with a paint brush. Connect the workpieces and place them in the clamps in a full package as shown in the photo. This technique will save you a lot of time, as if you glued each leg individually.
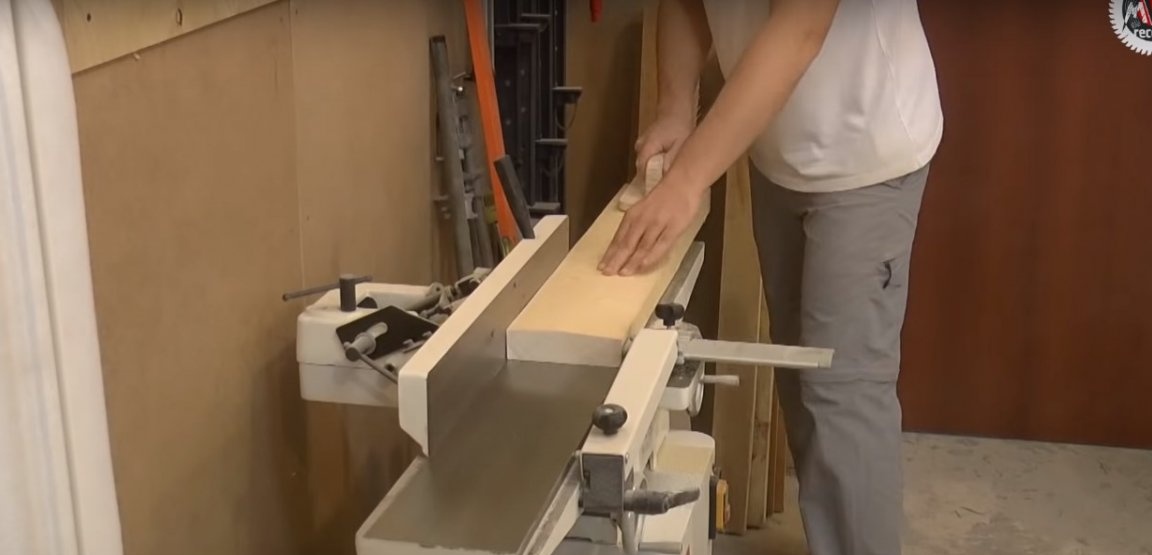
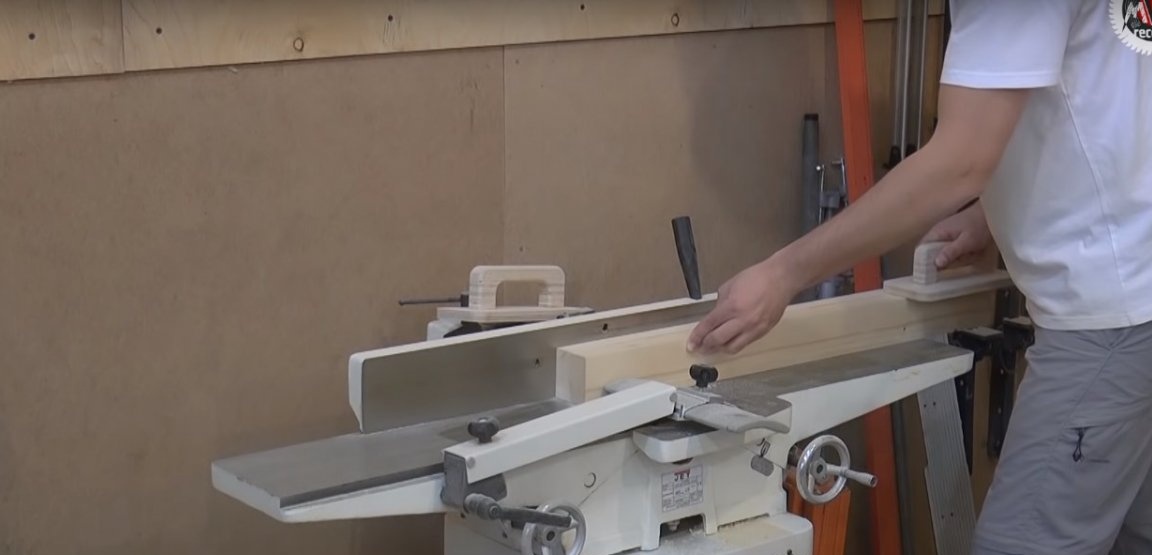
Leave the blanks before polymerizing the glue for 1.5 - 2 hours. Then process the jointer and pass through the thicknesser. Such processing will avoid long tedious grinding and alignment of parts.
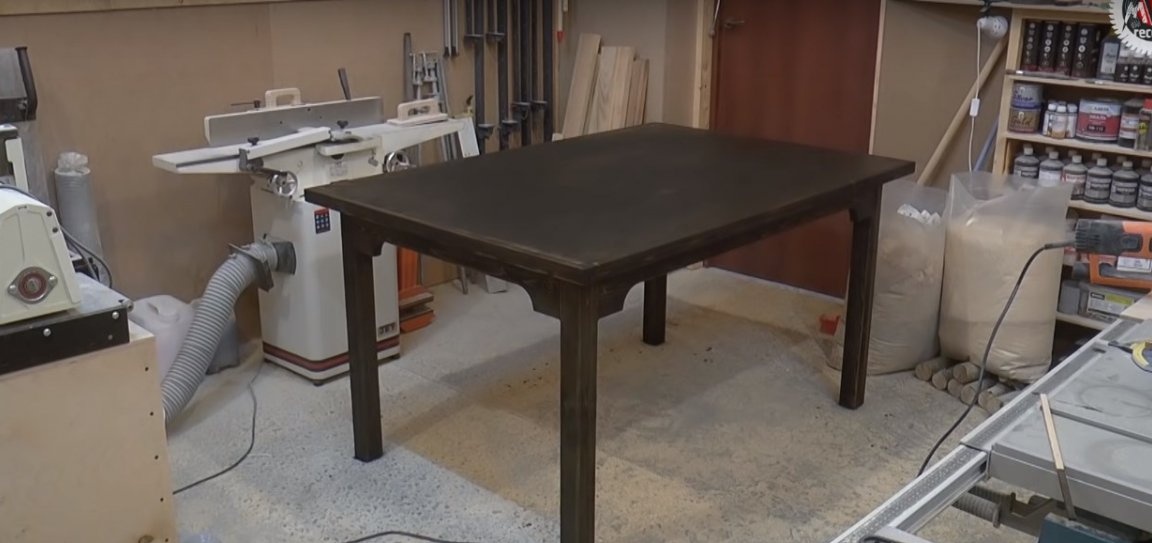
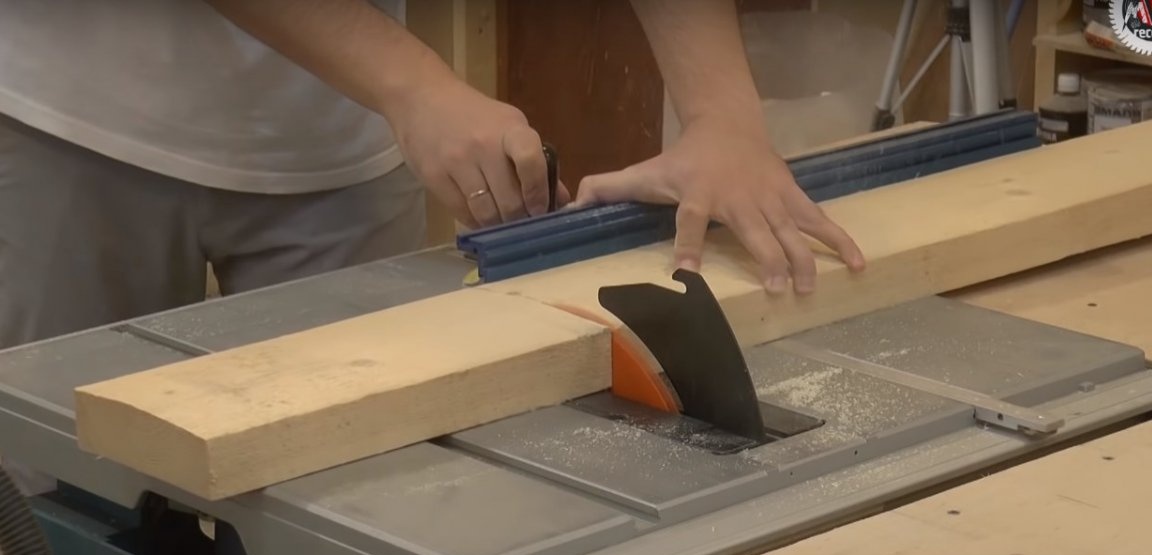
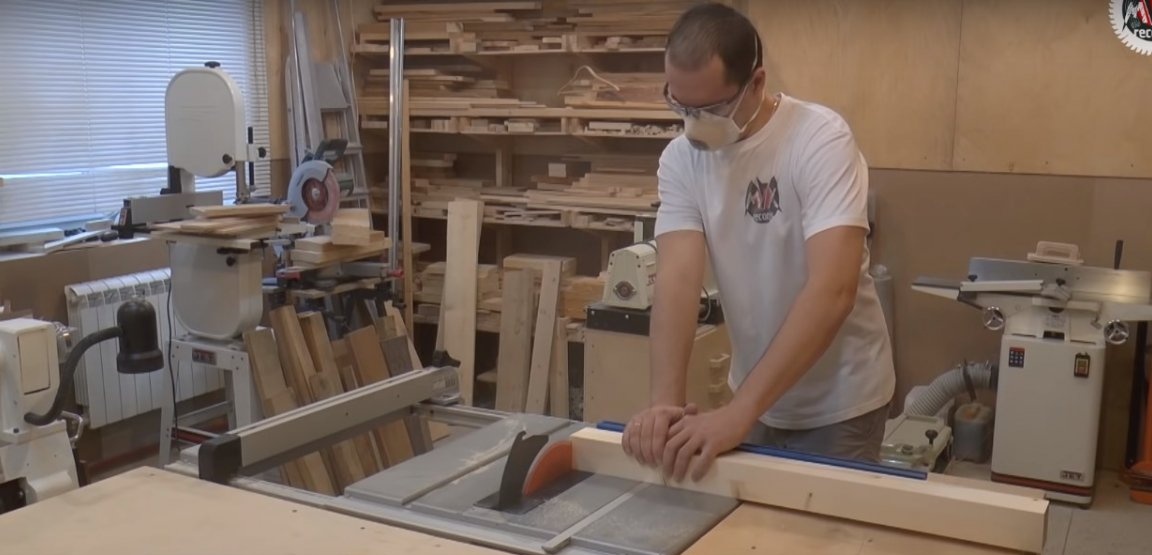
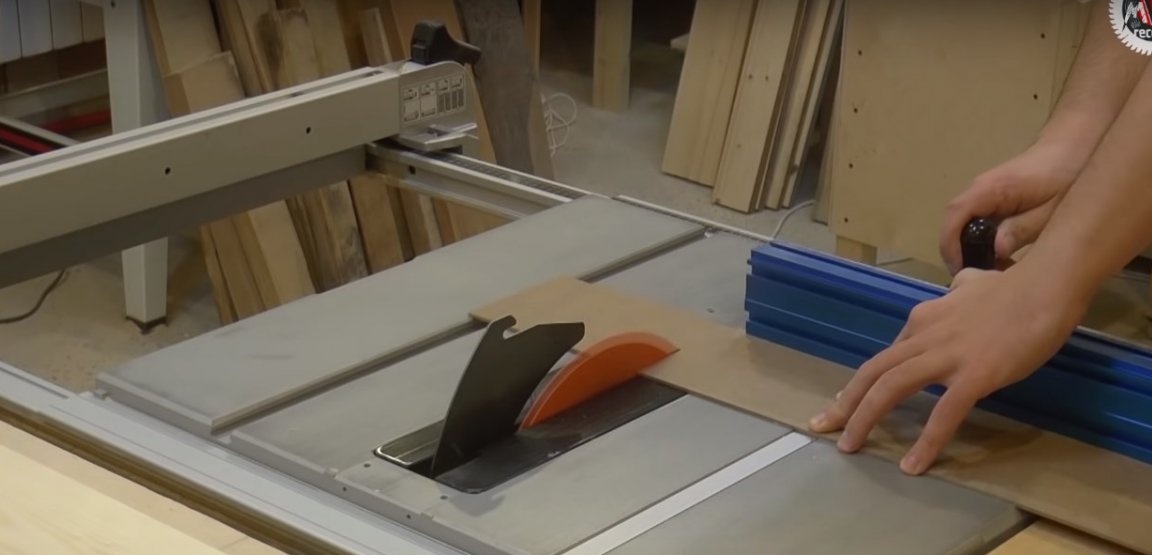
Finished legs should be trimmed on a circular or miter saw and reduced to the desired length dimensions. The author is 80 cm.Add the height of the countertops here, and you will get the average height of any desktop on which it will be convenient to work for people tall, as well as with medium height.
Spread the legs, having processed all defects in this way and leave them overnight.

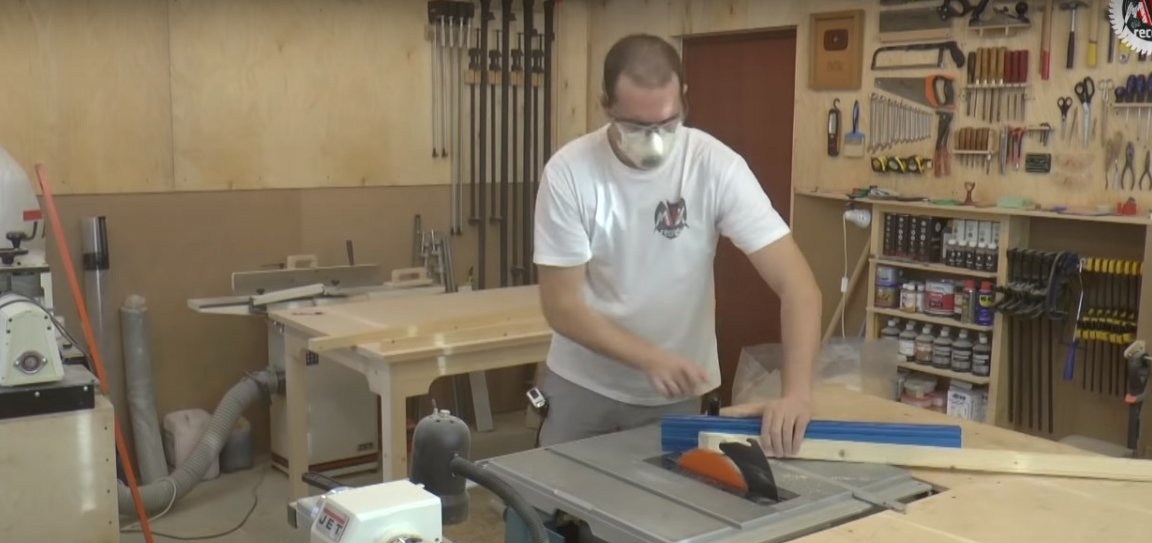
Step Two: Making Table Strapping
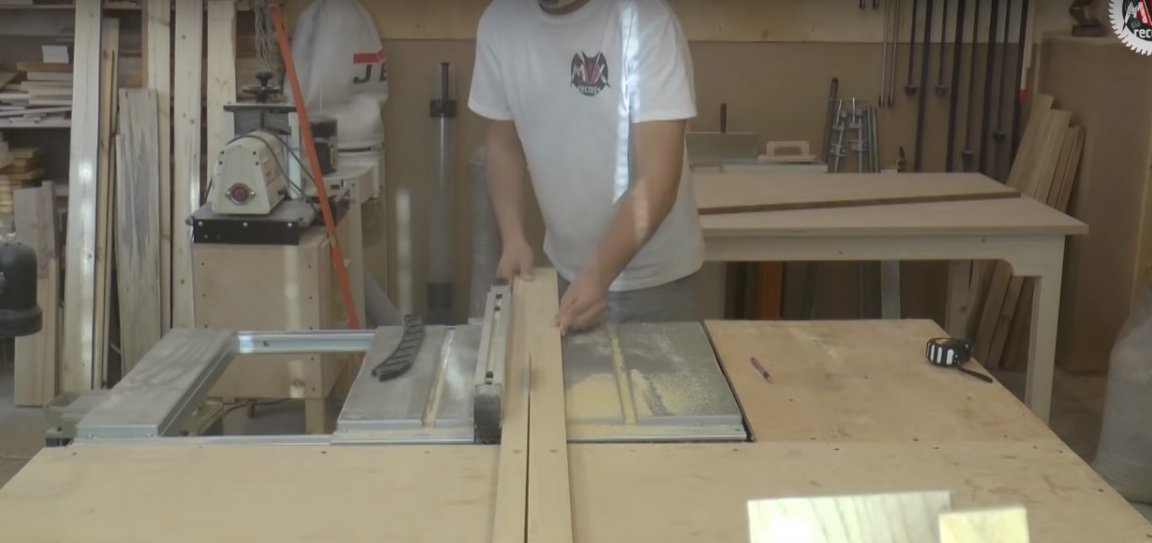
Long drawers for the table have a length of 1300 mm and this is a lot. Especially when you consider the quality of lumber and their curved geometry. The author selected the most even planks for these parts, otherwise after processing on the machines he would not have been able to bring them to the desired thickness, and the blanks themselves would not have come out as massive as intended.
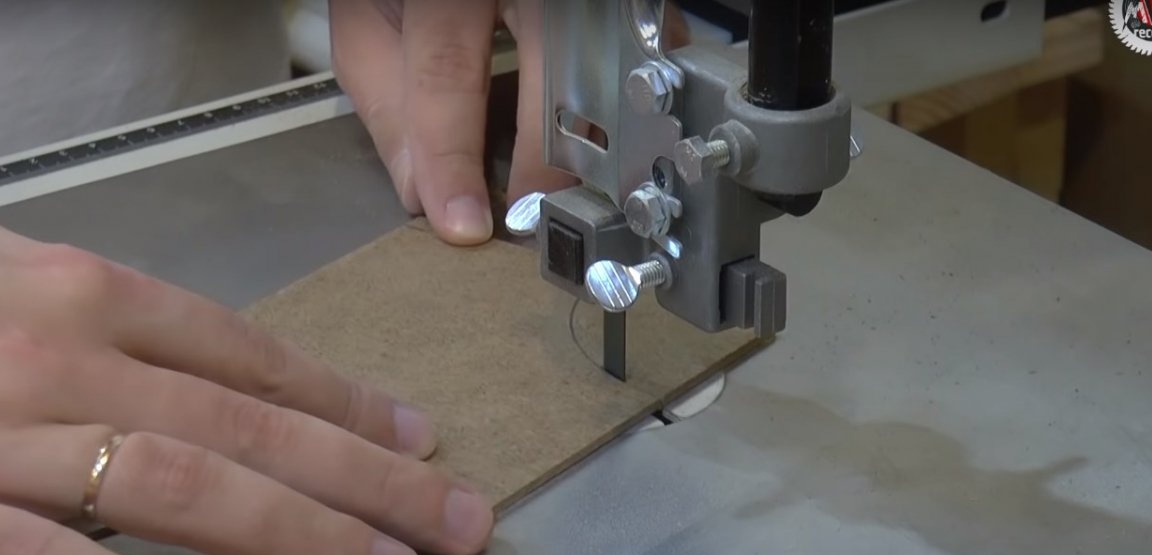
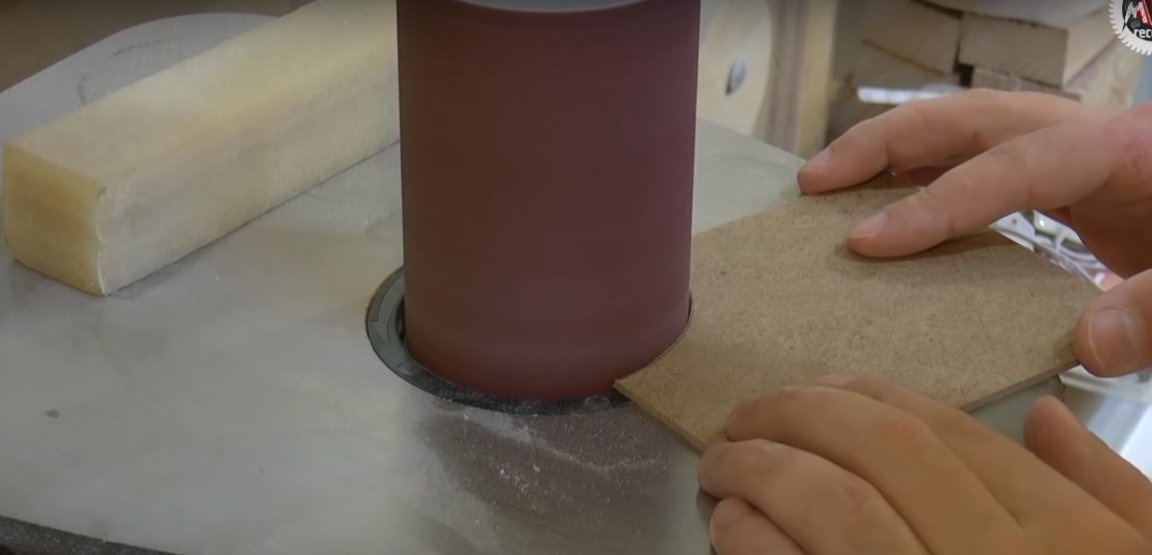
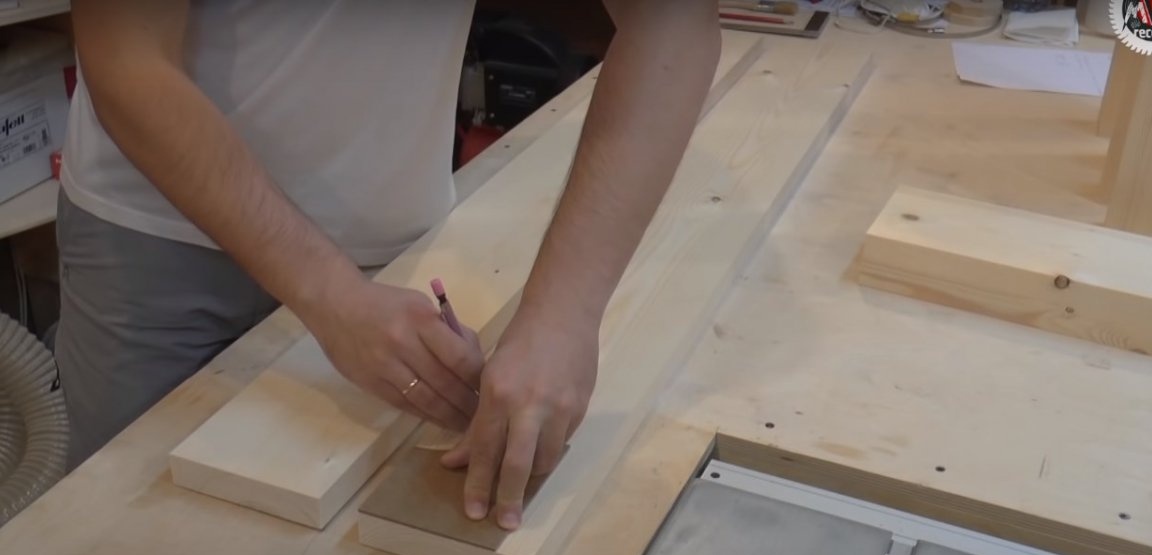
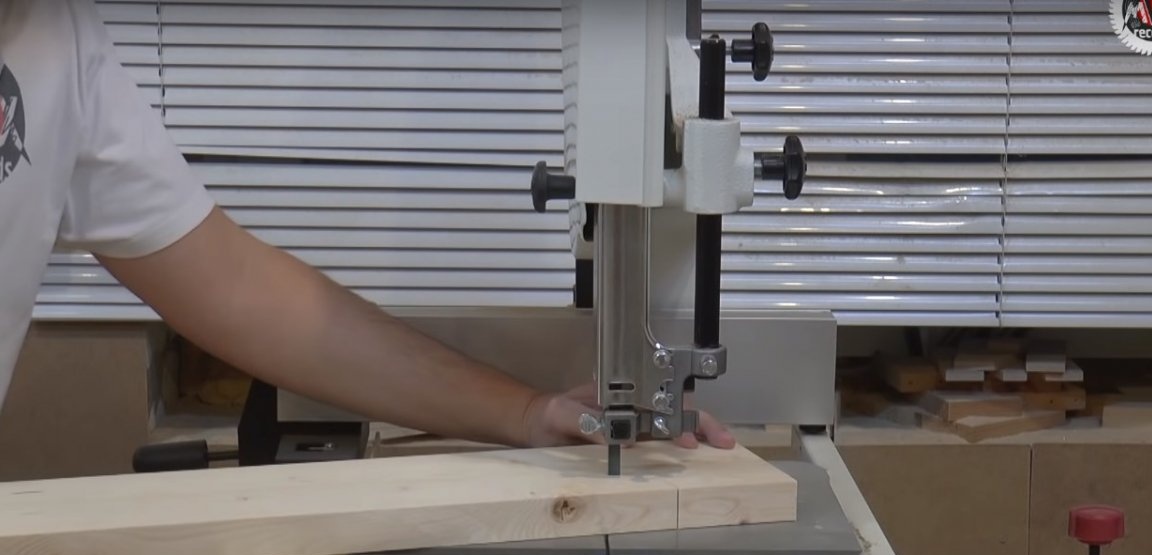
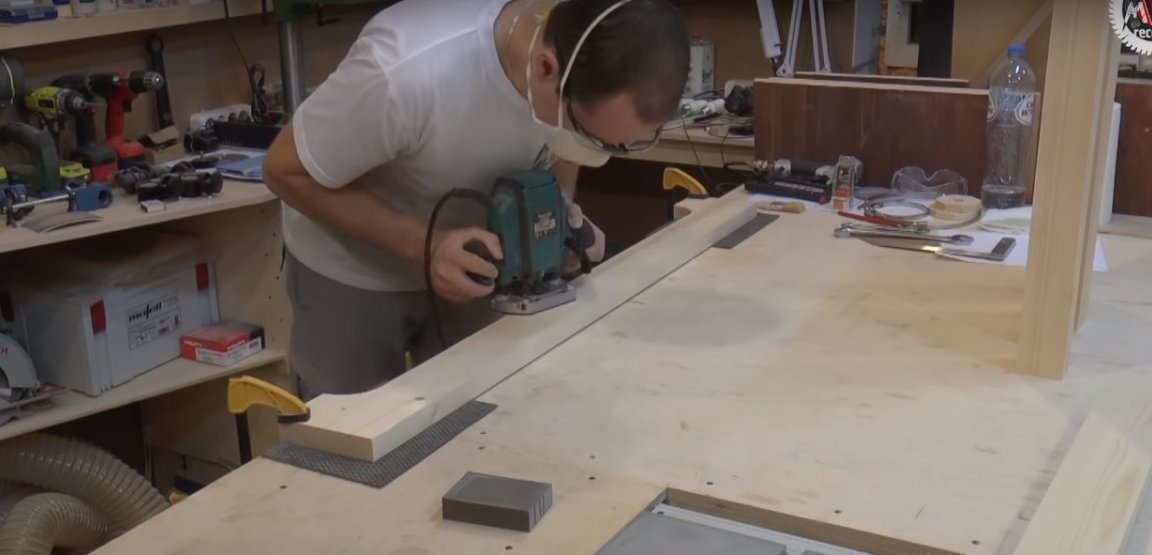
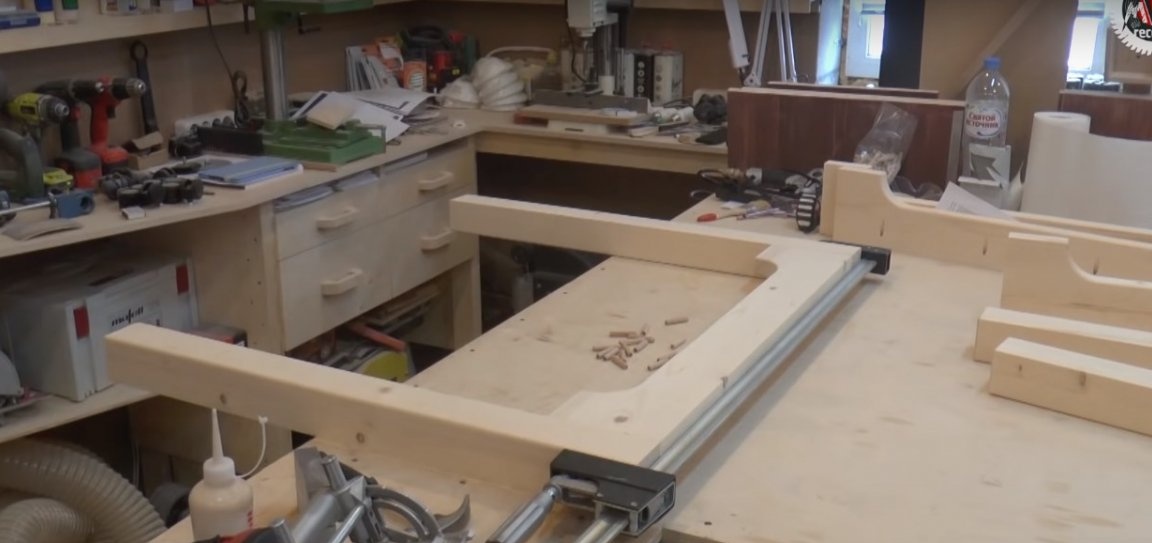
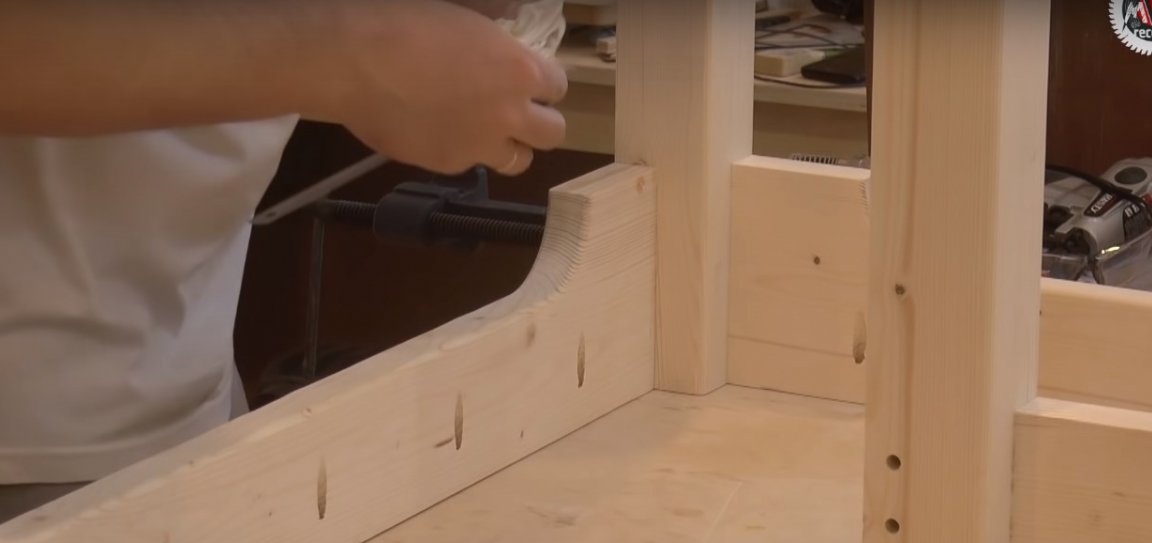
After processing the board with a jointer and a surface gage, it should be given the necessary shape. For this, the author made a template from MDF. Instead of MDF, fiberboard can also be used. He marked the radius of the sample with a compass and cut it using a band saw. If any irregularities remain, grind the template manually or on the machine.


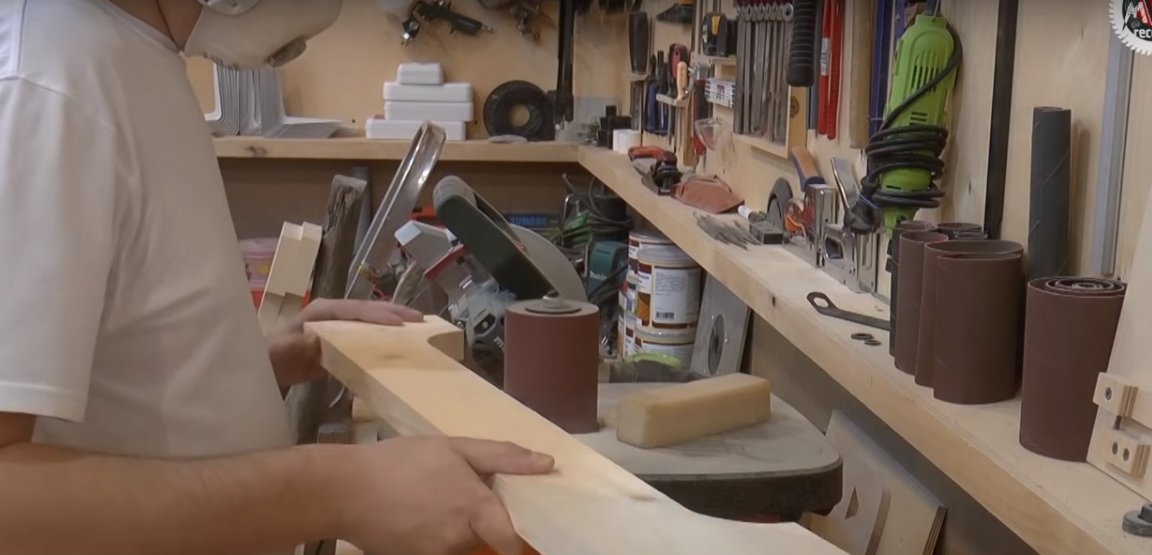
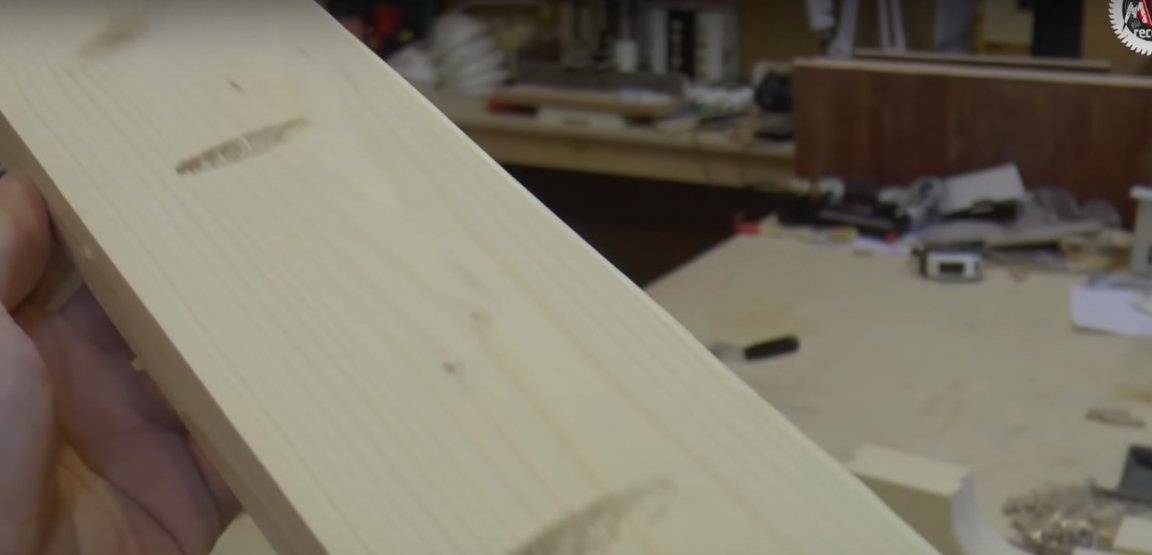
Using templates, mark the samples on the drawers and cut them along the marked lines. Grind the edge. The width of the sample was about 60 mm with a total width of parts of 140 mm.
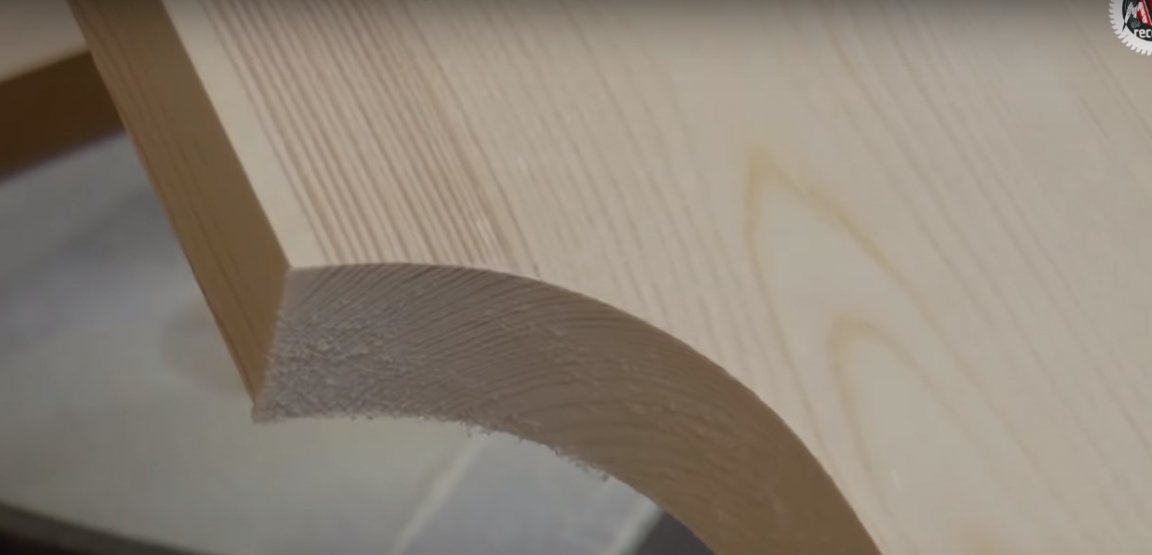
Sampling plays not only a decorative role, but also a very practical one: sitting at a table, a person will be able to cross his legs. With such a width, the tsar would not be possible without sampling. At the same time, in the places adjoining the legs, the legs remain quite wide, which is important with such a length of the table. This will allow the use of four dowels per connection and, as a whole, will strengthen the design.
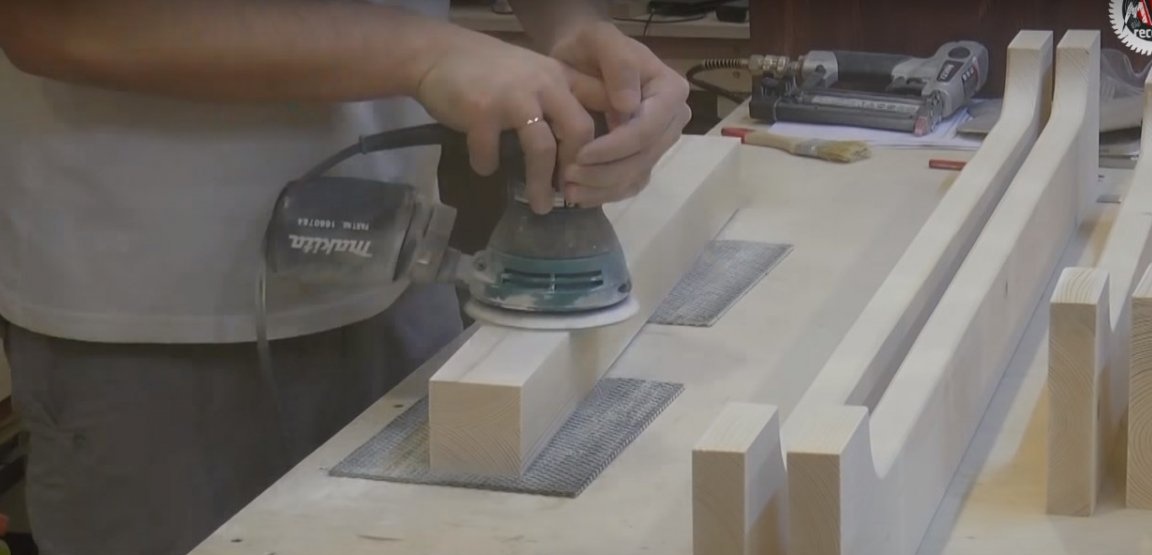
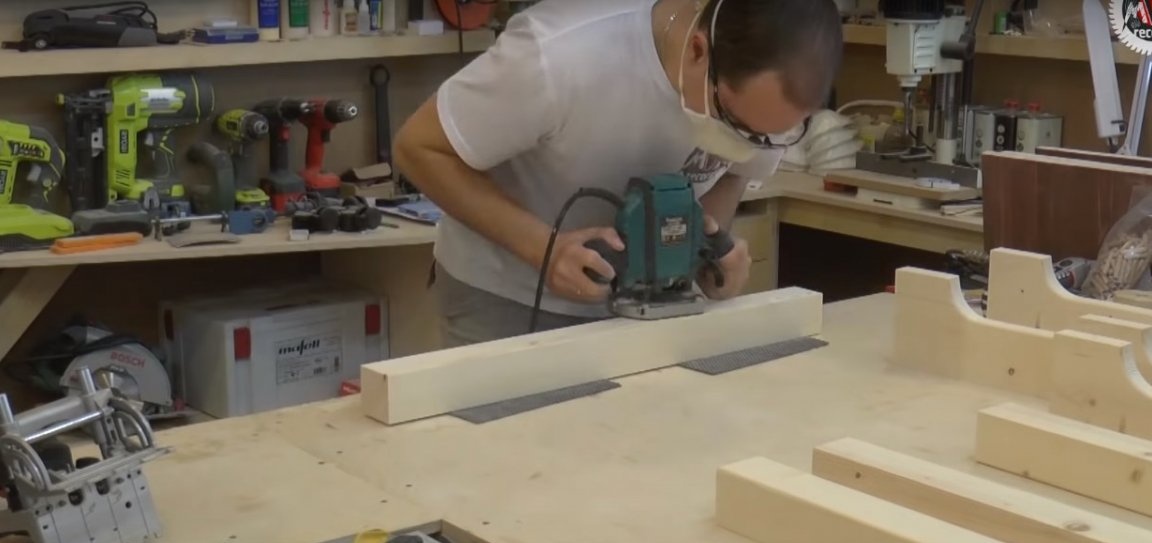
The tsars should be ground and, using a hand milling cutter, a chamfer around the perimeter. After processing with a surface gage, the author uses a finishing sandpaper of 240. In the same way, process the legs to remove excess putty from their surface.
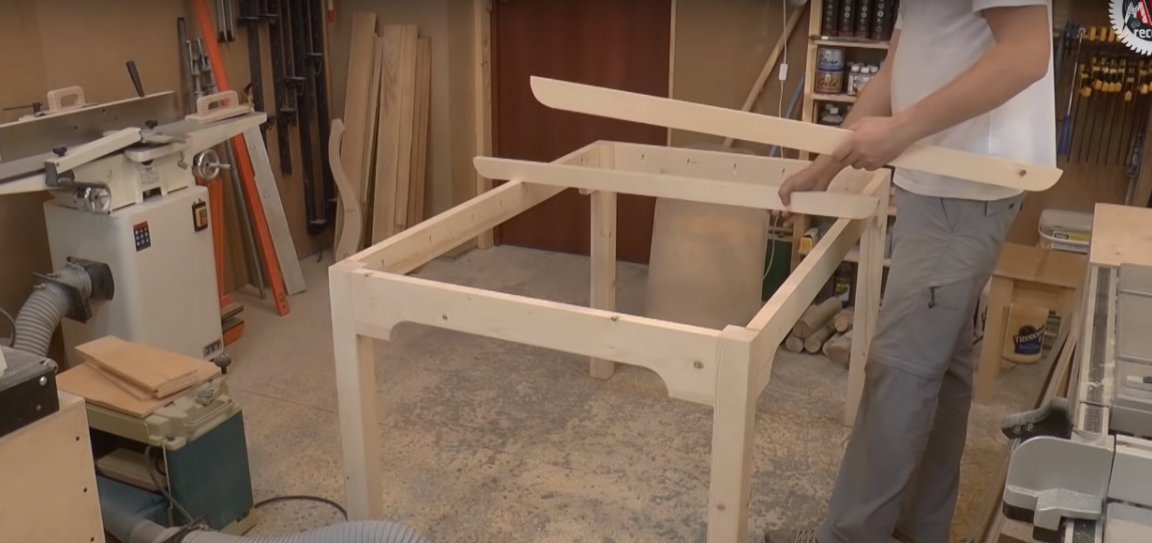
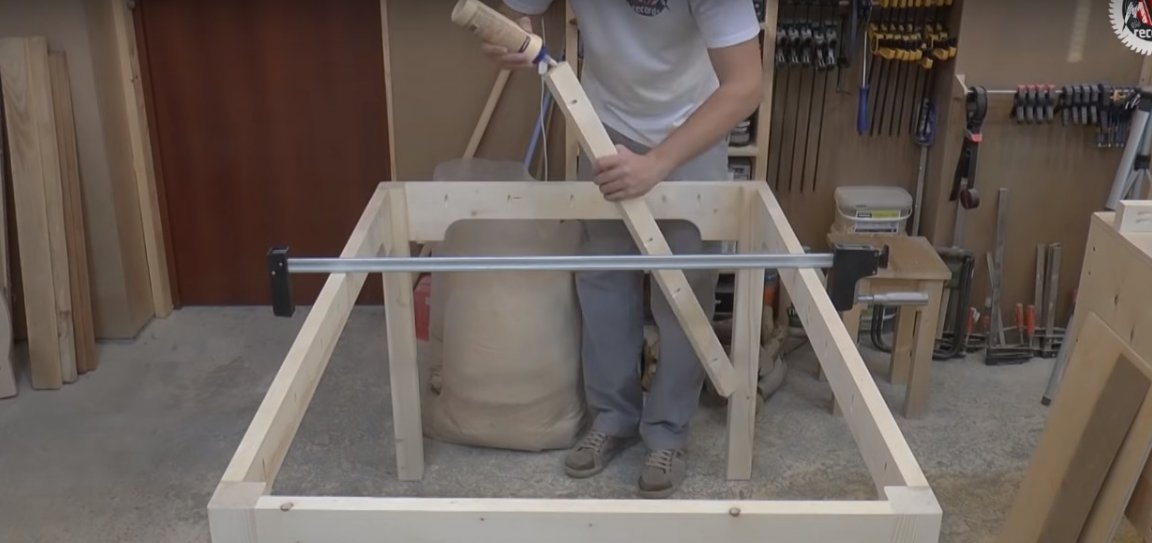
Step Three: Frame Assembly
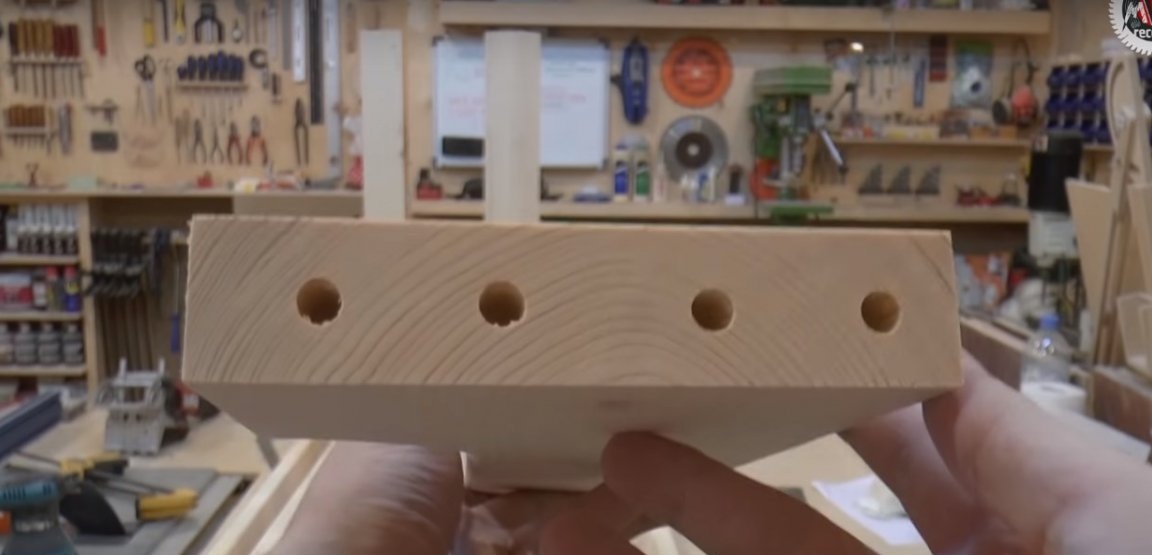
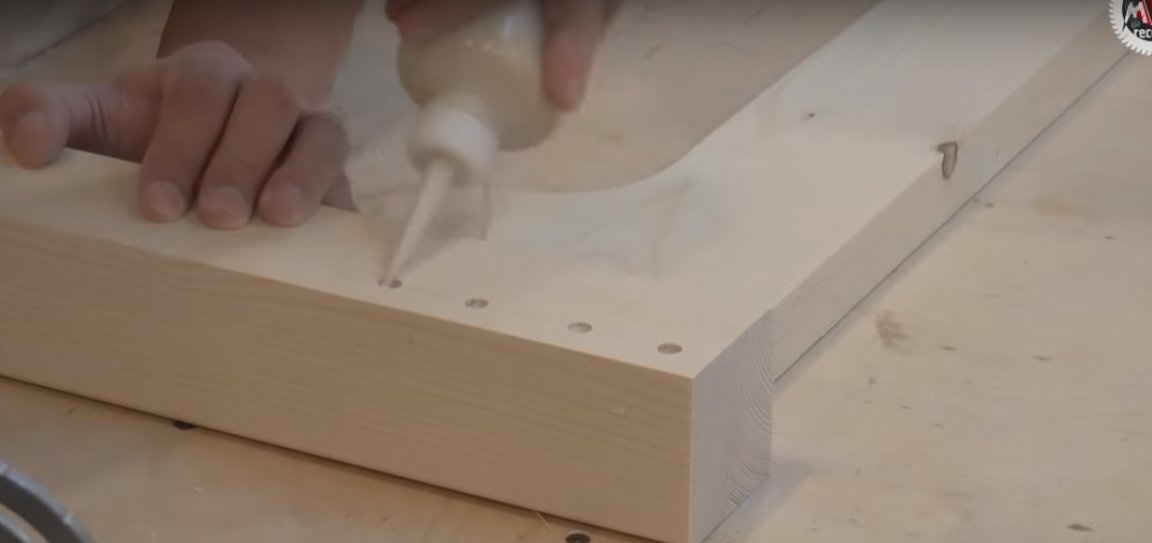
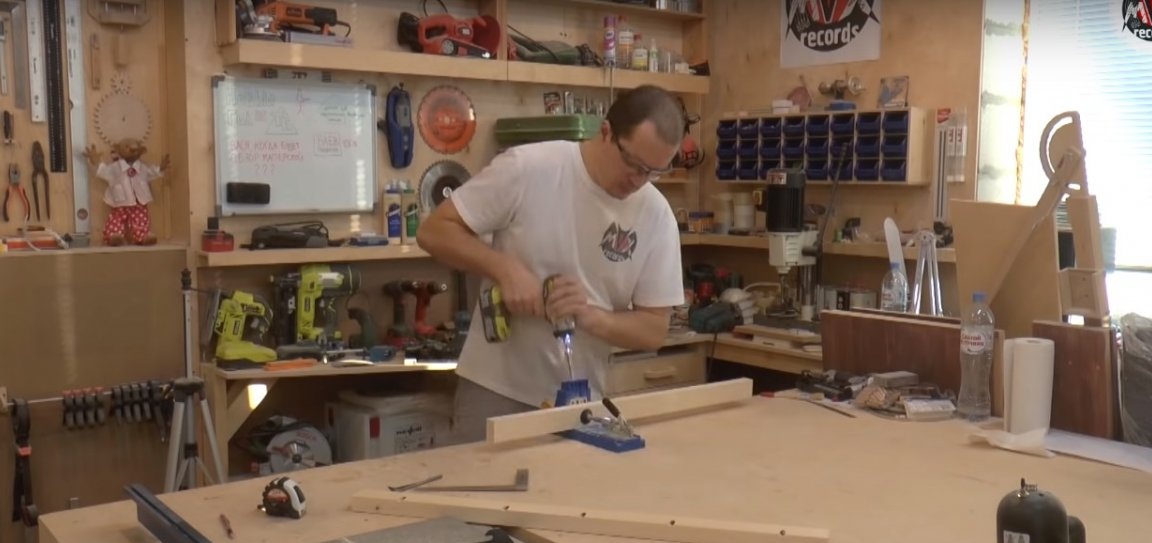
The table frame is assembled on dowels and furniture screws using wood glue. The author made the holes for the screws using a filler milling cutter. This is truly a magical tool that saves time, effort and creates compounds of astonishing quality.
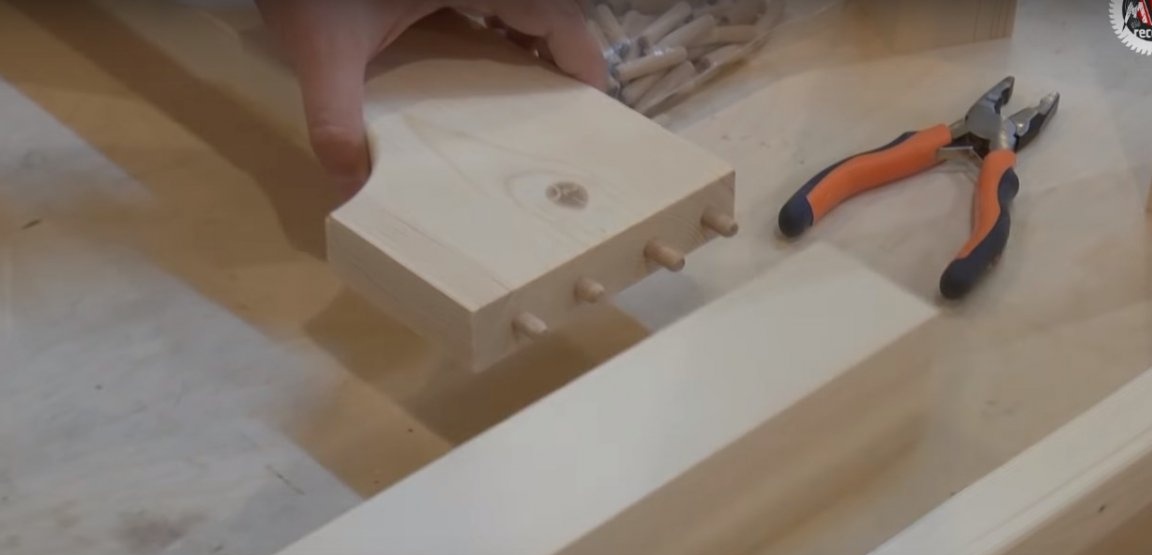
Each drawer has 8 holes for dowels - 4 on each side. Gather short trusses and place them for several minutes in clamps to polymerize the glue. If the holes are perfectly adapted to the size of the dowels, the amount of glue in them is minimal, which means that it hardens almost instantly. If you do not mind to play it safe before the final assembly, assemble the structure “dry” and make sure that you have not made any mistakes. Connect the farms with long drawbars according to the same principle.
If you use soft woods like pine and others, the author advises chamfering on almost all details to avoid dents at the corners during operation. This is especially true of the base of the legs, where this technique is simply necessary, otherwise the legs will quickly break out.
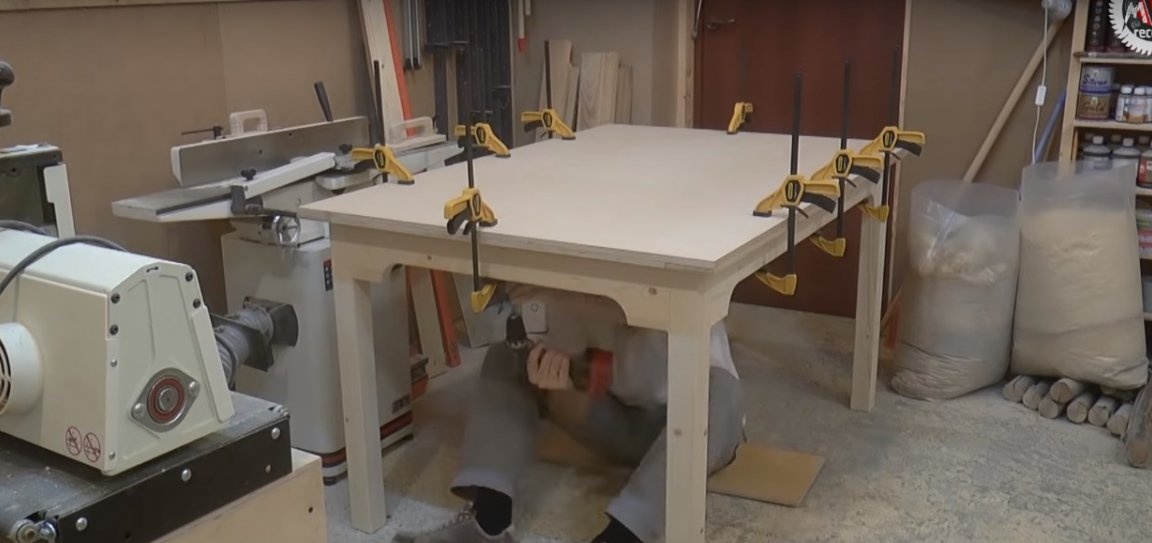
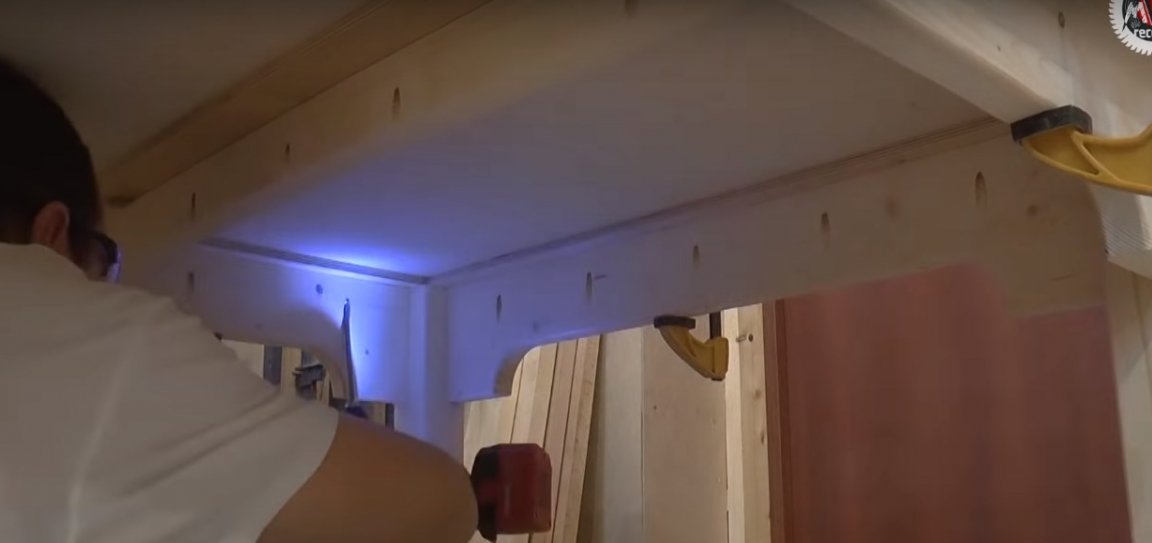
Before the finish assembly, the author drilled diagonal holes for fixing the countertops. For this, he used a special conductor from Kreg. Of course, you can use ordinary nails to attach the countertop. Moreover, subject to a certain style, this is even more appropriate.

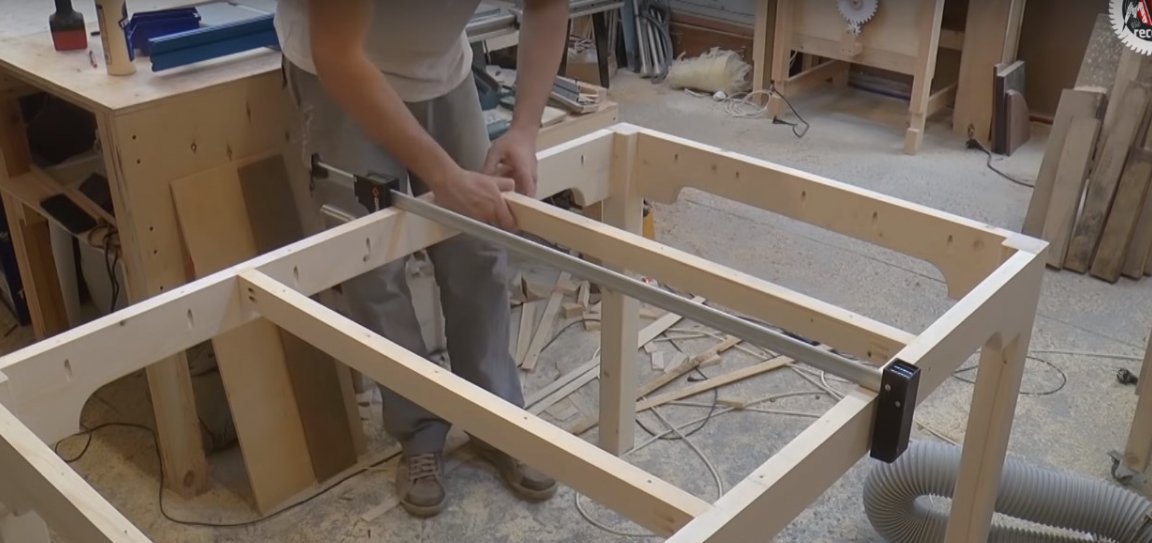
Prepare and install the two cross struts of the frame.
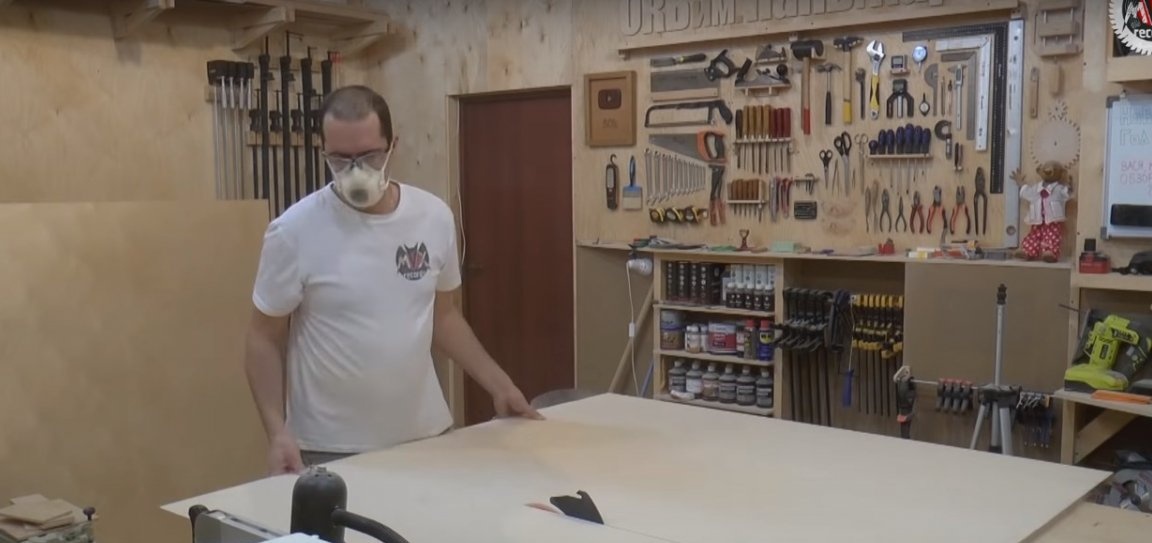
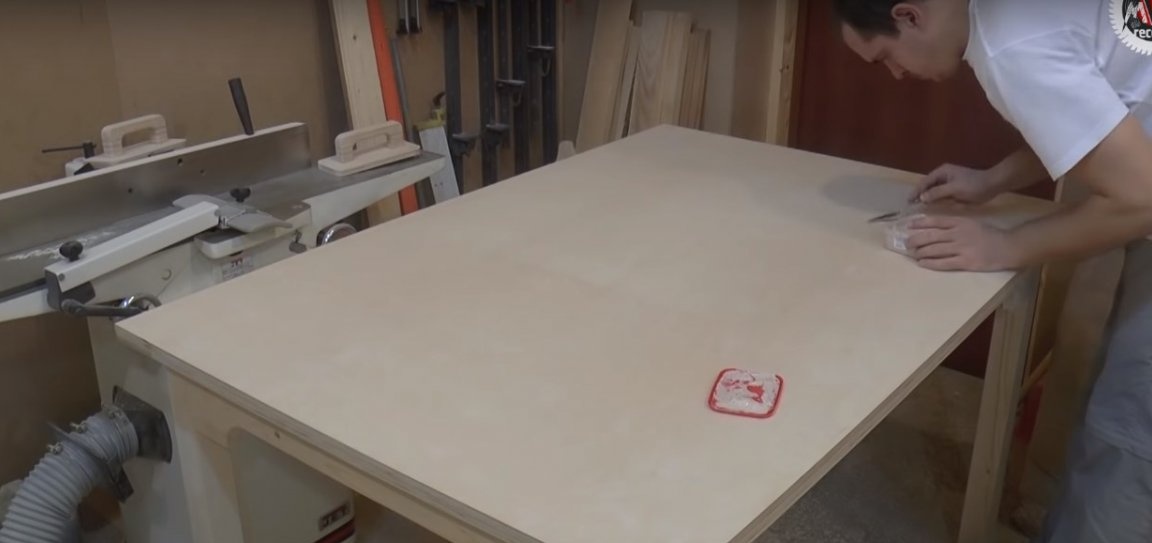
Fourth step: manufacturing and installing countertops
The author uses plywood of the first grade 15 mm thick for the manufacture of countertops. Saw the shield of the desired shape using a circular or jigsaw.
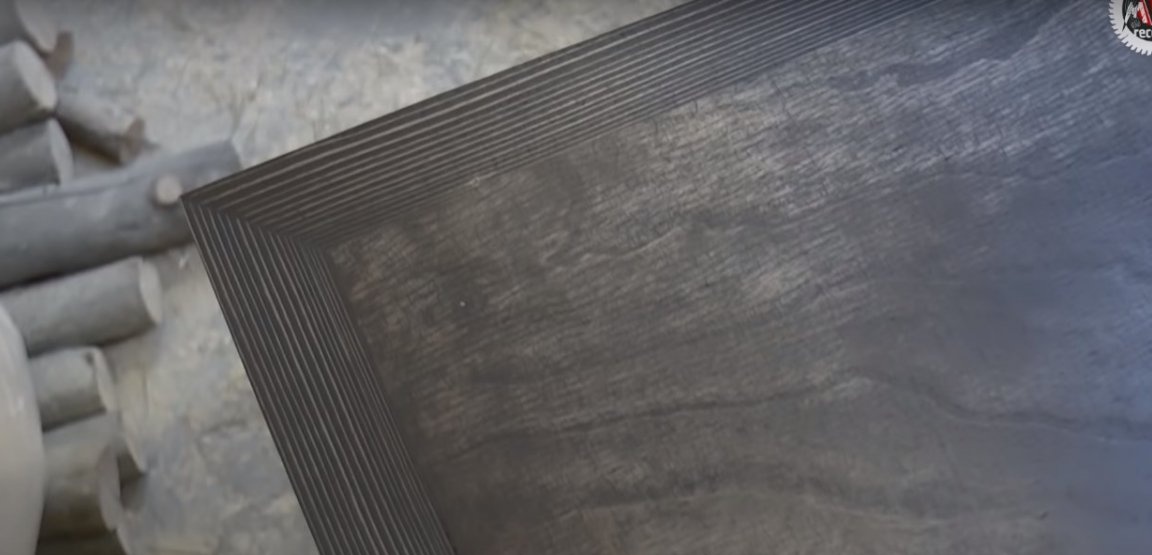
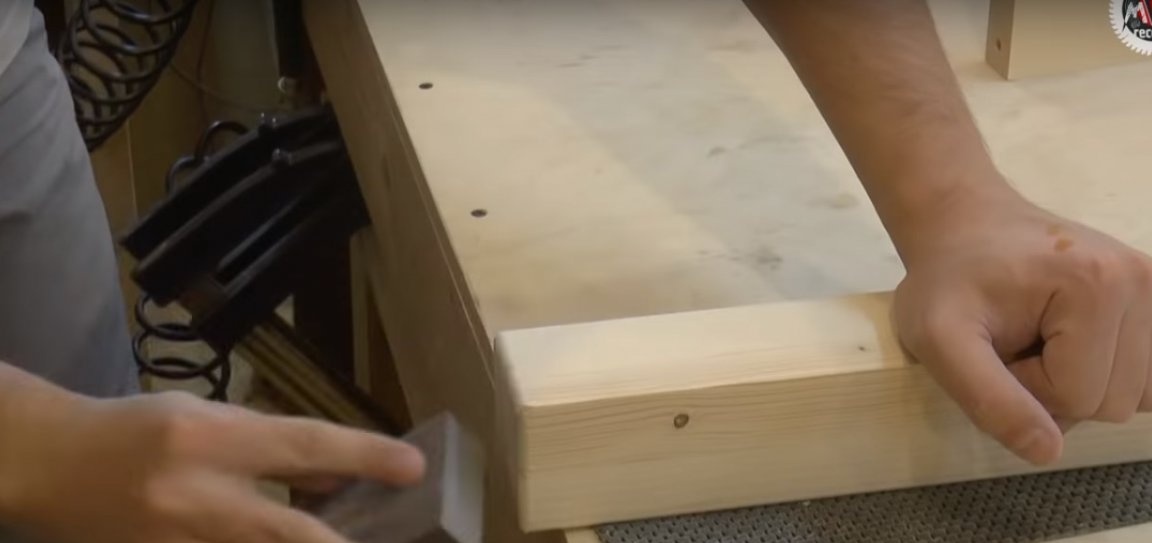
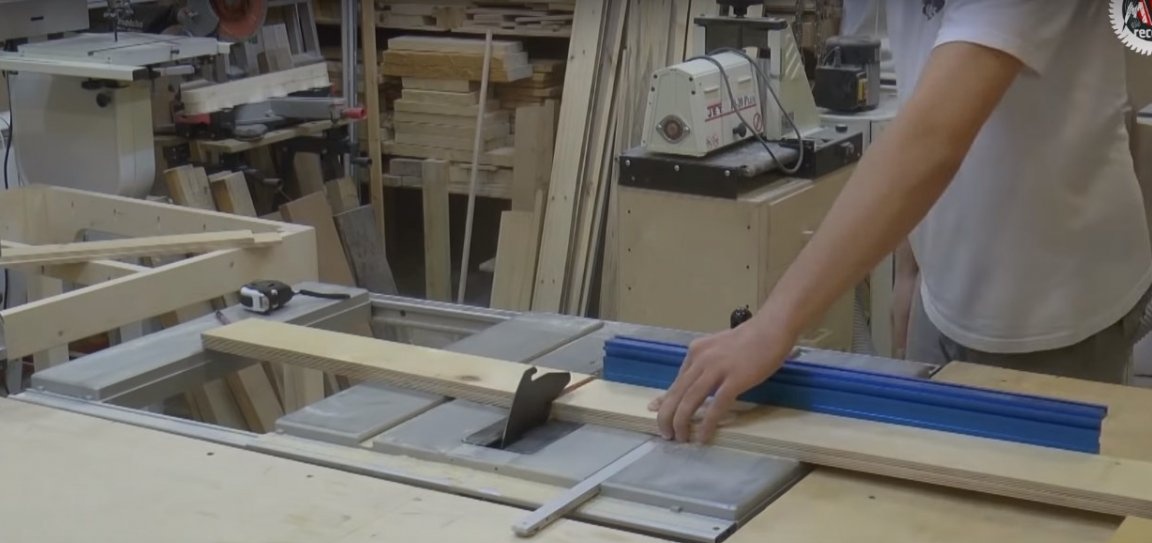
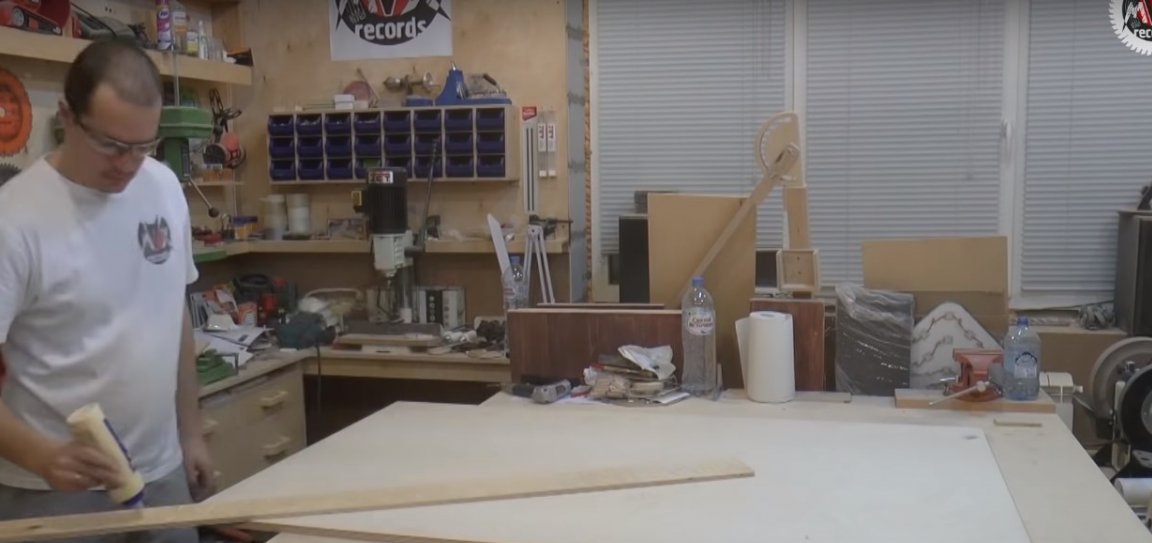
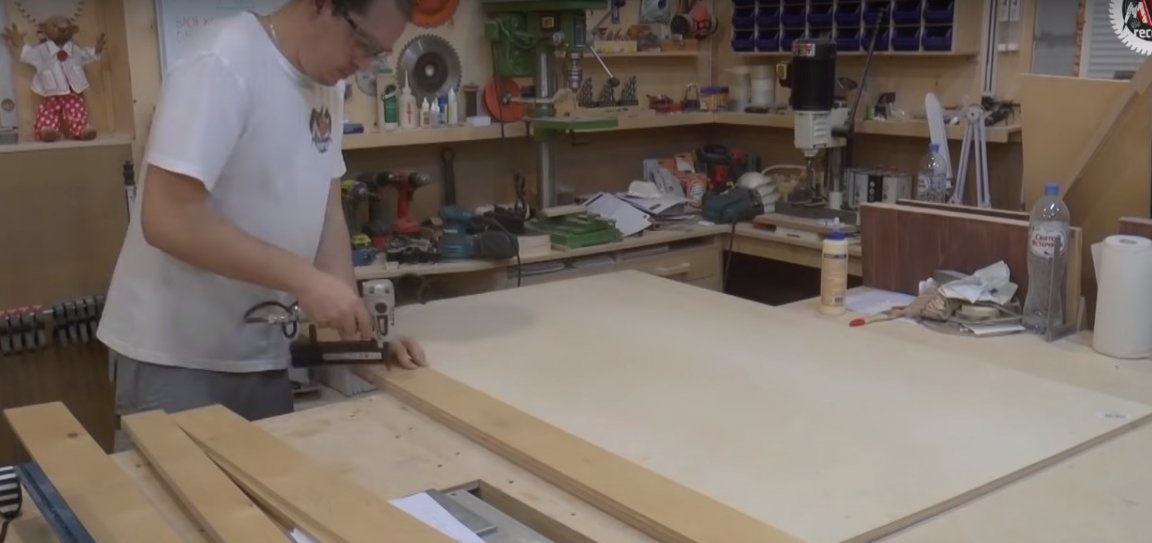
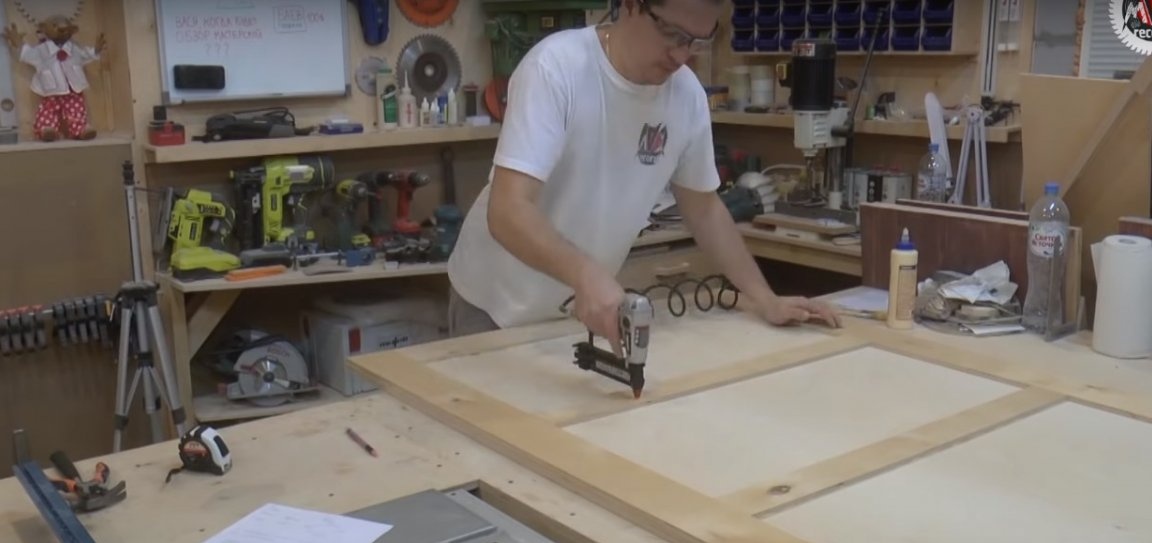
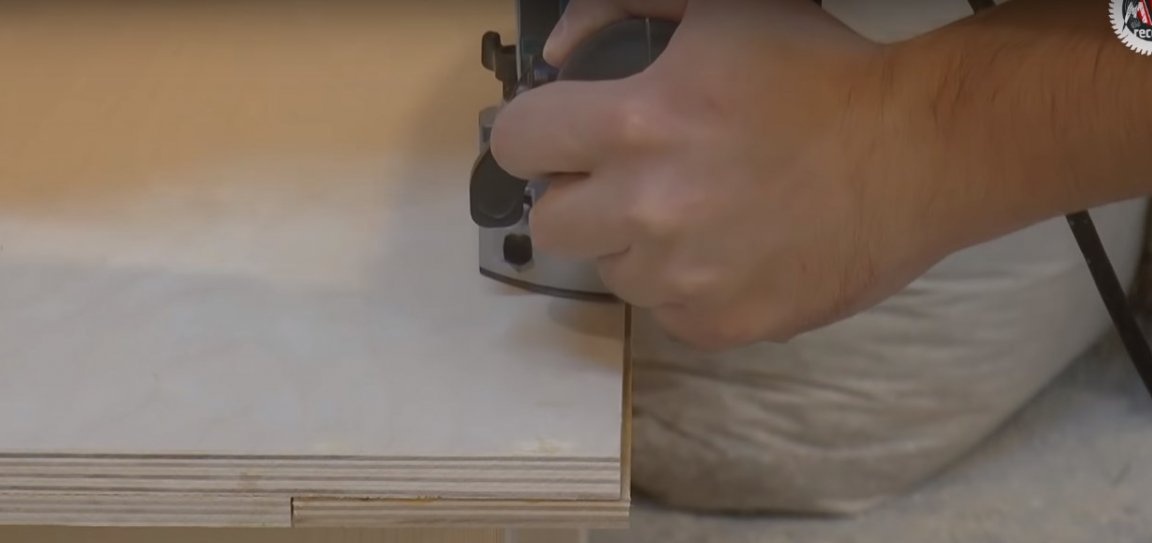
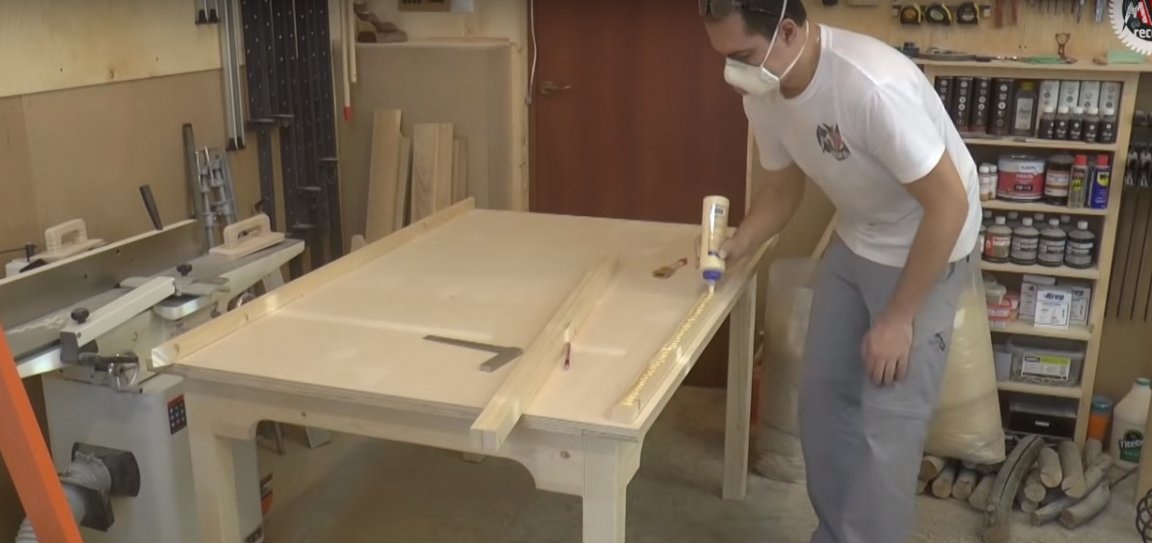
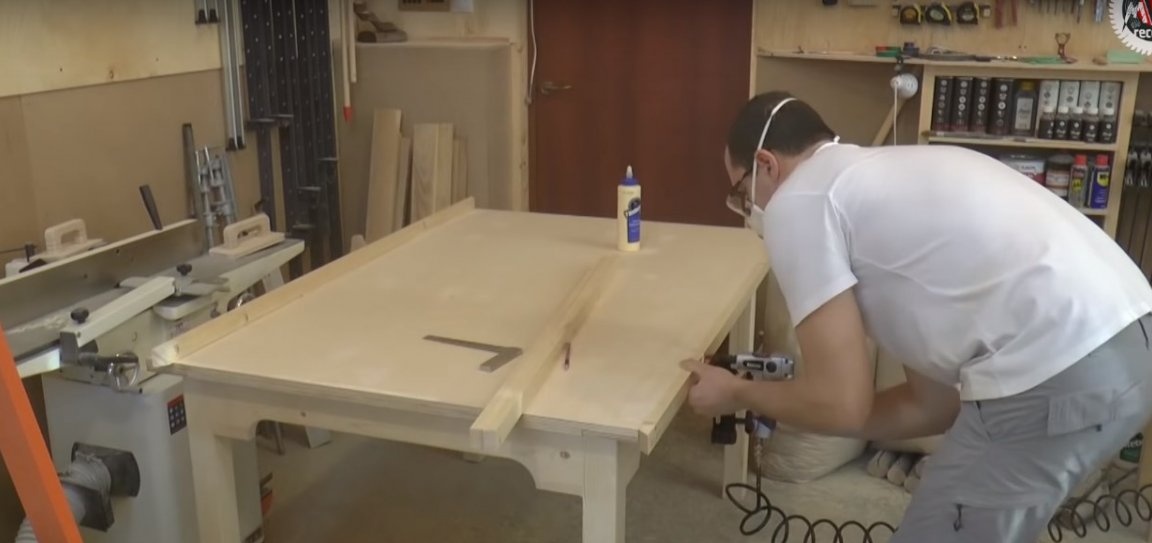
The author prepared wooden slats to strengthen the countertops, which will play the role of the frame here. The slats are fixed with small nails using glue. Thus, a wide edge is formed for the installation of a wooden frame from a bar of suitable section. Previously, the author processed the edge of the countertop with a straight cutter to align it.
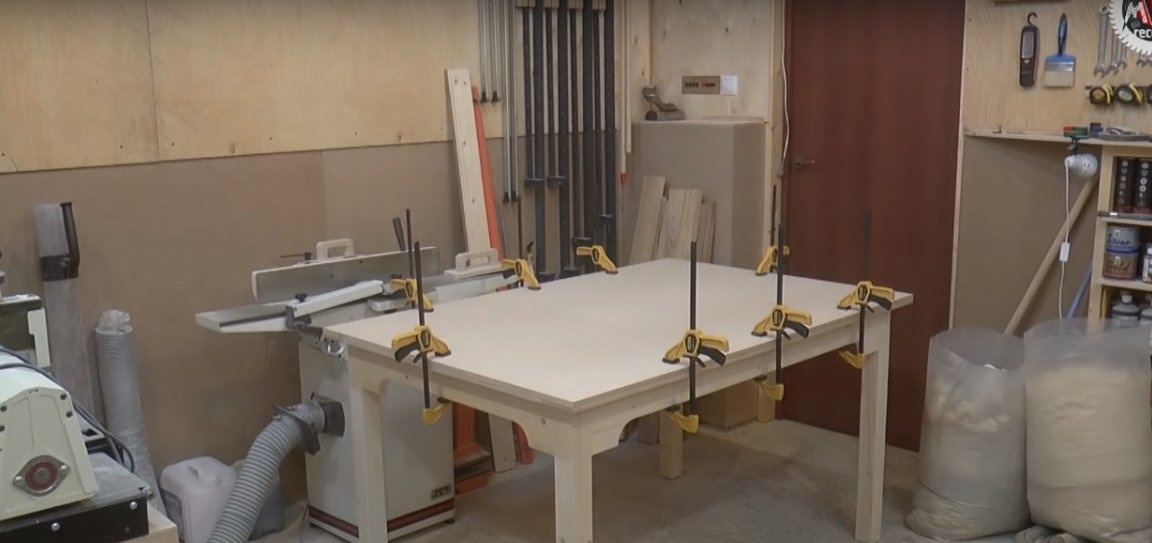
Install the countertop on the base of the frame and secure with clamps. Fix the countertop on the back with screws or self-tapping screws.
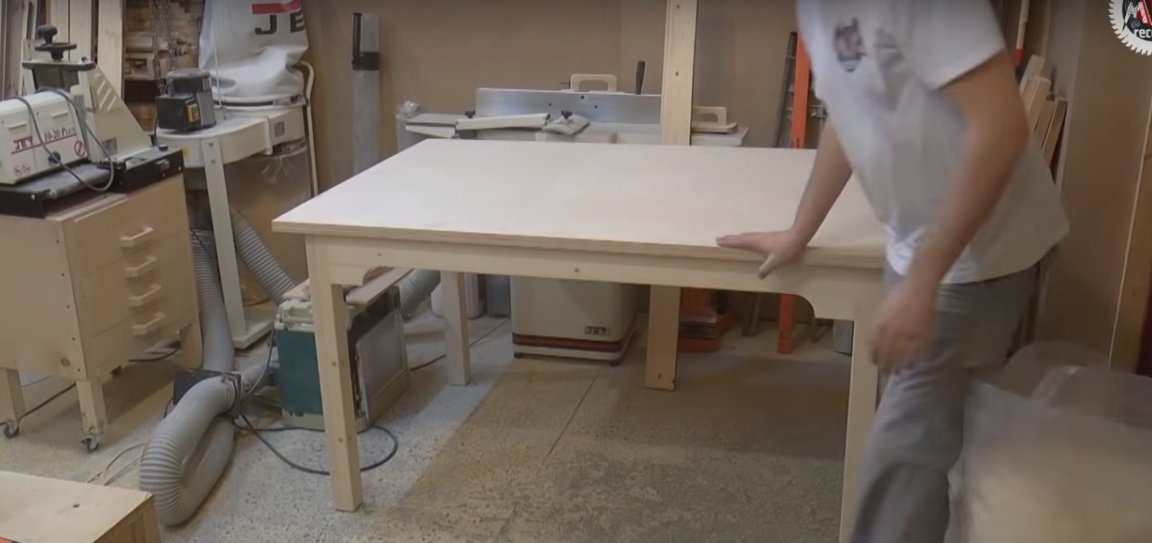
The bars prepared in advance for the frame were cut at an angle of 45 degrees. The details of the frame on the mustache are connected using glue. The author processed the cracks and the surface of the knots with putty and polished it with a grinder.

Step Five: Wood Processing
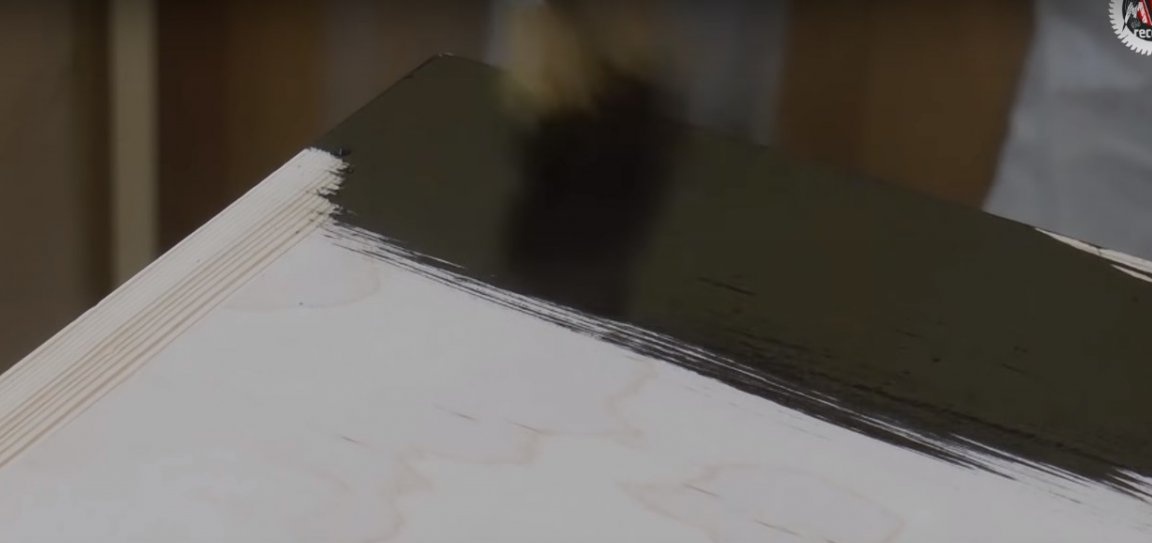
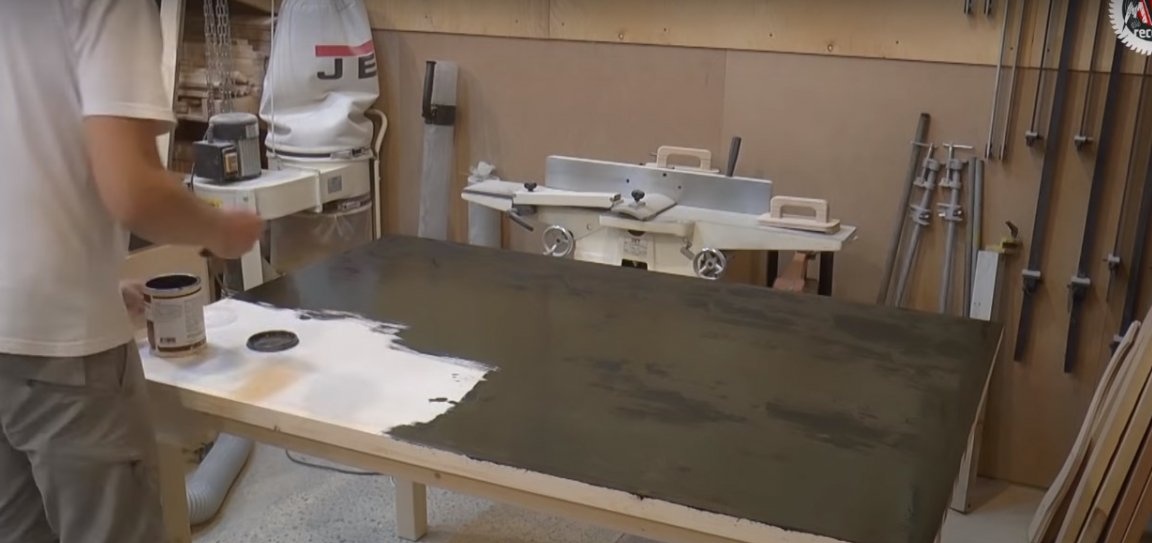
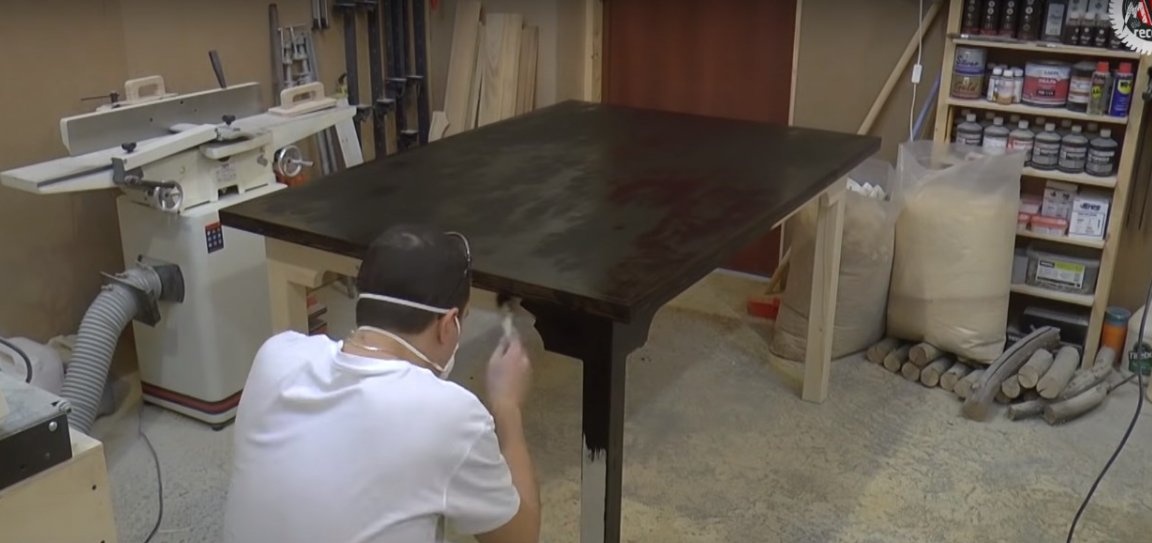
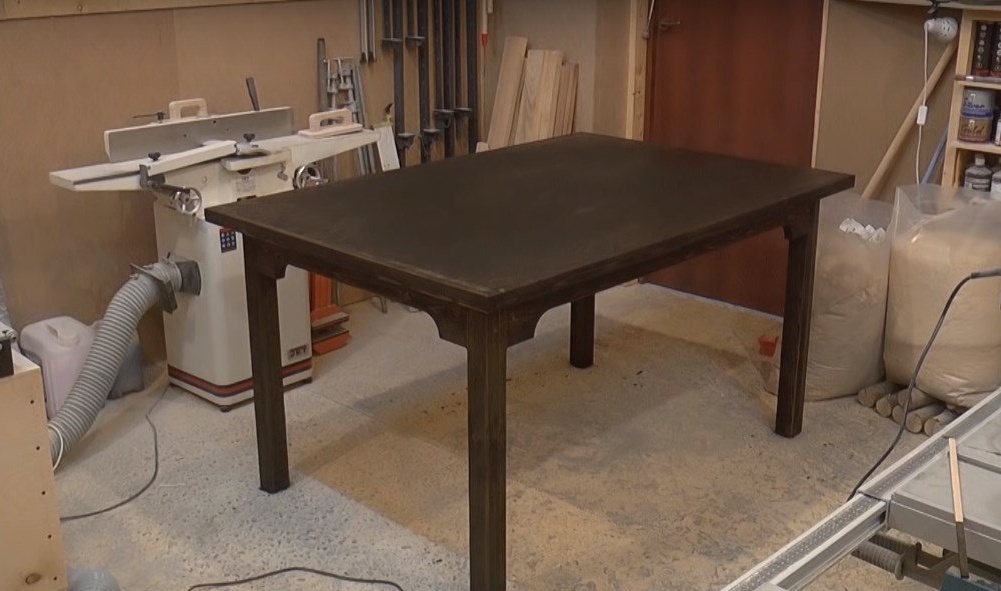
For protective and decorative wood processing, the author used primer oil. Apply the oil evenly on the surface of the tree and leave it as it is according to the instructions for 20 to 30 minutes. Remove oil residues with a lint-free cloth and allow to dry.
After priming, you can grind and polish the surface of the table and cover it with a layer of furniture wax.