I am very glad to meet you again.
I really wanted to tell a story about my "flying saucer"
It is good to have a large attic in the village house. You ask, why would I talk about this? And besides, in such an attic you can dig out a lot of interesting things!
And the new, as you know, is the well-forgotten - the old. So I found my unfinished aircraft model in the attic.
A small background to the construction.
The idea of building an aircraft model with a disc wing was not my first visit.
I heard and read a lot about all sorts of UFOs, flying saucers, aliens from outer space.
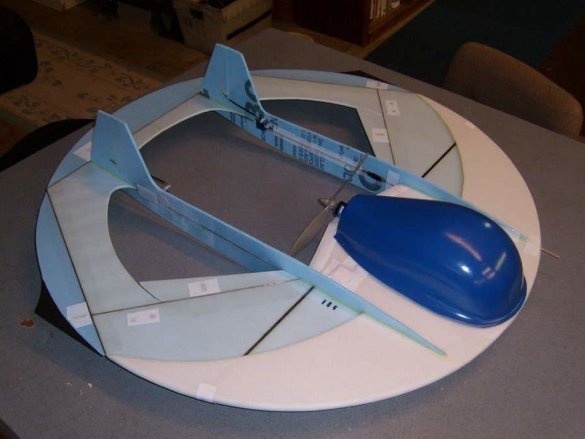
Finally, I found on a foreign site very curious model and decided to build the same one.
Here is a video about the flight of such an aircraft model, which is called a ring type foam or GeoBat.
Having run over the Internet, I found a wide variety of similar models.
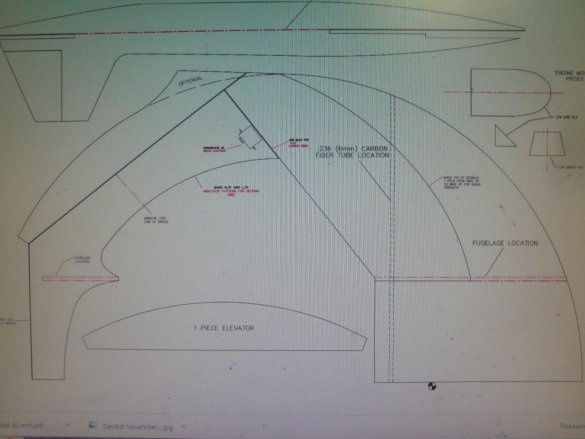
Based on this drawing, I set to work.
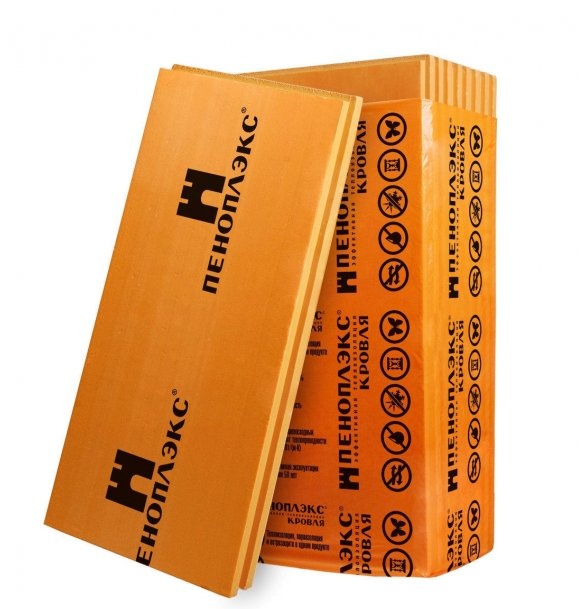
The material for the future model was Penoplex sheet insulation, white and gray. 20 mm thick.
In some places I applied a ceiling tile (ceiling).
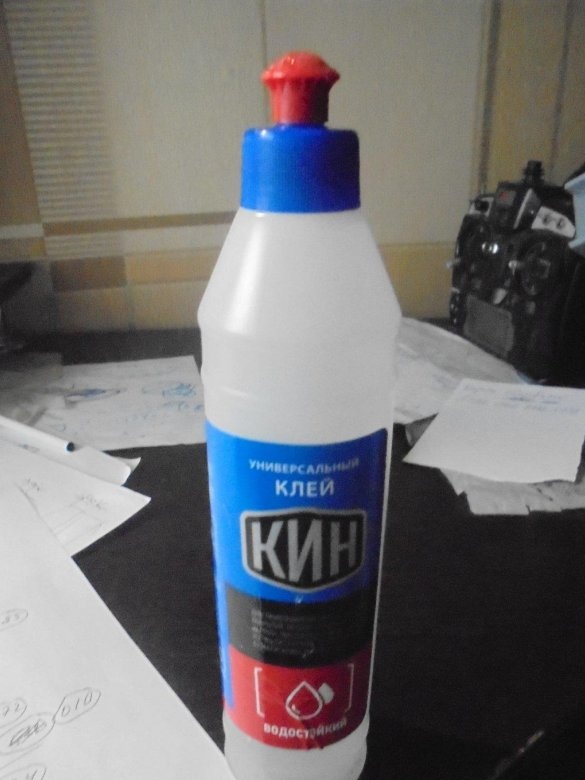
Glued everything on universal, waterproof, KIN glue.
For decoration I used colored tape.
When hitching the elevons, he used double-sided tape, which was then isolated with transparent tape.
The main advantage of this model is a very small number of cut parts.
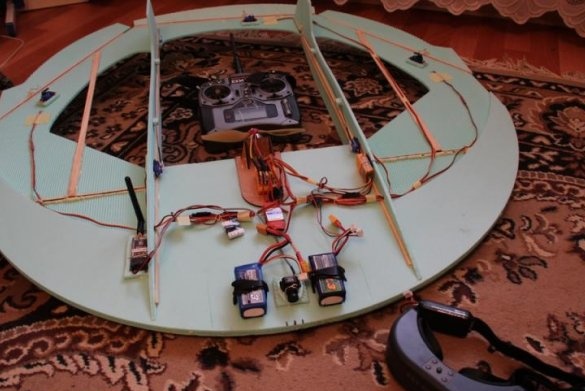
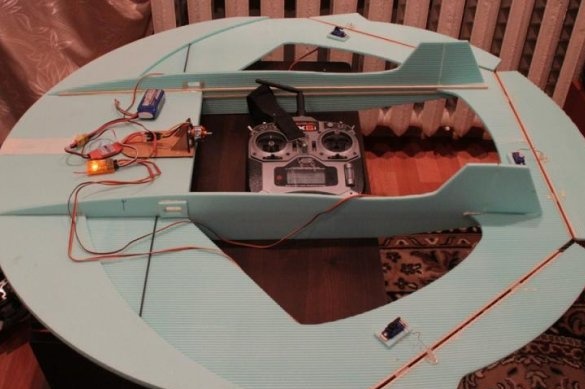
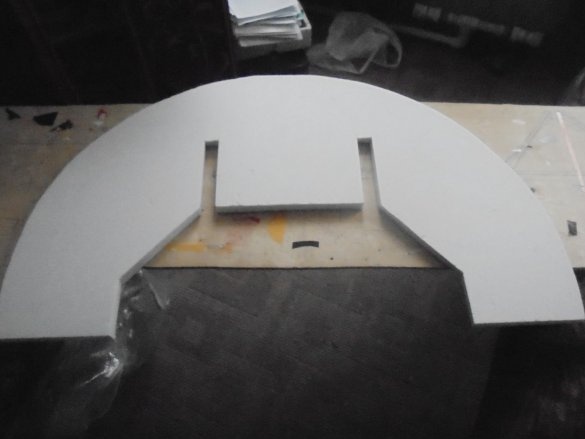
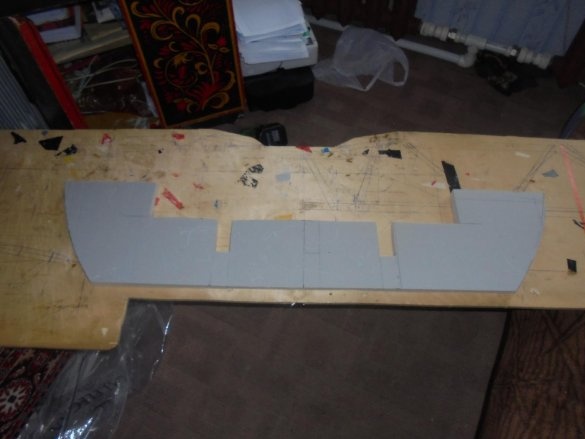
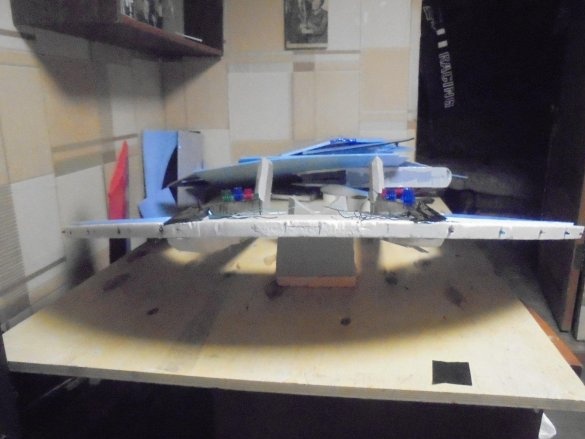
All parts are cut directly from the insulation sheet, 20 mm thick. without any processing. Since the diameter of the model is 1000 mm. I had to glue the main structure from several parts.
This is the front end.
This is the middle part,
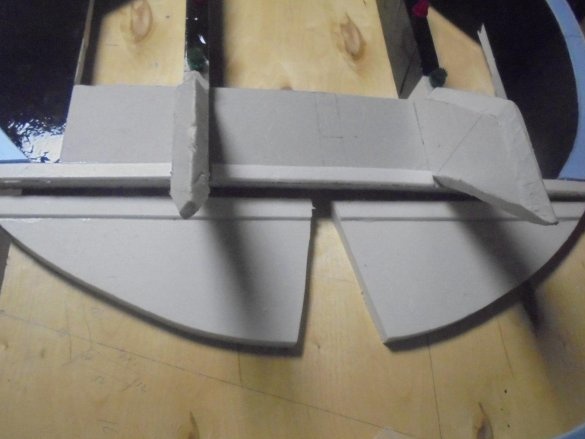
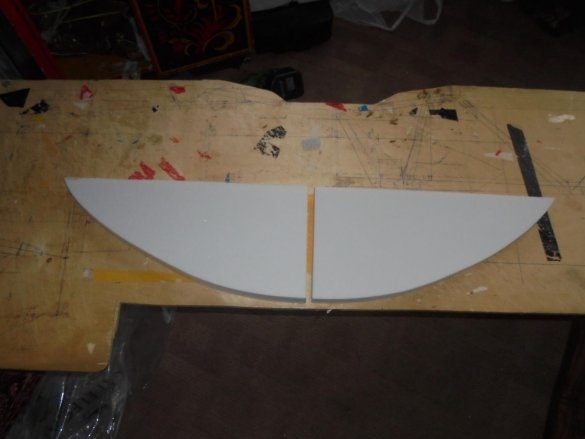
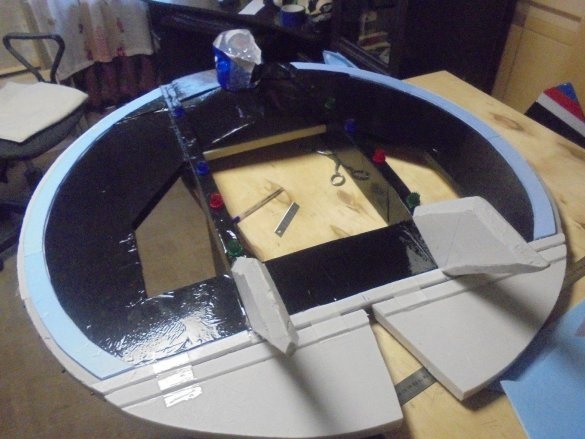
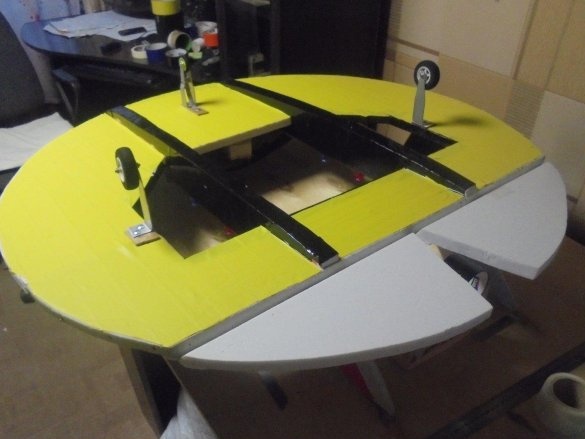
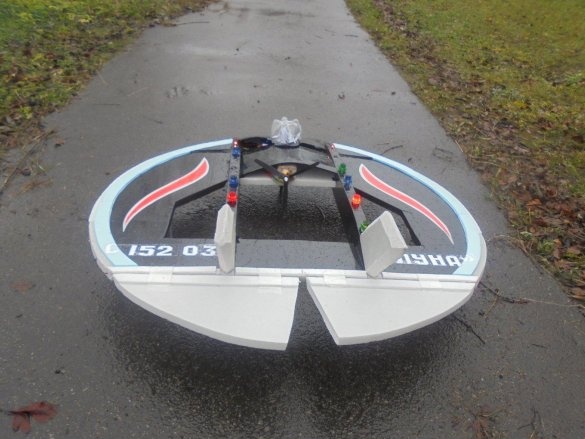
And this is the third part, from which, when cut into two halves, we obtained blanks for elevons.
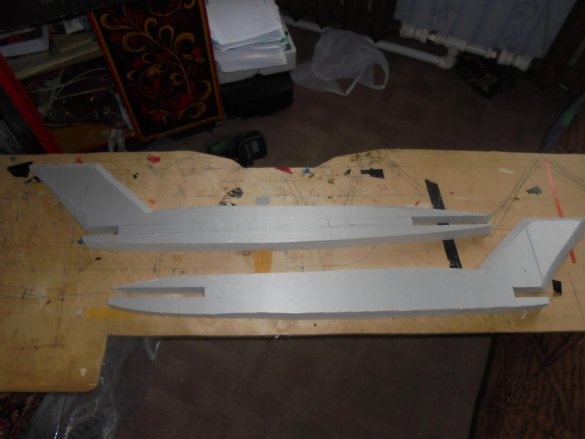
Two blanks of horizontal beams were cut, together with the keels.
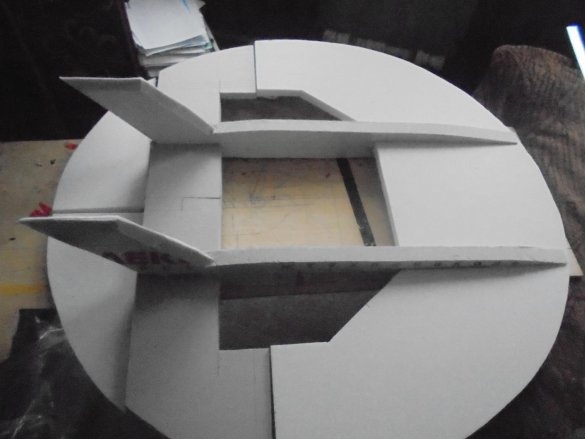
That's all the details.
It remains only to glue them into a single whole, which I did.
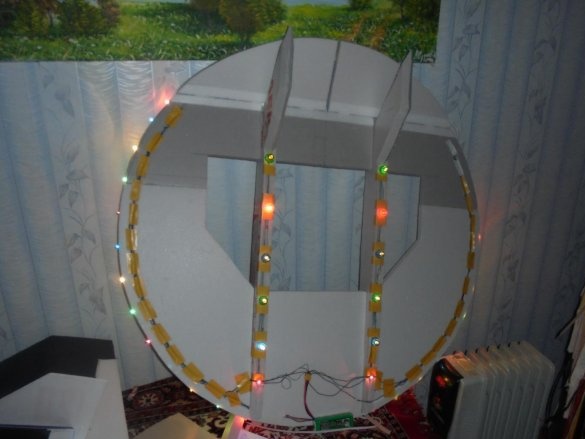
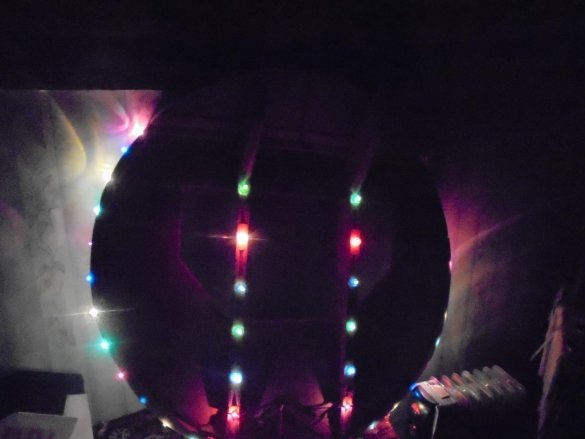
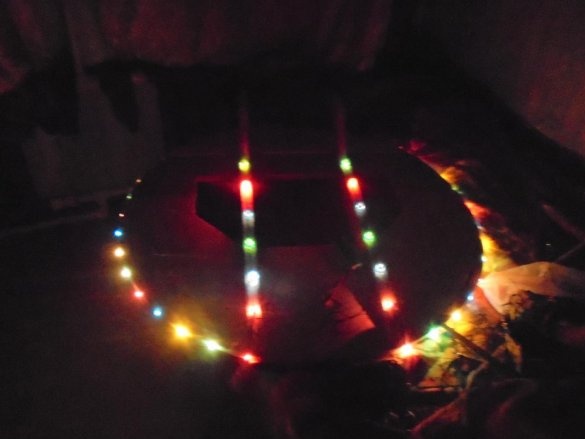
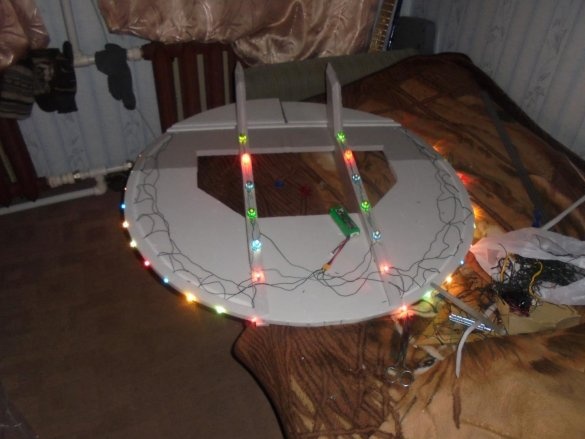
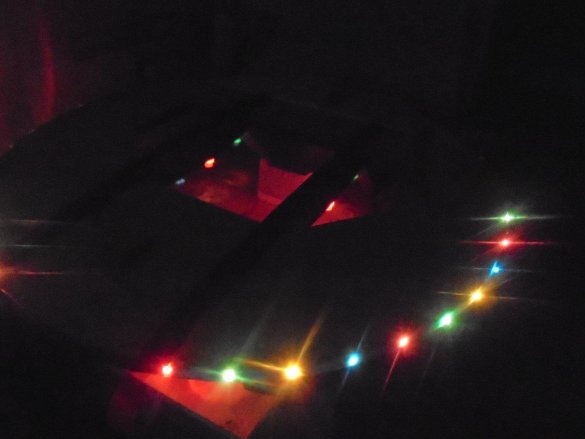
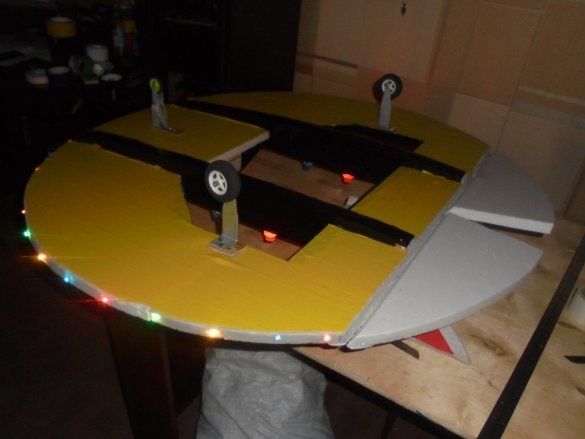
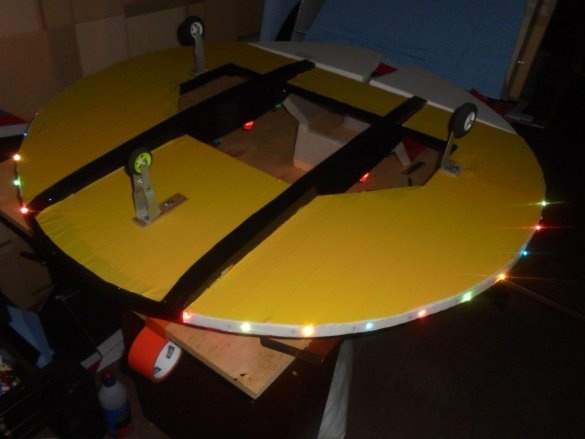
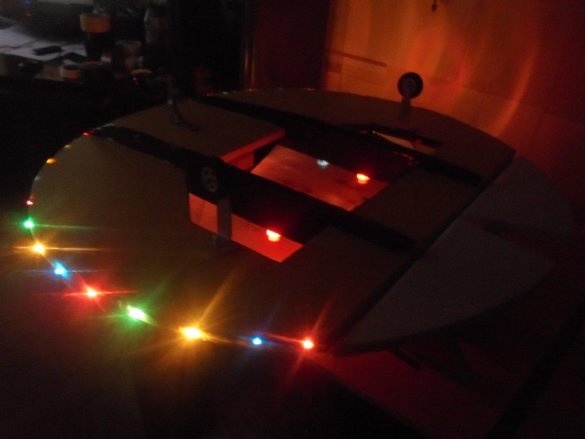
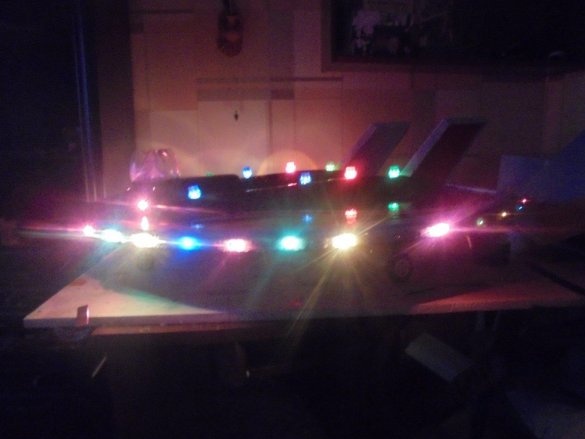
To highlight the model, I used old Christmas tree garlands.
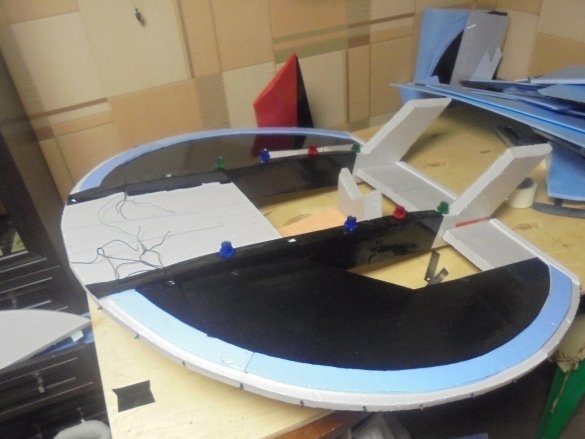
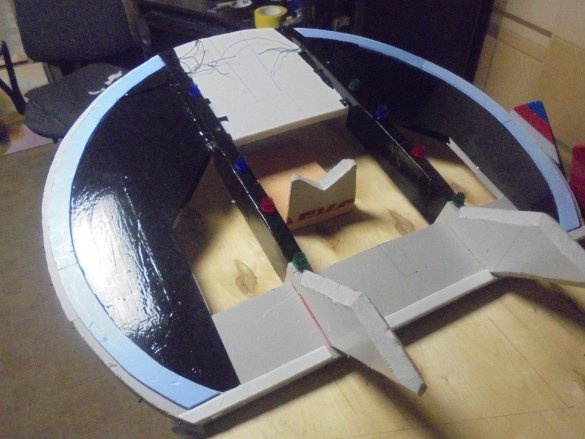
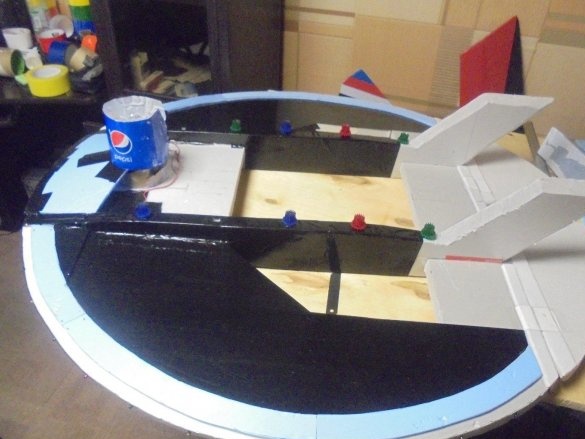
I made holes throughout the entire circumference of the hole, into which I inserted light bulbs, laid the wires in a groove made, and sealed it with semicircular strips from the ceiling.
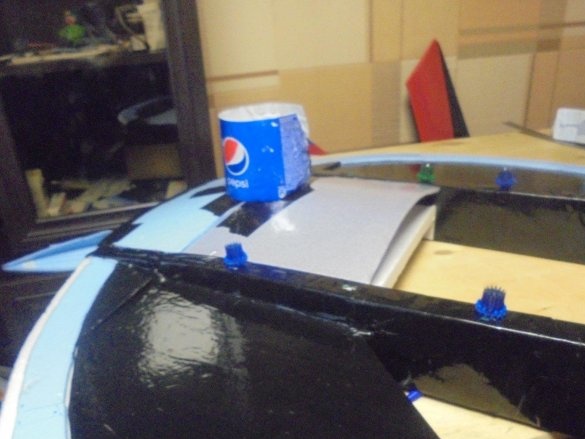
In the beams also made a groove for wiring and holes for the chamber from light bulbs. Light bulbs mounted on beams are inserted into colored caps from plexiglass.
The bulbs installed around the circle are painted with colored varnish. Christmas tree garlands are very old, while LED garlands were not yet made.
Checking the color backlight.
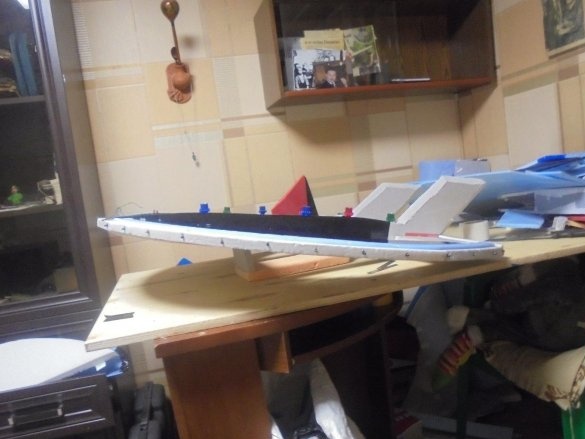
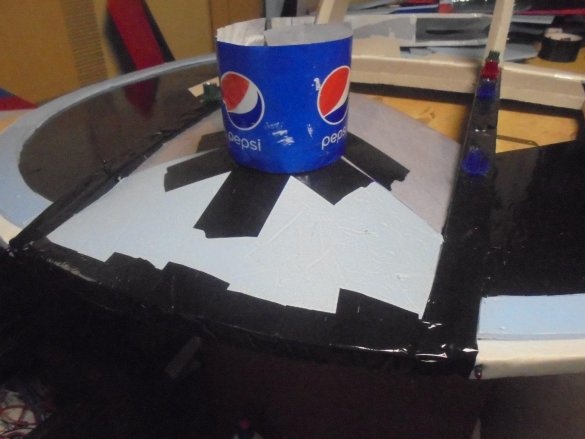
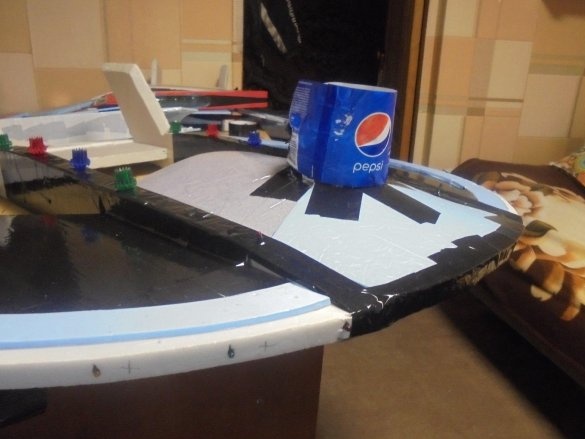
Here in this form, I discovered a model in the attic.
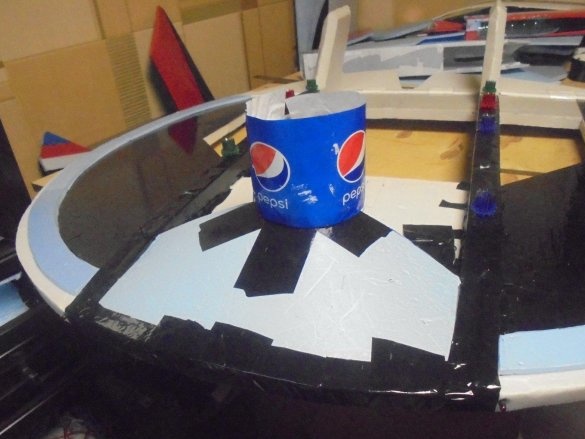
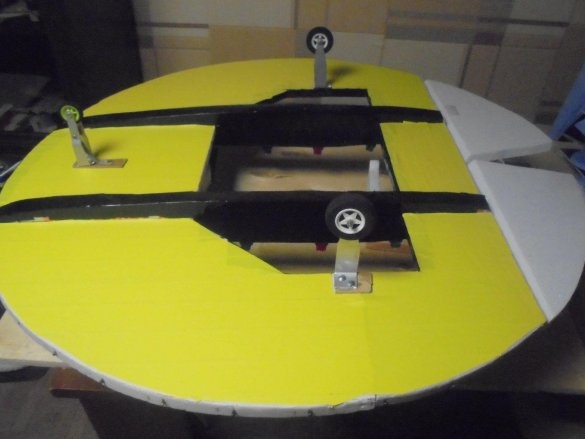
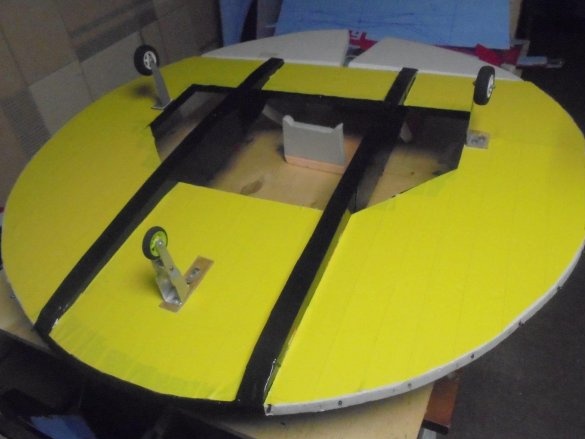
Horizontal beams are covered with black tape.
For a long time I thought which cabin to make for this model.
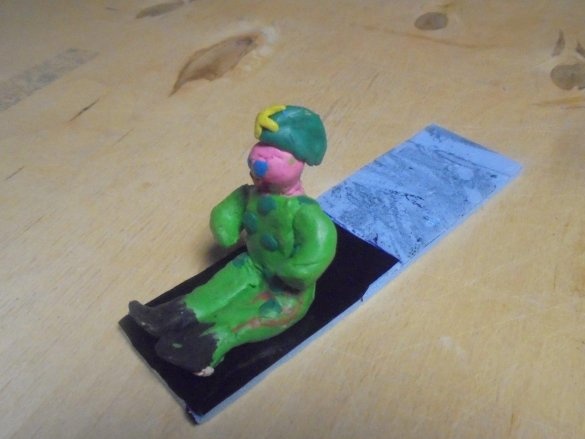
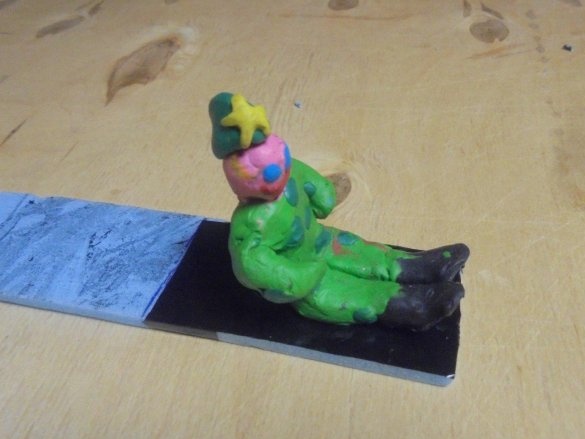
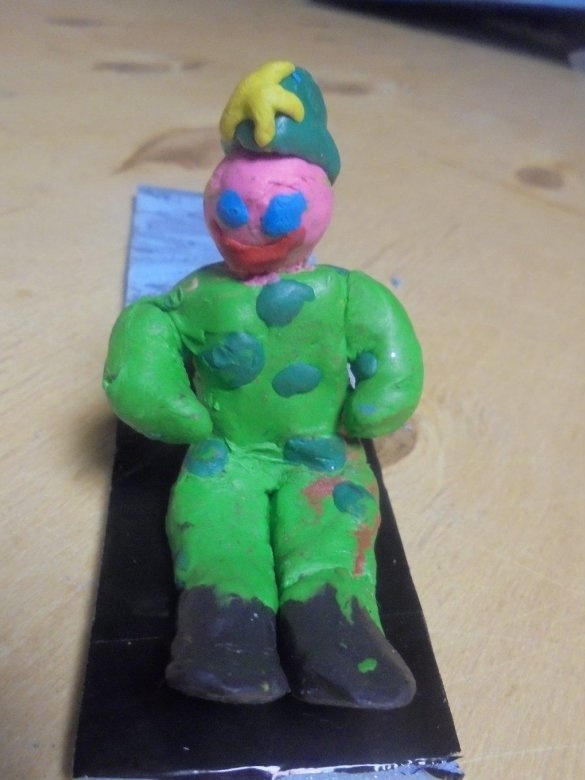
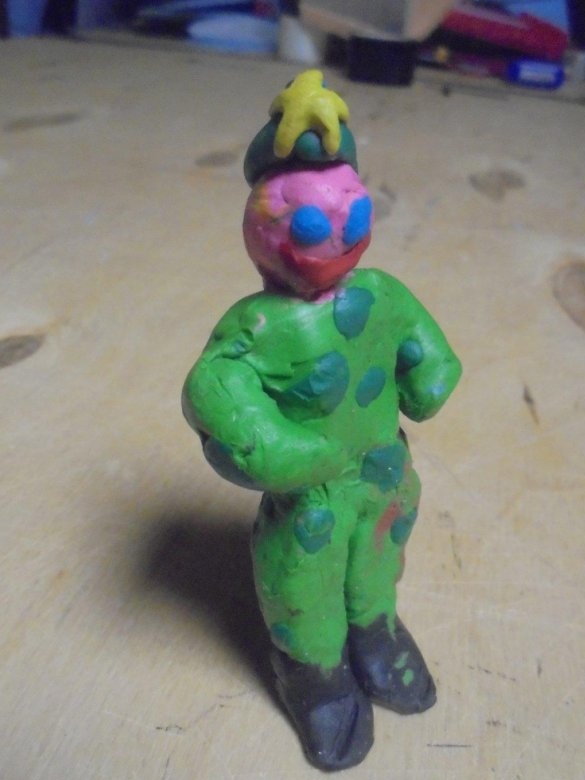
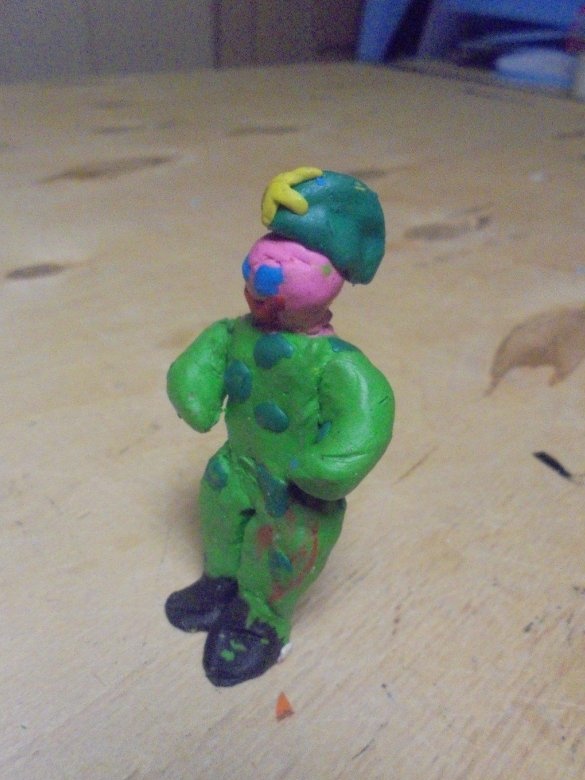
At first, I wanted to put in the pilot's place a figure of a soldier, whom my great-granddaughter had molded from plasticine.
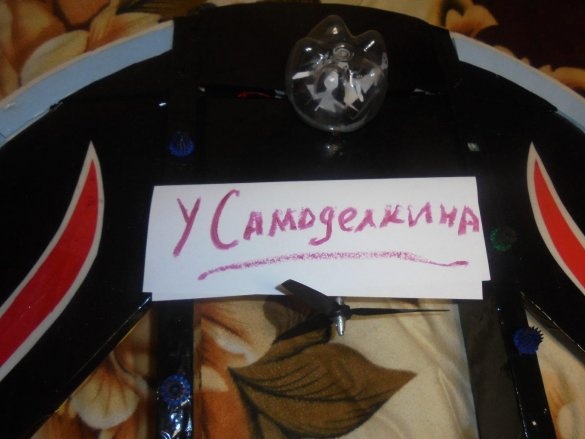
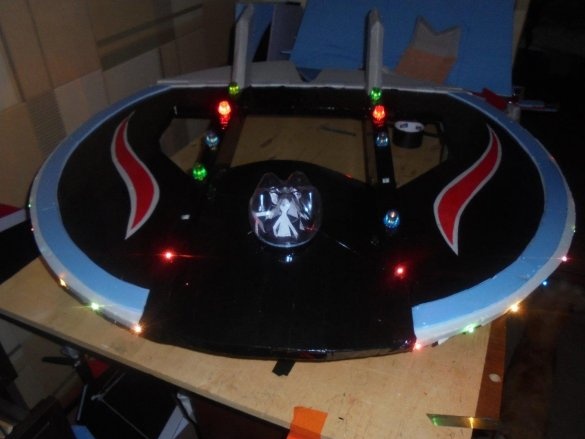
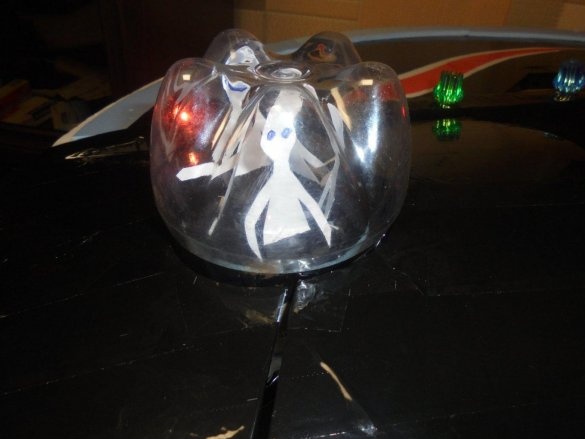
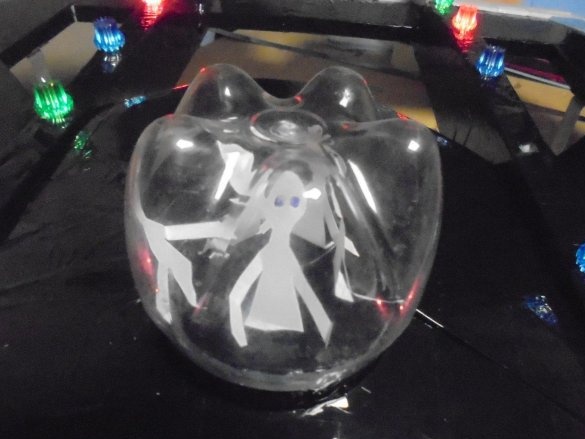
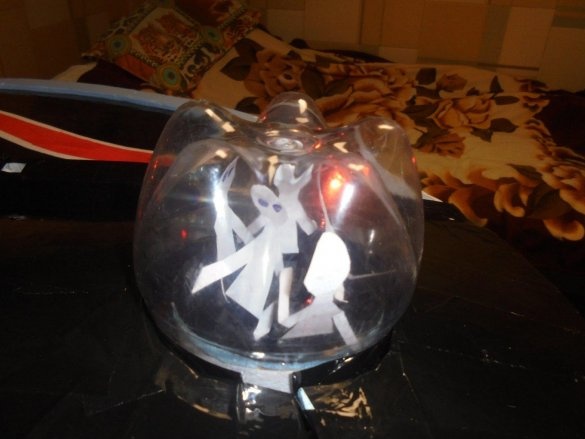
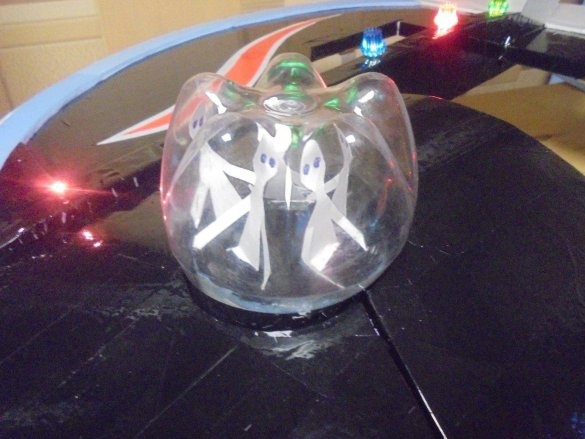
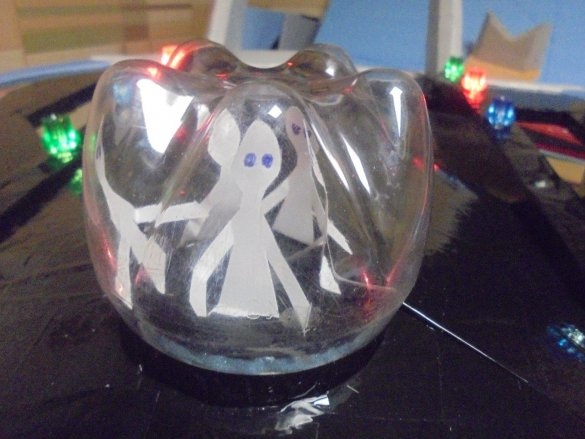
After much deliberation, I decided to make a cabin from the bottom of a plastic bottle and put the “humanoids” in it.
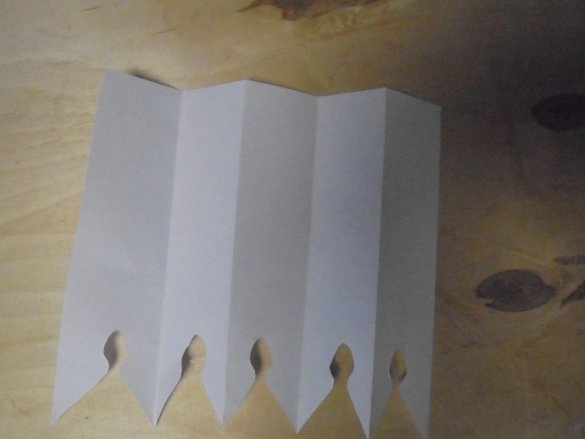
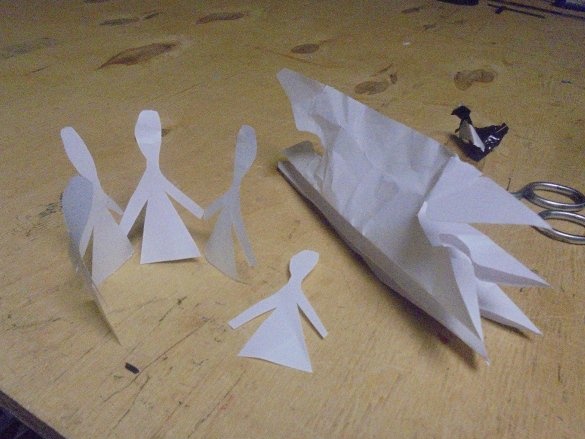
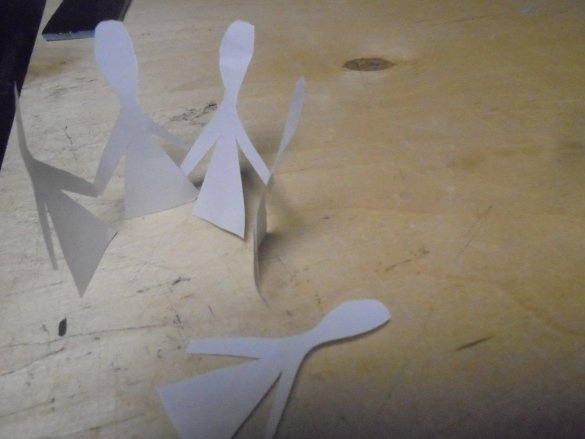
"Aliens - humanoids" cut out of paper A4.
He drew his eyes with a ballpoint pen and put him in the cockpit. A very fun company of pilots turned out.
I cut out the front, fuselage panel and pasted it.
Fitted in place the rear fuselage, which closes the engine compartment. Under it is all electronics and battery.
Even before the start of construction of this model, I planned to make it as if universal, with the ability to quickly replace one engine with another. I wanted to use an impeller or motor on it.
He covered the model with colored tape.
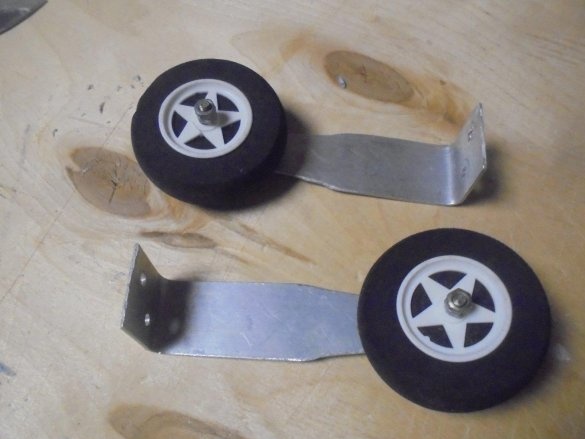
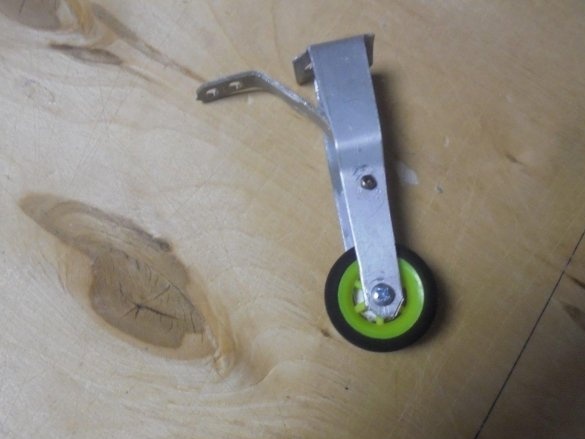
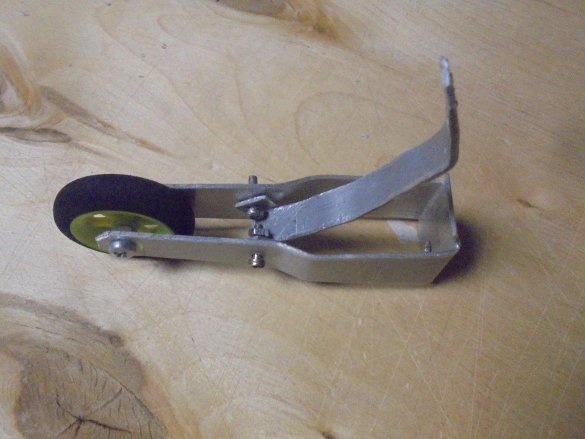
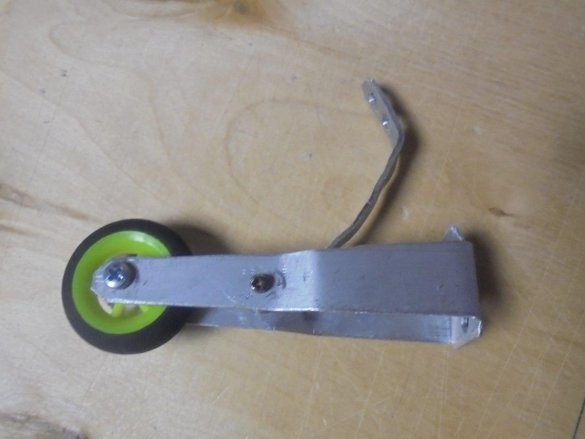
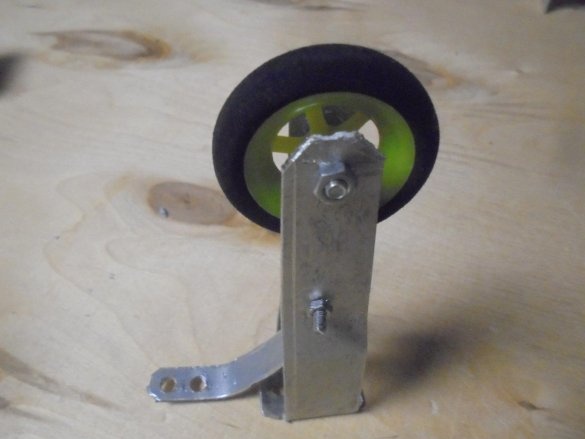
When the turn came to the chassis, I remembered that the chassis remained from another model. Very useful.
The racks are made of 3 mm thick aluminum strips. Purchased wheels.
The front strut is more complex.
He installed the chassis in its place, covered the bottom surface of the model with colored adhesive tape.
On this my work is over.
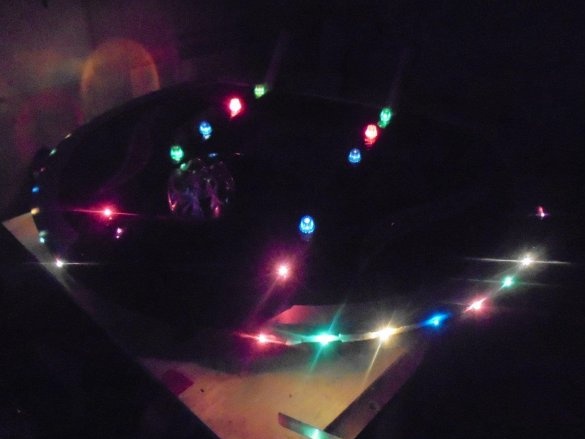
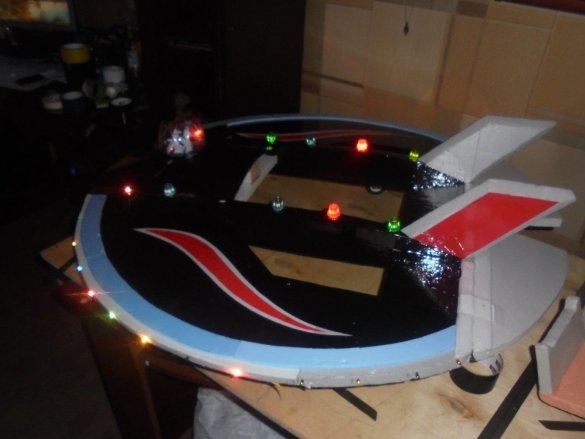
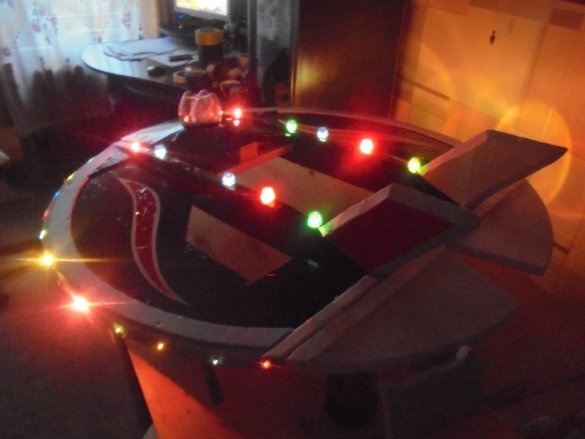
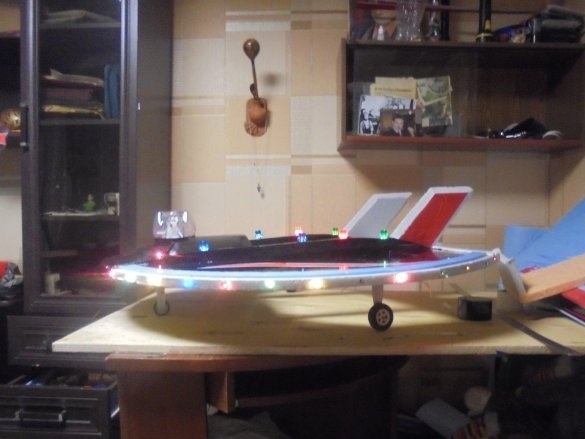
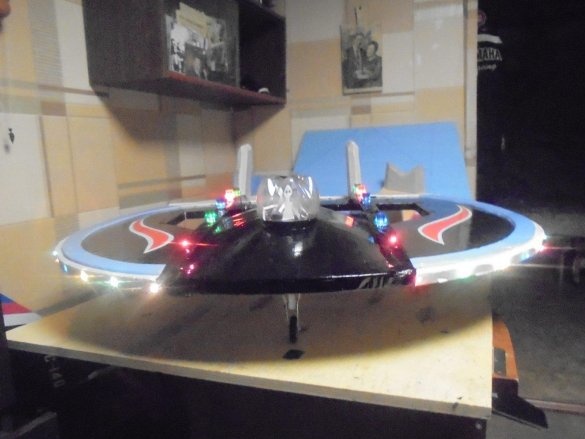
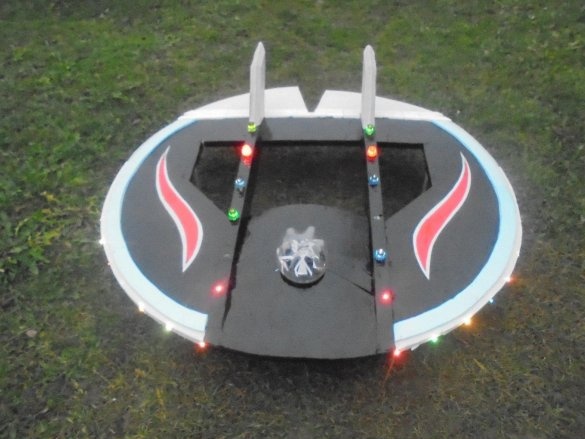
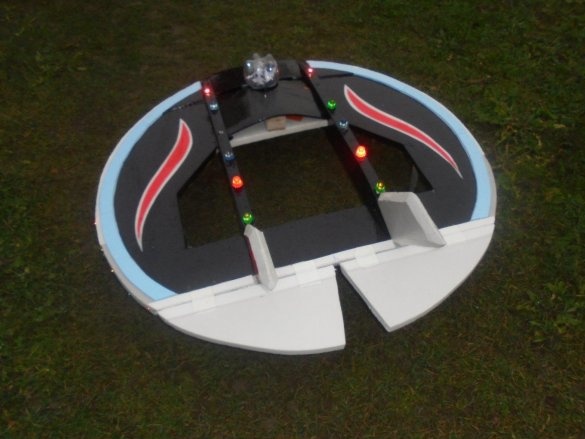
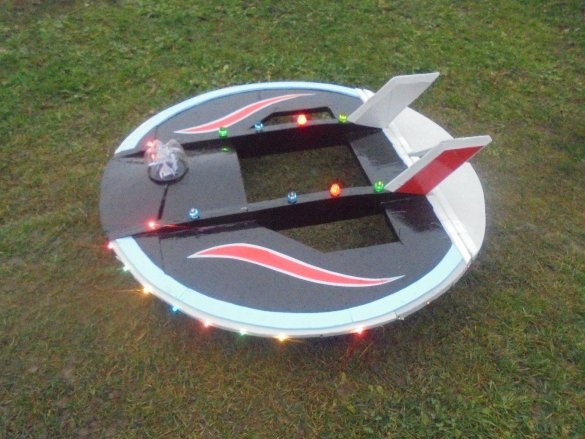
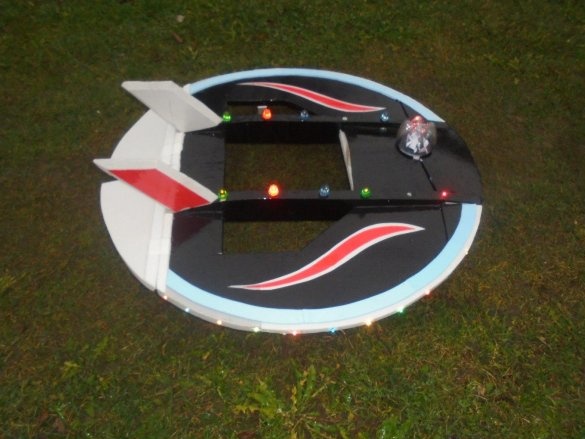
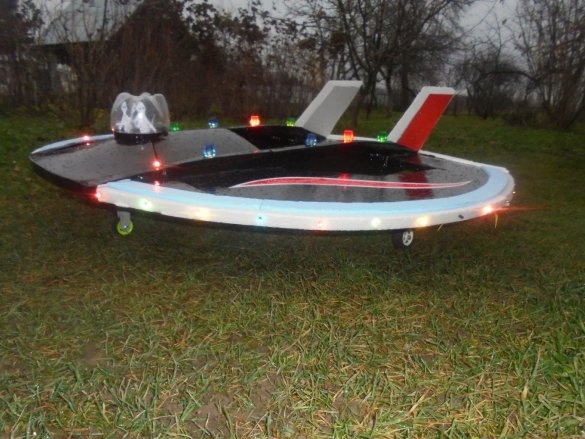
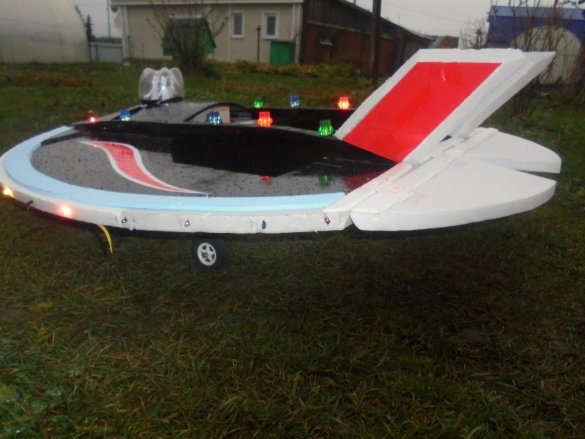
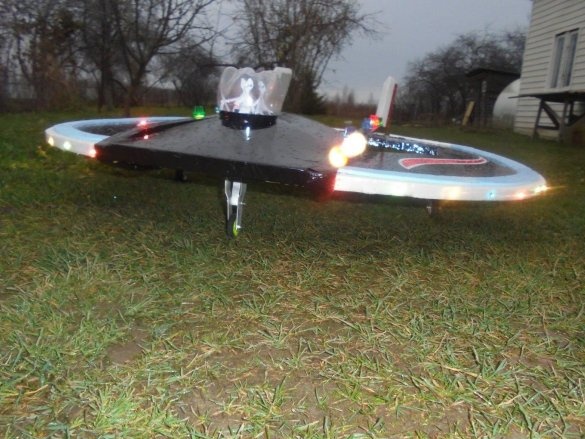
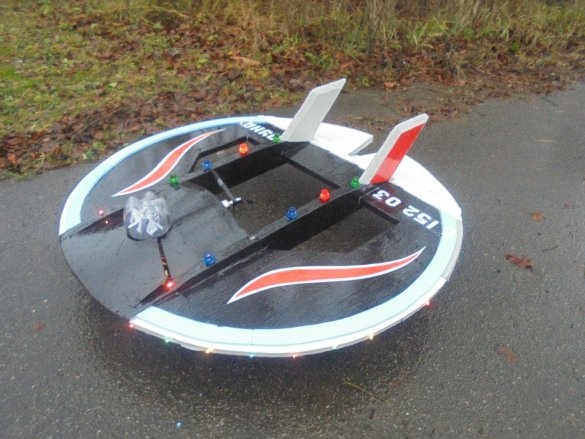
This is how the model looks with lit lights. View from below.
View from above.
Funny "humanoids".
Finishing design work.
There are no accessories for this model; they are still on the way.
Of course, you can remove the motor and servos from another model, but so far there is no such need, it is raining outside, the model will not fly around, anyway.
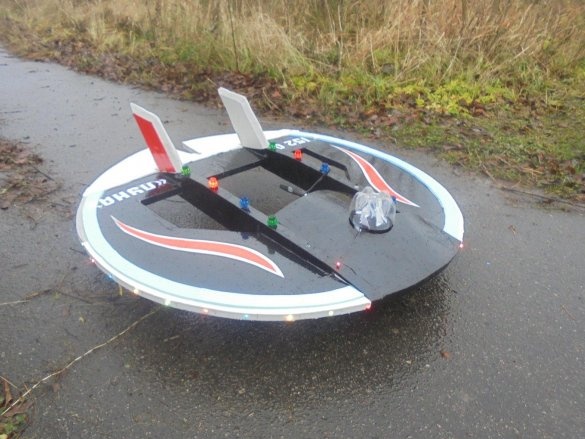
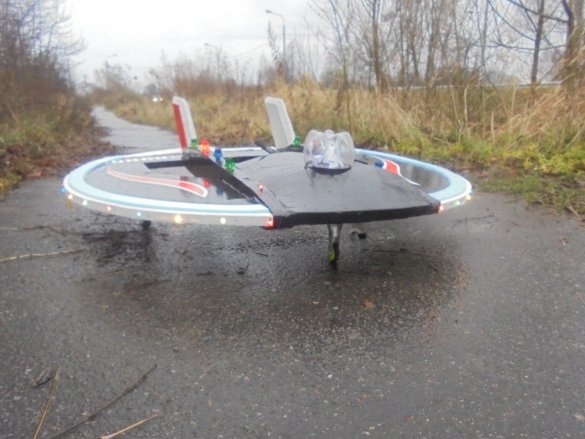
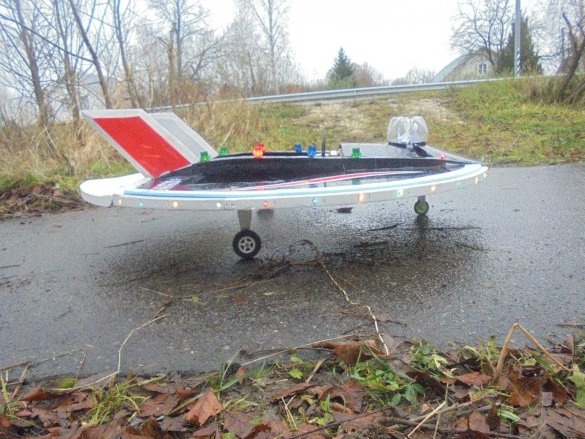
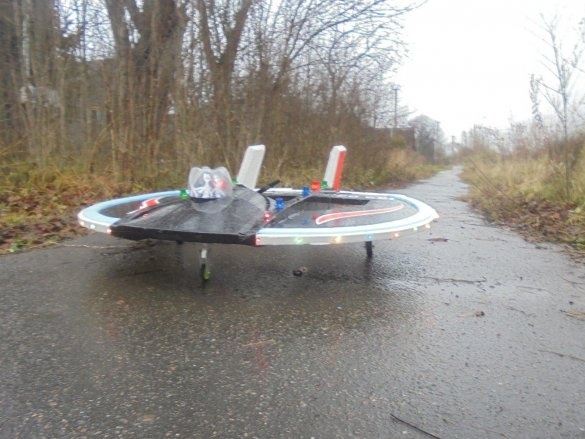
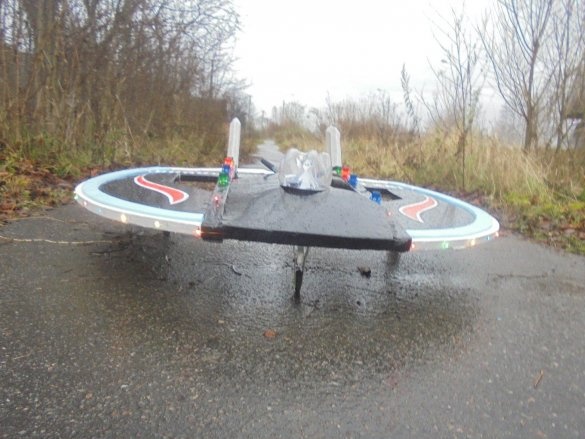
I took photos of the model in the rain.
Model with lights, looks like a UFO. Handsomely.
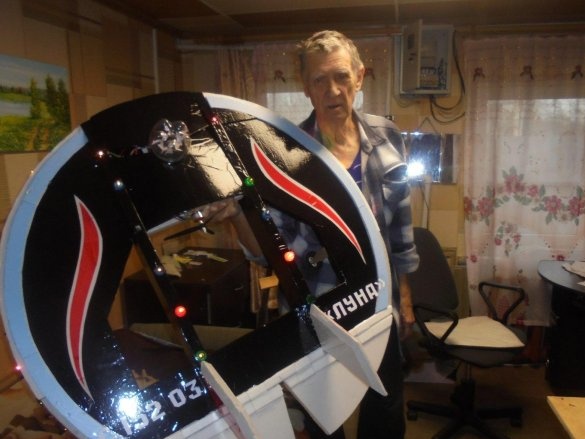
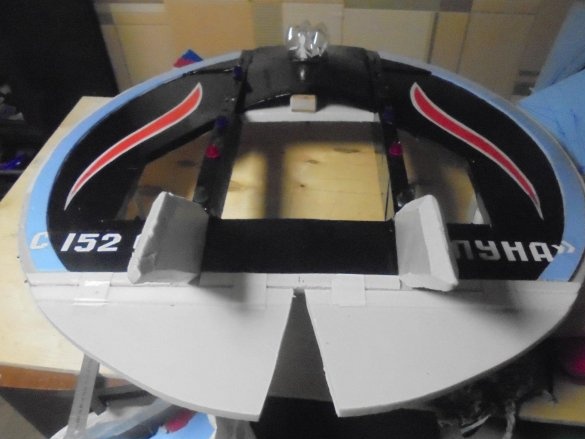
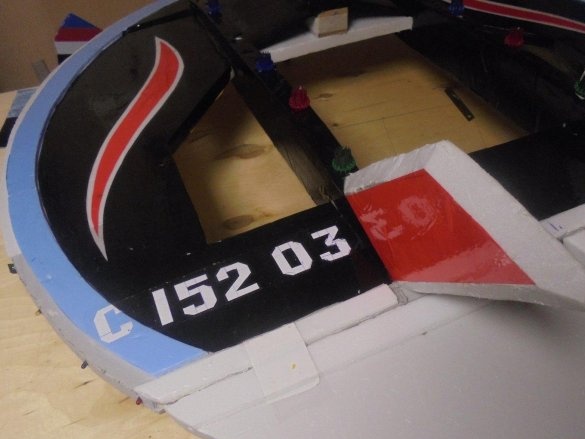
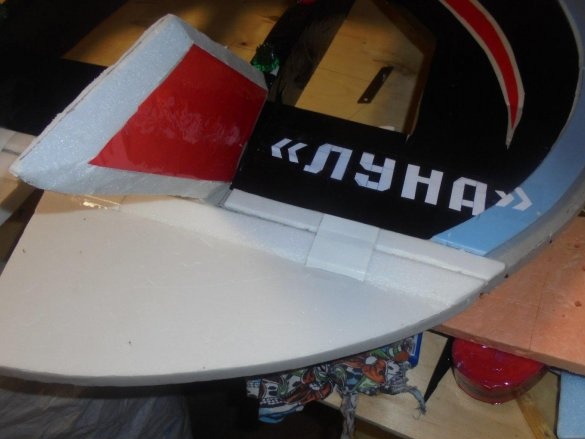
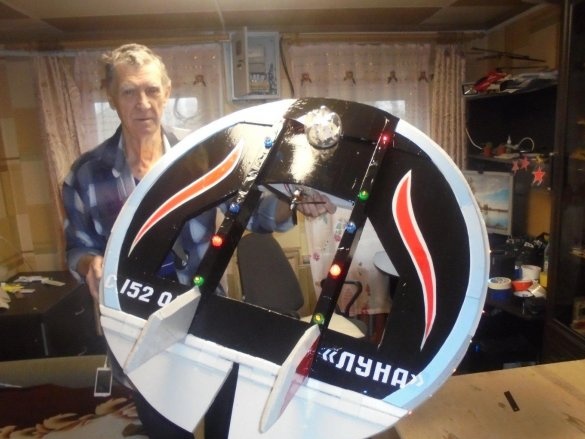
Without hesitation, he gave the name of his model - “Moon”. Now you can apply labels to the model.
That's how the model appeared in all its glory on the runway. And the rain pours!
And this is me with my "long-term construction."
A few words about electronics.
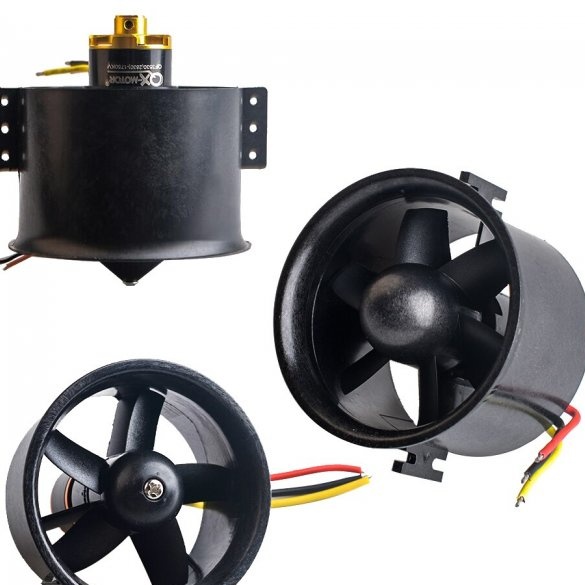
Impeller - 70 mm.
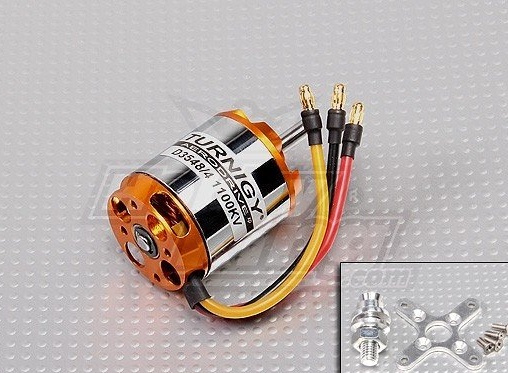
Motor - D3548 / 4 1100kV.
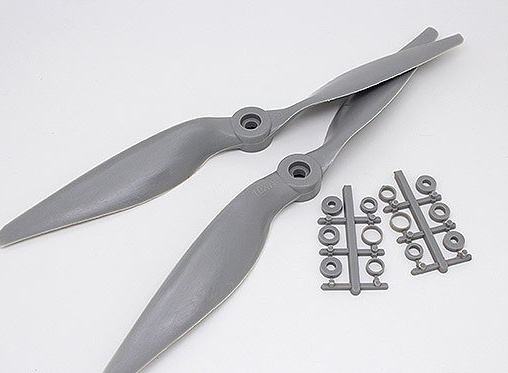
Screw - 11 X 7.
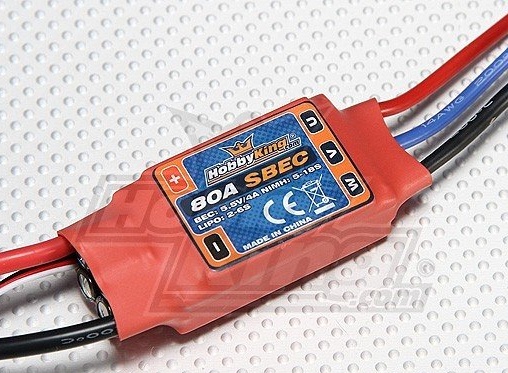
The regulator is 80 A.
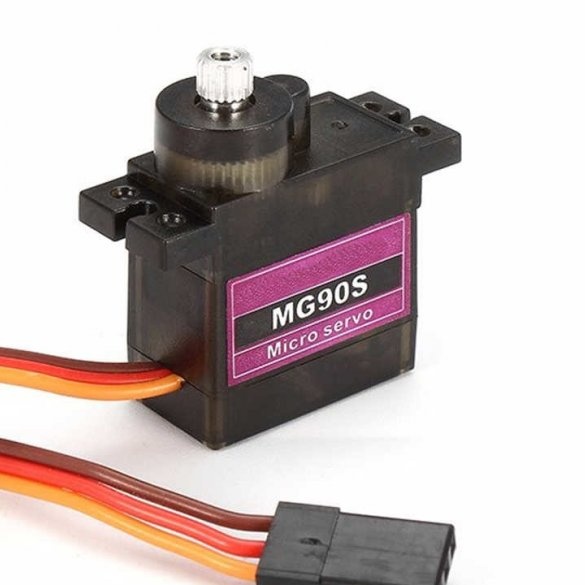
Servos - MG90S
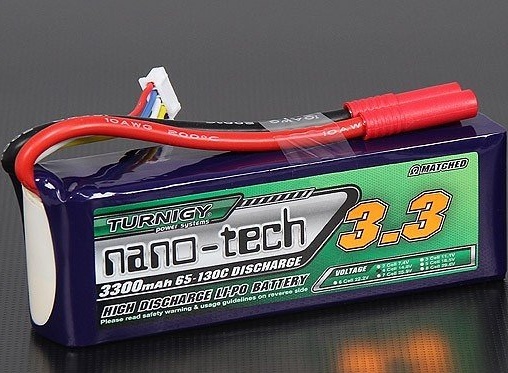
Battery - 4S 3300 mah.
Span - 1000 mm.
That's how the aircraft model, after a long oblivion, saw the light again.
I hope you like my story about this model.
On this, I say goodbye to you, goodbye, see you soon. Your valerian.


