
Good afternoon or evening, dear aircraft models! Hello!
Today I decided to share with you a topic about the MiG-21 aircraft model.
Modelka This plane is standing on my shelf, in front of my eyes and, looking at it, I constantly have a desire to build such a model.
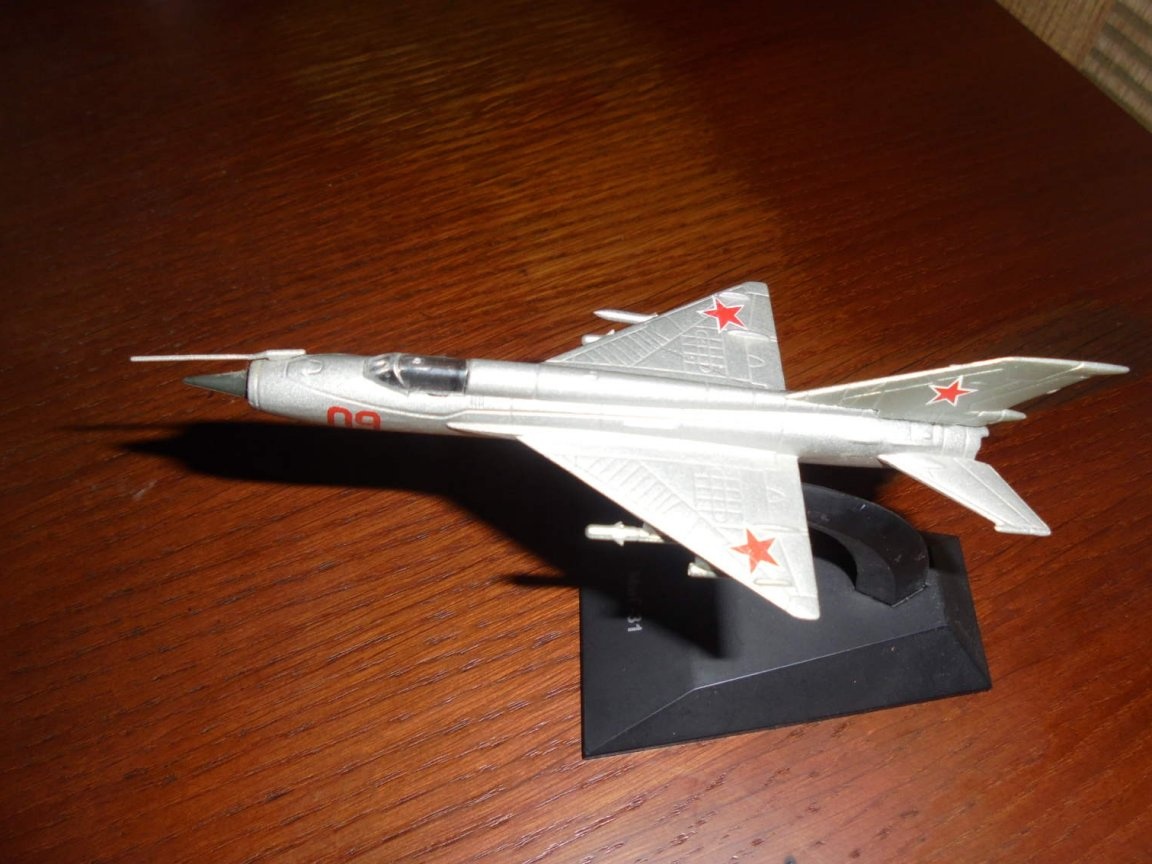
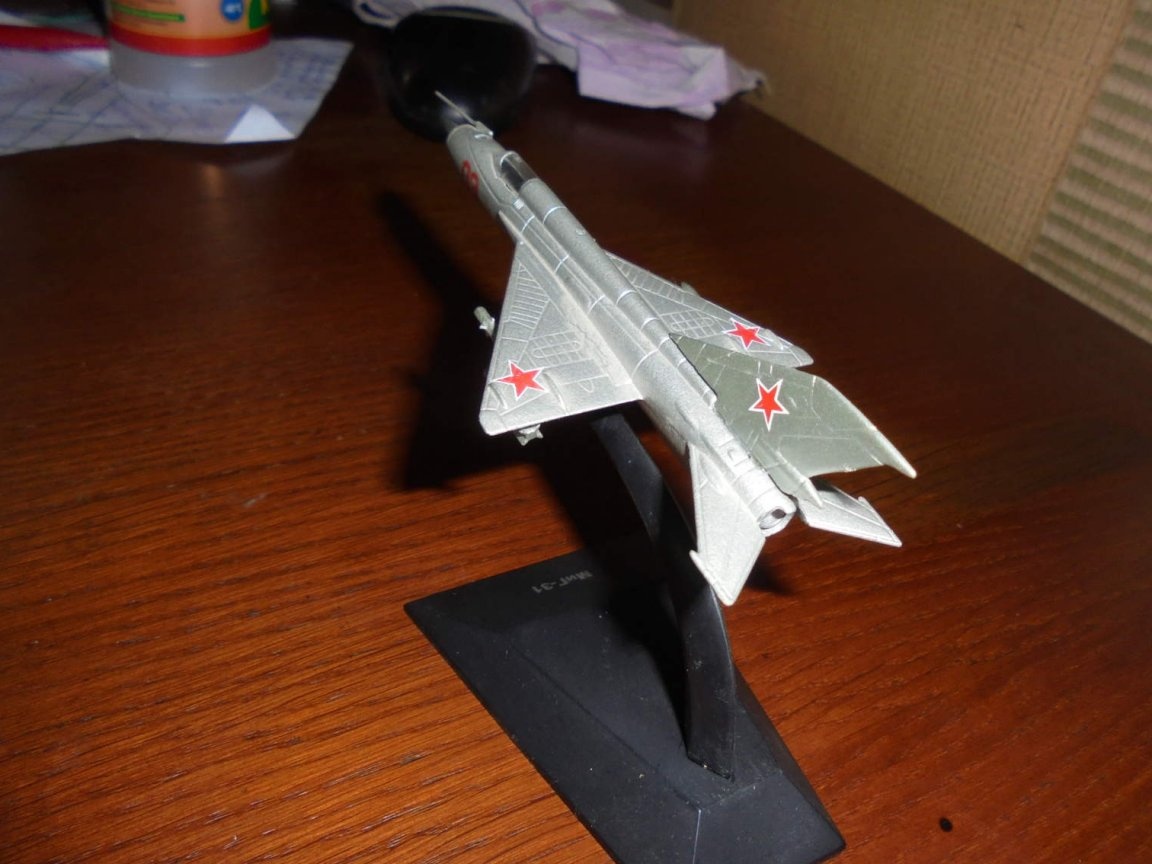
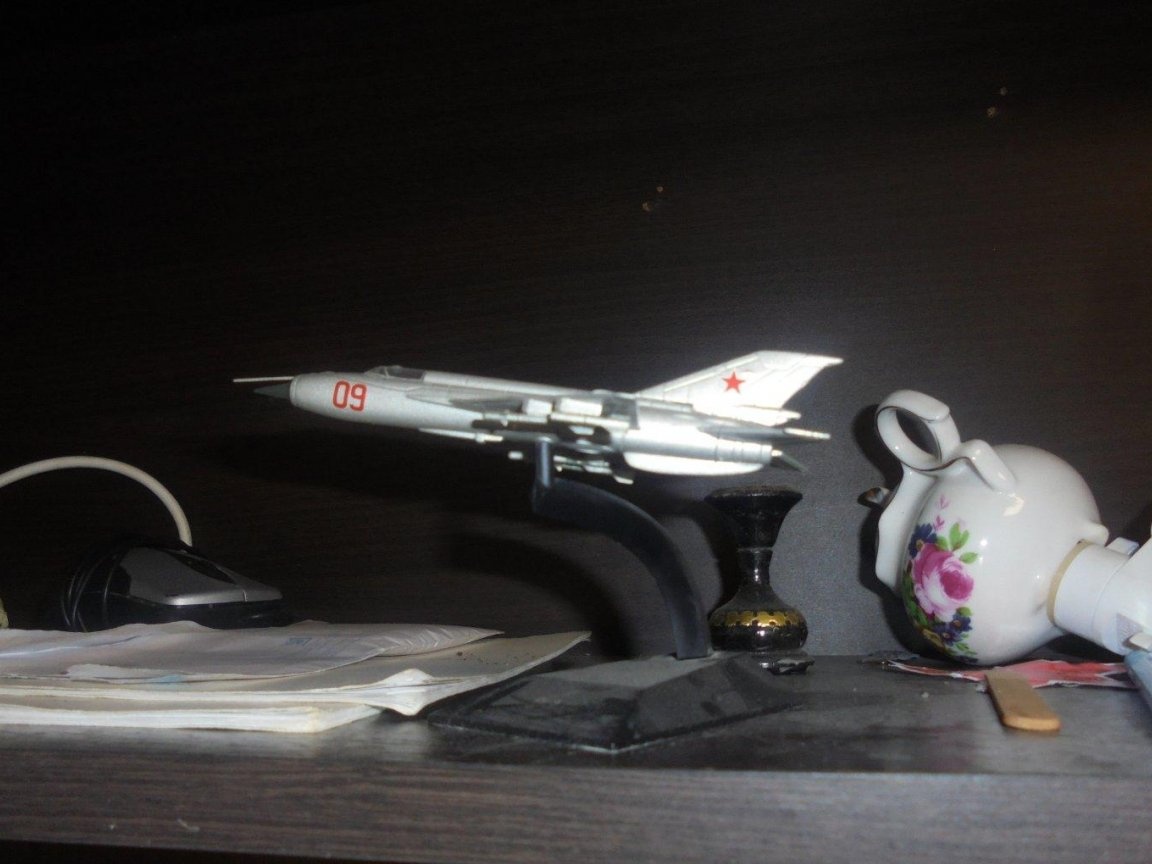
Hello!
By such an appeal to aircraft models, the author begins his story about the construction of a MiG-21 aircraft model.
Together with you I want to look at the process of building this model, before starting to create my own version of this model

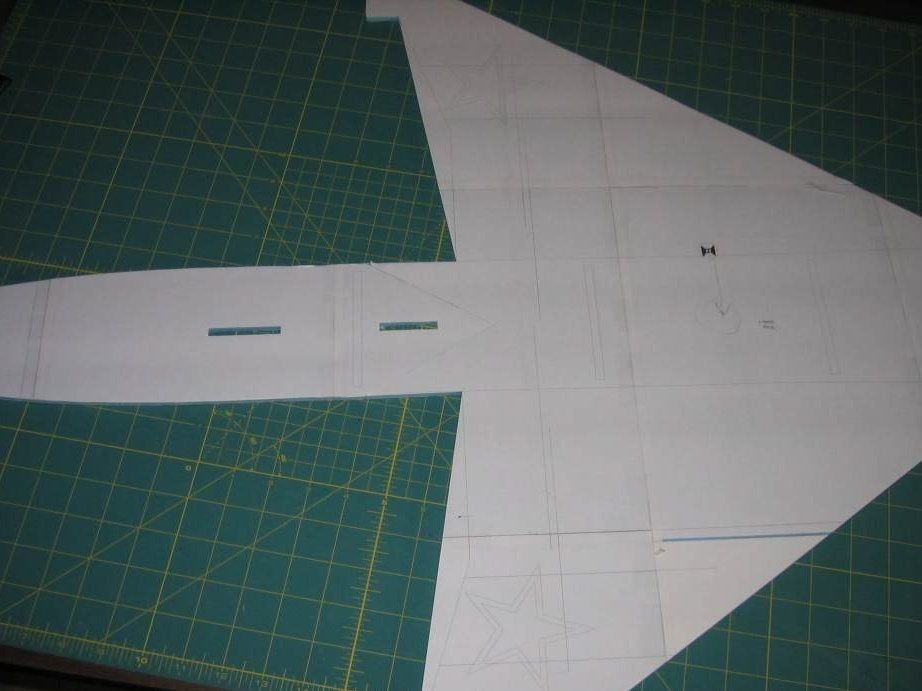
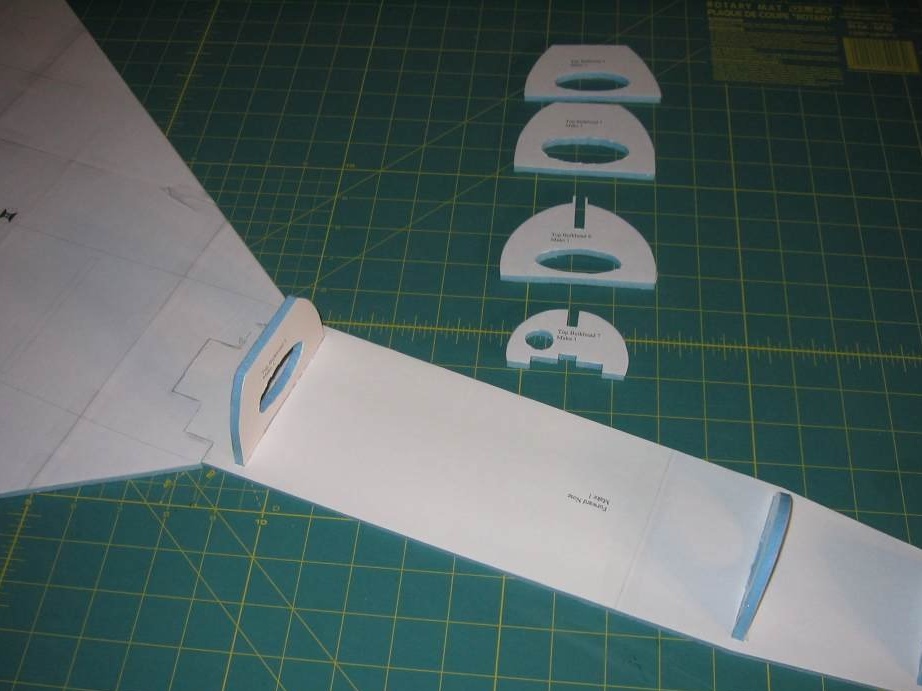
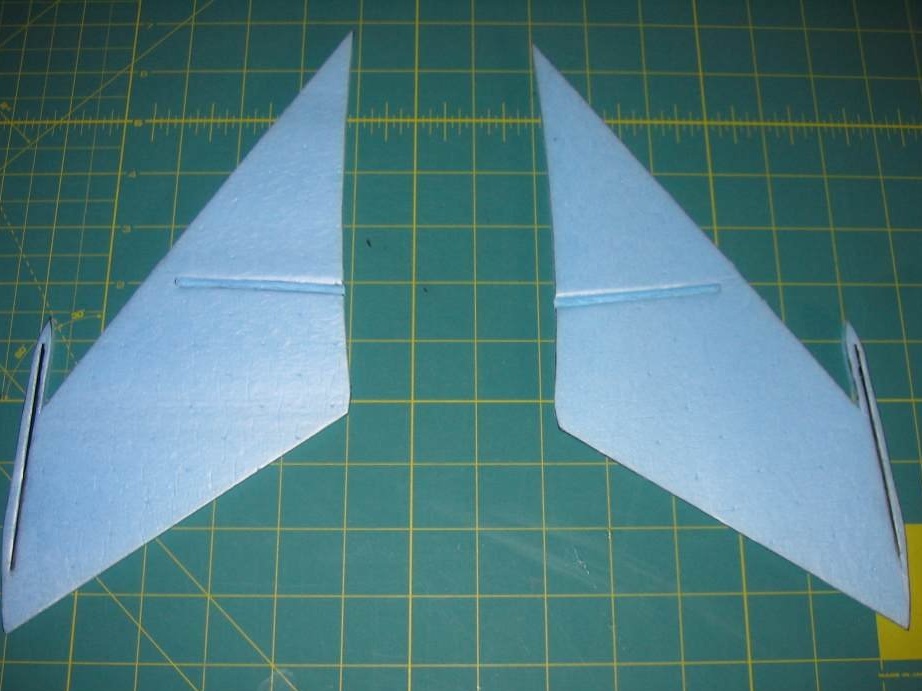
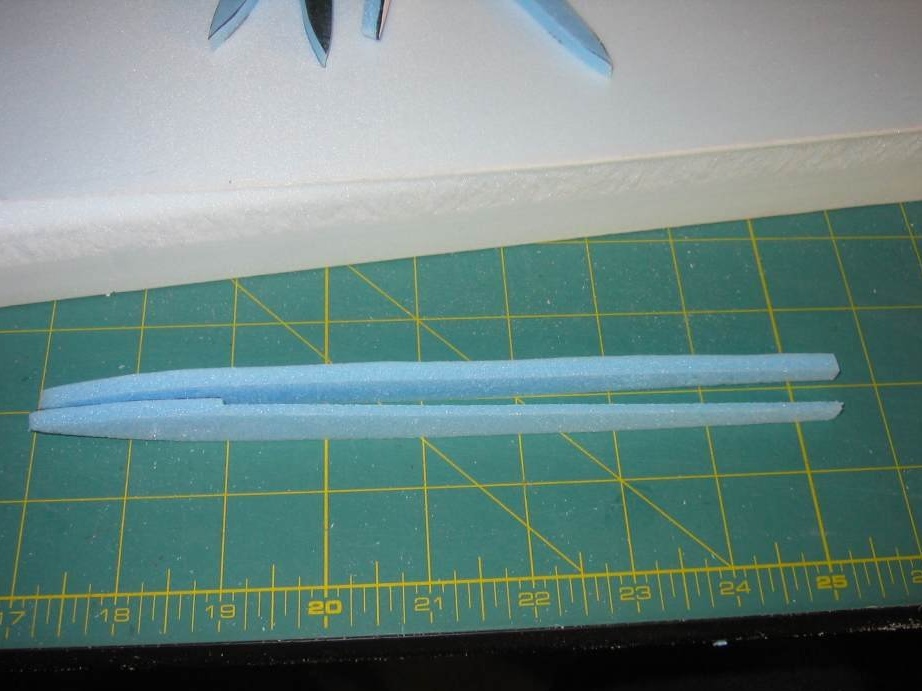
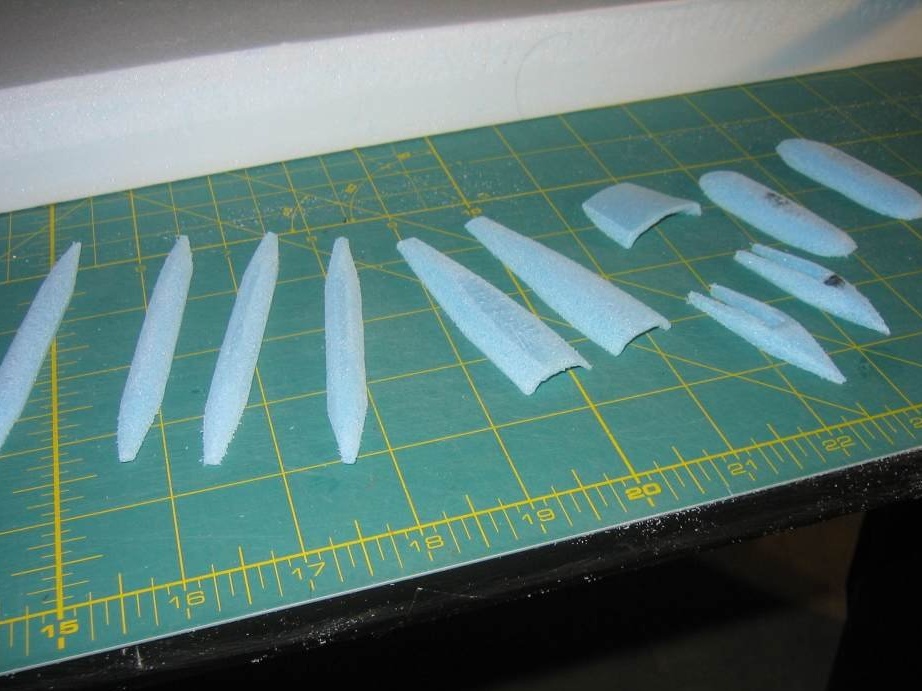
Templates for all elements of the aircraft model are ready, you can cut blanks.
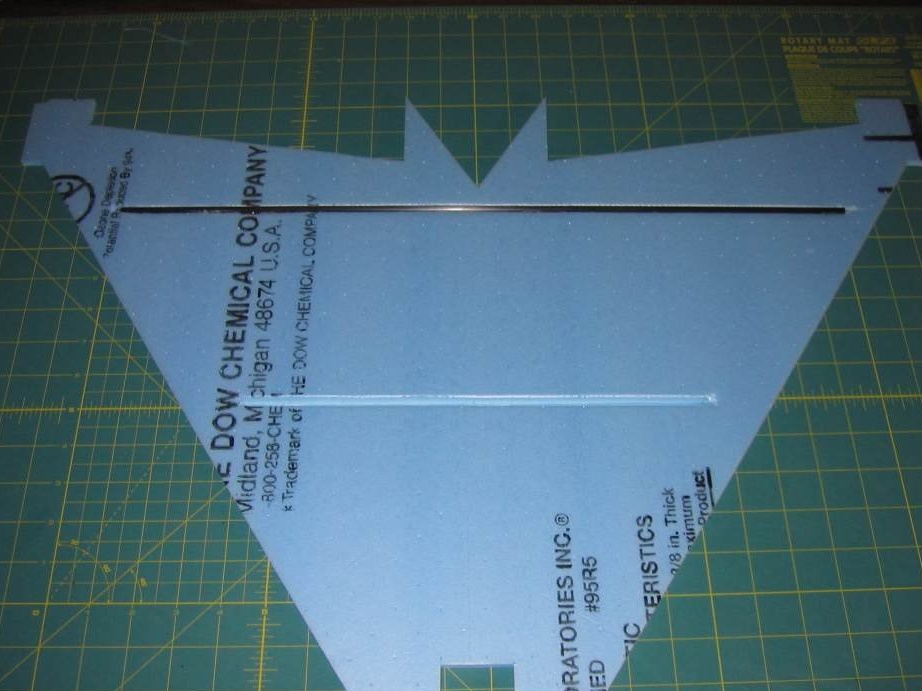
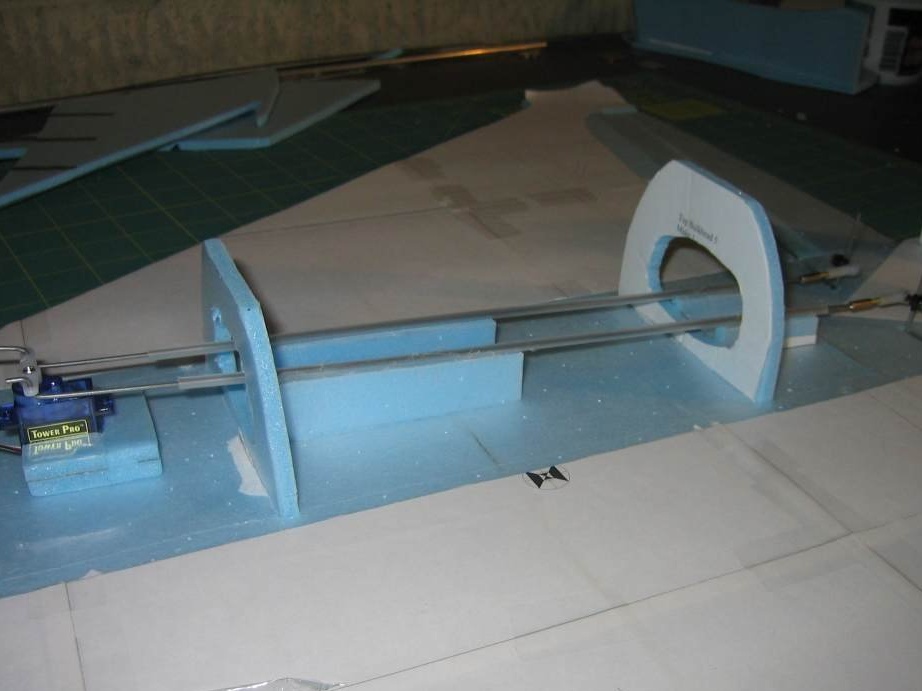
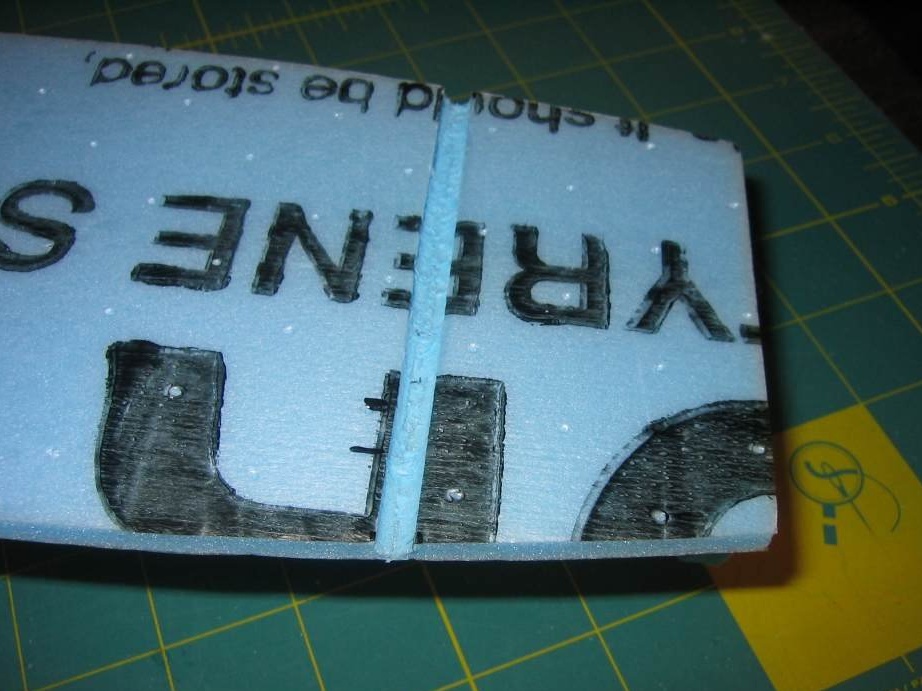
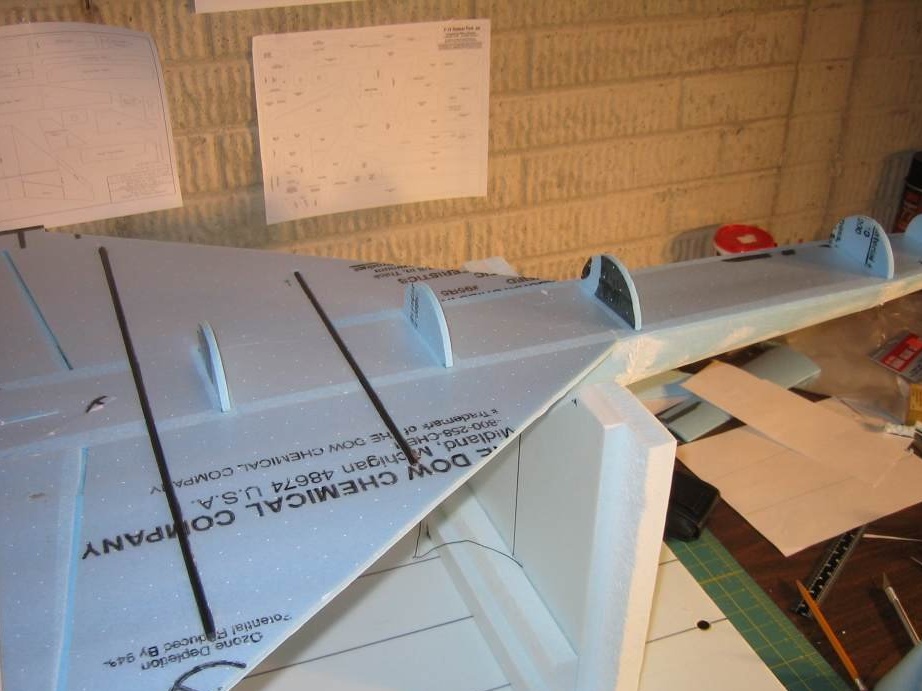
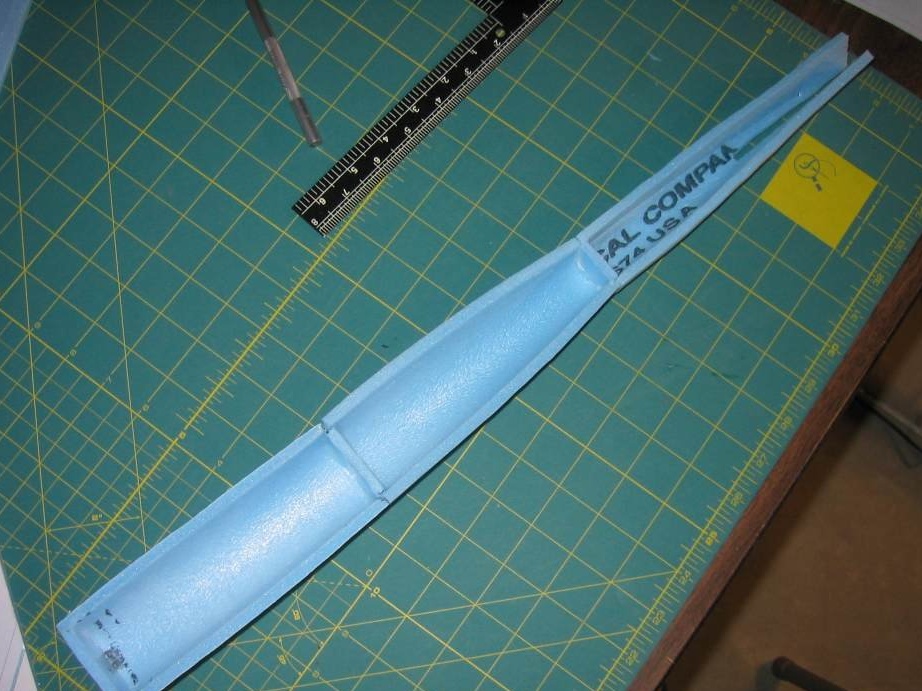
A carbon tube is glued into the workpiece of the main carrier platform on which the entire model will be mounted.
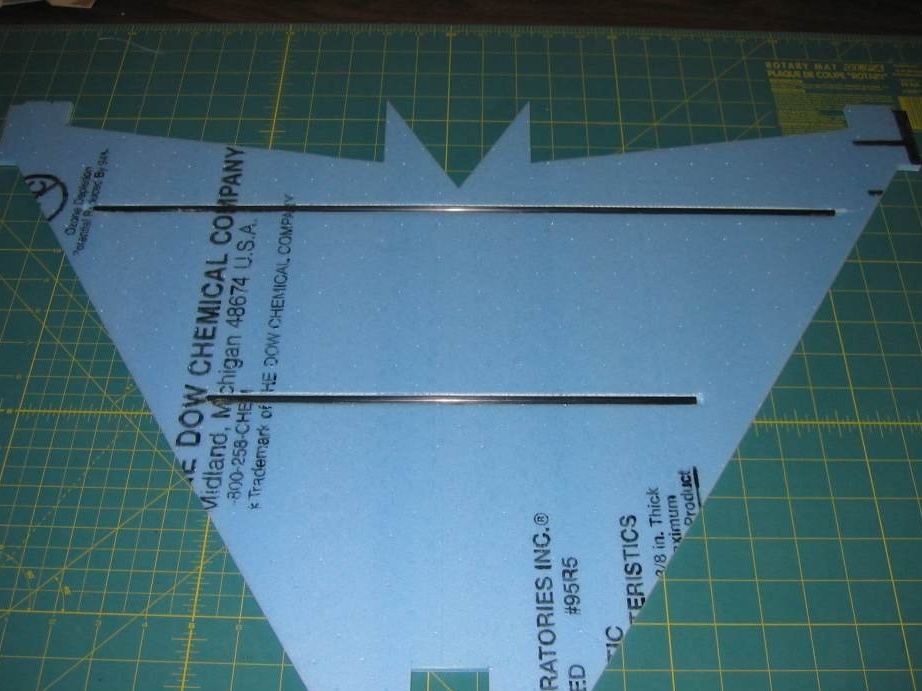
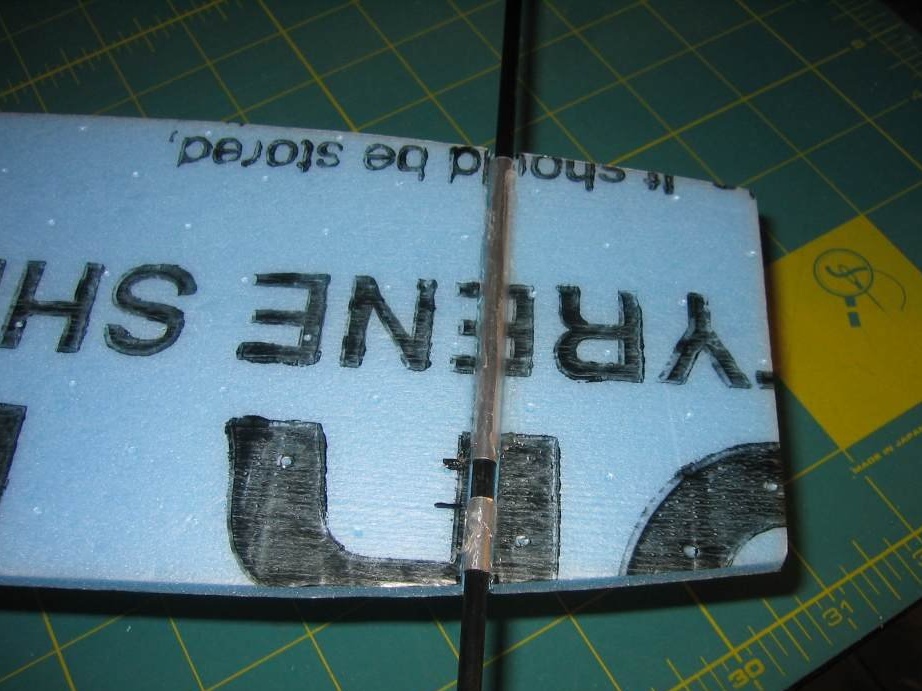
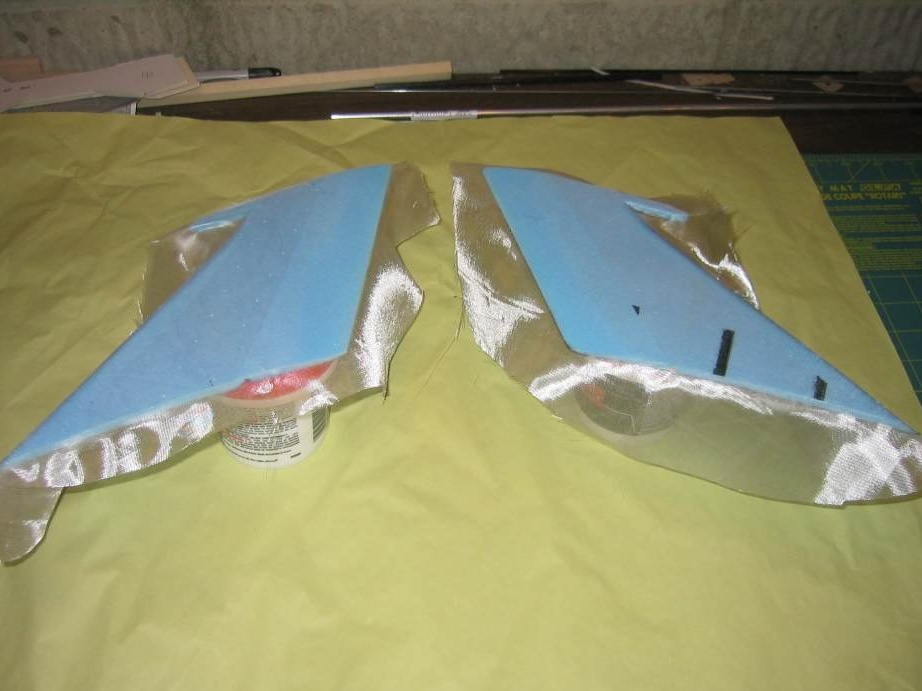
Two more carbon tubes are glued.
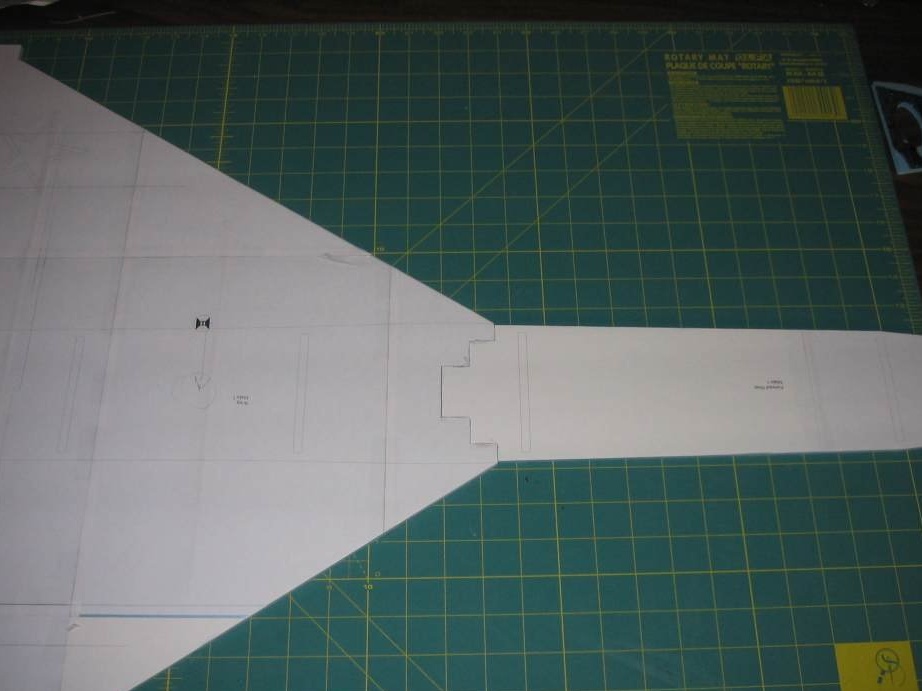
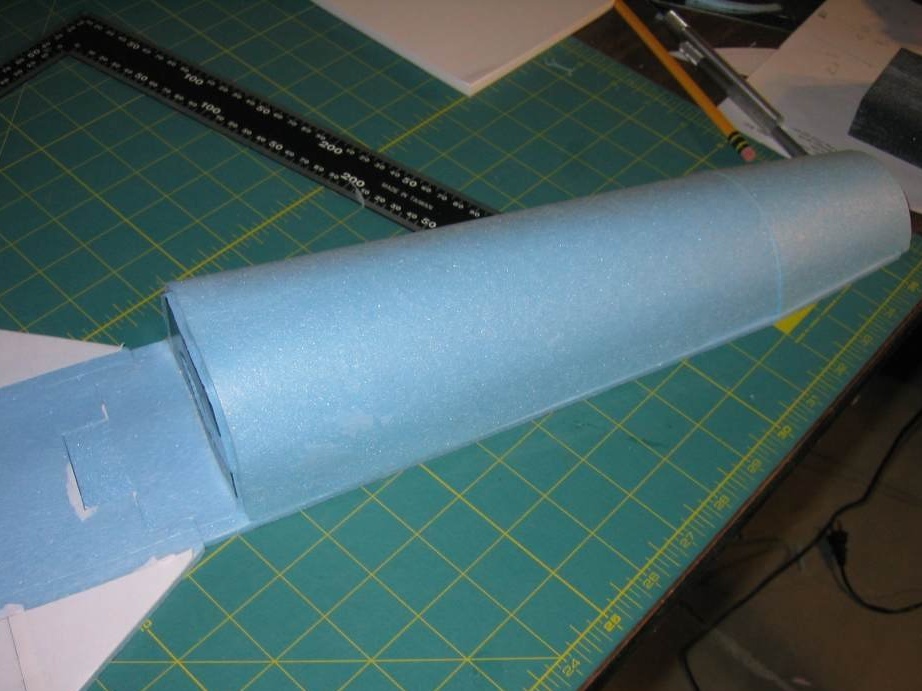
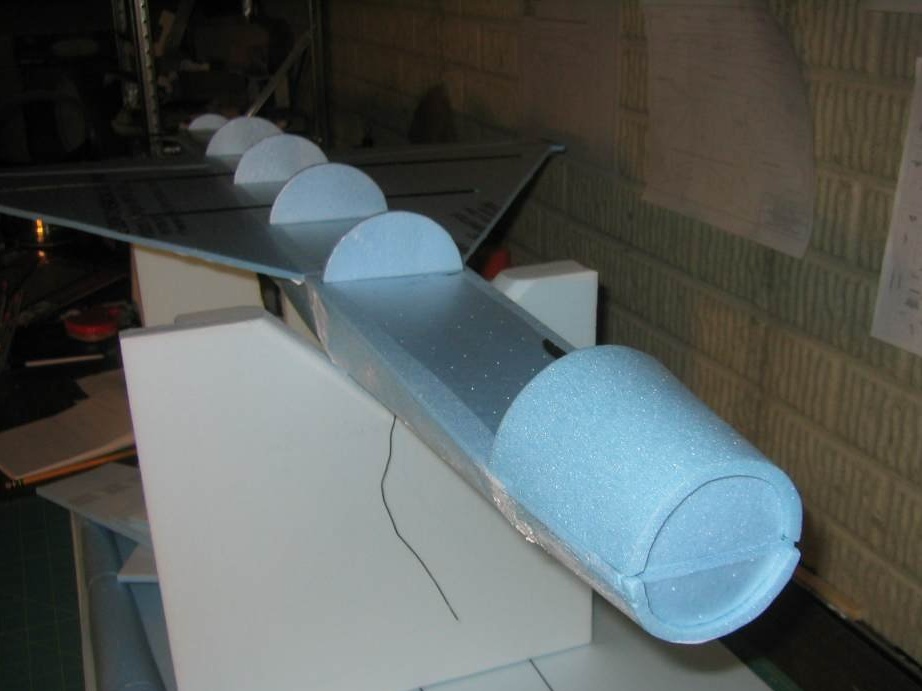
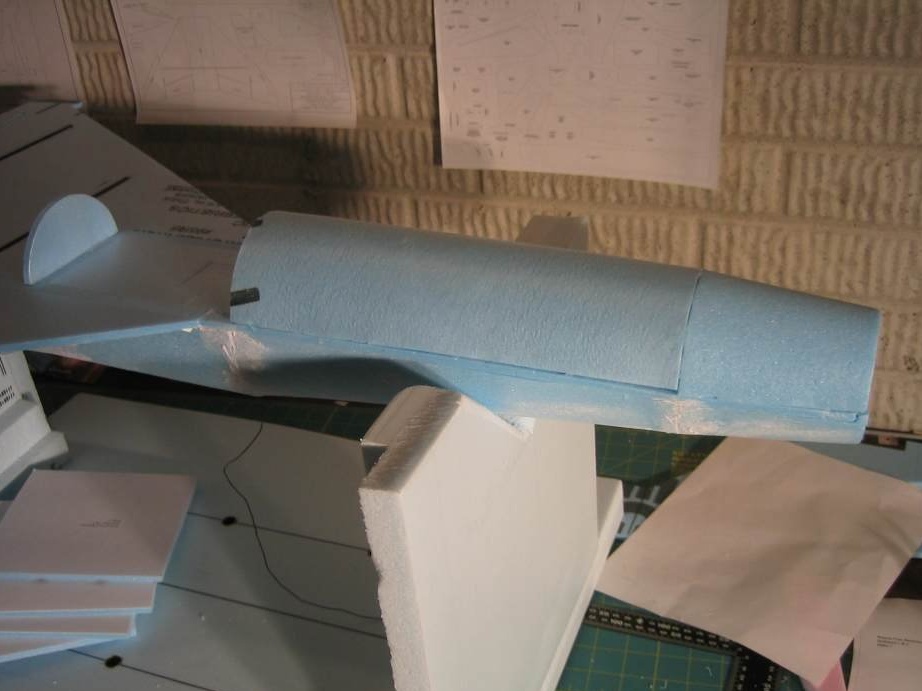
The nose is glued to the main blank of the model
Following the bow, the tail is glued.
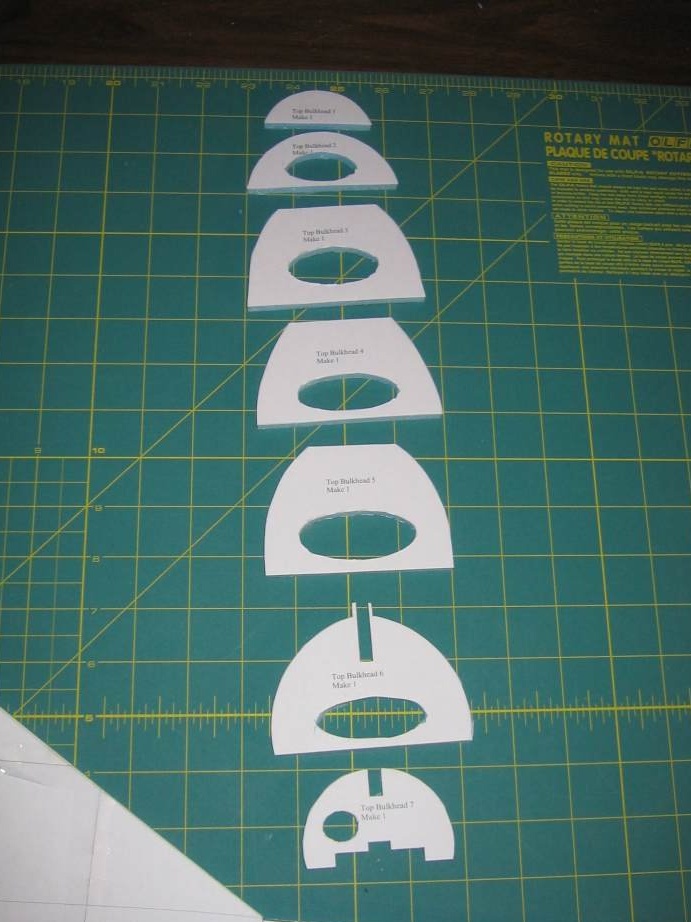
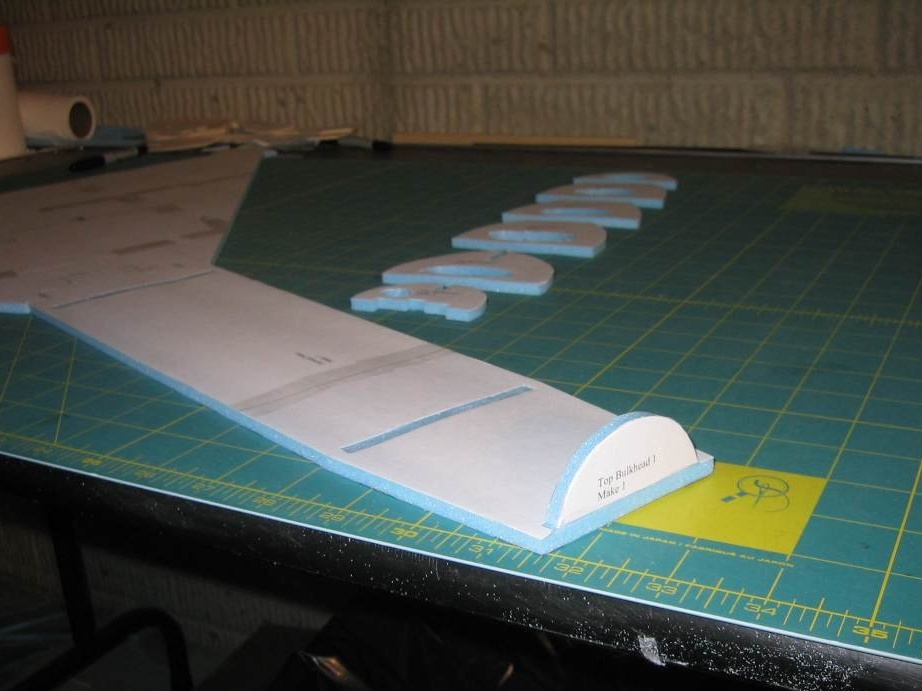
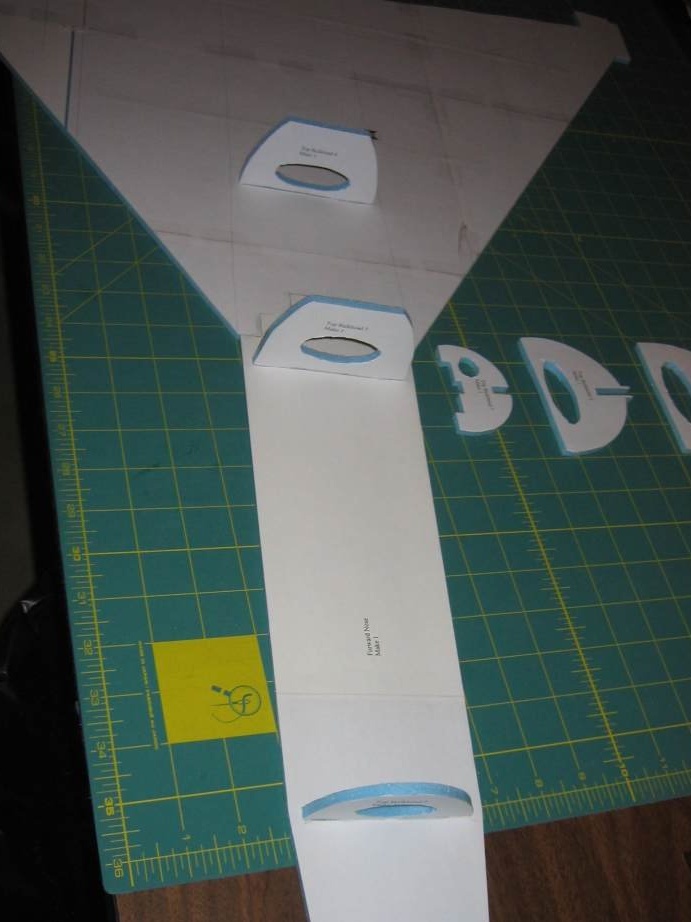
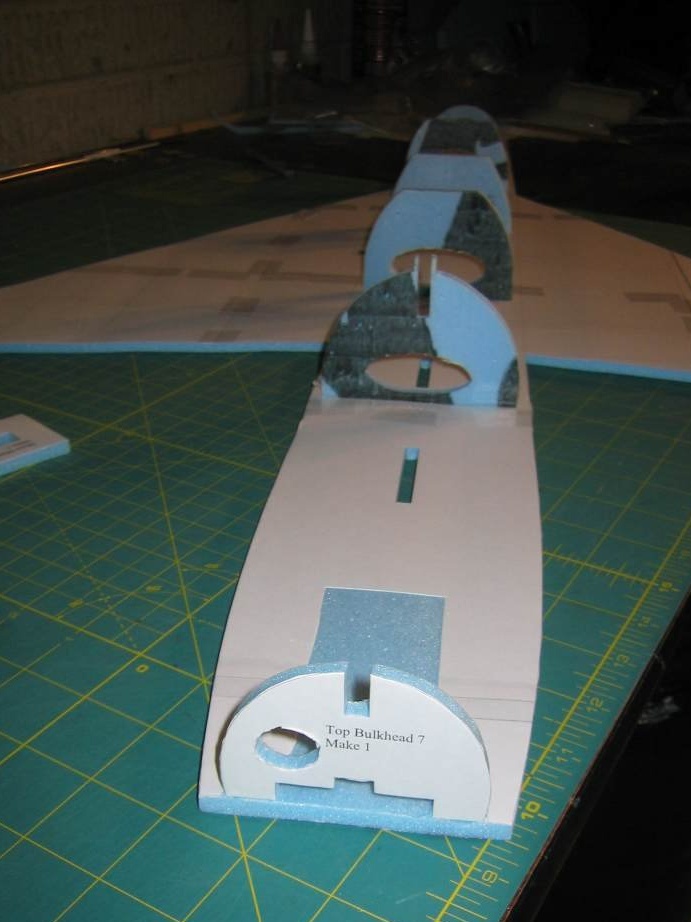
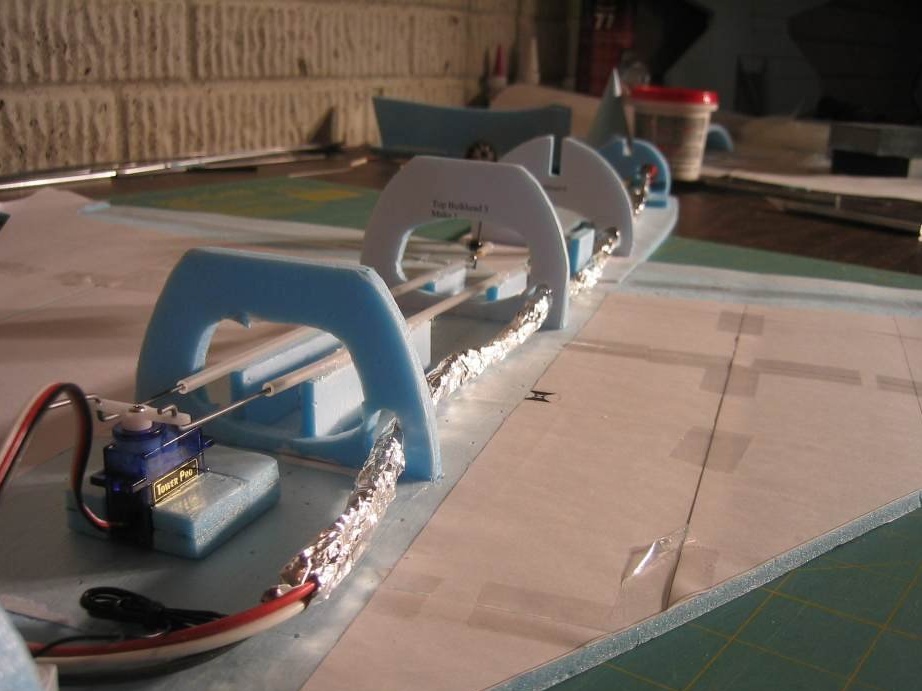
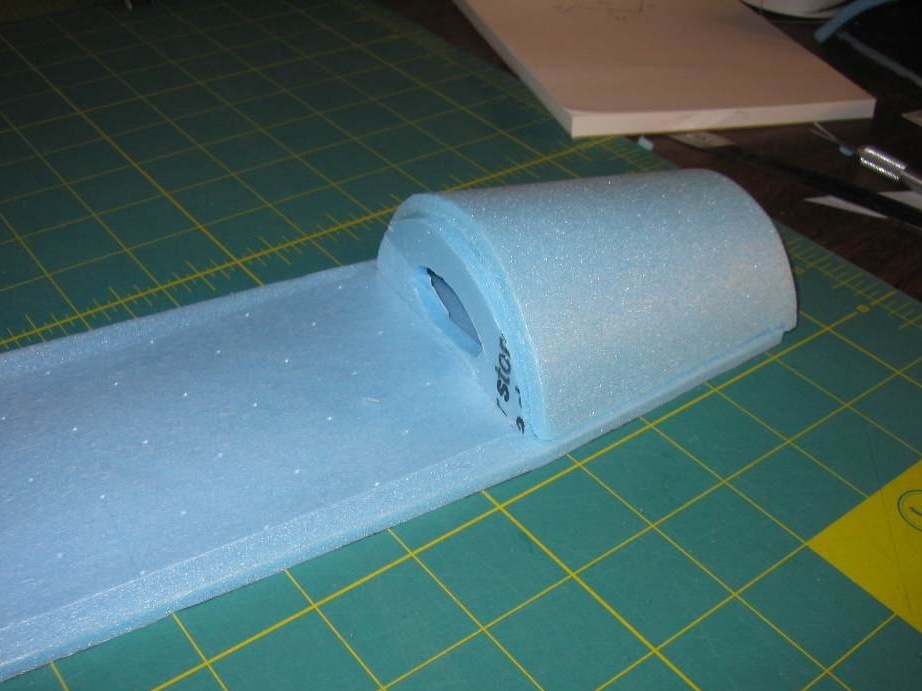
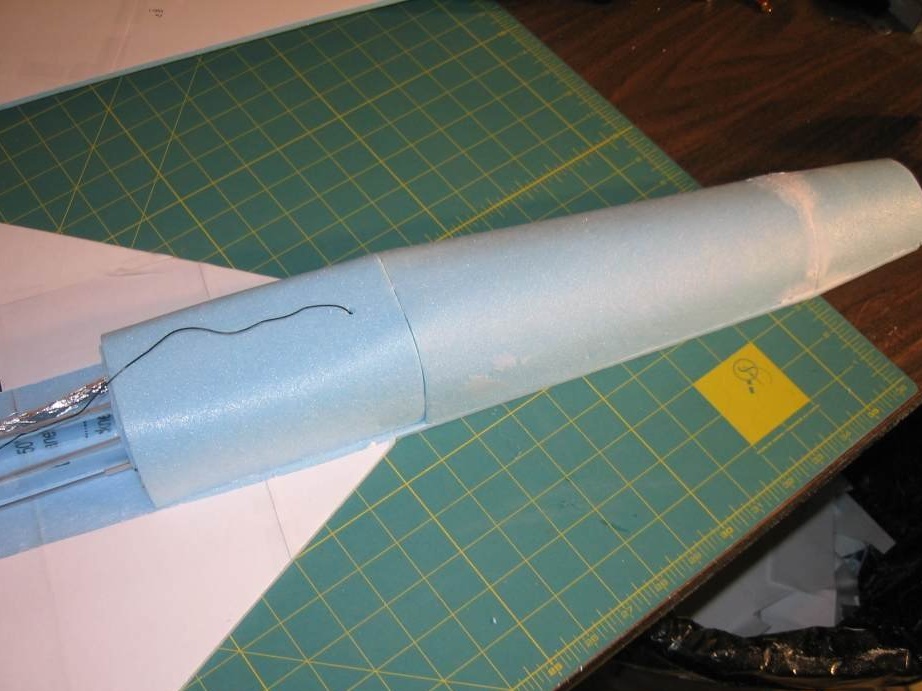
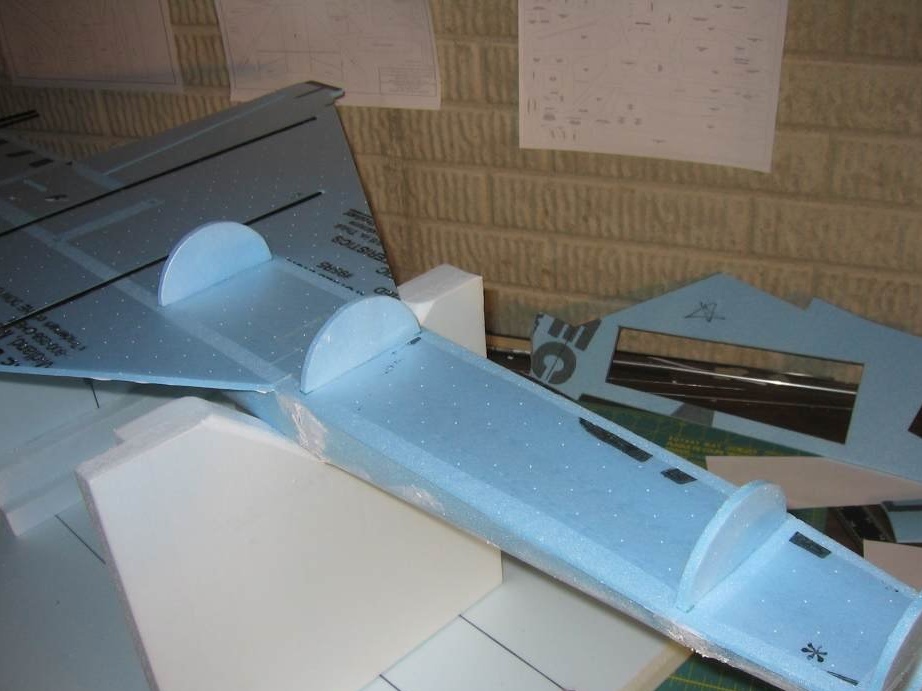
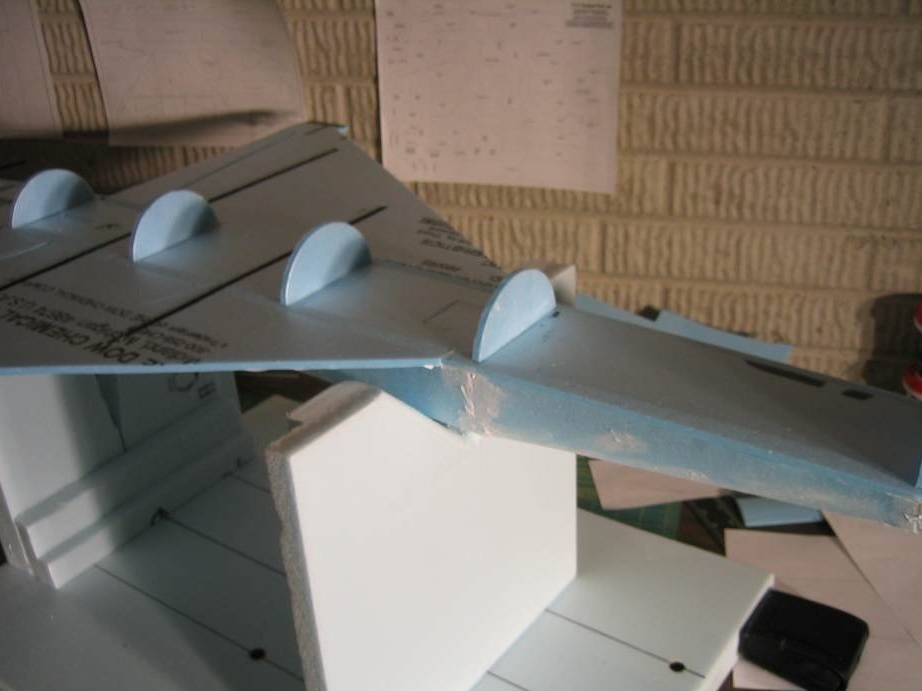
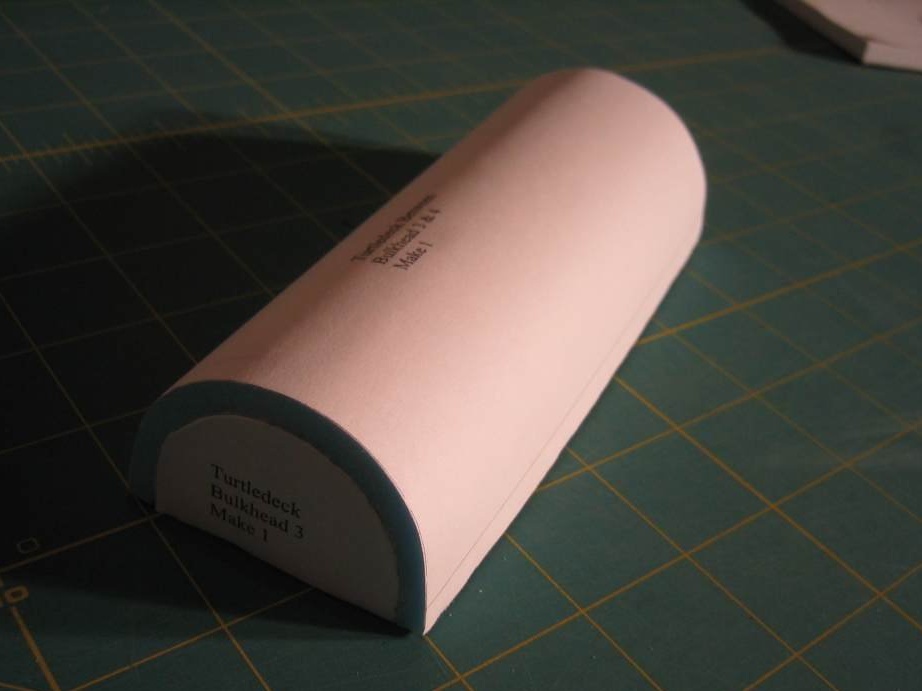
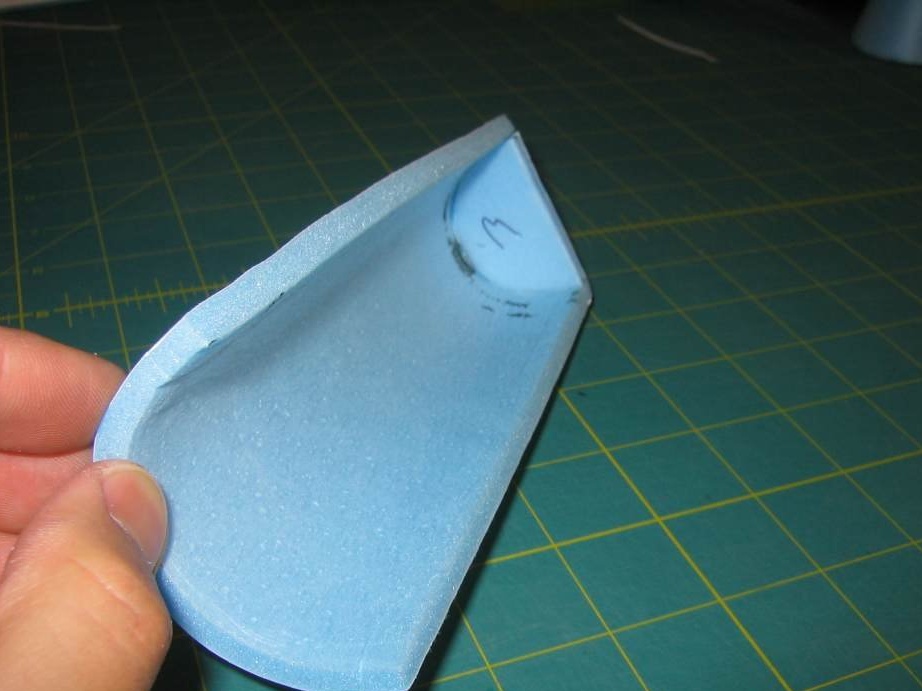
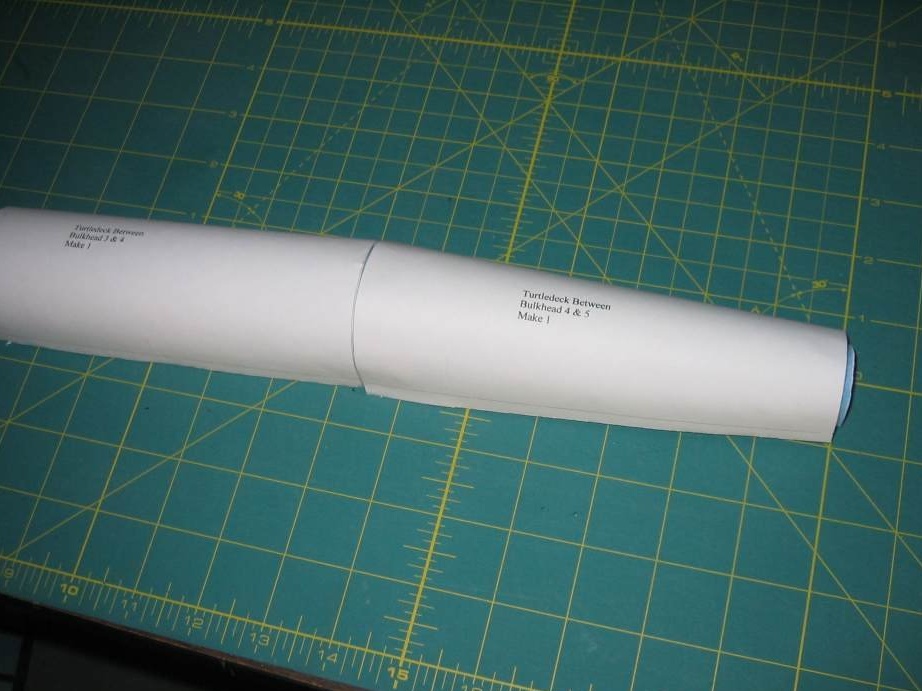
Bulkheads are cut for the top of the fuselage.
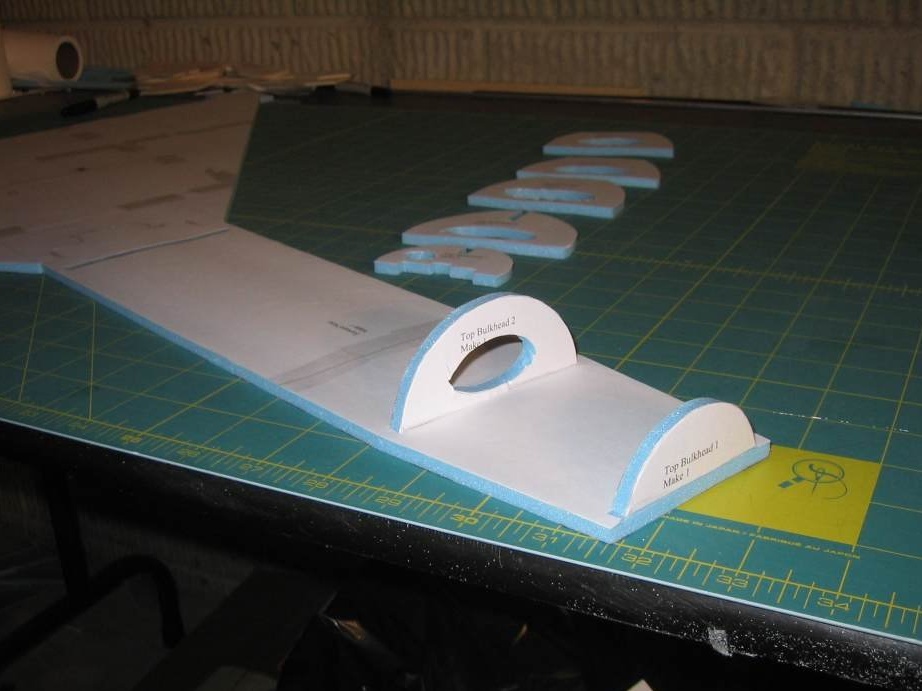
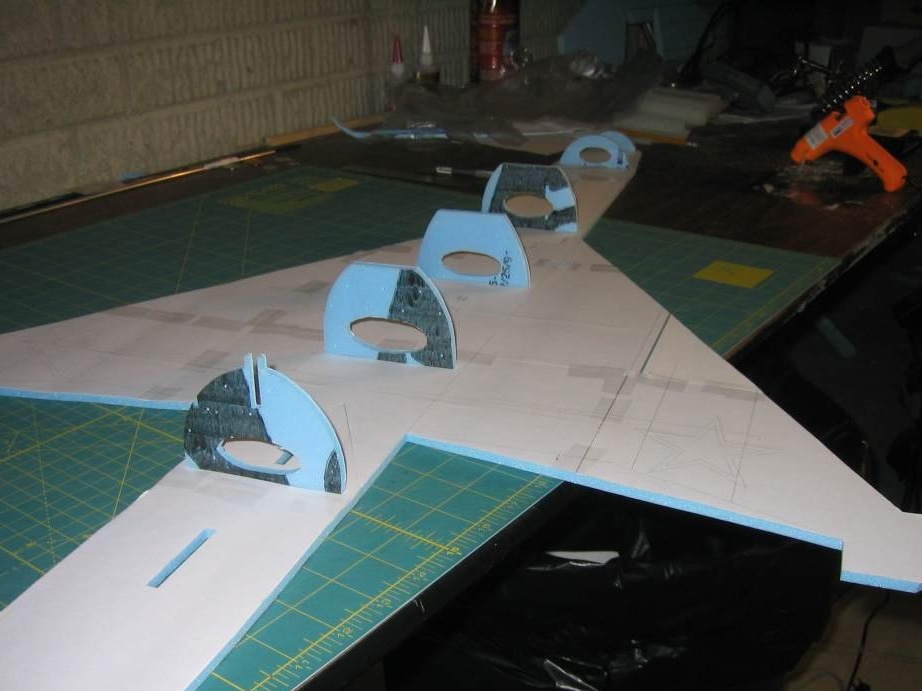
Bulkheads are glued into place.
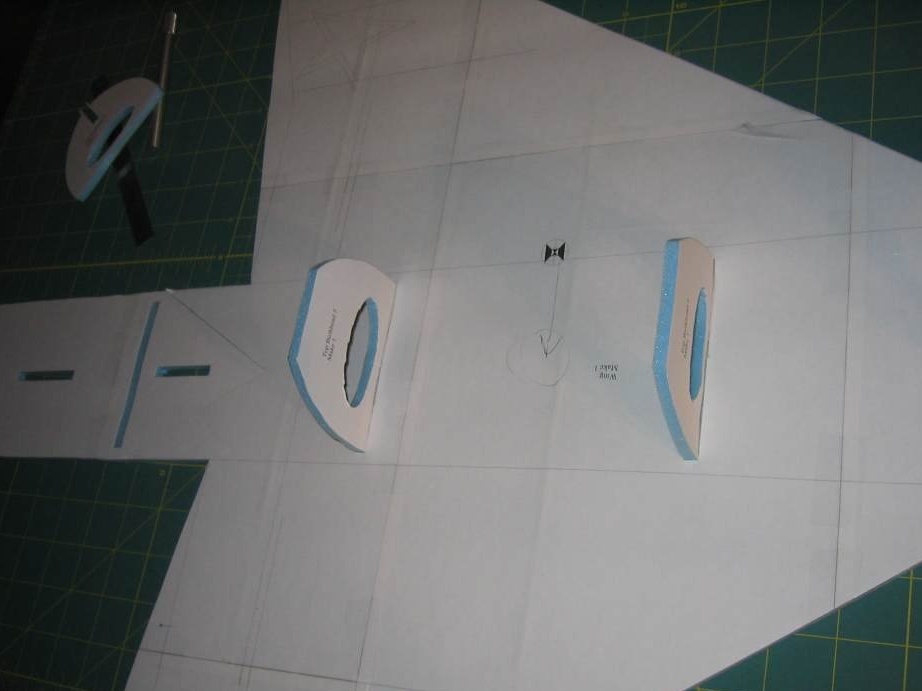
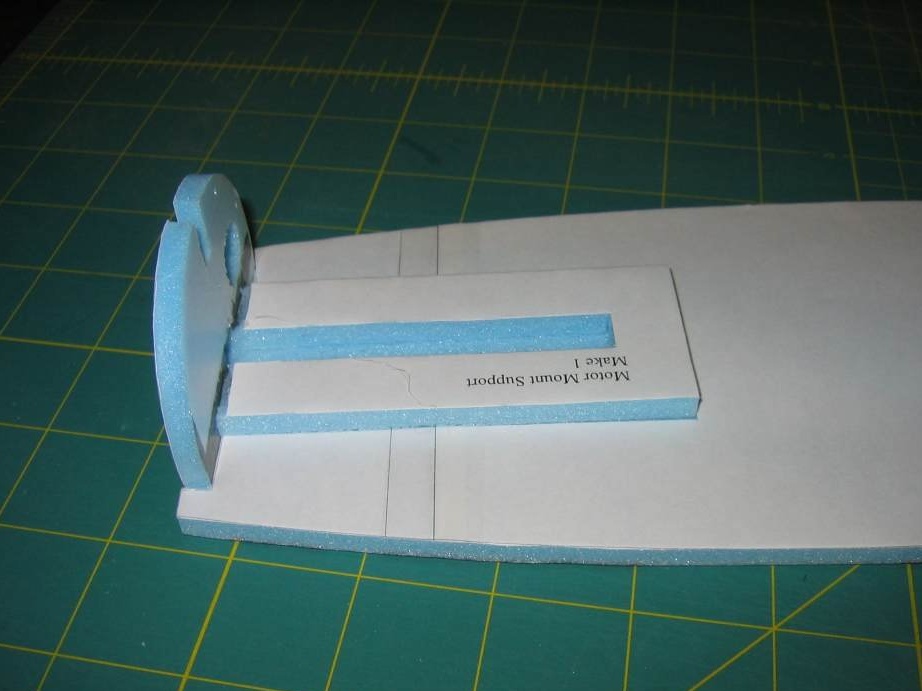
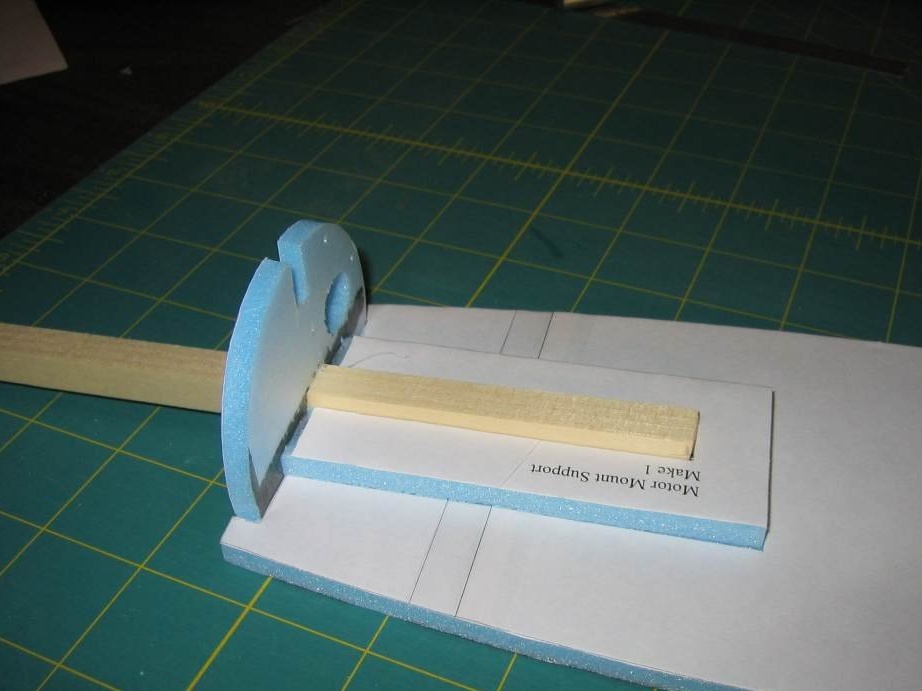
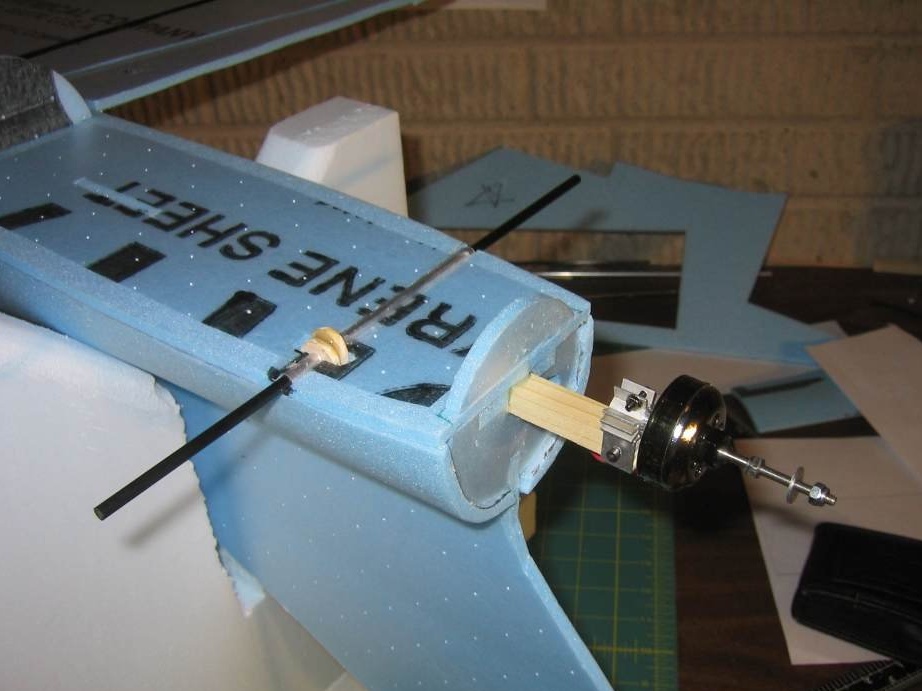
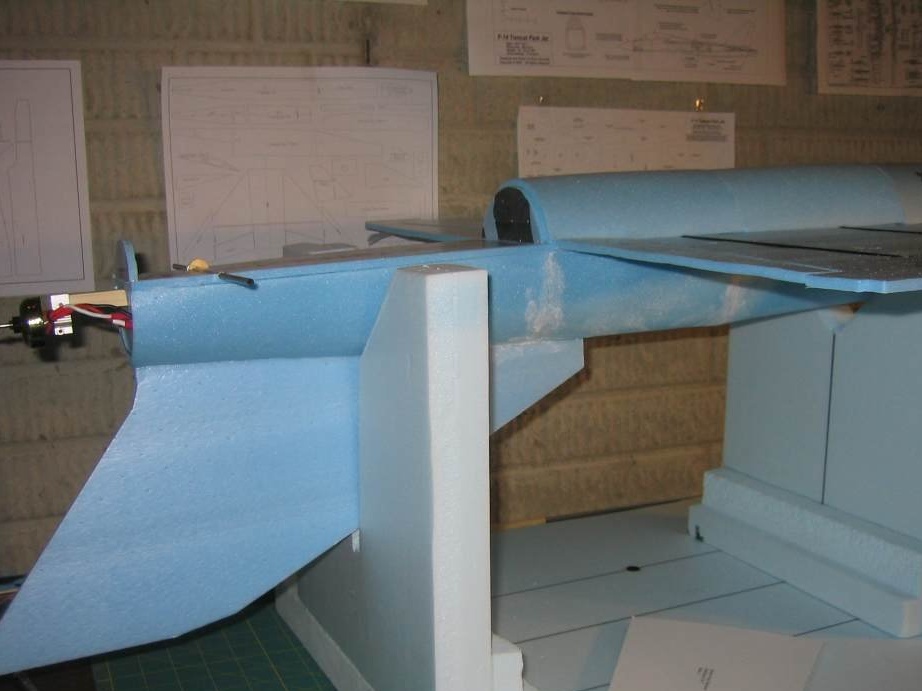
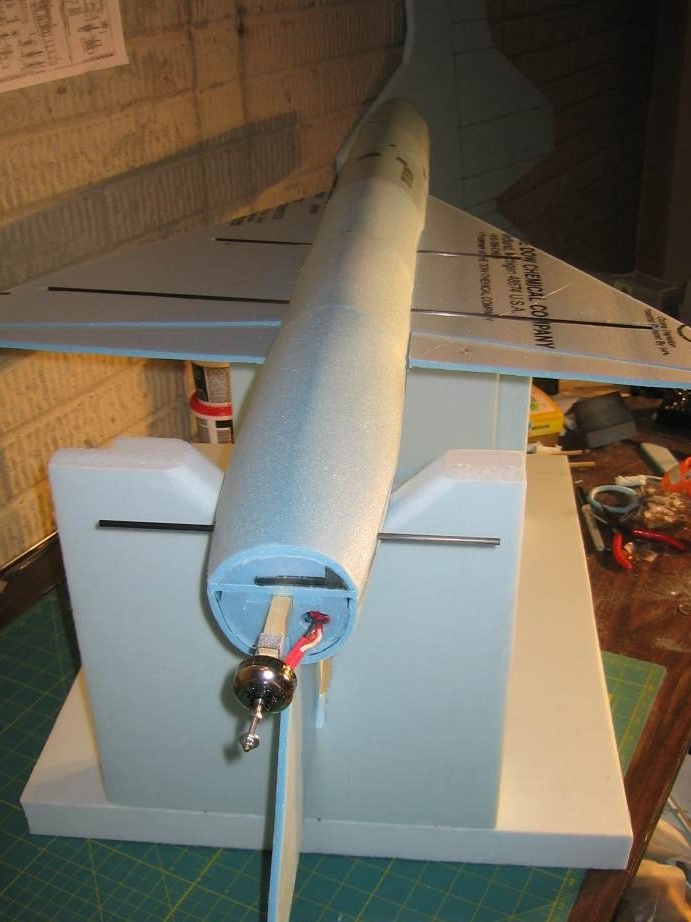
Trying on and gluing a wooden block for installing the motor.
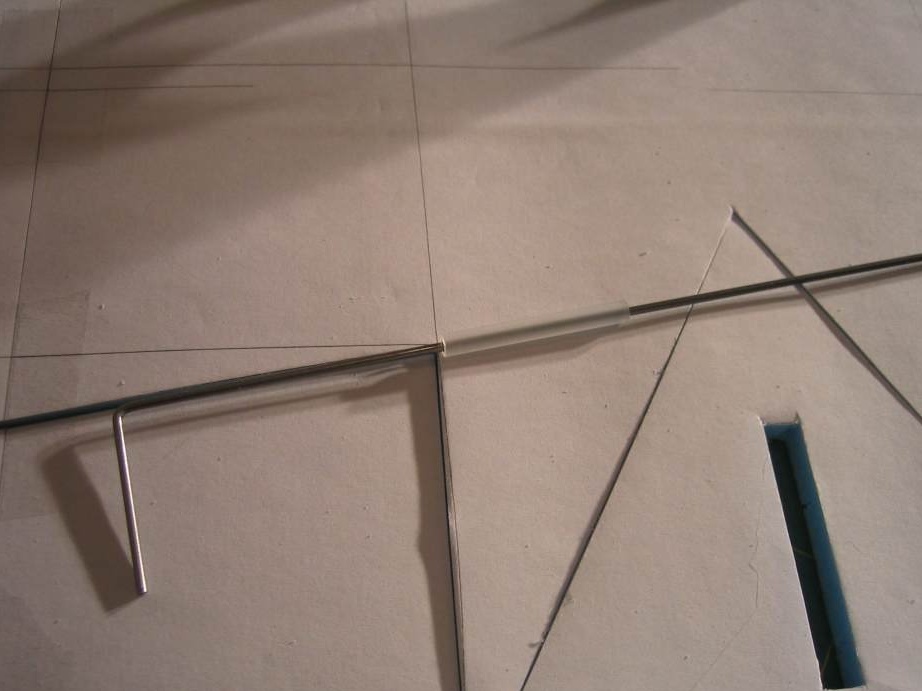
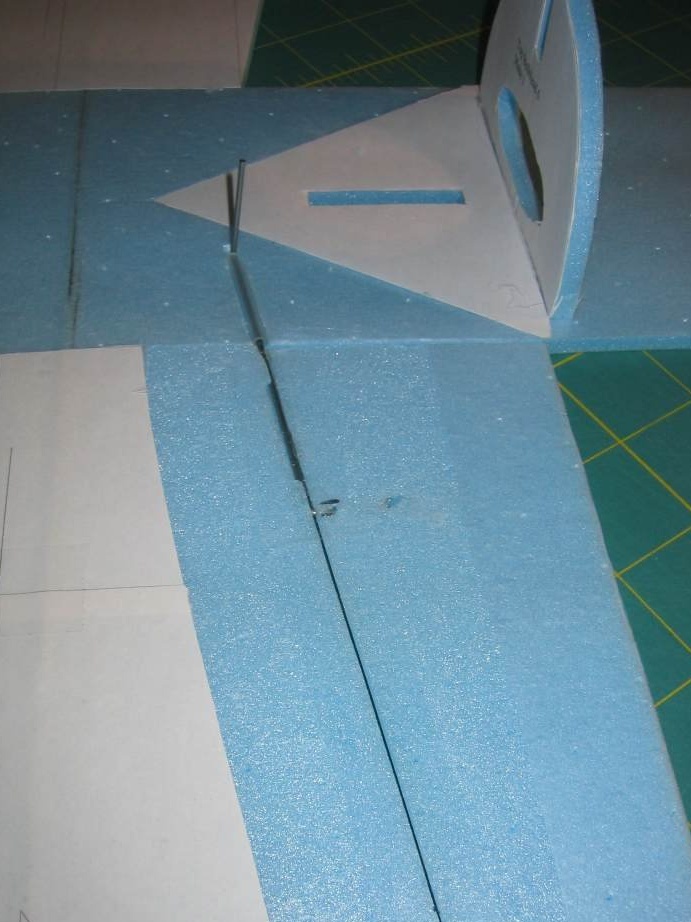
Synchronizers connecting ailerons to each other are made of wire.
The first bend is made.
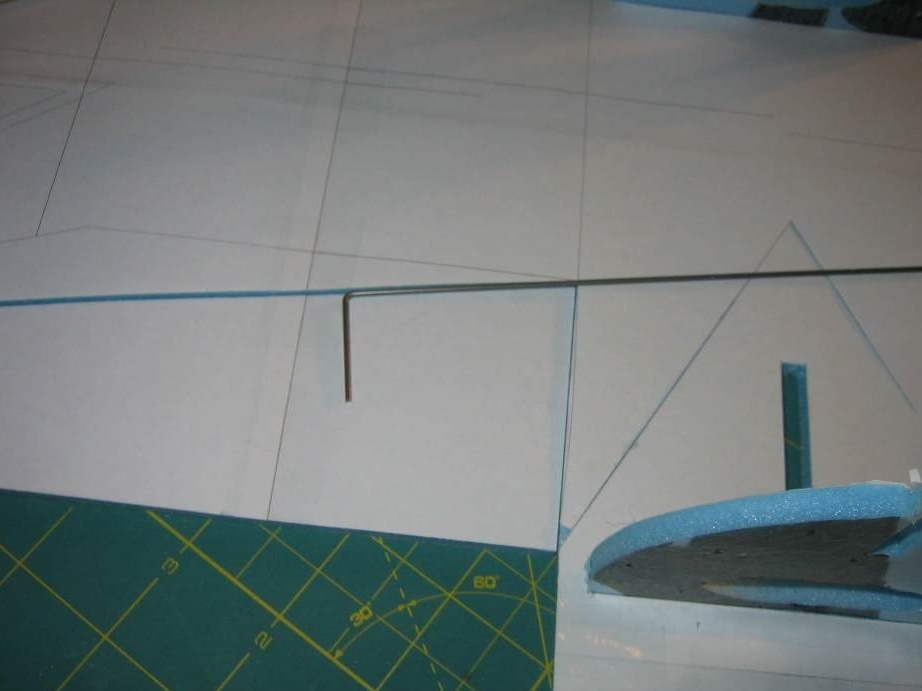
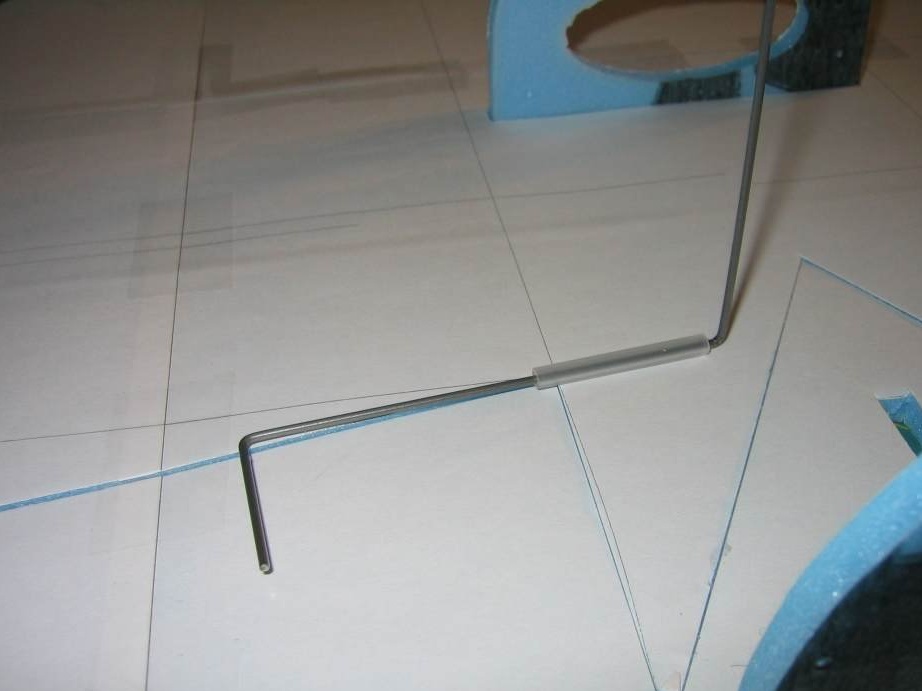
Before making the second bend, a plastic tube is put on the wire, in which the synchronizer will rotate.
The next bend is made at an angle of 90 degrees and is tried on in place.
We cut the synchronizer to the desired length.
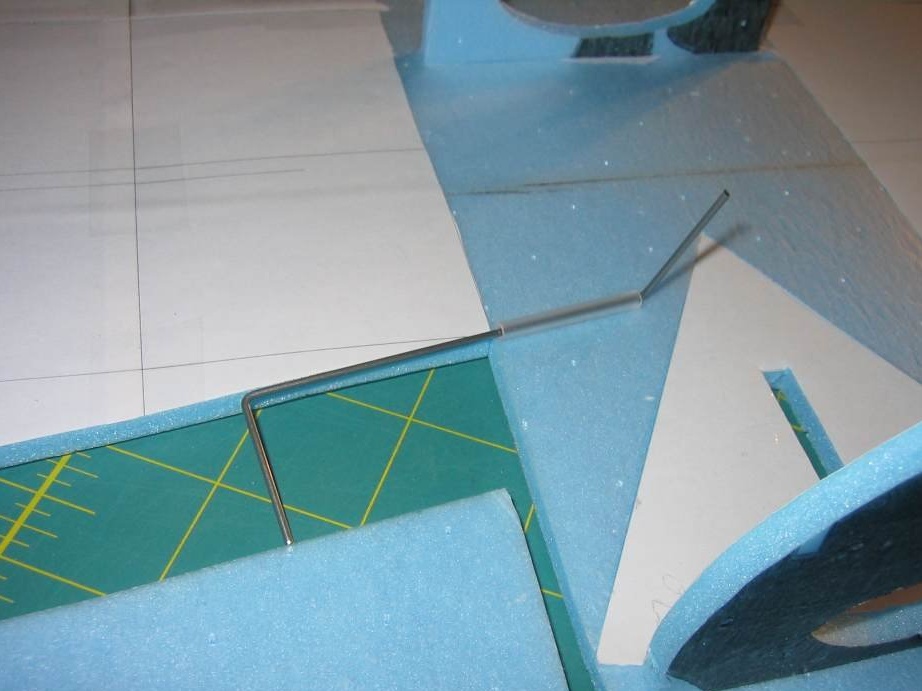
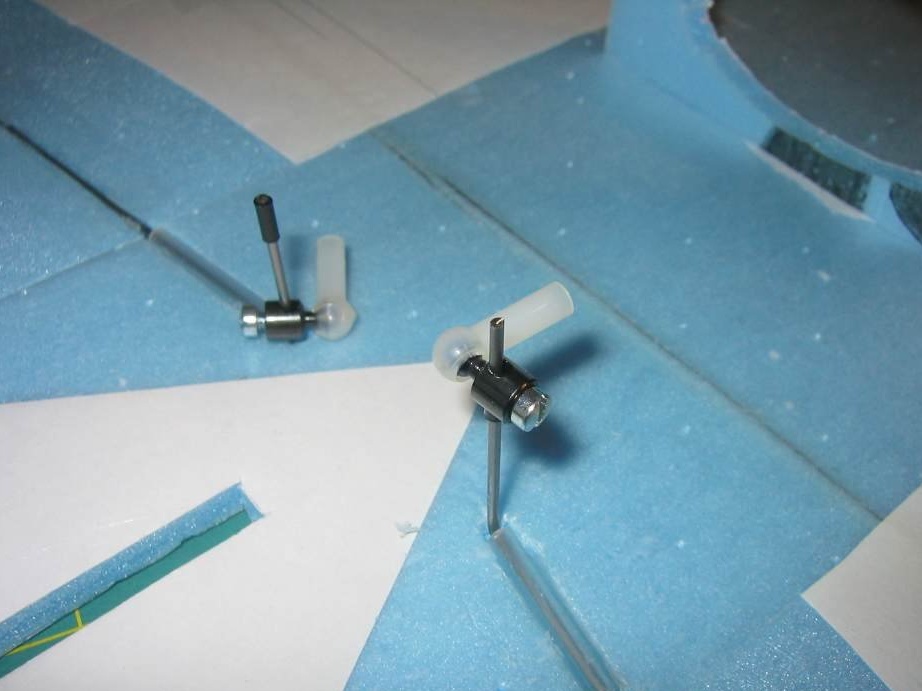
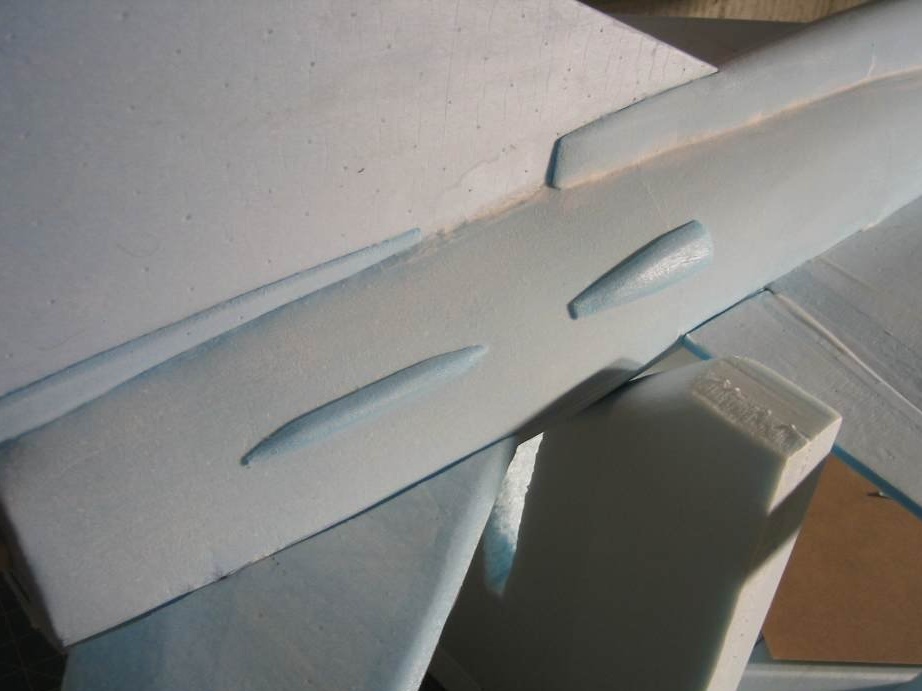
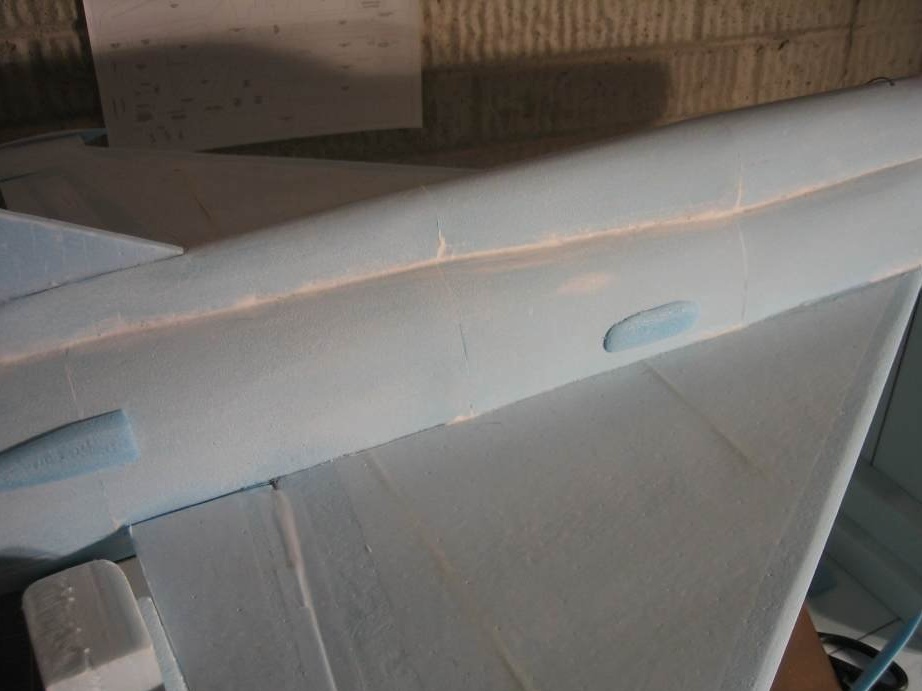
We make a recess in the blank for installing a plastic tube.
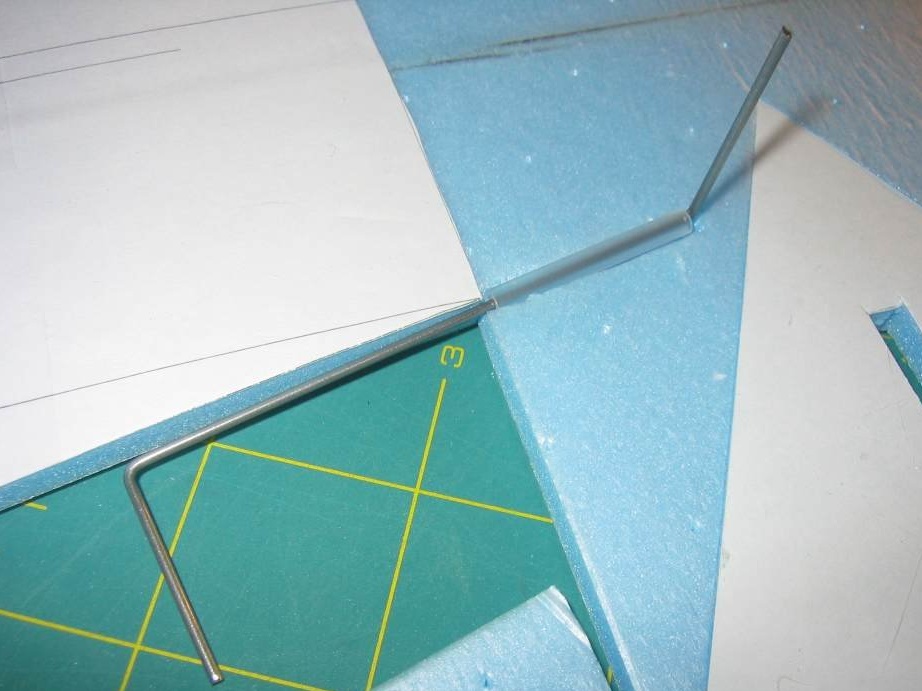
Ailerons are mounted, and a synchronizer is glued to them.
This is how it looks.
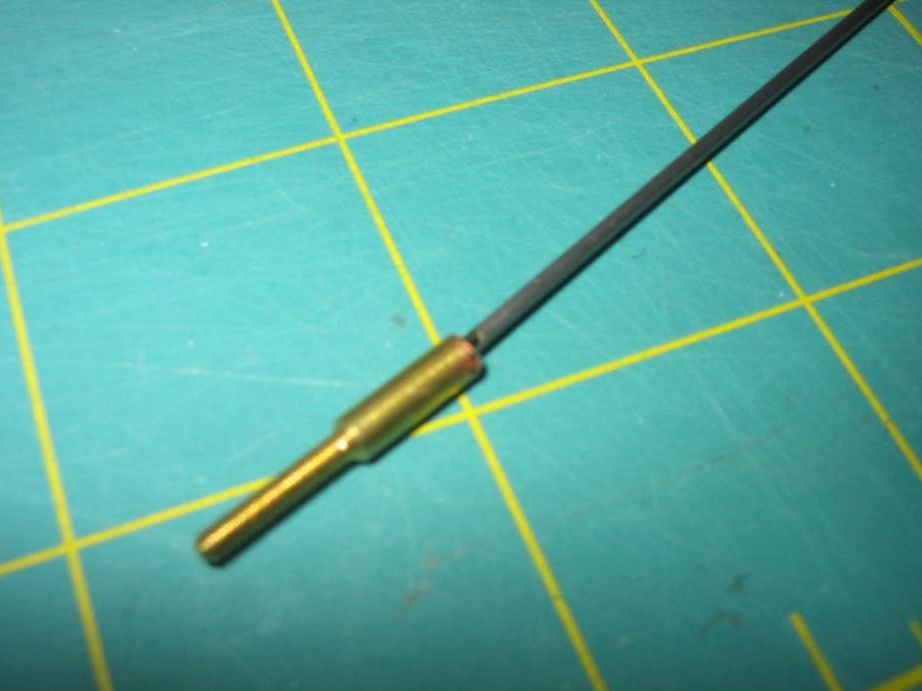
If the wire is very thin, the author suggests applying heat shrink.

The tip is soldered to the ailerons.
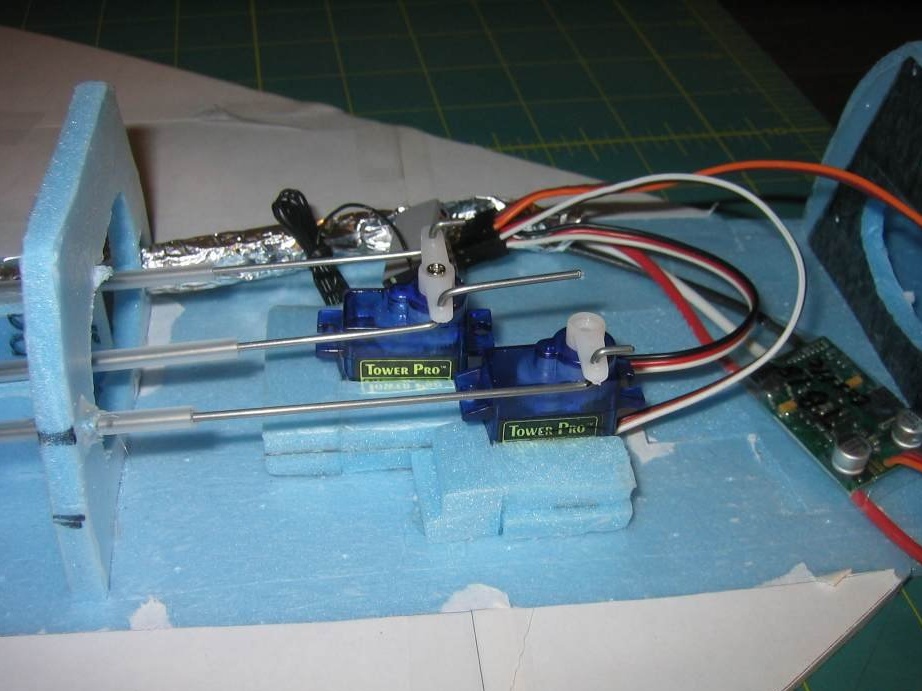
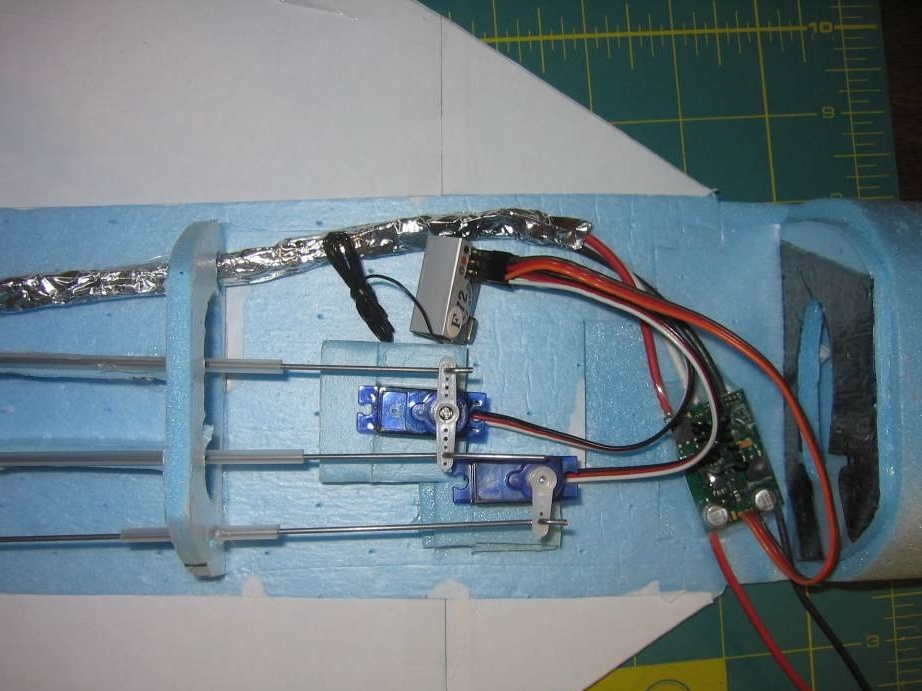
Made a seat for a servo, ailerons control.
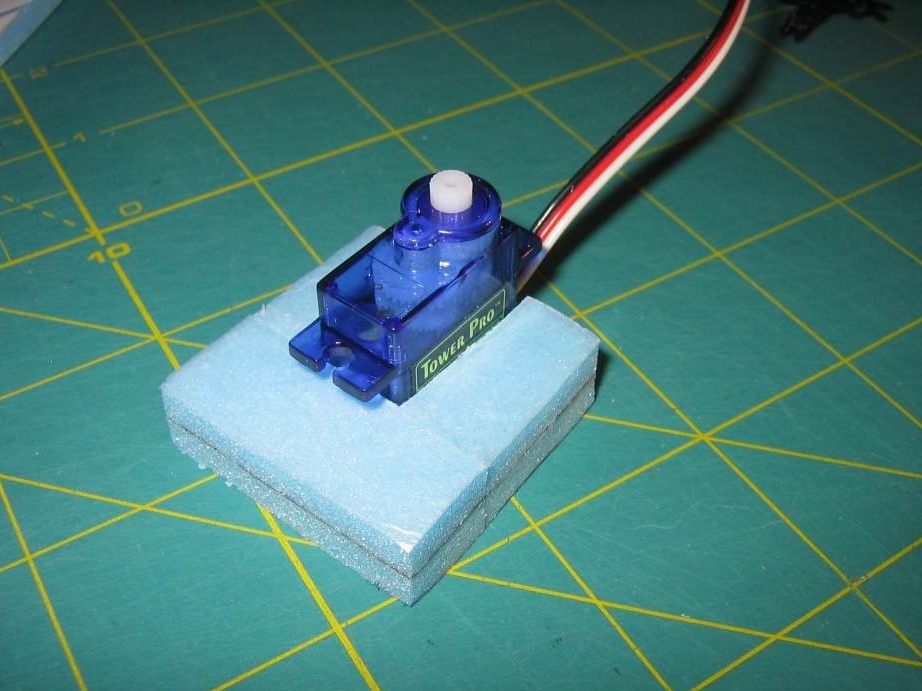
Servo, bowden and thrust to ailerons are being installed.

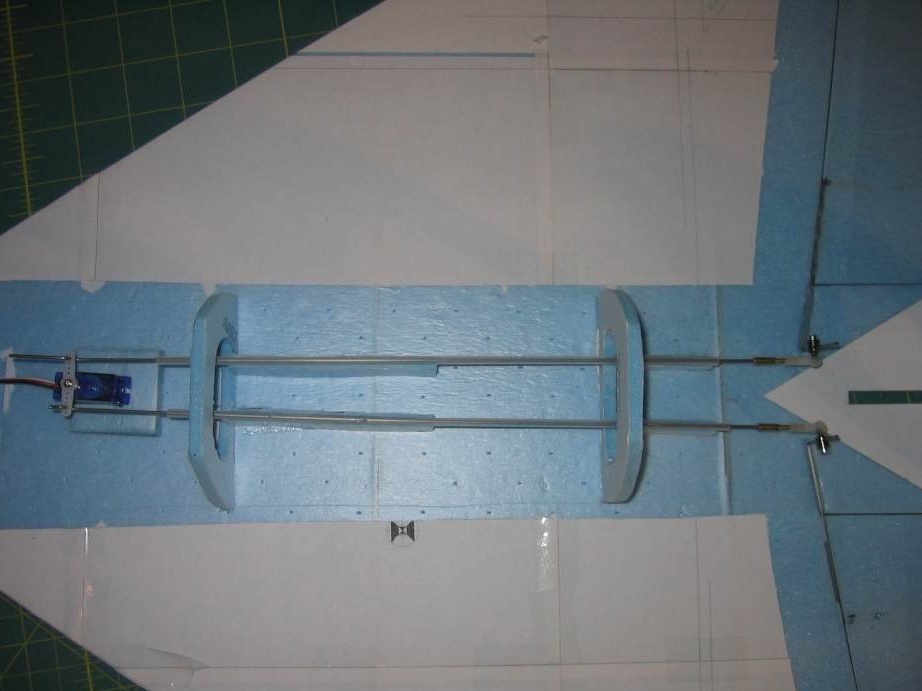

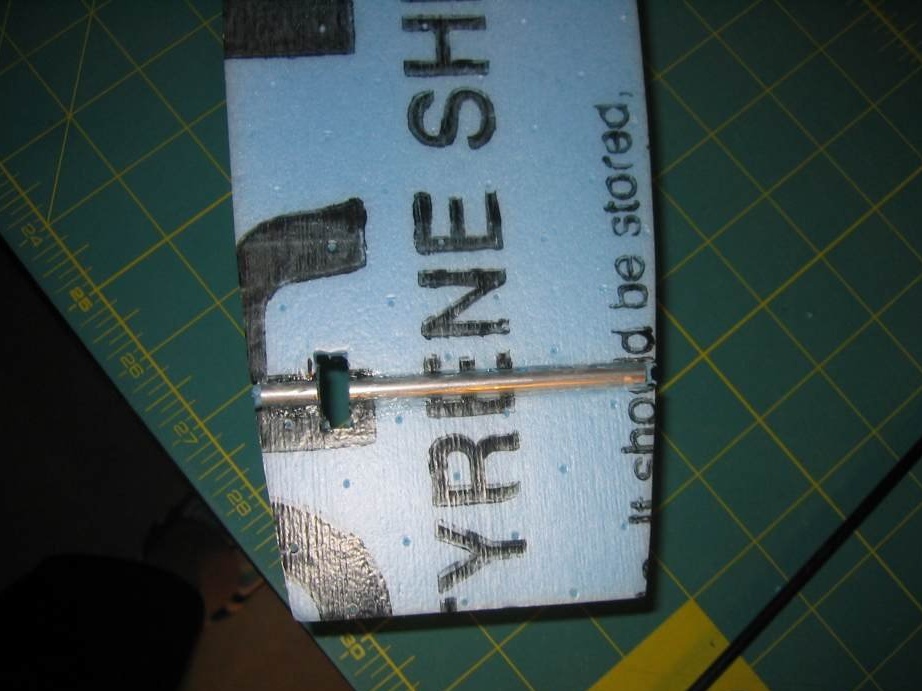
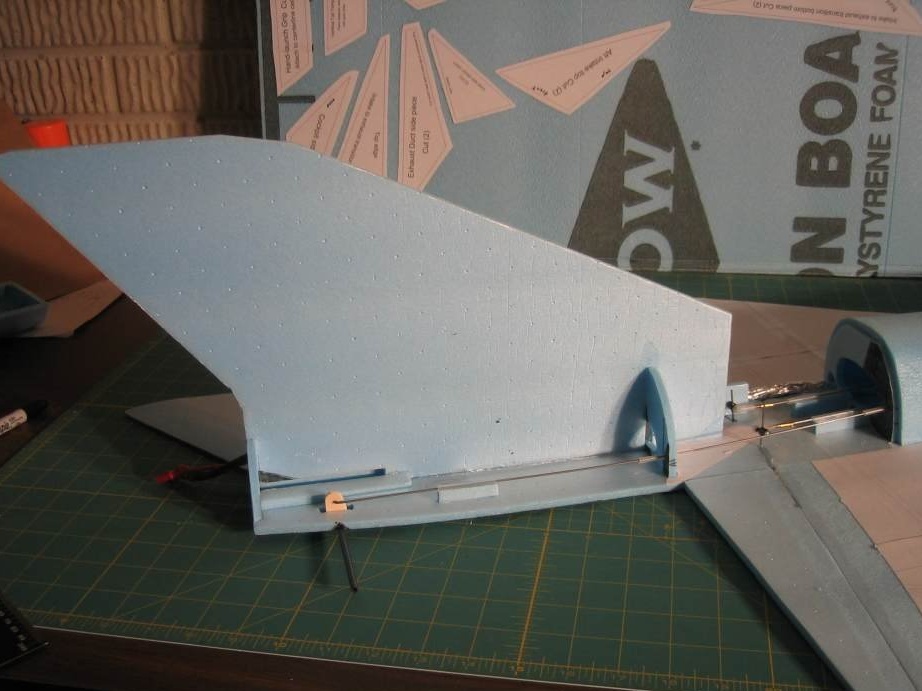
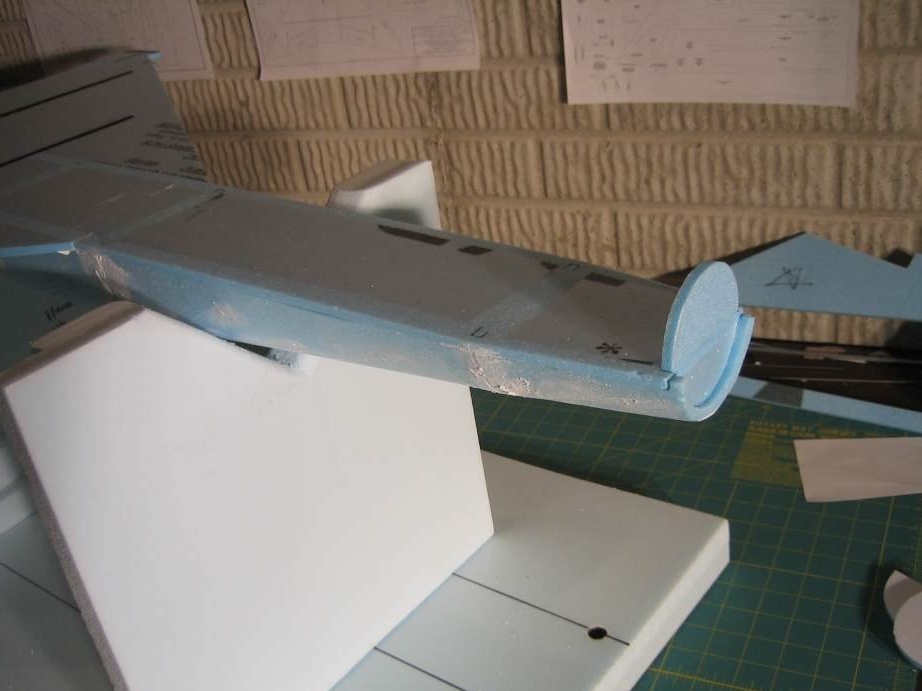
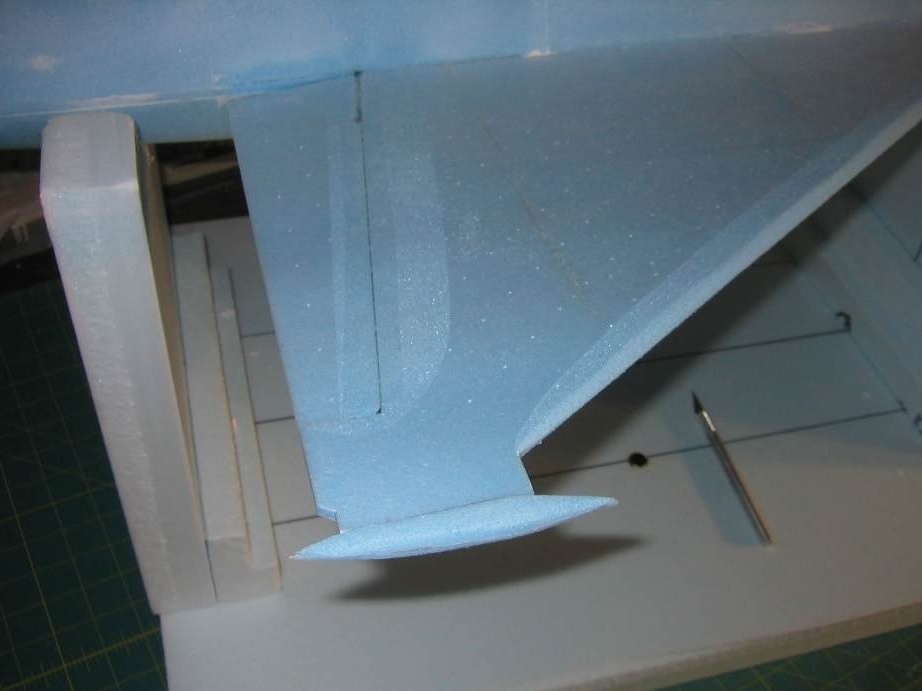
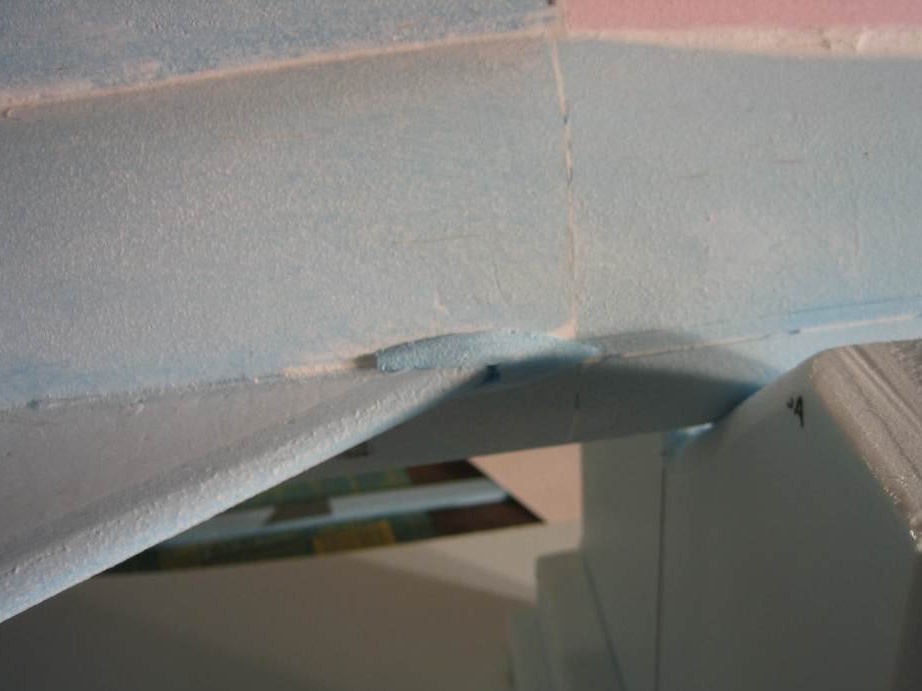
Grooves are cut for gluing tubes in which the stabilizer axis rotates.
When gluing aluminum tubes, a carbon rod is inserted into them to center them
Mounted elevator control servo.
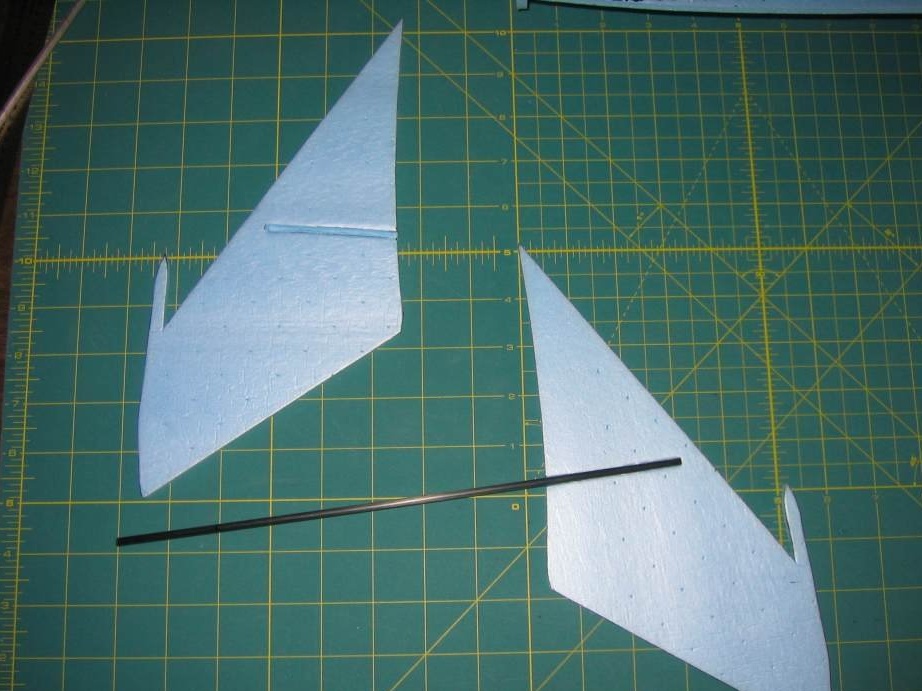
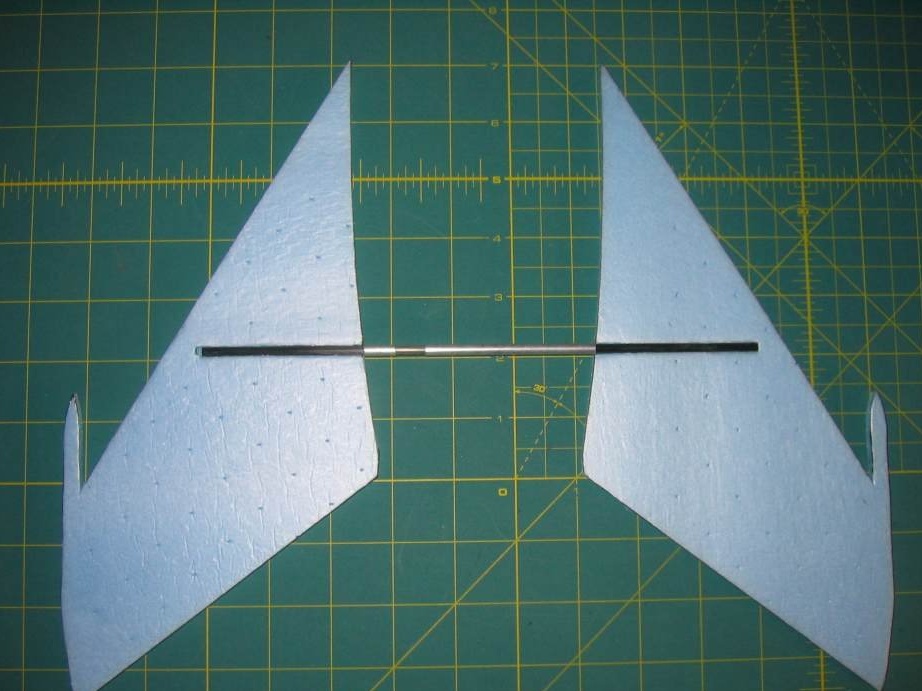
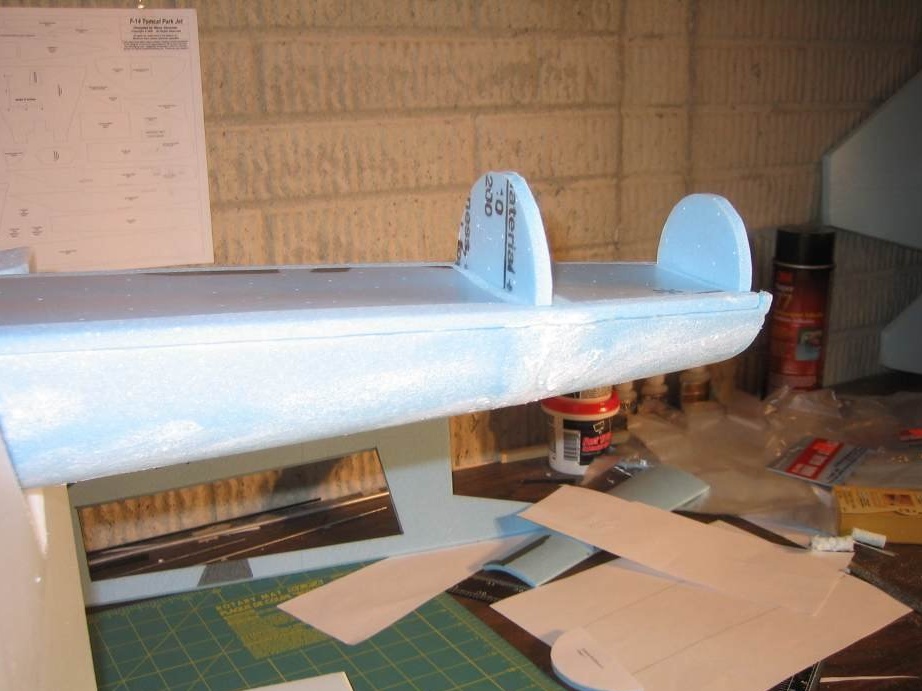
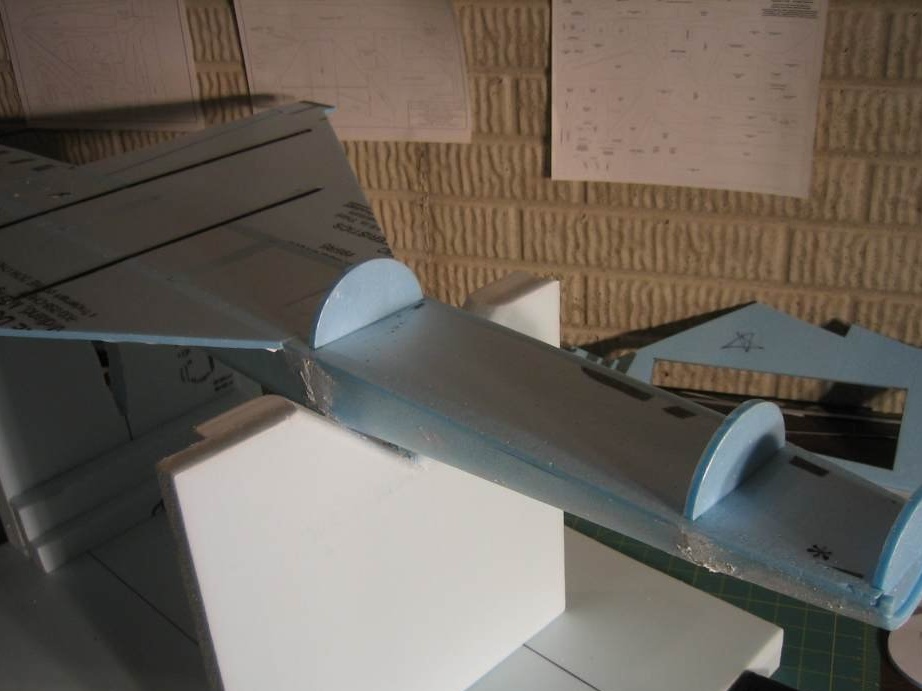
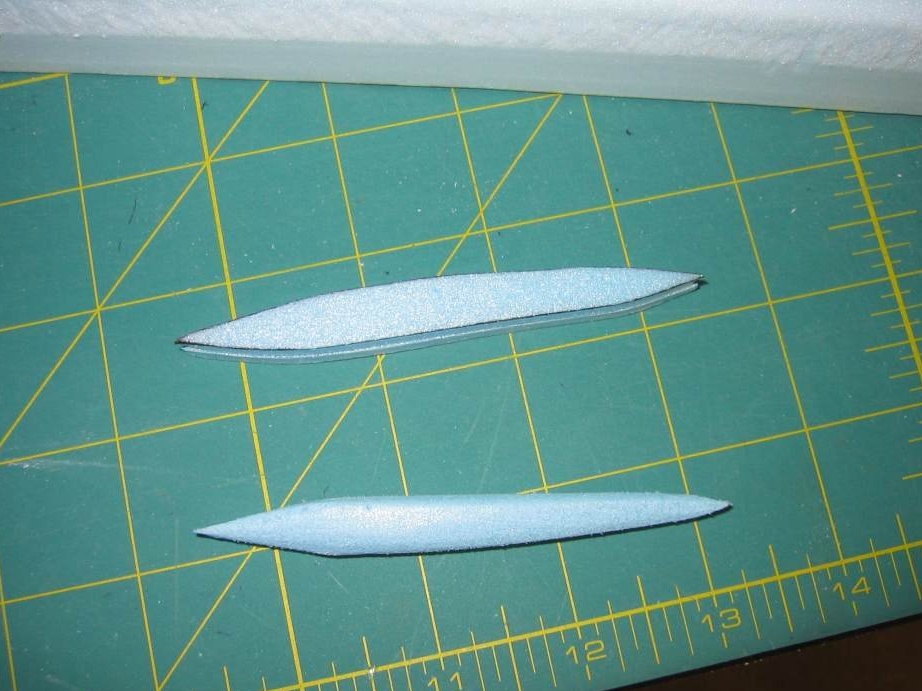
Grooves are cut in the blanks of the stabilizer-PB.
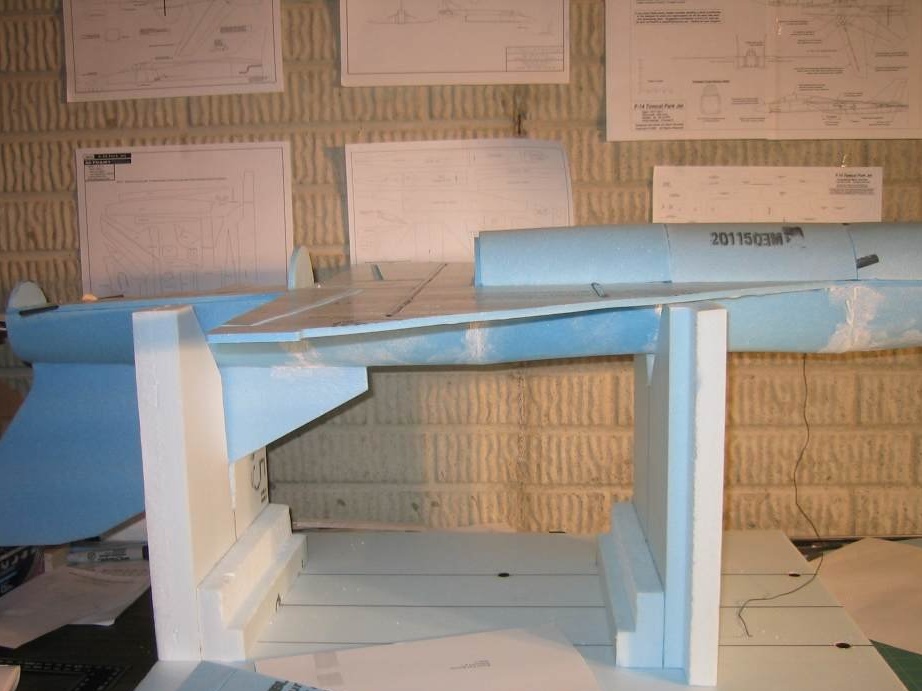
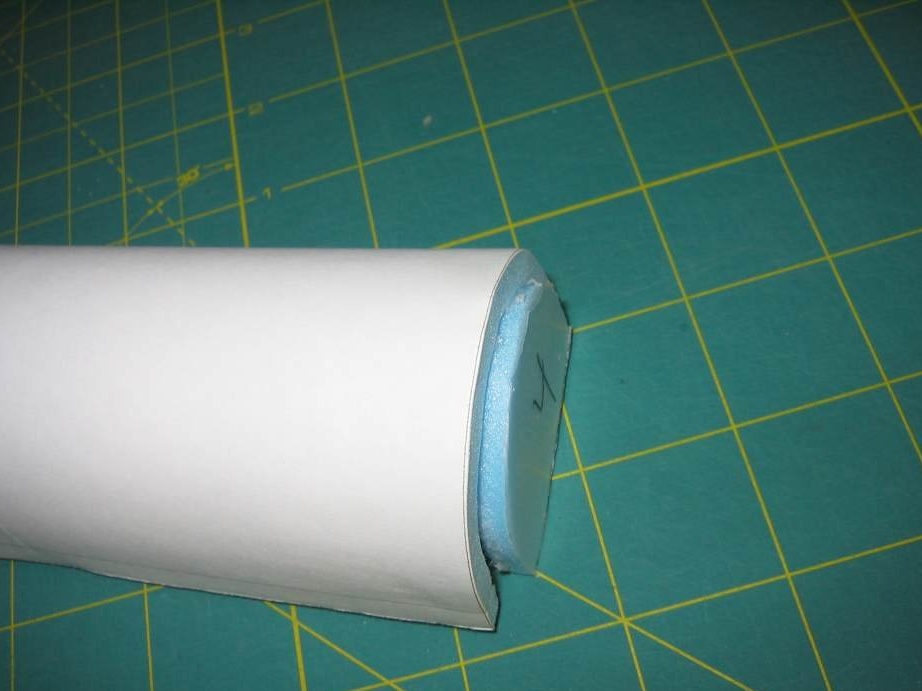
Trying on the blanks of the upper fuselage skin.
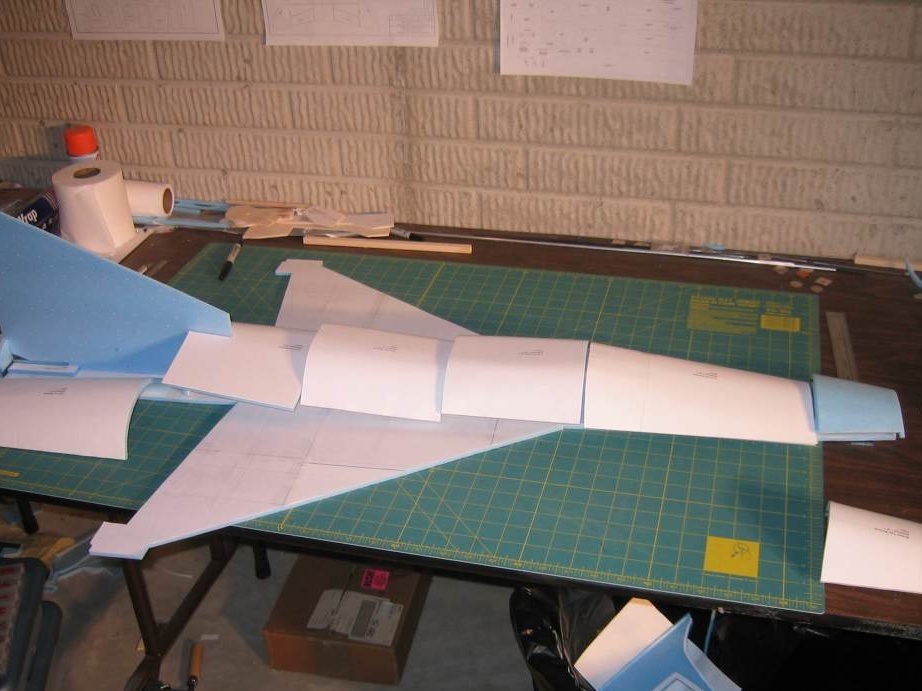
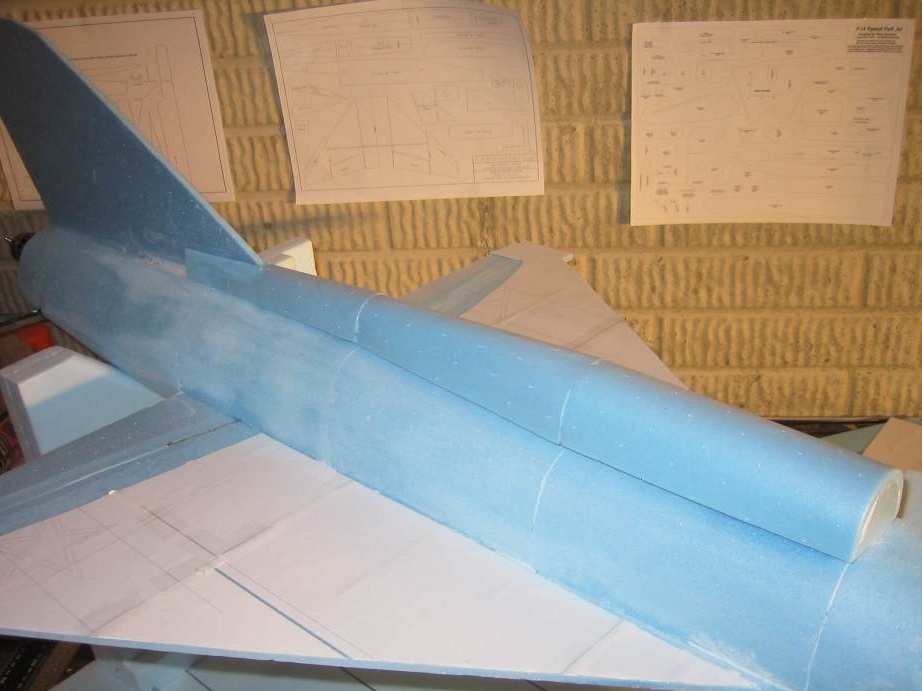
The upper fuselage skin is glued.
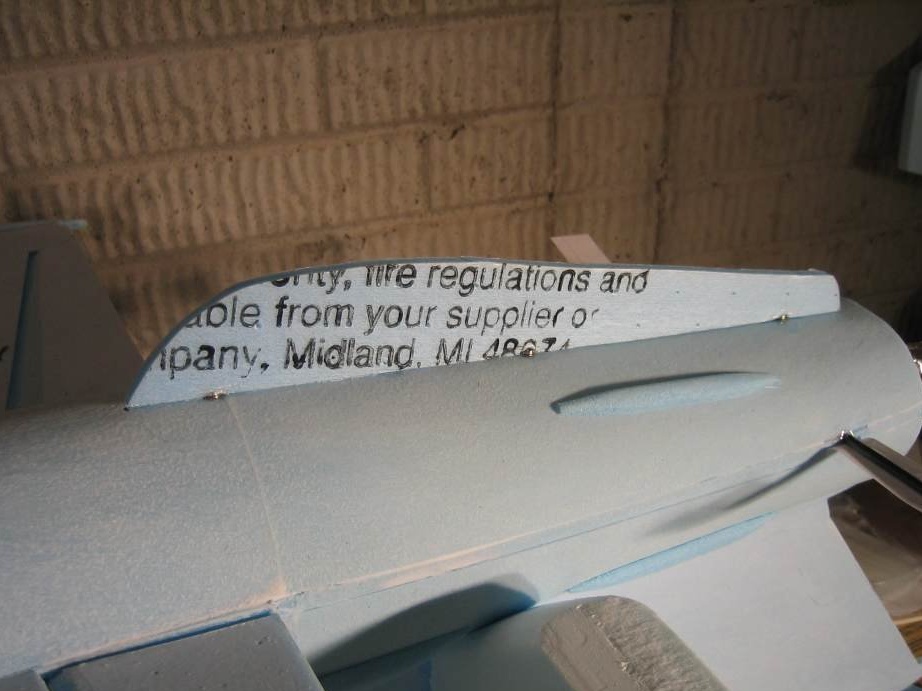
The keel is glued.
This piece of skin covers the front of the keel.

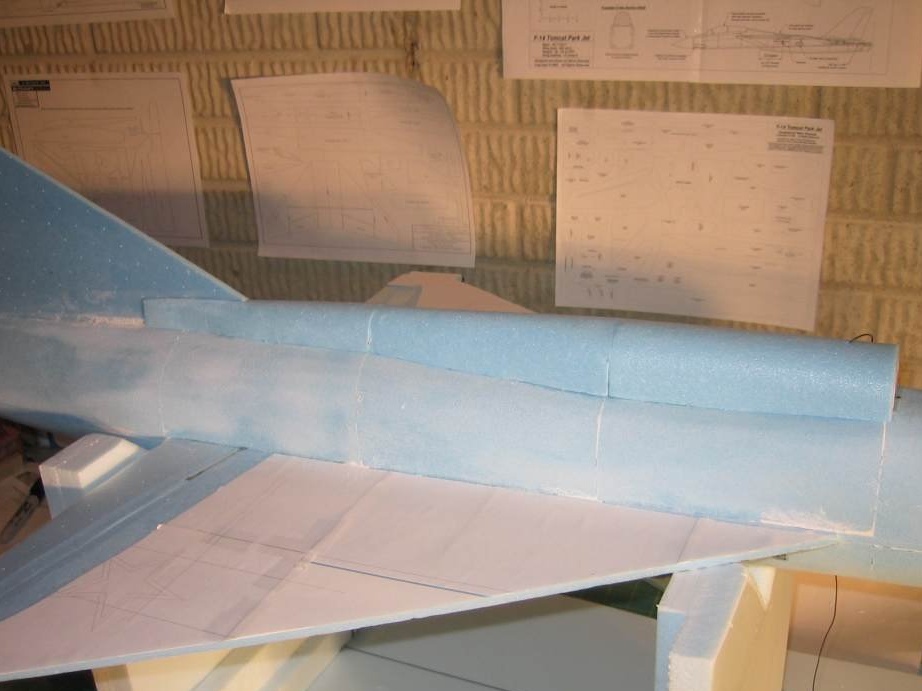
The fuselage skin in the rear, glued on both sides of the keel.
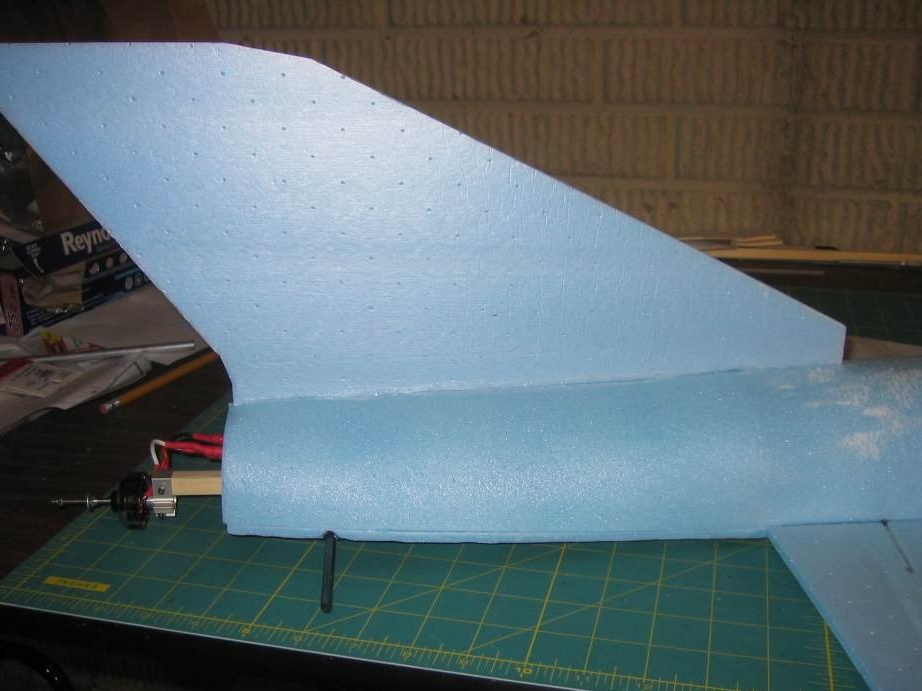
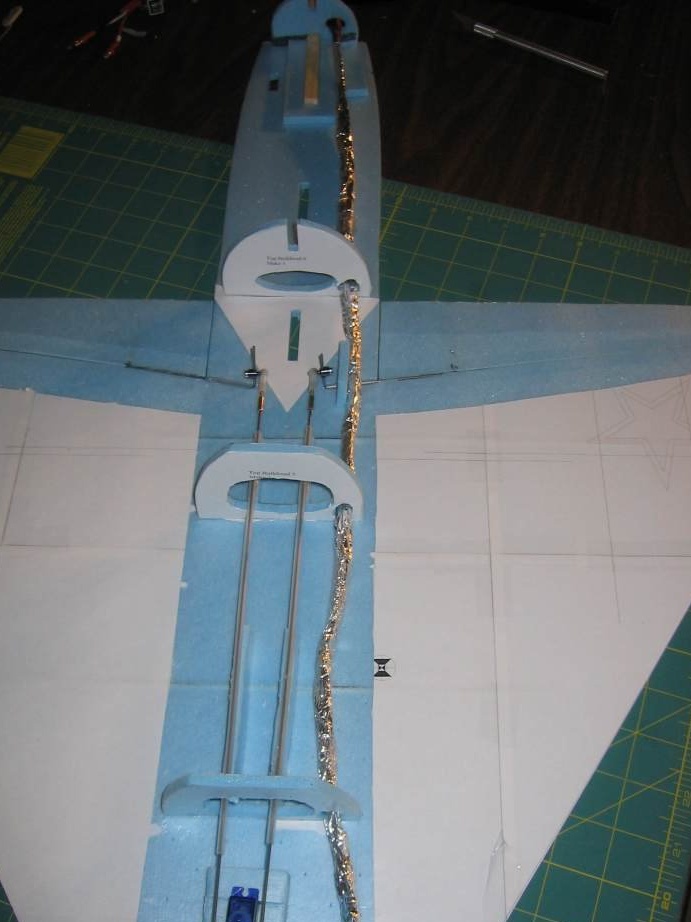
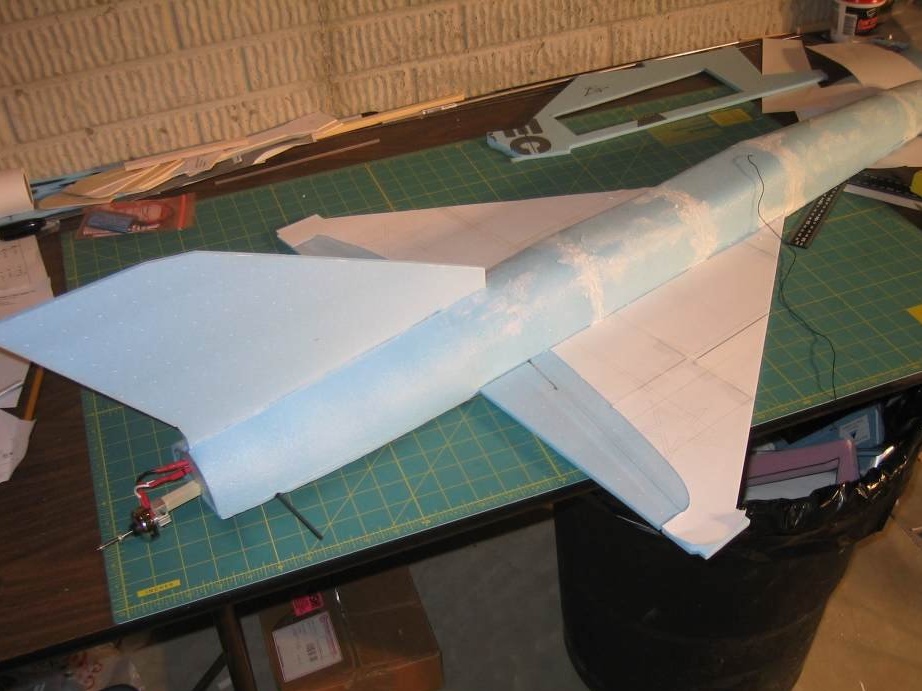
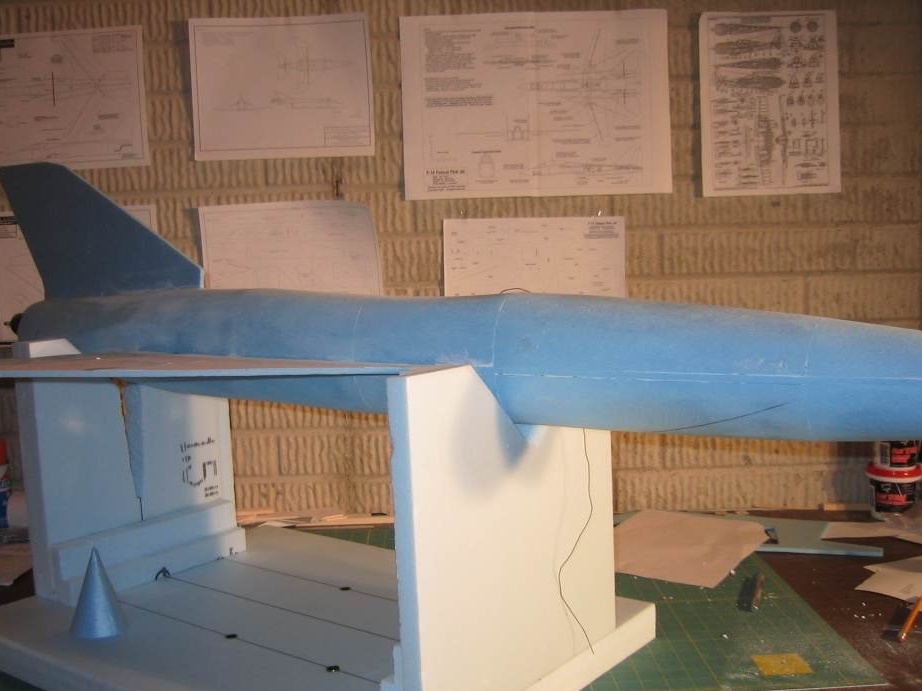
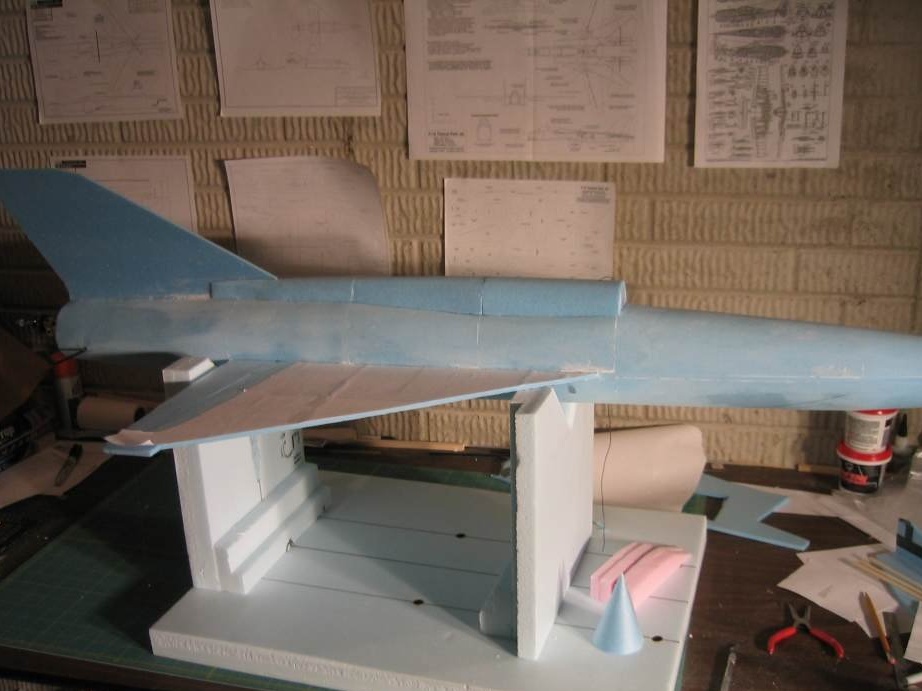
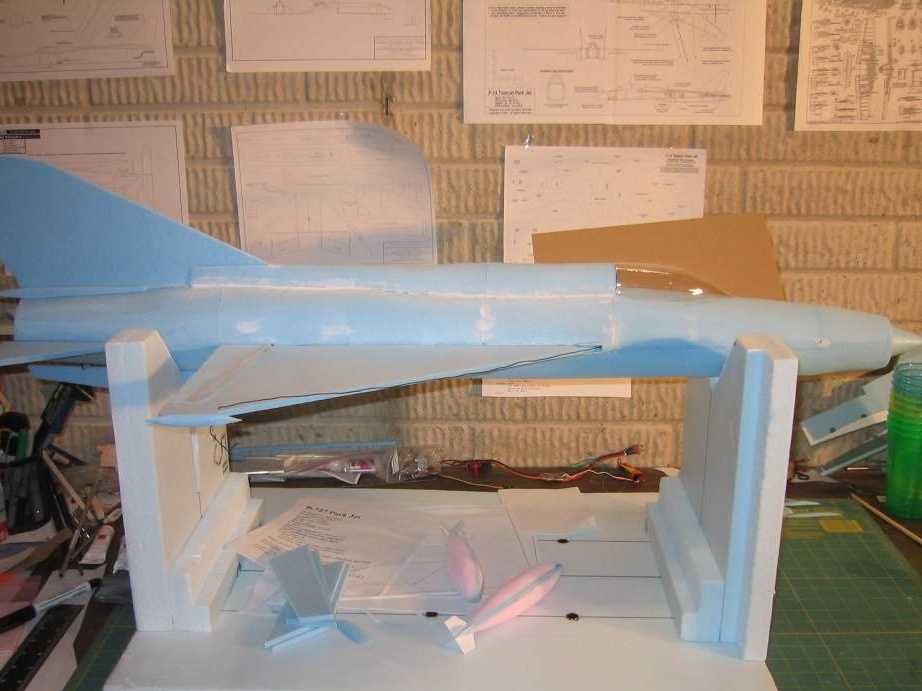
This is how the model looks at this moment.
Installation of bulkheads on the underside of the fuselage begins.

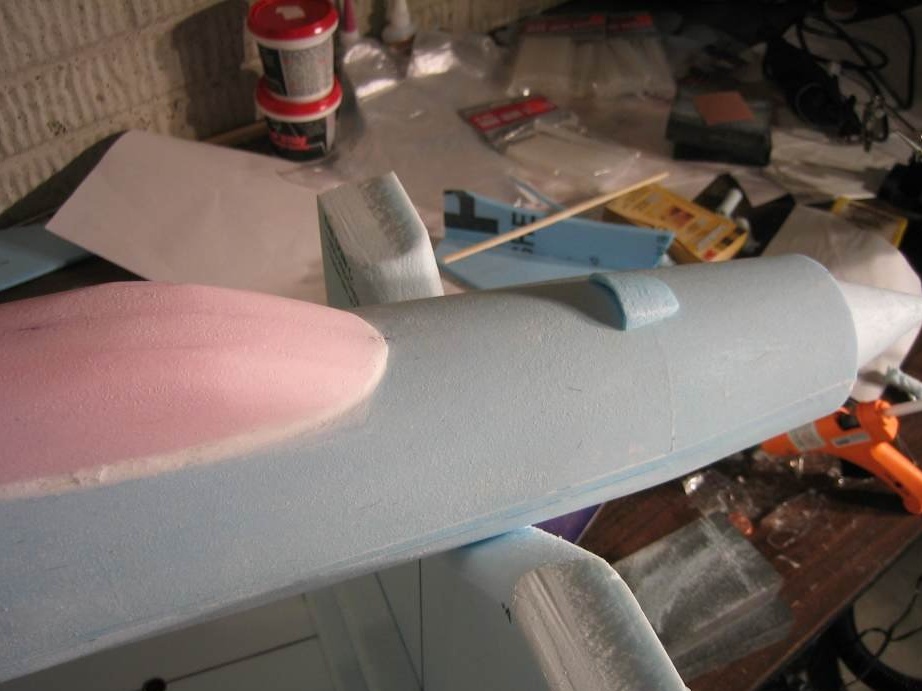
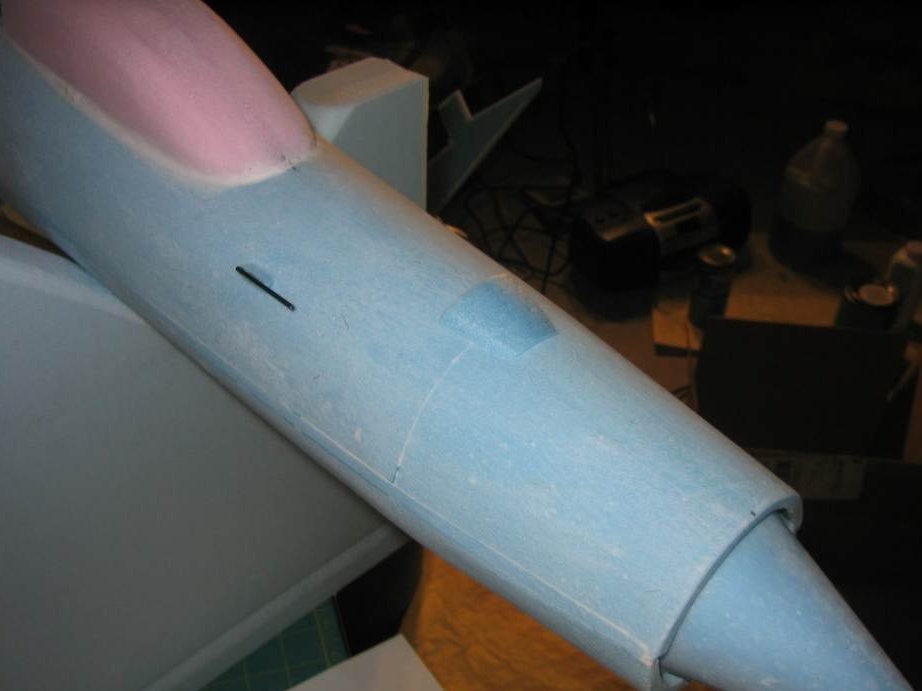
A longitudinal protrusion is mounted on the top of the fuselage and glued into place.
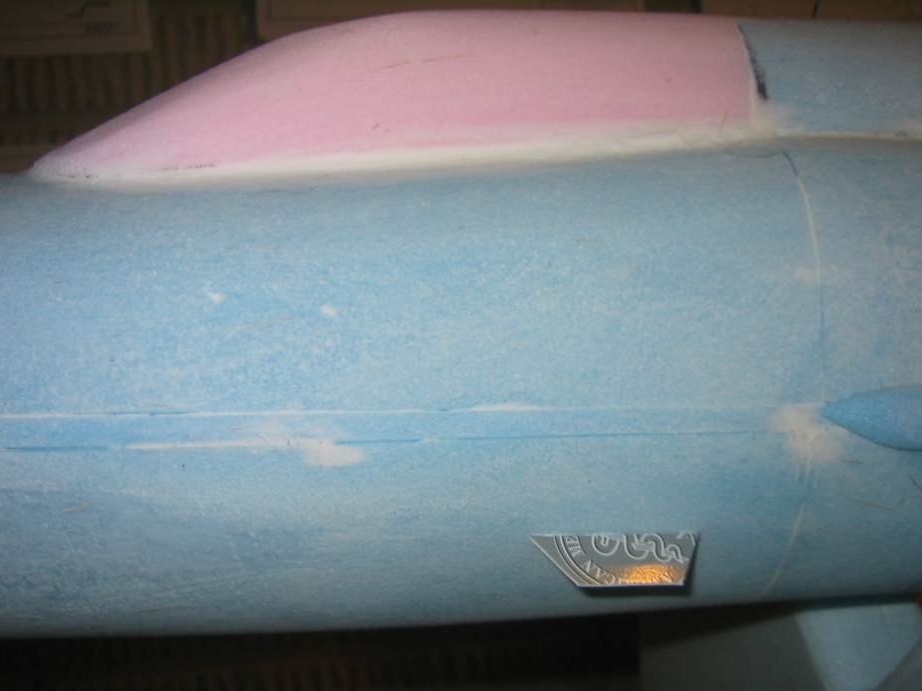
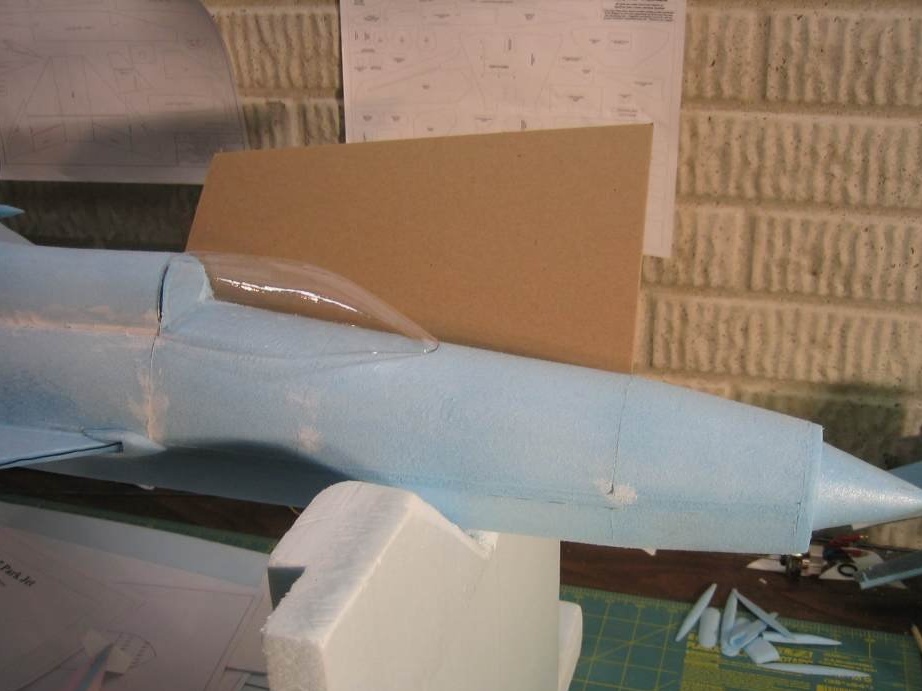
Preparing a place to install the cab. Temporarily, it is made from a piece of insulation "Penoplex and glued into place.
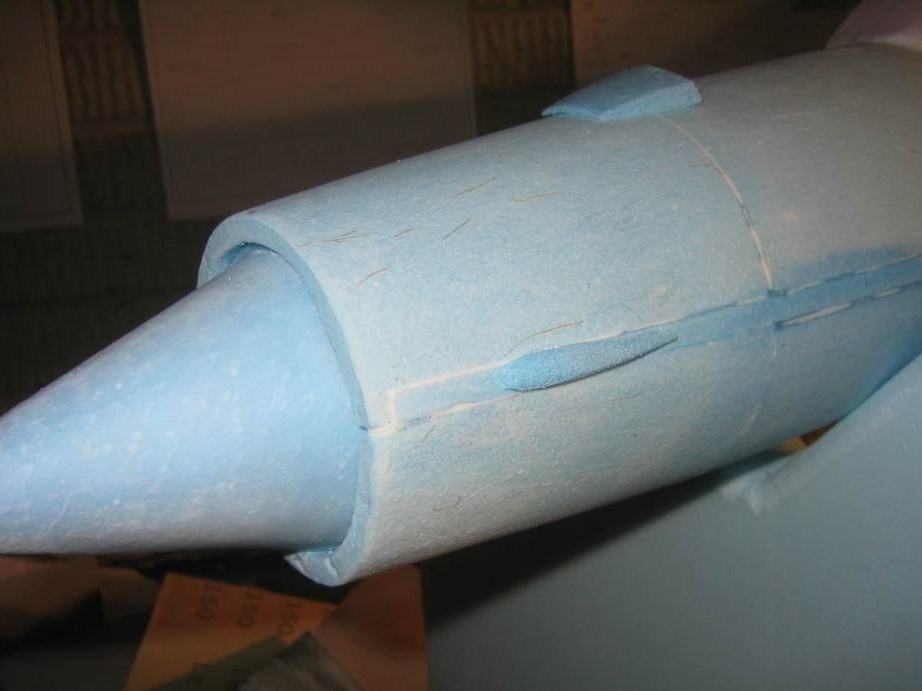
Small parts are made and glued into place.
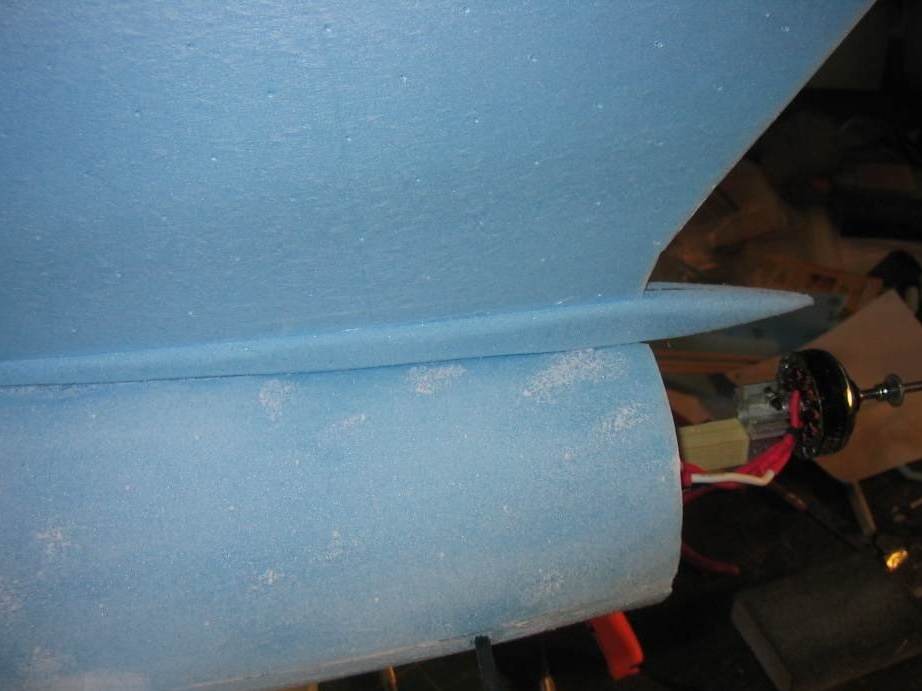

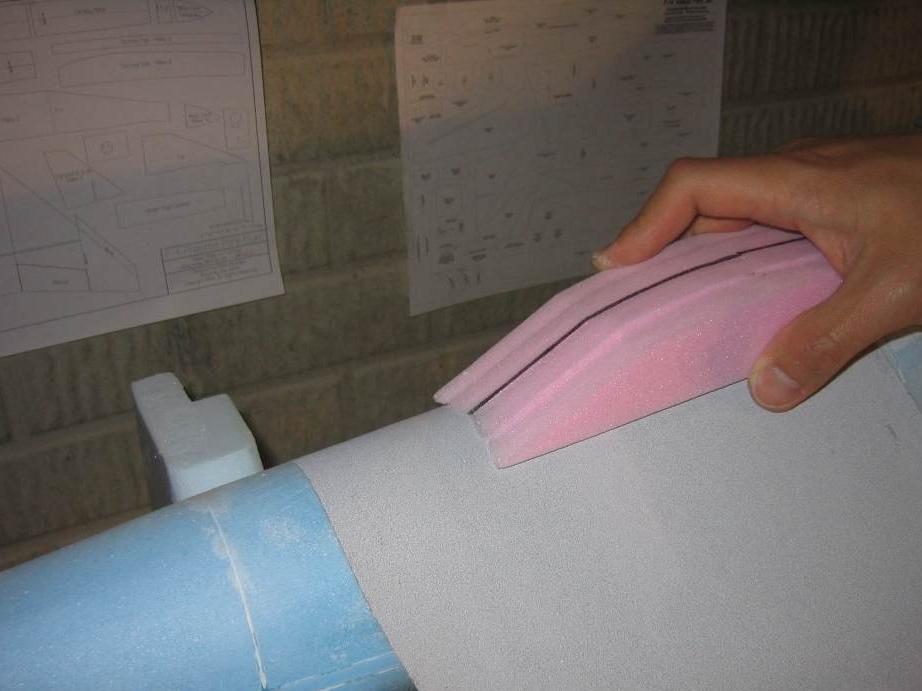
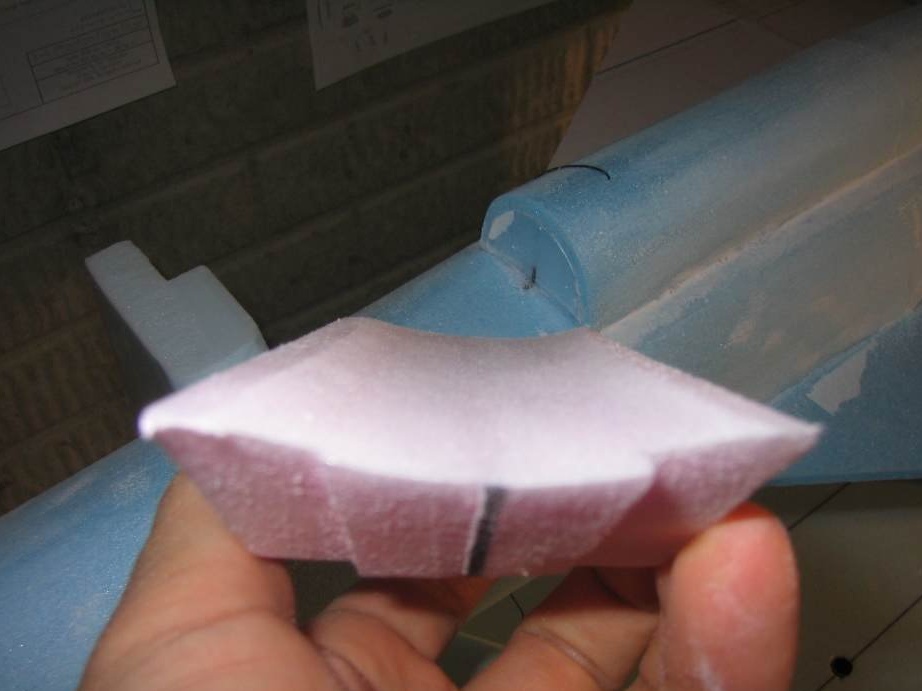
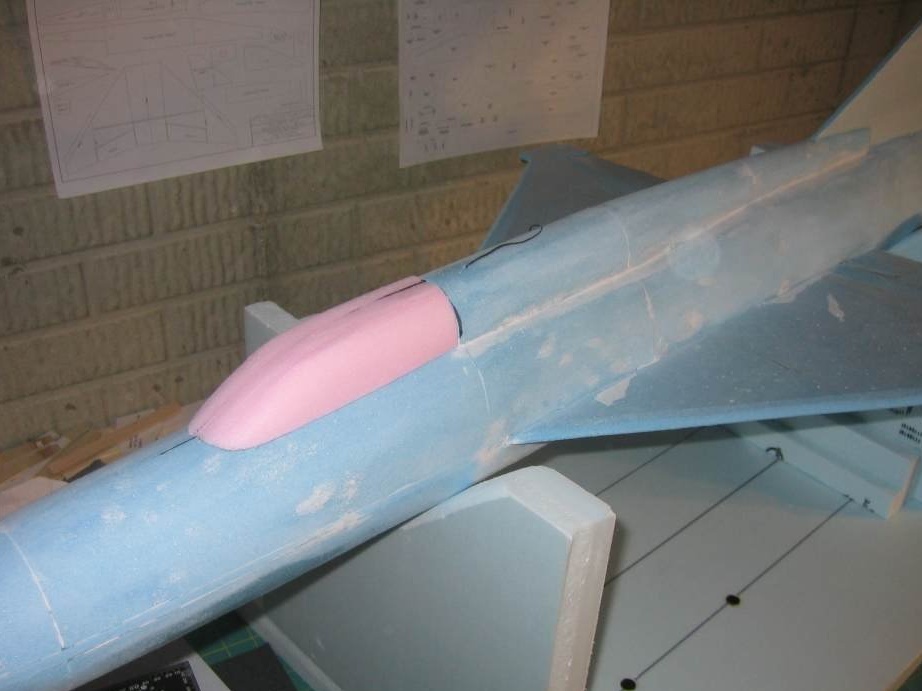
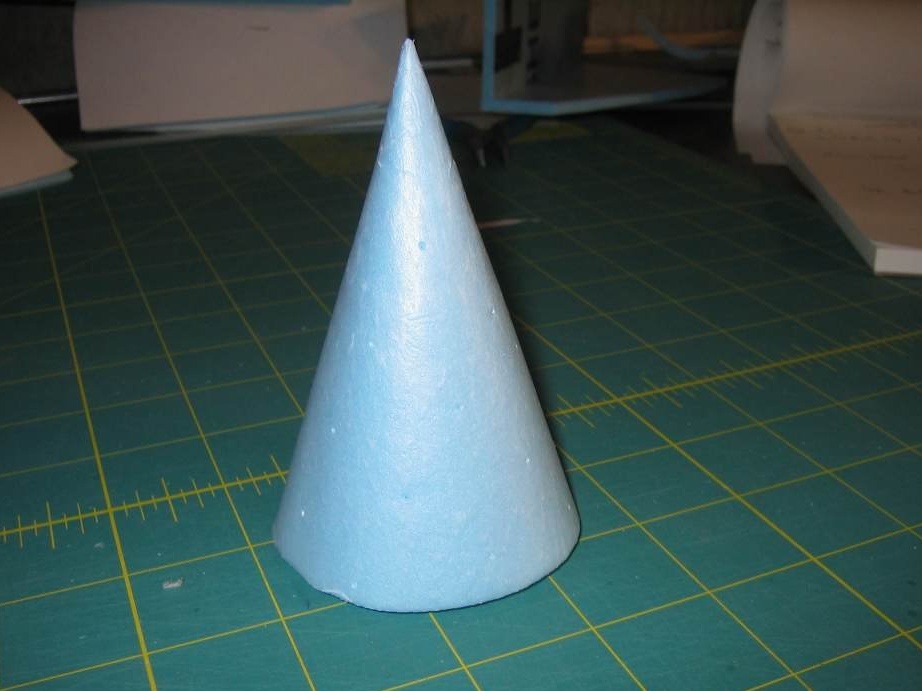
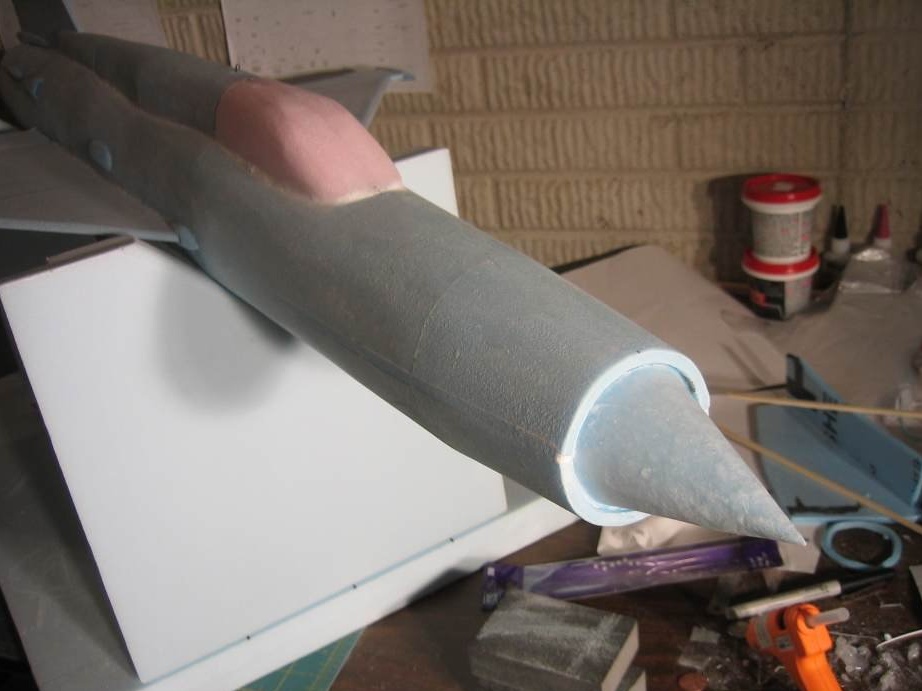
The nose cone is made and mounted on the fuselage.
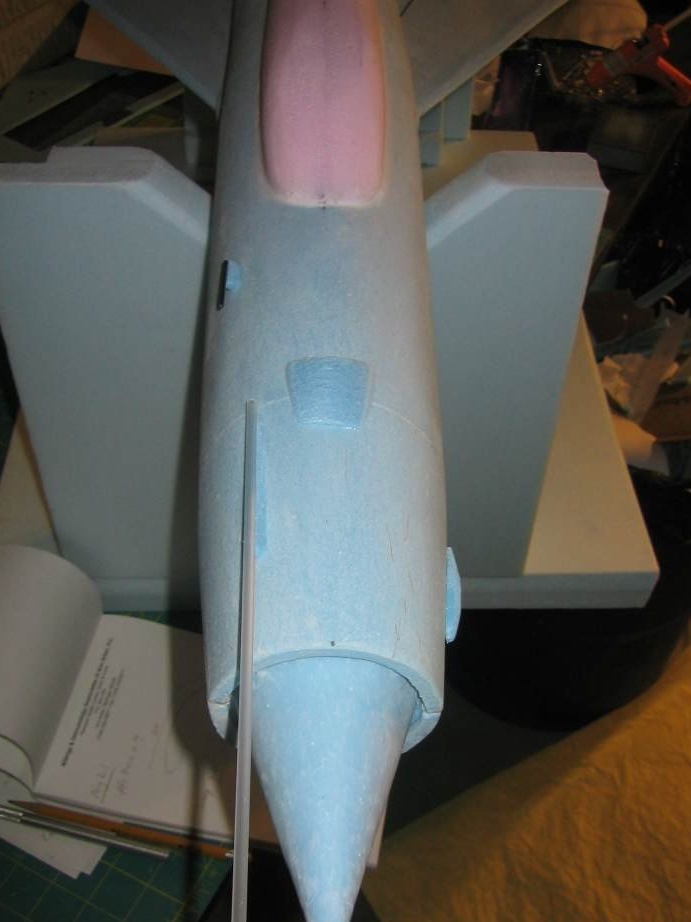
The lower safety keel is glued.
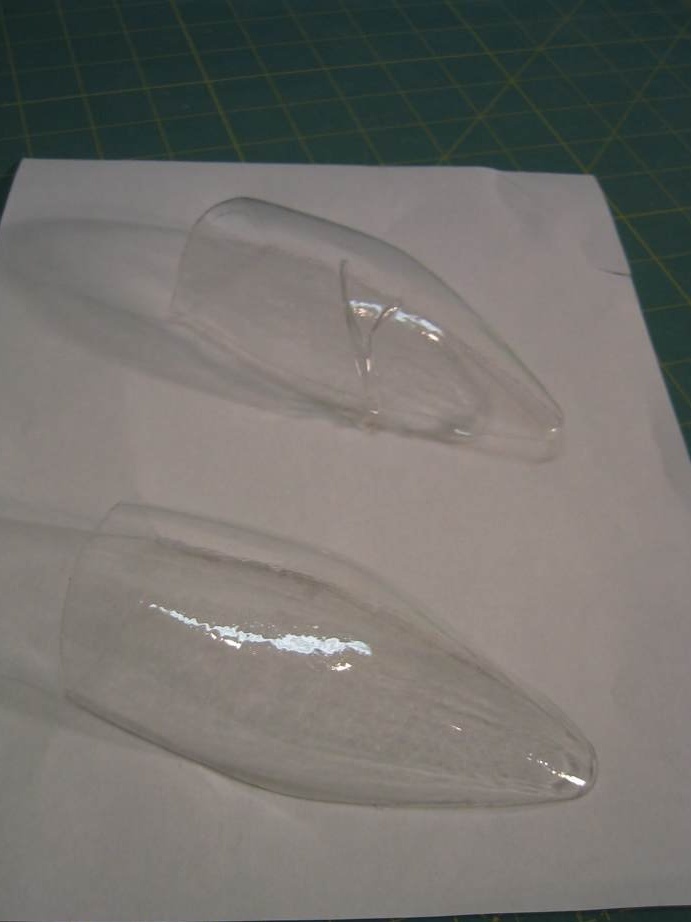
From a plastic bottle, on a special mandrel, a lamp for the cabin is made.
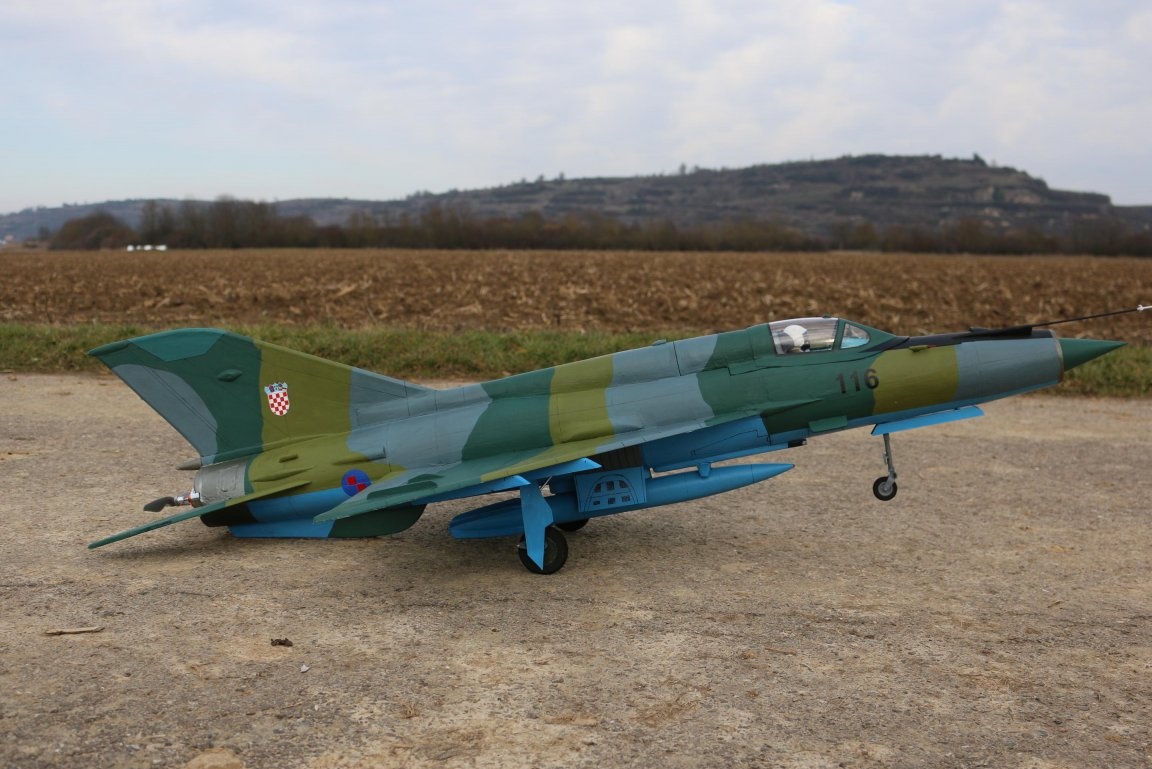
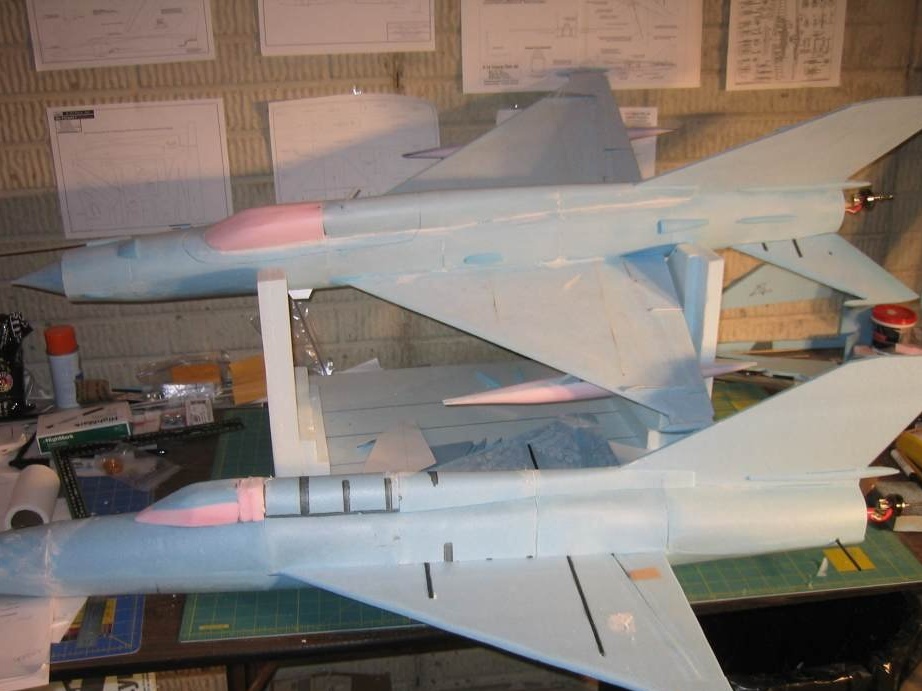
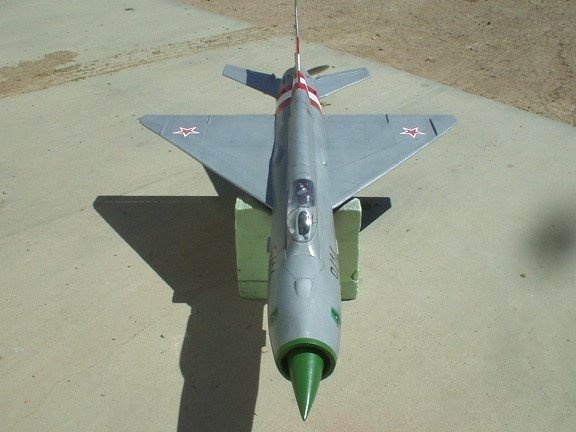
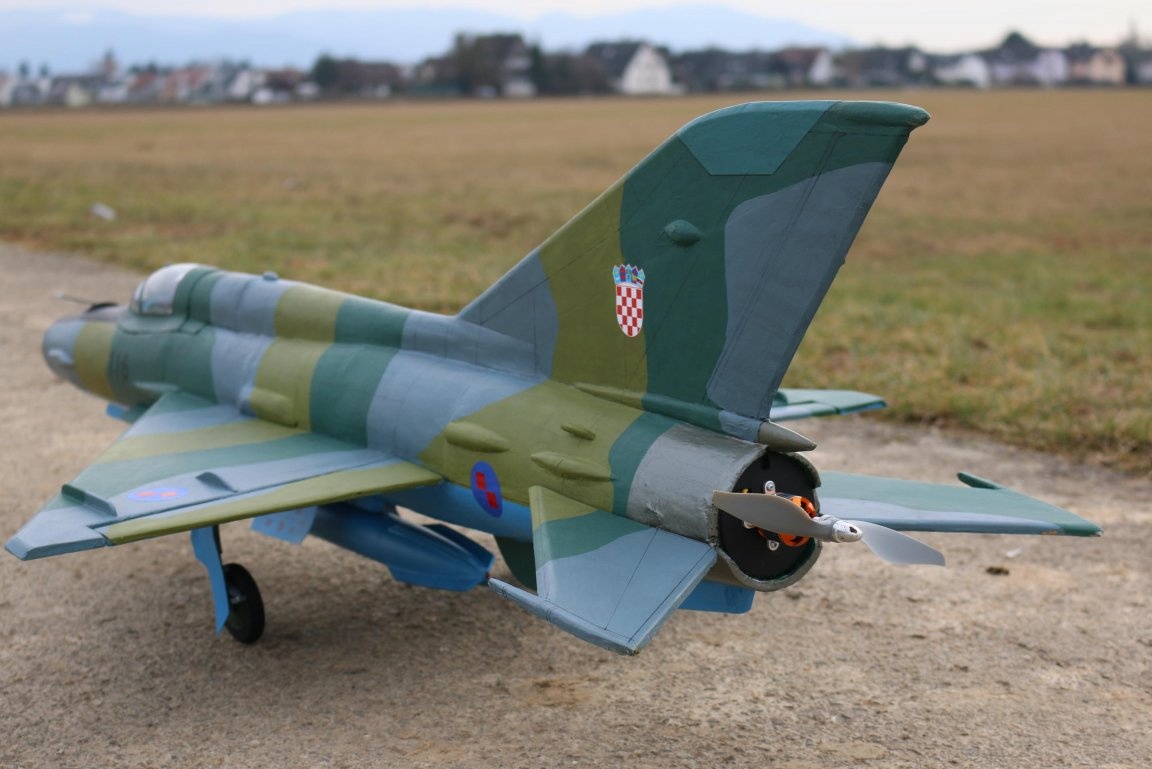
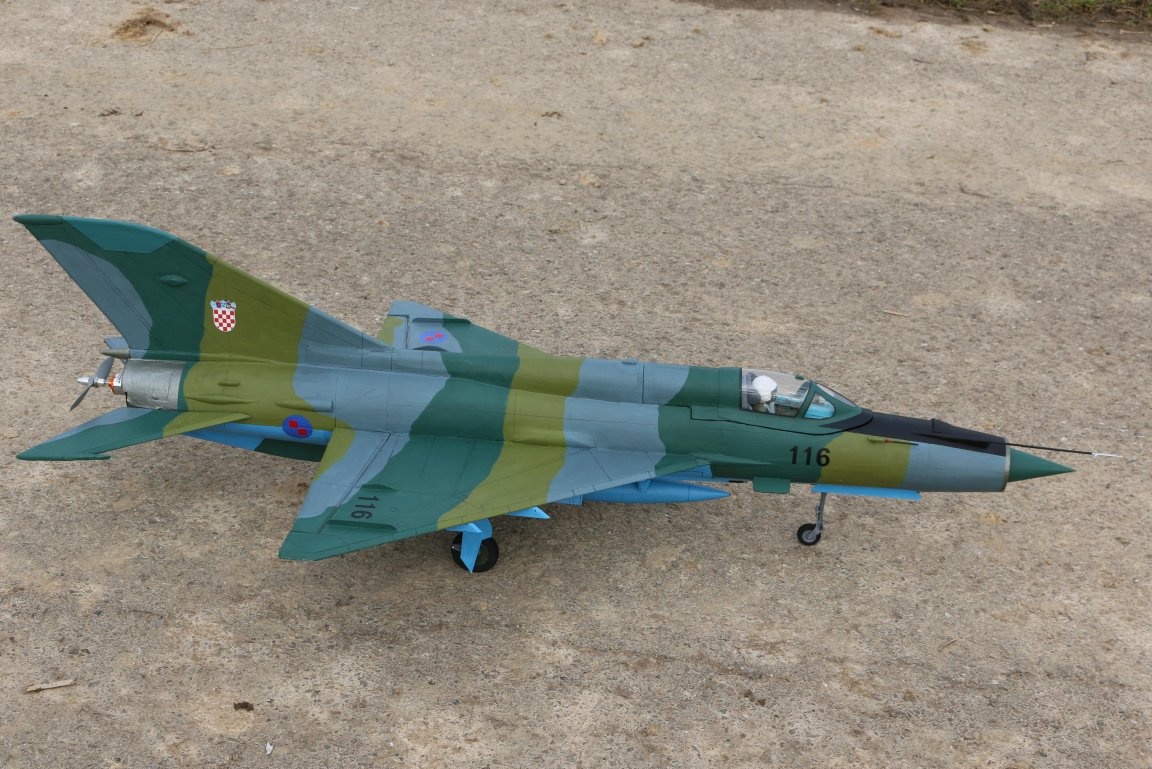
Coloring of the model is done as desired.
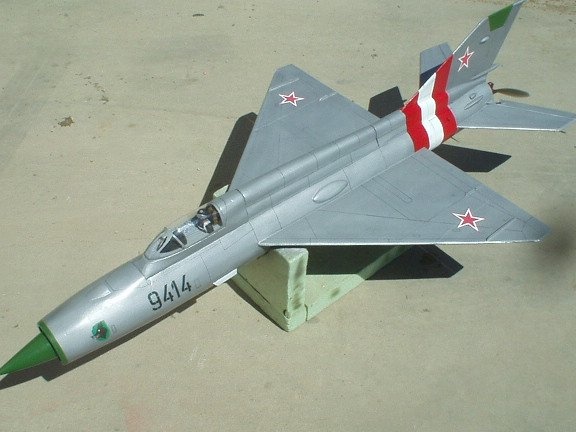
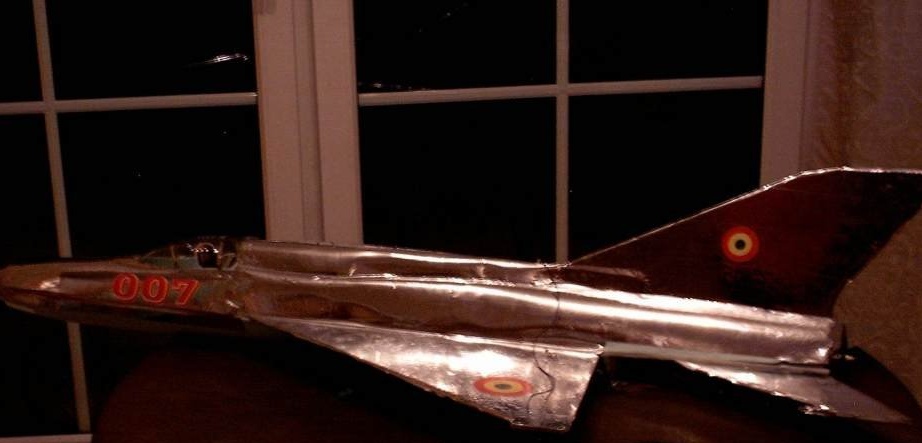
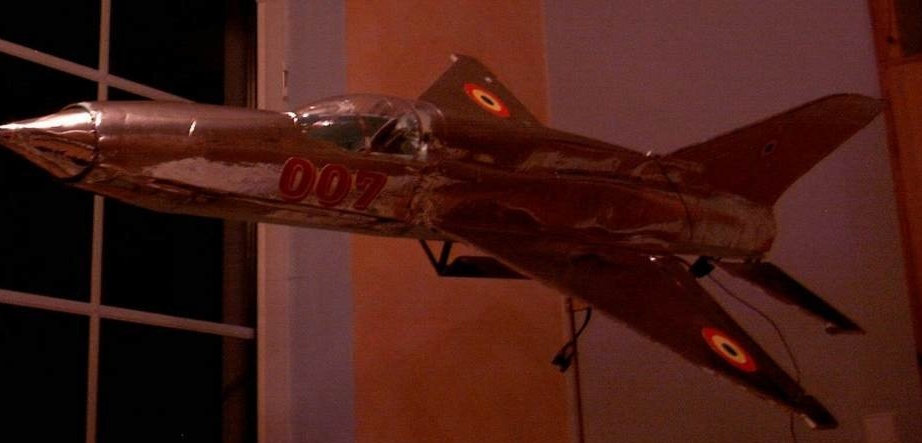
Here is another option.
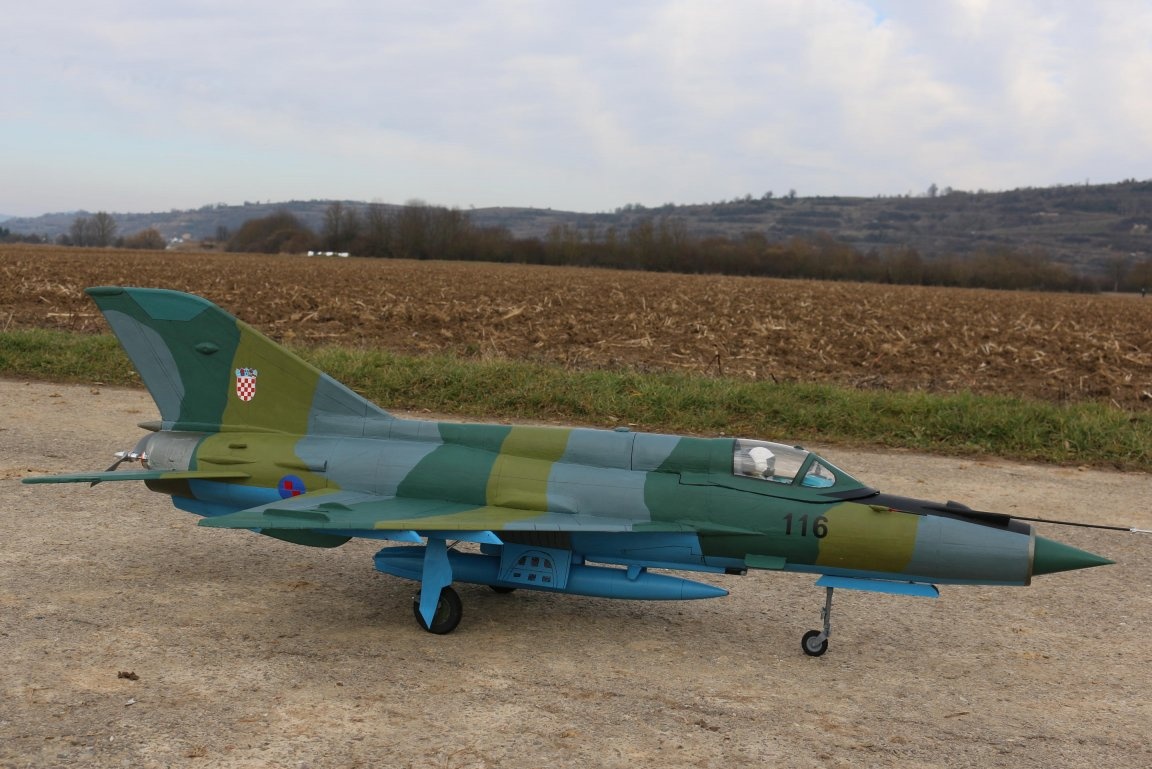
Personally, I like this camouflage coloring option.
And this is a small video of the flight of such a model.
Now we can state with full confidence that I will be able to build my own Mig-21 aircraft model.
On this I say goodbye to you. See you soon. Your valerian.