
Now I will show you and talk about the model, looking at which, I built one of the very first, and which one of the first, ascended into the sky.
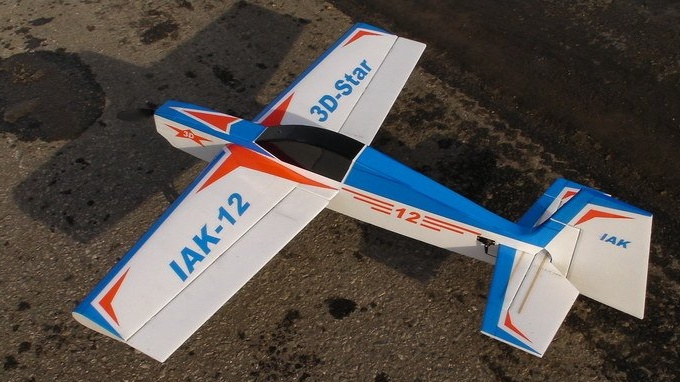
In principle, there is nothing new and special in this model; it is an ordinary “puff” adapted for 3-D aerobatics.
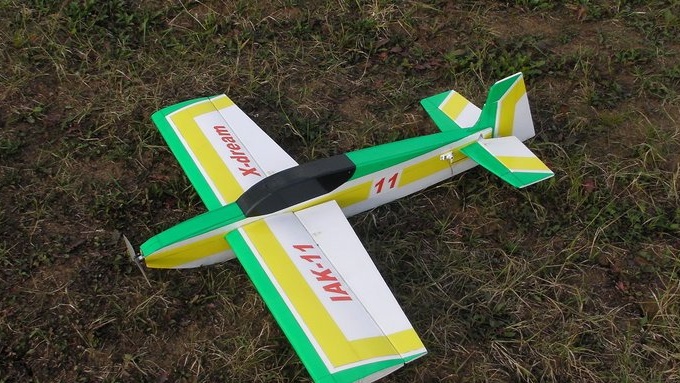
The author began to create the design of this model a long time ago, more than two years ago with the X-Dream aircraft model.
On the model that I am telling you about now, the author made changes to the design of the model, which expanded its capabilities.

The author did a great job with the wing profile, changed the geometry of the ailerons and rudders. He did not forget about the appearance of the model, recalling the statement of the famous aircraft designer Tupolev: “Only beautiful planes fly well!”
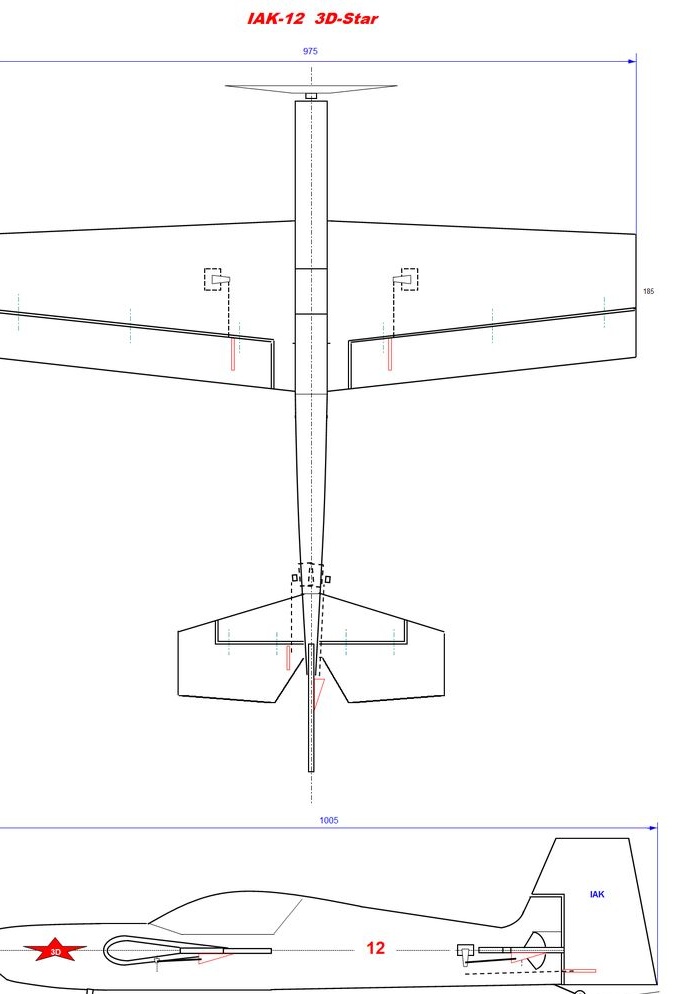
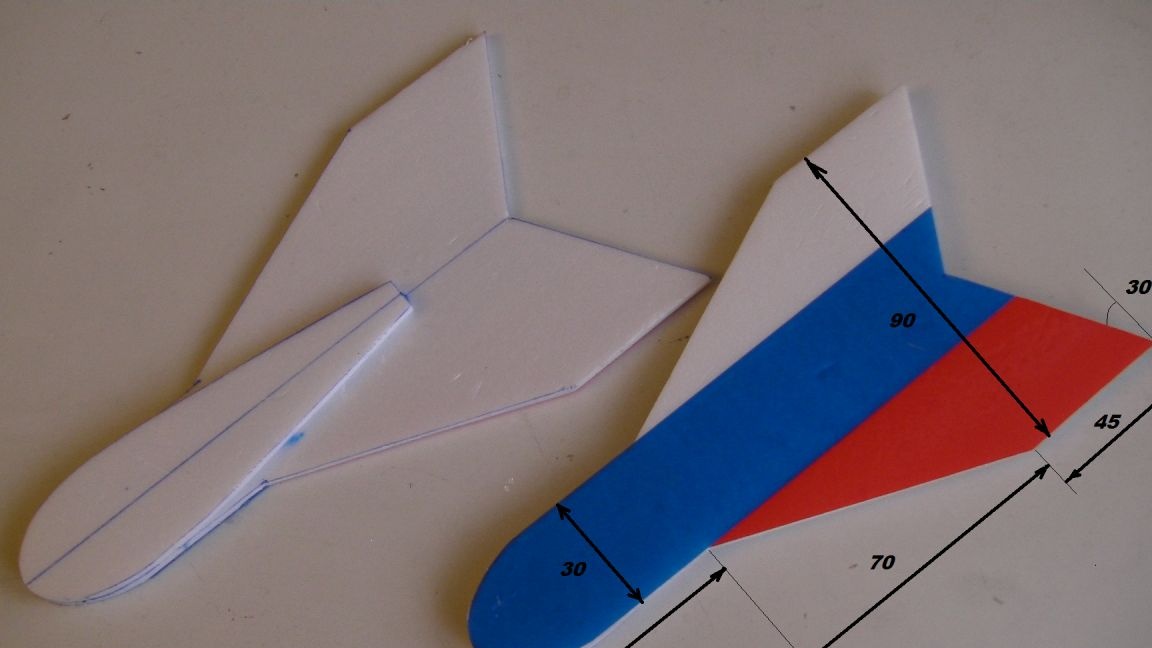
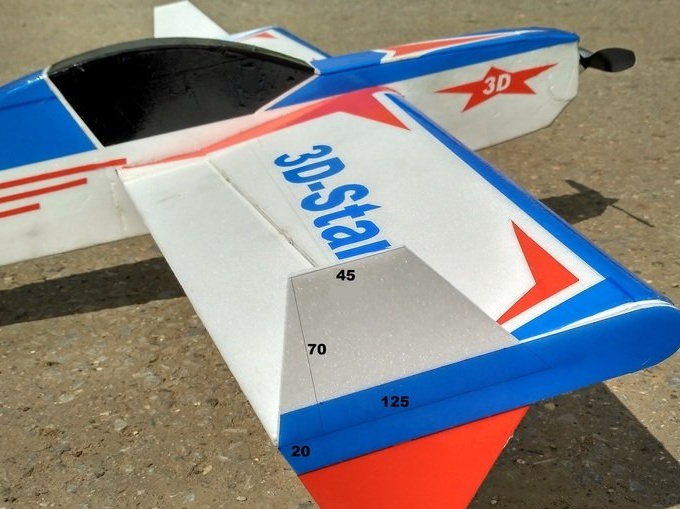
The author has kindly provided us with detailed drawings with dimensions.


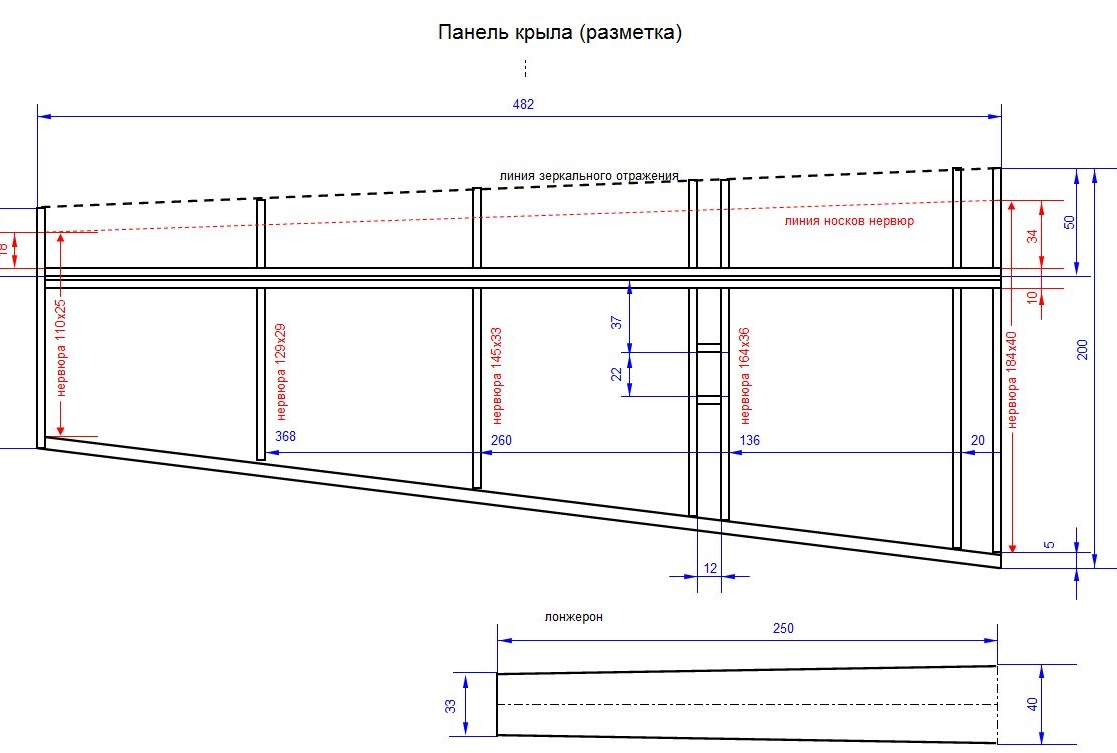
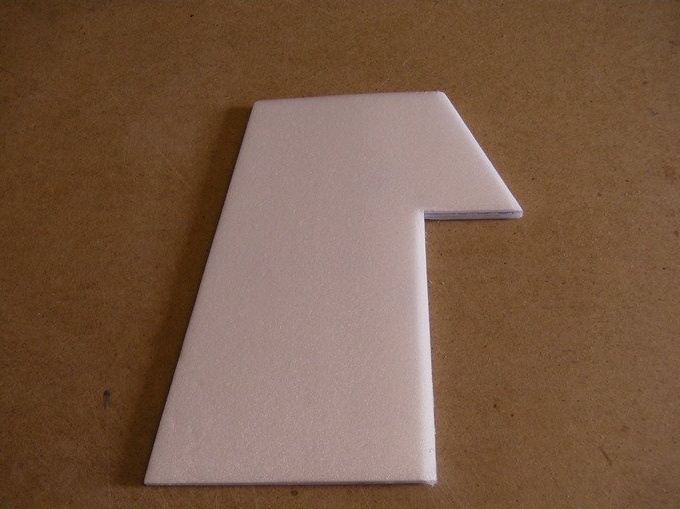
The creation of this aircraft model begins in the manufacture of the wing.
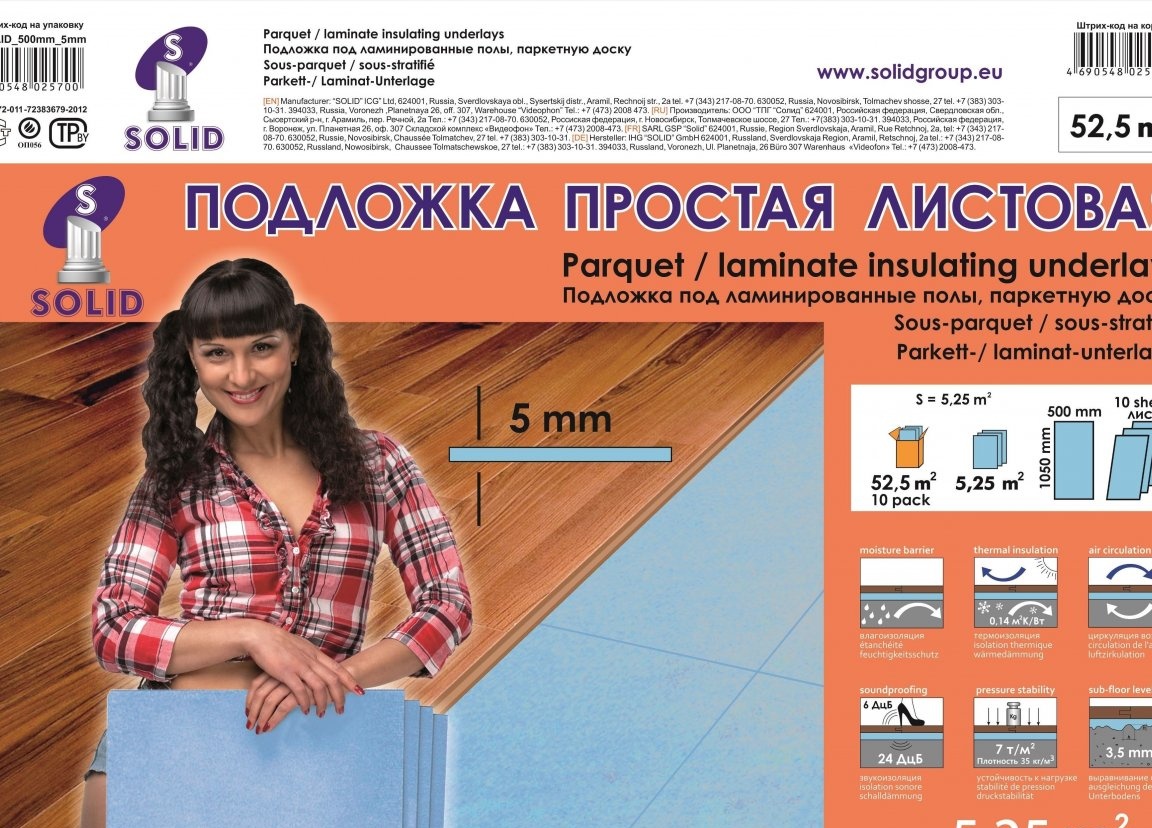
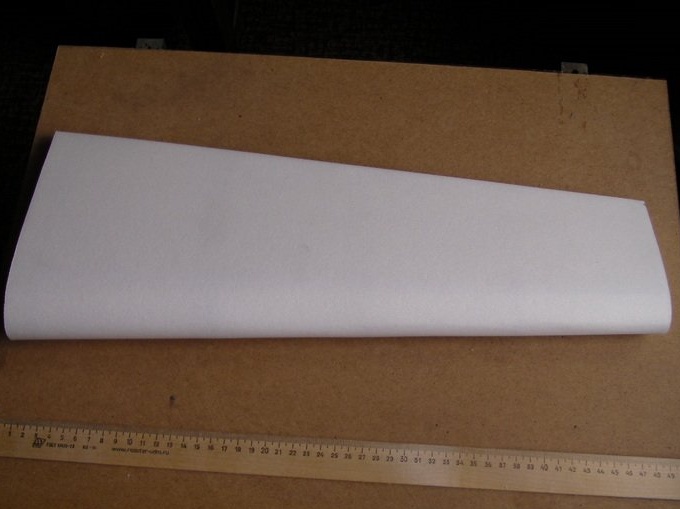
I want to note that the author offers the manufacture of his model from ceiling tiles (ceilings). To build my model, I used a simple, sheet substrate for a laminate, which has dimensions of 1000 mm X 500 X 5 mm. they can dispense with gluing some elements of the model end-to-end and even avoid gluing in two layers.
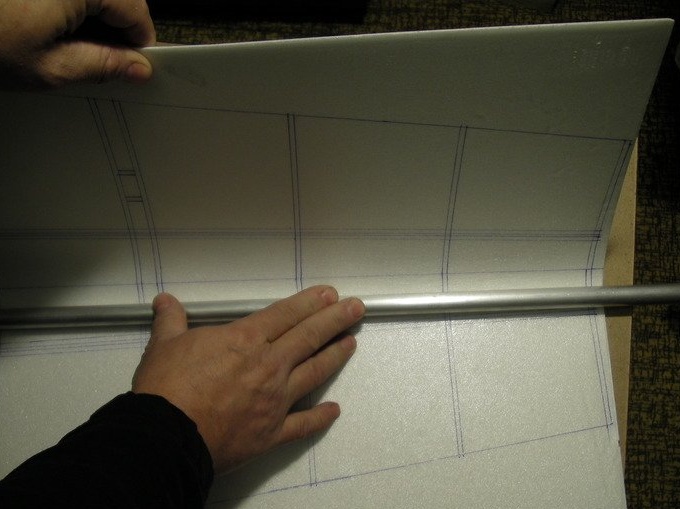
I want, following the author of the model, to suggest that the ceiling, like the substrate, bends along and across the same way. By the way, this can also be attributed to bending from the front (glossy) and wrong (matte) sides, both ceilings and substrates. Moreover, before bending from the front side, both the ceilings and the substrate must first be covered with tape with a tape in order to avoid cracks and kinks. But the bending of these materials from the wrong side allows you to avoid covering with tape.
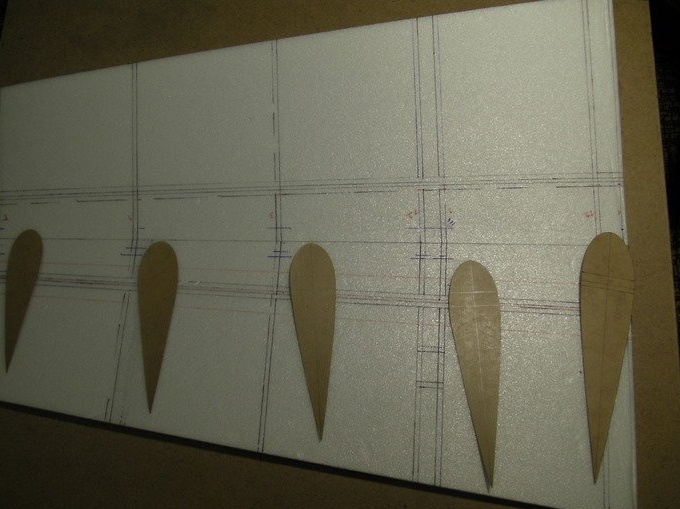
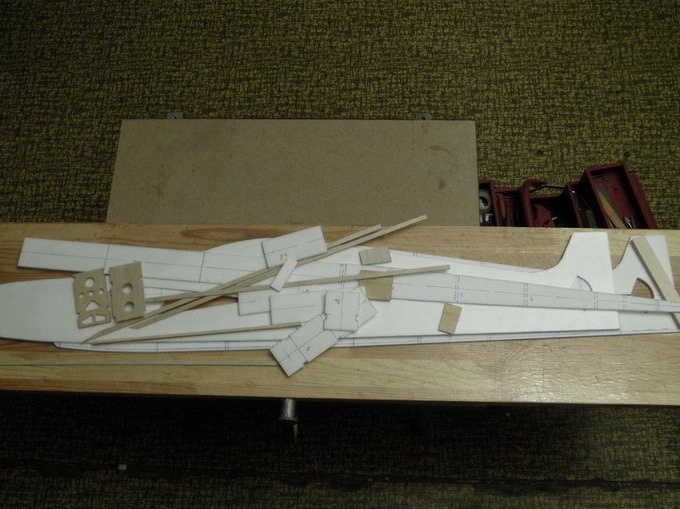
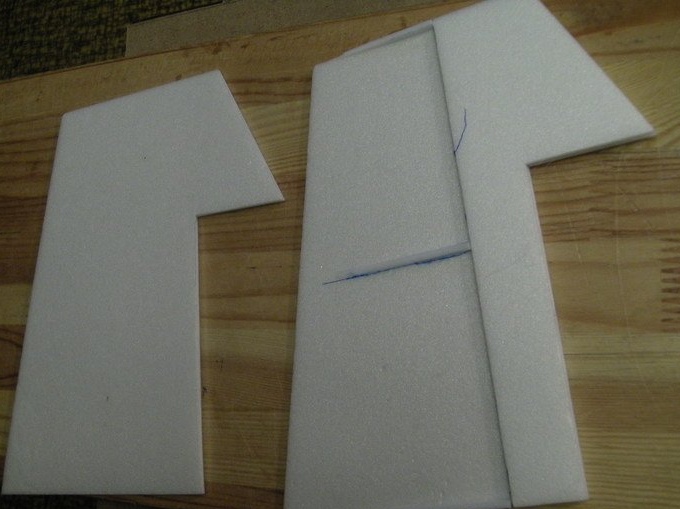
Work begins with the manufacture of patterns and patterns. Templates can be made of cardboard, but not corrugated.
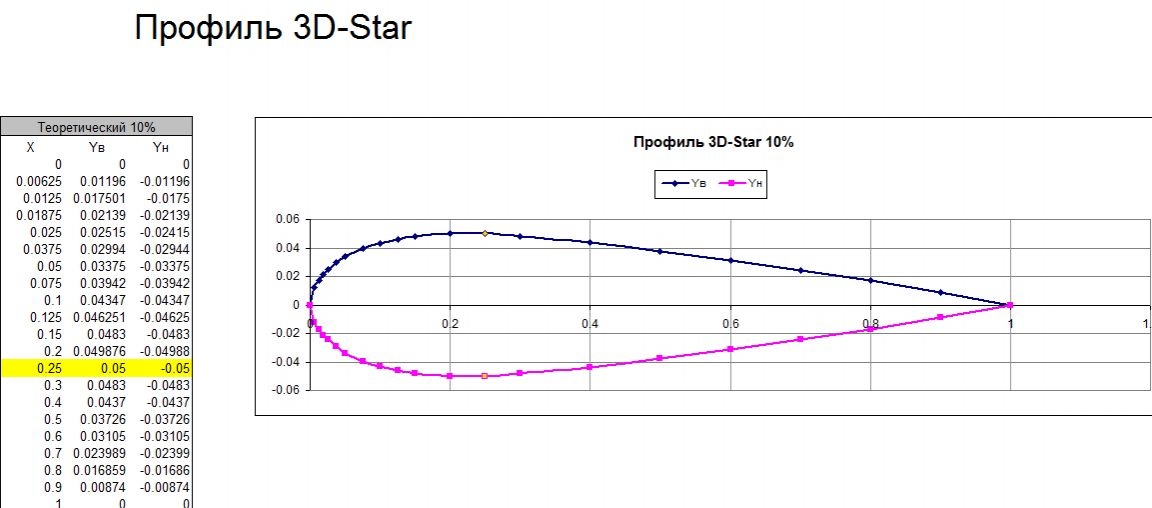
The author conducts interesting experiments with various wing profiles.
I will not bore you with the choice of various profiles and their impact on the capabilities of the flight model.
The author provided digitization of the profile of this model.
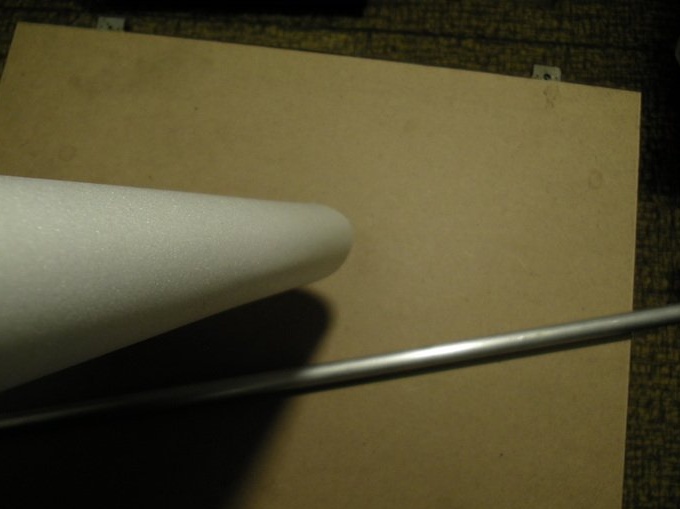
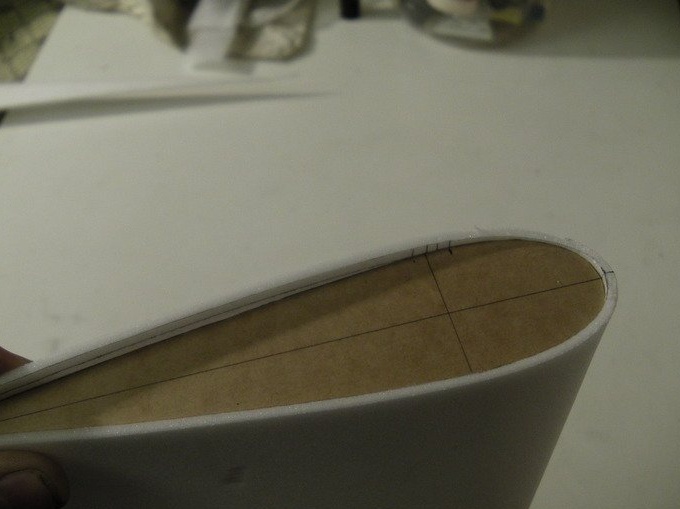
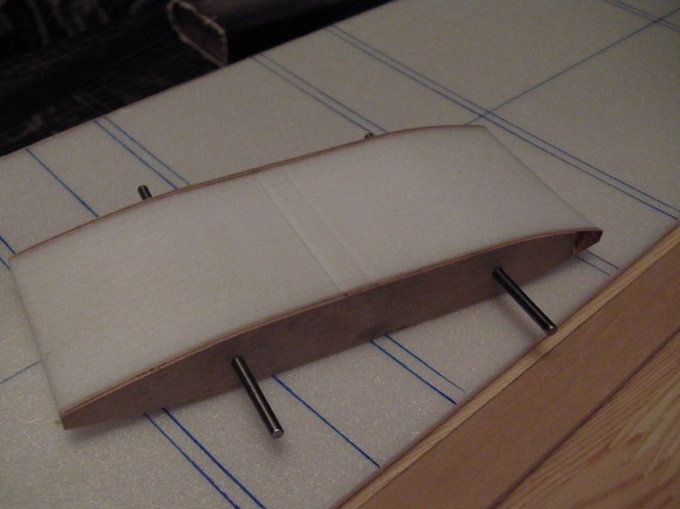
The wing blank, the Upper plane, rolled on a cylindrical object, with a diameter of 20-30 mm. It can be either a pipe or an ordinary, wooden rolling pin.
It may not work right away, you need to practice. The main thing is that the substrate or ceiling fits snugly on the rib when trying on.
A spar and ribs are mounted on the lower plane of the wing.On the upper, rolled plane, do not forget to cut at an angle of about 45 degrees, on the back bottom side.
The spar is made of a wooden, student ruler 50 cm long. If the ruler is not long enough, it can be built up with balsam or the same ruler.
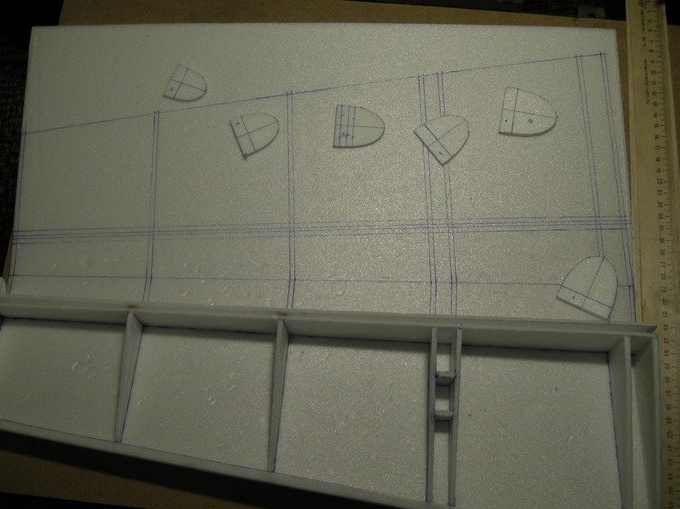
Servos on the model are mounted on glued plywood frames, for the convenience of replacing them.
Be careful when installing ribs, their socks should be on the same line and without gaps between them and the spar.
Make holes in the ribs for the wires from the servos in advance.
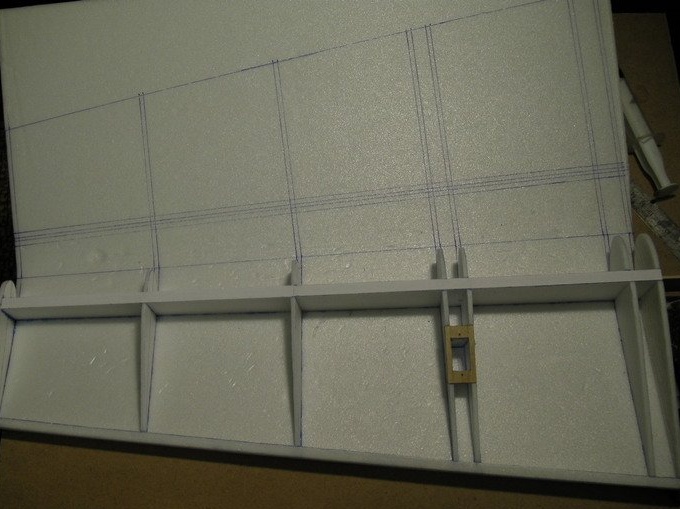
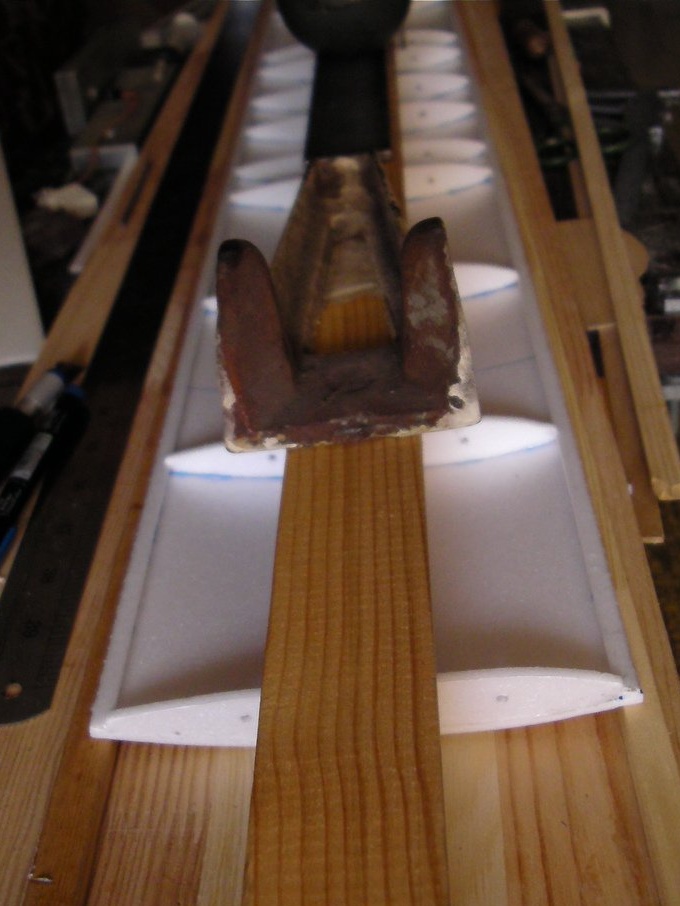
After applying glue to all the elements to be glued, we apply the upper plane and gently press it, after which we remove it and let the glue dry.
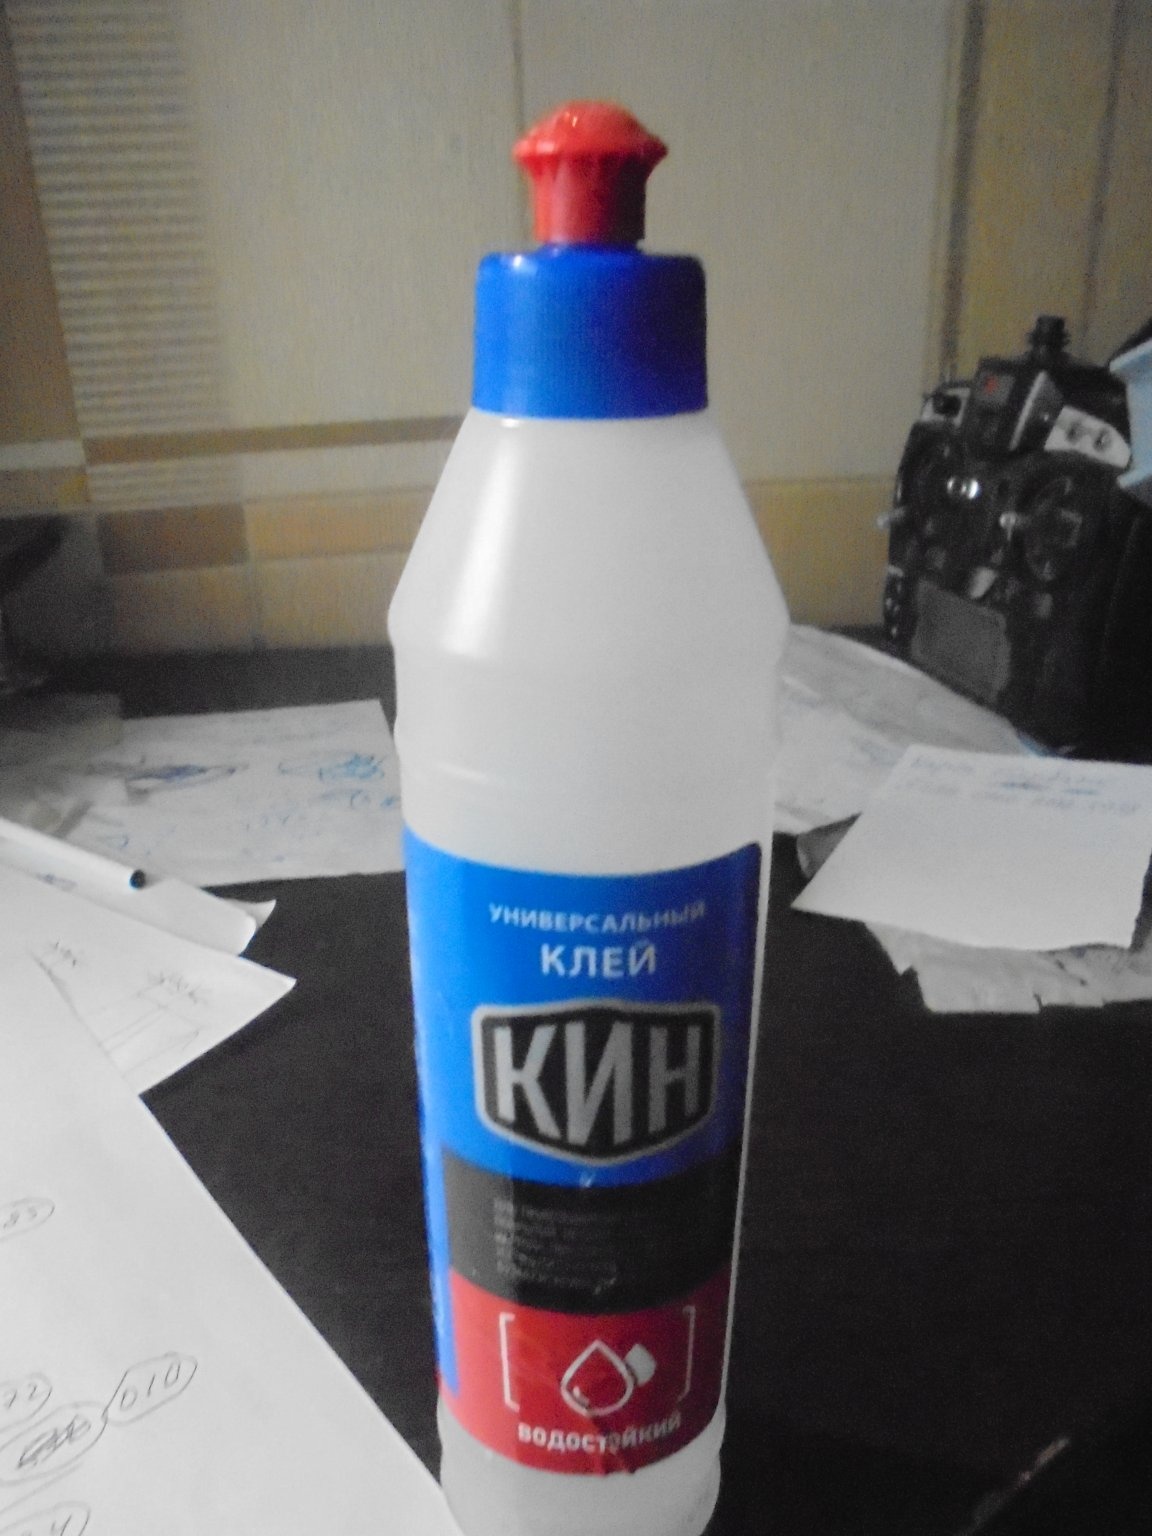
Now we finally glue it, starting the installation process from the front end of the root rib. We press the wing with gravity until the glue is fully polymerized. The author uses a universal, waterproof glue "Titan".
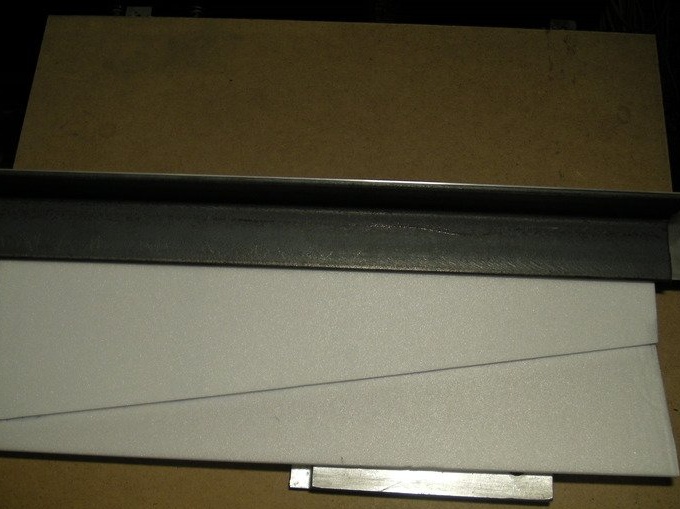
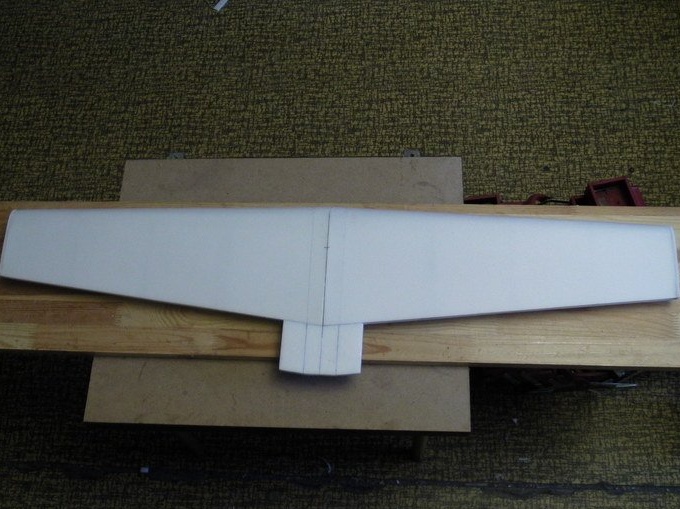
We process the edges of the resulting wing console.
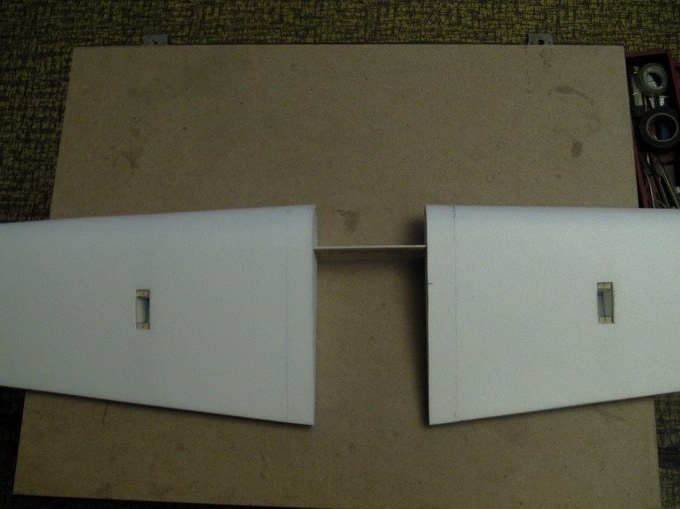
Places for installing servos are prepared, both wing consoles are connected and the spar is glued.
At the end of work on the wing. Slightly expand the center section with pieces of two layers
I will make a small digression and show another version of the wing manufacturing proposed by this author for the previous model. The whole technological process is no different from the one described above. The whole difference lies in the shape of the ribs and, naturally, in the profile of the wing. In this version, the author offers a simplified version of ribs, with an elongated shelf. Since the wing is straight, the ribs are all the same size.

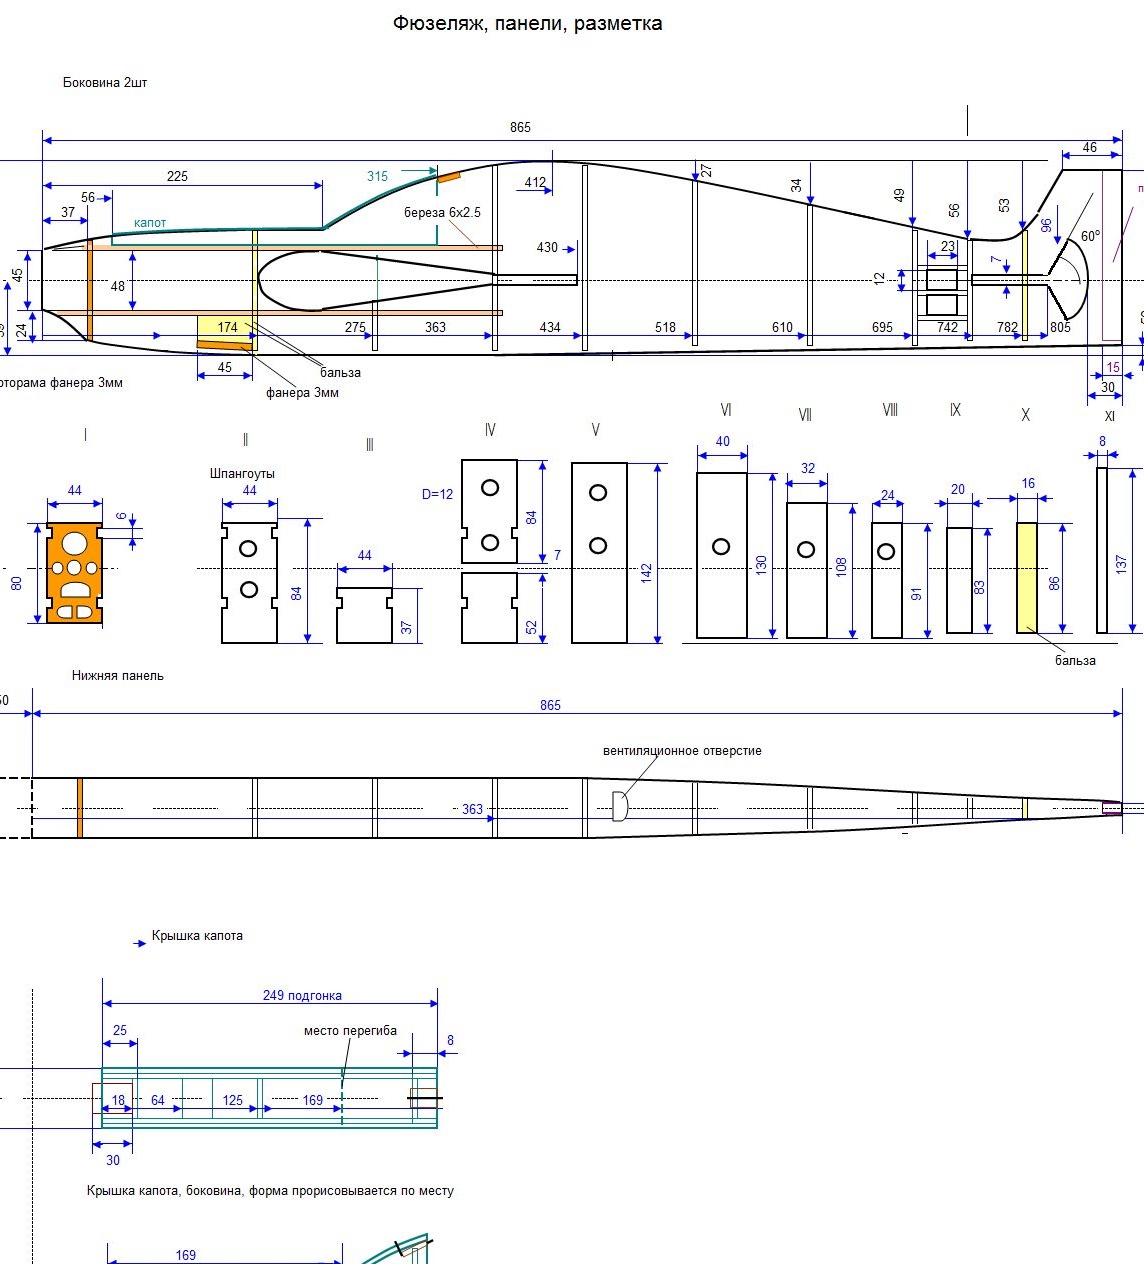
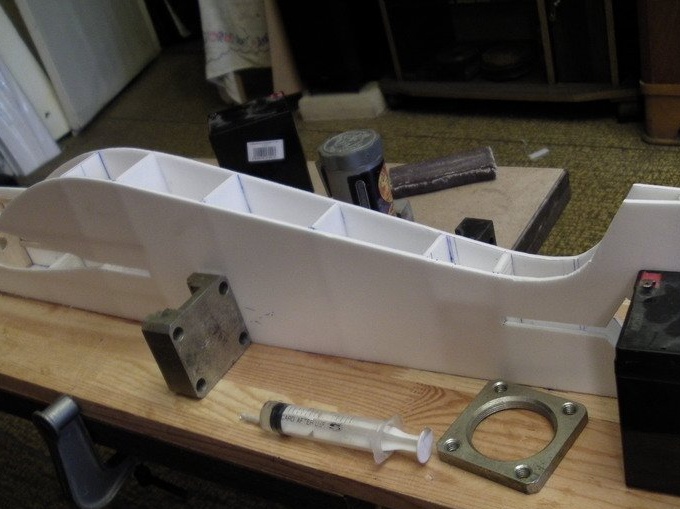
Ahead of the work on the manufacture of the fuselage.
From plywood, 3 mm thick. all the necessary elements are cut out, rivers from the wooden, student line. Slots are made in the side walls of the fuselage for installing the wing.
All details are carefully processed to avoid distortions.
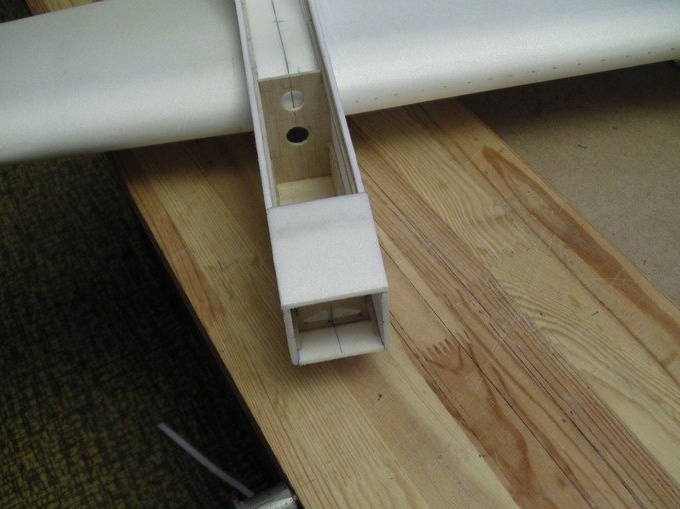
In accordance with the markup, we mount all the elements of the fuselage structure, carefully check the right angles. The plywood on which the chassis is mounted is strengthened by a wall and a balsa bulkhead.
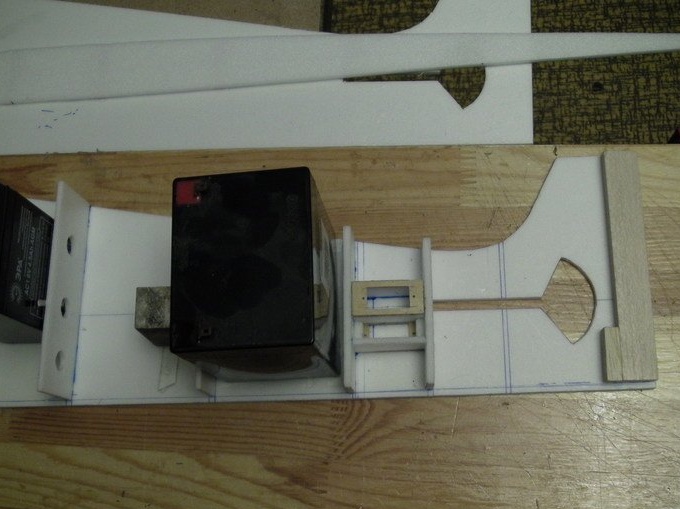
Using small pieces of ceilings or substrates and frames of plywood, 1.5 mm thick. , we prepare places for mounting servos of elevators and directions.
Since the keel with the fuselage is made from one blank of the sidewalls, to strengthen this node, balsa plates are glued. In the rear part of the fuselage, a piece of balsa is glued onto which the rear wheel will be mounted.
Bonded front, nose of the fuselage.
Strictly at right angles, the bottom of the fuselage is glued
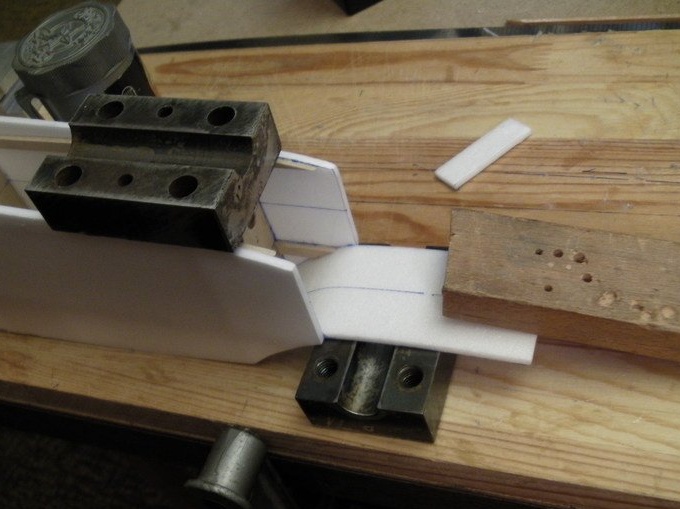
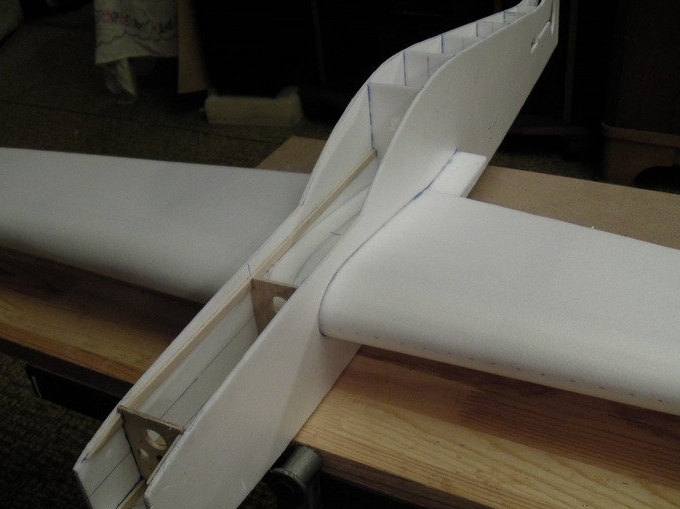
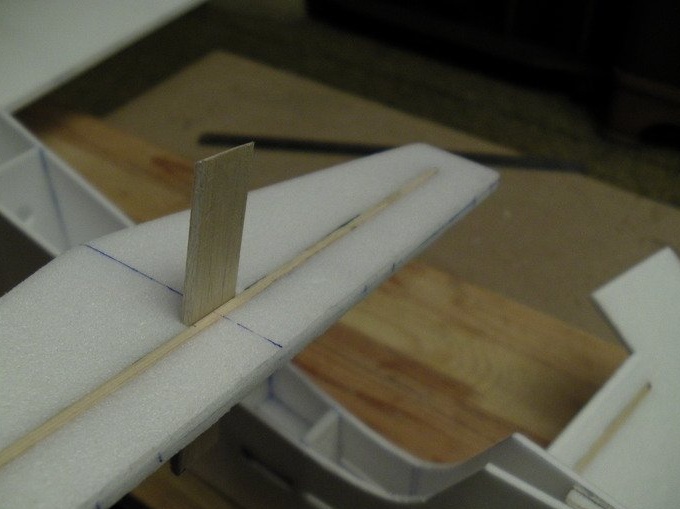
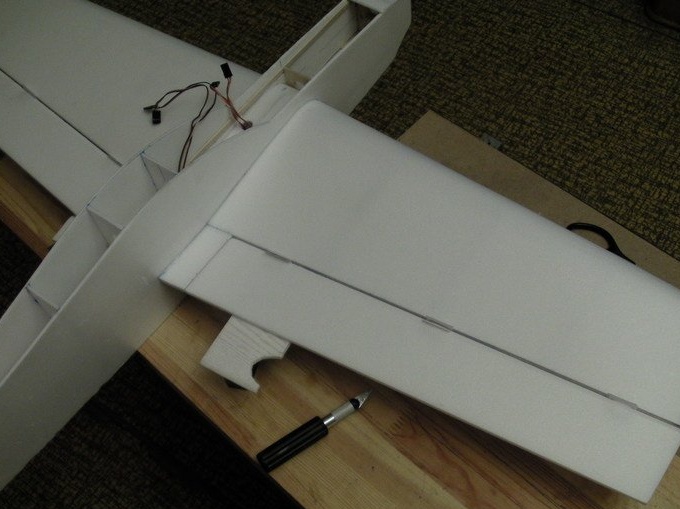
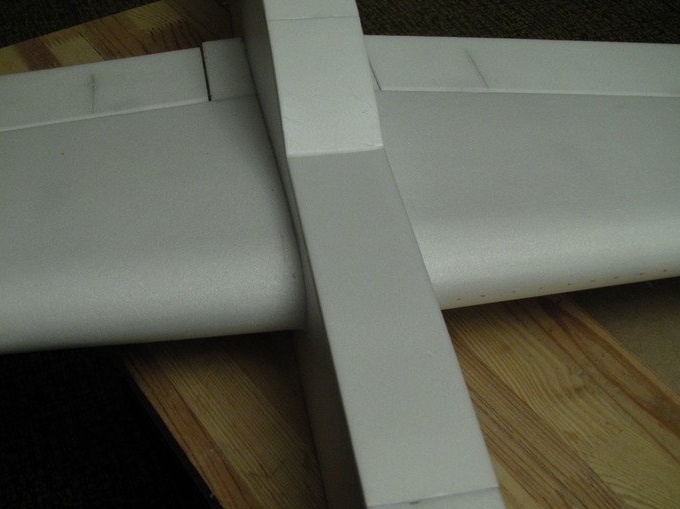
When mounting the wing on the fuselage, we measure the accuracy of the installation. Distances from the tips of the wing consoles to the surface on which model worth should be the same. And also the distances from the tips of the wing consoles to the edge of the fuselage, should also coincide.
The wing is glued to the glue.
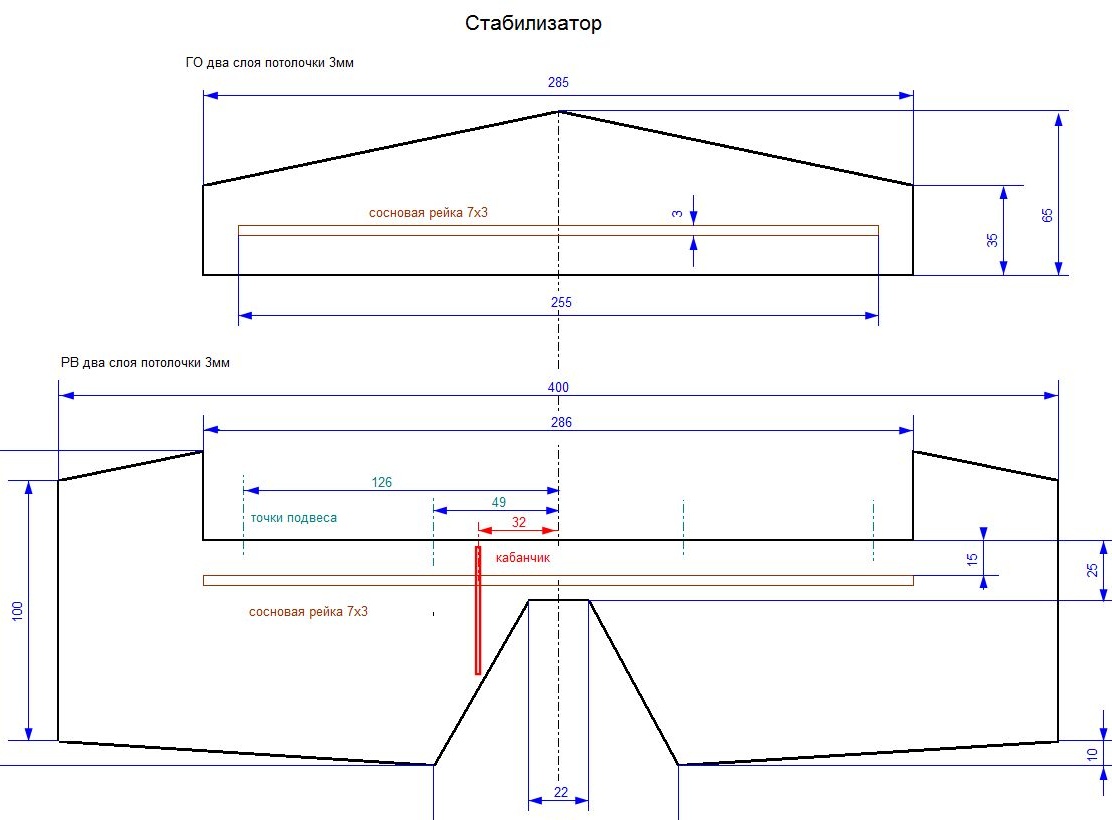
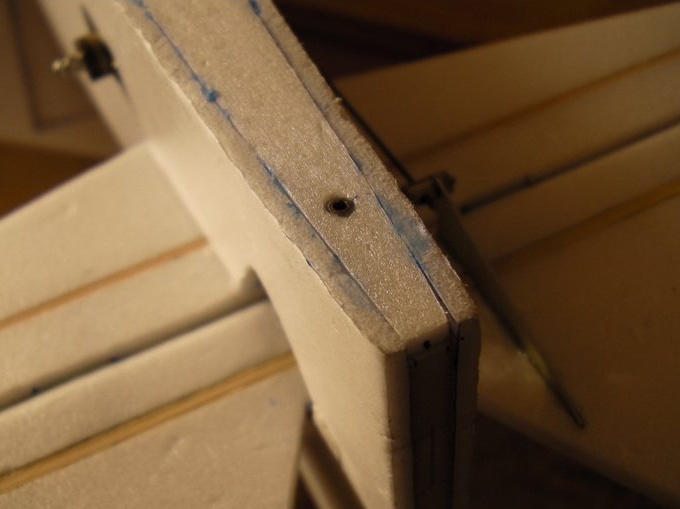
The stabilizer is made of two layers of ceilings with gluing, for strength, a piece of a wooden ruler.
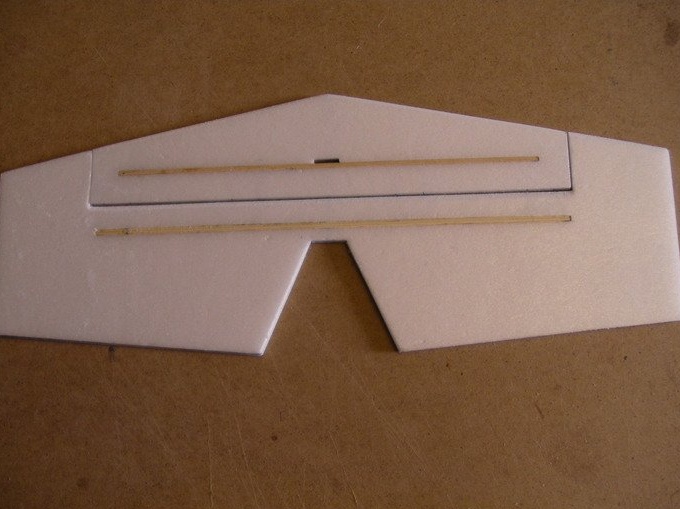
A place is provided for the fixing bulkhead, which is made of balsa to create strength when mounting the stabilizer on the fuselage.
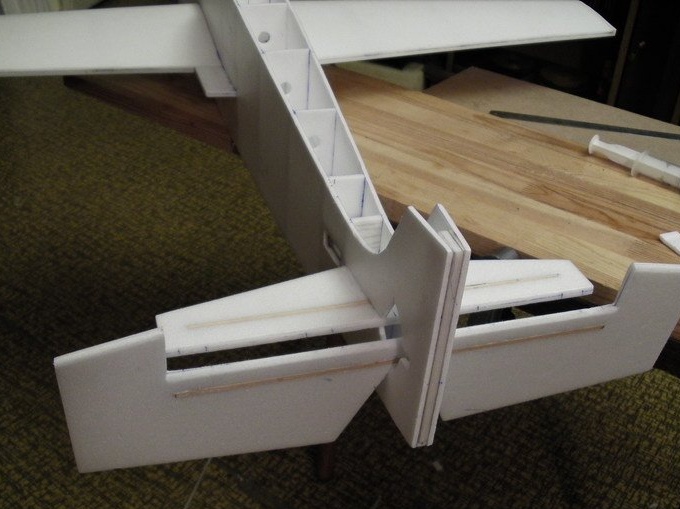
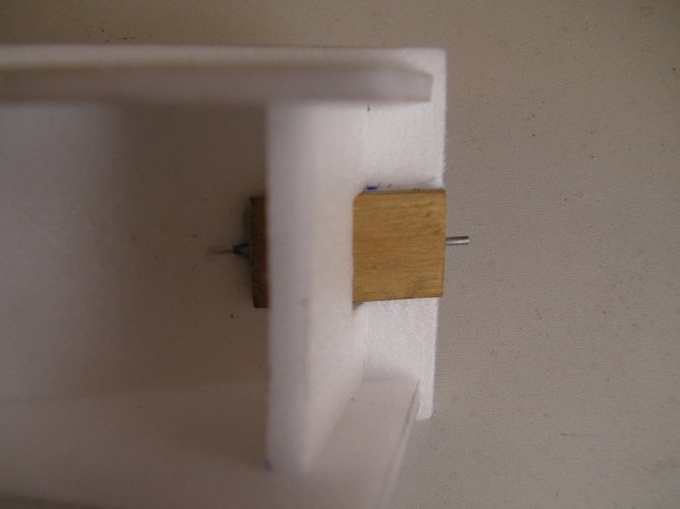
The front, stationary part is inserted into the hole made in the fuselage and glued. For strengthening, a balsa partition is mounted. For strength, you can glue poksipolom.
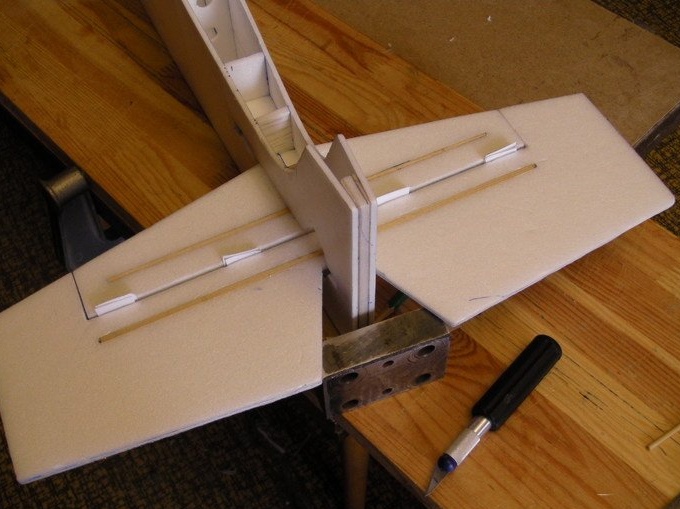
When mounting the elevator, we protect the loops from getting glue with pieces of paper.
The nose of the model.
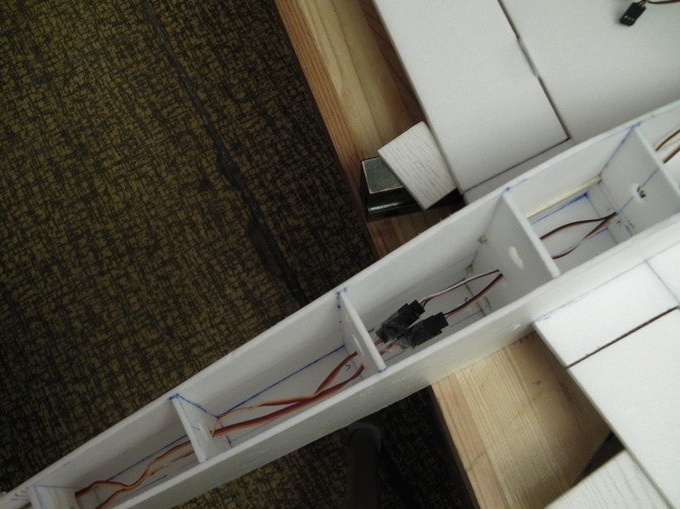
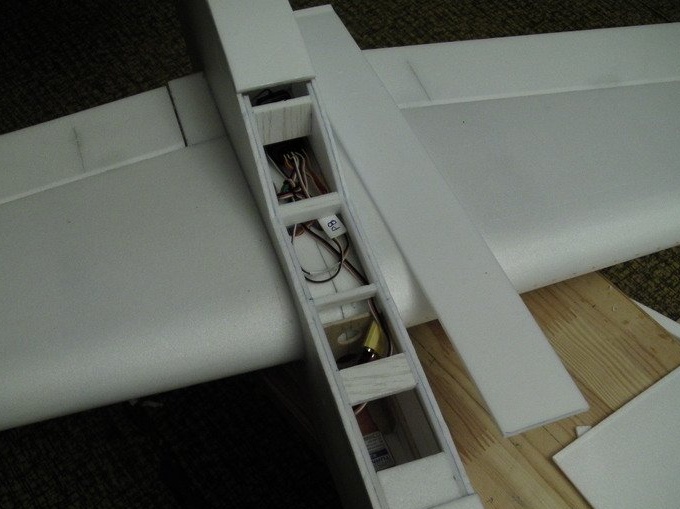
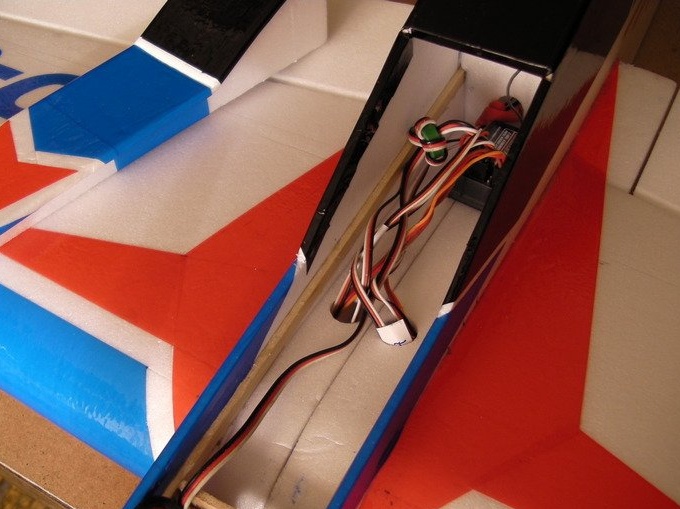
Servos are installed.
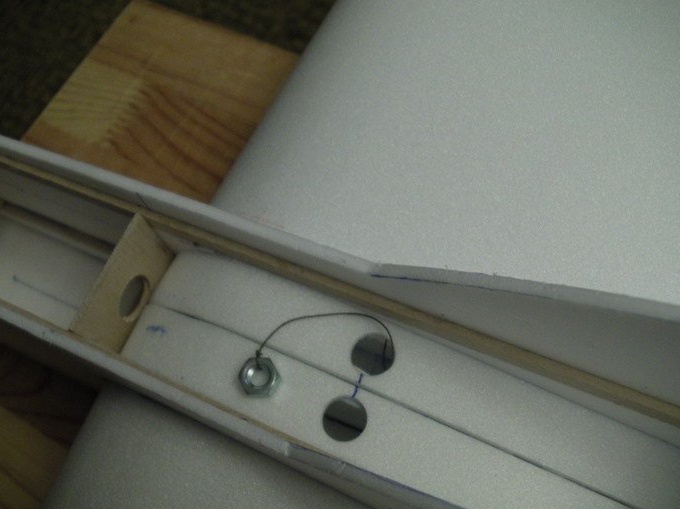
To pull the wires from the servos through the holes made for this in the ribs, we use ordinary nuts.
Check the wires from the servos of the steering surfaces.
We put in place the ailerons glued from two layers.
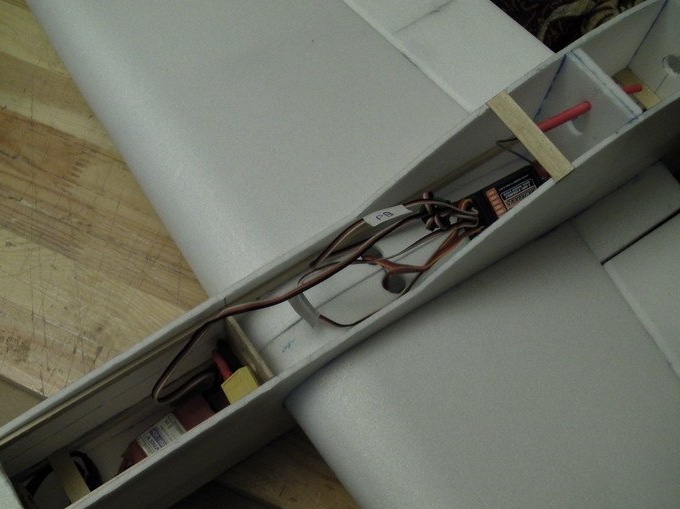
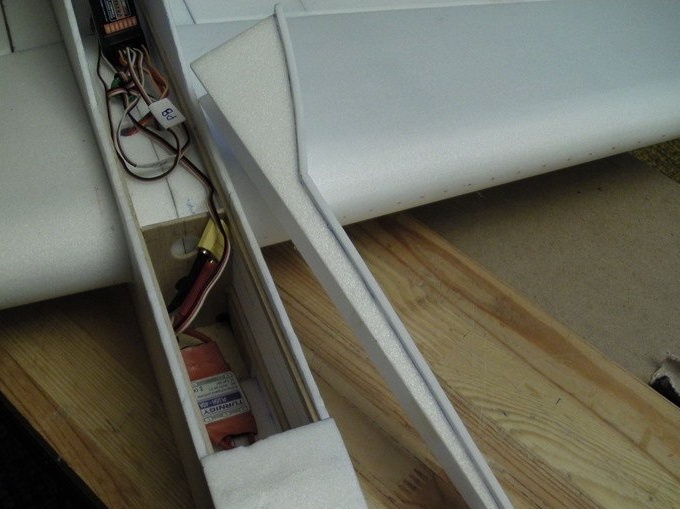
Mount electronics.
The top of the fuselage is sealed.
A rudder is mounted, which is glued from two layers with ribs glued between them.
The author regrets that he did not apply such technology when gluing ailerons.
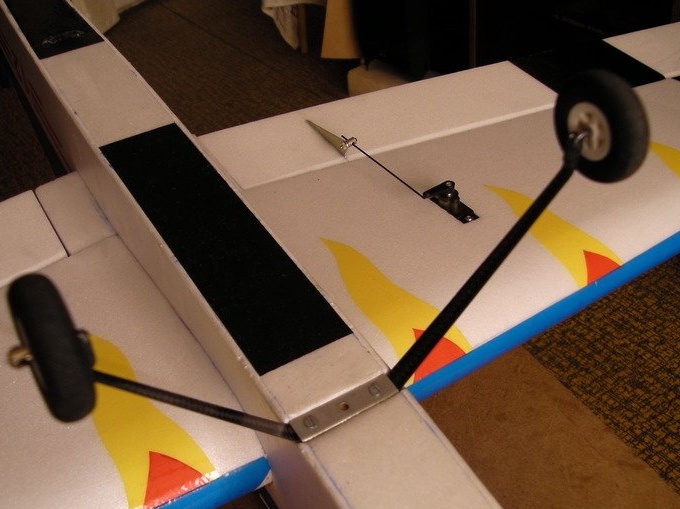
Wild boars 50 mm by 11 mm in size are made of sheet duralumin. The author advises checking the fit of the holes to avoid backlash.
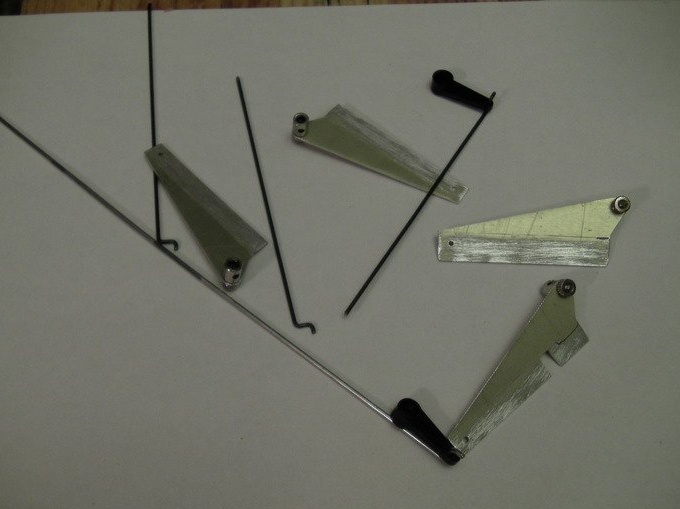
Boars are installed, traction is connected.
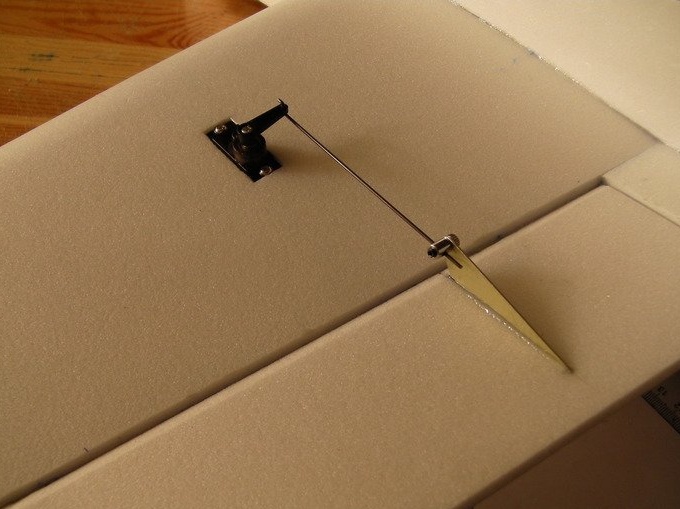
Mounted bonnet.
The main thing here is the precise fit of the parts.
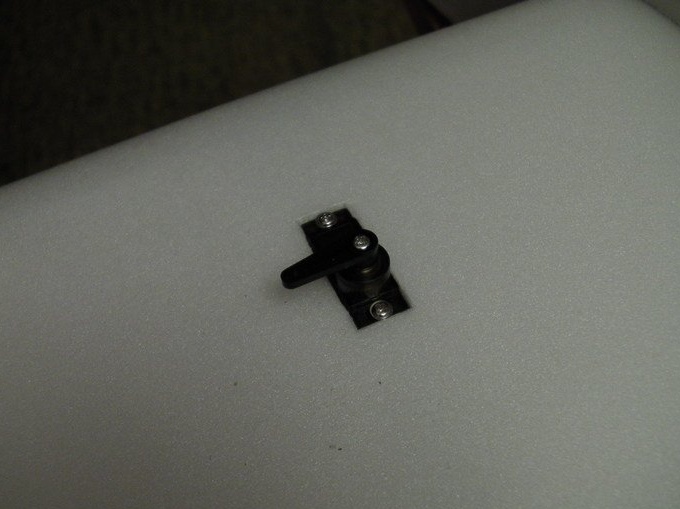
Here is a mechanism for fixing the cover.
All work on the assembly of the model airframe is completed.
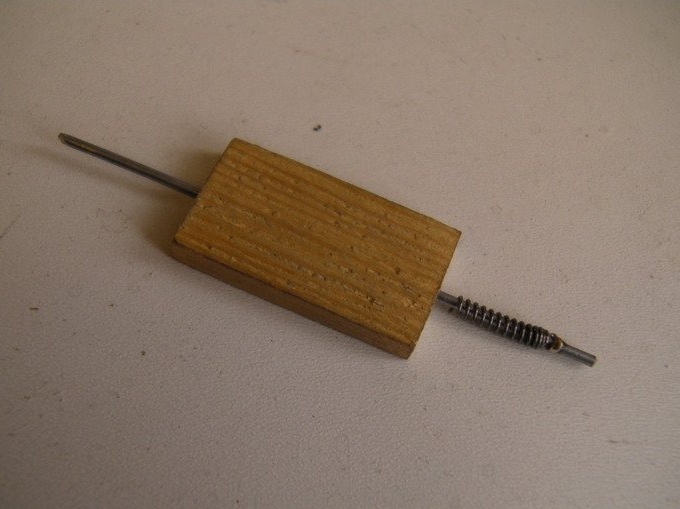
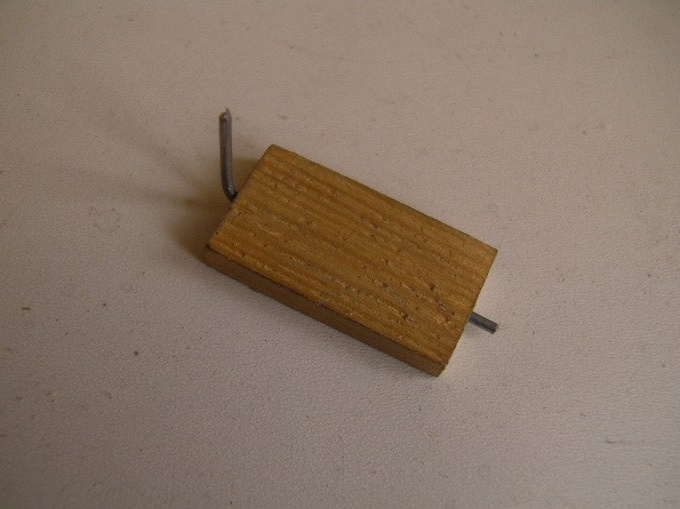
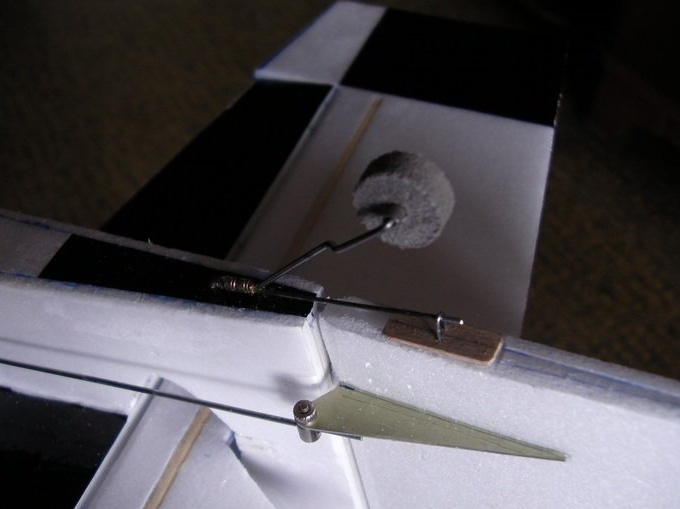
Here is a rear wheel of its own design, which rotates on a bracket made of thin wire glued into the rudder.

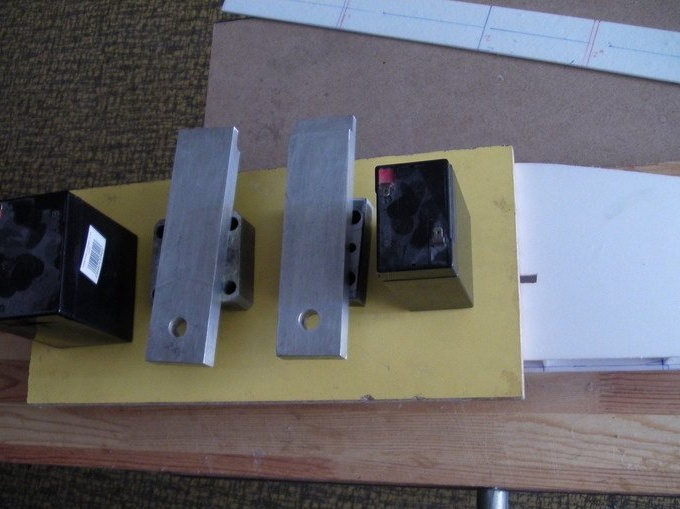
To install the purchased chassis aluminum pads are used.
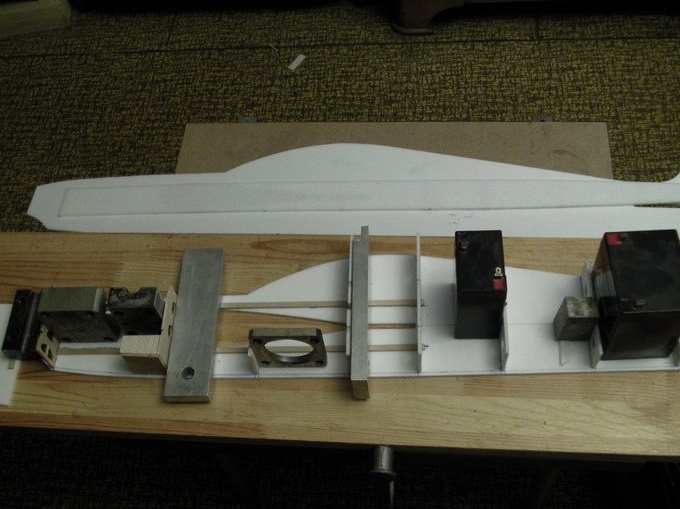
The receiver is fixed to double-sided tape.
A shelf is made for the battery.
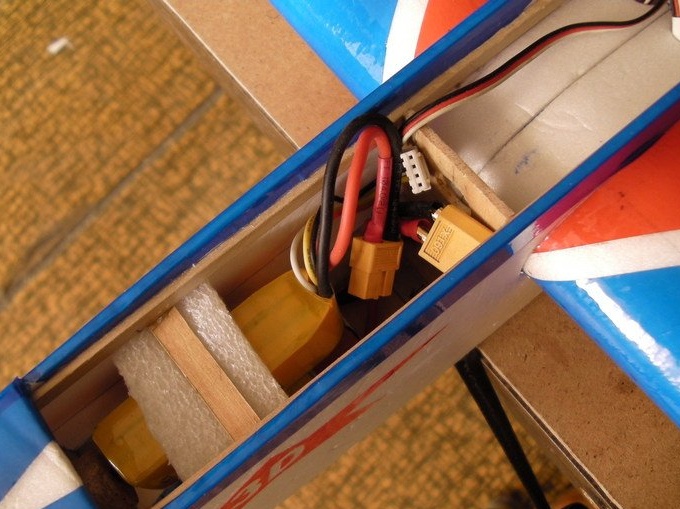
The motor and regulator are installed.
The decoration of the model.

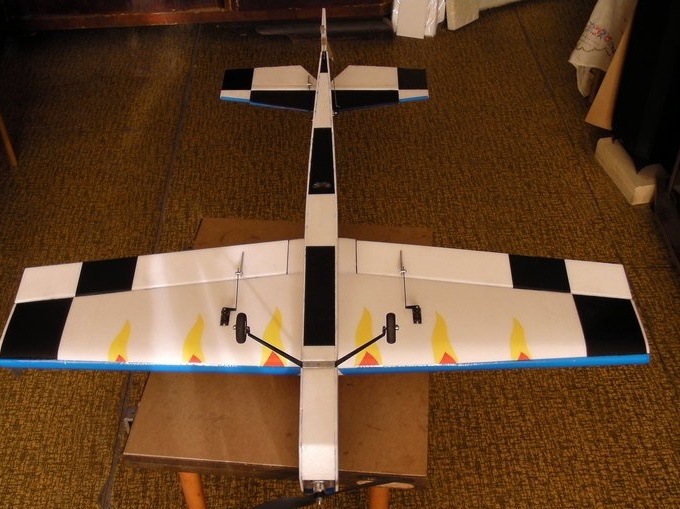
The author offers a small addition - wings for wings.
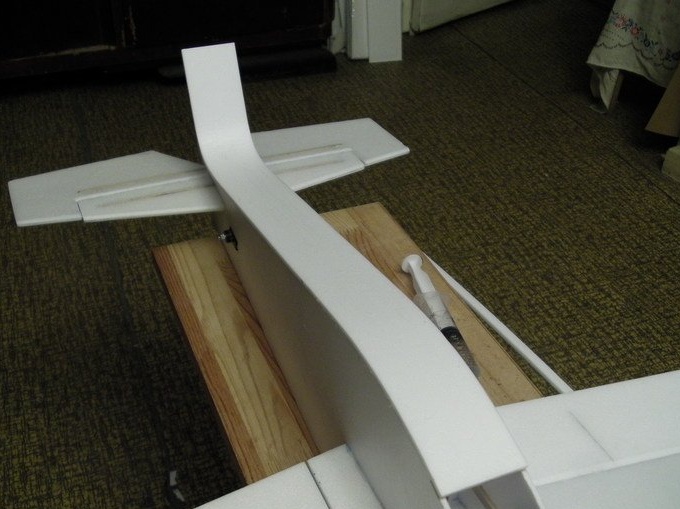
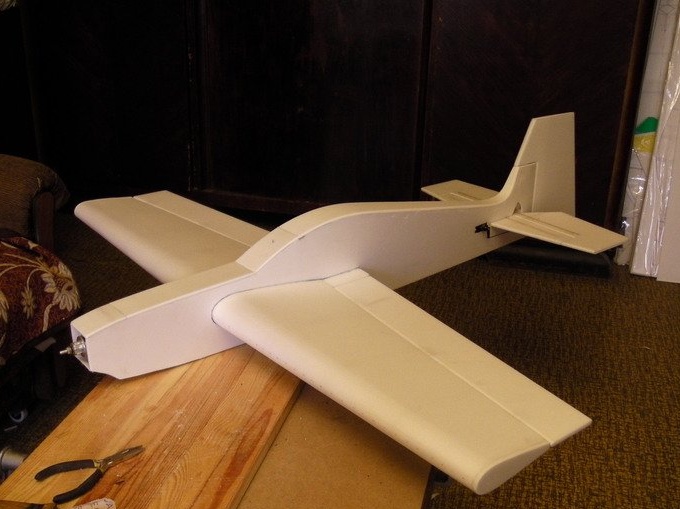
The model is ready and awaits flight tests.
Video of the first flight of the model.
Dyne - 1005mm.
Span - 975mm.
Take-off weight - 575g.
The wing load is 27g / dm ^ 2.
Motor - 2217 16turn 1050kv.
Screw - 1045.1138 (thrust 1065 g), 1238 (thrust 1235 g).
The regulator is 40A (can be taken at 30A).
Servos - MG90S
Chassis rack - (Carbon chassis rack for small electric models).
The battery is 3S 1300mAh (1000-1500 mAh permissible).
So the author offers us all to create this model.
On this I say goodbye to you, goodbye!
Your valerian.