

materials and tools
- Ruler
- Pencil
- Plywood
- A pen
- Ceiling tile
- Scotch
- Mesh Serpyanka
- Polycarbonate
- Glue titanium
- Super glue
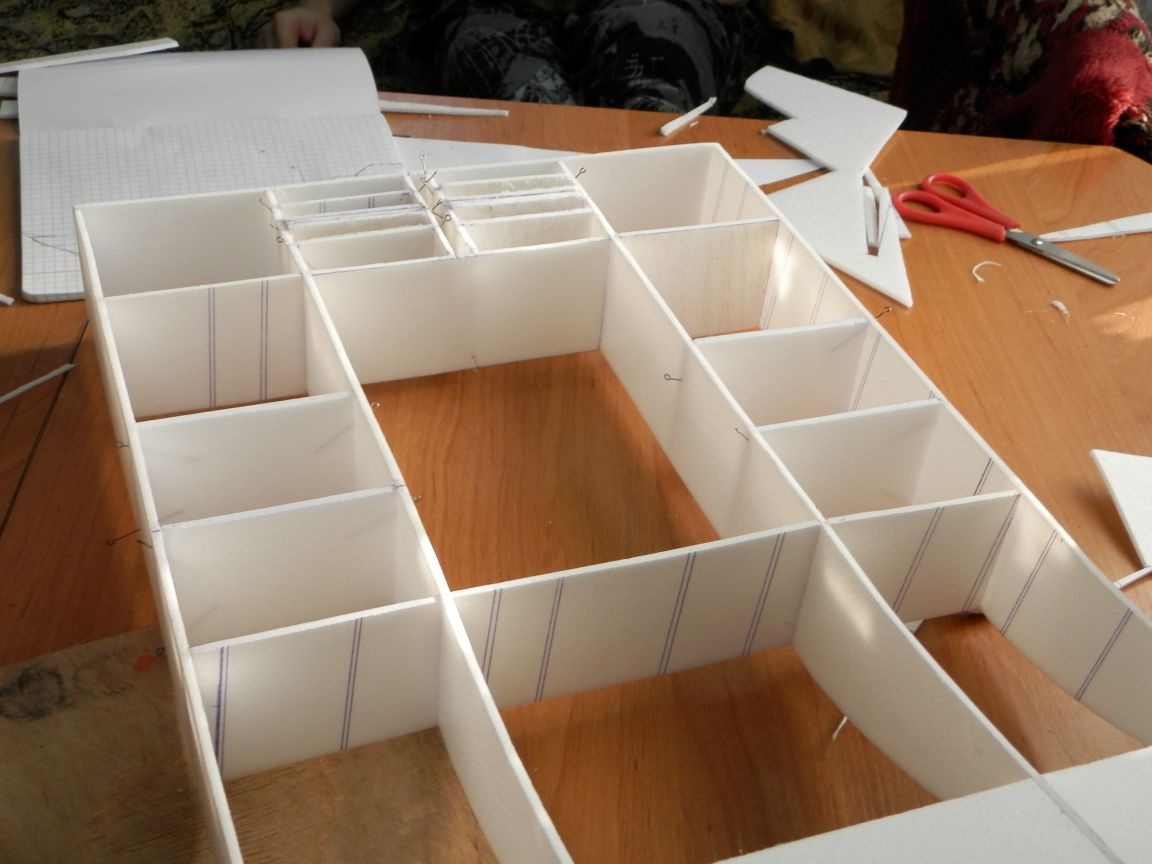
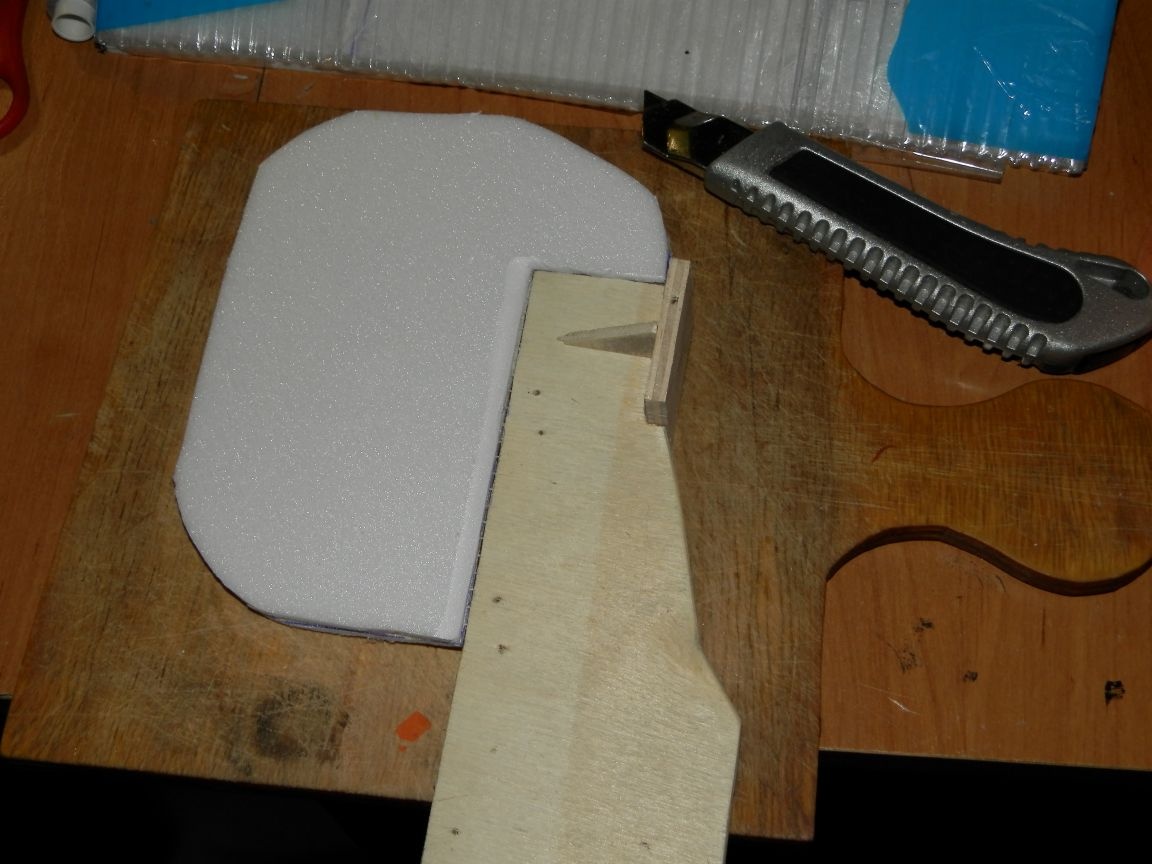
Step 1 I thought at first. what they should look like. They should have a large area, so as not to drown in the snow like the last model. they should be short, but with a slight nose up in order to overcome obstacles. the result was a drawing according to which I created a wireframe.
Step 2 creating a place for mounting the mounts of the engine mount, all parts were adjusted in place.
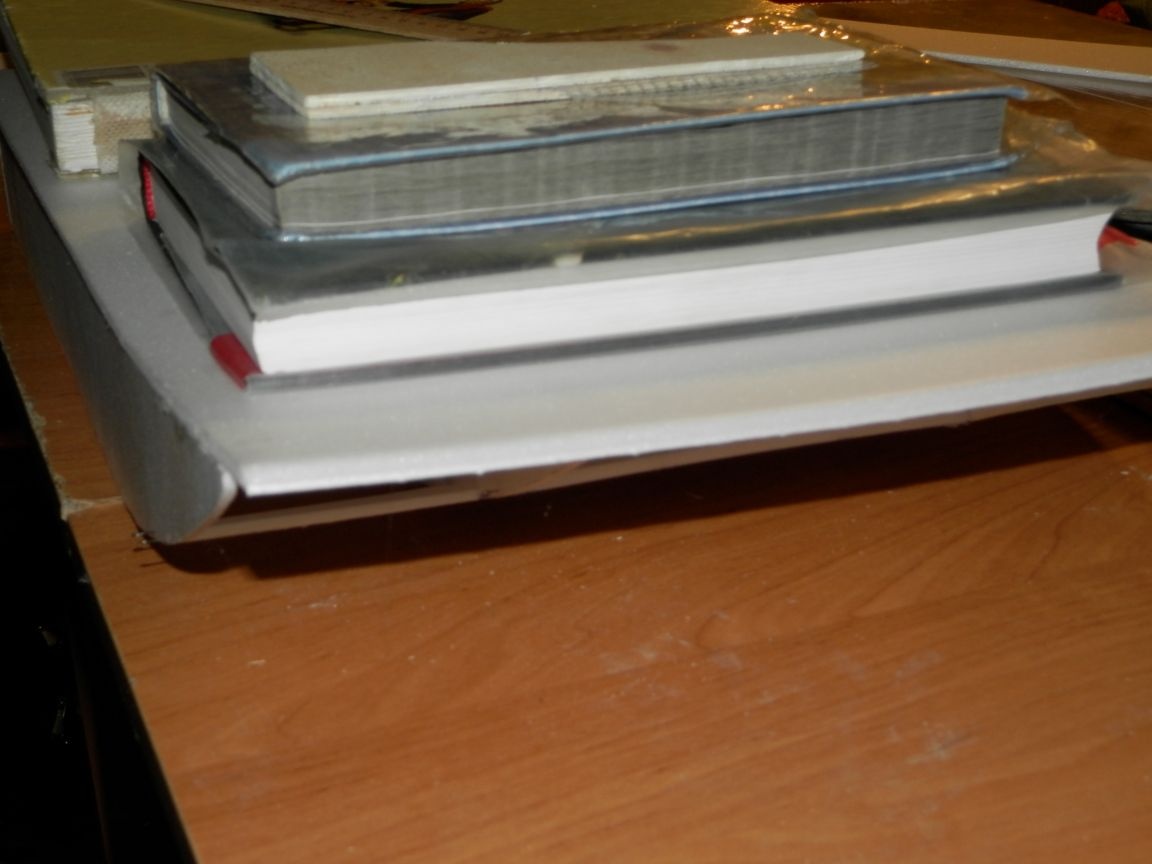
Step 3 reinforcement of the frame and its sheathing. I will not describe in detail the gain. Everything is clear in the photo. Next, I began to sheathe the frame. First I glued the top of the casing and put down the books.
Step 4 production of racks and engine mounts. First I drank all the details, then sanded, glued and reinforced the corners.

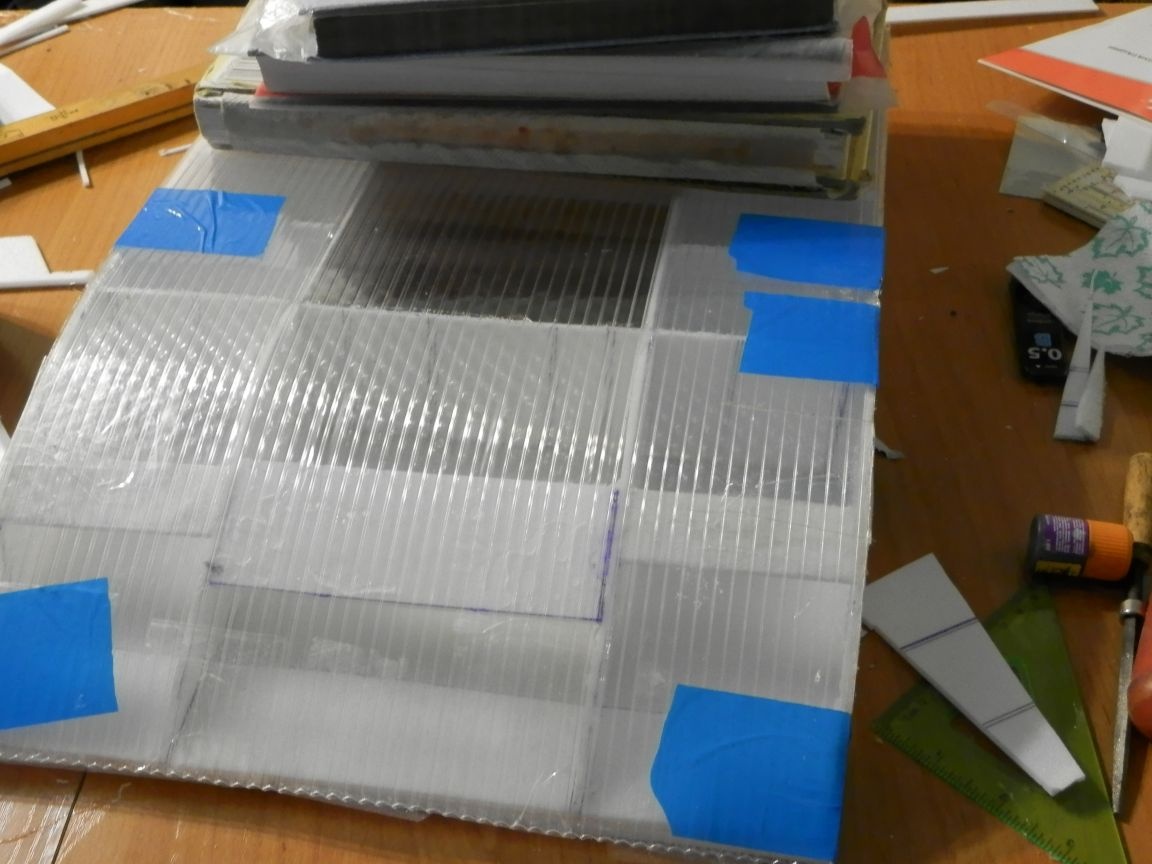
Step 5 gluing the lower skin. The next day I sanded all the details and edges of the lining. Cut out polycarbonate for greenhouses. He began to glue it: smeared with glue, fastened it with adhesive tape in the front and bent it, put books on top
Step 6 hanging the steering wheel. I cut out the steering wheel, pasted it on two sides onto a net of serpentine, glued an engine mount to the rack and strengthened it with corners on the sides
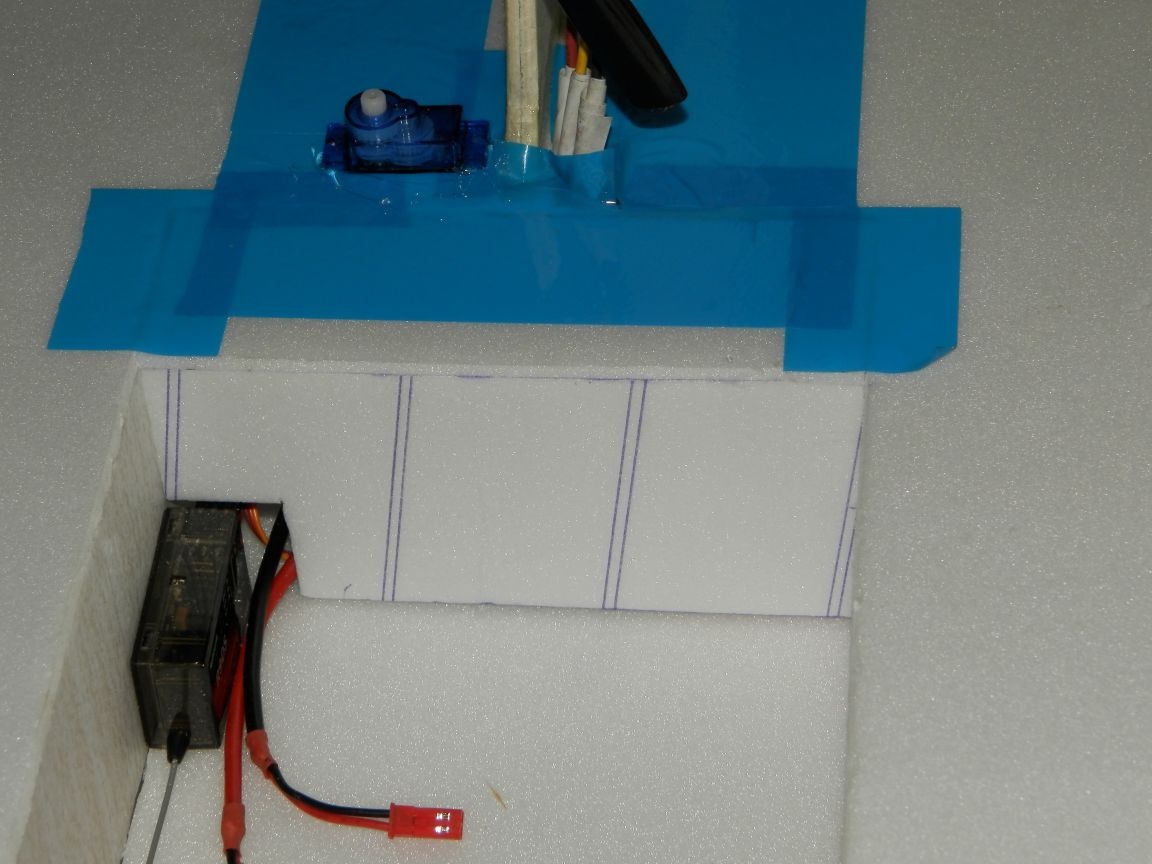
Step 7 preparing for the installation of electronics. I cut out all the slots for the electronics and checked if the servo is included.

Step 8 making the cap. I cut a lid from one layer of polystyrene foam and pasted the latch assembled in advance.

Step 9 installation of electronics. I limited the electronics and battery compartment and installed it, brought out the wires
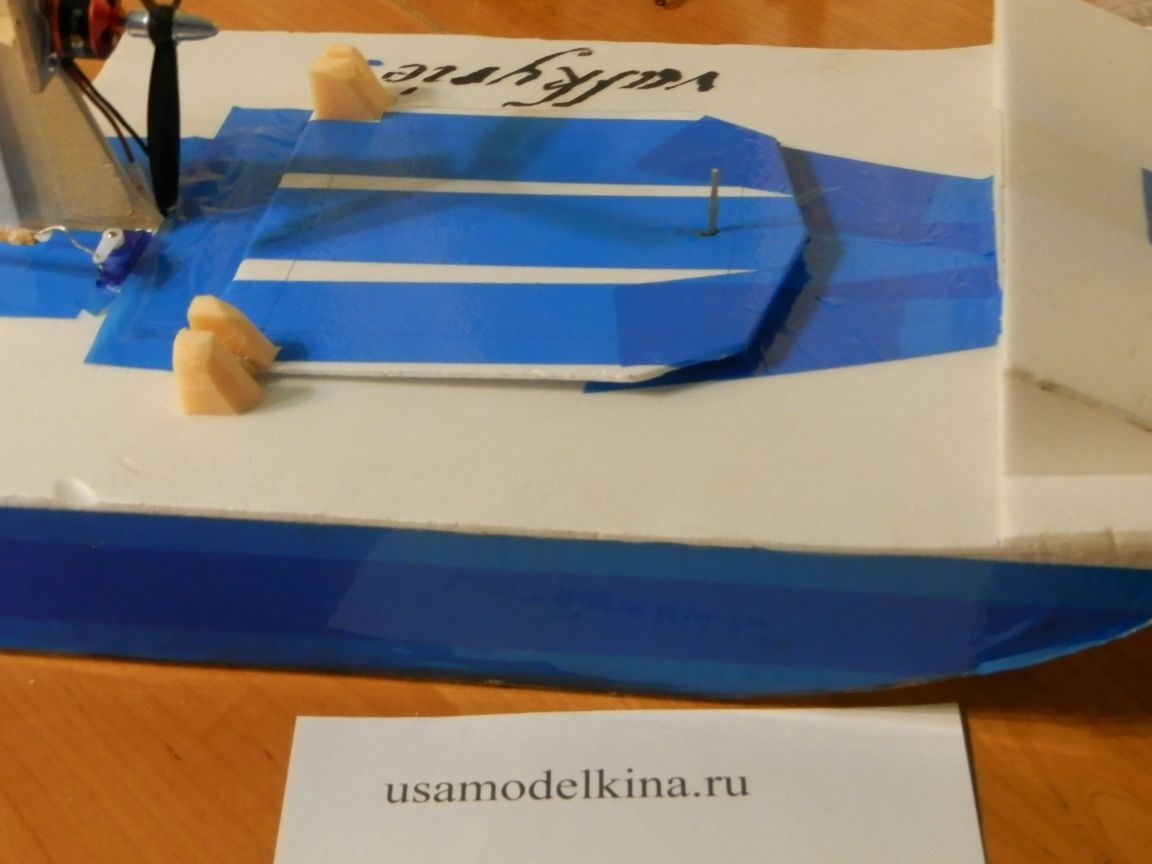
Step 10 pasting the model and installing the cover. I installed the cover, pasted the model with blue tape
that's all the model weighs about 320 grams length 465 mm height 215 mm
Thanks for attention!
And the video.