Hello, dear visitors of the site!
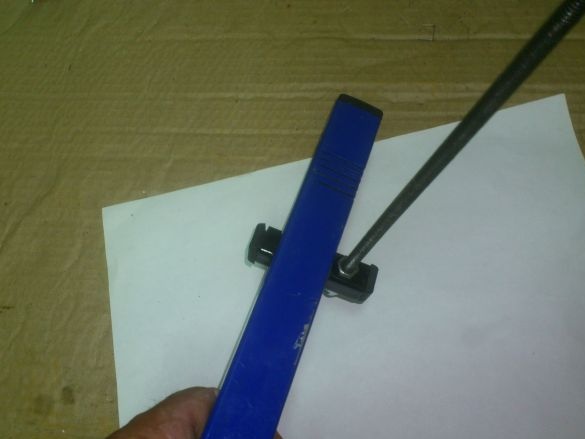
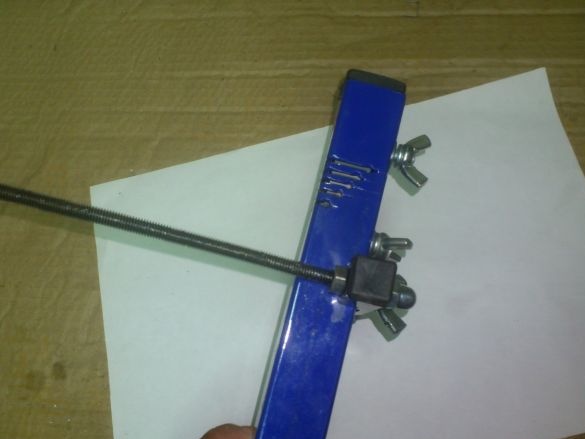
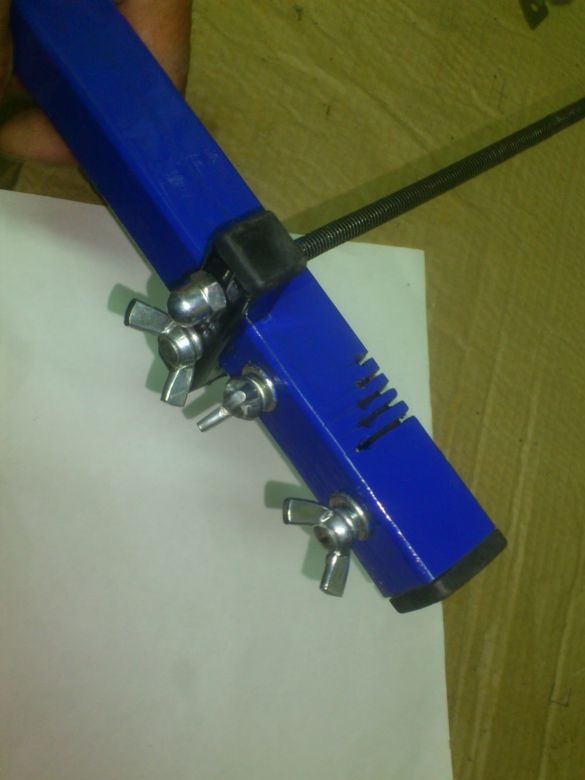
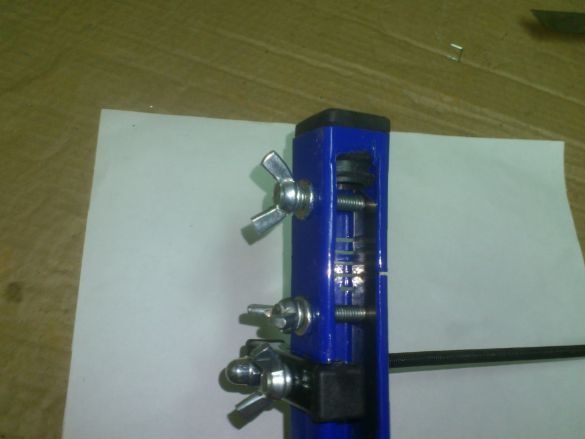
Today I want to tell you about my version of the device for cutting plastic bottles into tapes.
I don’t think it's worth talking about why you need a tape from PET bottles! It is used both as ordinary twine, and as a fishing line, and as a tape for wrapping various handles ... Mistresses tie tomatoes with it ... With it they make decorative hedges ... They even knit rafts! )))) They even weave Rabitsa net out of it and make panicles.))))
True, I’m not going to do panicles and a net, but the need for such a tape periodically arises. After all, along with properties such as high strength and resistance to weathering, it also has heat-shrink properties. It is enough to bind something with it, and then warm it - and the fixation of the connected parts becomes especially rigid and durable!
For a long time I managed with the simplest template of several washers, two screws and a blade from a technical knife!
In fact, the tape is not needed so often, so there was simply no need to do some specialized device.
But, as I already mentioned, my friends and I quite often leave with tents in the forest for several days. And for a comfortable pastime we bought and made do it yourself many things and devices (some of them are presented by me and on this site). Fees take quite a long time, and it happens that all the same something, but forgotten. And then one day I forgot to take a bundle of twine with me. After all, after an overnight stay, it is necessary to dry, for example, blankets ... And there is nothing to hang them on ... In car I always have scissors, and remembering the strength of the tape from PET bottles, I manually made such a tape. This led me to the idea that it would be nice to make the same “mobile” bottle cutter. After all, drinks in plastic bottles are always taken with you! And, therefore, "raw materials for tapes" are always in abundance. And there will be no need to carry twine with you! )))) Yes, and sometimes there is a need for a long pole, for example. It just seems that in the forest any necessary pole can be cut without going far! ))). In fact, sometimes you have to wander with an ax for half an hour - sometimes it’s thick, then it’s crooked, then it’s short, it grows too high))))) .... But you don’t need it ...A ribbon can quickly and very tightly tie several poles into one long! Of course, it’s problematic to use a technical hair dryer in the forest!)))). But there is a bonfire !!!
As always, before embarking on the "invention of the bicycle", I decided to study the already invented models!)))
My attention was drawn to the design, widely known on the Internet as the “Bottle Cutter of Lawyer Egorov”.
Being a "master", I, of course, did not copy it, but decided to take the main idea as a basis, finalizing the design "for myself" ...
... I will not focus on its merits (You can easily find its detailed description on the net), but after analyzing it, I decided to get rid of its shortcomings if possible. And her disadvantages, in my opinion, are the following:
1. The ability to use only a very small area of the blade. If it becomes dull, you need to change the blade. There is no way to move a millimeter and cut further.
2. Large dimensions due to the non-removable axis sticking out towards the bottle. In addition, this axis will be hooked and deformed for everything. (This is especially important for me, since I need mobility.
Of course, I understand that all these shortcomings were deliberately made by the author (known under the nickname "Lawyer Egorov") for the sake of ease of manufacture! ....
But we are not looking for easy ways !!!
Here is what I needed to make my version of this device:
1. Cutting of a profile pipe, section 25 by 25 mm.
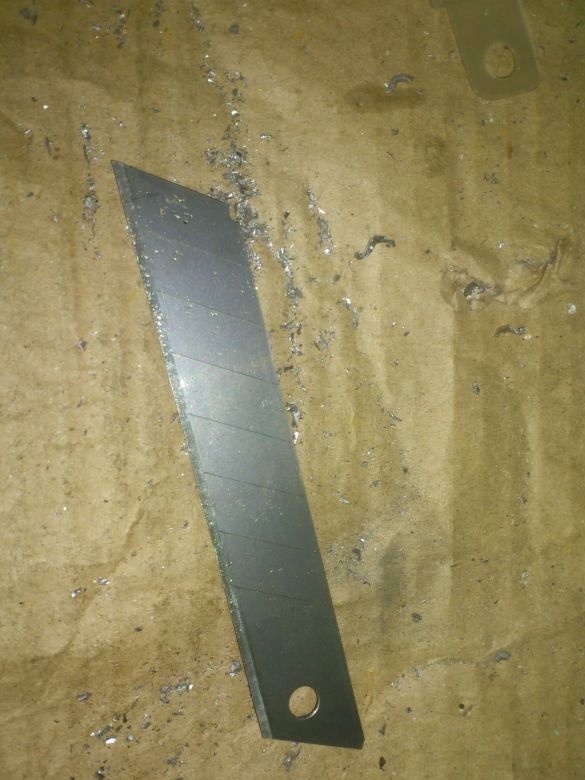
2. Blade for clerical knife, 19 mm wide.
3. Trim stud M6.
4. Wing bolts M6.
5. Cutting of a profile pipe, section 15 by 15 mm.
6. Cap nuts M6.
7. Plastic plugs for profile pipes.
As you can see, among the materials mainly there are various trimmings. At Yegorov’s lawyer, the case is made of aluminum, but I decided to make it out of what was lying in my scrap metal. There I found this piece of profile pipe, section 25 by 25 mm:
Her wall thickness was 2 mm, so the blade, 19 mm wide, came in with a small gap, which was quite fine with me.
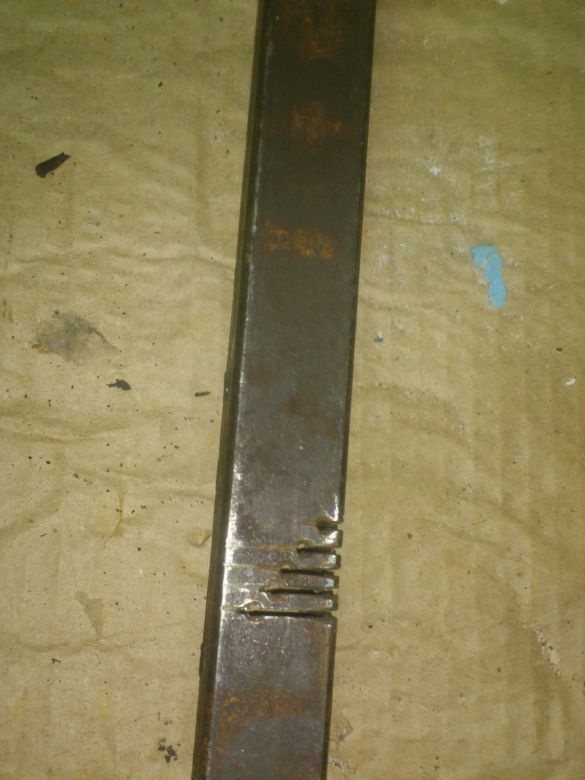
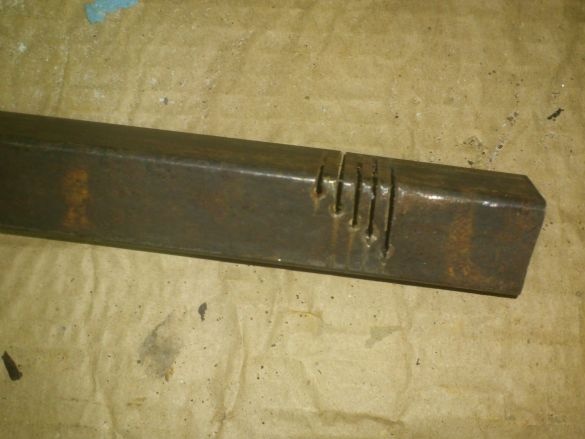
At first there was the idea of making only one slot for forming the tape, and some kind of "sliding" limiter, allowing you to set different widths. But then I nevertheless decided that it was not necessary to complicate the design and simply made several different slots:
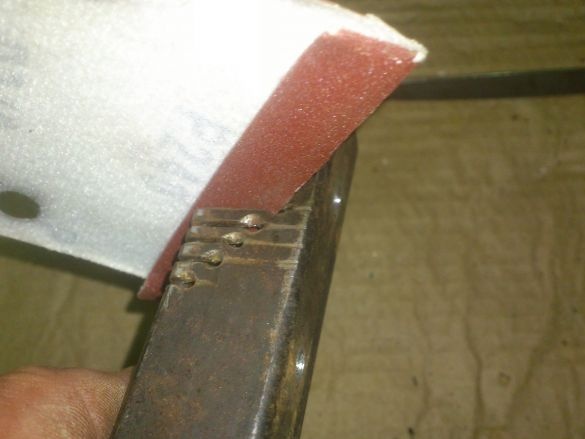
Here you should pay attention to one very important detail. Unlike aluminum, steel at the cutting points leaves a lot of small burrs. We need to ensure a very easy sliding of the tape over the metal. Considering that the cut edge of the tape itself is quite “rough”, you need to “smooth out” the edges of the slots as much as possible, otherwise the tape will deform, bend (as a result, clog and wedge in the slots). To do this, I made small samples at the ends of the slots with a thin drill, and then carefully cleaned all the slots with sandpaper:
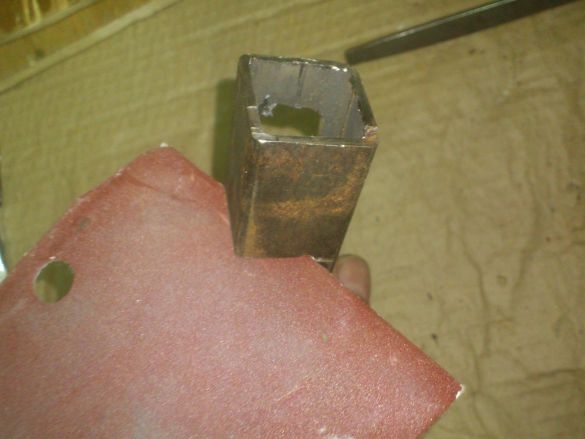
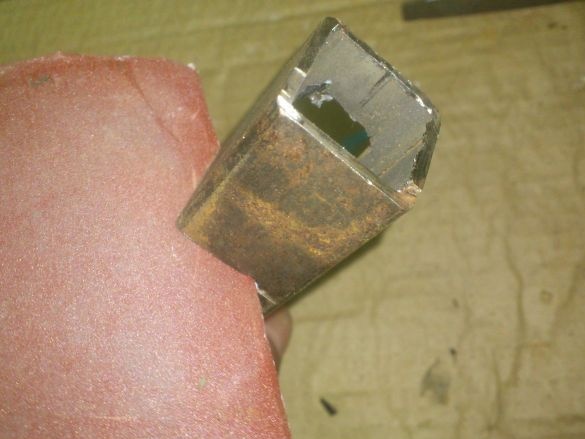
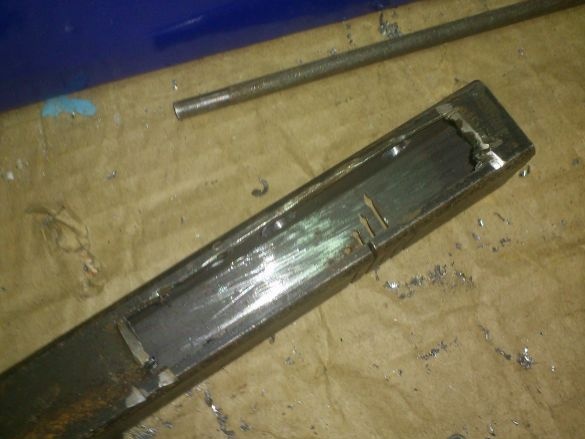
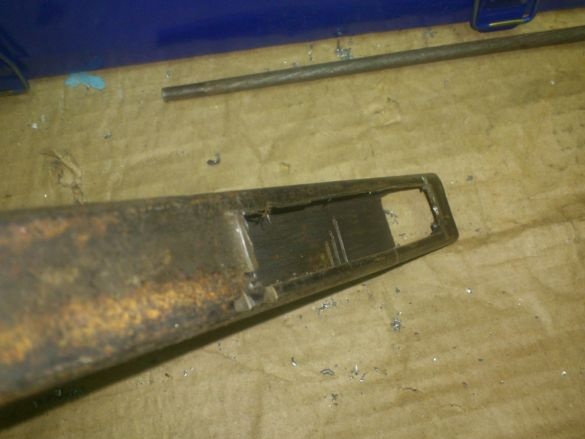
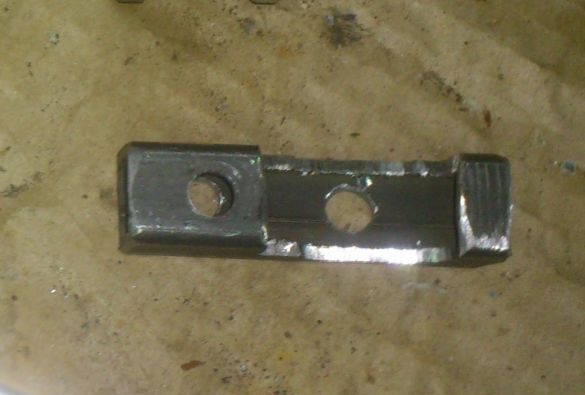
On the reverse side, we need to make a “window” for the tape to exit, and service. I decided to drill two holes at the ends with a large-diameter drill, and cut a grinder between them ... But it turned out that conical drills would not work here, and drills with a diameter of more than 15 millimeters, which could be clamped into the drill chuck with me could not be found ... Therefore, I just sawed through the grinder the window, treating its ends with a cleanup circle, as much as possible:
Now you need to fix the blade of the technical (clerical) knife inside. At the same time, it is necessary to fix it so that it is possible to change its position in the longitudinal plane.
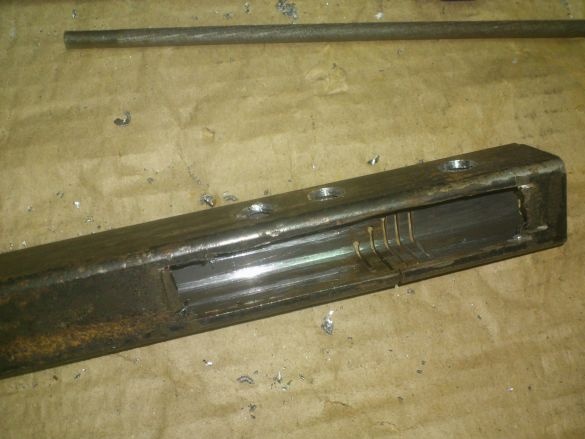
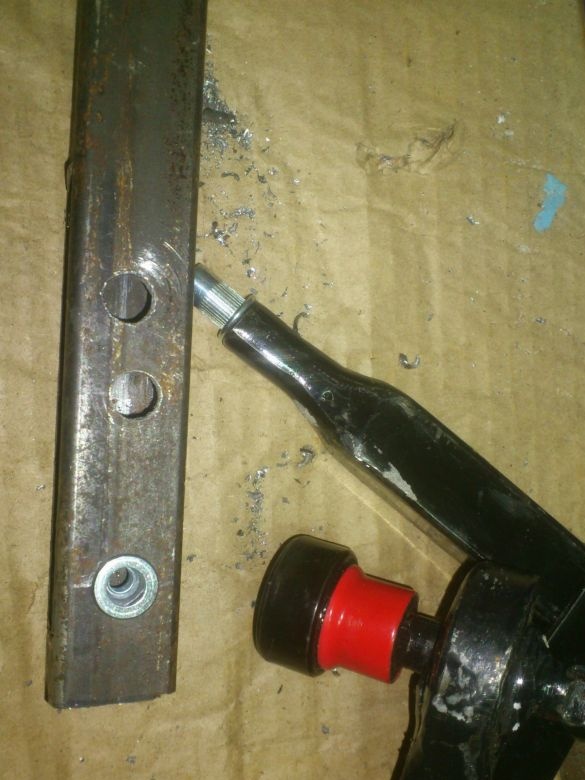
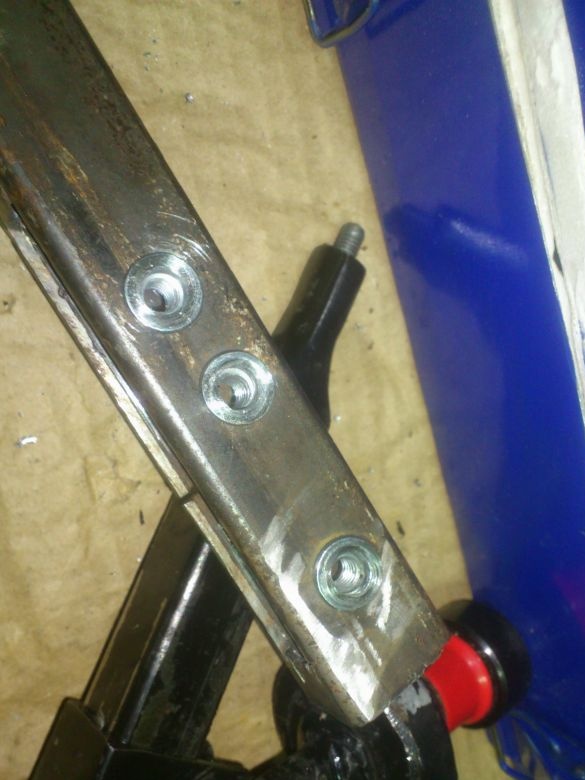
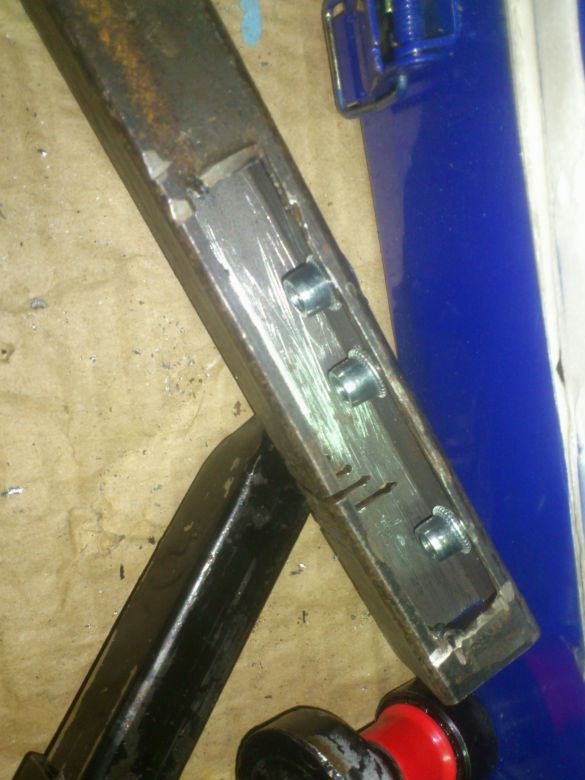
In the wall opposite the one to which the knife will be pressed, I drilled two holes with an 8 mm drill for M6 threaded rivets, which I installed with my homemade riveter
In the photo you see not two, but three threaded rivets. Two of them are for attaching a knife, the third is for attaching an axis, which I will discuss later.
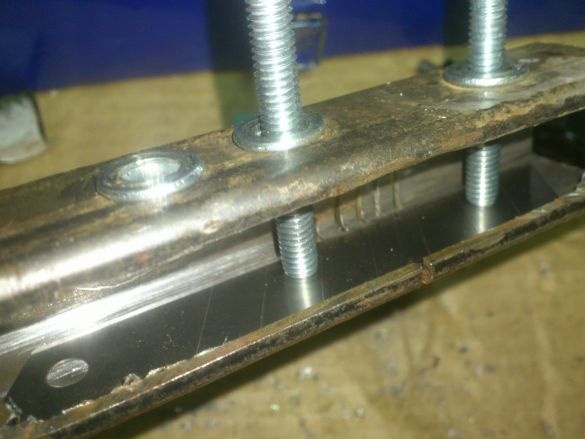
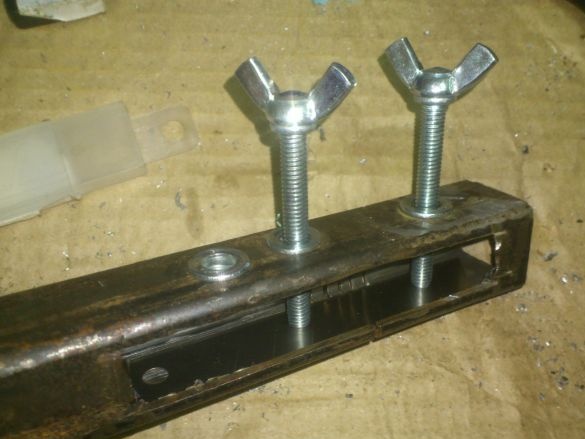
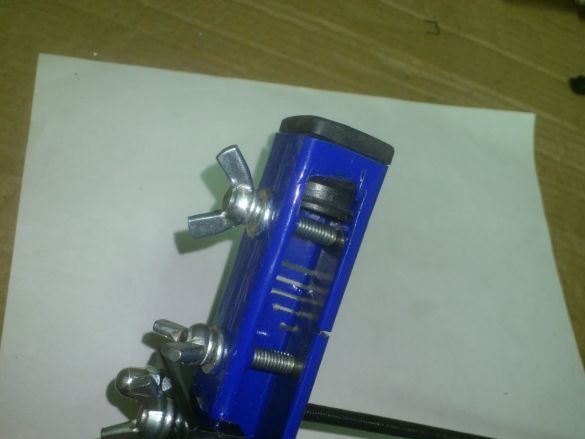
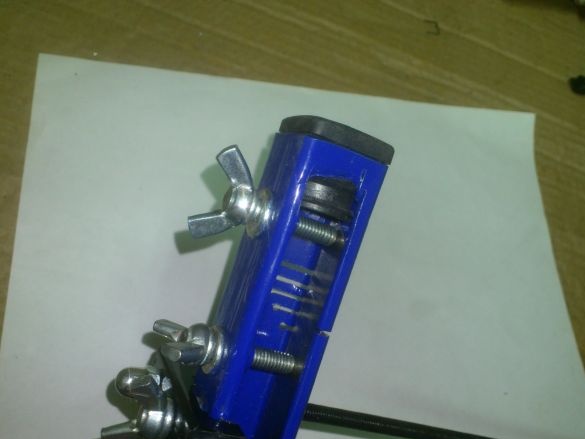
The knife, according to my idea, will be embedded in the case and pressed with two wing bolts:
It should become on several important points ...
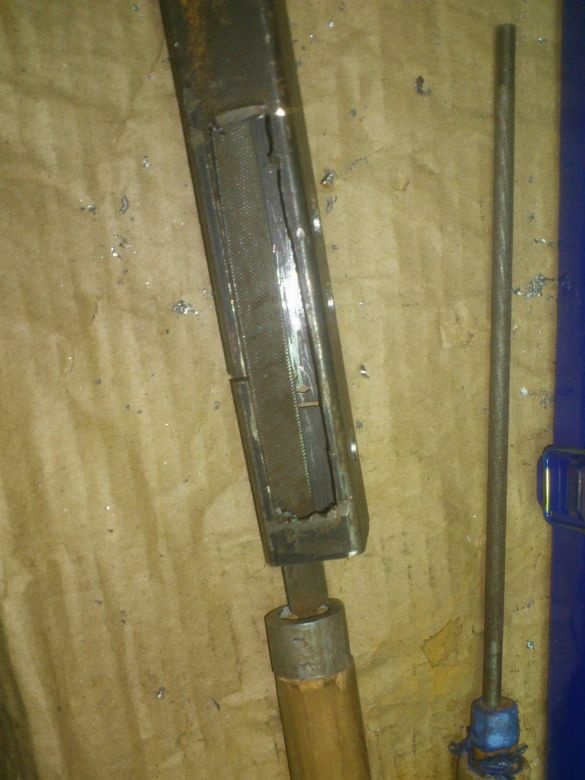
No matter how thoroughly we clean out the cuts with sandpaper, there will be small, “concave inward” burrs inside.Without paying attention to them, I clamped the blade with bolts and, although I did not tighten it much, it still burst into the factory notch in two halves. I had to process it with a file for a long time, alternating the passages with the passages through the slots with sandpaper, since the burrs “bent” either inside the slot (after the file) or inside the pipe (after sanding) .... We don’t need them either there or there. ..))))
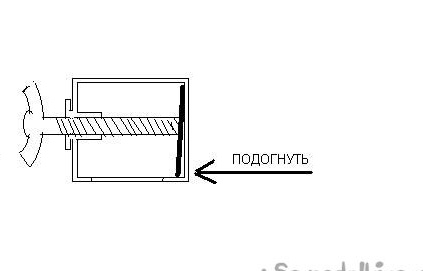
And one more important point. The blade of the knife should not be located parallel to the cut of the bottle, but a little bit, just a little, turned the tip in its direction. This is necessary in order to “attract” the bottle that he cuts to the body. Indeed, unlike cutting on a fixture from washers, no one presses on its neck, and it simply will not feed to the knife if it is parallel to it. The tape will become thinner, and then completely “go to zero” ... To prevent this from happening, you need to bend the pipe wall along the edge with a gentle hammer blow, literally half a millimeter, to which the “heel” of the knife will fit. This is not visible in the photo (it is painfully weak deflection), so I drew such a picture about it. (Sorry, I forgot to indicate in the figure ... A thick black stripe - and there is a knife in cross section)
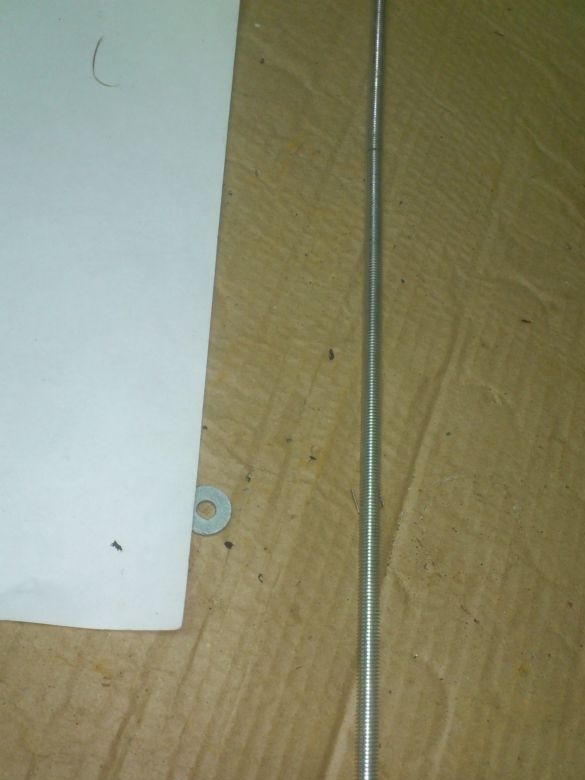
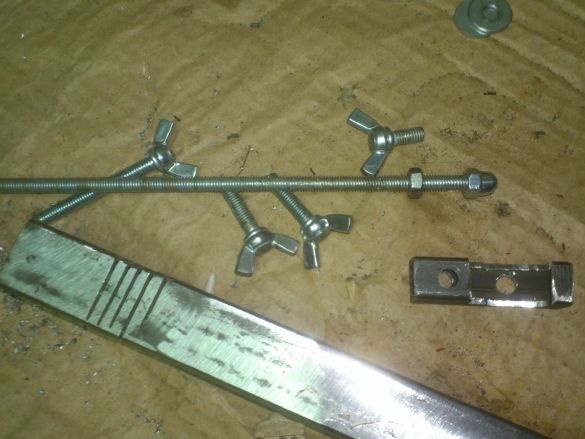
The blade is fixed. Now you need to make the axis for the bottle. Without further ado, I also decided to make it from the M6 construction hairpin, fortunately, I found such scraps in my stock:
When applying the bottles, I figured that the axis should be shifted about three to five centimeters down from the slot (this “size spread” is due to the fact that the diameter of the liter and two-liter bottles is significantly different! But, the bottle is still flexible, which compensates size breakdown.
In the horizontal plane, the bottle will not be parallel to the axis - after all, the narrow neck will remain clad on the axis, and the cut edge will be pulled close to the axis. Therefore, it will be skewed.
Therefore, I decided to take the axis from the wall of the case in this plane to a shorter distance - one centimeter.
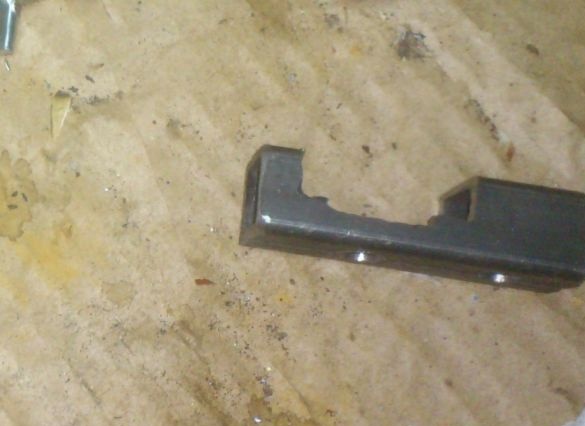
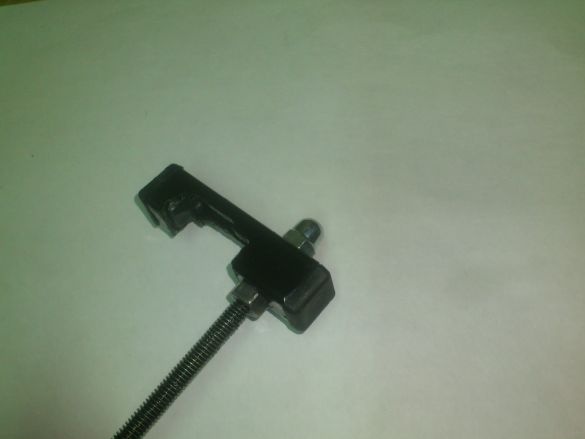
In any case, the axis will be separated from the body, so it was necessary to make a bracket for it. I decided to make it from trimming the profile tube, section 15 by 15 mm.
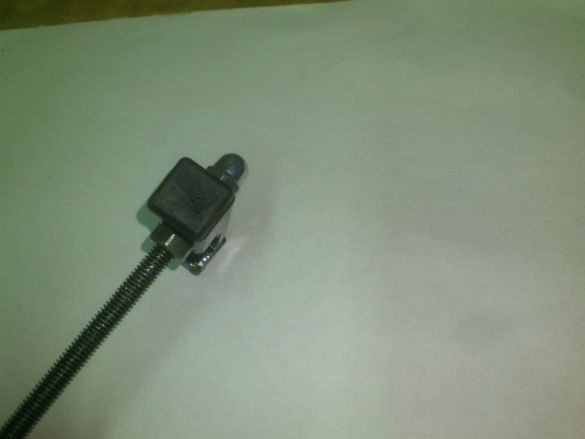
The cutout will be attached to the body and secured with a thumb screw. (It was for him that the third threaded rivet was installed). And a pin will be inserted into the hole, which serves as the axis for the bottle and is fixed with two nuts (I forgot to take a picture before painting))):
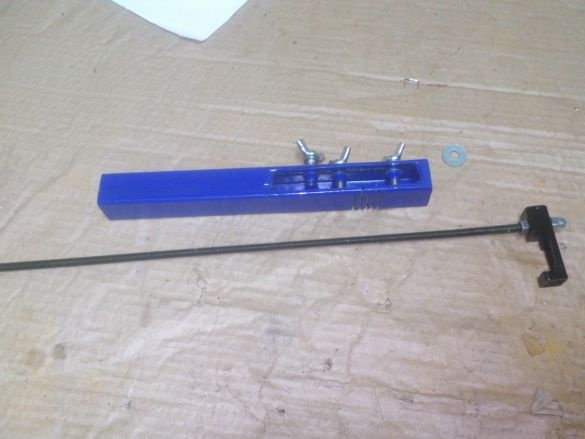
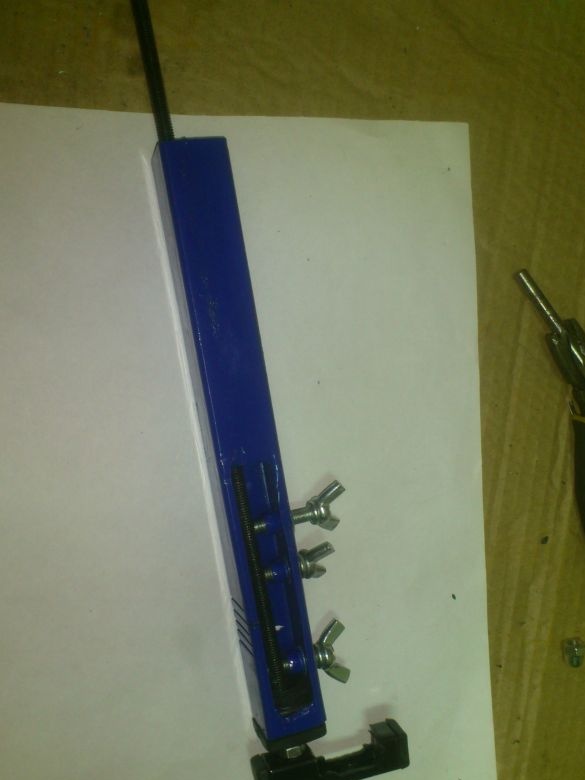
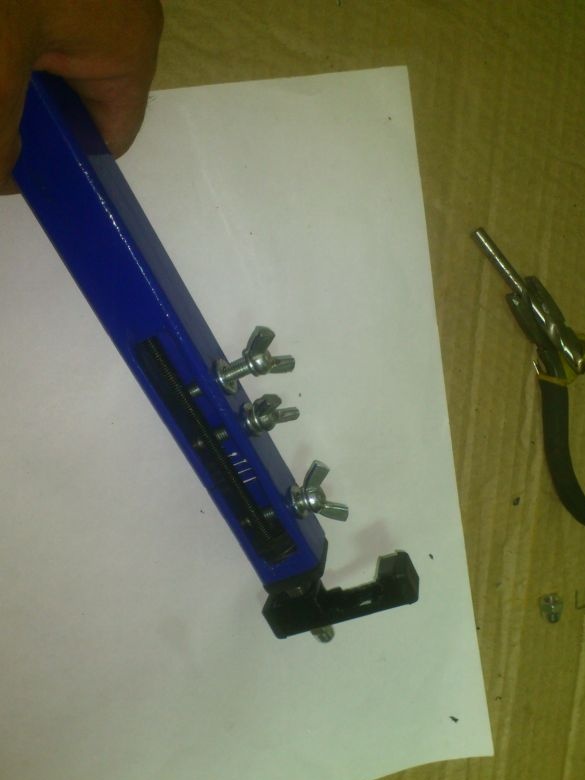
That's all ... It remains to comb the product, as I call it ...
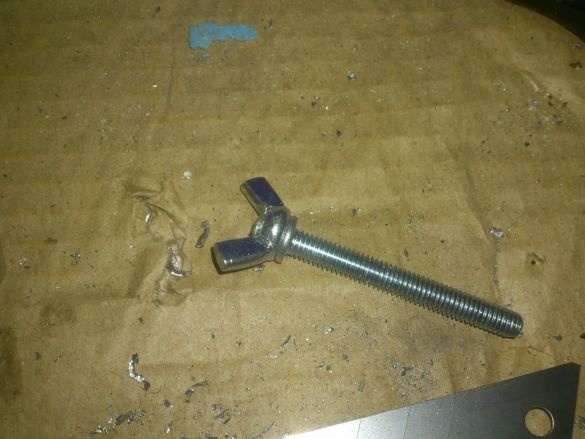
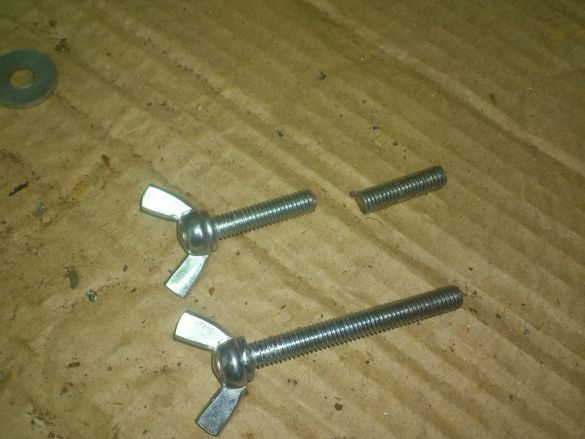
In the absence of the right size of the wing screws, I used longer ones ... Now I cut them "in fact":
The whole structure was disassembled and cleaned with an emery-petal wheel using angle grinders:
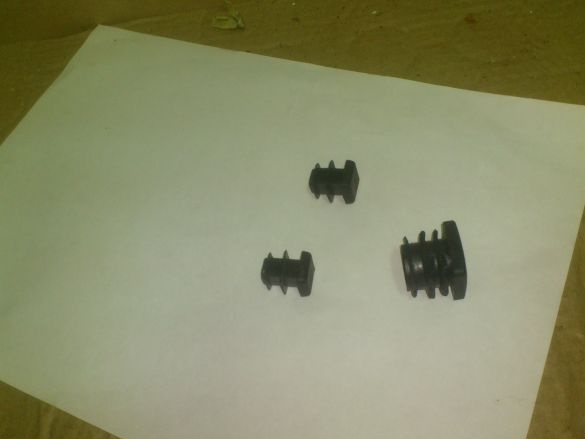
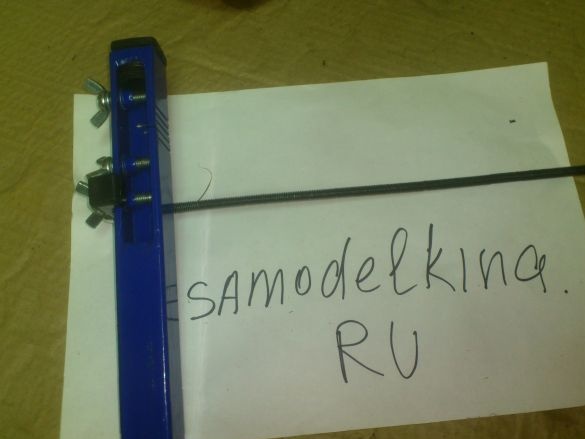
After that, it was sent to the painting, followed by the installation of plugs:
(
Well, let's get down to testing ... (Although, to be honest, I, of course, tested it before painting and “combing”)))) But then I didn’t take pictures)))
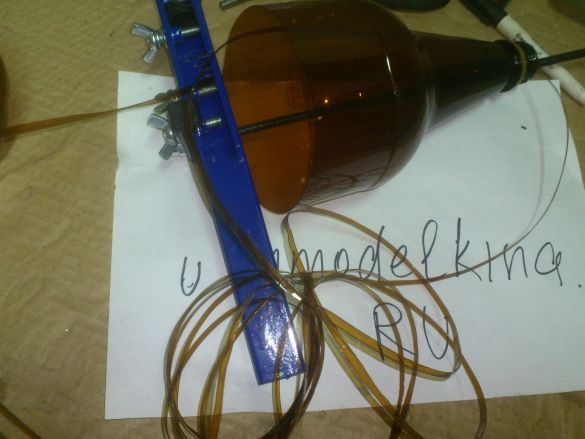
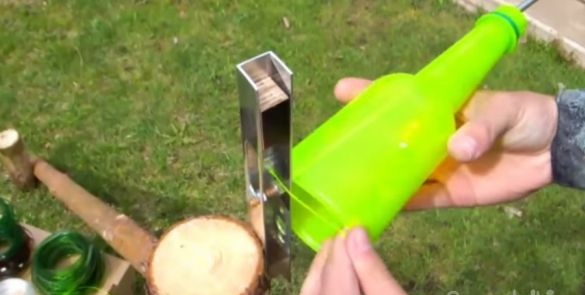
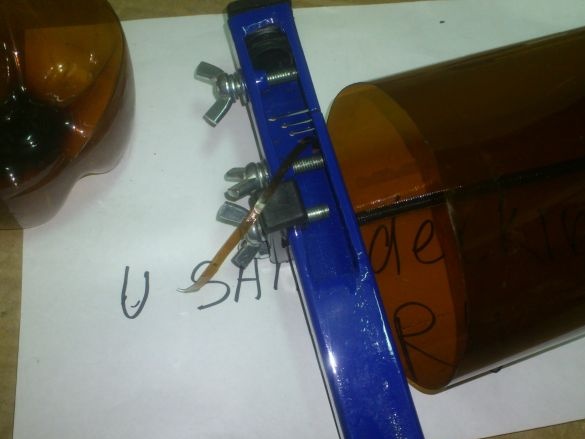
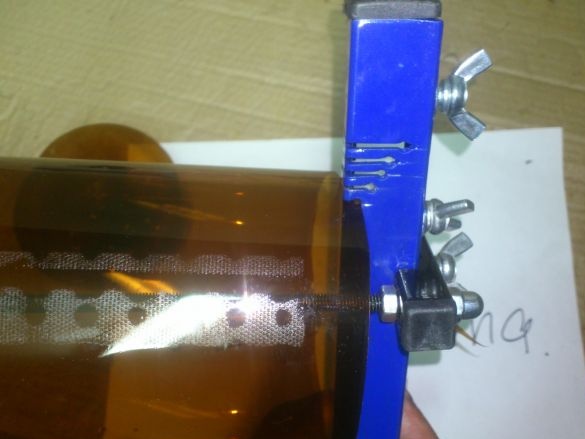
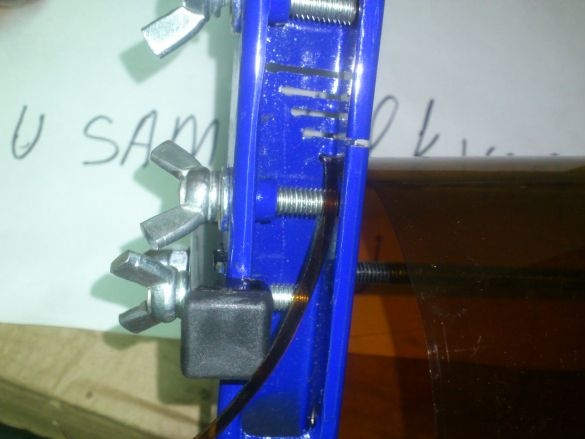
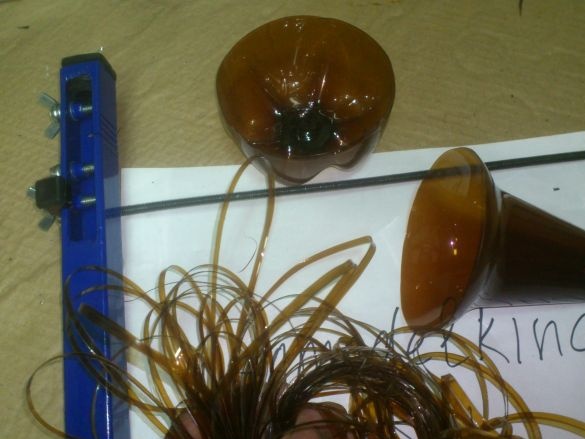
We put the bottle with the bottom cut in advance on the axis, fill it in the desired slot (its choice depends on how wide the ribbon is, we need it) and, pressing it, turn it a little. The knife "bites" into the edge and the "tail" of the tape comes out on the other side:
Now, holding the bottle cutter in your left hand, with your right hand pull this “tail” ... And so on, until the whole bottle is cut:
By the way, I don’t throw out the necks and bottoms remaining from cutting the bottles, but keep them, for which I started a special box ... The bottoms serve as “disposable dishes” if you need to pour paint, glue, dilute epoxy and so on. It’s very convenient - you don’t need to look for some capacity, since “I always have them” always.))) And you don’t need to feel sorry or wash ...))))
And the necks serve as a form for the legs, when I recycle the remnants of concrete, or mortar, making mushrooms to decorate the site. And sometimes they are used to fit something ...(They are also heat-shrinkable! True, they shrink poorly - only, approximately, up to the diameter of the neck itself in its “threaded part.” But to tighten the handle of the chisel, for example, so that it does not crack, at least, it turns out ...) ... So, that's it! Directly, non-waste production! ))))
And yes ... I completely forgot ...
I said that one of the requirements is compactness ... And the long pin sticking out to the side has nothing to do with the concept of "compactness ...))))
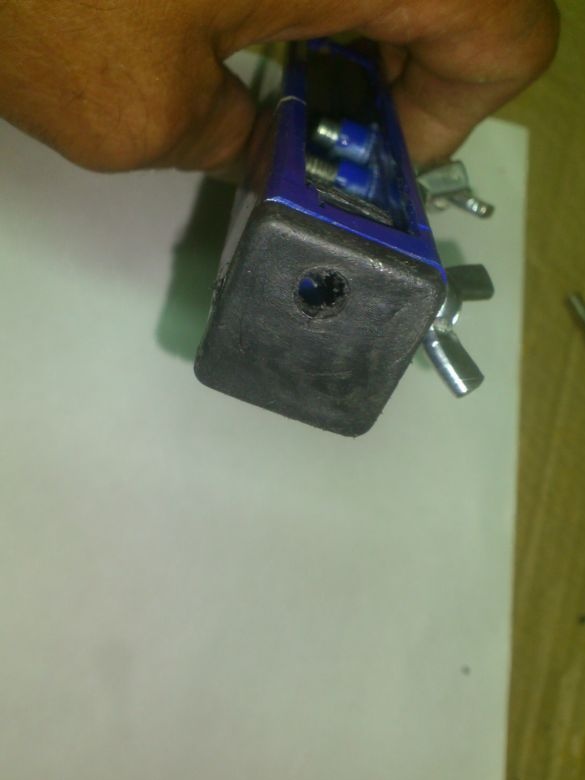
This is how I solved this problem. The axis is fixed, as you remember, on an bracket made of a 15 by 15 pipe. The bracket itself is attached to the housing with one thumb screw. Accordingly, it can be removed and installed very easily and quickly. And for compact snoring I came up with the following: I drilled holes with a diameter of 6 mm in the plastic end caps. (Their position was verified so that the pin passed through them into the body of the housing did not touch anything:
Now it is enough to remove the axis with the bracket and insert it into these holes. The axis is located inside the main body, and, although it is longer than it, and protrudes in the lower part, it still can not be compared with the fact that it used to stick out to the side ... So the device can be easily stored in the glove compartment "cars, for example. And it is made to work in literally twenty seconds! There is no need to fasten the hairpin - thanks to the thread, it sits quite tightly in the plastic without hanging out and popping out.
That's all!
Bye.
I hope someone will find this useful.


